HOLIDAY DONATION DRIVE - SUPPORT MSW - DO YOUR PART TO KEEP THIS GREAT FORUM GOING! (Only 13 donations so far - C'mon guys!)
×

the learner
-
Posts
757 -
Joined
-
Last visited
Content Type
Profiles
Forums
Gallery
Events
Everything posted by the learner
-
 Try this it might help but only for the stern frames angles tilt sander_A4.pdf I do not remember where it came from, might be in the downloads or one of the group posted it
 -
Thanks Daniel, thanks all for the "likes"!
-
looking good, can't wait until I get to that point. Thanks for the post
-
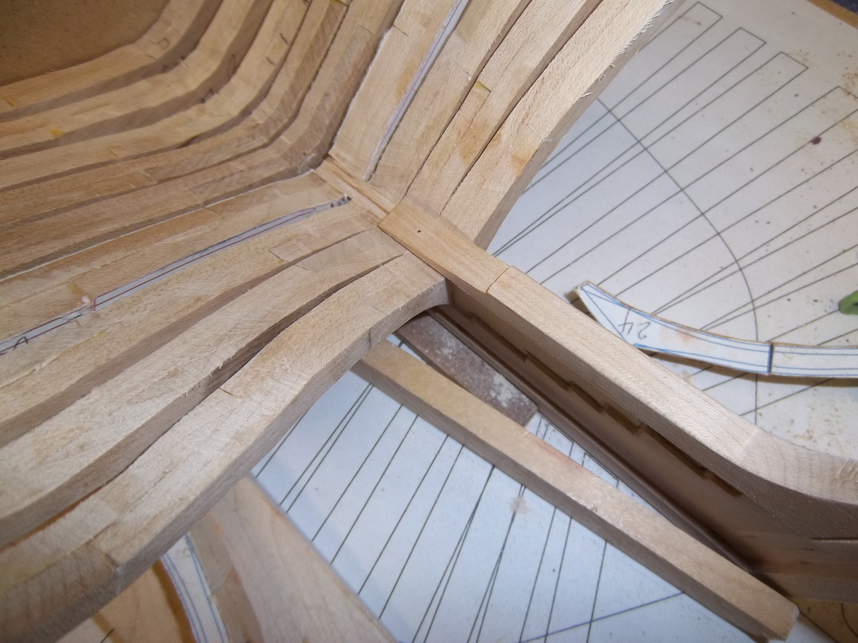
nice job on the bow!
-
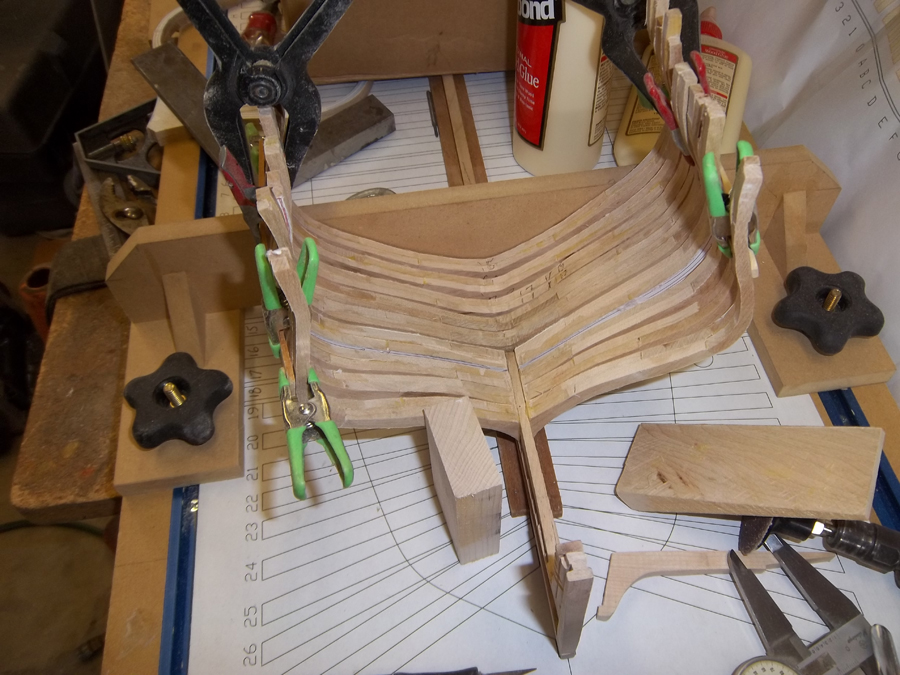
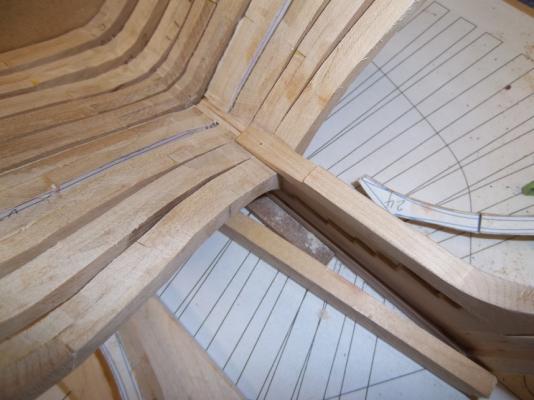
Yes more pictures! The work continues: At the stern and now starting the bow more pictures to come as we advance Slow and sure, well almost!


-
Ed, just a thought do yo feel that you need to install all the strapping or just a small amount to show how it was accomplished on the real construction? It looks fantastic though! Mitchel, read through Ed's post on the HMS Naiad for yoour answer http://modelshipworld.com/index.php?/topic/232-hms-naiad-by-edt-160-frigate-38-1797/?hl=naiad Guy
-
Fantastic, I love your detail on your iron work for the square bolt heads
-
So all the strapping was put in place before any other timber was attached ie: Breast hooks, crutches and carlings etc:.That applying the strapping between the frames and ceiling would seem like it would make for a really strong Hull! Do you think that on the actual construction the strapping would have been let into the frame timbers before attaching the ceiling planking? Thank you for the update
-
a link for Bronze wool http://www.steelwool.biz/Bronze_Wool.htm
- 3,618 replies
-
- 1
-

-
- young america
- clipper
- (and 1 more)
-
Excellent work!
-
Nils, I assume you made the rivet wheel (picture 2), can you tell us more about it? OOPS I found it!, Thanks I also like the aluminum tape use for the riveted metal plates, Great start!
- 113 replies
-
- 1
-
-
- heinrich kayser
- steamship
- (and 1 more)
-
Well done, I wish I had your talent
-
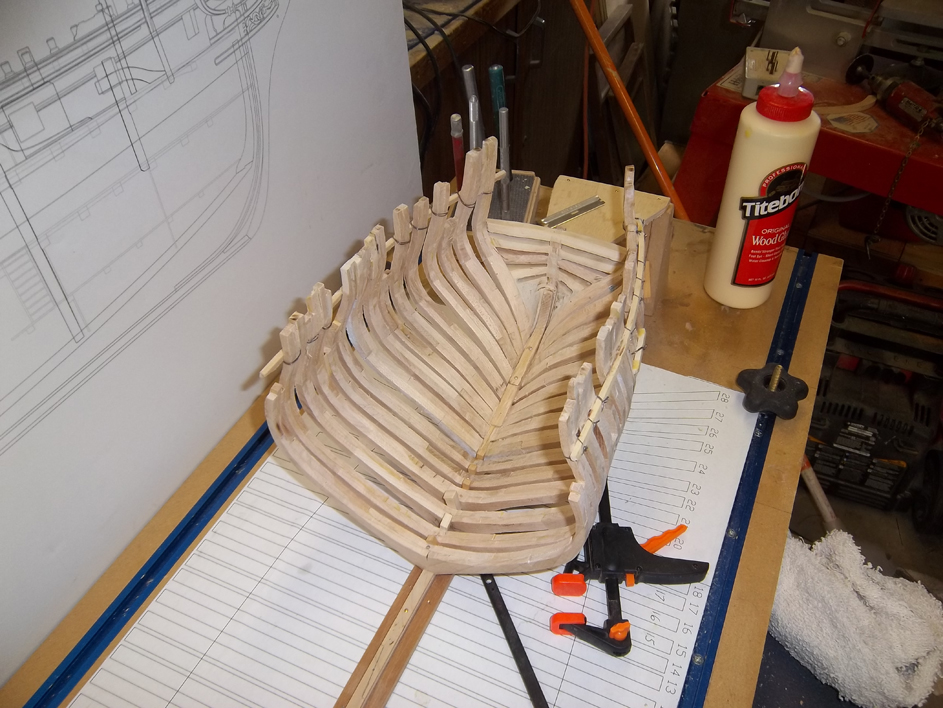
I have added several more ribs to the aft and have printed out and cut the patterns to the final 10 or 12 ribs. I need to mill sone more wood to finish them up. on the next post I will add some more pictures
-
All the pieces are already drawn, if you want to go to a larger scale just enlarge the plans. You could use almost any set of plans from the MMM to create your own set of plans and draw out and mill the pieces. Fantastic go I hope you can find something to work with.
-
Do you mean the "Gun Deck Hook" or the "Lower Deck Hook" ? they are there in the downloads. I to have no file called Hawse Hook. Guy
-
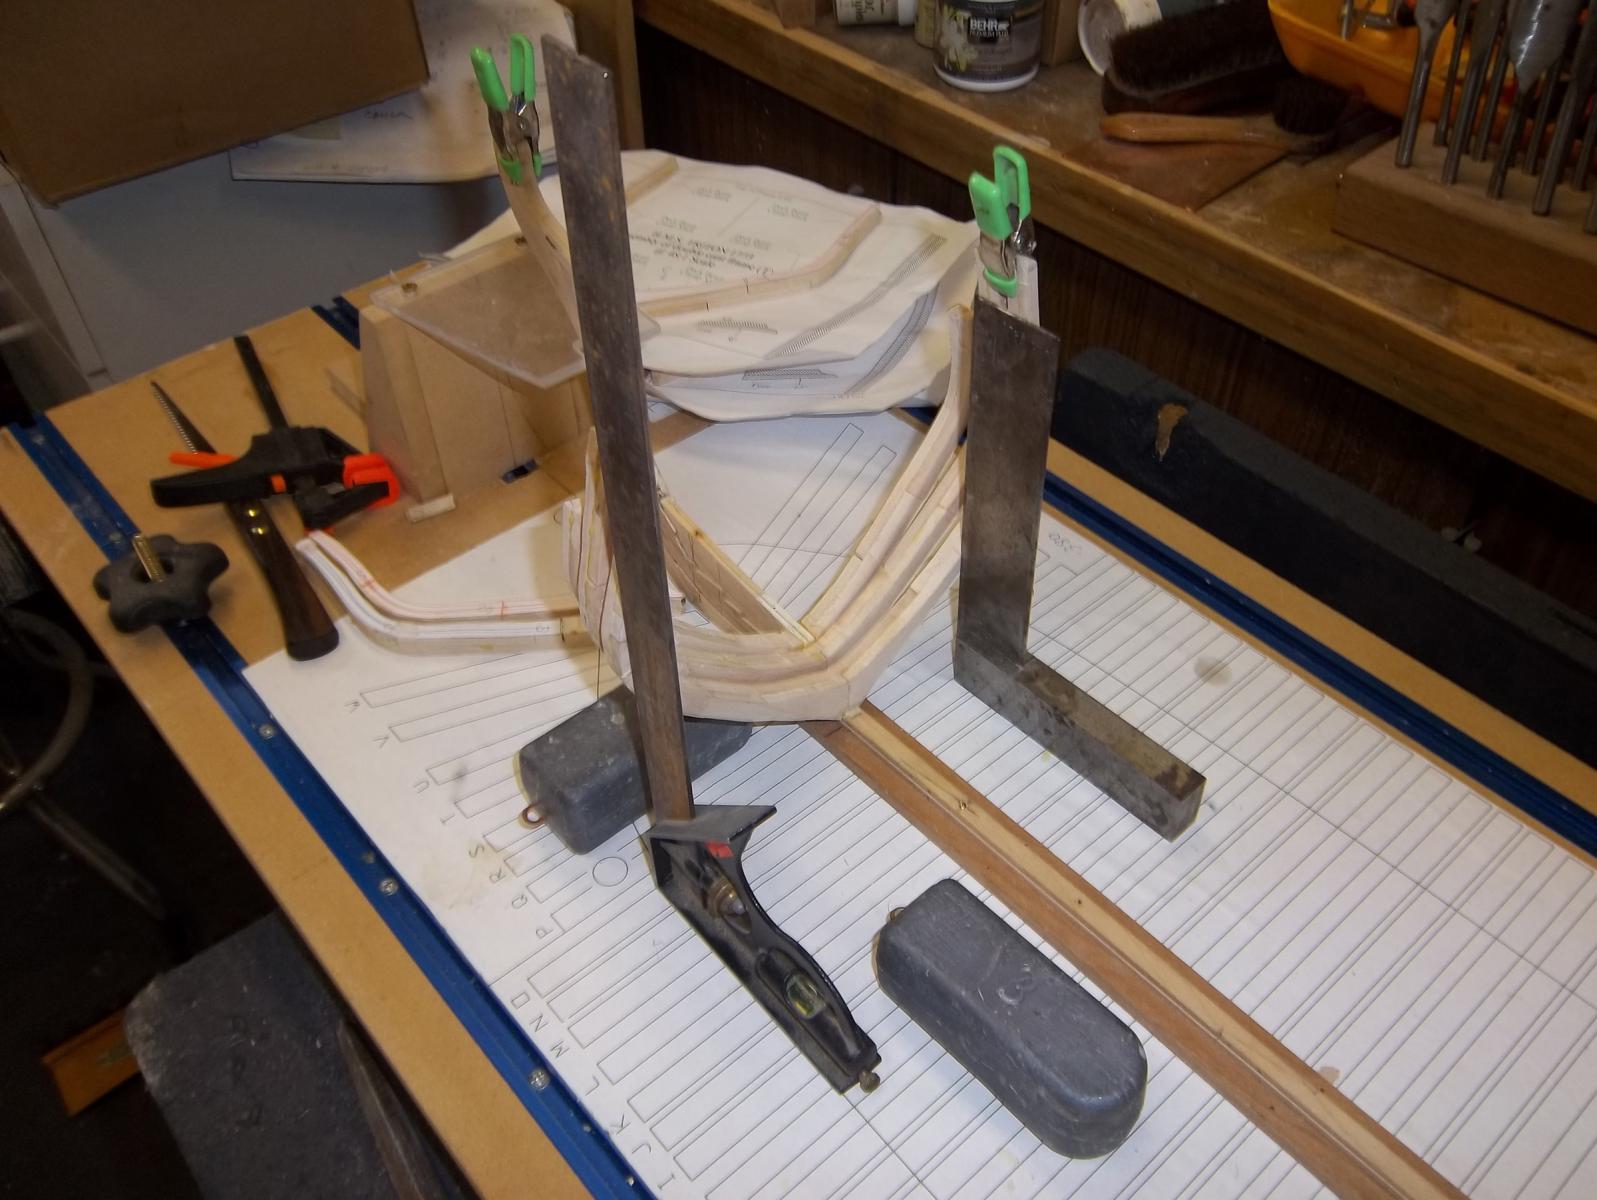
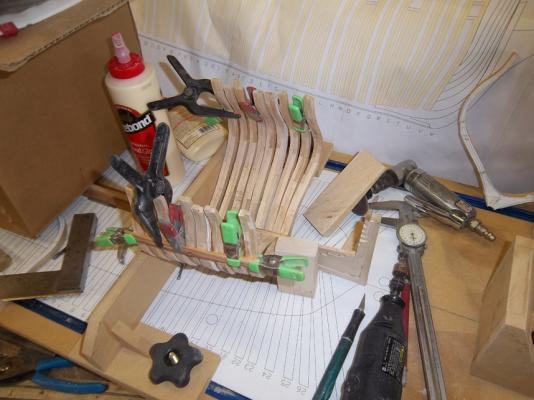
I still have about 15 frames to construct. I am cutting out the patterns to glue on the wood. I still need to cut a couple of additional pieces of board to do this. I have started attaching frames to the keels! As this is the first time that I have constructed a build in this manner the going will be slow. I always have that fear that there will not be enough wood when I start fairing out. As you can see, I have done some fairing on the inside and a little on the outside to accommodate the temporary riband I will try taking and posting as many pictures as possible to show this progress.

-
Great start! Welcome aboard!
-
The new drawplate will last you a life time and well worth the cost The Build is comming along nicely Guy
-
I did not have it either but went back and looked at the downloads for the Triton and see that it is there, I must have missed it! Thank you sirs
-
Yes Your pile will grow larger but do not throw any away because you will be able to use some of it later

-
Yes, some daring work!
-
Daniel that looks like quite a sturdy house you are building!
-
Your pictures look a little blury and out of focus, besure to set the Mega pixel's to the highest possible setting on your camera and use the closeup function! Good Start
-
Hello Wang! Where did you get the drawings for the Brodie stove? post #3 Guy
-
I used treenails but I suggest that you use copper, see EdT's build of the Niaid on this site or better yet get his books from Seawatch! They will explain all you need to know about nails and iron fittings for your model. Back from Hawaii, have about 12 more frames to finish and then progress should go much faster as I start attaching them to the keel