dcicero
NRG Member-
Posts
267 -
Joined
-
Last visited
About dcicero

- Birthday 10/21/1964
Profile Information
-
Gender
Male
-
Location
Aurora, IL
Contact Methods
-
Yahoo
dan_cicero@sbcglobal.net
Recent Profile Visitors
-
dcicero started following Rattlesnake by Ed Ku20 - Model Shipways - 1:64 , U-47 by Admiral Rick - FINISHED - Amati - Scale 1/72 - Length 92.4cm or 36.38 inches - marketed by Model Shipways c. 2013 , V108 German WWI Torpedo Boat by catopower - FINISHED - Digital Navy - 1/200 Scale - CARD - MSW Tutorial Build - FINISHED and 7 others
-
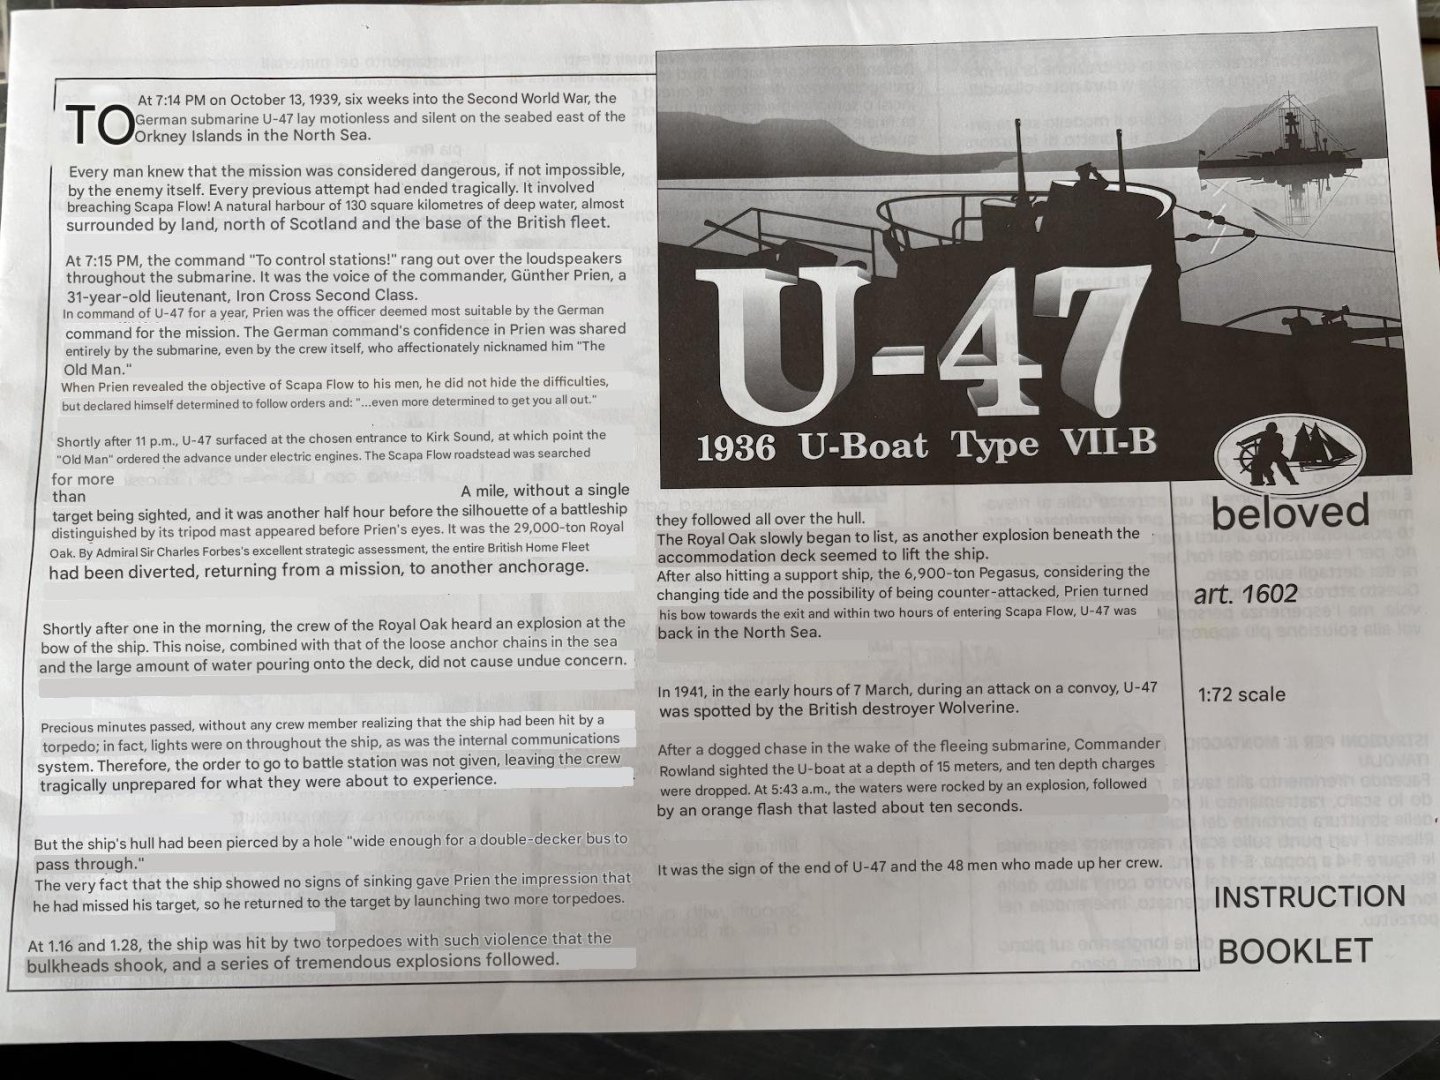
I saw this model at a swap meet a while back! I never knew Amati made a U-Boat model. It looked really great, but it was too rich for my blood and I figured I wouldn't get to it in any reasonable amount of time, so I let it get away. Now I'll get to watch your build, which is almost as good. One thing about these Italian kits is that now translating the instructions is easy with Google Translate. Even with an image, you can get the translation you need, like this. Dan
-
 dcicero reacted to a post in a topic:
Guns of History Carronade by Worldway - FINISHED - Model Shipways - 1:24
-
 dcicero reacted to a post in a topic:
Speedwell Battle Station Kit 1752 by CiscoH - Syren Ship Model Company - 3/8" or 1:32
-
 dcicero reacted to a post in a topic:
NRG Rigging Project by tlevine - FINISHED
-
 dcicero reacted to a post in a topic:
NRG Rigging Project by tlevine - FINISHED
-
 dcicero reacted to a post in a topic:
Speedwell Battle Station Kit 1752 by CiscoH - Syren Ship Model Company - 3/8" or 1:32
-
 dcicero reacted to a post in a topic:
Arabia Steamboat Museum in Kansas City
-
 dizzy reacted to a post in a topic:
Ancient Greek Sail Rigging
-
 dcicero reacted to a post in a topic:
Trireme Olympias by Richard Braithwaite
-
 dcicero reacted to a post in a topic:
Trireme Olympias by Richard Braithwaite
-
 thibaultron reacted to a post in a topic:
Clyde Leavitt plans of Davis' ' Lexington'
-
 catopower reacted to a post in a topic:
Clyde Leavitt plans of Davis' ' Lexington'
-
A couple of days ago, I posted here asking if the Davis book was worth using anymore. I scored a First Edition (1933) a while back and thought it would be fun to work through it. It appears, based on the posts above, that the answer is no! But, as long as one is not claiming to build Lexington, I suspect the techniques would work for any vessel for which accurate plans DO exist. Funny how synchronicity works... Many miles away Something crawls from the slime At the bottom of a dark Scottish lake Dan
-
 Jim M reacted to a post in a topic:
18th Century Merchant Man Half Hull Planking Kit by Jim M - NRG - 1:48 - ON HOLD
-
 robert952 reacted to a post in a topic:
18th Century Merchant Man Half Hull Planking Kit by Jim M - NRG - 1:48 - ON HOLD
-
 catopower reacted to a post in a topic:
The Built-Up Ship Model by Charles Davis: Still Worth Using?
-
Might be tough to get a definitive answer to this one, but the rig from Olympias would be a good source. And thanks for the reference to Severin's work. I read The Ulysses Voyage many years ago, when it first came out. (And I seem to remember reading The Brendan Voyage, too, although I don't recall any details of it.) I didn't know about The Jason Voyage, but I'll look for that one now. Most of what we know about these ancient vessels is conjecture. It's certainly been well-informed conjecture, but still conjecture. There are no plans. Getting what one can from a drawing on a vase is problematic, as is drawing conclusions from a couple of lines or poetry or from a play, and, although, say, the remains of a ship shed might exist, that doesn't tell you how to rig the ship that was stored there. Some of the problem is not even knowing what we don't know. I recall an anecdote about Olympias. When they started testing her, they found they were constantly breaking the ropes that attached the oars to the thole pins. Certainly, these things would break, but they were breaking all the time. Someone associated with the vessel was talking to a local Greek fisherman who showed them a knot that everyone, apparently, knew ... except the British guys who built Olympias. They tried the knot. Problem solved. Now, is that the same knot that was used 2,400 years ago? Who knows? Nobody knows. But that knot is certainly better than the one the British guys were using, so it's got to be closer to the original than theirs. The things you learn when you try things... Dan
-
I came upon a First Edition of Charles Davis' The Built-Up Ship Model a while back. It's a cool book, but I wonder how useful it is now. The book was originally published in 1933. I love reading old model building books just to see how people built ship models before most people had a lot of power tools, computers, digital research capabilities and all the modern stuff like photoetch and really great fittings. So, if a guy wanted to build the Lexington, would Davis' methods be worth pursuing? Or has the Swan-class books completely replaced this old book? Dan
-
The NRG kit does use spiling techniques. As Toni Levine has said about spiling, it's "the only right way to plank a hull." It's challenging and I built the half hull fully three times before I got it right. As Trevor noted, there are multiple planking techniques and I read them all as I did the NRG project. In the end, I used a hybrid technique that worked for me. The big lessons I learned were 1) spend a lot of time, more than you think you need to, fairing the hull. Any imperfection there will show up in the final project. 2) Lay out the three belts of planking and the individual spacing on each frame carefully once the fairing is done and then -- and this was a big thing for me -- BELIEVE YOUR OWN WORK. I would be going along, planking stuff and thinking, "that looks a little high" or "that looks a little low" and then making a decision on the fly that differed from the lines I'd laid out. Every time, my layout work was right and the spot decision was wrong and I needed to re-do work. Finally, 3) in the immortal words of Billy Crystal, "it is better to look good than to feel good." Every time you lay out a plank, make sure it looks good. It's one thing to be mathematically perfect, but the flow of the plank needs to look right. Once you're happy, move along, but not before. Dan
-
A friend of mine at work did a similar thing. She just used her phone to take an image of a page and then Google Translate would translate it into English. It wasn't perfect, but it was good enough. I had to return the book quite a while ago, but I'm thinking it might be worthwhile to request it again and do this. I very much would like to develop some plans for this model. And I would like to read the rest of the book. It's going to be, as you say, a lot of work, but the journey of a thousand miles starts with the first step. If I don't start, I'll never finish. I have two other projects in the queue right now. I'm building the NRG's Masting and Rigging kit -- which is great, but definitely not a "weekend build" -- and then I have a ship-in-a-bottle I'd like to finish off. I started it, but put it aside for the Masting and Rigging project. I don't know if I have the time to do two projects at once right now. Dan
-
Can't speak authoritatively on the reason for the bulwark height, but there's probably a good bit of psychological value in being able to get down behind something, regardless of its actual ability to provide protection. As you say, it was the chain armor that made the difference when Kearsarge battled Alabama. Dan
-
Quick update on what has kind of turned into a project. (I was just interested in this before, but now things are moving along.) First, Interlibrary Loan was able to get me a copy of the Roland Bockius book. Wow. Just ... wow. Thanks for that recommendation! It is incredibly detailed (and in German, which means I can't read it) and it includes seven sheets of plans. I took those over to my local copy shop and made myself a set of plans. (By the way, I know the University of Chicago -- which is very close to me -- has a copy, but the copy I got was from Emory University, which is in Atlanta, GA, quite a long way from me. Hard to understand how these things work, but just glad it did.) And, second, I heard back from EGEA about the model. The price is 96.99 Euros (the kit plus shipping from Germany to the US) which is $104 today, not unreasonable at all. Since they don't seem to take any kind of electronic transfer like Zelle or PayPal or Venmo, I'll have to find some other way to do it, but that shouldn't be too hard to do.
-
Thank you so much for that reference from the University of Chicago! The university is easy to get to from where I live. (It's near the Museum of Science and Industry too, where you can see the U-505. I never miss an opportunity to do that.) I'll see if I can get it through inter-library loan. My local library is great about getting books like that and, if there are plans for the boats, that might be all I need. And getting the kit to use the parts are templates is also a good idea. The kit is at 1:20 scale, which makes a model about 30 inches long. That's a big model. I think I would prefer one at something like 1:48, so plans are the way to go and templates would be useful too because they could be scaled and reproduced. Thanks to everyone for responding! I did a presentation at my local ship model club last week about these boats, their use and the Danubian Limes they protected. I've attached a copy for anyone interested. Dan Roman Boats on the Danube.pdf
-
Thanks! I sent an email off to Herr Doktor Dreyer and he answered me. They only sell the kit, not the plans. He didn't give me any details. I suspect you're right and the kit is very basic. I might still order one to see what shows up. I'd really rather have a good set of plans because I would never build such a model from plywood. Dan
-
This might be a long shot, but has anyone bought this model of the Fridericiana Alexandrina Navis, a reconstructed 1st century Roman boat used on the Danube River? The Friedrich-Alexander-Universität Erlangen-Nürnberg built and sailed this boat in 2016 and they now sell a kit of it: Kit - Roman boat of the FAU Erlangen-Nürnberg (fau-shop.de) I'd prefer to just get the plans and any other documentation that comes with the kit as the kit materials appear to be plywood and I wouldn't build a model from that. Just thought I would check here to see if anyone's got any experience with this. The subject is very interesting! Dan
-
To quote Zulu... Hook - "A spot of medicinal brandy would set me up, sir." Reynolds - "Brandy! Brandy is for heroes, Mr. Hook!" Dan
-
Interesting subject, I must say. I saw the James Caird in Sydney many years ago where it was on loan from England. It would make an interesting model. Too bad it's this company making the kit. Dan
-
Re: " Anyone else have hairspray in their toolbox?" I use hairspray on rope coils to make them lay like I want them and stay that way. Works great. Could I ask what kind of putty you use for the sea? How do you keep it from off-gassing and fogging up the inside of the bottle? Dan
About us
Modelshipworld - Advancing Ship Modeling through Research
SSL Secured
Your security is important for us so this Website is SSL-Secured
NRG Mailing Address
Nautical Research Guild
237 South Lincoln Street
Westmont IL, 60559-1917
Model Ship World ® and the MSW logo are Registered Trademarks, and belong to the Nautical Research Guild (United States Patent and Trademark Office: No. 6,929,264 & No. 6,929,274, registered Dec. 20, 2022)
Helpful Links
About the NRG
If you enjoy building ship models that are historically accurate as well as beautiful, then The Nautical Research Guild (NRG) is just right for you.
The Guild is a non-profit educational organization whose mission is to “Advance Ship Modeling Through Research”. We provide support to our members in their efforts to raise the quality of their model ships.
The Nautical Research Guild has published our world-renowned quarterly magazine, The Nautical Research Journal, since 1955. The pages of the Journal are full of articles by accomplished ship modelers who show you how they create those exquisite details on their models, and by maritime historians who show you the correct details to build. The Journal is available in both print and digital editions. Go to the NRG web site (www.thenrg.org) to download a complimentary digital copy of the Journal. The NRG also publishes plan sets, books and compilations of back issues of the Journal and the former Ships in Scale and Model Ship Builder magazines.


