HOLIDAY DONATION DRIVE - SUPPORT MSW - DO YOUR PART TO KEEP THIS GREAT FORUM GOING! (Only 24 donations so far out of 49,000 members - C'mon guys!)
×


schiffebastler
-
Posts
322 -
Joined
-
Last visited
Content Type
Profiles
Forums
Gallery
Events
Everything posted by schiffebastler
-
 Thank you very much for your interest in my build log, mathewp and gjdale! Greetings to Australia, Joachim
 -
Thank you very much, Dimitris ! Bye Joachim
-
Thank you all very much for your kind words and notifications ! Regards, Joachim
-
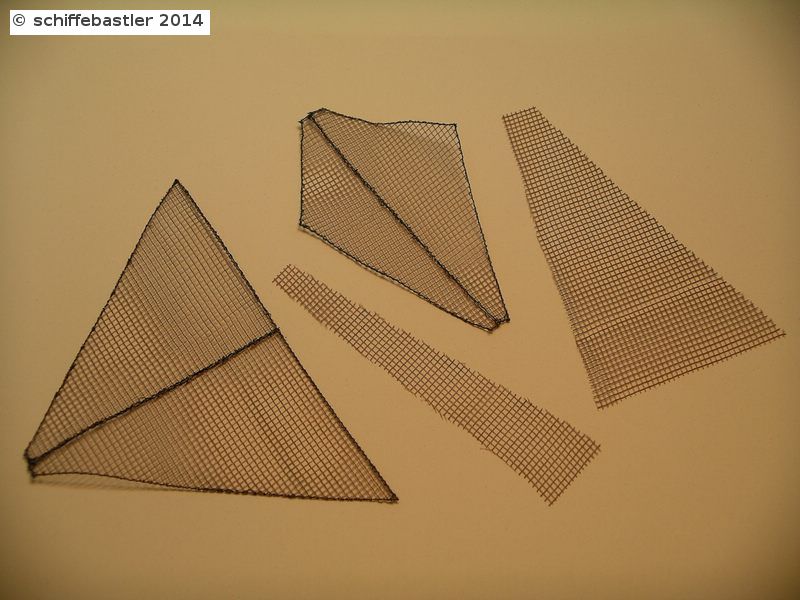
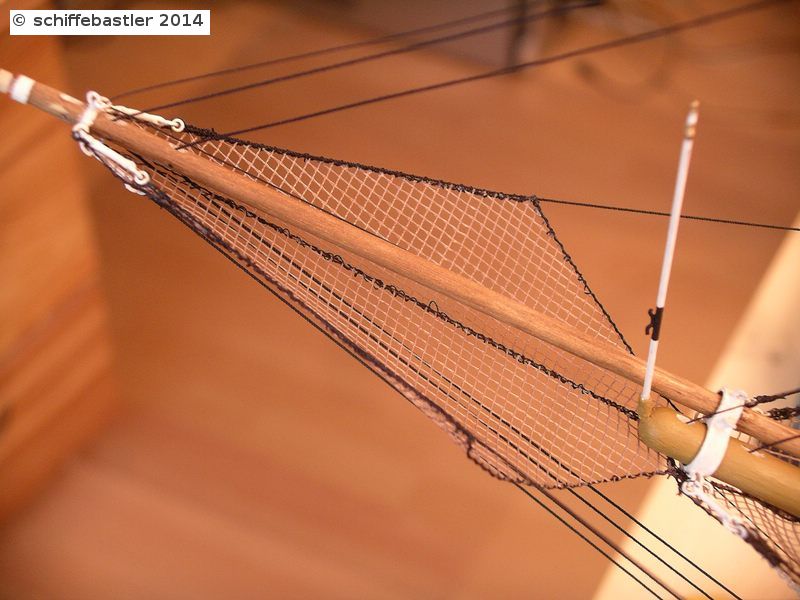
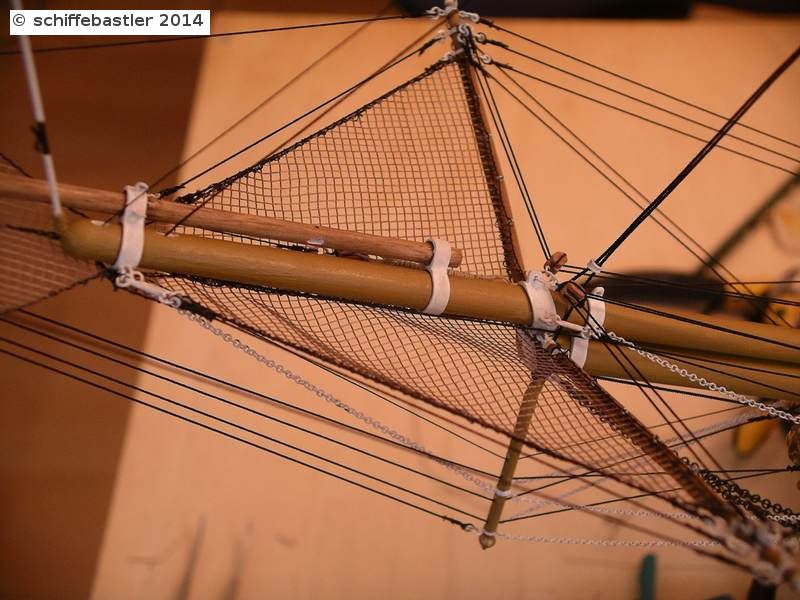
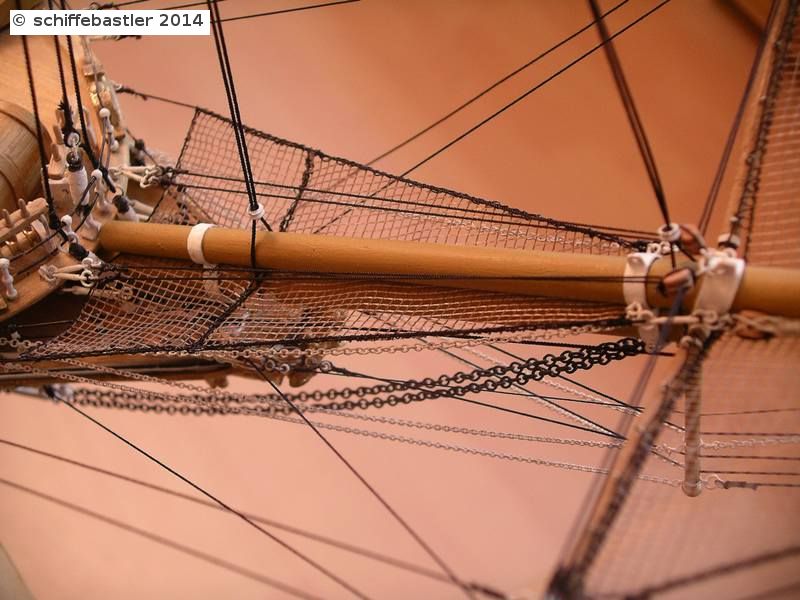
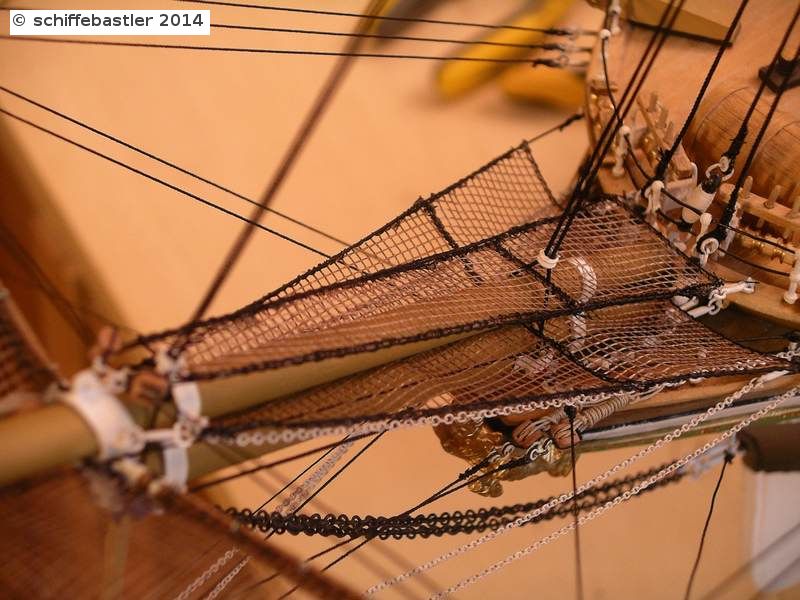
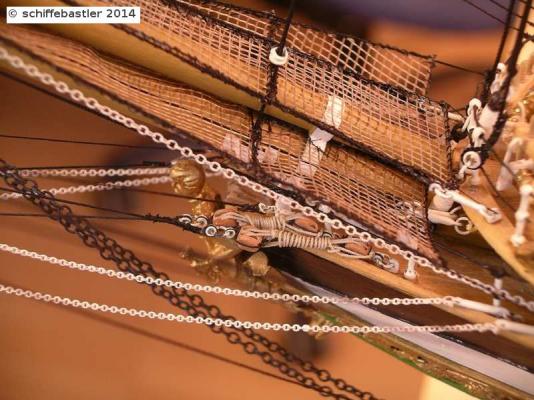
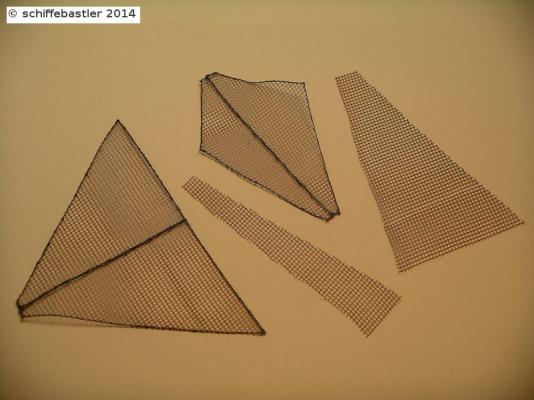
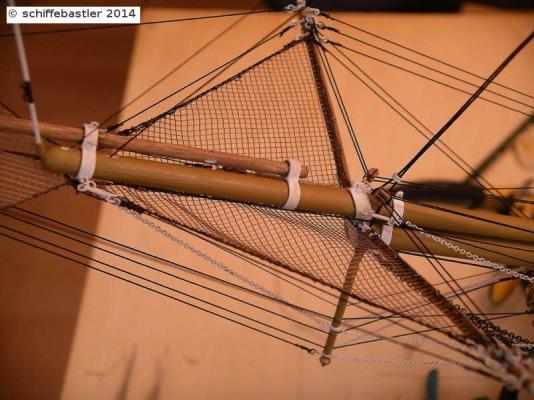
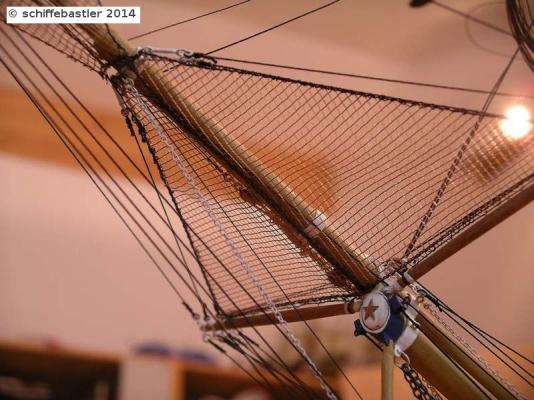
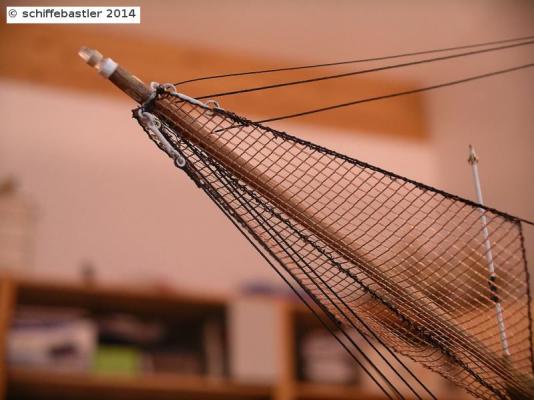
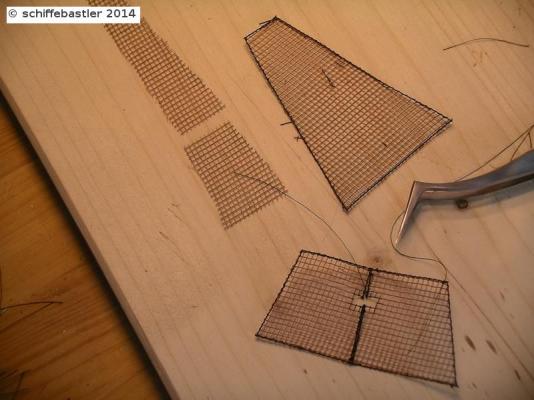
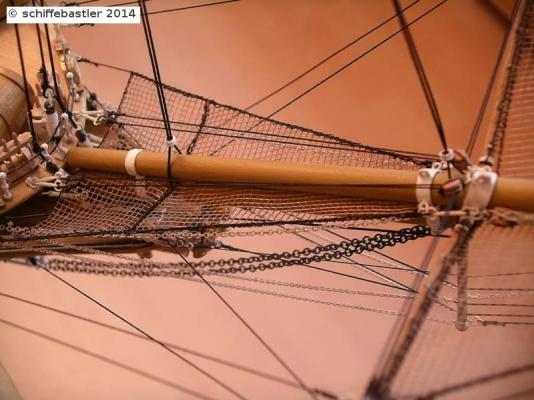
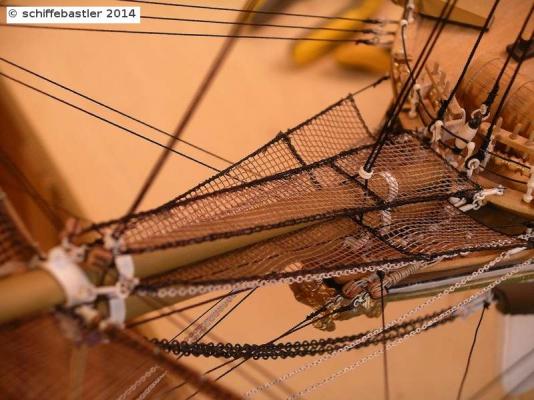
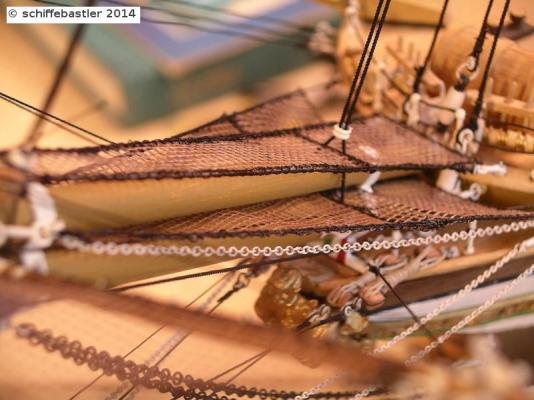
Hello, with this update, the bowsprit part is finished. All the nets were missing up to now. Due to the fact, that every net has to be fixed or removed without touching the rigg, all the nets are devided into different parts and bind together. So, all nets are going to the stays, ropes or chaines. All nets are comprised by ropes and these ropes are bind to the standing rigging. The outermost nets are split in the middle, so the stays can be lead through. The net close to the ship is somewhat more complex, between the different parts of the net then comes the holder of the bowsprit, ropes and chains. Above the large net is another one, slightly narrower, two-part net is attached. Now some pictures... Bye Joachim

-
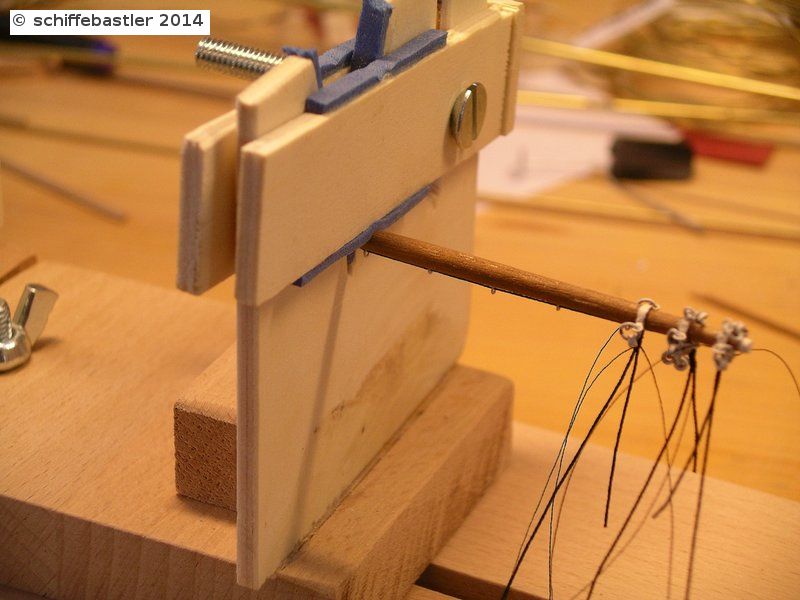
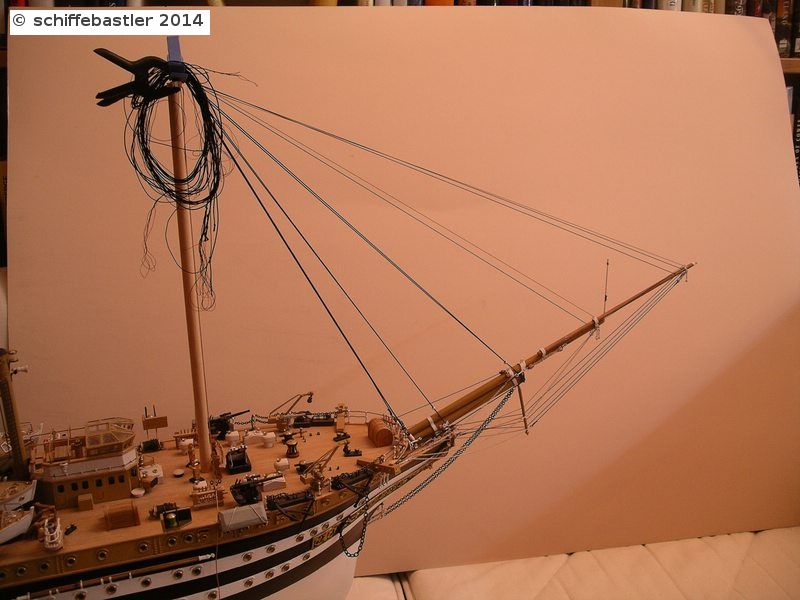
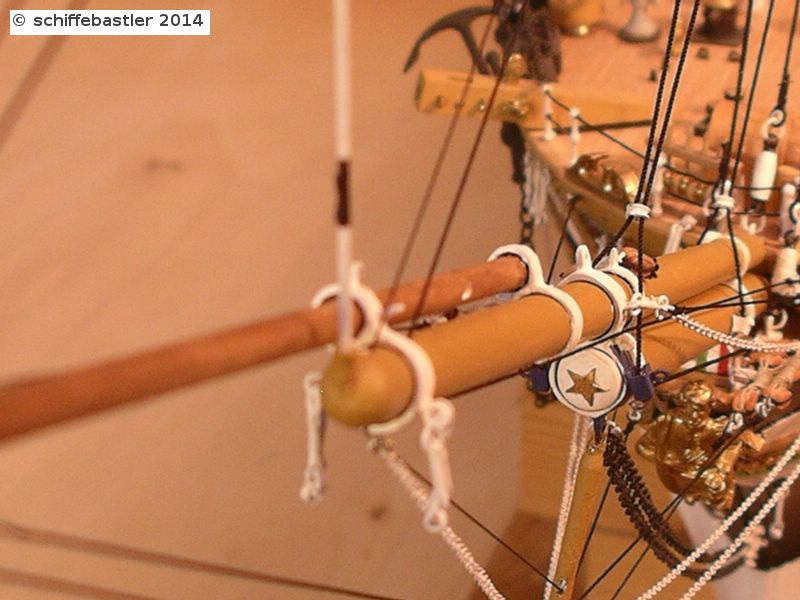
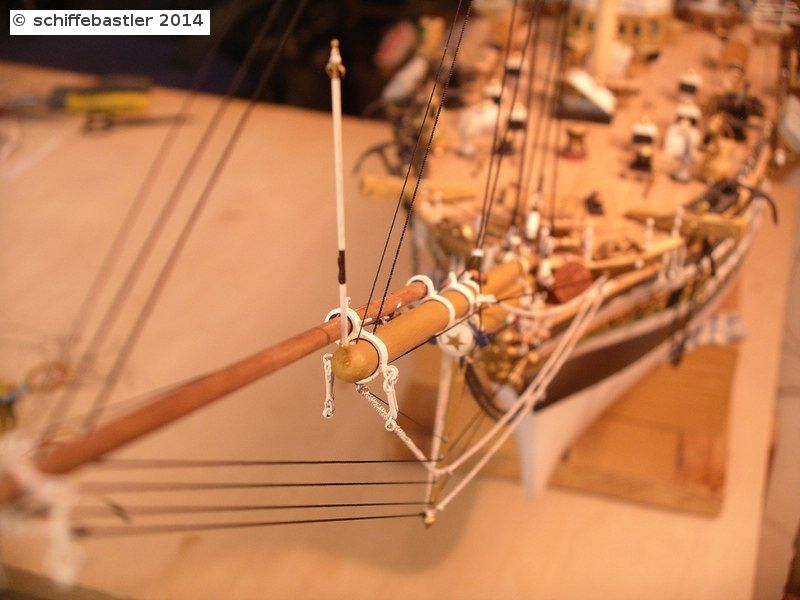
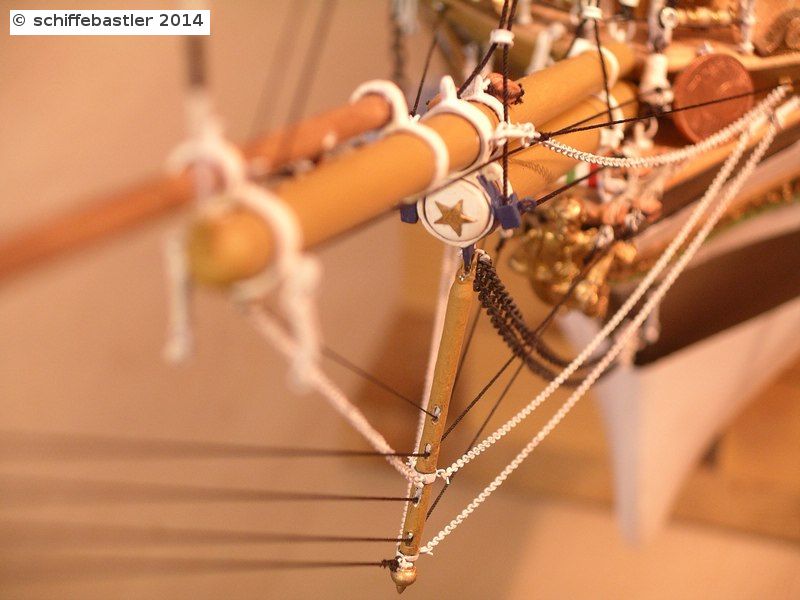
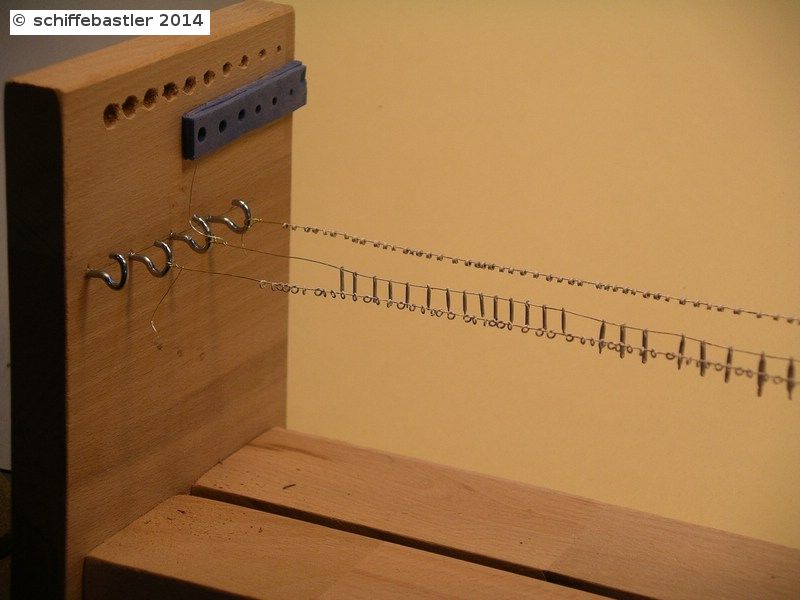
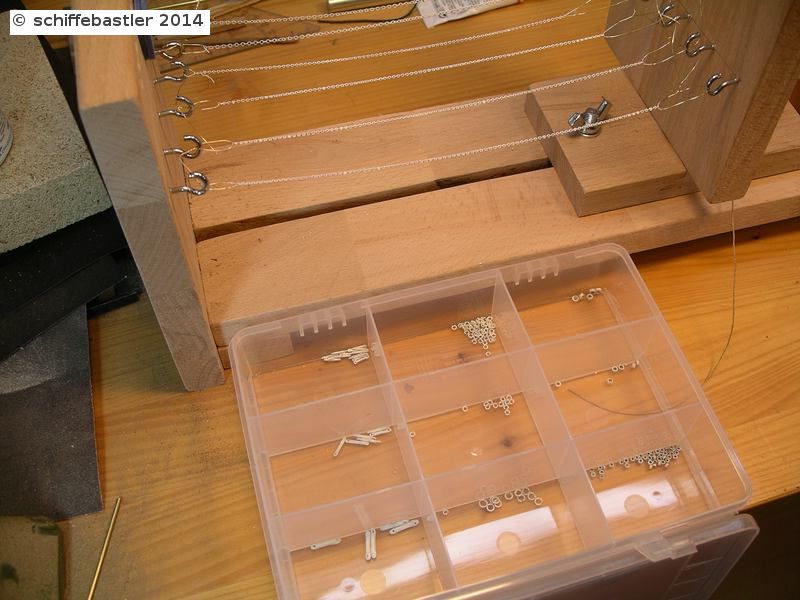
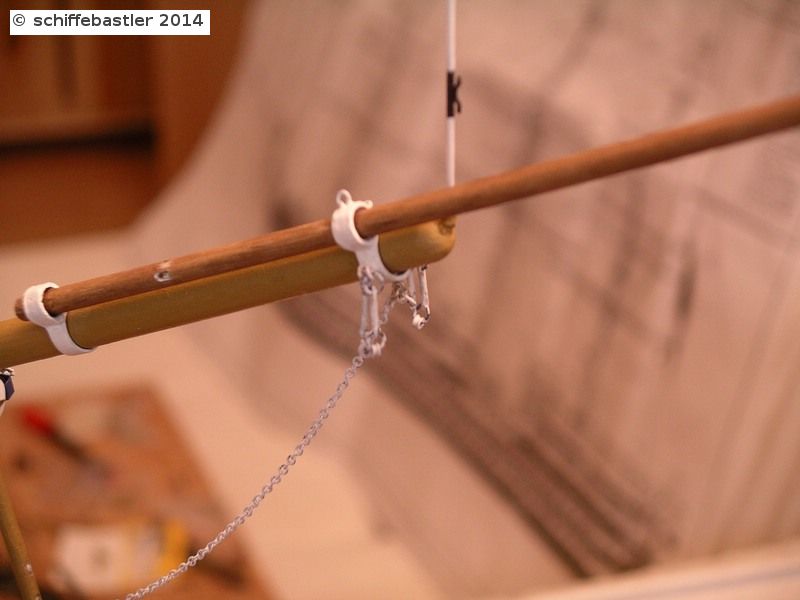
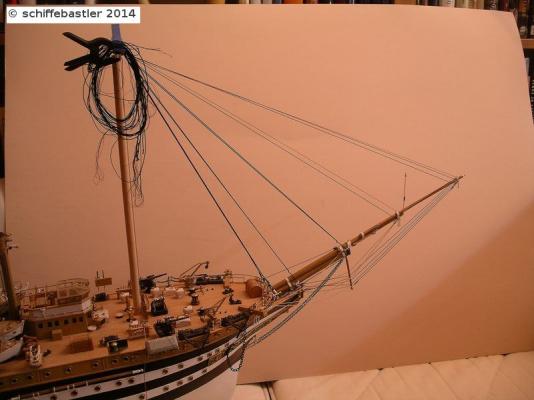
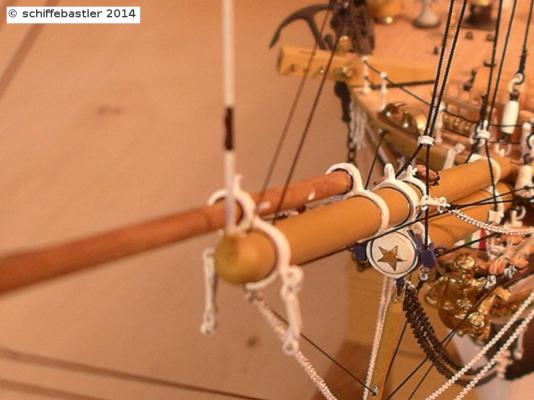
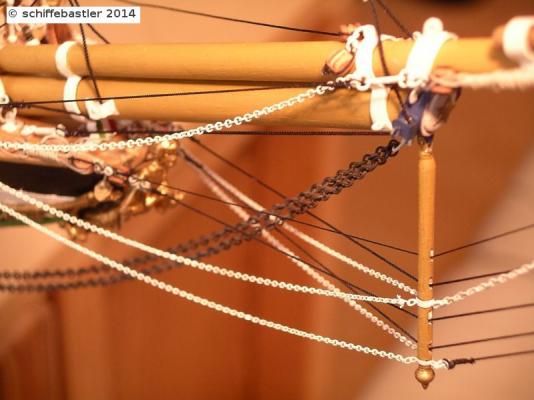
Hello everybody, after the last time the vertical ropes and chains on the bowsprit were my turn, now I concern on the horizontal parts. To better cope with the delicate parts I, as can be seen on the first image, clamped the boom in my Universal holder and all ropes fastened there for now. All horizontal leashes run in any case of this boom. Regards, Joachim


-
Hi Michael, just read through the whole posts concerning guns and carriages. They really look fantastic! During the last few weeks, unfortunately, I had to solve some problems at home ... but now I am back again to follow your great work on the Wasa. I like your choosen canons, they suit very well to the whole model. Even more I like your own carriages, and I wish you a lot of endurance for producing and adjusting all of them individually. Concerning the four low gun-ports, I think your proposal is the best possible compromise and I am sure, nobody will notice this small difference to the real ship unless you tell it. The only other way would be to leave them away. Looking forward to your next update. Regards, Joachim
-
Wow, your pulleys look really fantastic! It is a good idea, I will keep it in mind for my next project! Regards, Joachim
-
Dear Michael, thank you so much for your kind words! Regards, Joachim
-
Thank you very much Lars. You are right concerning the netting, I intend to install all the nets just after finishing the ropes on the bowsprit. Bye, Joachim
-
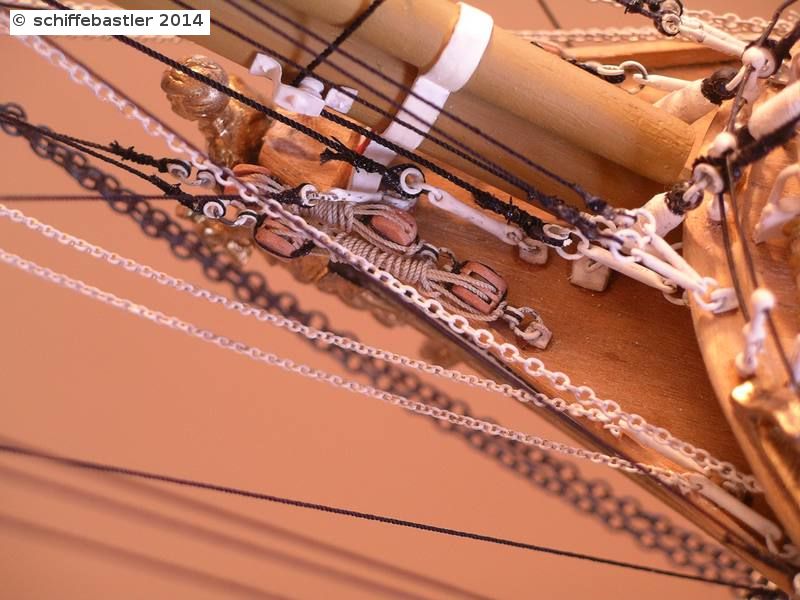
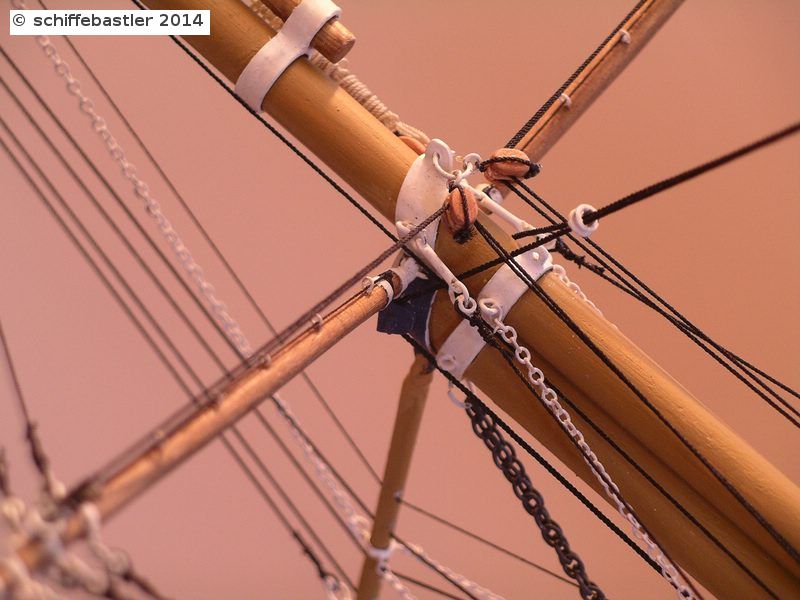
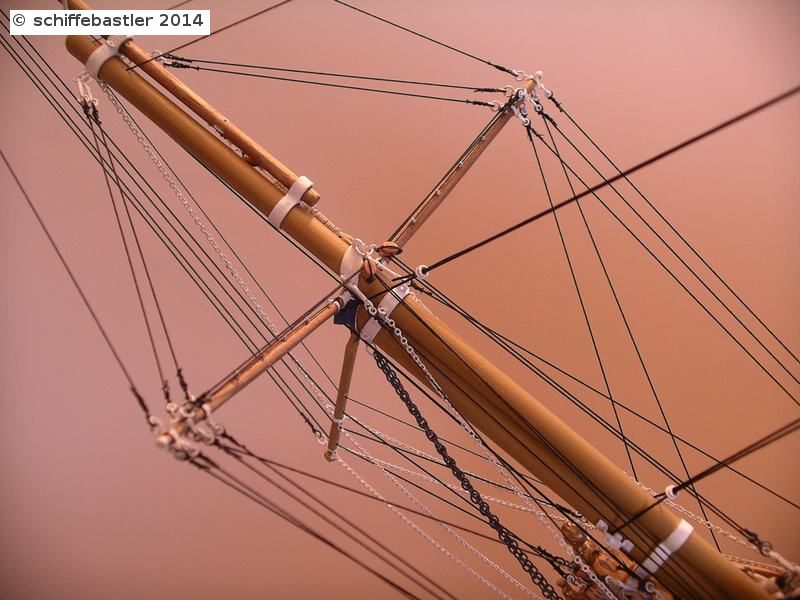
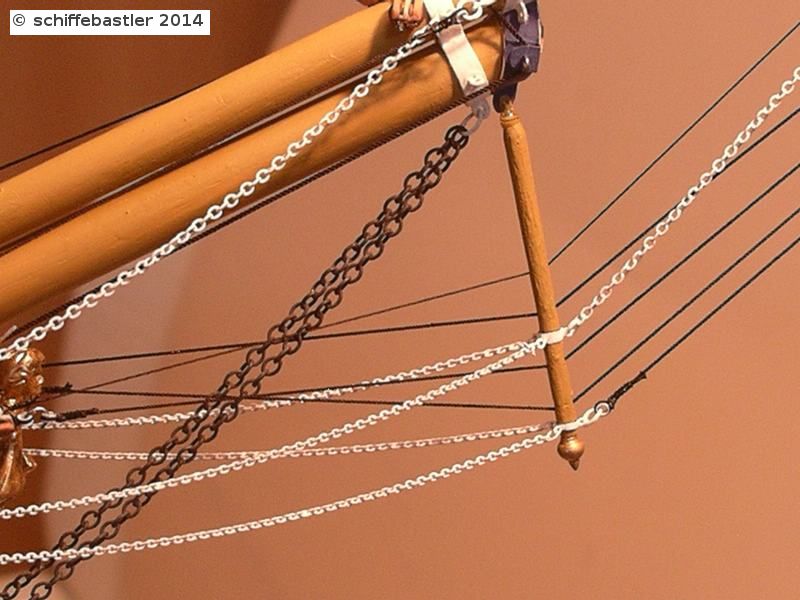
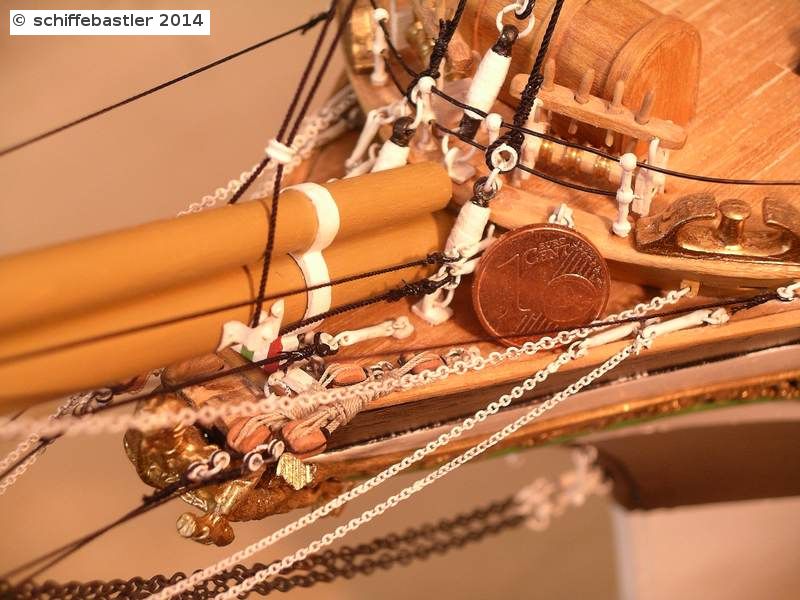
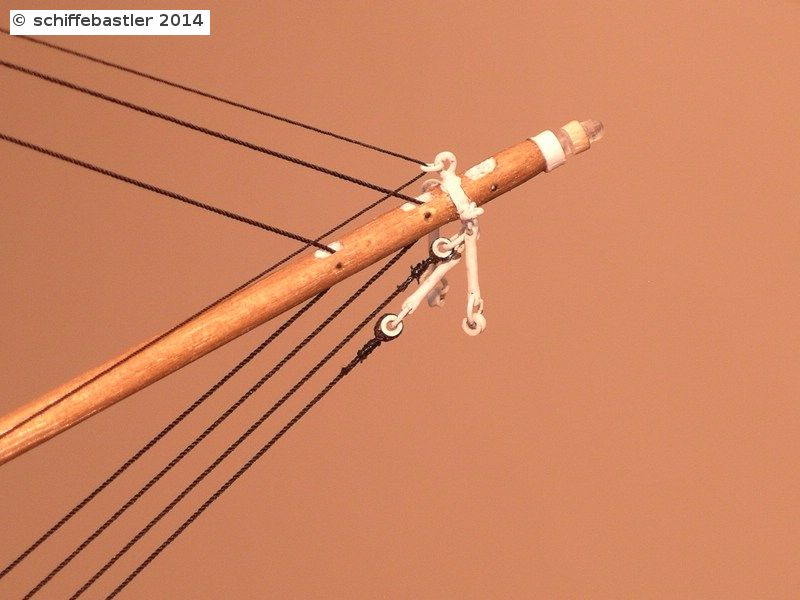
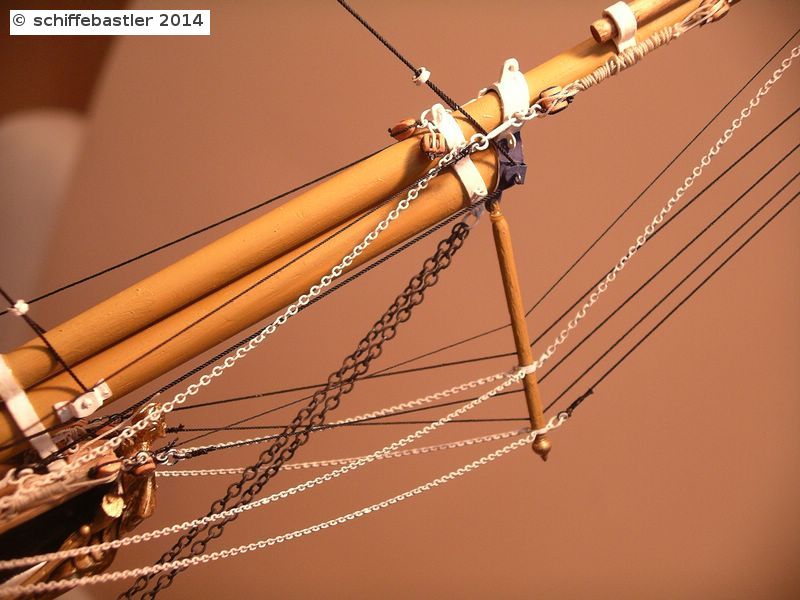
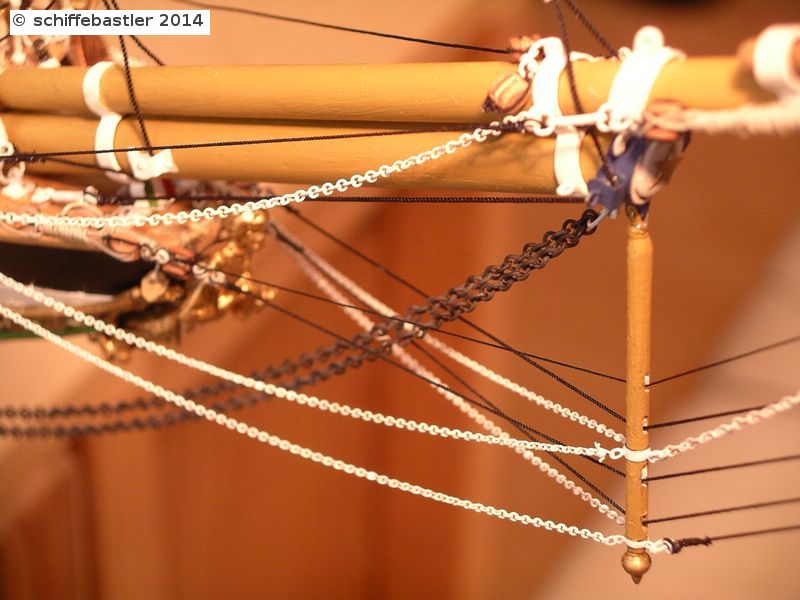
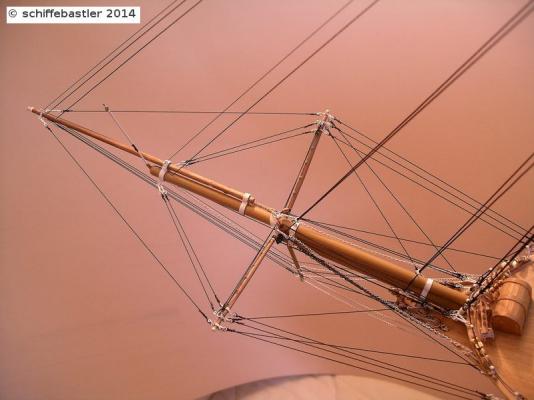
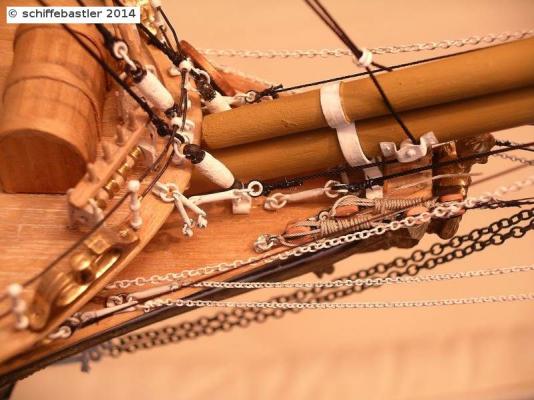
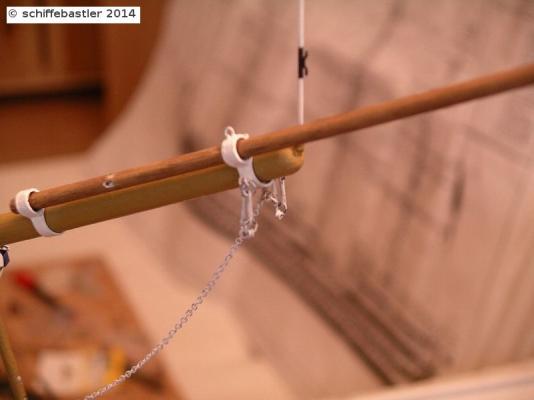
Hello, late in the evening an update of the Amerigo Vespucci. Now the first part of the chains and ropes of the bowsprit are ready. I used 6 different sizes of ropes, which all are made by myself, it is not possible to bye these different sizes. Each rope is fixed with thimbles and at one side of each rope and chain is always a clamping screw (within a casing). I build 4 different sizes of clamping screws, the biggest ones are wraped round with white textile. All stays are only fixed on a temporary mast until the final one is ready. Now some pictures.... Now, there are missing the two horizontal booms with all their ropes. So far, Joachim


-
Hi Lars, you are right, it is much more difficult to find Informations about rigging of those ships. Beside of all the pictures, for me it was helpful to use those books: - Masting and Rigging the Clipper Ship and Ocean Carrier, Harold A. Underhill - Schiffsmodellbau , Orazio Curti Bye, Joachim
-
Very good, I like it! Concerning the rope "t", the letter means nothing special. I simply had to name the ropes, with short names, and so I gave them single letters. So long, Joachim
-
Thanks Lars, I have already downloaded this video, really amazing. But we should keep in mind, he made this model in 1:50, in this scale it is much easier - nevertheless, wonderful. Bye Joachim
-
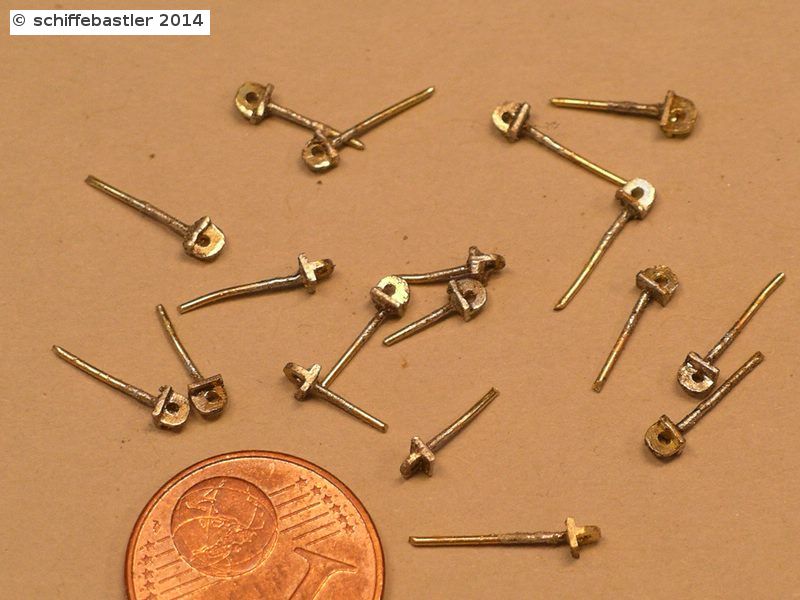
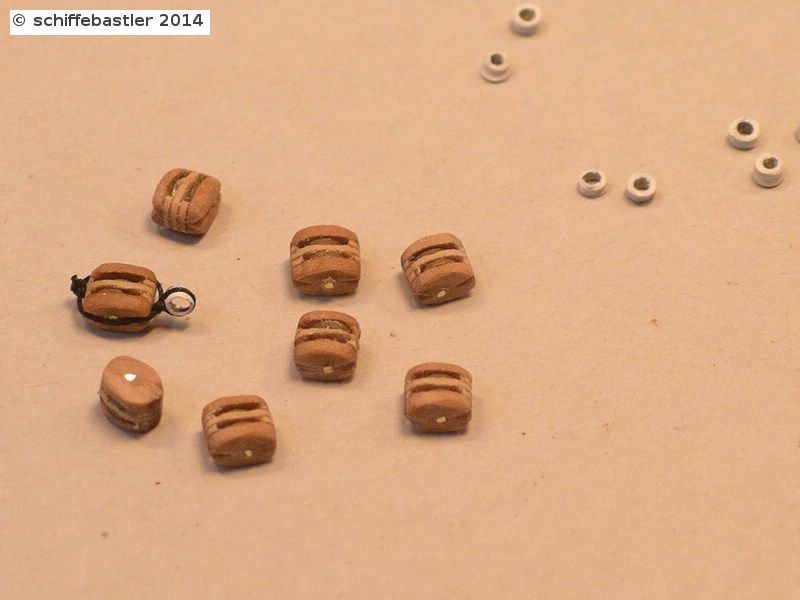
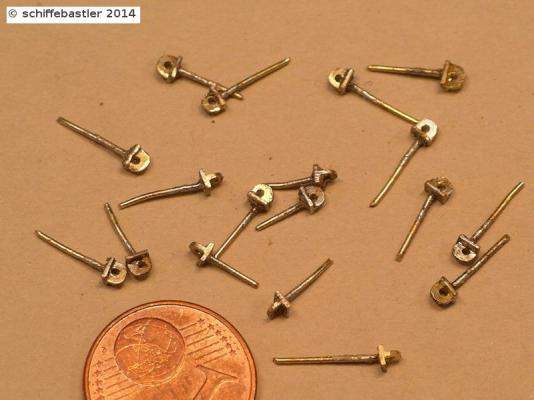
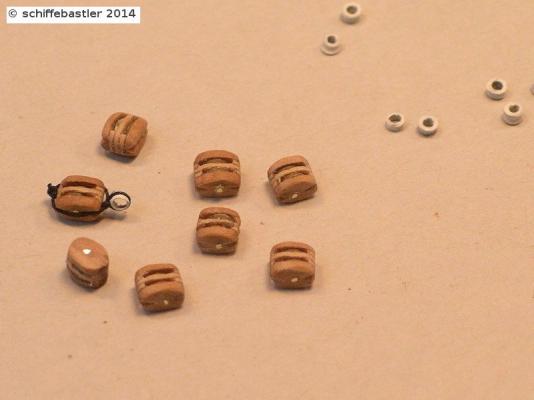
Hello everybody, now some small parts in-between. Actually I am producing lots of small parts for the bowsprit, some blocks, some hundreds of rings and thimbles, lots of tensioner (each rope is fixed with a tensioner at one side), some chains, and other things. Of course lot of parts had to be soldered and painted, ... Now the rest of the parts have to be mounted, some parts have to be copied, they have been too few, ropes have to be produced, .... and afterwards all the chains and ropes have to be mounted. So long, Joachim


-
Hi Lars, I am very happy that I could help you a bit. Looks really good, well done !! Concerning the flagpole, I think also you should not ruin the wonderful part only for this. Maybe it would be enough to put the flagpole on top of the bowsprit, drill a small hole in it for the attachement. Anyway, it has no influence on this beautiful model. Later on I will send you a new pdf with the running rigg. Regards, Joachim
-
Thank you for this link. I'll try to find an online-store... Regards, Joachim
-
This looks really wonderful!! And I love your deadeyes, really well done. I have never seen a comparable product to J.B.Weld in Germany. It is really interesting. Regards, Joachim
-
Hi Lars, you have reached a wonderful step, congratulations! I hope you could understand my last mail concerning the details for the bowsprit... Regards, Joachim
-
Hi Michael, wonderful post, you have shown here since my last visit! Your Santa Maria is really a wonderful model and you can really be proud of it !! And your work with the deadeyes is fantastic! But the technical realisation I have not fully understood, what is the J.B.Weld product? How does it work, have you soldered the pieces? Regards, Joachim
-
Oh hi Fabius, nice to see you here again! Thanks for the clarification, I will remember. I think "Il " means "The"? Bye, Joachim
-
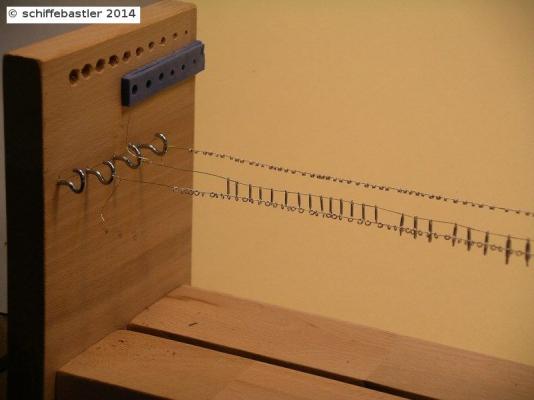
Thank you very much, Michael, for your kind words! The rope serving tool I tested now a few times and I think it will work also for those long ropes I need. After getting used to it, the results are quite good. Hopefully in a few weeks you will see the results. Regards, Joachim
-
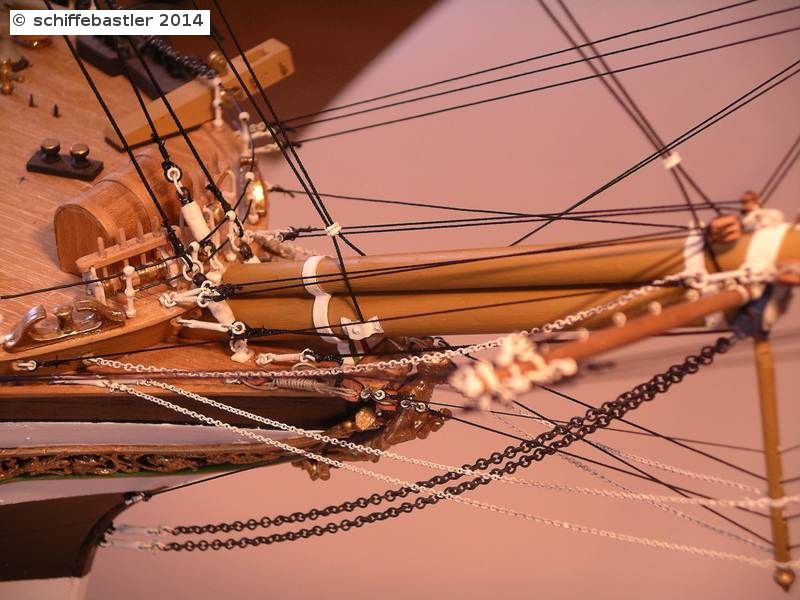
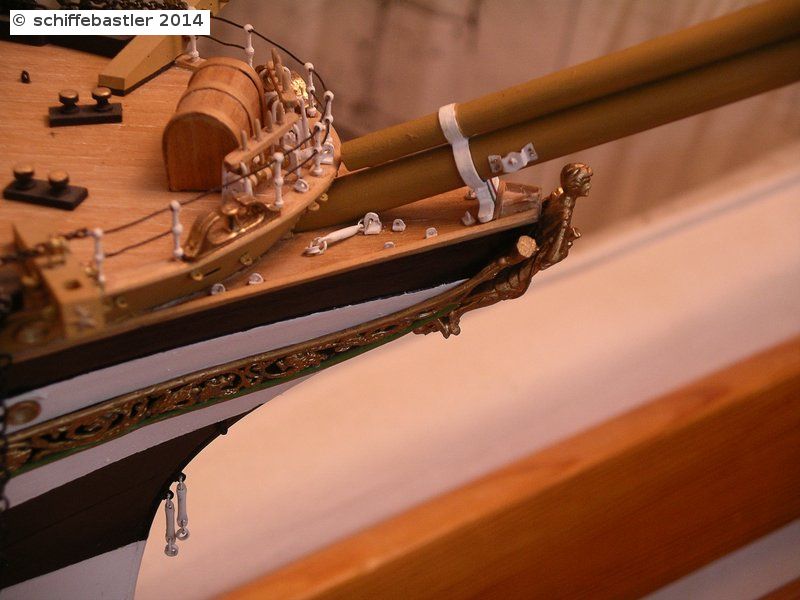
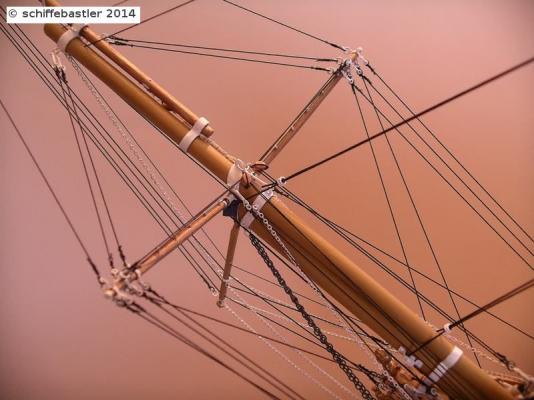
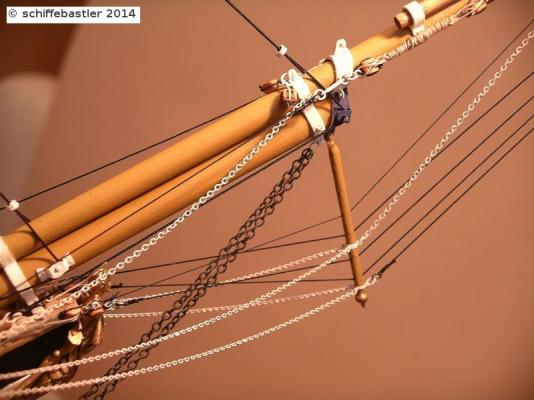
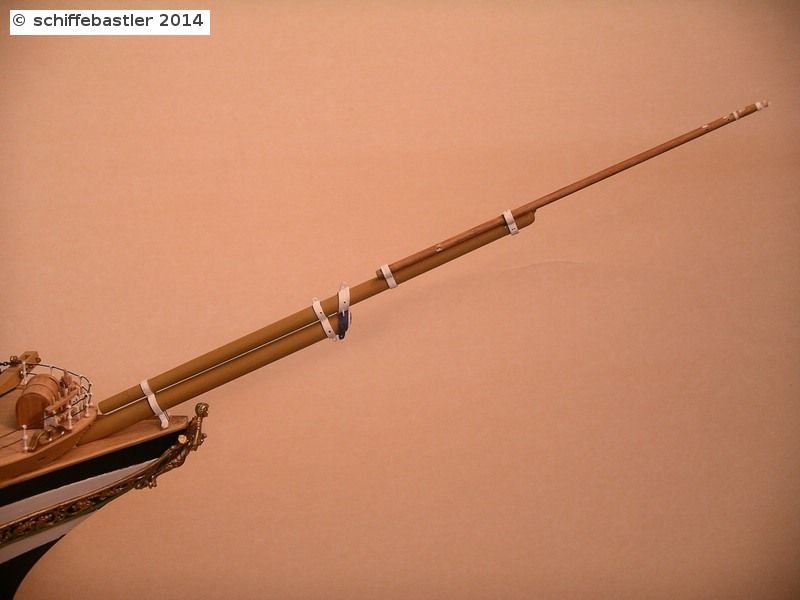
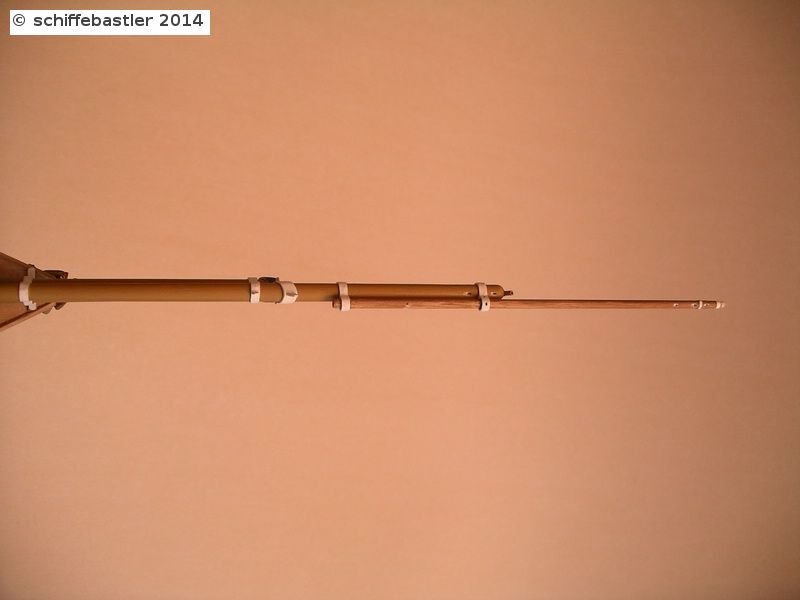
Now some pictures of the mounted parts of the bowsprit. You will see two special things. One ist, that the first two parts of the bowsprit is in the original Amerigo build from metal and painted. The third part is wood, and according to this I have build it. The second special thing ist, that the third part of the bowsprit is put with an angle to the other parts of the bowsprit. Now the Pictures Regards, Joachim


-
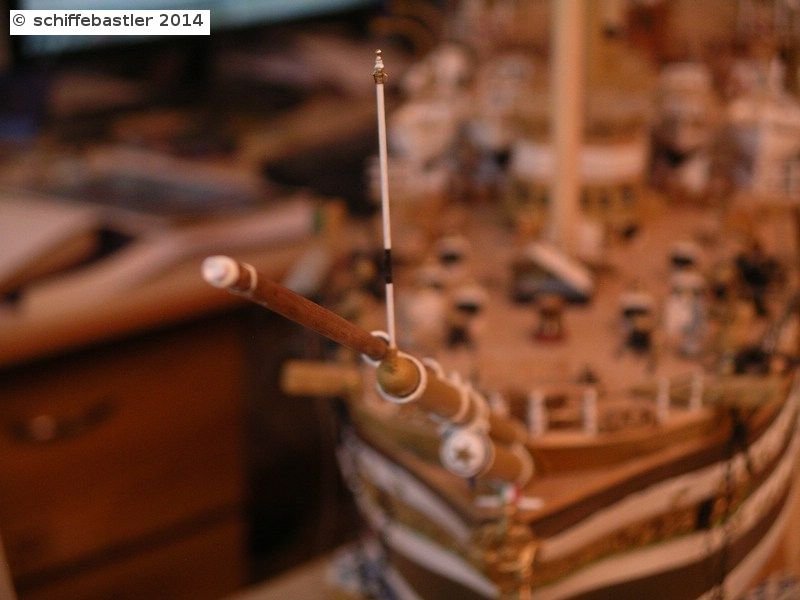
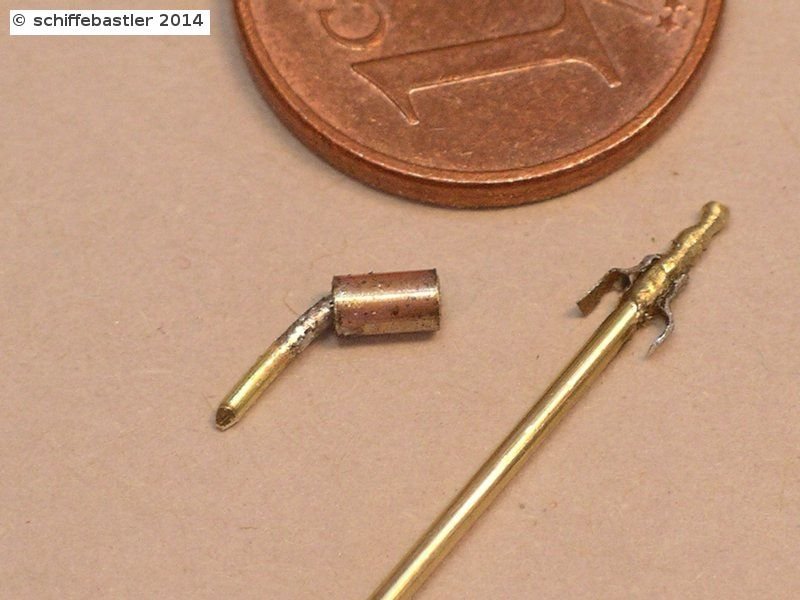
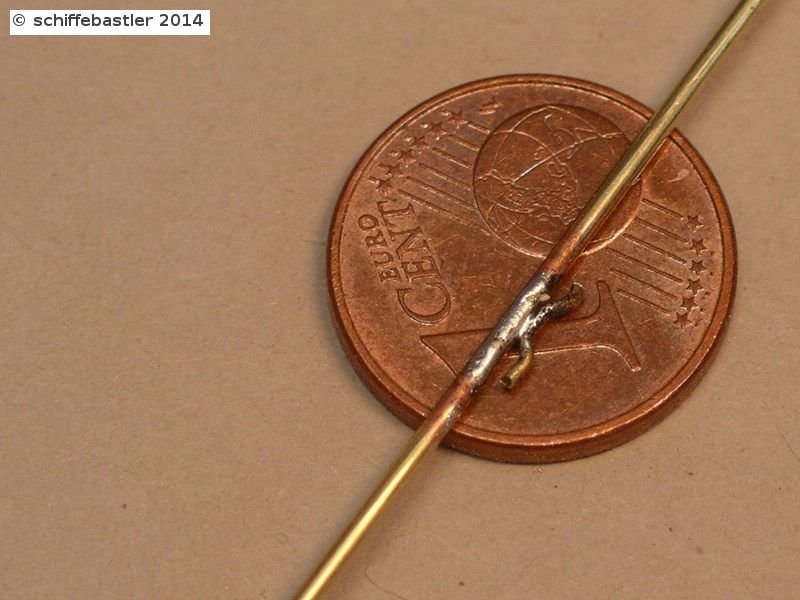
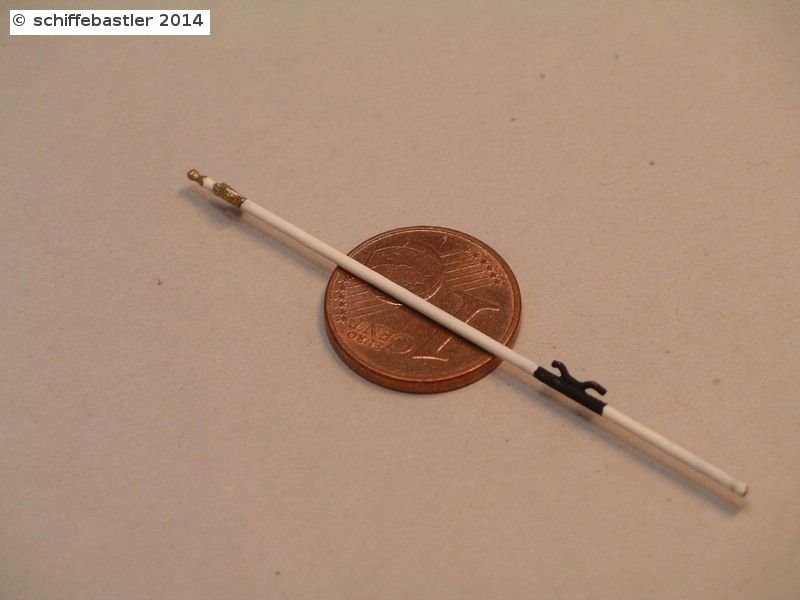
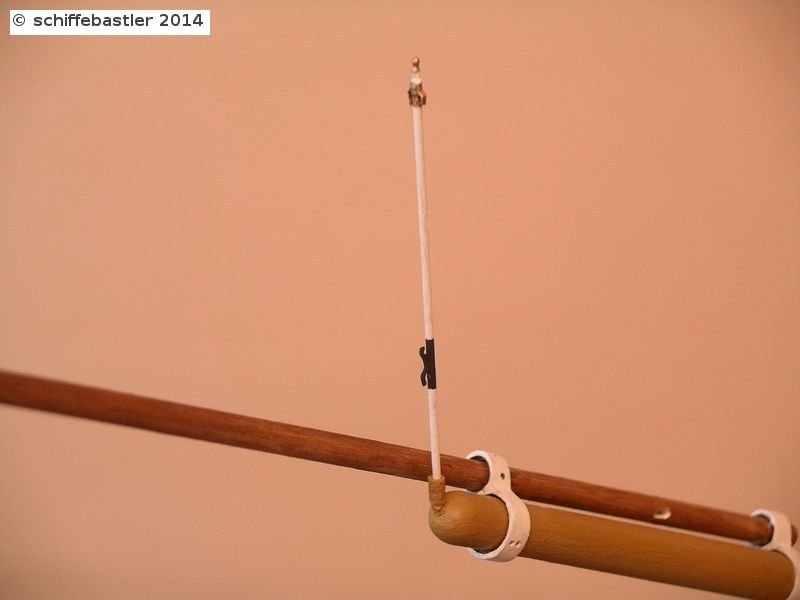
Hello, before assembling the bowsprit, I made the flagpole which will be fixed at the bowsprit. Through the head of the flagpole (1mm thick) I drilled a hole for the flagline and made a metal fitting on it. The head of the flagpole will get golden colour. At the lower part of the flagpole is soldered a cleat. This is the final, coloured flagline, put on the bowsprit. Regards, Joachim
-
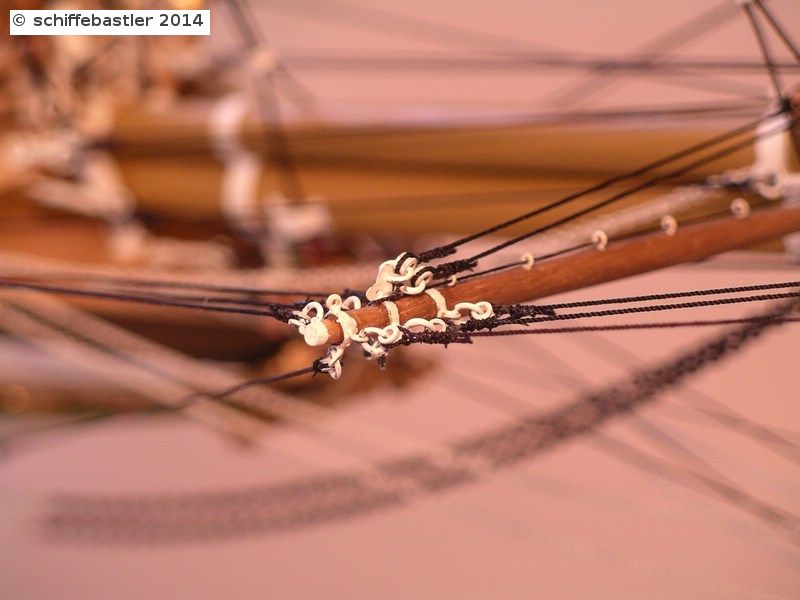
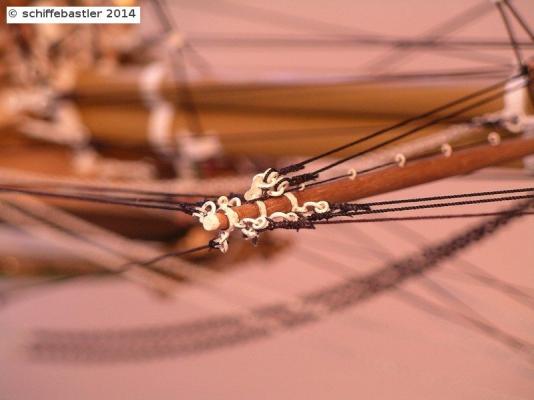
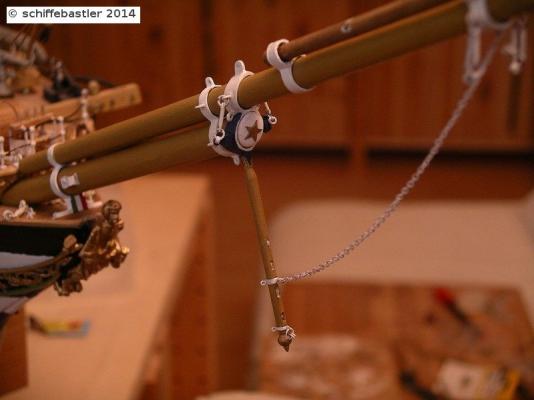
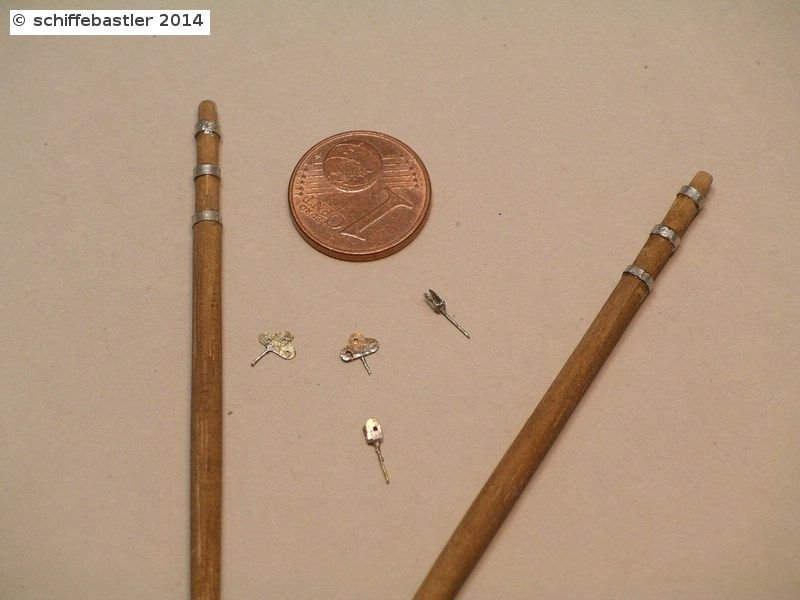
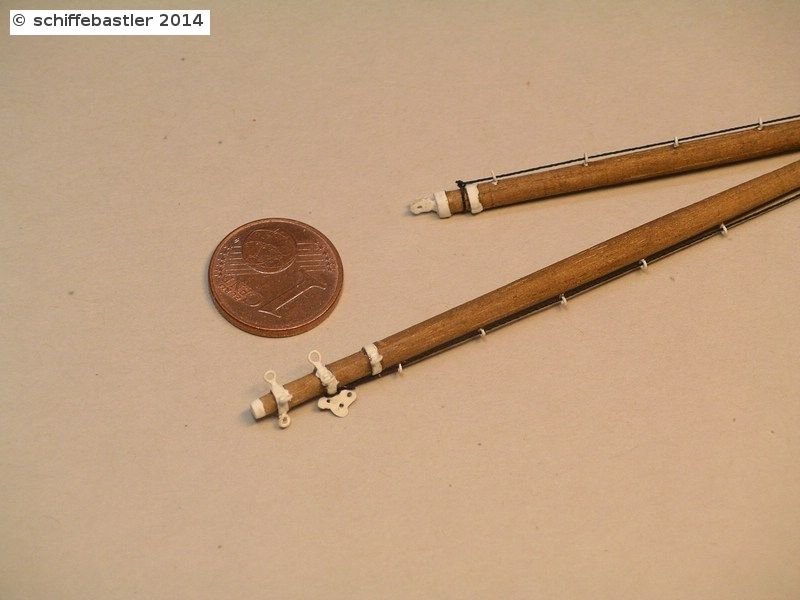
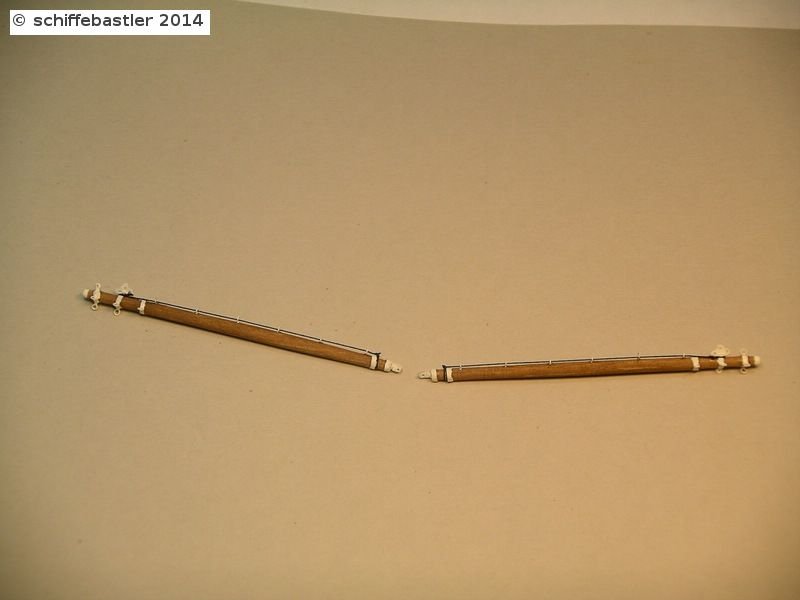
Hello everybody, it is going on with some parts of the bowsprit. The Amerigo has two spares which are fixed to the right and left of the martingale boom where some ropes are fixed. Unfortunately, I don't know how it is called. Some parts are soldered, which has been quite difficult because the metal sheet is only 0.1mm thick... but ofter some tryes, I succeeded. Along both spares there is fixed a rope. Later there will be fixed a net at those ropes. Regards, Joachim
-
Hi Lars, thank you very much for your interest. I'll try to proceed quickly with the next steps (hope I succeed ). Regards Joachim