HOLIDAY DONATION DRIVE - SUPPORT MSW - DO YOUR PART TO KEEP THIS GREAT FORUM GOING! (Only 24 donations so far out of 49,000 members - C'mon guys!)
×


Ensign
-
Posts
131 -
Joined
-
Last visited
Content Type
Profiles
Forums
Gallery
Events
Everything posted by Ensign
-
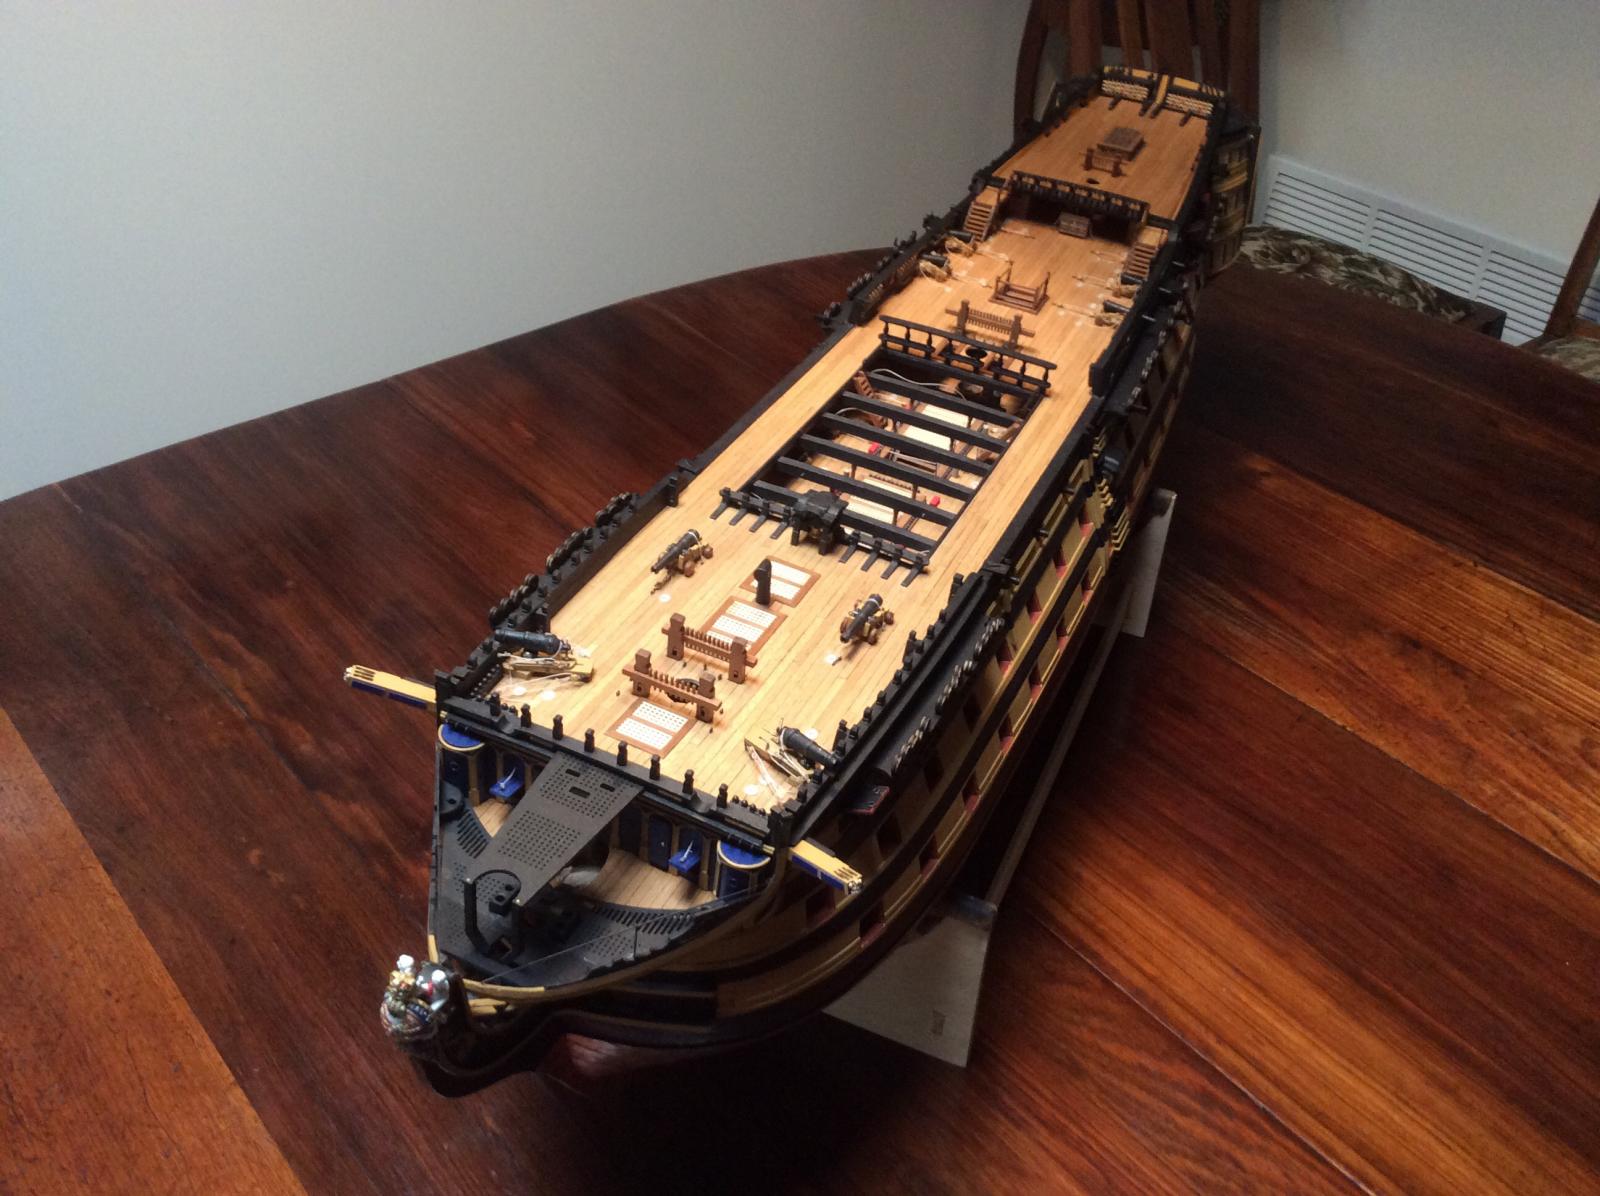
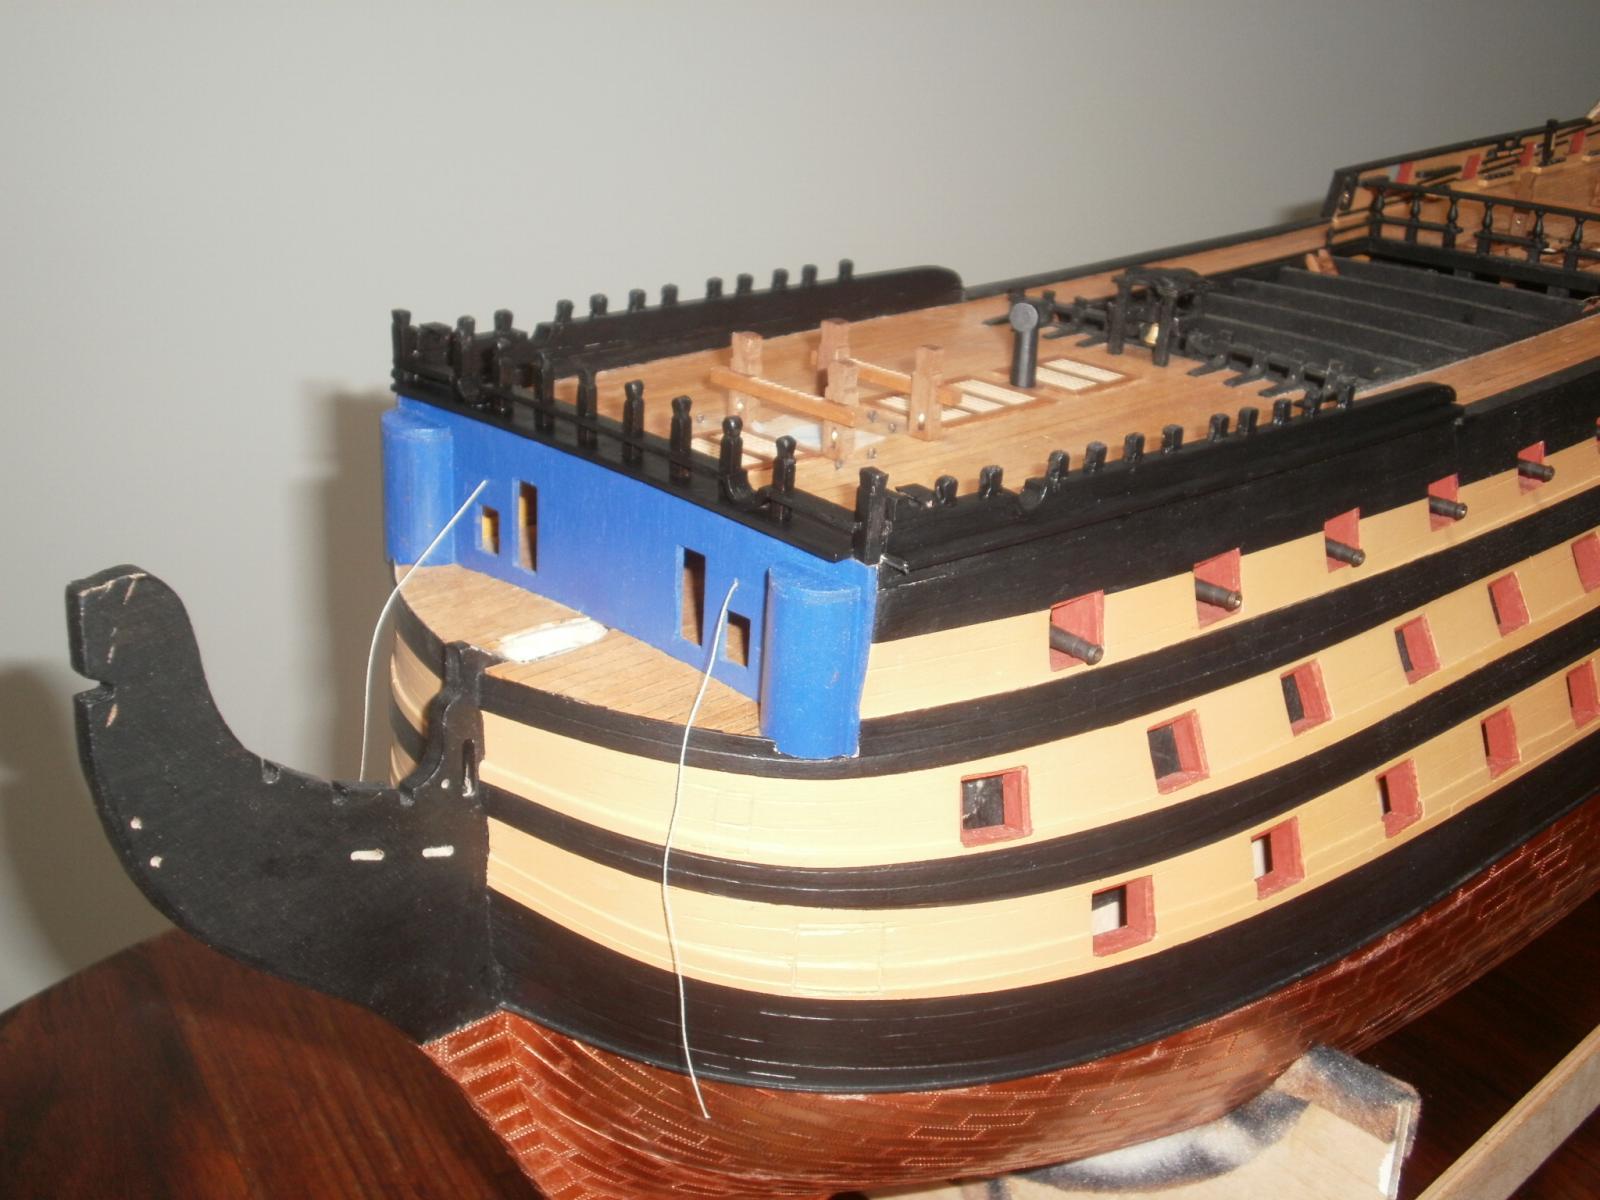
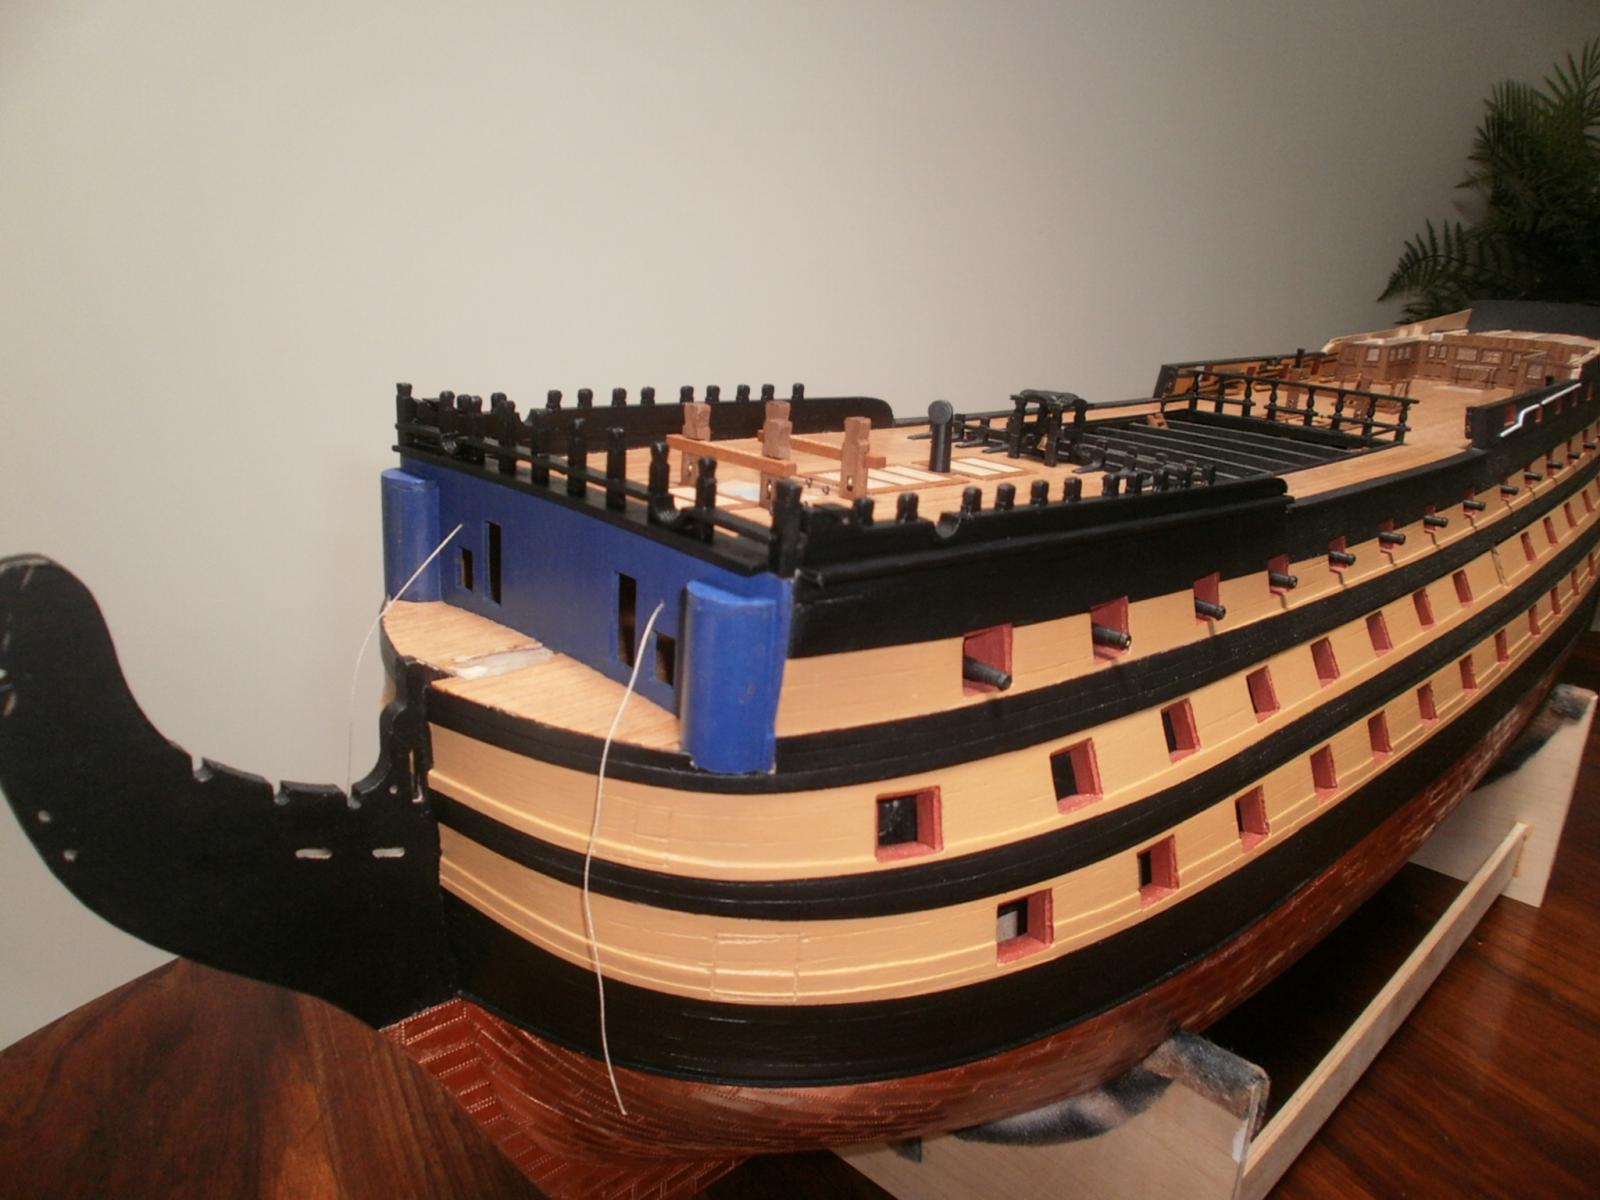
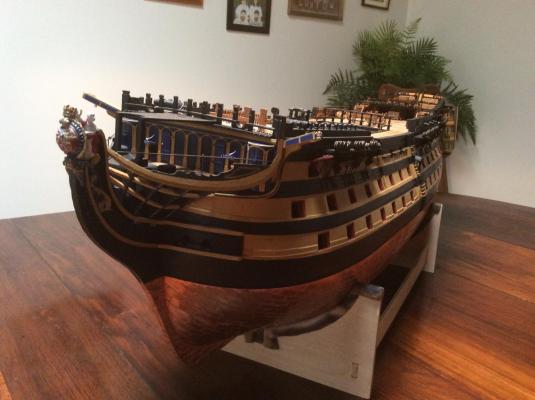
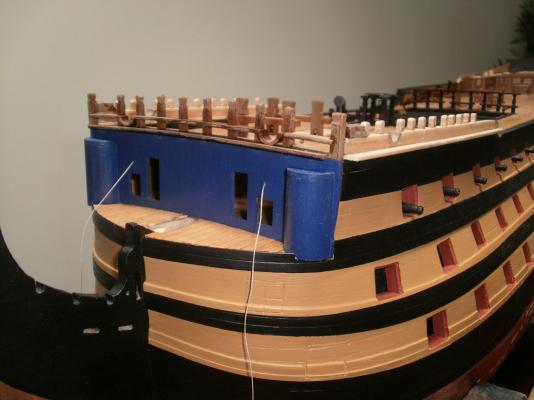
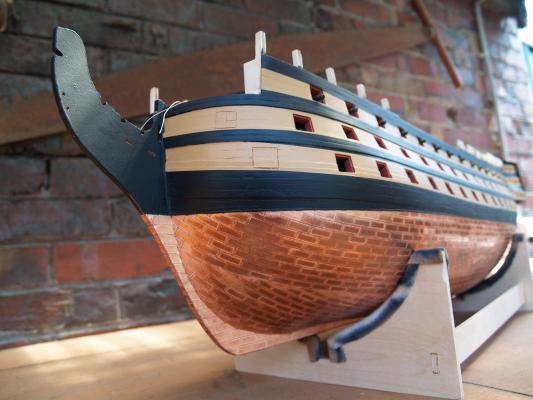
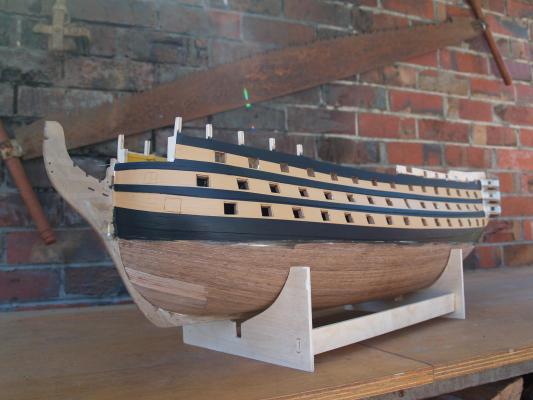
As I haven't posted any updates for awhile I thought it about time I did so, here is the current status. I am building Victory much as she has appeared in recent times as I prefer her without the foc'sle and poop barricades.


- 85 replies
-
- 11
-

-
- finished
- caldercraft
- (and 1 more)
-
Thanks Kevin. I must post some more photos of my progress soon, been a little remiss in that area, too busy on the build and with other things. Gary
- 1,319 replies
-
- 1
-
-
- caldercraft
- Victory
- (and 1 more)
-
Hello Kevin, Could you please tell me the spacing you have used for your deadeye rigging on the shrouds. If the plans show them too low I would like to know what yours is to get some idea of where they should be. Thanks Gary
-
Hello Ray, Your treatment of the ships boats is inspirational, I am keeping copies of each step of your log for when I start on Diana. Thank you for providing such detailed information on a very competent build. Regards Gary
- 536 replies
-
- 1
-
-
- diana
- caldercraft
- (and 1 more)
-
Peter, simple explanation, the photo 038 was taken on the port side while plan sheet 5 shows the starboard side. Regards Gary
-
Hello Rich, You are producing a fine looking model. I hope you don't mind if I comment on the rigged gun in your last post. You show the breech rope as running from the Bulwark through the ring on the cascabel and on to the other side, the rope should in fact run from the Bulwark pass through the eyelet in the side of the carriage then through the cascabel ring, it should also have more slack to allow the gun to recoil back after firing. Regards Gary
- 414 replies
-
- 1
-
-
- caldercraft
- victory
- (and 1 more)
-
Robert, you're being too hard on yourself. The copper plating is just fine, the Caldercraft plates aren't designed to overlap like the real ones did and in addition cutting and fitting together at the bow and stern as you have done is the only way. Gary
-
Robert The inner and outer Bulwarks should be adjusted as Shipyard Sid pointed out. After doing this I found further work was needed. My solution to the problem of centralizing the guns in the gun ports is as follows. Dry fit the wheels and gun barrels to the carriages after glueing in the stool bed, DO NOT glue on the Quoin (Chock) just sit it in position under a gun barrel, then test fit a gun to one of the ports and adjust the chock in or out until the gun is central. Do this in a number of the gunports until you are satisfied with the positioning, note the chock position on the stool bed and only then should the chocks be glued in place. Hope this helps Gary
-
Thank you very much David, encouraging words indeed. I am loving building Victory it is a challenging project especially because of the research needed to add extra details not included in the kit. I have now paid two visits to Victory over the years and hope to return again in the not too distant future. I also wish to visit Trincomalee in your neck of the woods. Best regards Gary
- 85 replies
-
- 1
-
-
- finished
- caldercraft
- (and 1 more)
-
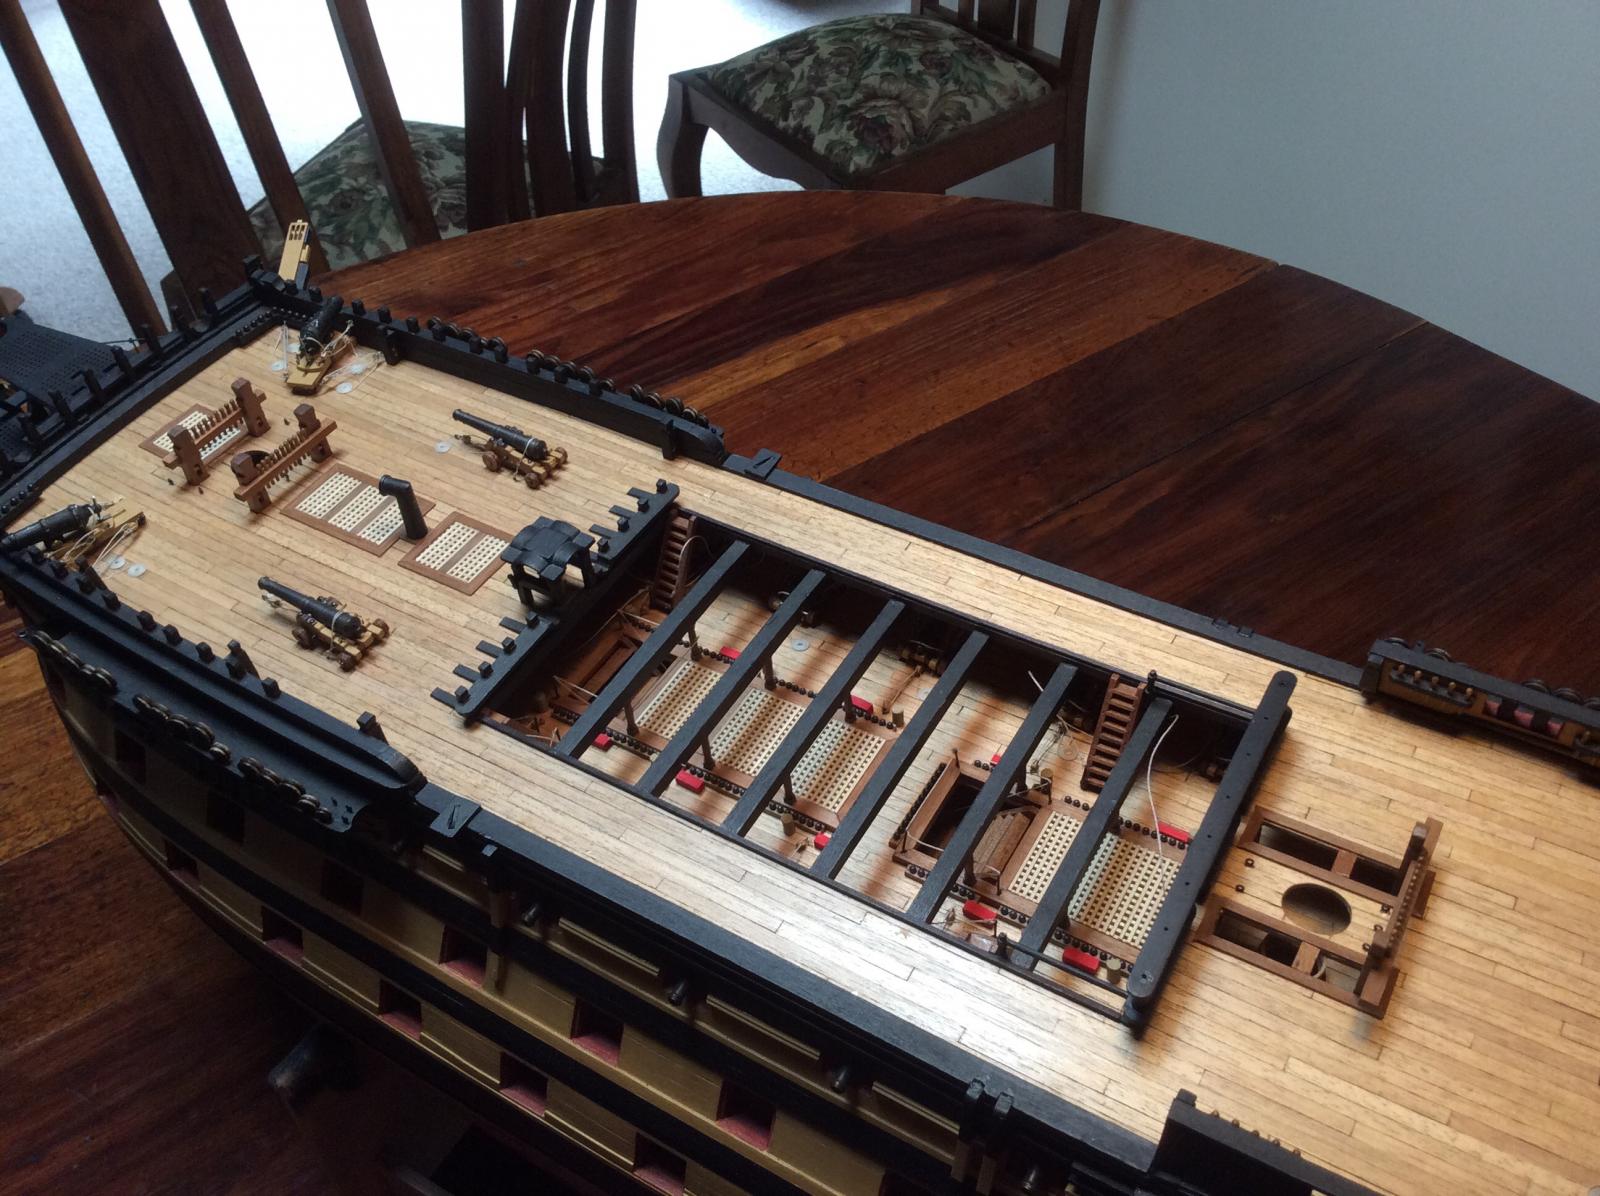
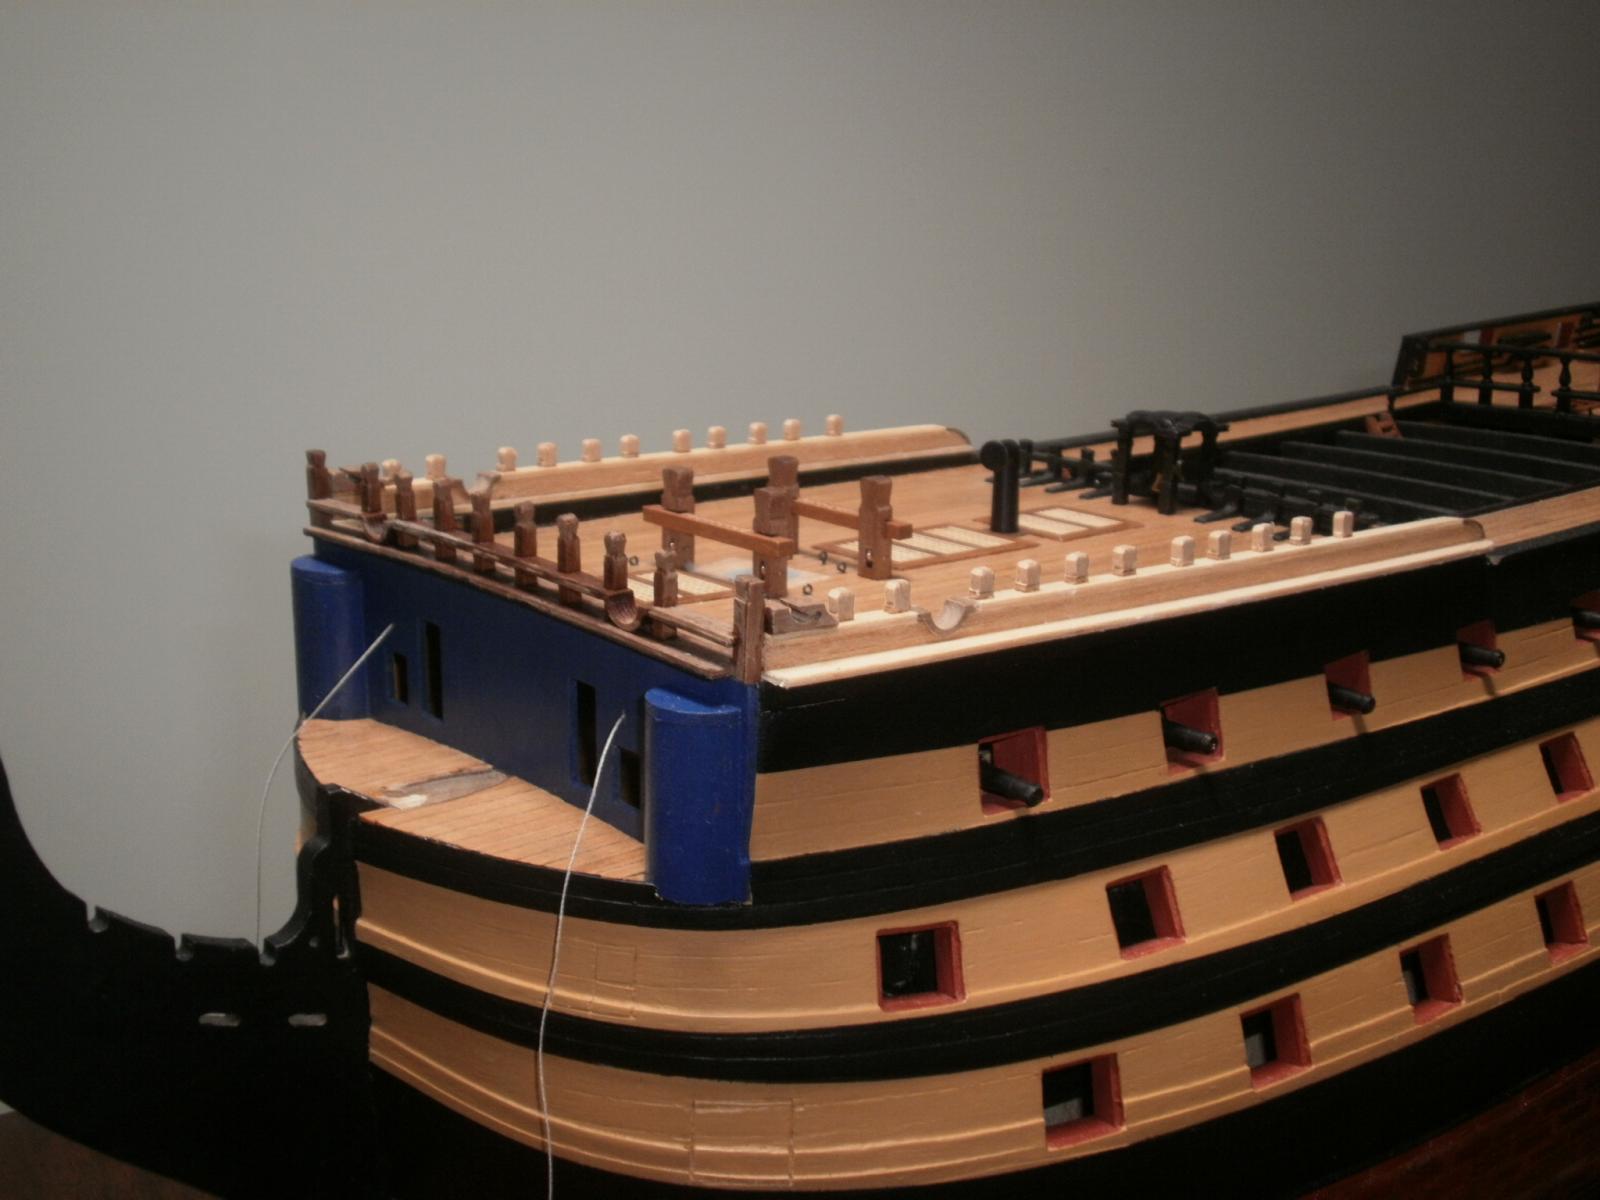
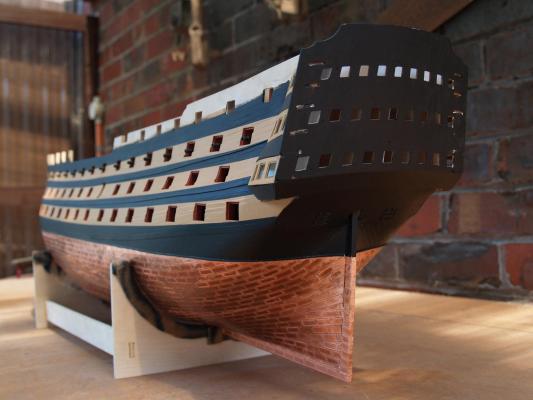
Some more progress to report. As I prefer the appearance of Victory as she is today without the Barricades on the Forecastle and Poop Deck I have been doing a little kit bashing, I think it looks ok.


- 85 replies
-
- 3
-
-
- finished
- caldercraft
- (and 1 more)
-
Hello again Jerry, Thank you very much for the quick response, it is much appreciated. There is a factory close to home which made the Acrylic cases for the two Clipper ships so this info will be a great help. I made the wooden bases for the Clipper ships myself from Jarrah, a beautiful Australian timber, one of them sits on an existing display stand which we have, the other sits on a shelf without a case at present pending a location (too many models). We are still thinking about where to display Victory when she's done but a table like yours is a distinct possibility so thank you for that info as well. Thanks again Gary
-
Hi Jerry, Congratulations on a fine model, it looks superb in it's lovely display case. I have been following your log from day one. I have a request if you don't mind, would it be possible to post the dimensions of your display case including the thickness of the plexiglass that was used. I have a way to go yet but I like your case very much and have something similar in mind when the time comes. Best regards Gary (Ensign)
-
Hi Glenn, I also use Tamiya masking tape, I find that if I run the back of my fingernail firmly along the edge of the tape after applying it there is no problem with bleeding, it just needs to be firmly pressed down to seal properly. I also remove the tape in the manner that Jerry described, it is in fact recommended practice for using any masking tape. Have a look at my build log you will see the edges are quite clean, not perfect but pretty good. I have not needed to do touch-ups. I have nearly finished planking the Quarterdeck, so am a bit behind you. Hope this helps Gary
-
Thanks Grant, much appreciated. Merry Christmas to you and yours. Gary
- 85 replies
-
- 1
-
-
- finished
- caldercraft
- (and 1 more)
-
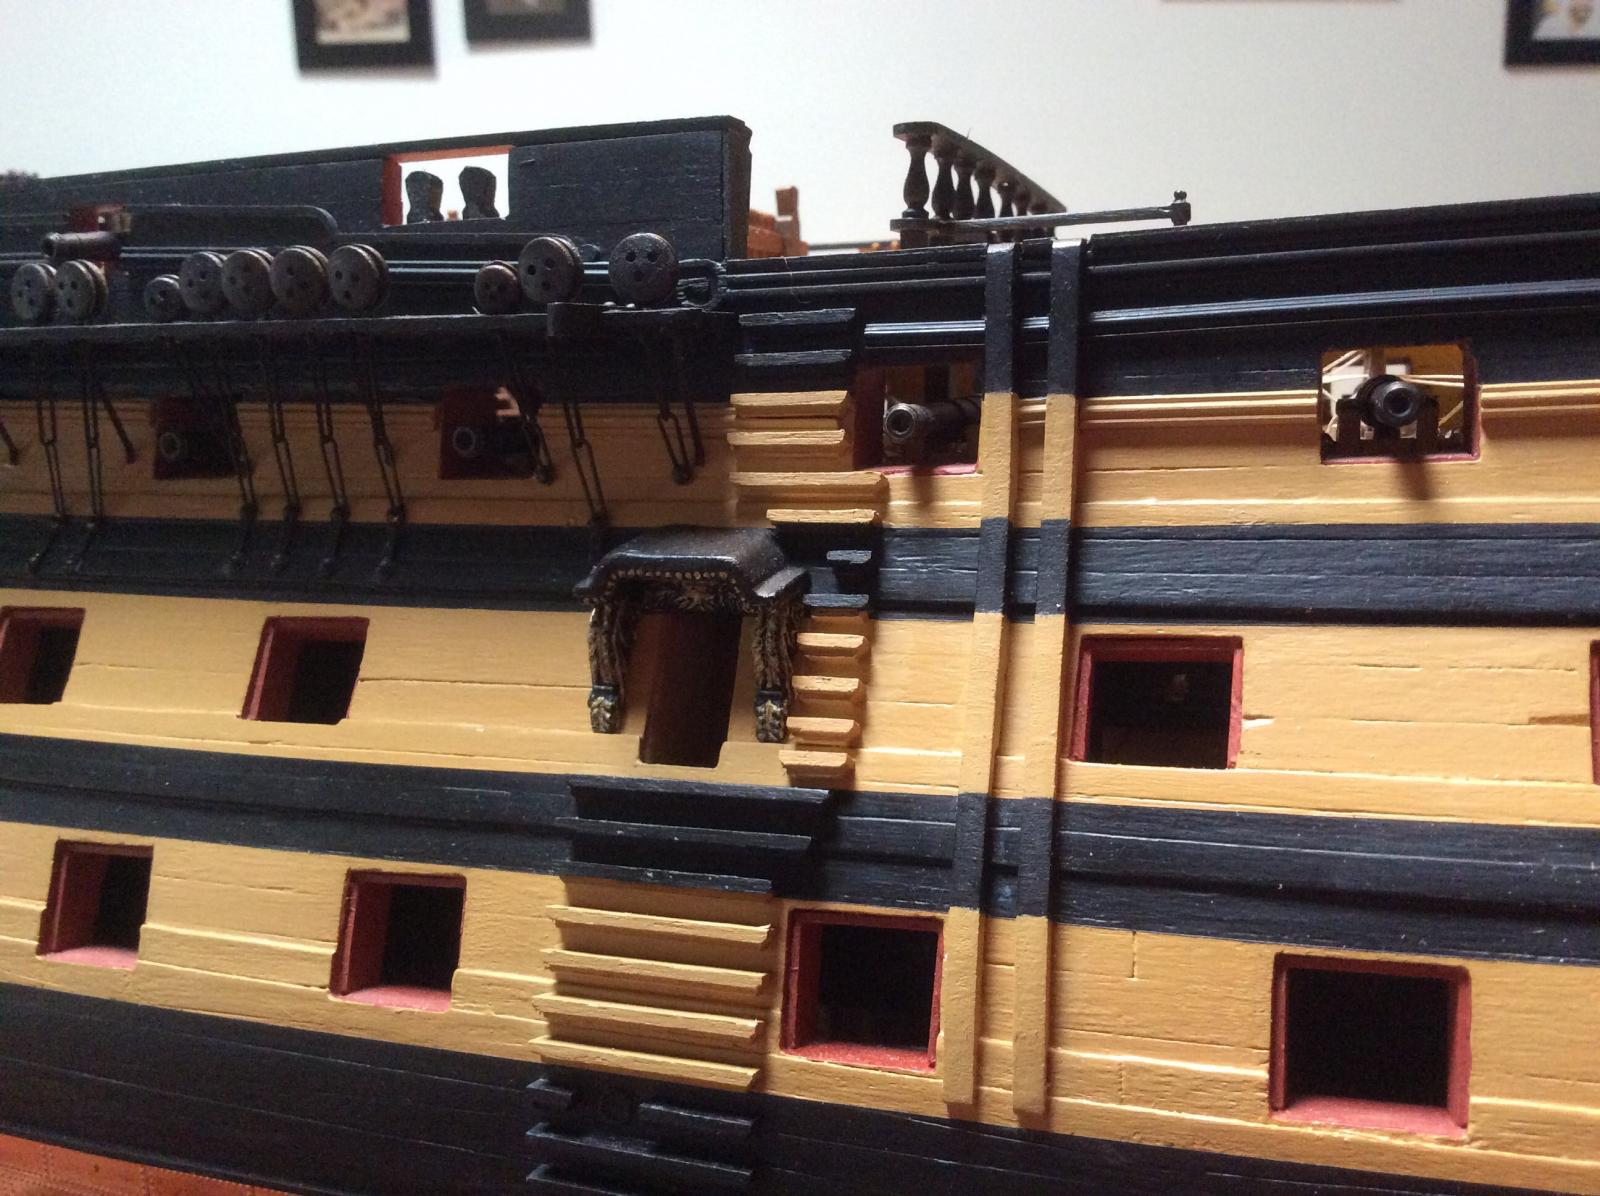
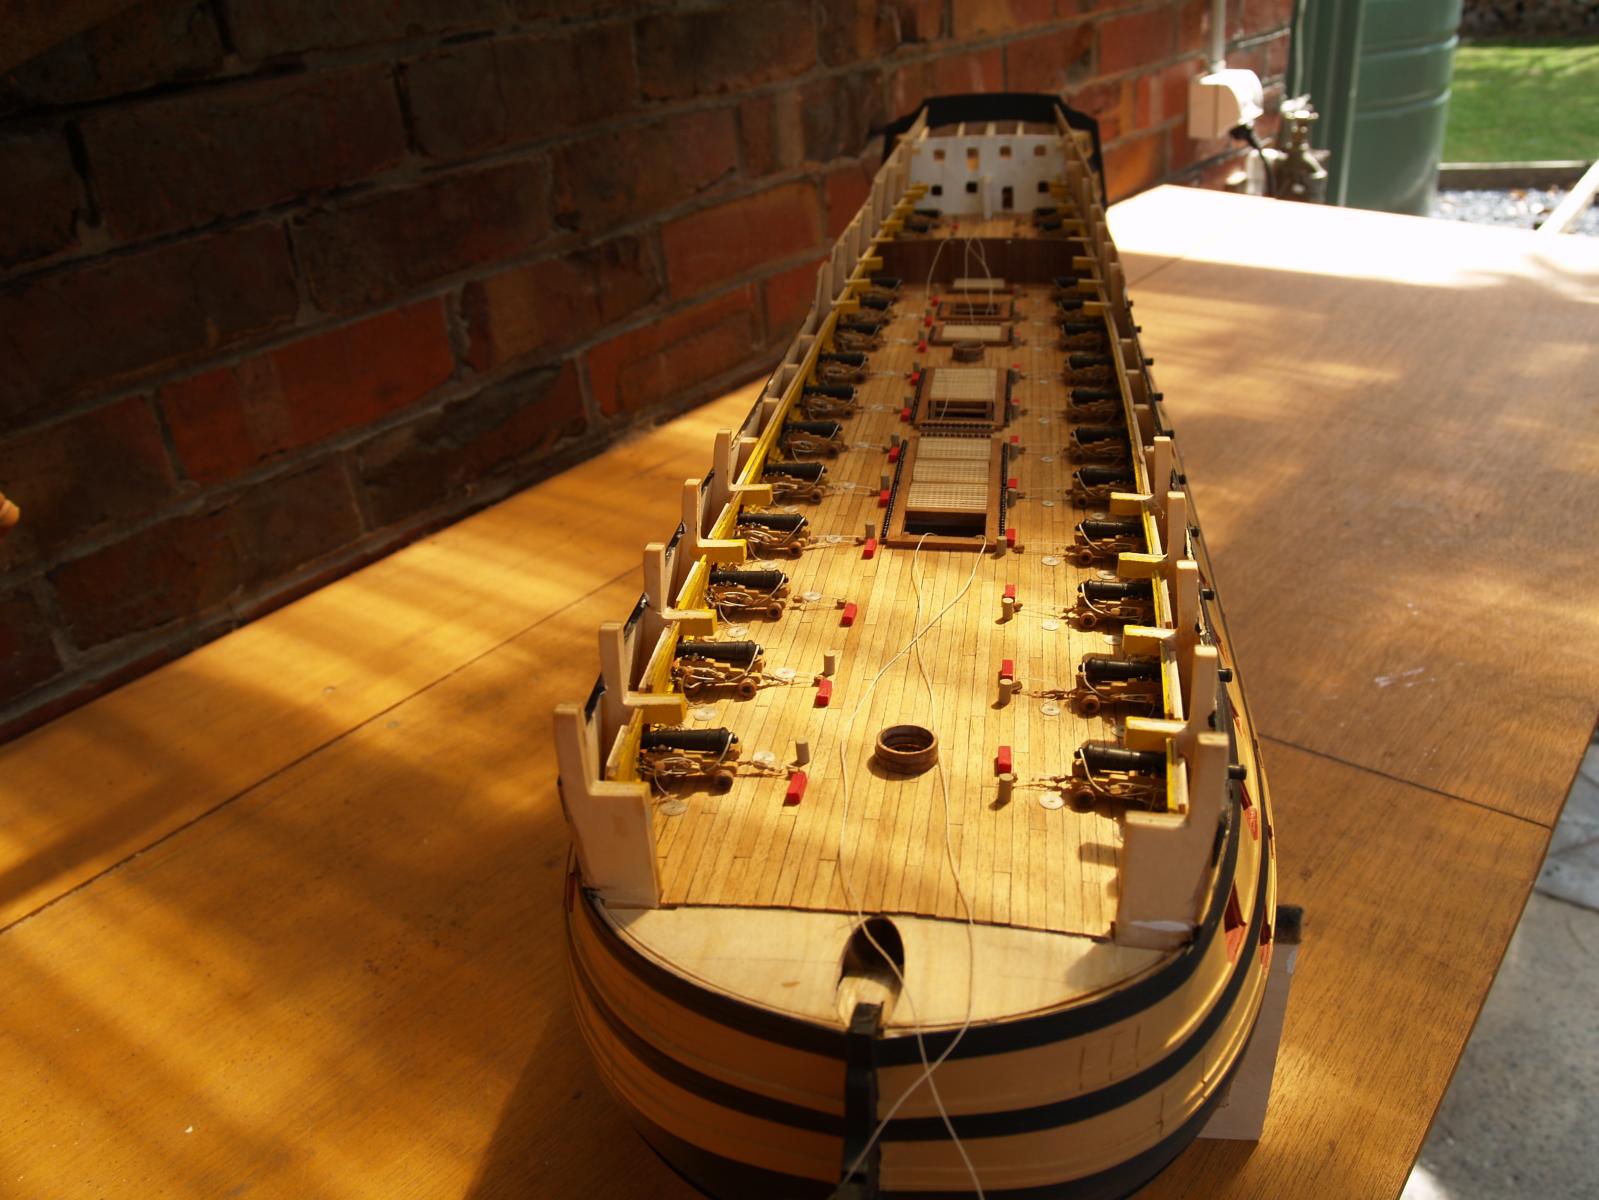
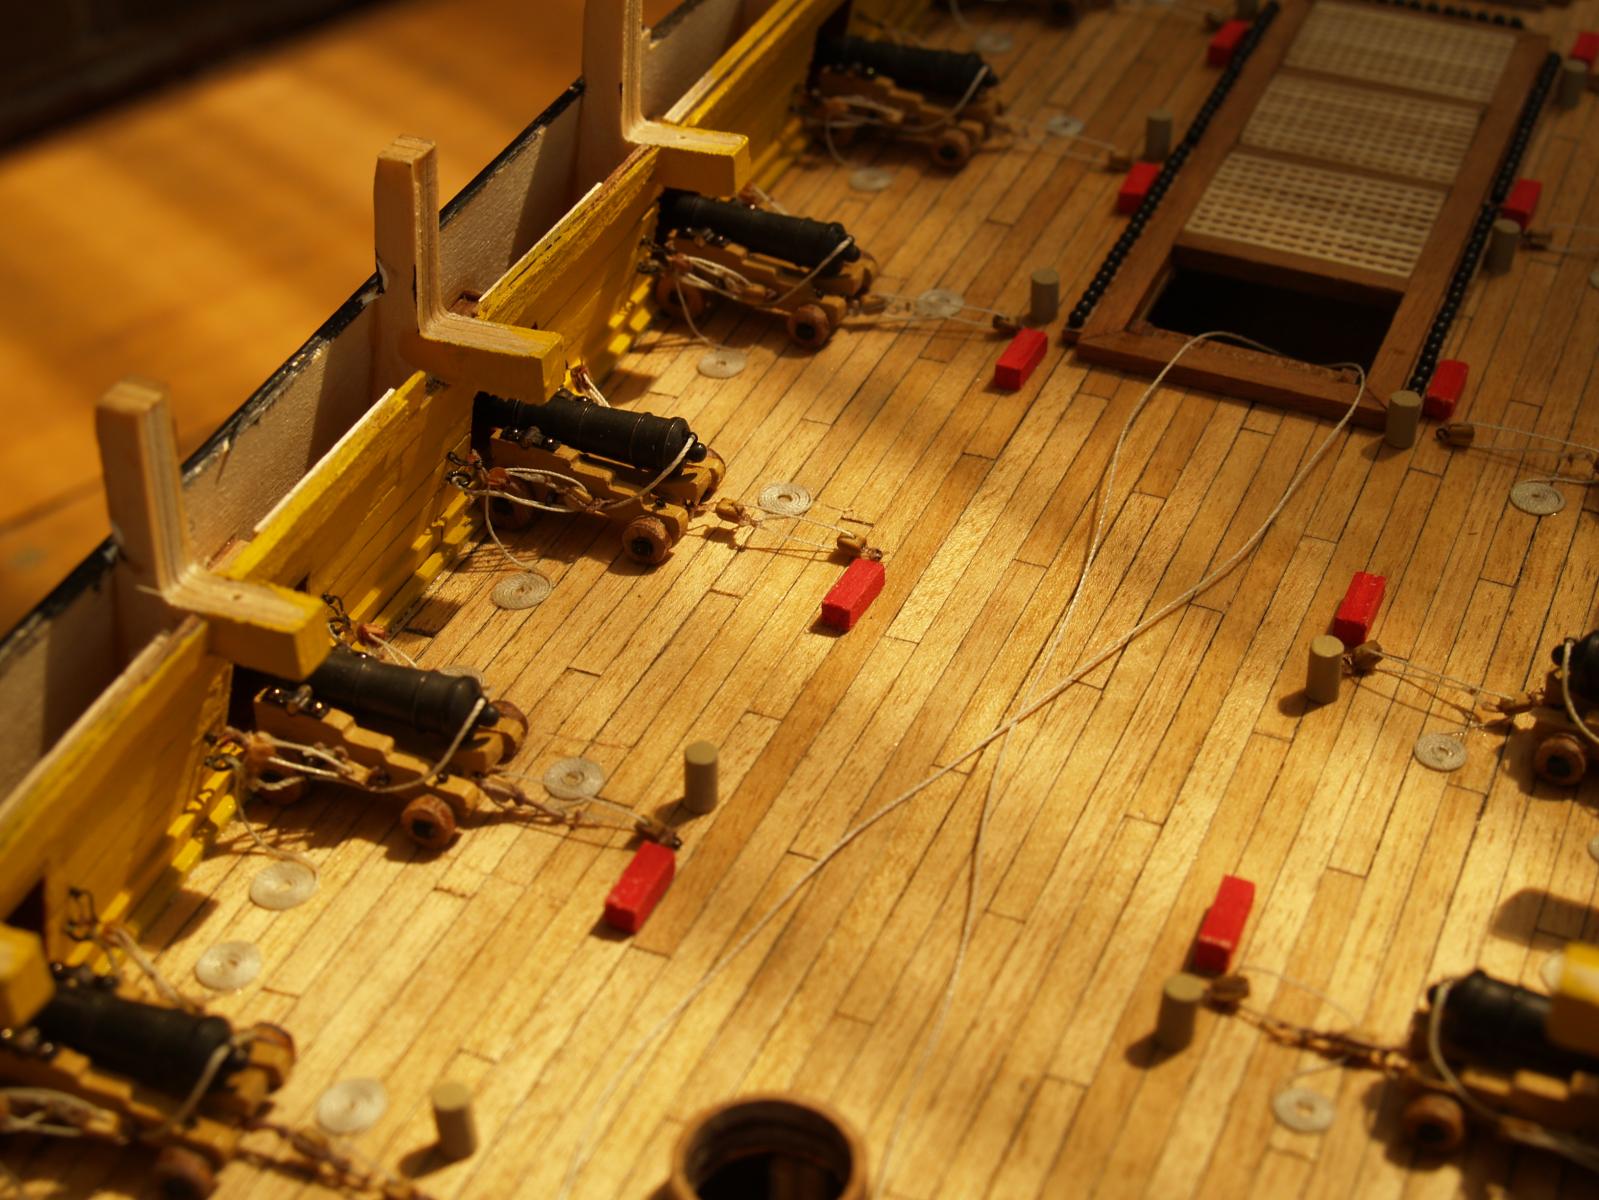
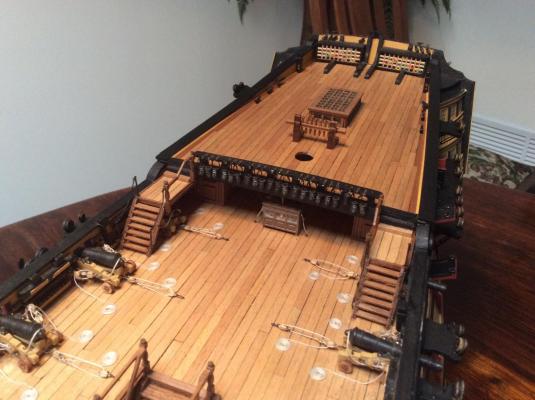
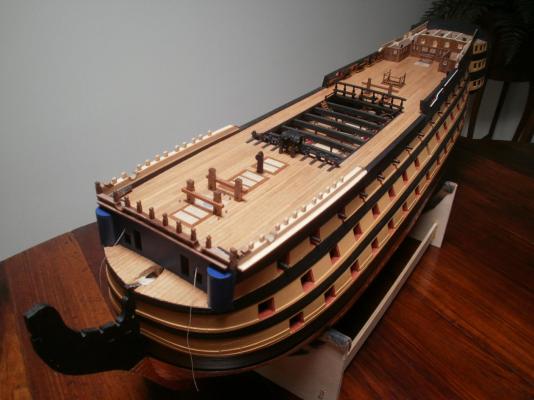
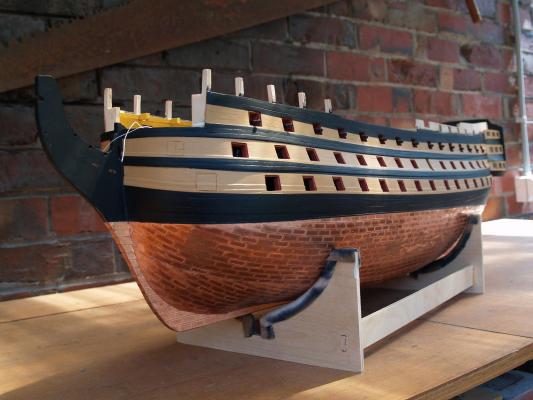
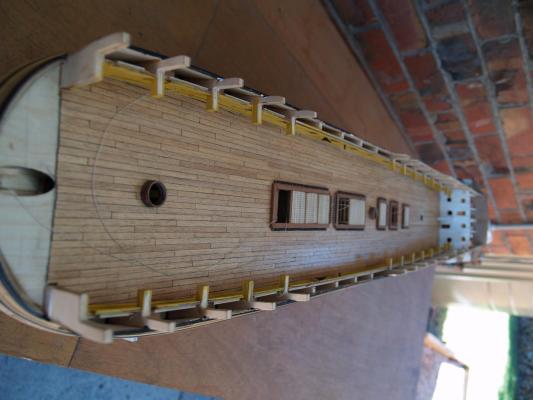
The copper plating on the hull is complete as well as rigging the gun carriages on the Upper Gun Deck, enjoyable but a bit tedious at times. I decided to add the Salt boxes and Match tubs at each gun station as can be seen on board Victory today. Now on to the Quarterdeck.


- 85 replies
-
- 4
-
-
- finished
- caldercraft
- (and 1 more)
-
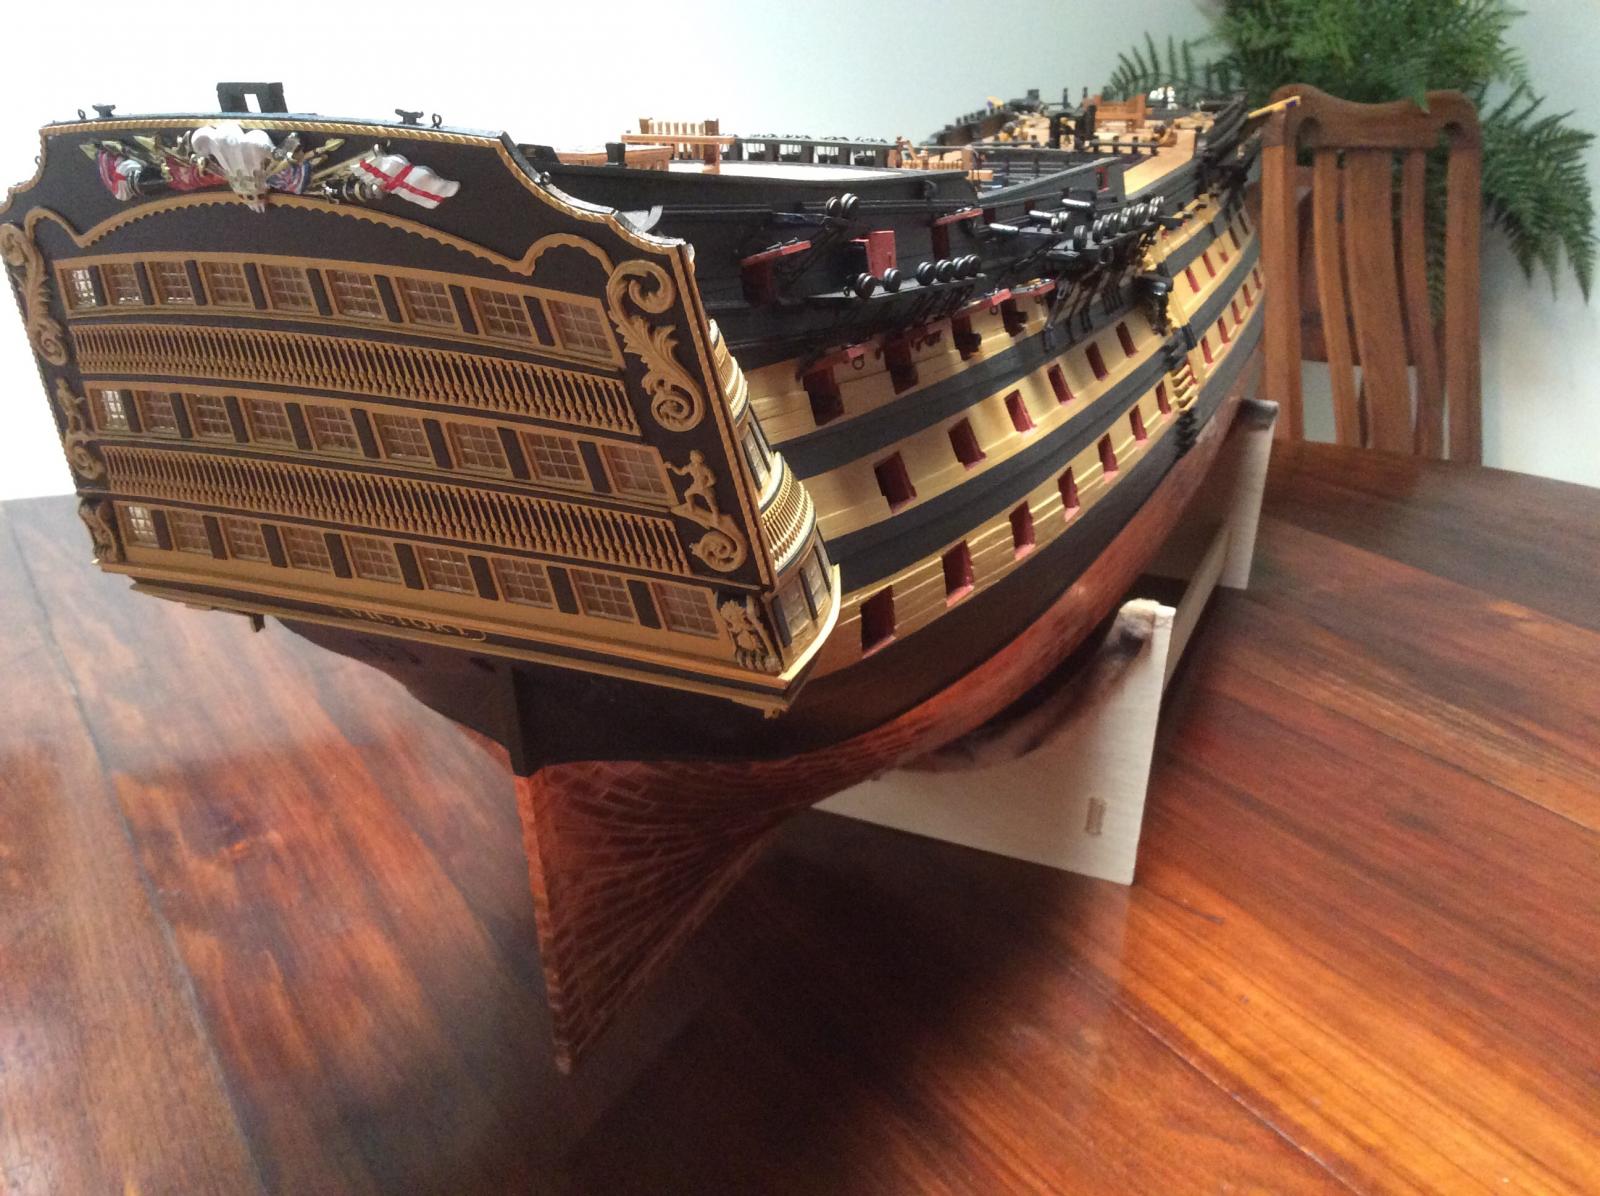
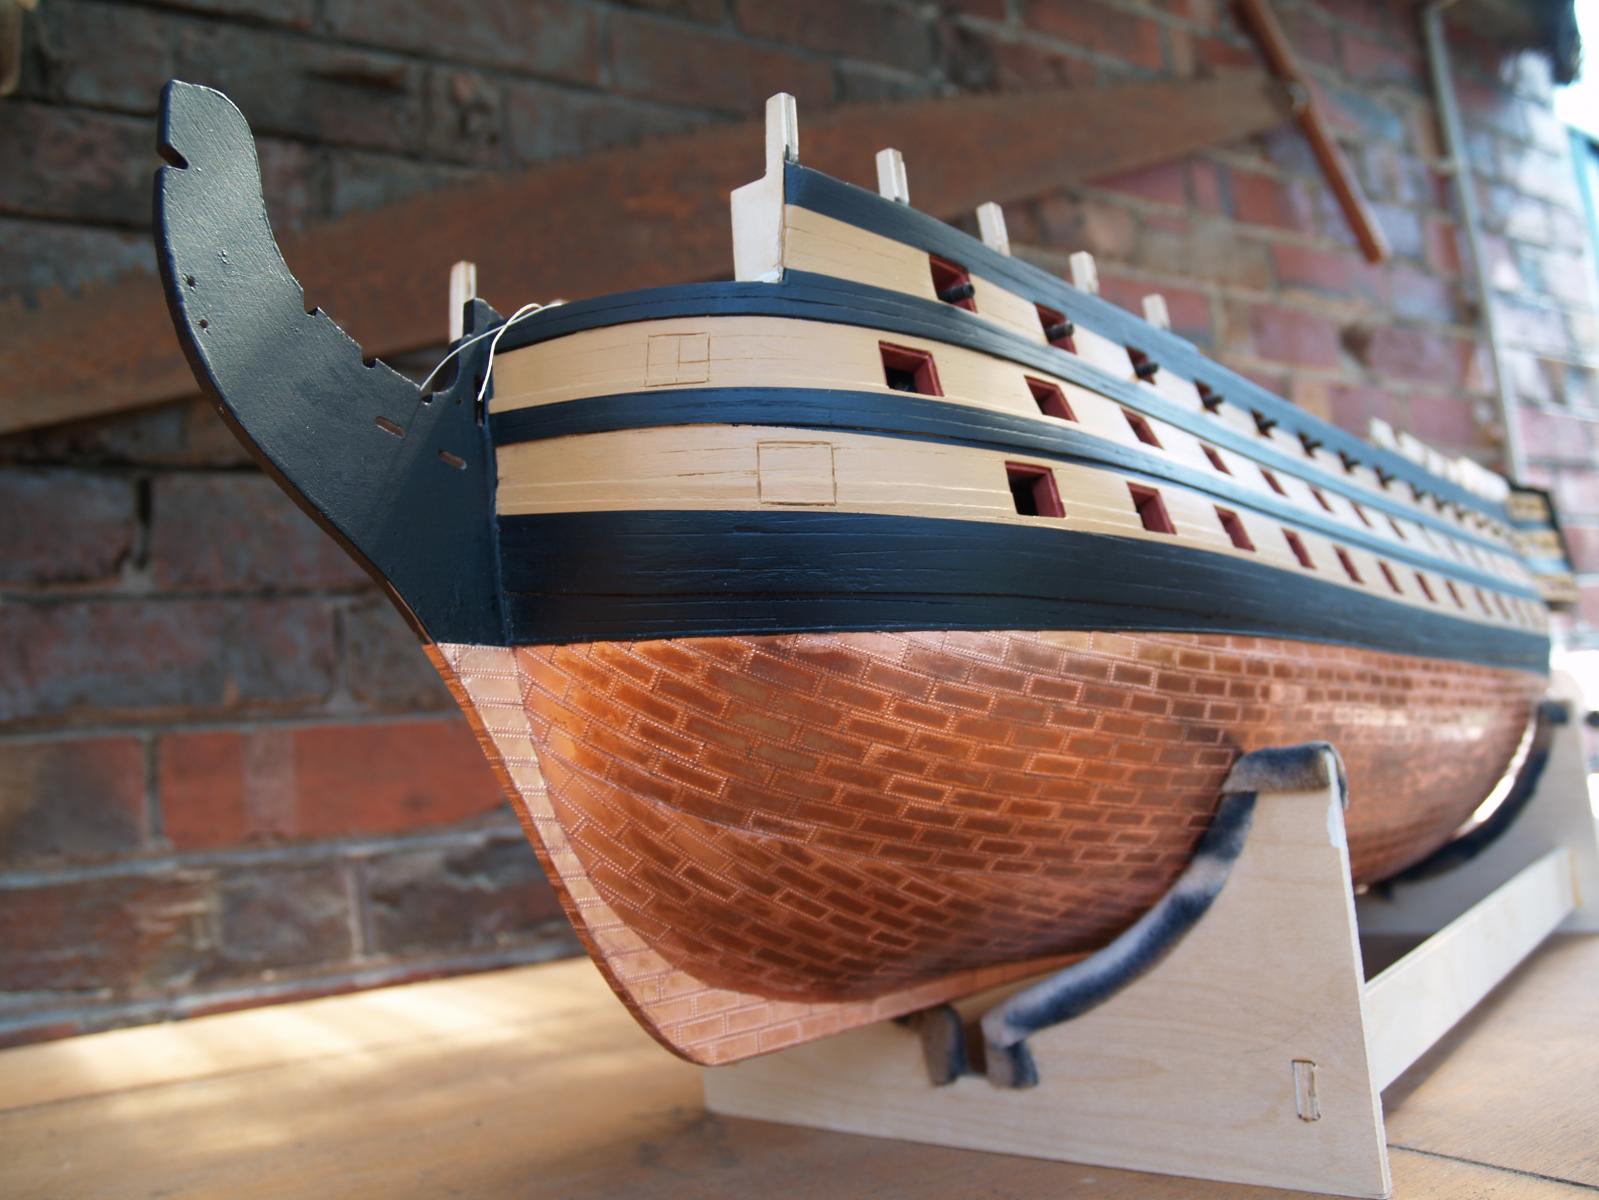
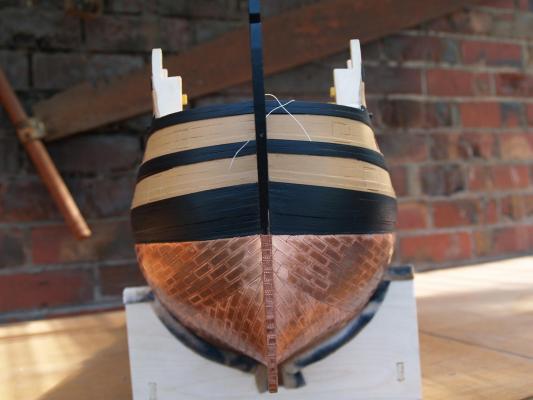
Hi Rich, with regard to laying the copper plates, if you can reference Longridge's book " The Anatomy of Nelson's ships" you will find he discusses coppering on page 54 and there is also an illustration on page 36 which shows the run of the plates. They are laid in two bands an upper and lower band. I followed this method by starting at the waterline in the middle of the ship. I laid eight tiles at the water line then another eight offset by 50% below those and continued in this manner until I had seven rows laid in the middle of the ship. From there using a straight edge, like a ruler, I continued on from the last row, filling in up to the waterline as I went, until I was close to the bow and the stern, the straight edge ensures the tiles remain in line and by filling in above, small adjustments can be made to correct any alignment issues. I used a slow setting glue called Weldbond it is a glue made in Canada by Frank T Ross LTD. They have a website www.weldbond.com you may find a supplier in the UK if you contact them and wish to use the product. Hope this helps Gary
-
Grant, what can I say, absolutely incredible an outstanding piece of work, congratulations. Gary
-
Hi Glenn, Interesting to note you have removed the forecastle uprights, obviously intending to show Victory as she appears today, this is also the course that I intend to take. Yours is the first build I have seen to do this so I will follow closely. I am currently involved in the never ending task of rigging the guns on the upper gun deck and I am fully rigging all of them, yes I need my head read, talk about making a rod for your own back. Oh well! regards Gary
-
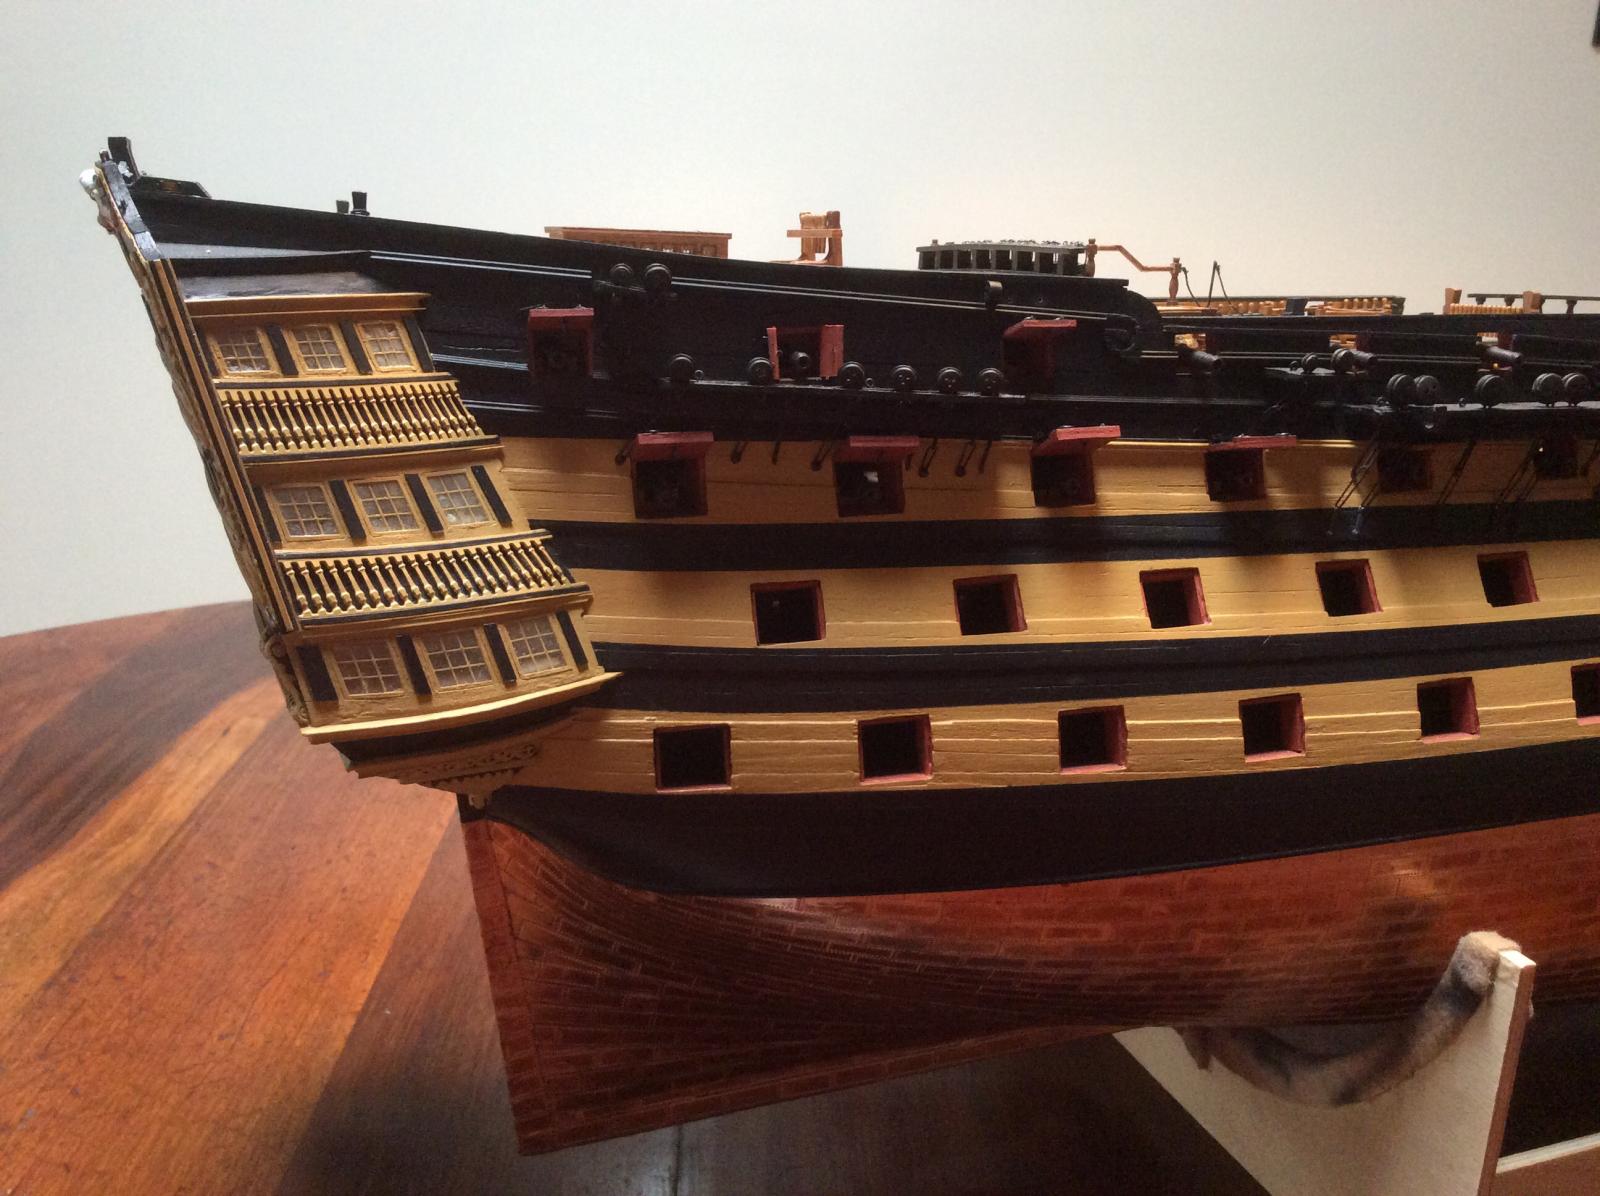
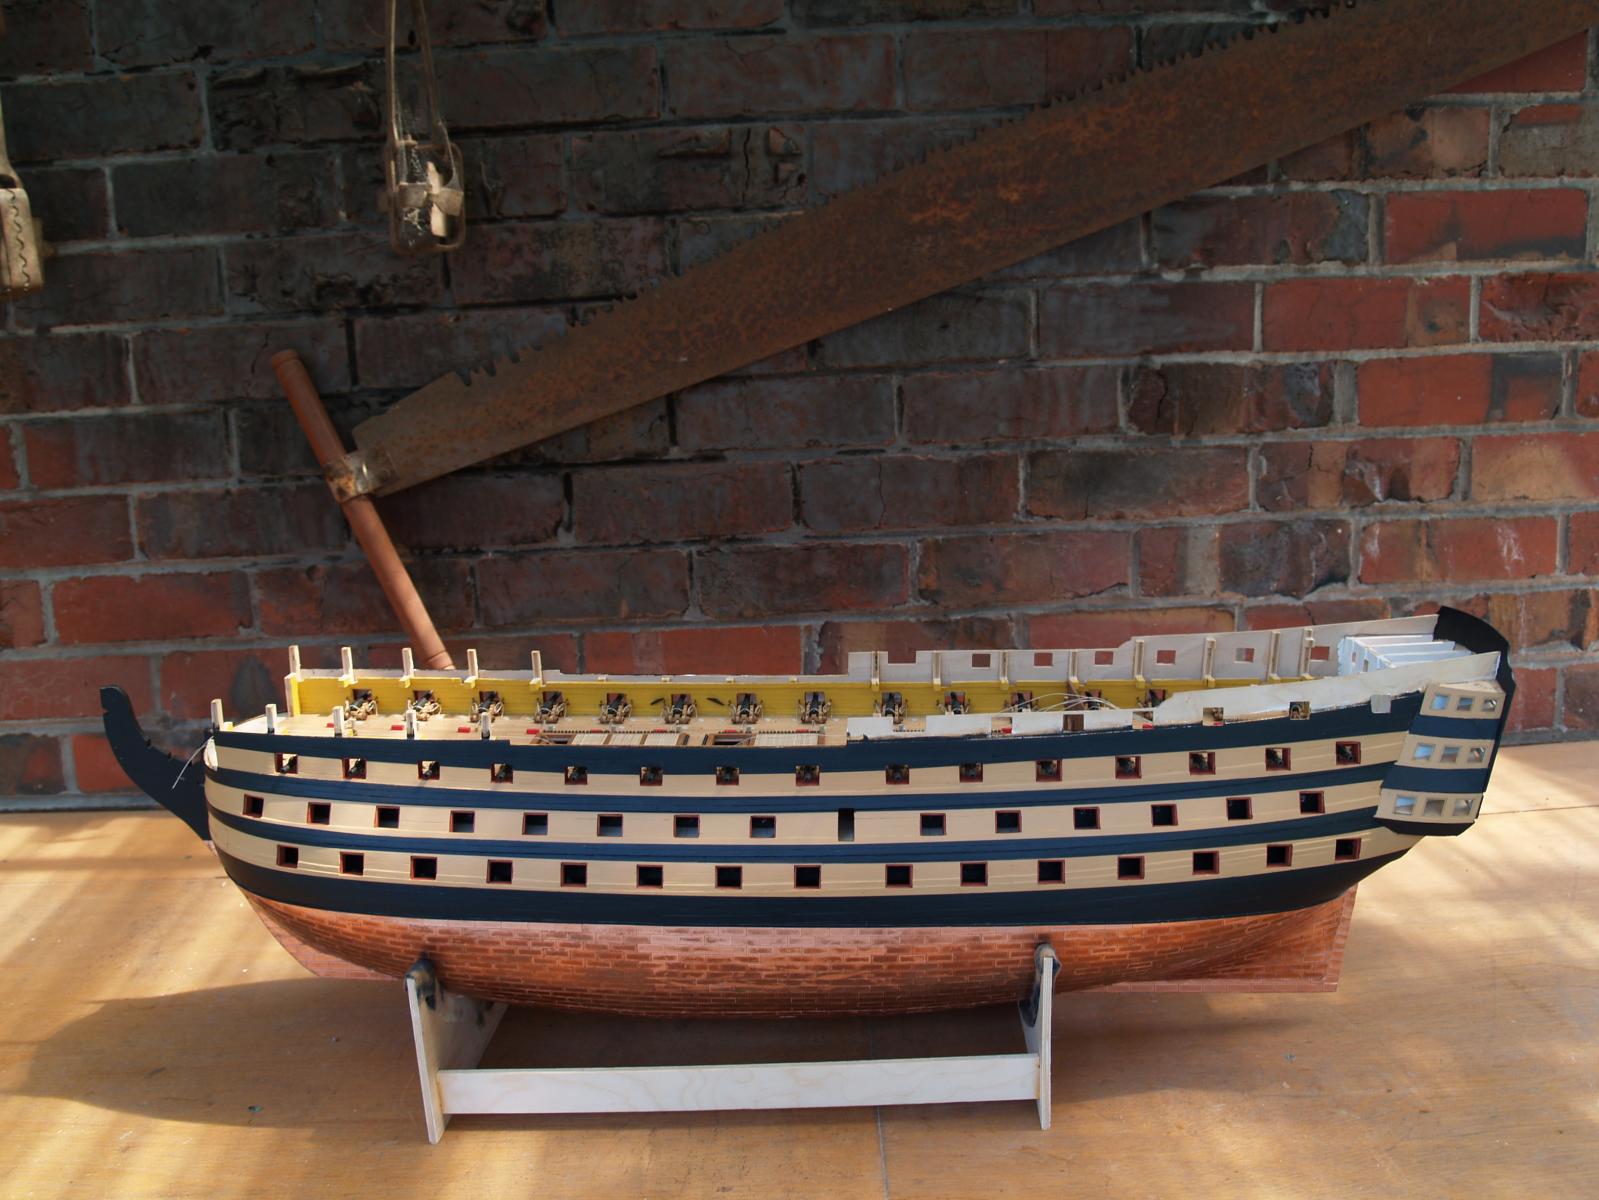
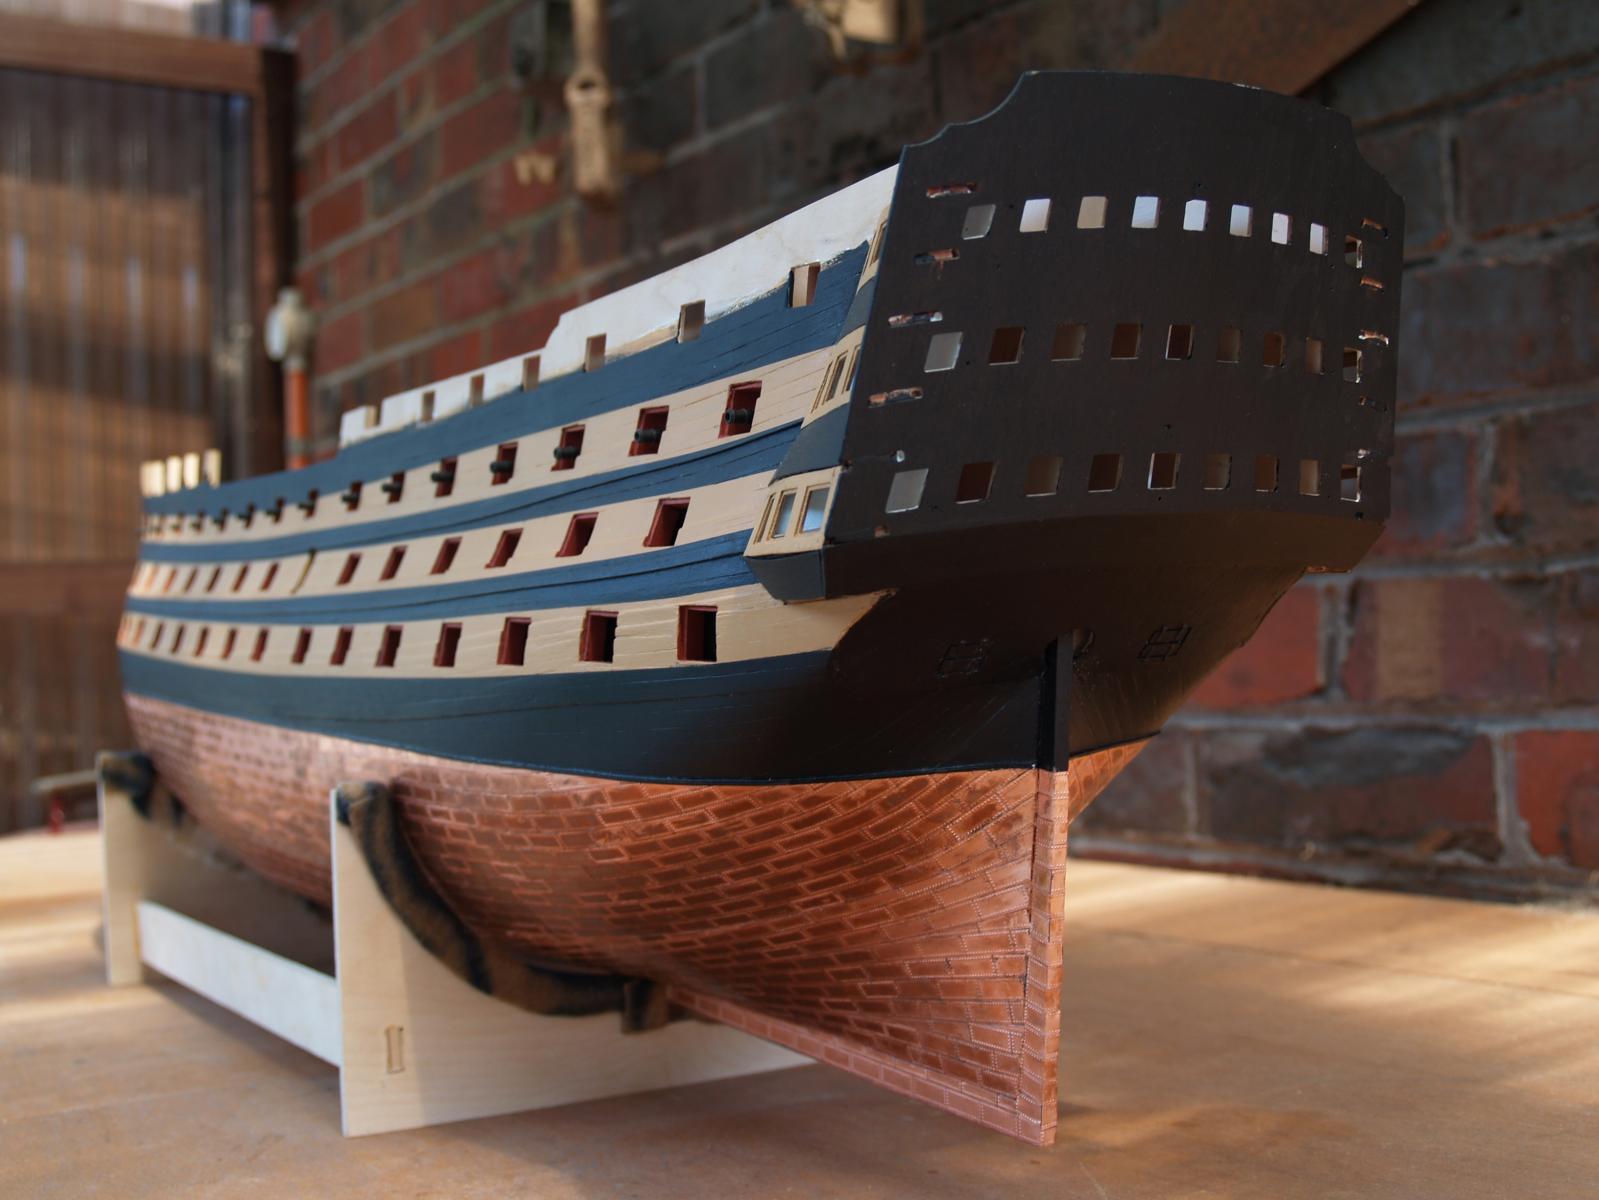
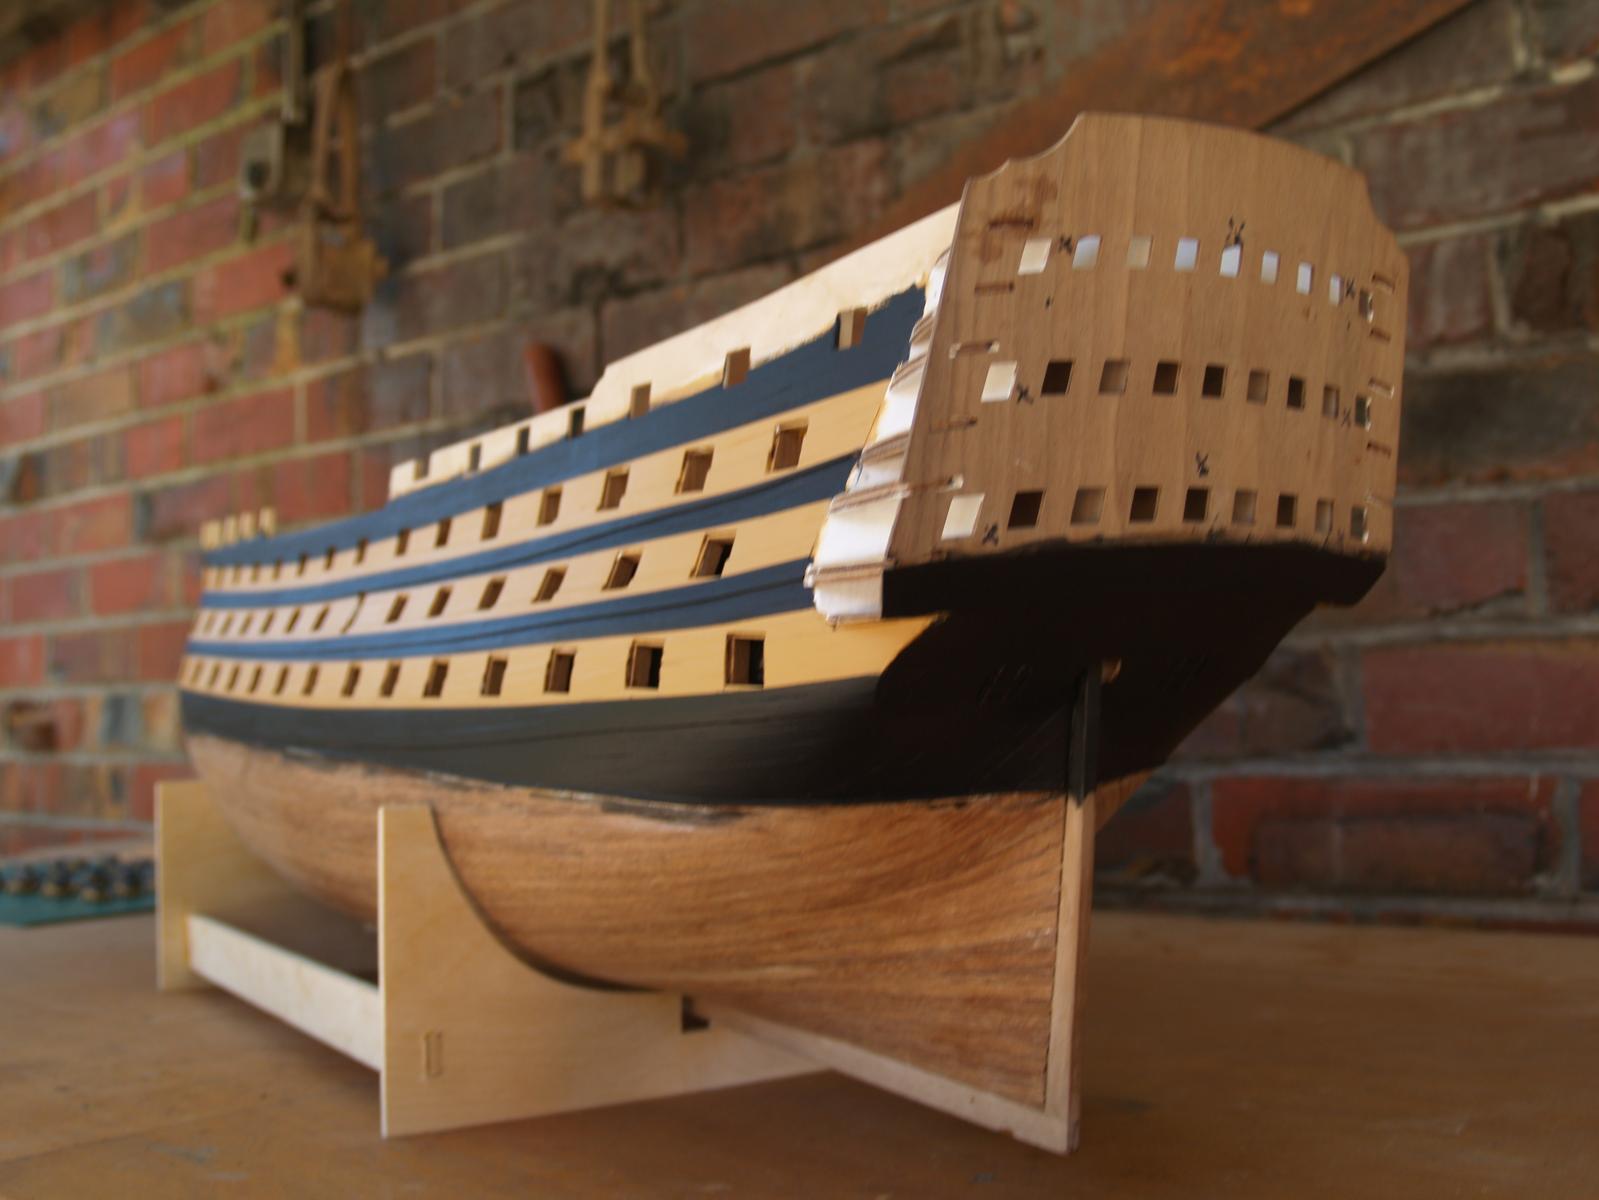
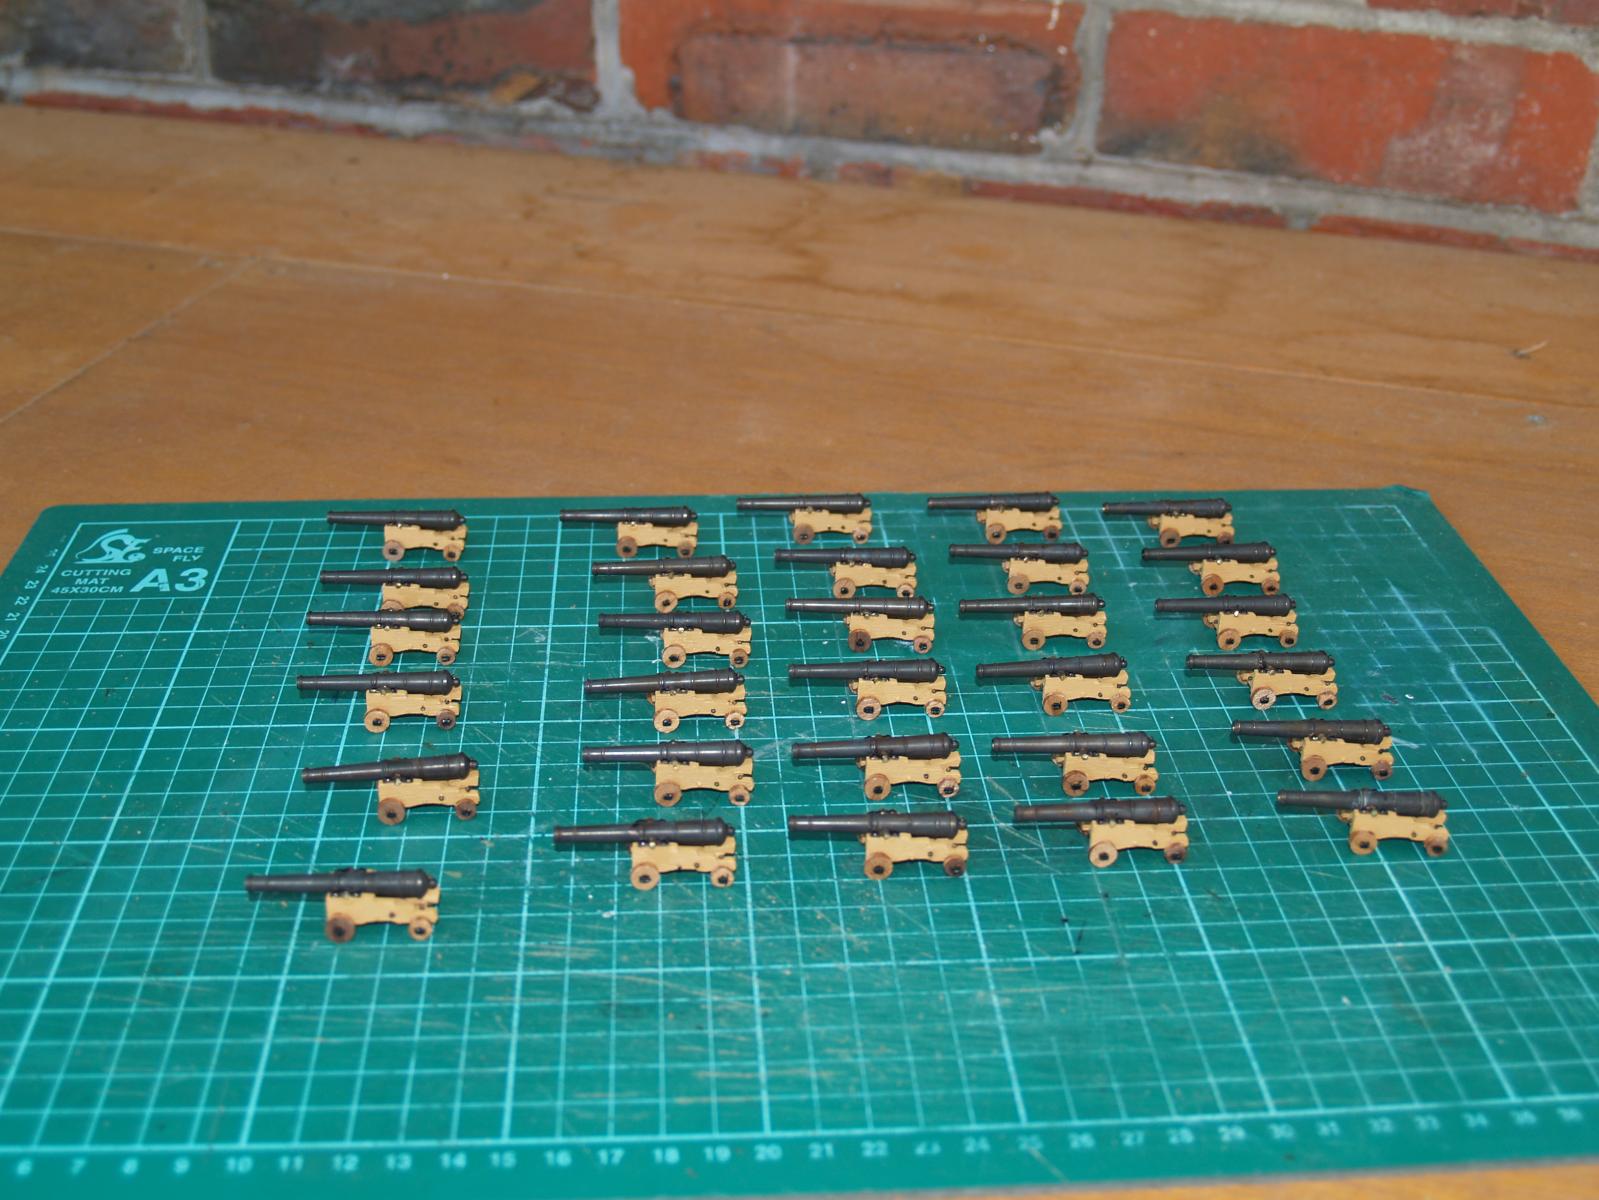
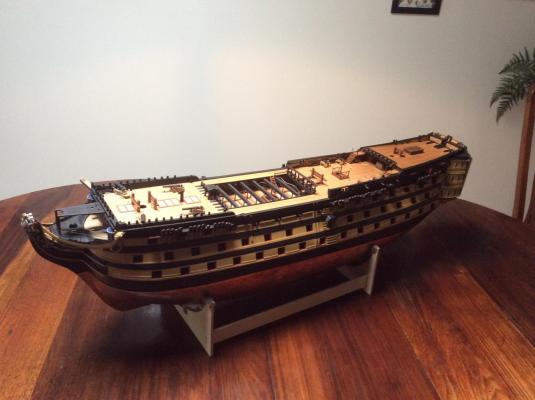
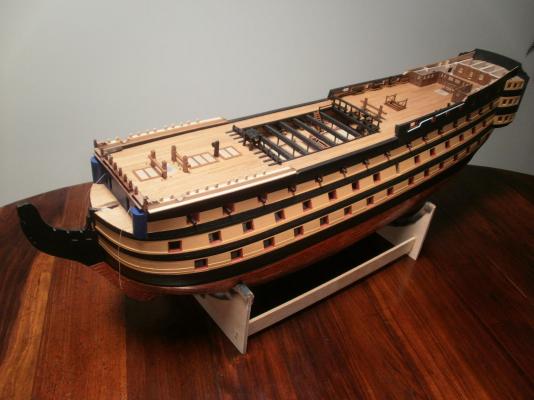
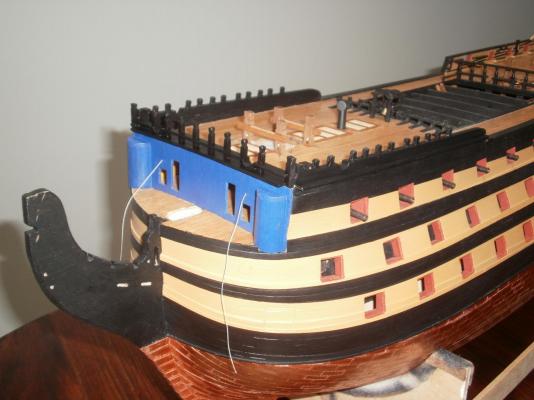
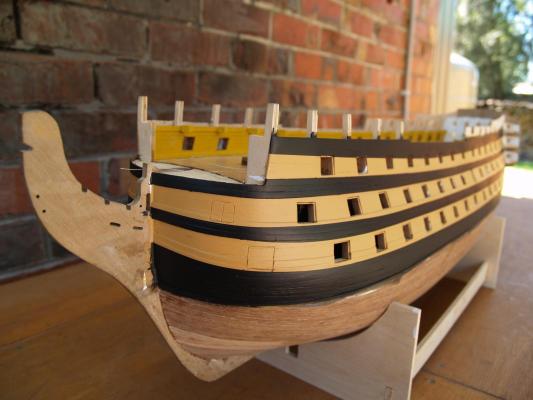
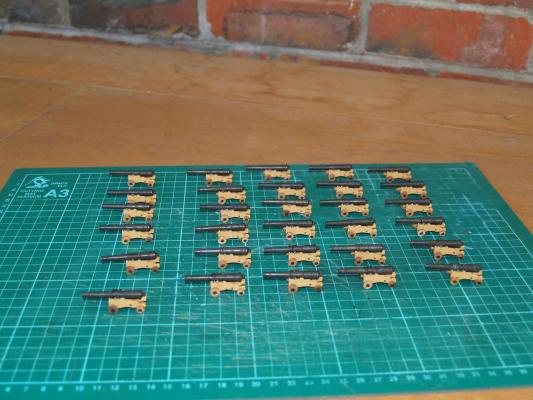
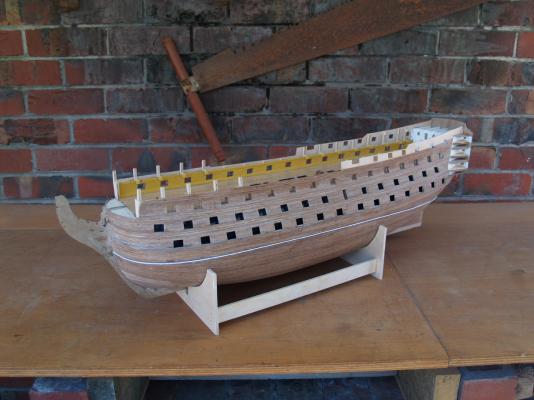
Update time The hull has been painted and the upper gun deck is awaiting installation of the guns. When assembling the gun carriages I discovered that the brass etched eyelets part No. 480 make excellent breeching rings, just cut off the leg and attach them to the Cascabel with thick superglue. the scale is just right as study of the single photo of a gun illustrates.There are plenty of spares in the kit so shortages are not a problem.


- 85 replies
-
- 7
-
-
- finished
- caldercraft
- (and 1 more)
-
Domanoff Rope Serving Machine
Ensign replied to Ensign's topic in Modeling tools and Workshop Equipment
Hi Alexey, no I haven't received anything yet. I am trying to track the parcel but the website keeps saying the server is down, it is just two weeks today so it could be a while yet although it would be good if the tracking service was working. Gary -
Hi Glenn, yes the visit to Victory was sheer magic, took lots of photos and still I have a thousand questions, just too much to take in. I feel for you stripping and repainting all those doors. We had some minor flooding due to a severe storm about three years ago, new carpet in the lounge (reception) room, dining room and master bedroom, the whole front of the house needed repainting not to mention the drainage system I then had to install around the house and all with our Swedish friends due to arrive the next month. No pressure !!!!!!!!!!!!!! Gary
-
Hi Glenn, You are really cracking on with your build, I appreciate your constant updates. I am not too far behind you, a recent trip to see Victory herself and then on to Sweden & Italy meant a short hiatus in the build, but I'm moving along again now. I posted an update a couple of weeks ago and will soon do another. I am keeping a record of your build photos they are a good reference, thanks. A suggestion! I am waiting on delivery of one of Alexey Domanoff's Rope Serving Machines for when I get to the rigging stage, a long way off I know but best to be prepared, if you intend to serve some of the lines as in the real ship it might be a good investment. Just a thought. Regards Gary
-
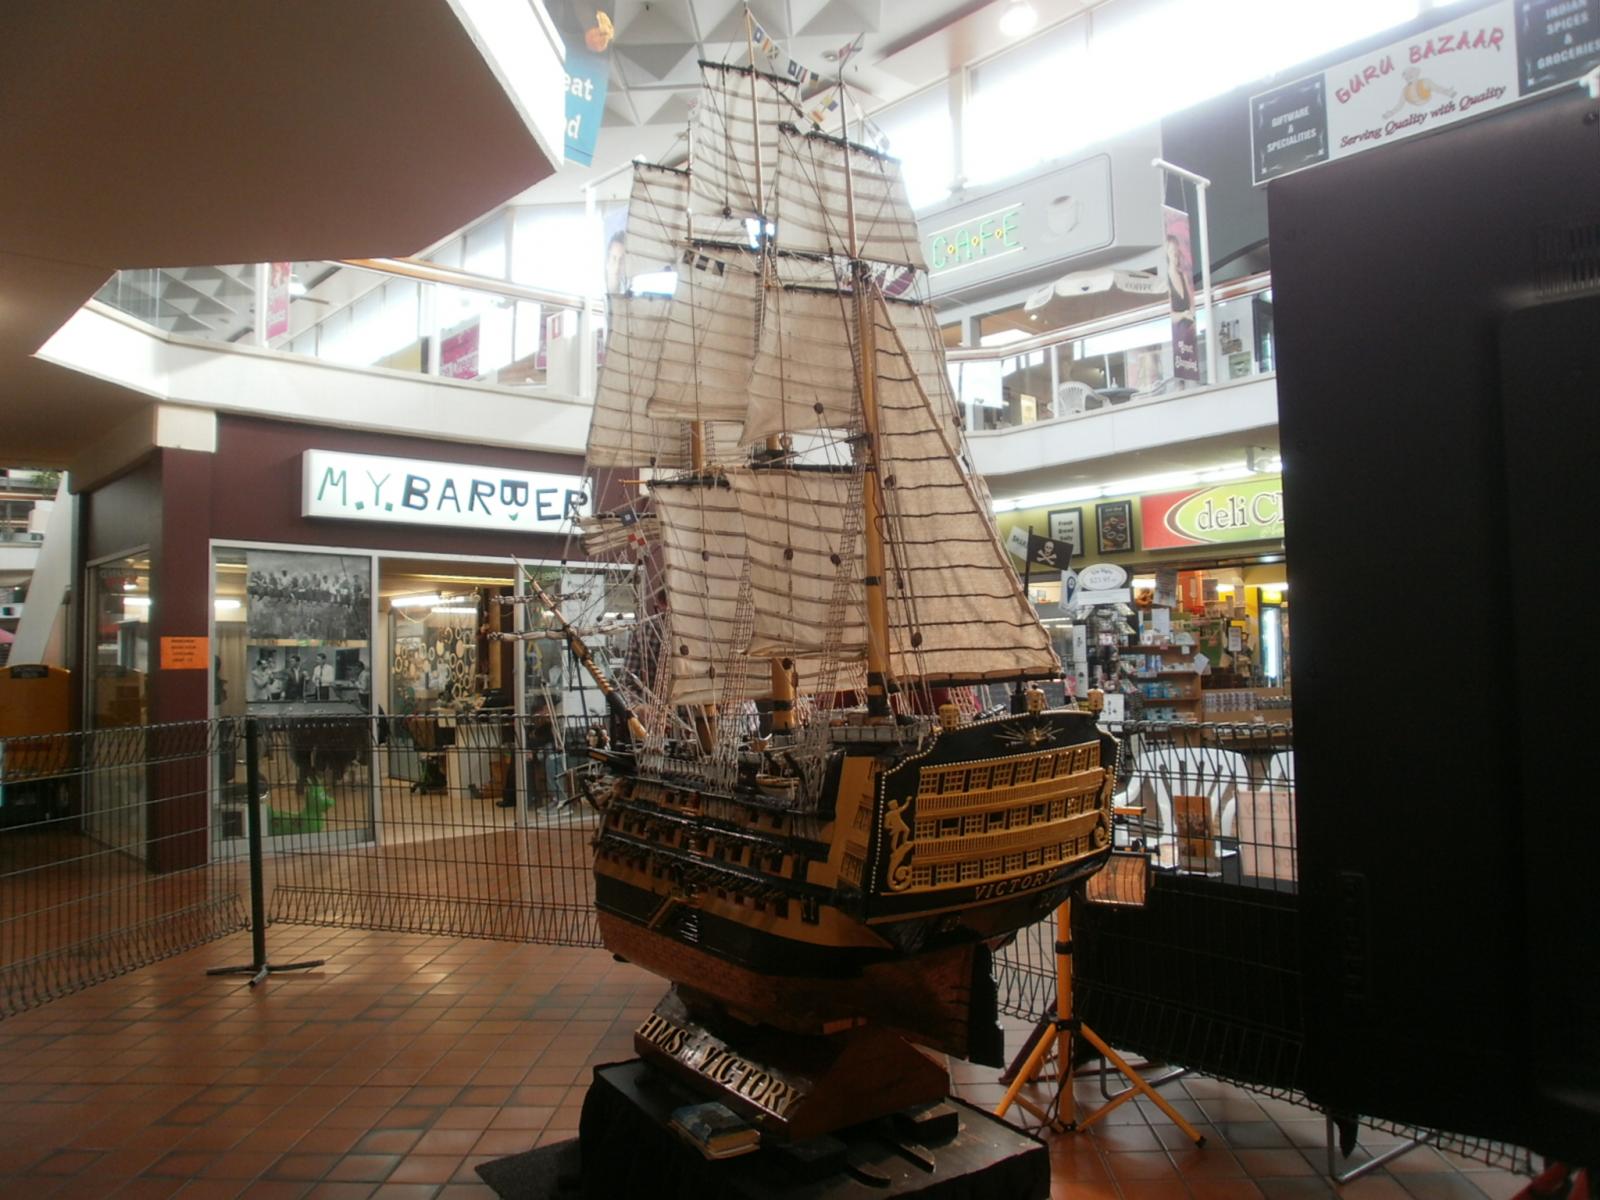
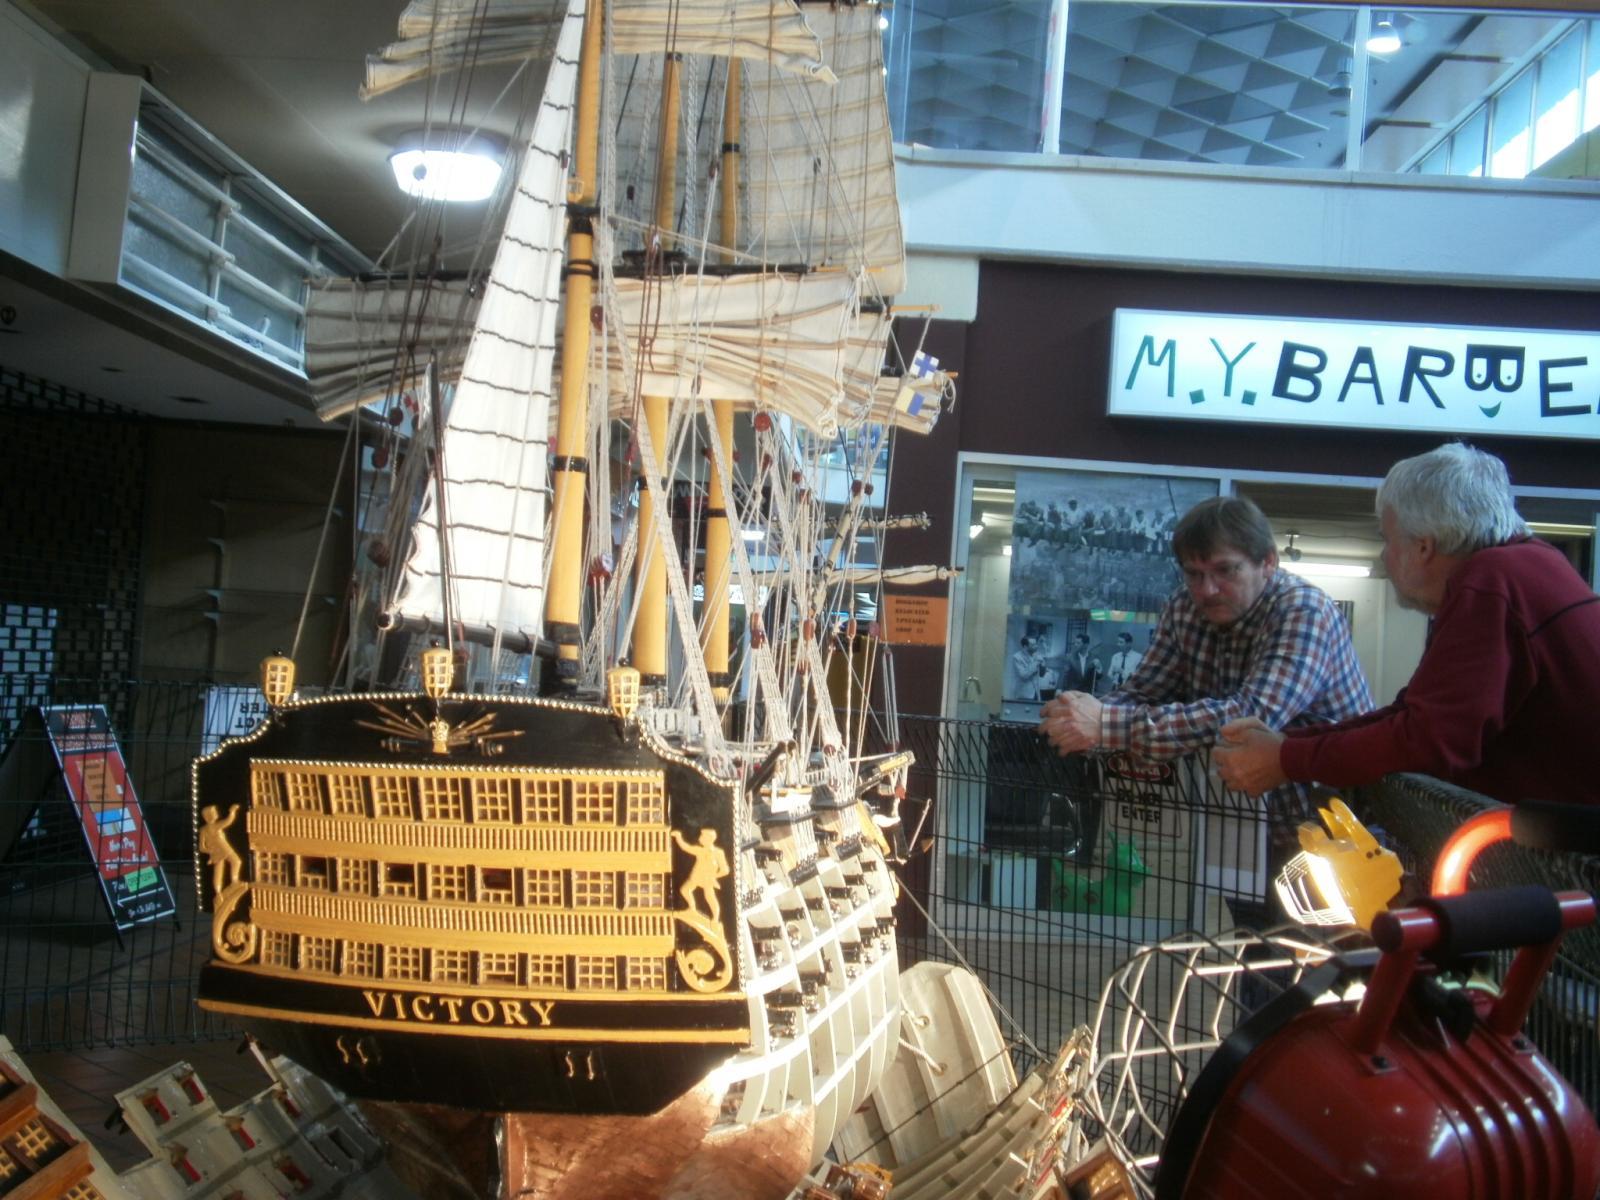
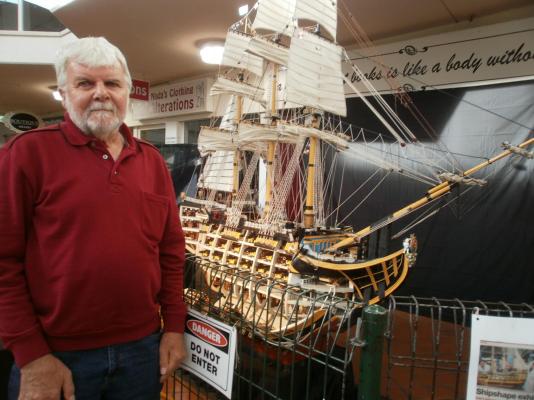
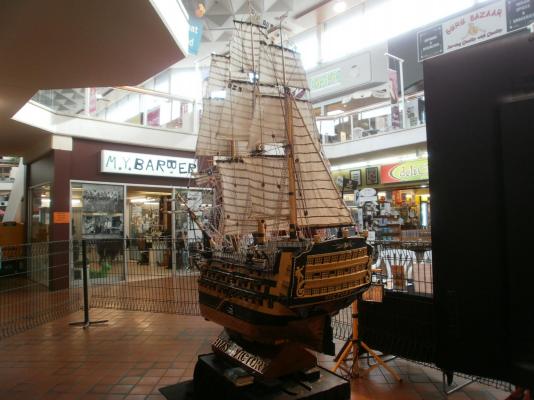
And now for something a little different. This model of Victory was on display at a shopping mall not far from where I live, the builders plan to take her on tour and have purchased a horse float for the purpose. Now that's real enthusiasm. She was scratchbuilt from old redgum timbers with the decks laid in Huon Pine, an incredible achievement. The ship is computer controlled so that the sides open up to reveal interior detail and some of the sails can be raised and lowered. All this is timed to cycle around every few minutes.

- 85 replies
-
- 4
-
-
- finished
- caldercraft
- (and 1 more)
-
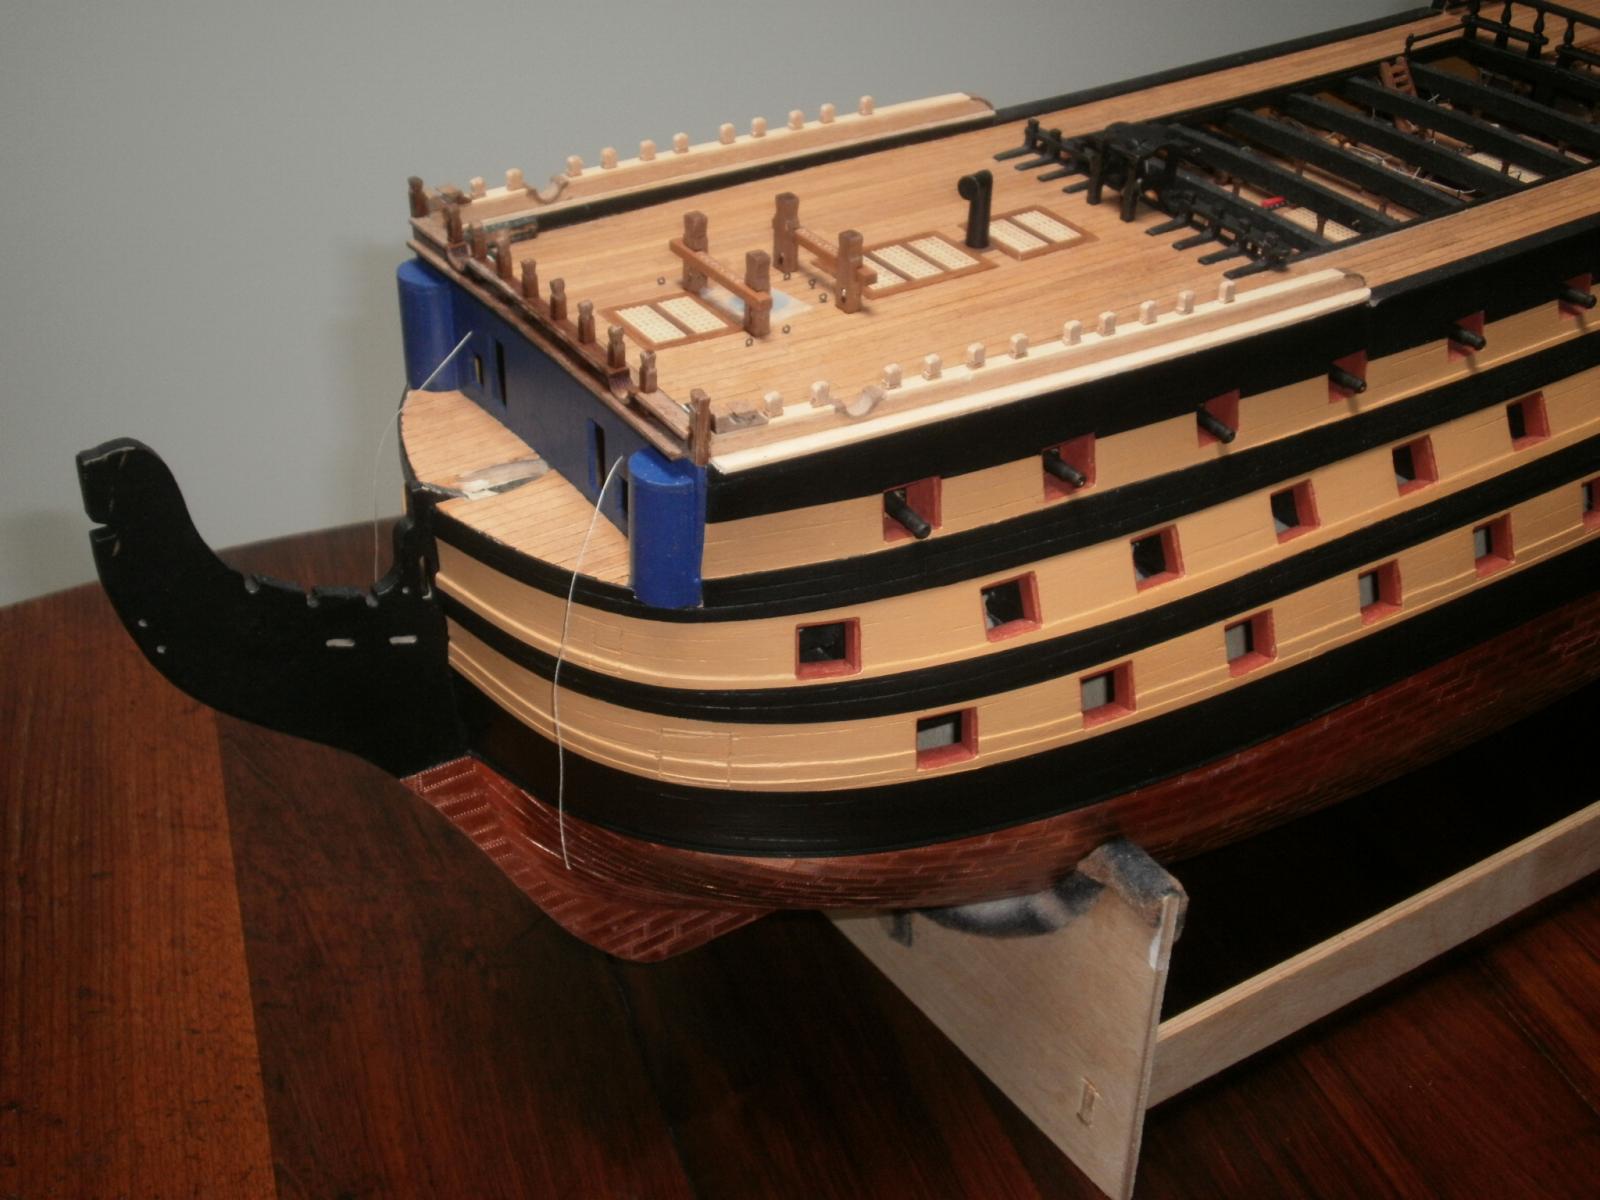
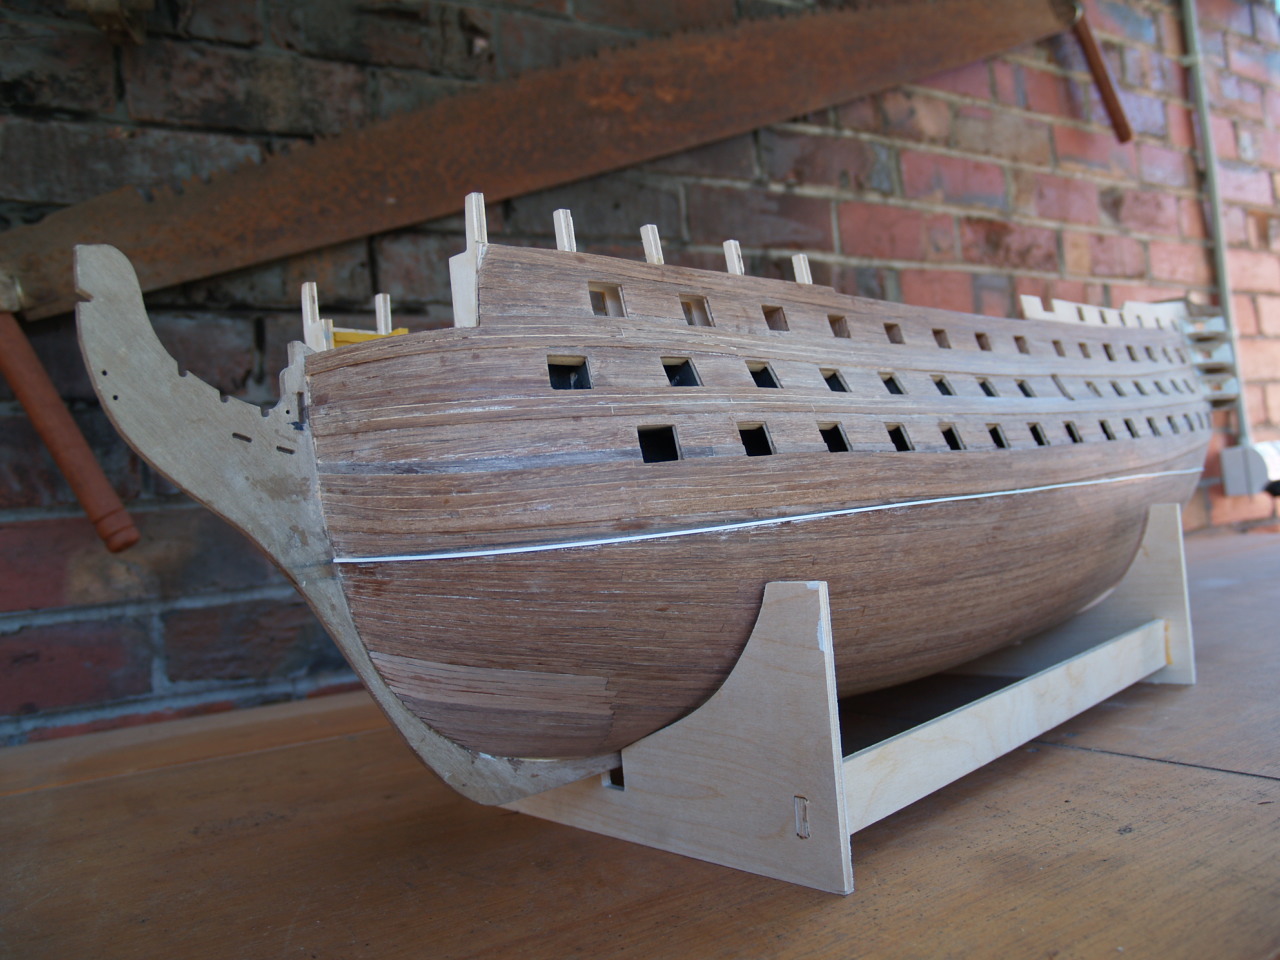
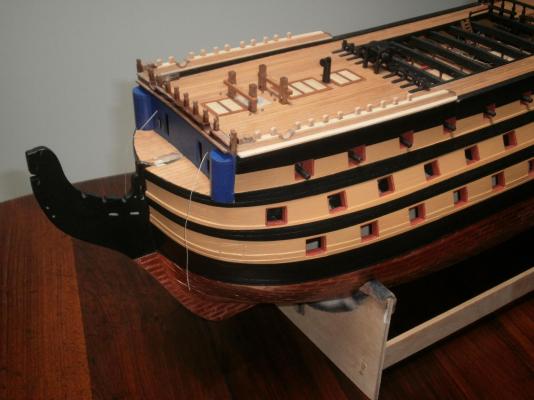
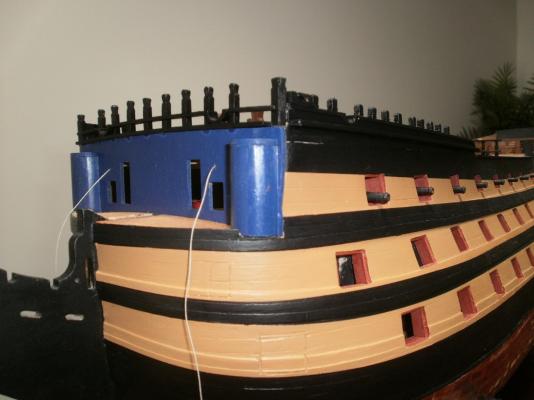
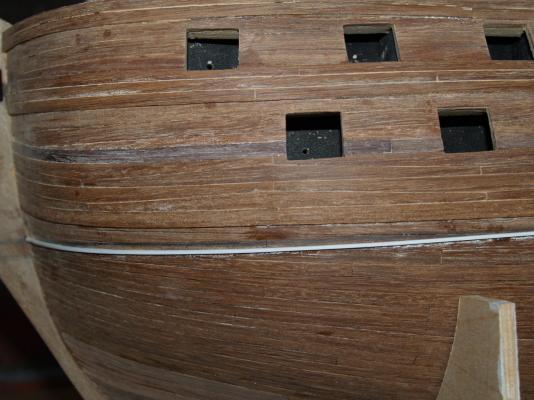
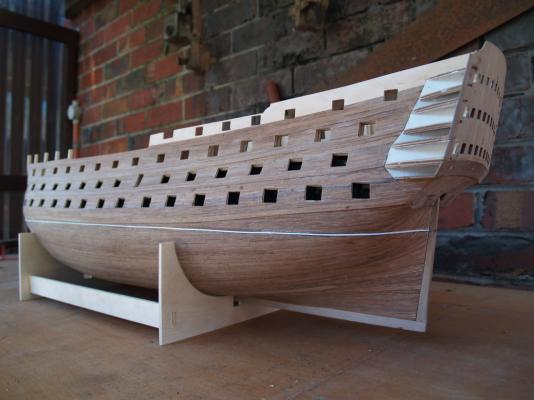
A little more progress to report. The wales have been added and the water line is marked. The lower (main) wale has been laid in Anchor Stock planking as per Longridge who states that First Rate ships had the Main Wale in Anchor Stock planking as this was the strongest type of planking to use.

- 85 replies
-
- 1
-
-
- finished
- caldercraft
- (and 1 more)
-
Can't wait to see your method for installing breech ropes. When you fitted the breech rings to the guns did you glue them or drill holes and insert eyelets into the gun? I am just about to line the gun ports so am following your methods very closely. Regards Gary