captgino
-
Posts
620 -
Joined
-
Last visited
Content Type
Profiles
Forums
Gallery
Events
Everything posted by captgino
-
 Just caught up to your build. Nicely done and great craftsmanship.
 -
Hi Zoltan, Well... I looked around on the plan and documentation and I was not able to confirm which size to use 3/16 or 1/4. Since I used 1/4 for the first layer, I decided to use this one as well. I like the look of it. Does it seem too big?
- 194 replies
-
- 3
-

-
- armed virginia sloop
- model shipways
- (and 1 more)
-
Started to work on the second planking
- 194 replies
-
- 6
-
-
- armed virginia sloop
- model shipways
- (and 1 more)
-
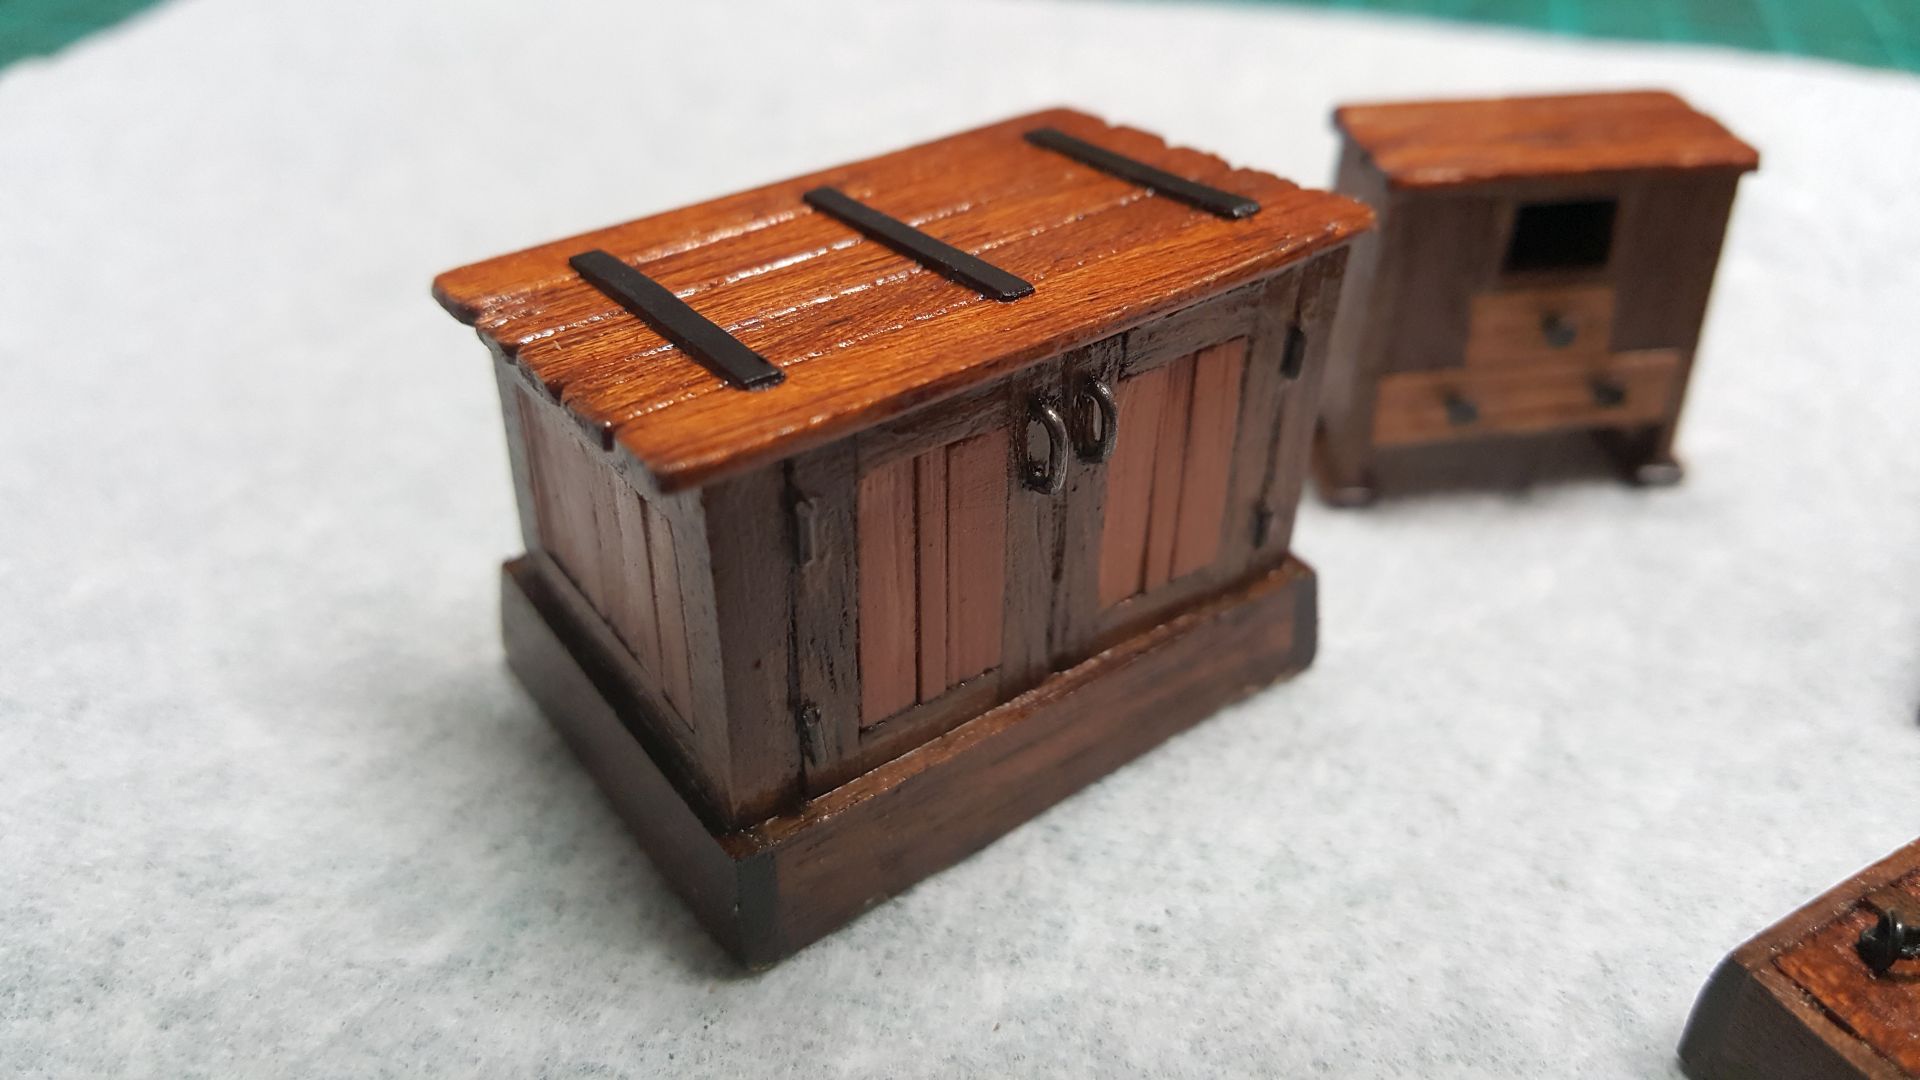
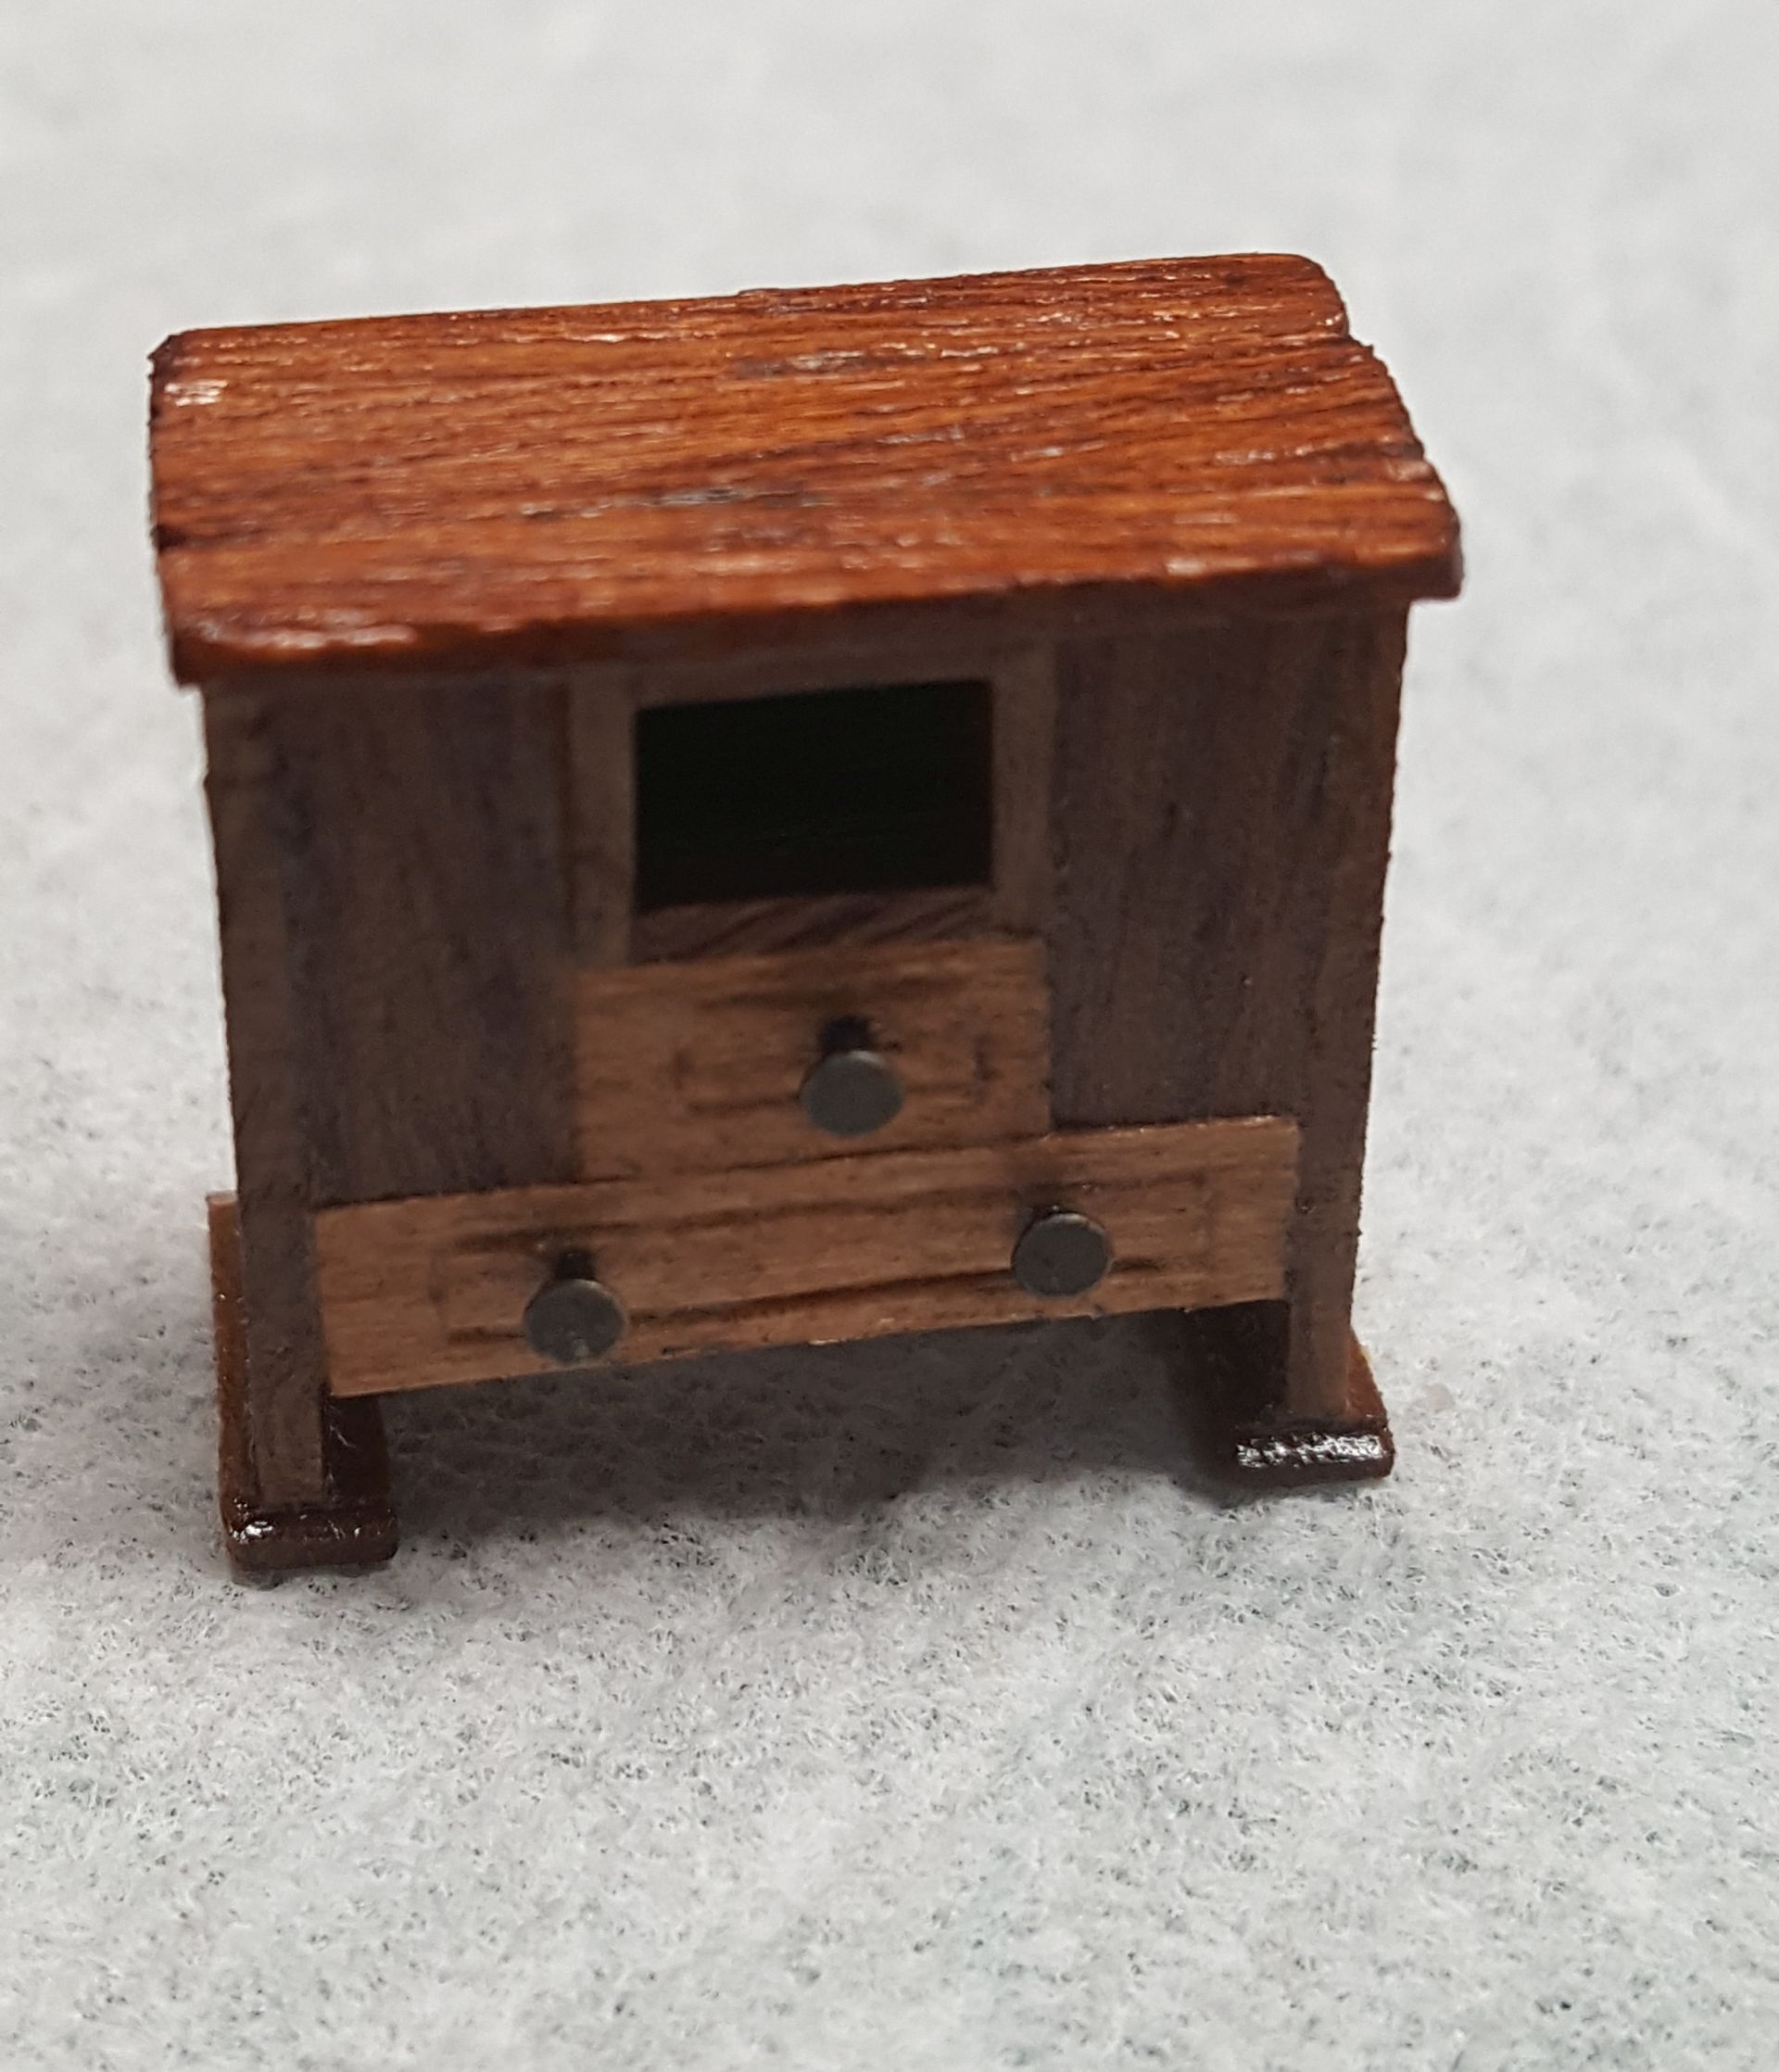
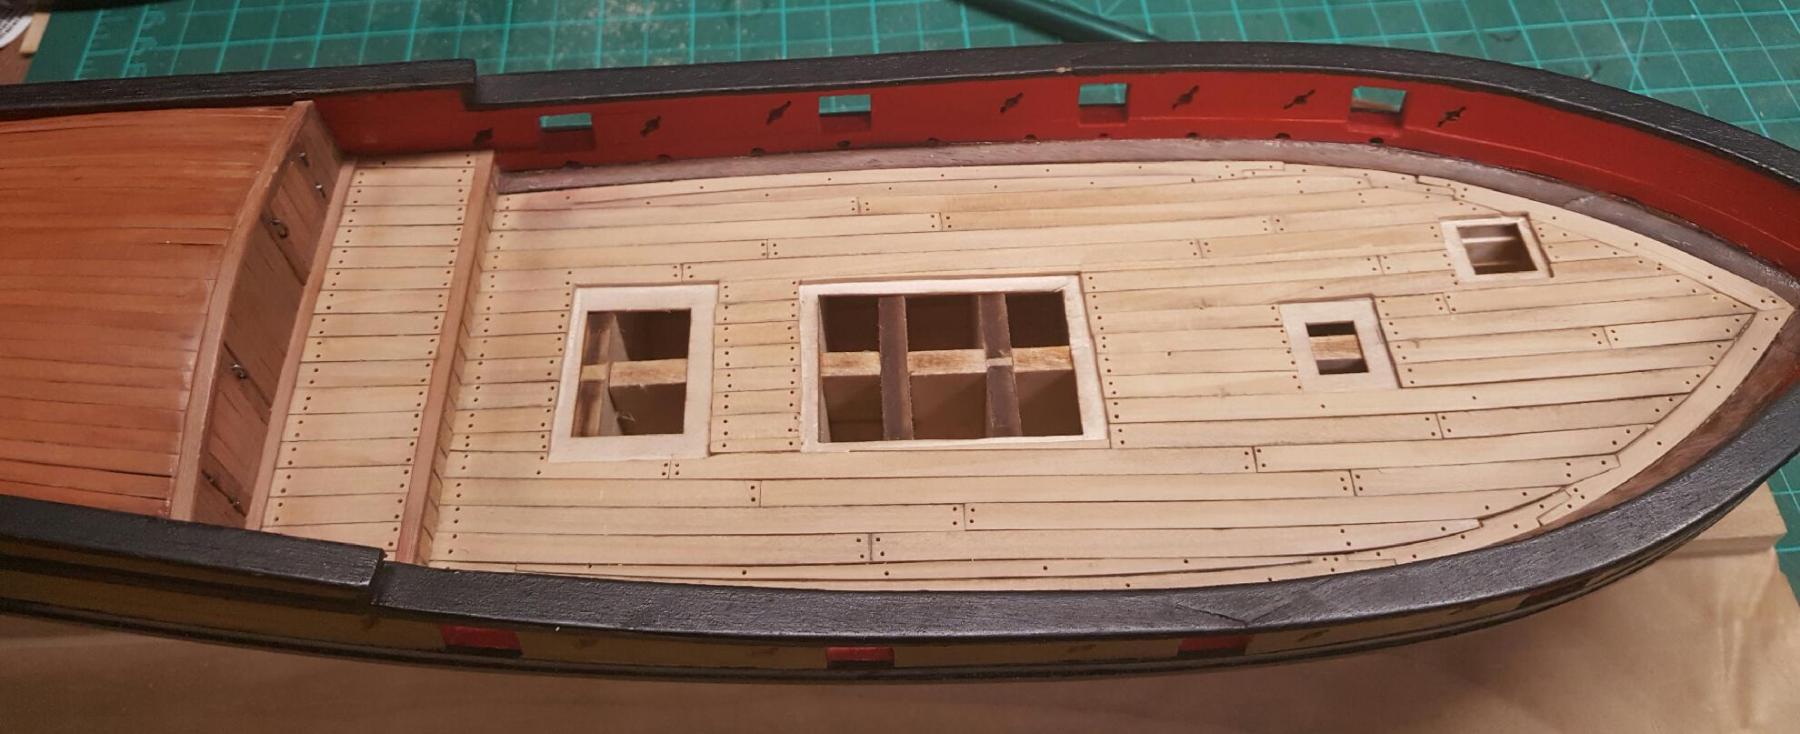
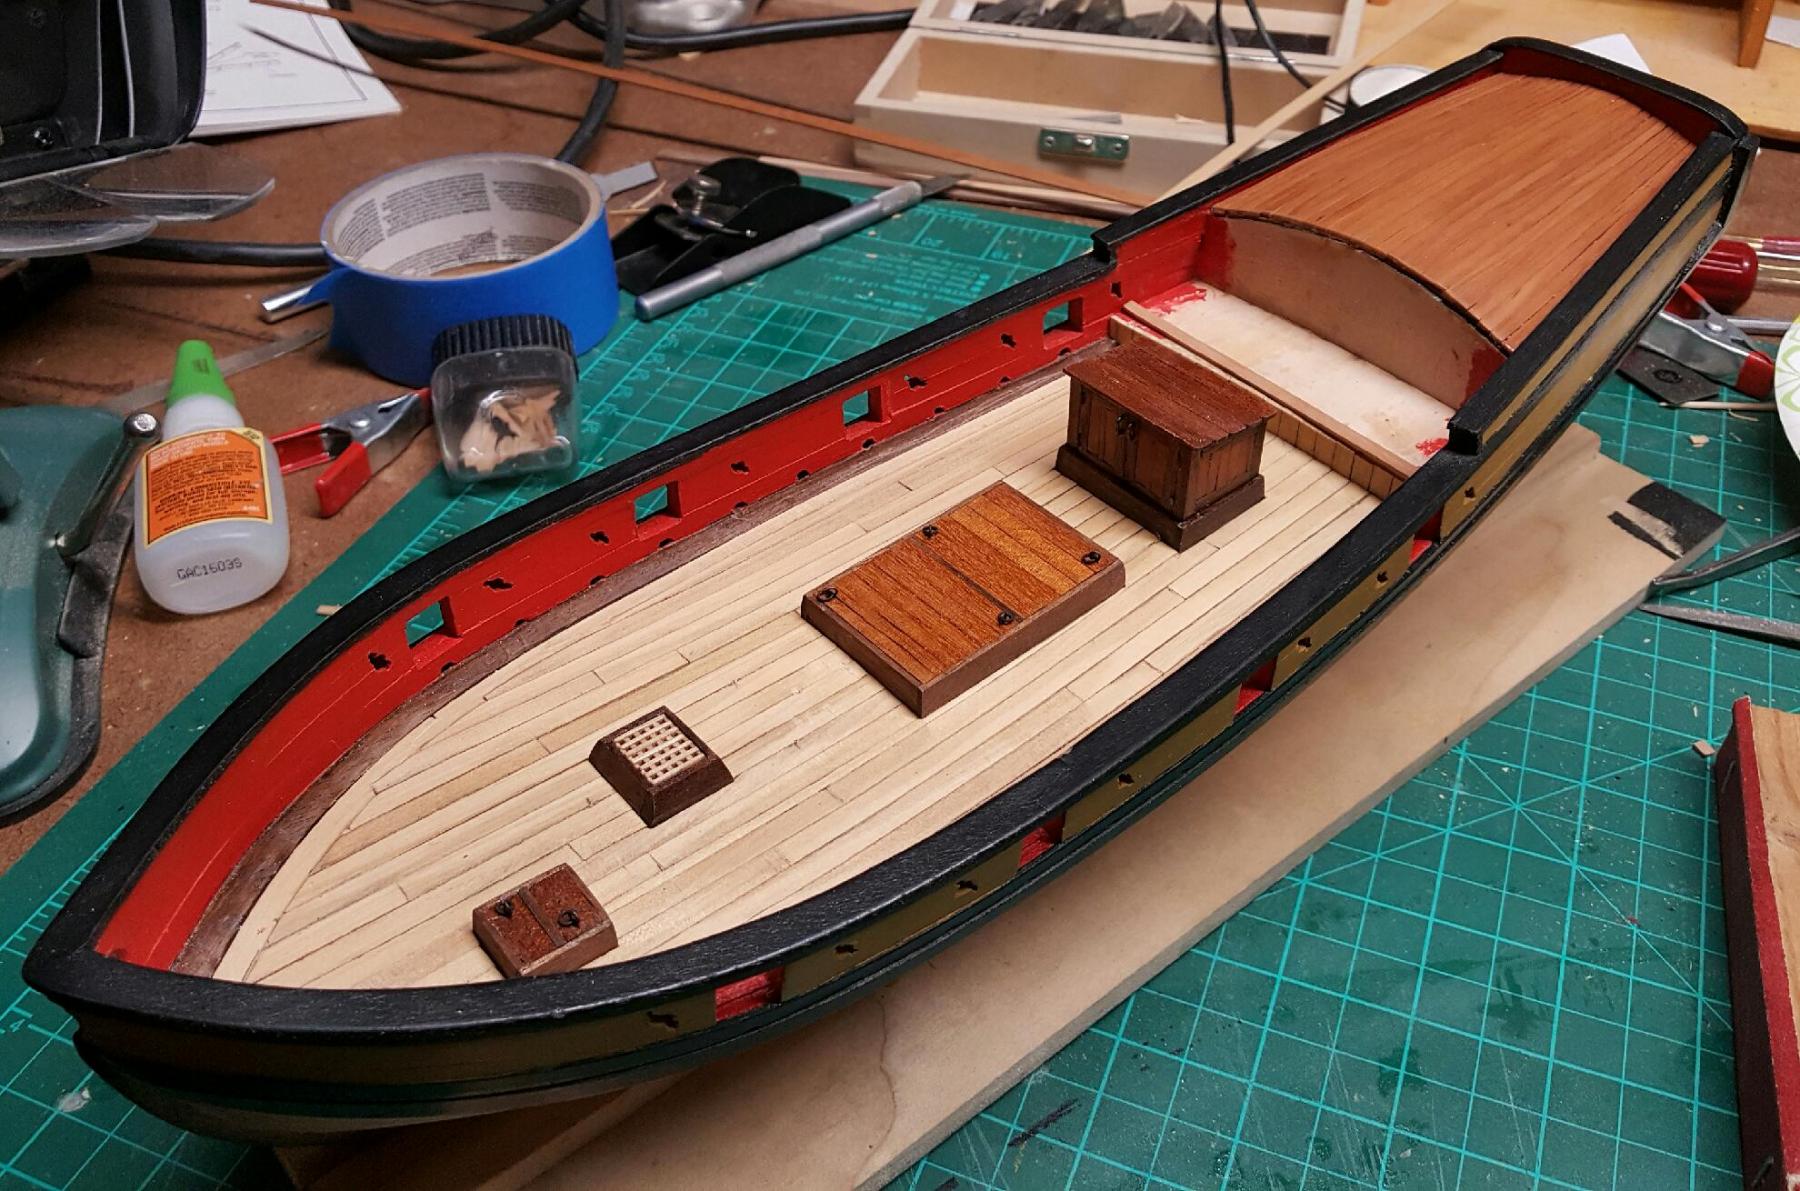
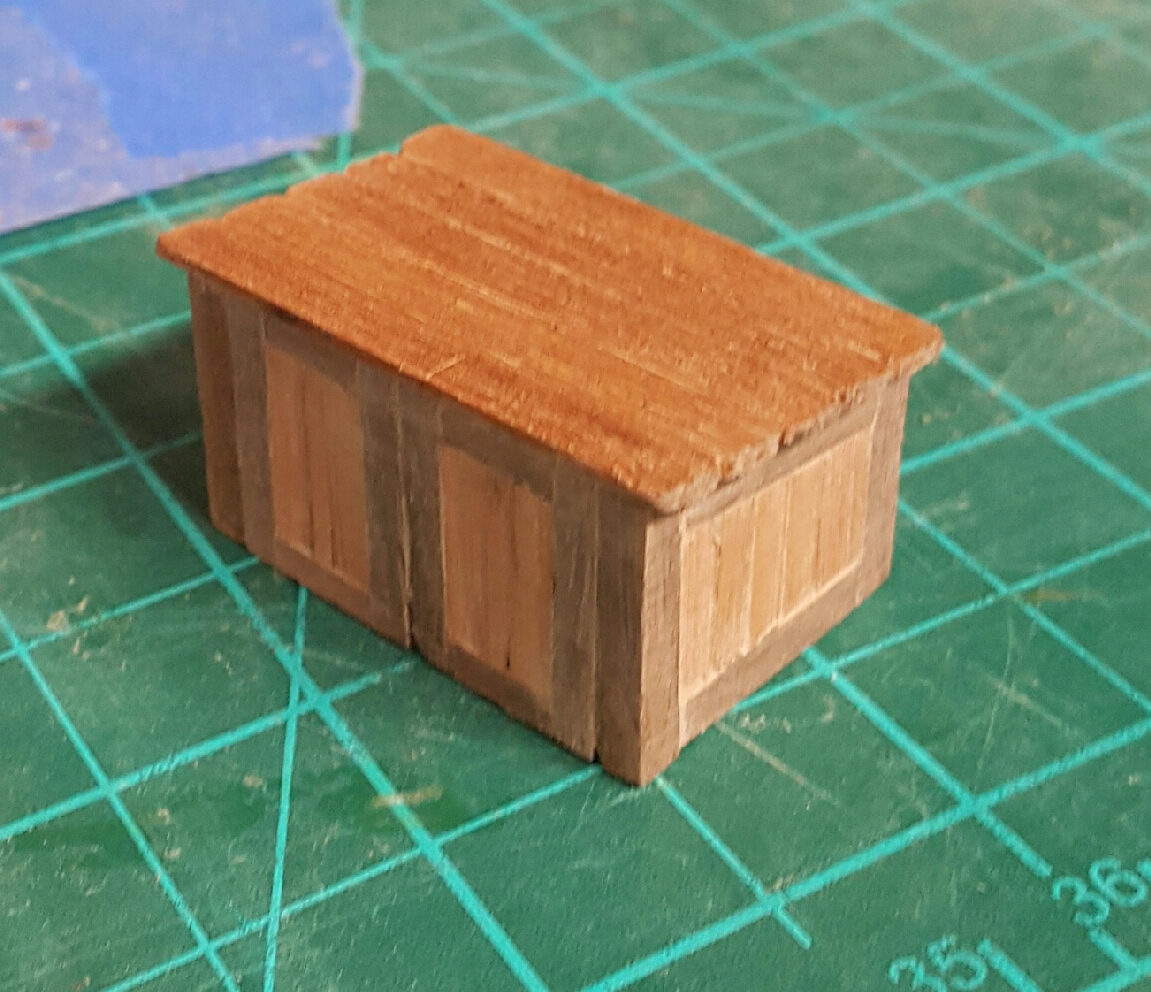
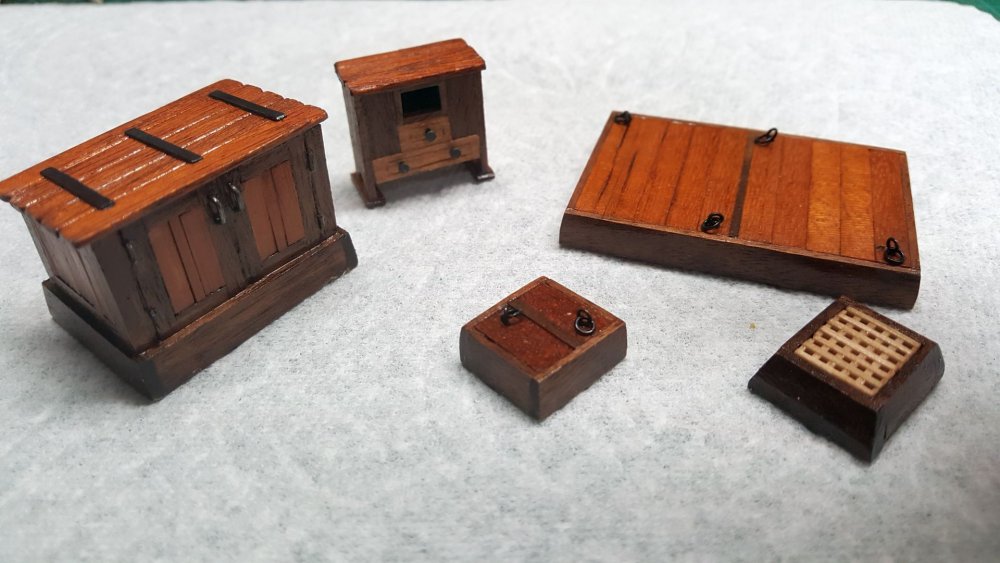
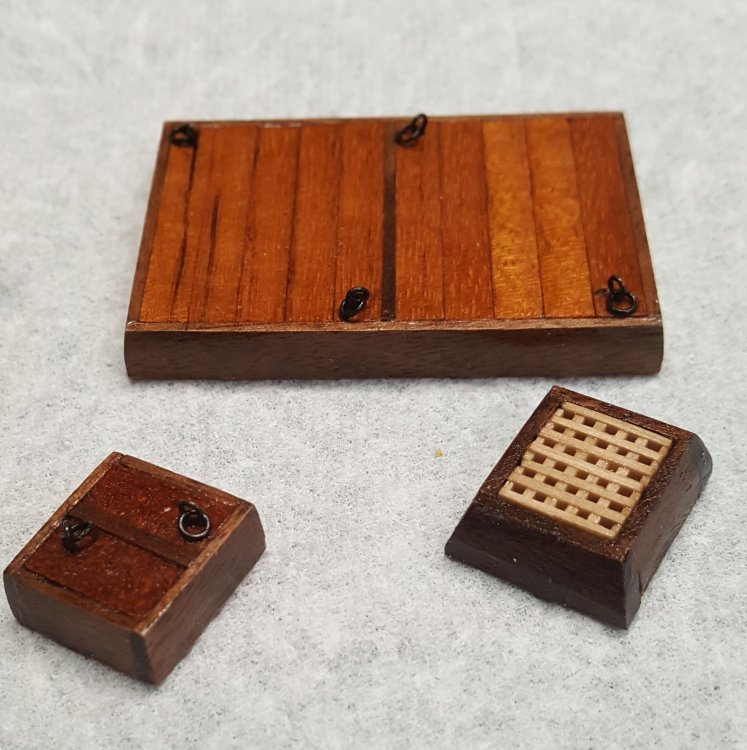
Finished the deck furniture and the deck treenailing process.


- 194 replies
-
- 7
-
-
- armed virginia sloop
- model shipways
- (and 1 more)
-
Thank you, Larry. I will bring it to our next club meeting for close-up inspection
- 194 replies
-
- 1
-
-
- armed virginia sloop
- model shipways
- (and 1 more)
-
Good eyes Brian. I saw it after posting the picture. It would have driven me crazy. I had also put all the tool away...
- 194 replies
-
- 3
-
-
- armed virginia sloop
- model shipways
- (and 1 more)
-
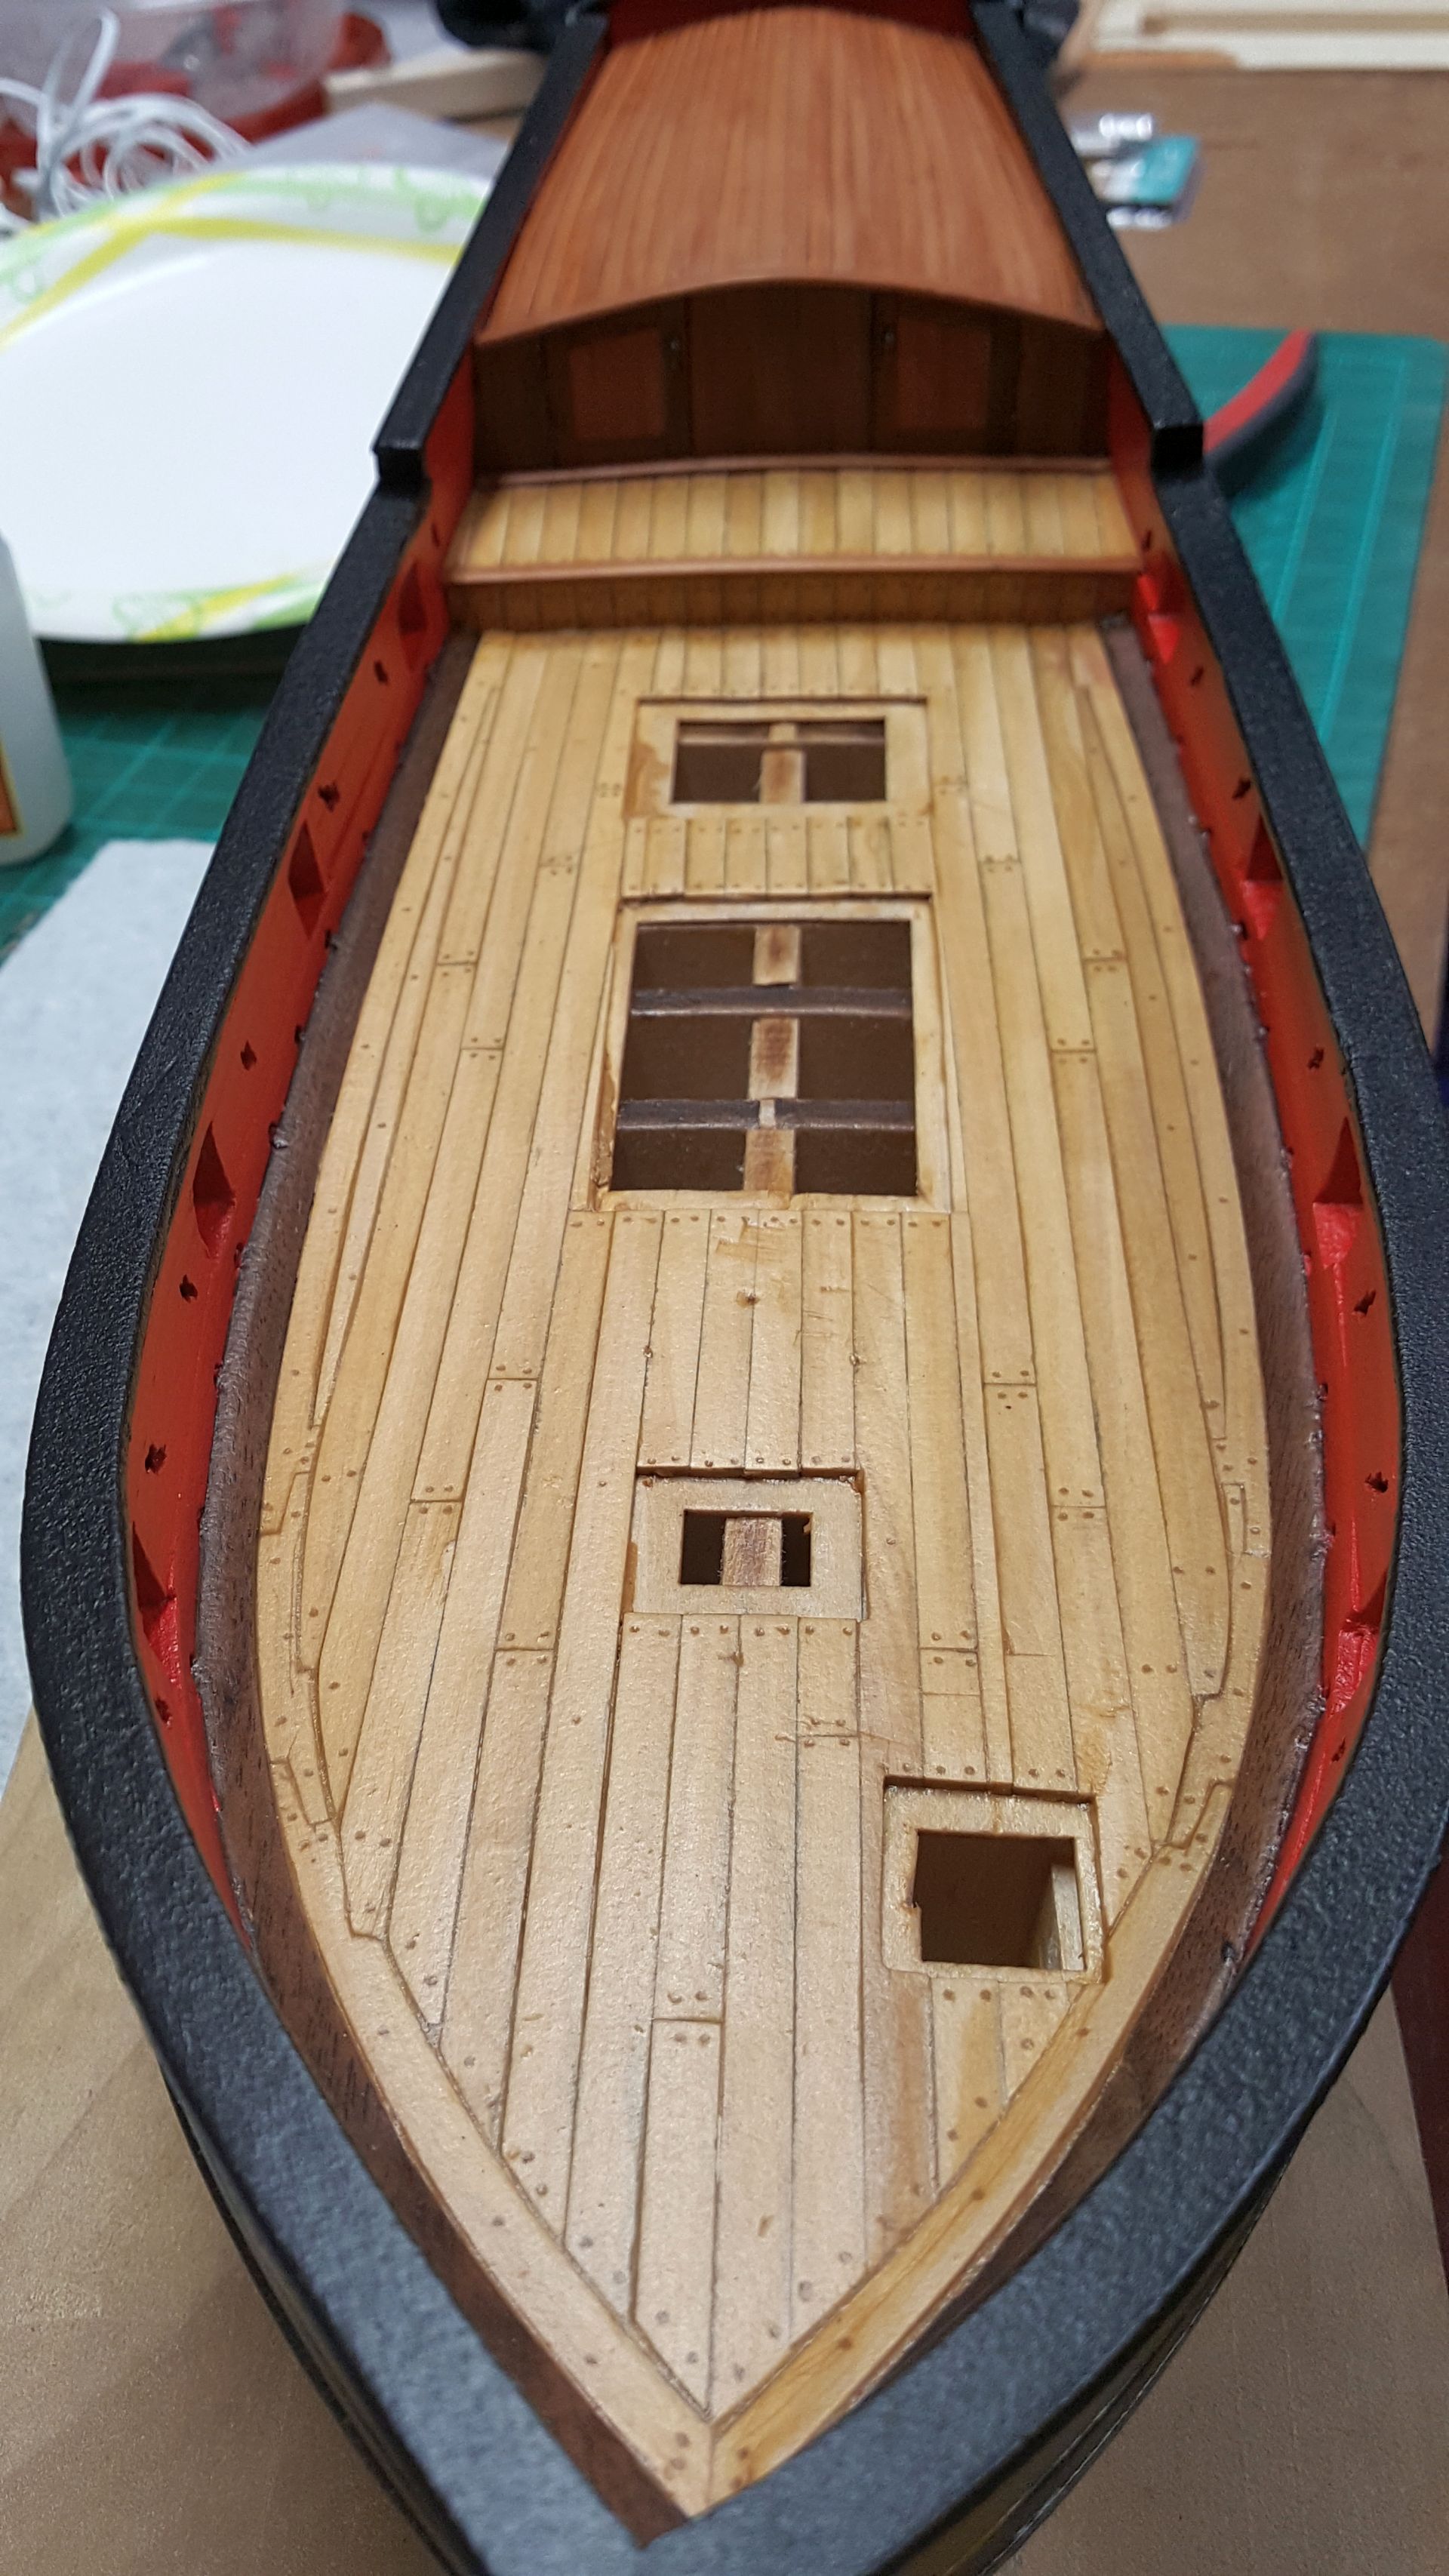
Préparation for treenailing.I got a bit crazy in some areas. Note for later no more free hand
- 194 replies
-
- 5
-
-
- armed virginia sloop
- model shipways
- (and 1 more)
-
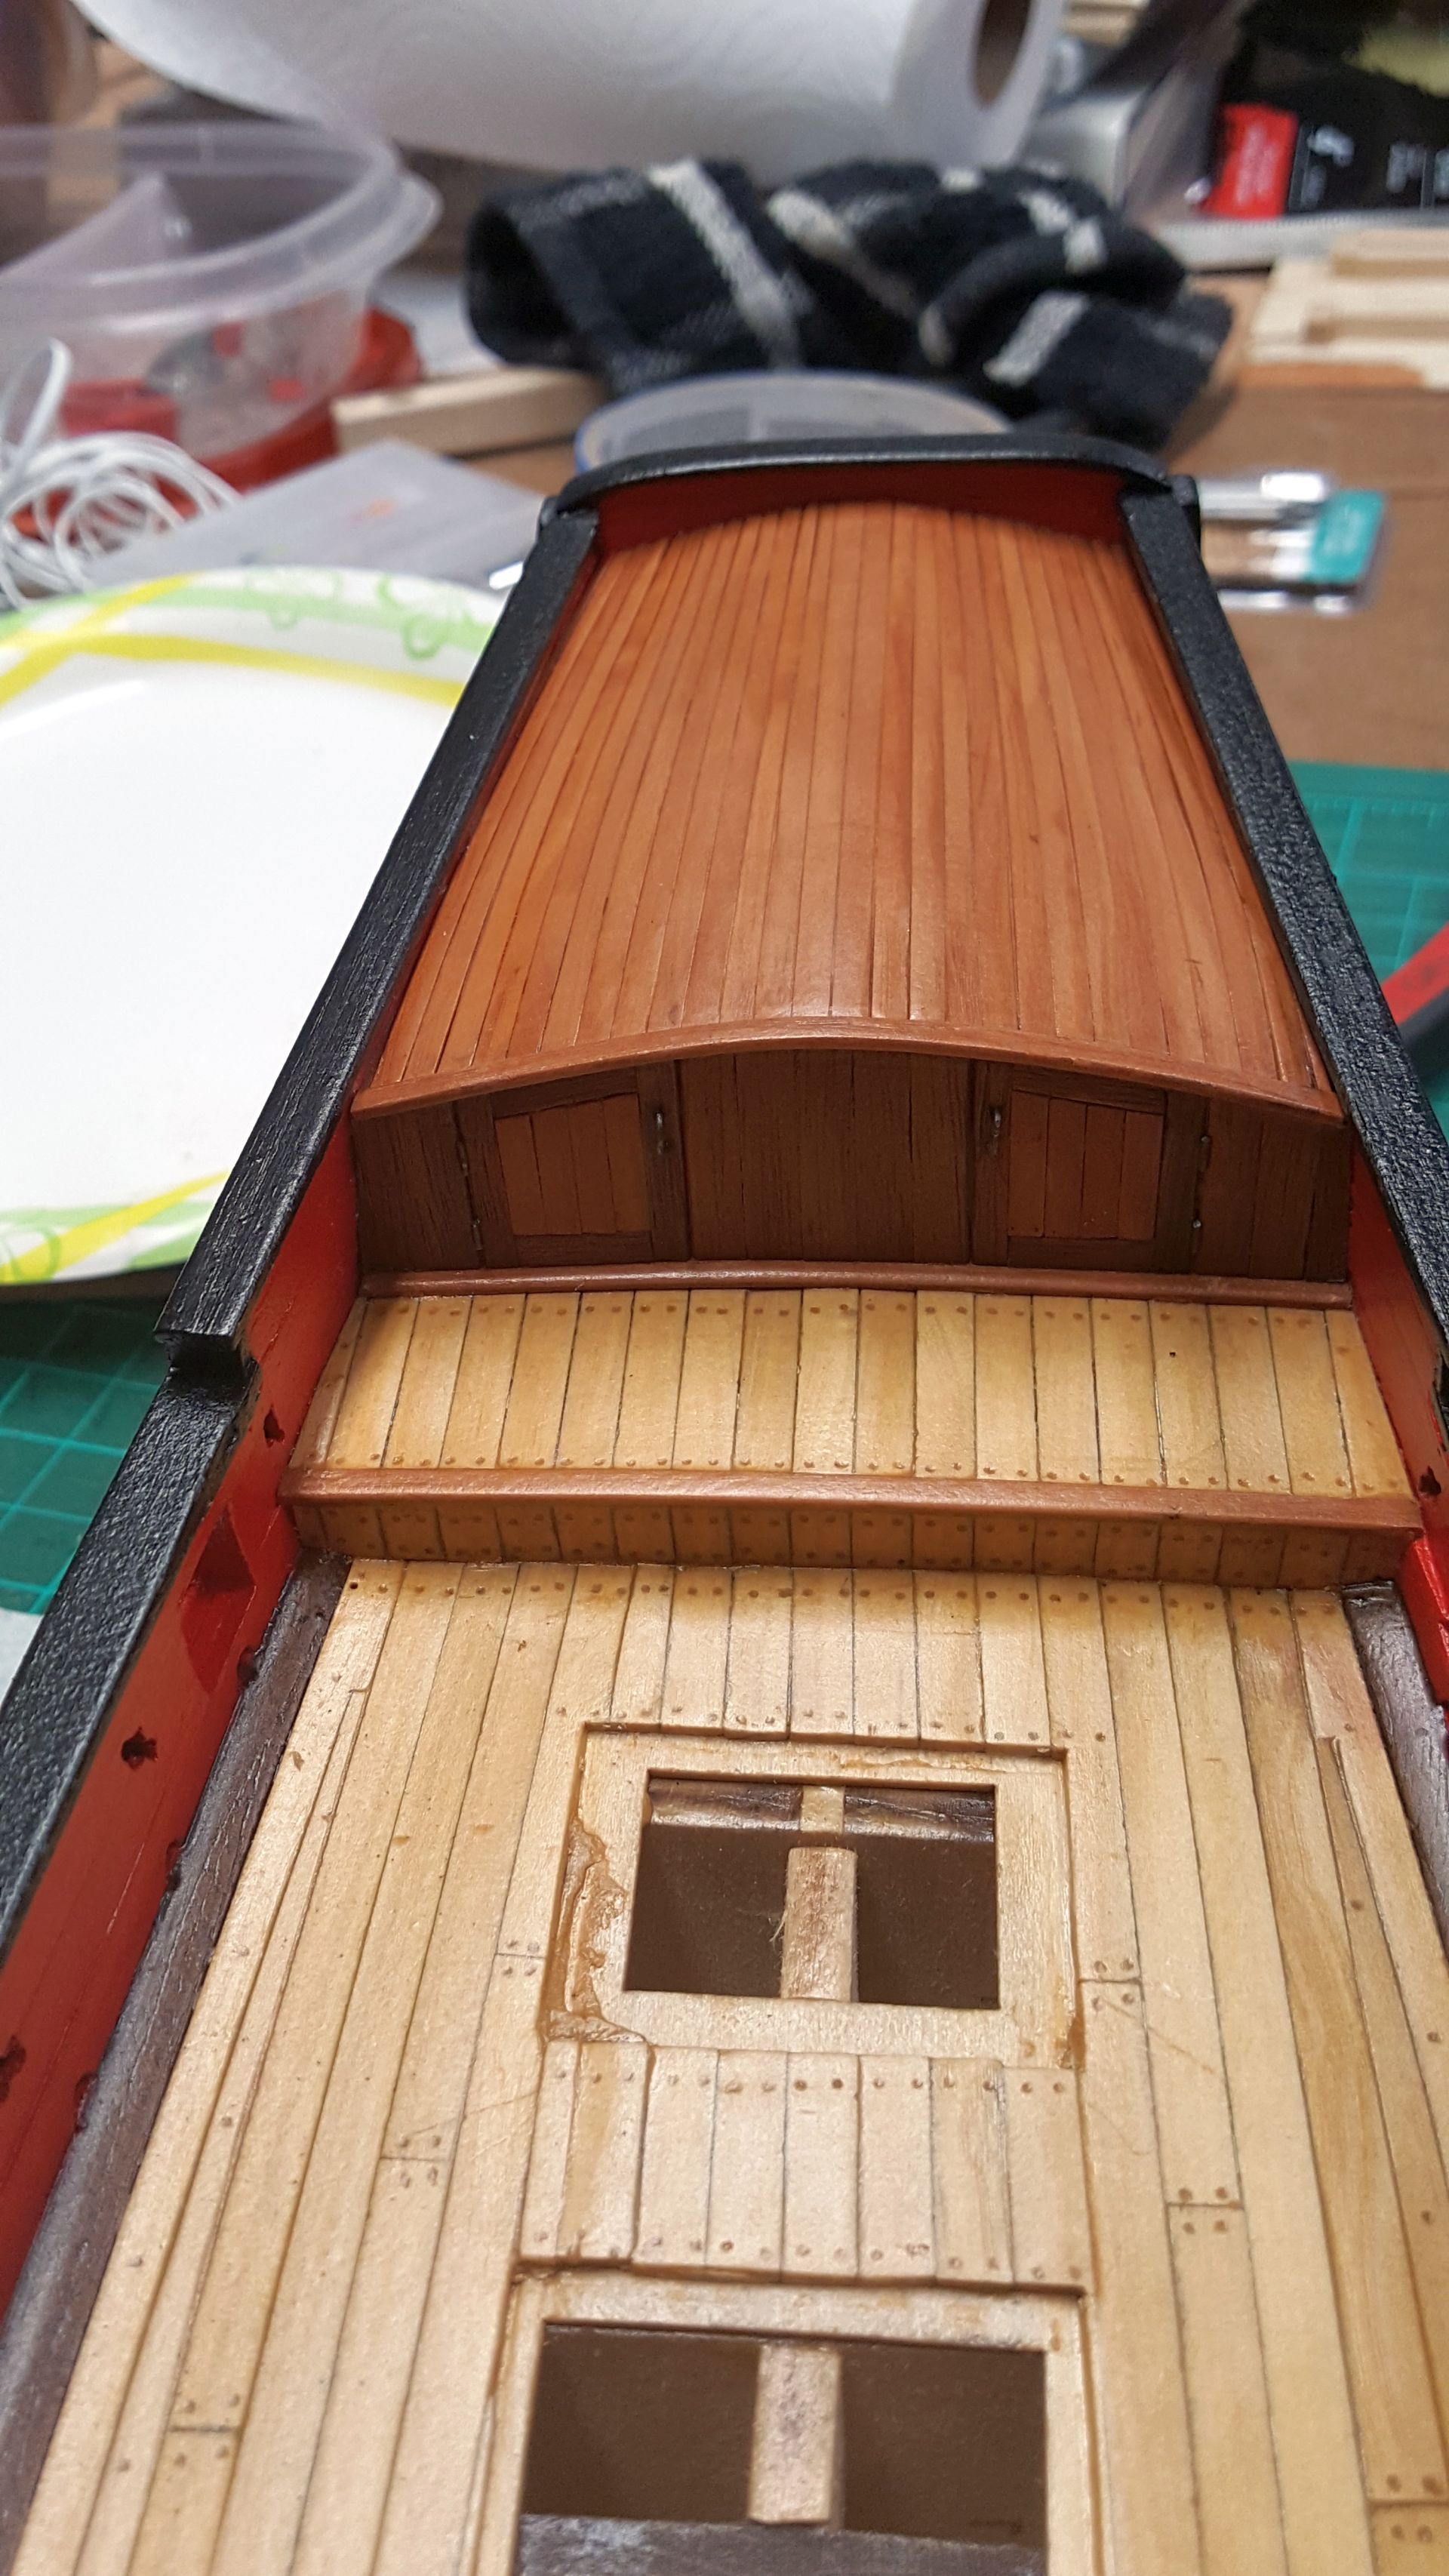
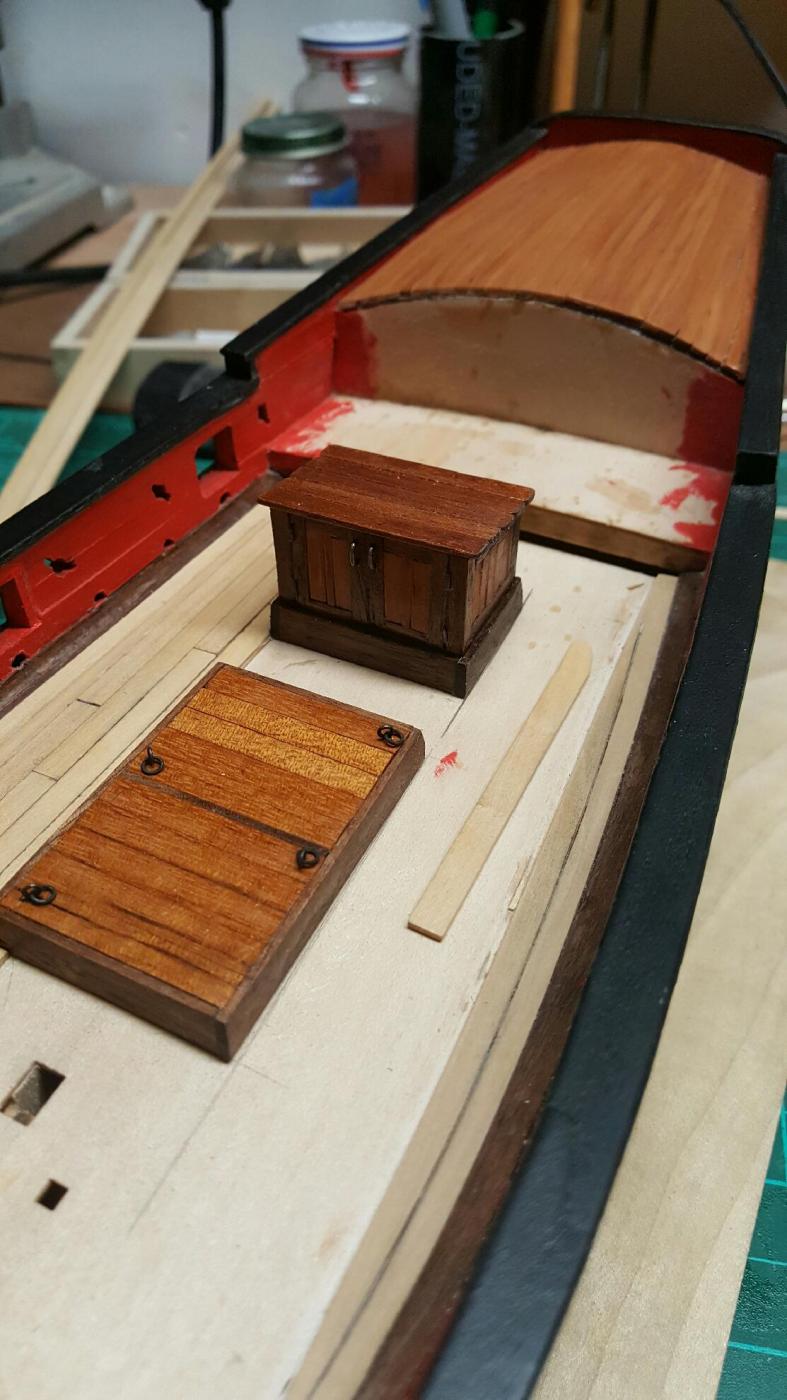
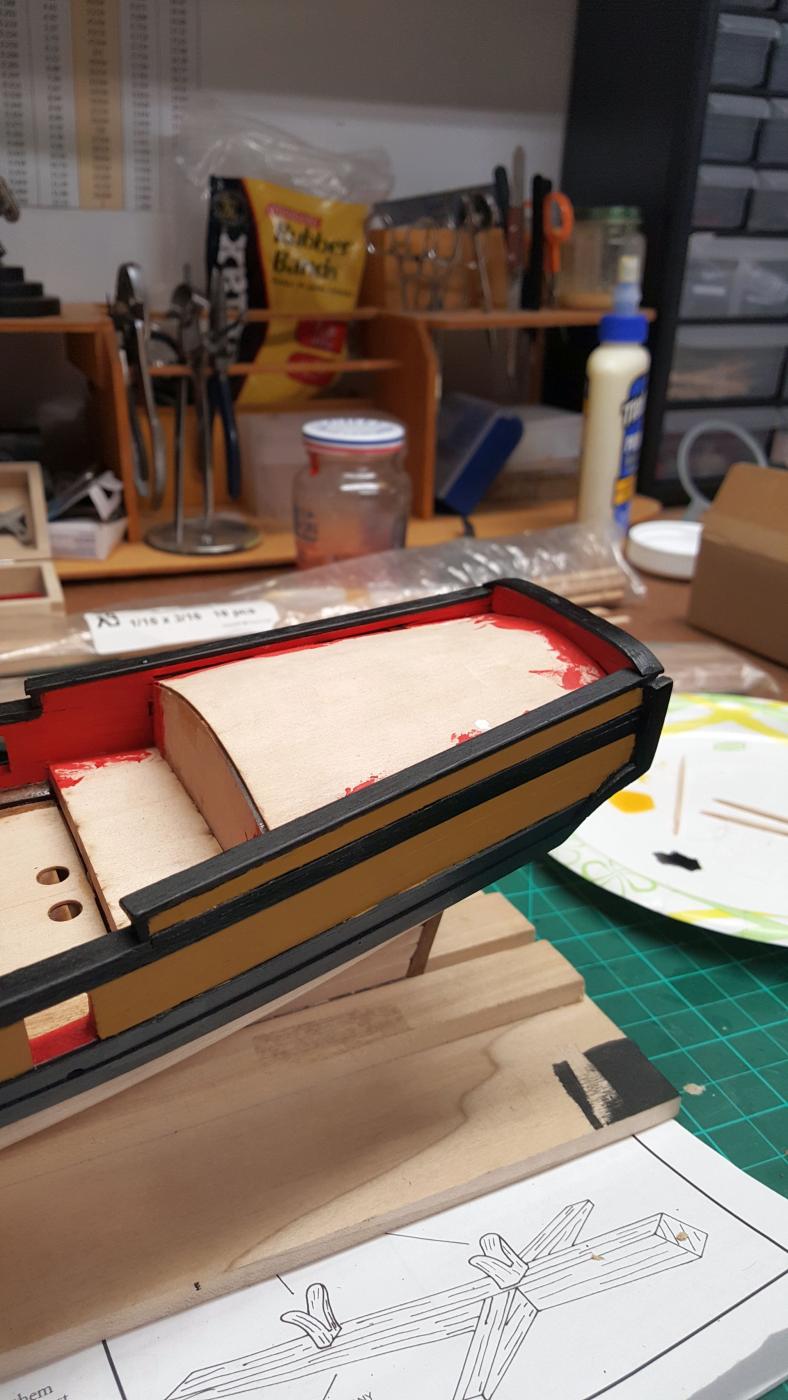
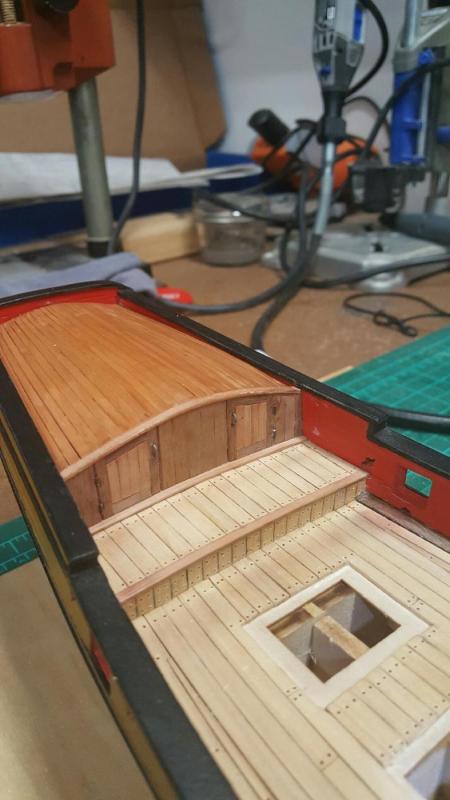
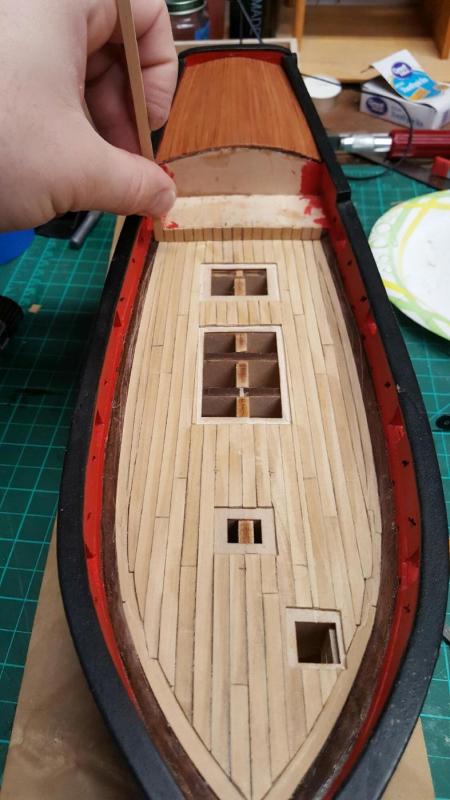
Worked on the cabin this weekend. Poop deck made with cherry wood. I use one coat of natural vernis on the top. I am going to wait for the rest until I finished the treenail. Love it.

- 194 replies
-
- 5
-
-
- armed virginia sloop
- model shipways
- (and 1 more)
-
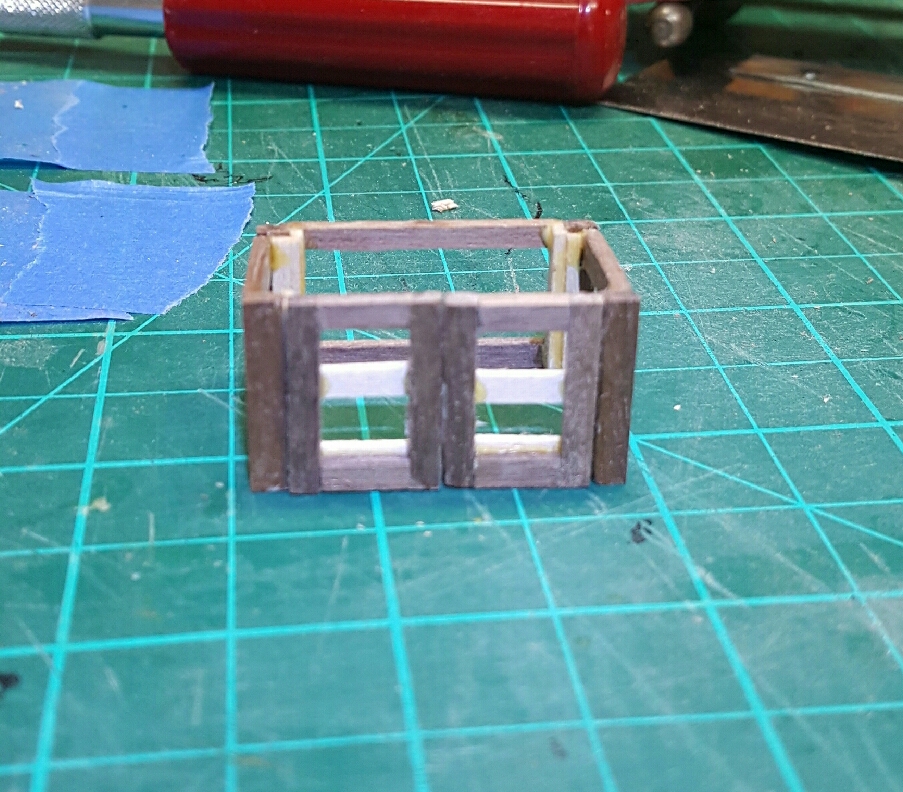
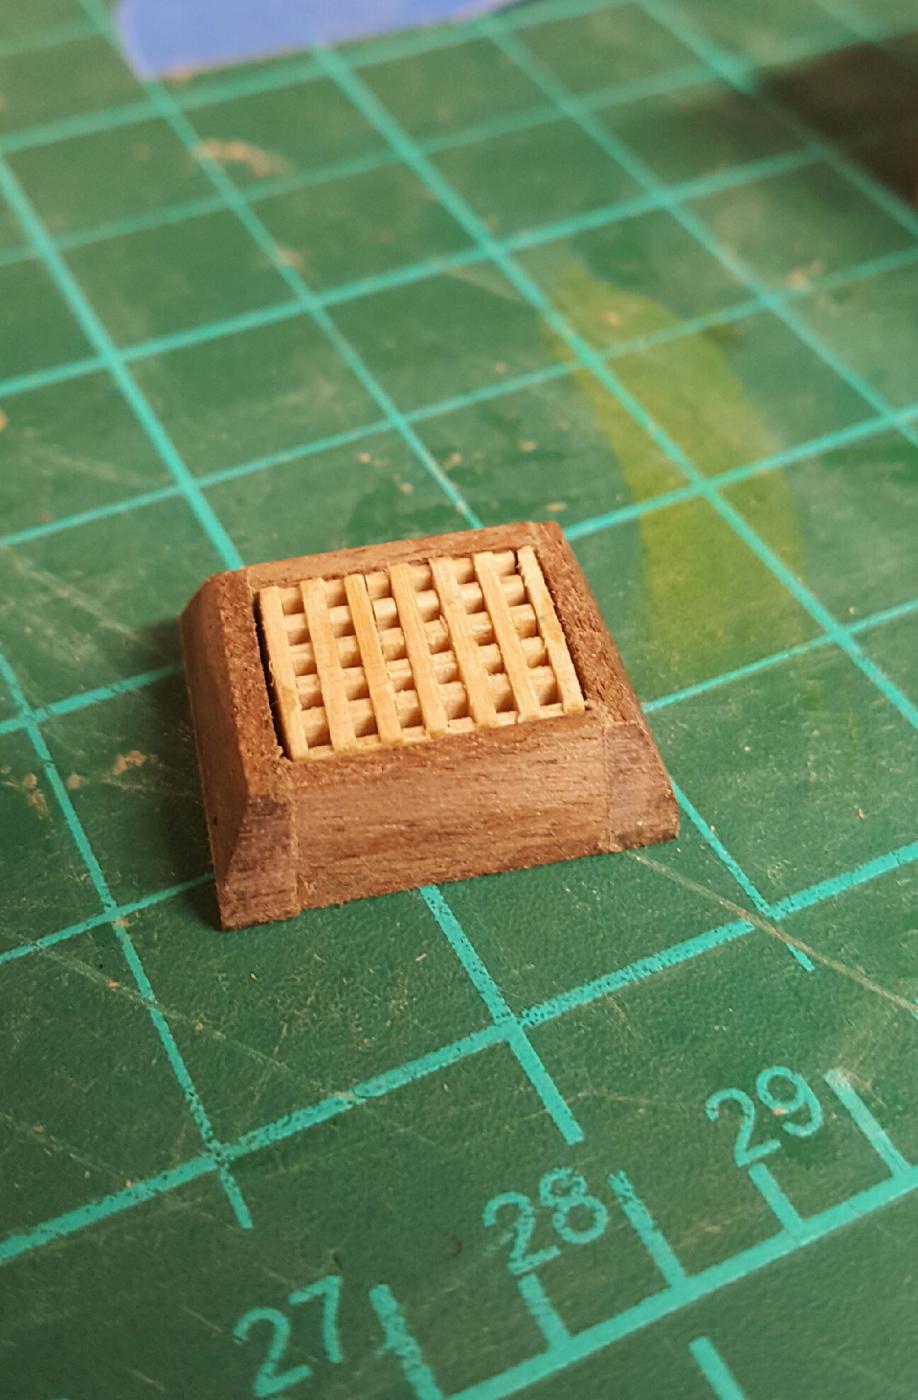
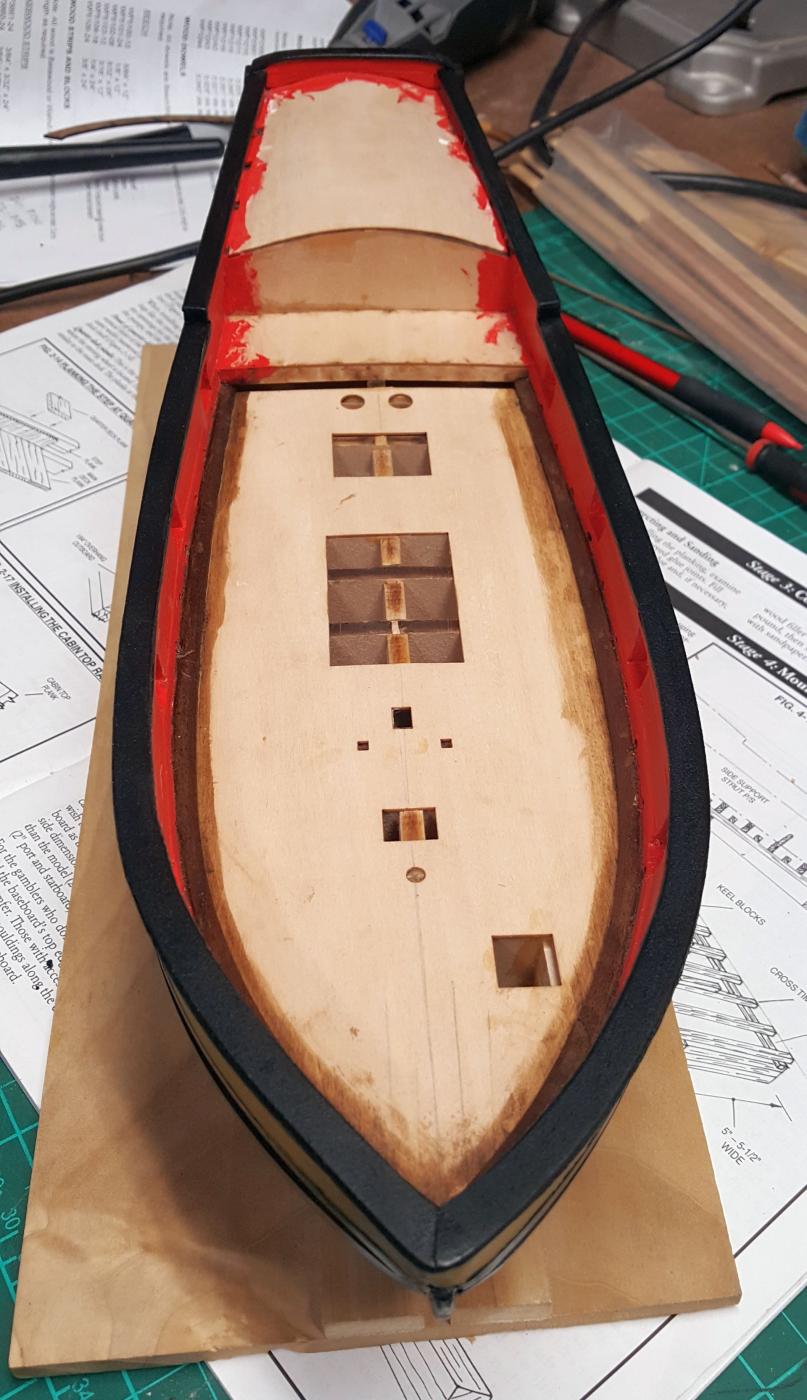
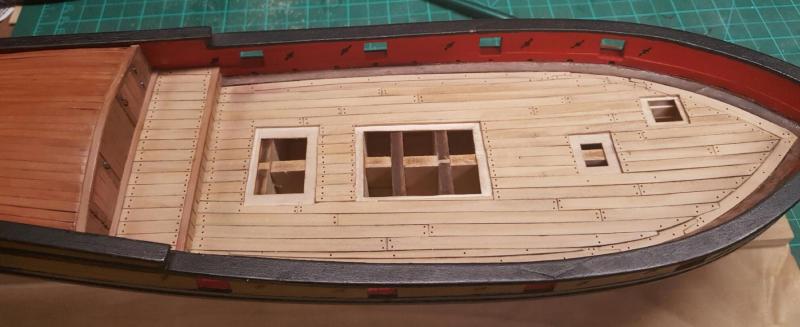
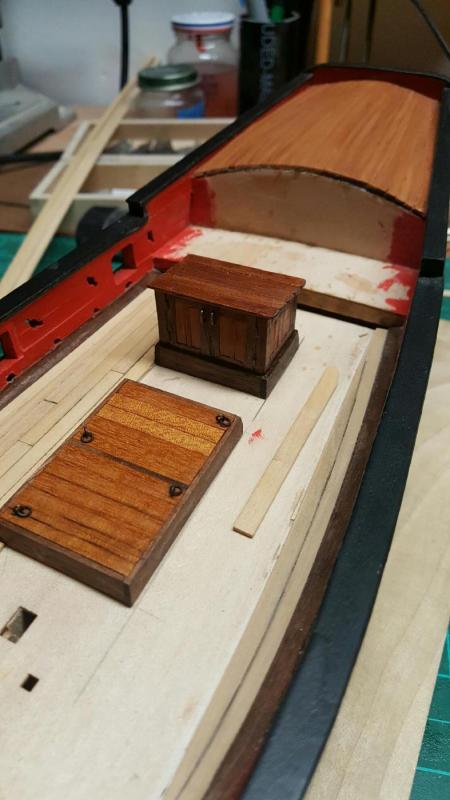
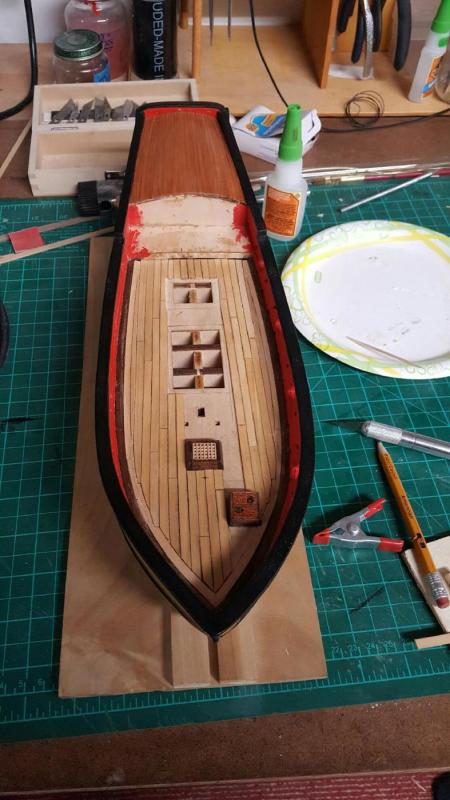
Almost done for the deck furnitures. I only need to do the fake hinges on the companionway. Thinking about doing fake rivets for it. Looks like I need to get a soldering iron... In the mean time I worked on the decking. I am using boxwood. A few mistakes. - My pattern is every 4 and with the size of the deck I think every 3 would have been better. - I did the first few planks with a small incorrect angle and with the width of the strip of wood used I am a bit off. I contemplated redoing everything but due to budgetany consideration I am going to have to live with it Still learning how to properly plank....

- 194 replies
-
- 6
-
-
- armed virginia sloop
- model shipways
- (and 1 more)
-
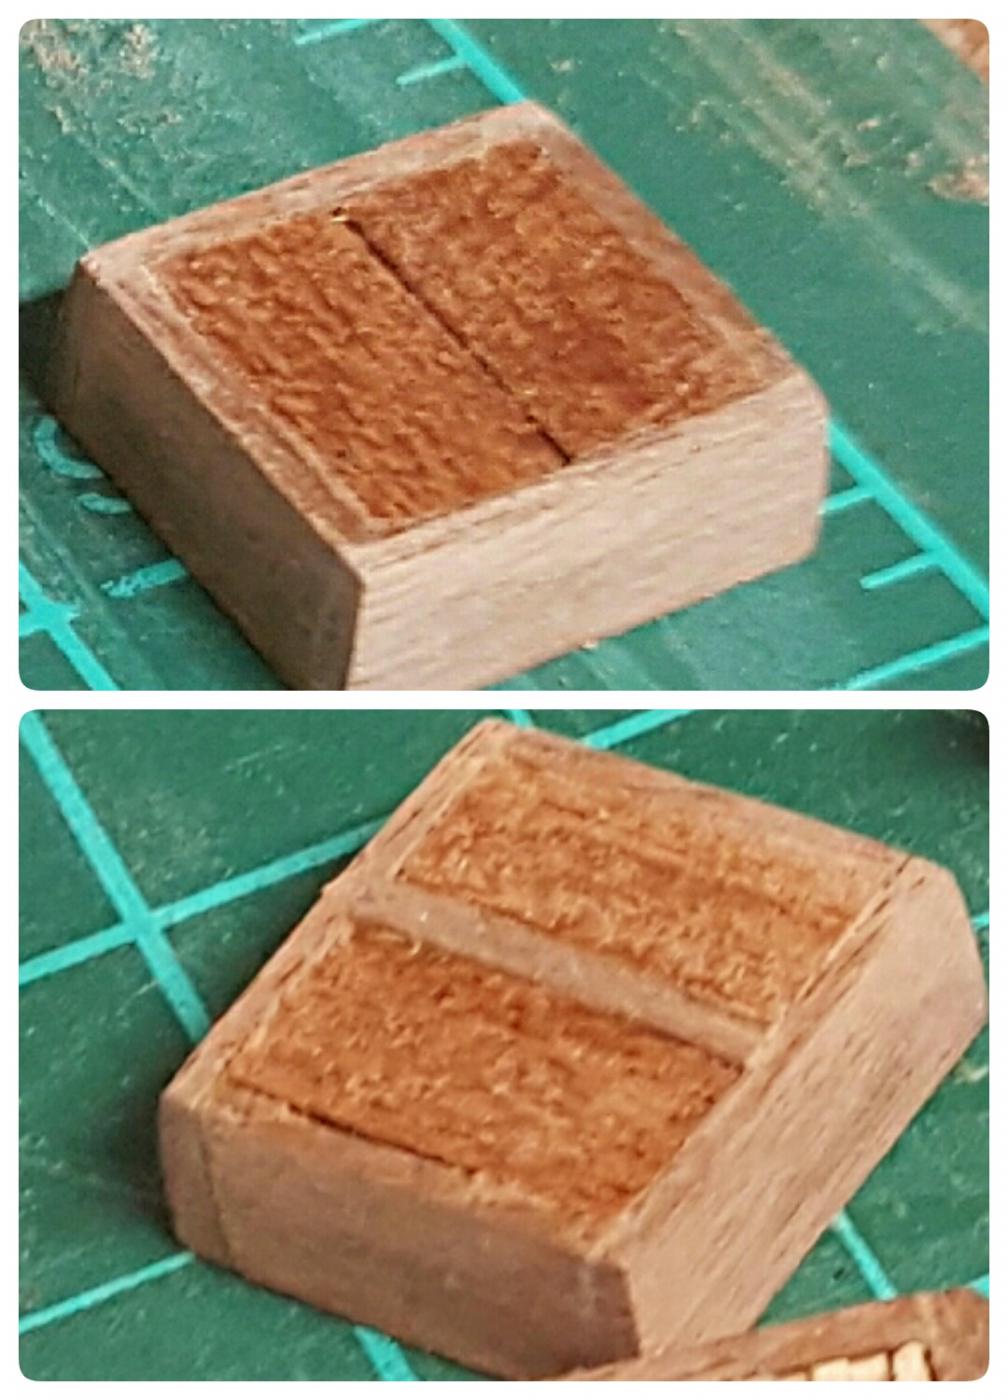
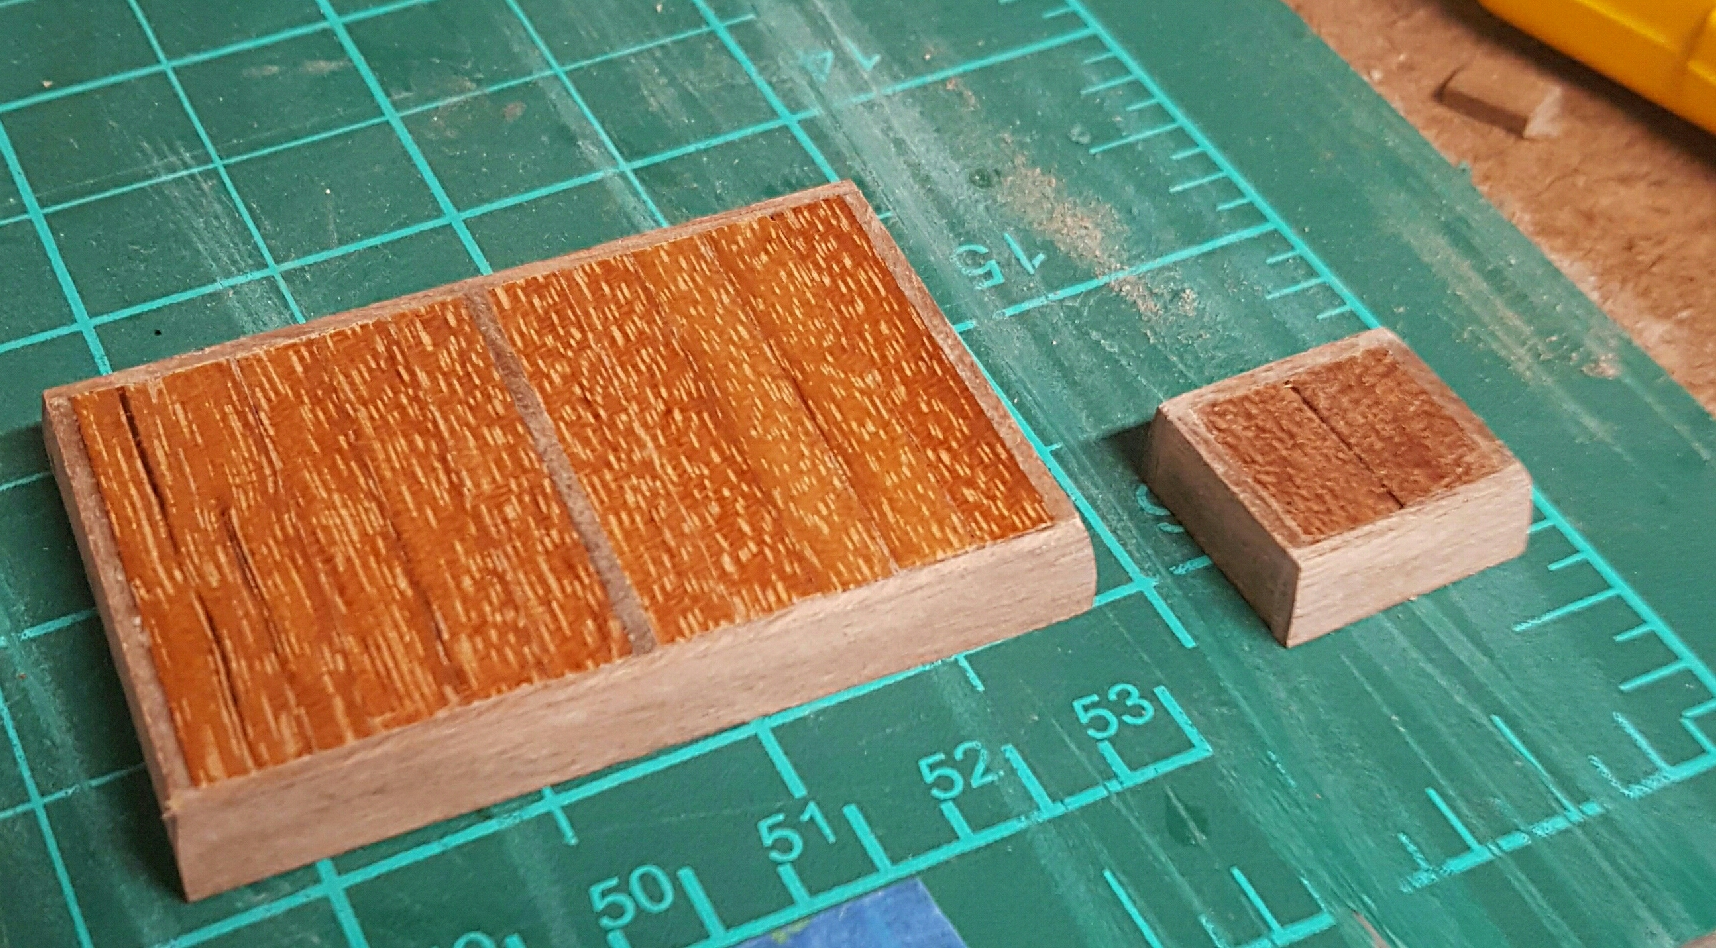
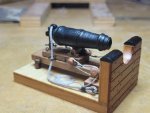
Back to the sphipyard... Worked on the deck Furnitures.


- 194 replies
-
- 5
-
-
- armed virginia sloop
- model shipways
- (and 1 more)
-
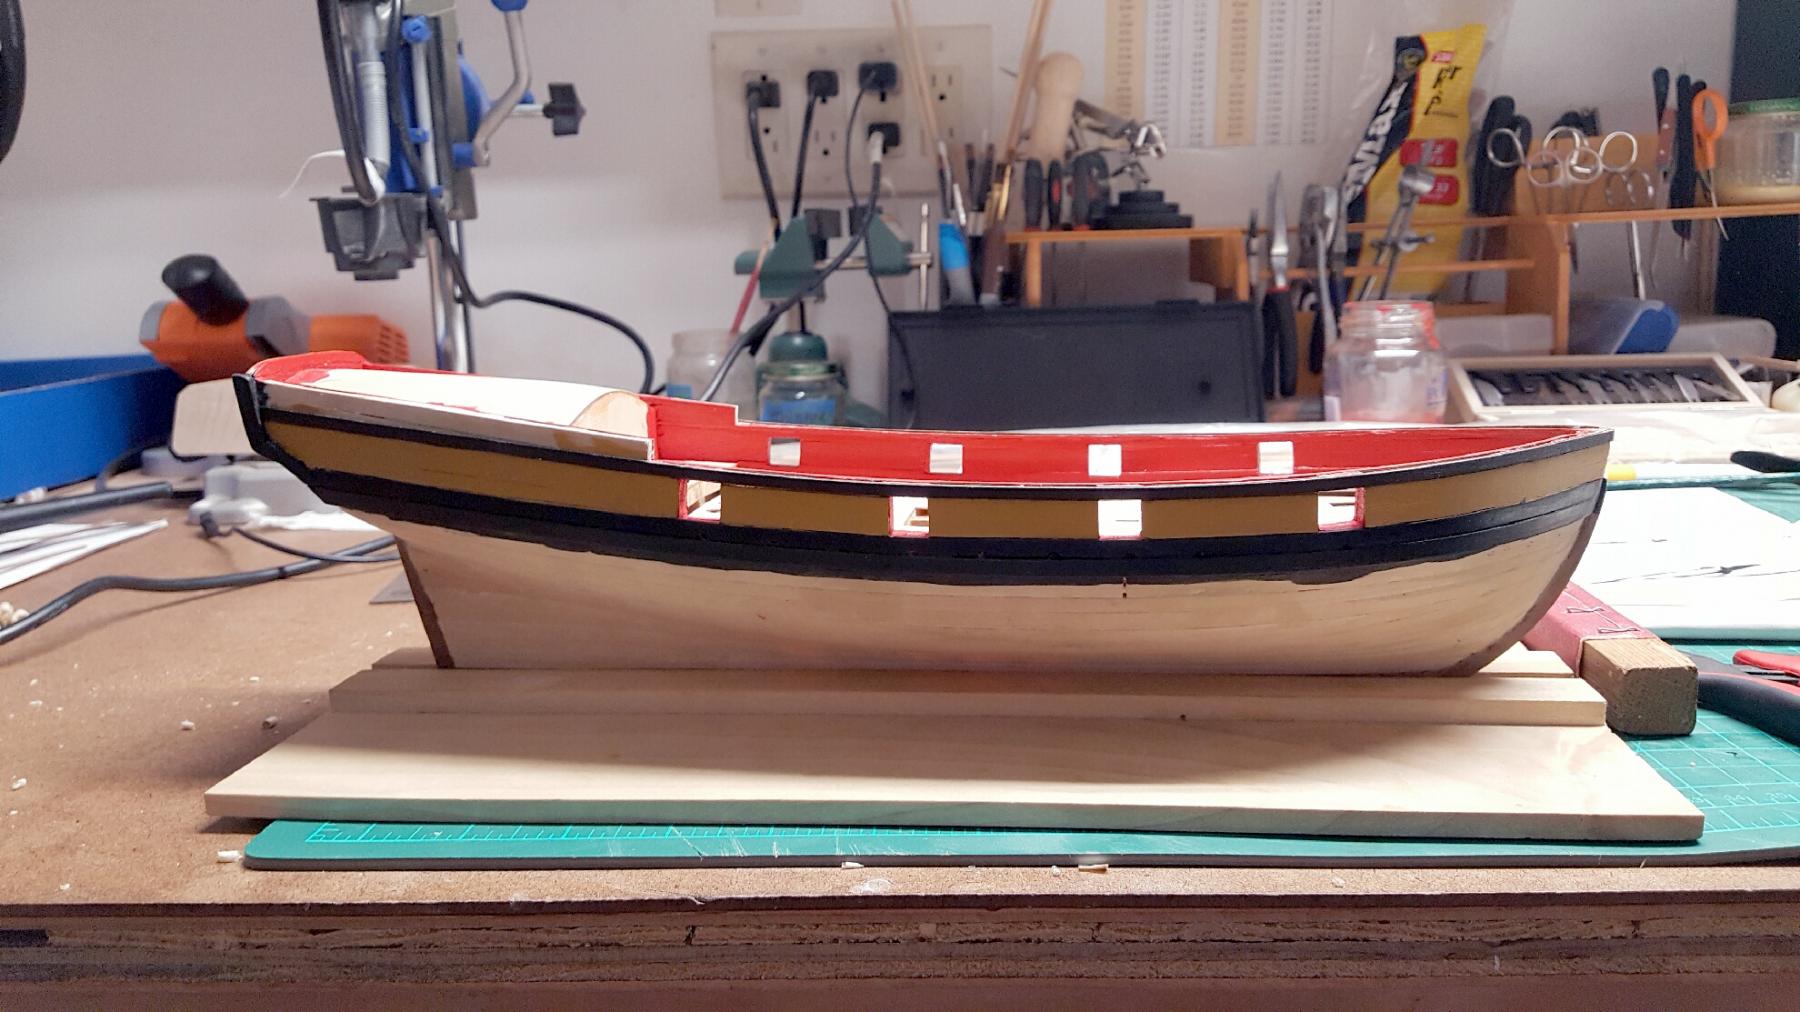
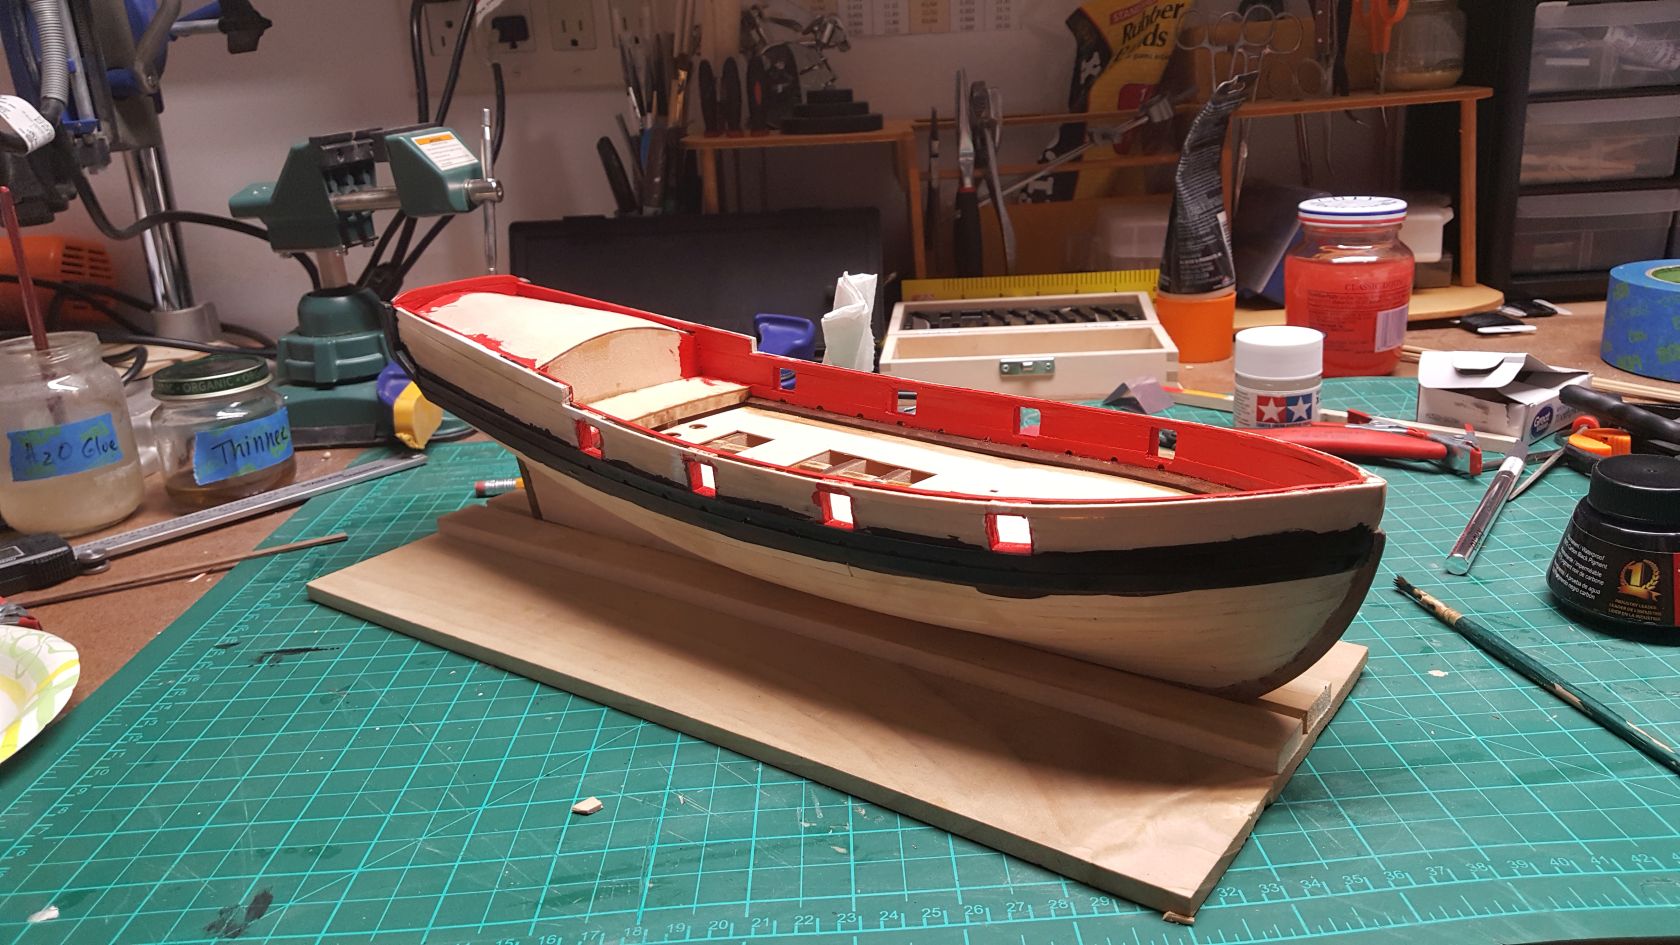
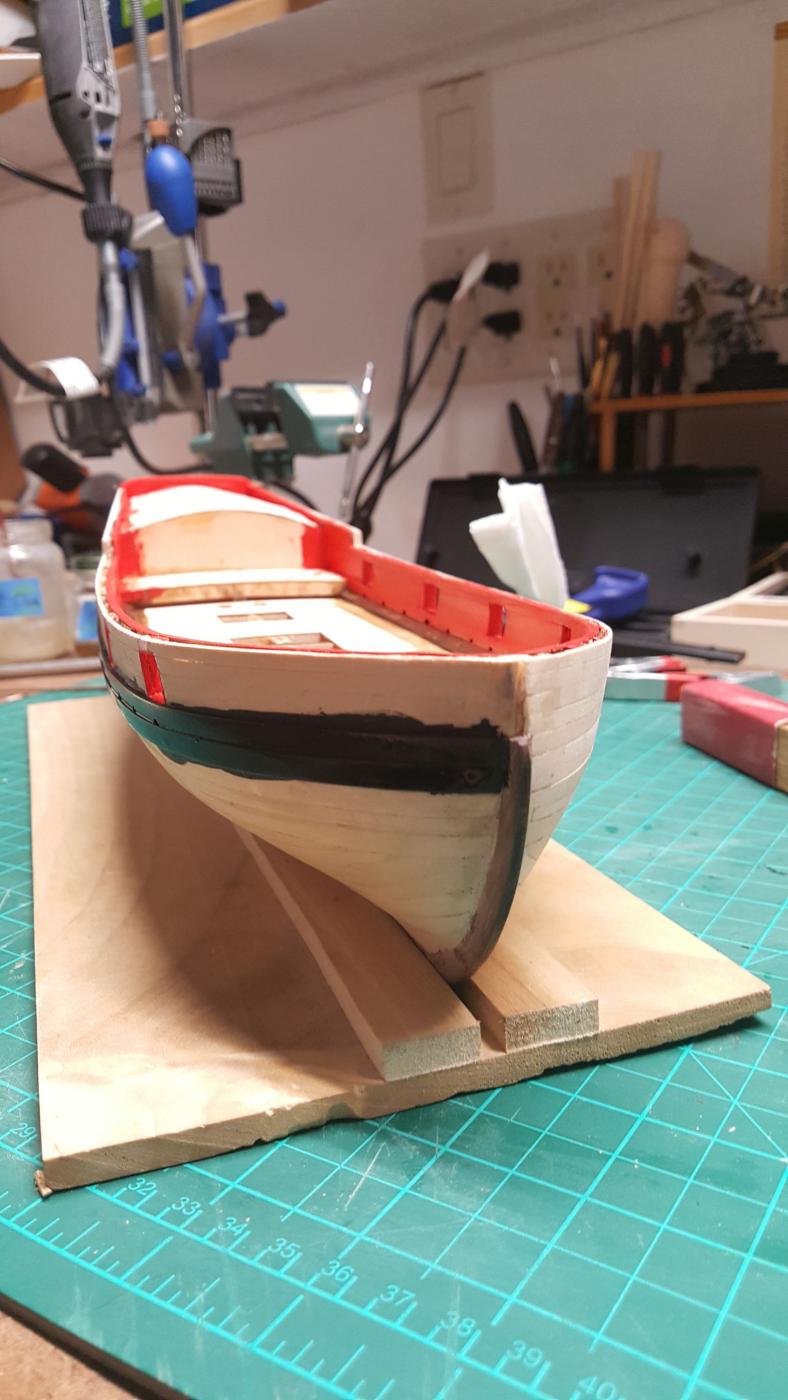
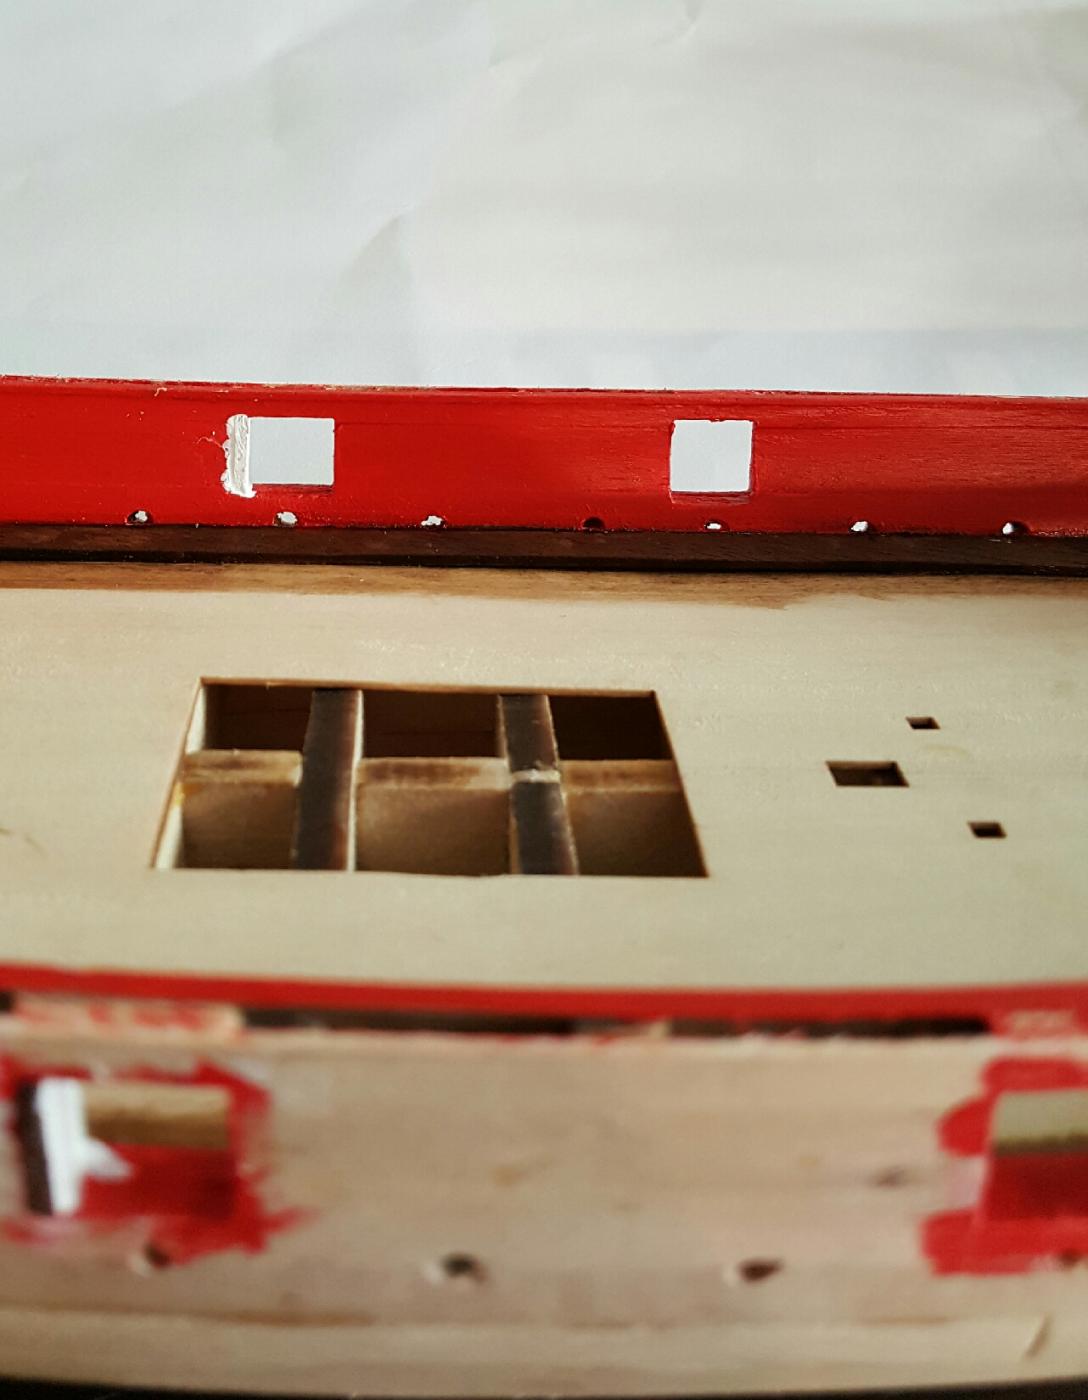
Rails are done... Next nerve racking step is to drill the sweep port and the bow sprint hole. Is there a specific method or recommendation you would suggest? Thanks.


- 194 replies
-
- 6
-
-
- armed virginia sloop
- model shipways
- (and 1 more)
-
Thanks Joe! You are too kind. You are making some great progress yourself.
- 194 replies
-
- 1
-
-
- armed virginia sloop
- model shipways
- (and 1 more)
-
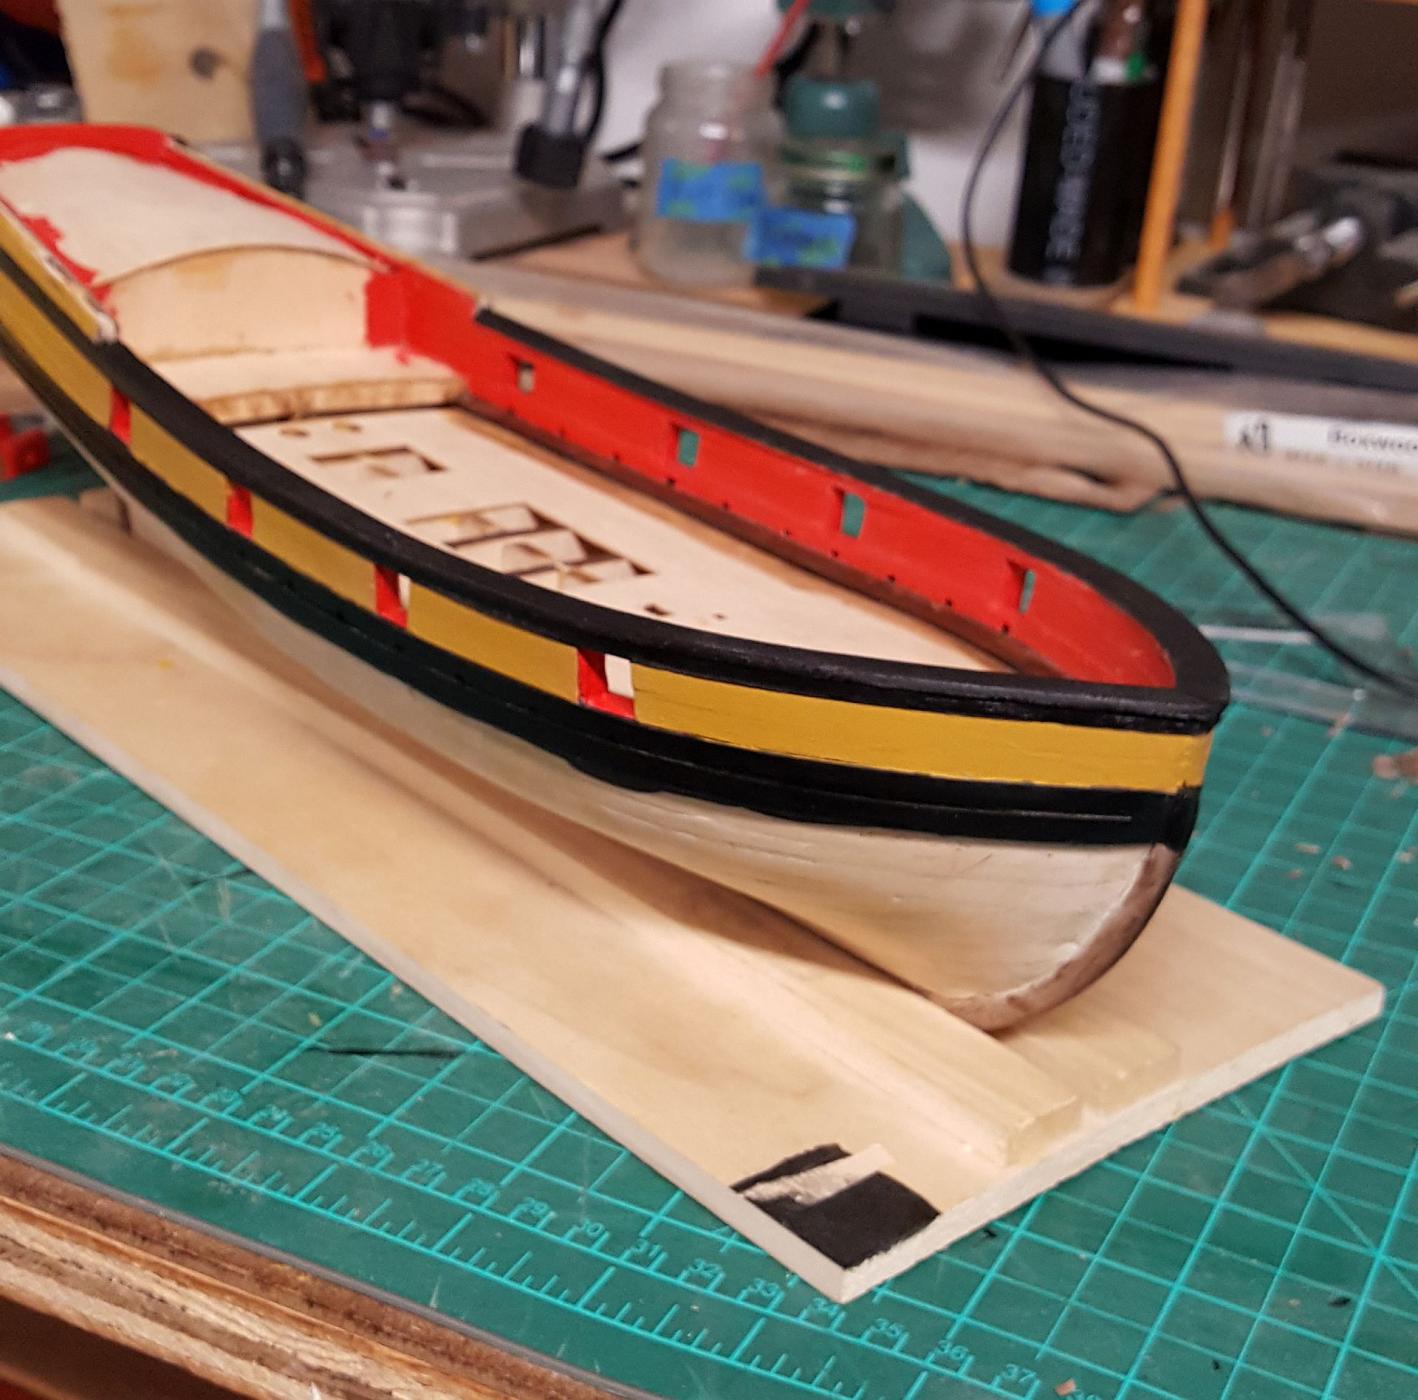
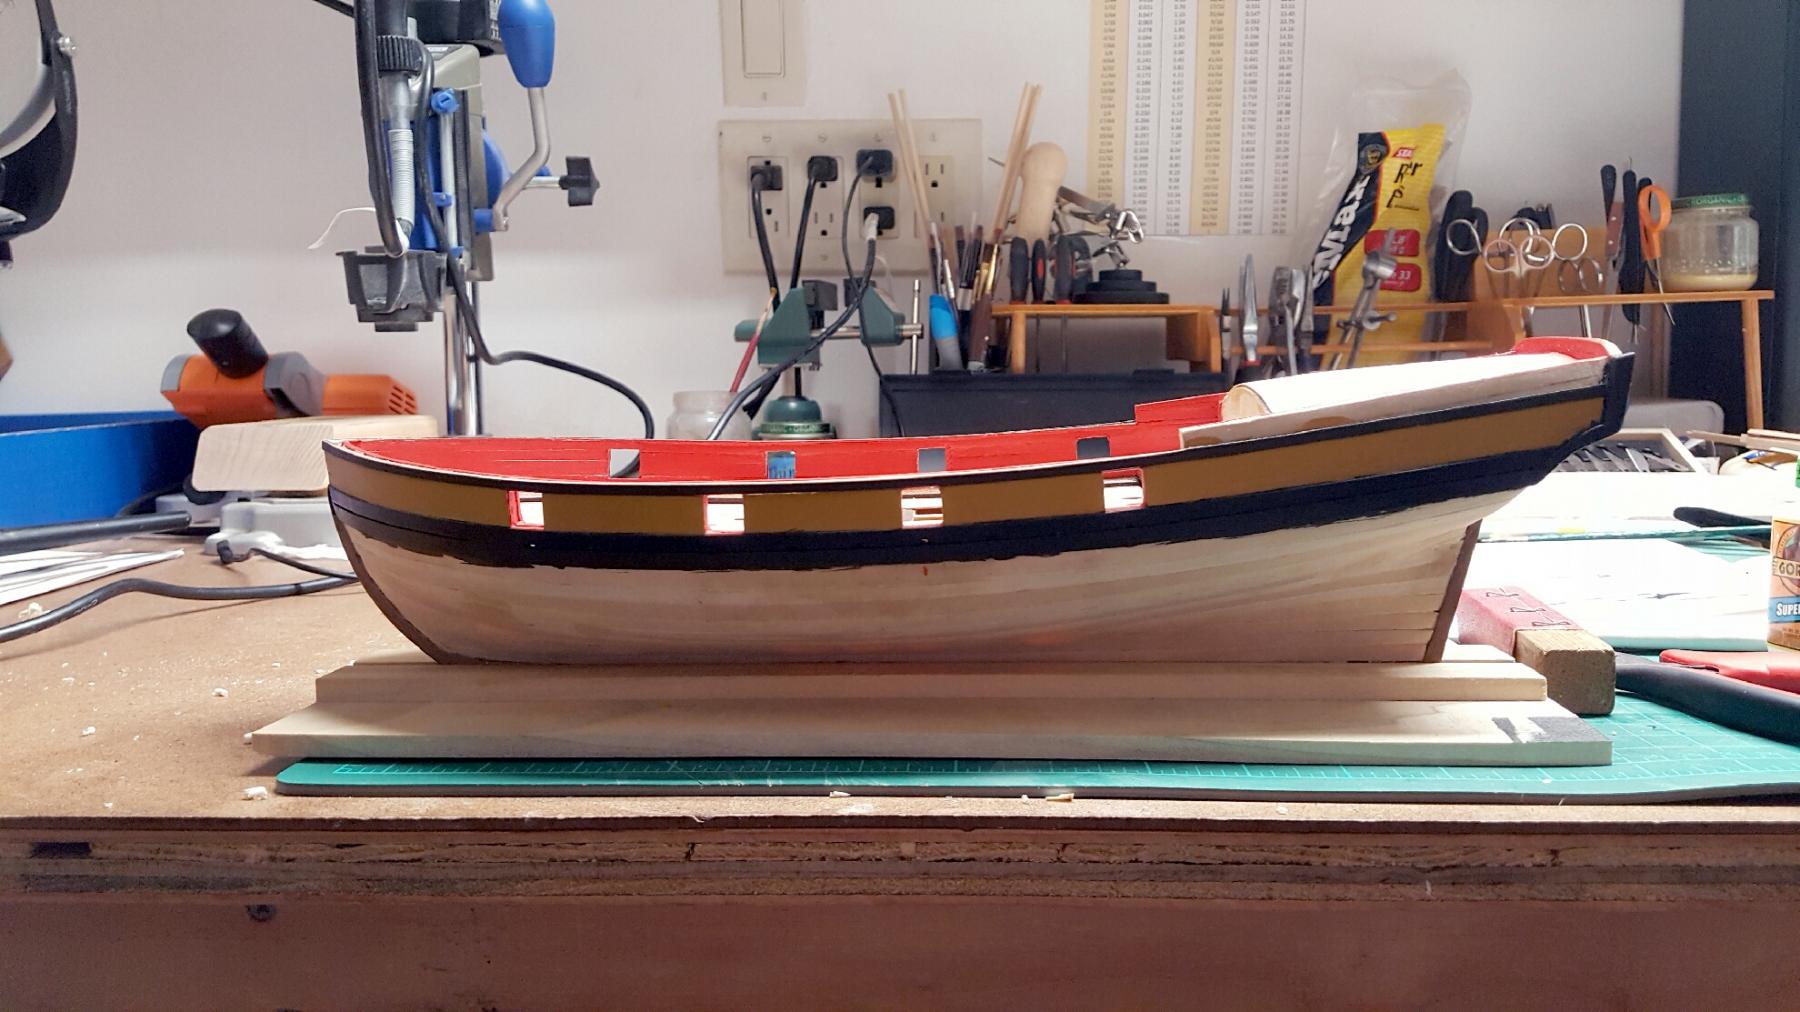
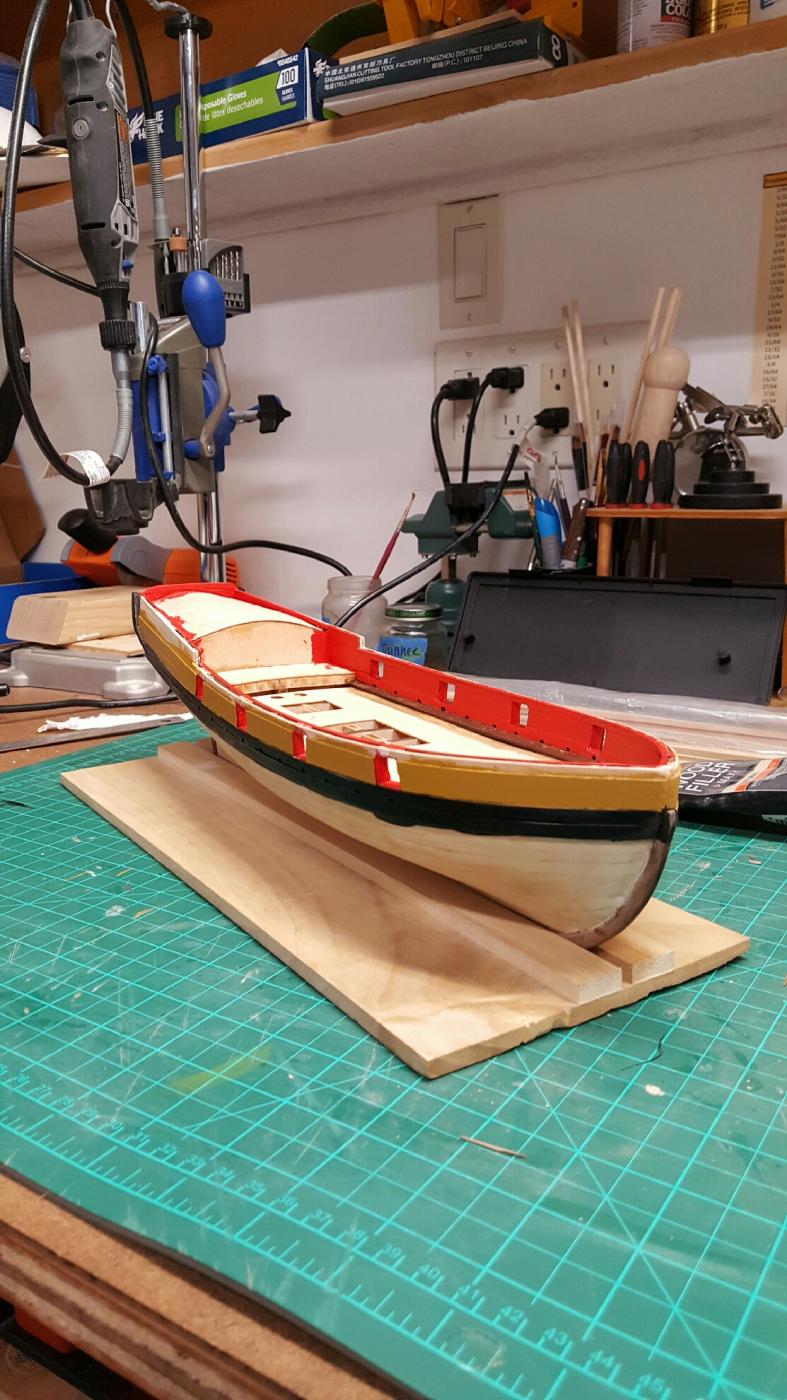
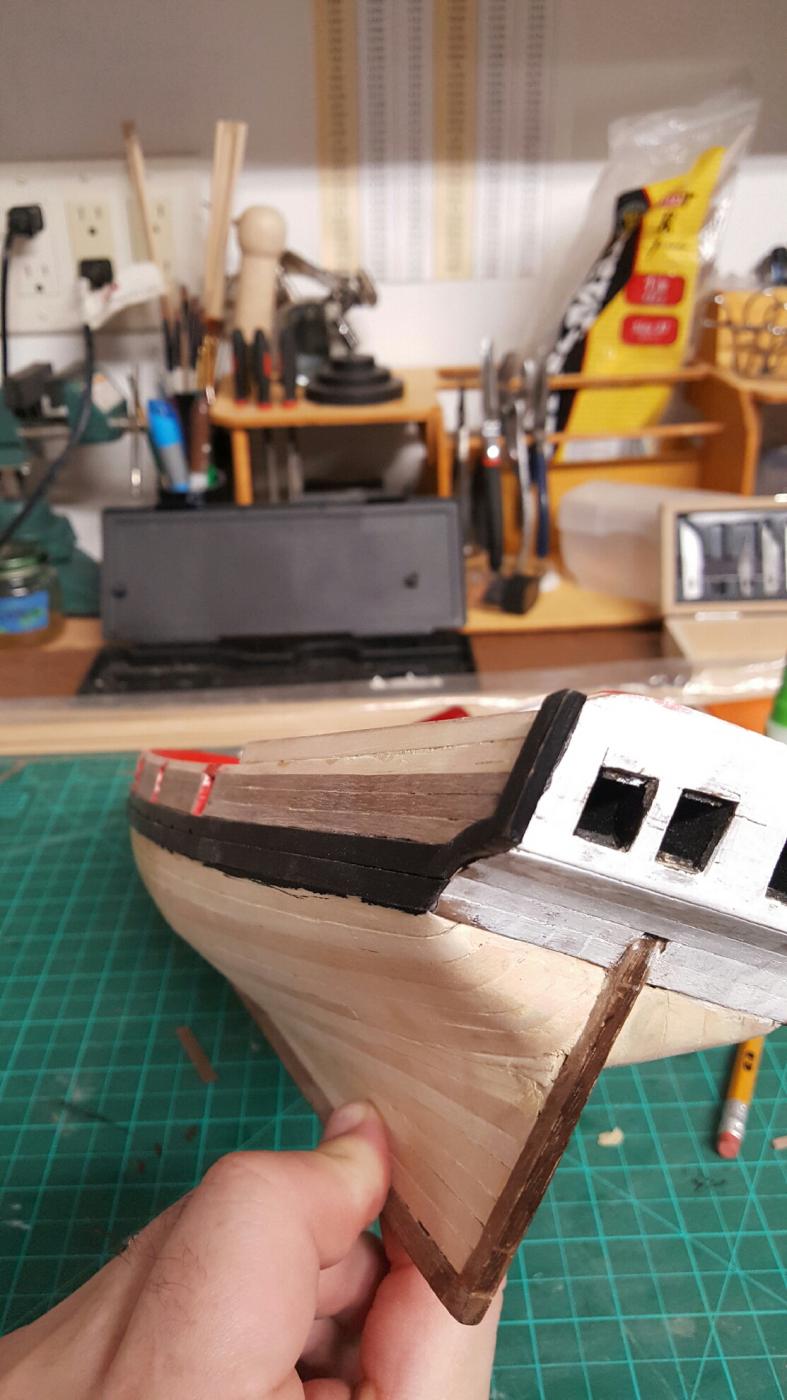
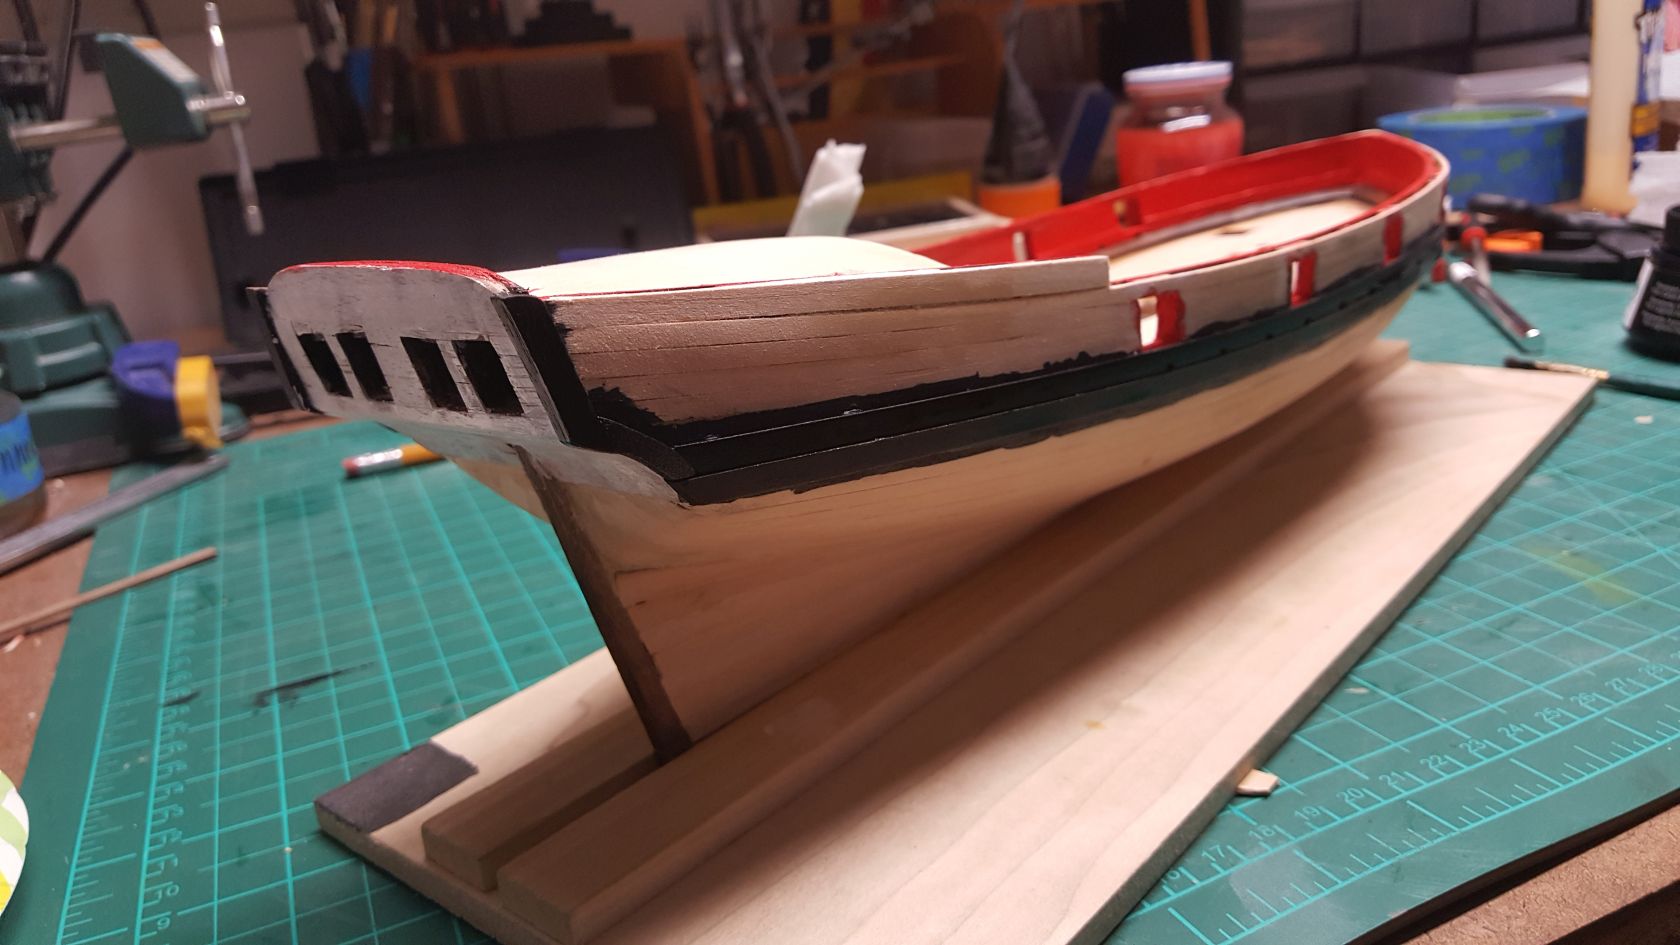
Small update. Custom fitted the main rail on my AVS. The one provided by the kit was not adequate. I cut the new rail out of 1/16 walnut and did the first stain with ink. I have some touch up to do with the paint but I have decided to wait until I drill the sweep ports to do it.

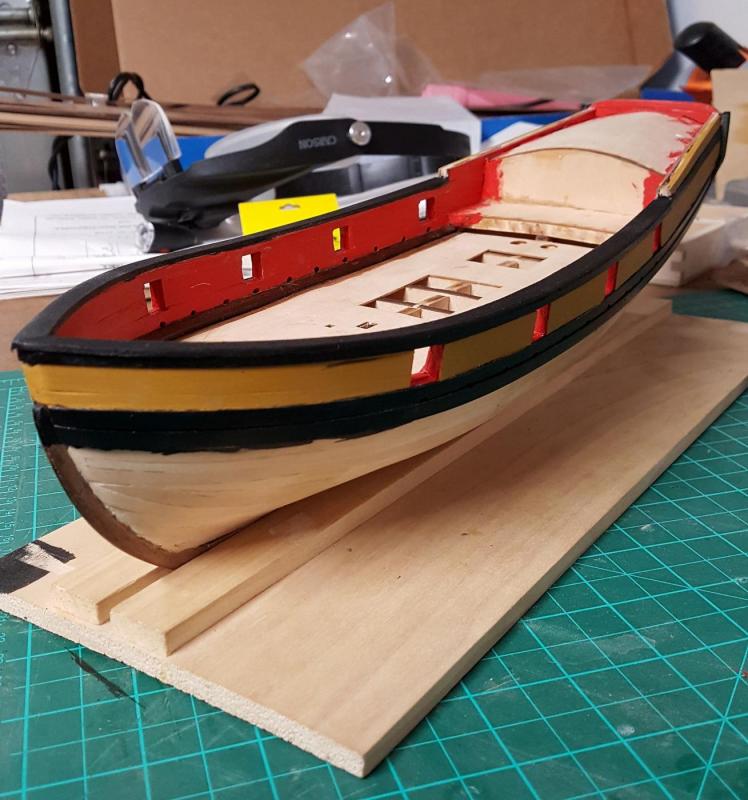
- 194 replies
-
- 9
-
-
- armed virginia sloop
- model shipways
- (and 1 more)
-
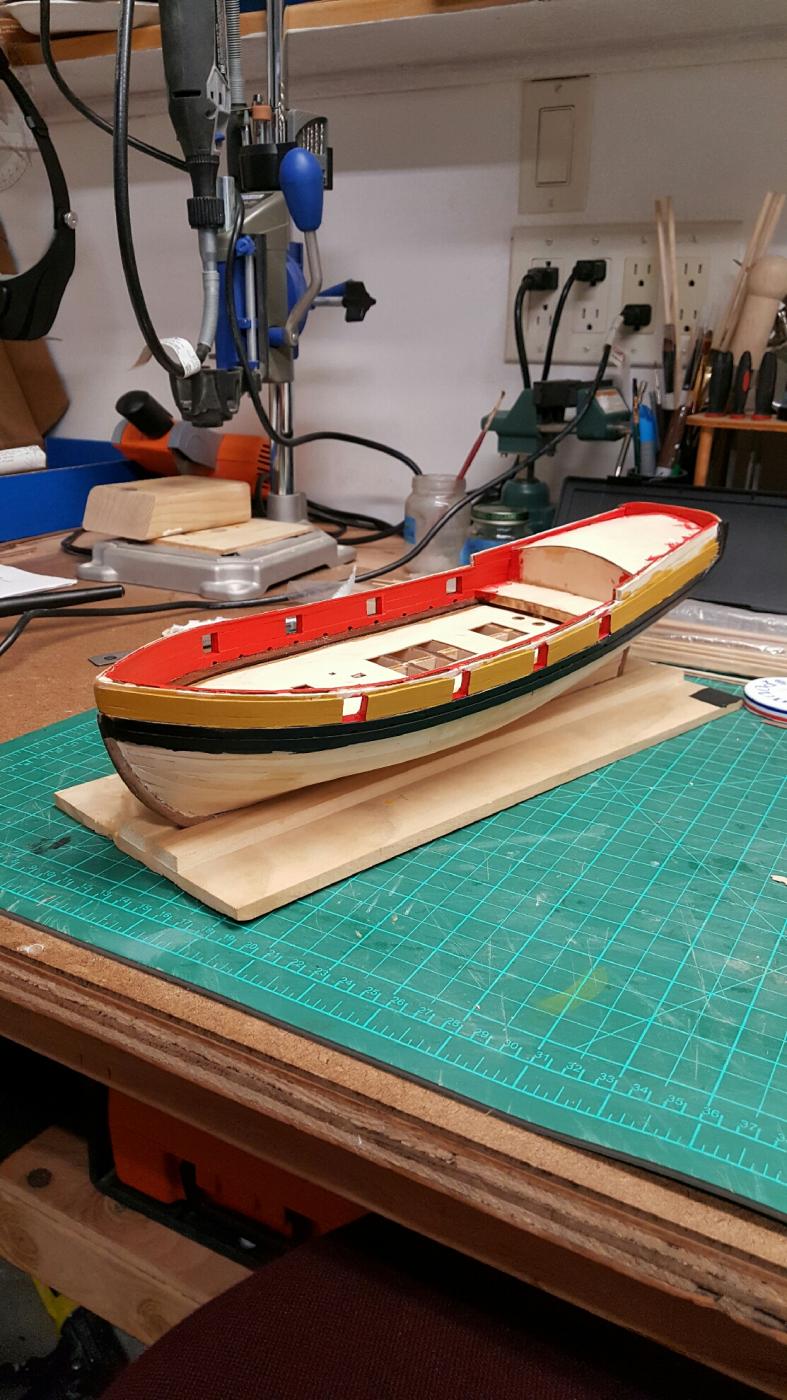
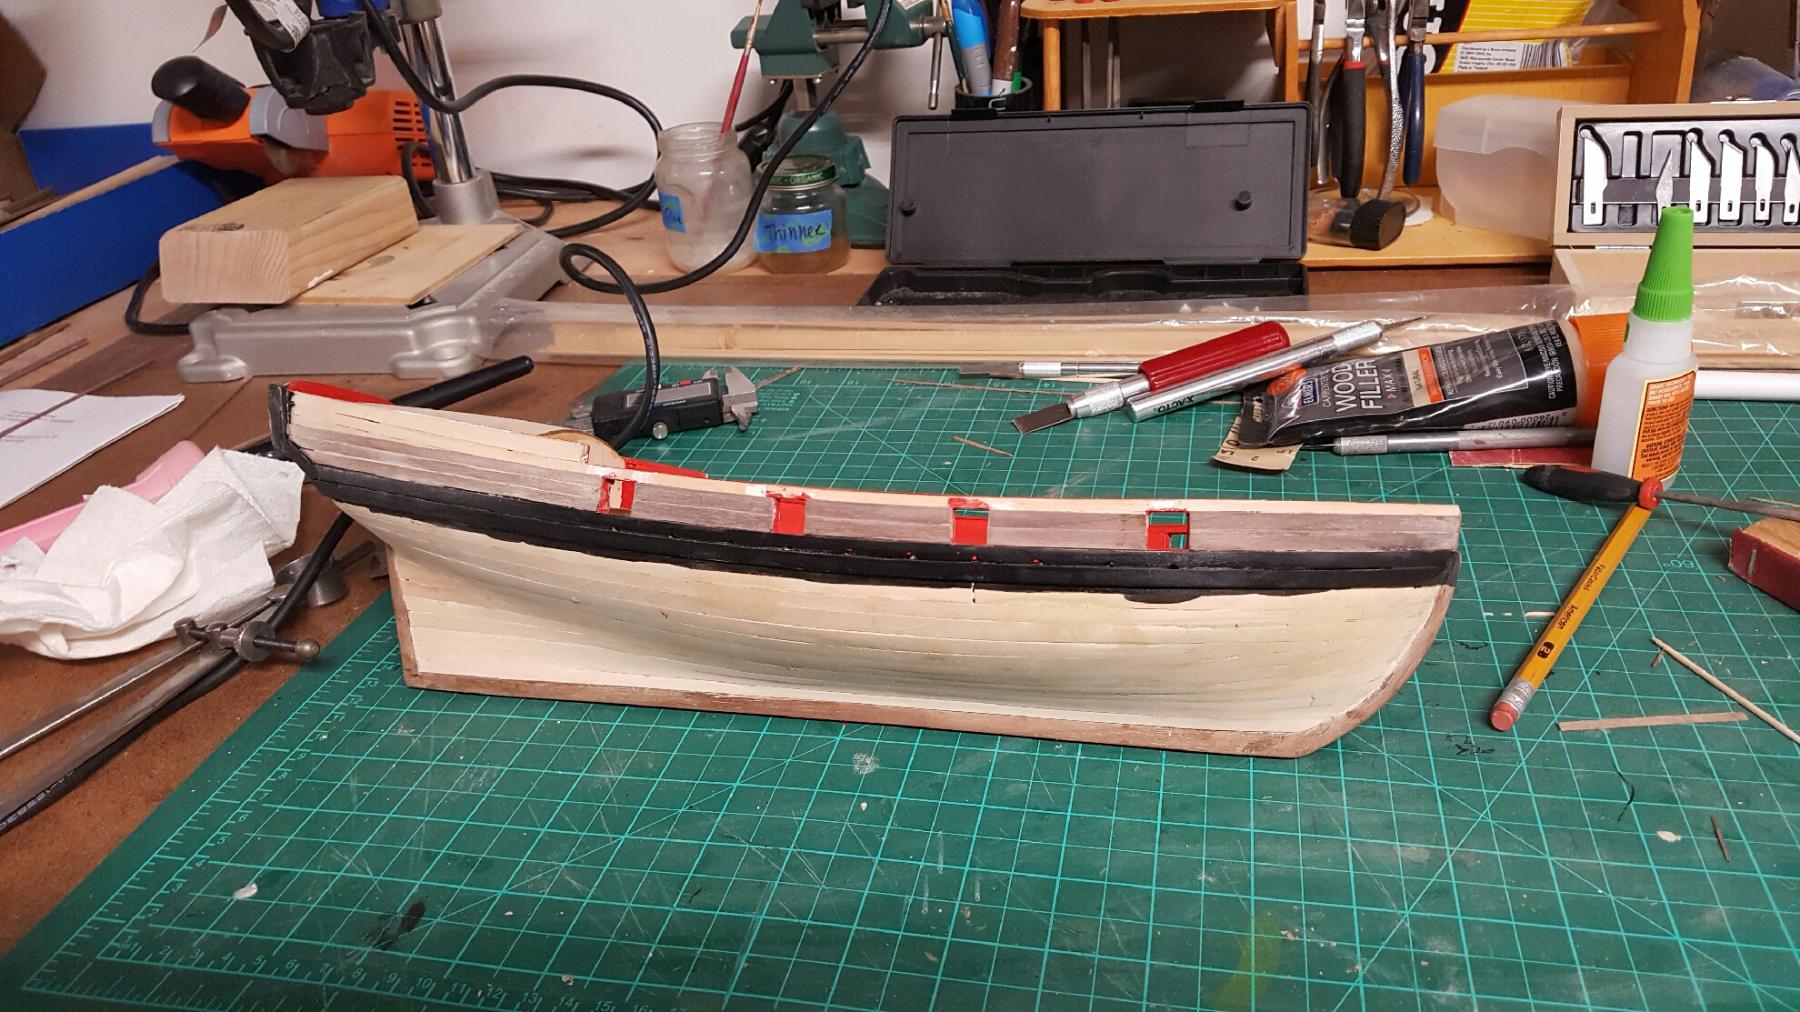
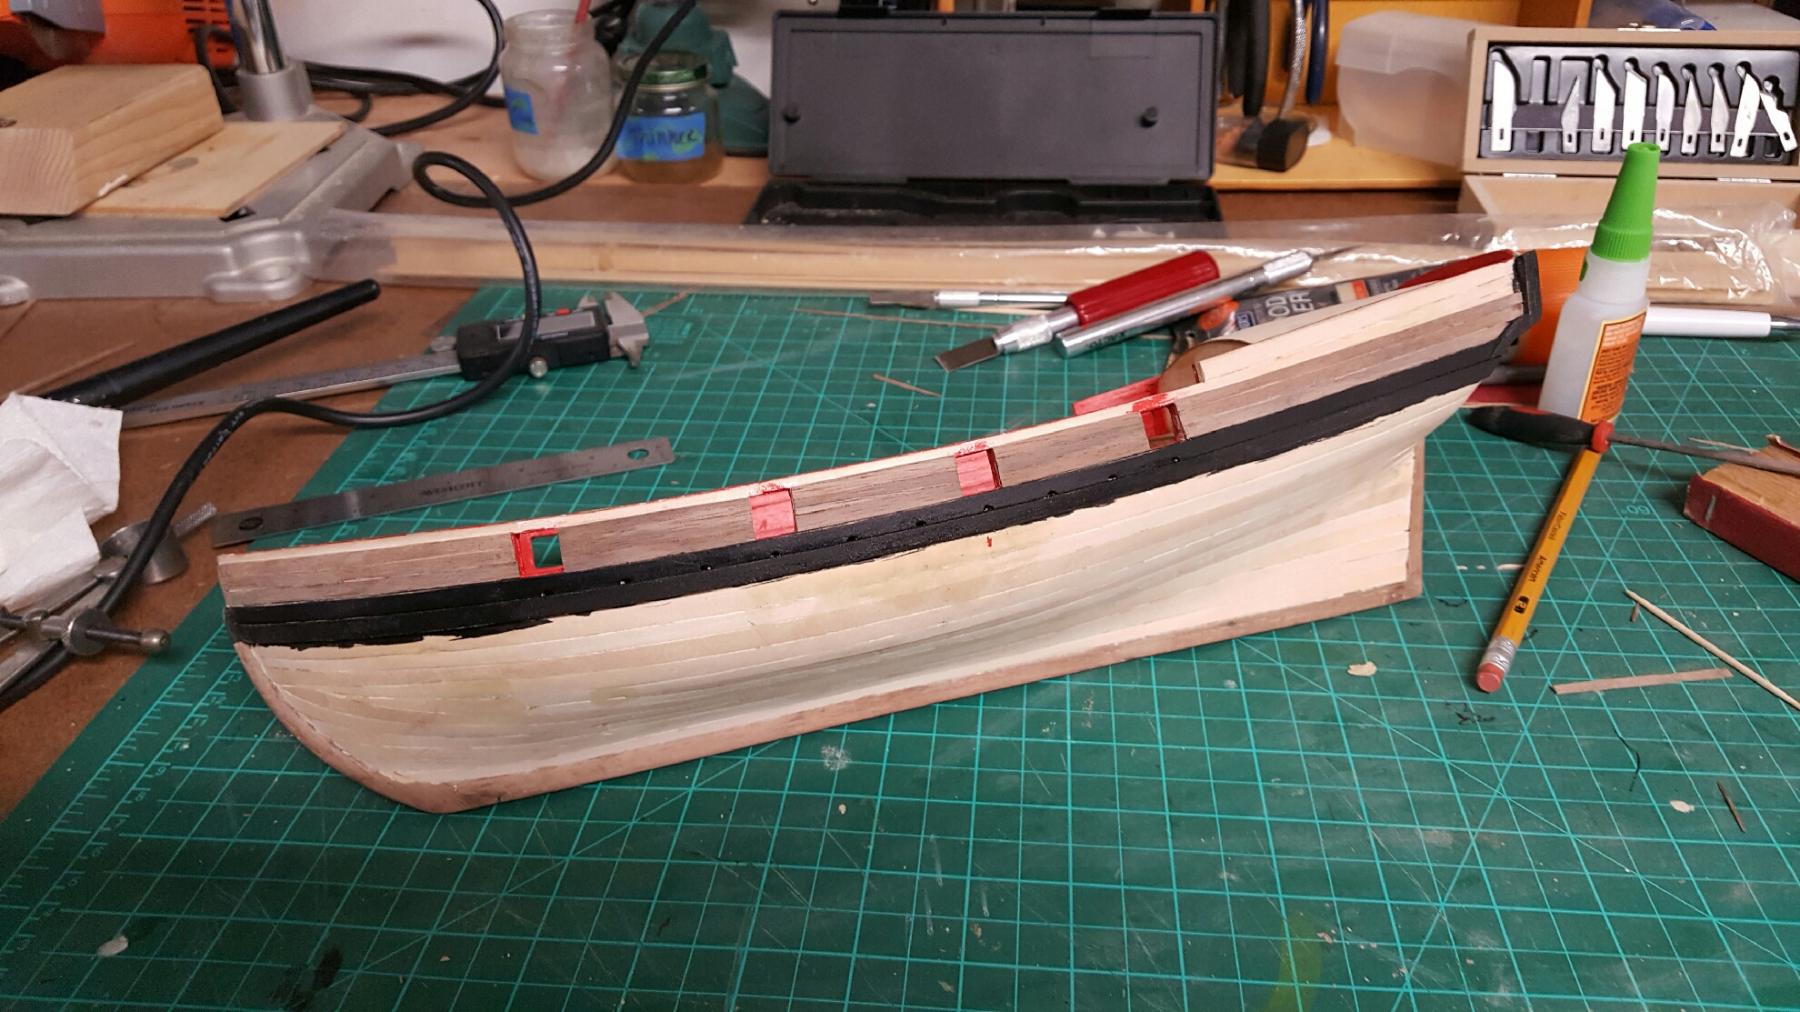
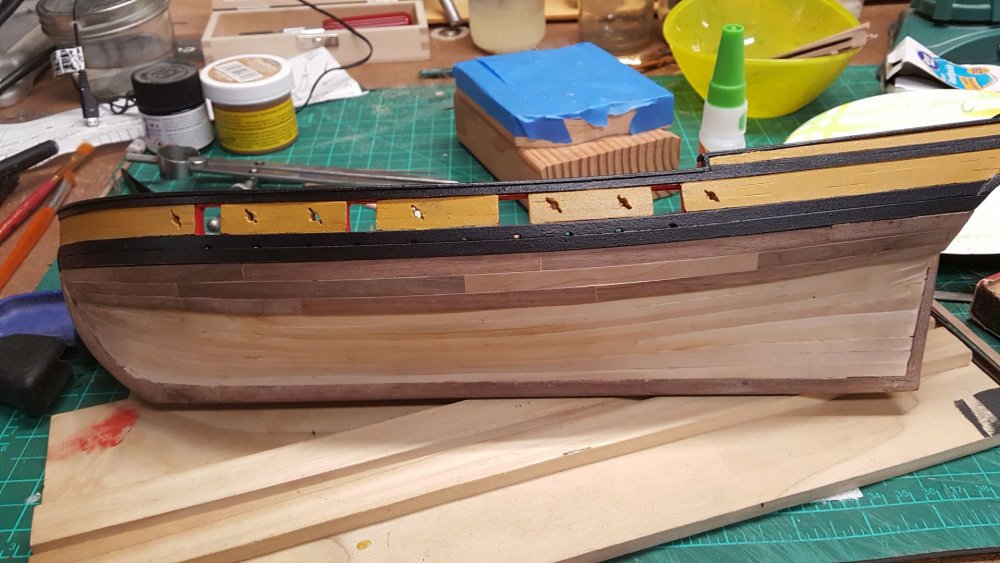
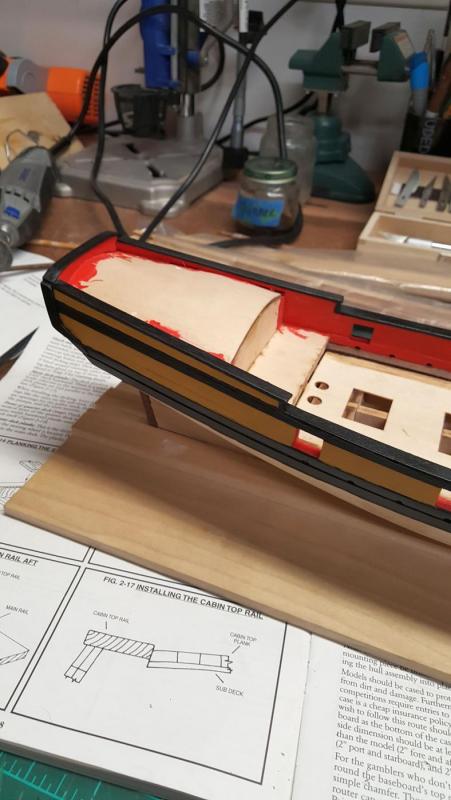
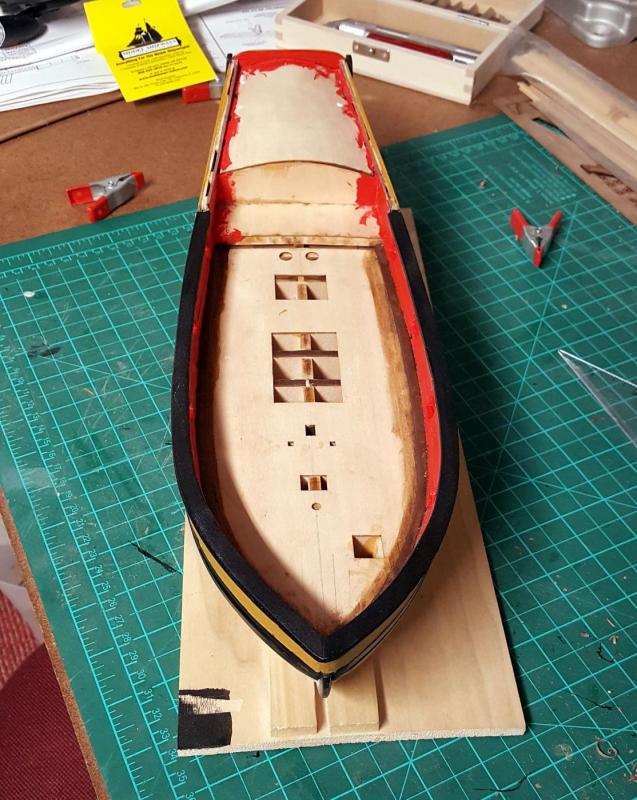
Time for a small update. I worked on the double planking above the black strake

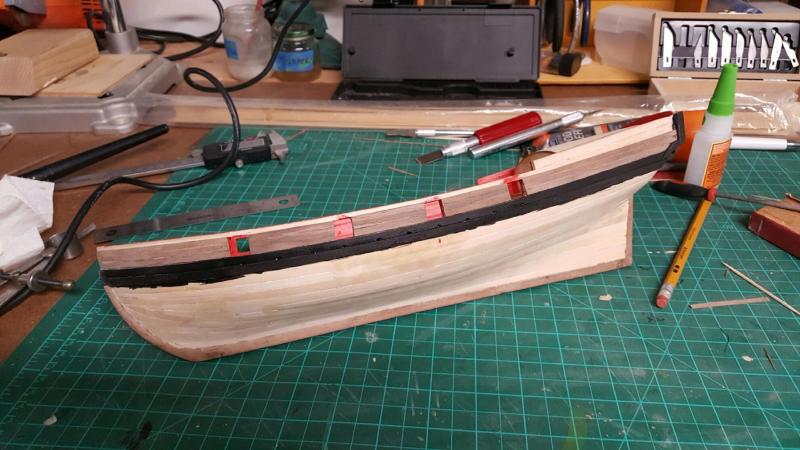

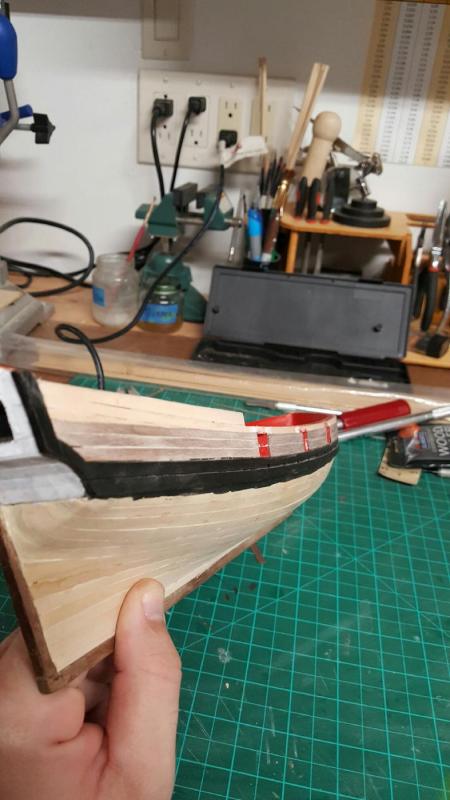
- 194 replies
-
- 3
-
-
- armed virginia sloop
- model shipways
- (and 1 more)
-
Great job on the paint She is coming along nicely!!!
-
Hey Greg, Good to see you back at it. Nice progress!are you going to spray paint your AVS?