HOLIDAY DONATION DRIVE - SUPPORT MSW - DO YOUR PART TO KEEP THIS GREAT FORUM GOING! (Only 20 donations so far - C'mon guys!)
×

captgino
-
Posts
620 -
Joined
-
Last visited
Content Type
Profiles
Forums
Gallery
Events
Everything posted by captgino
-
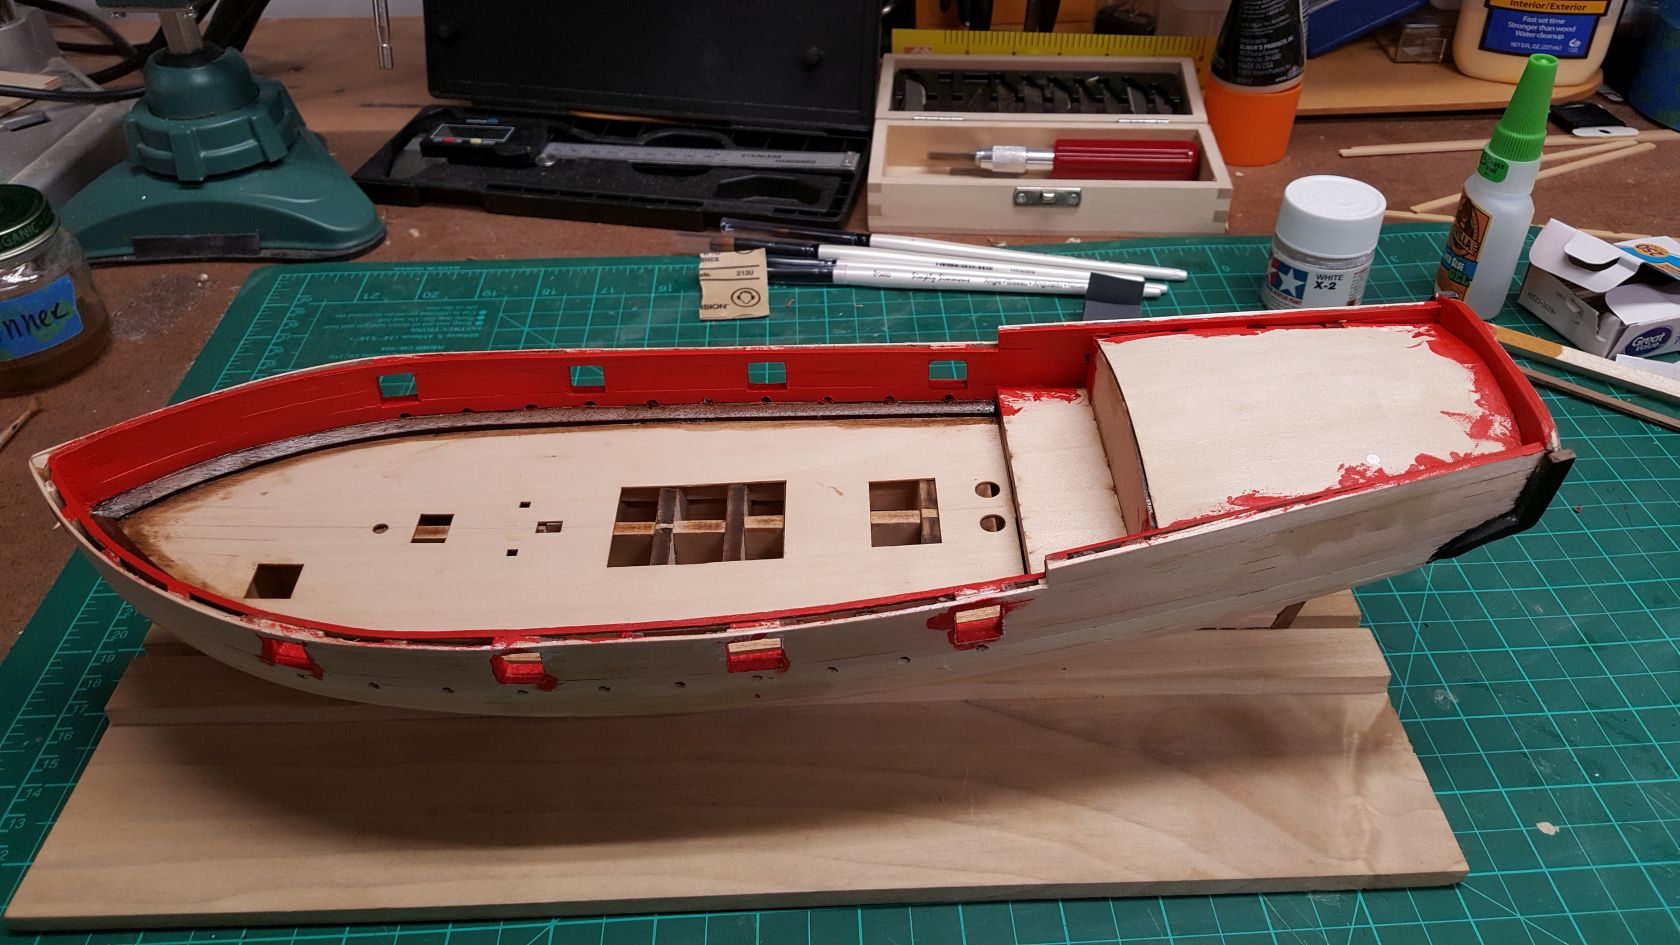
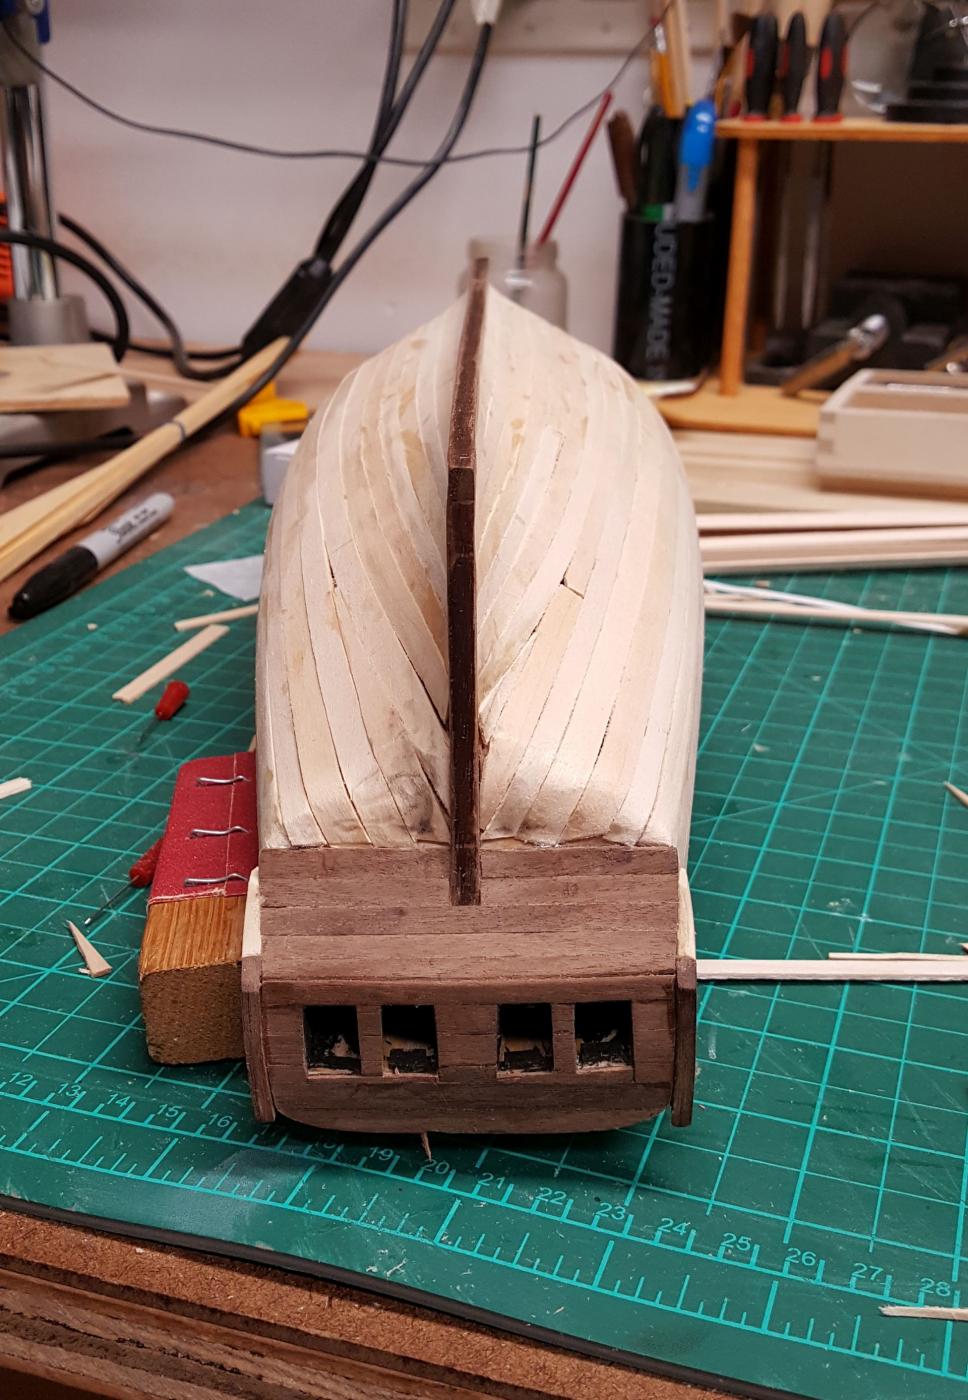
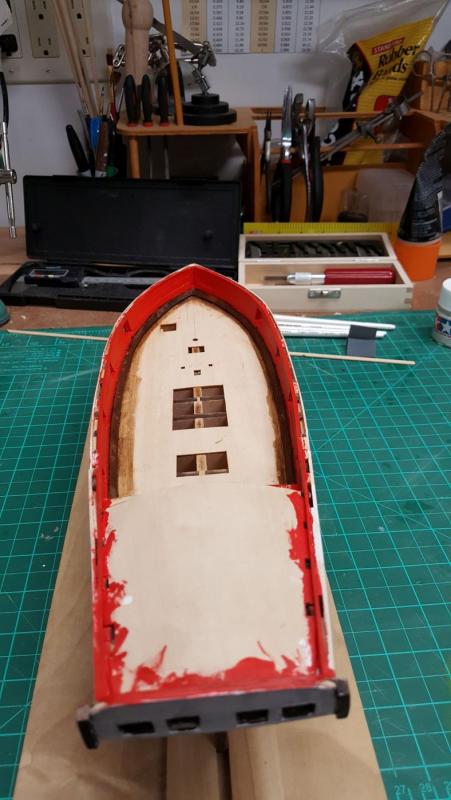
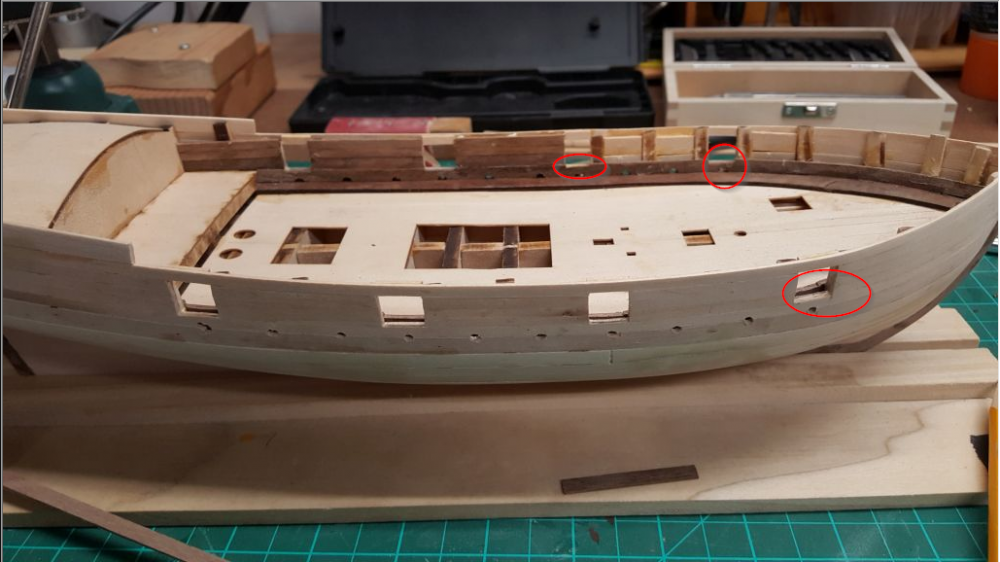
 Thanks Zoltan. You made a good point. There was a difference of 1.2 mm in 2 of the gun ports. I am working on fixing that. Bummer, i just finished the red coat. See below. Shoot me how can I miss that!?!?!?!?
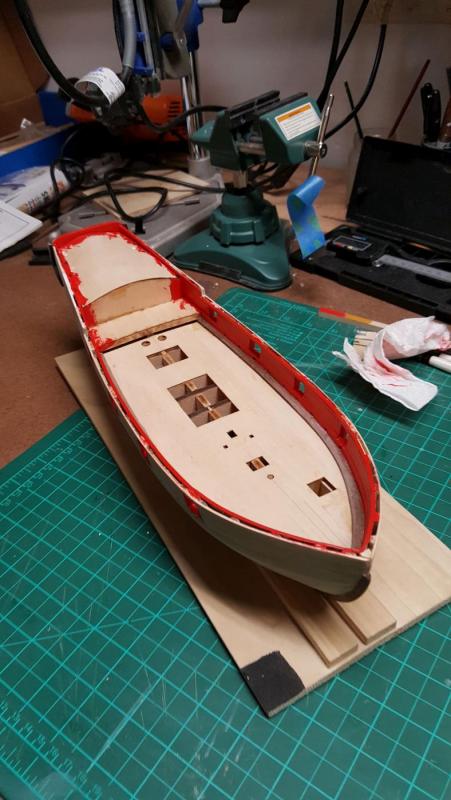

- 194 replies
-
- 5
-

-
- armed virginia sloop
- model shipways
- (and 1 more)
-
Thank you for the heads-up. I did some testing but i was not reproduce this so far. What kind of wood were you using?
- 194 replies
-
- 1
-
-
- armed virginia sloop
- model shipways
- (and 1 more)
-
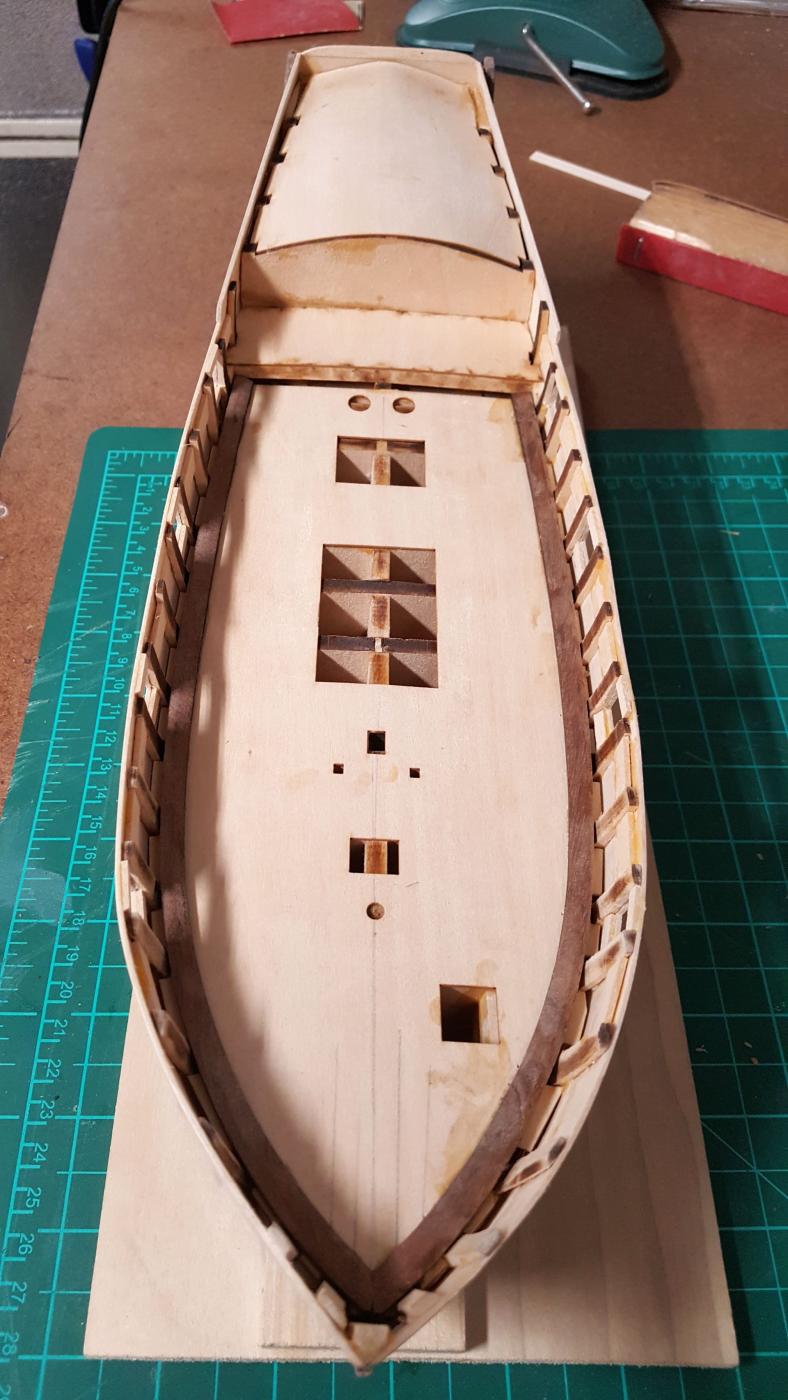
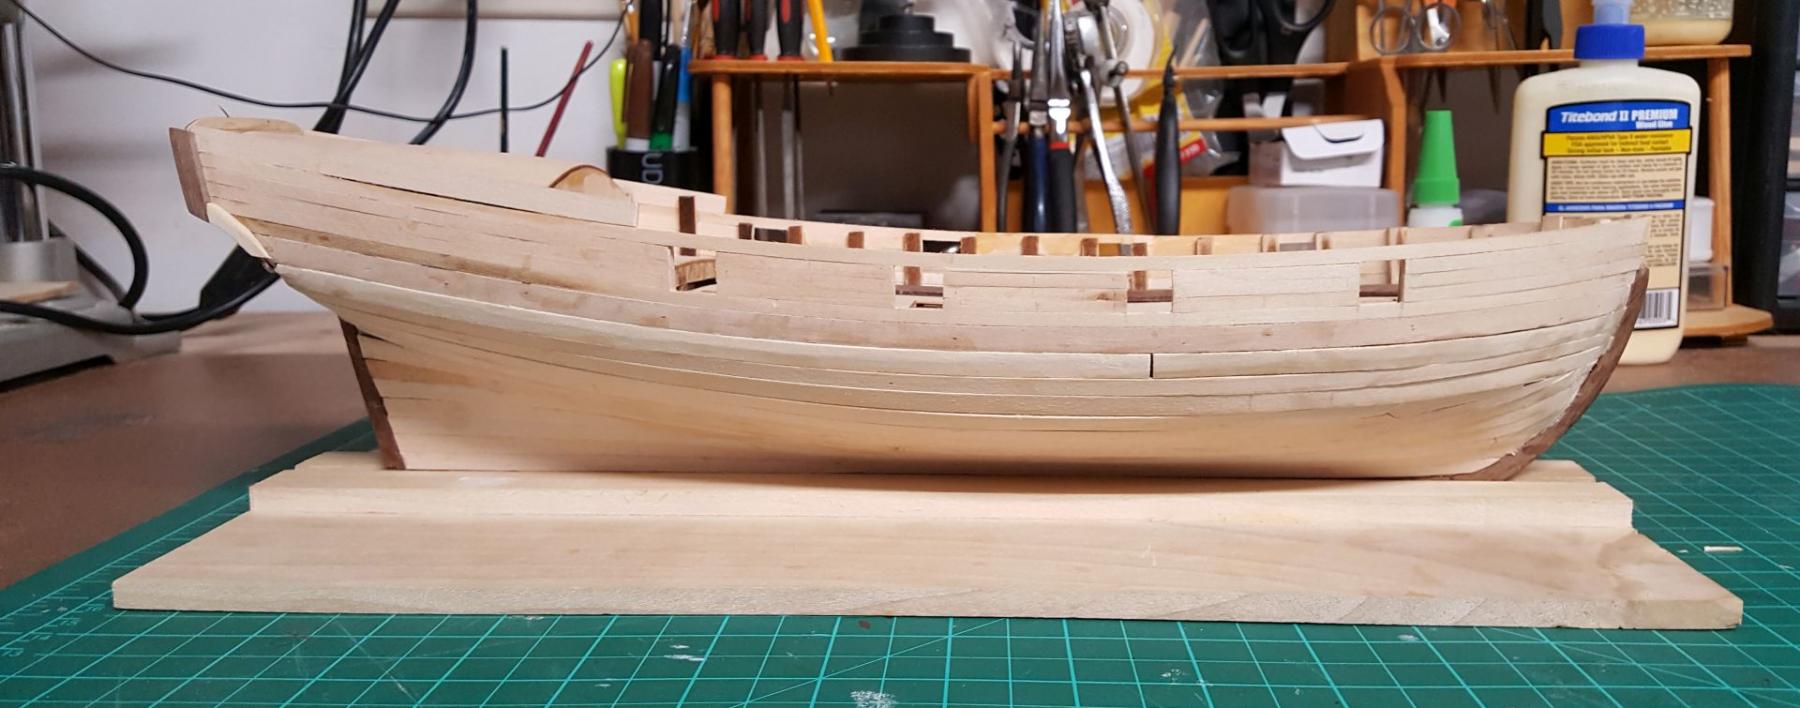
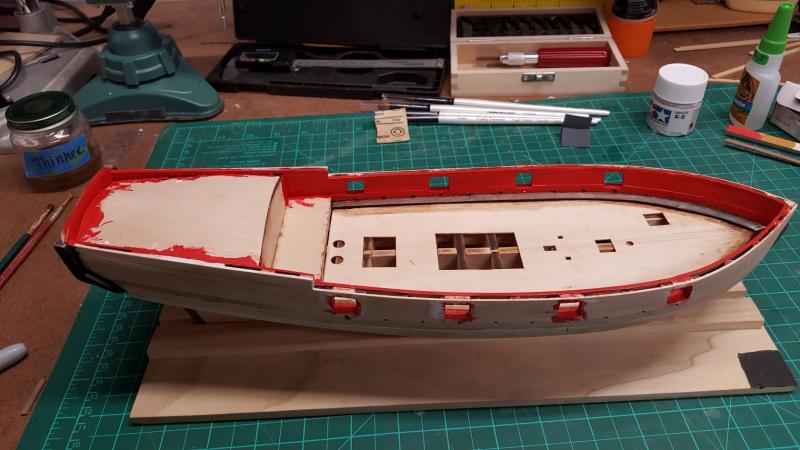
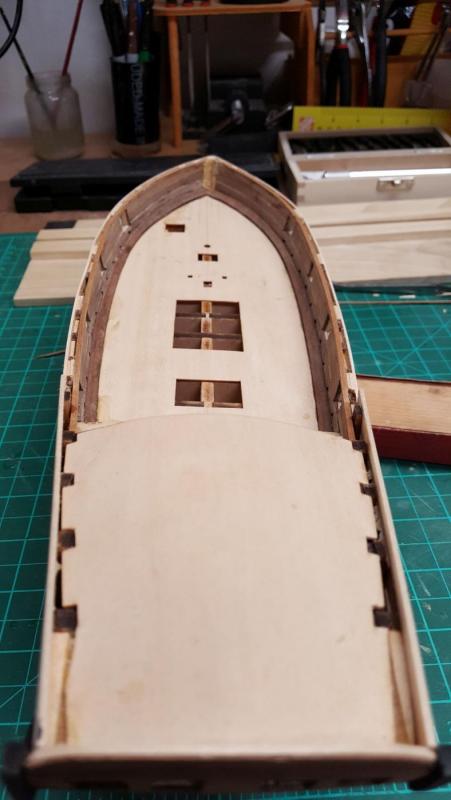
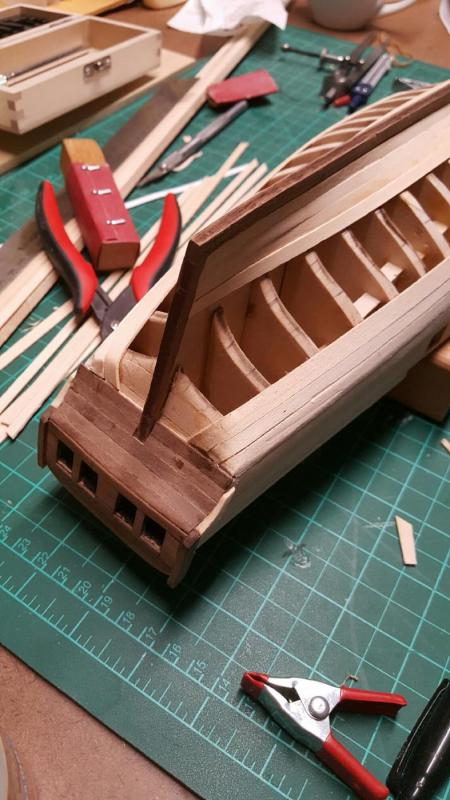
After many mistakes, restarts, here is the build as it is now. It is still due for a big sanding job and fixing any imperfections to obvious. Oh and I also used black ink to stain the black section on the transom. I will use the same technic for the wales and scupper.

- 194 replies
-
- 10
-
-
- armed virginia sloop
- model shipways
- (and 1 more)
-
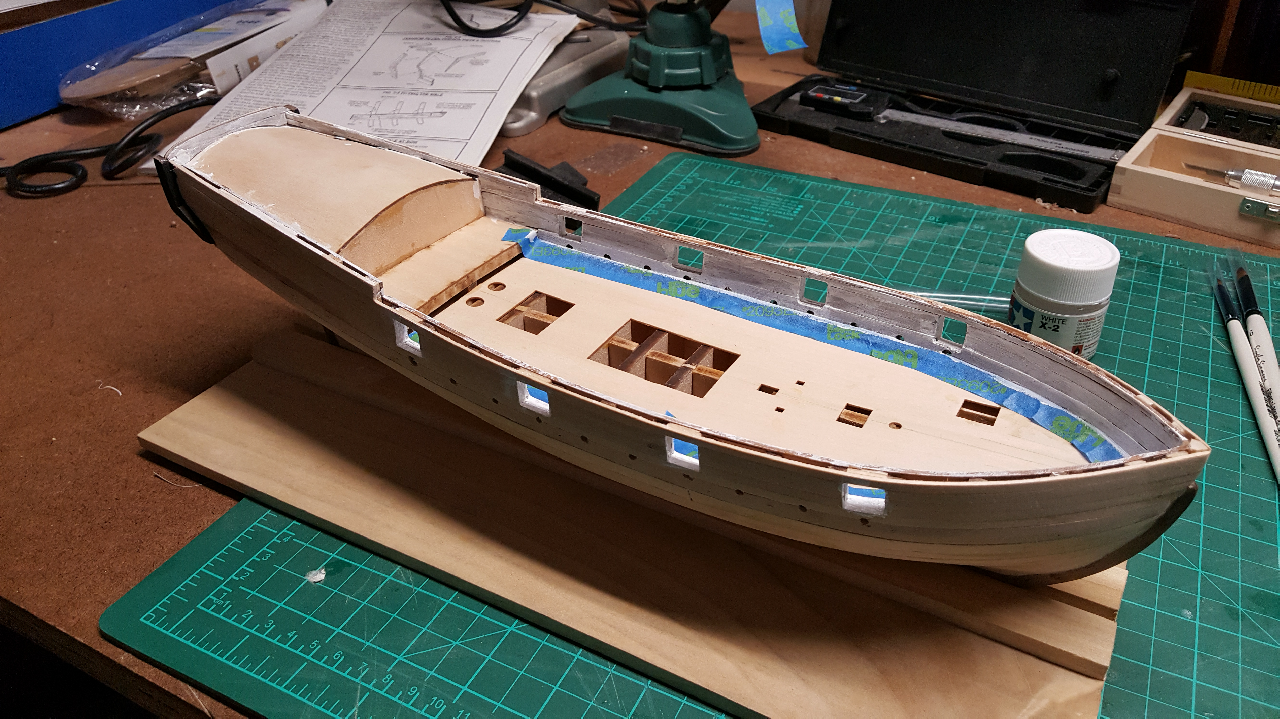
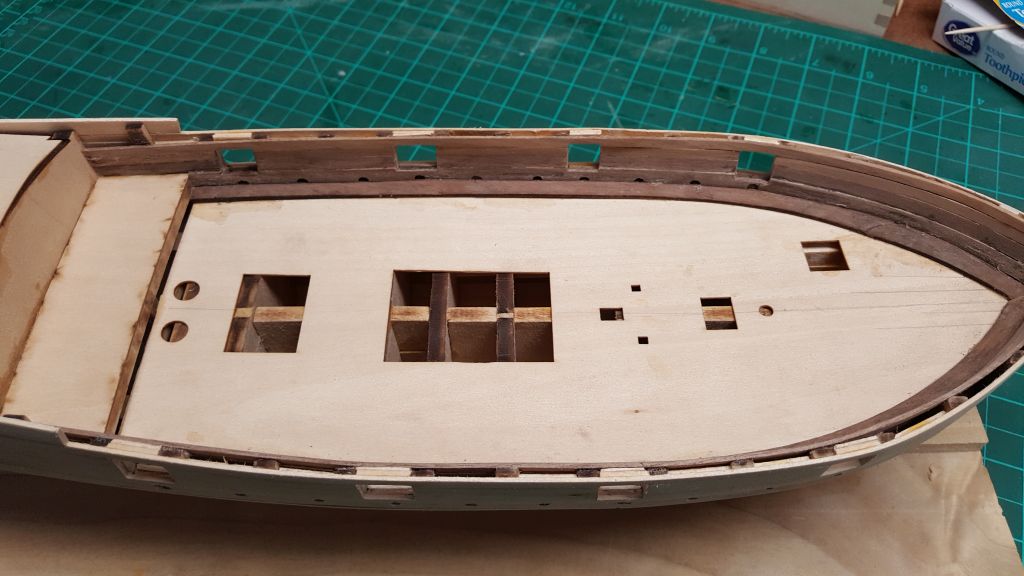
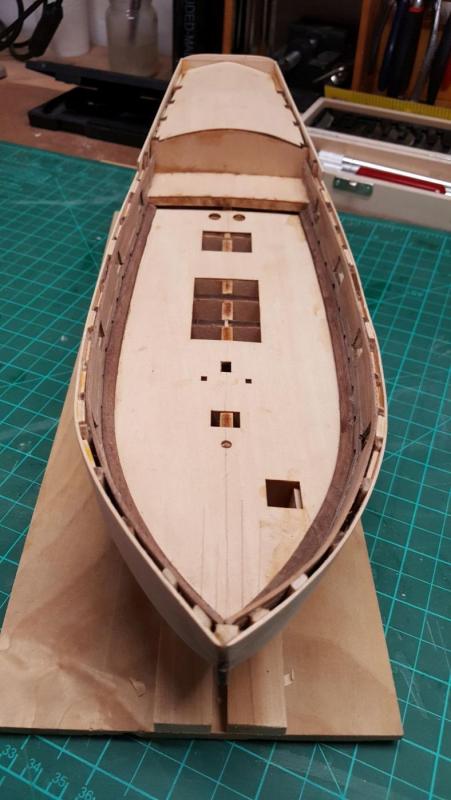
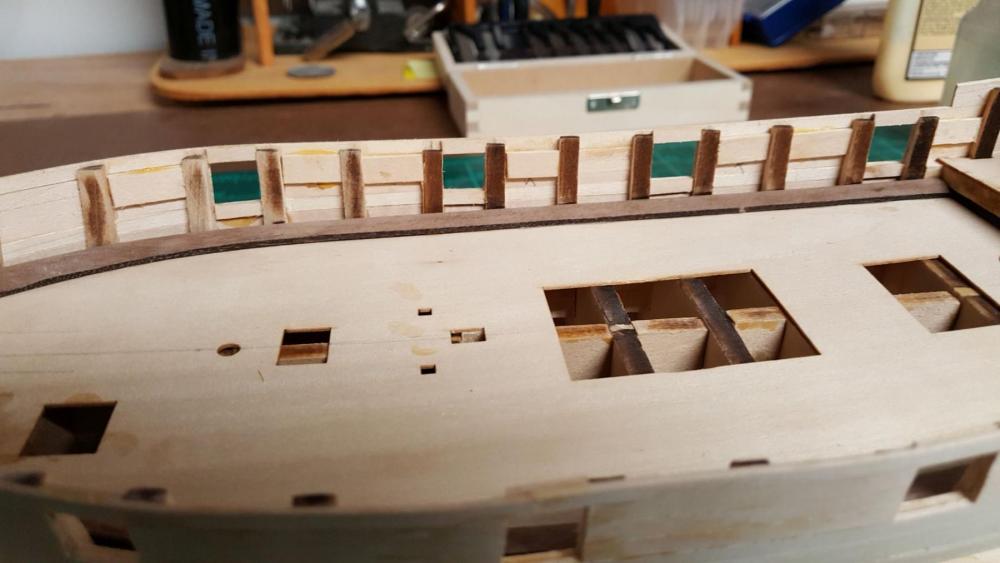
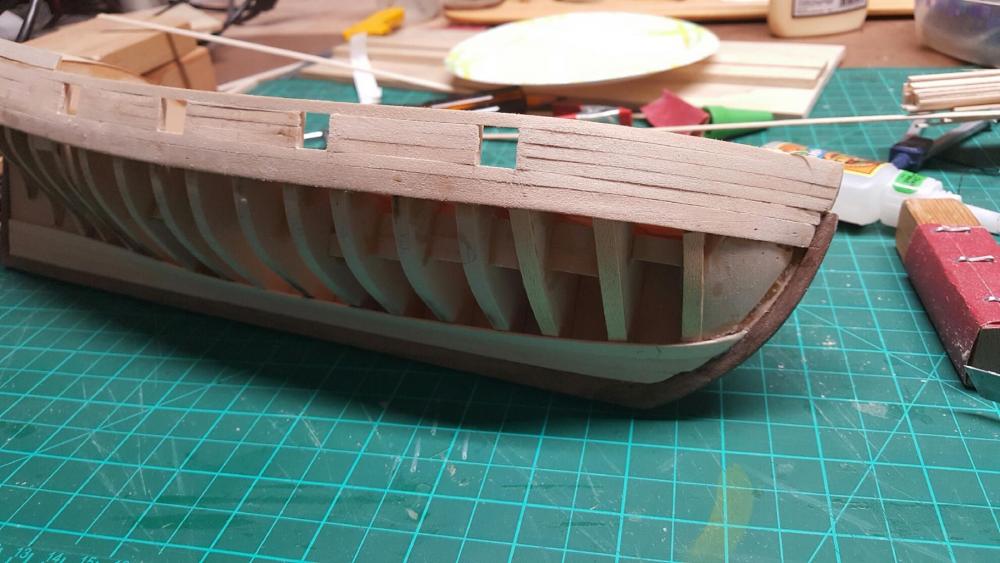
Small update. I started to work on the inner bulwark planking. I ran into an issue with the spirketing plank not been even with the gun port. Due to the gap size in some case and the impossibility to trim on the top with the risk to be too obvious, I trimmed the spirketing plank a little bit. The example below is the only case where it was by a large amount. Once everything is sanded and squarred. It will look ok. Finger crossed!!
- 194 replies
-
- 5
-
-
- armed virginia sloop
- model shipways
- (and 1 more)
-
I want to make ships like this when I grow up.
-
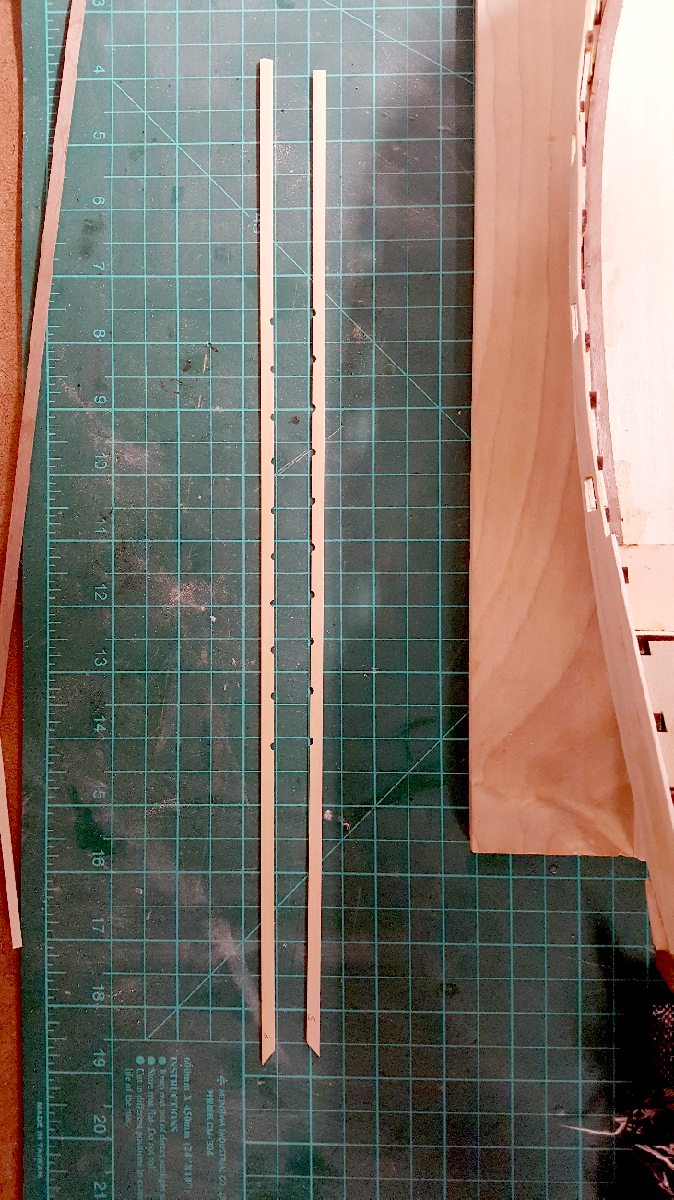
I was not able to do anything last weekend. Instead I was tasked to renovate one of my girls bedroom (painting, ceiling scraping, retexturing, baseboard...) After a crazy week at work, I was able to work on my ship last night. I was able to procure some boxwood and I decided to use it for my wales and scupper. What a difference this kind of wood makes !!!! I Now understand what all the fuss was about when reading other builders logs.


- 194 replies
-
- 6
-
-
- armed virginia sloop
- model shipways
- (and 1 more)
-
OMG!!! Amazing details and craftsmanship displayed in your build Greg!! It is a pleasure to read it.
- 342 replies
-
- 5
-
-
- dreadnought
- zvezda
- (and 2 more)
-
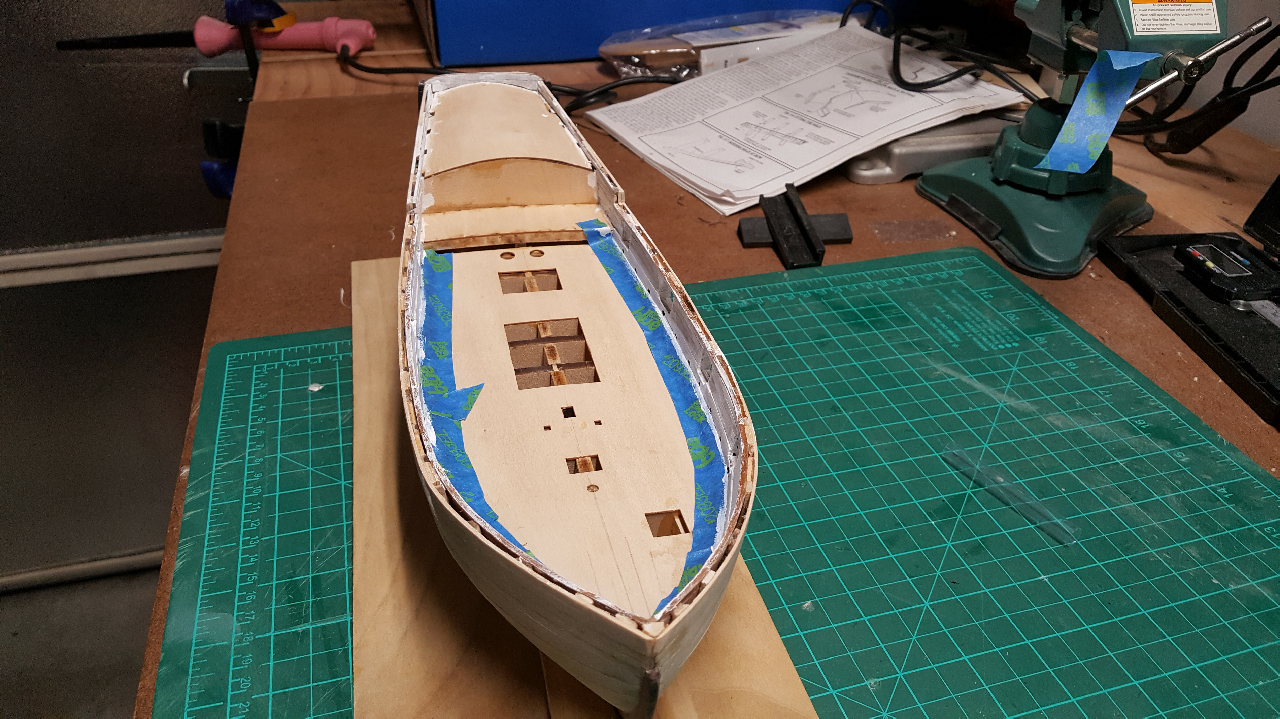
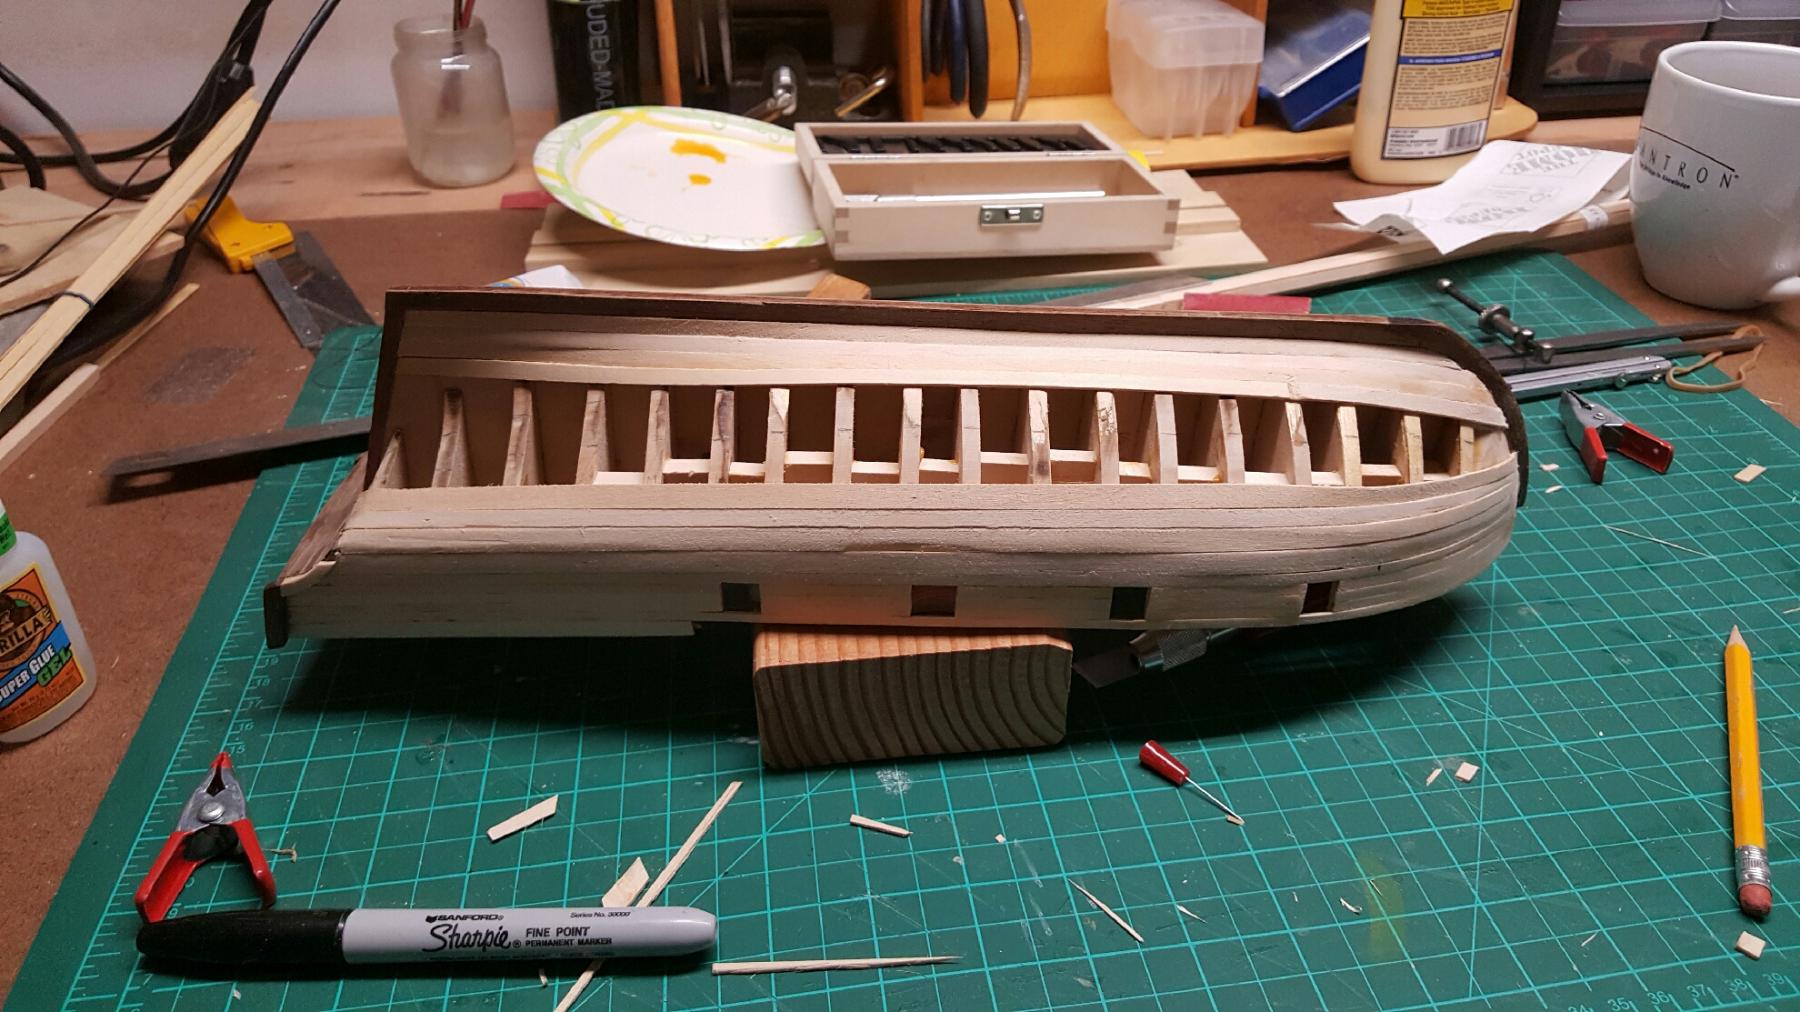
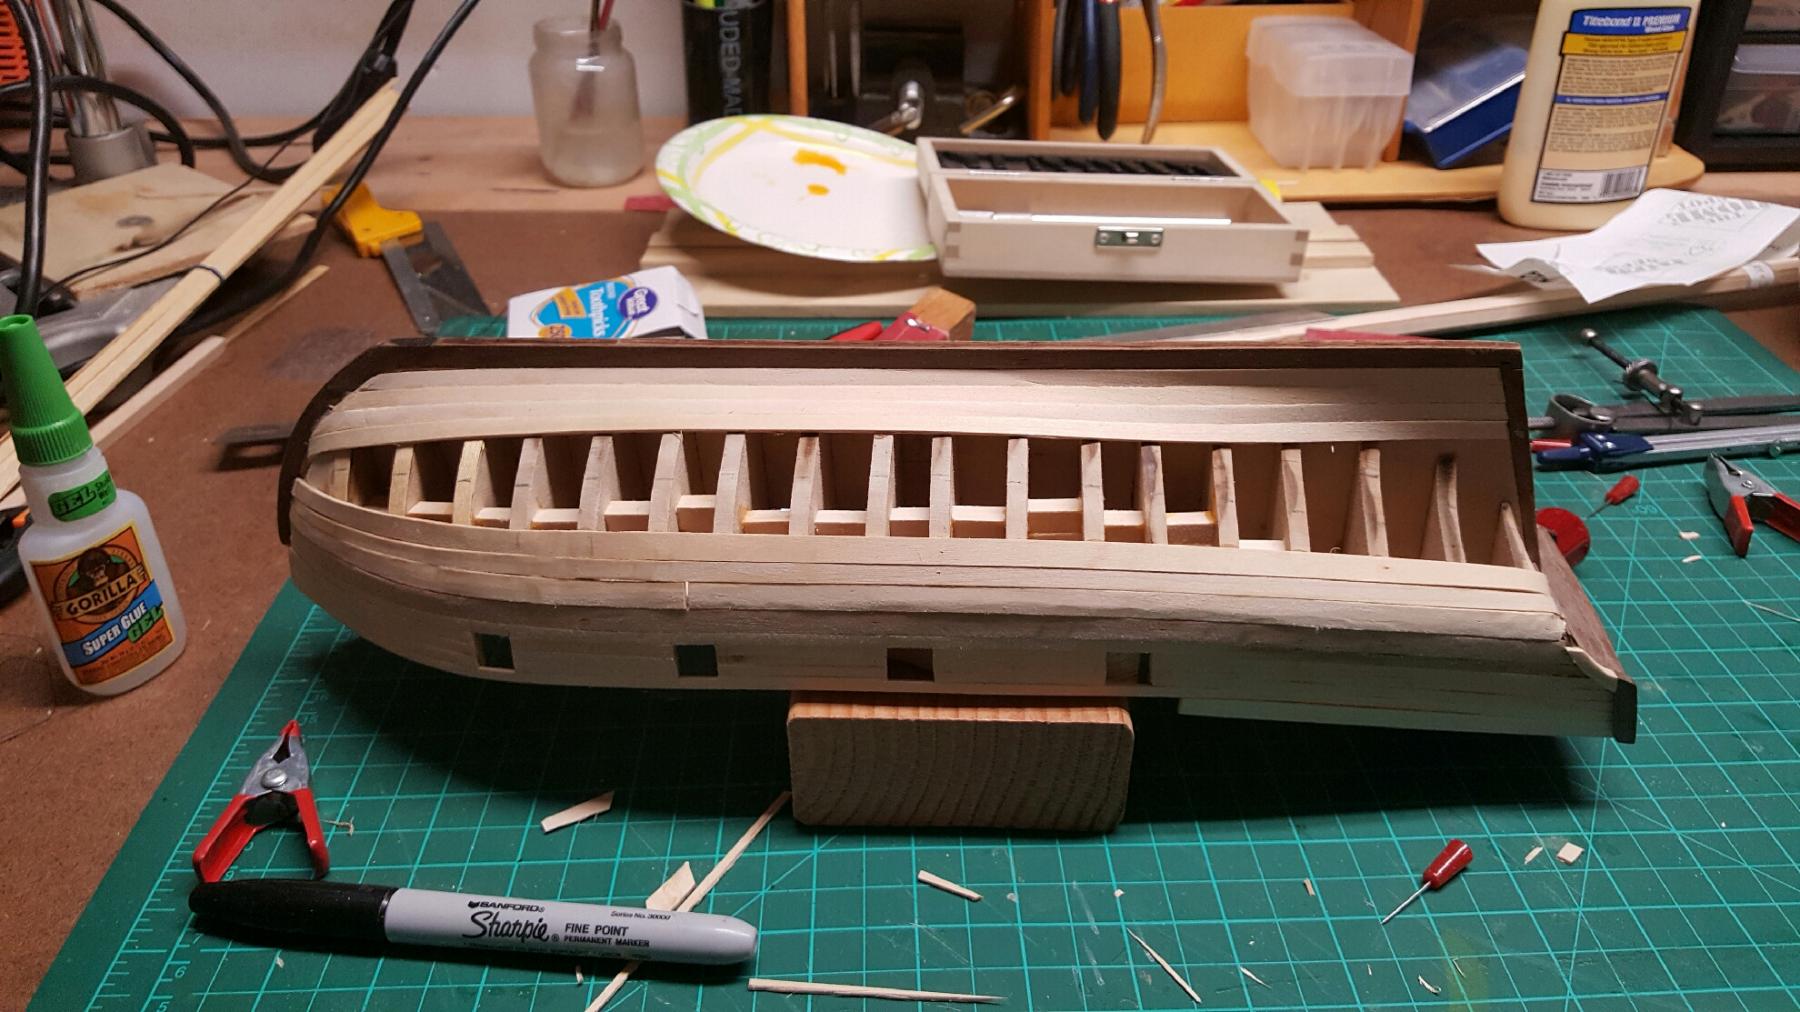
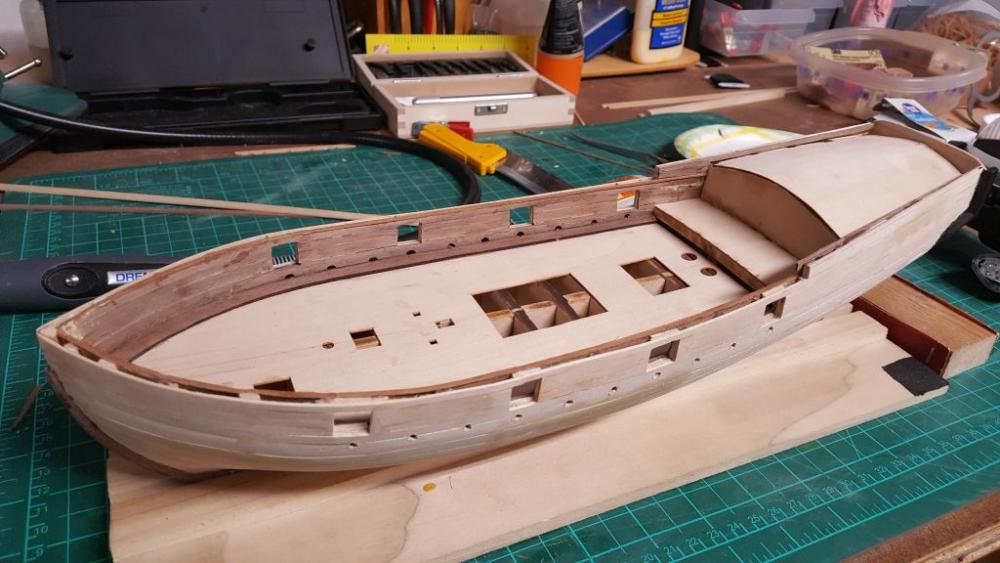
Sanded the hull nice and smooth last night after applying some wood filler. It turned out ok at least good to receive the second planking. Next was the installation of fillers around the gun port and preparation for the sweep port. Plan for the weekend and beginning of next week appears to be something like this: wale installation scupper construction (outside and inside pieces) pre-drilling the hull for scupper planking inside wall finishing drilling sweep port and scupper Well, this is the plan. I will see if my thinking is sound as I start implementation.

- 194 replies
-
- 6
-
-
- armed virginia sloop
- model shipways
- (and 1 more)
-
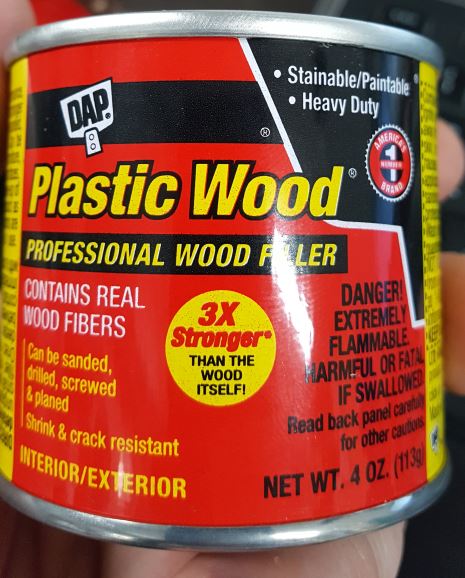
Thanks Tom. I will look into this product.
-
Hi Everyone, I would like to know if there is any advantage or disadvantage in using plastic wood or wood filler. I was at the store and they were out of Elmer Wood Filler so I picked up DAP plastics wood. My Elmer is almost out so but I do anything I could regret i am looking for advice.

-
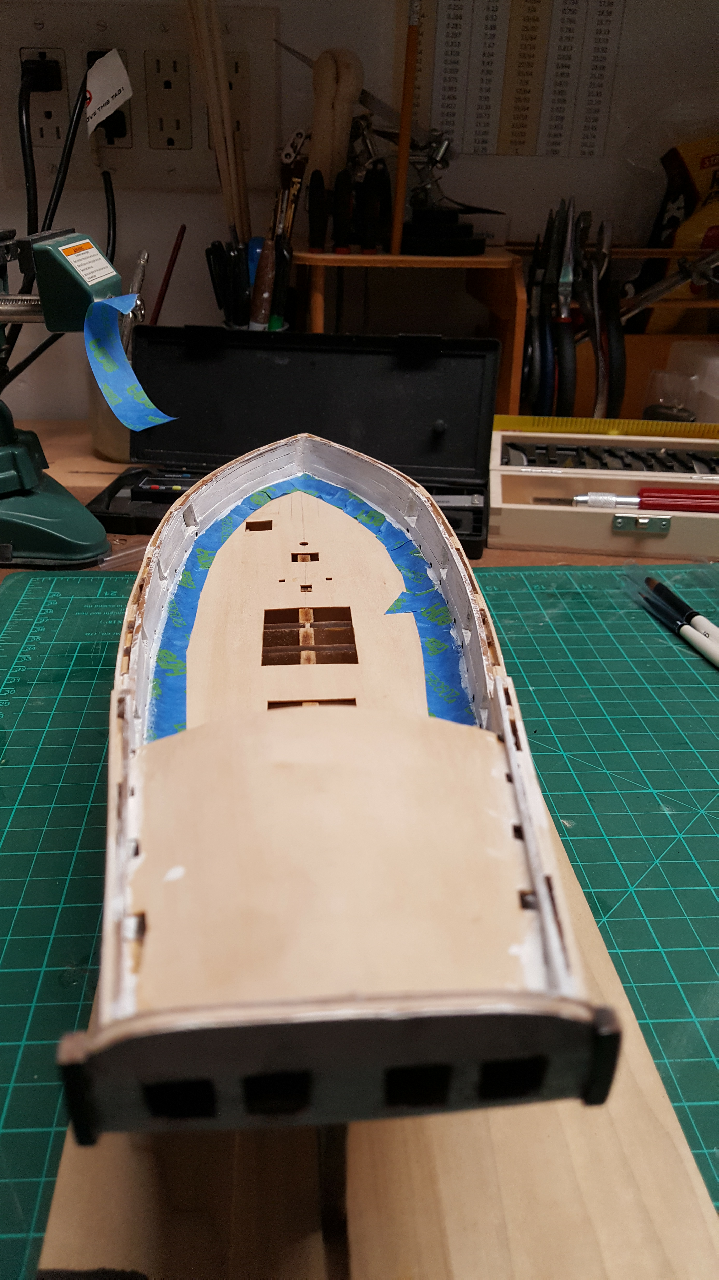
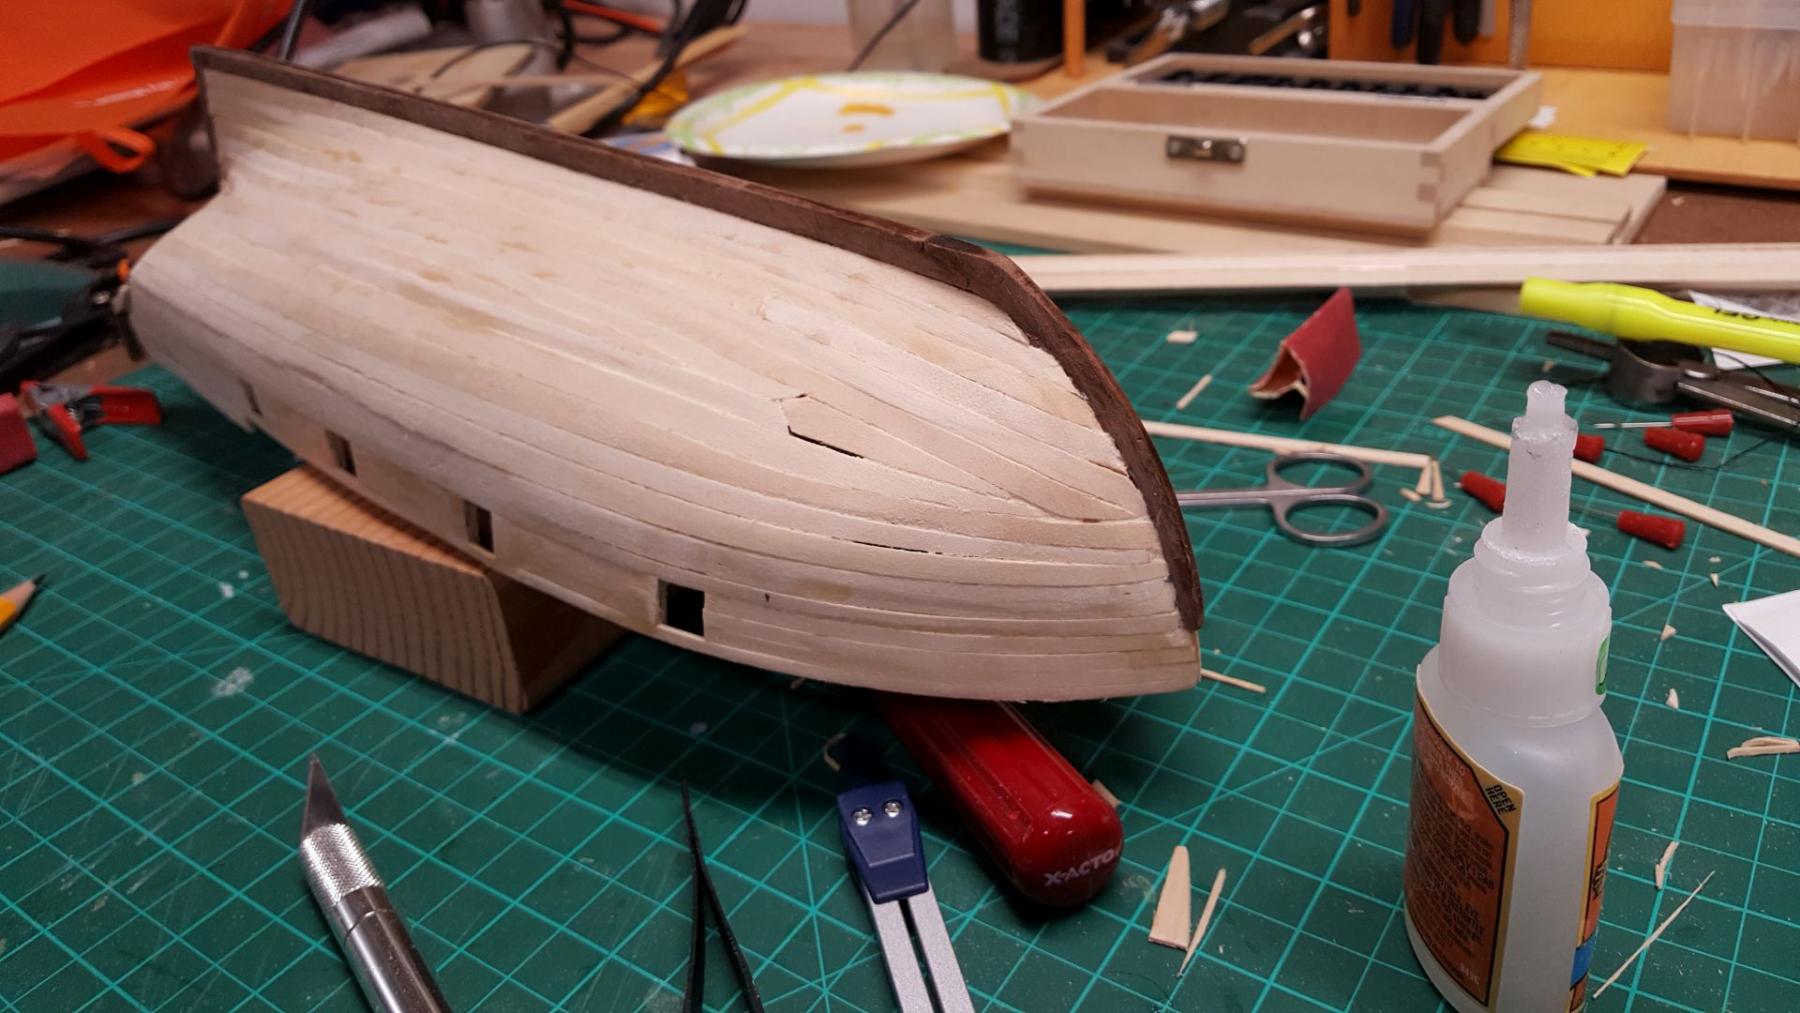
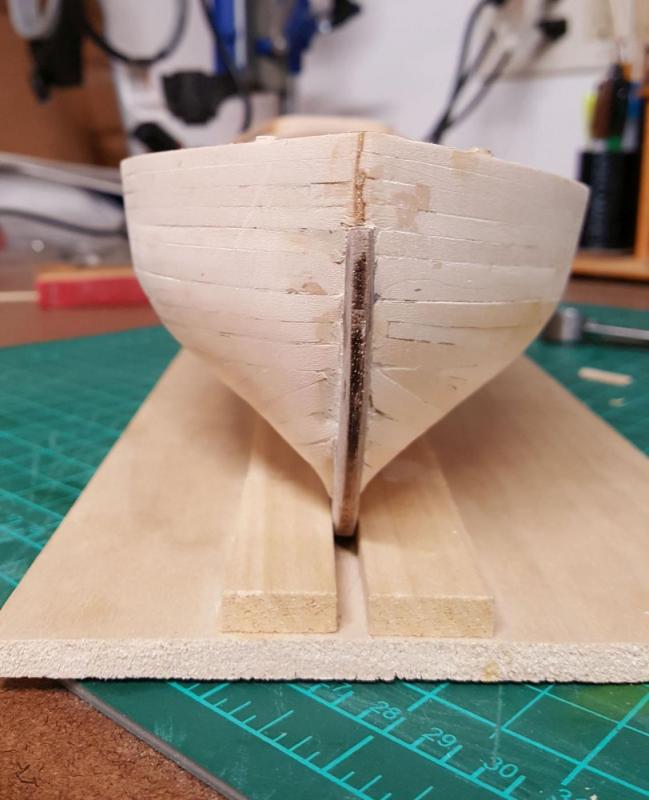
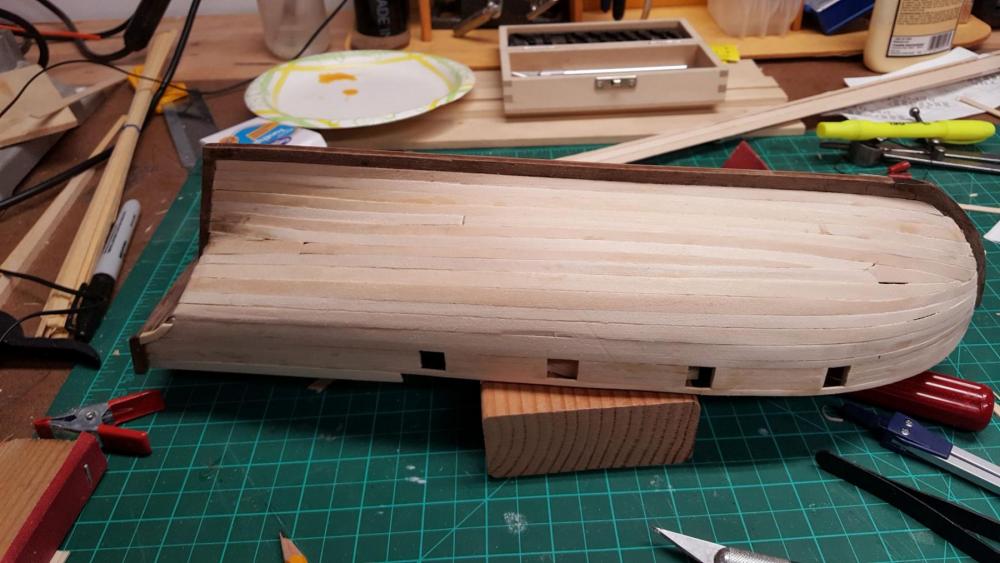
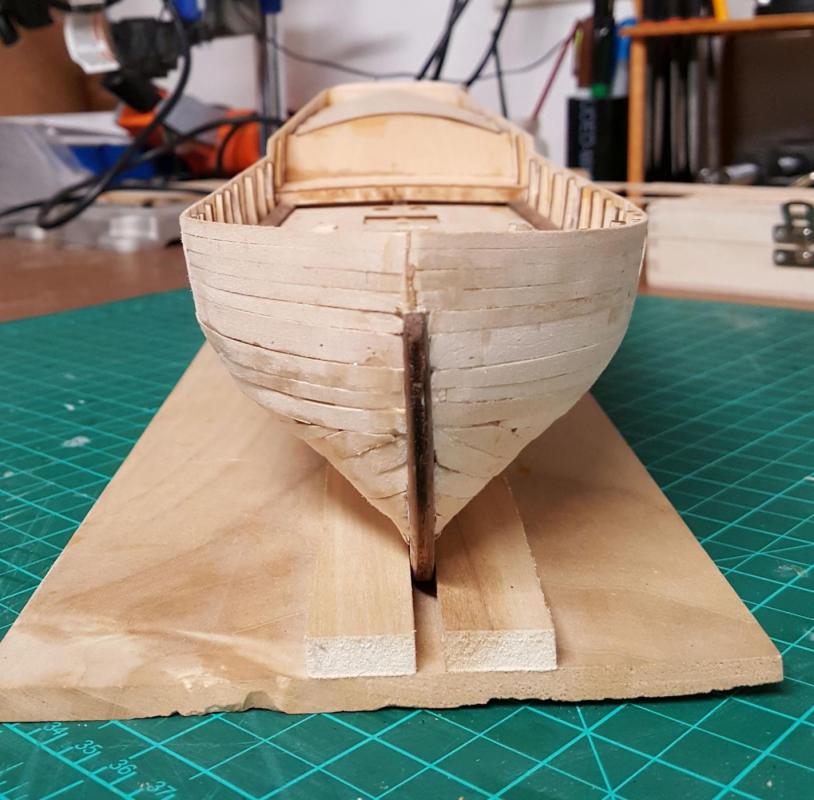
Well, it is FAR from perfect but.... Aside from a few gaps here and there, the hull is completed and closed up. What a ride and learning curse!!! Lessons: 1. fairing is important, too much messed your planking 2. Laying out the wales perfectly (critical step). I went too high on the stern of the ship which resulted in difficulty with dividing and laying the first few planks 3. Blending and using stealer properly. On this one, I think it will come with experience. The below pictures are without any sanding, wood filler. Just raw 'Kindergartener' work. The starboard side is going to need some loving.


- 194 replies
-
- 8
-
-
- armed virginia sloop
- model shipways
- (and 1 more)
-
Speaking of wood filler what are you guys using and recommending?
- 194 replies
-
- 1
-
-
- armed virginia sloop
- model shipways
- (and 1 more)
-
Hi Brian There is some truth to your comments. I think it is a combination of fairing and knowing how to cut and bend the planks properly. For fairing I know I did too much of it at the bow of the ship. I should have done like that you did on your build and use some fillers blocks. I also tried to follow the practicum to divide the hull in belts and find how many planks to use with some medium success. This resulted into poor execution of the cutting and preparation of the planks. :/ Novice mistakes.
- 194 replies
-
- 1
-
-
- armed virginia sloop
- model shipways
- (and 1 more)
-
Nothing has been sanded this far. I think I can correct some of my mistakes.
- 194 replies
-
- 3
-
-
- armed virginia sloop
- model shipways
- (and 1 more)
-
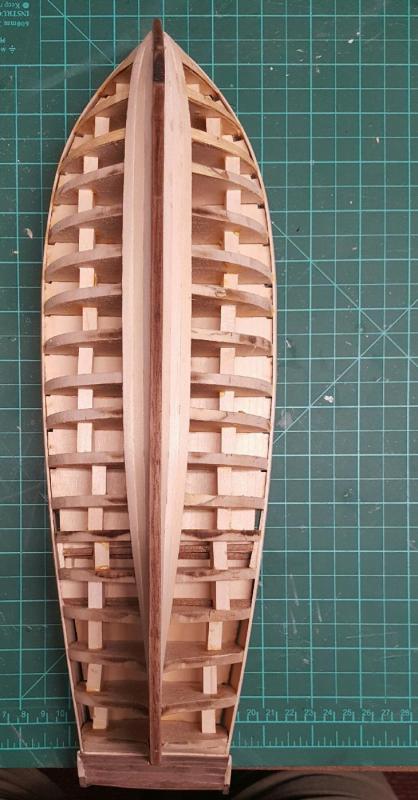
So I pushed forward and continue planking. Tough job!! I have a lot to learn. I am not super pleased with the result so far. Wood filler will have to help a bit.


- 194 replies
-
- 6
-
-
- armed virginia sloop
- model shipways
- (and 1 more)
-
Looking good. You have made some great progress since my last visit. Keep up the good work
- 701 replies
-
- 3
-
-
- phantom
- model shipways
- (and 1 more)
-
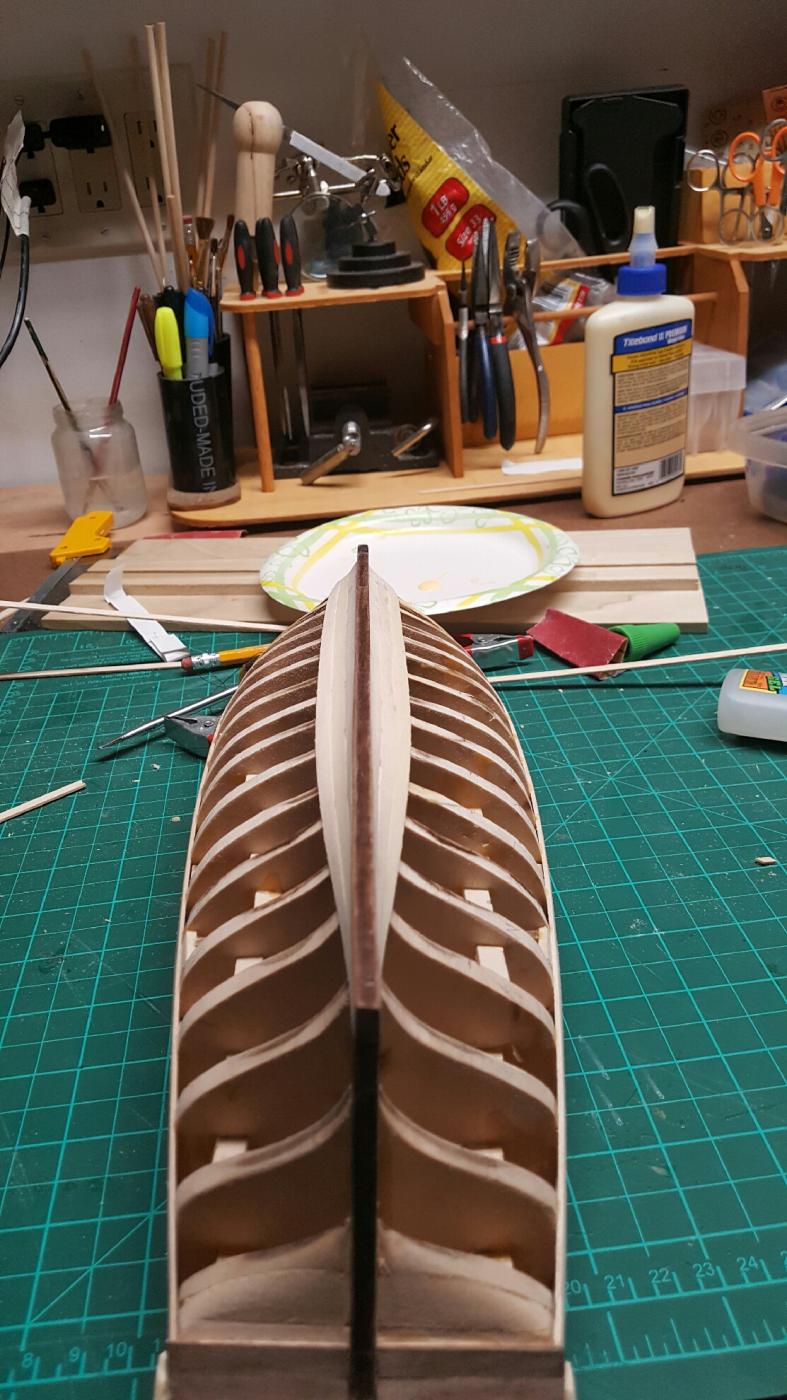
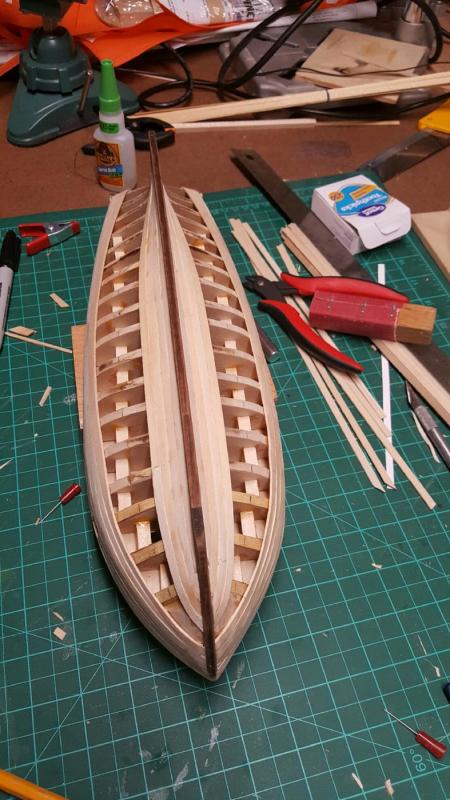
Started the planking of the lower part if the hull. So far so good. Some mistakes but I am not too worriedaboutit since this is the first layout. This is definitely a learning curve!!

- 194 replies
-
- 6
-
-
- armed virginia sloop
- model shipways
- (and 1 more)