HOLIDAY DONATION DRIVE - SUPPORT MSW - DO YOUR PART TO KEEP THIS GREAT FORUM GOING! (Only 24 donations so far out of 49,000 members - C'mon guys!)
×


mrcc
-
Posts
553 -
Joined
-
Last visited
Content Type
Profiles
Forums
Gallery
Events
Everything posted by mrcc
-
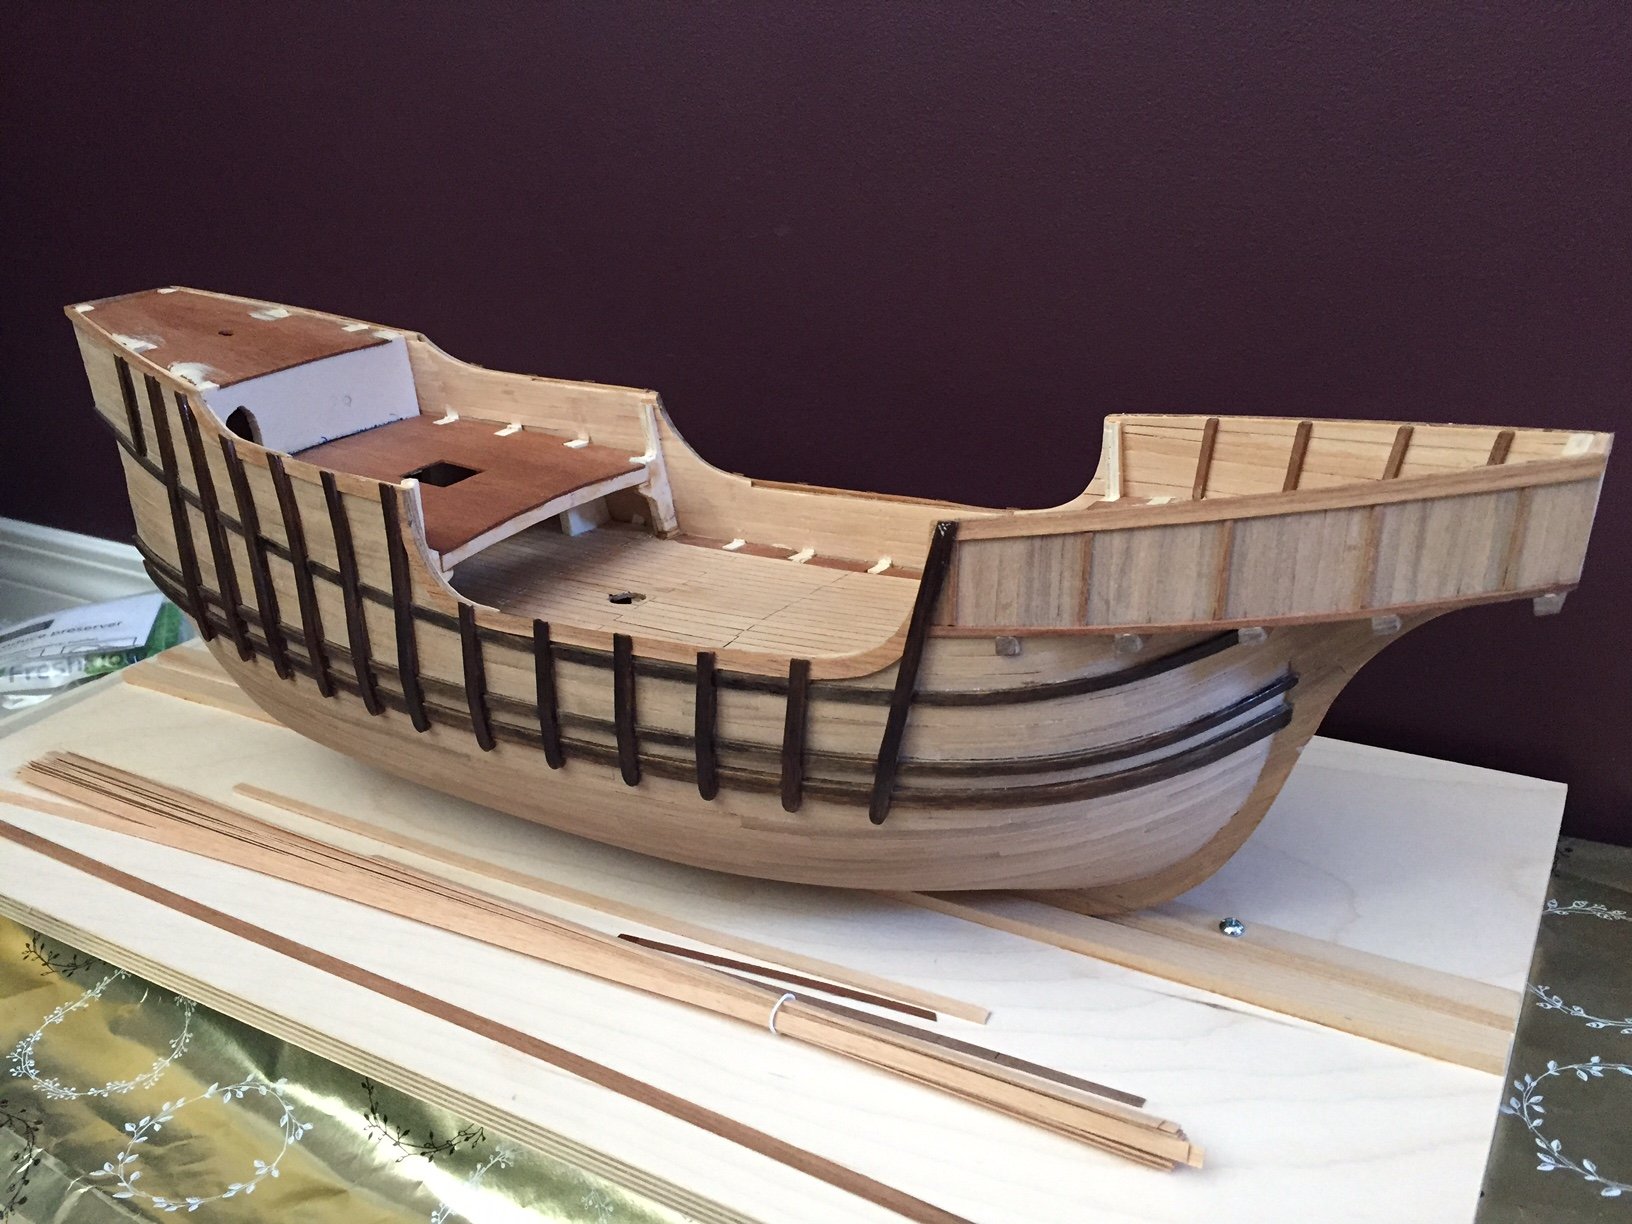
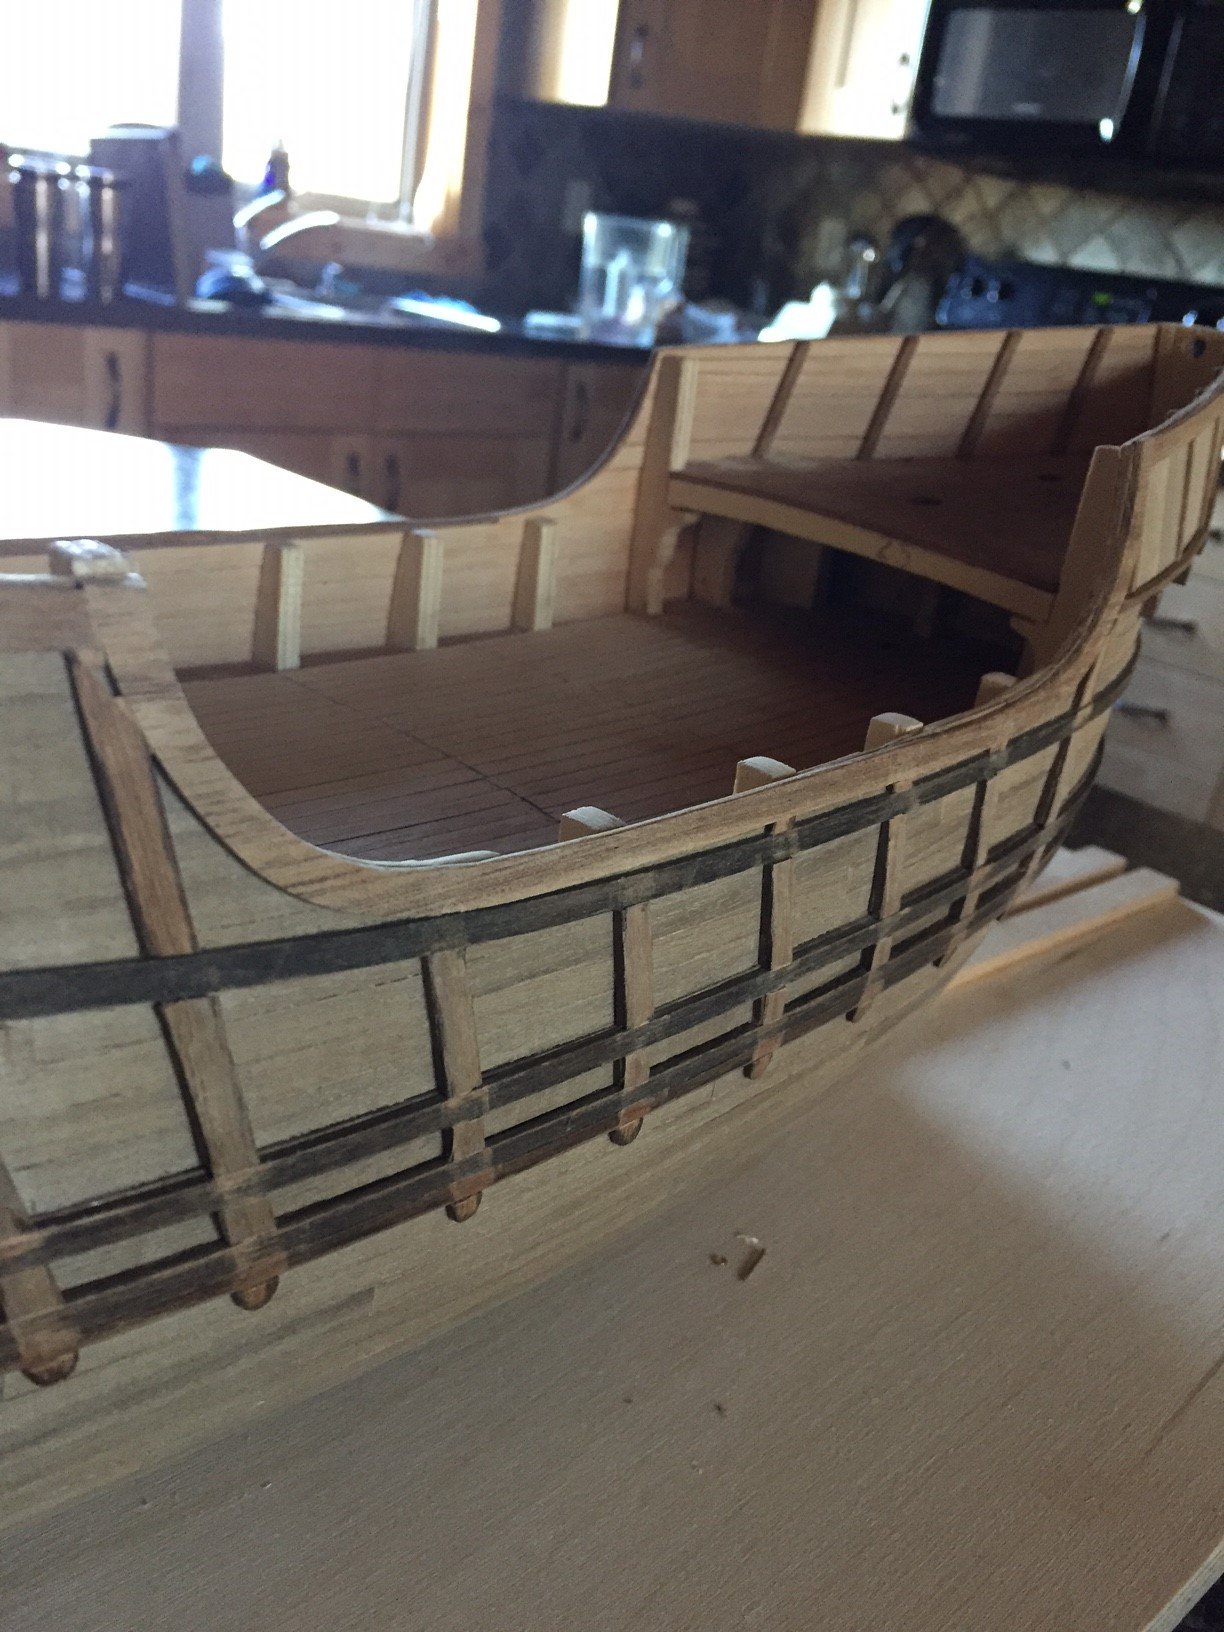
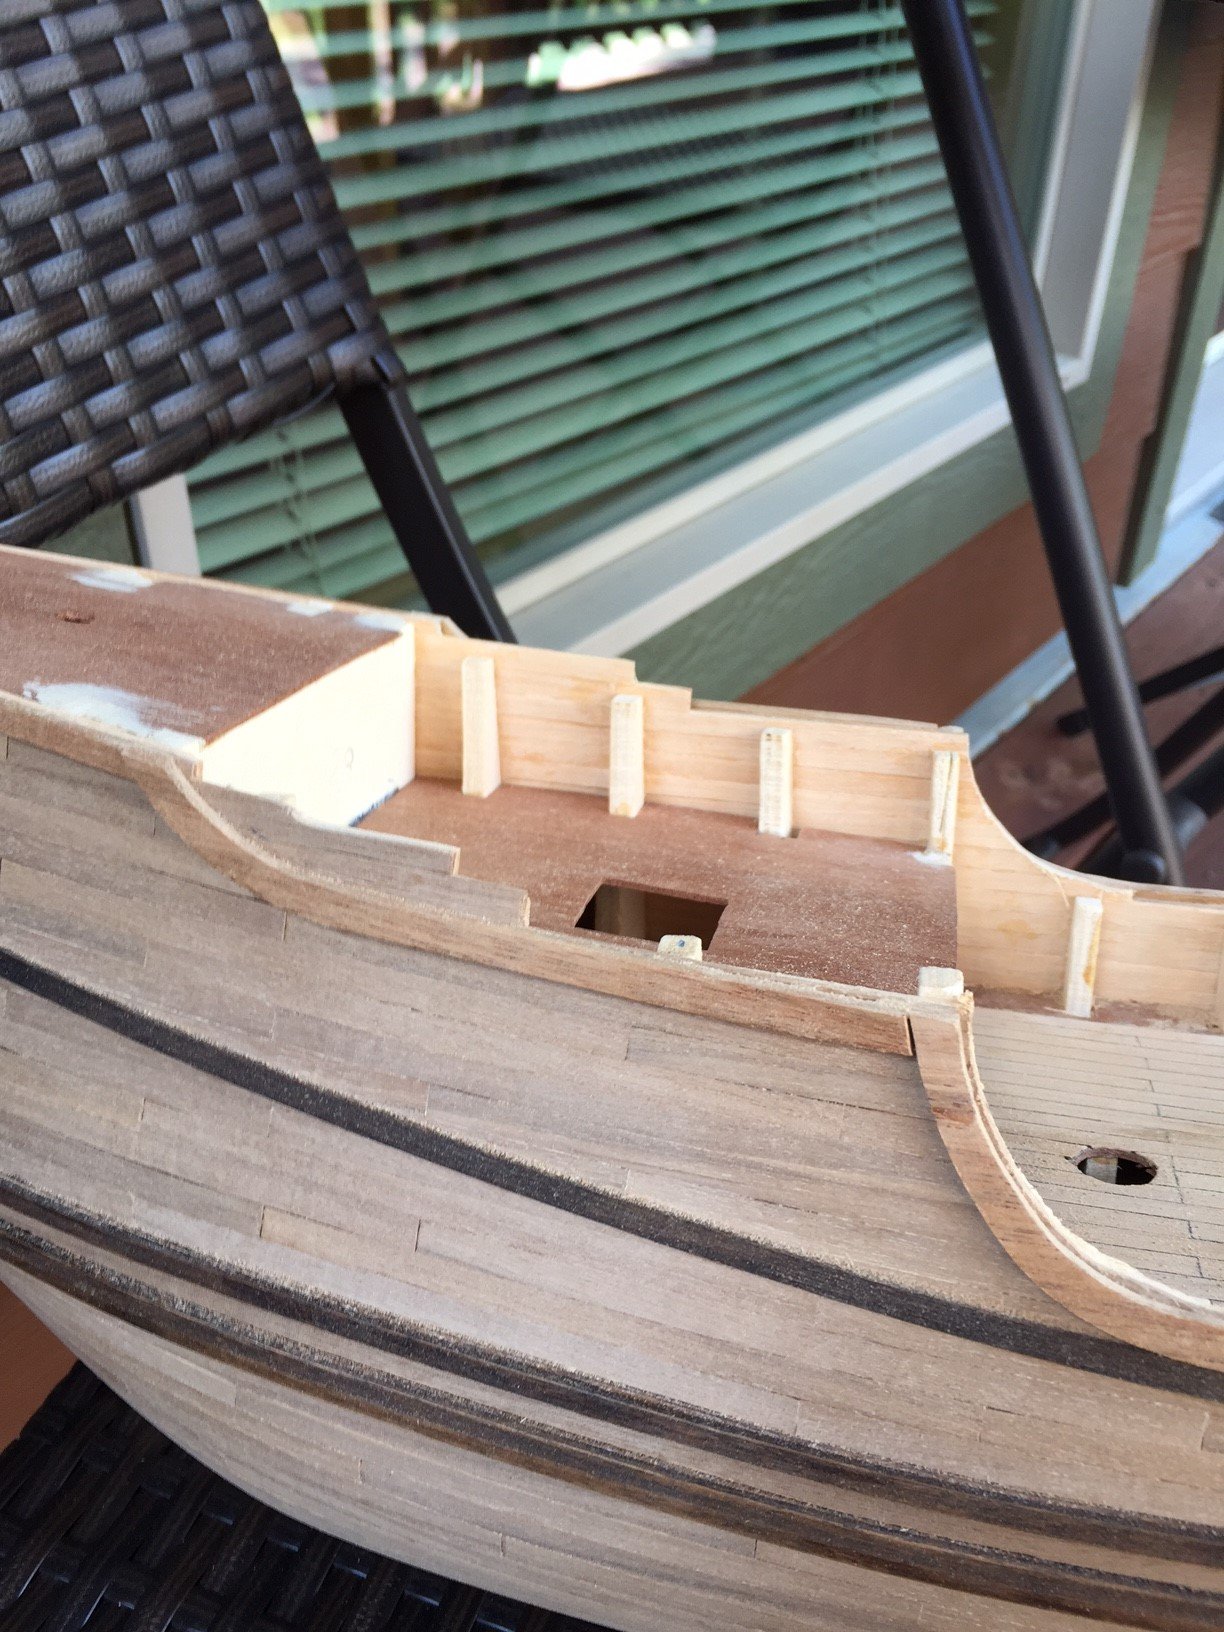
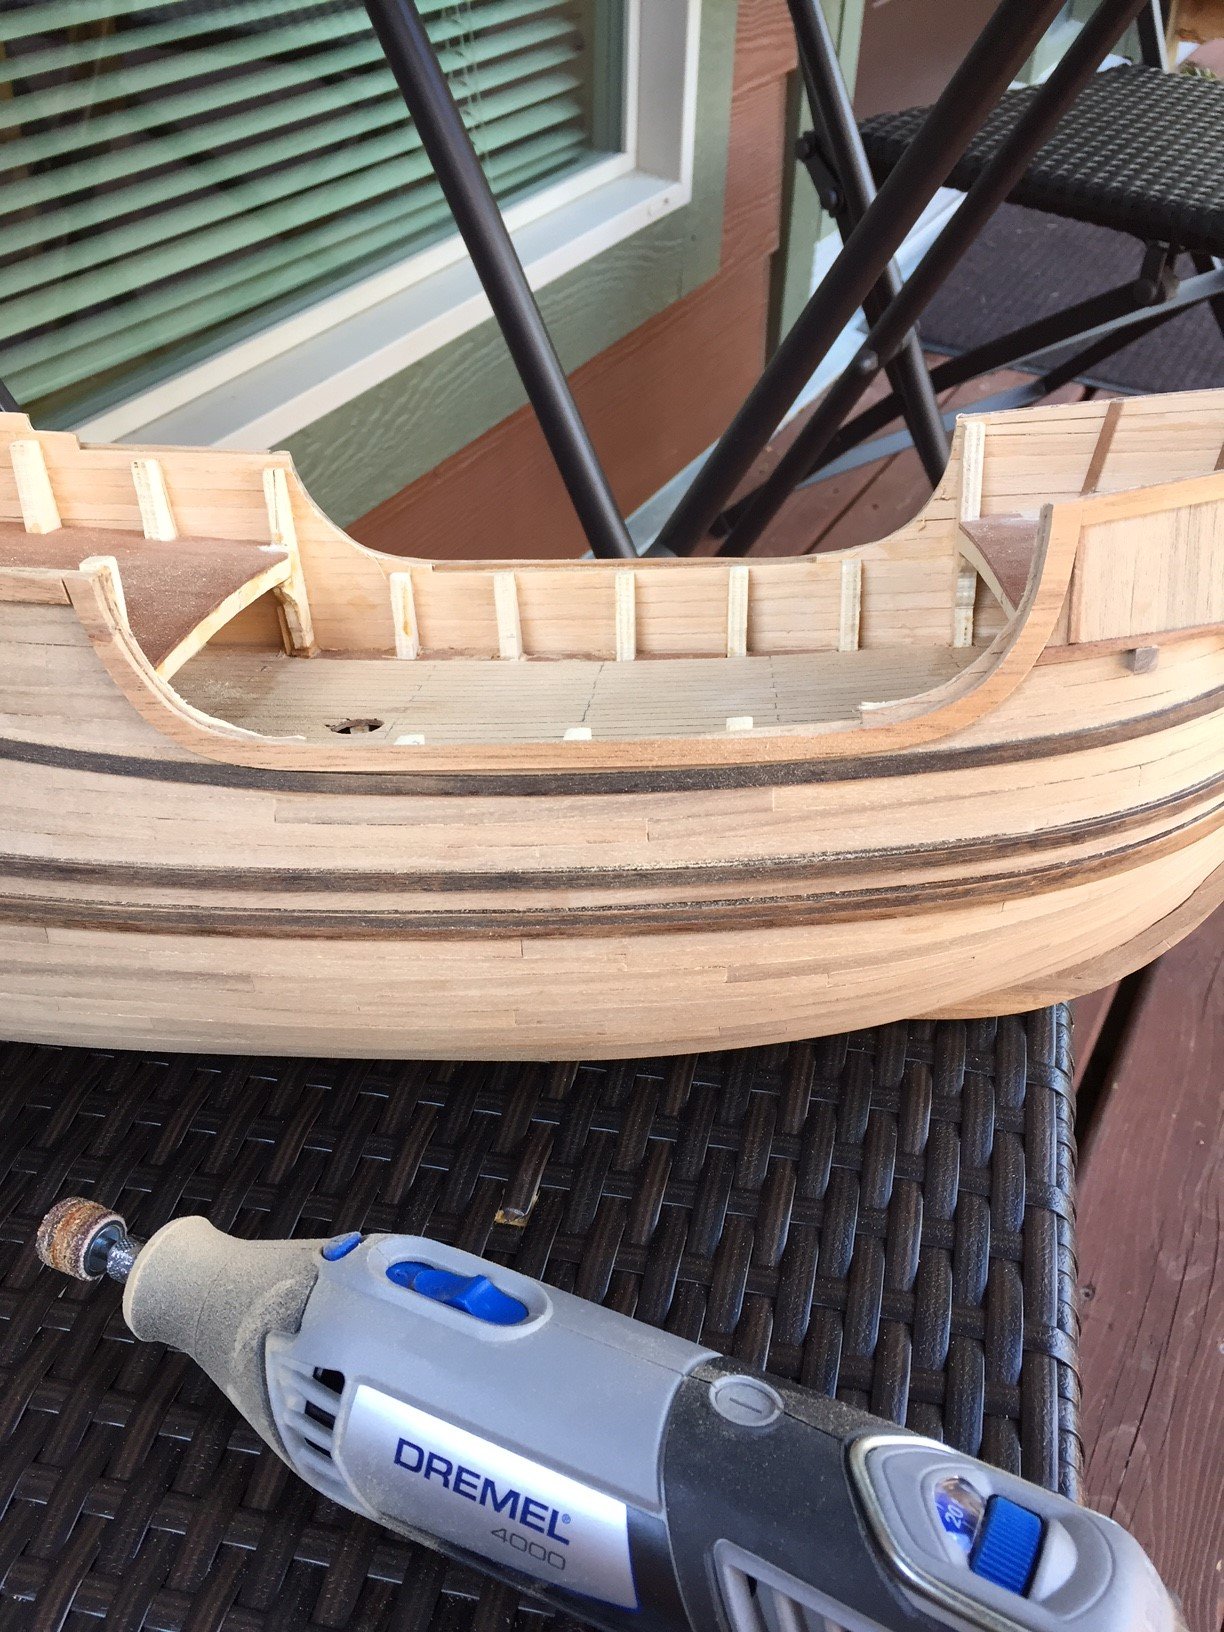
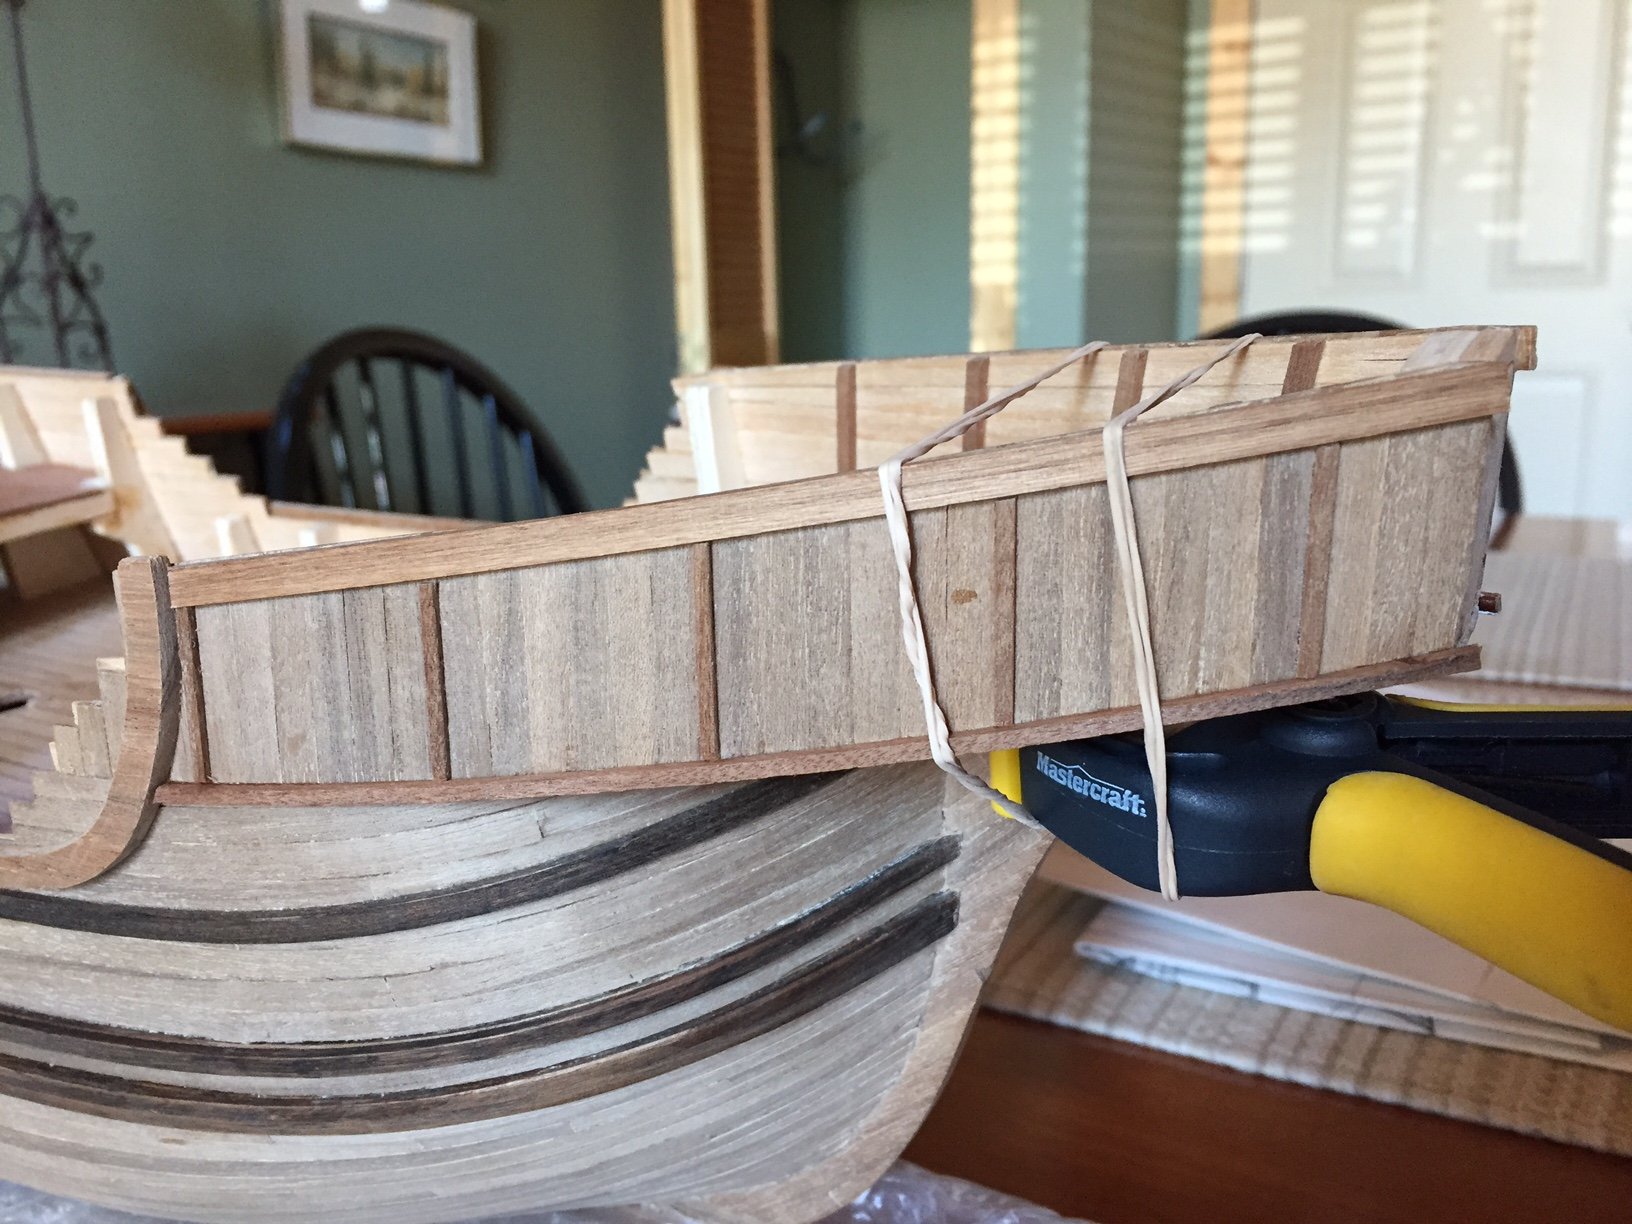
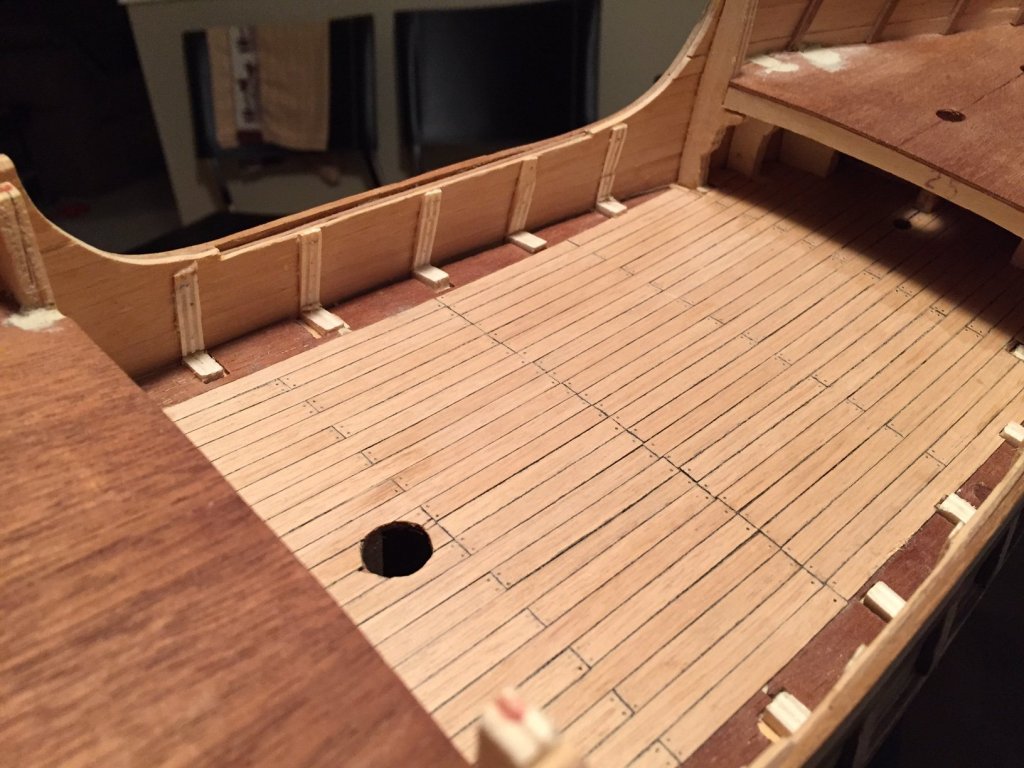
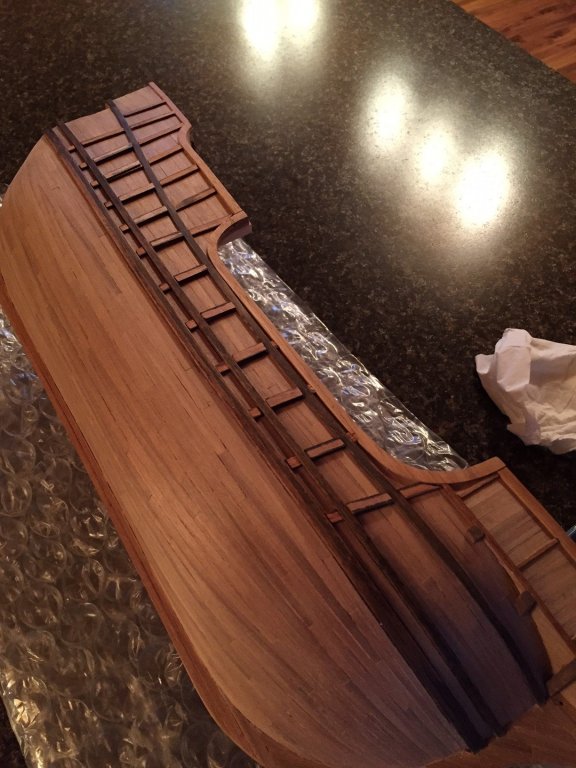
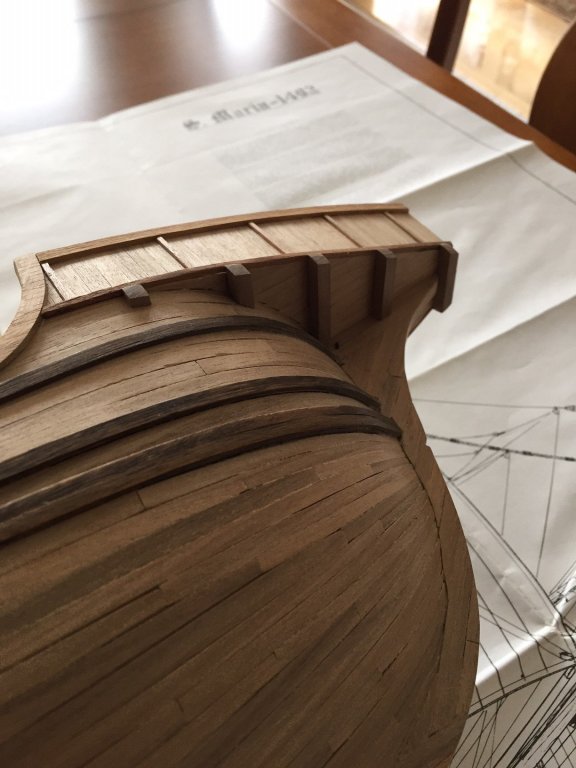
 This is the image of the bulkhead extensions sanded back to the deck and inside surface of the hull... A fair amount of fiddly work given Mamoli's design of the kit is that you plank to the bulkhead extensions on an earlier stage of the build and then plank to the inside hull at a later stage, which is now. My inexperience though in that I did not completely understand the instructions and did not foresee that the bulkheads needed to be flush to the deck and my mistake in that some of my planks were notched to the extensions which does not look great when you fill in the voids with planks.
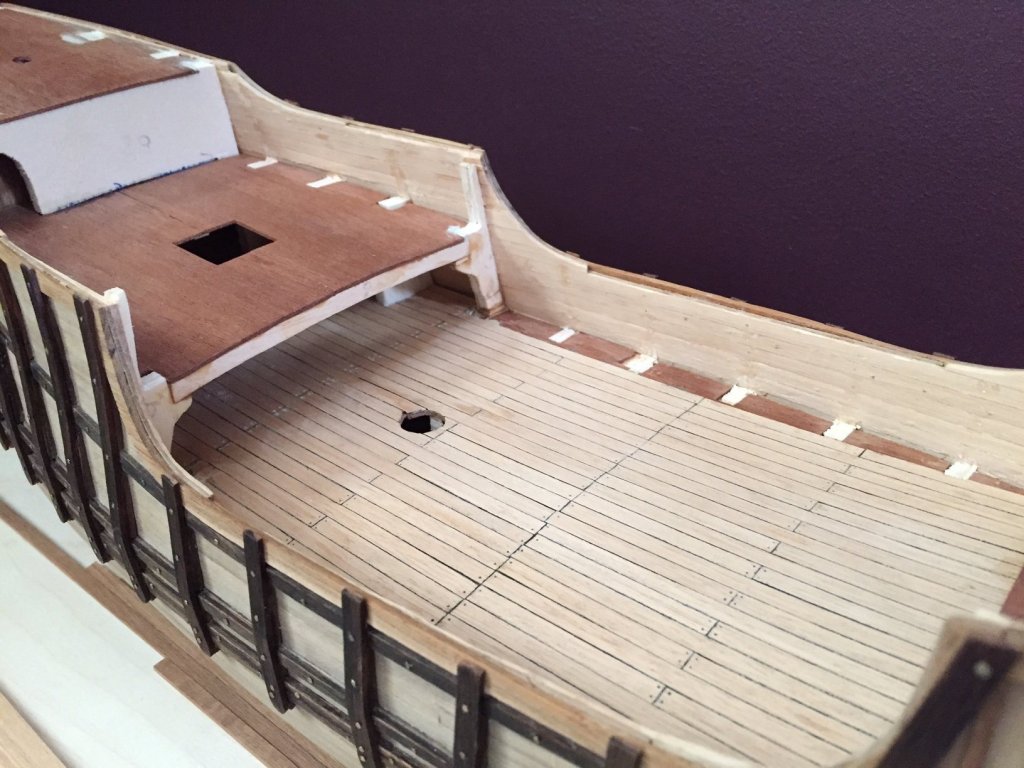
- 181 replies
-
- 3
-

-
- santa maria
- mamoli
- (and 1 more)
-
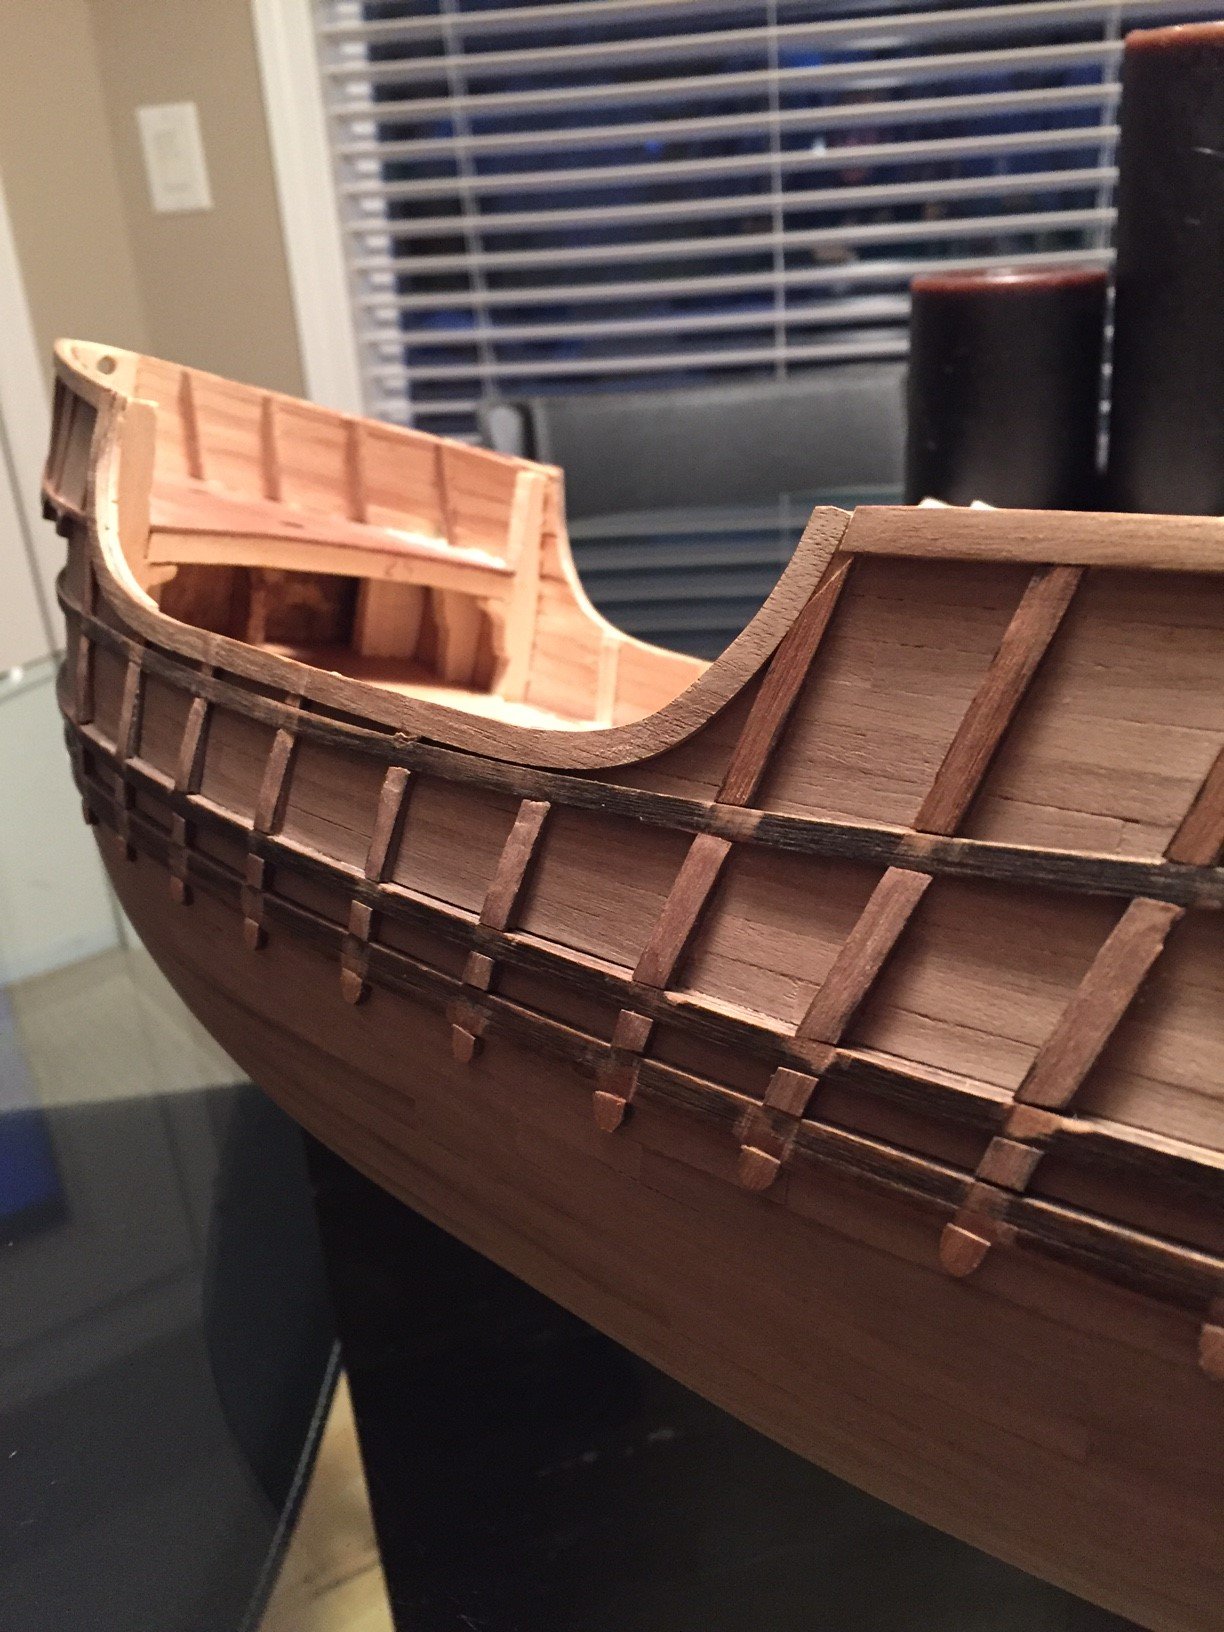
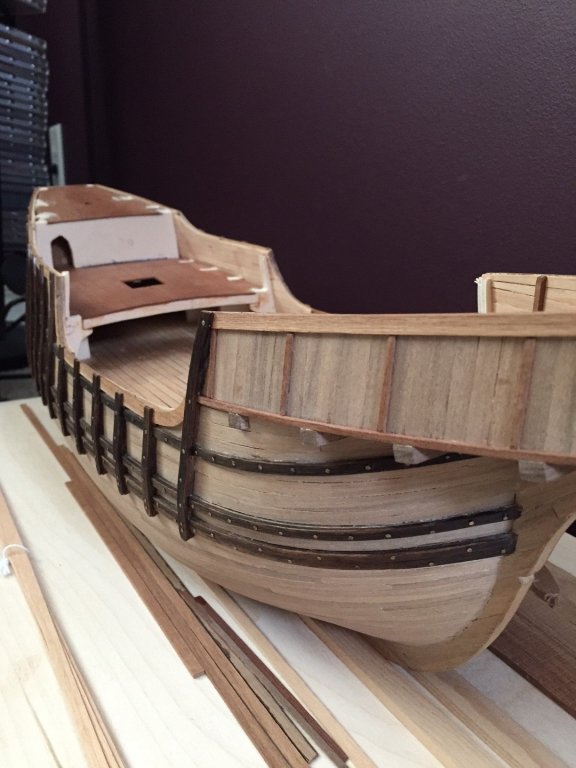
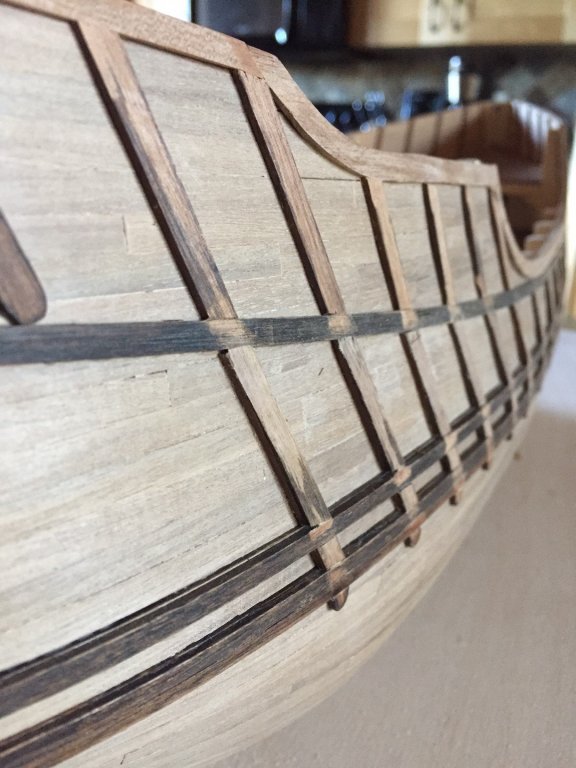
This past weekend, I worked on some of the exterior hull details... Mamoli's plans indicate brass pins installed through out the sheer strakes and futtock riders. I drilled 0.7mm holes with a pin vise and then glued in with CA the brass pins with the following results.

- 181 replies
-
- 3
-
-
- santa maria
- mamoli
- (and 1 more)
-
Thanks for the kind comments and likes... I am just now finding the skill level getting to a standard to my liking from my previous builds to date.
- 181 replies
-
- 1
-
-
- santa maria
- mamoli
- (and 1 more)
-
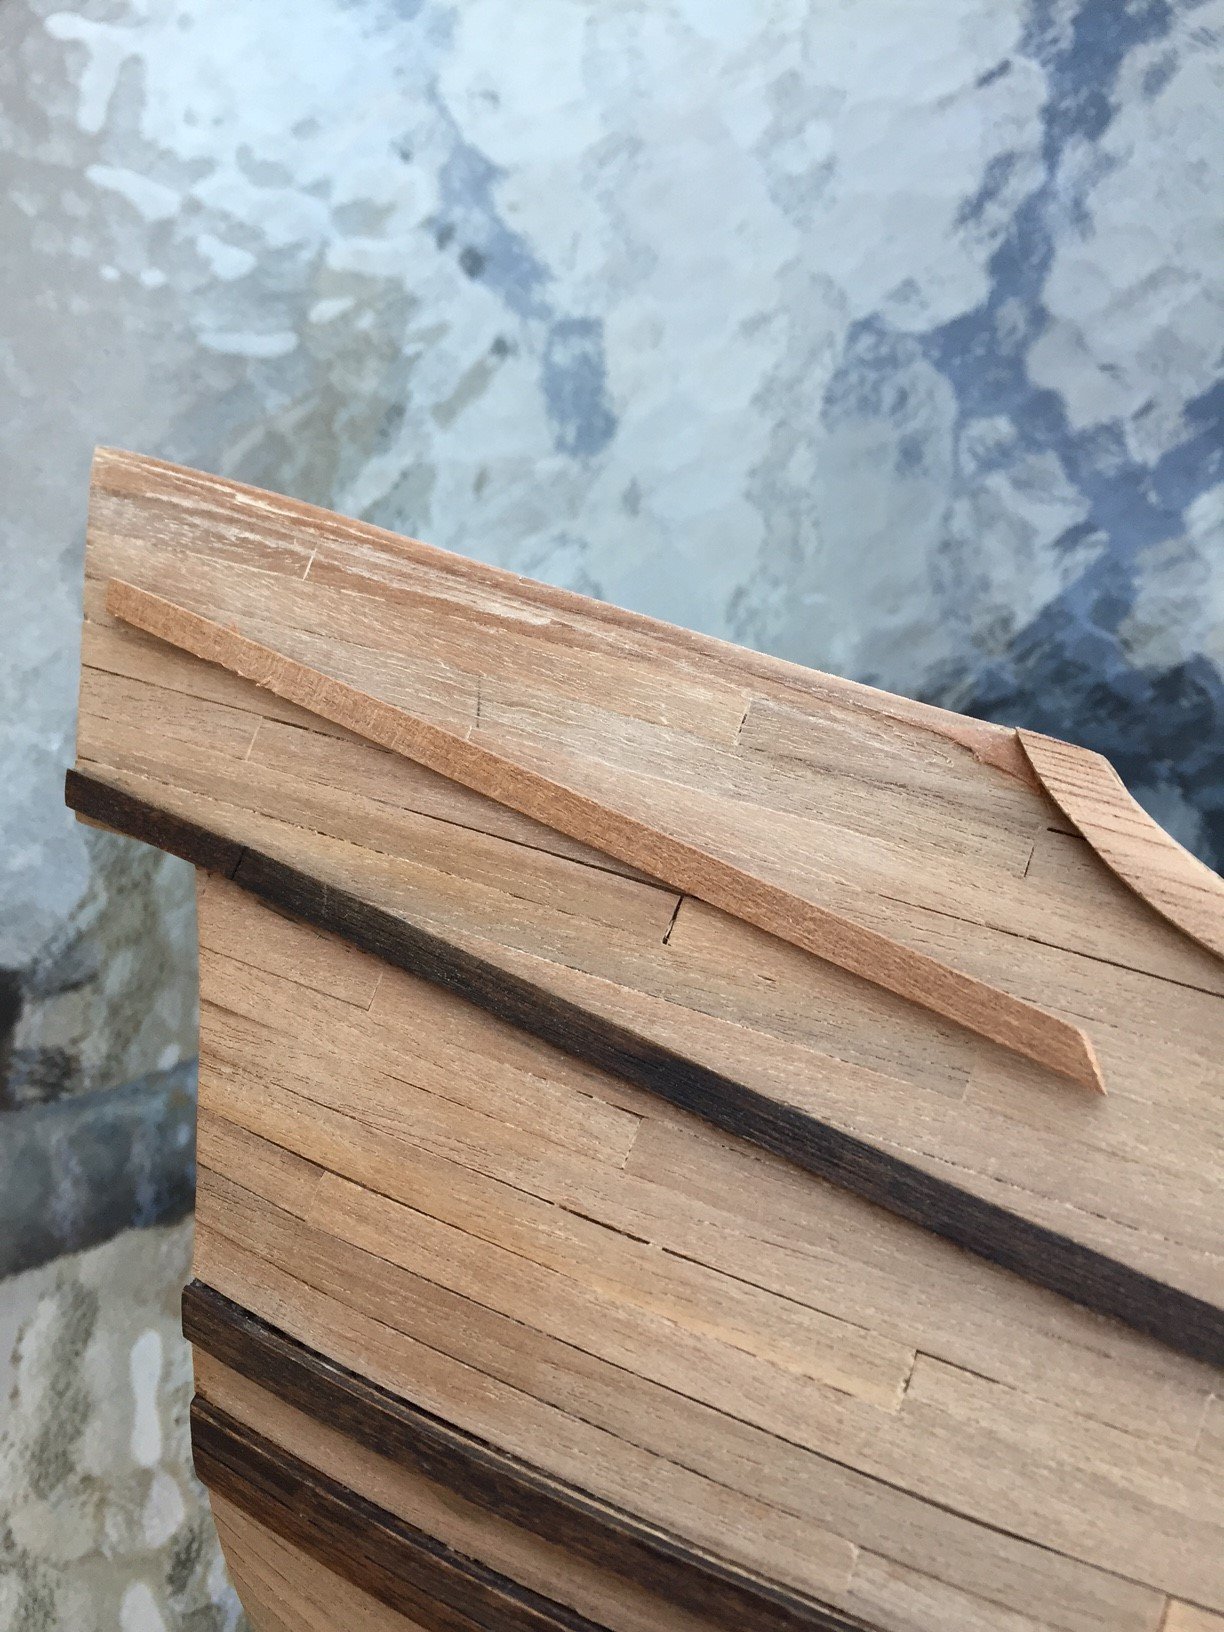
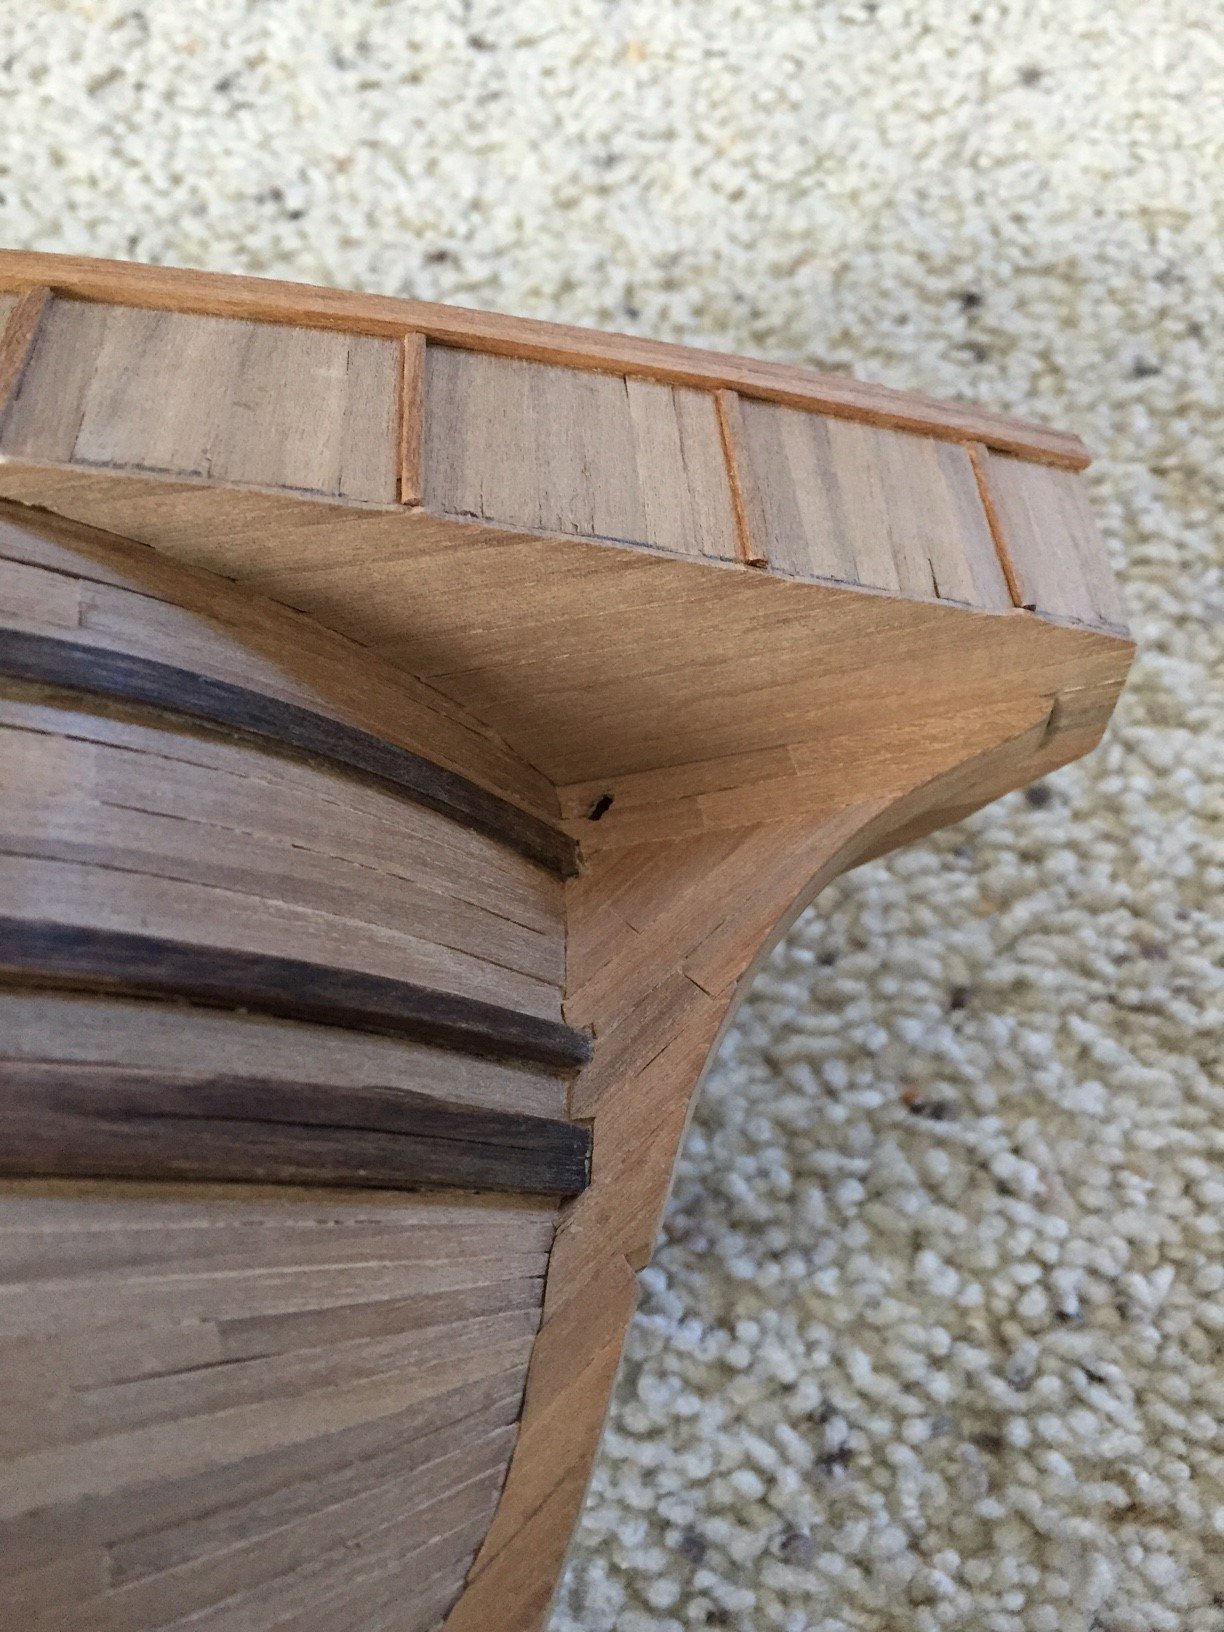
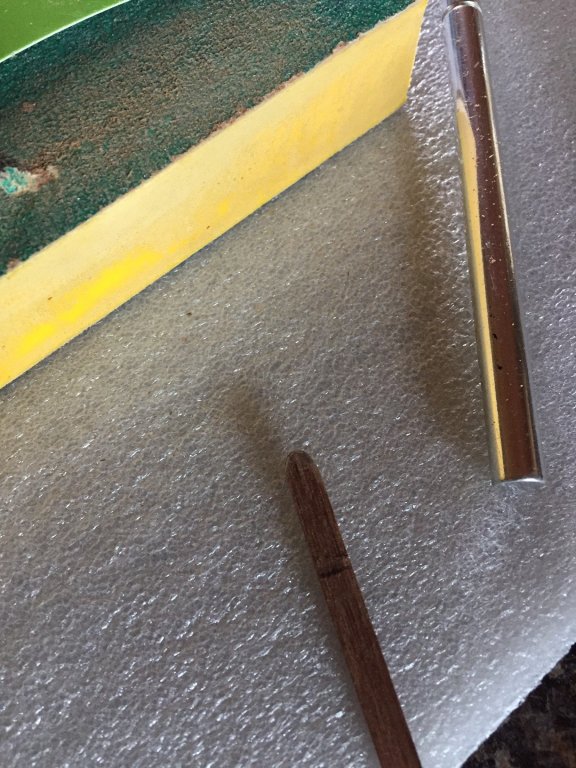
And here is the finished look... having stained the edges prior to gluing down the inside layer(s), it was a simple swipe of the brush to the outside surface to attain the present look.

- 181 replies
-
- 5
-
-
- santa maria
- mamoli
- (and 1 more)
-
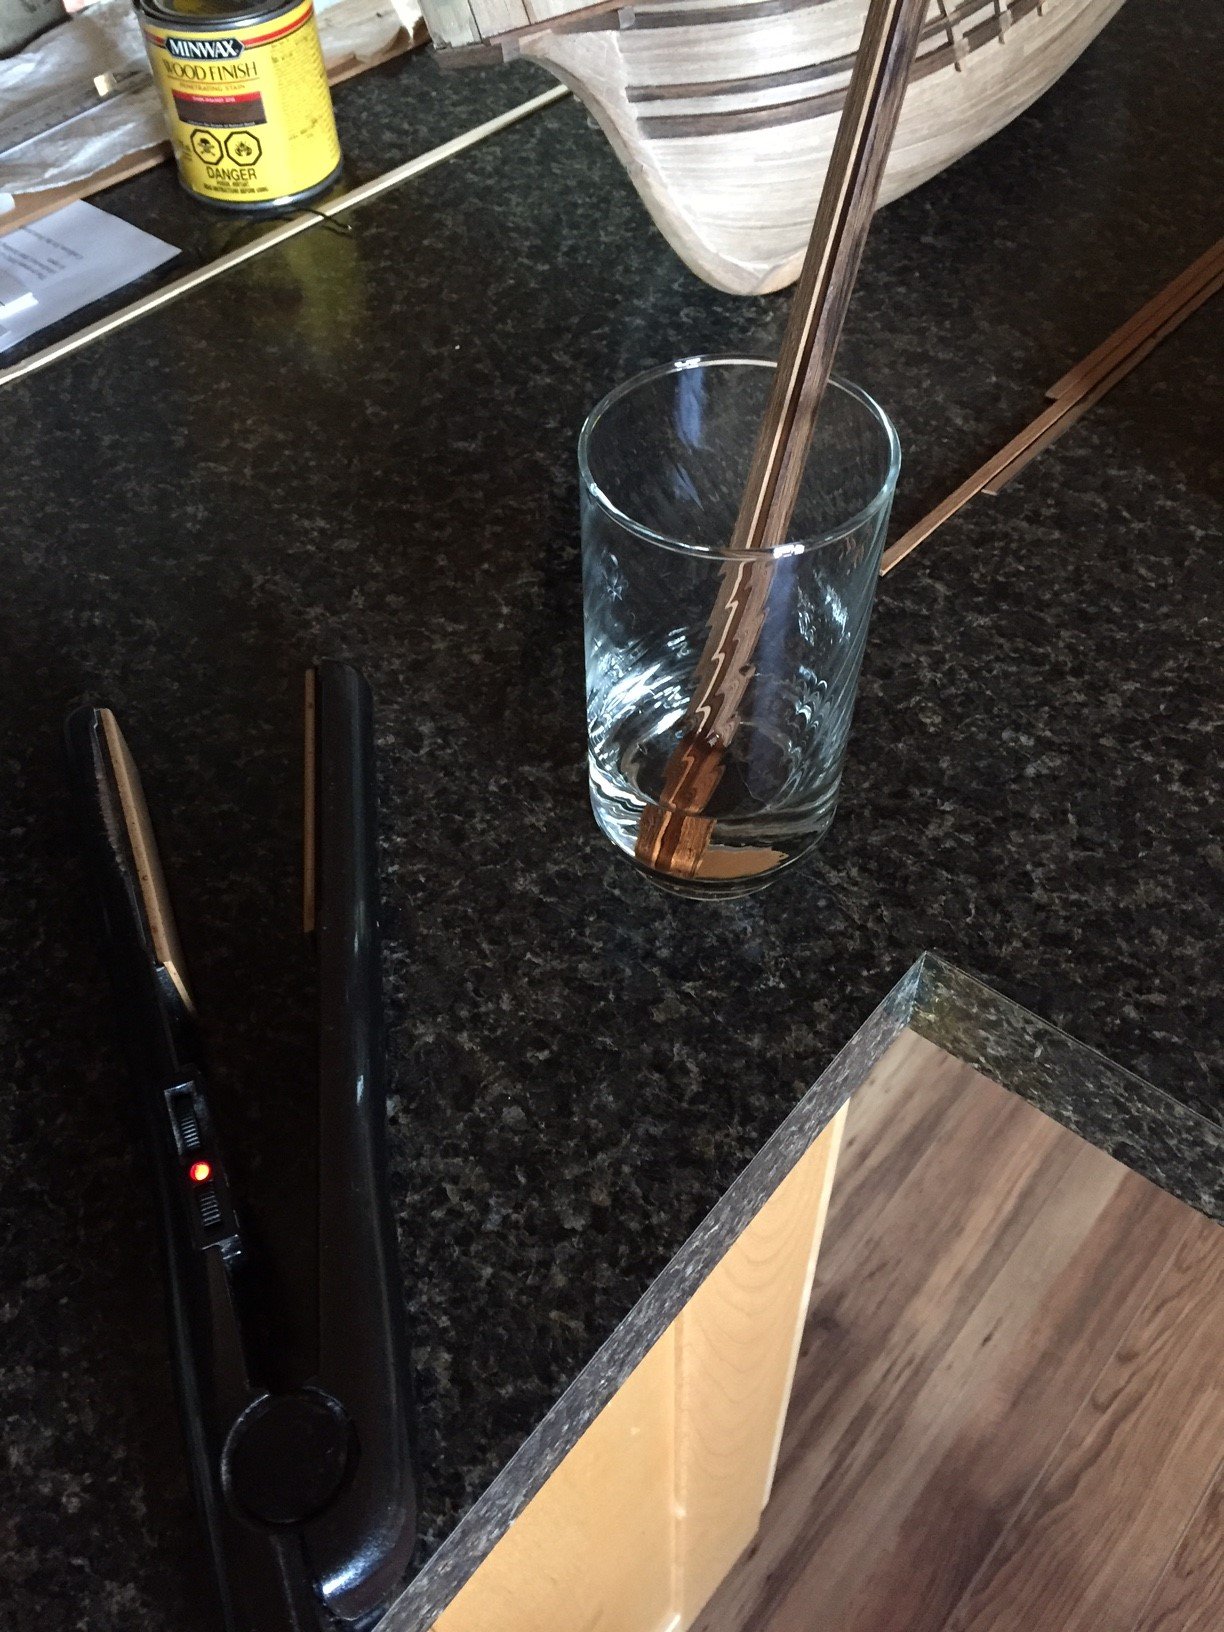
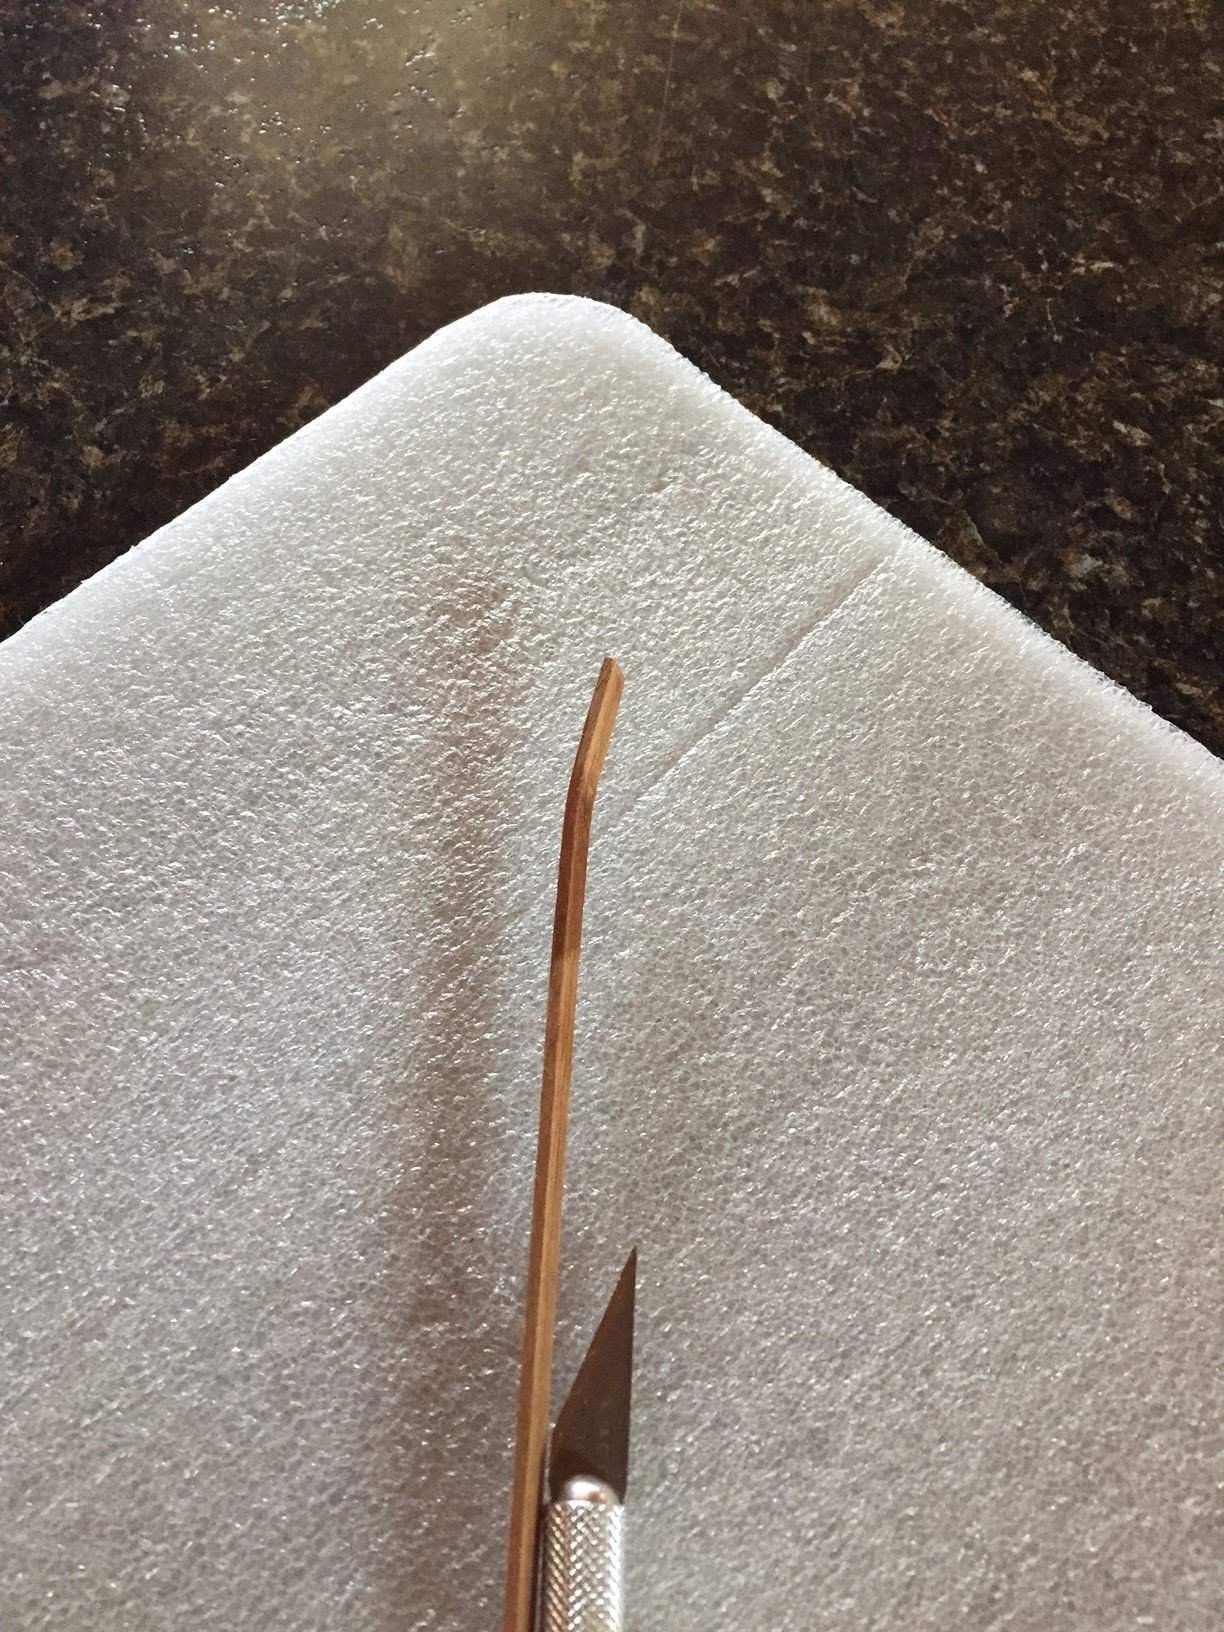
In terms of the futtock riders, this past weekend had me finishing up the outer profile pieces. I found the best fit was to sand the ends and then bend the ends with a flat iron after a quick soak.

- 181 replies
-
- 5
-
-
- santa maria
- mamoli
- (and 1 more)
-
At this stage per Mamoli's instruction, I trimmed off the bulkhead extensions using my heavy duty Milwaukee plunge cutter, all without any drama (piercing through the hull).

- 181 replies
-
- 3
-
-
- santa maria
- mamoli
- (and 1 more)
-
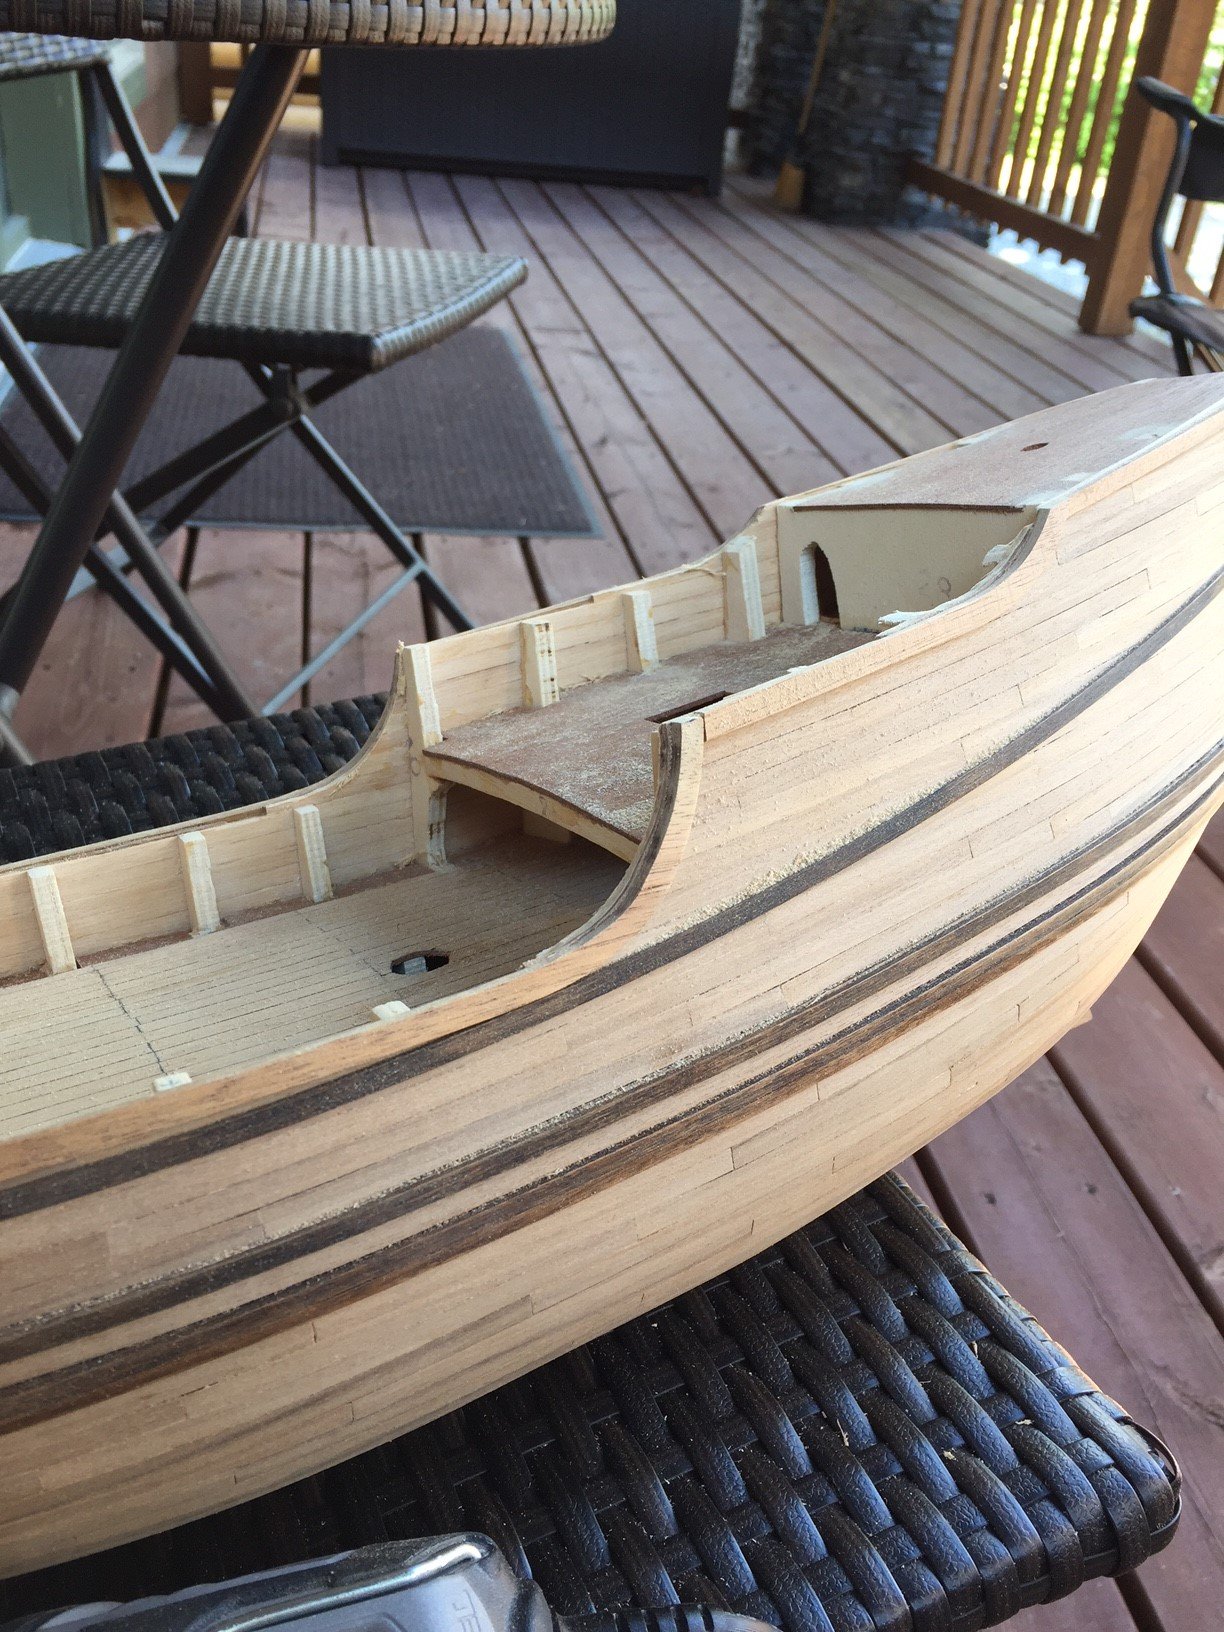
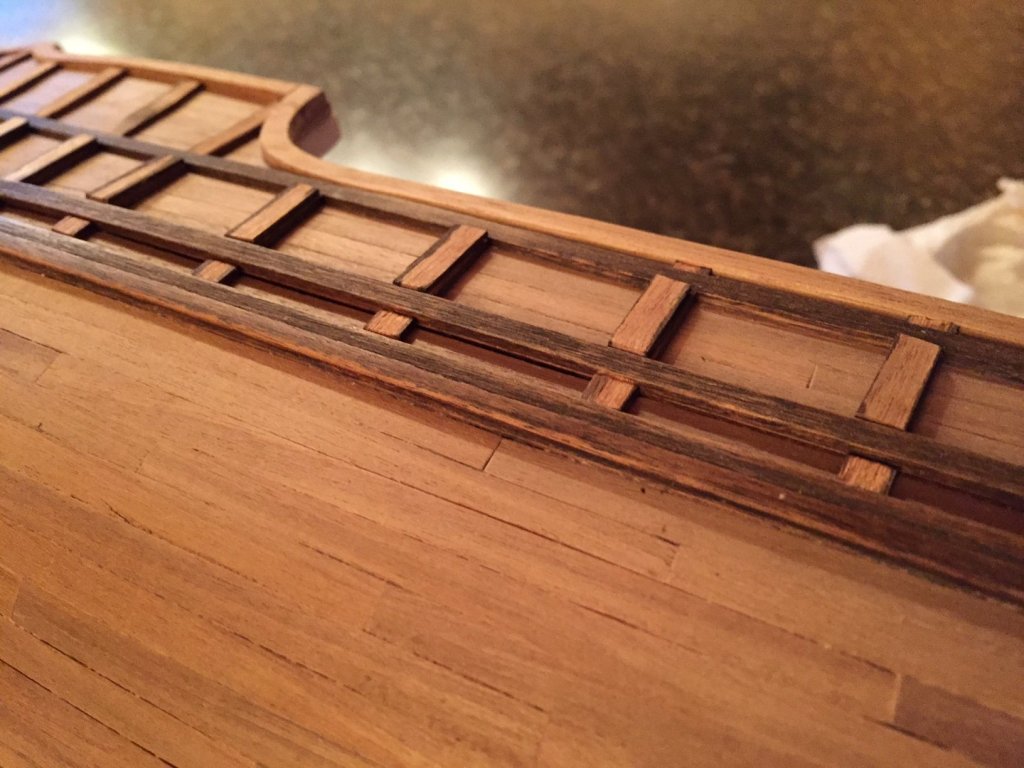
This is what it looked like just prior to covering with the top strip of 1.5x5 mm walnut. This was quite a bit of fiddly work...
- 181 replies
-
- 3
-
-
- santa maria
- mamoli
- (and 1 more)
-
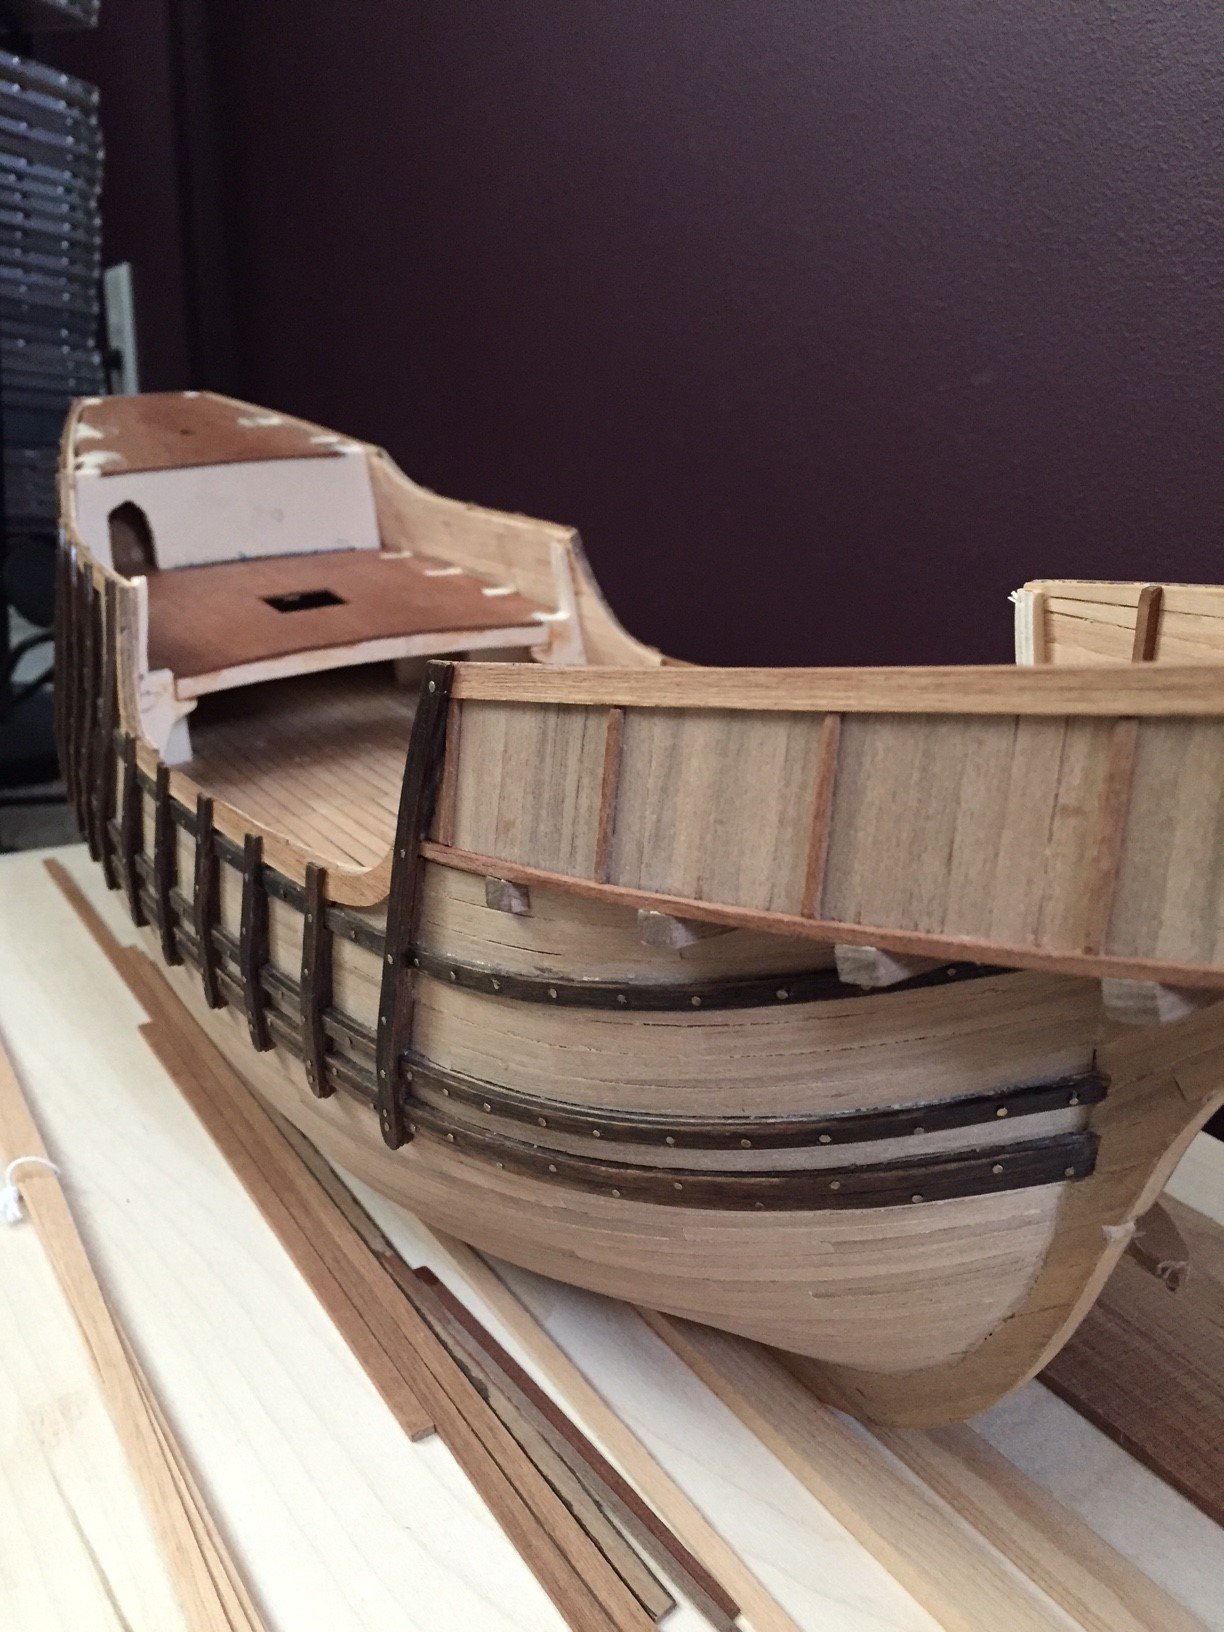
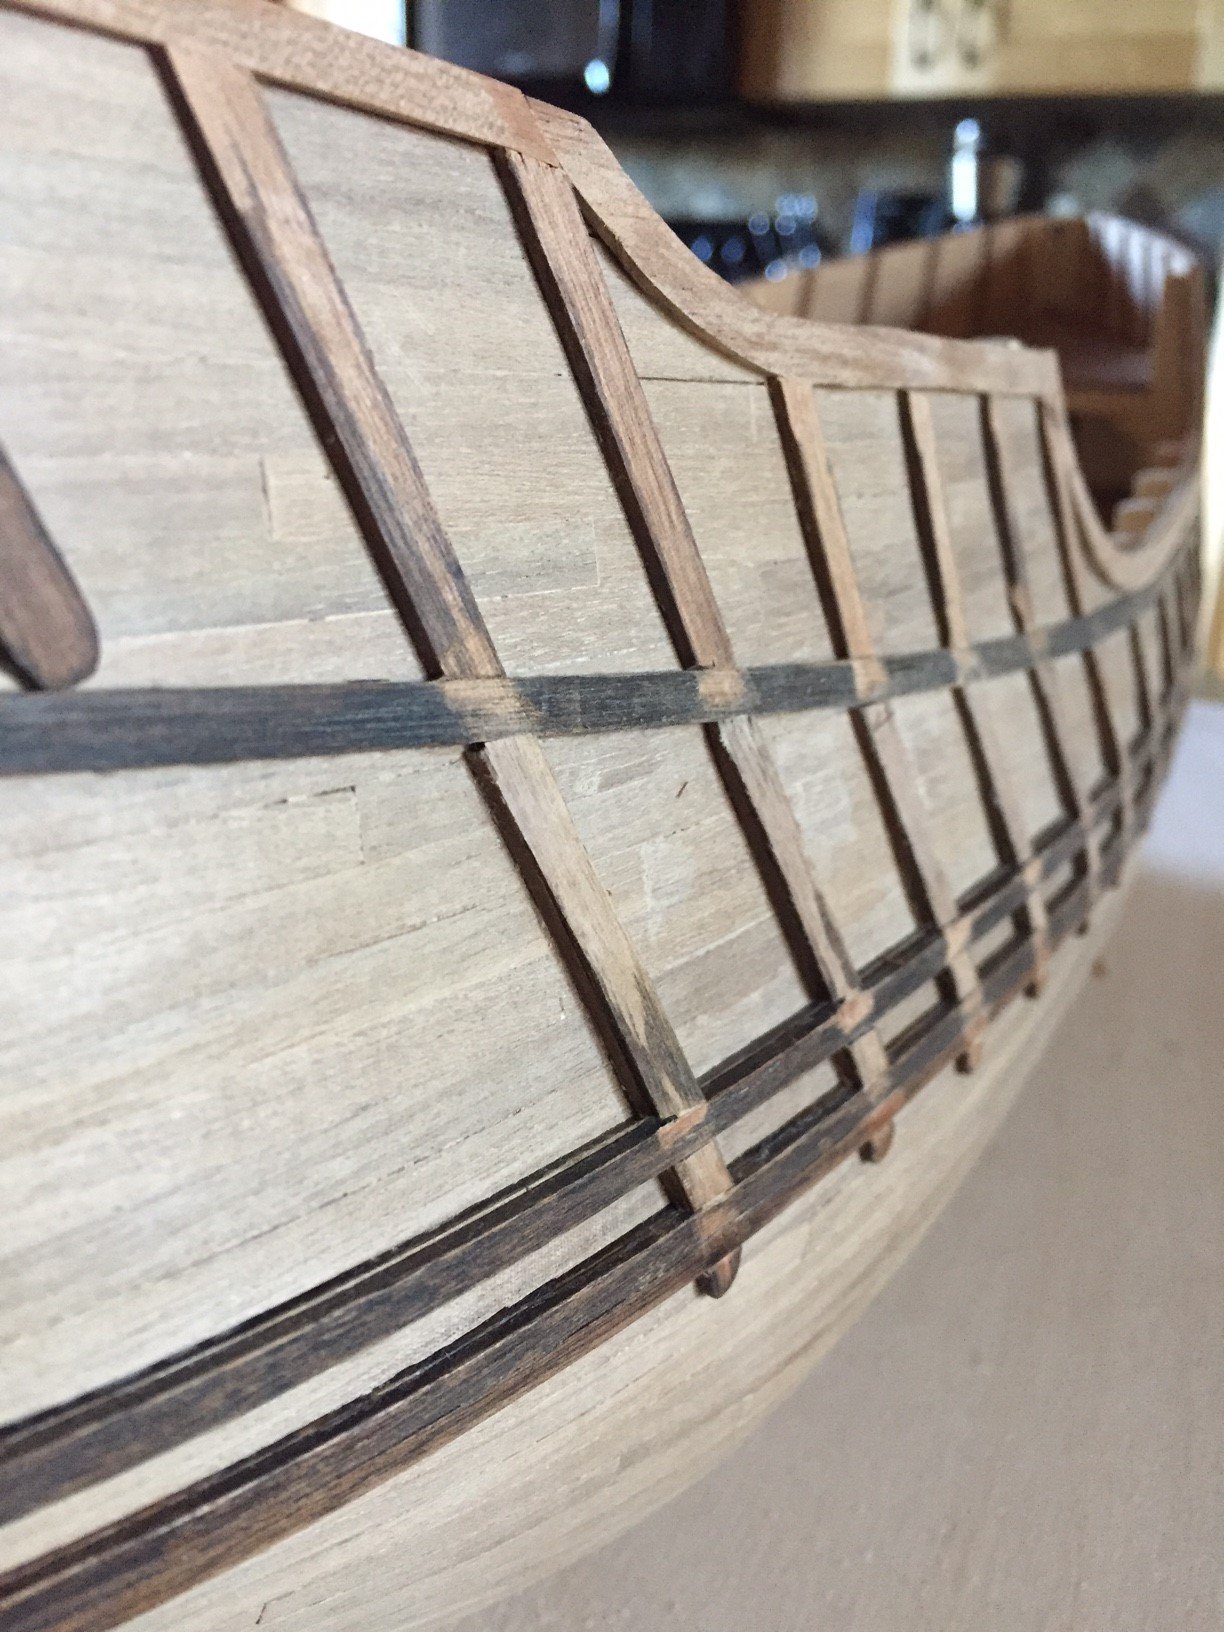
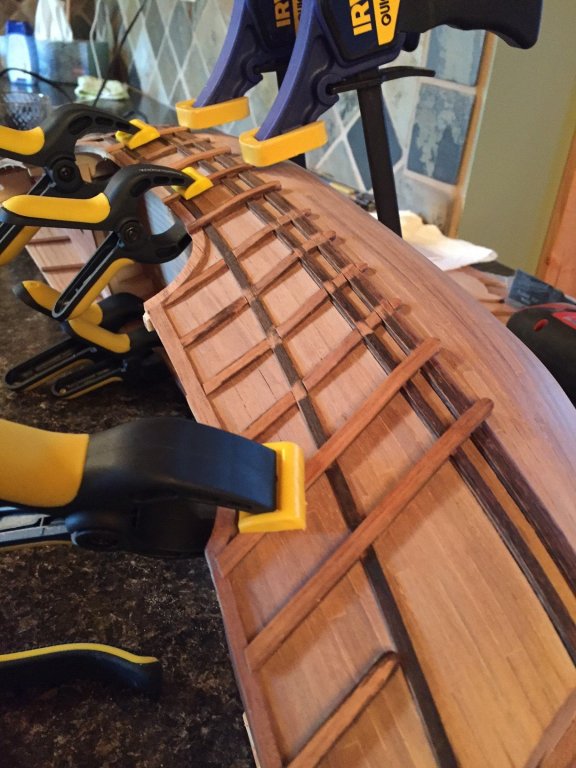
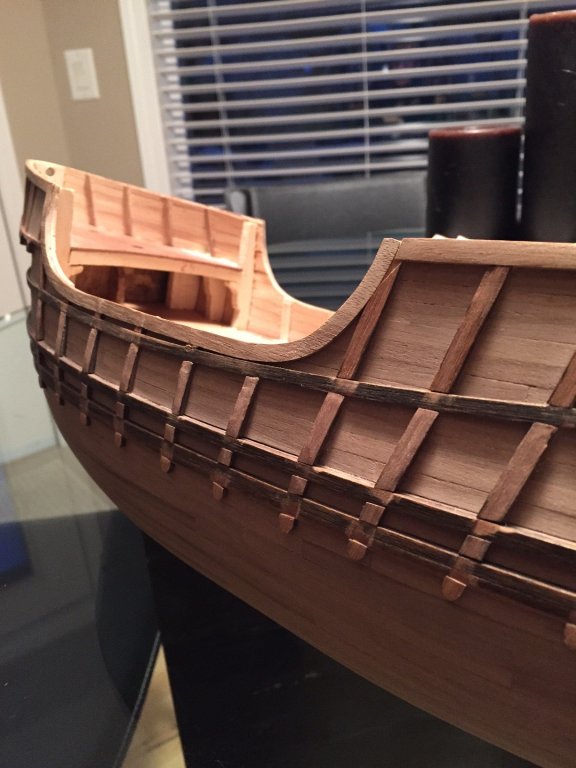
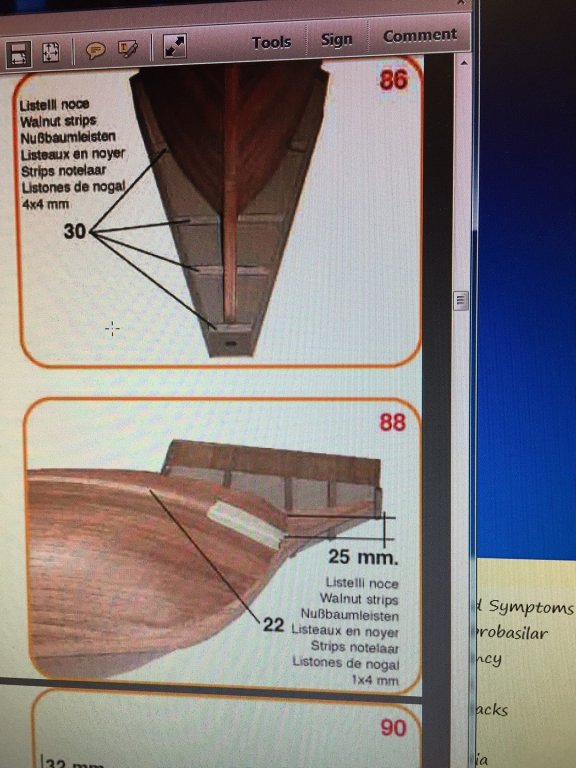
I am at the stage where adding the futtock riders are required. (I believe that is what they are called) The Mamoli kit had the following details in which I had to cut 1.5x5 mm strips, creating them in pieces and then covering them with a second layer in one piece. The top half was in one base strip, the middle strip and very bottom strips were with two strips laminated - and then covered with a solid strip. You can see in the images below the amount of sanding required to attain a nice smooth profile in order to cover them in a nice smooth fashion.

- 181 replies
-
- 3
-
-
- santa maria
- mamoli
- (and 1 more)
-
Everything looks great! The pumps are yes, better looking...
-
Looks good! Are you going to stain the masts or leave them natural?
-
Looking good!
-
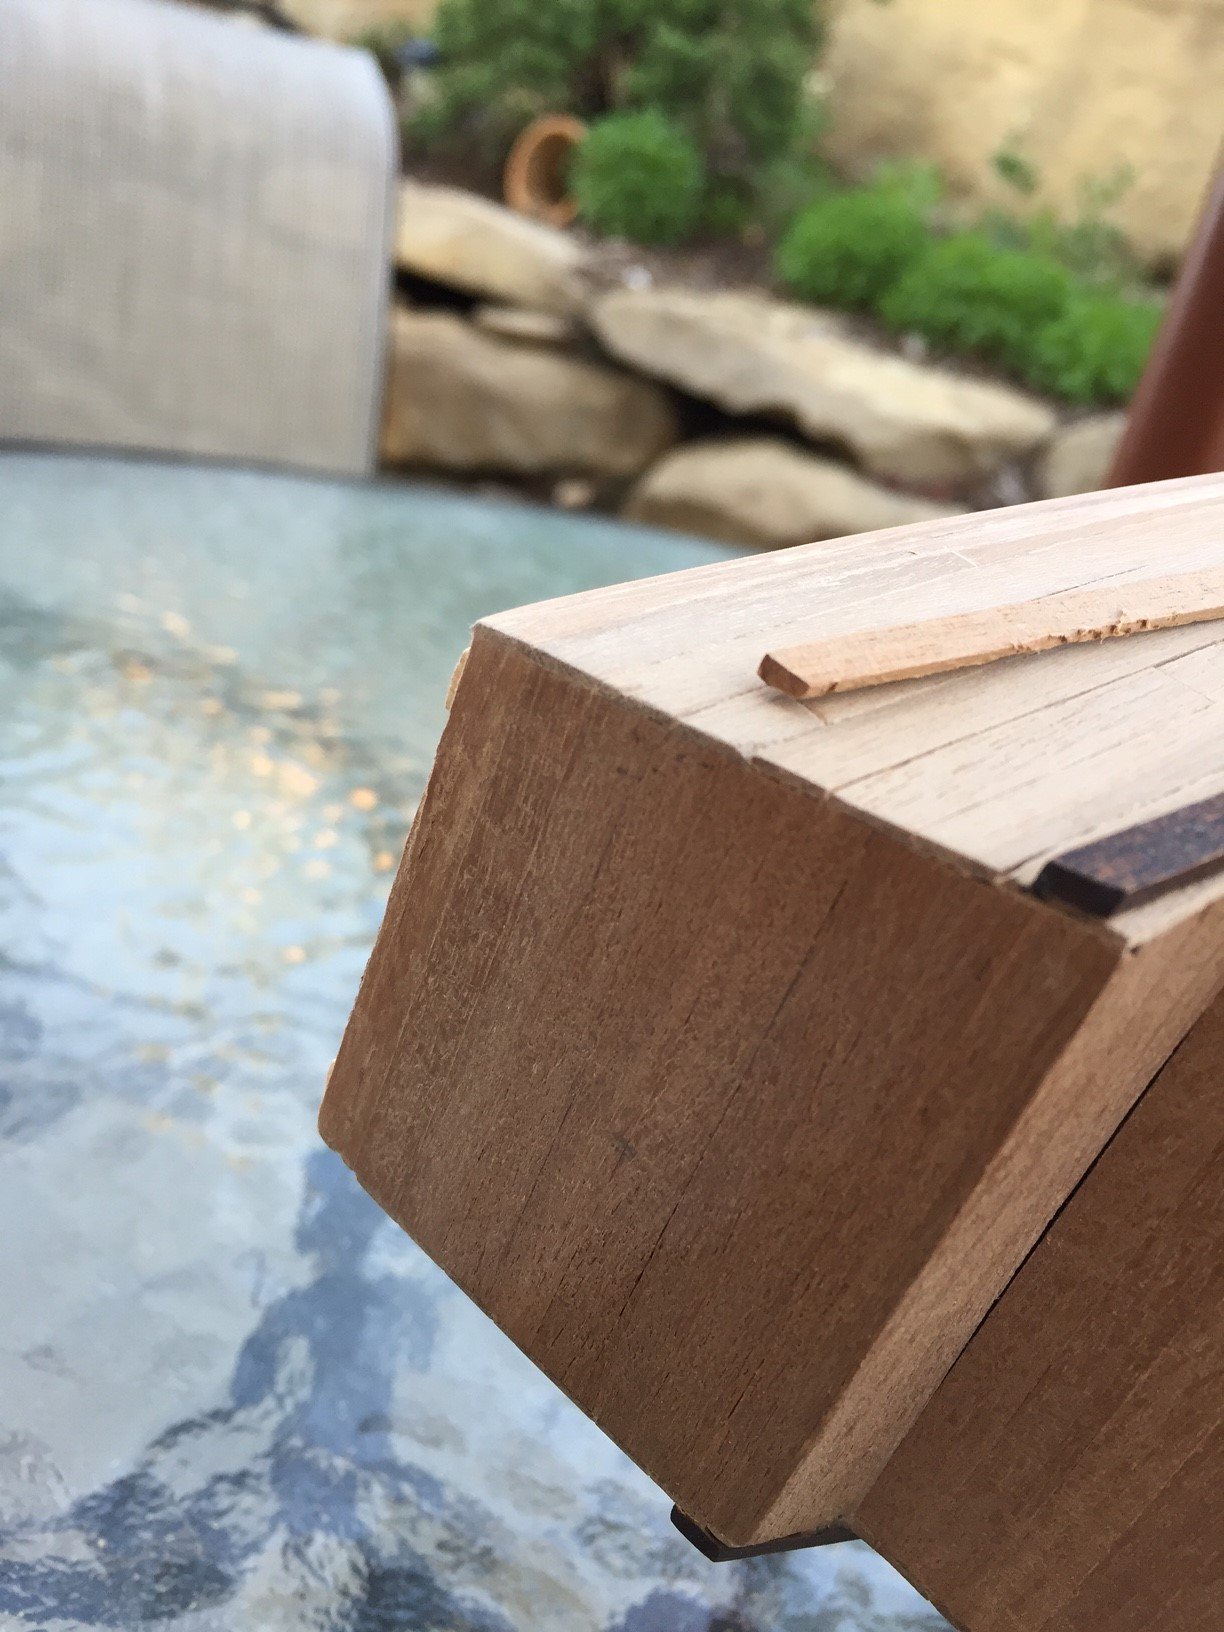
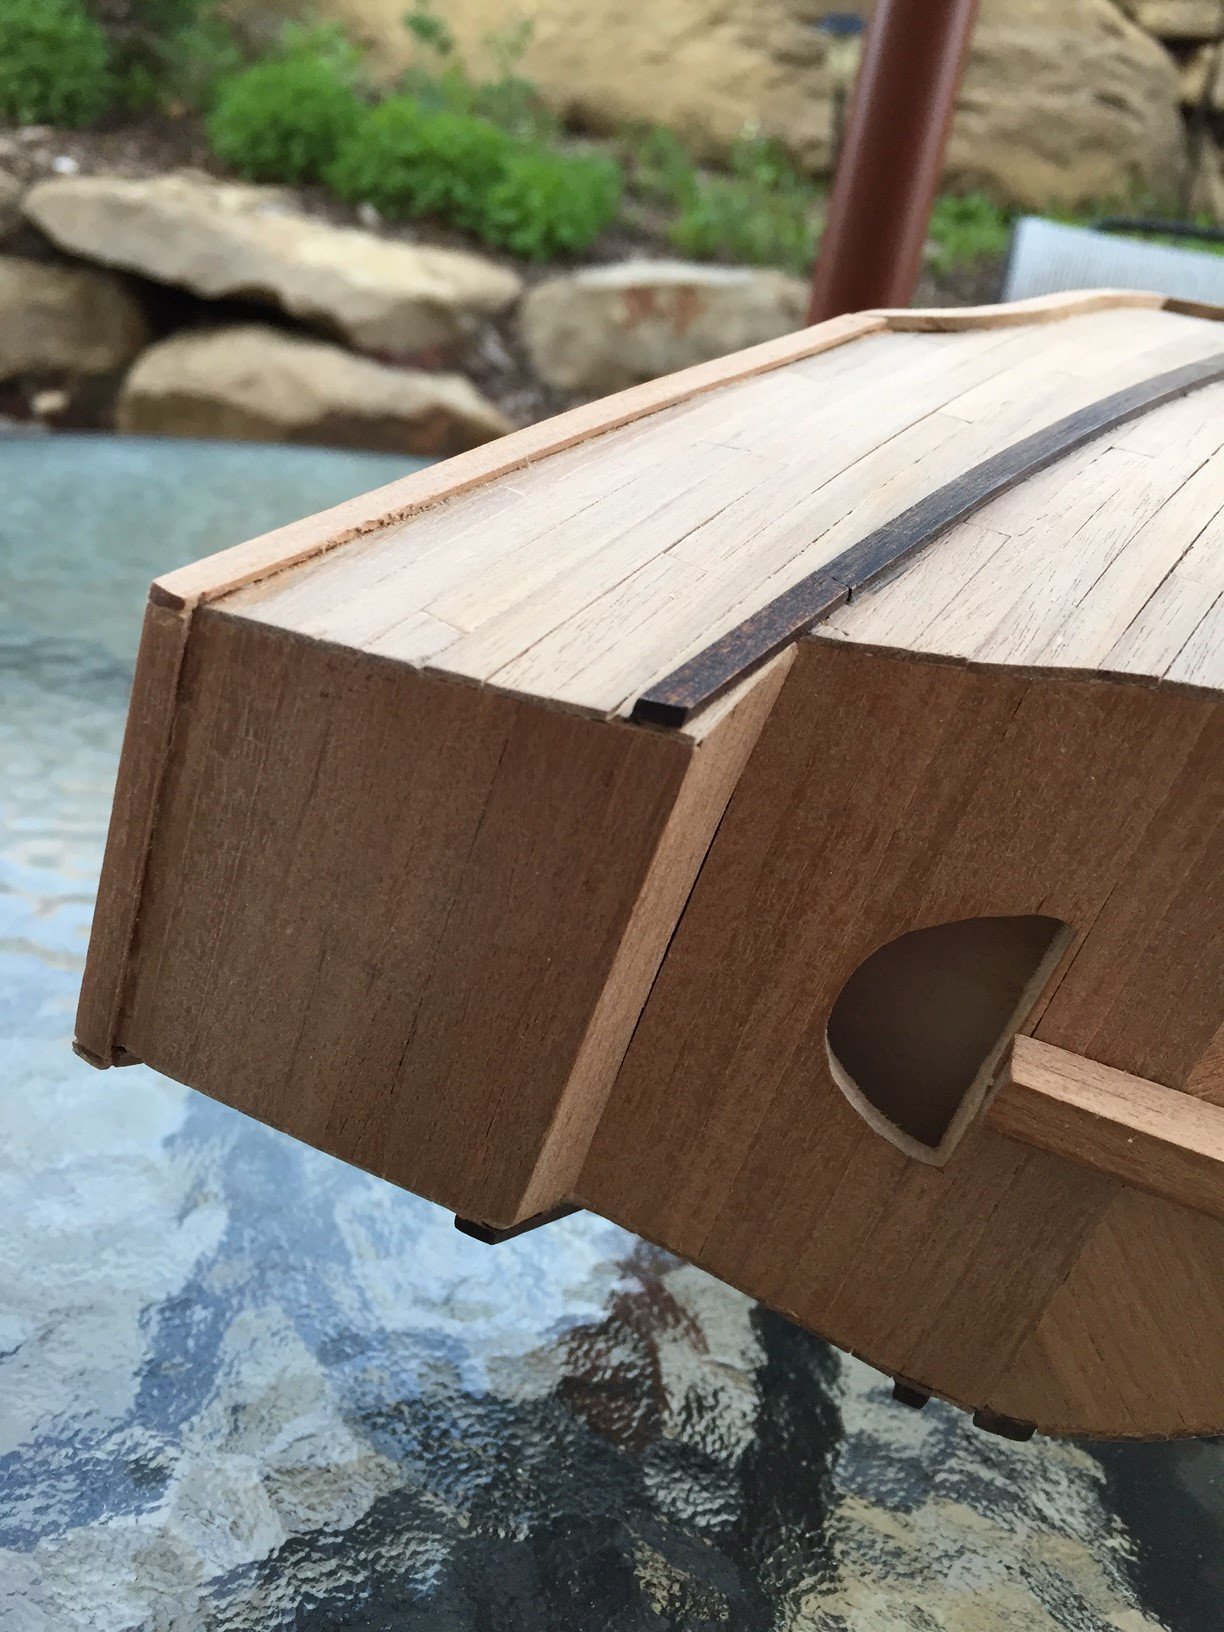
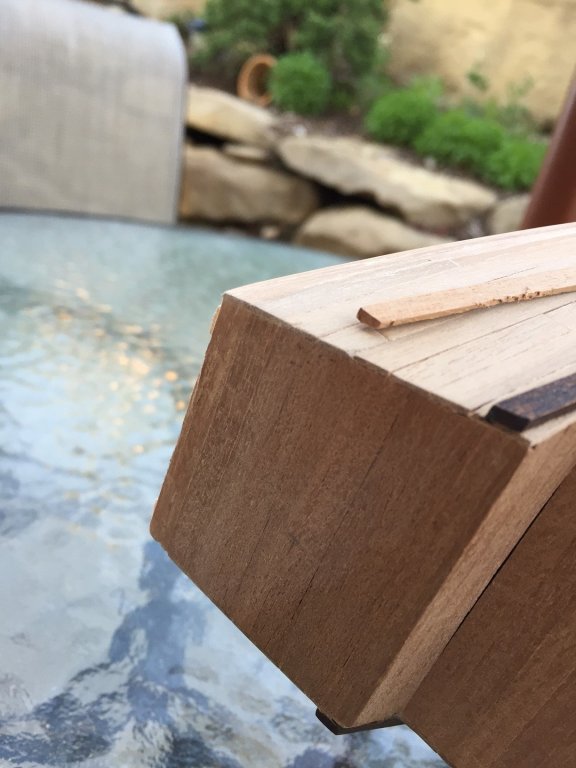
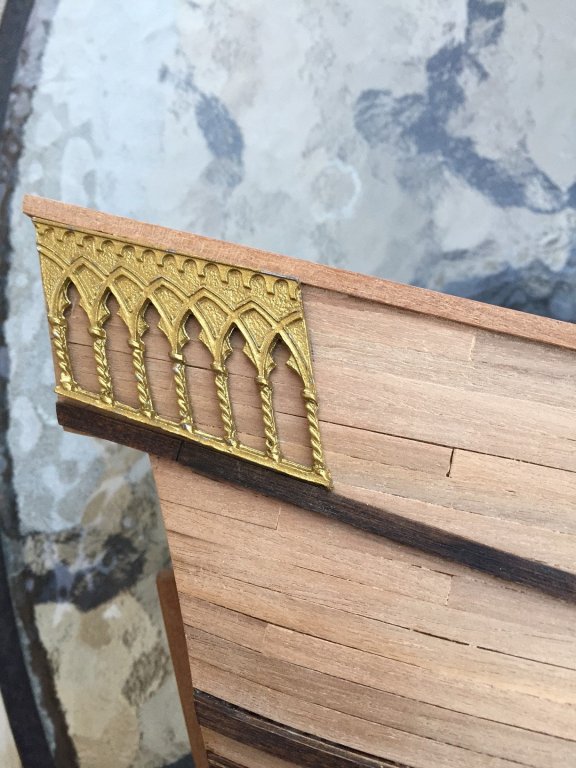
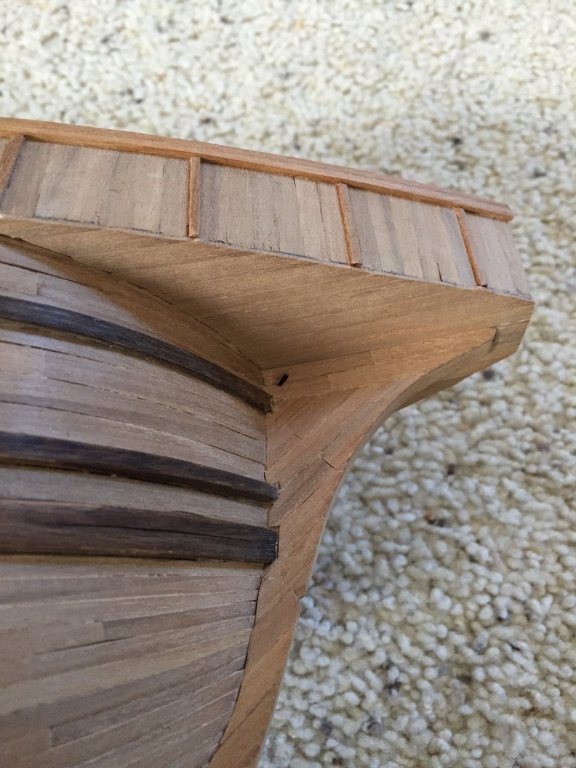
Just had to repair an issue with the stern wood trim pieces that were affixed a while back... The instructions were vague and they should have referenced that the metal badges have to fit between the top strakes at that stage in the instructions. Now in hindsight, I should have lifted the trim pieces by about 2mm when I glued them on... I was a bit nervous as they were very well glued on, and having tried to manually cut them off, I had to take my Milwaukee plunge cutter (complete overkill) but I got them off without significant damage to the underlying hull as you can see in the first two pictures and then reaffixed as shown in the last 2 pictures.


- 181 replies
-
- 3
-
-
- santa maria
- mamoli
- (and 1 more)
-
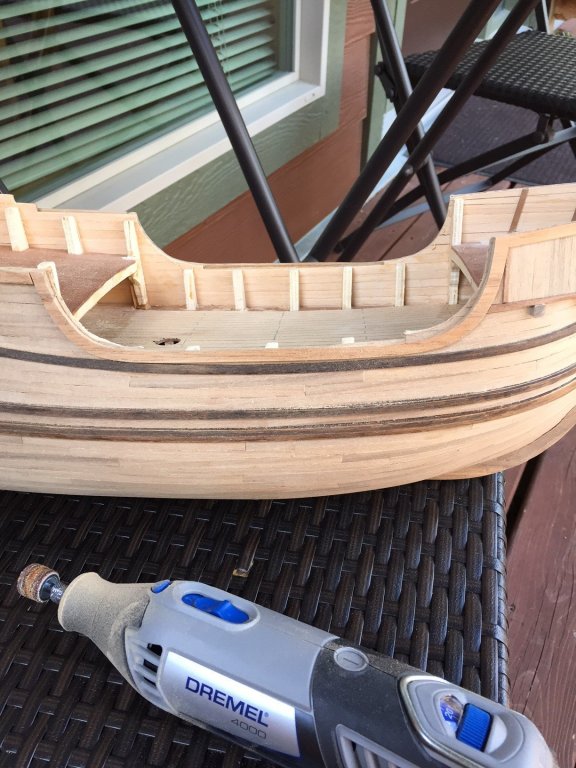
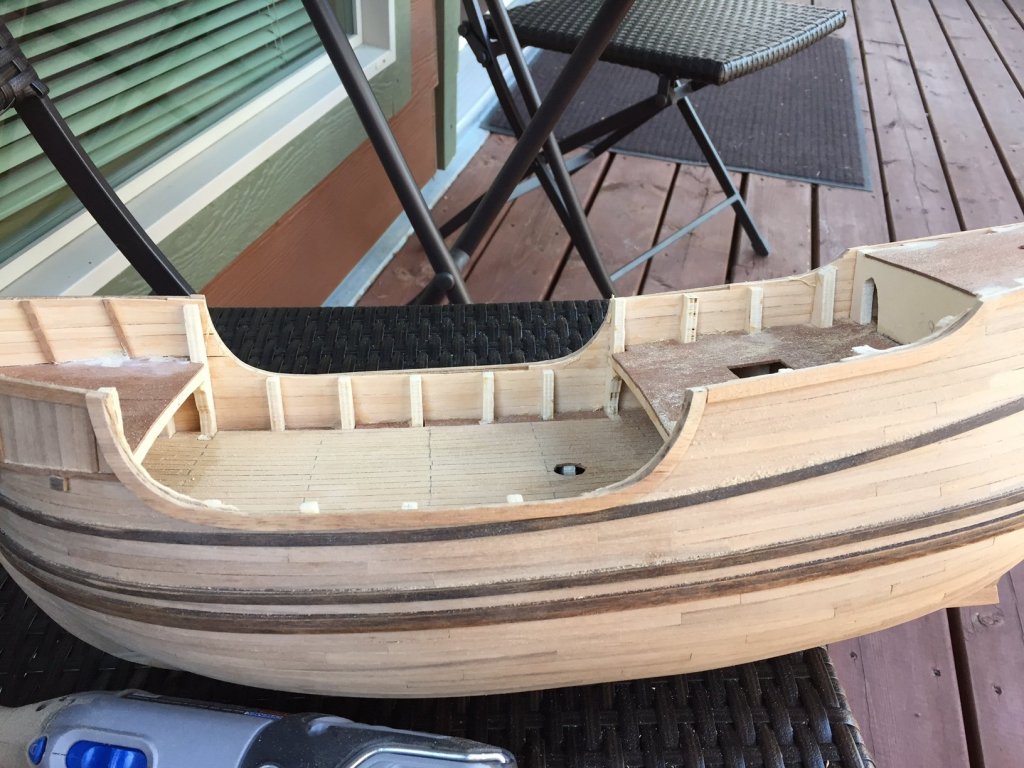
So I am at this point caught up with the work down in the past and what is posted on my log. These most recent pictures was the work just this past weekend completed. I went outside and with my Dremel, sanded away with great care and attention the plank extensions that were beyond the trim pieces that I affixed the weekend before. Since these pictures, I have hand sanded the difference and now have a nice tight margin. I know my postings will certainly slow down at this time... Thanks,


- 181 replies
-
- 3
-
-
- santa maria
- mamoli
- (and 1 more)
-
Thanks Mustafa for the compliments... For the Mantua plans, you can go on the Cornwall Model Boats retail web site and half way down on the left, there is a link for Mantua instruction manuals... an easy download. PS Still undecided about Tung oil vs. Danish oil... something to worry about in the future.
- 181 replies
-
- 2
-
-
- santa maria
- mamoli
- (and 1 more)
-
Hi Zoltan, I have been strictly using the Mamoli plans and only used the Mantua depiction for the details under the forecastle. Thanks again for for checking in on my build!
- 181 replies
-
- 3
-
-
- santa maria
- mamoli
- (and 1 more)
-
PS The photos really exaggerate some of the spacing between the hull planks, but with the naked eye, actually do not look as bad as in the images. I will do a white glue/water mix with fine sawdust prior to oil on the hull for the larger and more obvious spaces on the hull. Any other techniques or suggestions for fill given that I think I will be using a Danish or tung oil treatment for the hull? Does a commercial walnut filler take the oil evenly as the wood planks would? Thanks for any input...
- 181 replies
-
- 3
-
-
- santa maria
- mamoli
- (and 1 more)
-
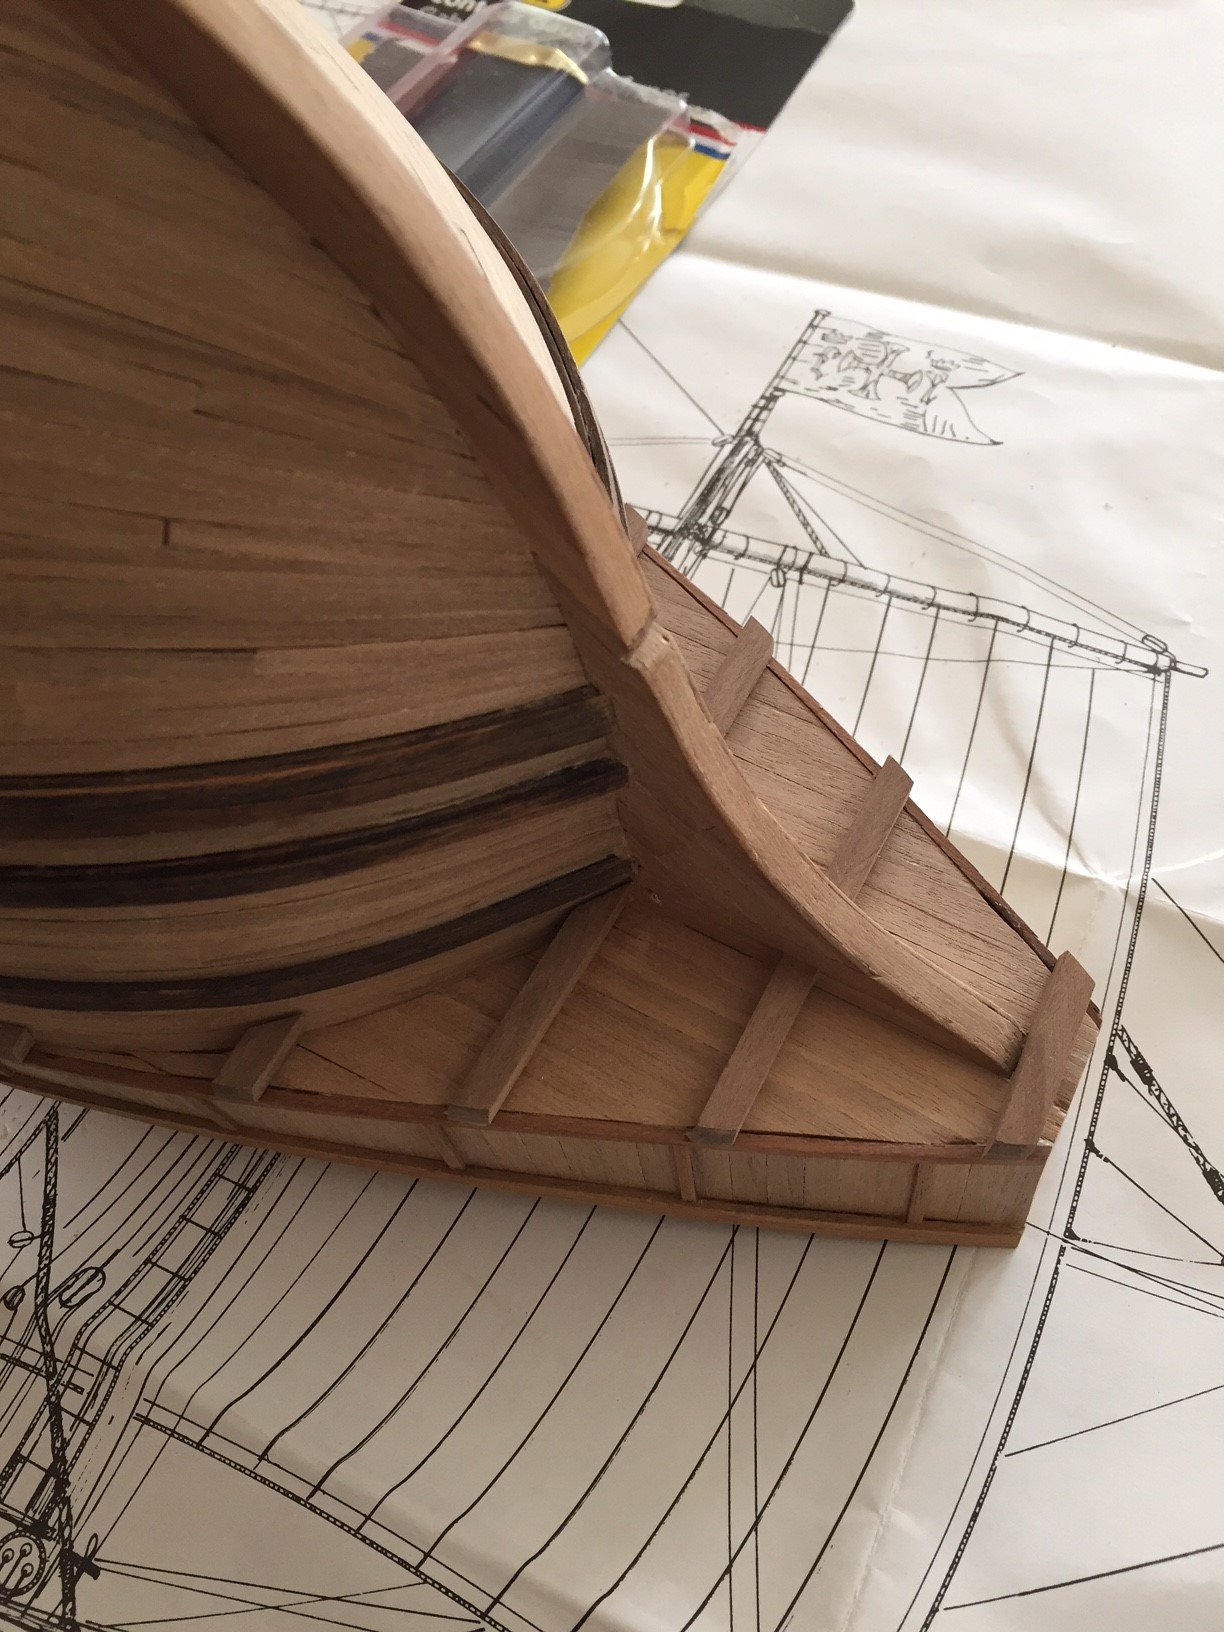
So the reference for the support struts under the forecastle on the Mamoli plans was noted on the instructions but was non existent on the diagram/plans... I basically referenced the Mantua instruction manual, pictured below, which is available on the internet, having downloaded them long ago, as my source of information... And even at that, their placement was "wherever"... Mamoli referenced 5x5mm strips of Walnut and they look very good in my opinion...

- 181 replies
-
- 4
-
-
- santa maria
- mamoli
- (and 1 more)
-
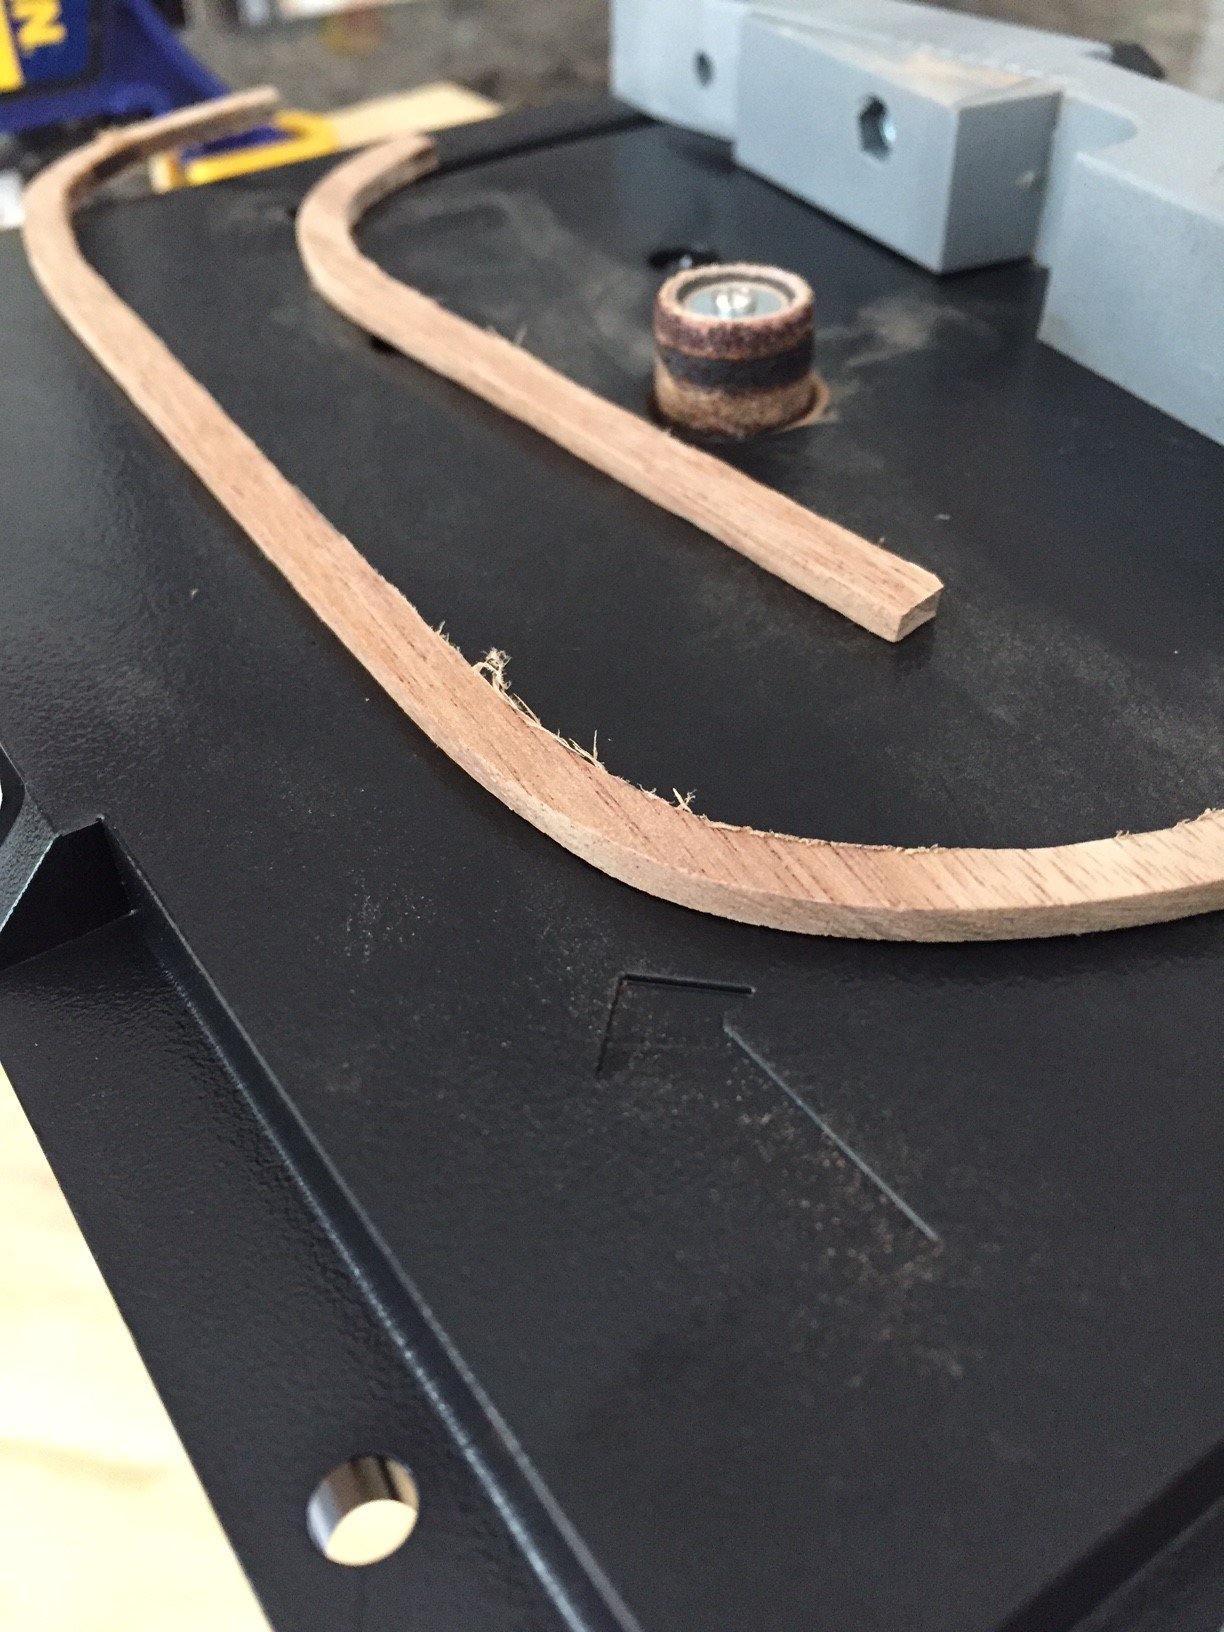
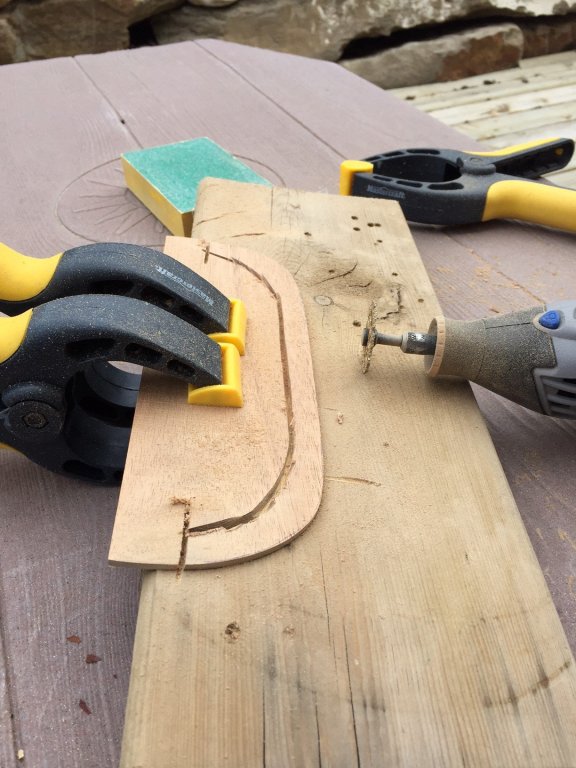
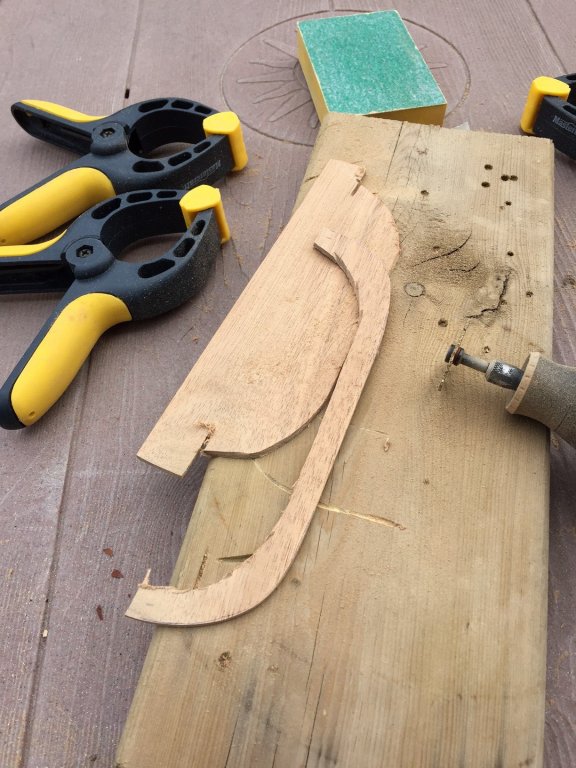
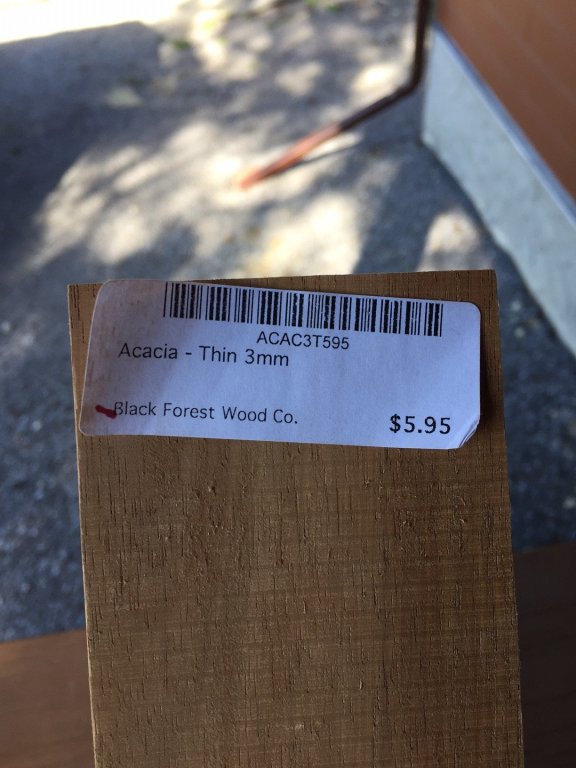
My solution with this piece of 3mm plank of wood was to measure and trace directly from the plans a piece of paper that I then measured again the hull and found a very nice fit. With this piece of tracing, I traced it onto the plank and trimmed it down roughly to the correct size and then did a final shaping using my new Dremel routing/shaping table... which worked very well for my purposes as acacia is very soft and easy to work with... the only issue is that the board is 3mm in width and I needed a 1.5mm strip on the hull, but that is an easy issue to deal with/sand once affixed to the hull...


- 181 replies
-
- 3
-
-
- santa maria
- mamoli
- (and 1 more)
-
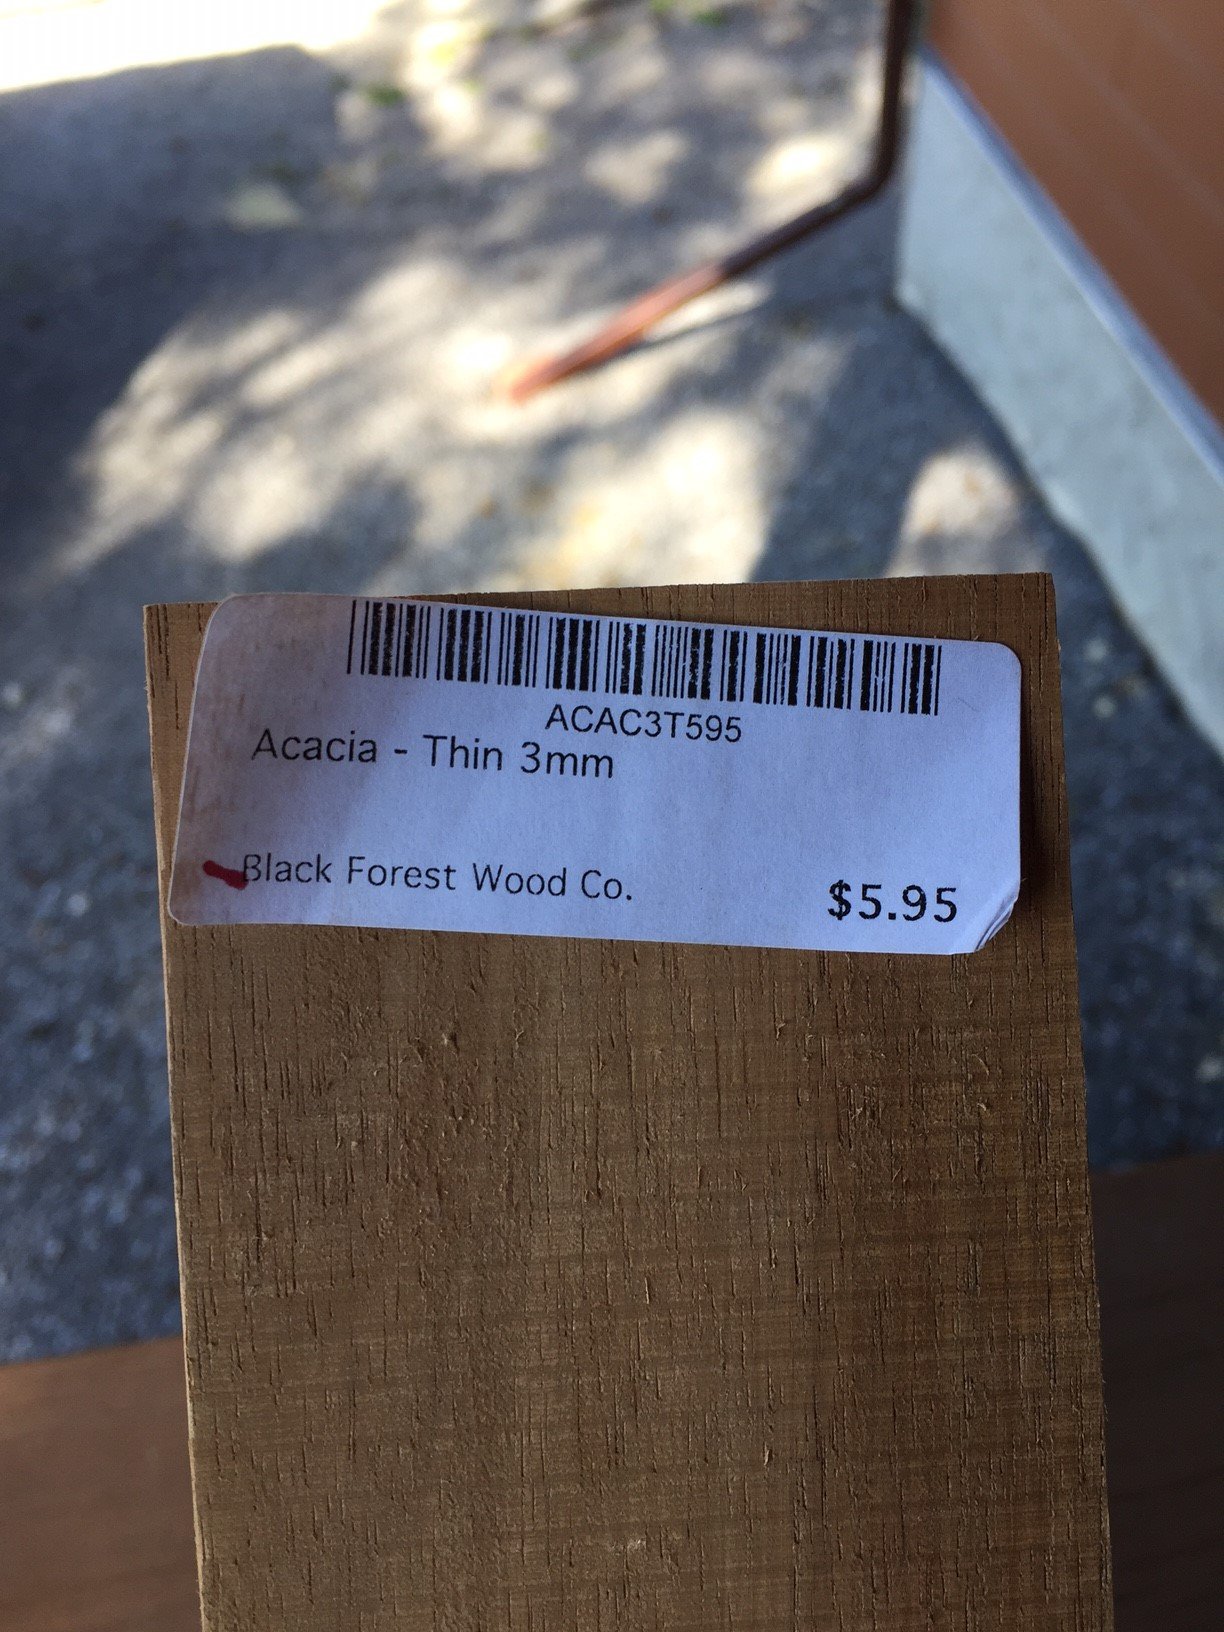
So another small issue in my kit was that I was missing a sheet of 1.5mm thick mahogany that was supposed to be supplied to provider the trim on the main deck railing as well as the trim on the quarter deck railing. Given the bottom edges of the forecastle and the stern deck were already trimmed with walnut I do not know why Mamoli would even specify or indicate a mahogany trim piece anyways... My solution was to go to a local exotic wood supply shop for finishing carpenters here in Calgary, Alberta and try and scrounge up a piece of walnut sheet... no such luck... but what I did find was some Acacia and found it to be a reasonable match to my walnut that was already affixed.
- 181 replies
-
- 4
-
-
- santa maria
- mamoli
- (and 1 more)
-
Hi Mustafa, everything is looking great! Are you using any specific plans for your build? Or just lots of research on the internet?
-
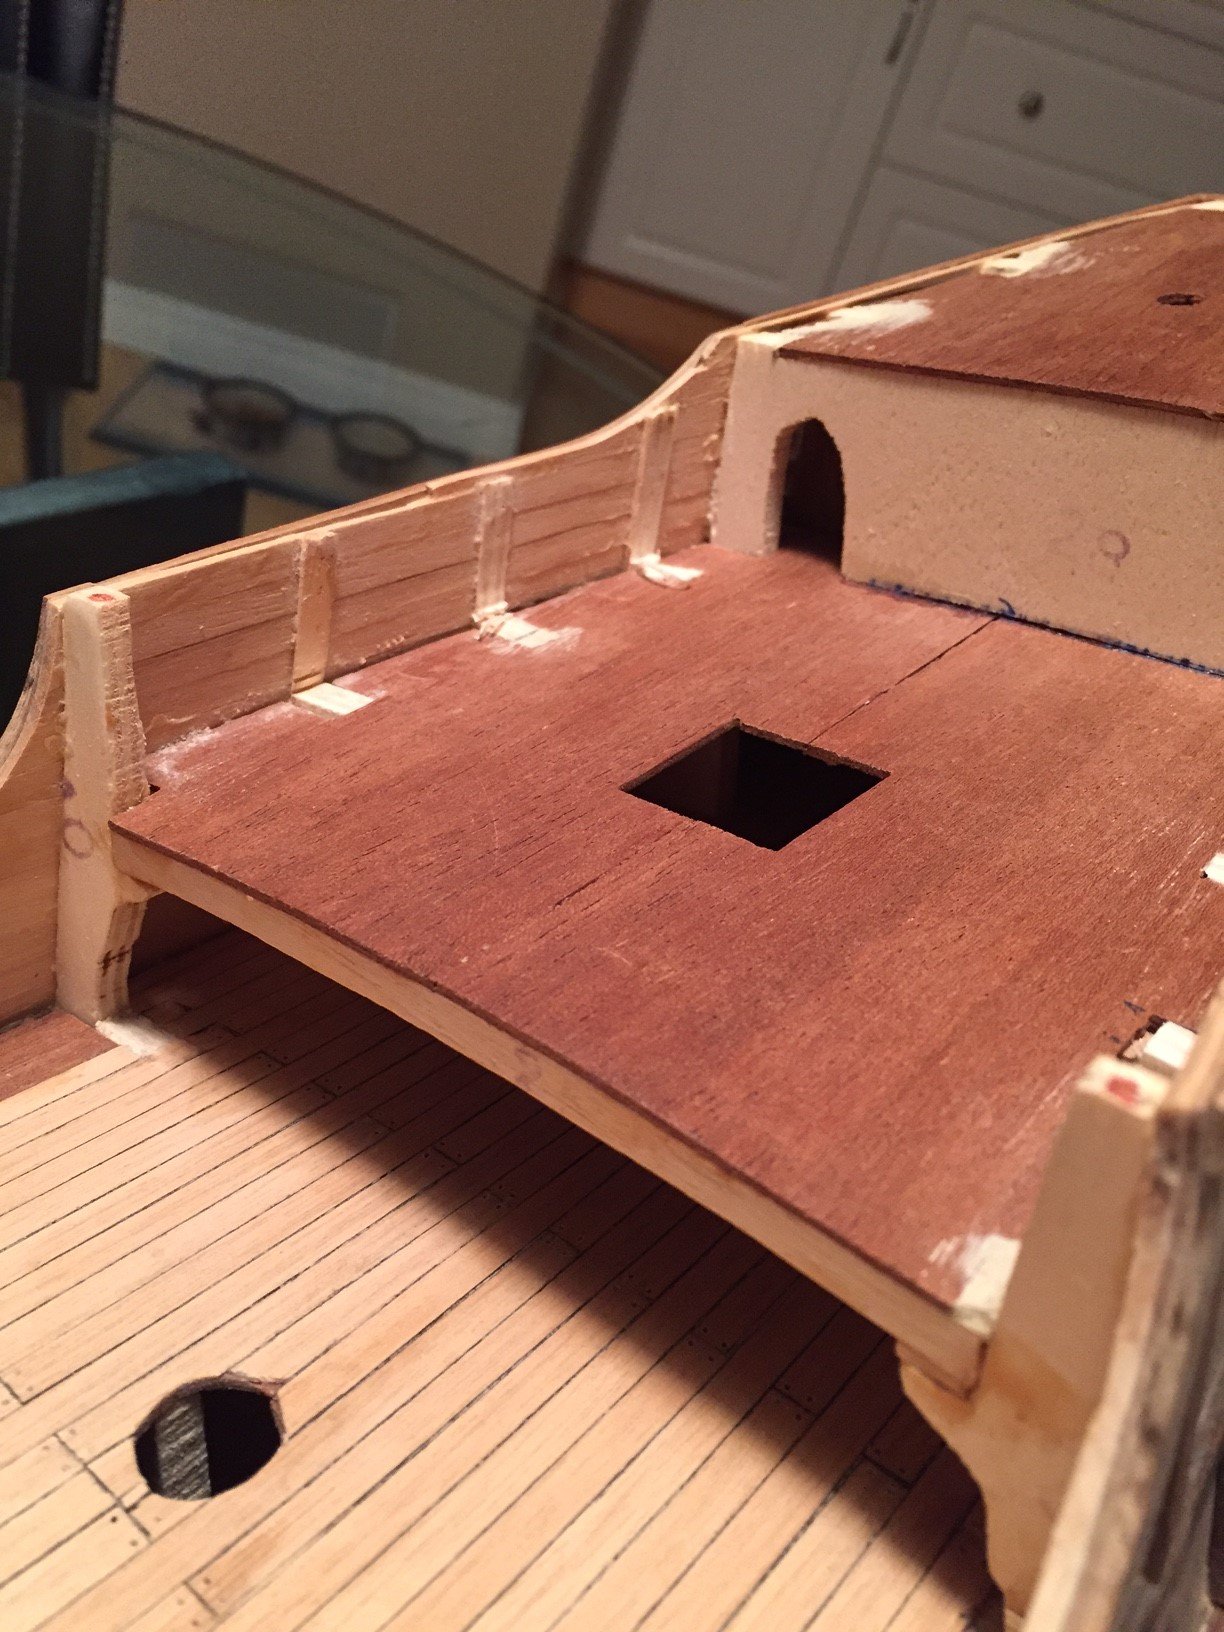
And one last image before the weekend starts for me.. More details on the forecastle...

- 181 replies
-
- 2
-
-
- santa maria
- mamoli
- (and 1 more)
-
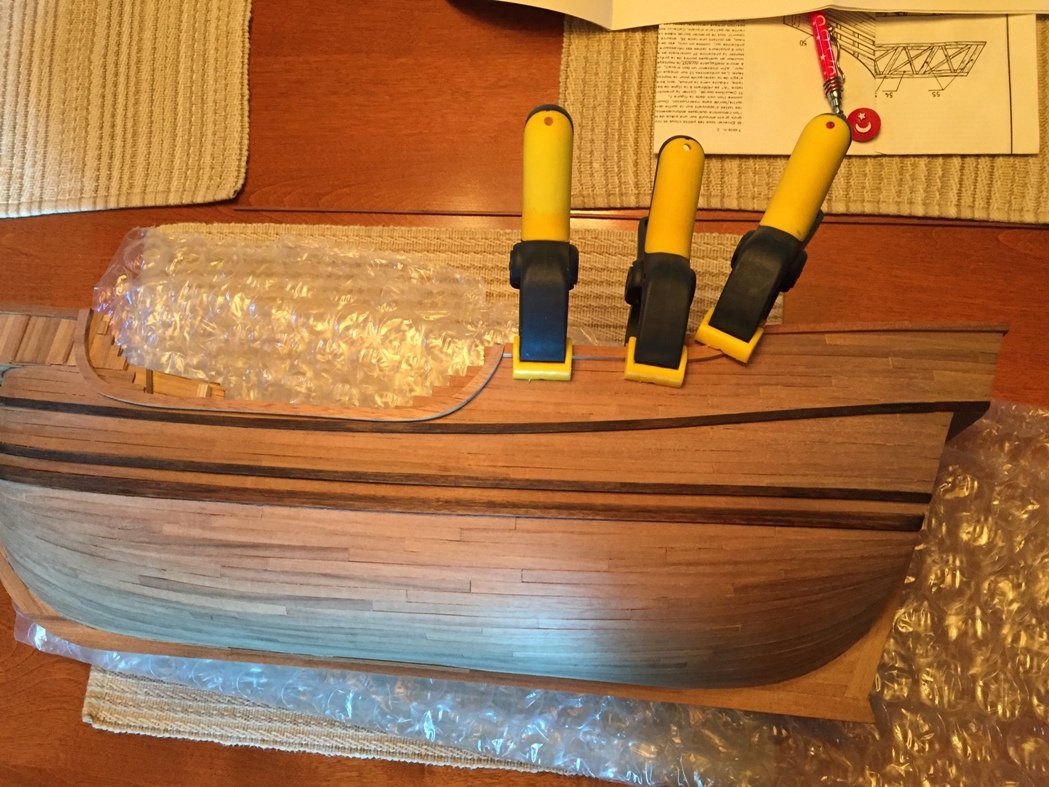
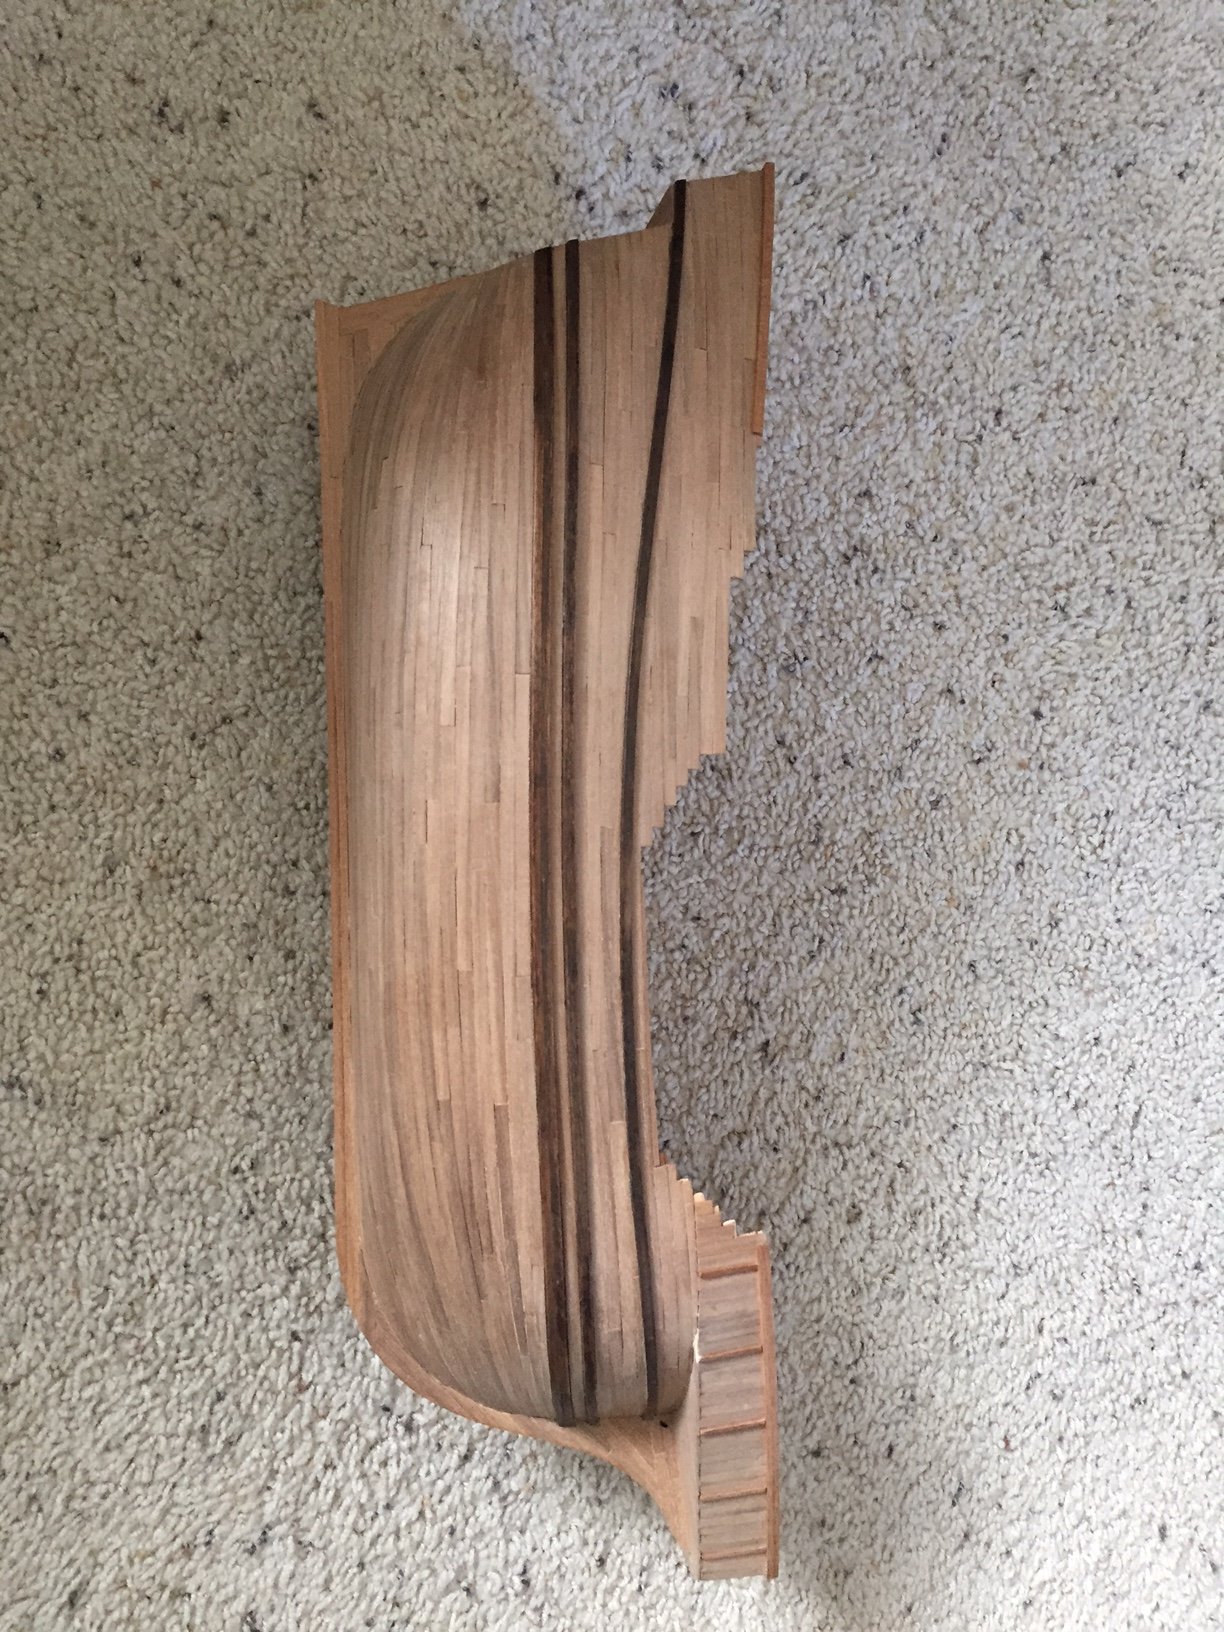
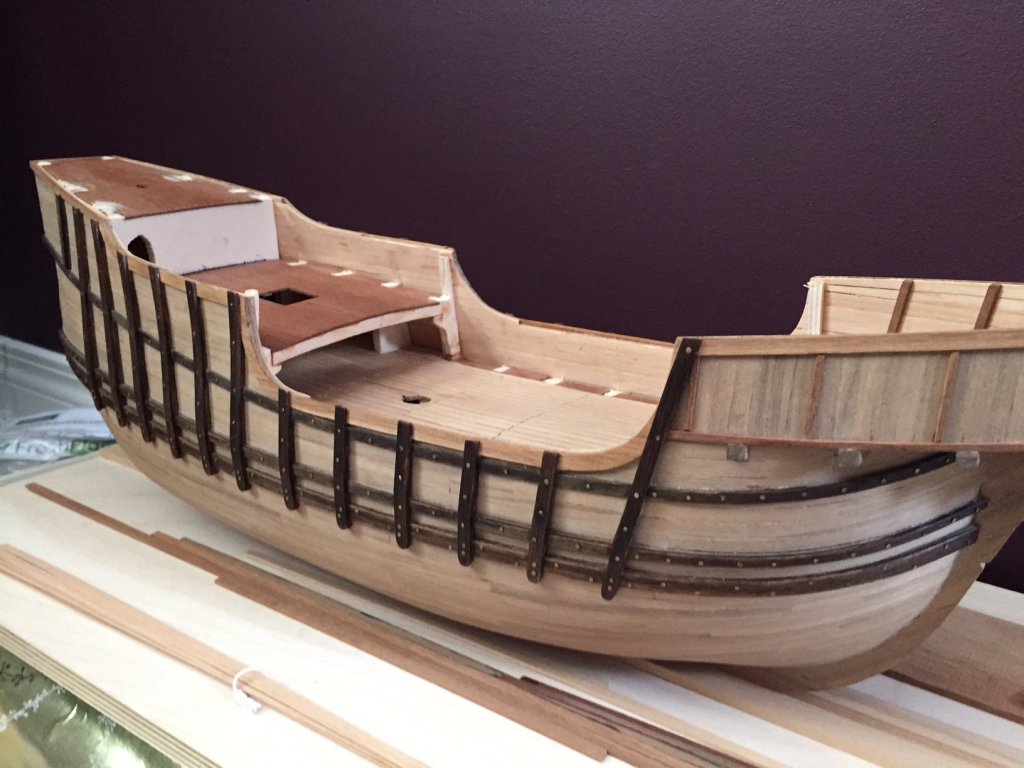
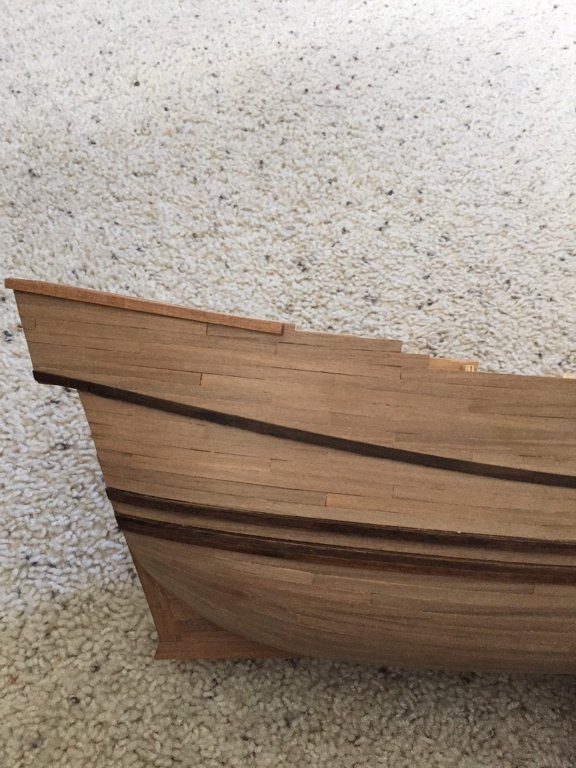
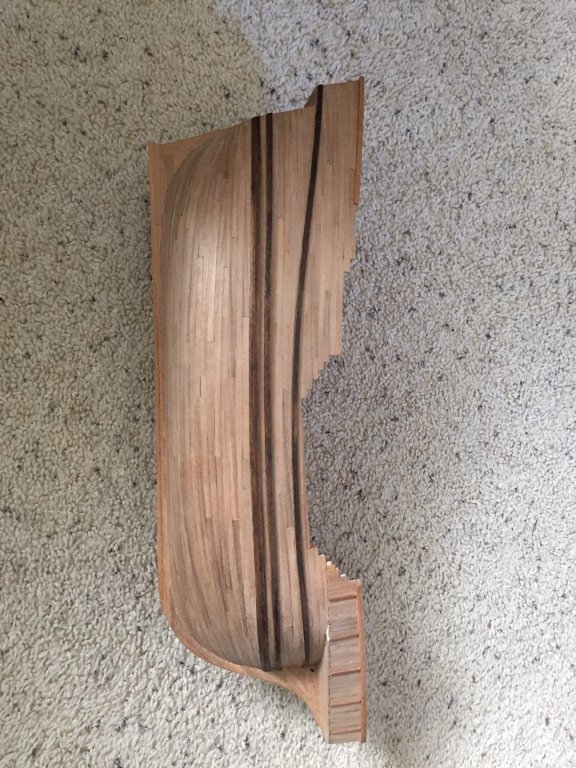
Here are the wales stained and attached... I had some trouble gluing the top wale at the stern and when reviewing the plans I noticed they should have been glued and ended below the stern extension and the run of the wale certainly would have been more natural looking. I better start reading the plans with more attention. PS Sorry as I can't seem to get the last image to rotate properly for viewing.
- 181 replies
-
- 5
-
-
- santa maria
- mamoli
- (and 1 more)
-
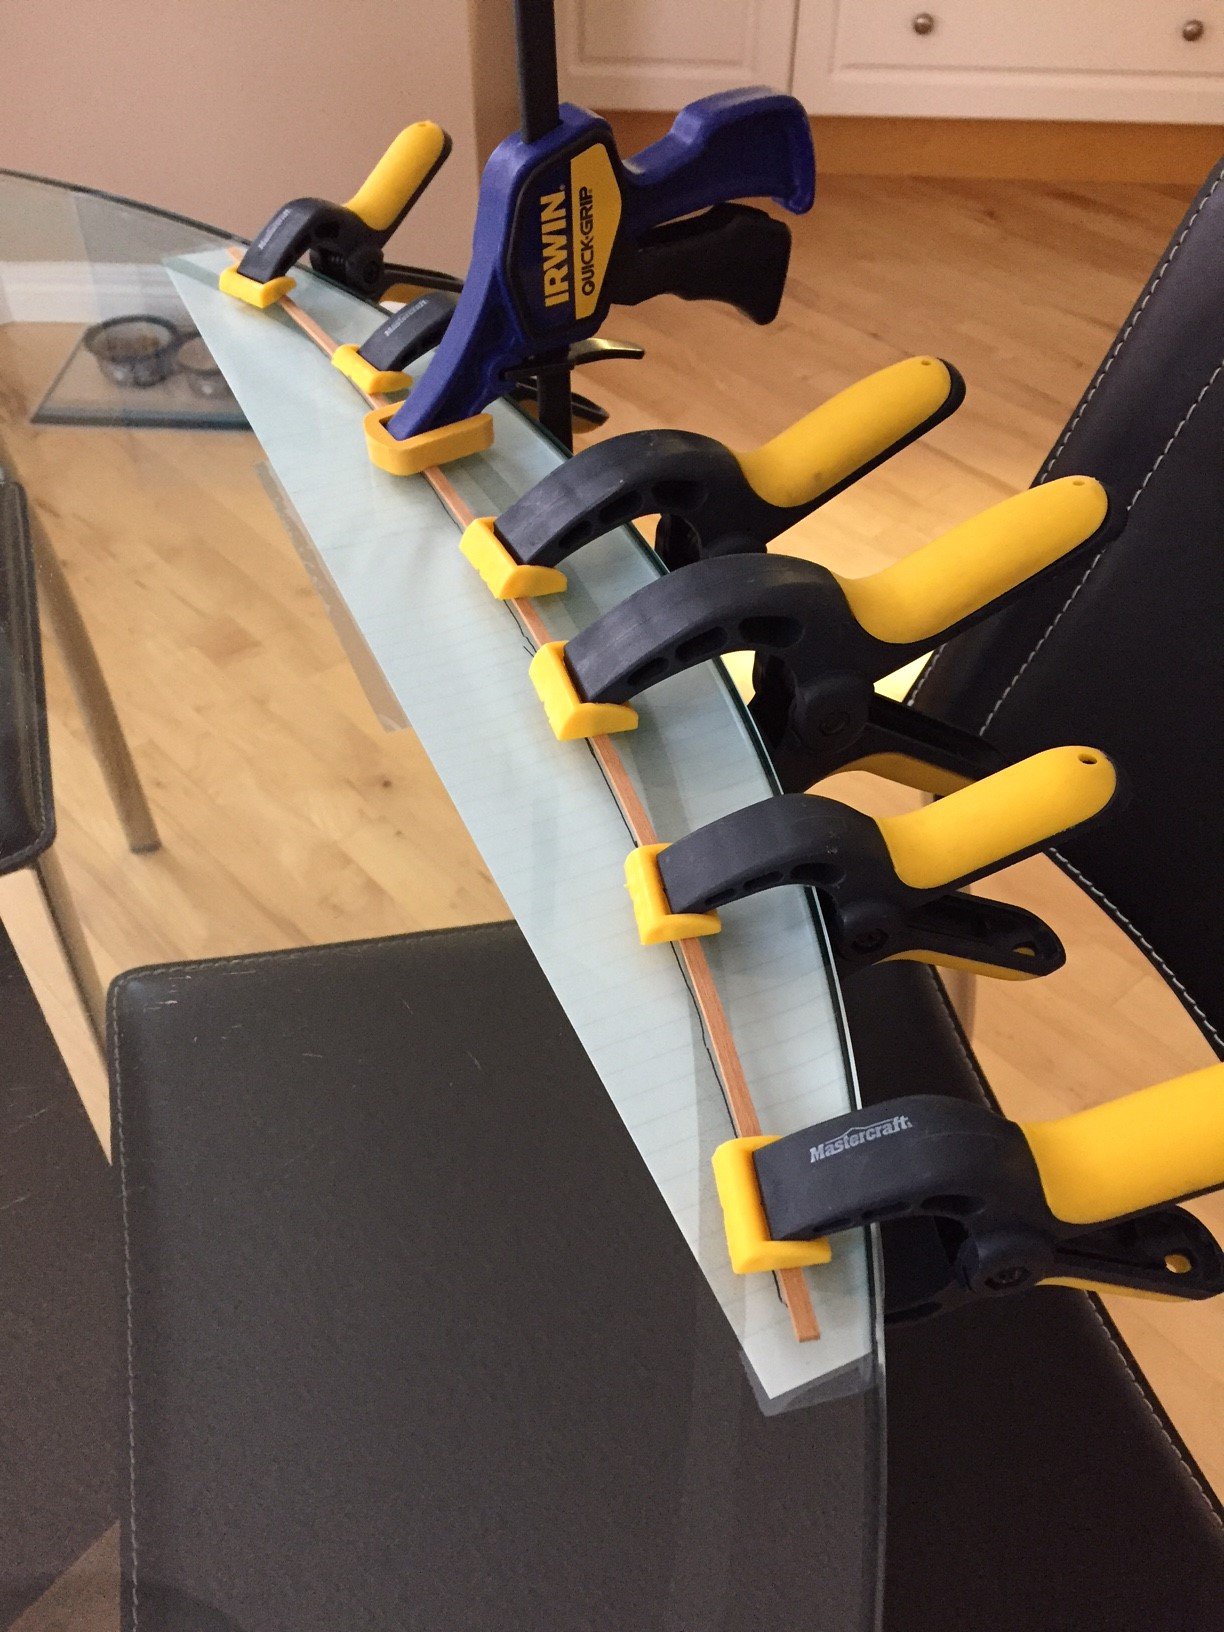
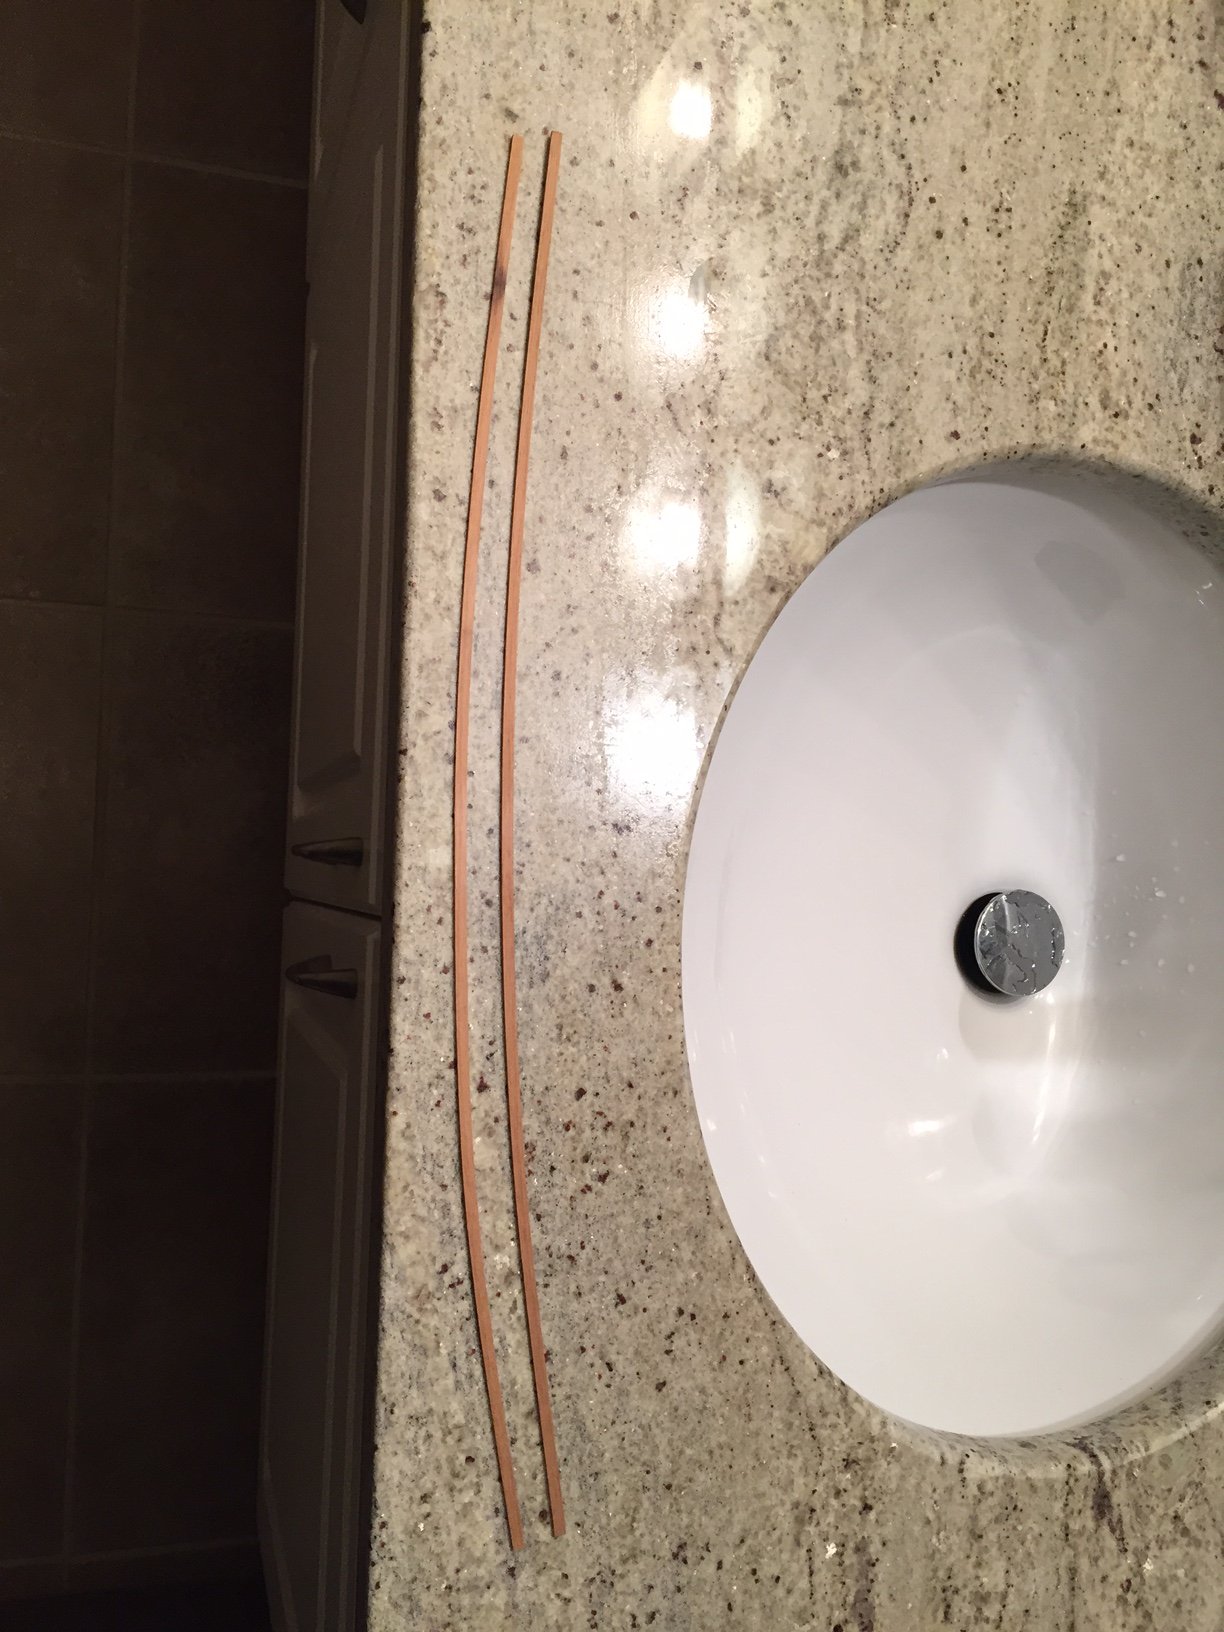
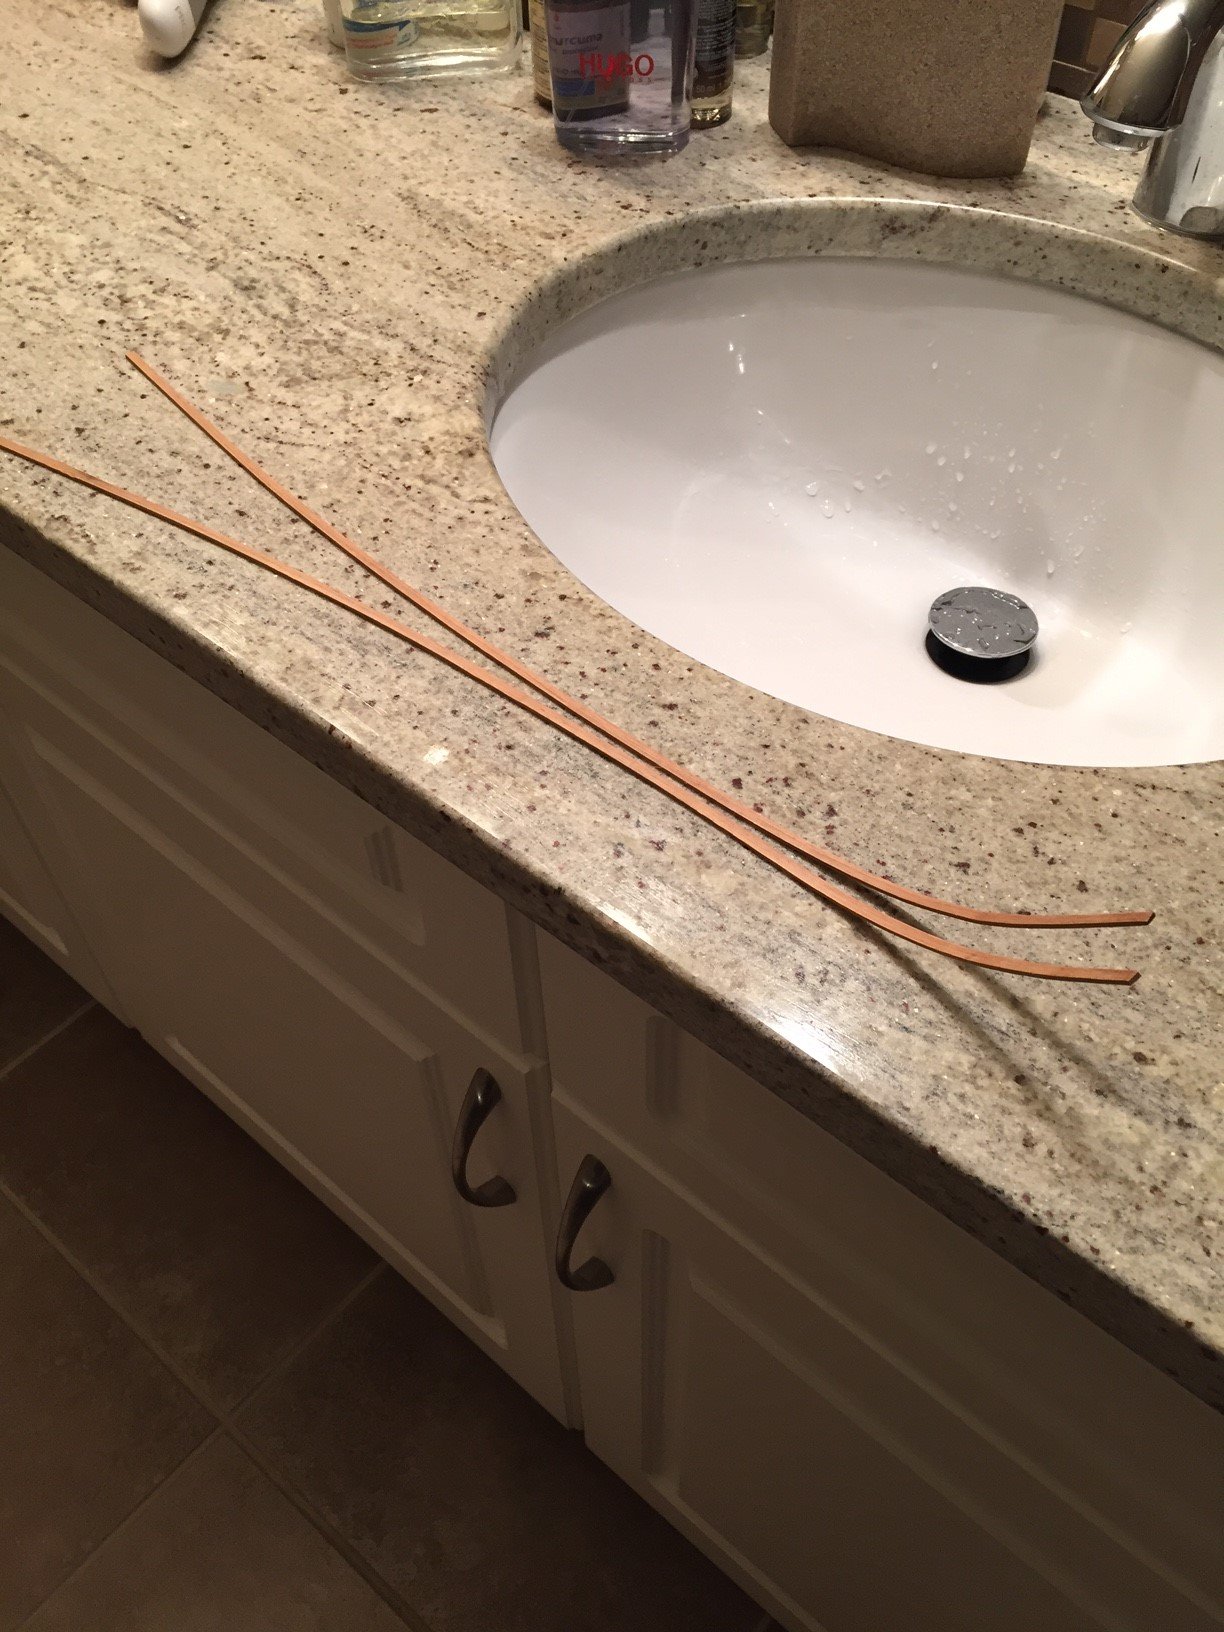
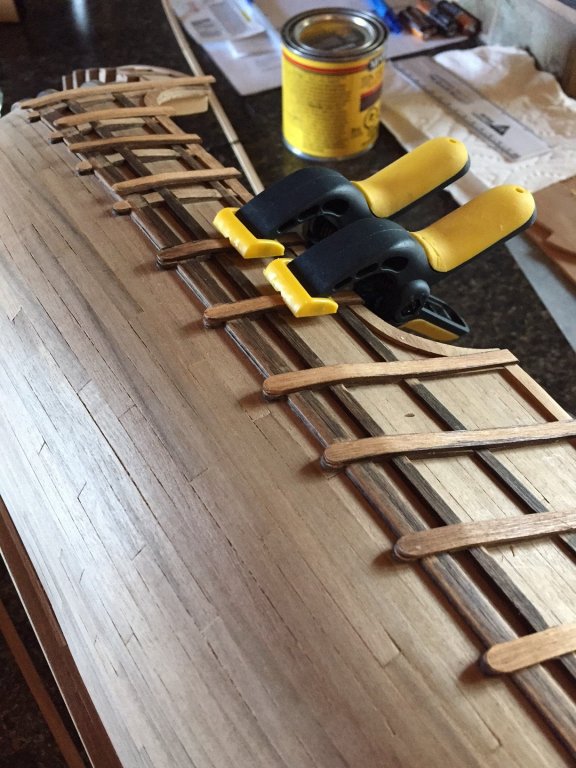
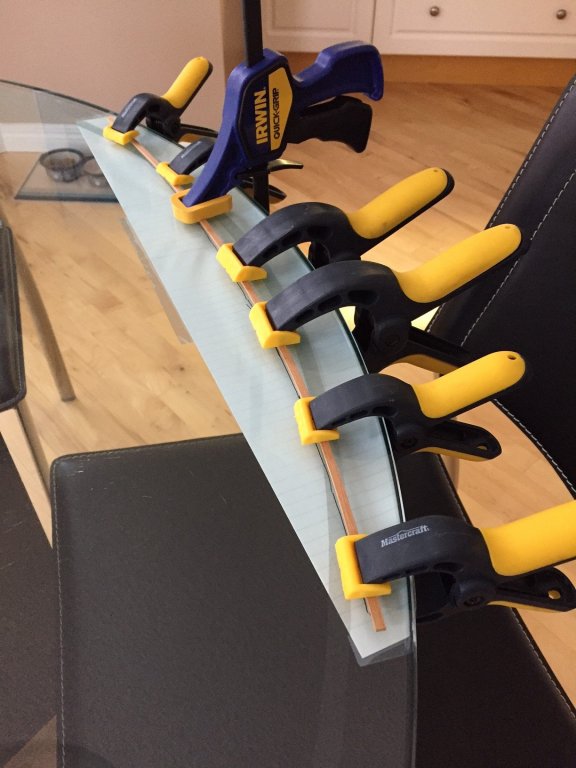
The next challenge was placing the top wale on the hull as in the pictures below you can see the steam bending that was involved. They actually turned out very accurate once they were done and they fit very well to the hull. The first bend was a challenge as I had to bend them against the long edge and then I left them over night to dry. I had some initial spring back but I then soaked a second time and clamped them overnight for a second night with less spring back at this time. Then into the 3rd day, I gently steam bent with my wife's flat iron the bow and stern with very satisfactory results... Prior to gluing them down, I stained them...


- 181 replies
-
- 3
-
-
- santa maria
- mamoli
- (and 1 more)