HOLIDAY DONATION DRIVE - SUPPORT MSW - DO YOUR PART TO KEEP THIS GREAT FORUM GOING!
×


mrcc
-
Posts
549 -
Joined
-
Last visited
Content Type
Profiles
Forums
Gallery
Events
Everything posted by mrcc
-
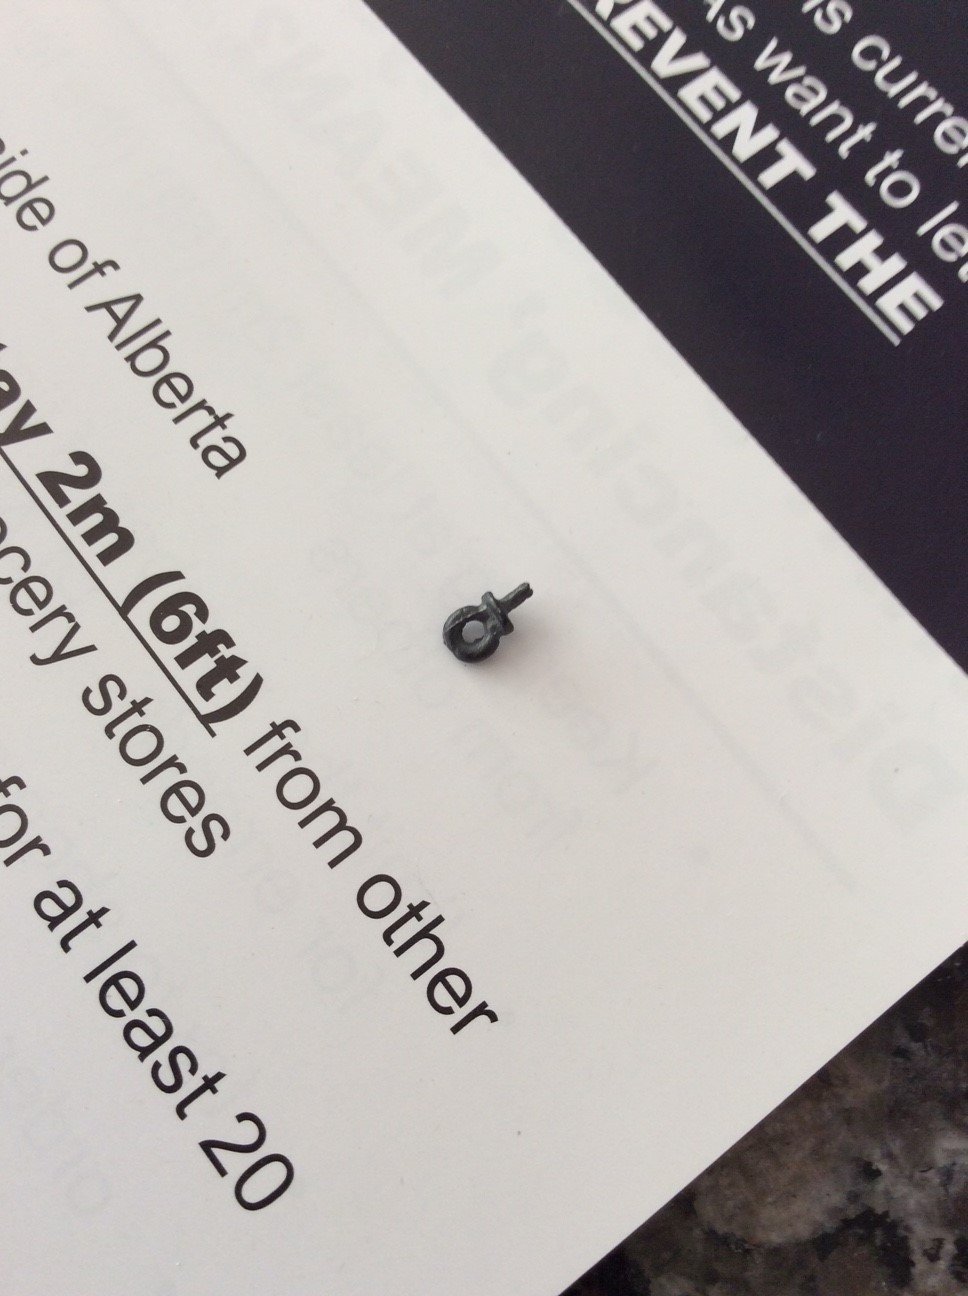
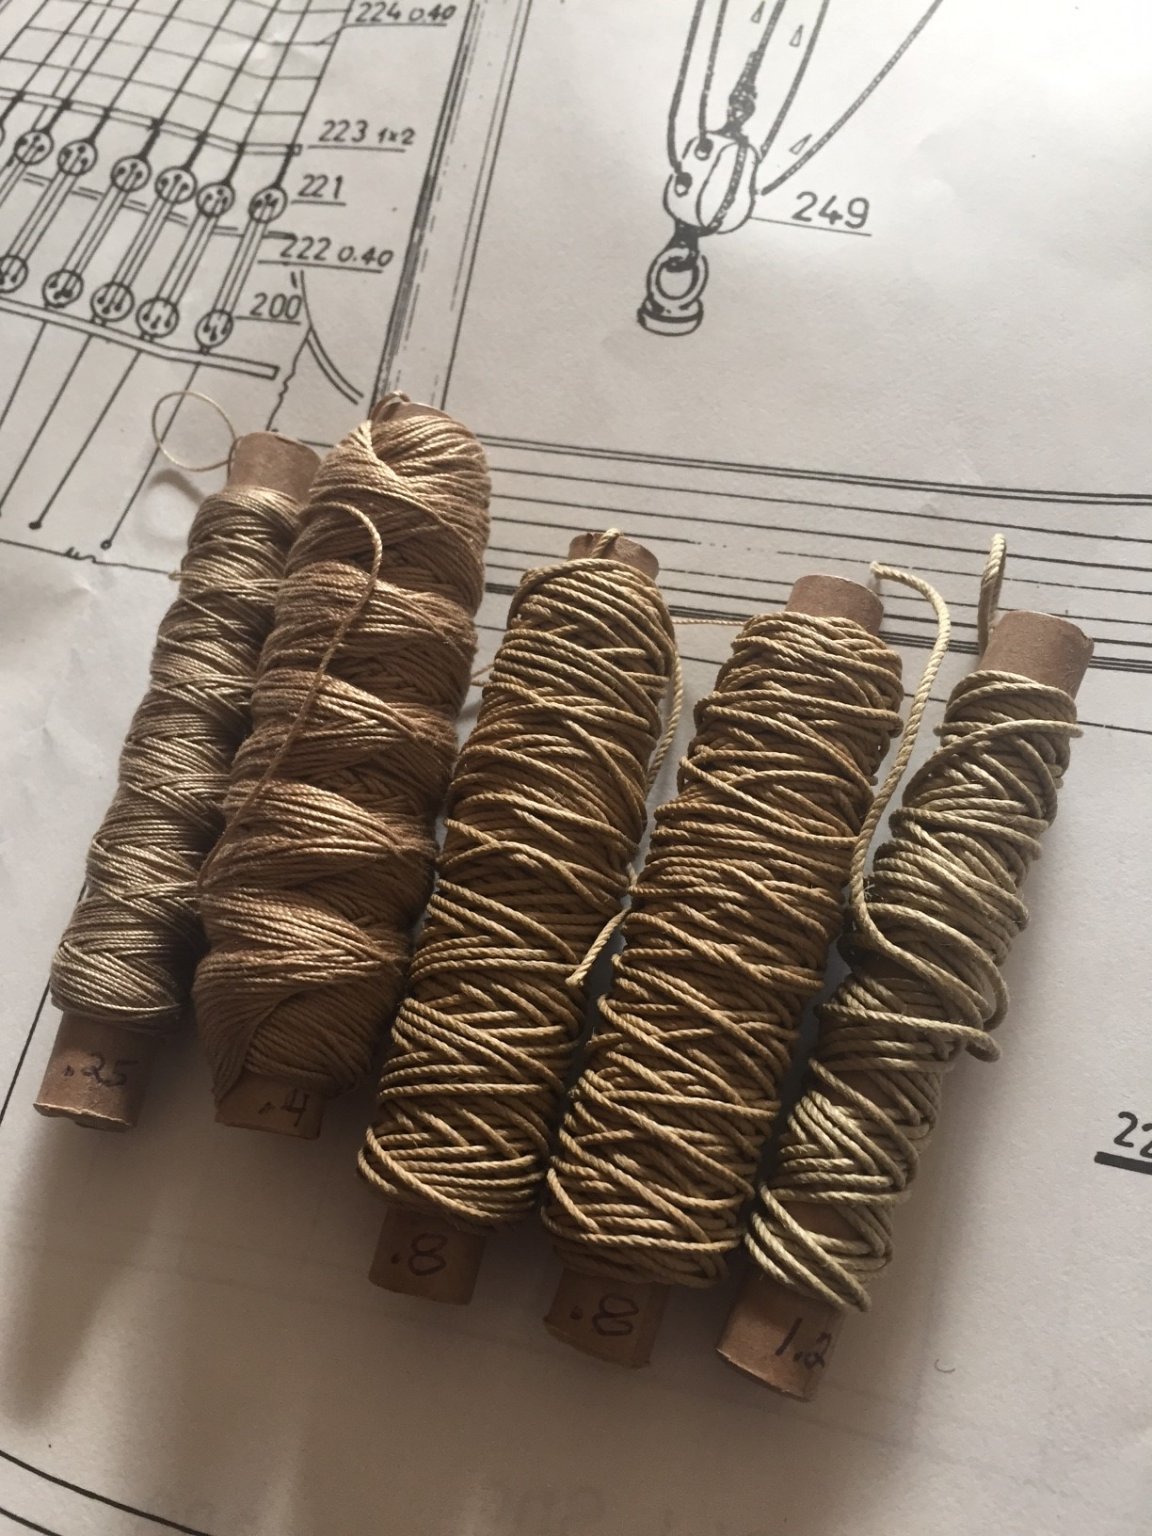
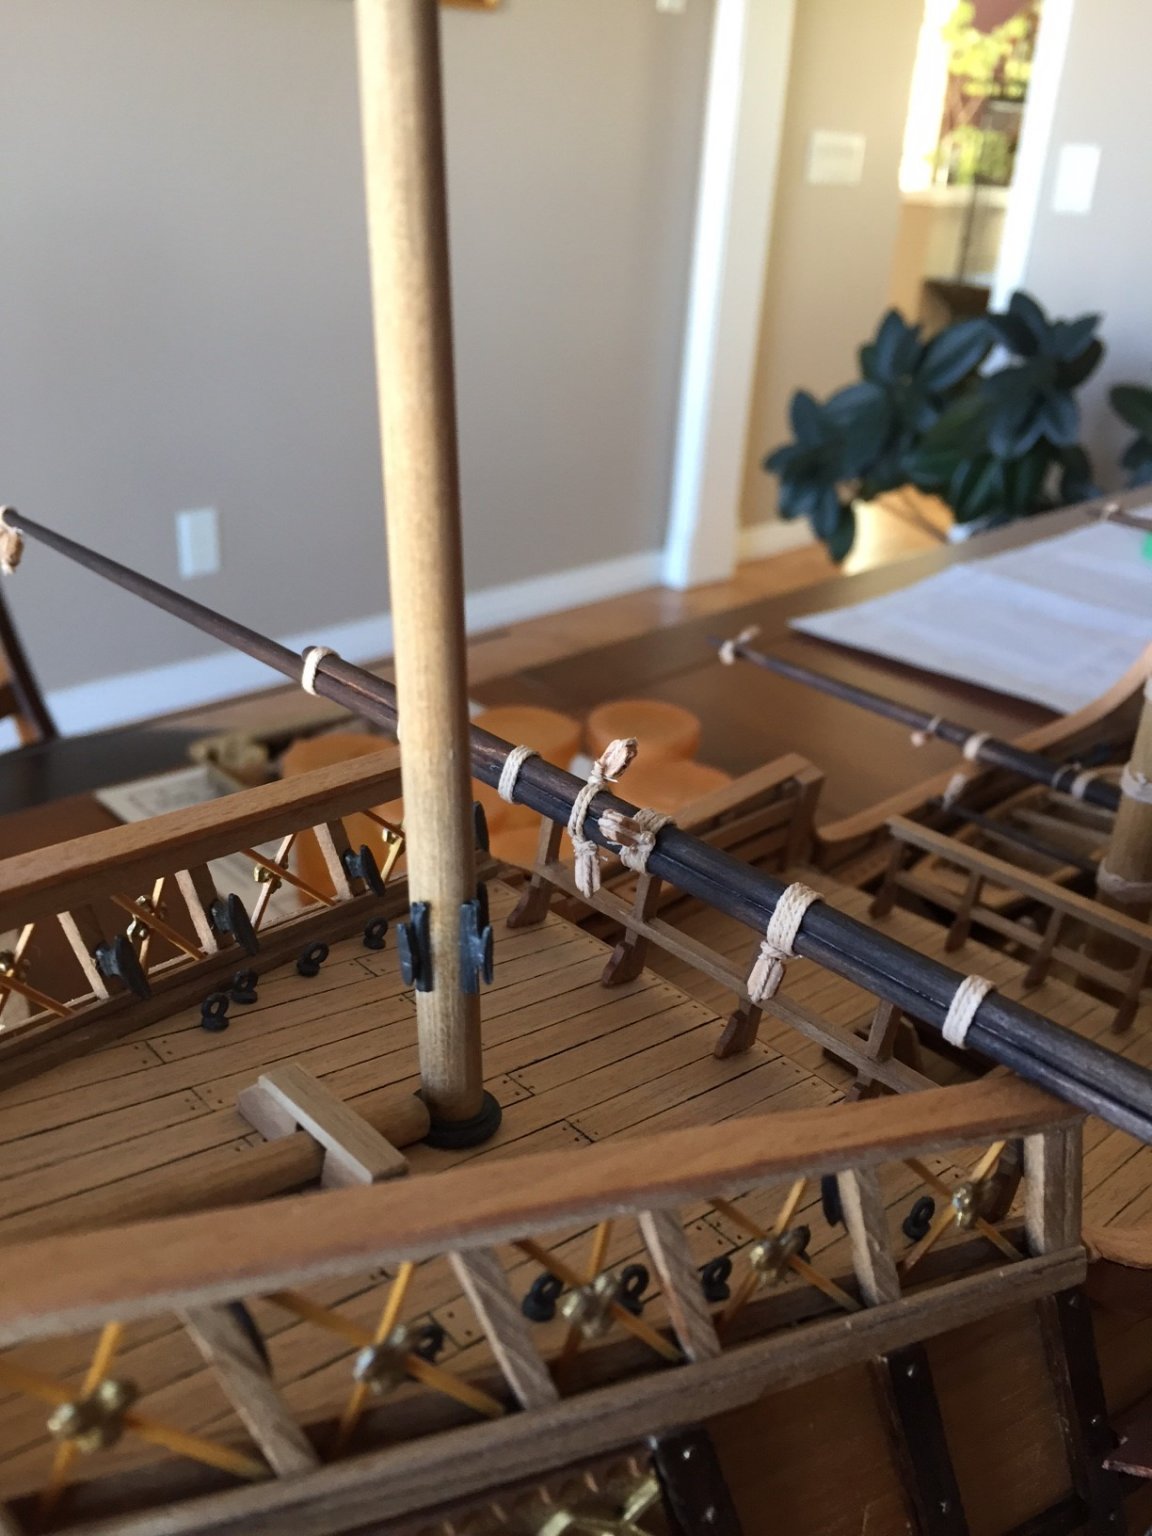
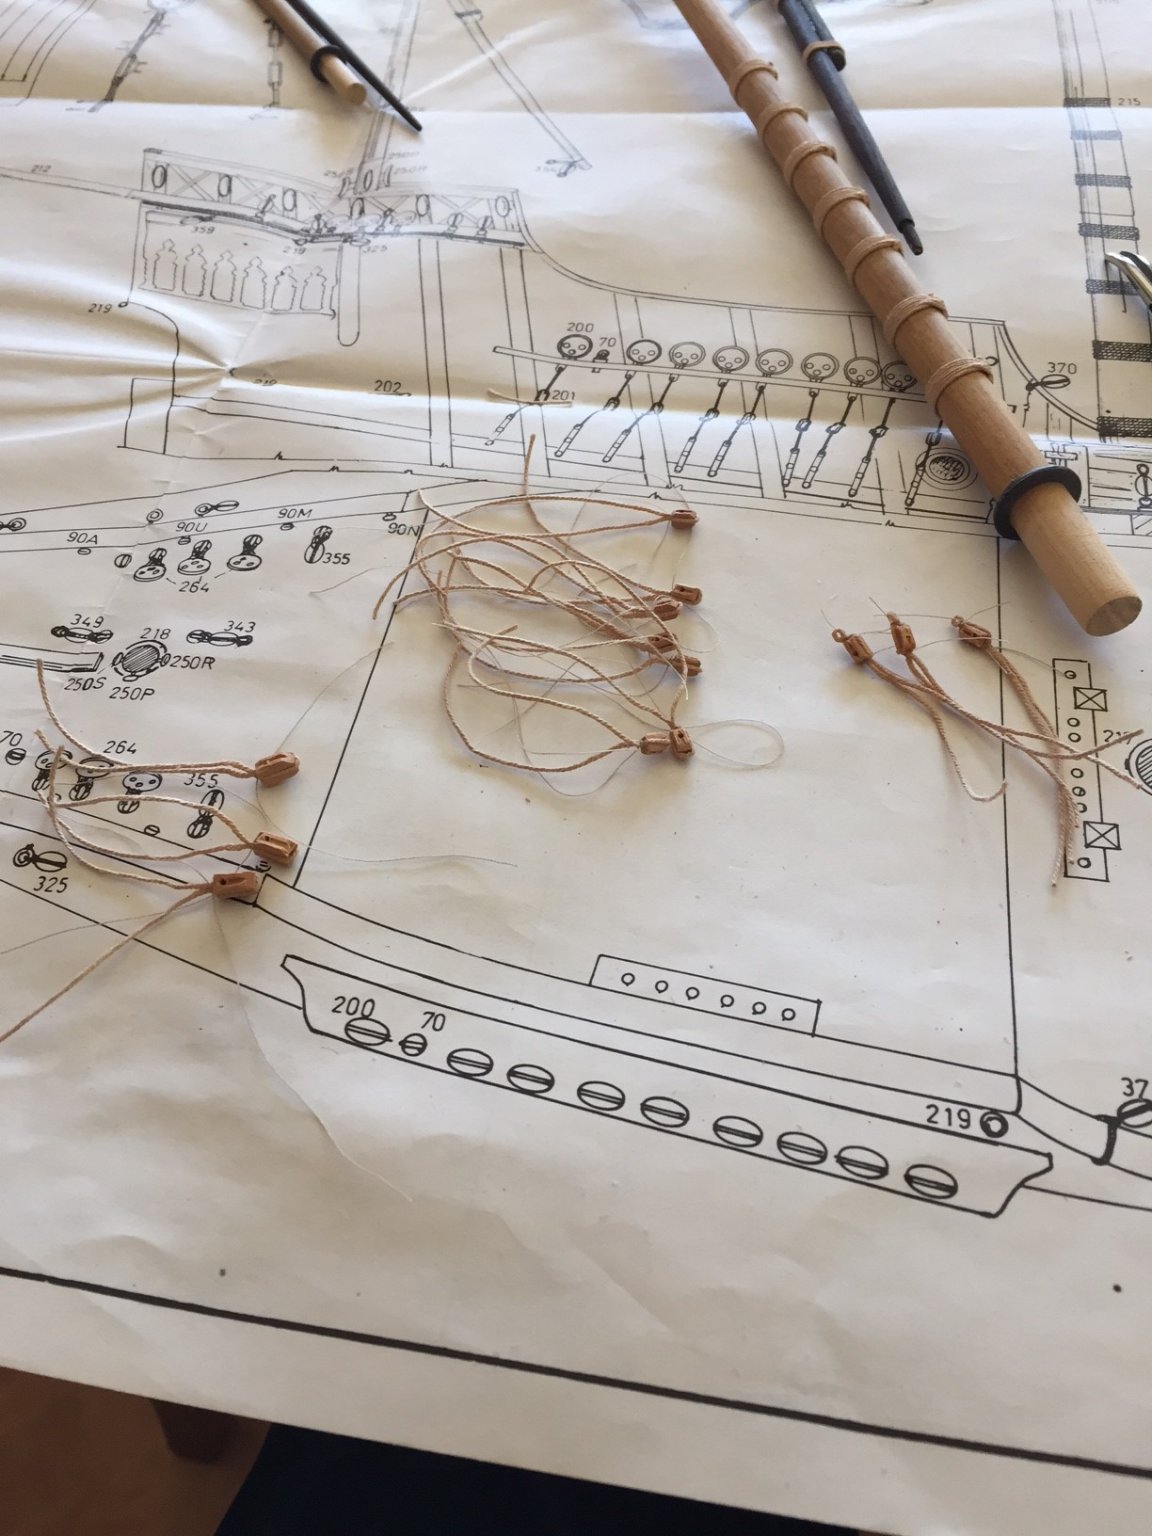
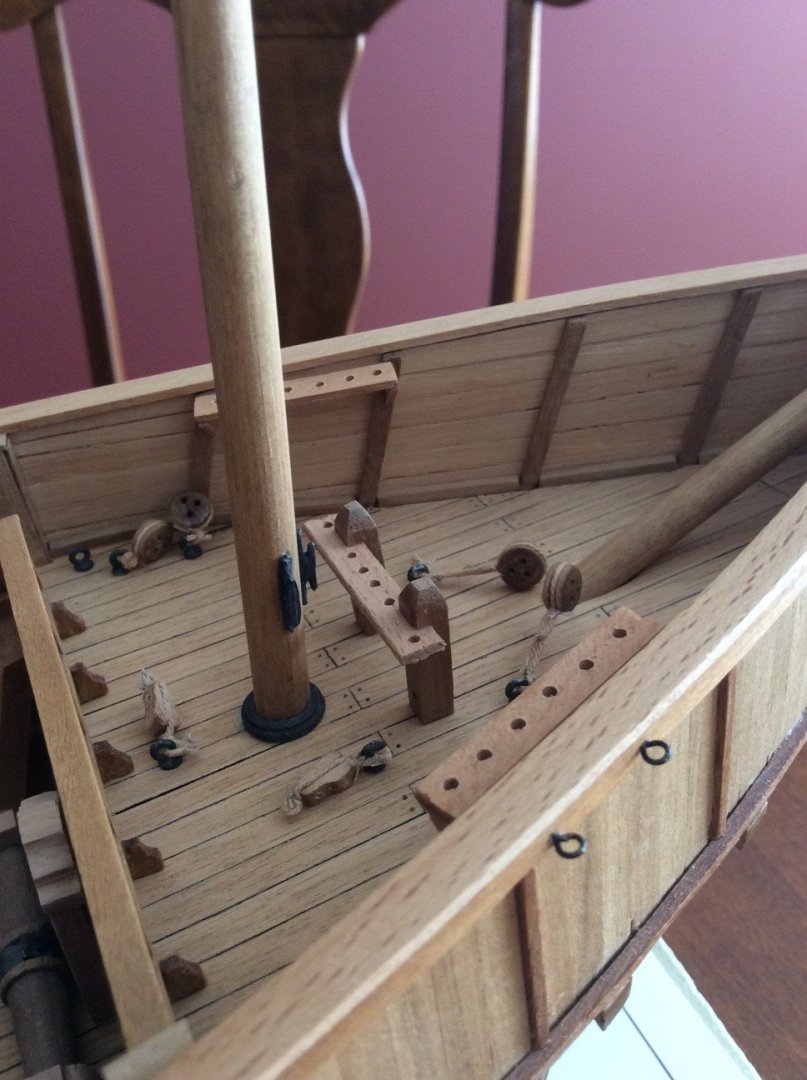
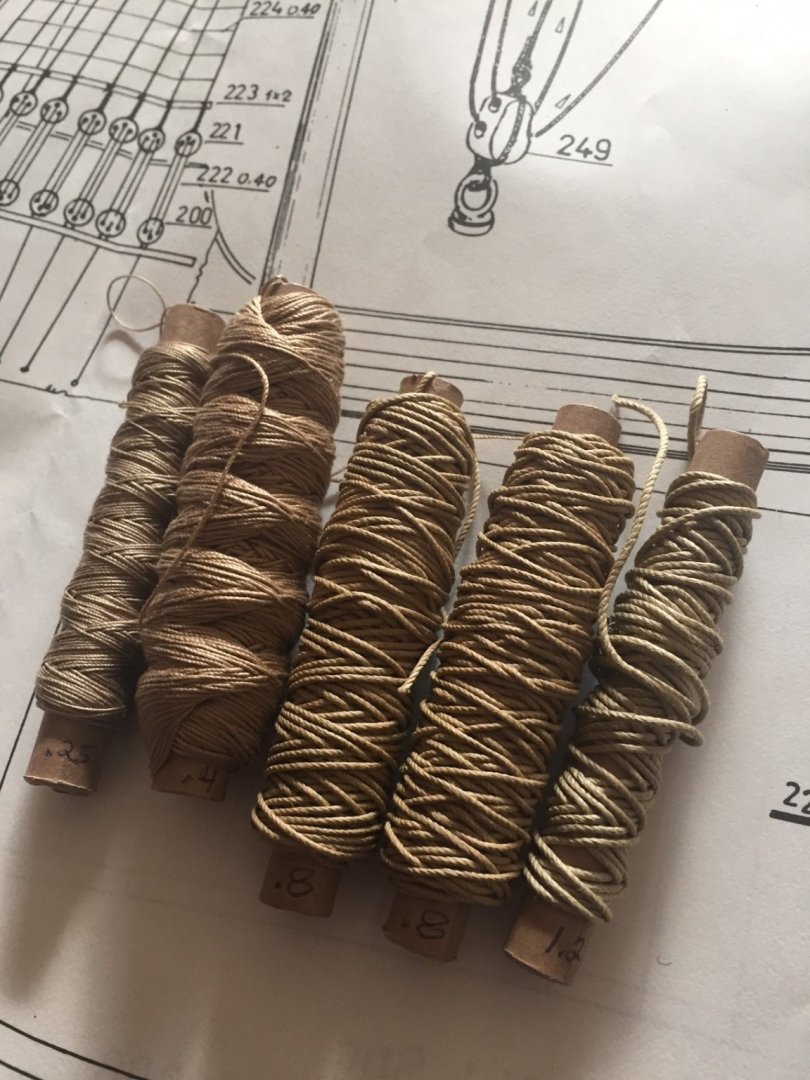
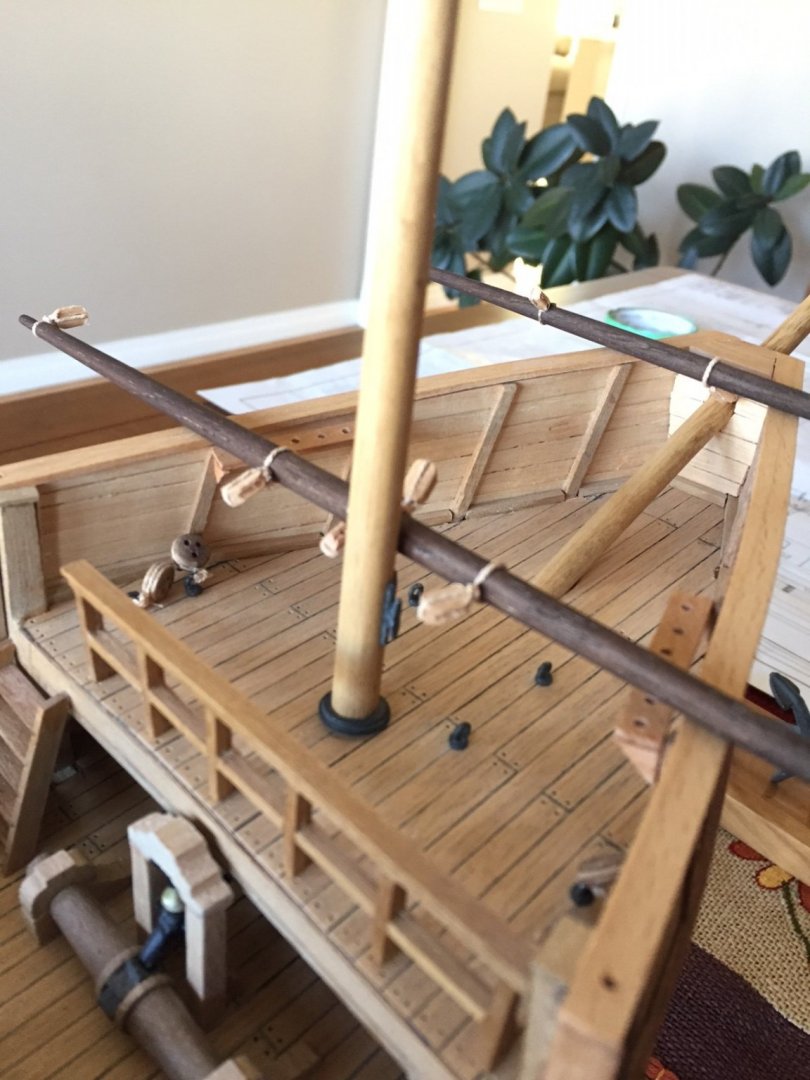
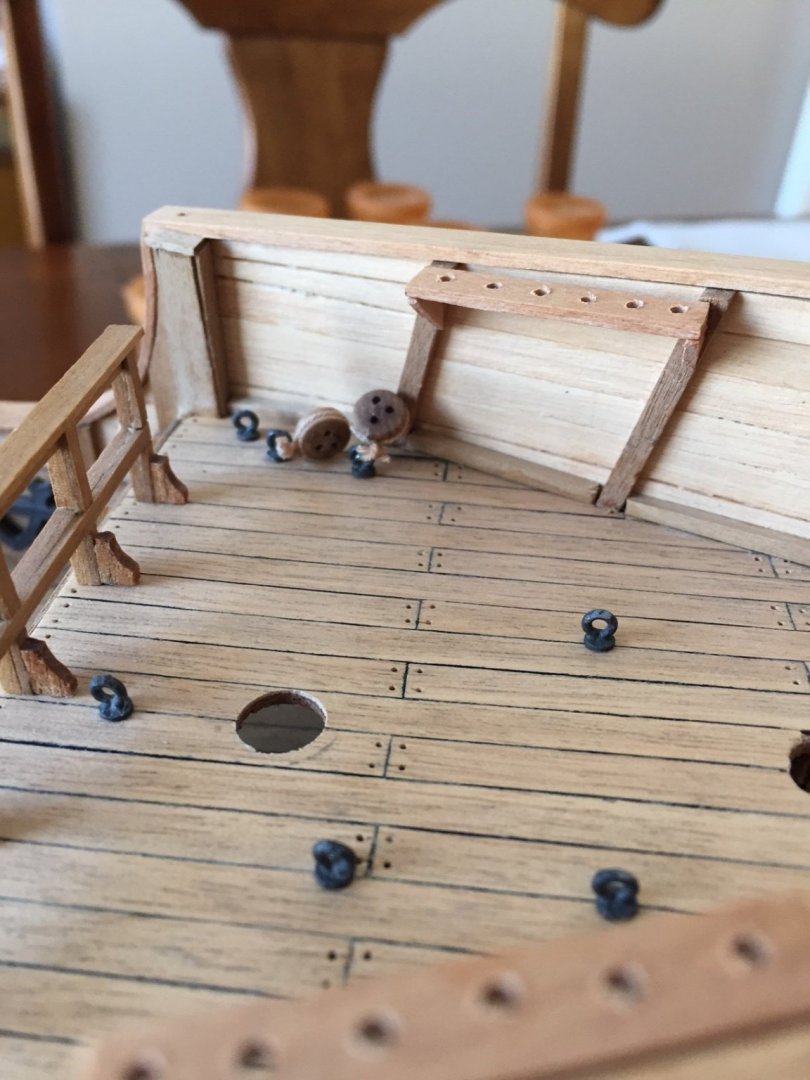
 Now... to complain about a couple of things. I noticed with this Mamoli vintage kit, they have always been very tight/cheap with items and parts... This grabrail stanchion is the last one of two that yet needs to be placed on the deck. The fife rail noted in the picture was not mentioned in the deck plans or instructions and I only picked this item up when studying the rigging plans (now that I am at this stage of the build). I quickly added this to the deck. Lastly, this is the rigging thread supplied with the kit... it is excellent in my humble opinion but in the instructions, they tell you to paint the cord once the standing rigging is complete... to the color of black. I can not image painting the thread. So I ordered a few items and black Caldercraft rigging cord from shipwright.com in England. All the items I needed was in stock and within 24 hours I received notice that the order has shipped... Now just a matter of waiting on the Royal Post and Canada Post to deliver...
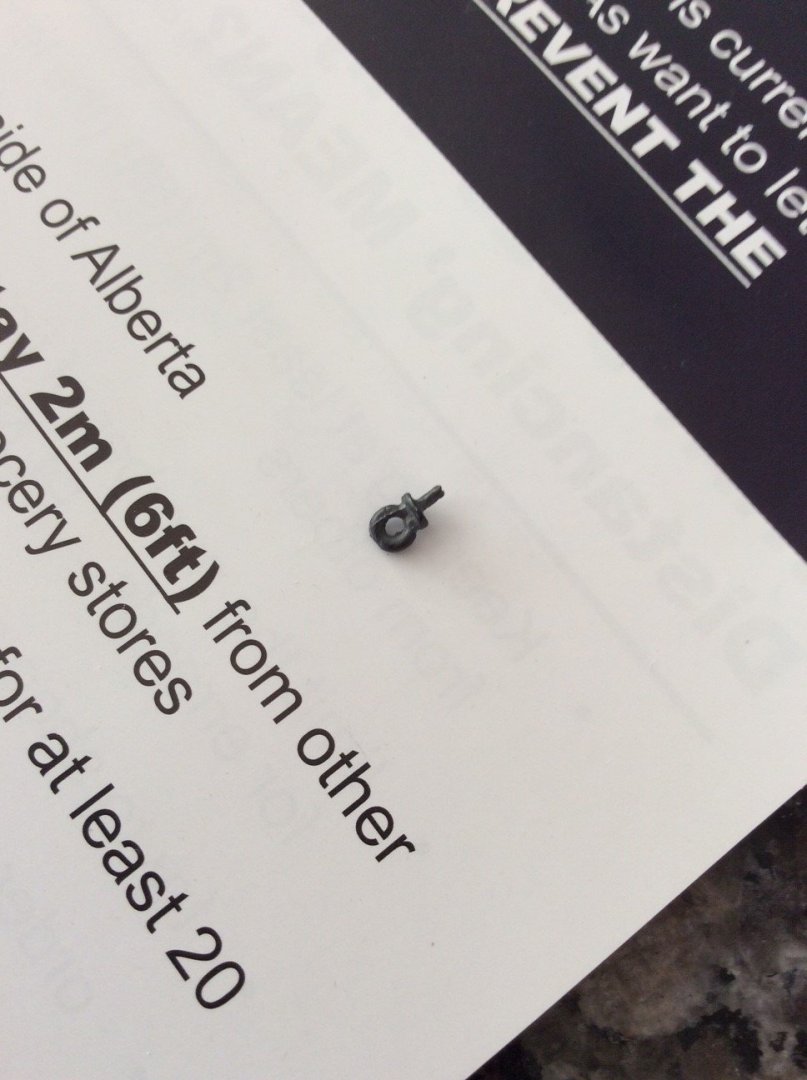
- 179 replies
-
- 1
-

-
- santa maria
- mamoli
- (and 1 more)
-
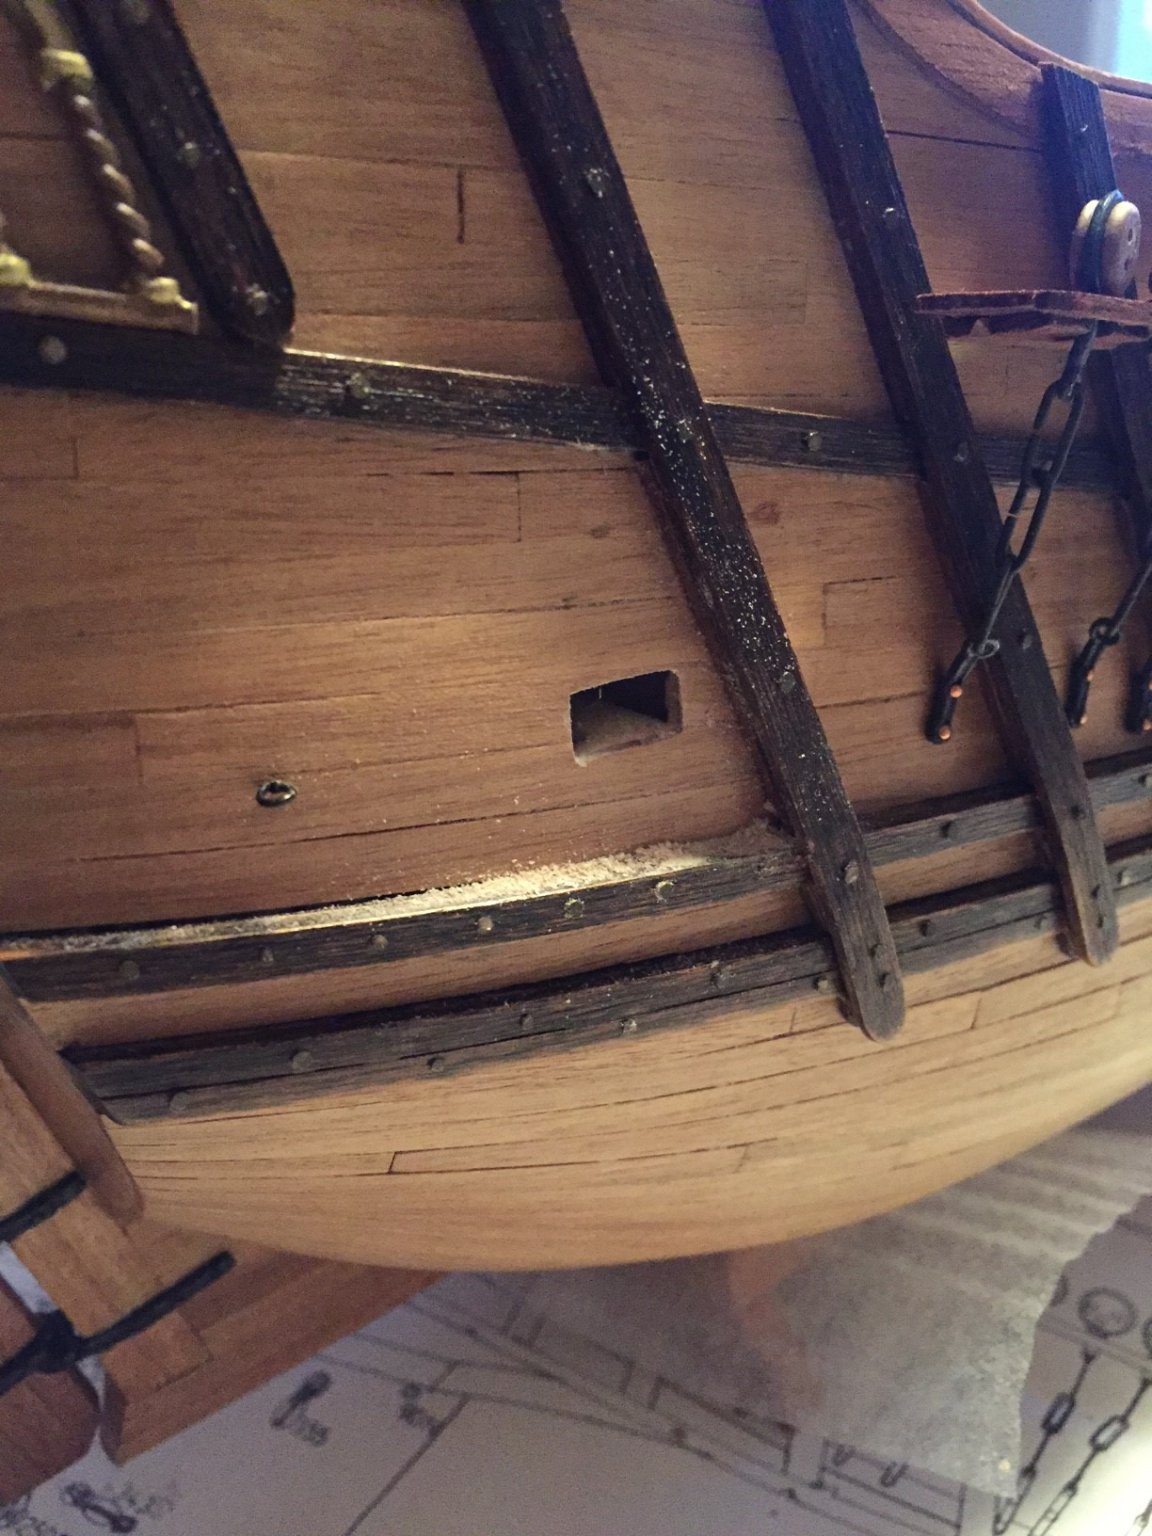
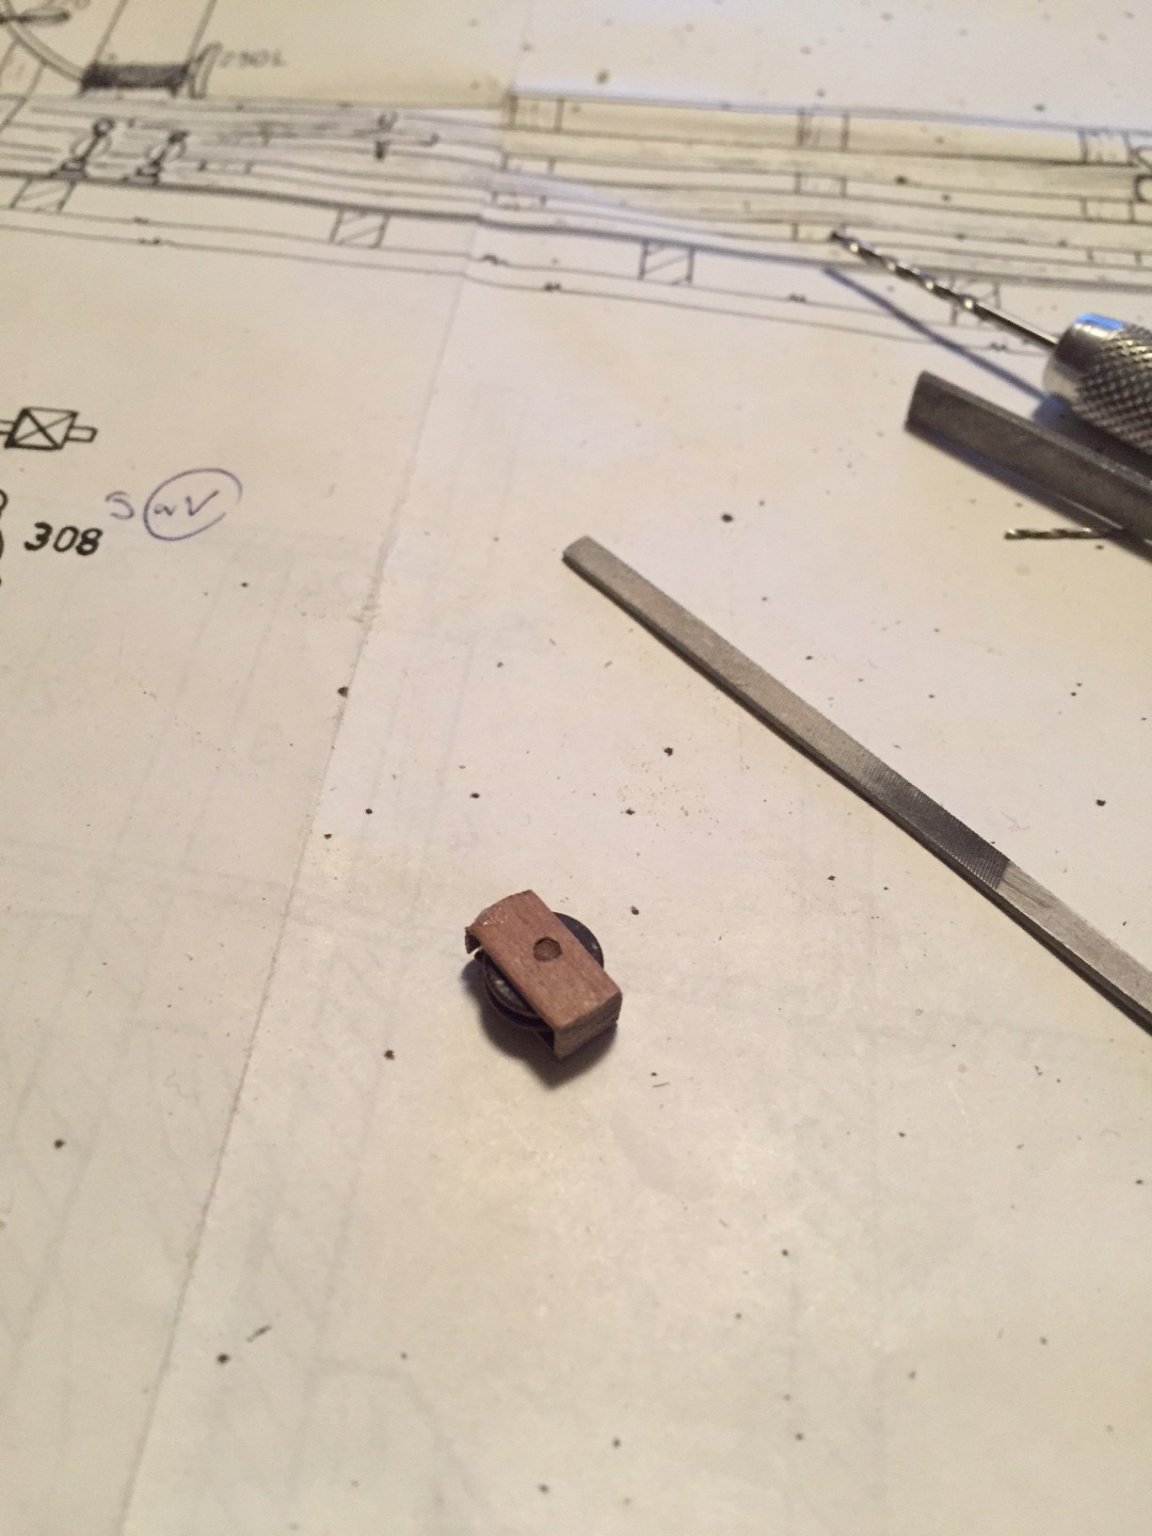
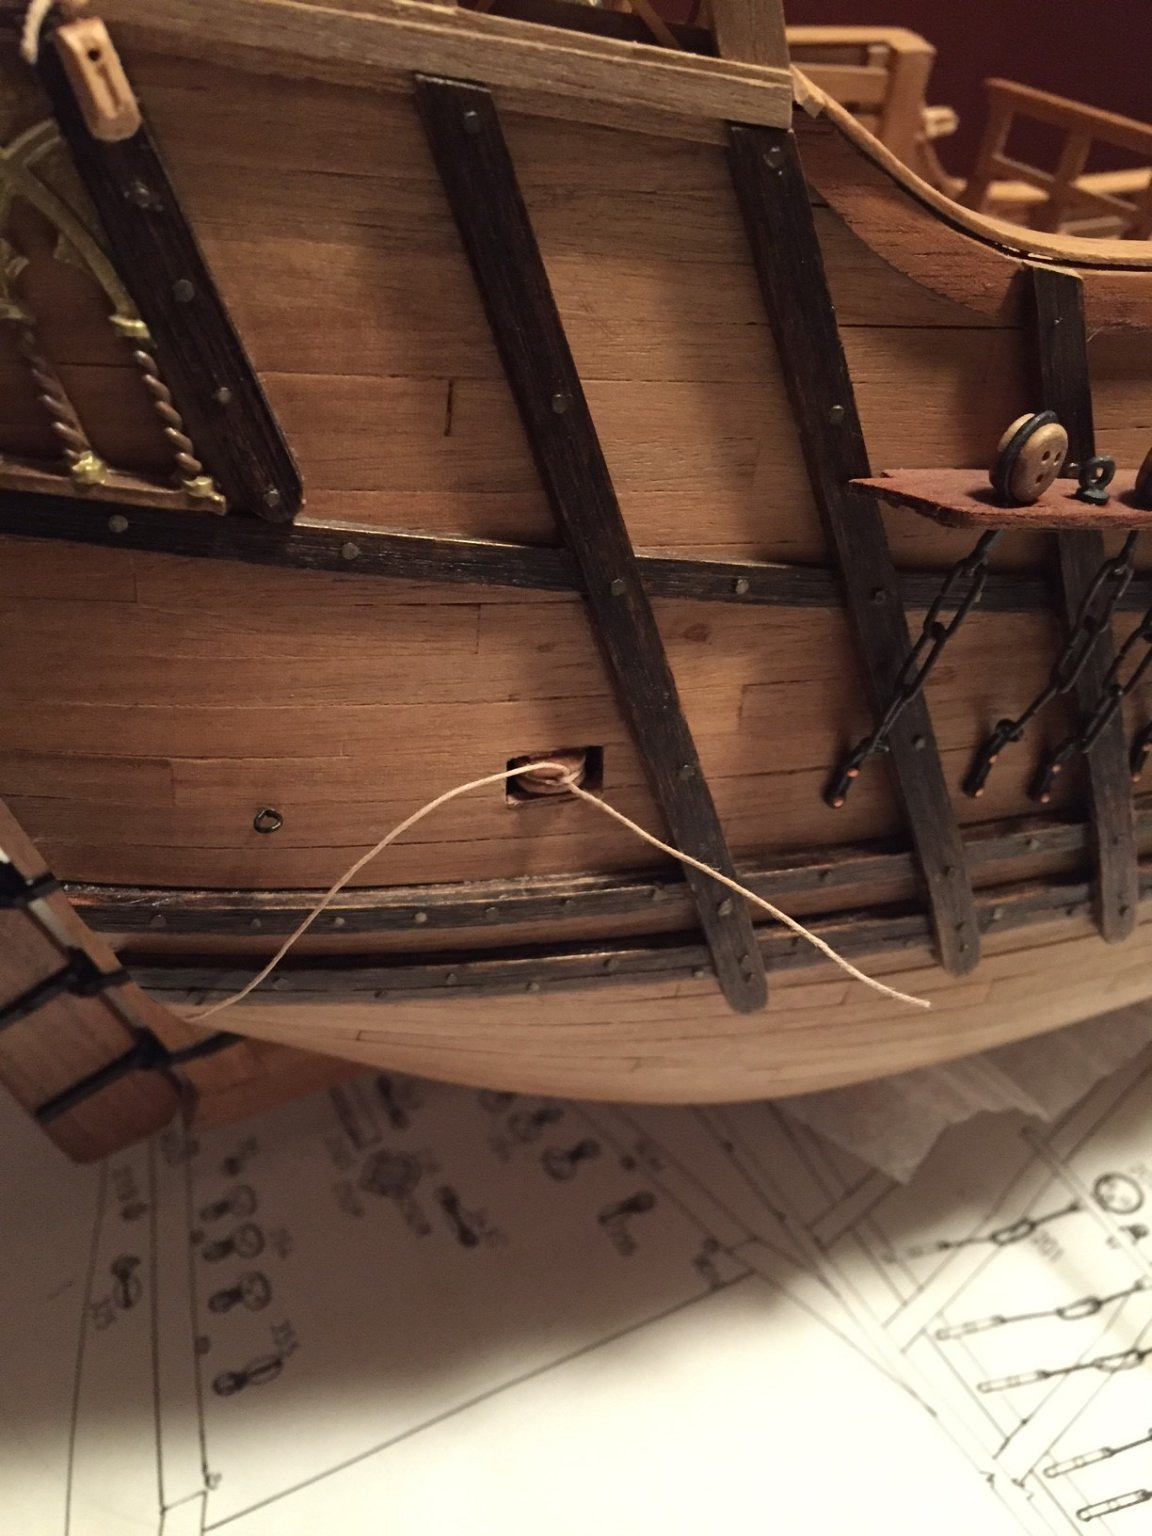
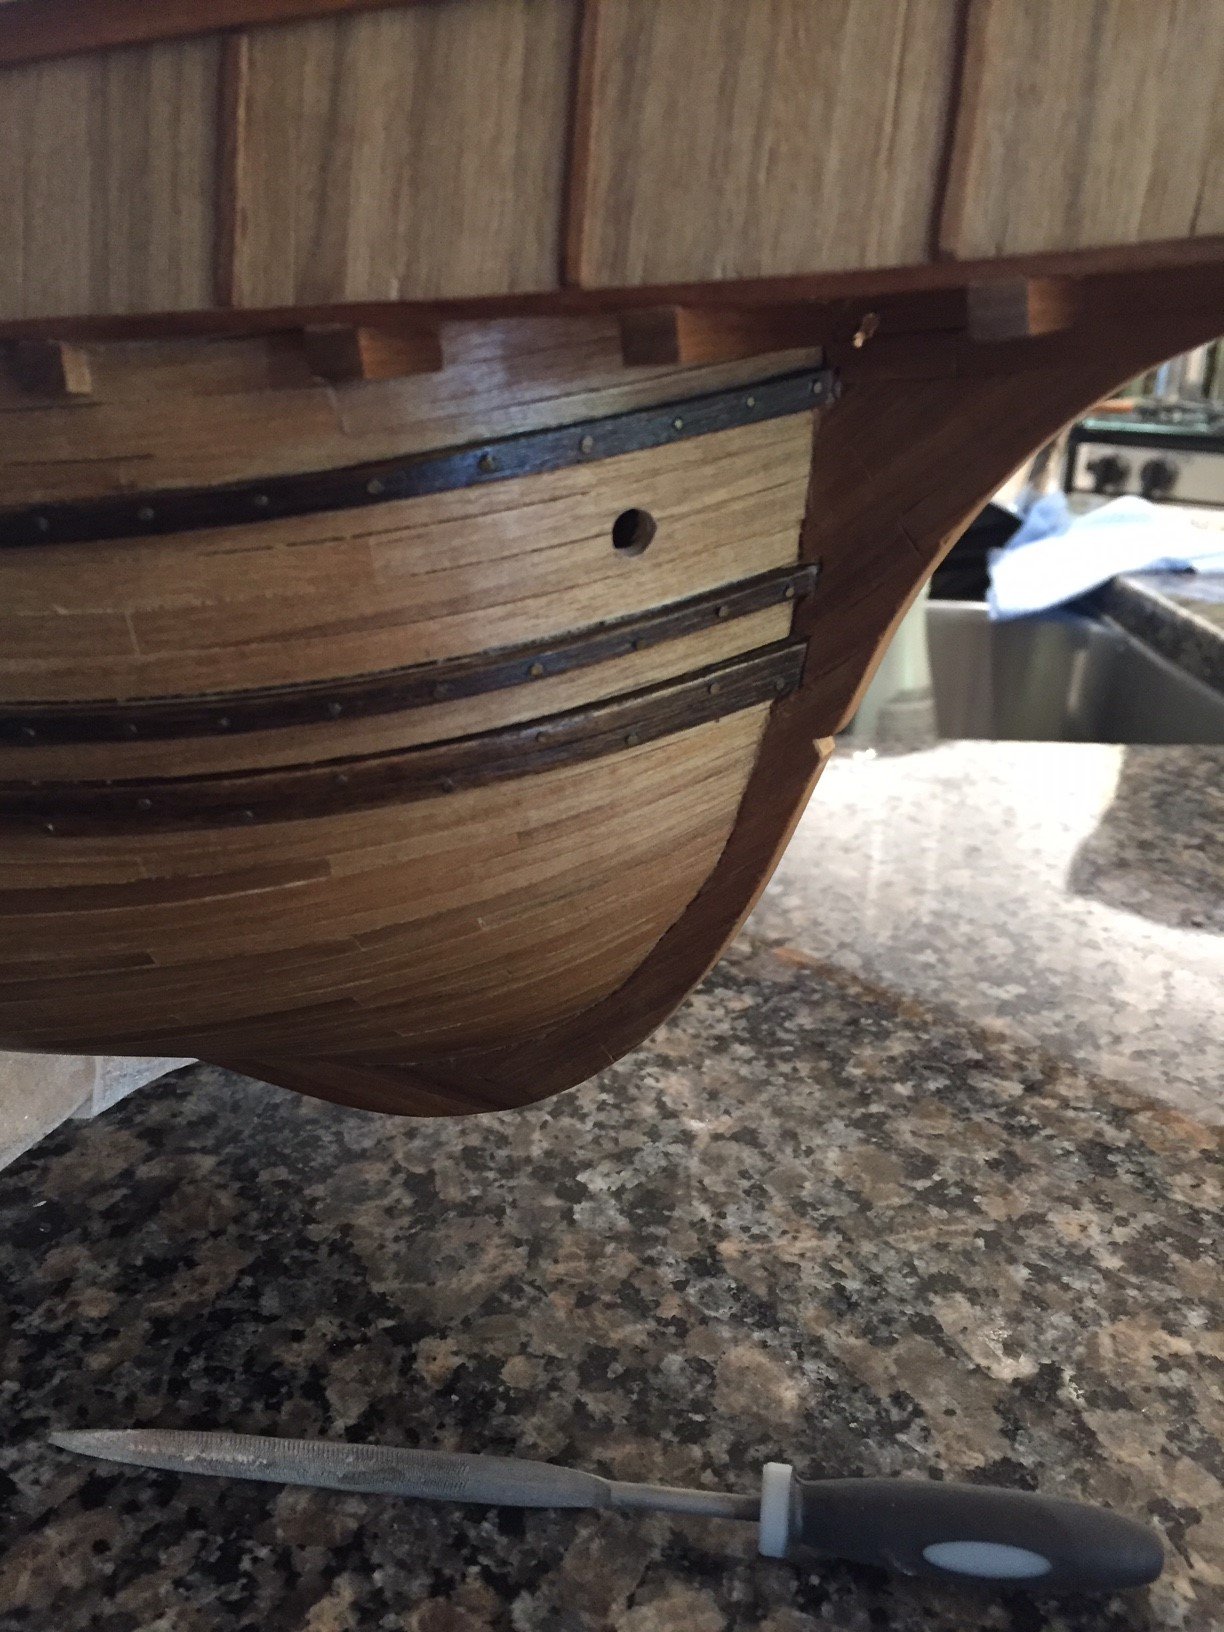
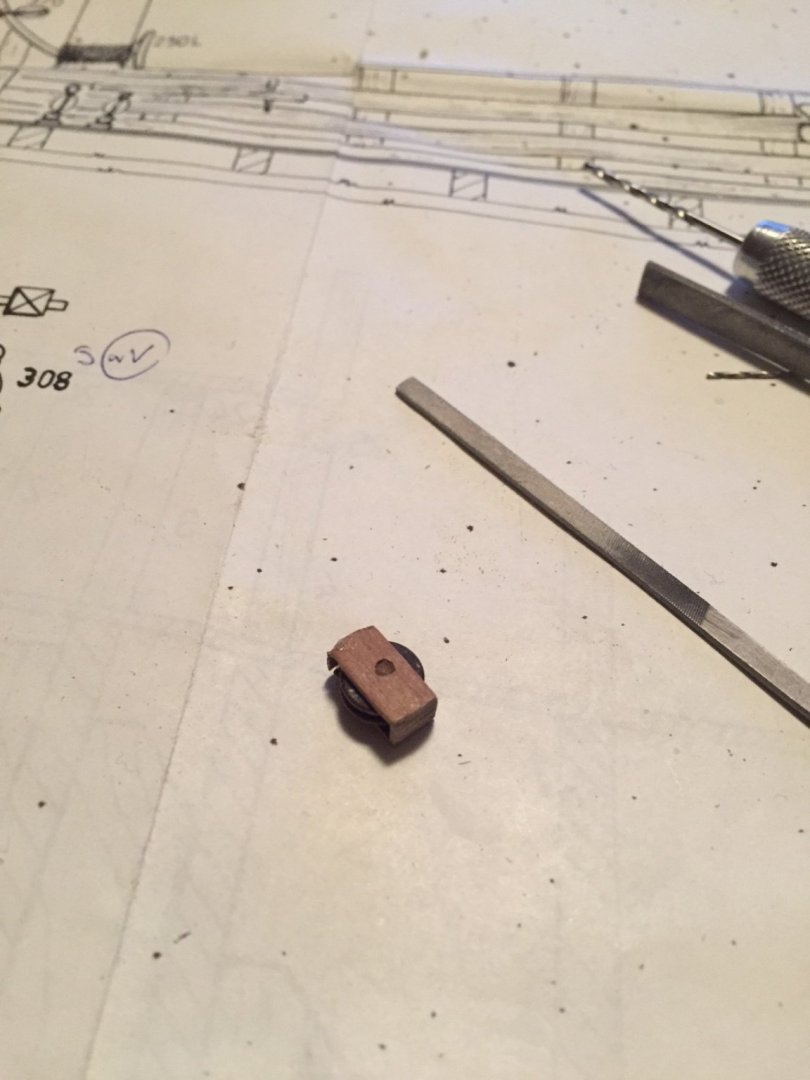
I made the drastic move of cutting into the hull to add my sheave block... turned out good but when I put the finished sheave block into the opening, I pushed it straight in... I remade a second block and did the exact same thing! I have two sheave block rattling around in my hull! I remade a simple sheave and guided it in with a loop of rope to prevent it from falling in while setting it flush to the opening. I will keep the loop of rope in yet in order to easily guide the rigging line when ready to do so. What I can not understand from the plans and instructions is whether there is a duplicate sheave block on the port side as well. Instructions are not clear... I hope not after this escapade...


- 179 replies
-
- 1
-
-
- santa maria
- mamoli
- (and 1 more)
-
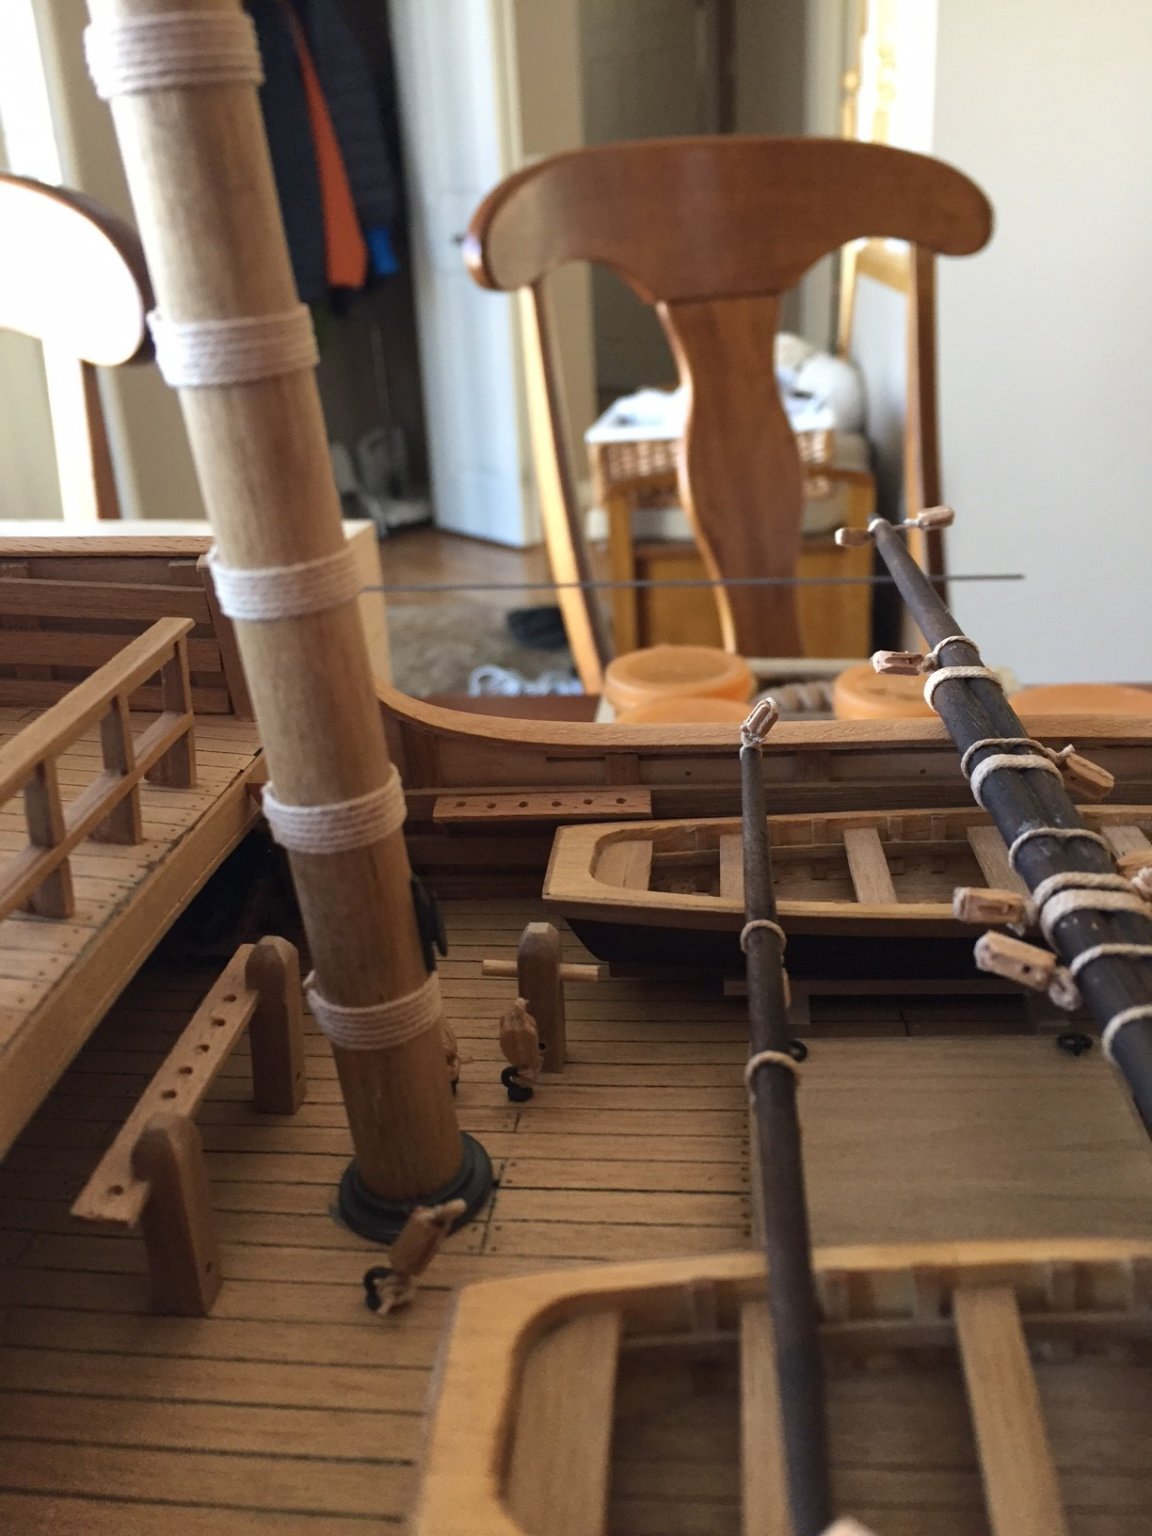
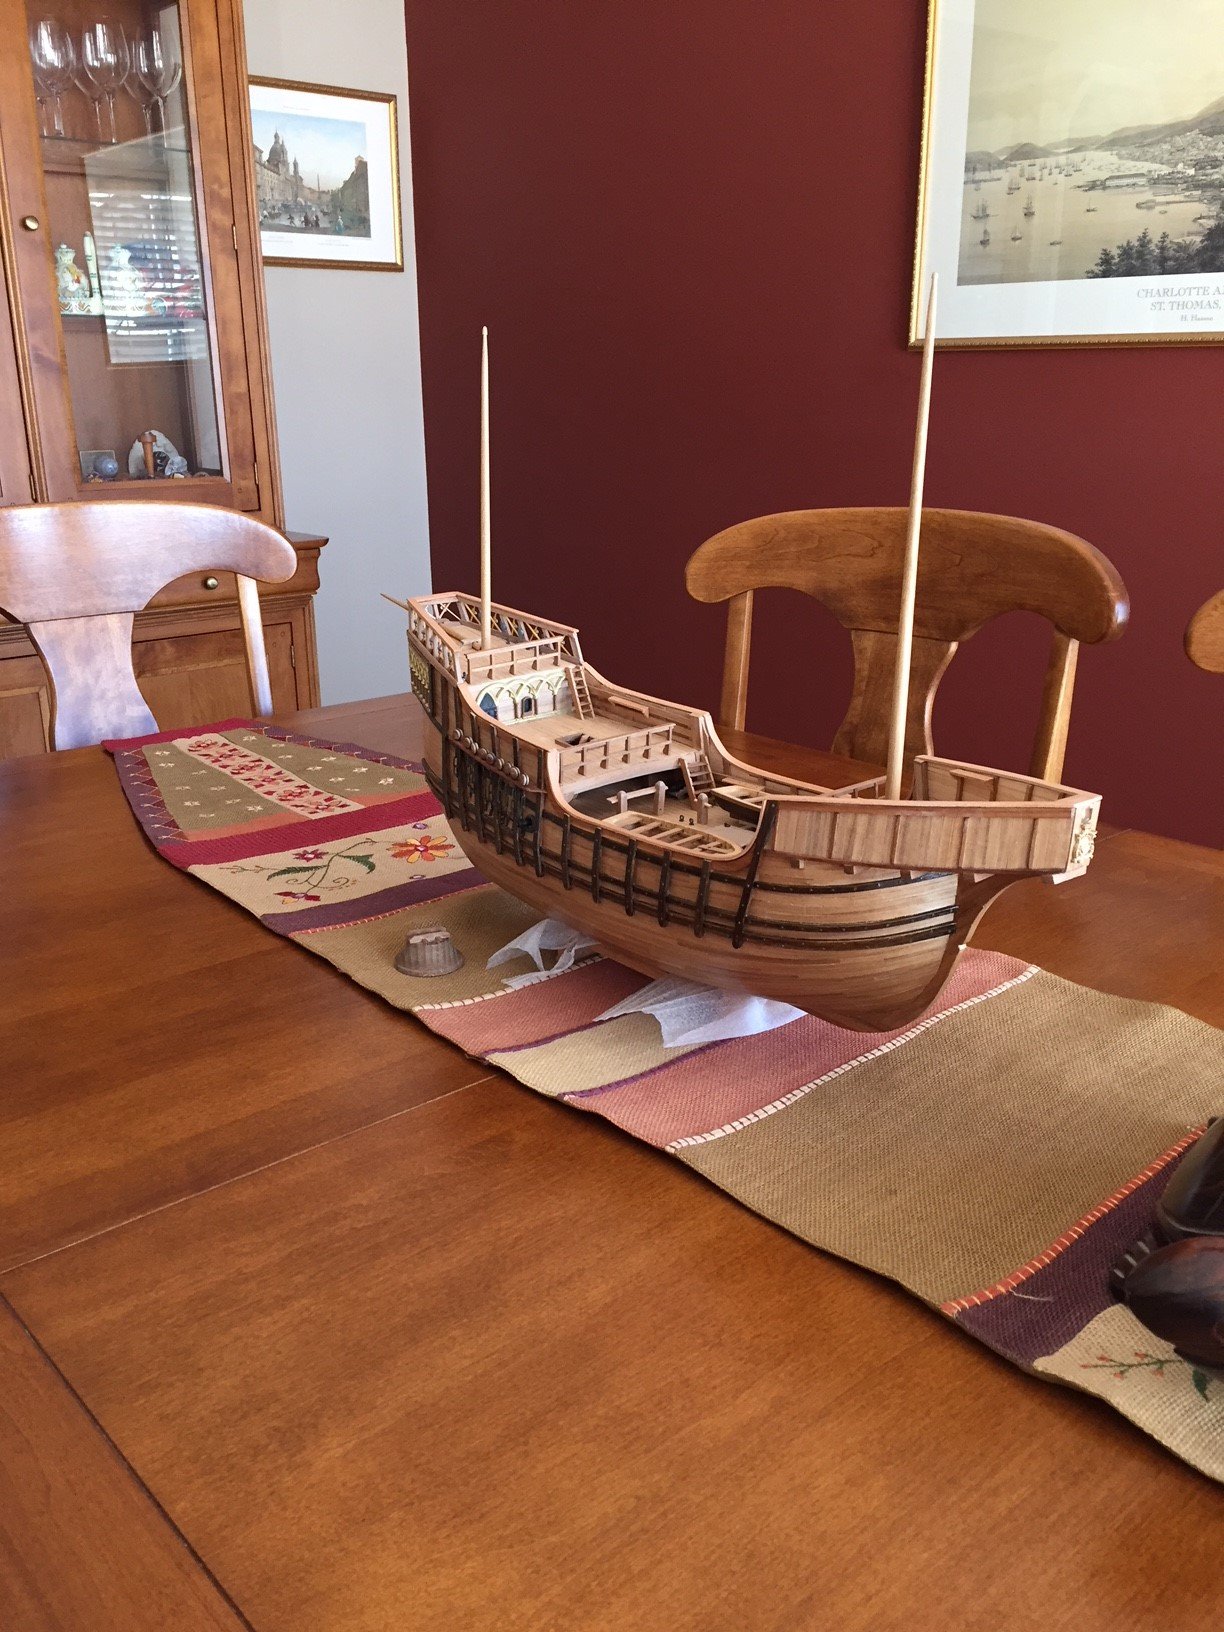
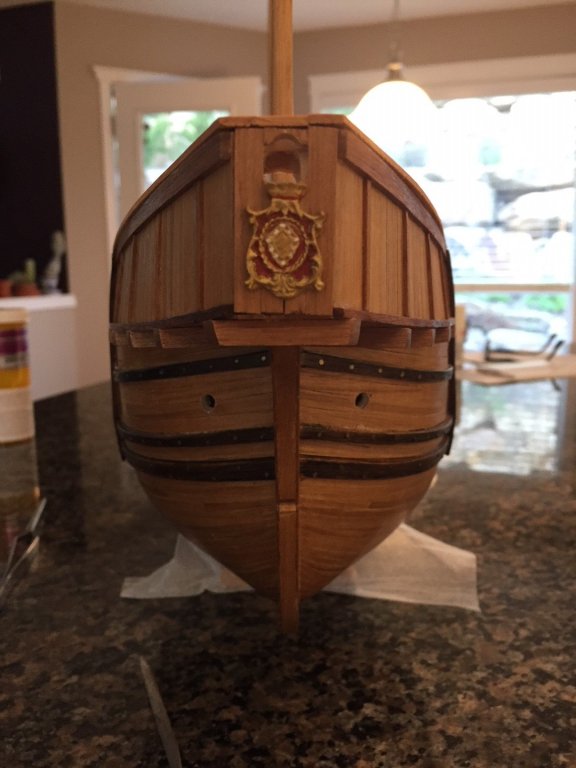
Thank you Steven for the compliment... A few more images before I start adding all the blocks to the deck and exterior of the hull... and then I am ready to mount the masts permanently as at the moment they are just sitting loosely in their respective places.


- 179 replies
-
- 3
-
-
- santa maria
- mamoli
- (and 1 more)
-
Thanks Popeye for your kind comments... stay well! Thanks Sea Hoss for your compliments... much appreciated. Thanks Jan-Willem for checking in on my build log once again and of course the kind words. Everyone stay healthy and well!
- 179 replies
-
- 1
-
-
- santa maria
- mamoli
- (and 1 more)
-
Thanks for your reply Popeye... I usually get things done fast and expediently... but certainly not in this regard. Covid-19 is certainly a worry here in Canada but I think from the news, not to the same degree as in the United States. I am in a close contact profession and was shut down early by our Chief Public Health officer... I am in week 5 of non employment and “light” self quarantine... I have been thinking for about 3 years that I would like to take a sabbatical and here it is... but not the best of times for others unfortunately.
- 179 replies
-
- 1
-
-
- santa maria
- mamoli
- (and 1 more)
-
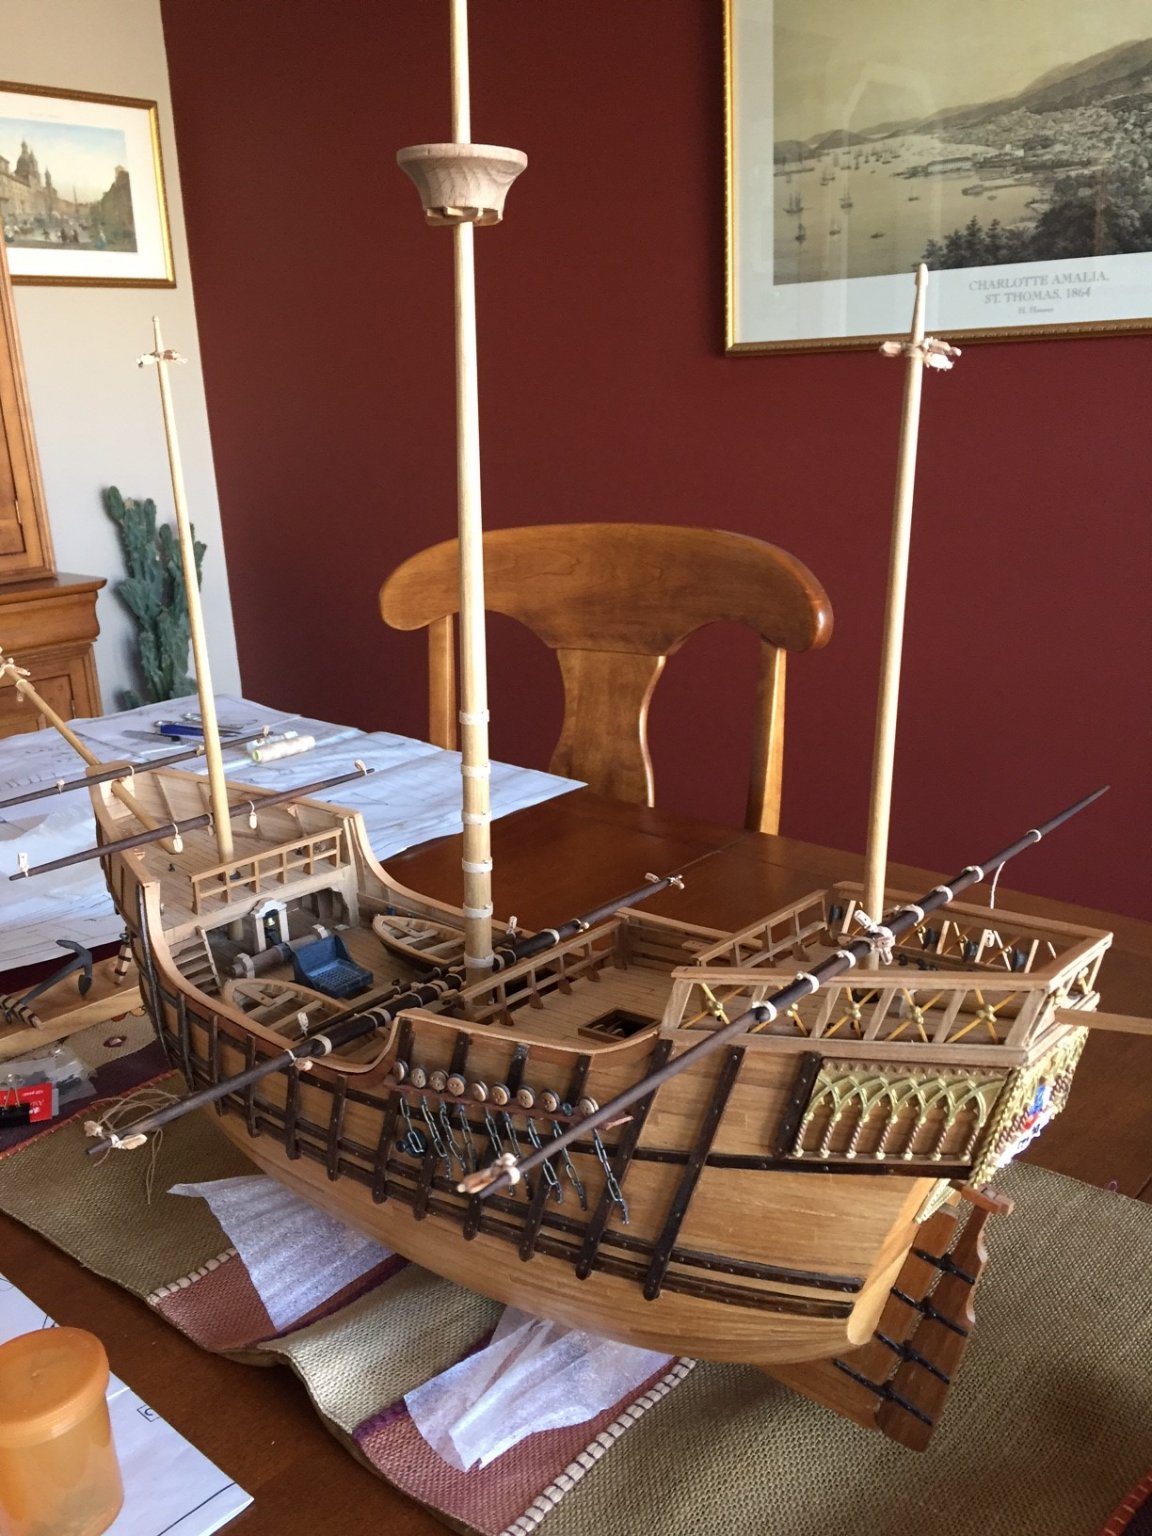
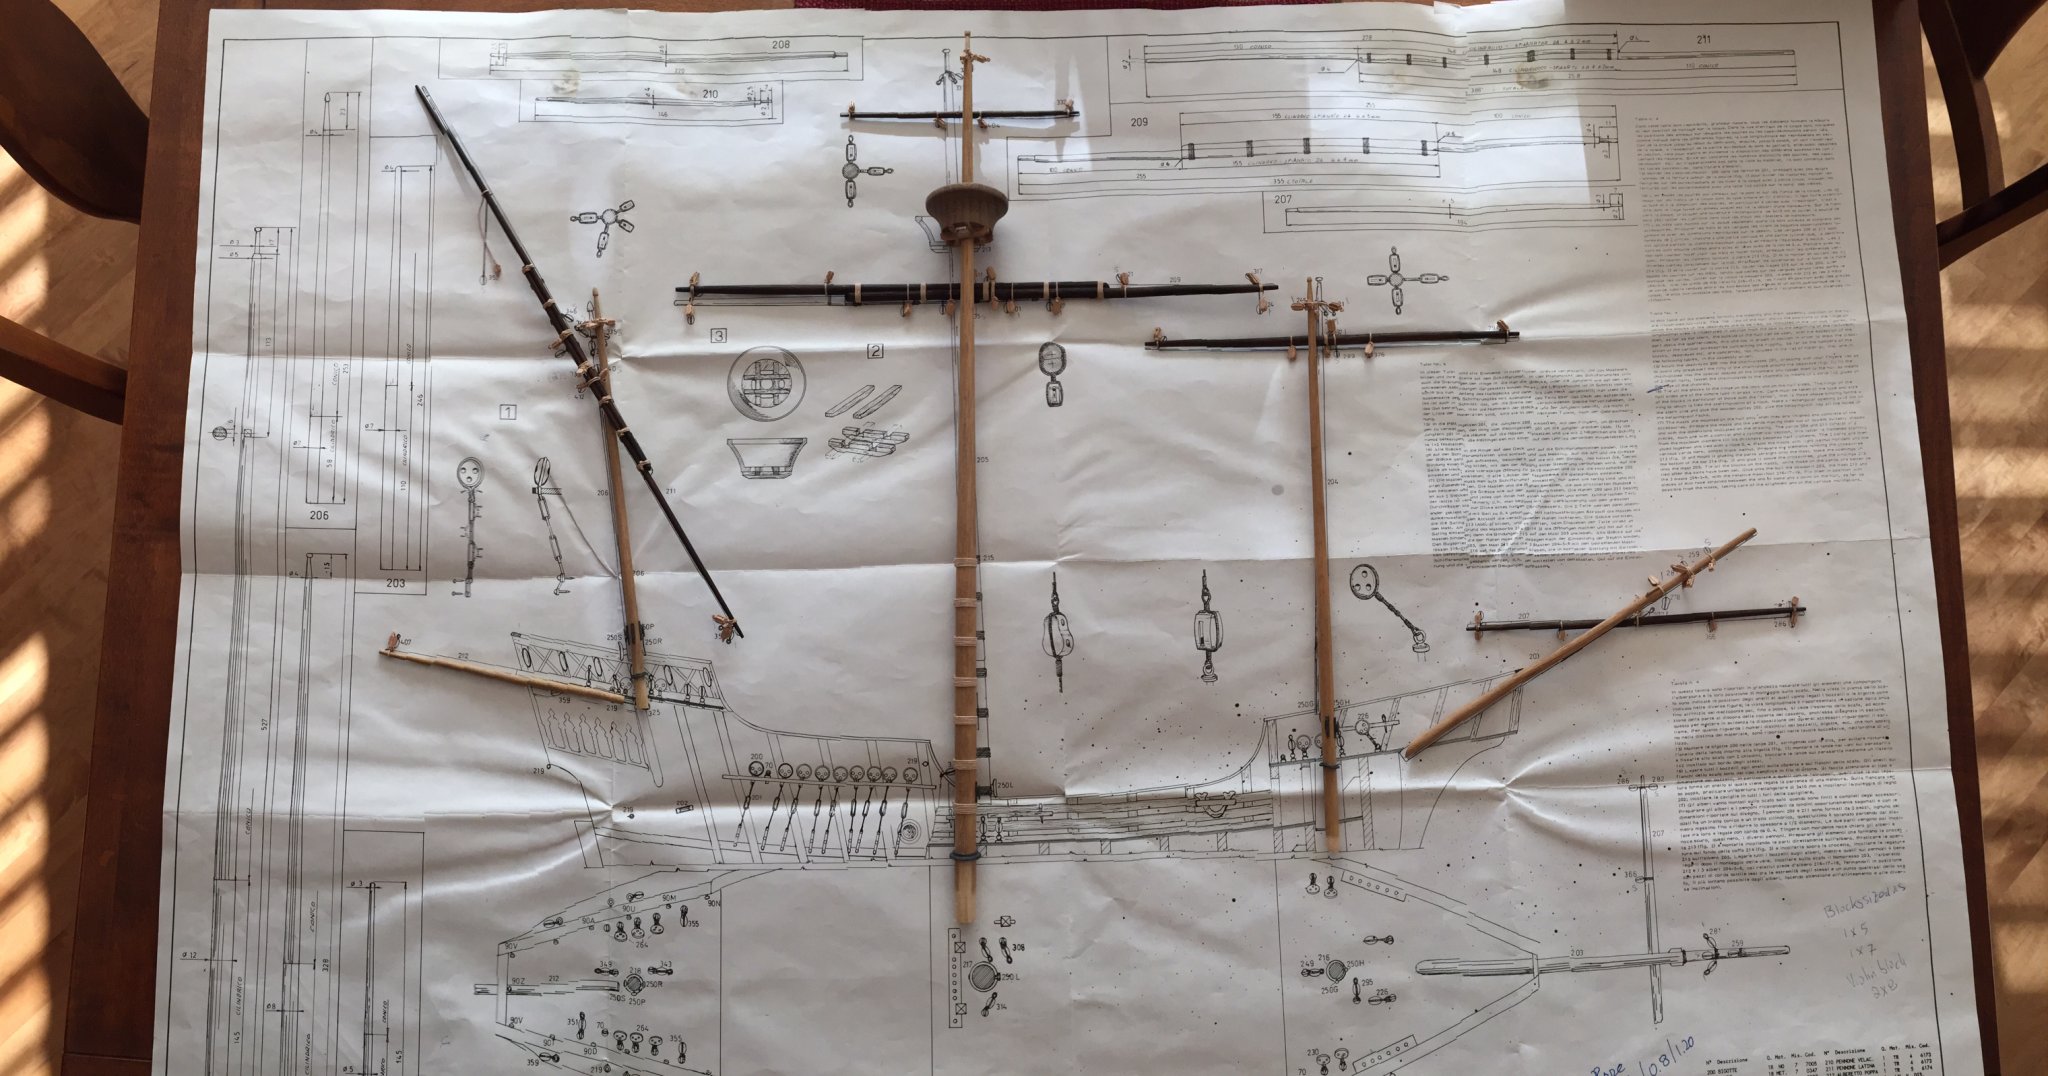
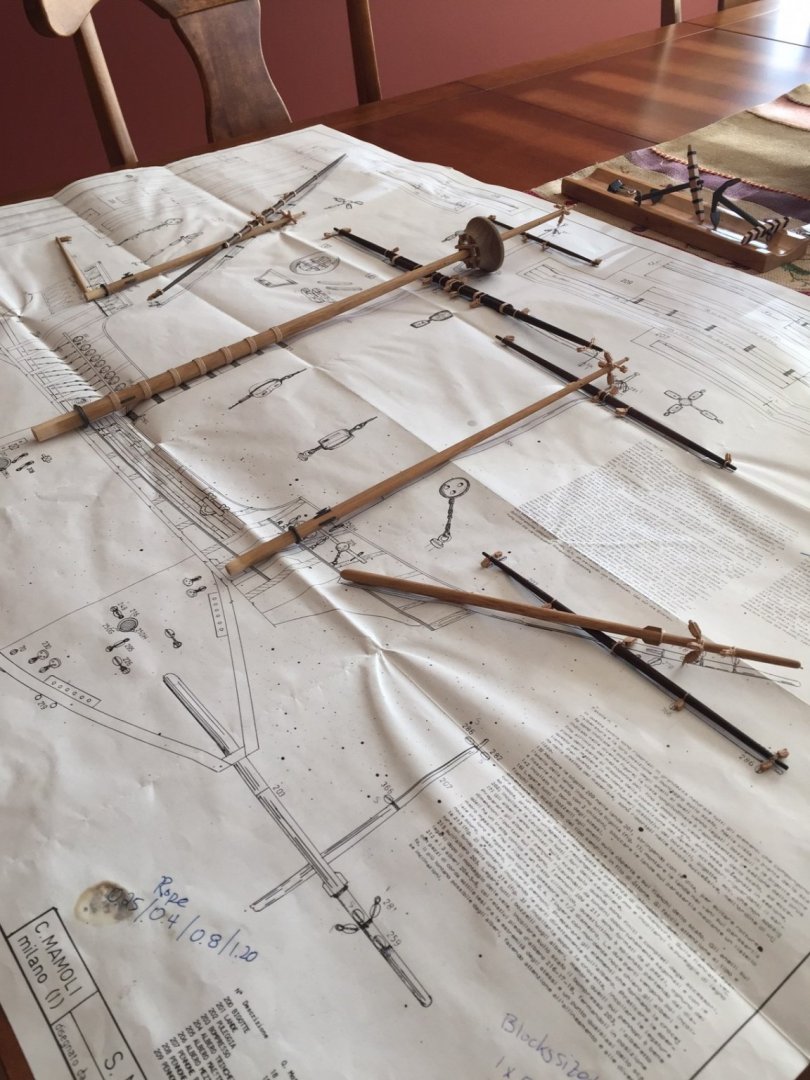
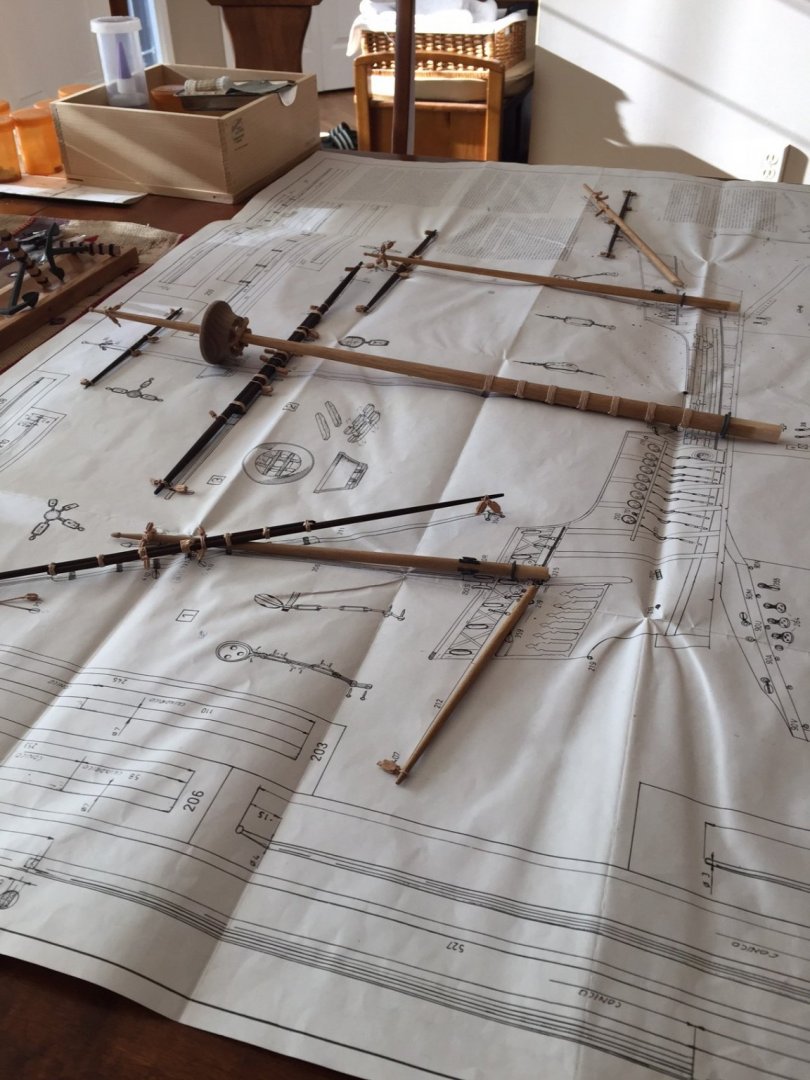
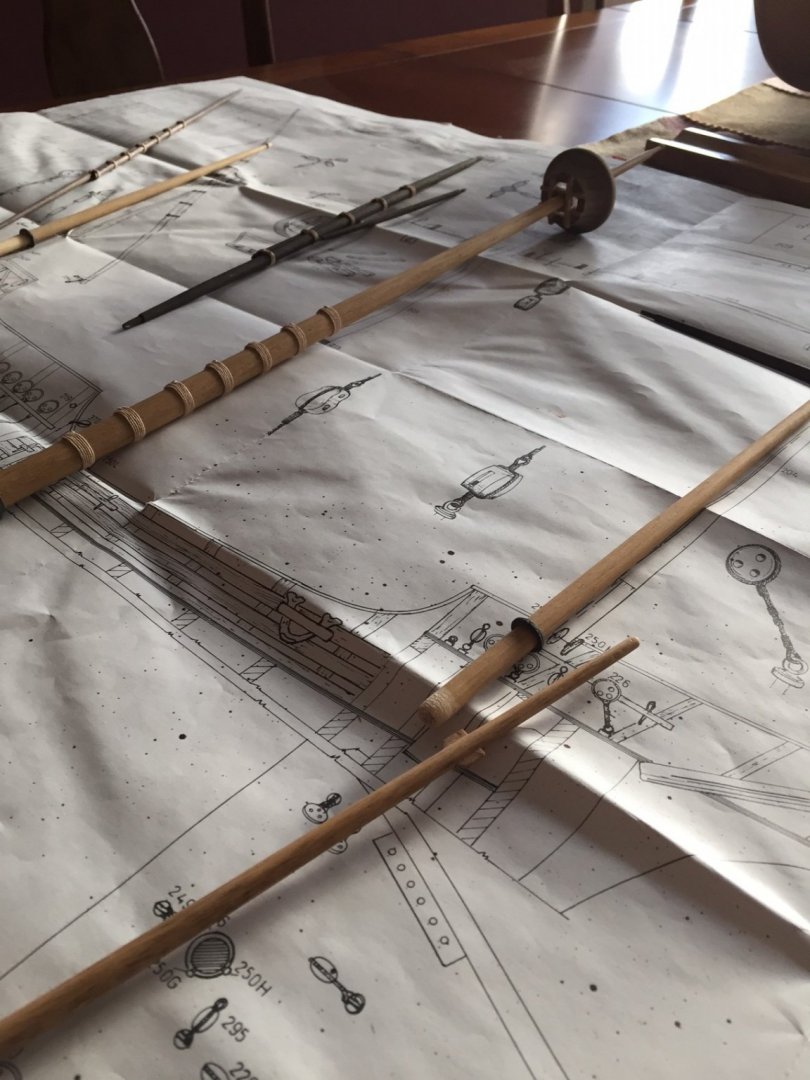
And finally... Here is the token picture with the completely fitted masts and spars overlapping the plans. Why why did I wait this long to complete this?

- 179 replies
-
- 3
-
-
- santa maria
- mamoli
- (and 1 more)
-
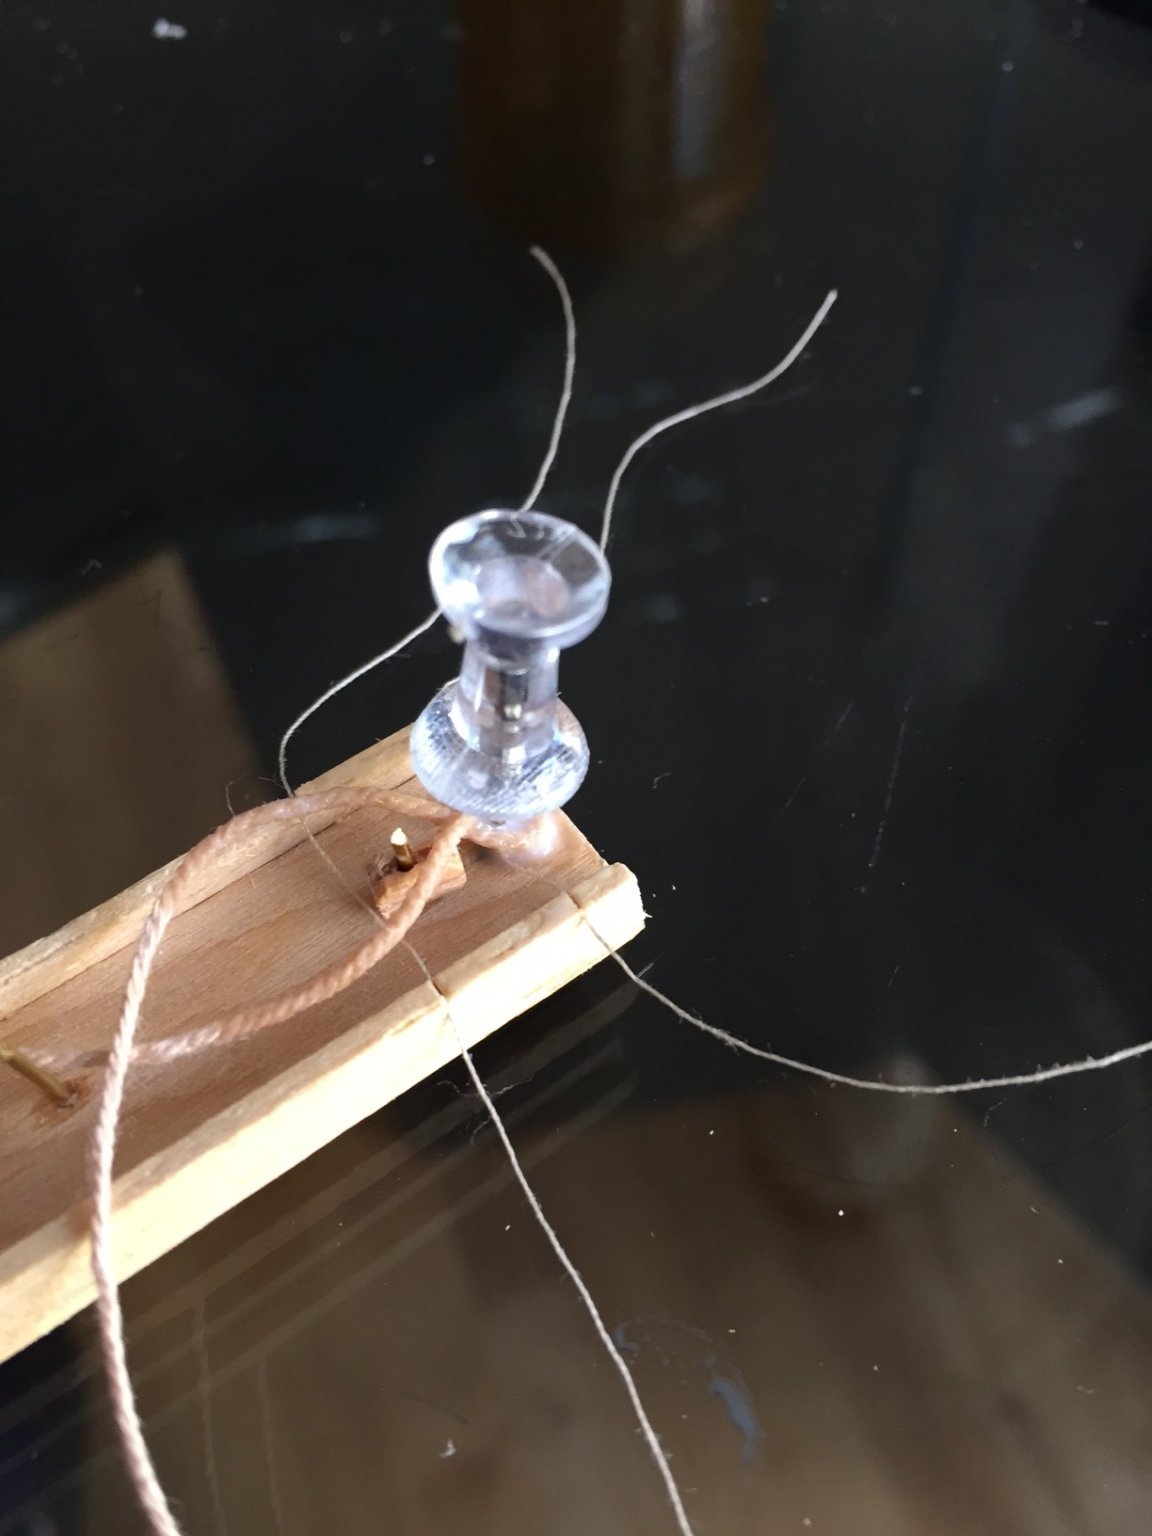
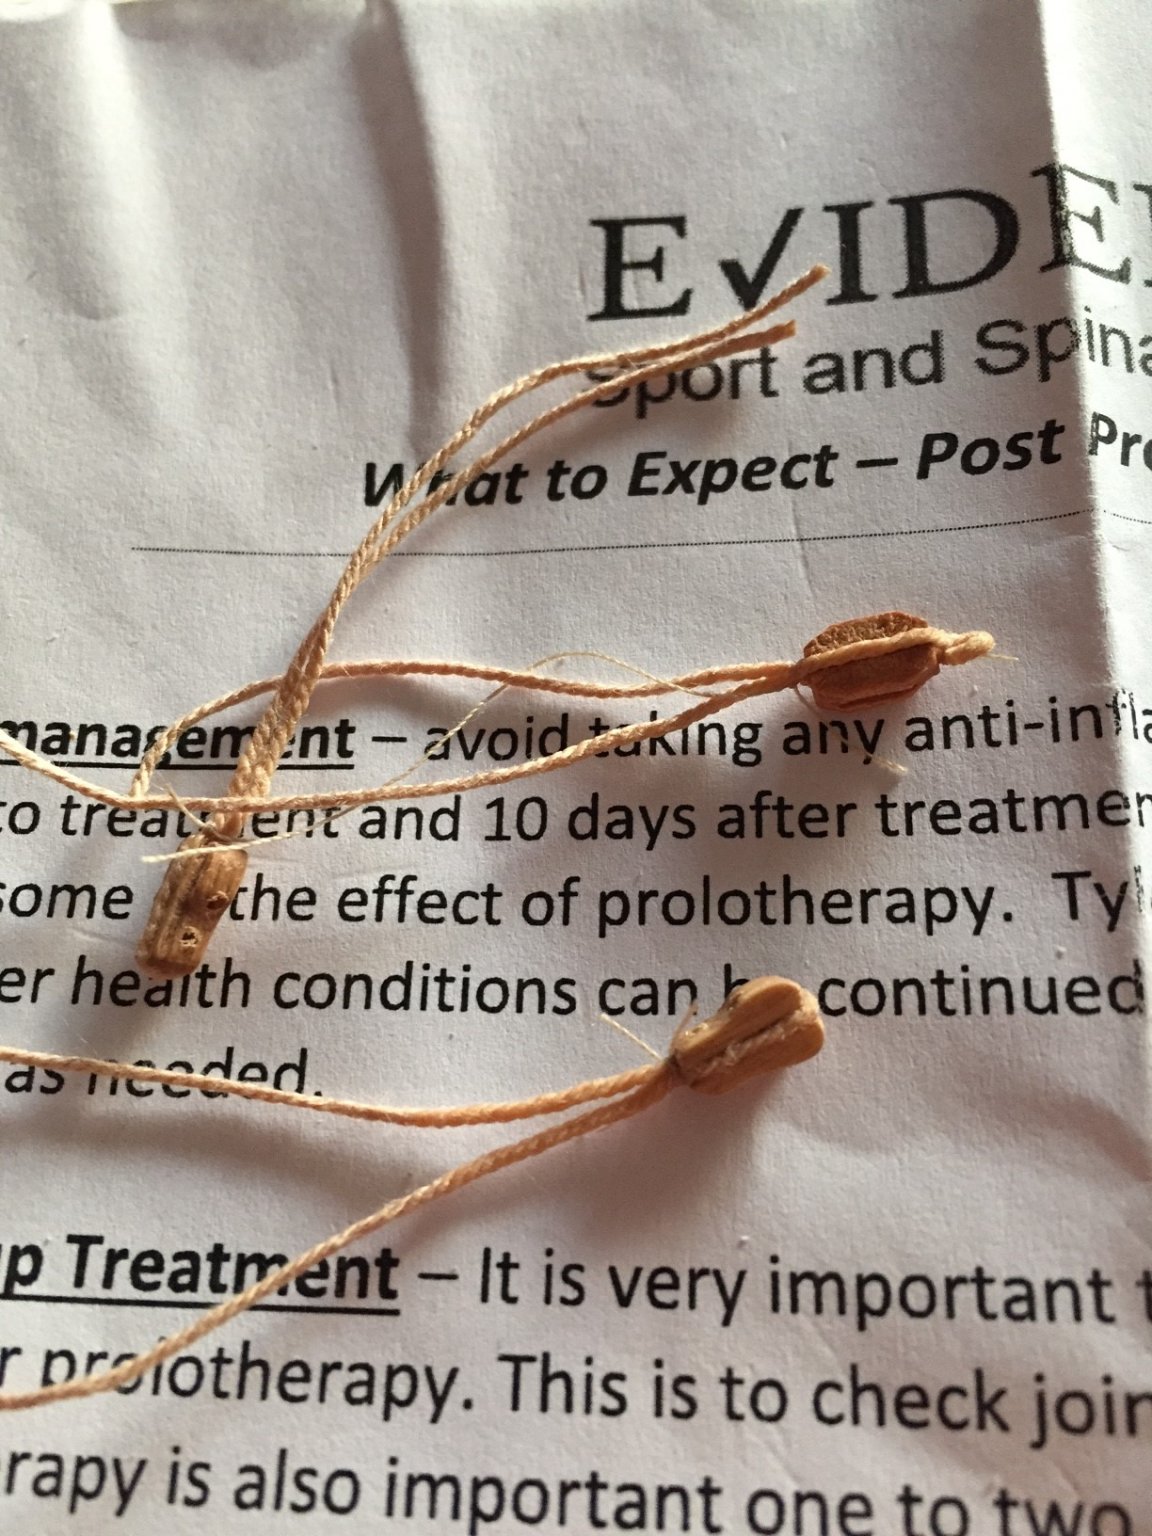
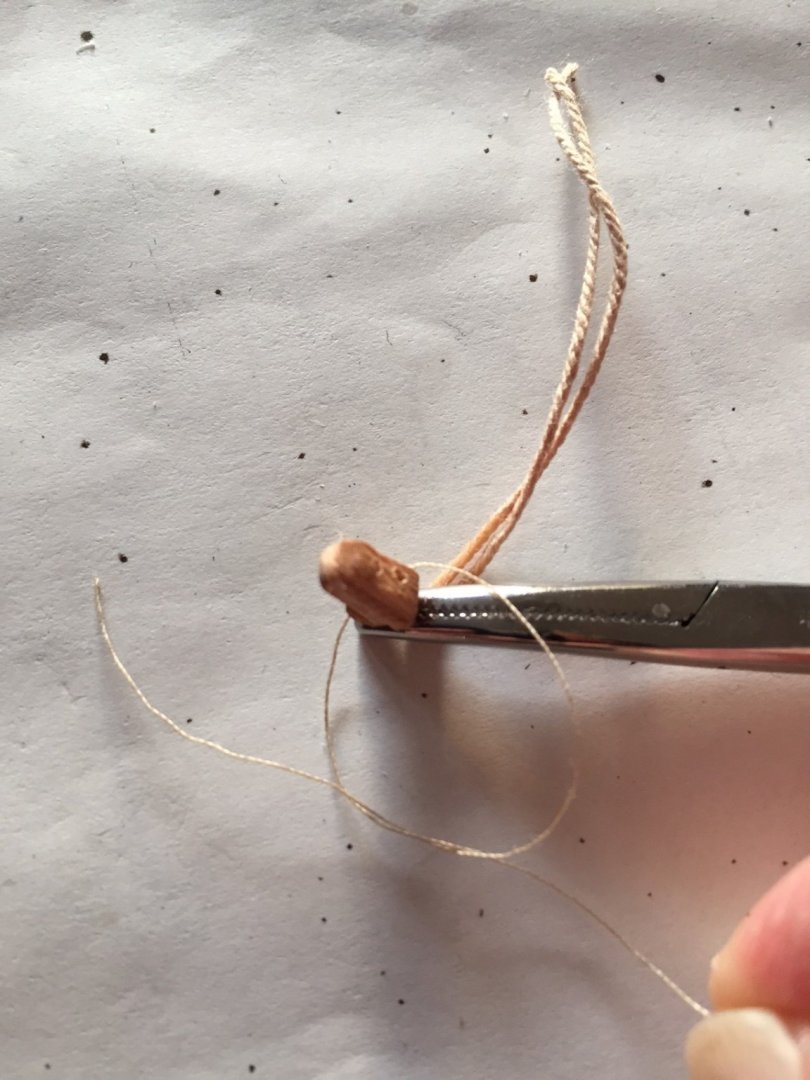
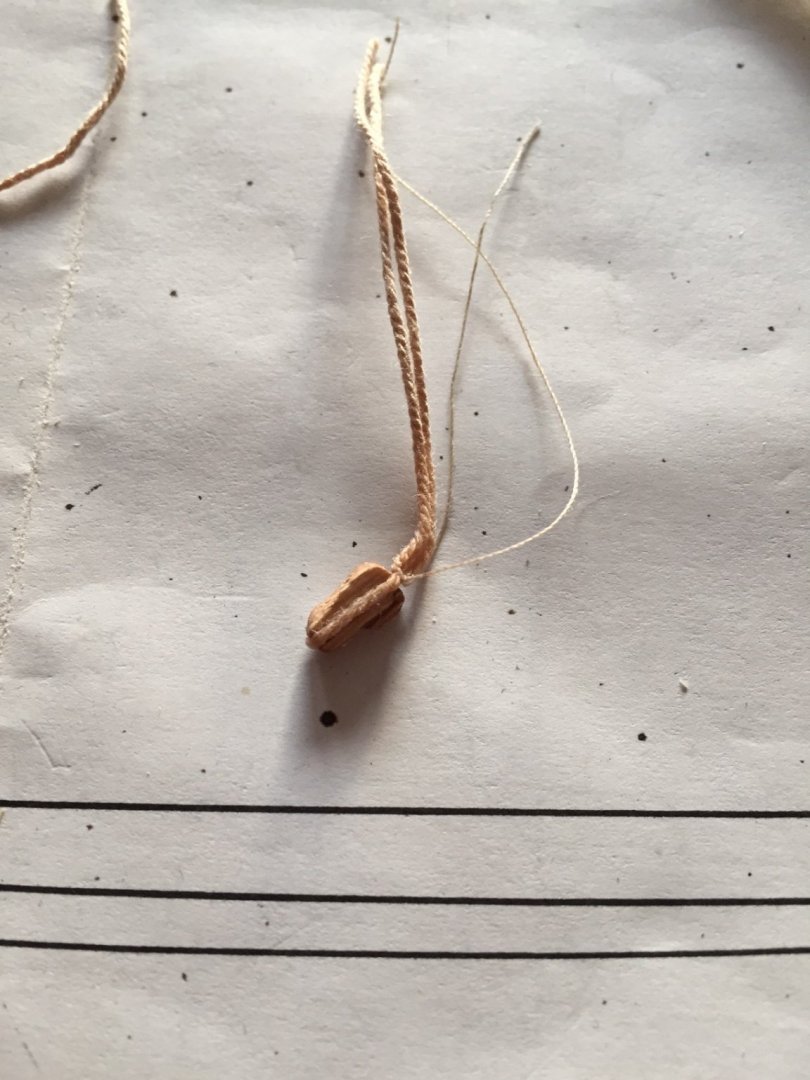
Oh yes... This is my technique for adding an attachment point to the block. Set the block with tying thread in the jig Push pin in Dip rope in diluted glue Wrap rope around the pin crossing it at the top and crossing it at the bottom of the block while still in the jig Pull thread up and tie knots at the top and bottom Gently pull pin out and trim thread when glue has dried... voila! The block below is 3mm and is a bit fiddly to do but with this jig but with some patience it comes out good.


- 179 replies
-
- 3
-
-
- santa maria
- mamoli
- (and 1 more)
-
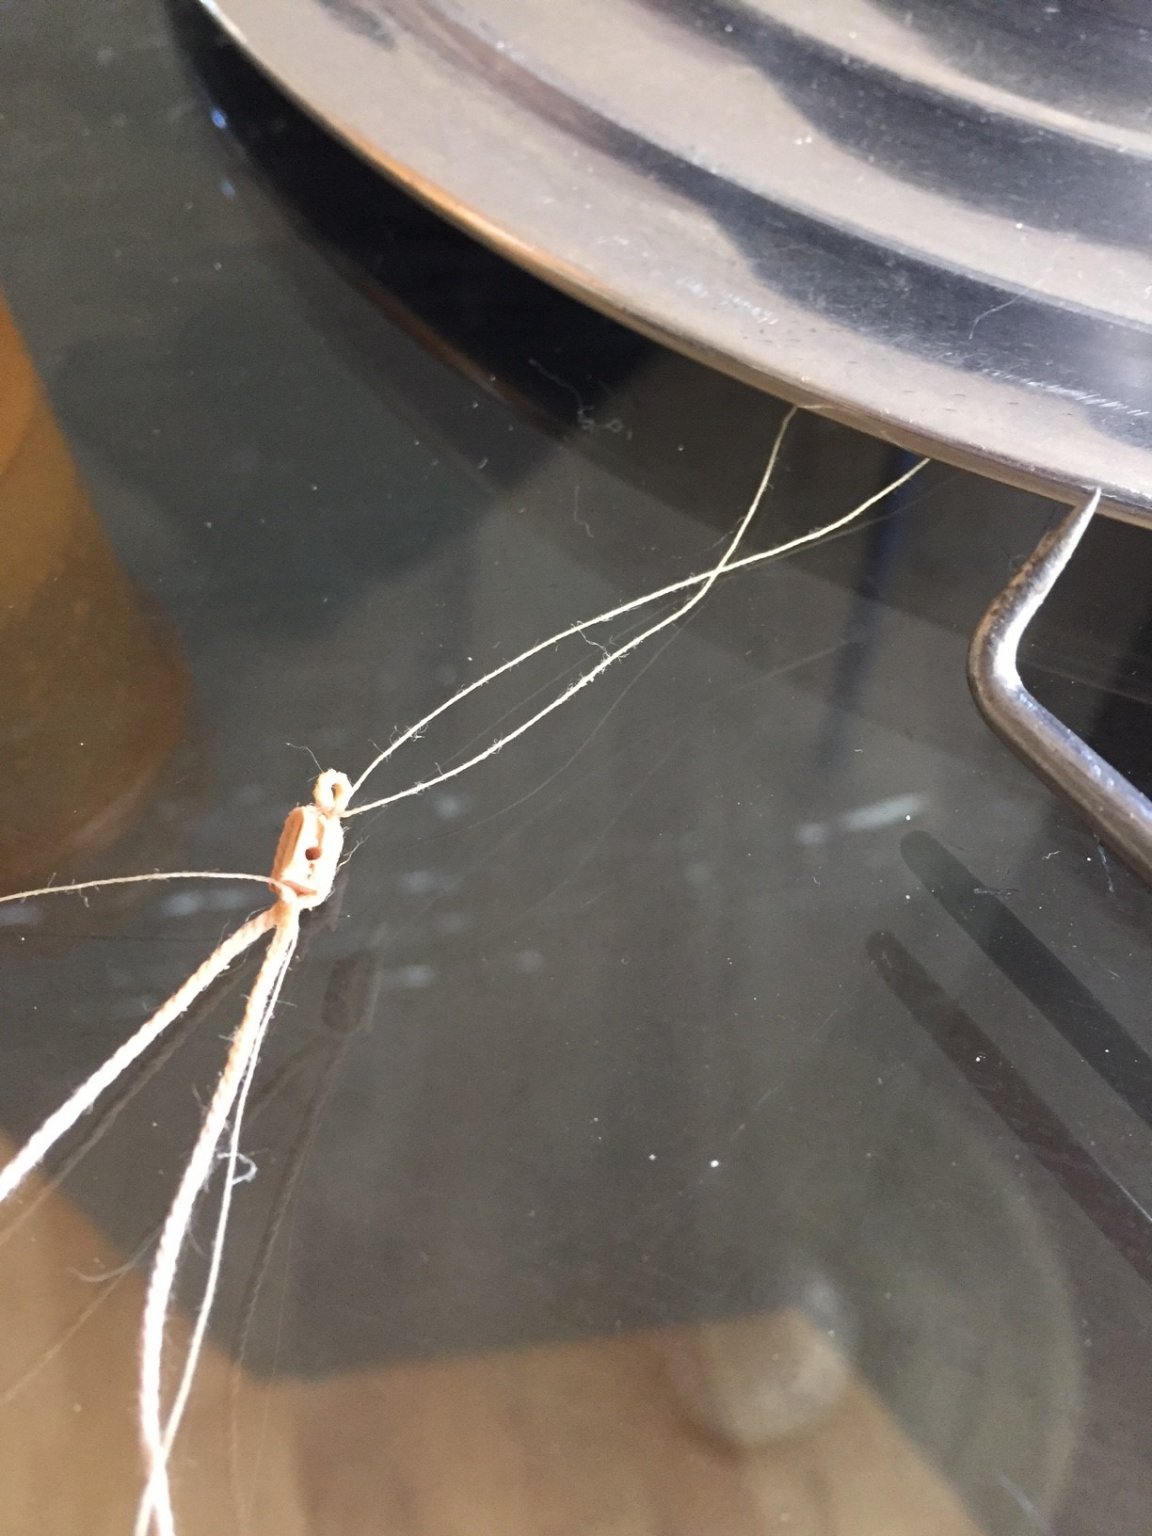
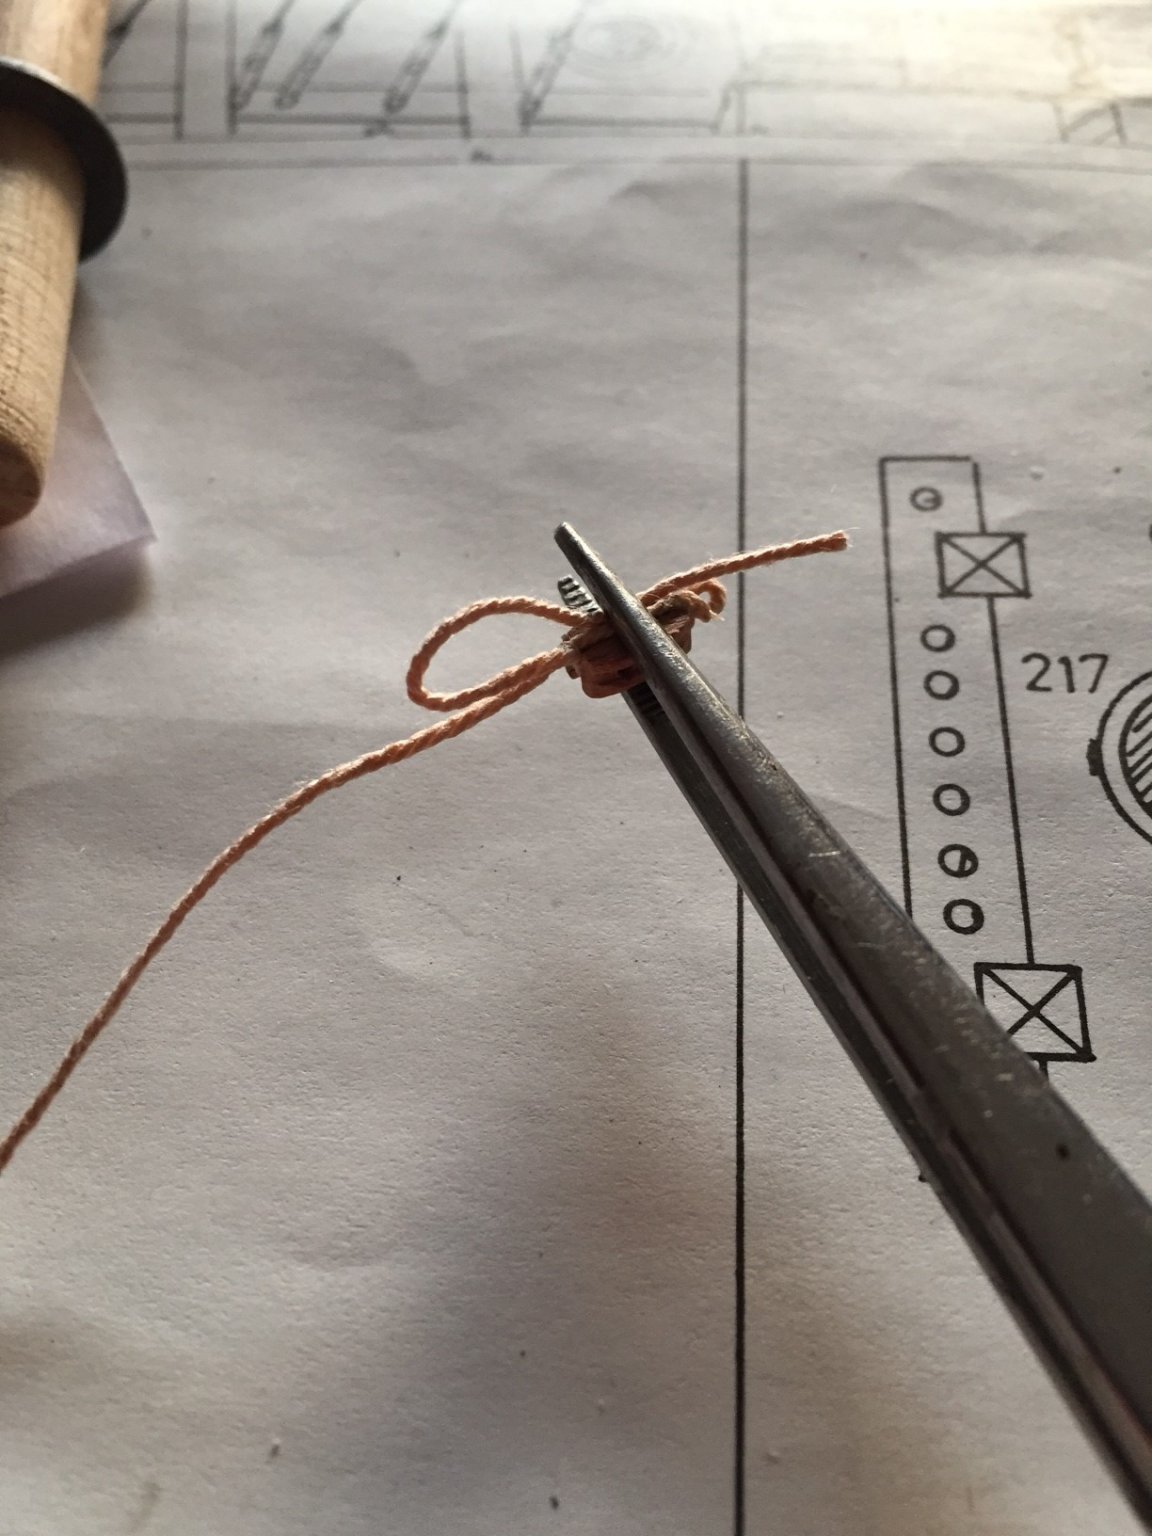
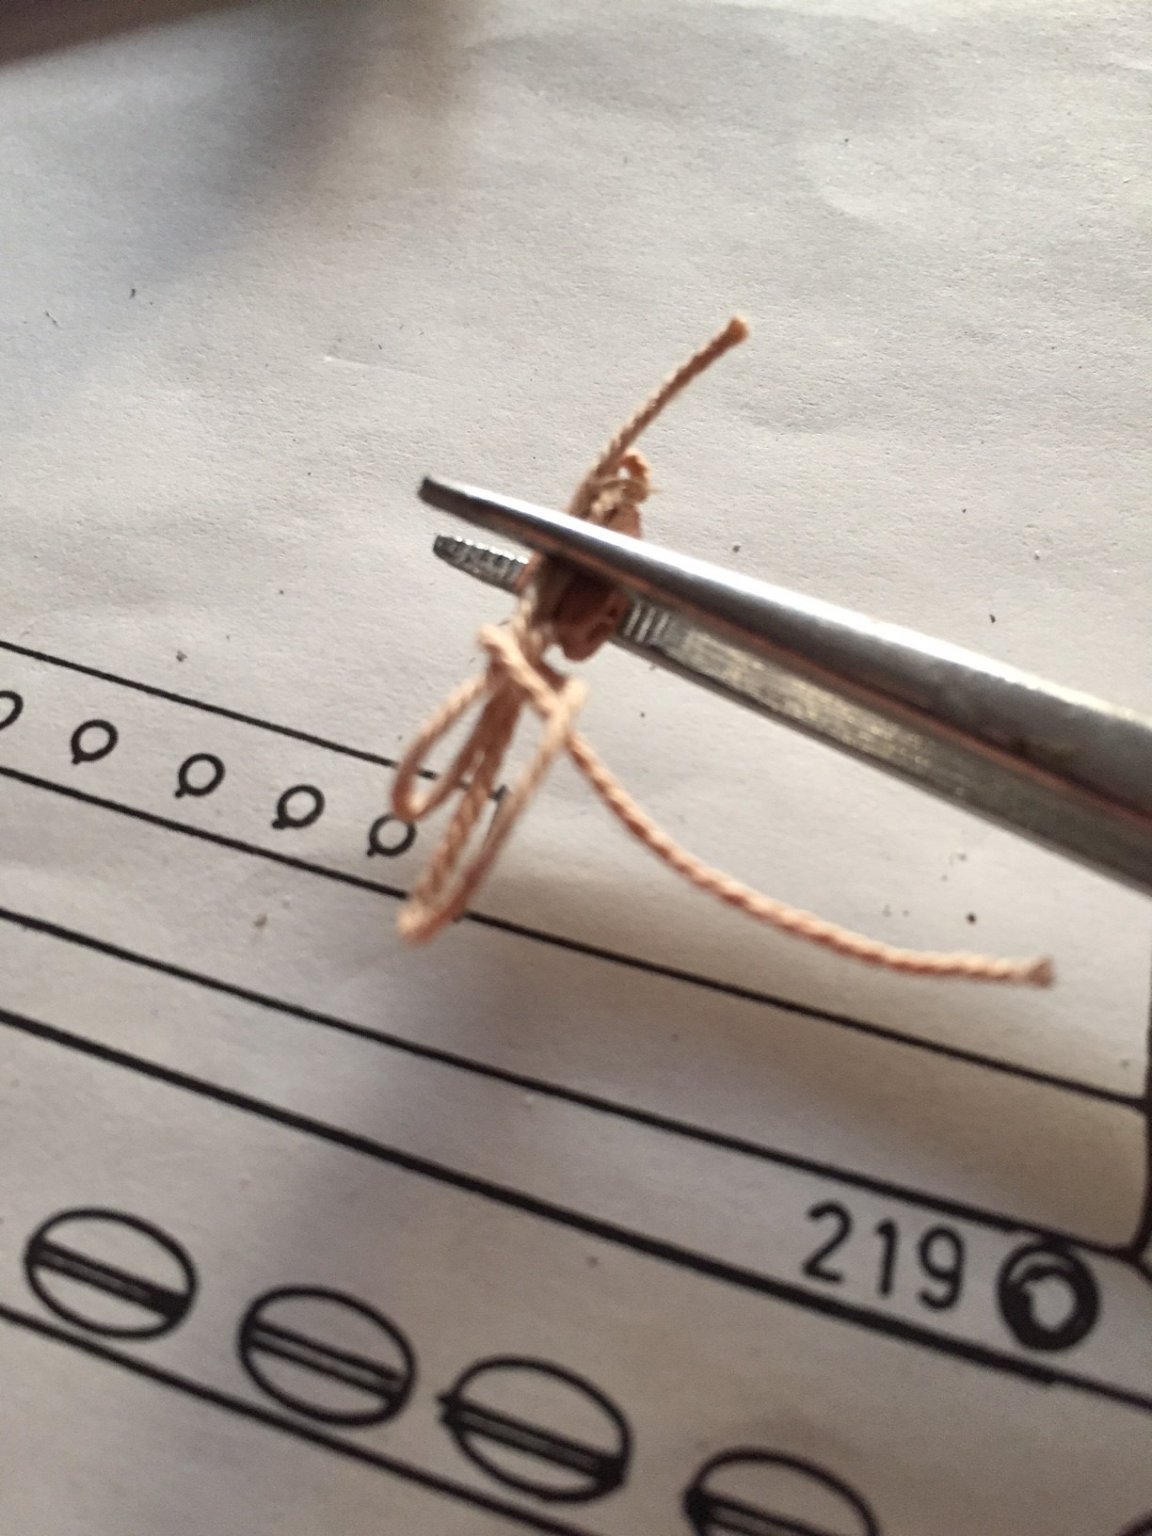
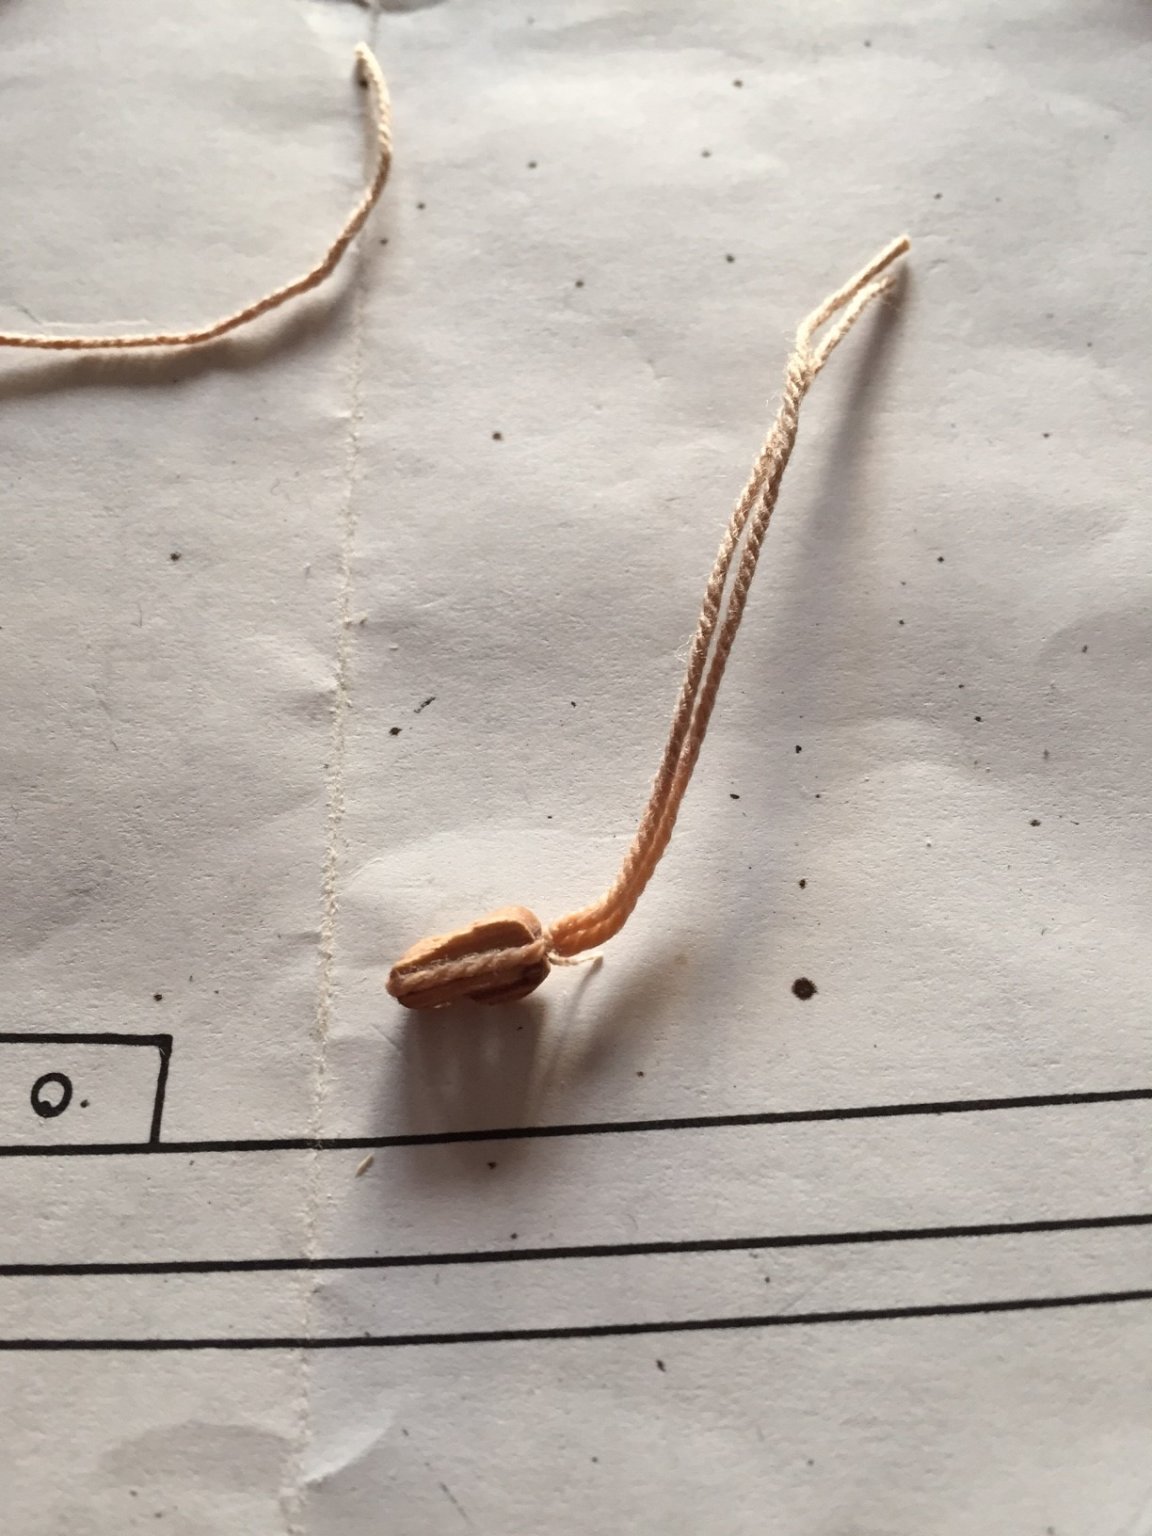
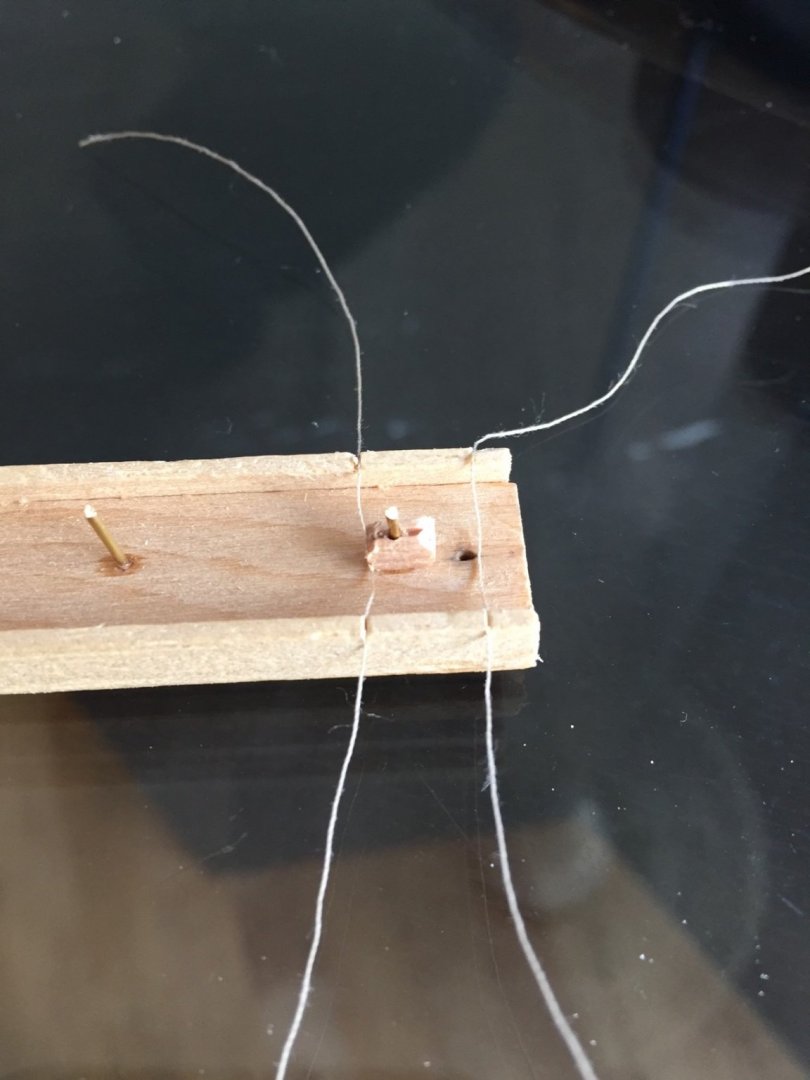
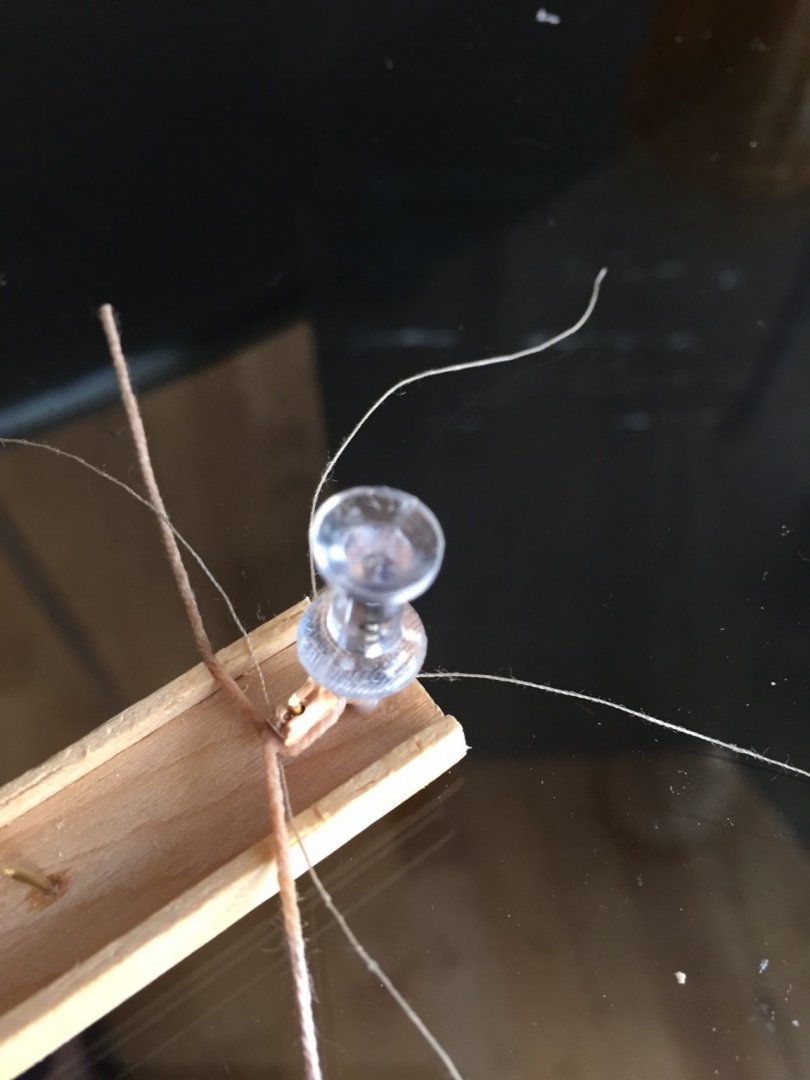
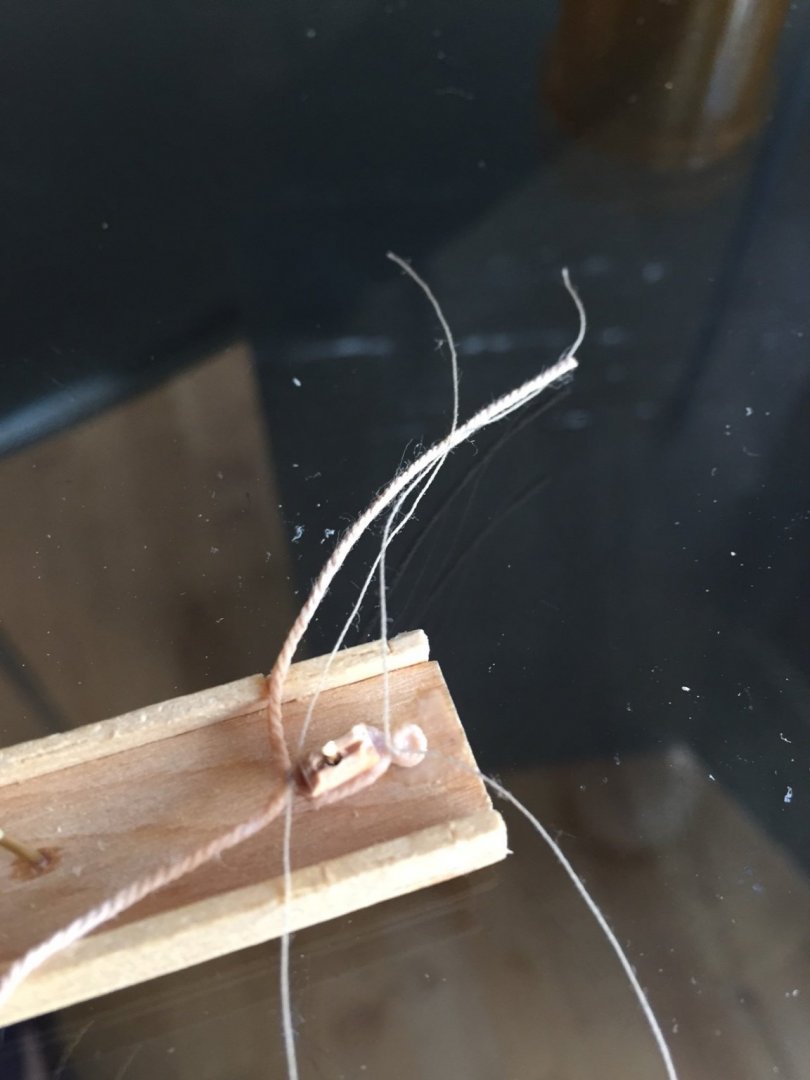
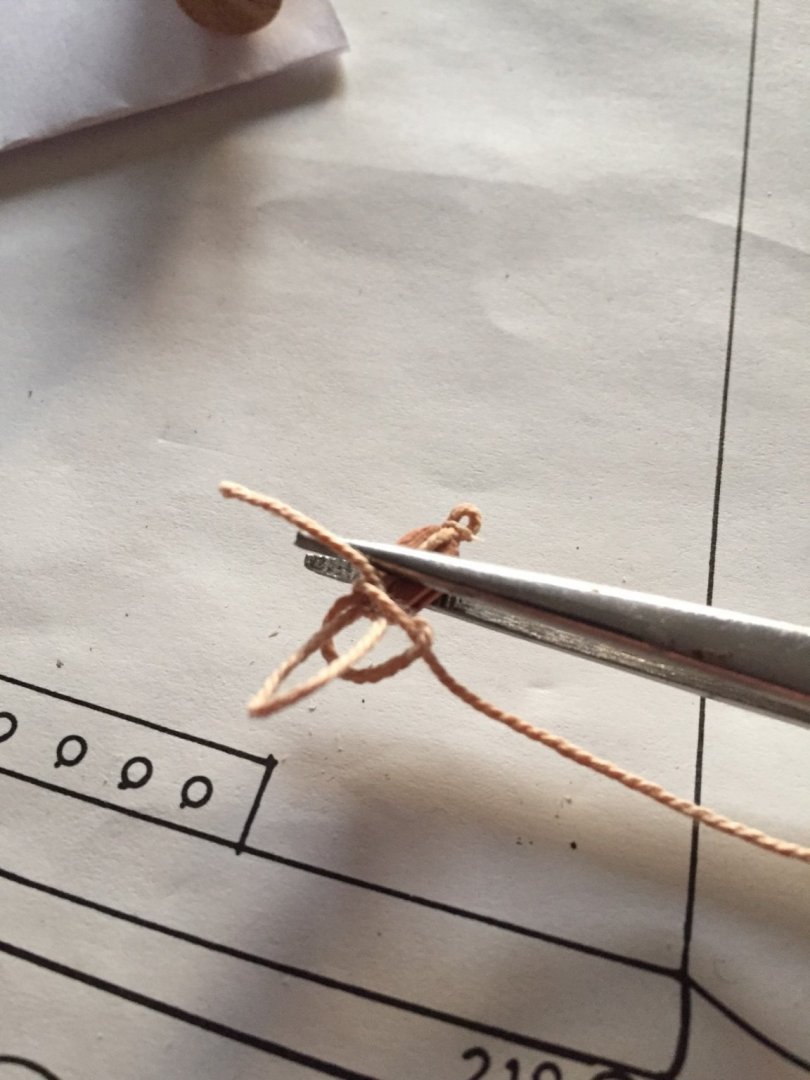
And here is my techniques for preparing a block for tying to a mast or spar... Anchor one end of the loose thread back on the block creating a loop Tie a simple knot around the loop just created with the other end Synch up the knot carefully as you release the clamp pulling on the loop and the long end of the thread Gently pull the short thread end to shorten the loop that can then attach to the mast or spar pulling tightly with both ends now. Secure the knot with diluted white glue Let dry and trim the ends of thread/rope Sorry to say but this was what was holding me back these last two years... simple!


- 179 replies
-
- 3
-
-
- santa maria
- mamoli
- (and 1 more)
-
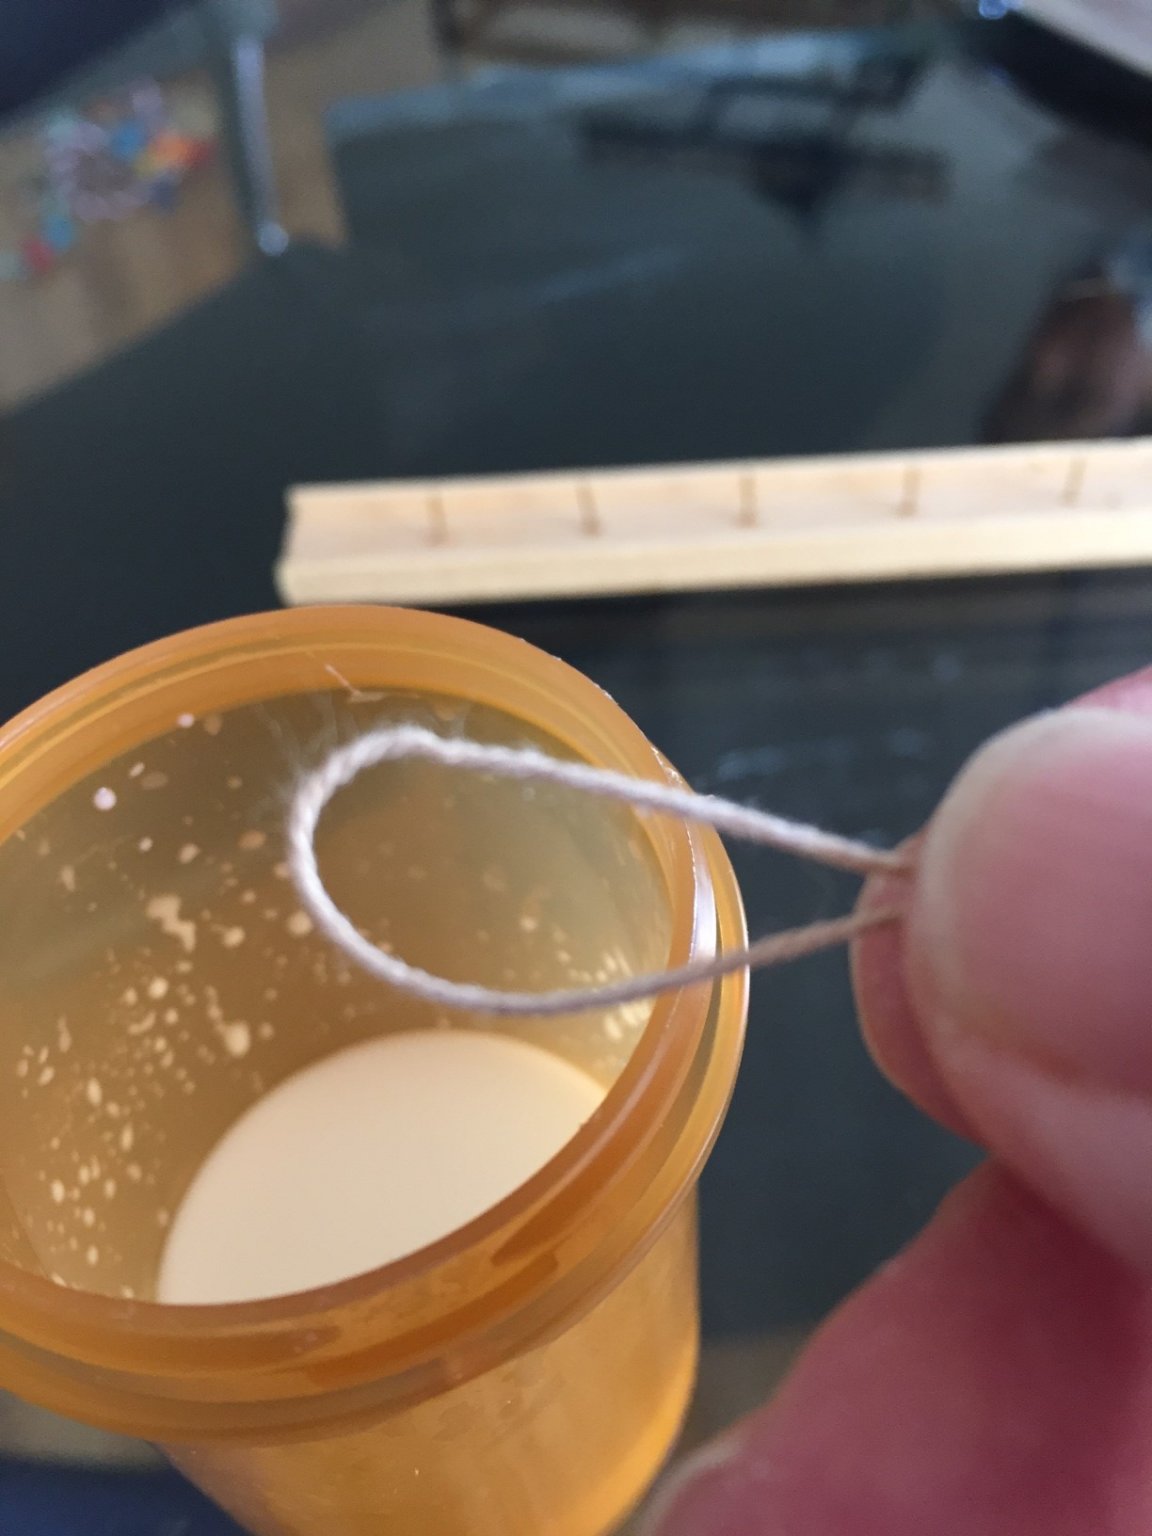
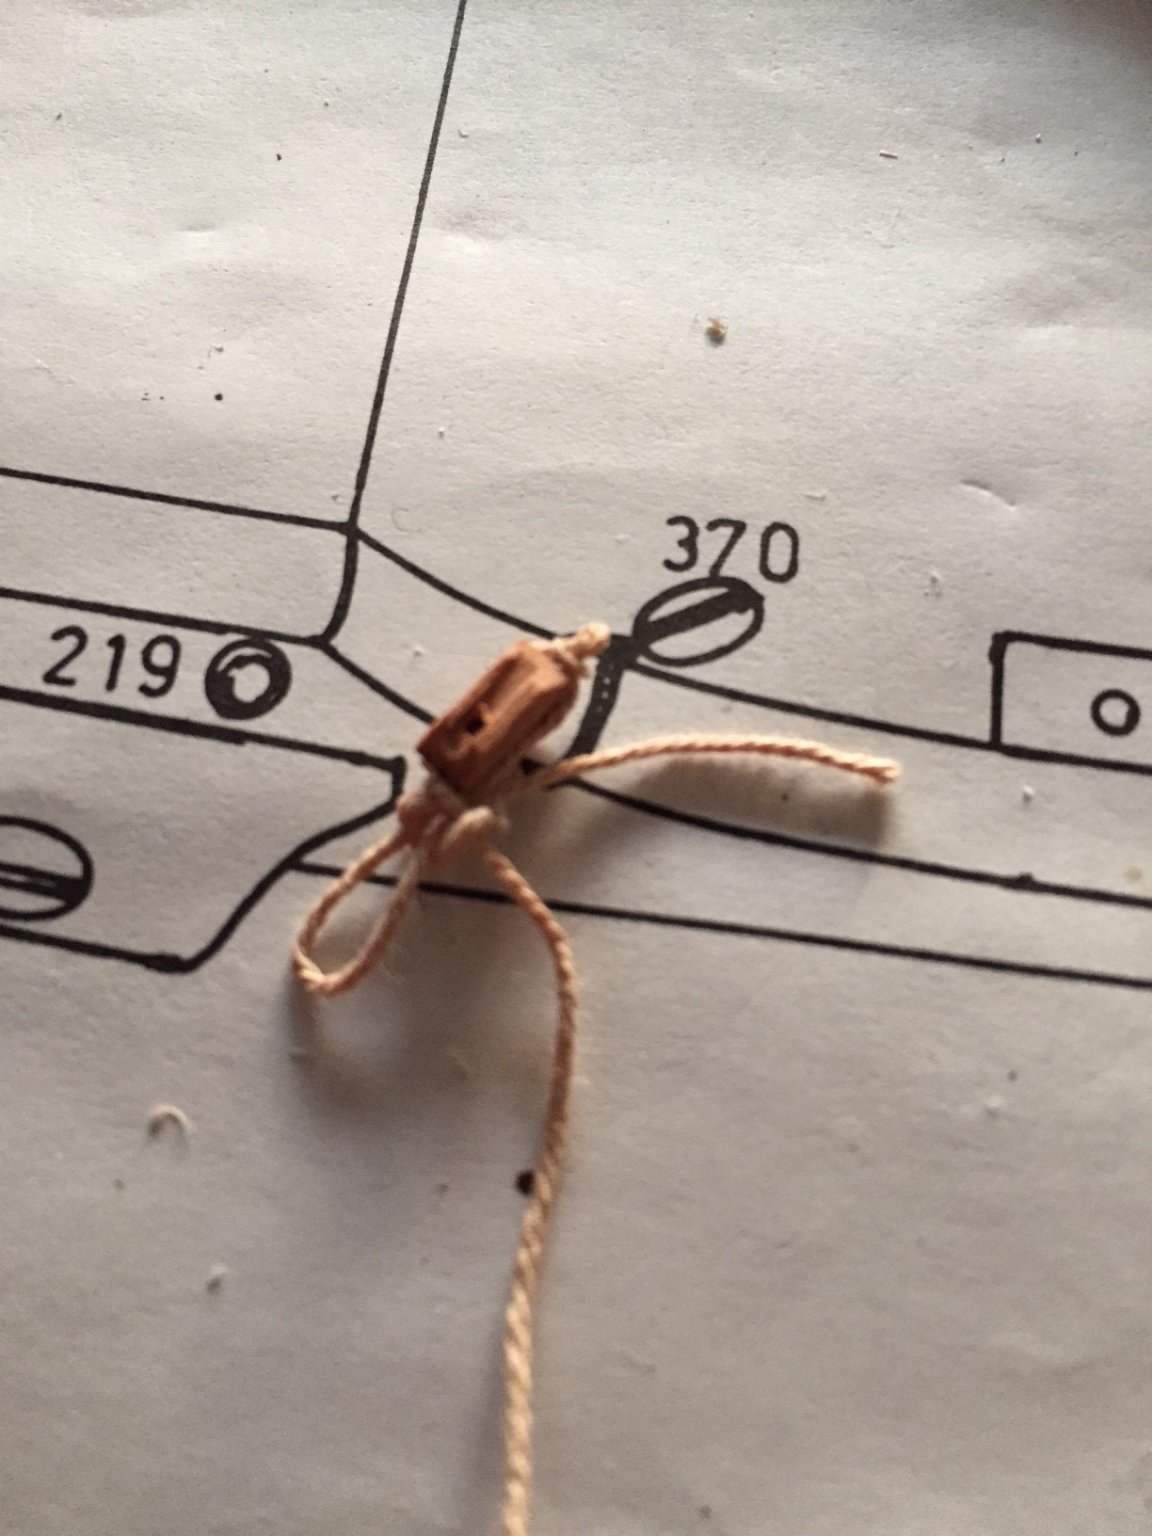
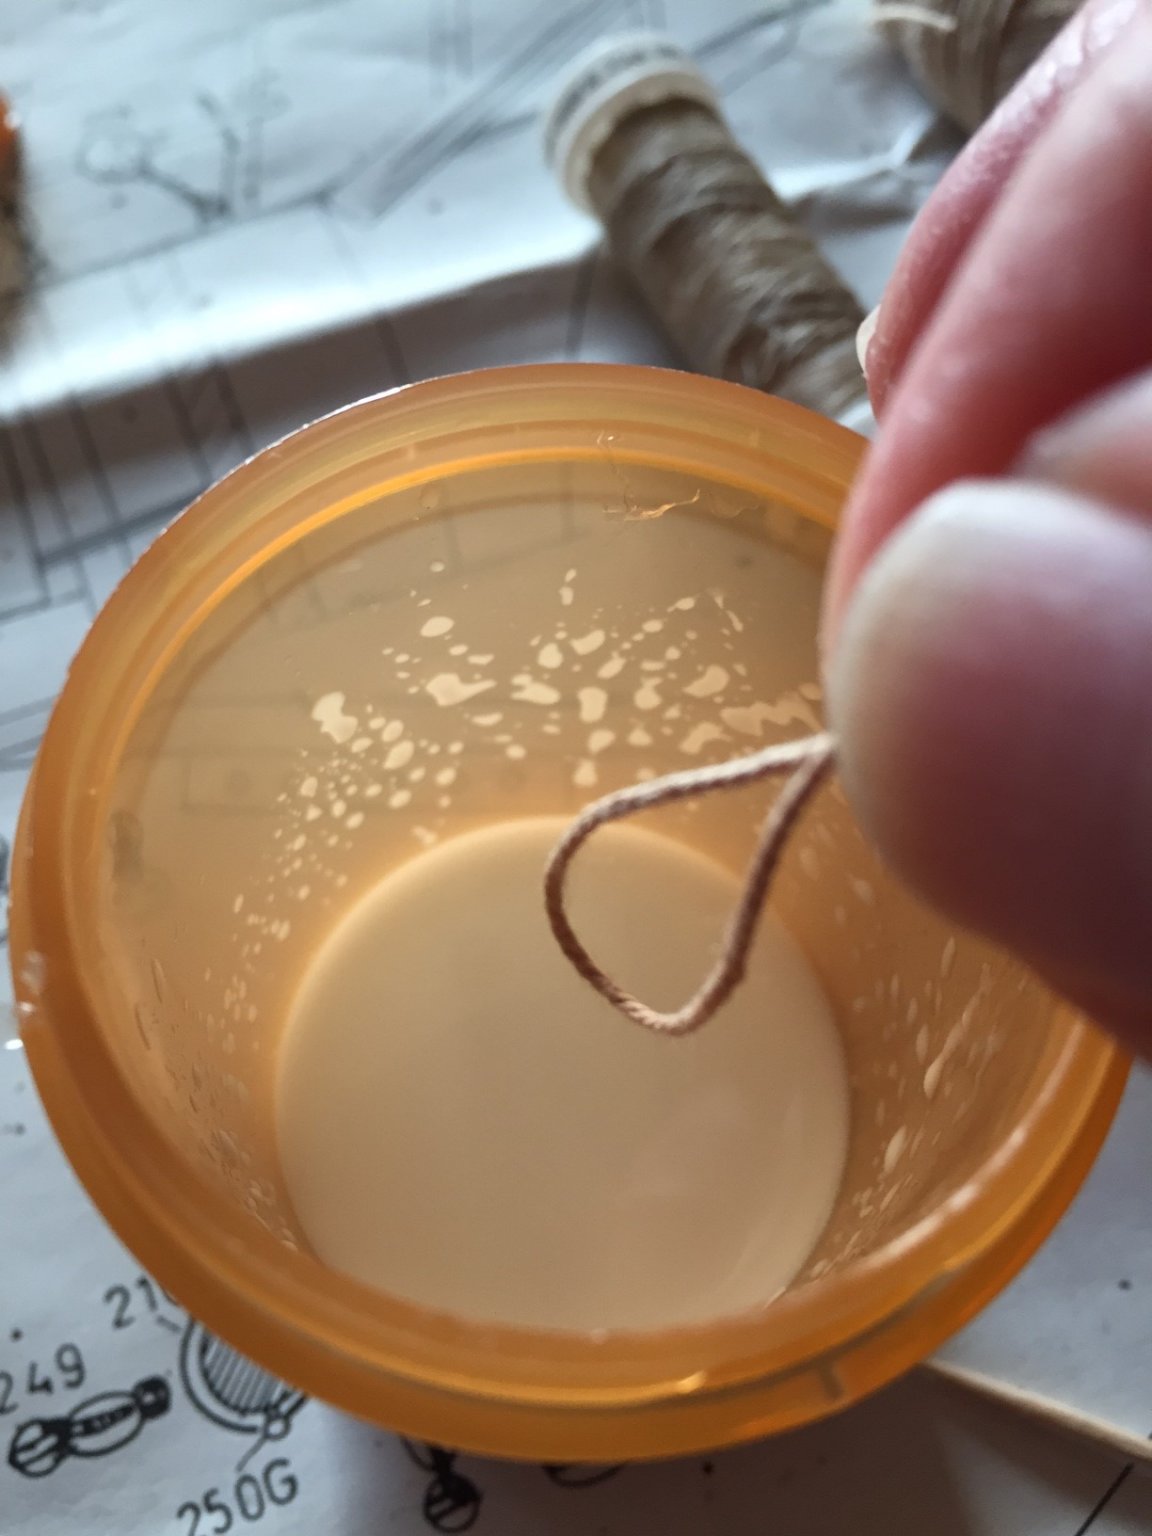
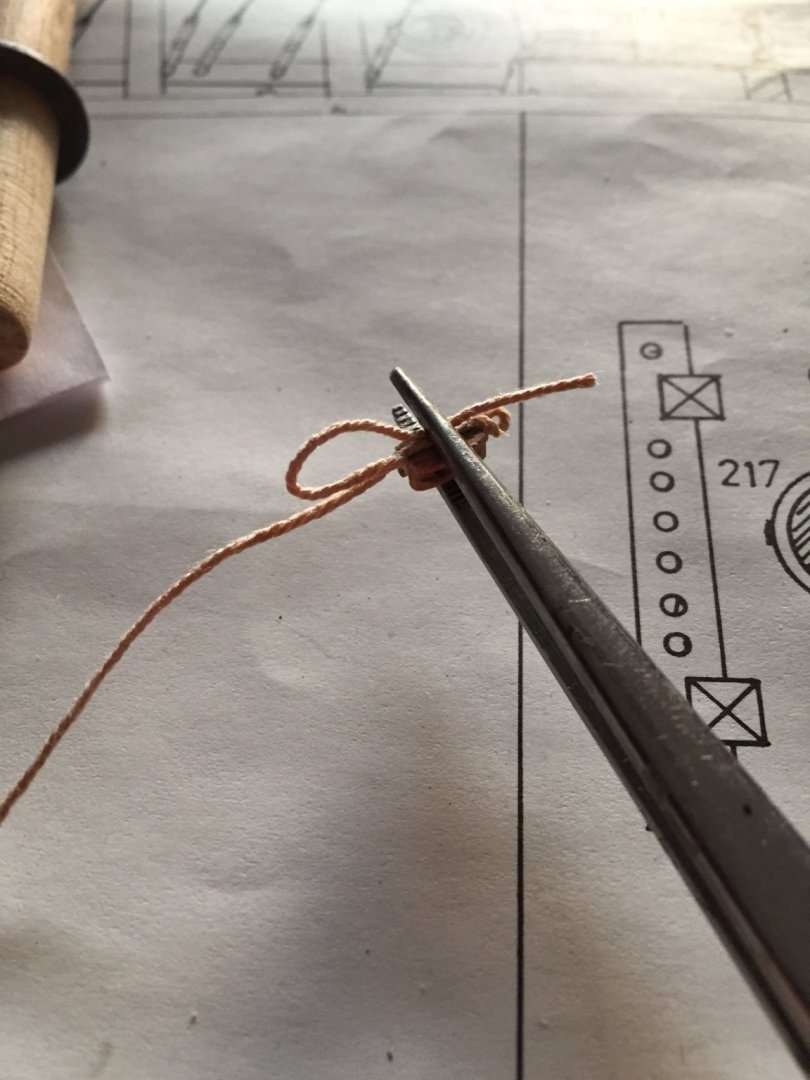
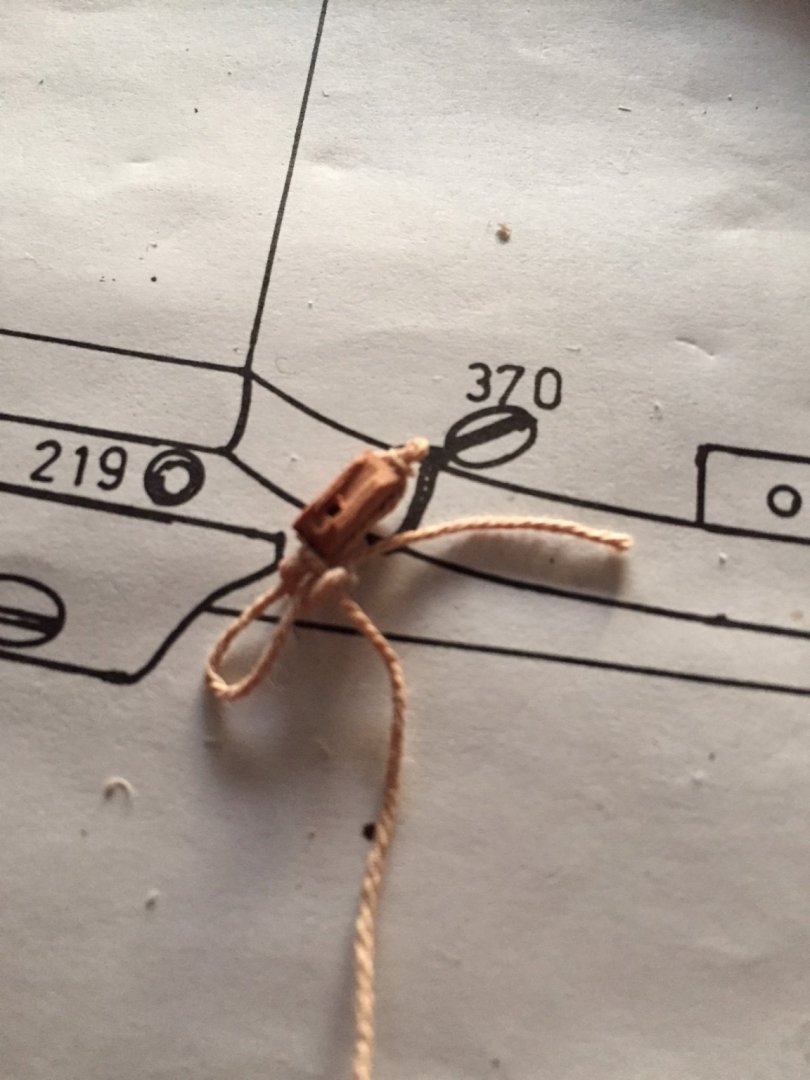
This is my technique for tying a block in preparation to a ring or bolt or railing... Pinch my line with diluted glue Wrap it around the block locked with a haemostat Tied tight with a length of thread... and voila!


- 179 replies
-
- 3
-
-
- santa maria
- mamoli
- (and 1 more)
-
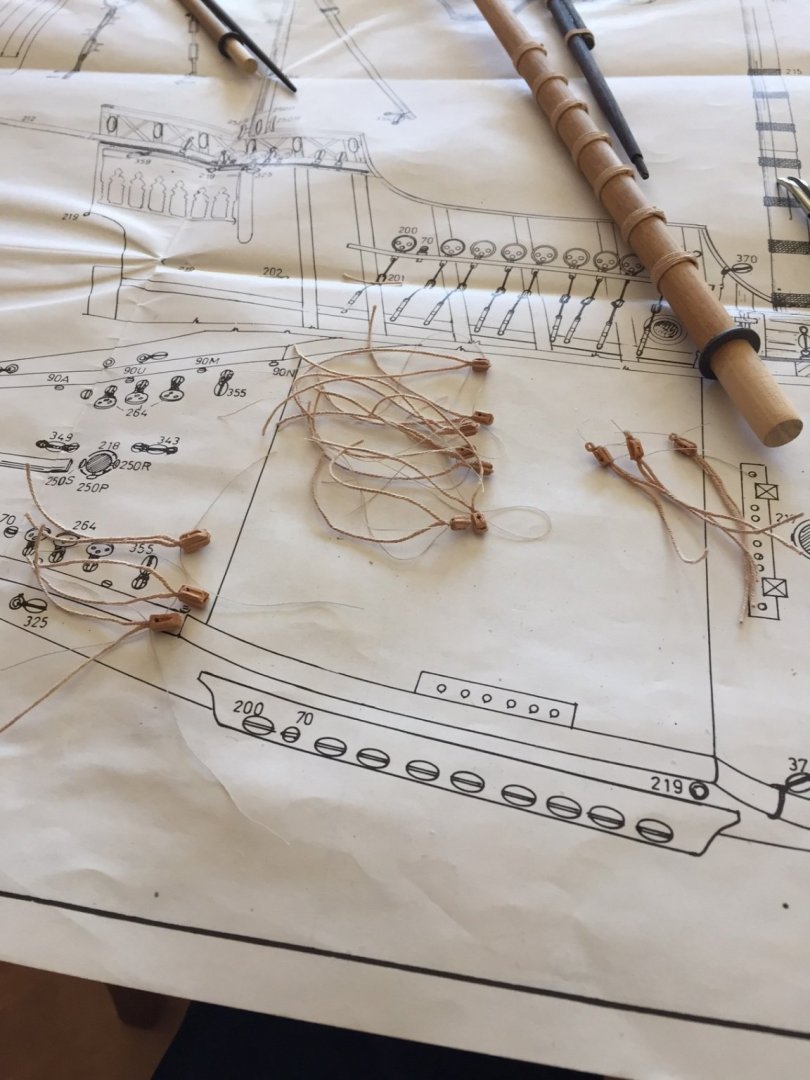
Almost two years since posting any progress... I took a break, partly due to fear of rigging and getting a decent result. Partly with this Covid-19 and lots of time on my hands... I decided to tackle this next phase of the build and after familiarizing myself with the plans and reviewing in detail what I need to do and of course studying some of the builds specific to the rigging of blocks and attaching them to masts... I started at it... These images are basically where I left it at almost 2 years ago...

- 179 replies
-
- 3
-
-
- santa maria
- mamoli
- (and 1 more)
-
Perfect job! Second planking will allow you to get tight to the bow post...
-
Looking good Romique! I am working on an old Santa Maria kit from Mamoli but have stalled this last year on working on it.
-
Thanks Popeye for checking in... Soon, soon I will be back at it. Cheers!
- 179 replies
-
- 1
-
-
- santa maria
- mamoli
- (and 1 more)
-
Thanks Mustafa for checking in... just busy with work and life. I noticed this last year that I have had less time for this wonderful hobby... I have also had some wrist and hand problems related to my occupation that just does not want to seem to want to get better. We are in the midst of summer here in Canada and I am going to set a timeframe of September or October to start into it again. The other problem is I am dreading doing the rigging work... so procrastination is a big component as well. Cheers!
- 179 replies
-
- 1
-
-
- santa maria
- mamoli
- (and 1 more)
-
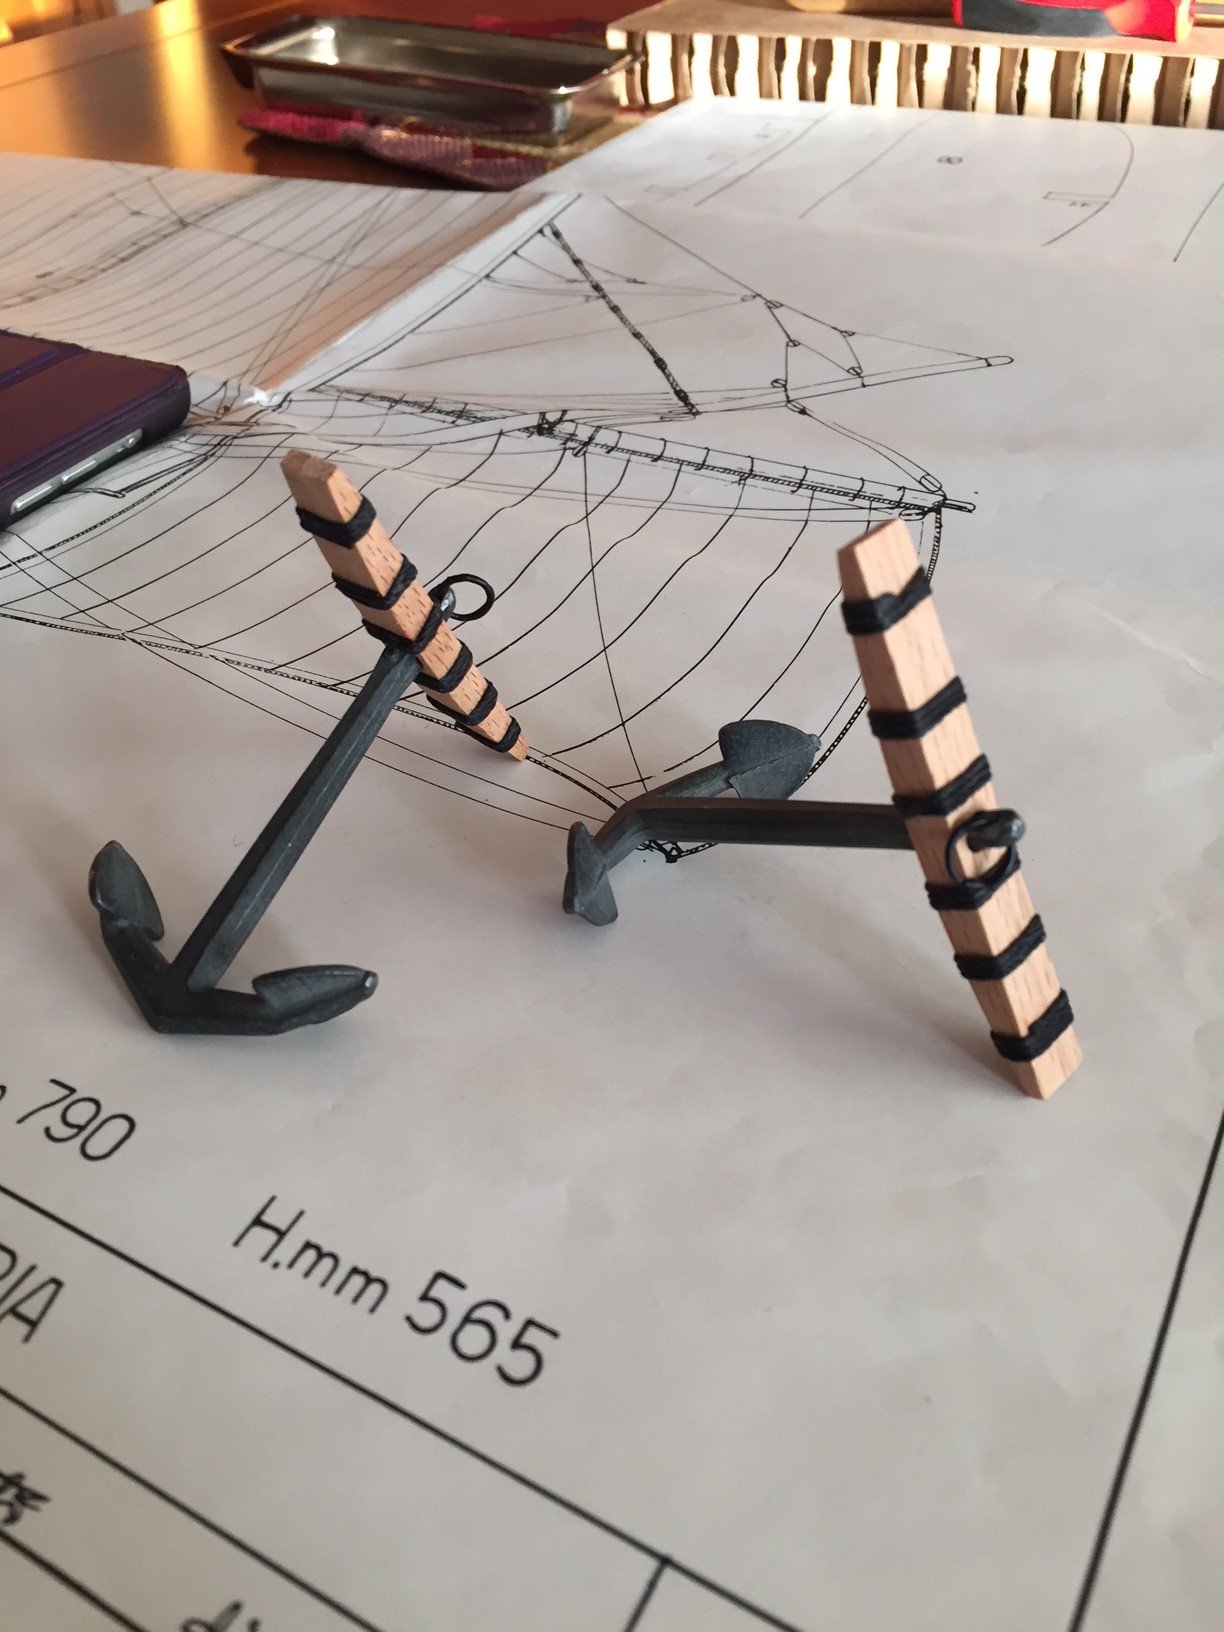
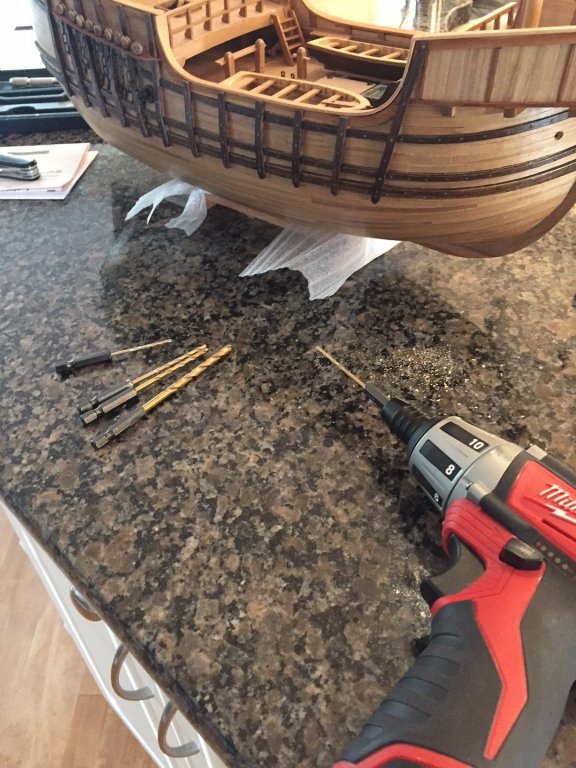
Thanks Popeye, Jan-Willem for checking in on the build... I used the bits manually, , much like a pin vise and everything went smooth without much concern or worry. I used one of the smaller bits in the power drill only when drilling an opening, carefully, passing the bit through the hawse hole and then drilling through the bulkhead hidden behind the bow and yes, no problem to "snake" the ropes attaching the anchors as only one bulkhead was required to drill through. Wrists better, yes... Cheers,
- 179 replies
-
- 1
-
-
- santa maria
- mamoli
- (and 1 more)
-
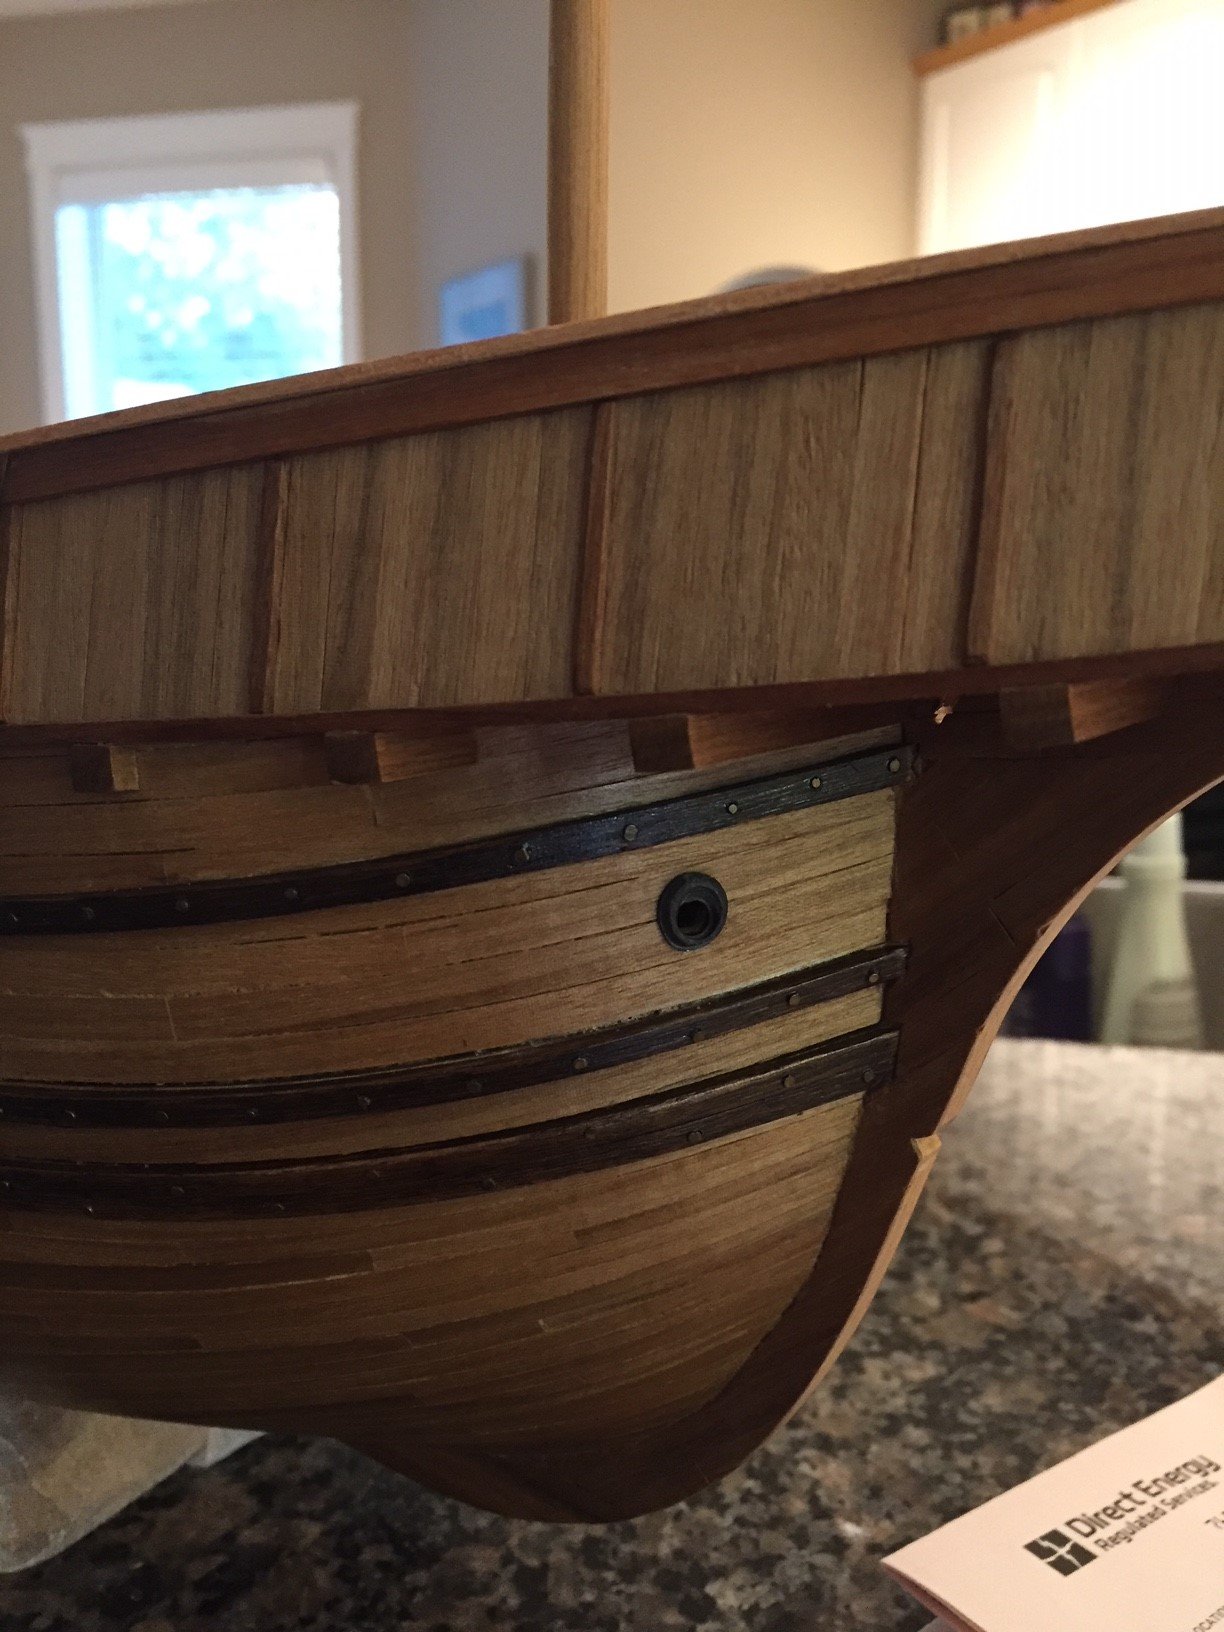
Hawse holes... Only a little nerve racking drilling into the completed hull. I used my Milwaukee hex drill bits manually from small to large (no power tool used) to open up the holes.


- 179 replies
-
- 3
-
-
- santa maria
- mamoli
- (and 1 more)
-
Thanks Nils for the compliment! I am hoping to start the rigging sometime this summer and I am certainly a "sail" type of guy. Cheers,
- 179 replies
-
- 2
-
-
- santa maria
- mamoli
- (and 1 more)
-
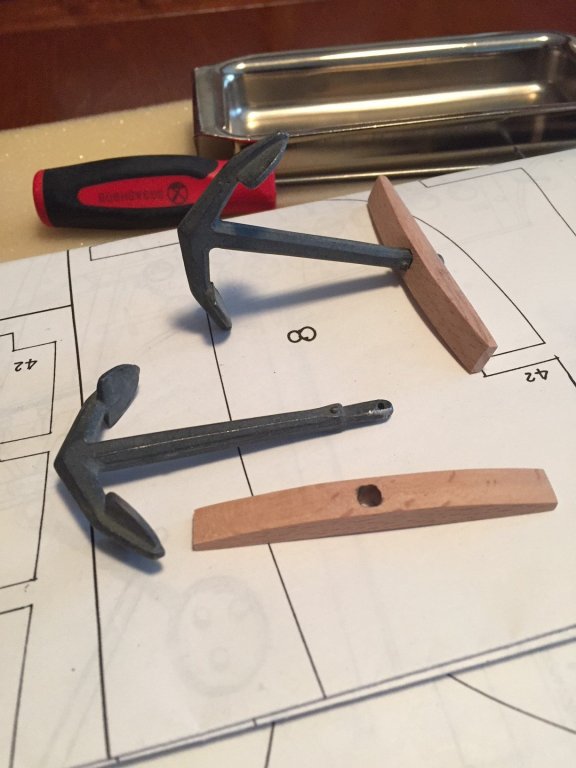
Thanks Popeye for the greeting... and yes starting to get better but now a bit of laziness has set in. But I did this last night...
- 179 replies
-
- 4
-
-
- santa maria
- mamoli
- (and 1 more)
-
Thanks Andrew for following along... I think this older Mamoli kit builds out to a wonderful Santa Maria. Though the instructions have not been great, the kit materials, both wood, metal, and other fittings have been excellent. I have lately been slow with progress as lots of spring yard work here in my “neck of the woods” plus a developing issue with carpal tunnel syndrome is limiting my work on the kit. Cheers
- 179 replies
-
- 1
-
-
- santa maria
- mamoli
- (and 1 more)
-
Thanks Ian, Popeye for the compliments and recent likes. Much appreciated...
- 179 replies
-
- 2
-
-
- santa maria
- mamoli
- (and 1 more)
-
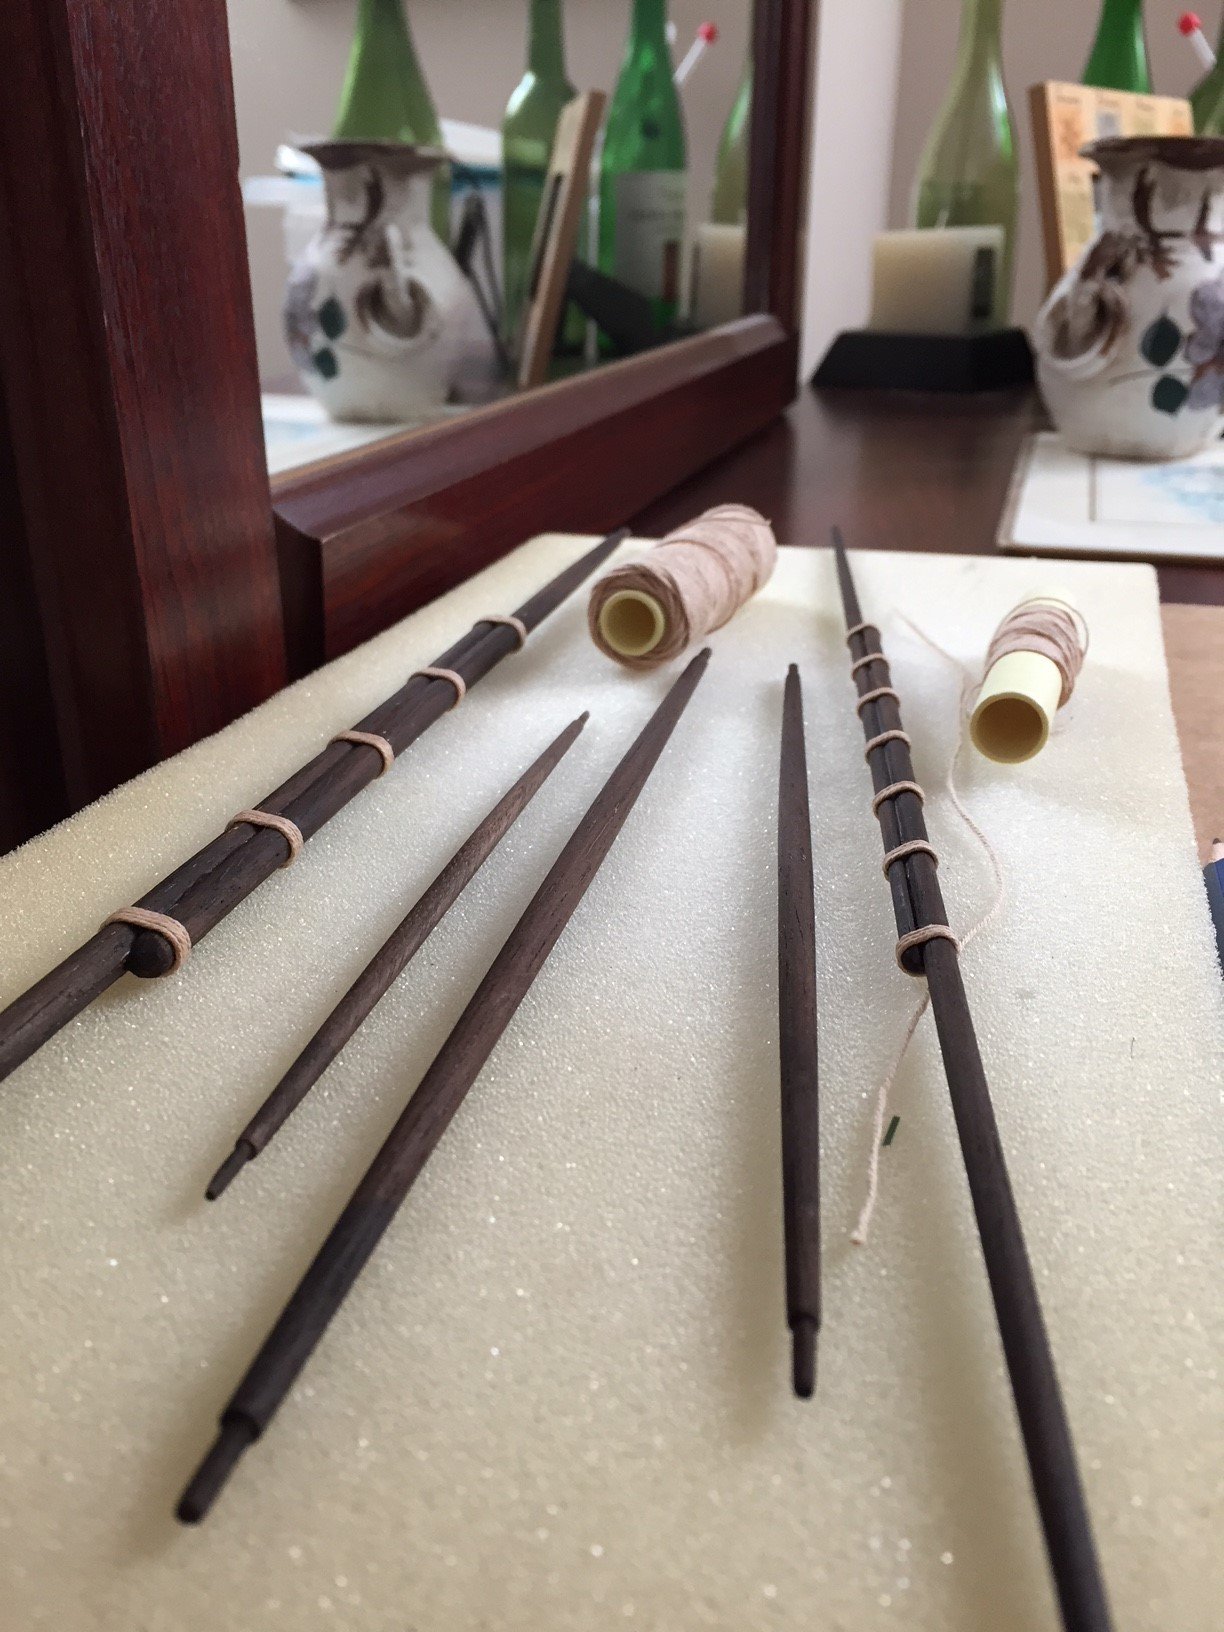
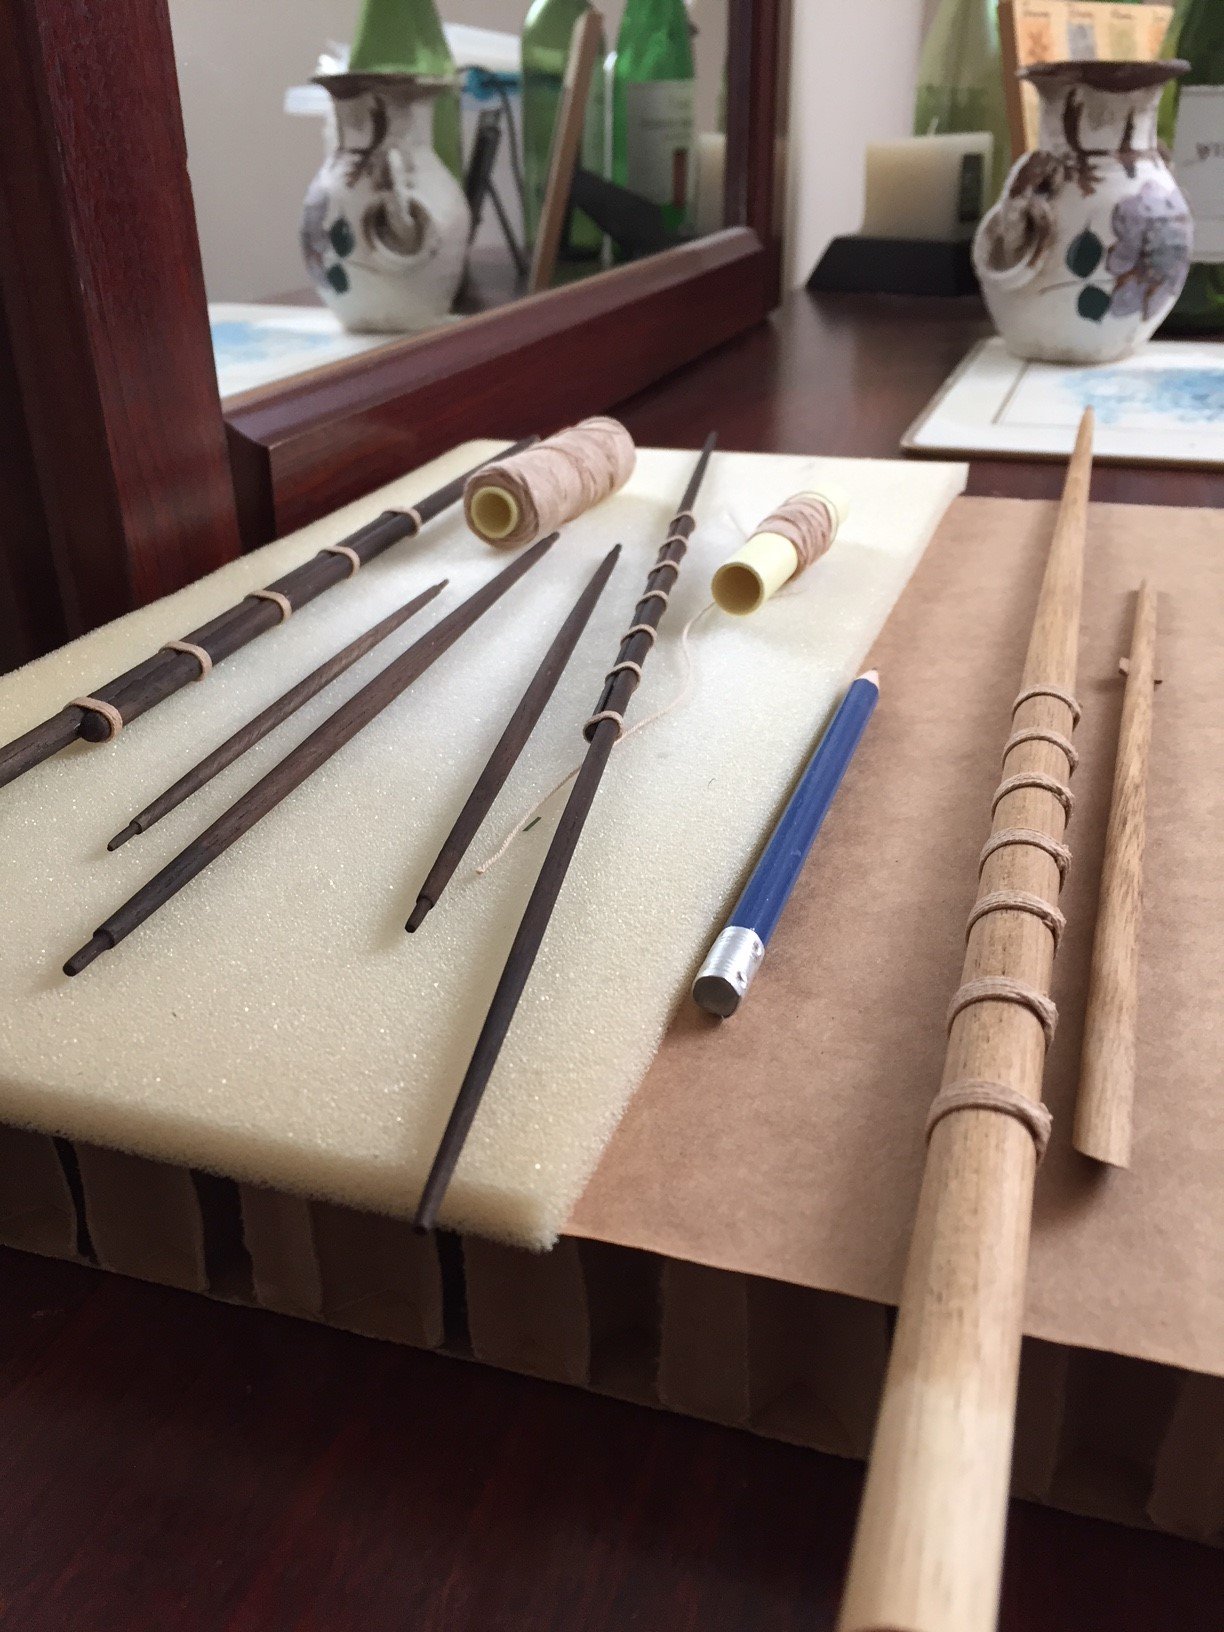
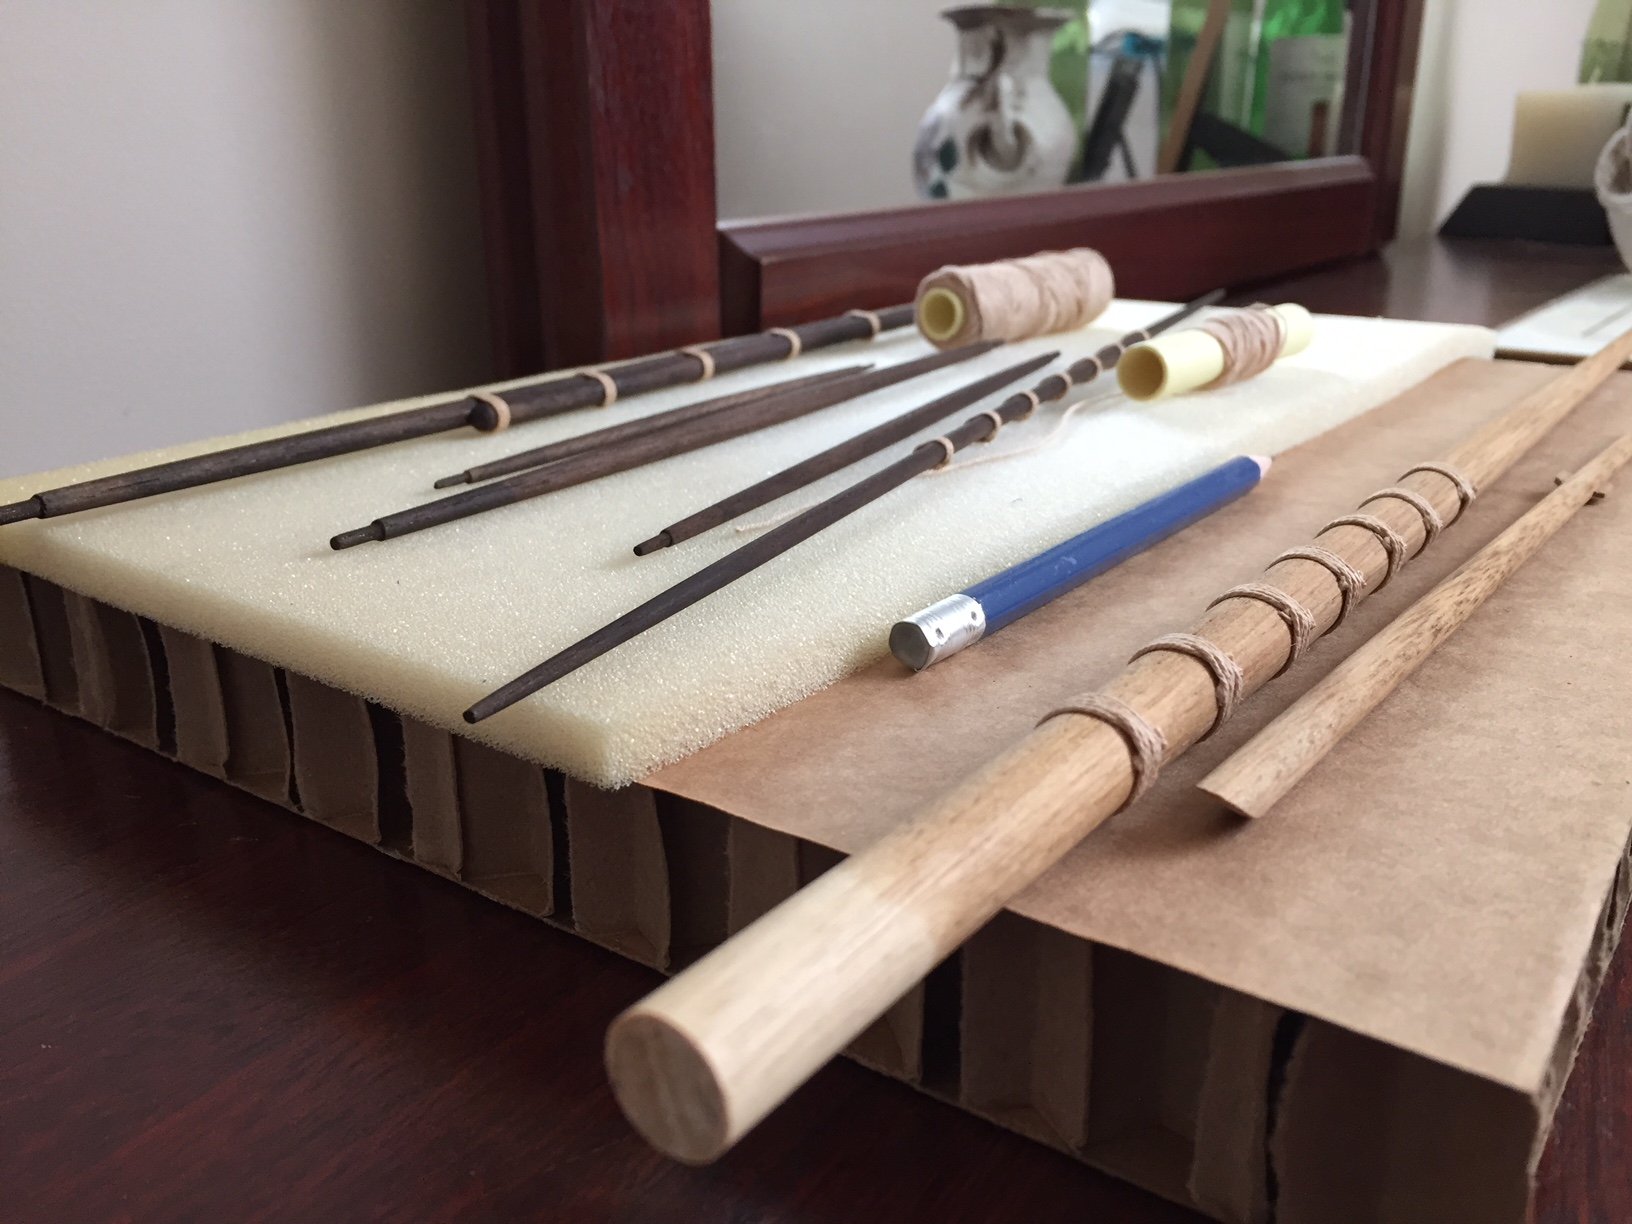
And here is my most recent work... I stained the masts with Minwax Golden Oak and the spars Dark Walnut


- 179 replies
-
- 4
-
-
- santa maria
- mamoli
- (and 1 more)