HOLIDAY DONATION DRIVE - SUPPORT MSW - DO YOUR PART TO KEEP THIS GREAT FORUM GOING! (Only 24 donations so far out of 49,000 members - C'mon guys!)
×


mrcc
-
Posts
553 -
Joined
-
Last visited
Content Type
Profiles
Forums
Gallery
Events
Everything posted by mrcc
-
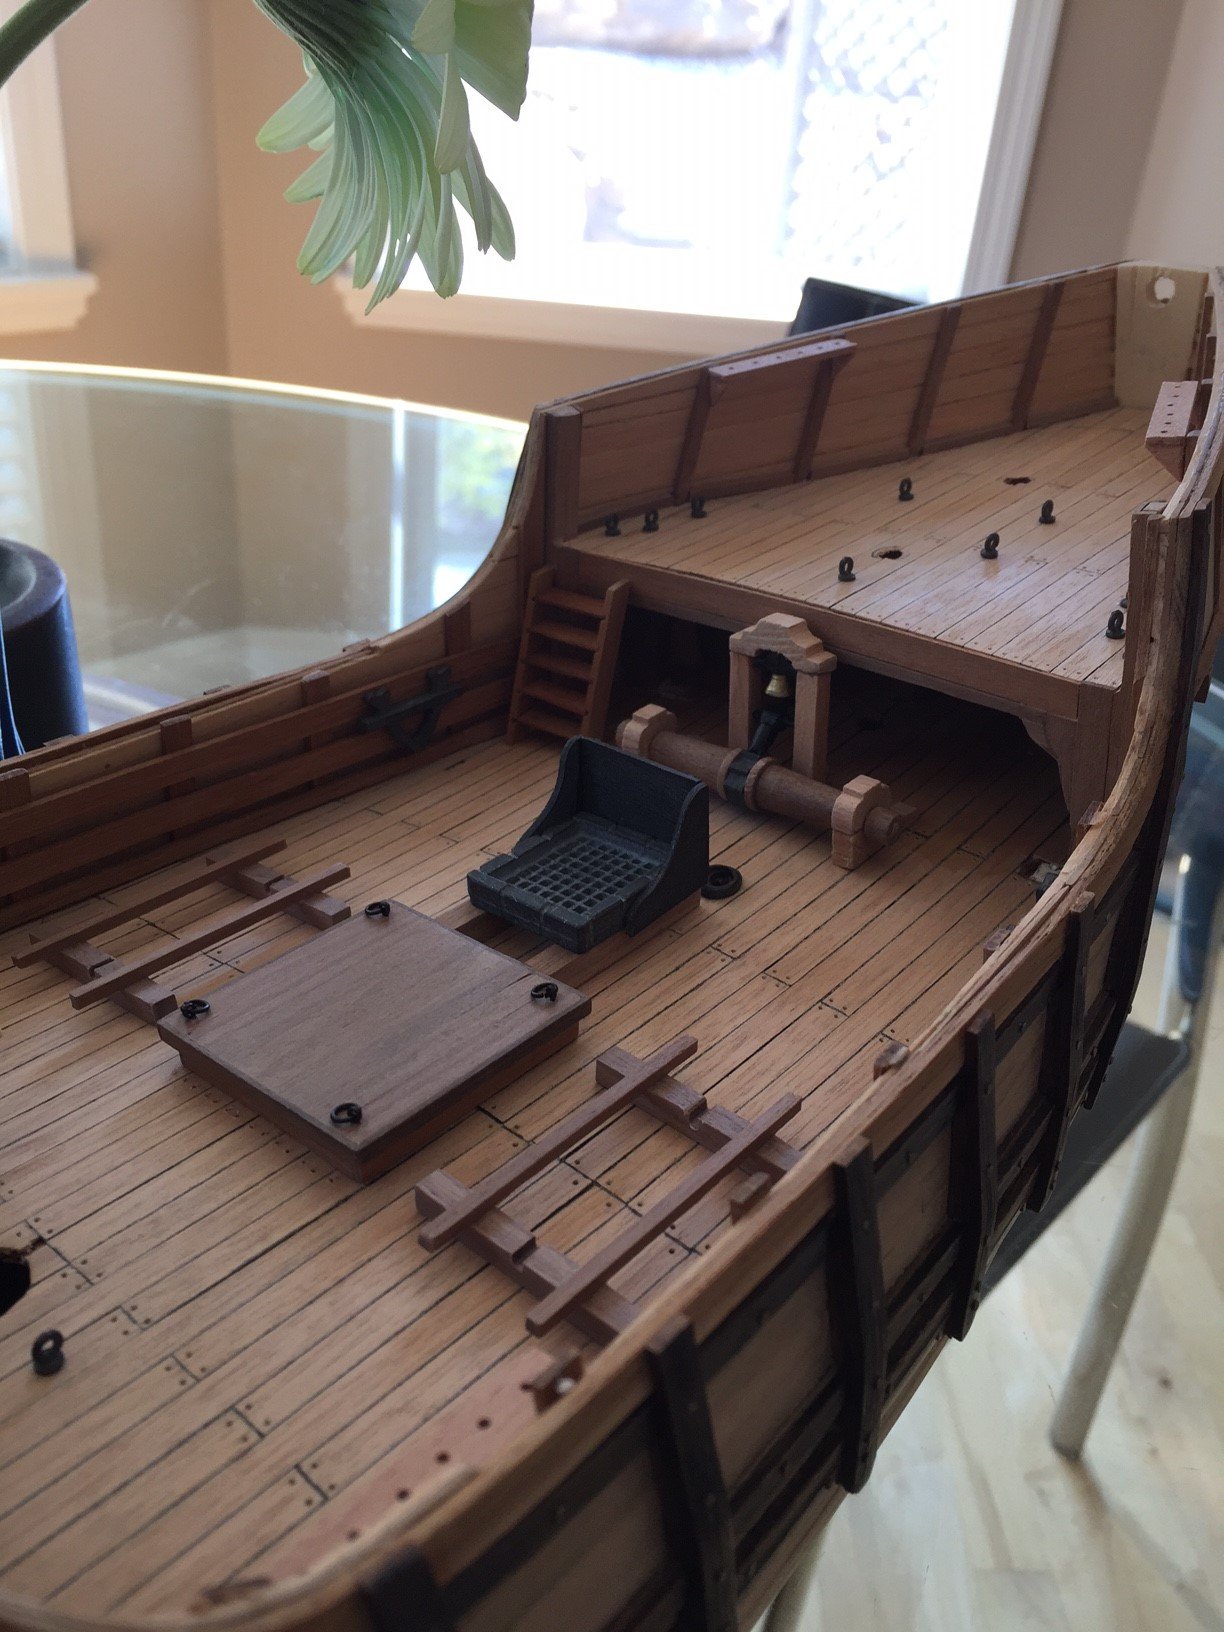
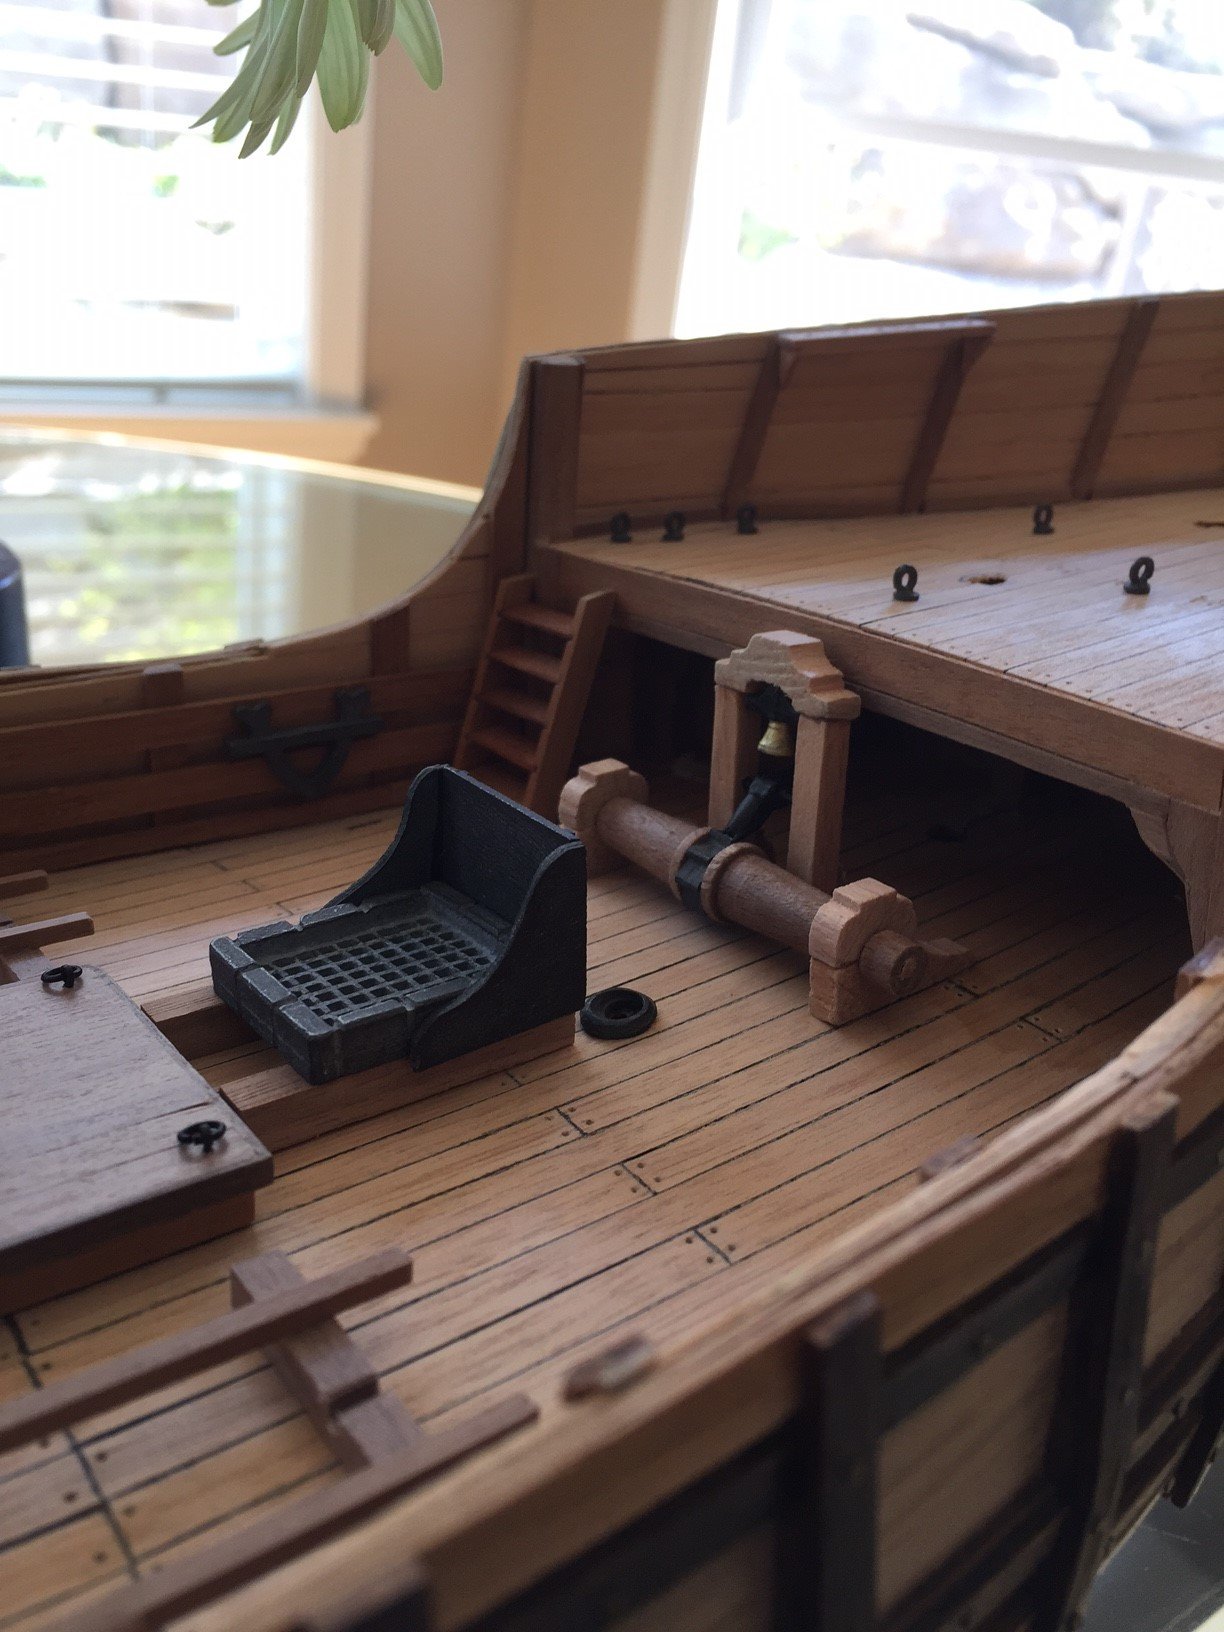
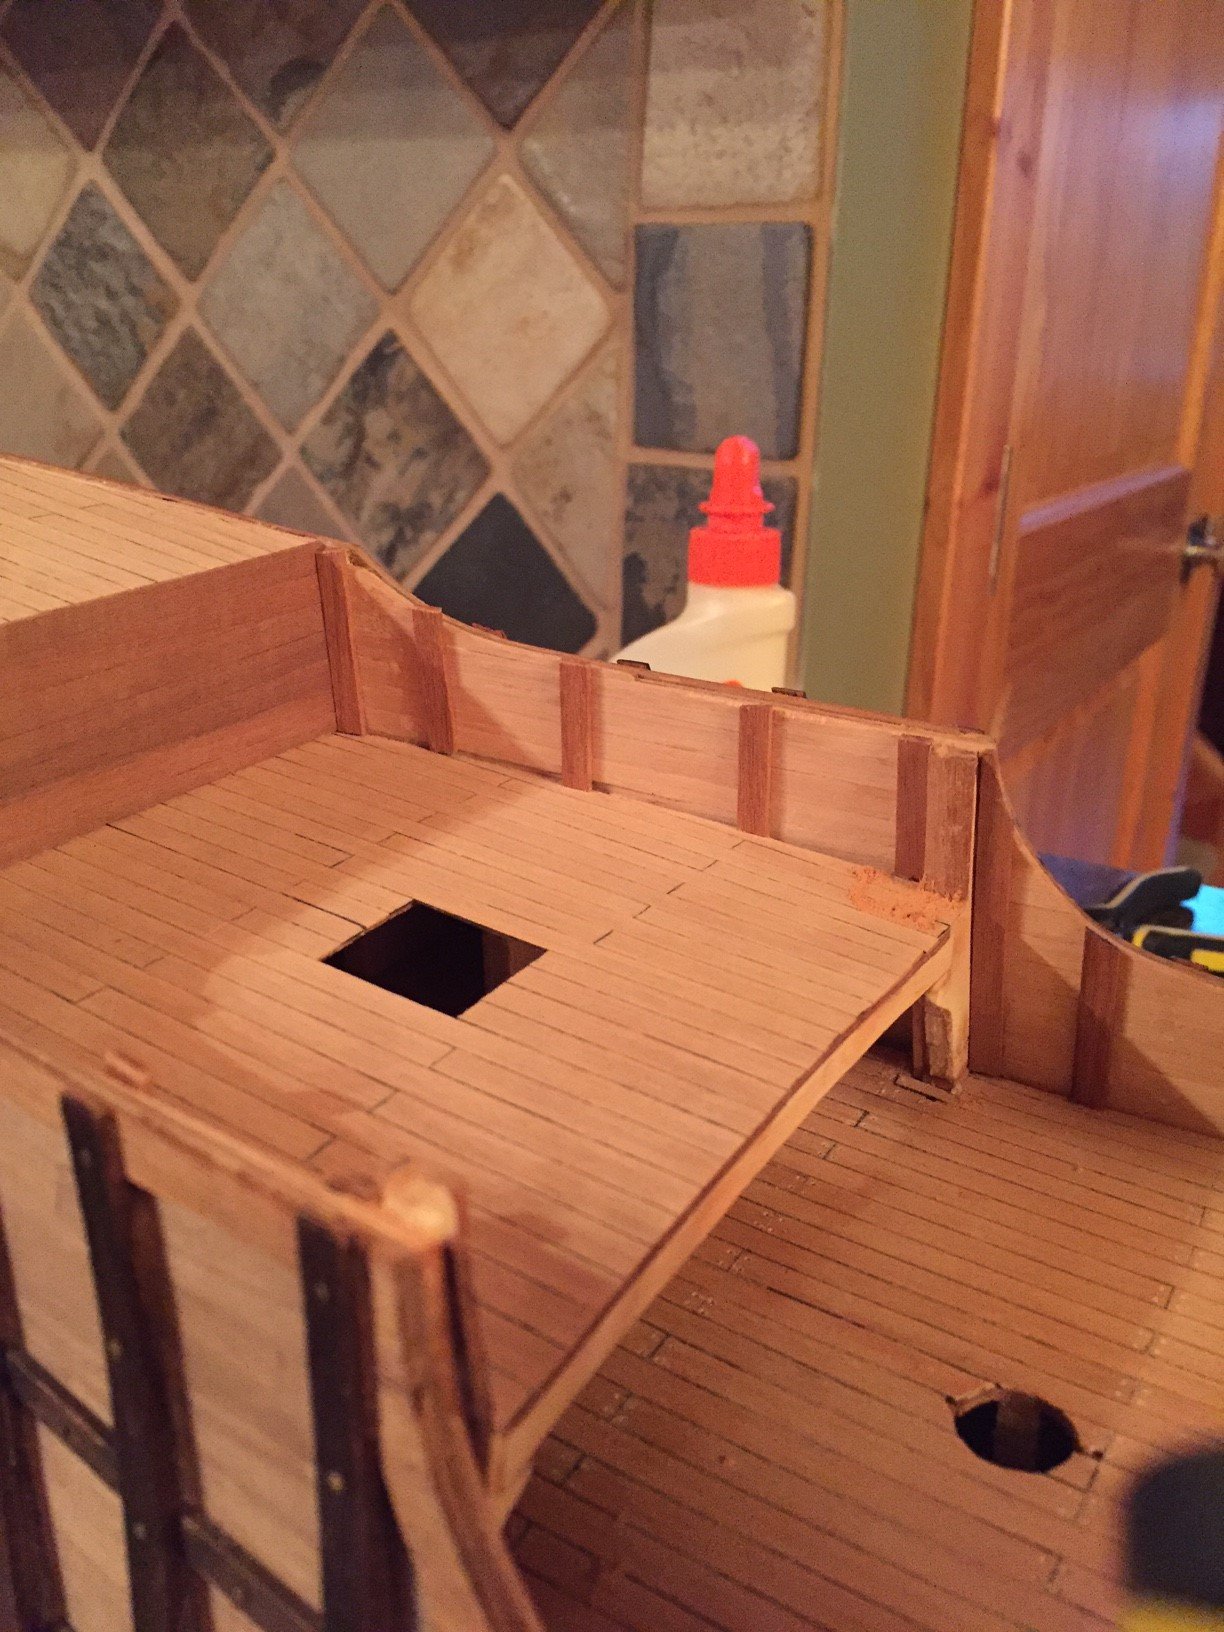
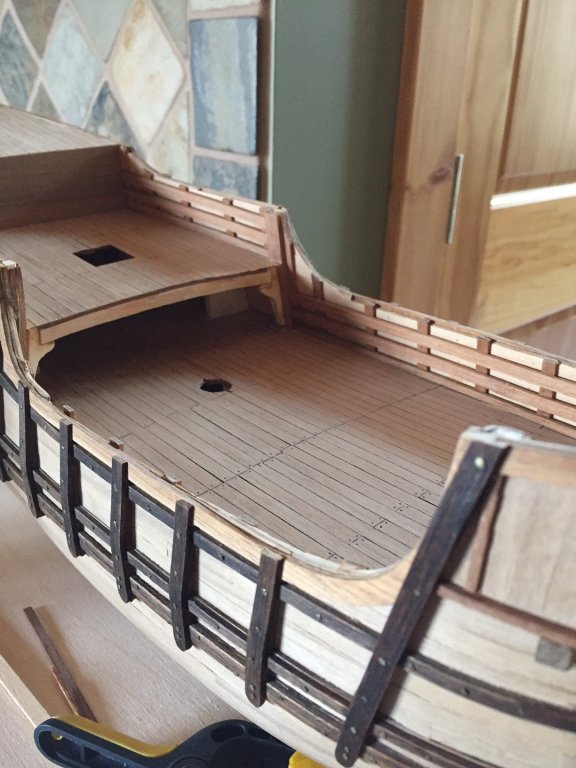
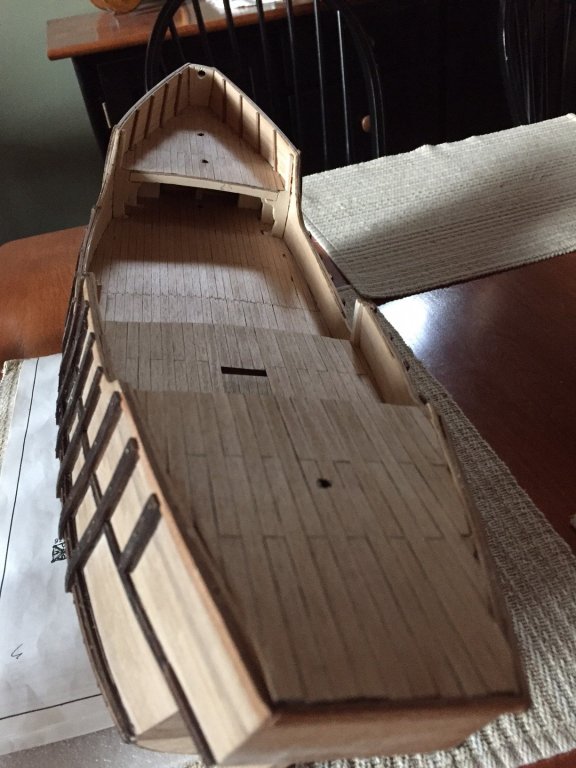
 And more details on the deck... the hatch, stove, and pinnace cradles glued down onto the deck.
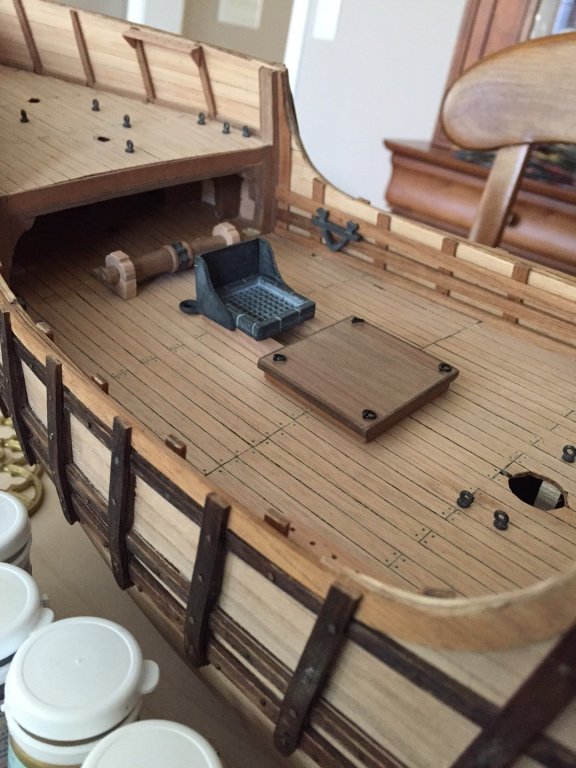


- 181 replies
-
- 4
-

-
- santa maria
- mamoli
- (and 1 more)
-
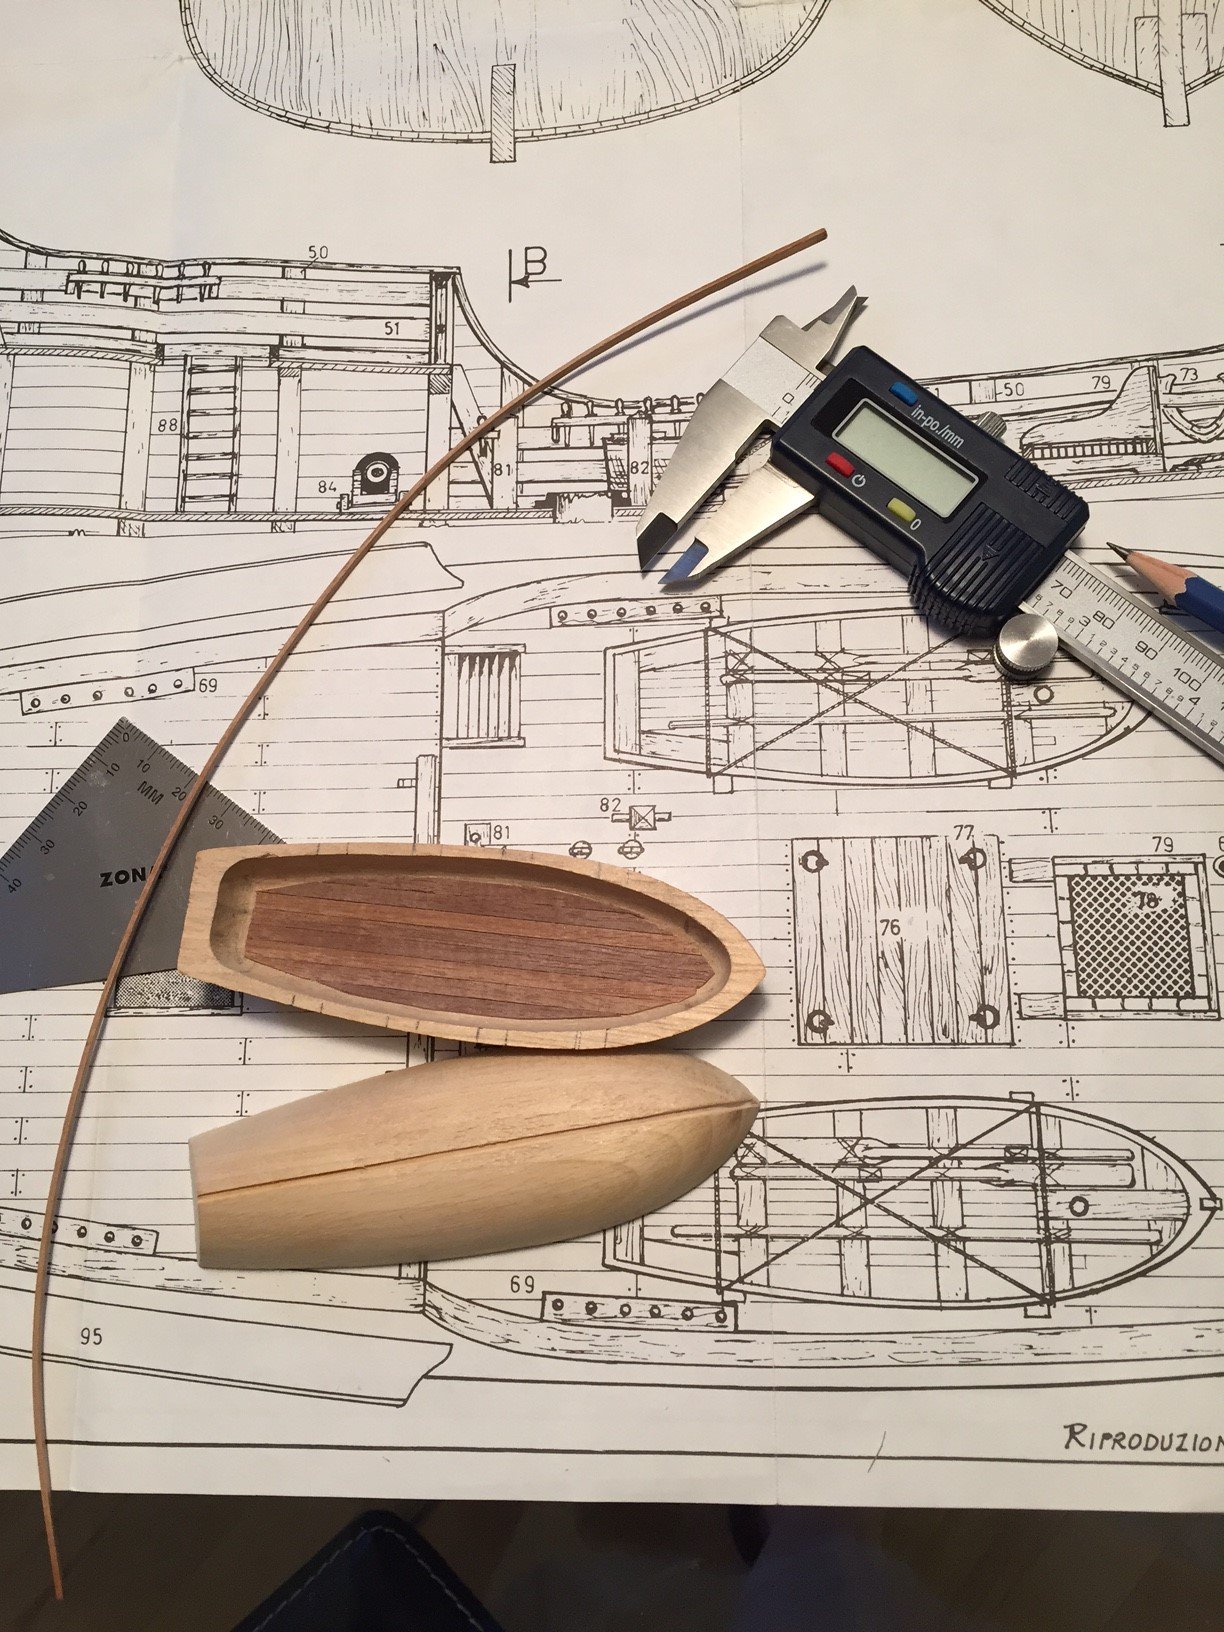
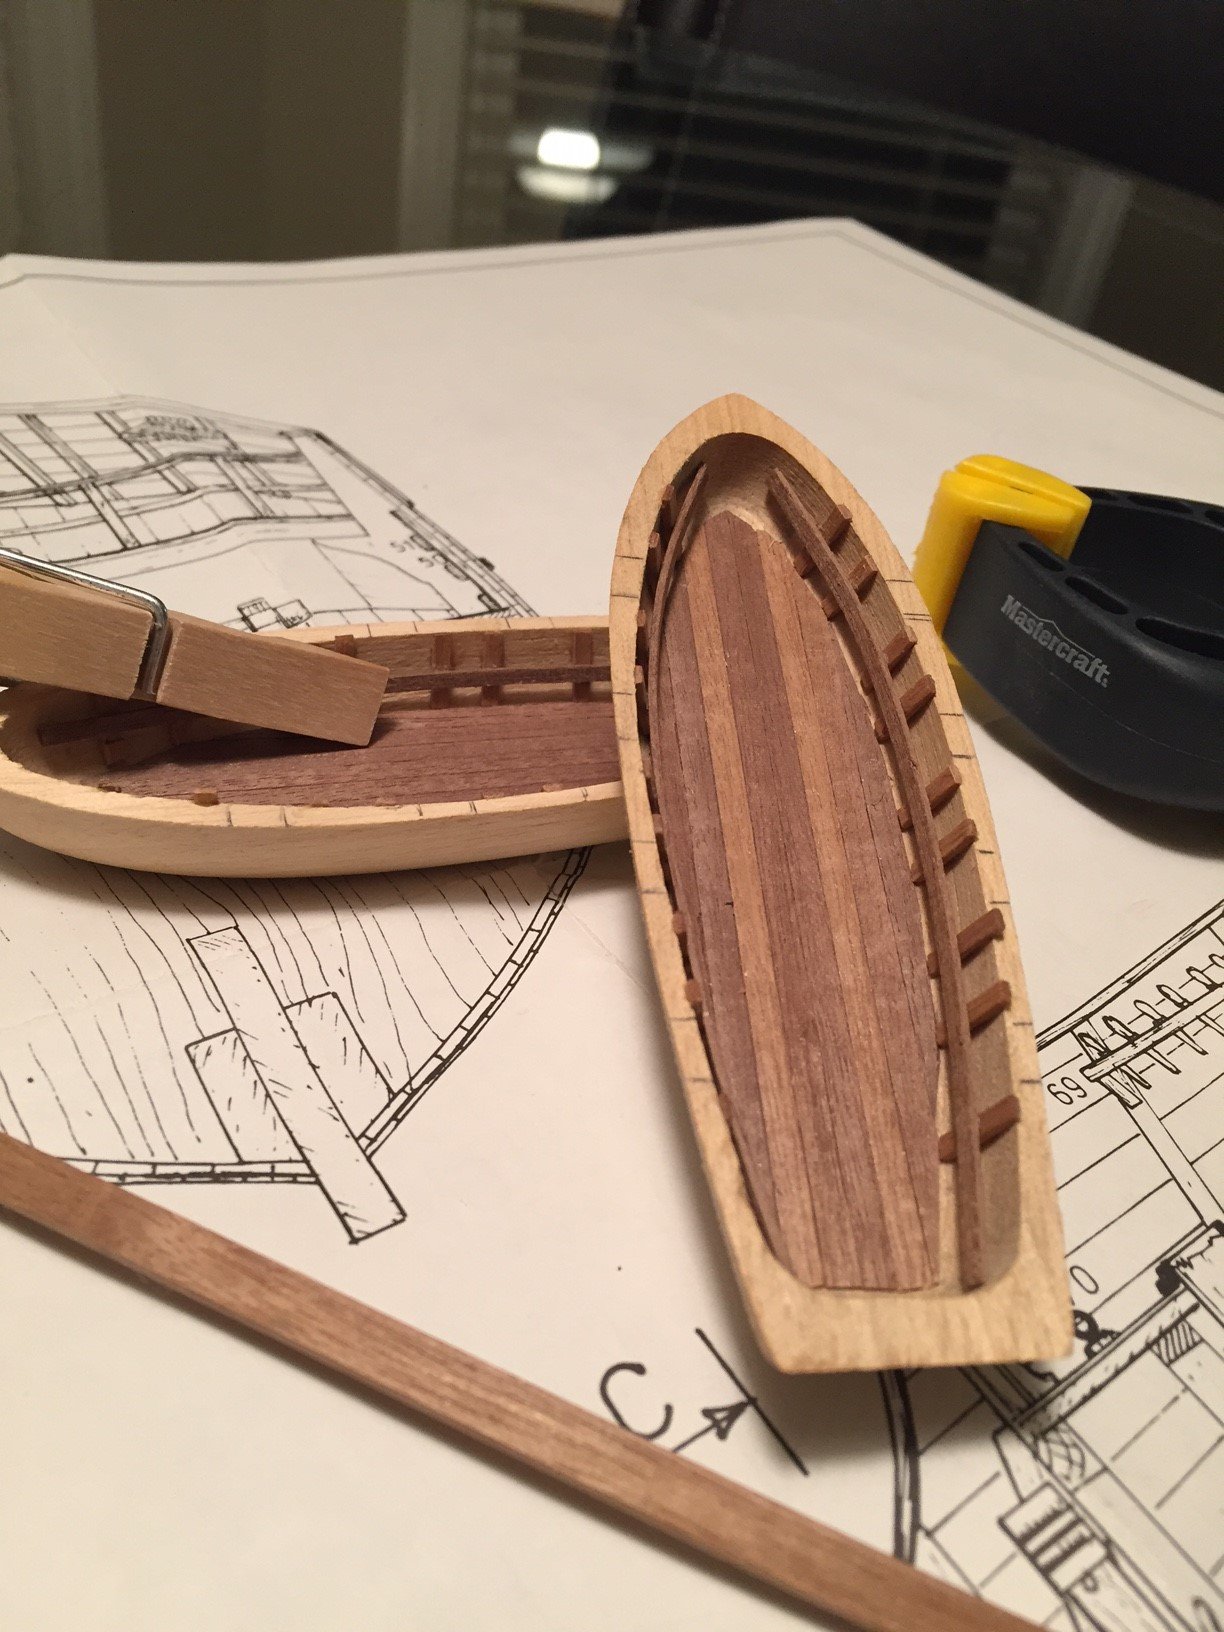
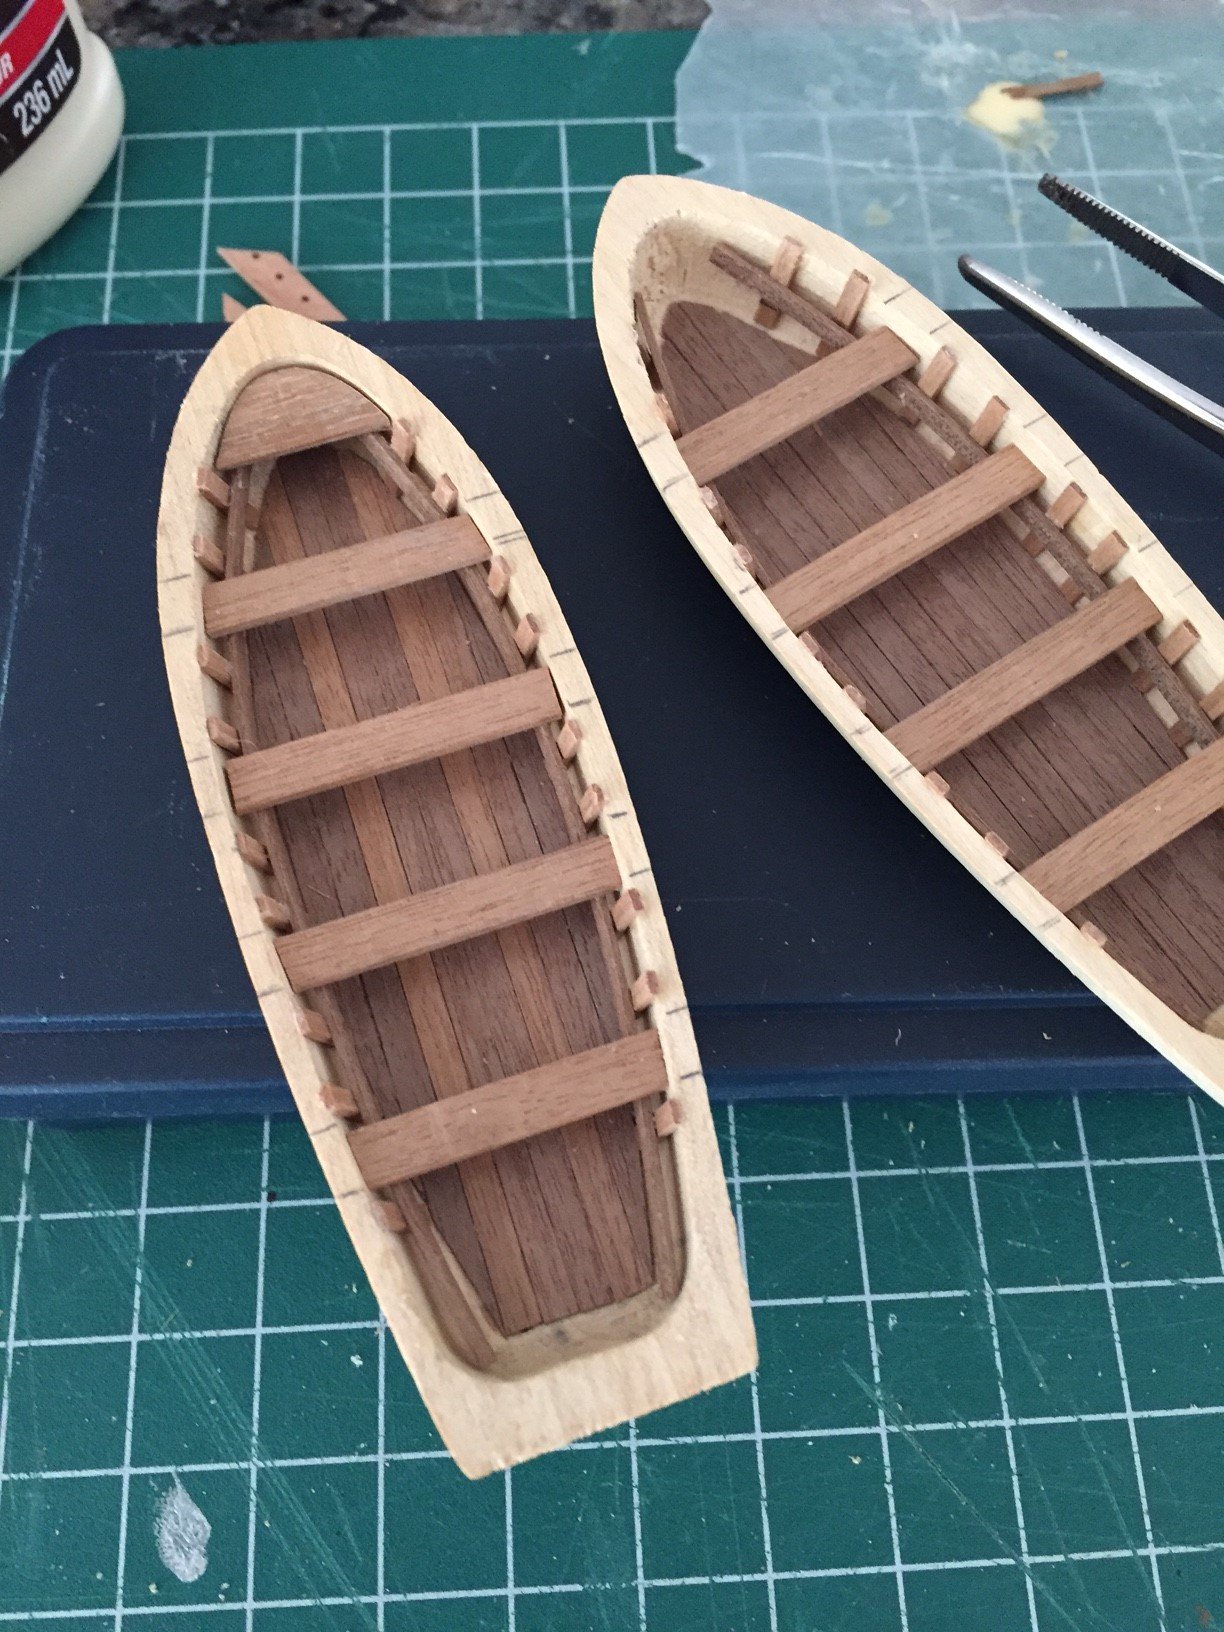
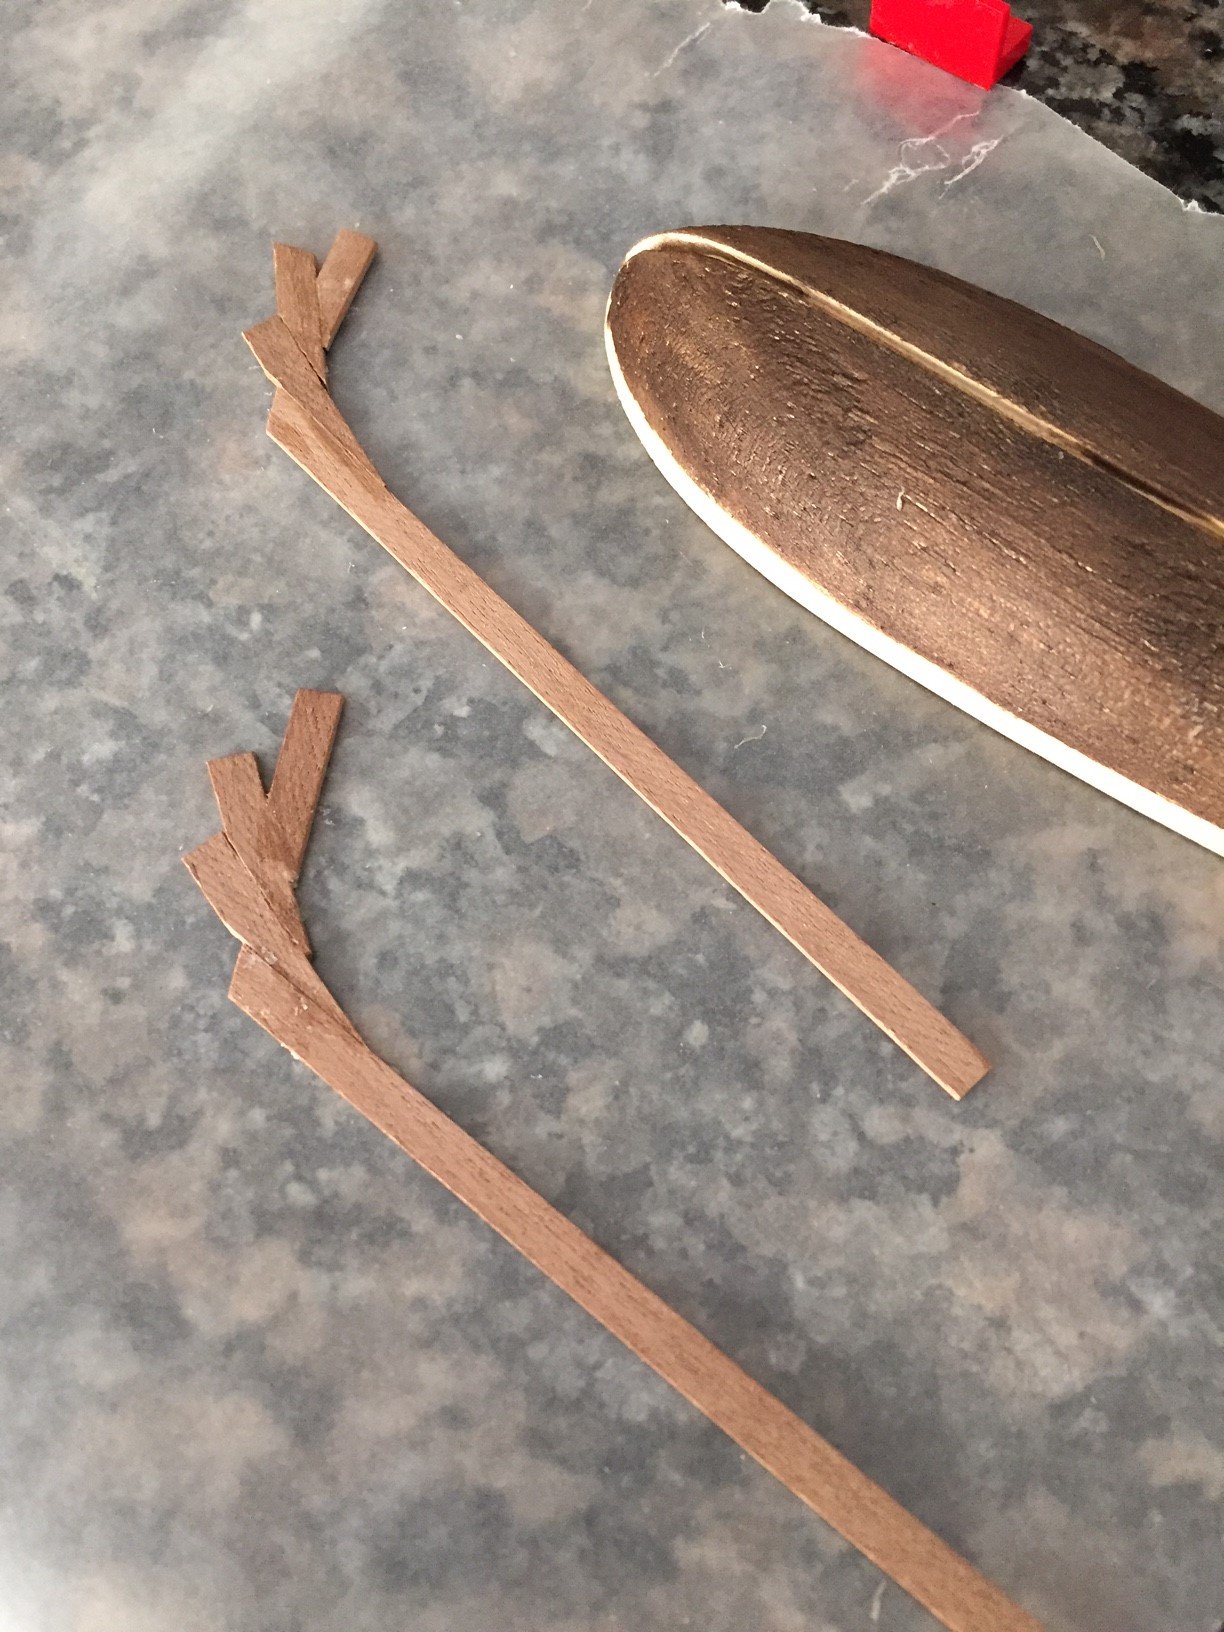
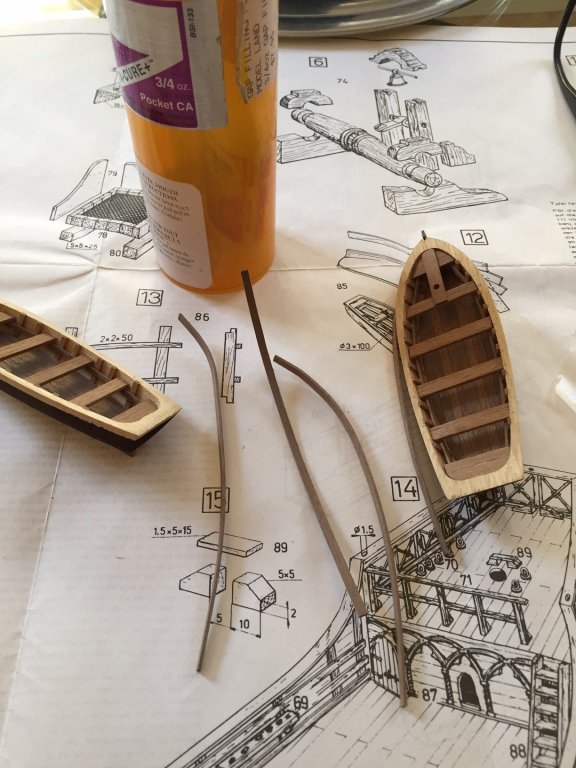
More time to post some progress... I am very happy how the smaller boats, the pinnace's came out. A few add on modifications compared to how Mamoli set them out to be built...


- 181 replies
-
- 3
-
-
- santa maria
- mamoli
- (and 1 more)
-
Yes Ian, I was going to do Danish or Tung Oil but your finish with Wipe on Poly is stunning... Did you wipe or brush it on?
-
Wow, what an amazing job Ian... Very nice! One quick question, how did you do the finish on the hull? Wipe-on Poly? It's perfect!
- 107 replies
-
- 1
-
-
- brazzera
- marisstella
- (and 1 more)
-
Thanks Slideways... do not know if I would say with ease. Cheers!
- 181 replies
-
- 1
-
-
- santa maria
- mamoli
- (and 1 more)
-
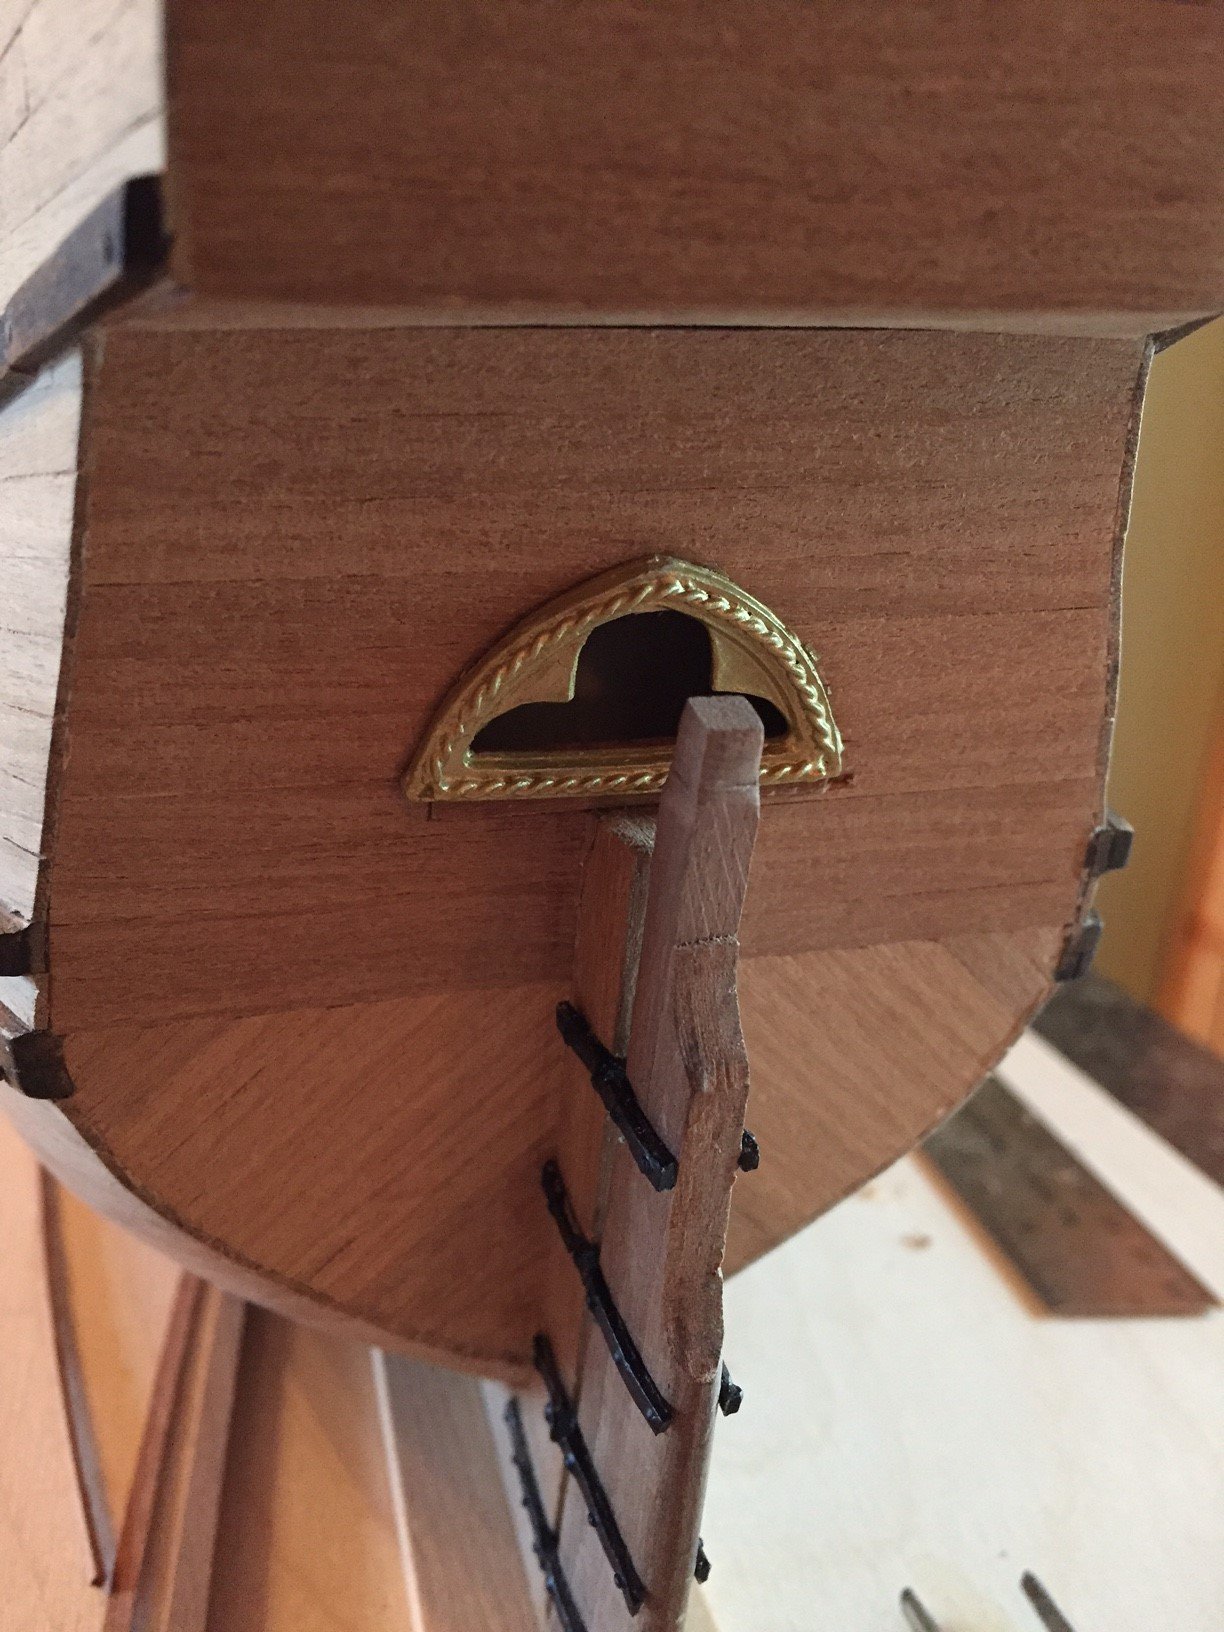
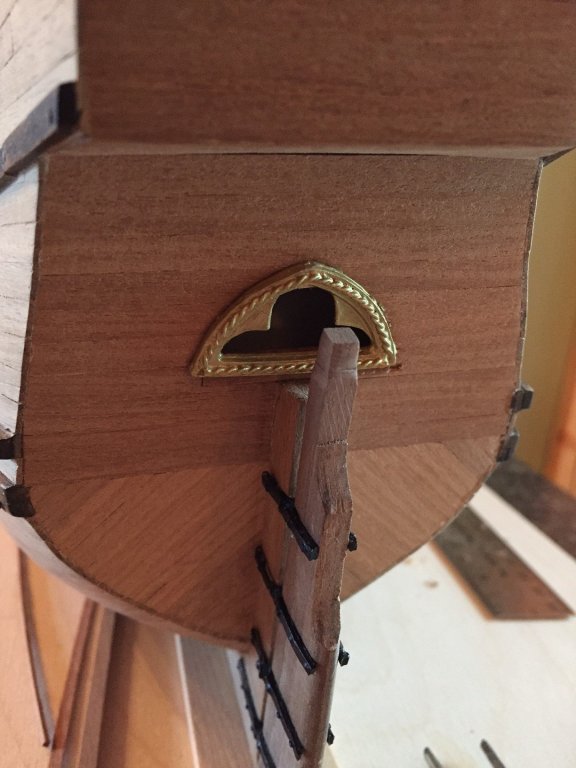
Another minor issue once found attaching the stern decoration is that the opening was too big too completely cover with the metal badge so I added some inside trim (would be hidden anyways) and once painted with a brass color (different from the white, blue, and red coloration scheme that Mamoli indicated), I glued it down with CA.


- 181 replies
-
- 5
-
-
- santa maria
- mamoli
- (and 1 more)
-
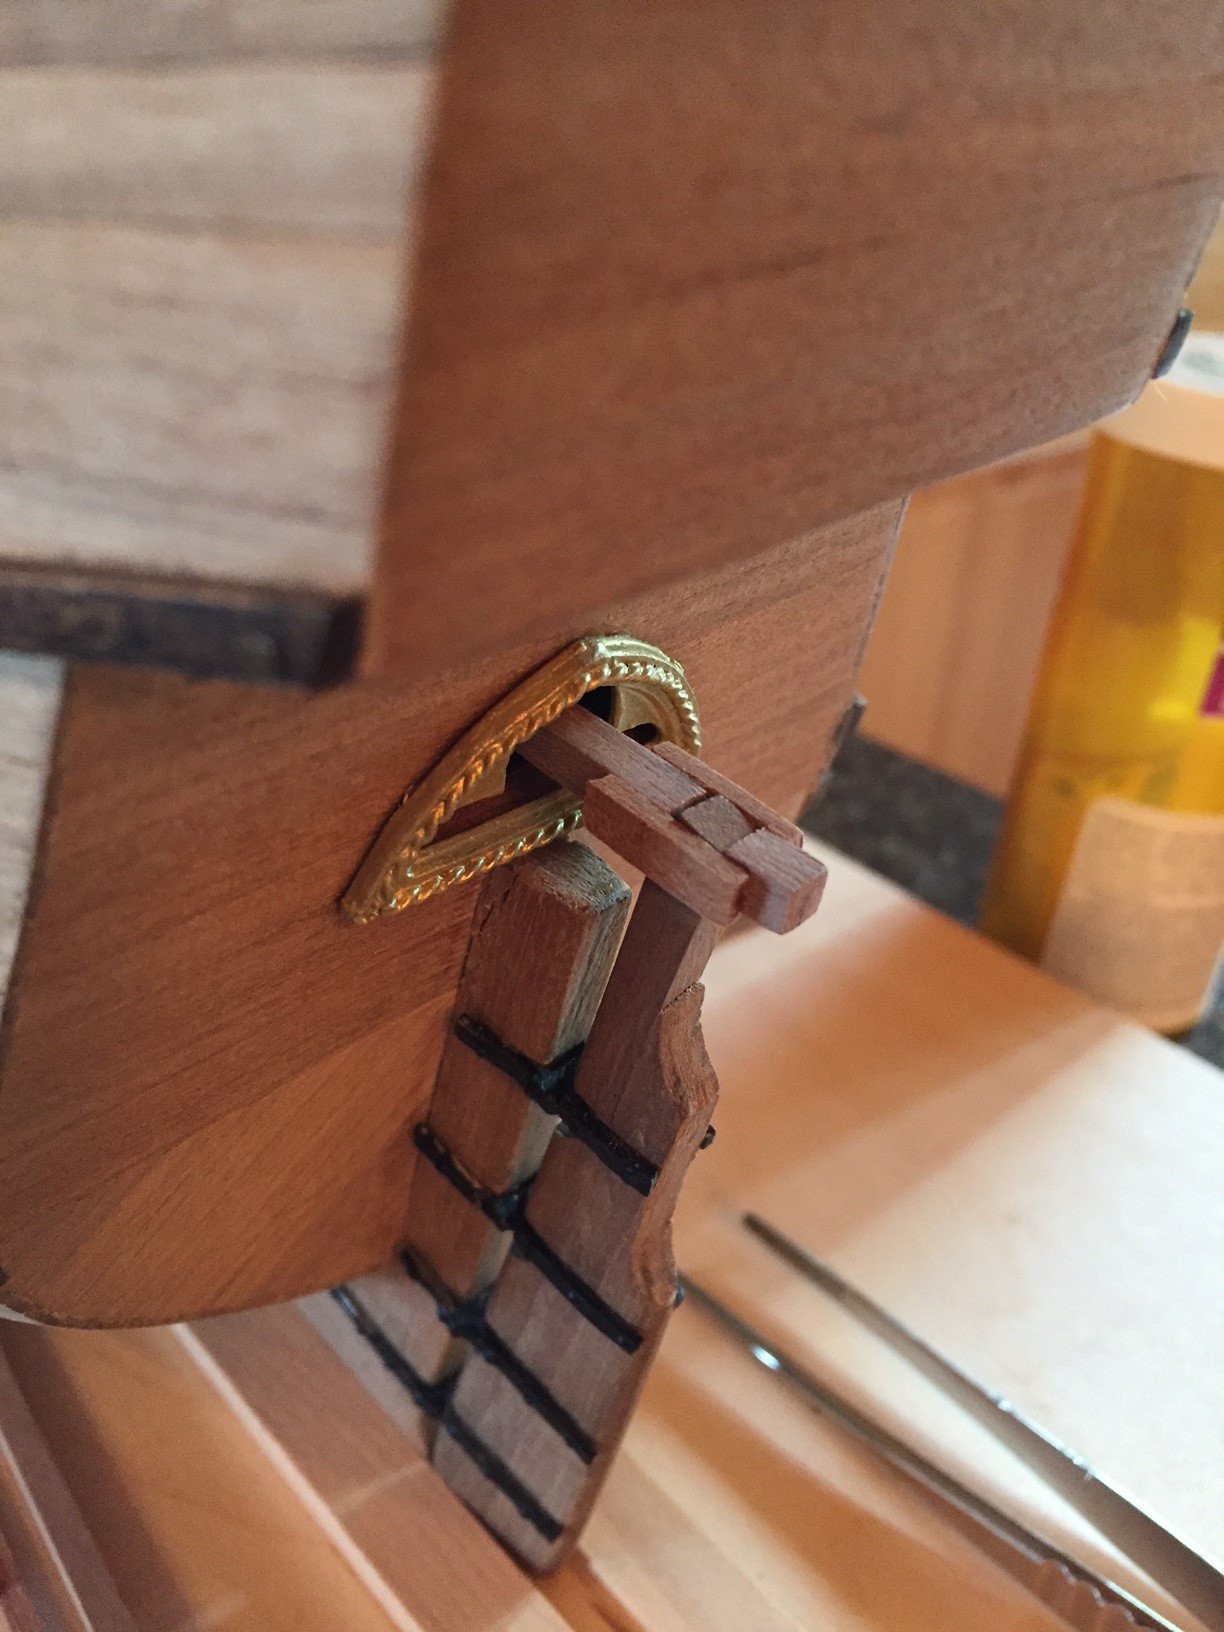
Here's the close-up... it is offset ever so slightly to the left but not noticeable on the picture. Also I should have placed the top portion of the rudder a little closer as the pintle was not pushed in far enough onto the keel prior to the CA setting. The most obvious issue though is I sanded back too much into the keel board and into the plywood... Any suggestions in how to fix? Laminate a piece of 0.5 mm walnut strip and then sand back I guess...

- 181 replies
-
- 4
-
-
- santa maria
- mamoli
- (and 1 more)
-
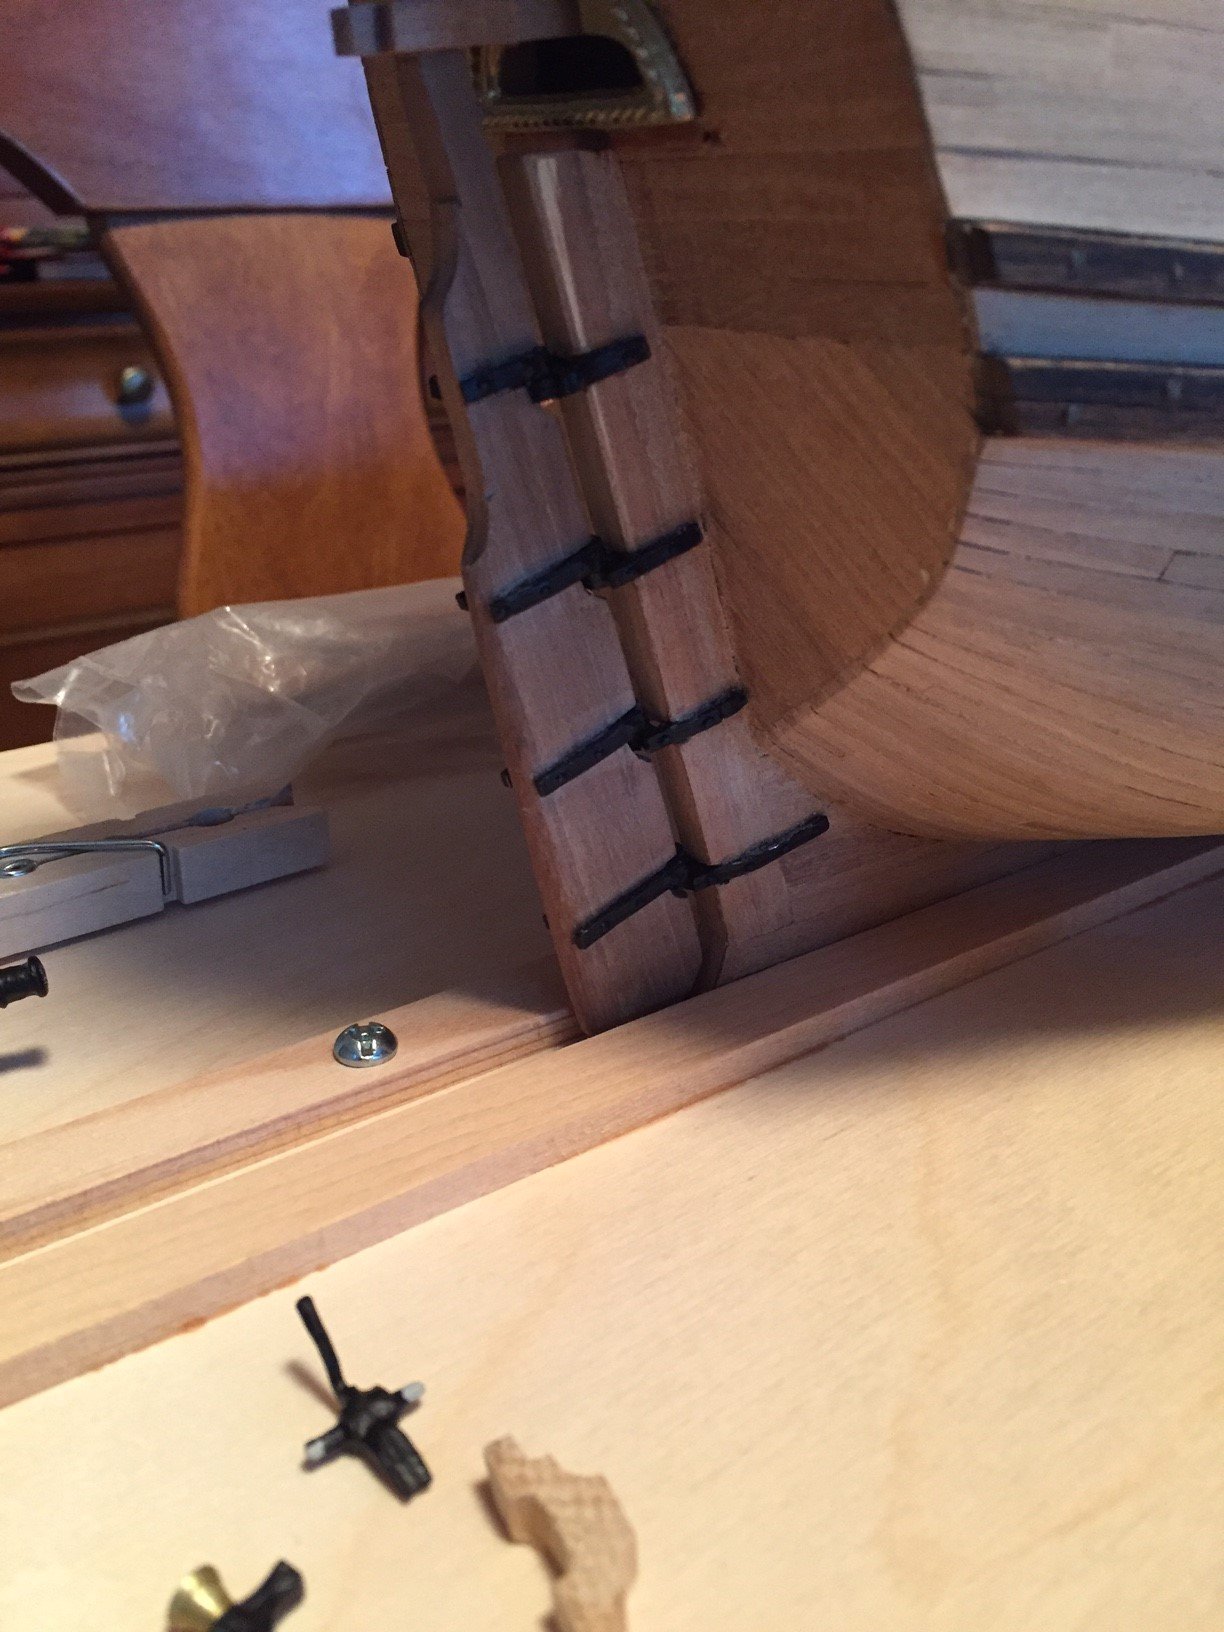
Thanks Popeye for the kind words... Here is how it looks... from a distance mind you , it looks good.

- 181 replies
-
- 1
-
-
- santa maria
- mamoli
- (and 1 more)
-
Hi Popeye, Pintles are of a soft metal... the problem of course is the instructions did not provide the "heads up" on an earlier step with regards to tapering the stern board in advance... I found that is the common theme of the Mamoli instructions... Nonetheless with the attachment, it does not look too too bad. I will provide a photo of the finished rudder perhaps tomorrow.
- 181 replies
-
- 3
-
-
- santa maria
- mamoli
- (and 1 more)
-
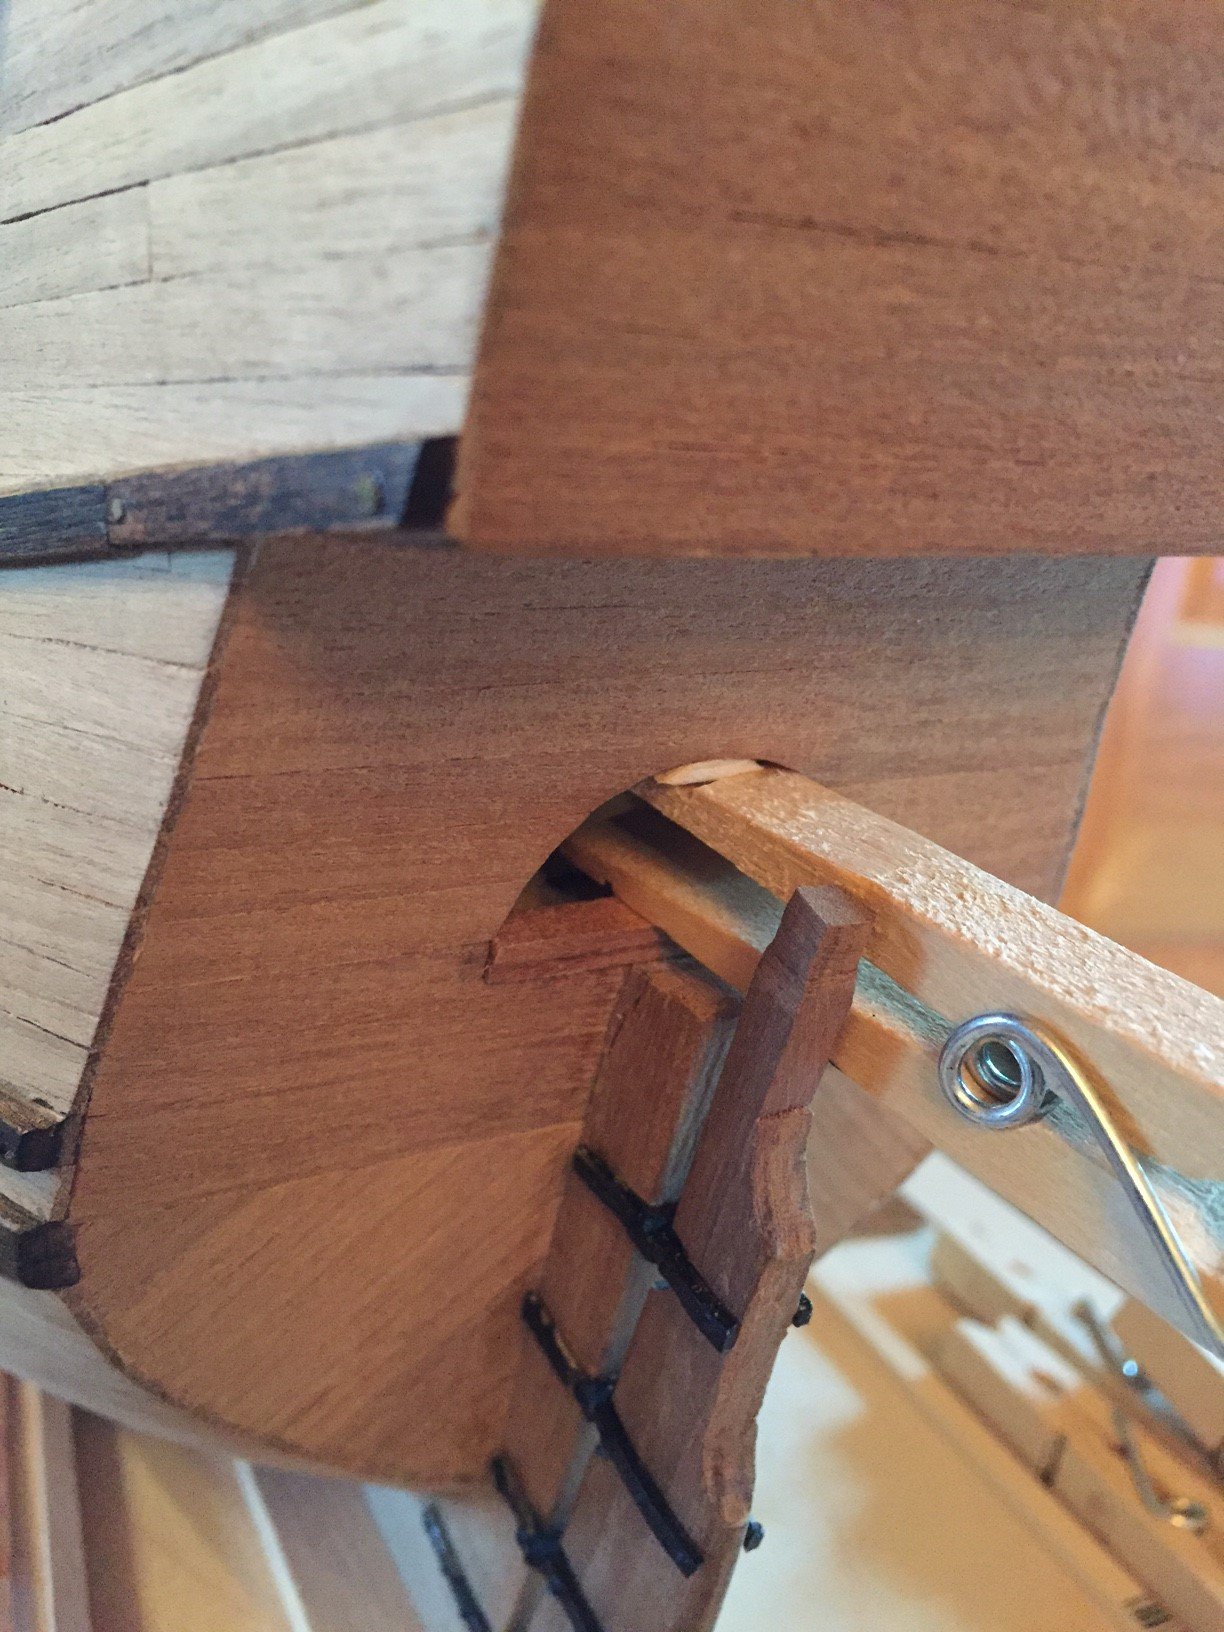
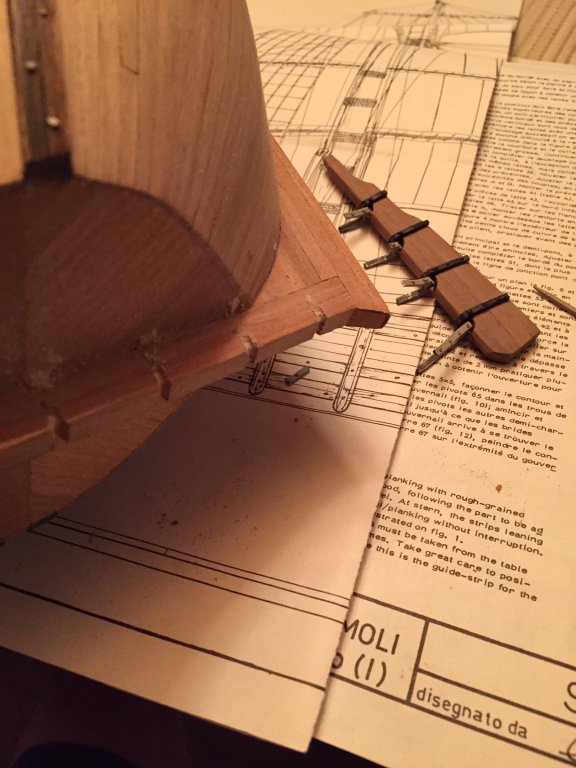
And here is where all the problems starts... Mamoli in the instructions says simply separate the paired rudder/hinge ends (soft metal) and push onto the hull/keel. Sounds simple until you realize the inside diameter of the hinge is about 3mm and the plywood keel it attaches to is 5mm plus the walnut strip lamination of 0.5mm on each side for a total of 6mm... From the picture below you can see my hack job of getting the rudder attached...
- 181 replies
-
- 4
-
-
- santa maria
- mamoli
- (and 1 more)
-
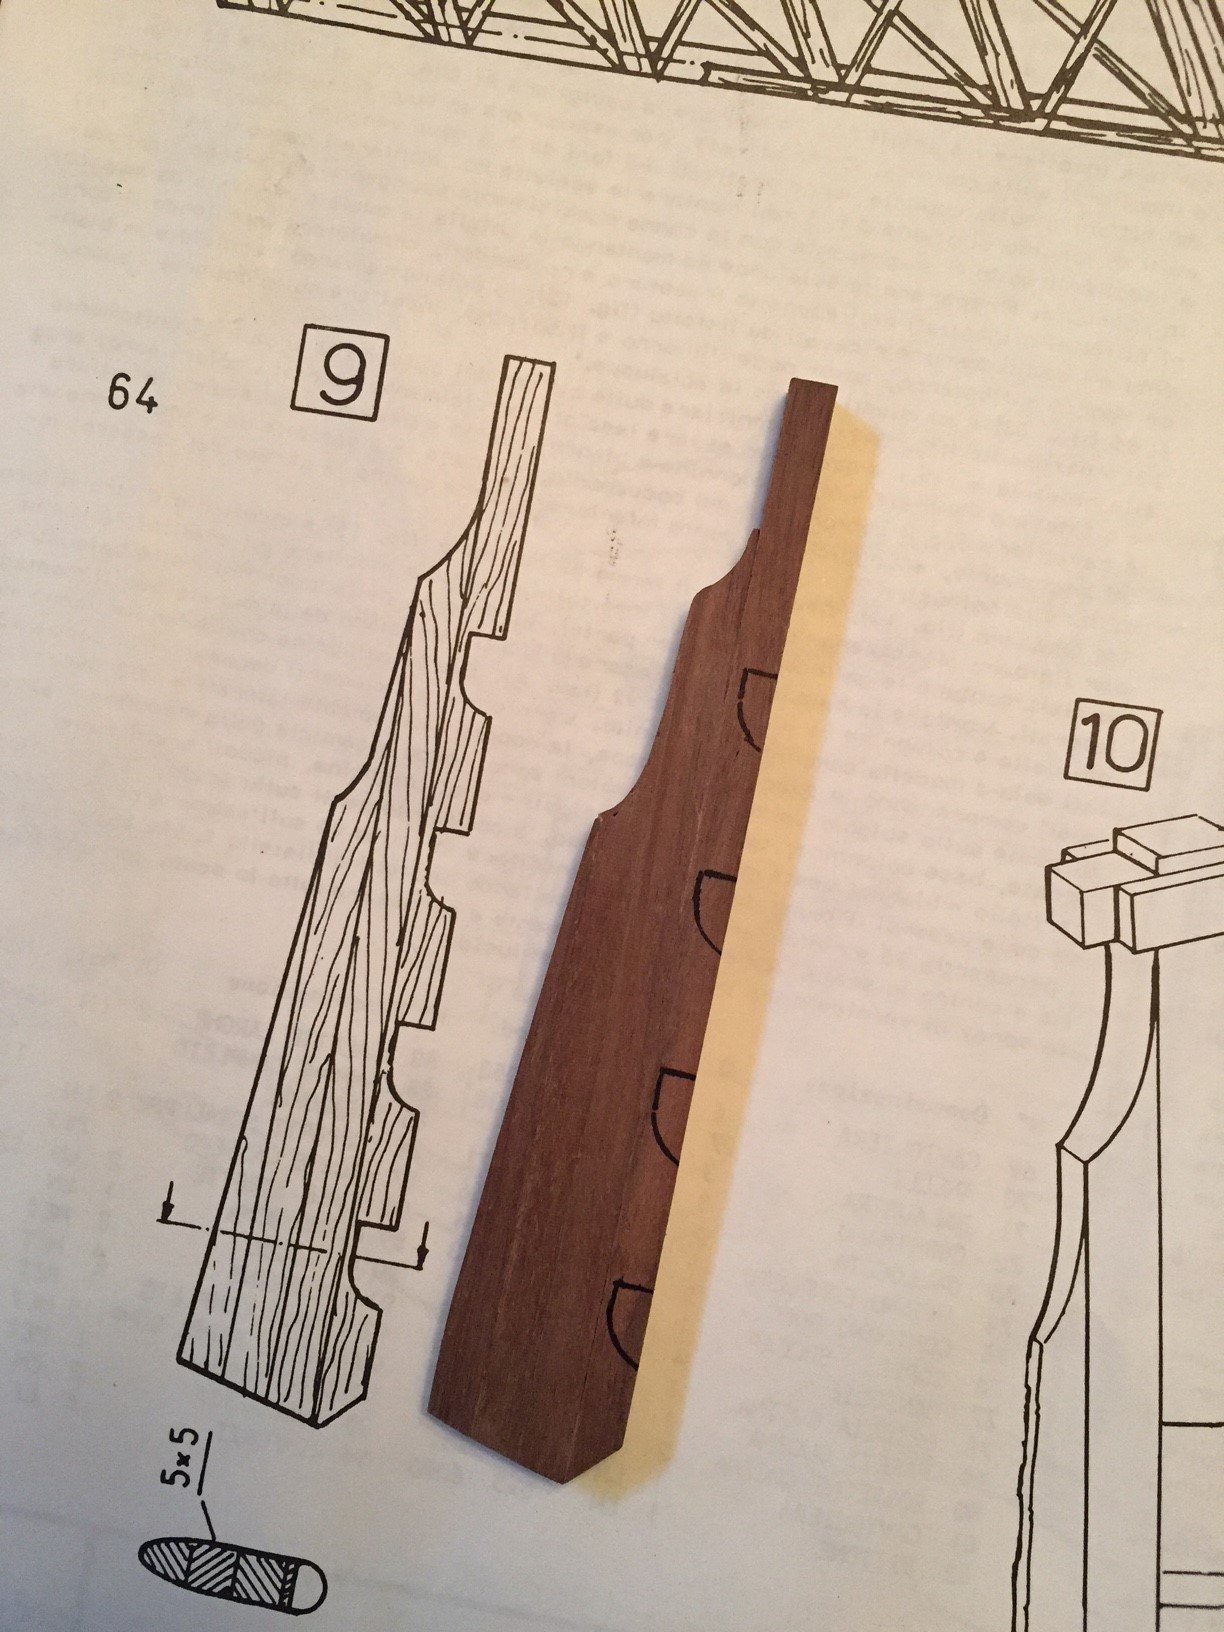
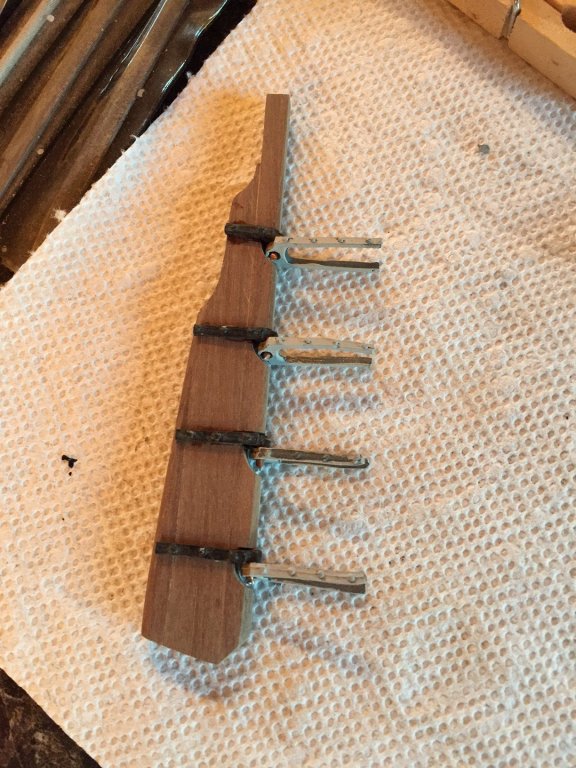
Thanks Ian , thanks Mustafa... always a good feeling to get compliments... And Ian, yes, I have read your Victory log many times, wonderful craftsmanship! With this post, I also have some progress to report from last weekend... Notched out the voids for the rudder hinges and pins to sit and I set them with a light coat of CA, priming and painting prior of course .

- 181 replies
-
- 4
-
-
- santa maria
- mamoli
- (and 1 more)
-
Thanks for all the likes and of course, Popeye, your kind comments...
-
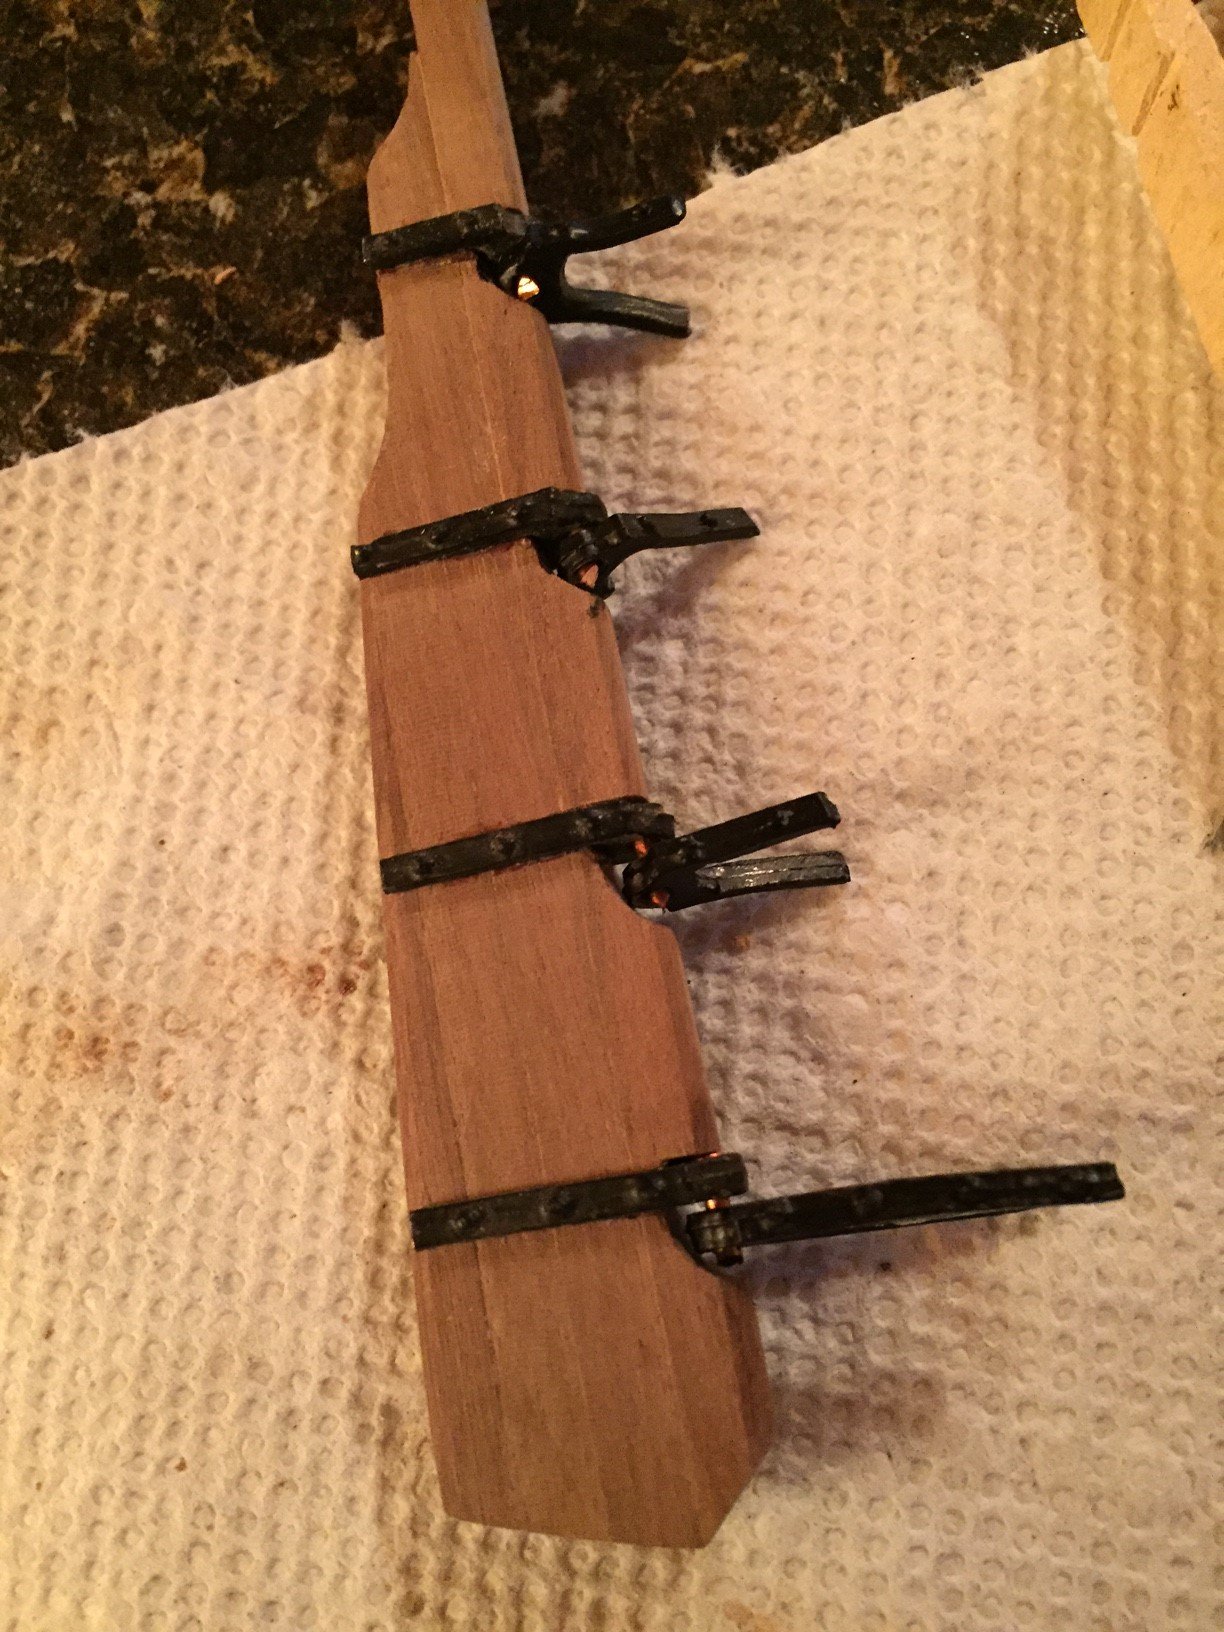
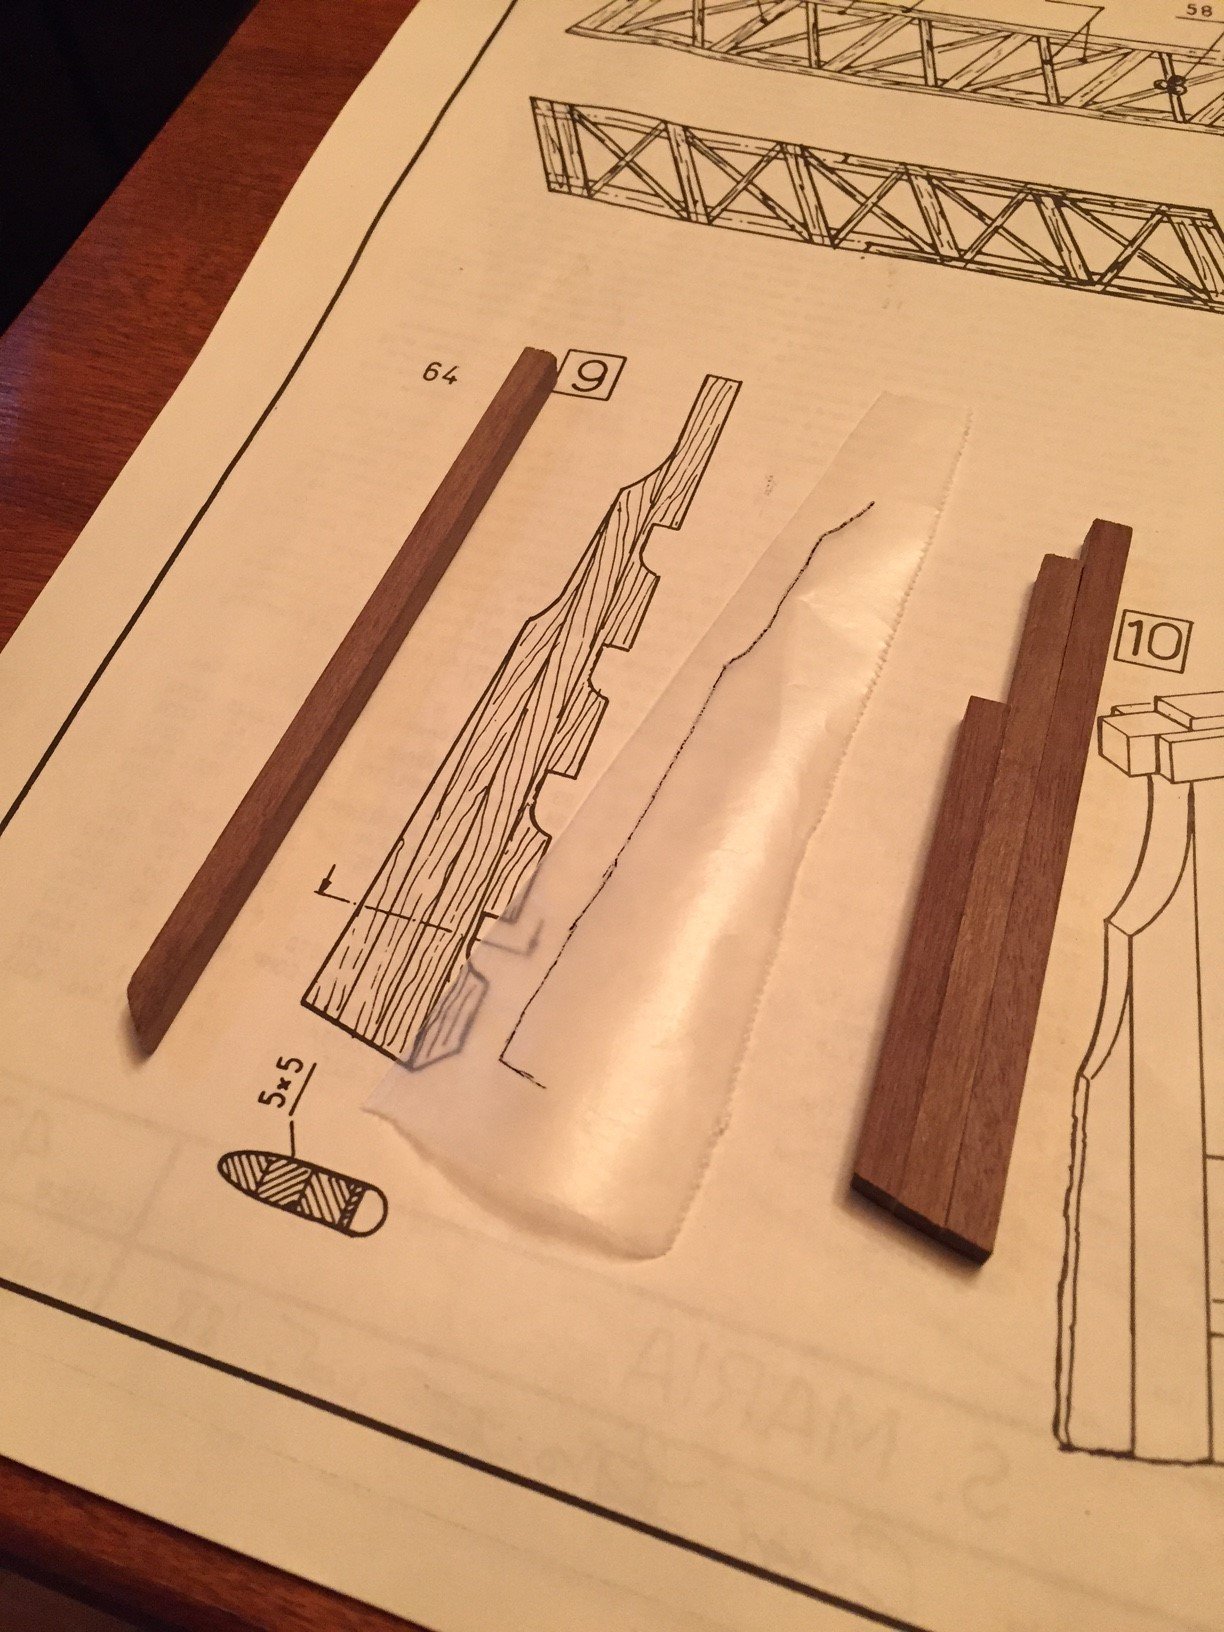
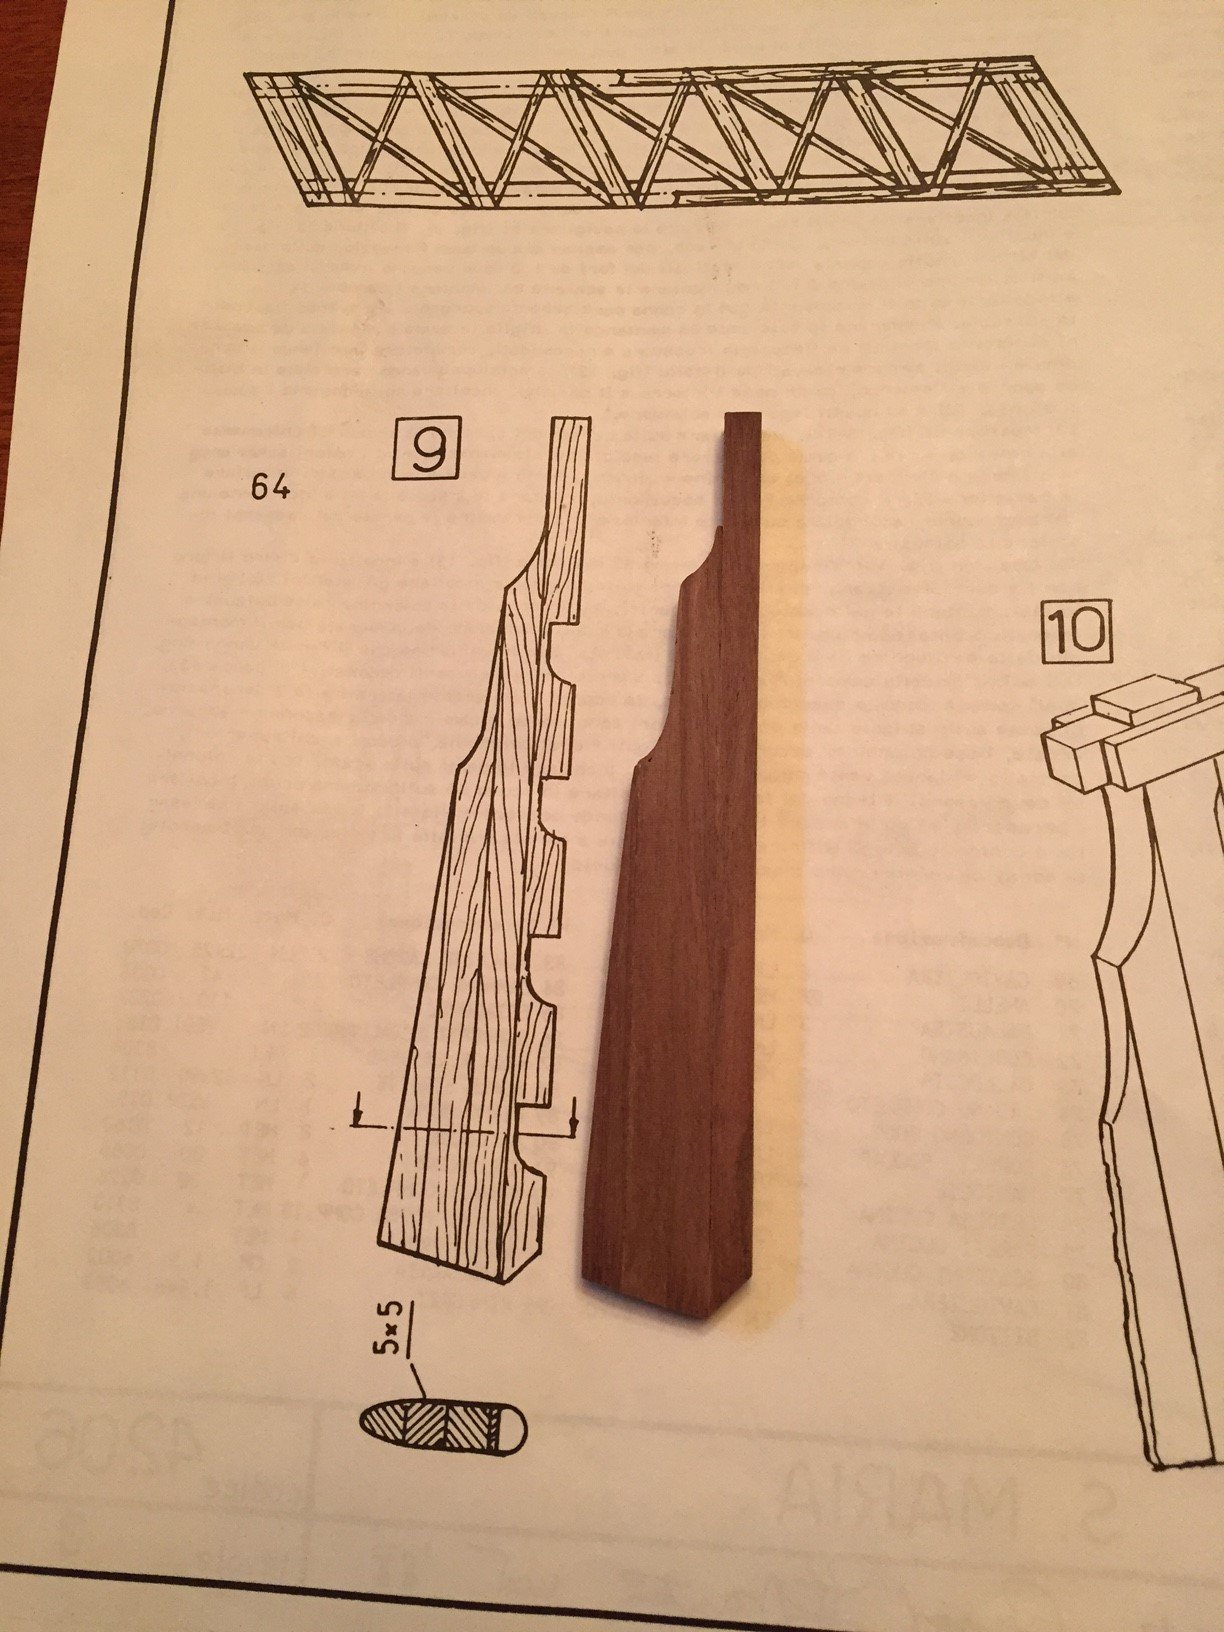
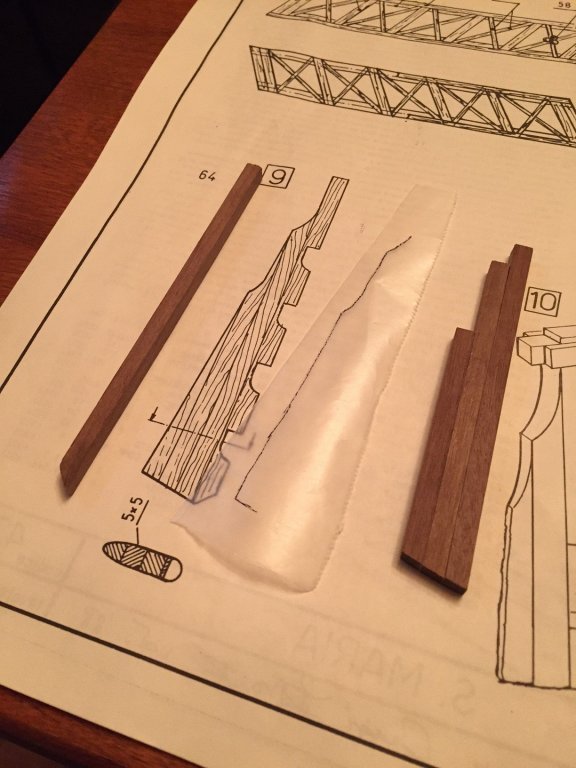
Last weekend I also started working on the rudder by laminating 4 5x5mm walnut pieces and then tracing and sanding/cutting out the profile. Again Mamoli was short in its supply of 5x5mm walnut and I do know that in future I will be short again in supplied wood. Oh well... once again.


- 181 replies
-
- 4
-
-
- santa maria
- mamoli
- (and 1 more)
-
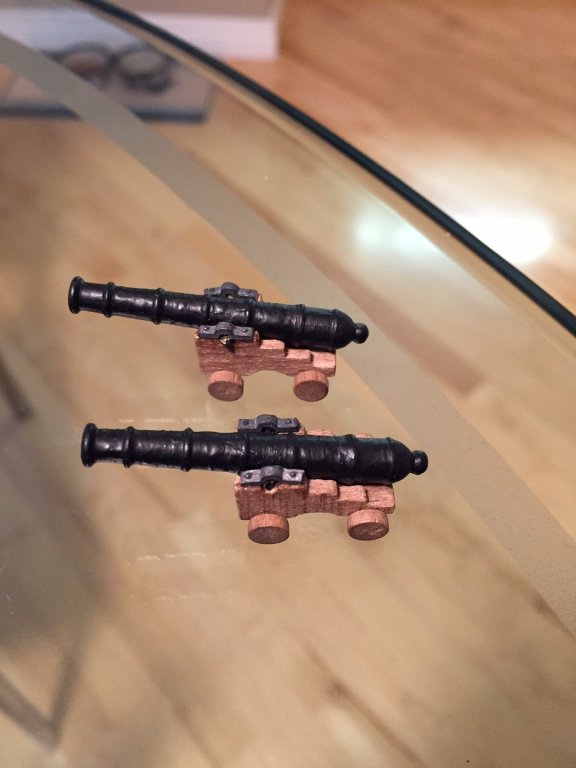
The ship, the kit has two cannons that are partially hidden under the fore deck. I have to give Mamoli credit with this old kit as the cast and metal kit parts are absolutely perfect in appearance. Unfortunately I have used some old Admiral flat metal black paint for the brass cannons and it was quite thick on application and the appearance is less than ideal... but again they are barely visible under the deck. I will dilute this acrylic paint with some water to get a better result in the future. I left the cast pieces unpainted as they look quite good without paint.
- 181 replies
-
- 3
-
-
- santa maria
- mamoli
- (and 1 more)
-
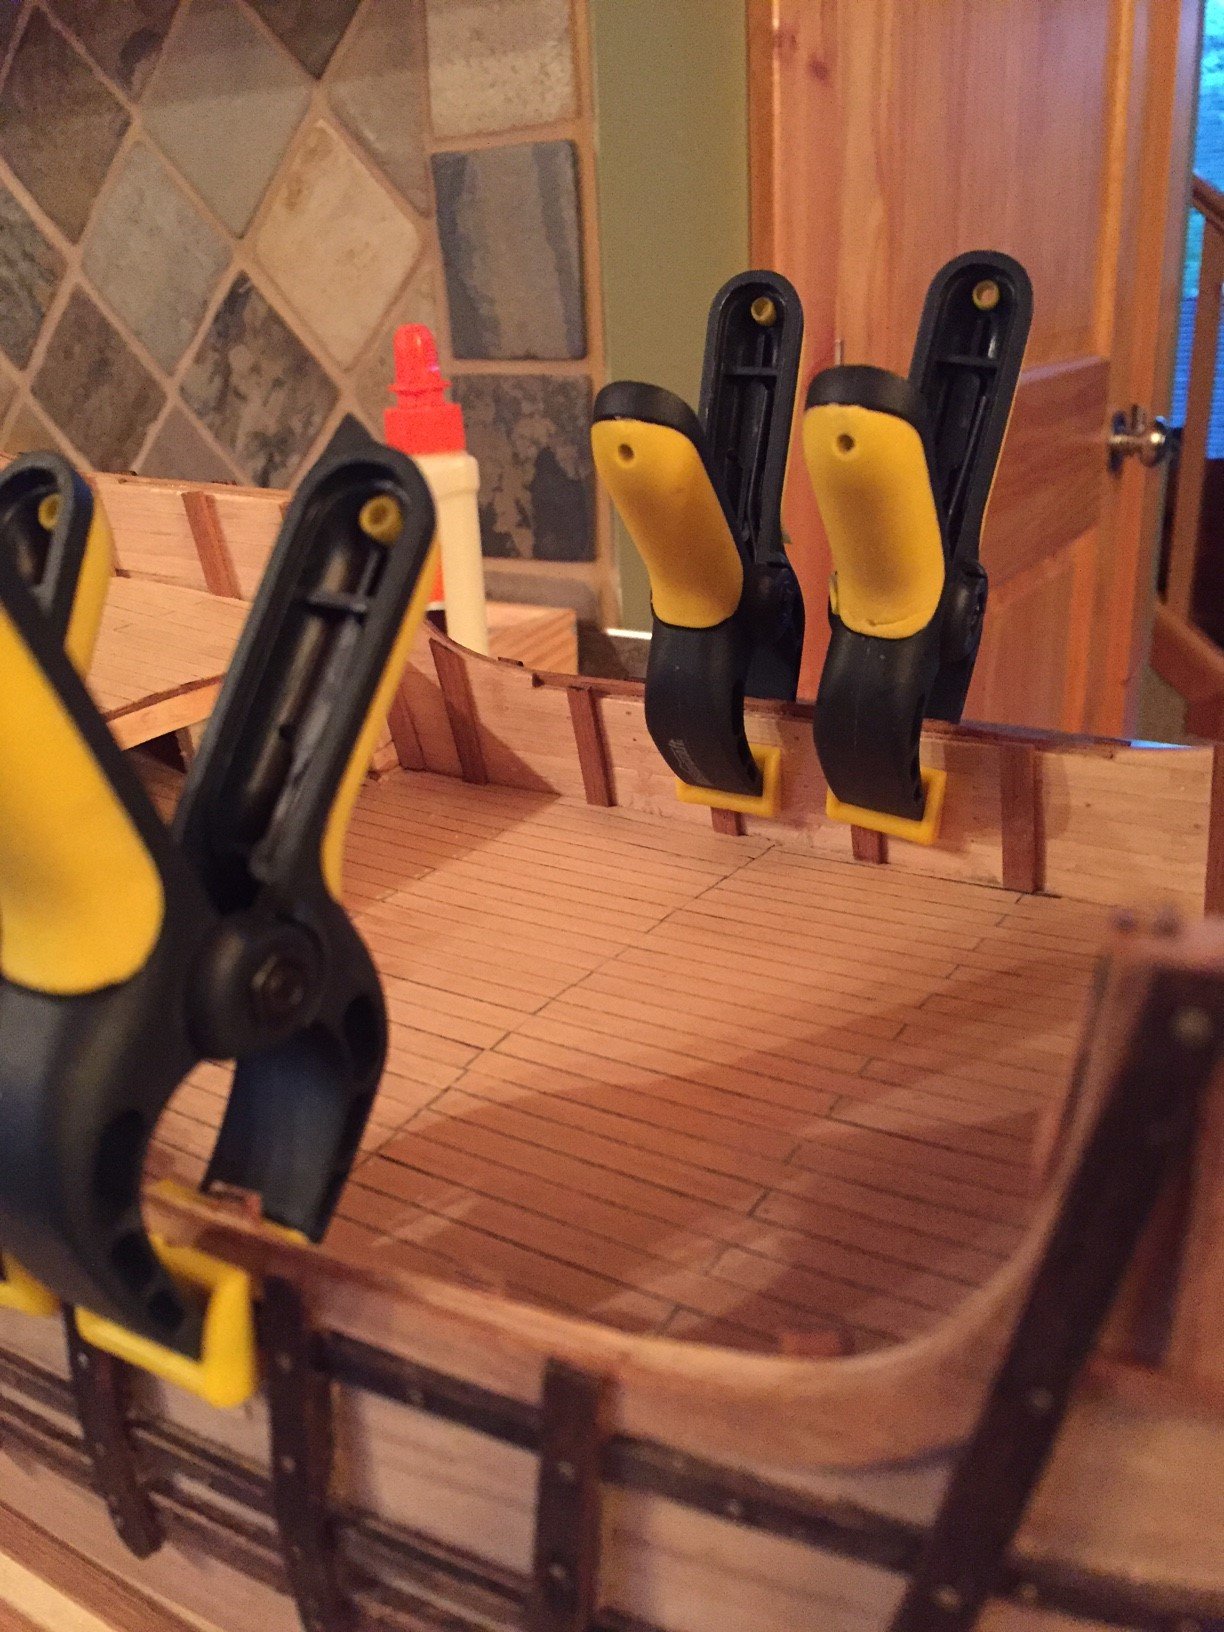
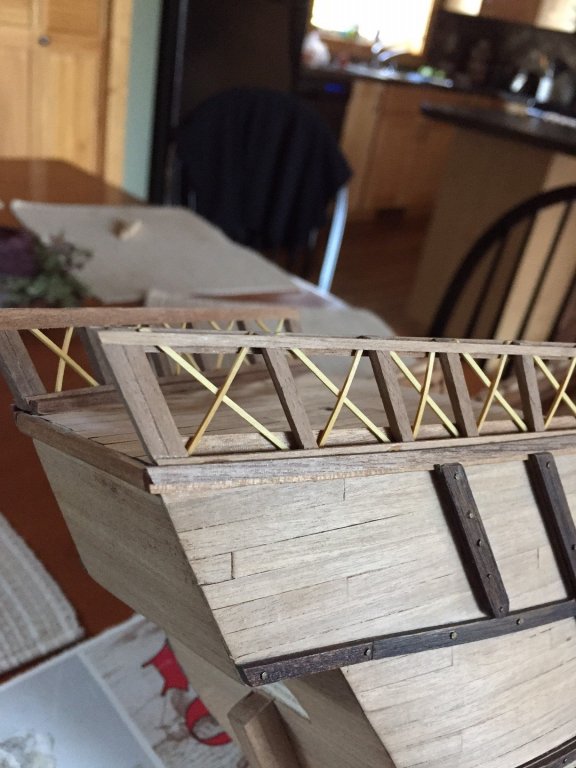
At this point I glued down the Beechwood top railing with the finished look below. I have to yet wood fill and finish some of the outside corners as they are not looking great. I would like to blame the instructions given how vague they are and are never preparing you for the finished appearance as you go through the steps of construction.


- 181 replies
-
- 3
-
-
- santa maria
- mamoli
- (and 1 more)
-
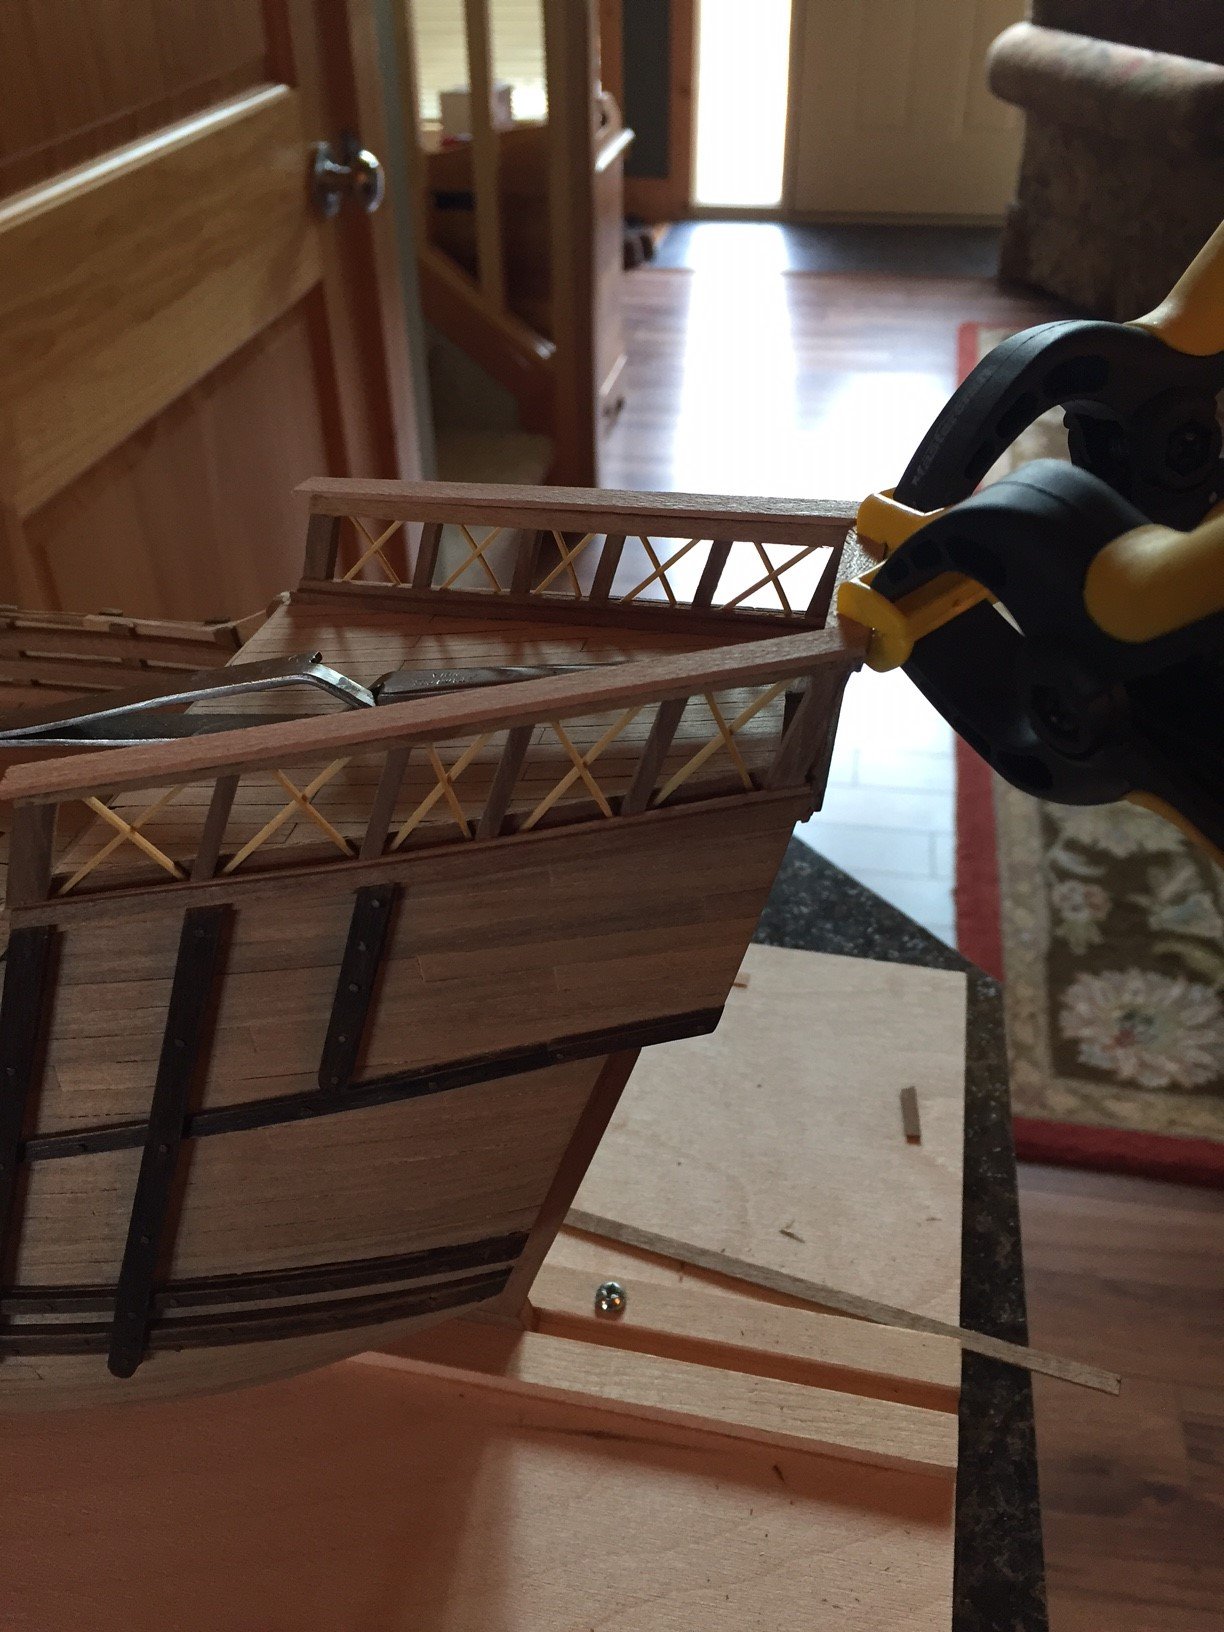
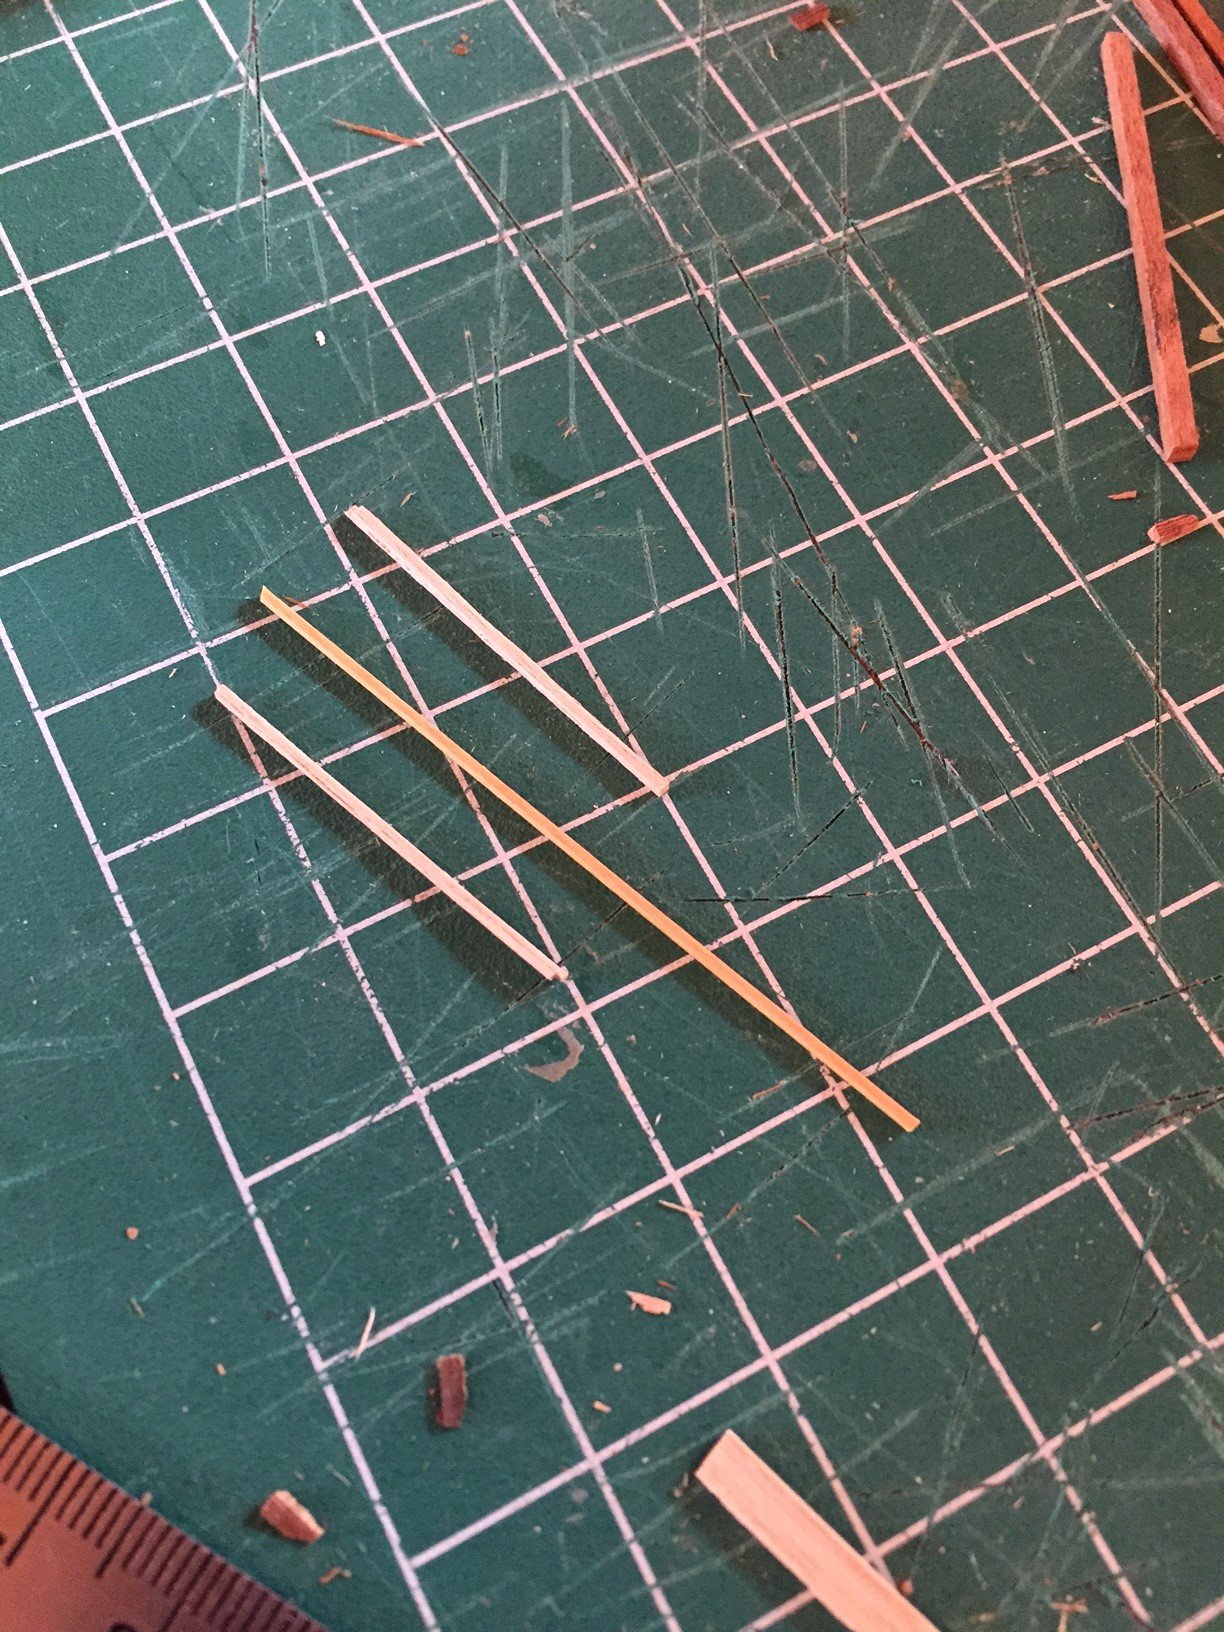
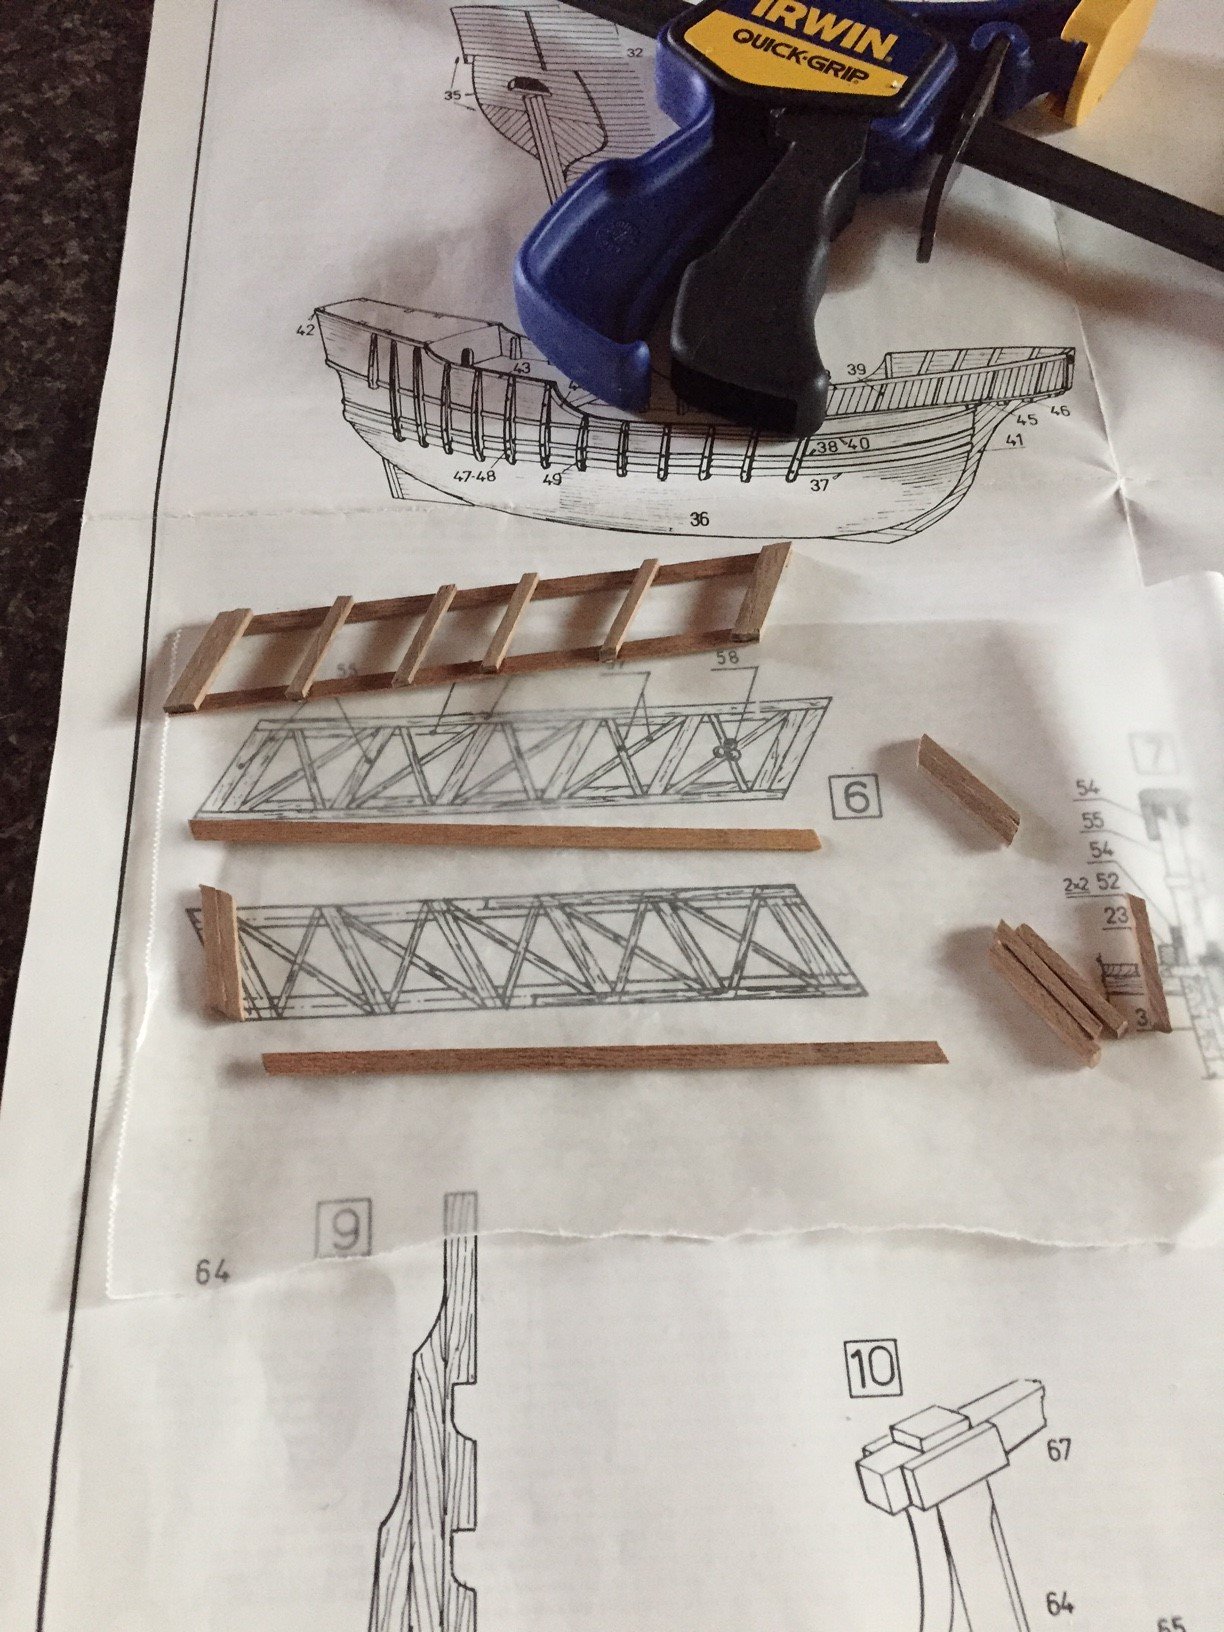
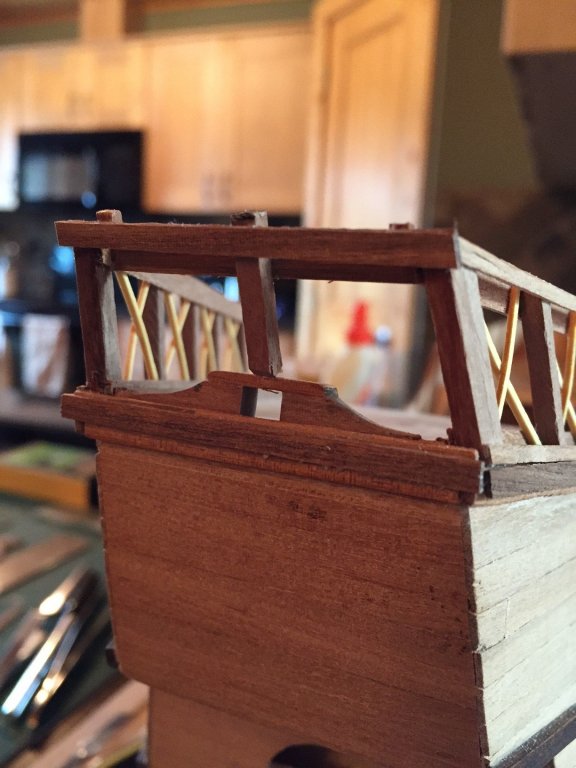
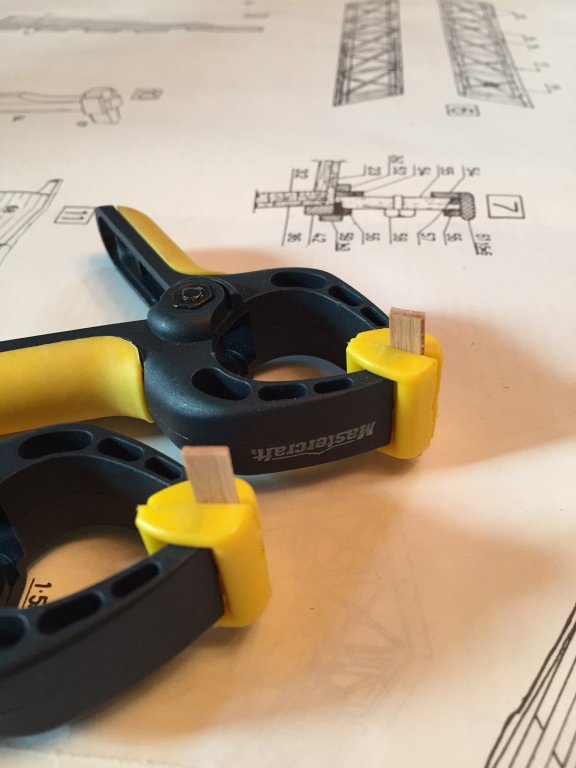
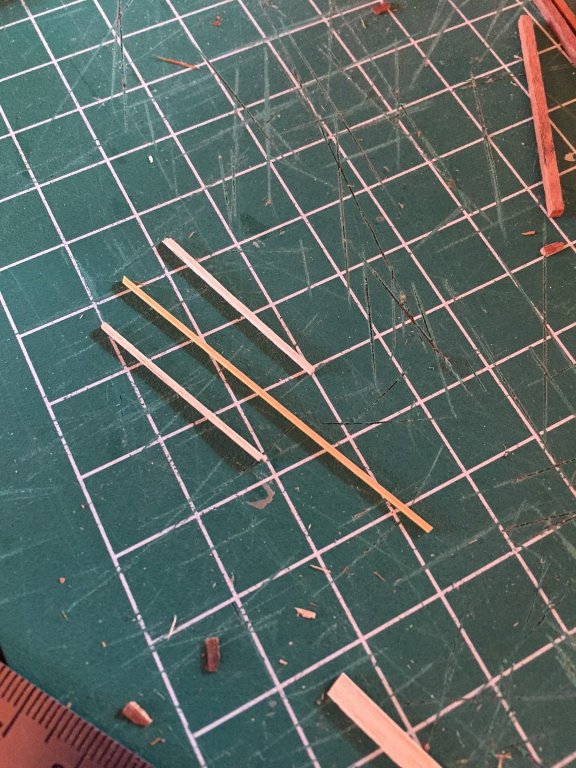
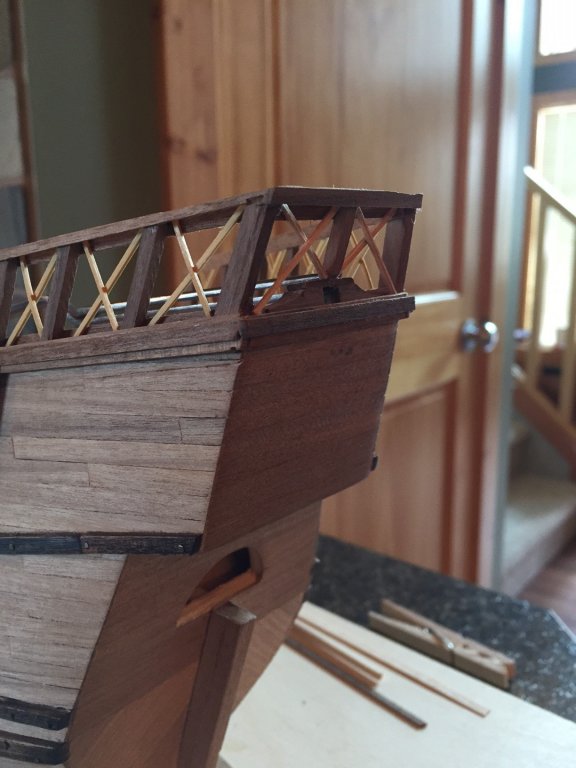
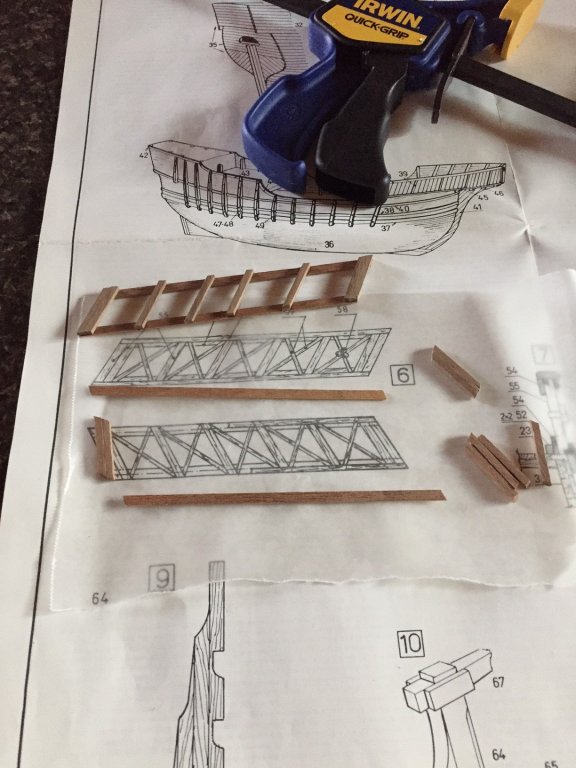
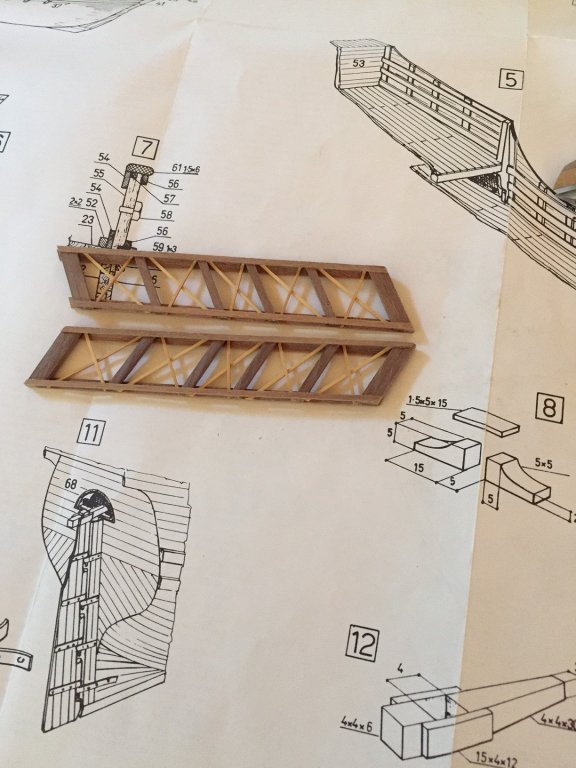
More progress to report from the weekend past... Able to get the stern railing framed out and unfortunately again with this Mamoli kit they were short in the 1x1mm supplied boxwood... I basically laminated 2 strips of the deck planking which I believe is 0.5mm Tanganyika to get my 1mm and then cut a strip of 1mm as you seen in the picture and the variation in color.
- 181 replies
-
- 3
-
-
- santa maria
- mamoli
- (and 1 more)
-
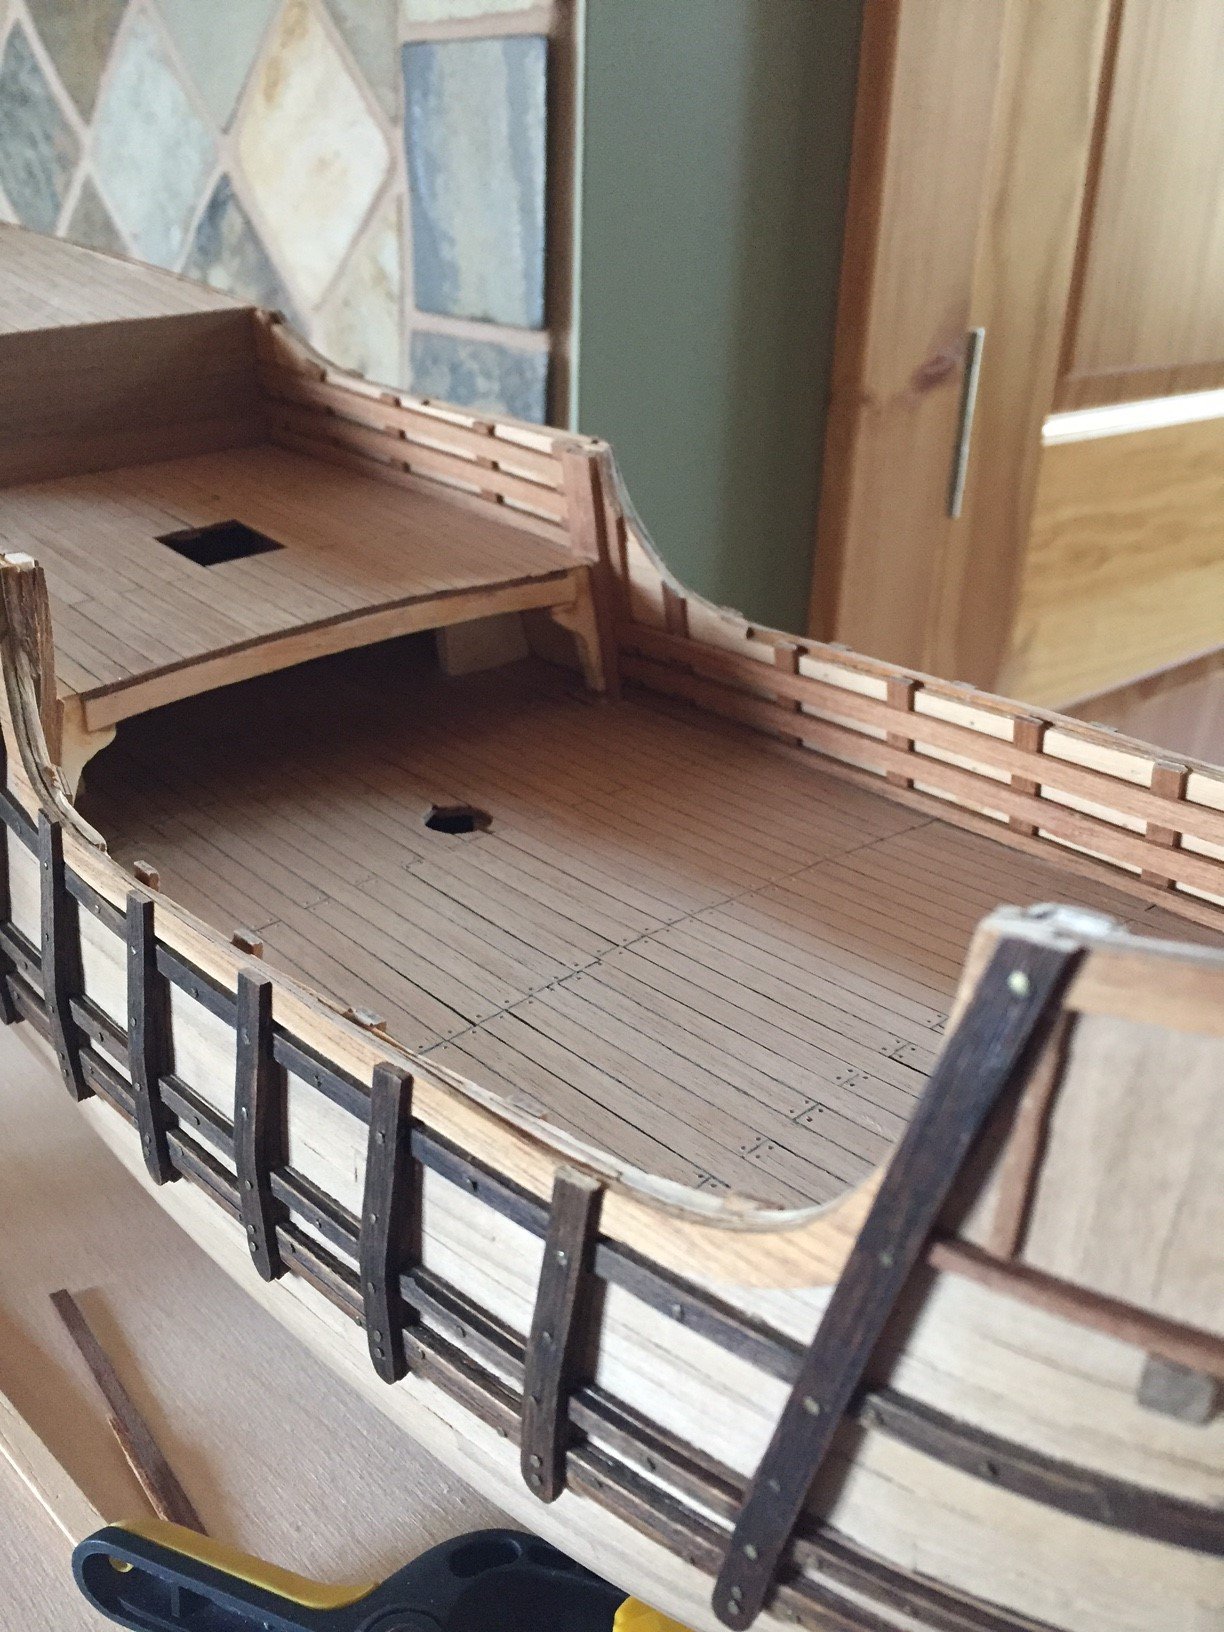
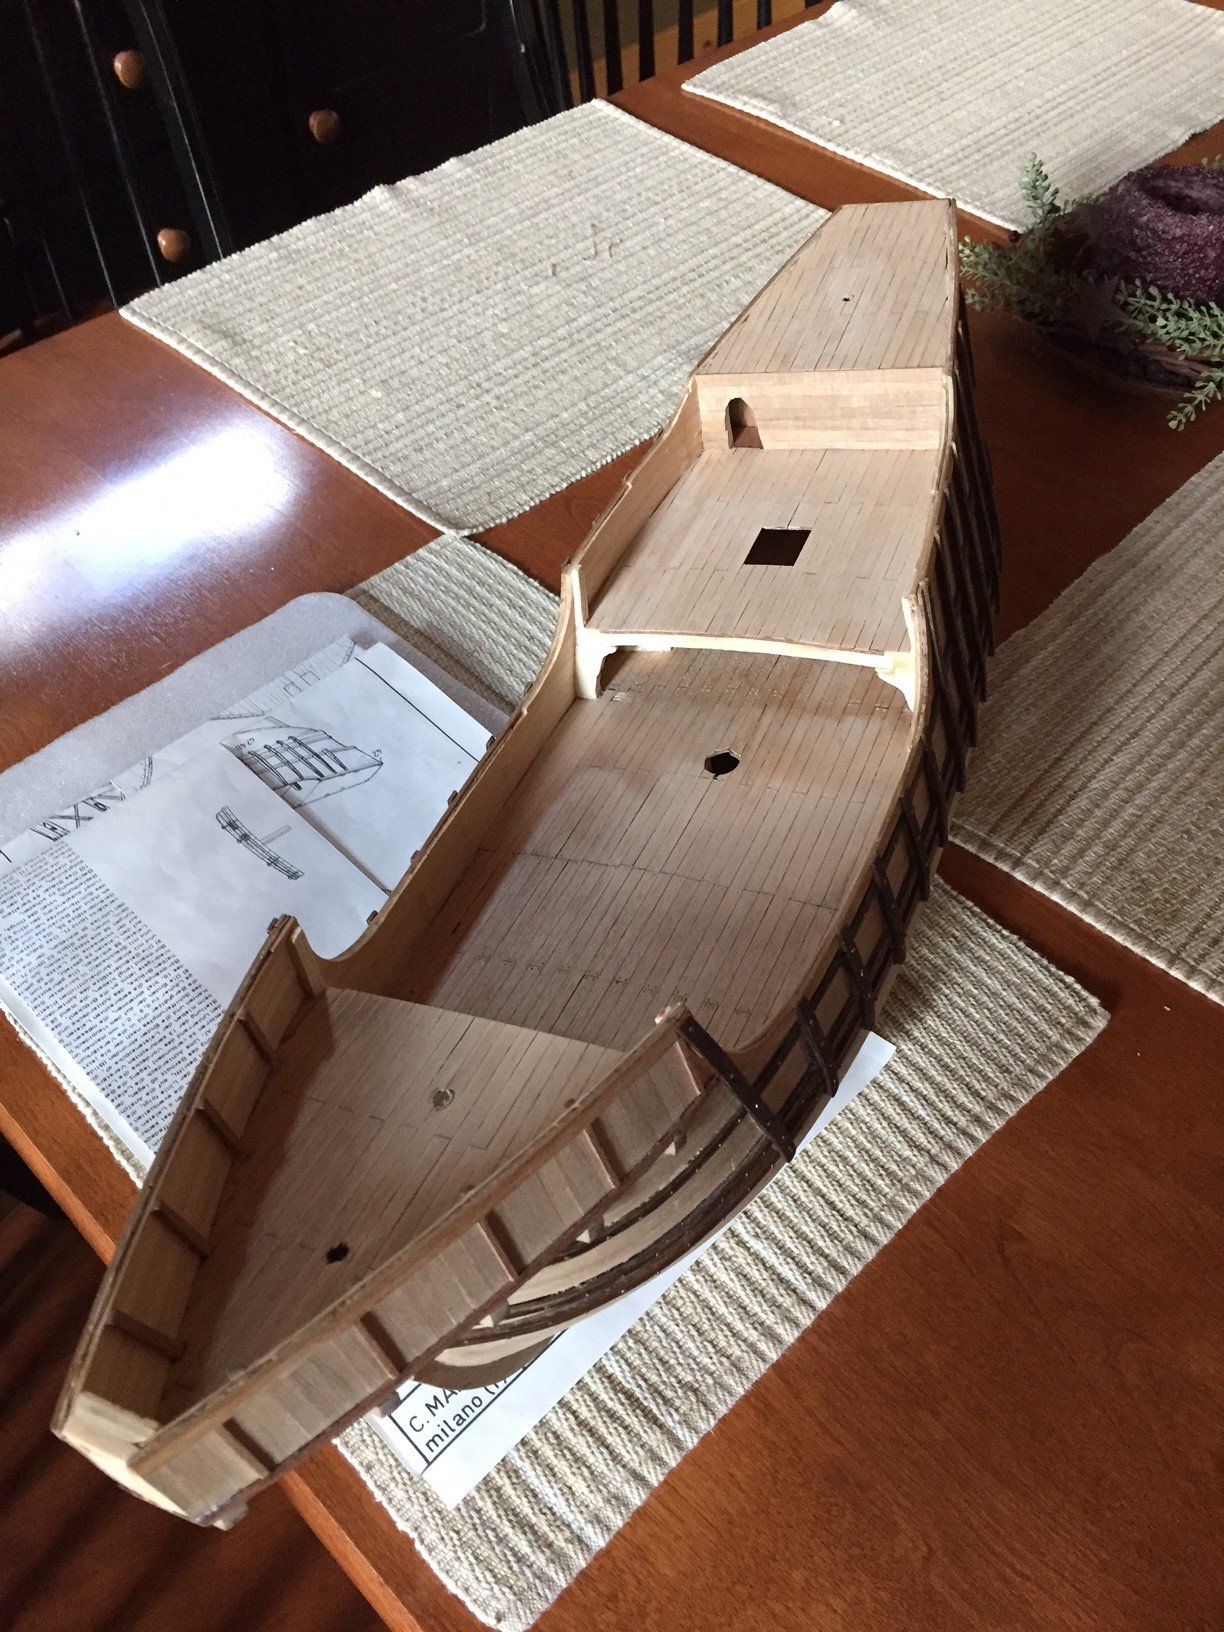
Thanks Zappto for your compliments... the hull is planked with walnut, a light shade certainly. The kit supplied planking wood has been excellent in this old Mamoli kit, very tight dimensions and clean edges. My only critique is how Mamoli was cheap with the quantities of supplied wood. I have run out a few times of the required strips, making do as need be.
- 181 replies
-
- 1
-
-
- santa maria
- mamoli
- (and 1 more)
-
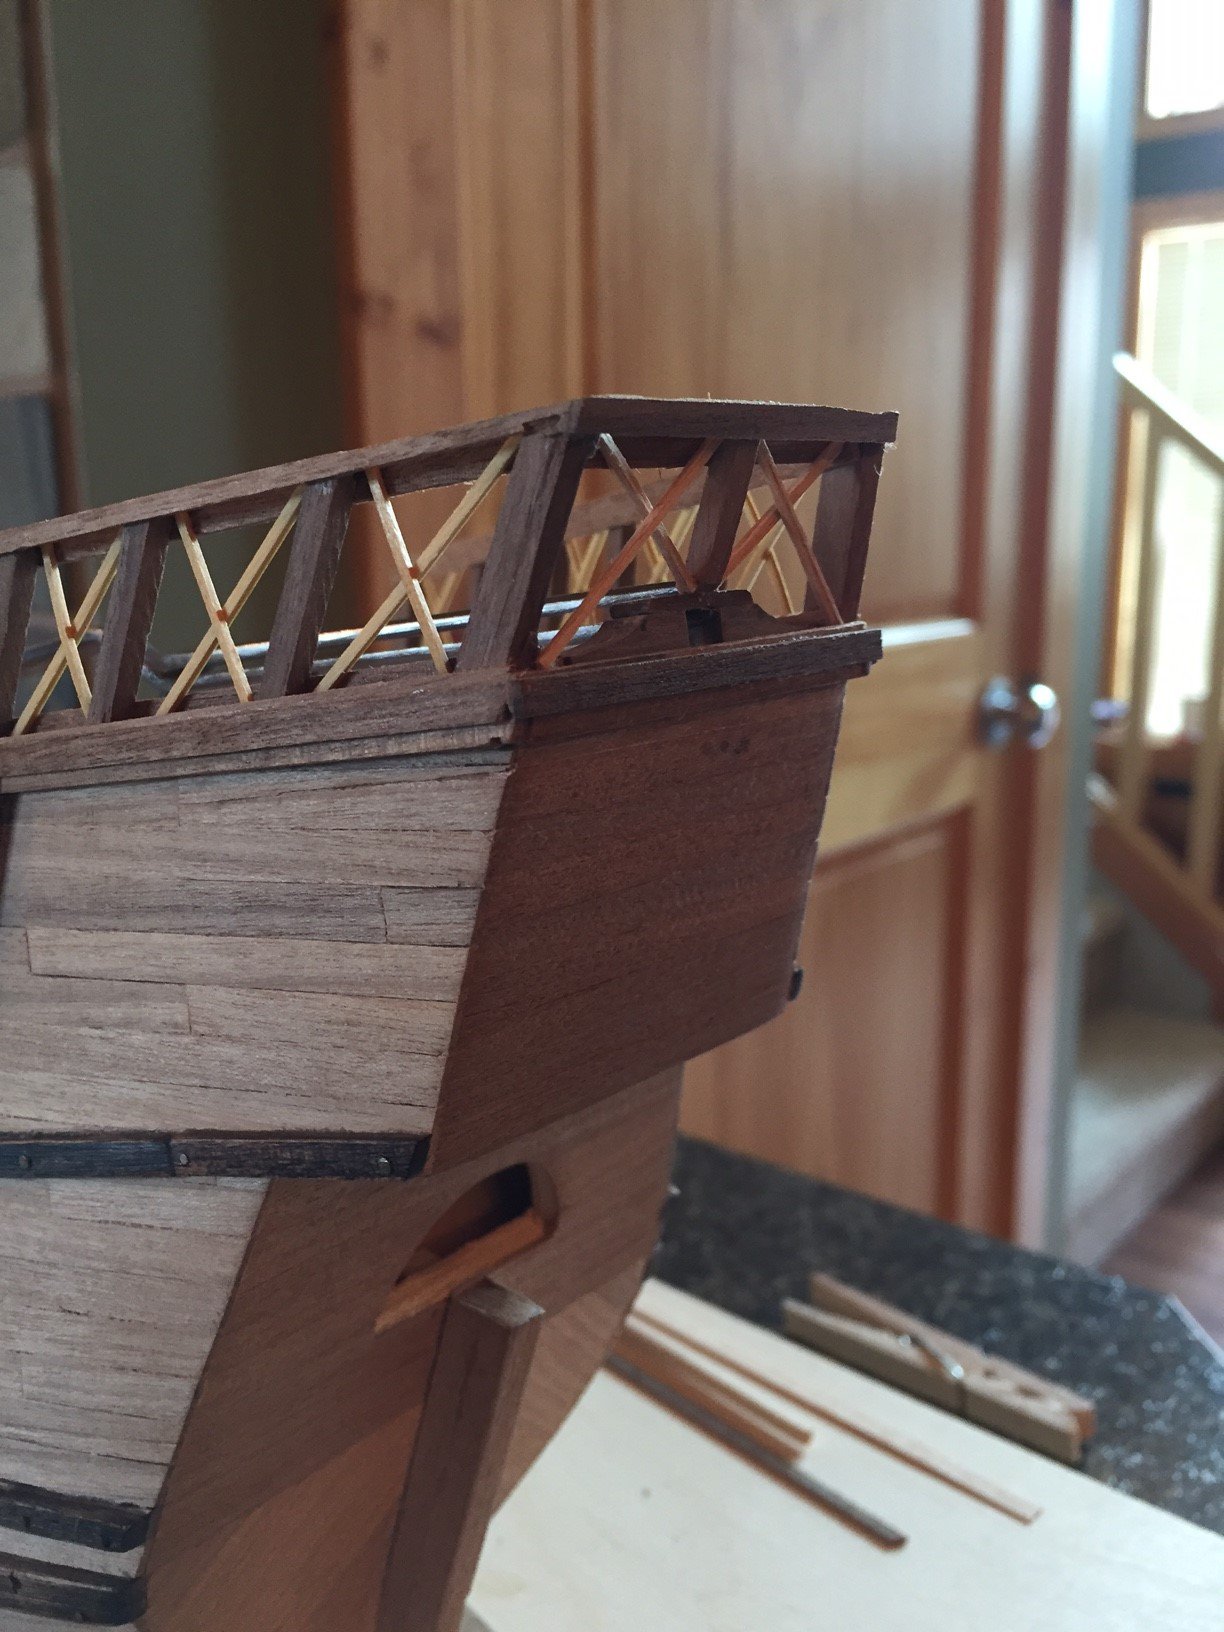
And completed some of the stern deck railings as well... This is all work completed last weekend so hopefully I will be able to provide an update into next week again.
- 181 replies
-
- 6
-
-
- santa maria
- mamoli
- (and 1 more)
-
Just a small update with regards to the addition of railings onto the inner bulwarks...


- 181 replies
-
- 4
-
-
- santa maria
- mamoli
- (and 1 more)
-
Hi Max, you have done such an amazing job... I love the kit and the work you have done! One question, how did you do your tree nails on the deck? Did you varnish the deck first and then fill the treenails and what was your fill? Thanks for your reply.
-
Hi Popeye, just finished looking at some of your recent logs... this one included... great stuff! Any updates upcoming?
-
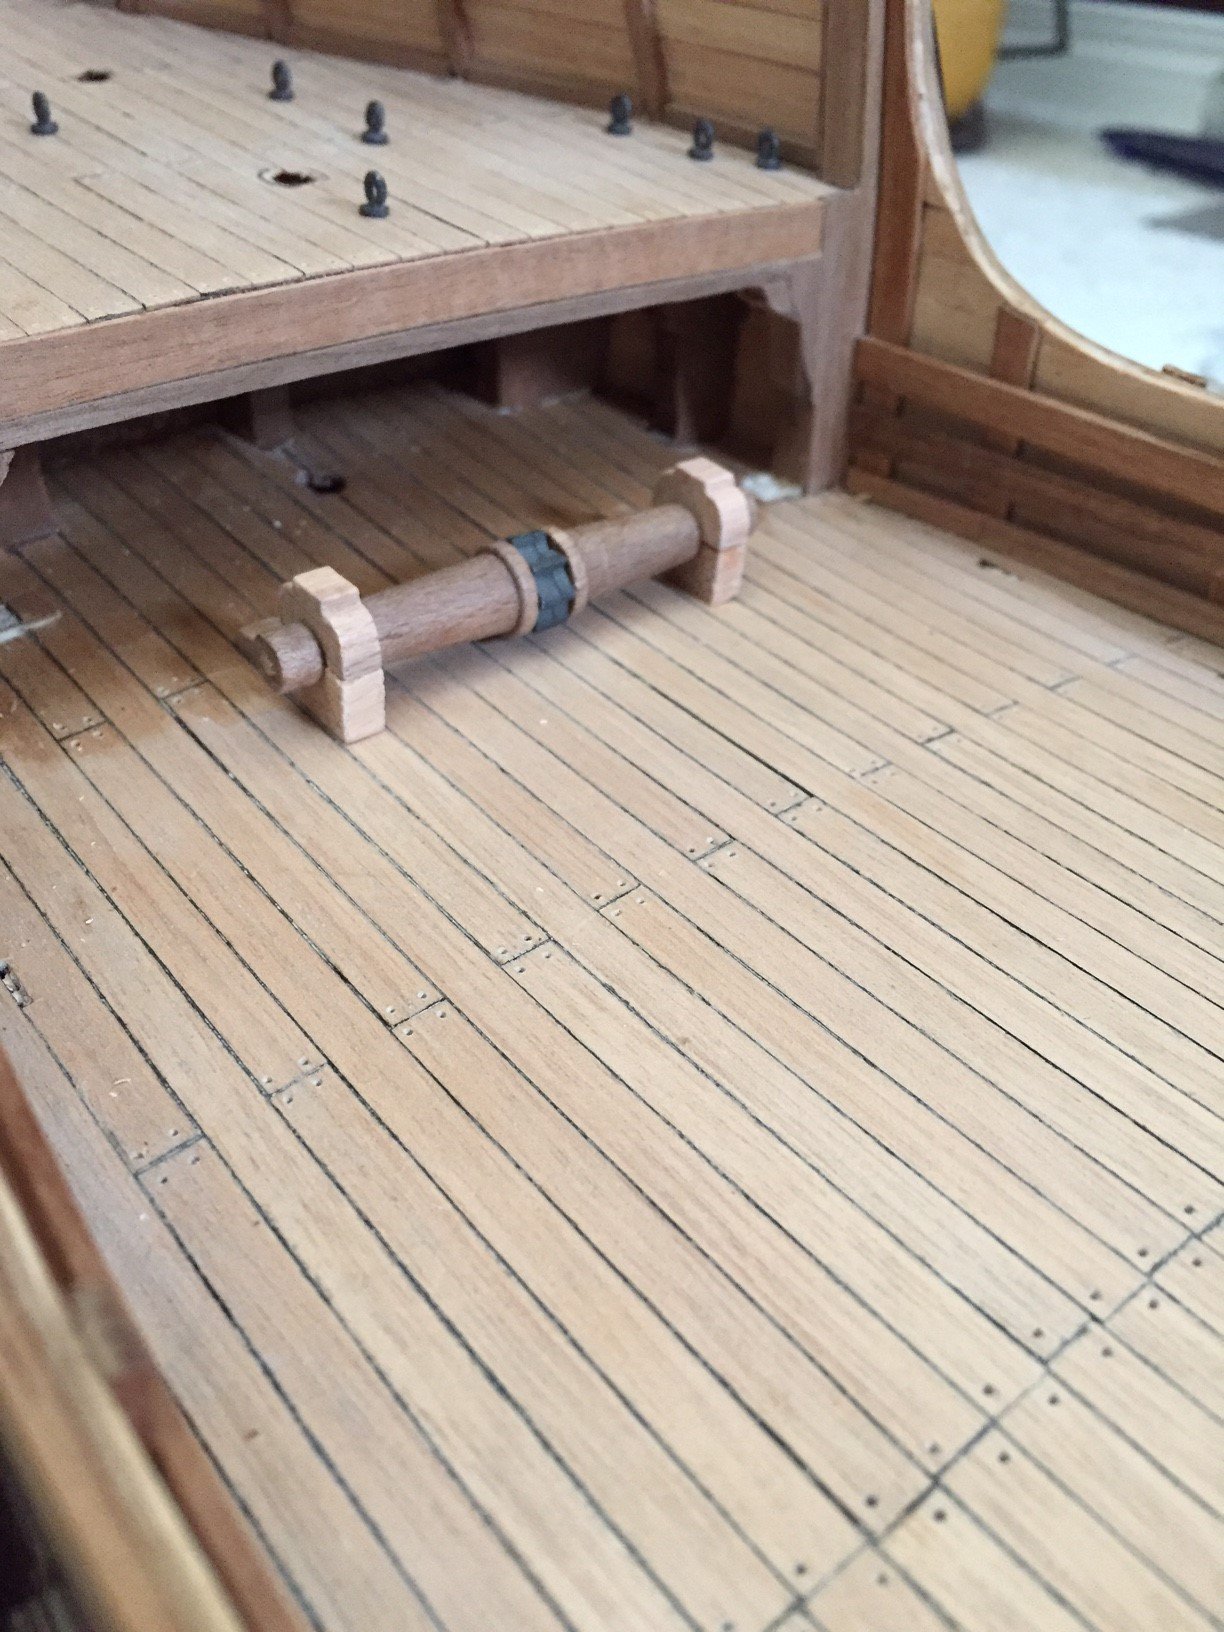
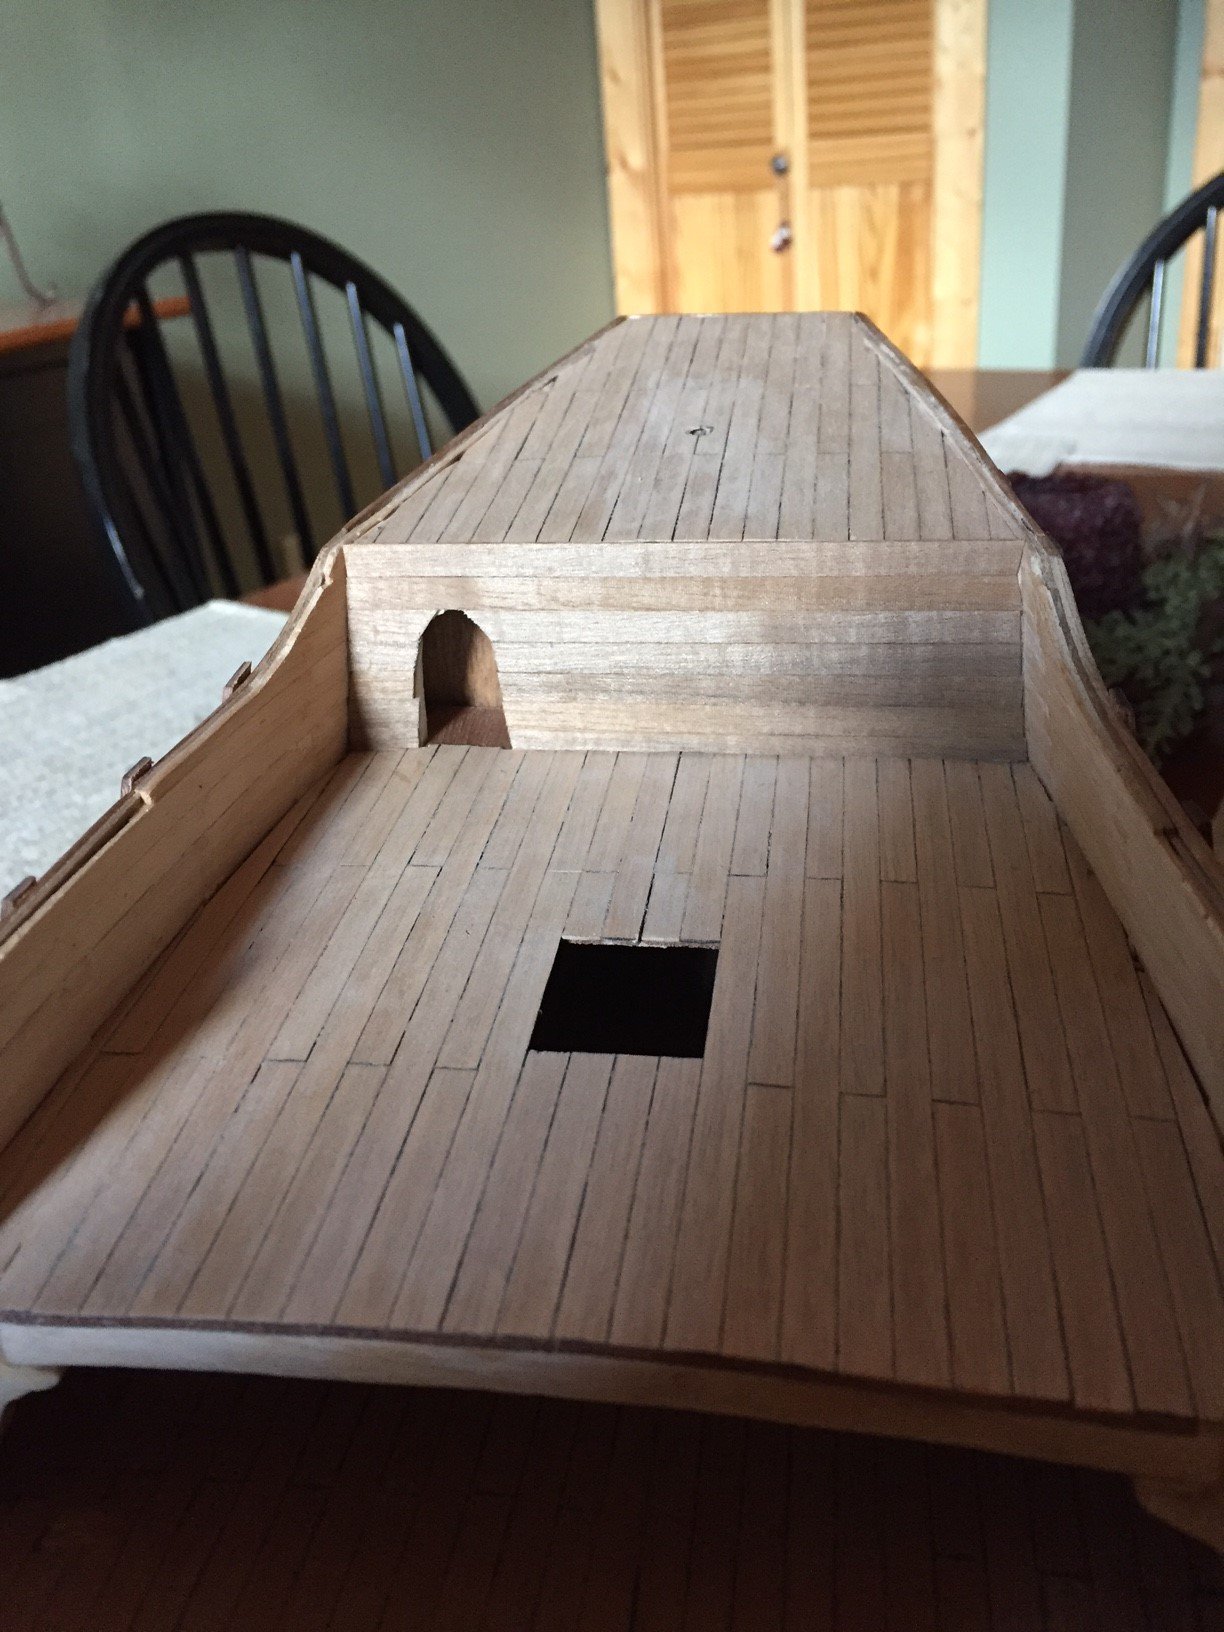
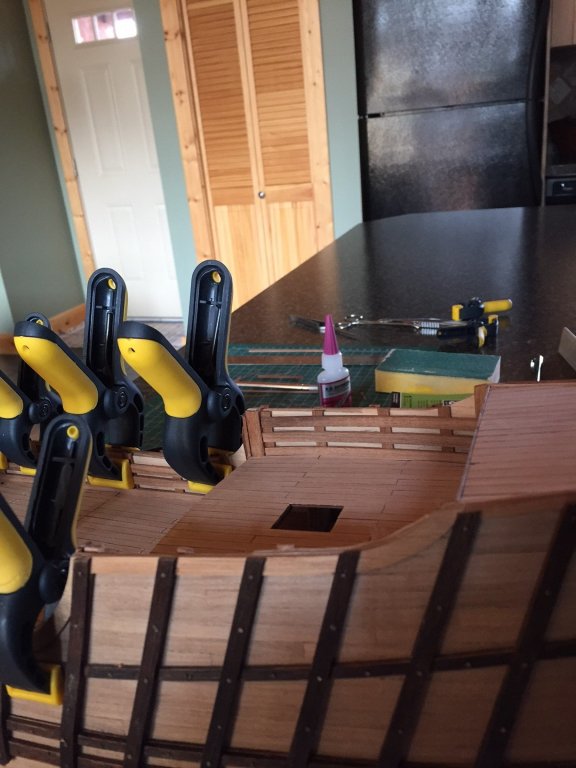
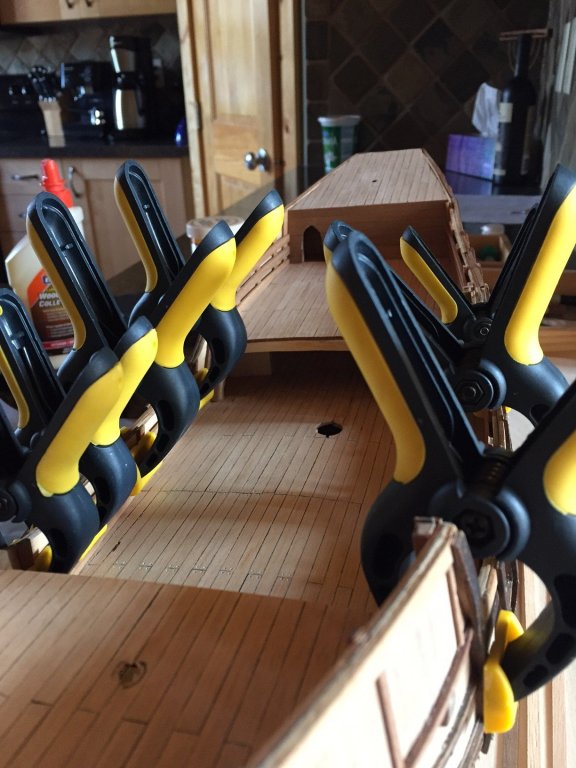
And here is the results of the above mentioned work and preparation... The planking came out very nice compared to my previous builds that I have done. I did a 2 butt joint pattern and used blank archival ink (from a pen) to simulate the caulking which turned out very nicely in my opinion. The mistakes in planking on the main deck (at the earlier stage) will need some strategically placed barrels to hide them...


- 181 replies
-
- 5
-
-

-
- santa maria
- mamoli
- (and 1 more)