HOLIDAY DONATION DRIVE - SUPPORT MSW - DO YOUR PART TO KEEP THIS GREAT FORUM GOING!
×


mrcc
-
Posts
549 -
Joined
-
Last visited
Content Type
Profiles
Forums
Gallery
Events
Everything posted by mrcc
-
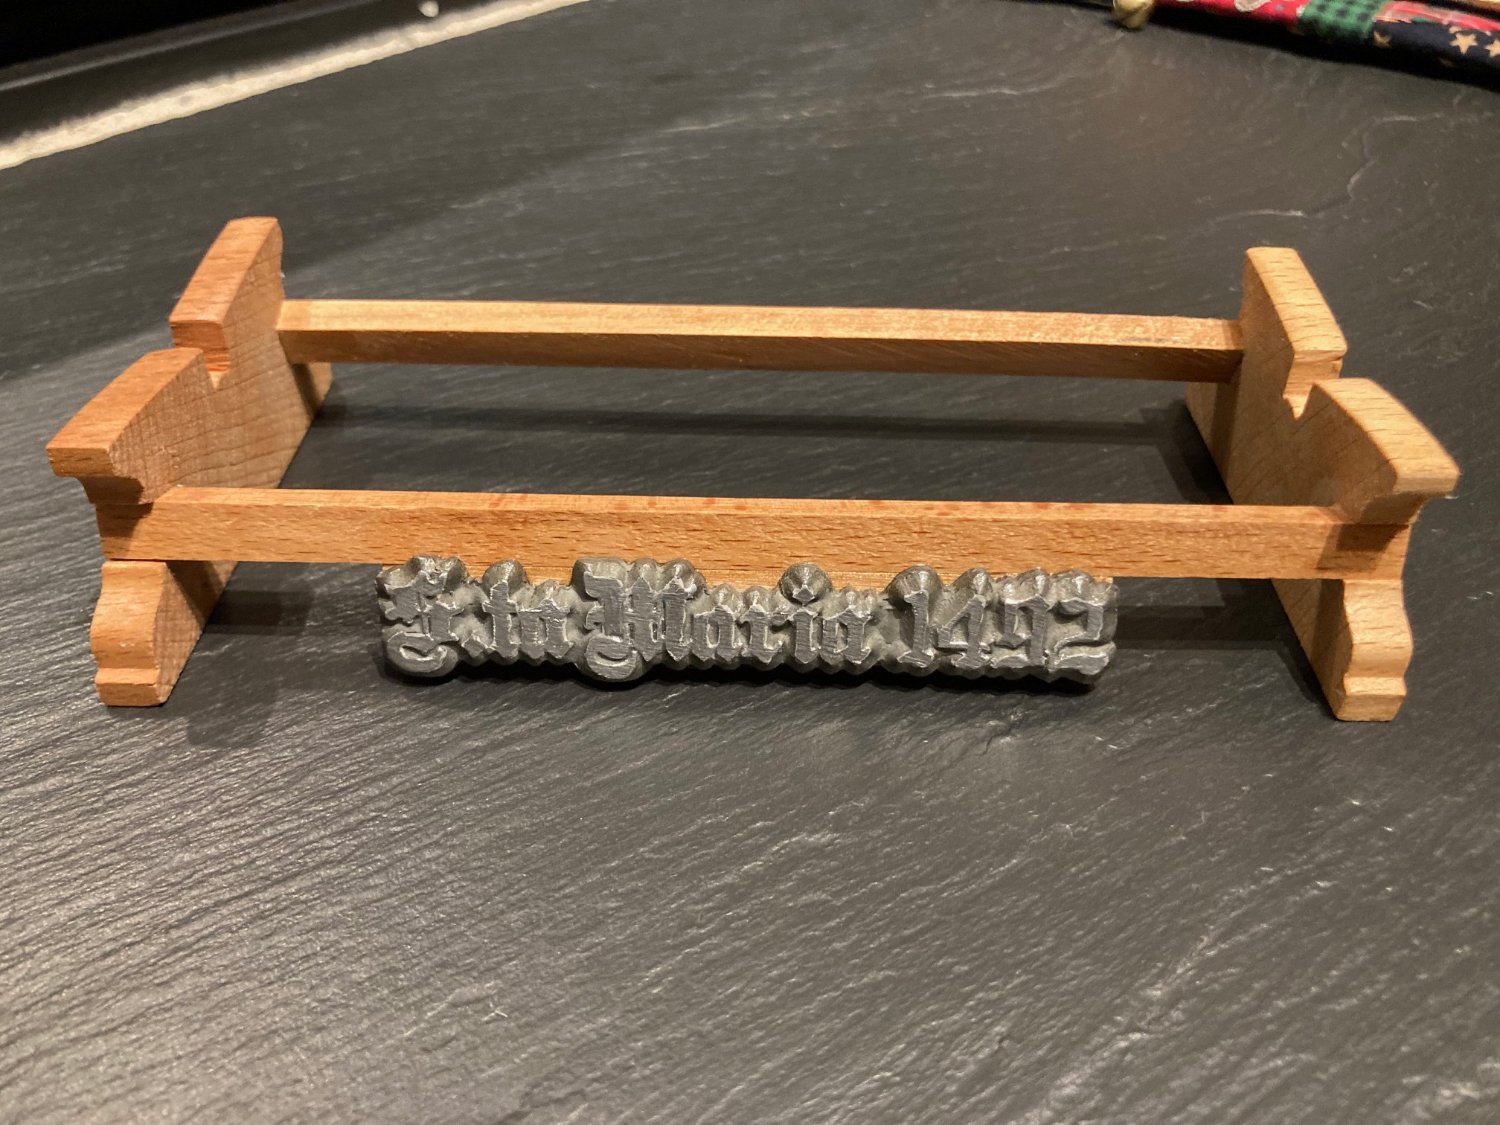
 Name plate... Funny as the contrast between the letter and background is perfect to the naked eye but once the image is taken with the Iphone camera... contrast is lost (to a degree). Anyways... I am essentially done. I just have to tighten a couple rigging lines and present some final images later this week. At that time I will provide some final thoughts on the Mamoli kit of the Santa Maria.
- 179 replies
-
- 3
-

-
- santa maria
- mamoli
- (and 1 more)
-
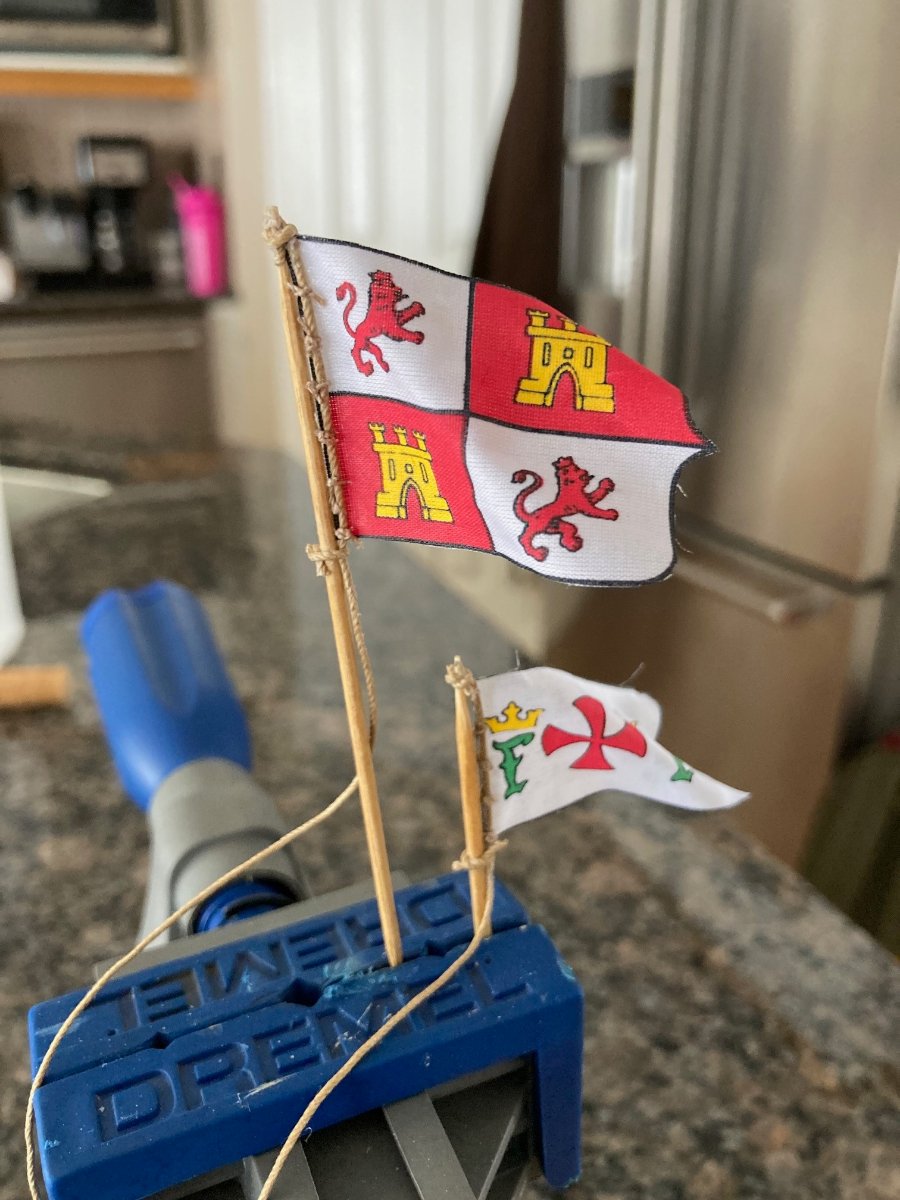
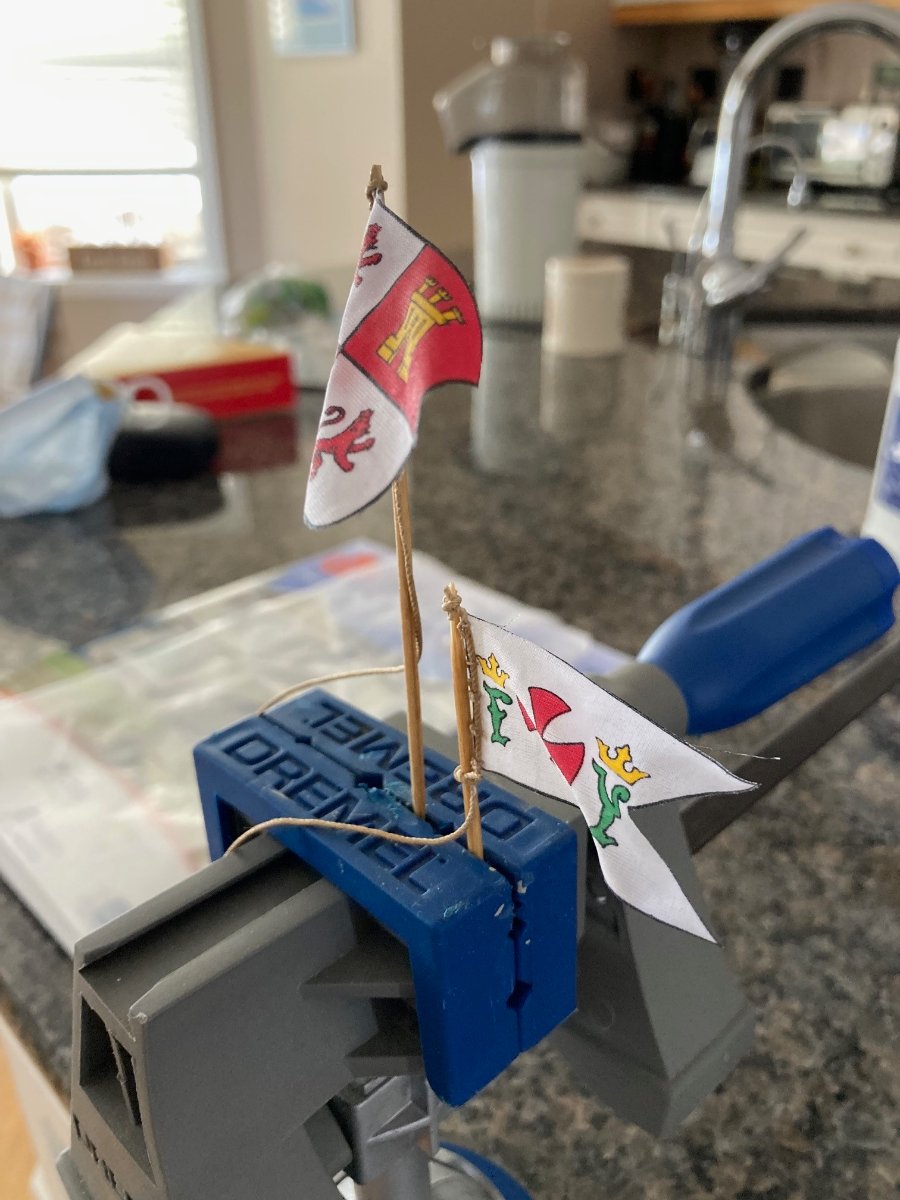
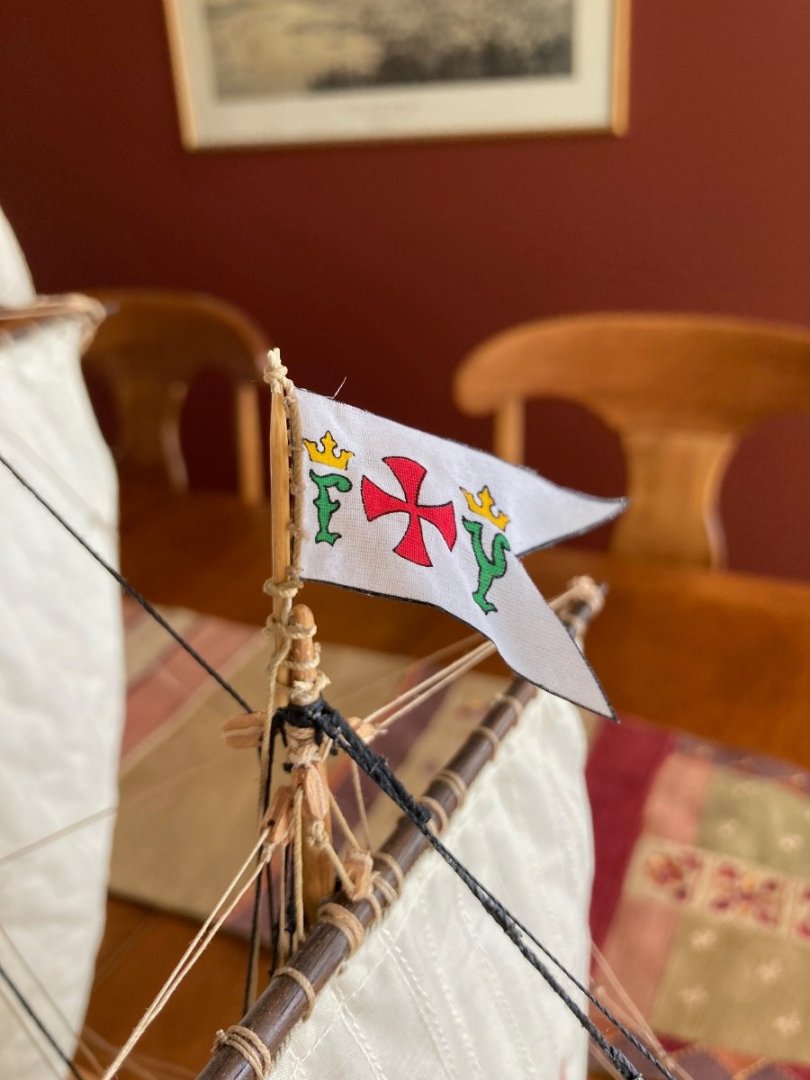
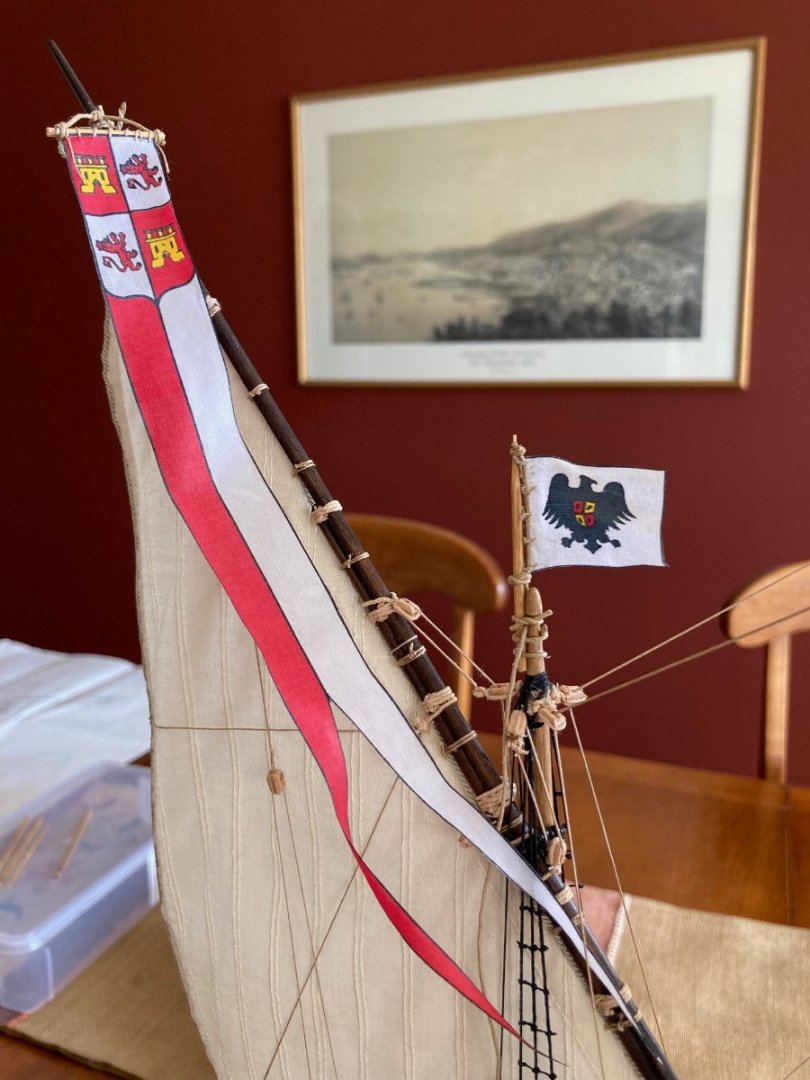
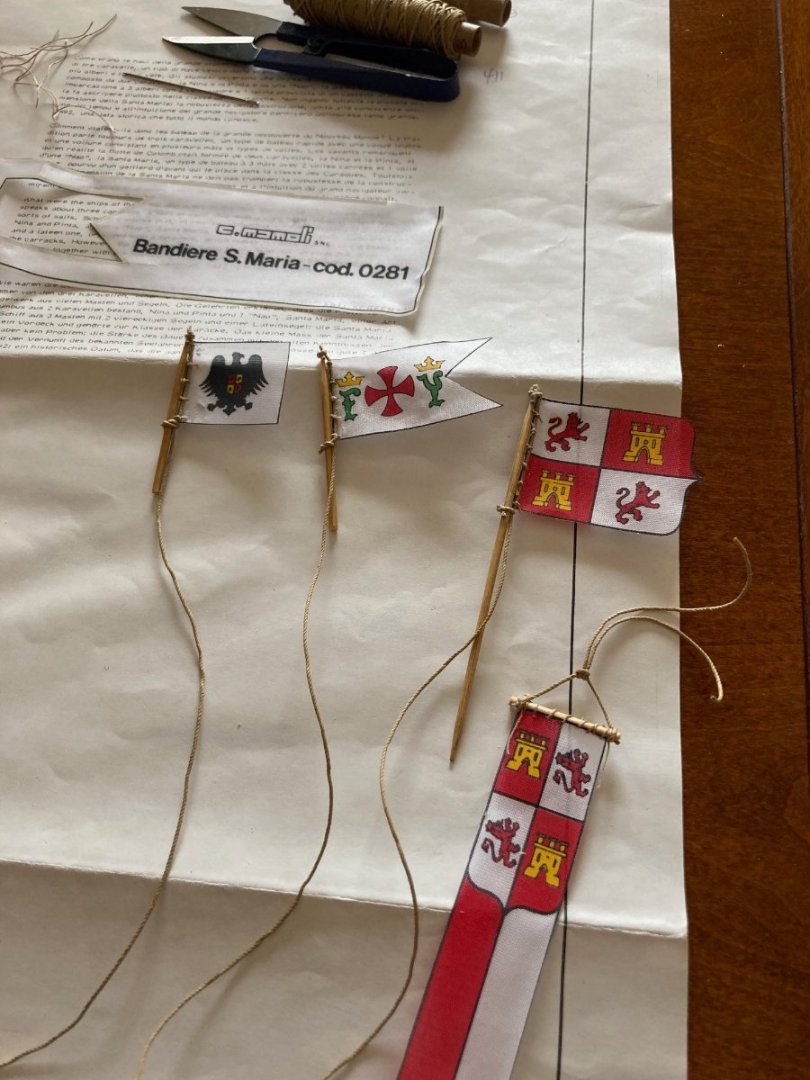
Here they are attached to the masts... Mamoli had short changed me on the 0.4 mm rigging thread. I have been careful with usage and barely saved enough to create enough rope coils for my rigging line belay points onto the pins. So I tied the flag poles to the top masts with 0.8 mm rigging thread (all that I have left) and thought it looked fine and walked by the model a dozen times and then one walk by and oh boy, the 0.8 mm line looks out of scale all of a sudden!

- 179 replies
-
- 3
-
-
- santa maria
- mamoli
- (and 1 more)
-
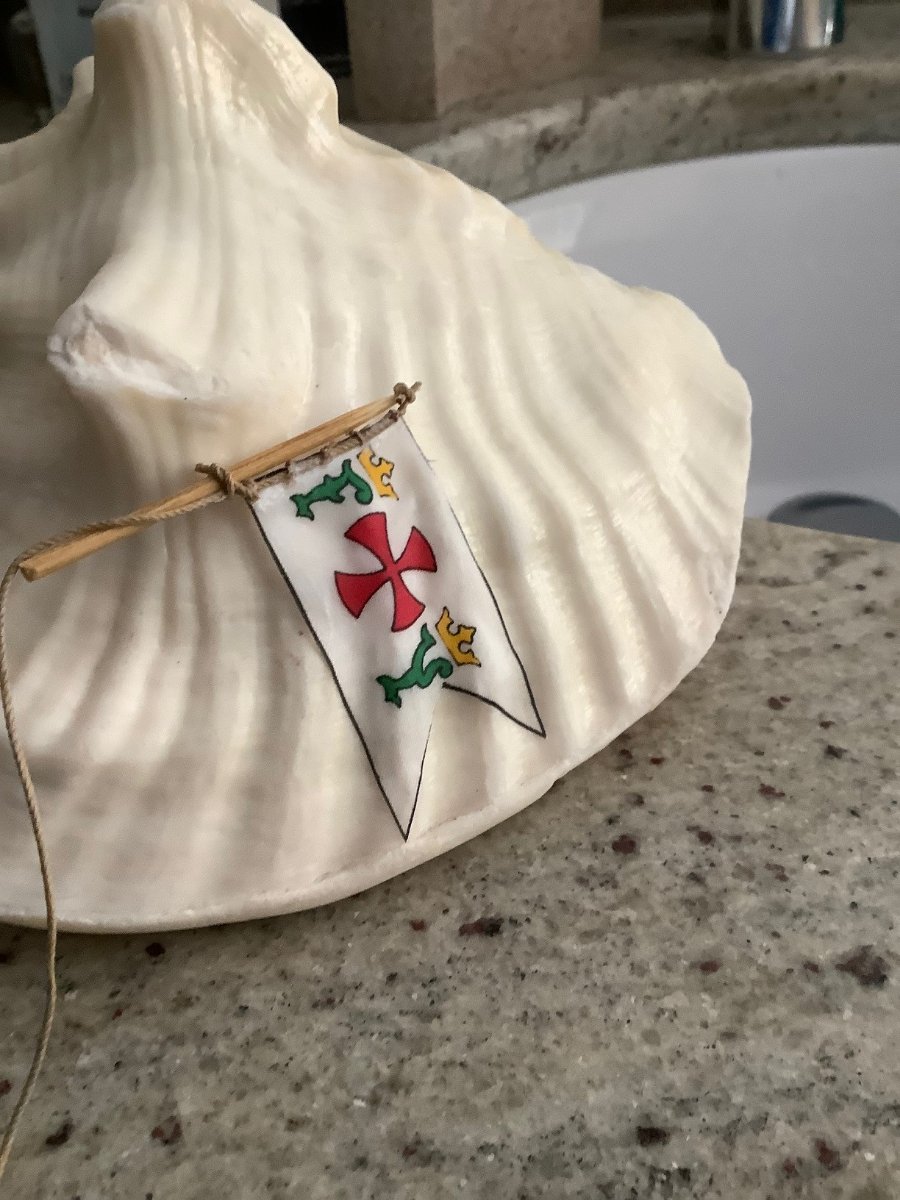
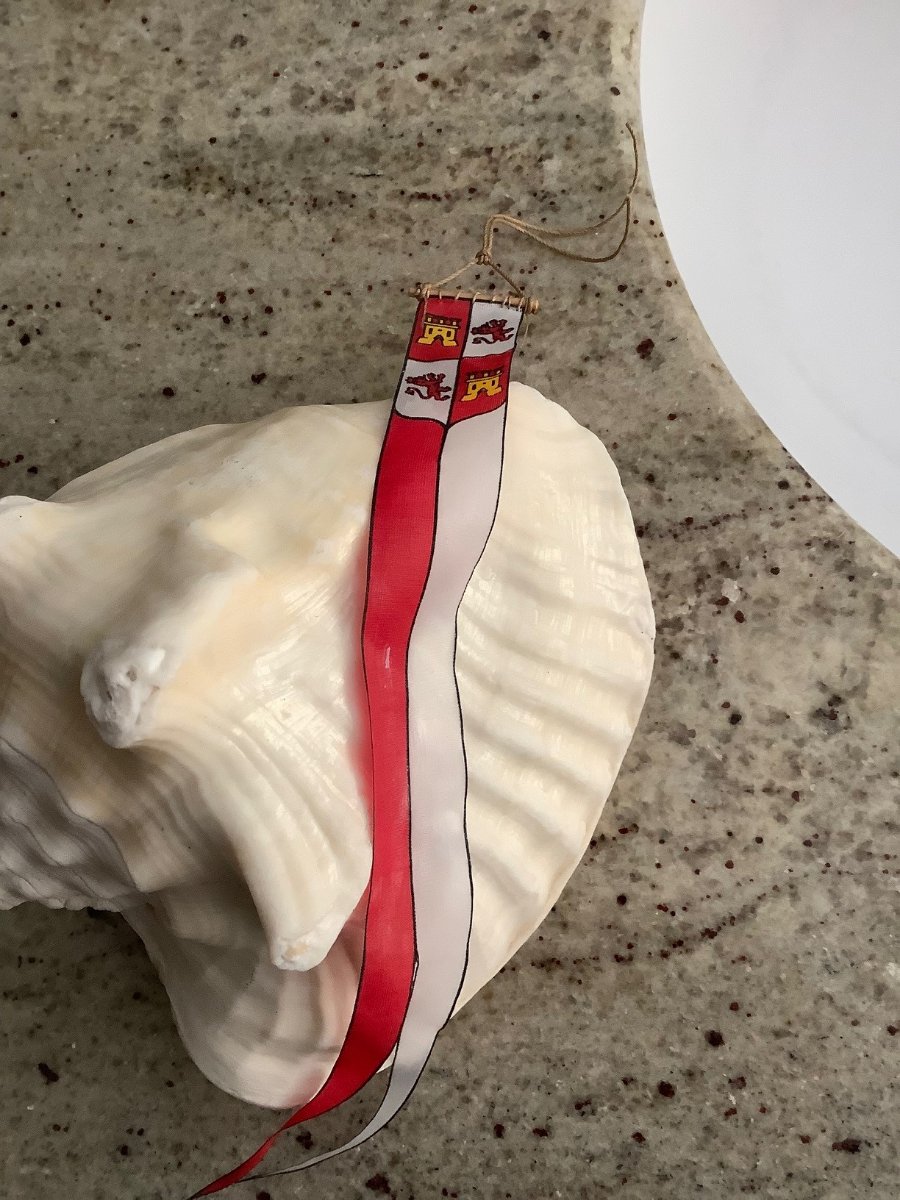
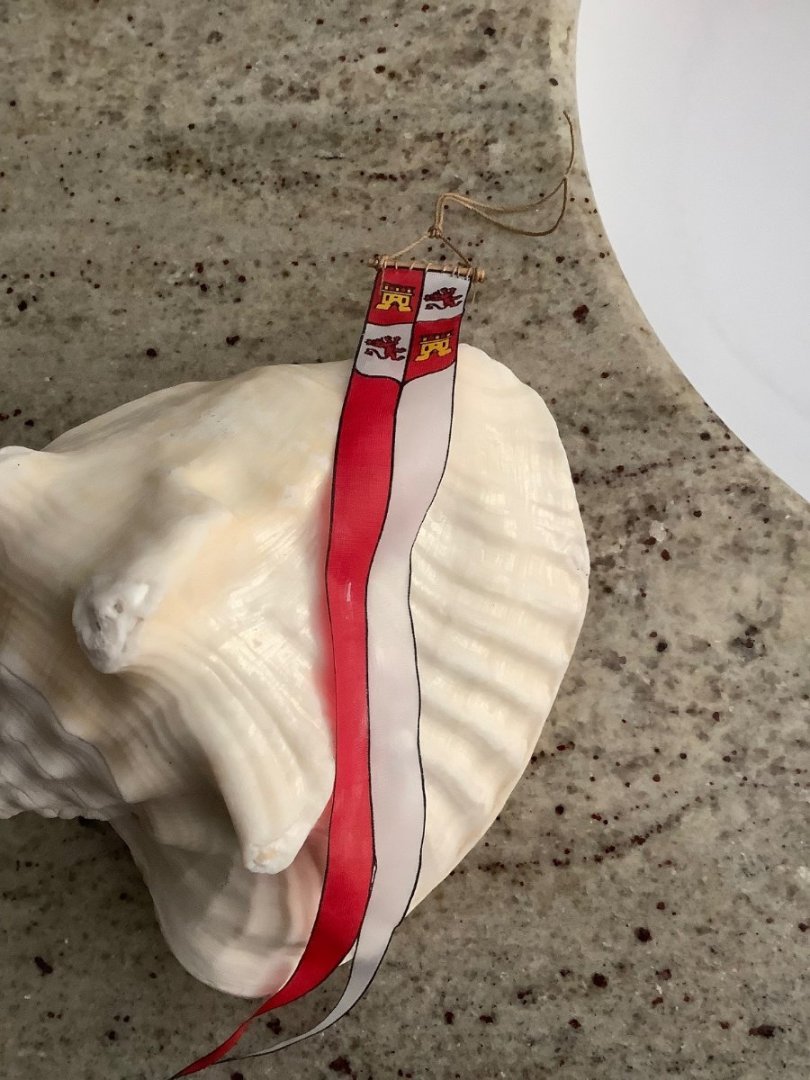
I soaked the silk-screen/polyester flags in GAC 400 with some trepidation as I presumed GAC 400 is designed for natural fibres such as cotton. I draped them over an old sea shell while still wet, hoping to create some free forms in order to simulate the wind and wind gusts. With a hair dyer, while draped on the shell, dried them out and then with a hobby knife, gently peeled them off the shell... without success! So i just re wet them lightly with water and crumpled them up gently with my hands.


- 179 replies
-
- 2
-
-
- santa maria
- mamoli
- (and 1 more)
-
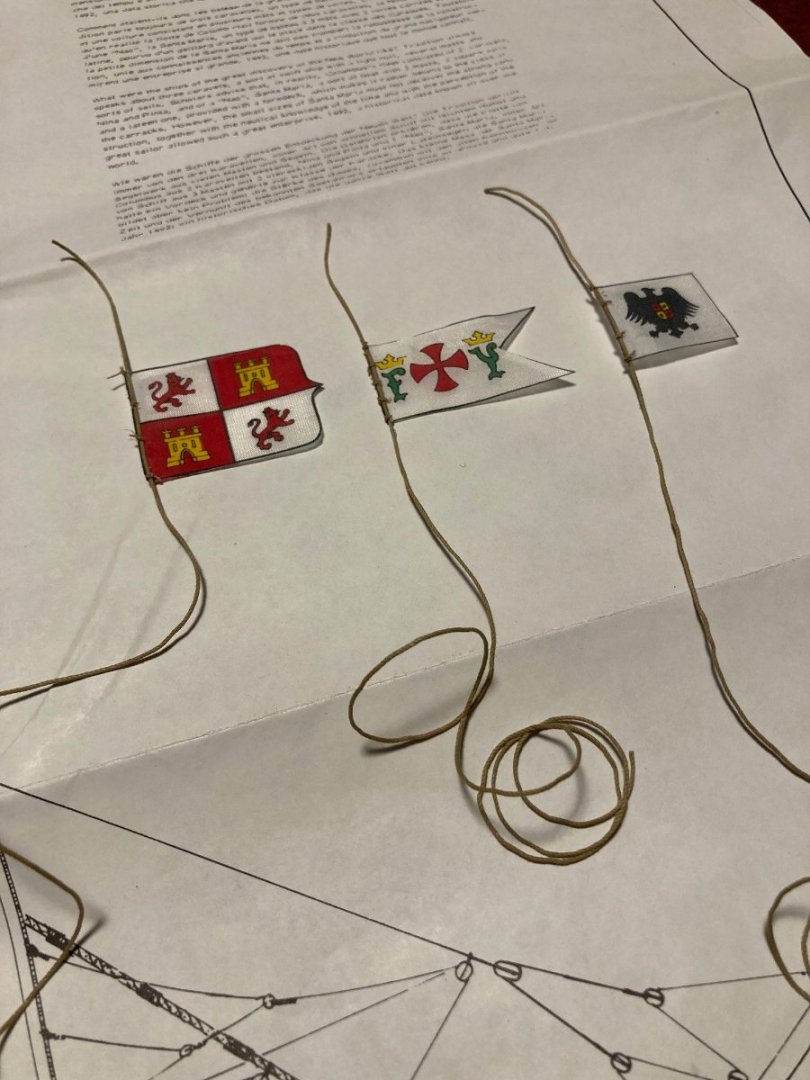
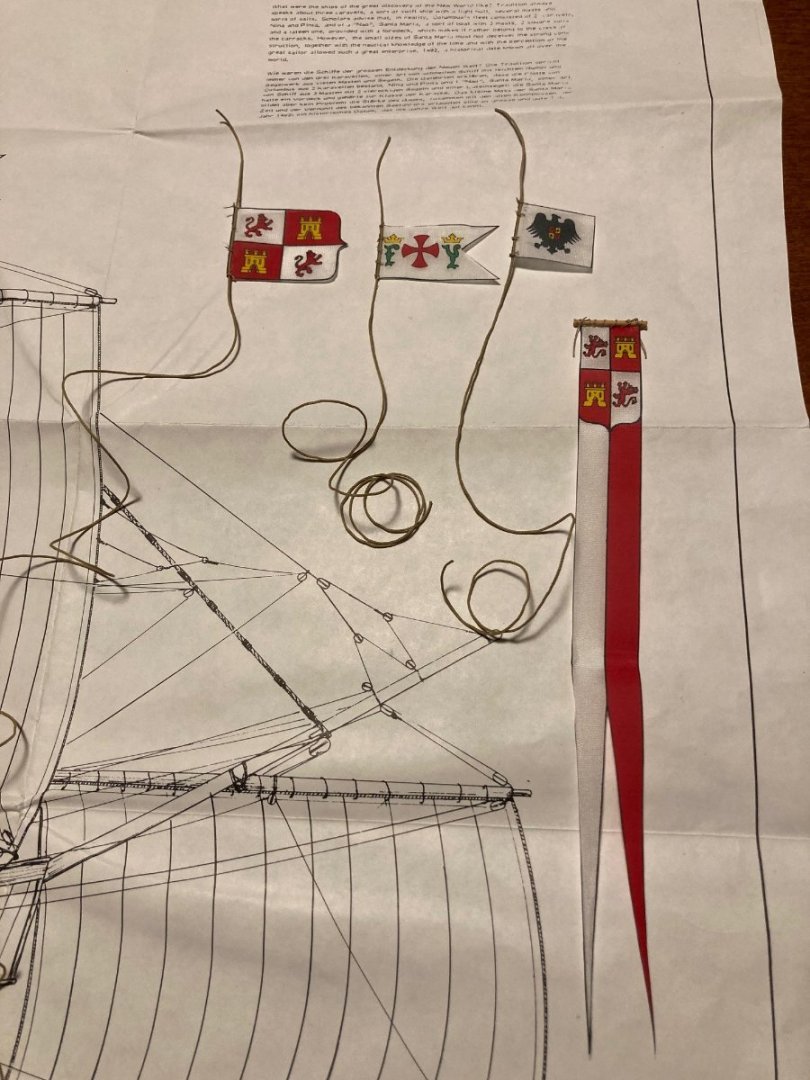
Well, got a few final things done this past weekend. The kit supplied flags look very good to my eyes...
- 179 replies
-
- 1
-
-
- santa maria
- mamoli
- (and 1 more)
-
Love your methodical approach and presentation style… Wonderful build log!
- 426 replies
-
- 2
-
-
- Vanguard Models
- Sphinx
- (and 1 more)
-
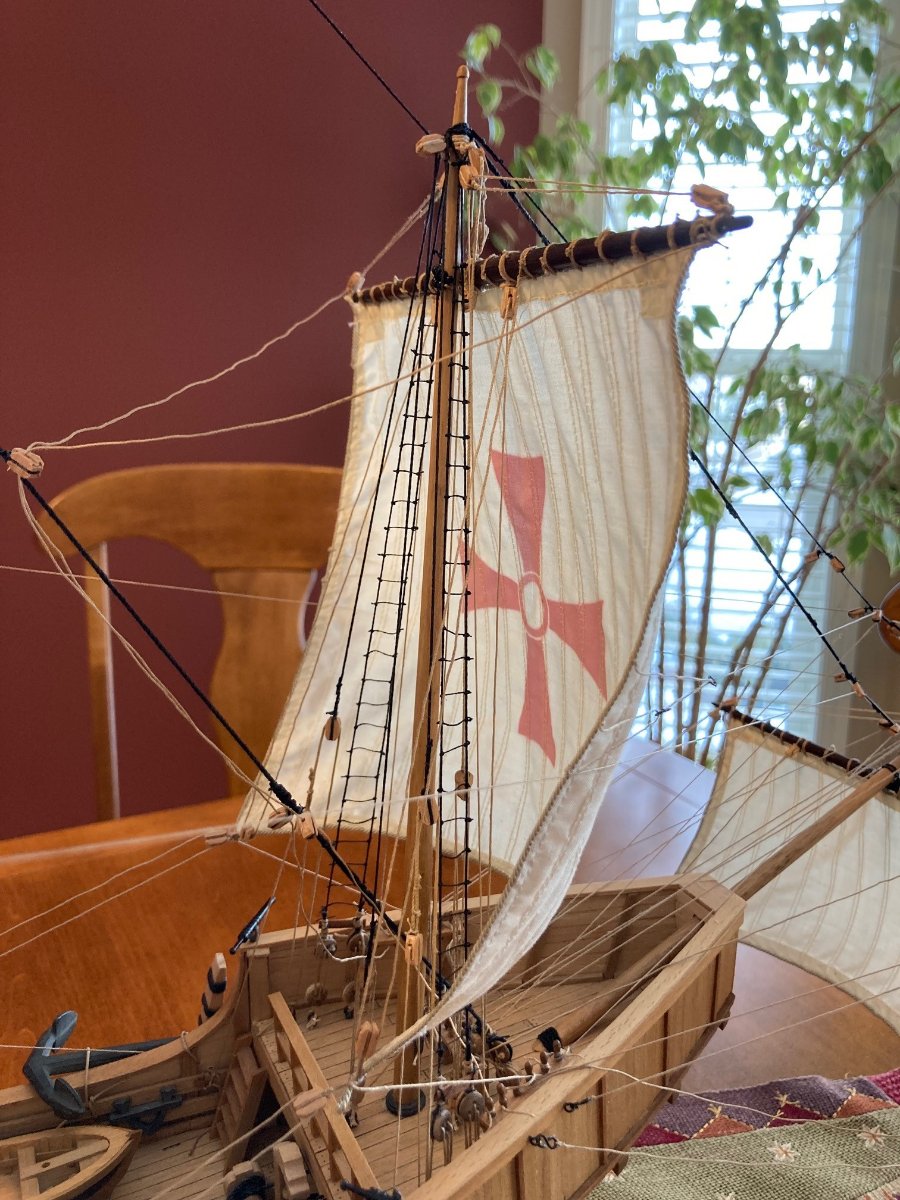
I do have to tighten just a couple lines, so that is not bad. I have to fix a few lines creating a nice natural sag with regards to a few lines on the foresail that don't sag naturally at this time. I have to of course make and add all the rope coils but true to Mamoli, I will be short the 0.4 mm rigging line that is the vast majority of the rigging lines, to complete the task on the various pin rails on the decks.

- 179 replies
-
- 4
-
-
- santa maria
- mamoli
- (and 1 more)
-
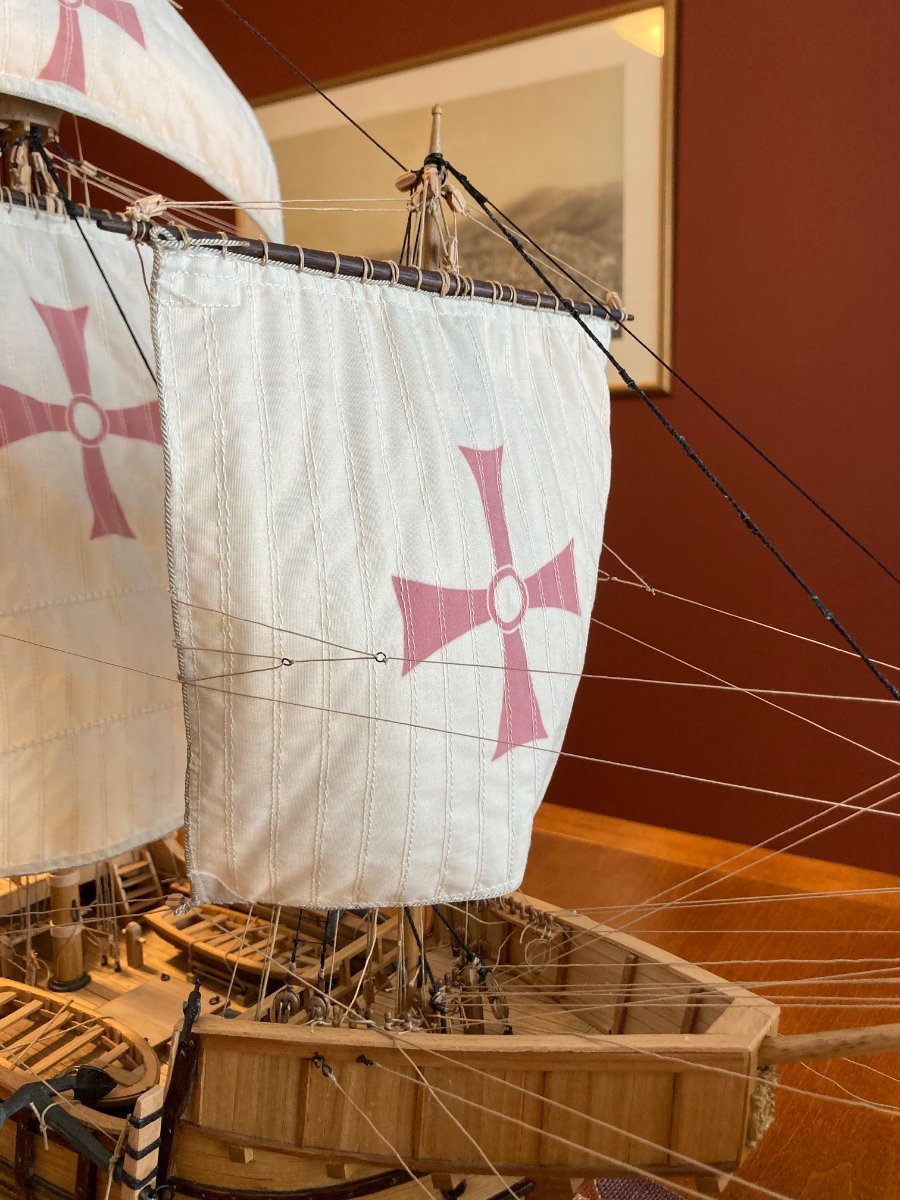
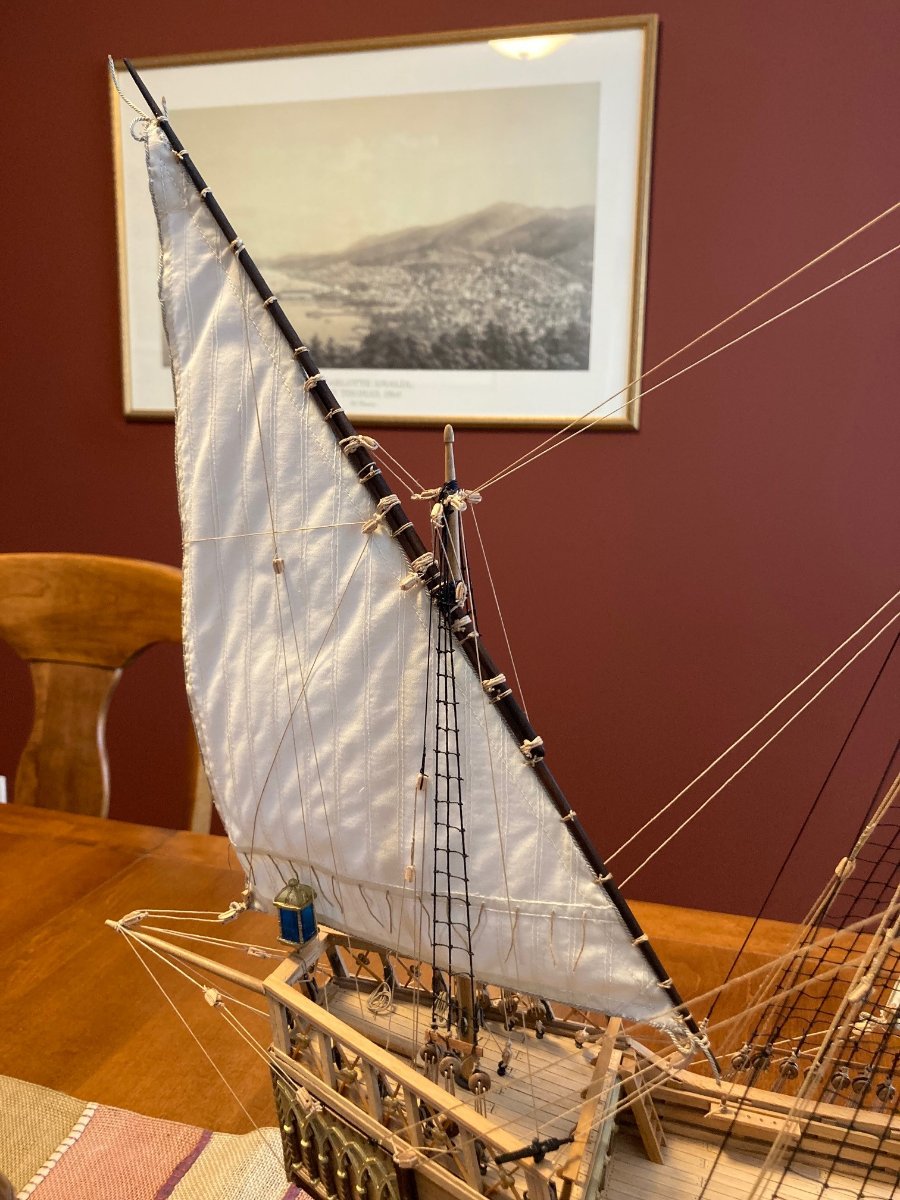
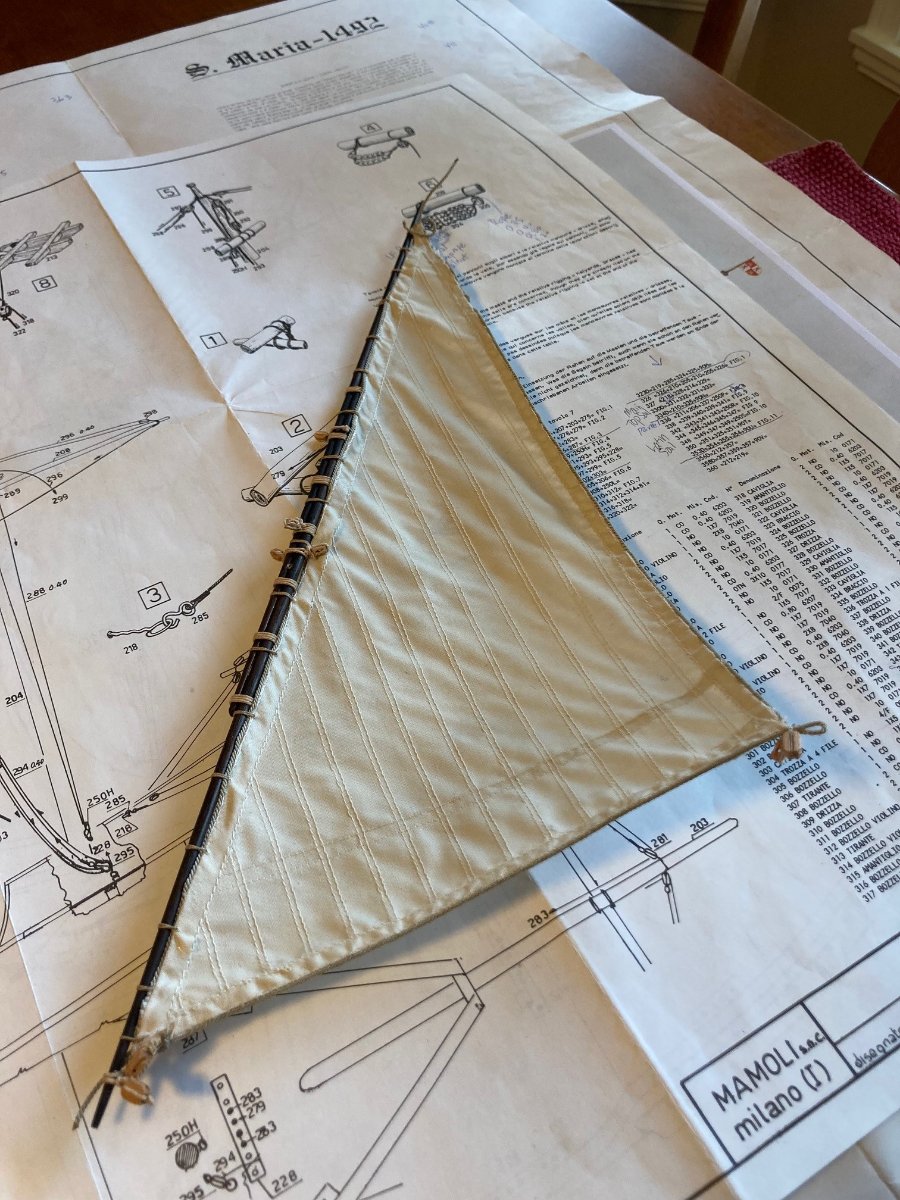
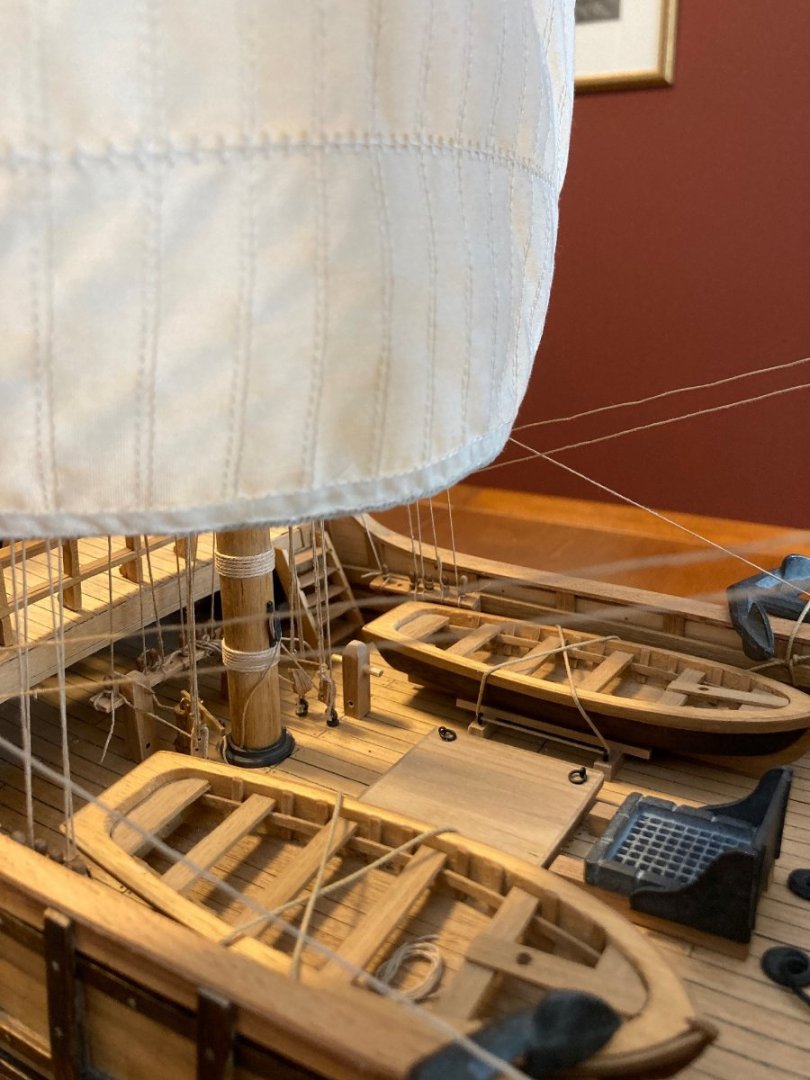
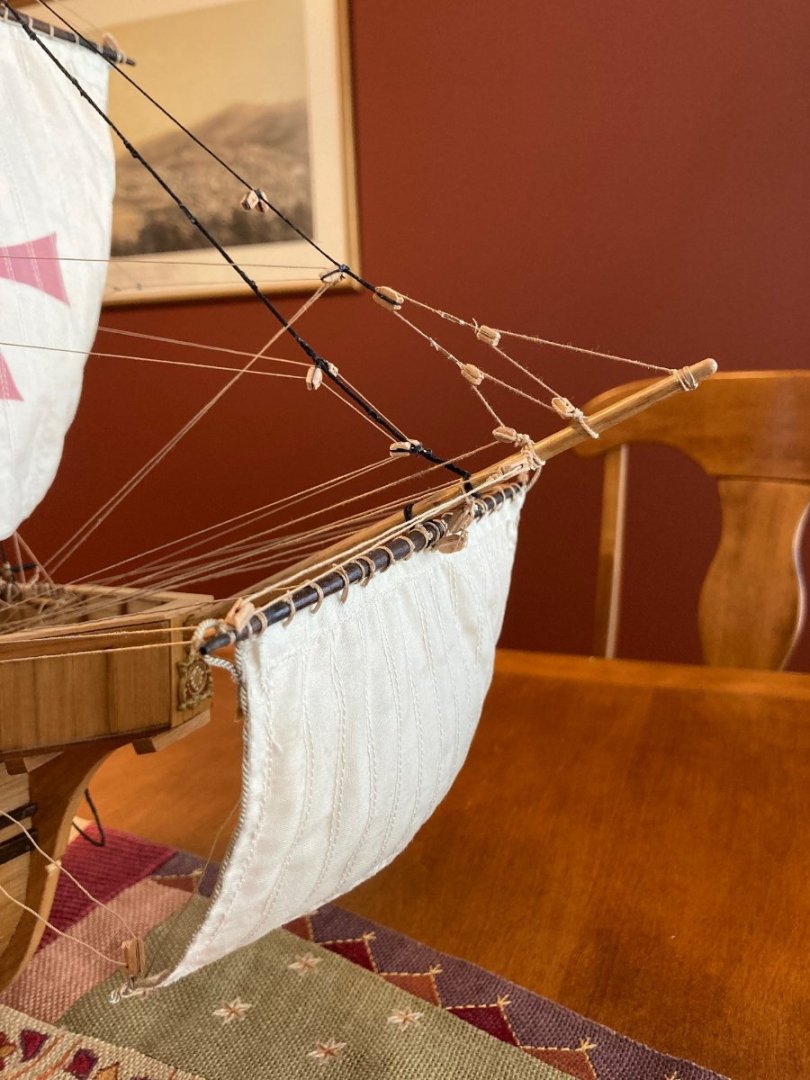
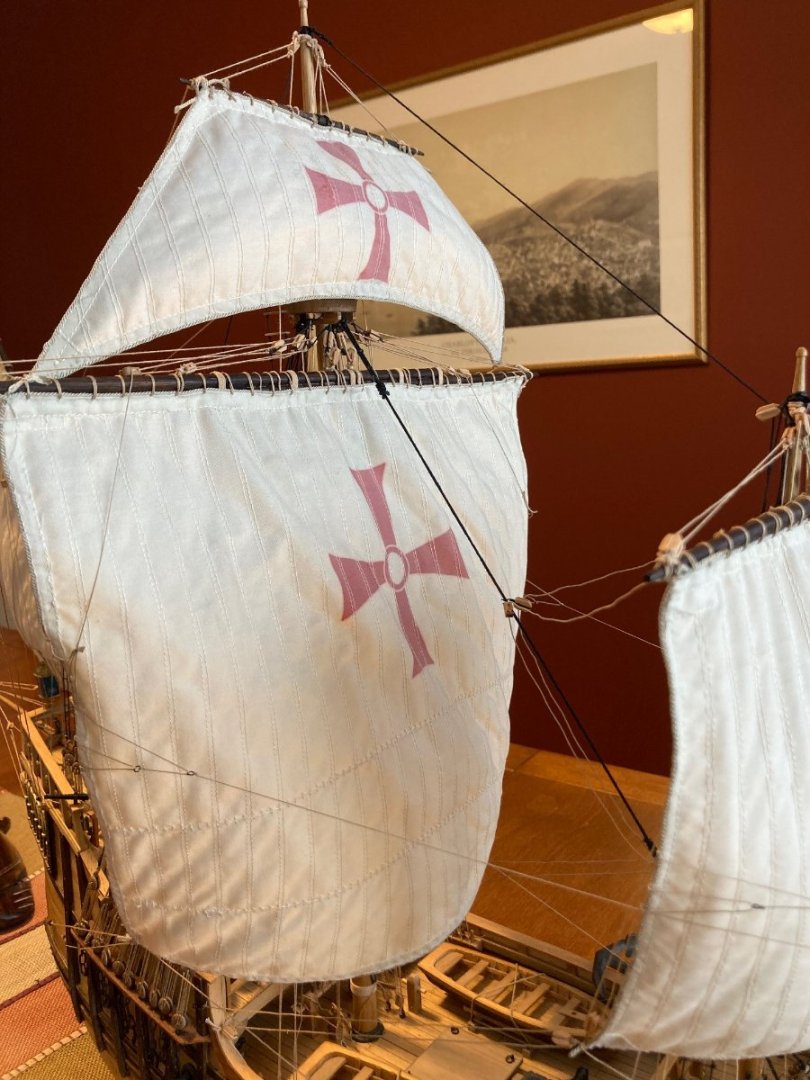
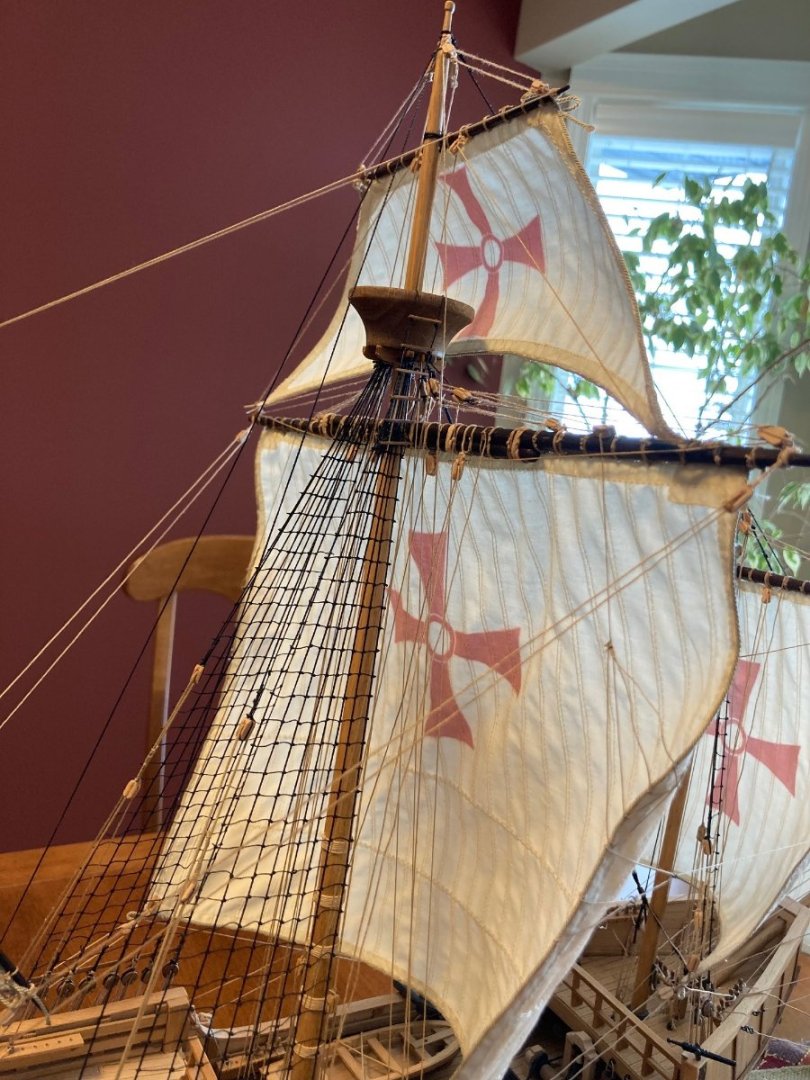
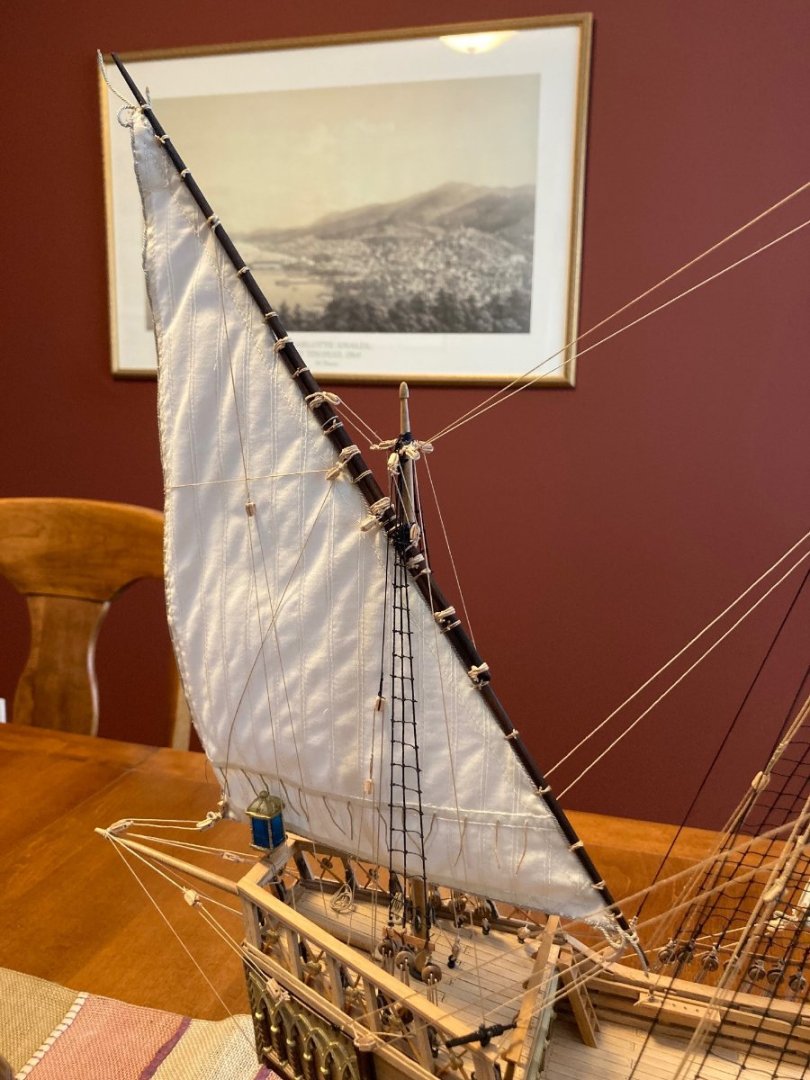
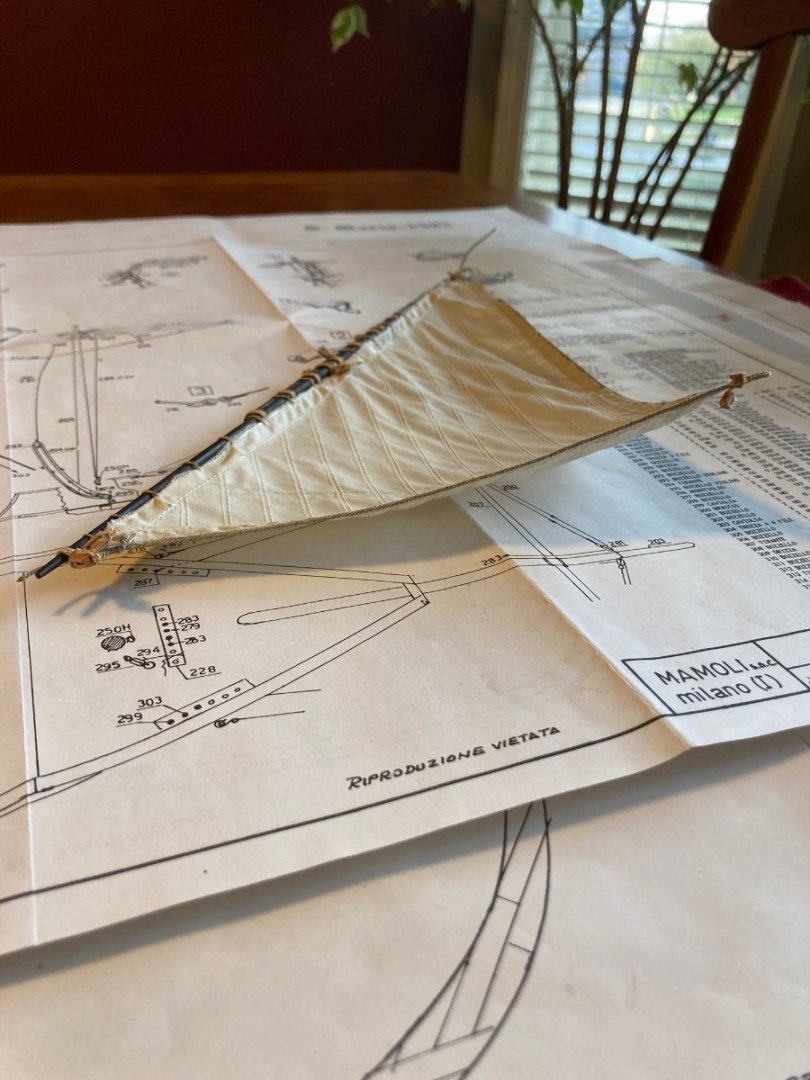
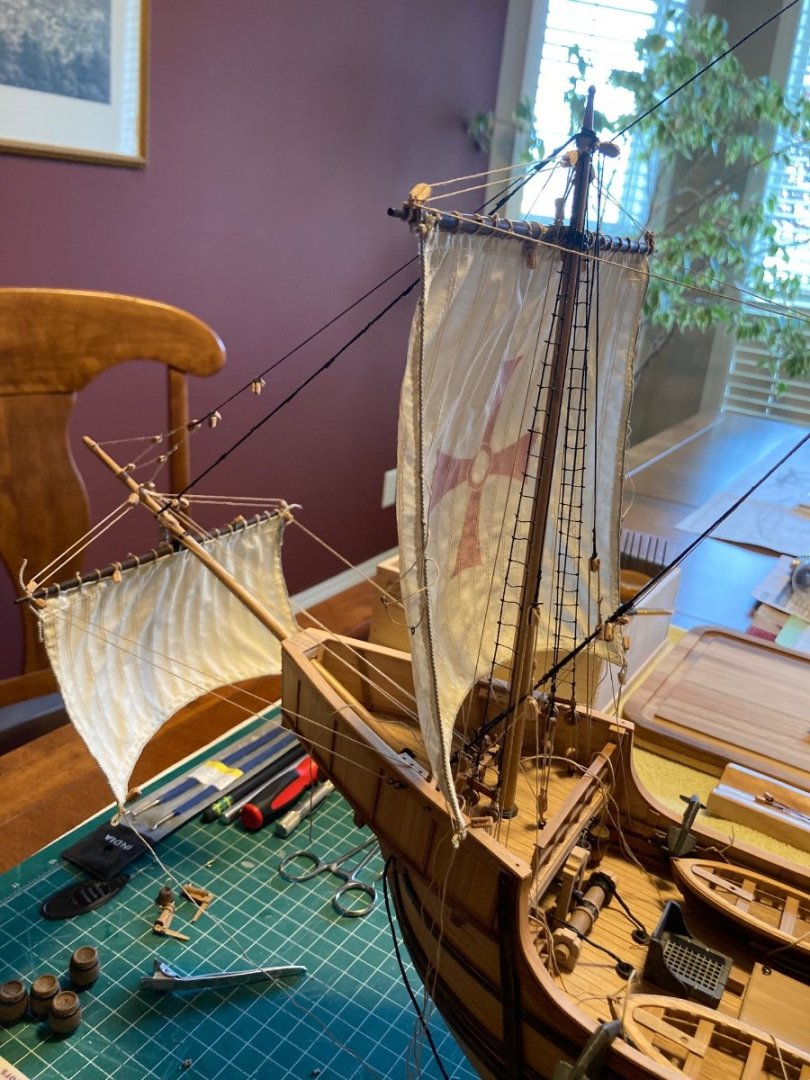
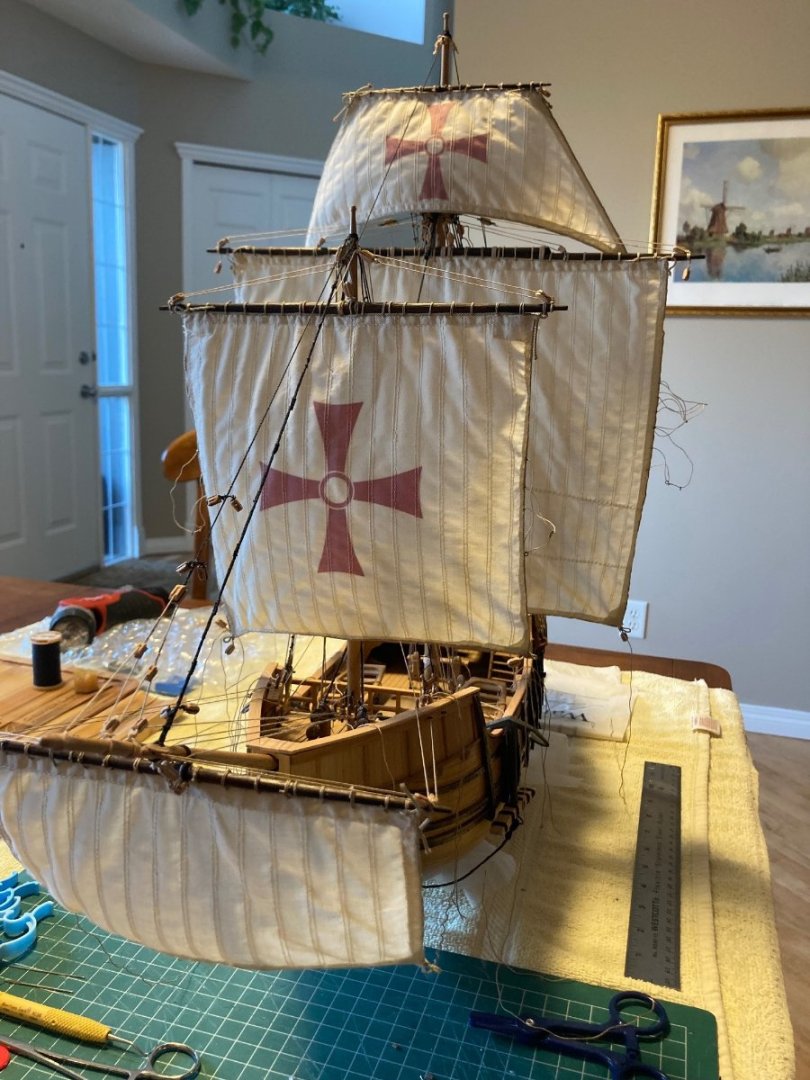
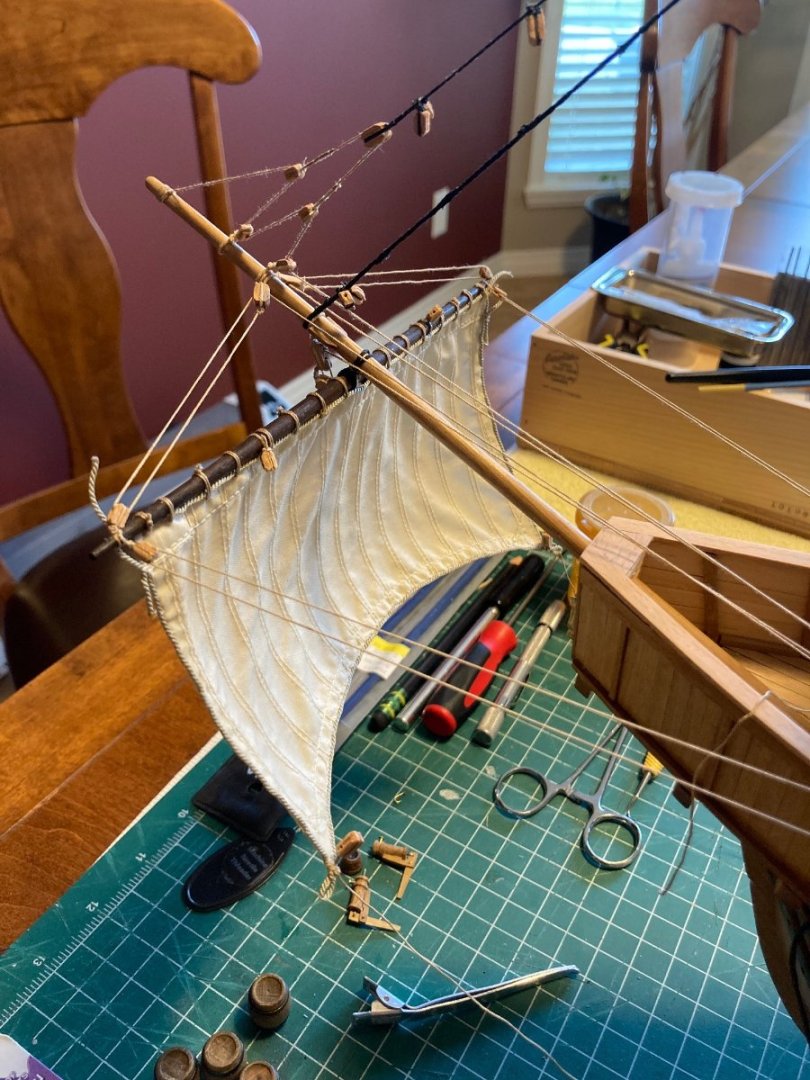
The following series of pictures are in order first, the spirit sail, the foresail, the main sail and top sail, and the lateen sail finally. I noticed with the GAC 400 that the results were much better with the smaller sail footprints as compared to the larger ones. Once some of the running rigging and sheet lines were added and tied off, I lost some of that "perfect" shape. Essentially I am done all the rigging at this time... just need to add the flags and other minor extra details.


- 179 replies
-
- 1
-
-
- santa maria
- mamoli
- (and 1 more)
-
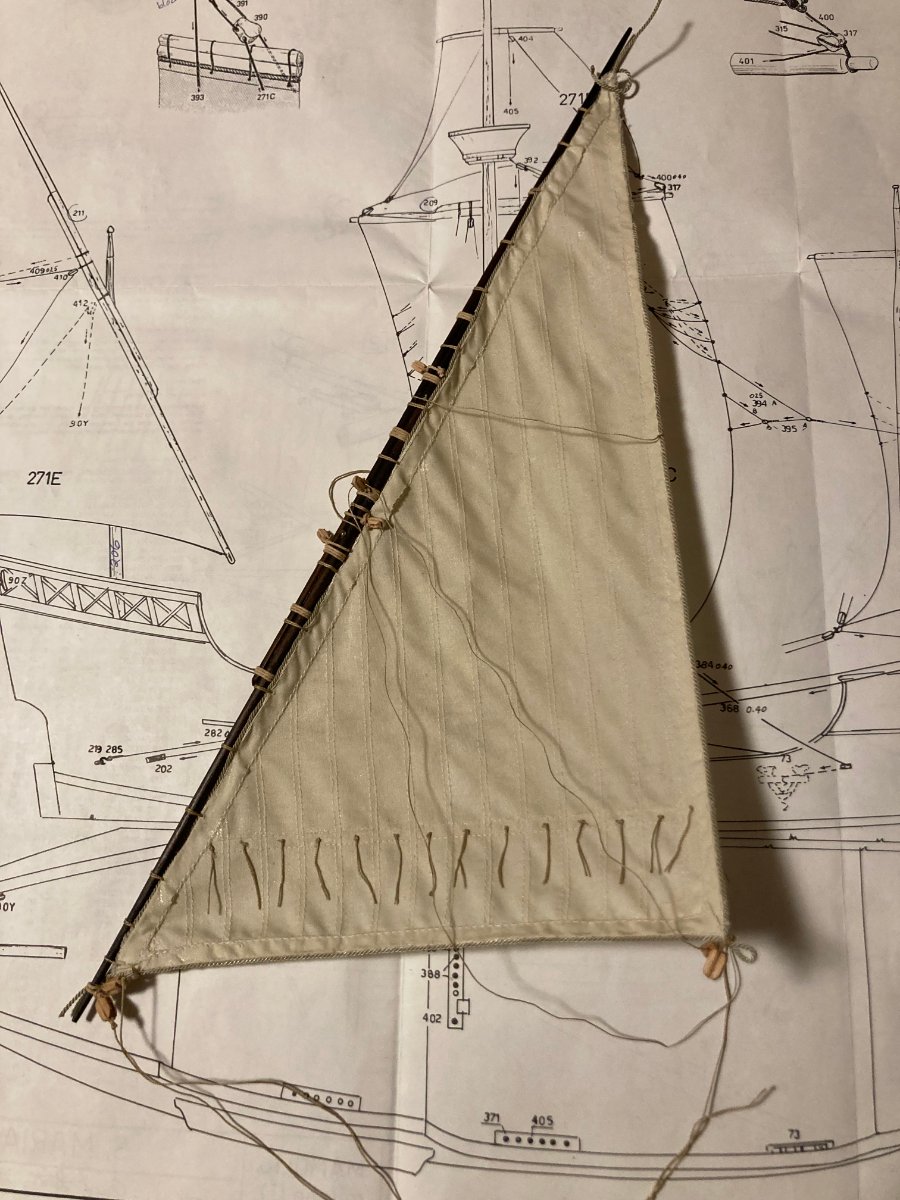
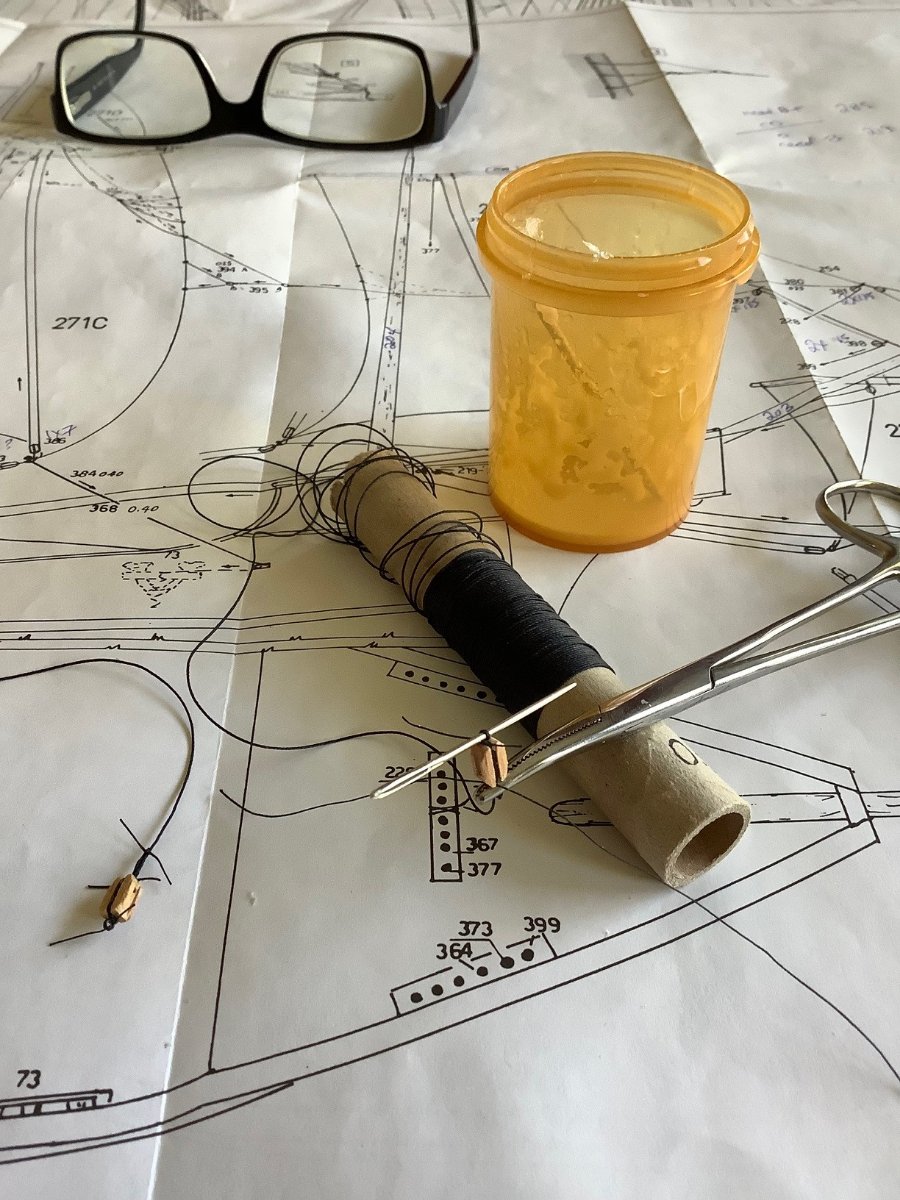
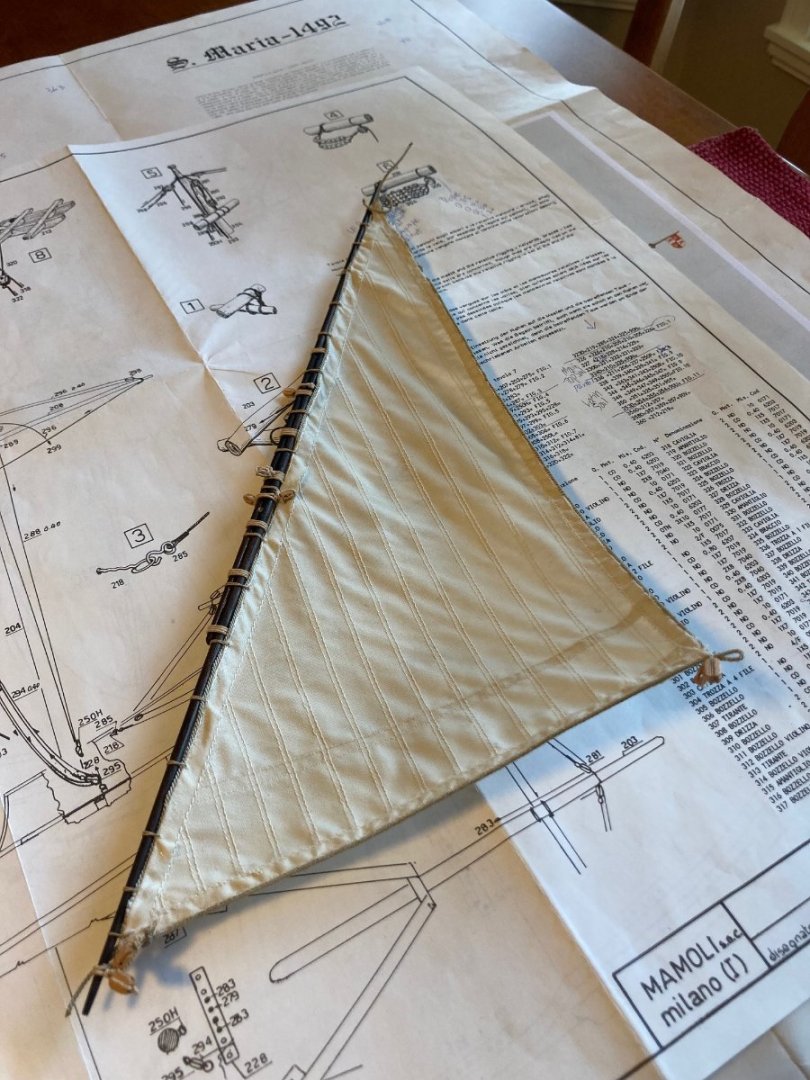
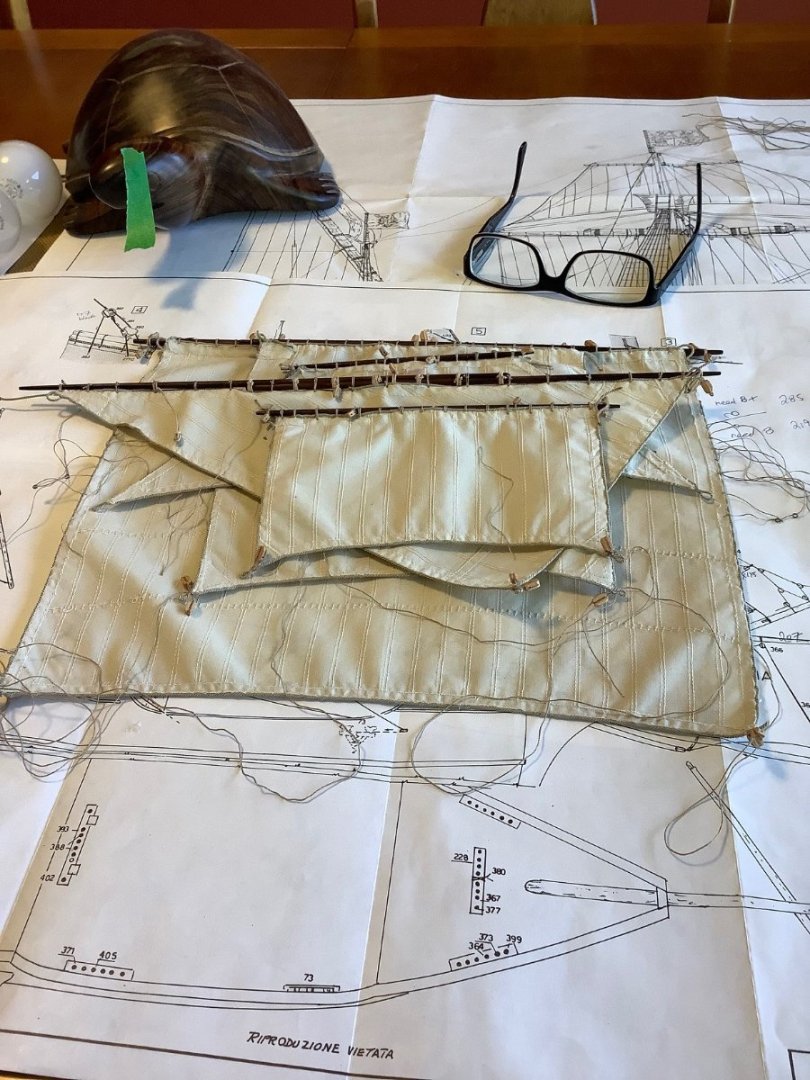
My technique for mounting sails is to add as much detail when off the ship. I added the sheets, which is the rope that controls the sail, essentially controlling the direction of the sails, prior to mounting the yards, including the halyards which are the ropes that are used to hoist the sail, flag or yard. If you look carefully you can see the hole that I drilled to accept the pin... it is mid yard on this the lateen sail. I had created mounting pins on all the masts and just pushed the yards on with a bit of epoxy, allowing me to position and align the yard with the attached sails optimally. I let it cure overnight prior to proceeding with final completion of the running rigging for each sail individually. Below is the one example I photographed prior to its attachment to the mast.

-
Hey Knocklouder... Best to source an art supply store in Winnipeg, I am sure they would carry the product.
-
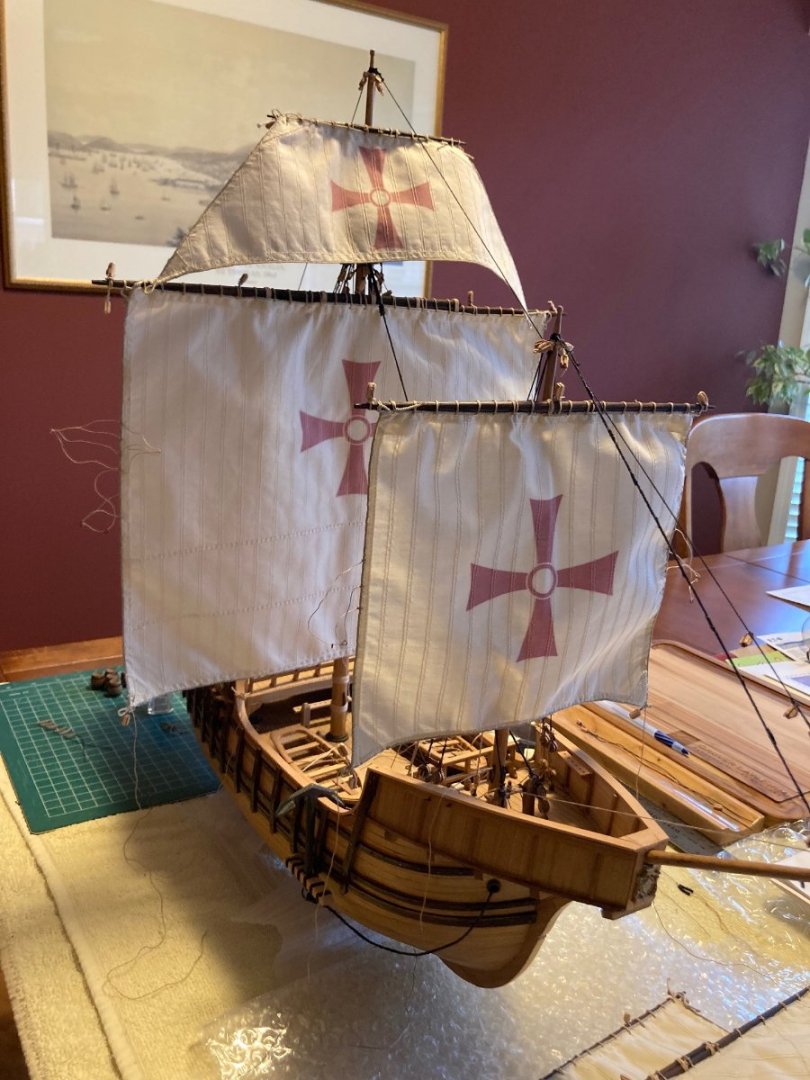
The pictures listed below are some of the images of the results I attained with the GAC 400 product and technique that I did. The sails are cured to a firm state with the exception of the main sail, perhaps due to its large size or perhaps I did not use enough product; not sure. It is fine but not as perfect as the other sails that I treated. I will provide more photos at a later date... Cheers,
- 179 replies
-
- 4
-
-
- santa maria
- mamoli
- (and 1 more)
-
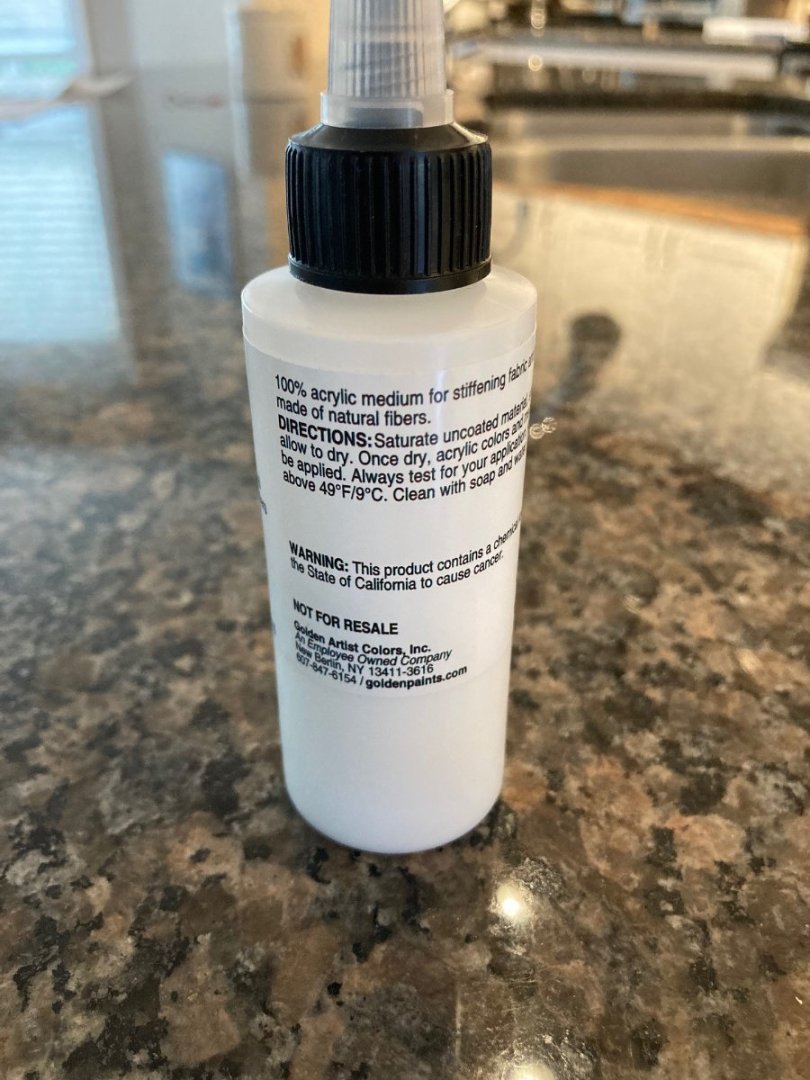
I had a PM for more details on the product I used from Golden Artist Colors (GAC) but I will post a picture of the bottle and others can do their own specific research.

-
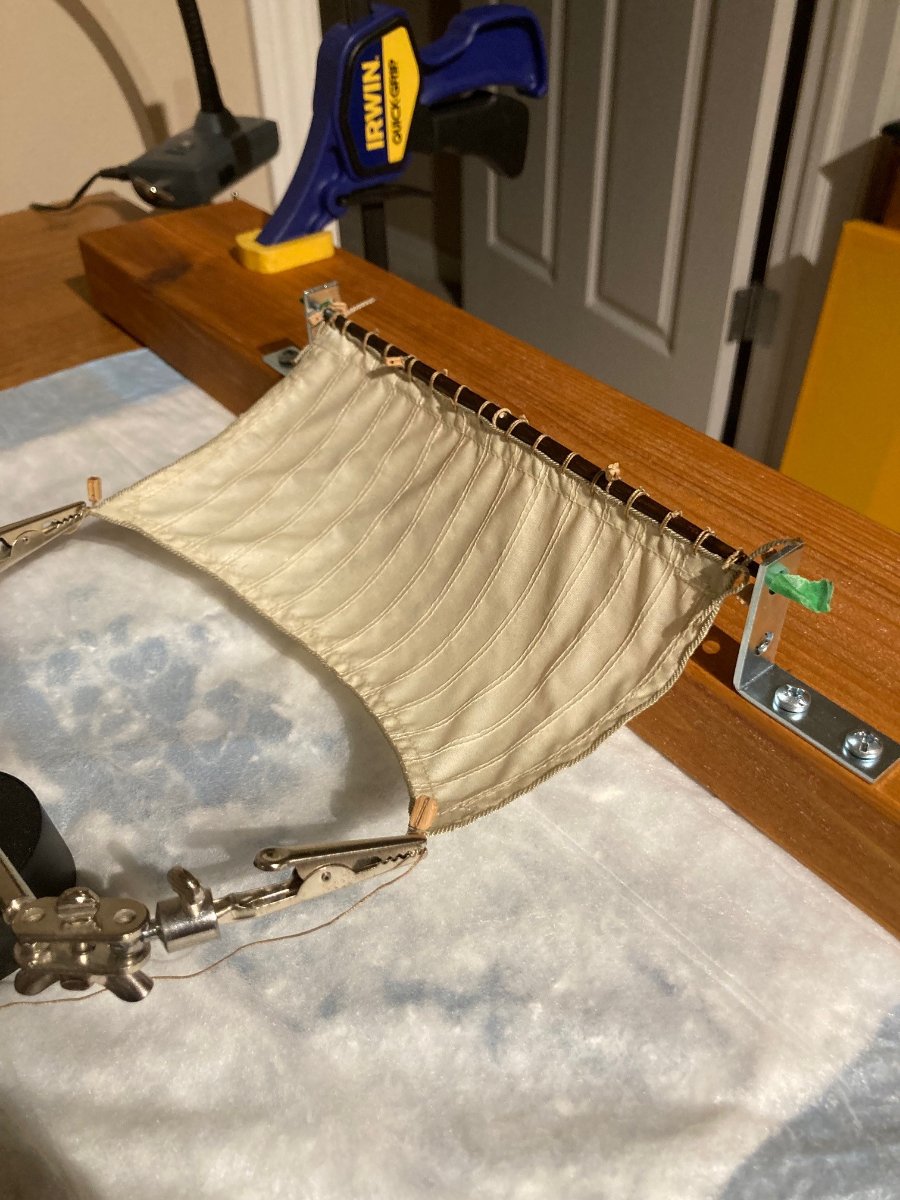
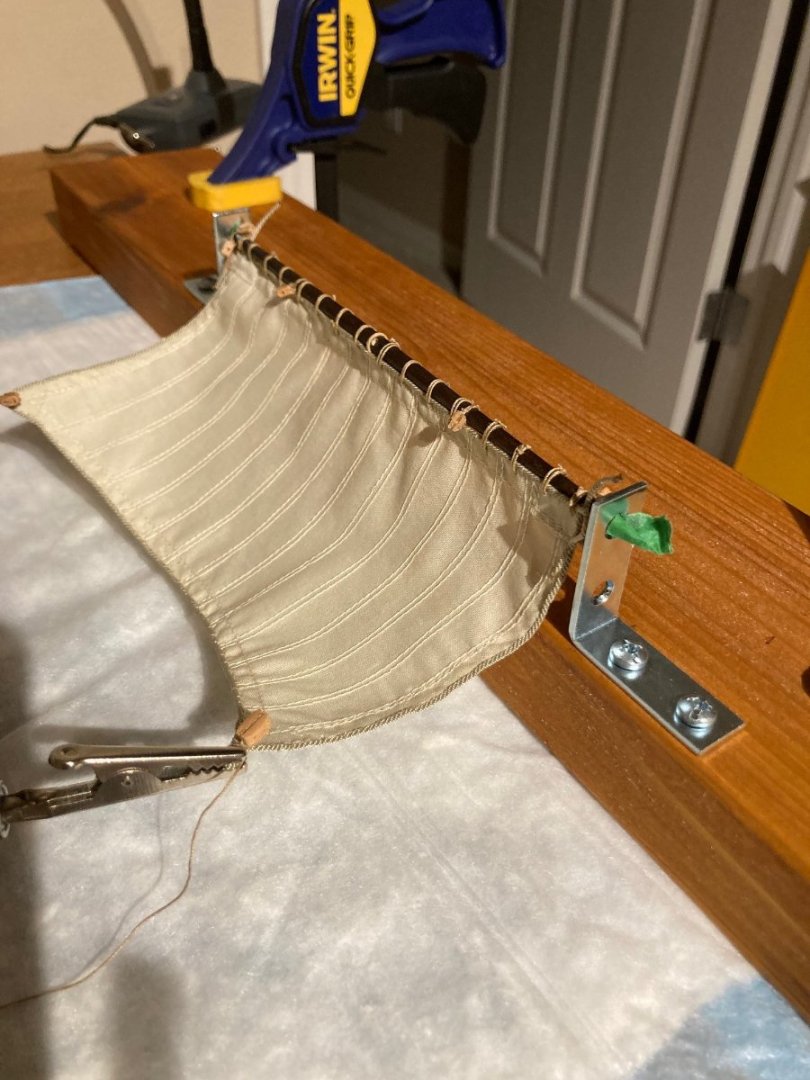
Some progress to report... I wanted to create the look of wind blown sails and upon further research decided to go with a product called GAC-400. It is an acrylic based fabric hardener for natural fibers. I was lucky enough to go to a local art supplies store and on noting they only had a large bottle for my needs, the sales representative was very kind to give me a small free sample, which was more than enough to complete my job. The product is very watery and milky and I essentially set up the sail for with some L brackets and alligator clips on the bottom corners and with a brush soaked the fabric with the product and then with a hair dryer blew into the sail with hot air which to my understanding speeds up the cure process. As the product dries it puckers the material a bit and actually simulates a wind blown effect quite nicely and it does firm up the material very well. I only took pictures of the foresail and they all turned out excellent with perhaps the exception of the big large main sail. Perhaps given its size is puckered up a bit more than the other sails did but I think it still looks very good. Pictured below is my set up... If any interest I can take a picture of the bottle of the product and perhaps the other sails as they now sit on the ship.

- 179 replies
-
- 4
-
-
- santa maria
- mamoli
- (and 1 more)
-
Just a quick picture before I set the sails. I plan on stiffening the sails with a product called GAC 400 used to stiffen linens or canvas in the art world and create a wind blown appearance for the sails.
- 179 replies
-
- 1
-
-
- santa maria
- mamoli
- (and 1 more)
-
Hi all, Preparing as much stuff as possible prior to the sails being mounted on the masts. Lots of studying of the standing and running riggings plans and getting everything on the masts, yards, and sails before hand.


- 179 replies
-
- 1
-
-
- santa maria
- mamoli
- (and 1 more)
-
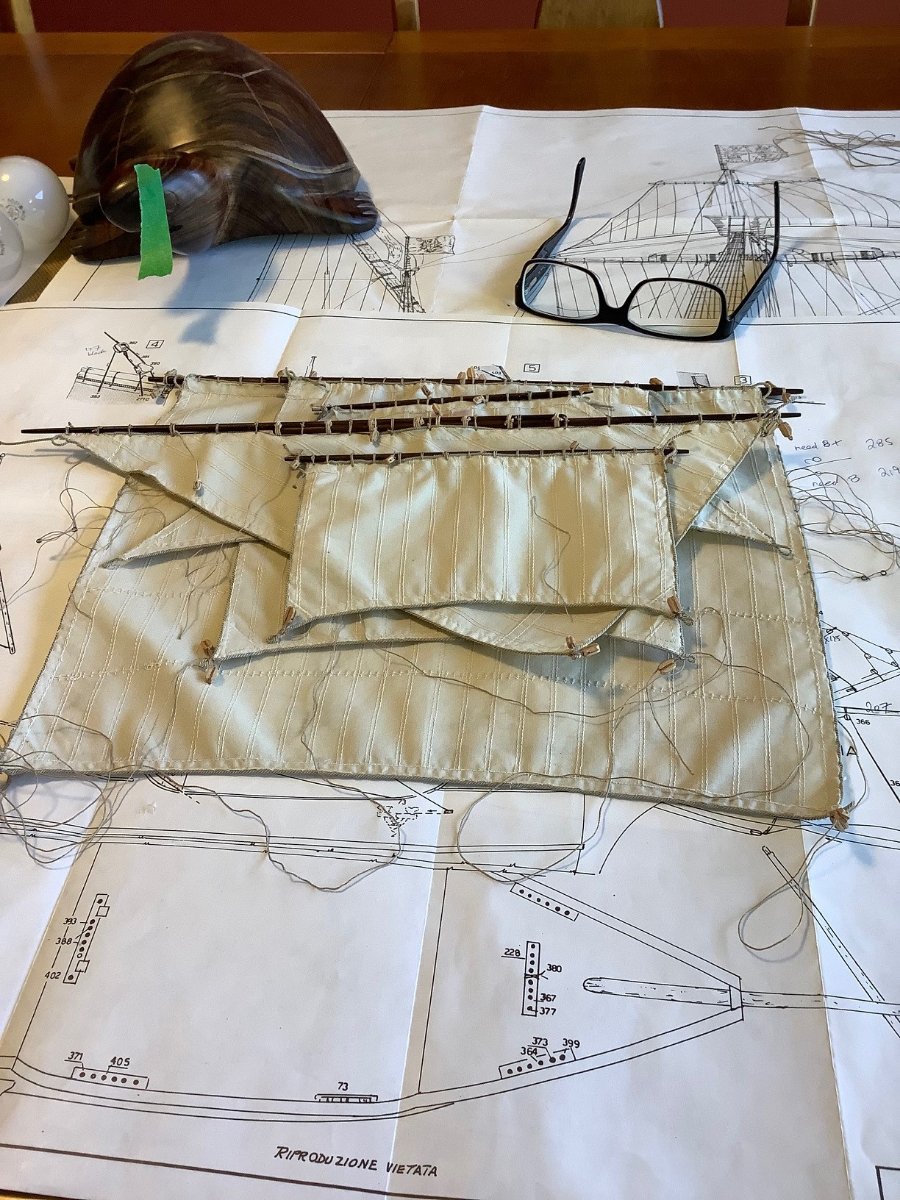
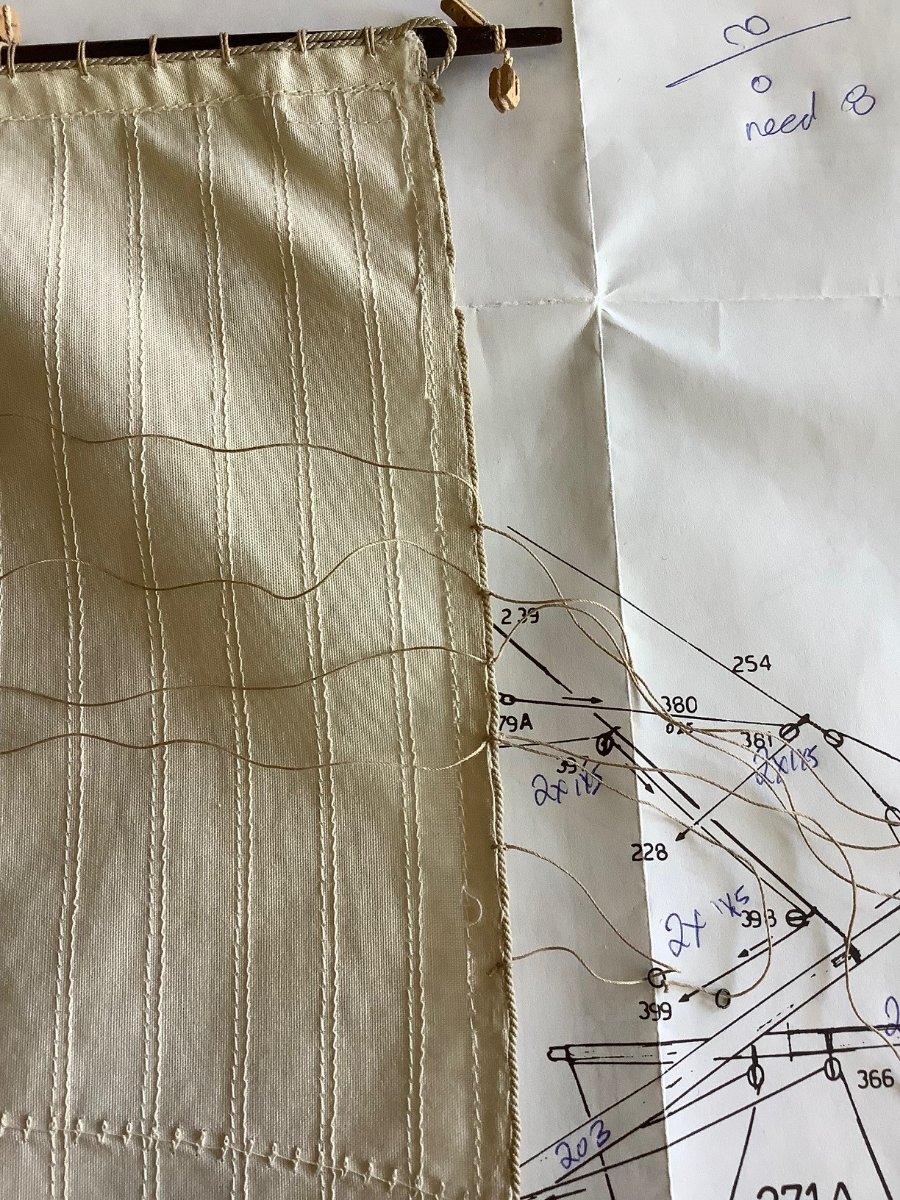
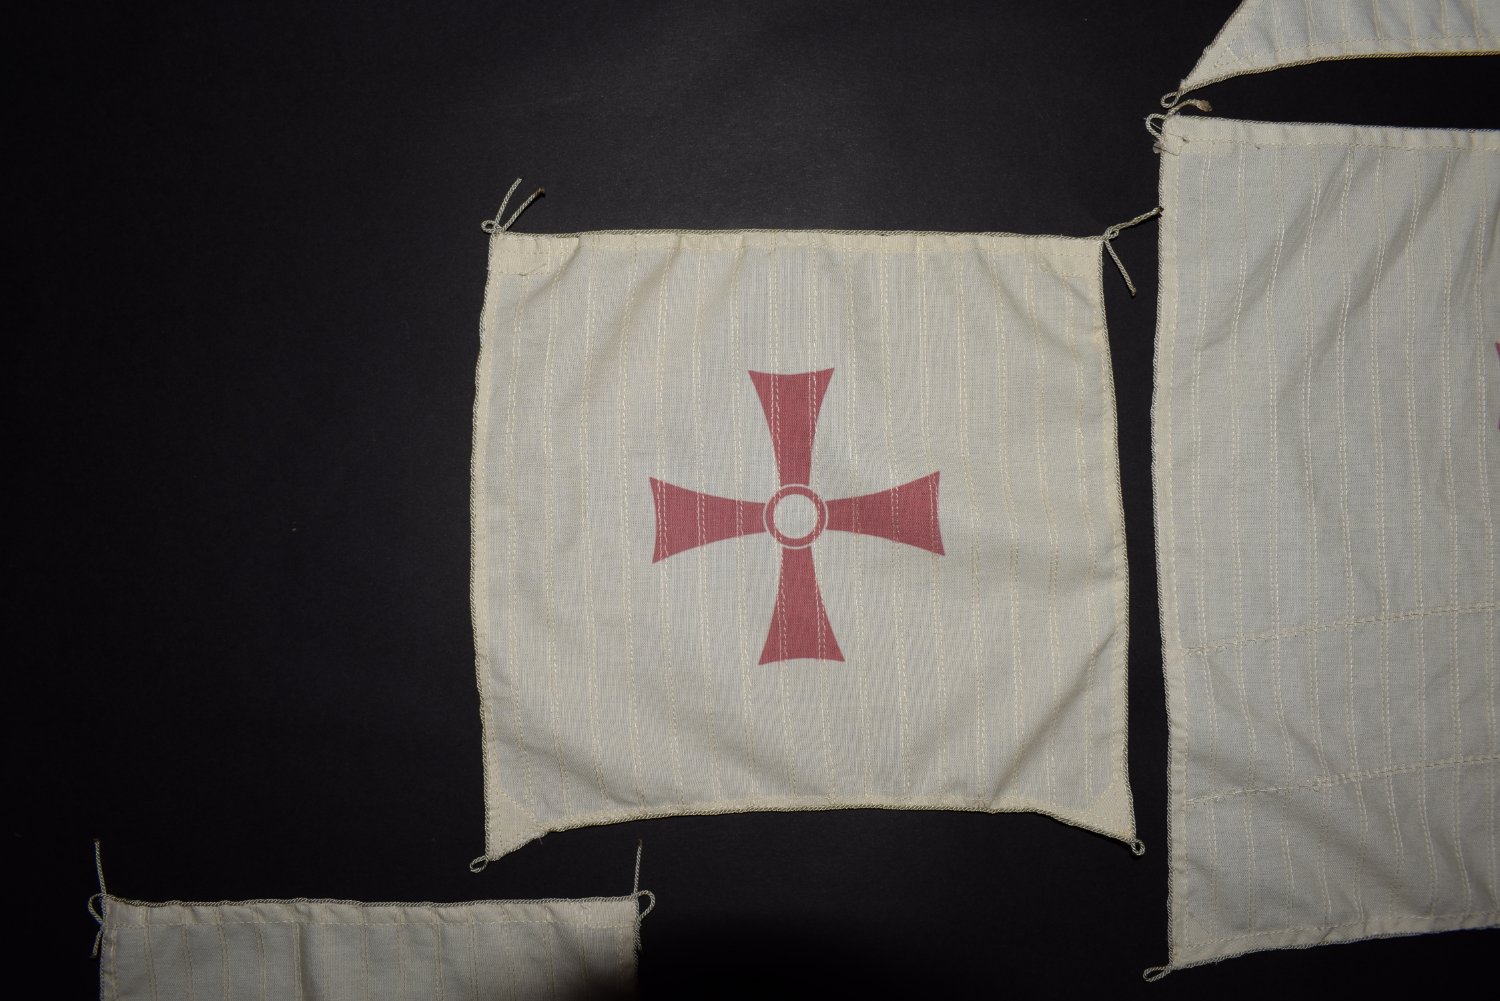
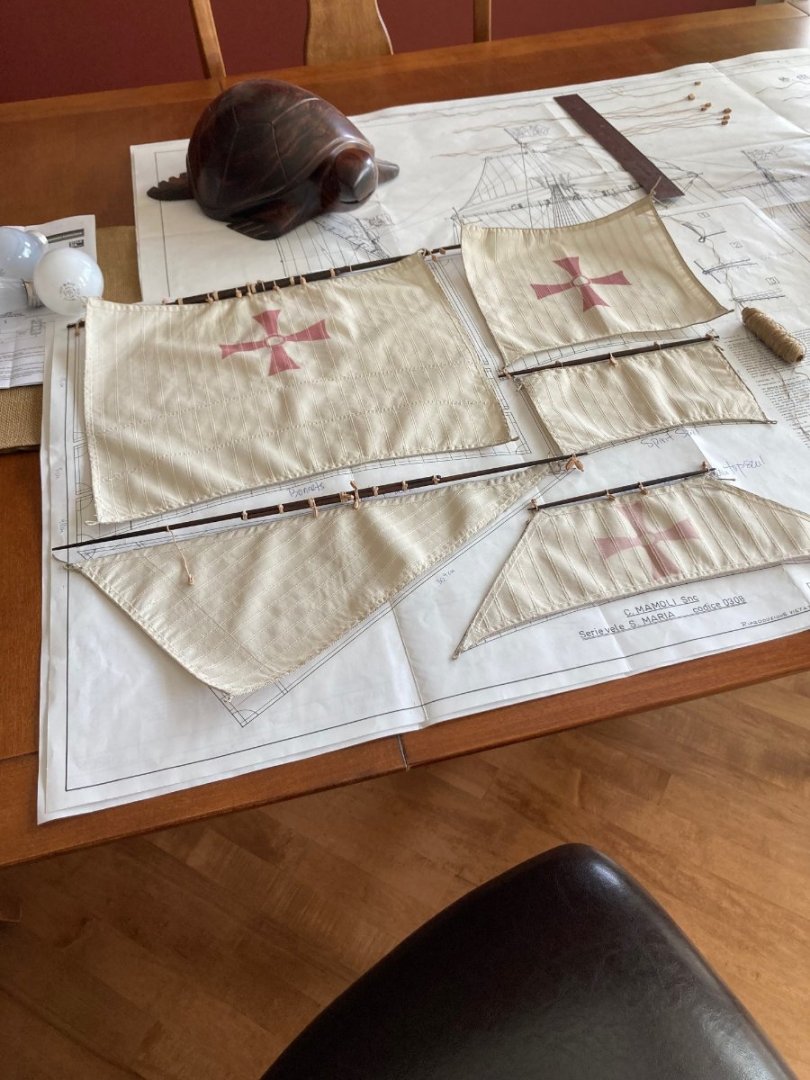
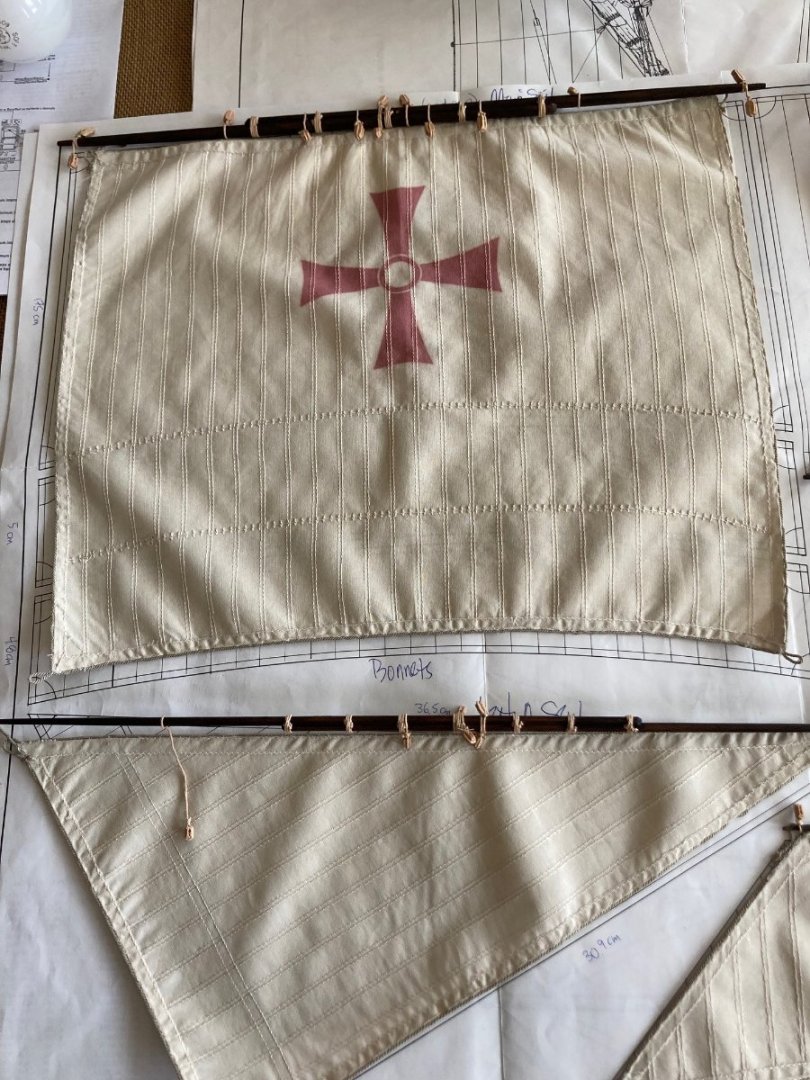
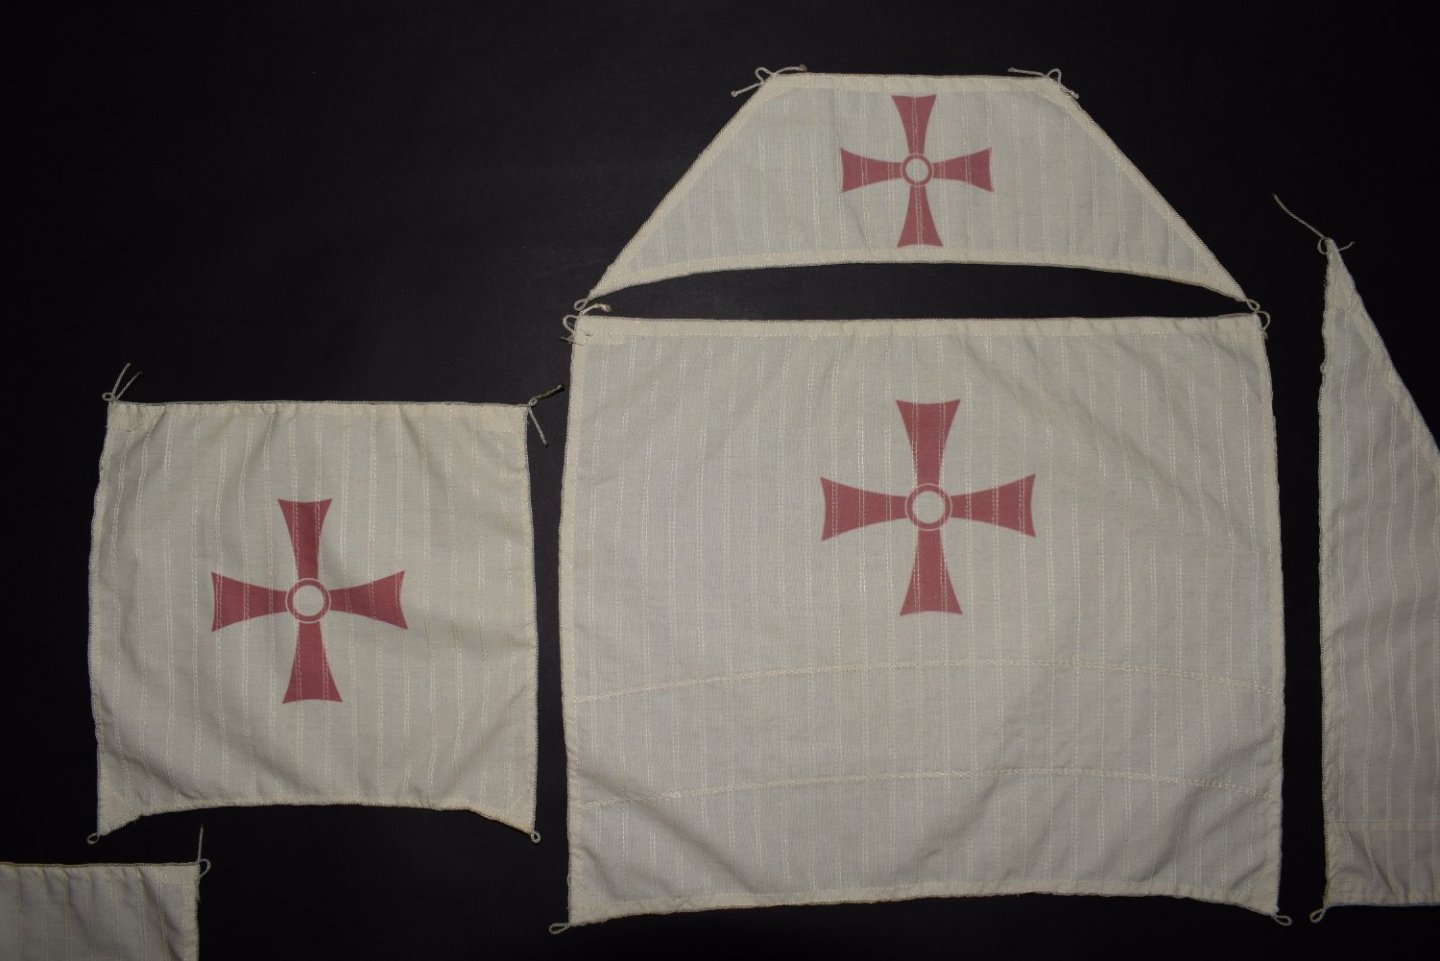
And finally, the sails as prepared by HisModels... They look excellent in my opinion; the sail material is very light weight, the cross images are very well done, not too bright or bold, the bolt rope is perfect, and the main sail bonnets look good. I could accent the bonnet seams, I don't know? The only small issue is the mail sail is about 2 cm short for the main yard. I did custom order the measurements, and having checked my measurements that I gave them, I think the mistake was on their end. Fortunately this was the only one a bit off...


- 179 replies
-
- 1
-
-
- santa maria
- mamoli
- (and 1 more)
-
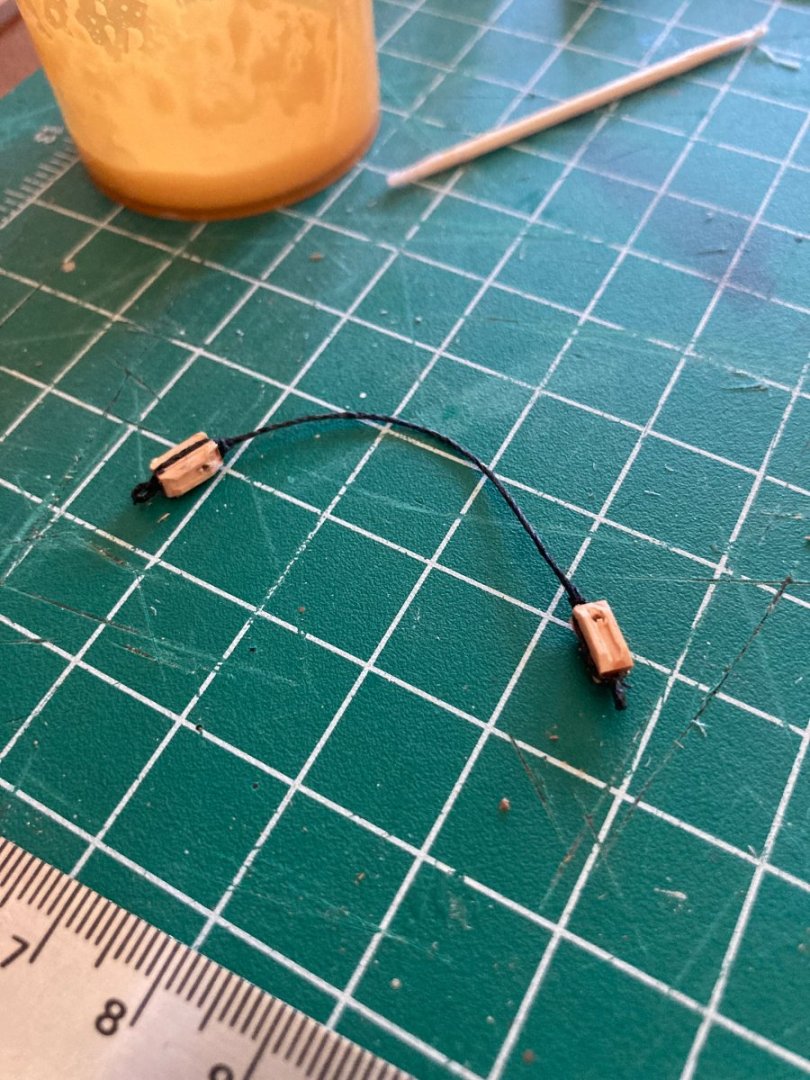
Also added some of the running rigging blocks to the fore stays.


- 179 replies
-
- 1
-
-
- santa maria
- mamoli
- (and 1 more)
-
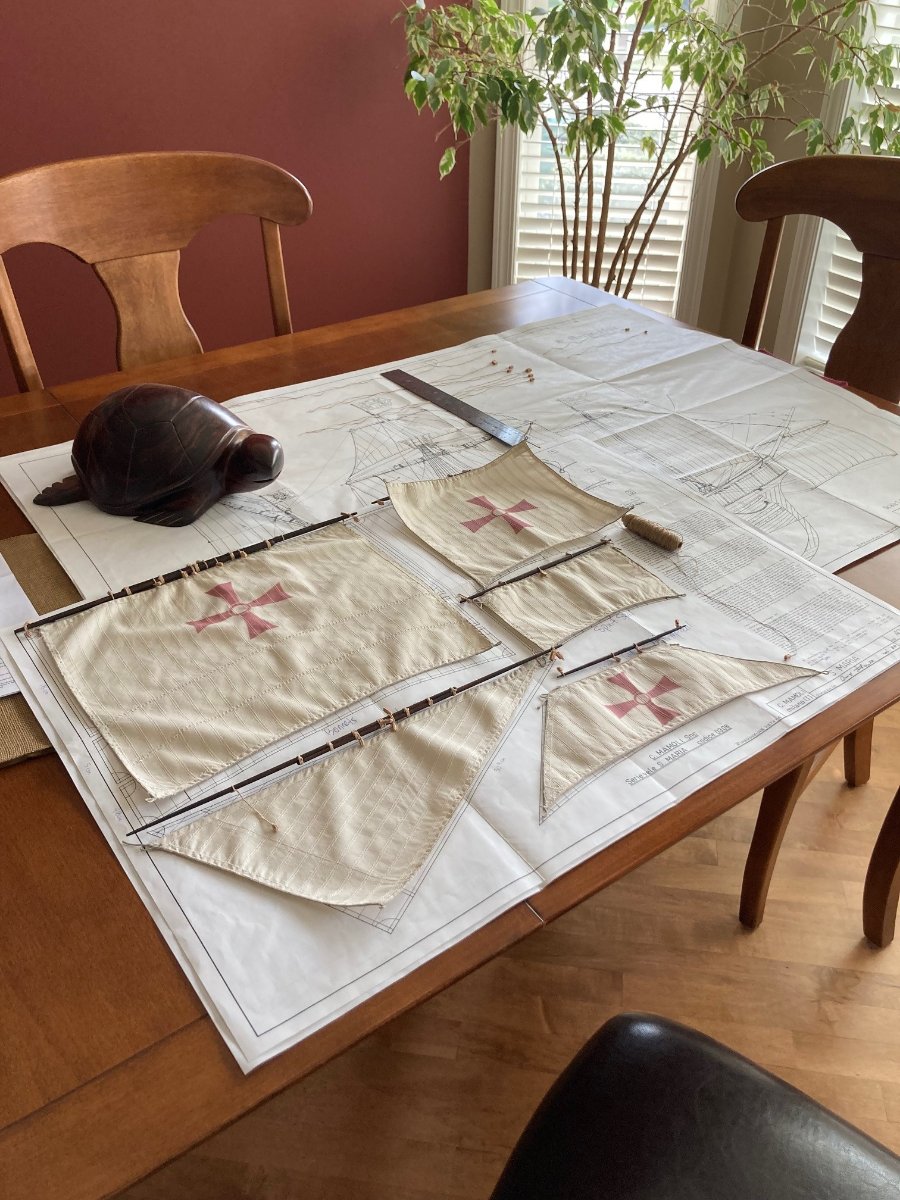
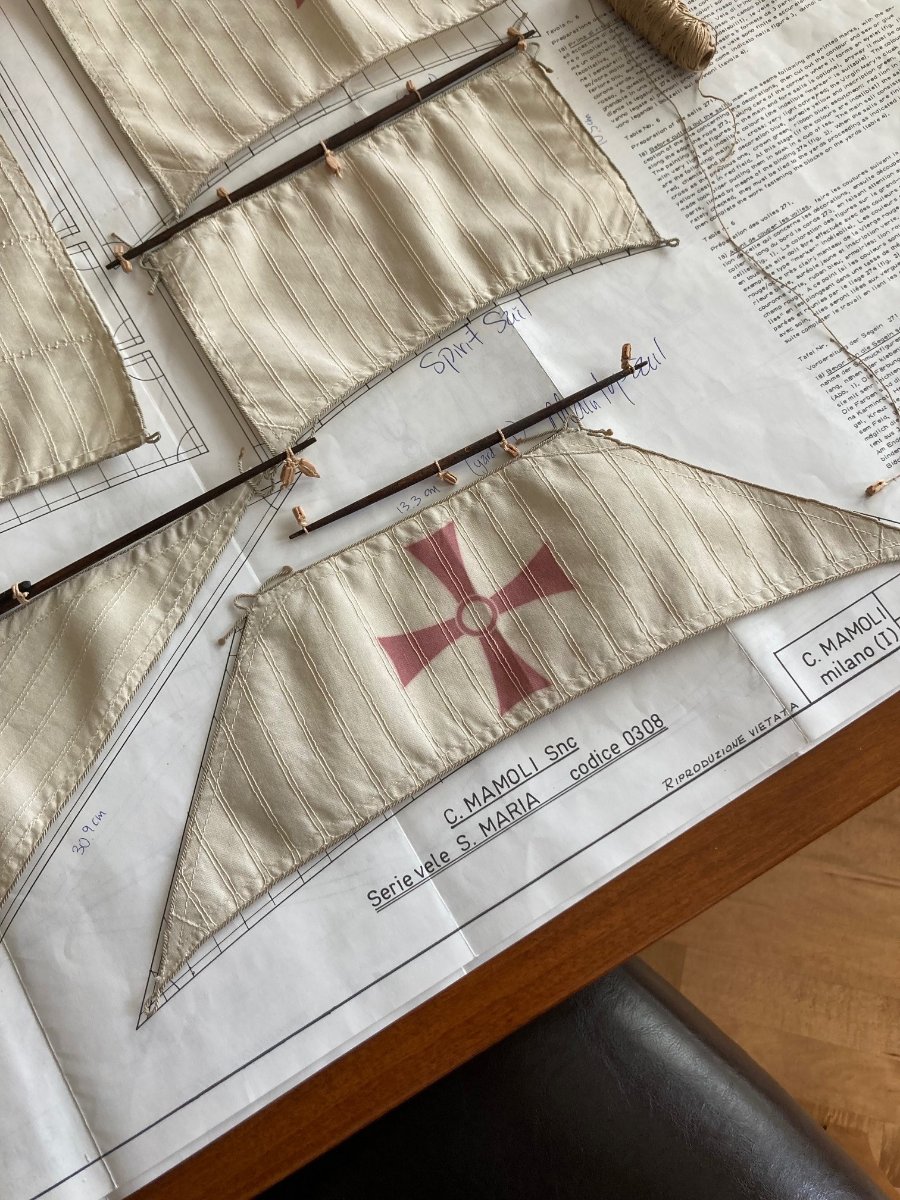
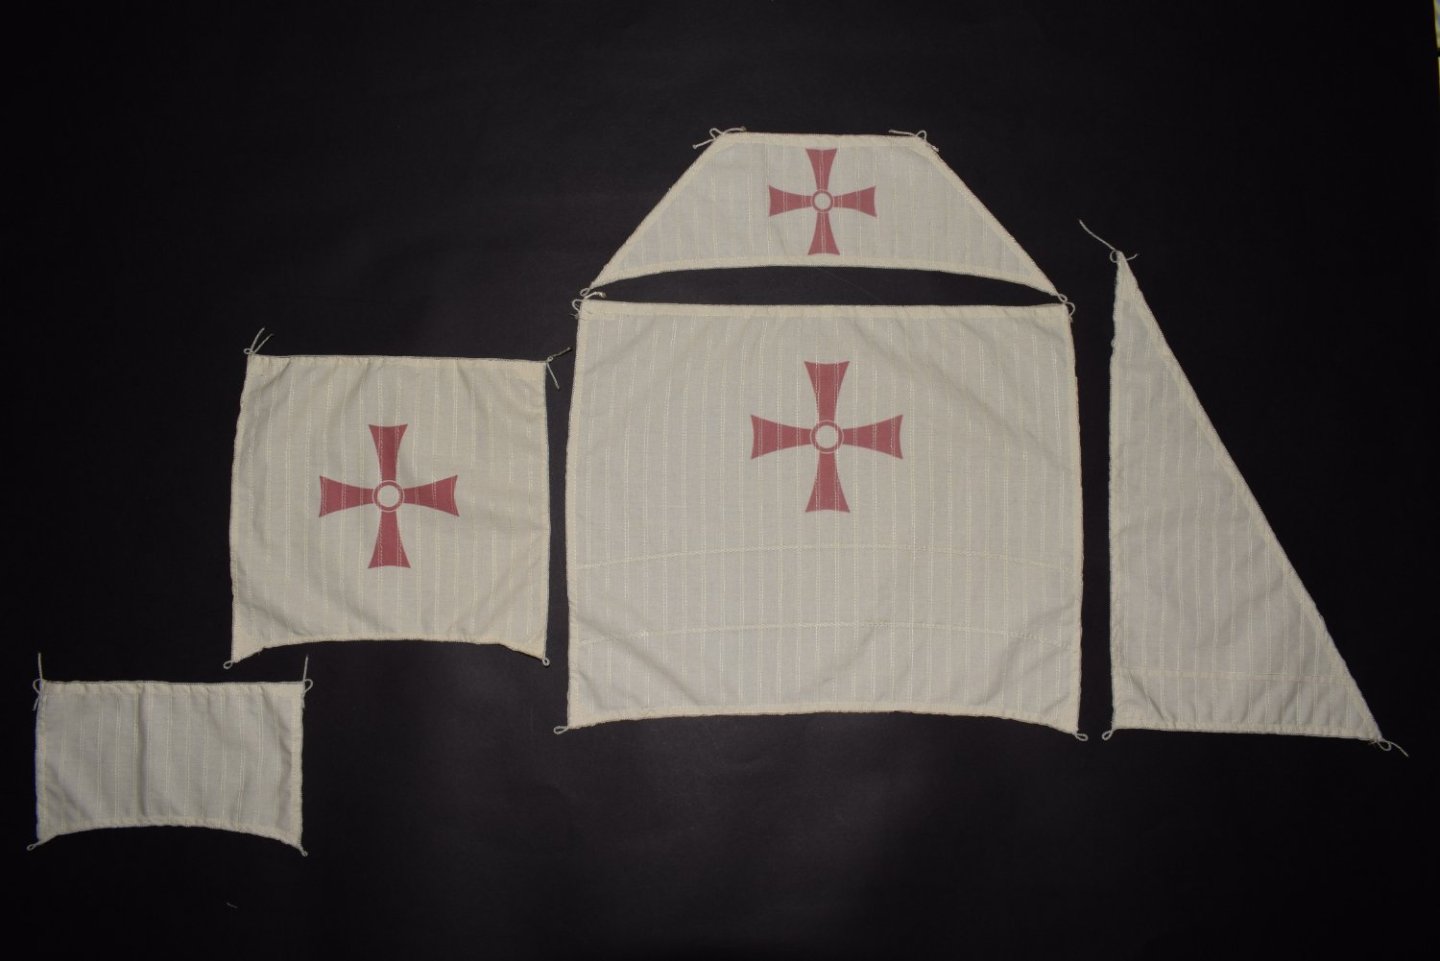
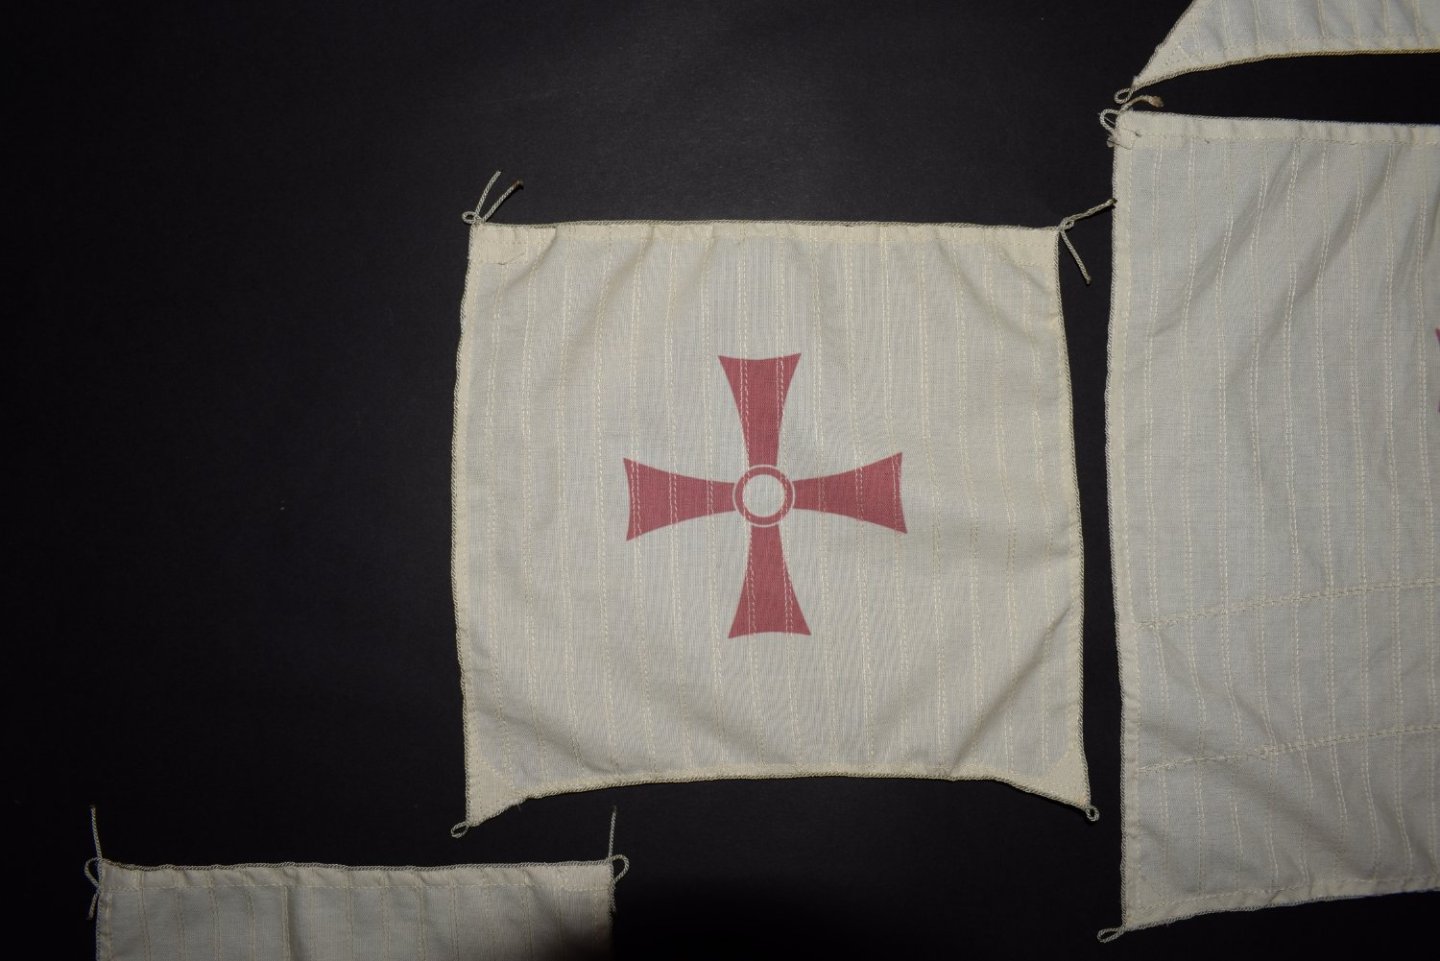
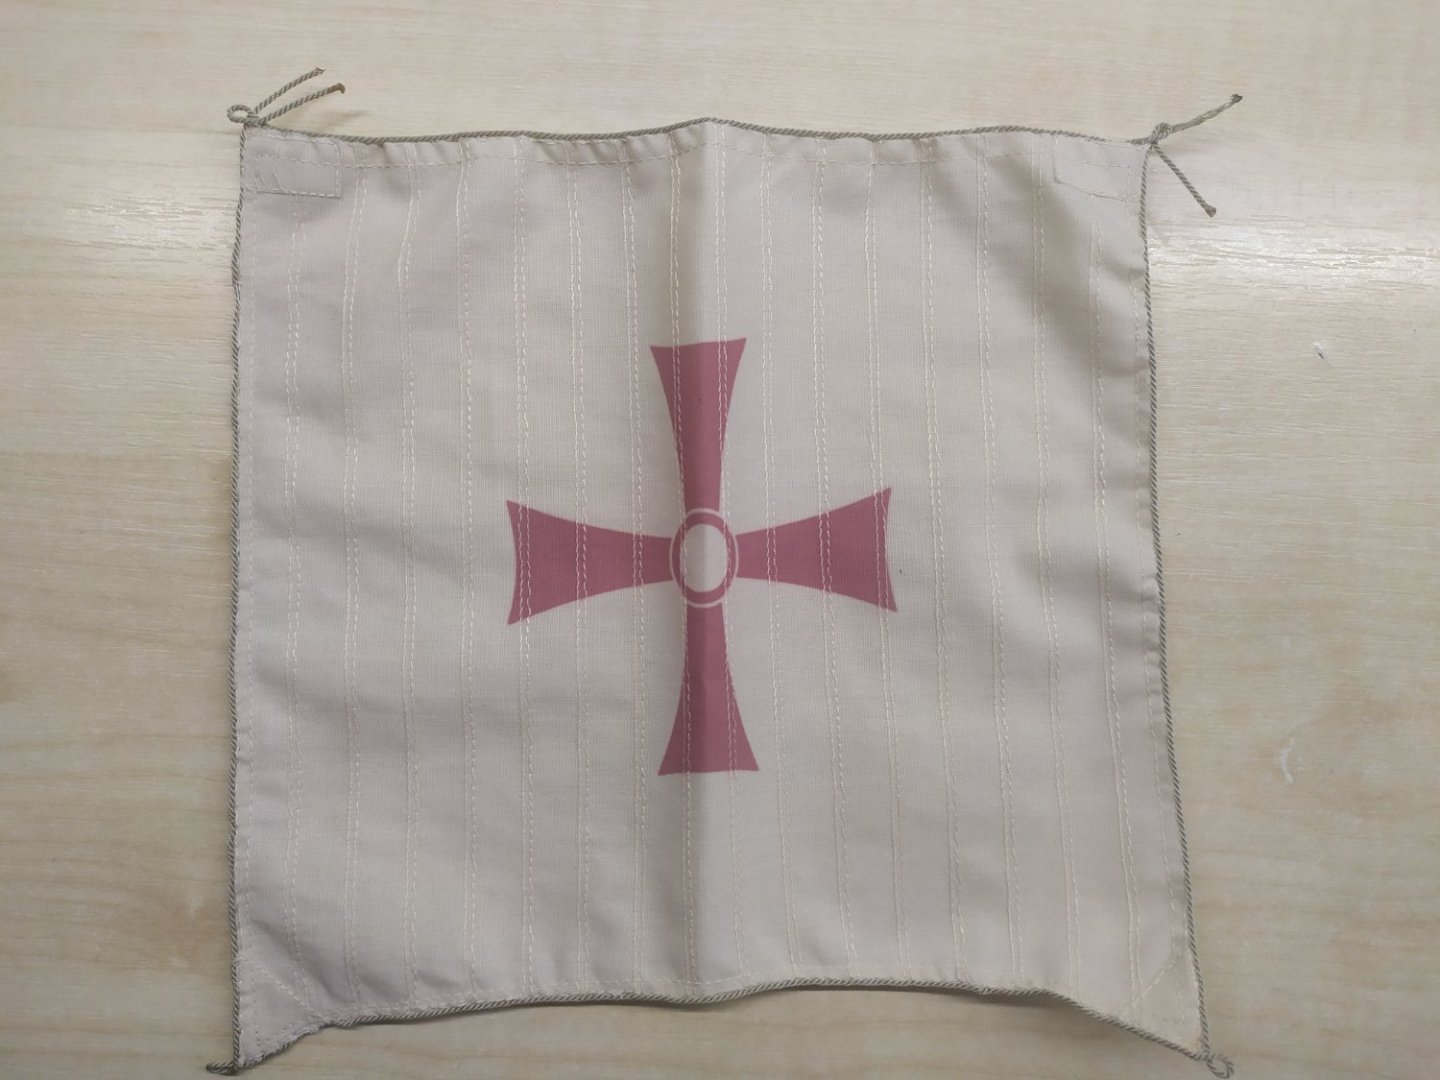
Good news for me as Hismodel has completed the sails, and now that they are paid, were shipped out today (from Europe). Here is some pictures of the sails to expect. The one on the wood counter was redone as the cross transfer had slipped on the original, barely perceivable, but Hismodel redid the one sail anyways. Much thanks to Jakub and Radimir form Hismodel.
- 179 replies
-
- 2
-
-
- santa maria
- mamoli
- (and 1 more)
-
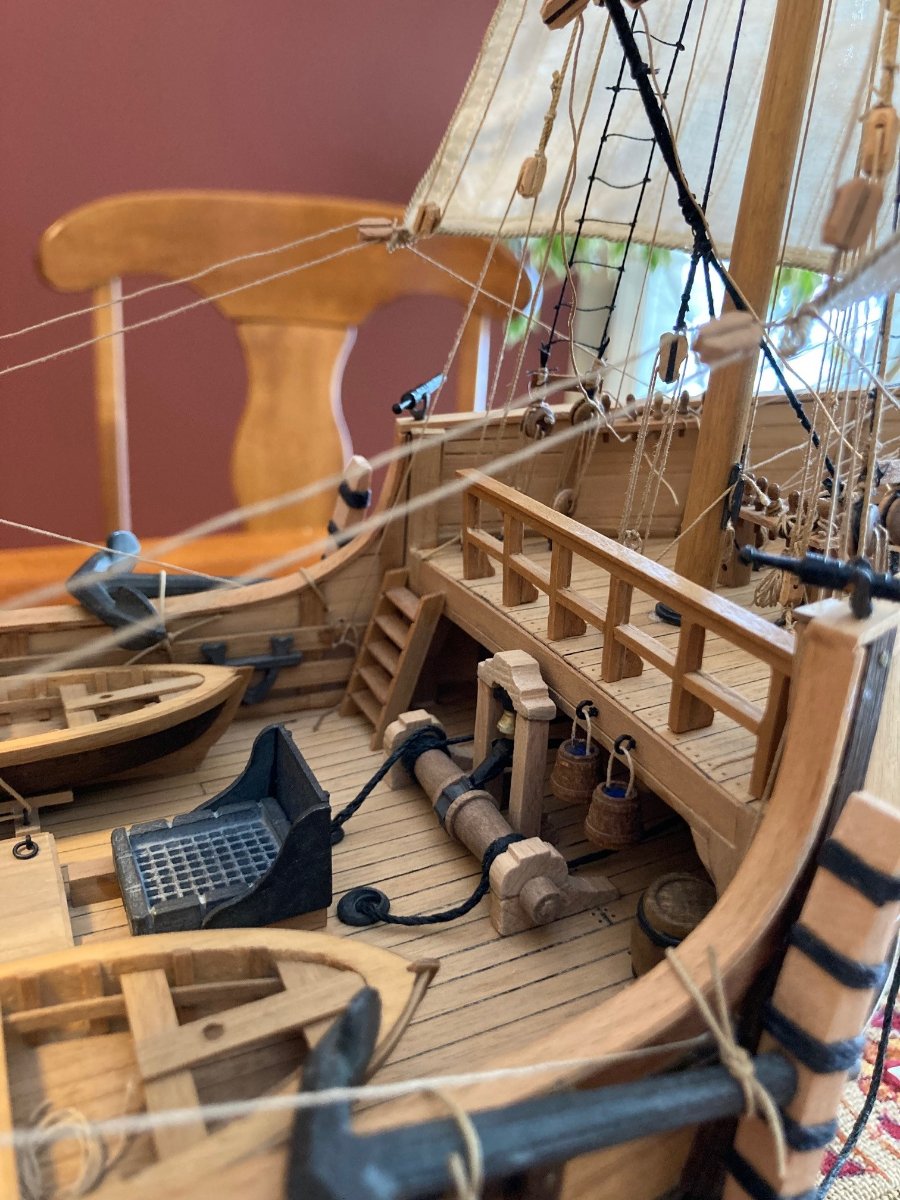
PS All the little scratches on the deck and bowsprit completely buffed out, wheww!
- 179 replies
-
- 1
-
-
- santa maria
- mamoli
- (and 1 more)
-
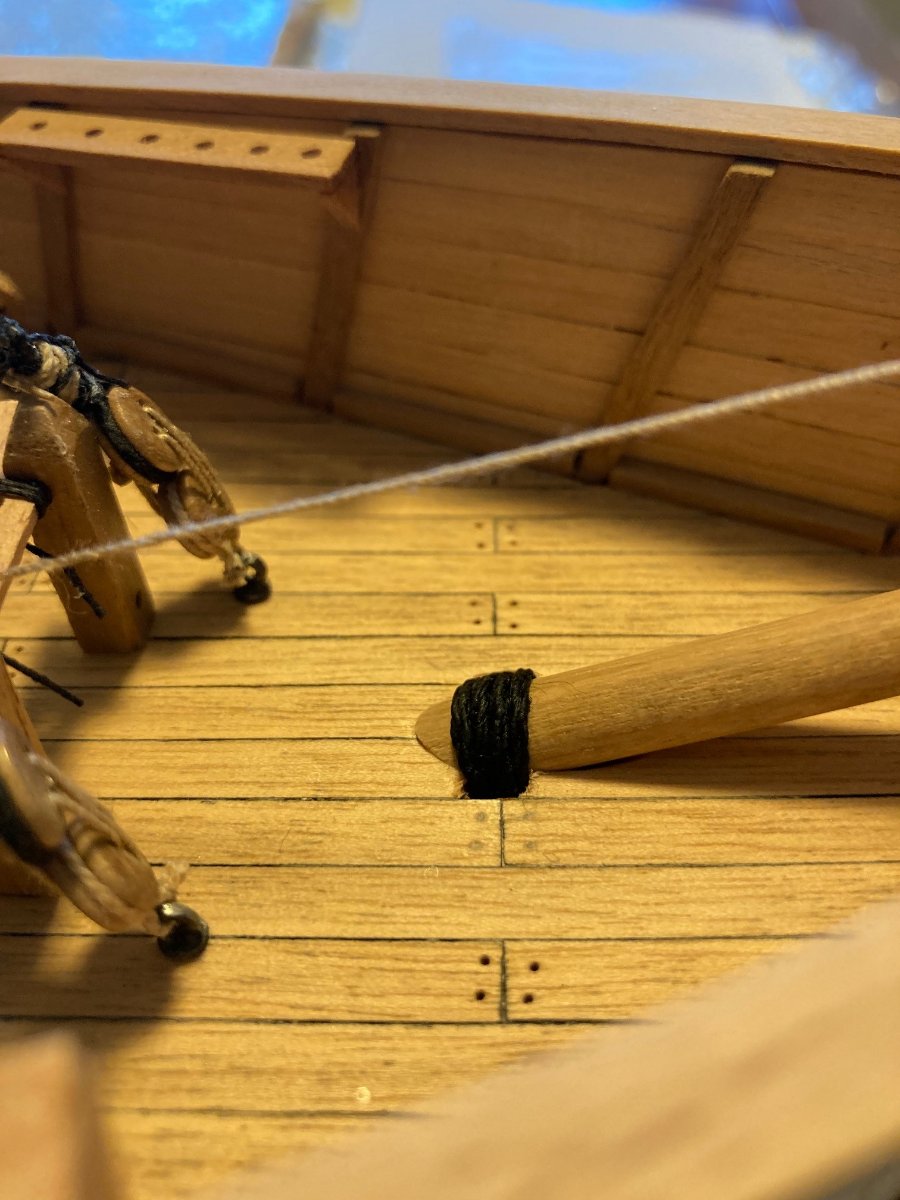
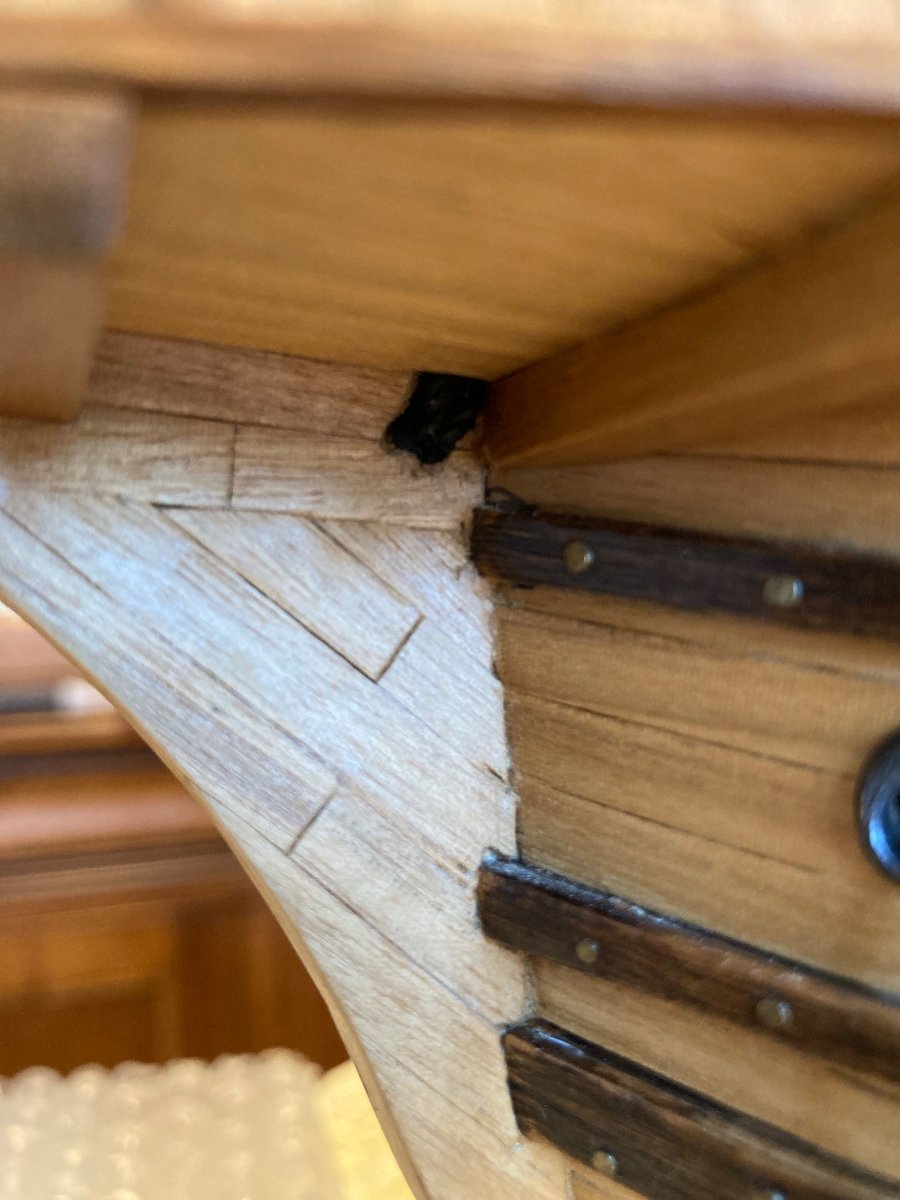
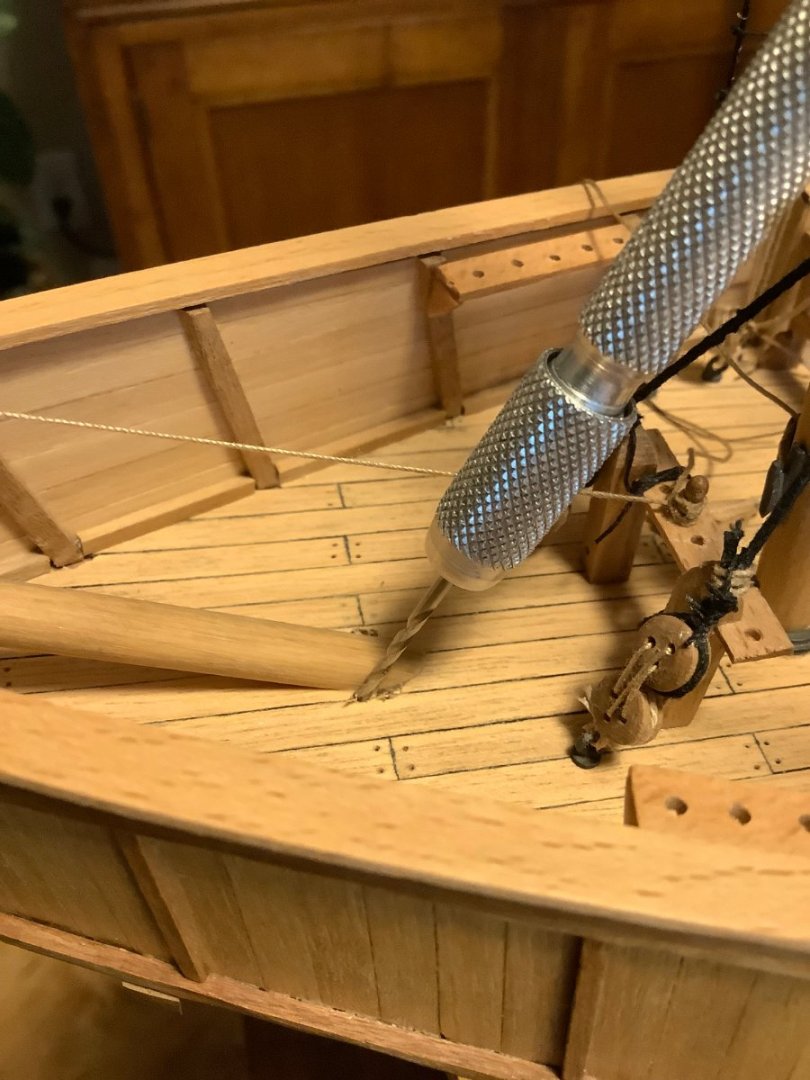
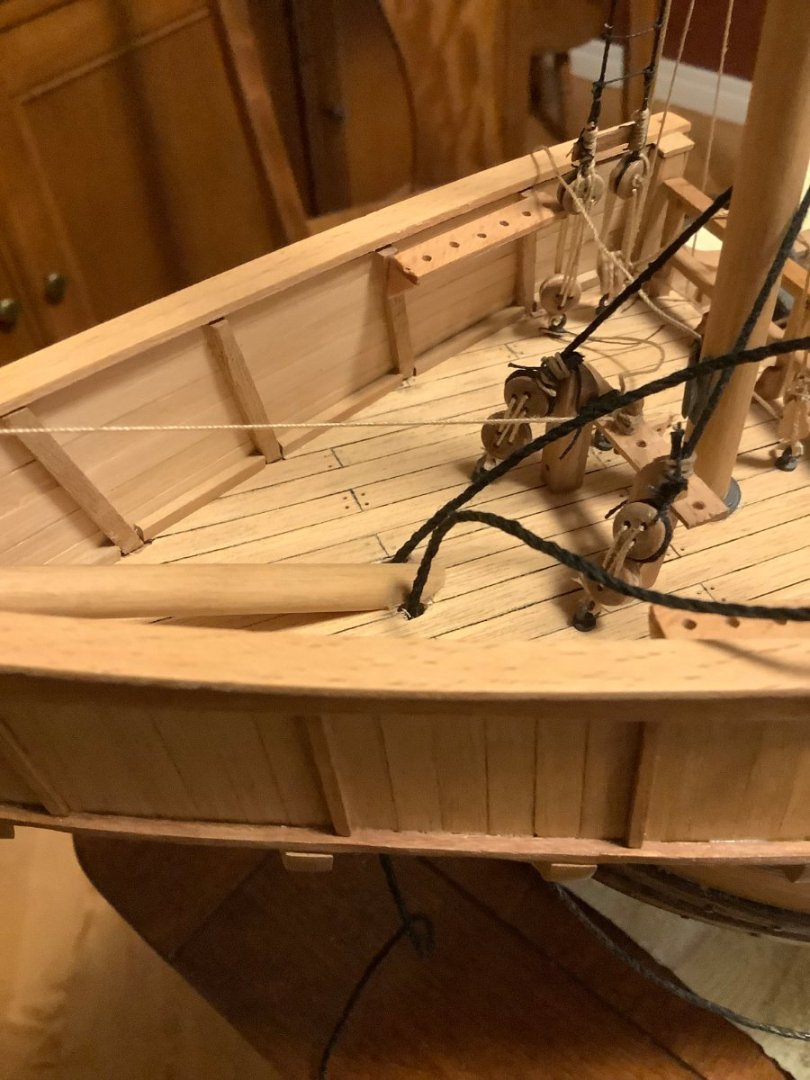
Also did the gammoning of the bowsprit. This was not in the instructions of the original Mamoli kit but decided to make the effort while waiting for the sails. A little nerve wracking but drilled the holes with the pin vise, widened them with the Dremel from above and below, and then threaded the rope with a coarse needle. Lucky that the direction and angle of the two pilot holes were correct.


- 179 replies
-
- 1
-

-
- santa maria
- mamoli
- (and 1 more)
-
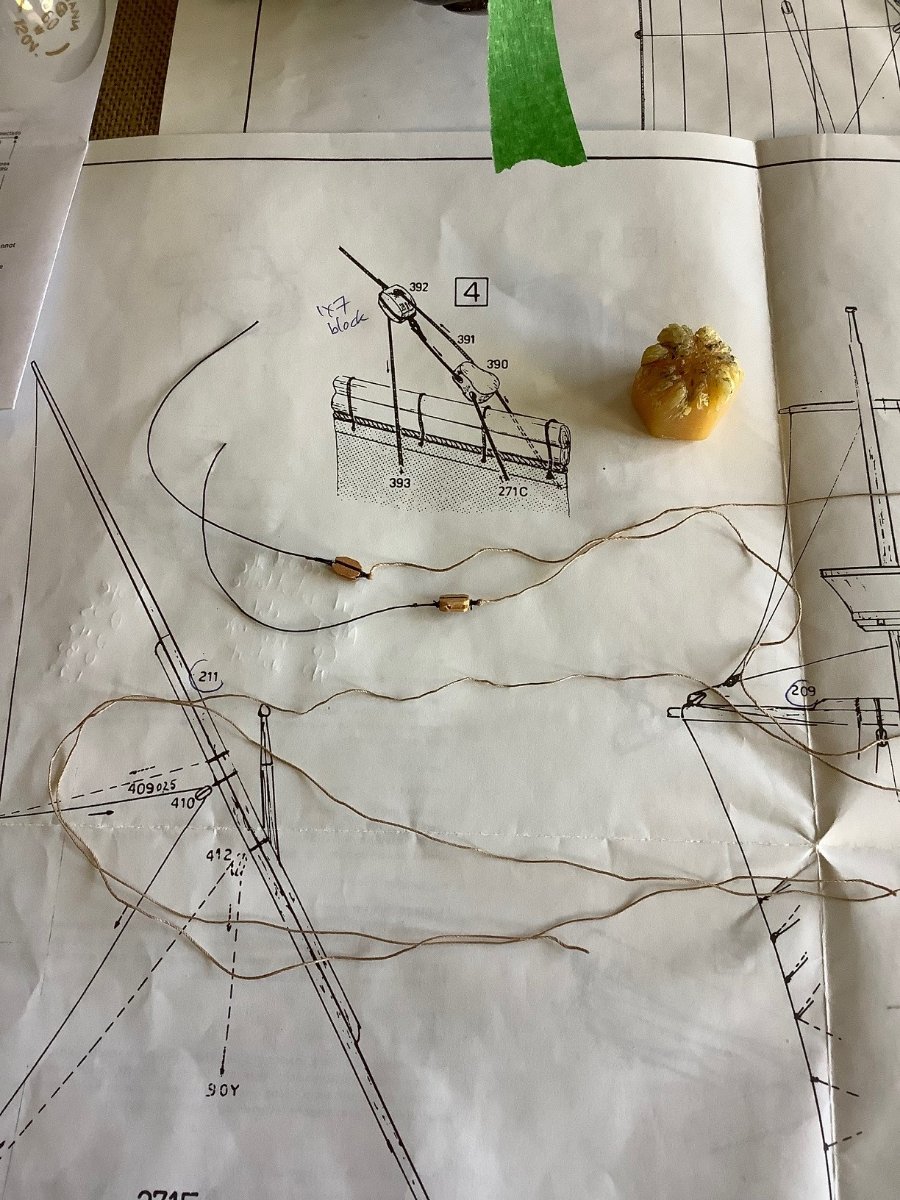
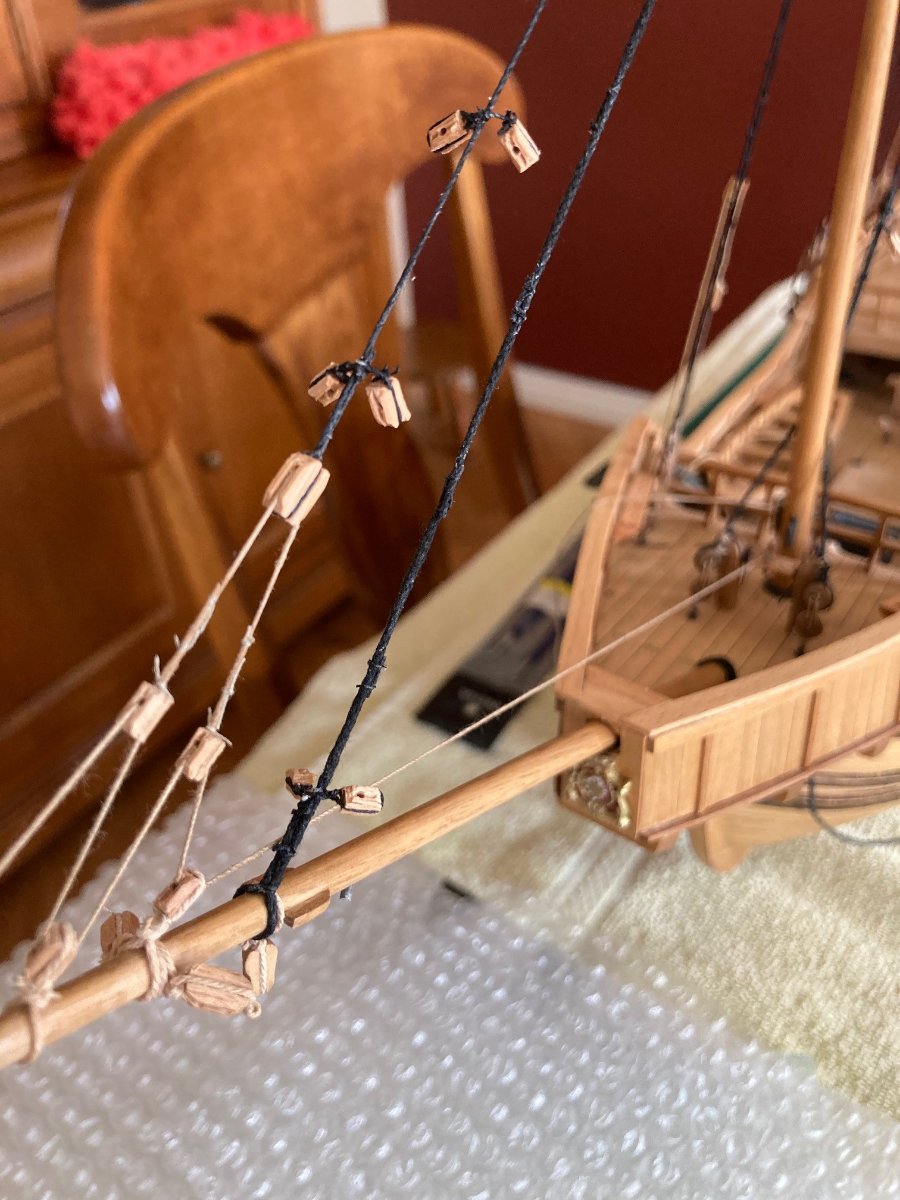
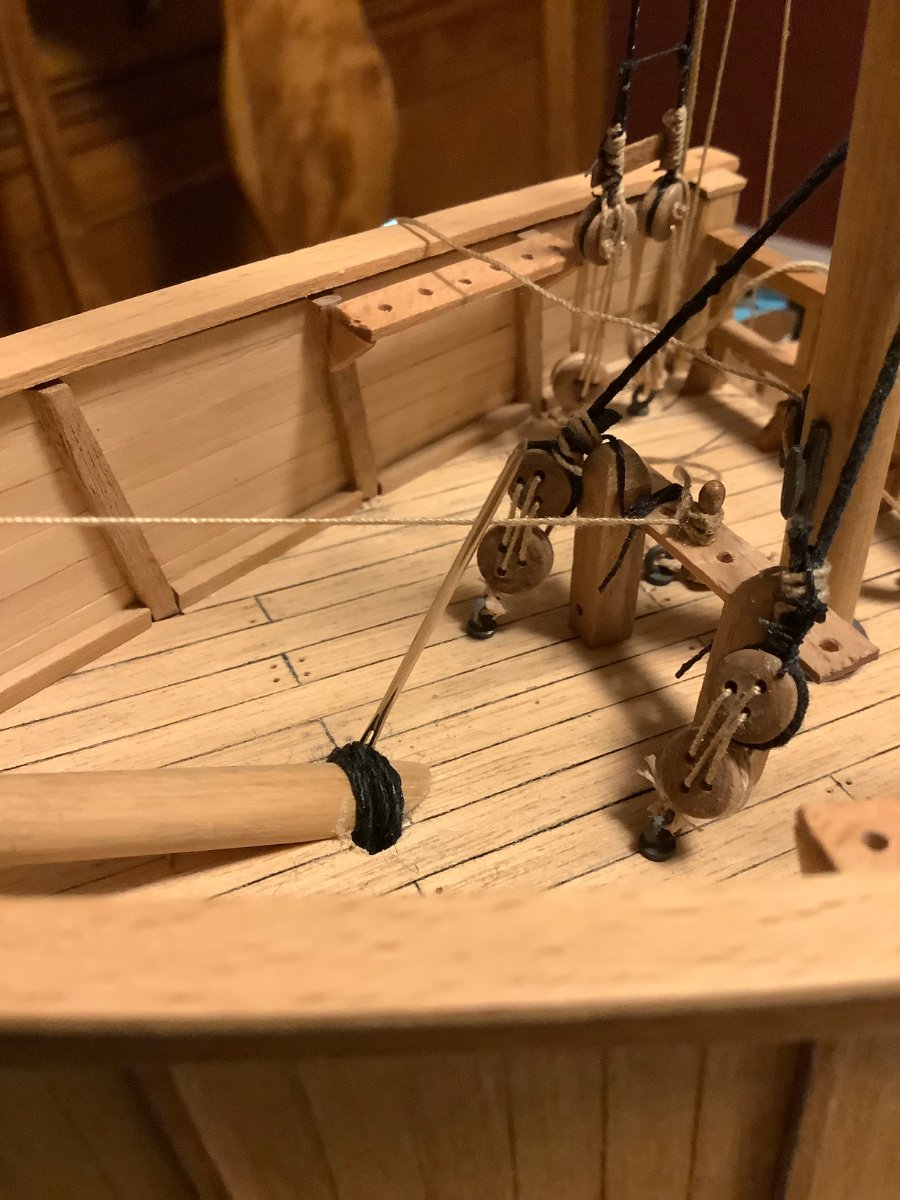
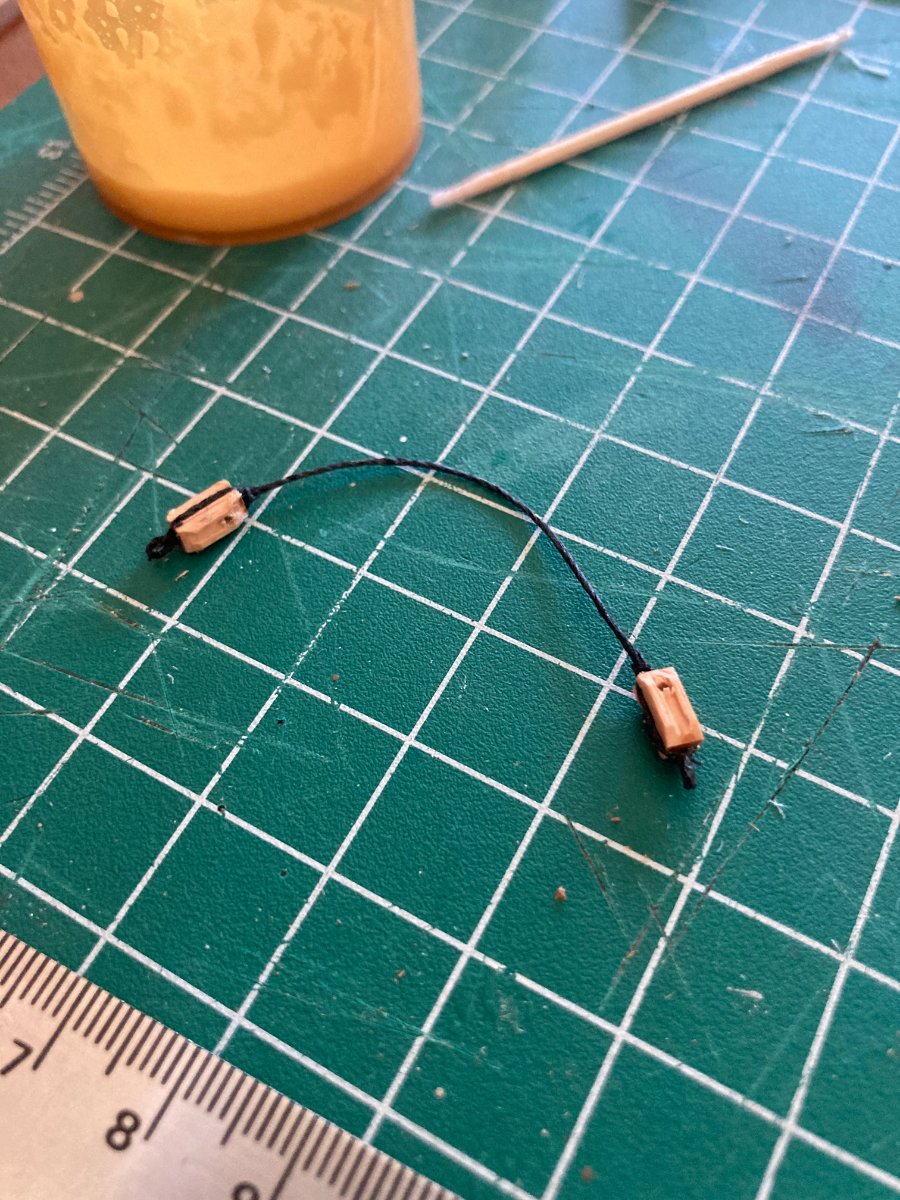
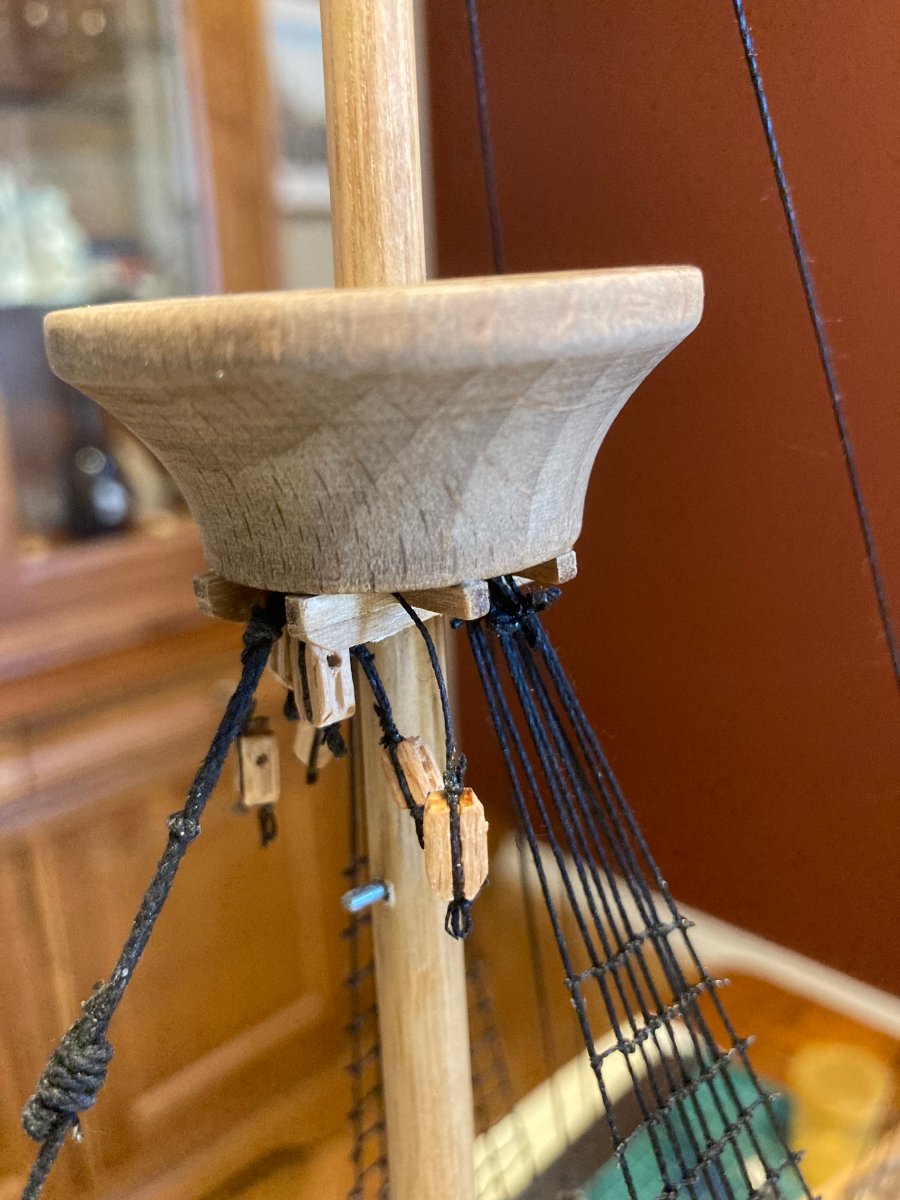
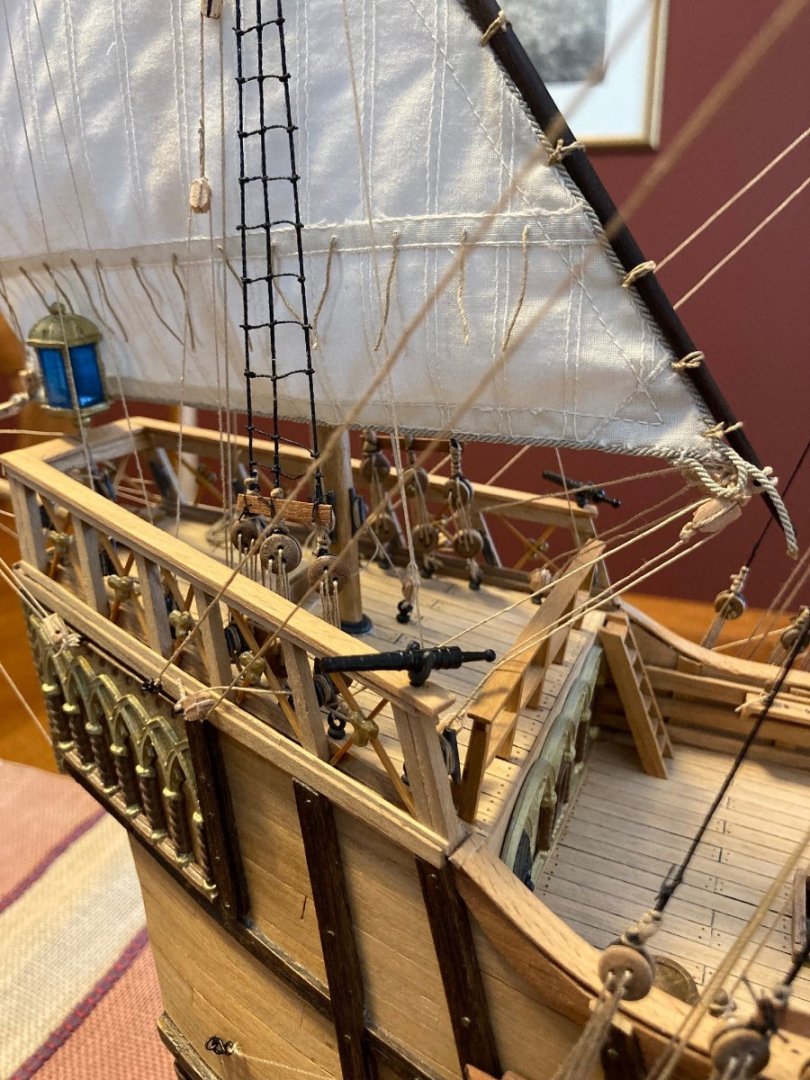
Still patiently waiting for the sails from Europe... Thought I would do a few of the little things in preparation of receiving the sails and getting them onto the yards. Please take a peek at my progress on finishing of some of the blocks under the crowsnest in preparation of the mainmast yard.

-
Thanks Johnny for checking out my build log... Yes, we are all "stuck" for a while at one time or another. Cheers,
-
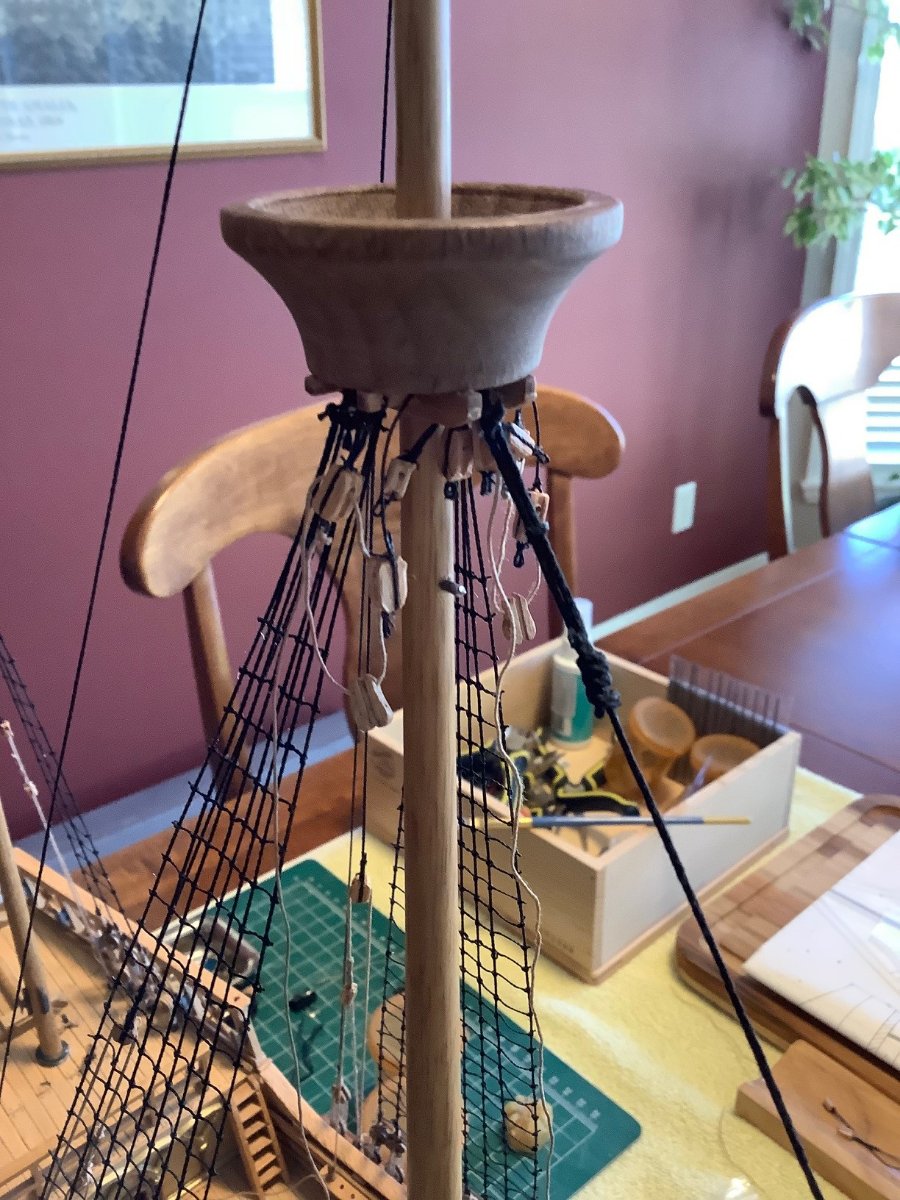
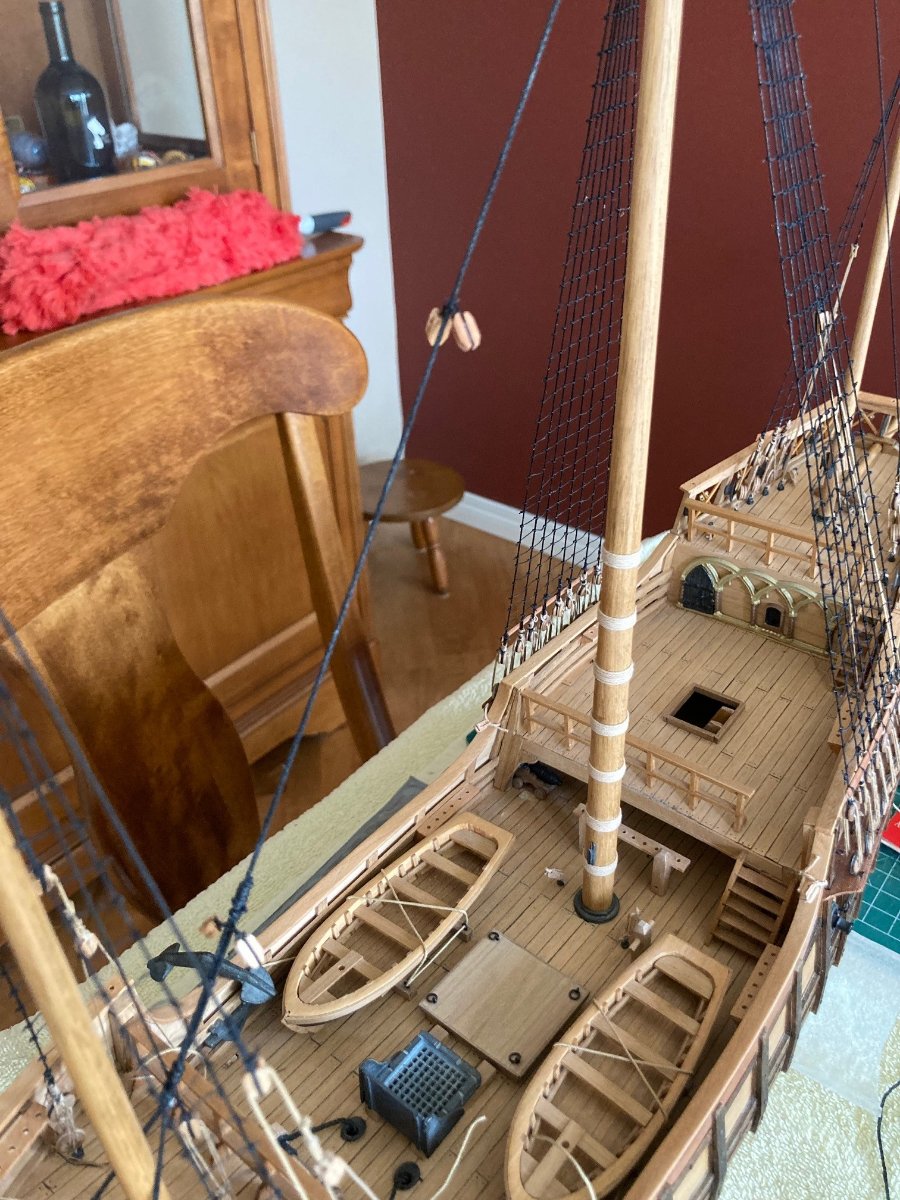
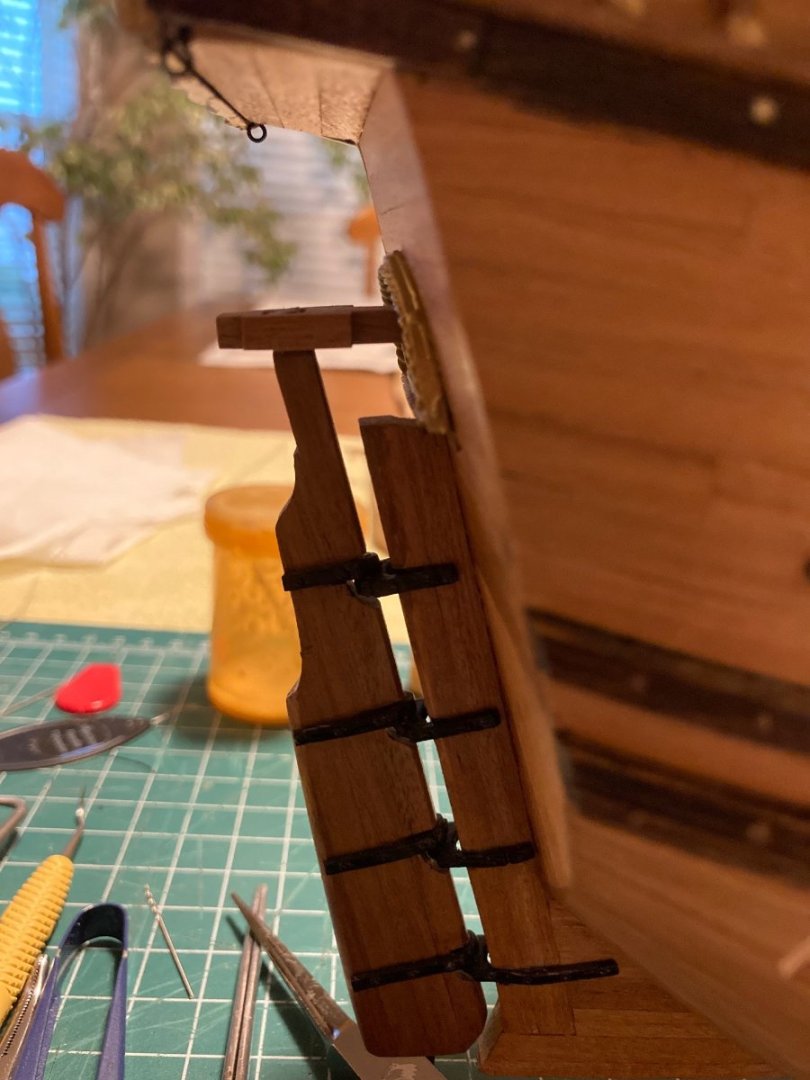
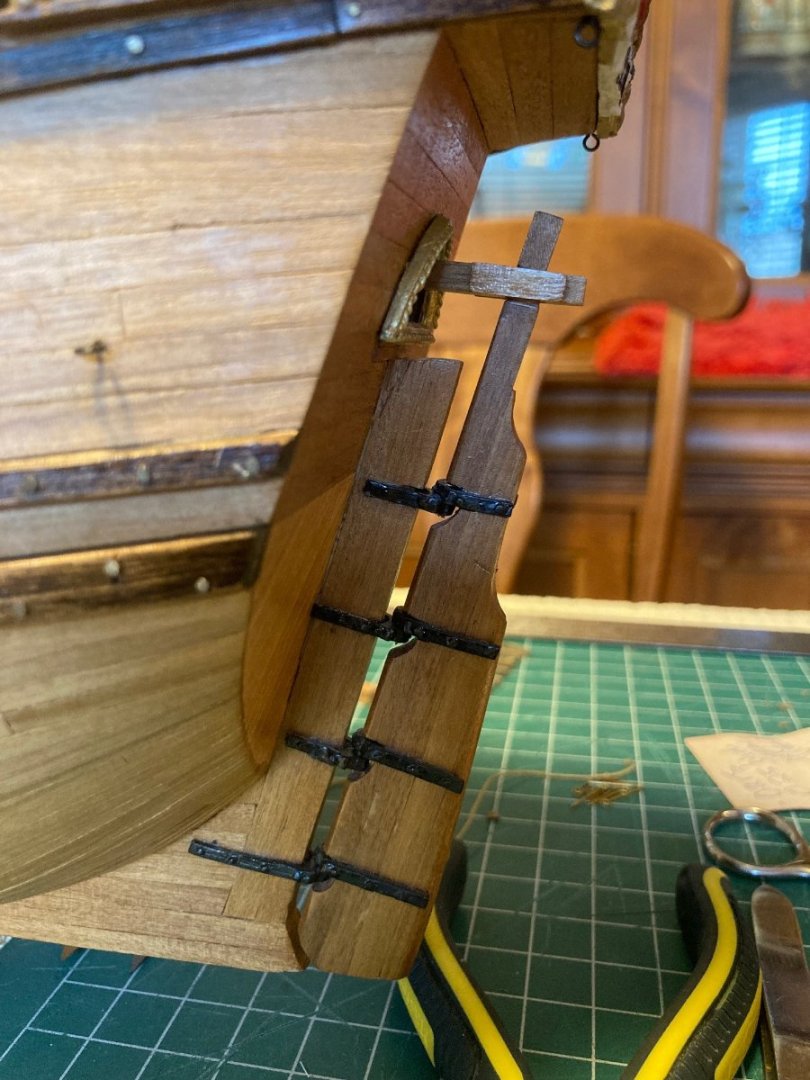
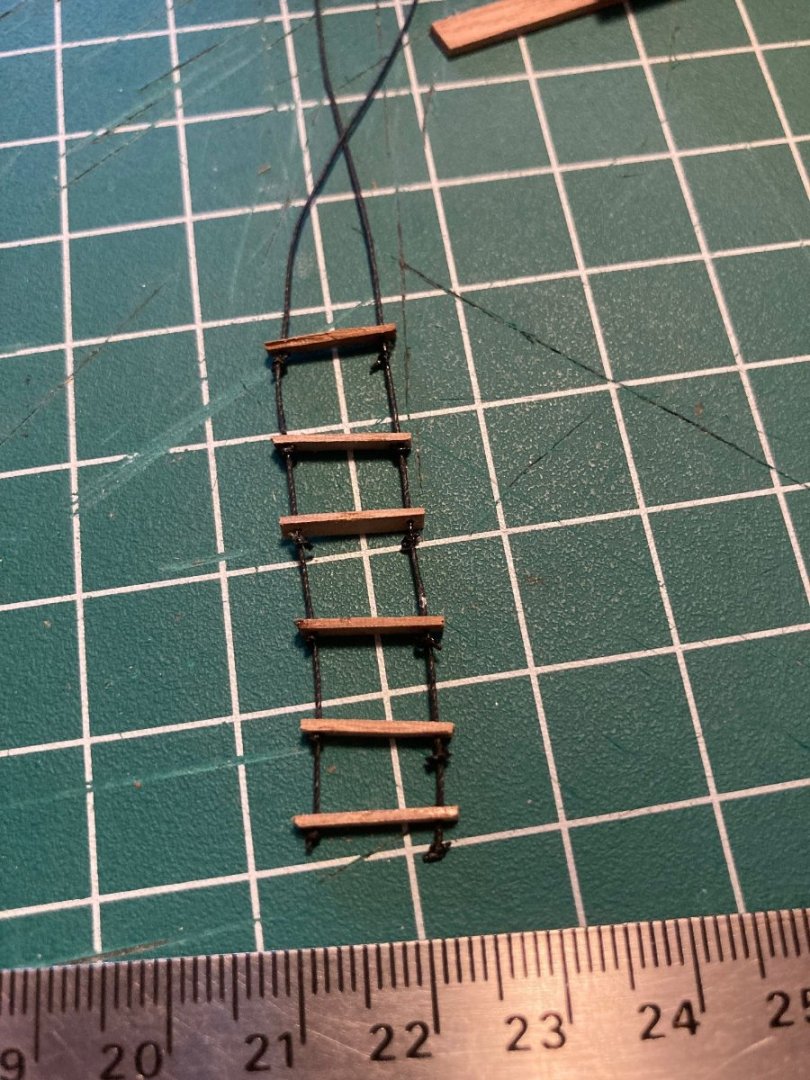
Still patiently waiting for the sails... Thought I would update the log with a few simple things that I have done in the meantime. Was meaning to add the extension to the rudder post... looks much better. Also built the ladder to access the crow's nest.
- 179 replies
-
- 2
-
-
- santa maria
- mamoli
- (and 1 more)
-
I agree… Communication is so critical, whether in business or in personal affairs. The challenge in web based business and email communications is that these issues happen more frequently than they should. In my world, face to face communication is the norm, and there is no room for error.
-
Pleased to say, Radimir has sent me an email that the sails are on their way. He has communicated that he had problems with a machine that transfers images to the cloth. He reports that he had to purchase a new machine. You always wonder when someone goes “dark” if it is health problems or what. I will take pictures of the sails when received and present them on my build log of Santa Maria. Anyways, all good!