hof00
-
Posts
1,656 -
Joined
-
Last visited
Content Type
Profiles
Forums
Gallery
Events
Everything posted by hof00
-
 Hi All, I have a couple of questions regarding Tamiya Mark Fit. I am soon to place the Air Recognition Symbols, ()Swastickers), on the Fore and Aft Deck of the Bismarck but before I do, I want to ensure that I have the correct Tamiya Mark Fit.... Currently, I have in my possession, "Normal" or "Original" Mark Fit. I am concerned that I may seed the "Strong" or "Super Strong" version, a couple of reasons for this thinking is that it would be nice to see the outline of the Deck Planking and the Fore Deck has an additional layer of Decking, on top for the Anchor Chains to run over, so, the Decal needs to conform to this also. I have read also that the "Super Strong" version may damage decals and only for use by experienced modelers?? Any advice would be great, also any "Sage" experience or techniques would be fantastic also. Cheers and Regards, Harry.
 -
Hi Rod, An awesome 1st Planking!! I did wonder when I looked at the lack of Frames....🙂 After three layers it'll be pretty rigid!! (What are the model dimensions?) Cheers and Regards, Harry.
-
Hi Rod, Nice change of pace for you.... 🙂 I'll follow along. Cheers and Regards, Harry.
-
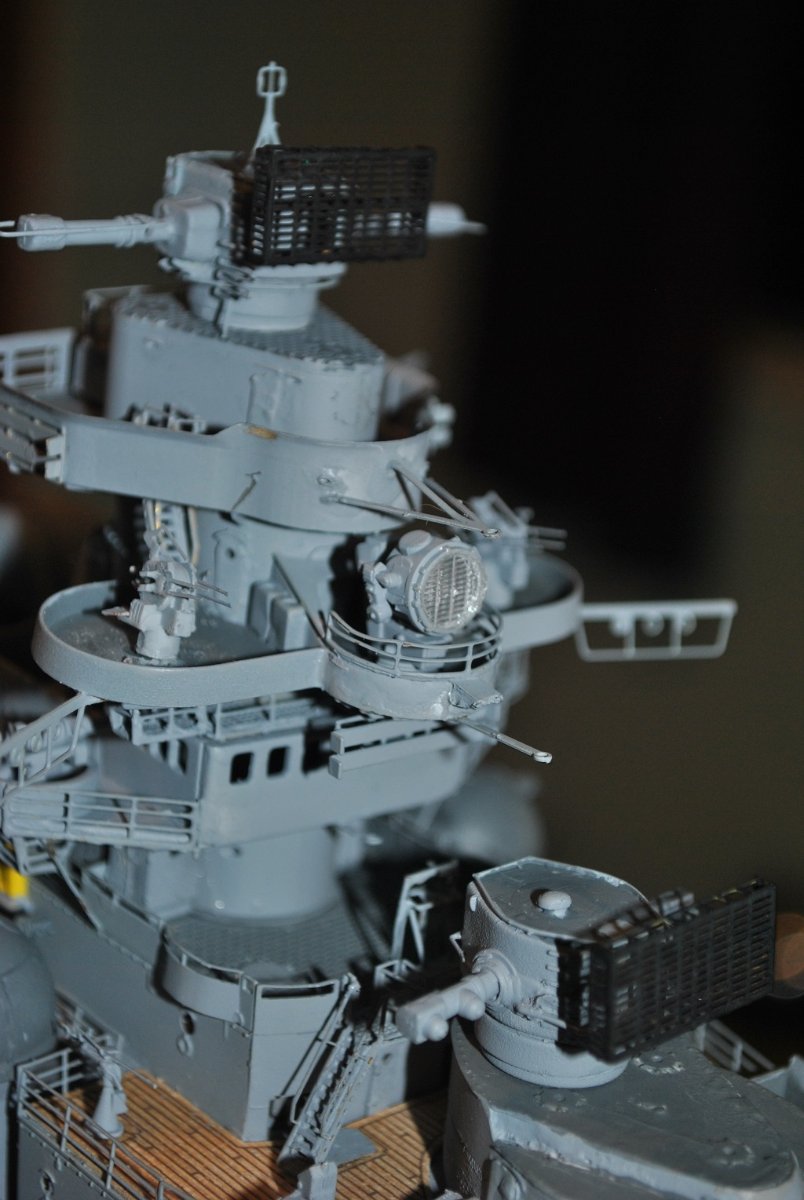
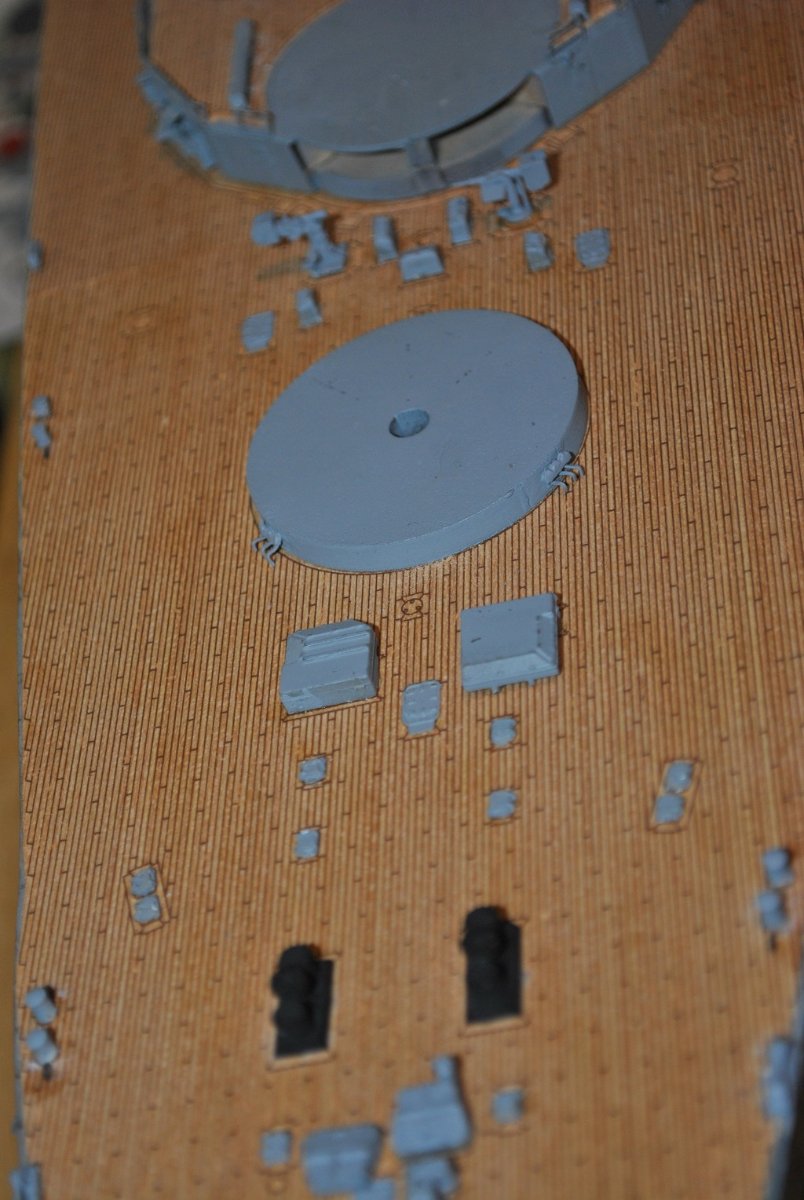
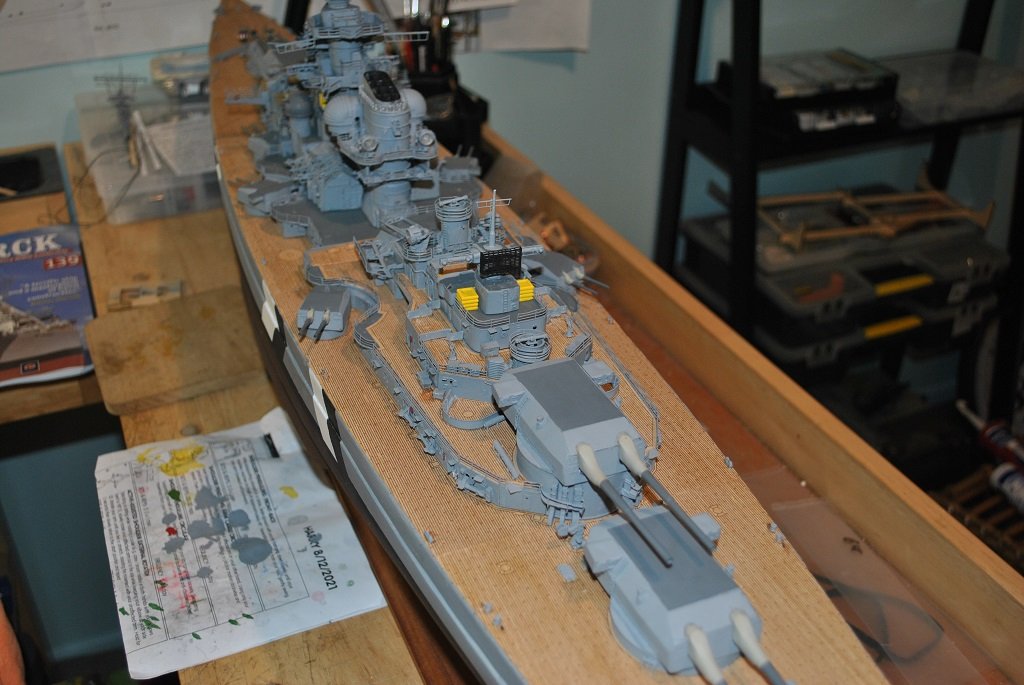
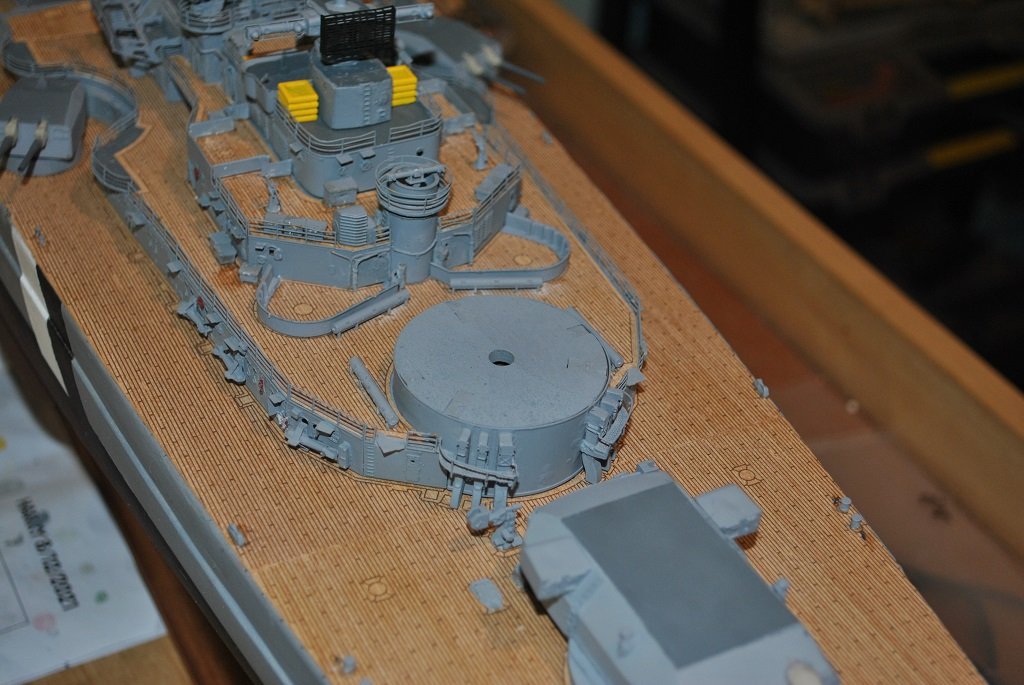
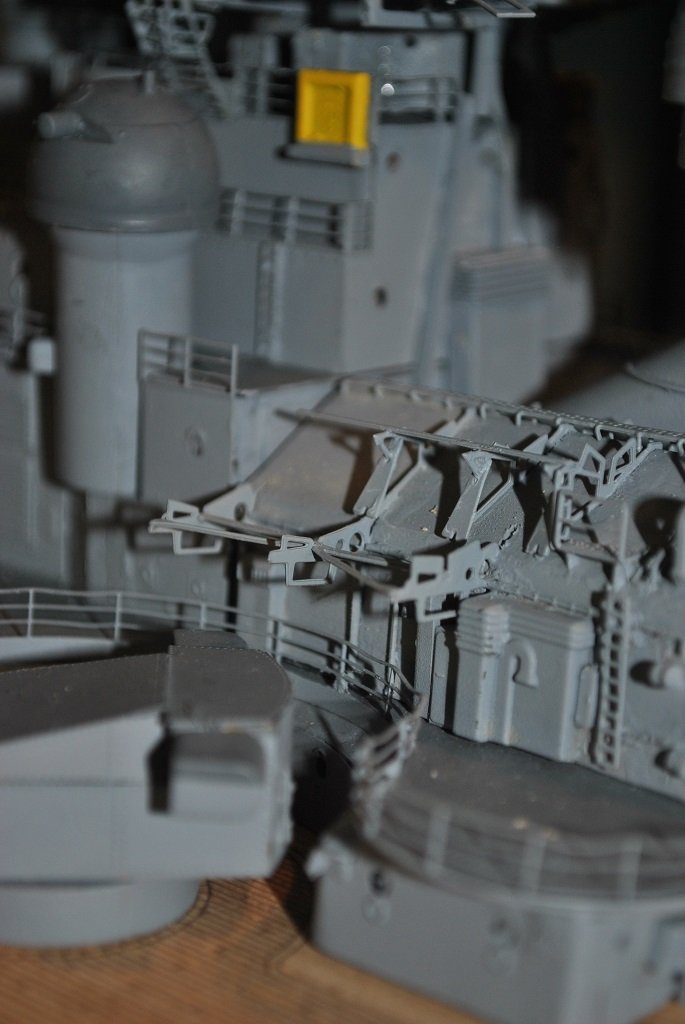
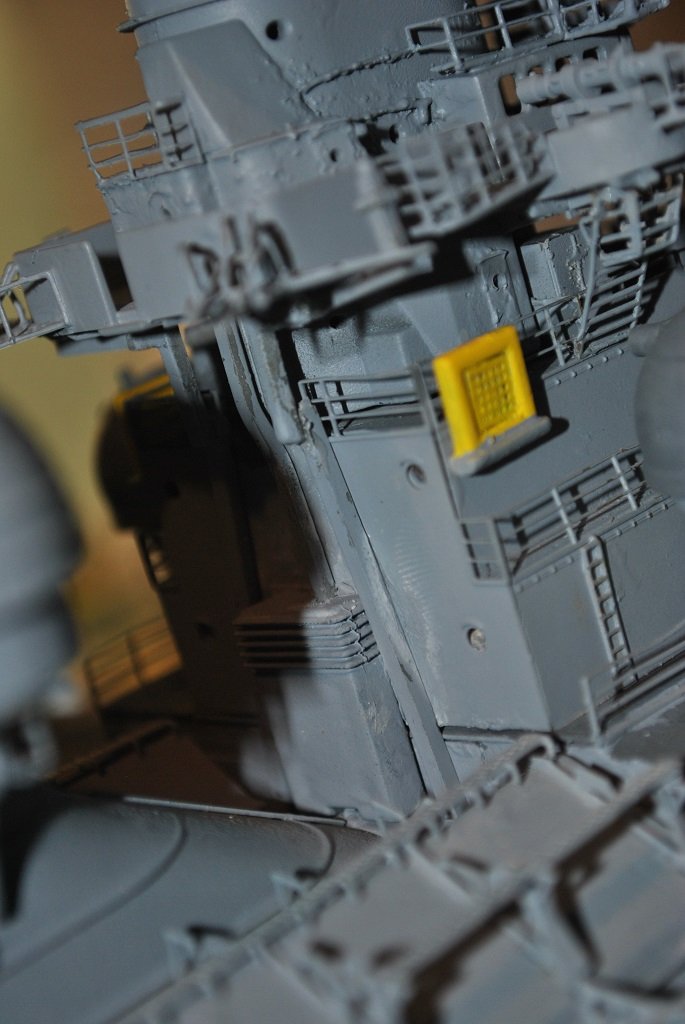
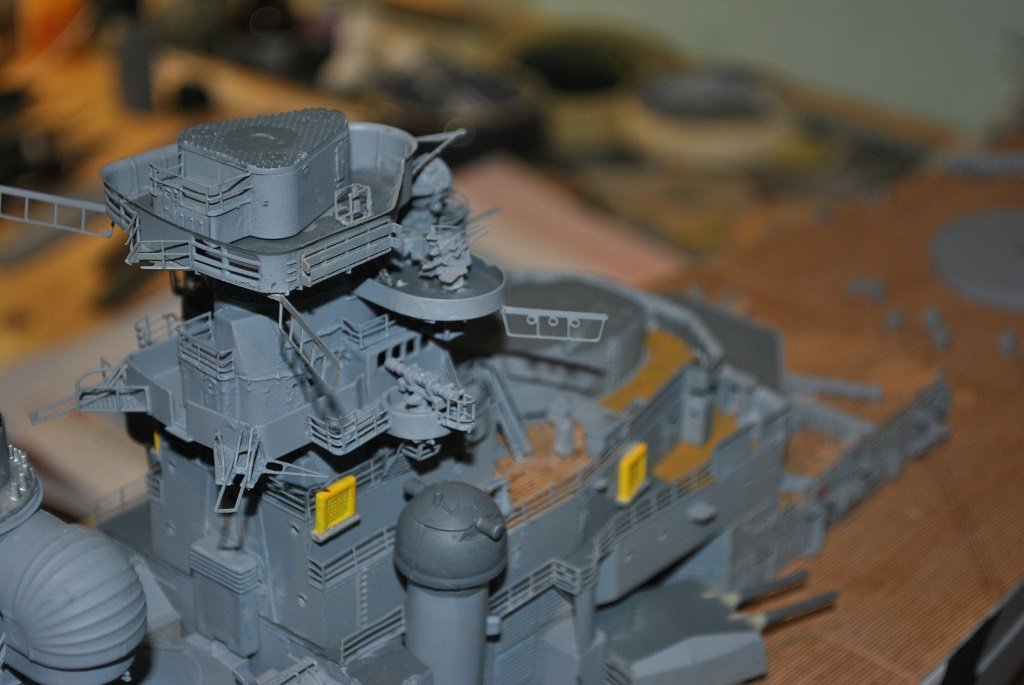
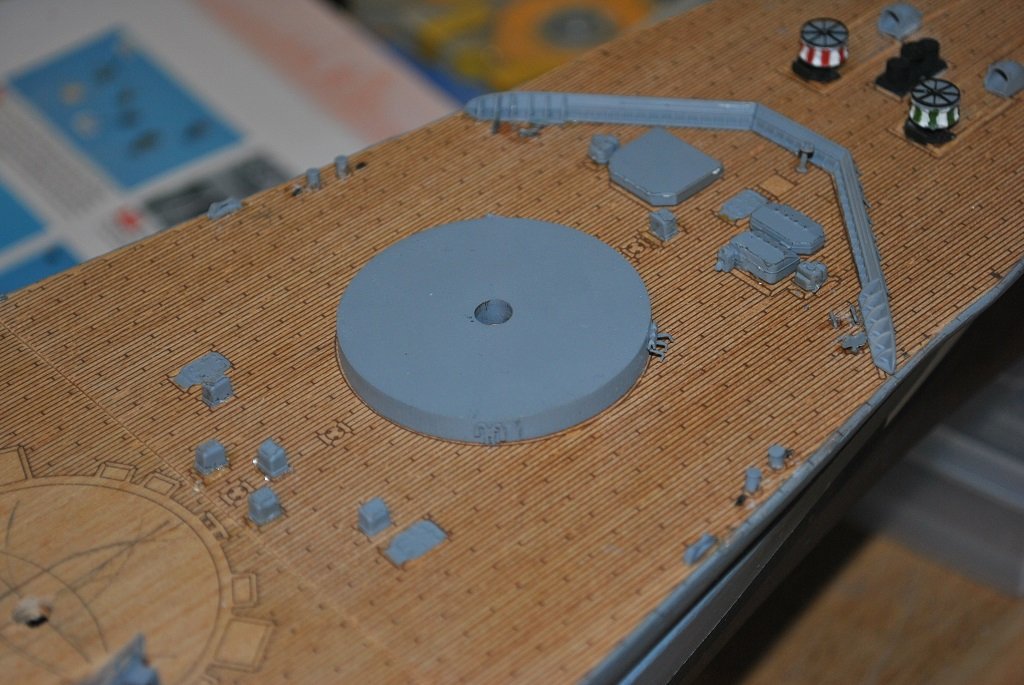
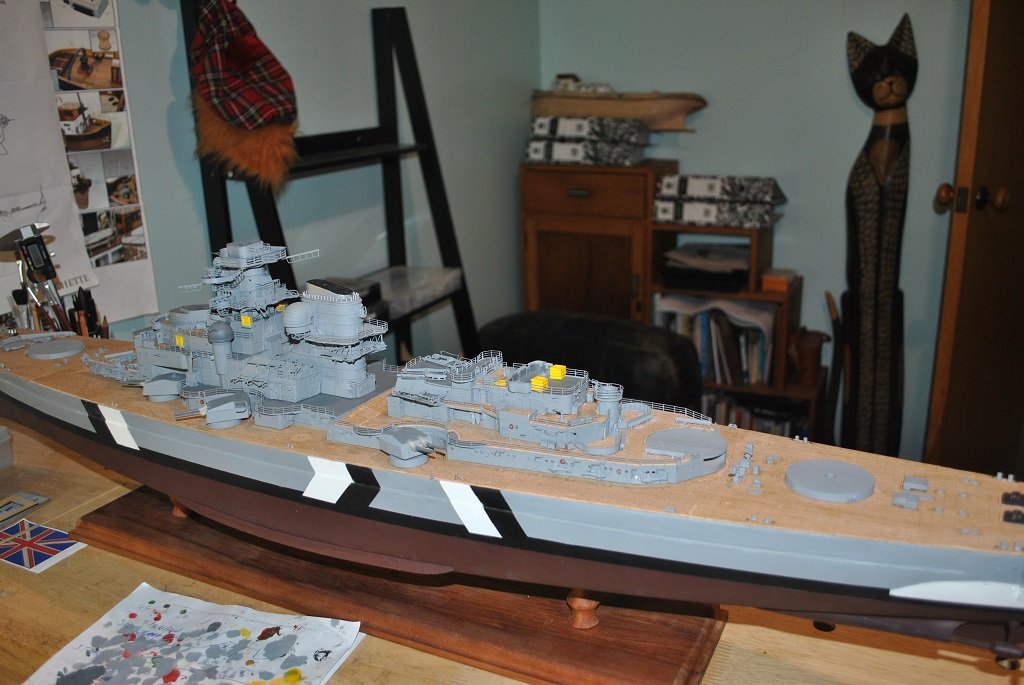
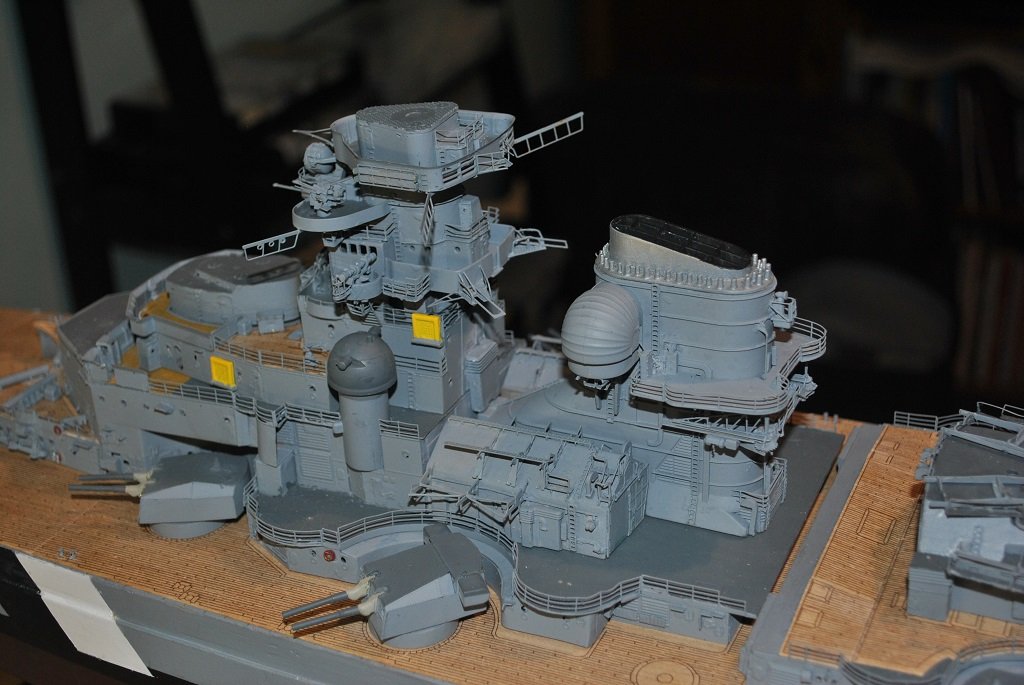
Hi All, Update: Affixed FWD S/S (Bridge Deck not yet permanently attached.) Bridge Wings installed Midship Redoubt Ventilators installed Barbette Cesar complete and installed (Aft S/S not yet attached So, Fun and games.... The build continues and the Sub-Assembly boxes are beginning to look "Depleted)." The detail stuff for Barbette Cesar proved to be a real mission, the Barbette did not want to fit, made worse with the PE detail, however, it's on, not perfect, but it is what it is. I posed the Ship with Main turrets on. Tomorrow Barbette Bruno will get some attention.... 🙂 (I find it difficult to work on this at night, no natural light and too many shadows. I guess you could call this planning time.) Cheers....HOF. Photos:
-
Thanks Rod, I think that its coming together o.k. I have got to the stage of attaching the Fwd S/S. Just taking my time at the mo. I have not yet permanently fixed the Bridge Deck to this as I am seeing quite a bit of detail stuff that will be very difficult to install after the fact. (Same for the Radar "Domes.") Tomorrow, I'll start the Barbet detail for Bruno and Caesar I am thinking that I'm going to have quite a few plastic and PE detail bits left over?? Anyway,,,, Cheers and Regards, Harry.
-
Hi Chap, Awesome work!! (Something that I have to look forward to) I have purchased some PE Chain Link Railings from Aber, so, hopefully, my task may be a little easier. I must agree, you cannot do this stuff with ought magnification of some description.... 🙂 Cheers and Regards, Harry.
-
Hi All, Small update, (Photos), to go with the above text. (Hope this helps to explain the text.... 🙂) Cheers....HOF.


- 544 replies
-
- 10
-

-
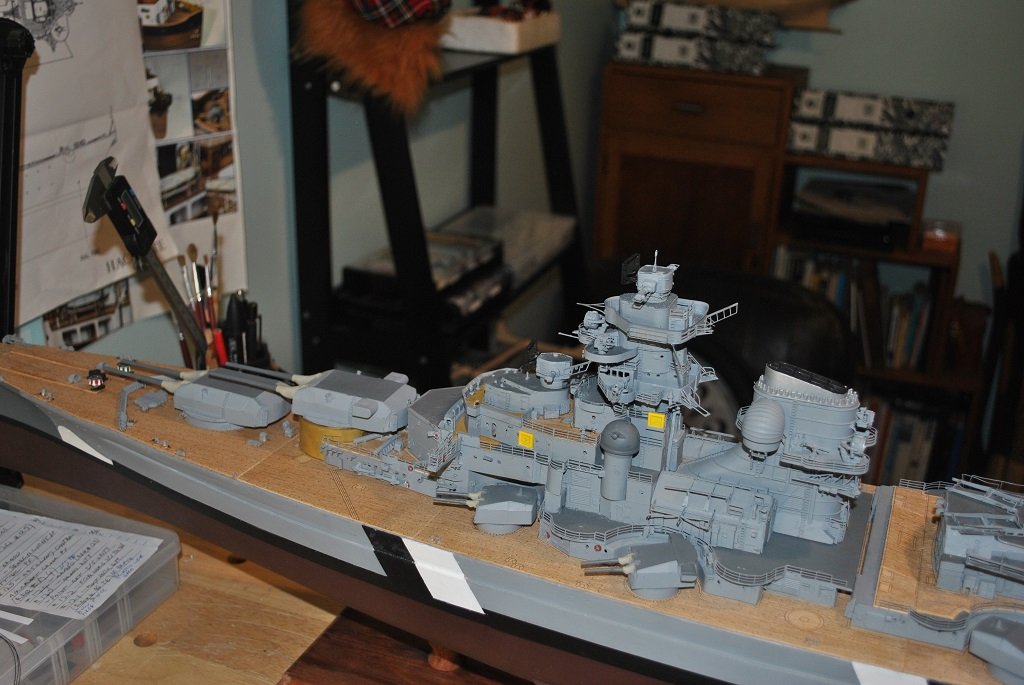
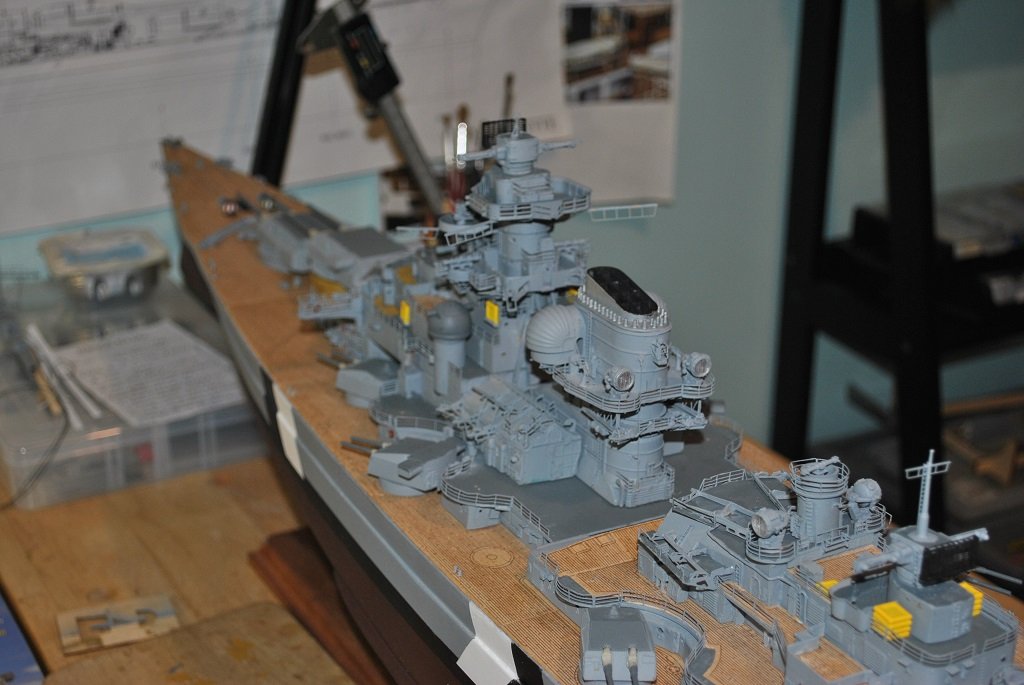
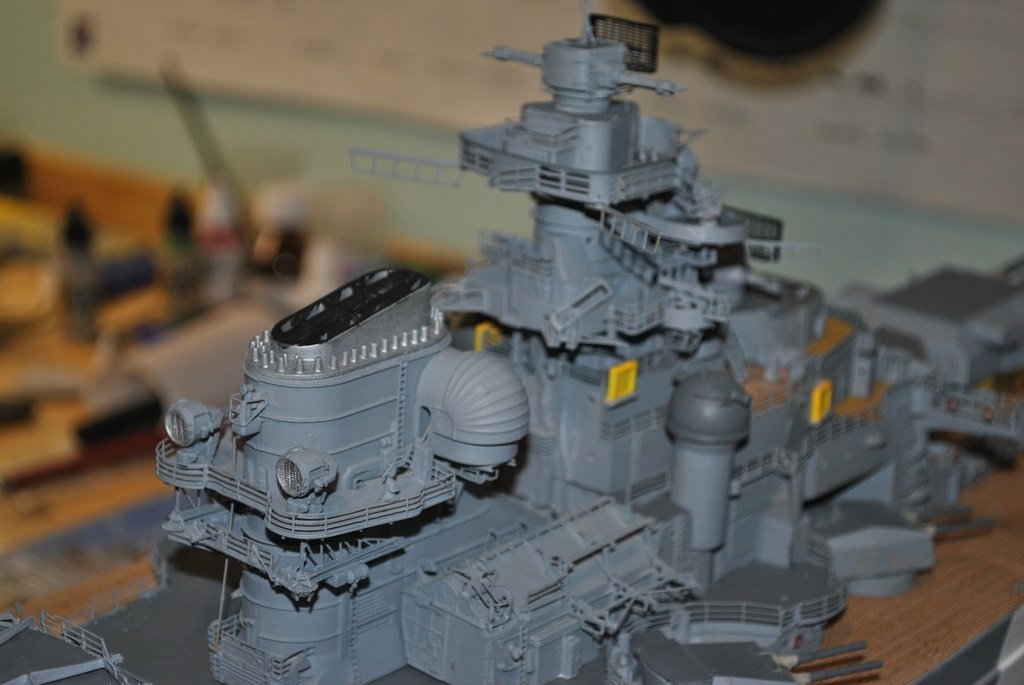
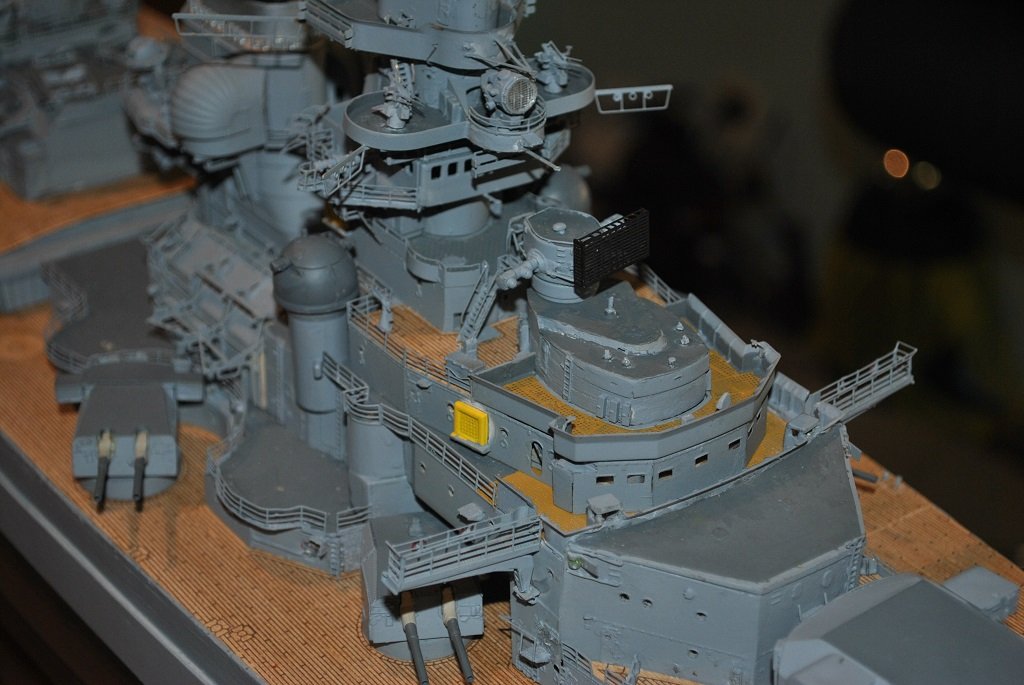
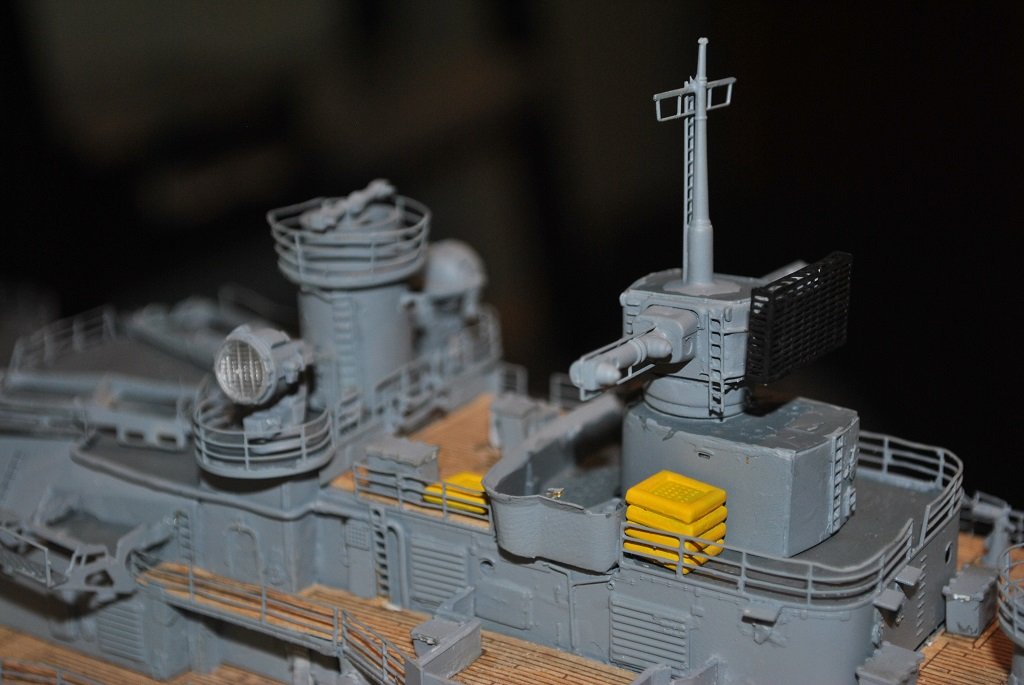
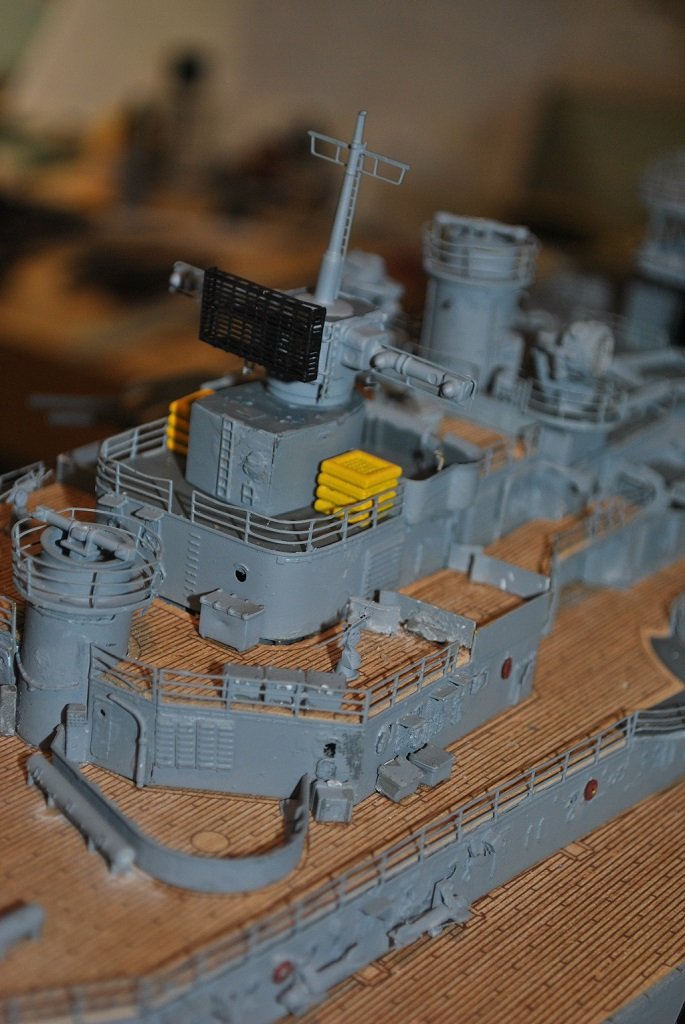
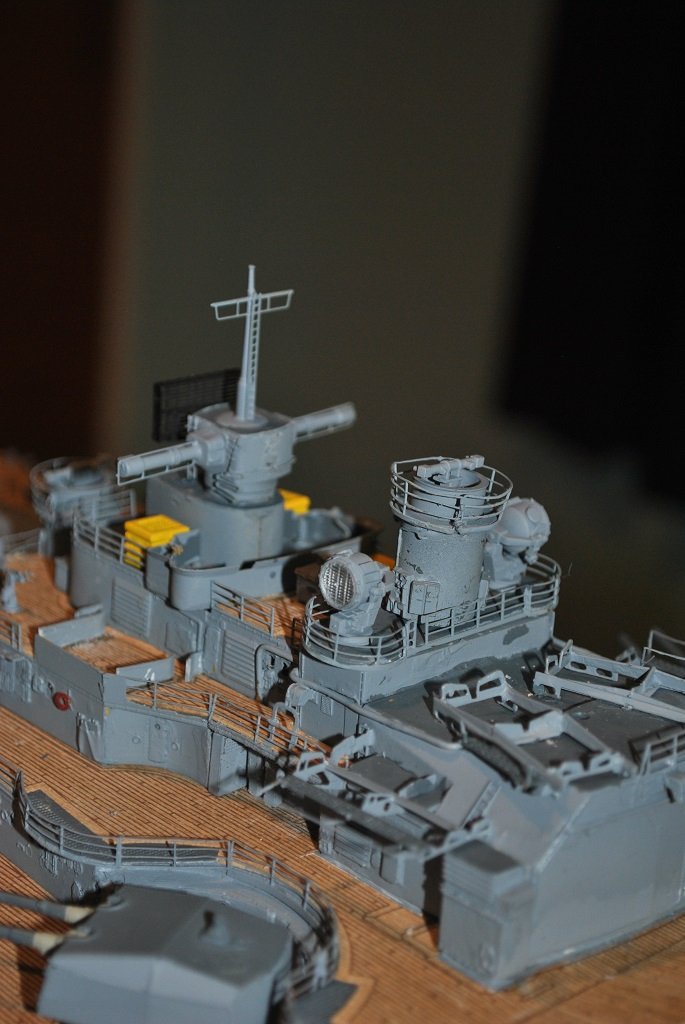
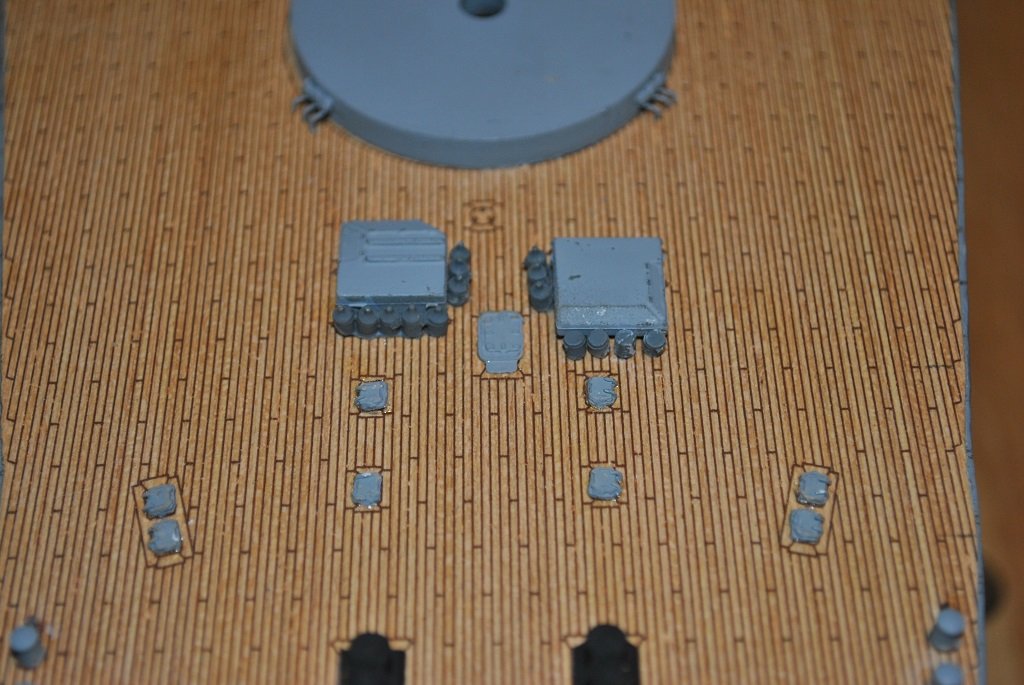
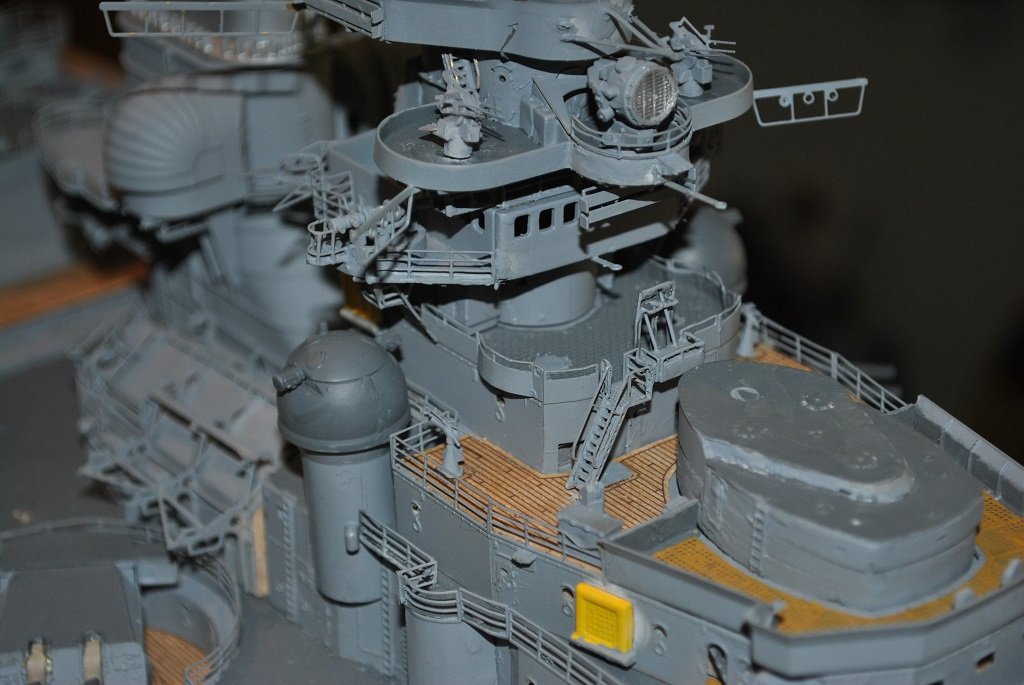
Thanks Joe and Dave. A better day today.... Completed Issue 138 and now have started the penultimate 139. The last issue was not without it's problems, there are two small searchlights on the Admirals Bridge that I had real difficulty with. I managed to screw up one of the PE mounts and had to build one Plastic Searchlight from scratch, I think I lost this quite some time ago.... I fitted the same Searchlight on the Main Mast, no problem and am thinking about the Admirals Bridge ones. If I decide to install these I'll need to come up with a mount for thee of some description. Smoke Cannisters and Depth Charges installed on Stern Deck. Issue 139 like "A breath of fresh air!! 🙂" Completed the Three Radar sub-assemblies' and temporarily mounted on the S/S to ascertain fit, etc. Completed Aft Gunnery station and search light platform. Added square section ducting on the rear of the Fwd S/S and a real bonus to have the Bridge Deck unattached to facilitate this task. This was something that I was not looking forward to.) It's good to have the sub-assemblies, makes things "Flow" a little better. I guess the above doesn't mean much I'll get some photos tomorrow, that'll help!!🙂 Anyway, that's me for the day.... Cheers and Regards, Harry.
-
Thanks Joe, Not much happening today though.... Finished painting detail on the 12.5 ton Cranes and looked at Rigging these, I'll look again tomorrow. 🙂 Maybe a better day tomorrow, I must be a little tired. (I find that I have to be in "The Zone" also.) Cheers and Regards, Harry.
-
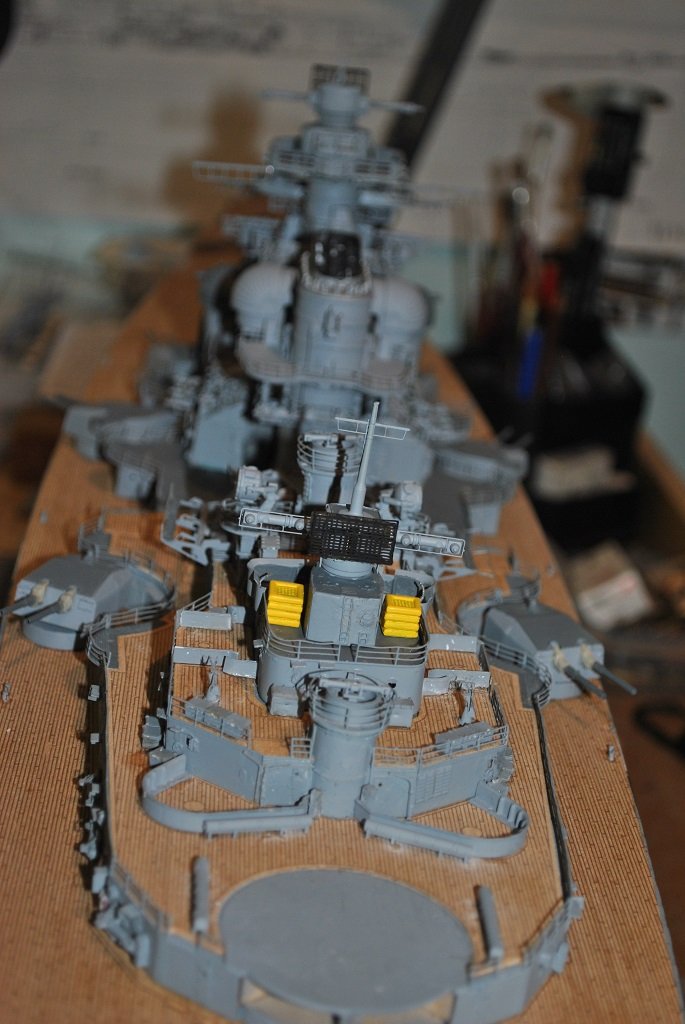
Hi All, .Small update: Nothing too much of note.... Quite a few details, Bow/Stern and Superstructure/s. I have not quite completed issue 138 but there is not too much to do here before I get to the penultimate.... 🙂 Regarding the Splinter Shields on the Aft S/S, I decided that Plastic Card would be a more viable option than the wood strip supplied, much easier to form. Life rafts, well they are on, a bit bright perhaps but under normal lighting, they are not too bad. (Not shown is the Aft Signal station with Life rafts mounted, this is back in the Sub-Assembly box....) Last photo, a few sub assemblies fully painted. (Minus the Radar bits, assembled but not yet painted.) The final two steps of this issue advise fixing Fore and Aft S/S to the Main Deck, I am choosing not to do this until near completion. My paradigm is that it is far easier to remove these to add bits rather than trying to stand and position them. I just have to be very careful.... I think tomorrow will be a "Low Impact" day.... 🙂 Finish issue 138, a few touch-ups, Rig the 12.5 ton Cranes and try to complete Arado Canopy Frames. Cheers....HOF. Photos:


- 544 replies
-
- 11
-
-
Hi Chap, Personally, I am a Pedestal fan. A couple of reasons for this: New Zealand is seismically active and pedestals are more secure Pedestals show more of the Hull I have only used a Stand in one build, A/L Fulgaro (On this site if you want to have a look.) Others on this forum will have ideas also. Cheers....HOF.
-
Thanks Joe, Much appreciated!! Yup, so I agree the Maize color looks good, nice and quite "Mute" (I sort of have to go with what I've got really....) I completed the Life raft clean-up, (I hate re-work!!) and primed with matt Vallejo White as a base, advice from Ken. "Canute", Airbrush this time. 🙂 I chose a "Citadel" Yellow and a darker wash for the highlights. (PE Mesh holes.) I guess we'll see how it comes out!! Cheers and Regards, Harry.
-
Thanks Ken, I had initially had this primed with Grey. I think my trouble started with a very heavy dose of Yellow, (Brush Painted), and the paint I was using seemed to be Gloss? Anyway, I have a different Yellow I'll try later today which is supposedly Matt. Anyway, live and Learn.... 🙂 (I have also been looking at the F86 work.) Cheers and Regards, Harry.
-
Hi All, Small update but no photos as yet, I'm waiting until I get Issue 138 complete.... The last two will commence thereafter. So, what has been happening on the build front: Detail on Fore and Aft S/S Lots of small Lockers, Vents, Aft AA gun Splinter Shields and other bits.... 🙂 The Life rafts are getting to me,, the simplest of things to construct but the Yellow Paint was a complete "Hash!!" I am now in the process of stripping these back to bare plastic/PE and will have another go.... (I wasn't even rushing things. (I read that Yellow is maybe the hardest color to paint.) So, with these things, I have 3 small Searchlights and a couple of ladders for the Upper Fwd S/S. (Couple of days maybe?) Anyway, that's me for tonight. Thanks Joe for the wonderful photos and information that you are imparting, fantastic stuff!! Cheers....HOF.
-
Thanks Joe, Those photos are pretty awesome!! Interesting that the Mainmast could be "Retracted?" Cheers and Regards, Harry.
-
Hi Joe, Please feel free to "Hijack" If's all relevant and great information for all on the forum who share the interest. I for one, have increased my knowledge on the subject hugely! (From just building a model with a limited amount of information tp a much better understanding of the subject and history.) Good also in the quiet times when I have not updated or taken photos. Keep it up all and thank you Joe. 🙂 Cheers and Regards, Harry.
-
Very nice indeed!! You should indeed be pleased with the result. 🙂 (I broke one of my Catheads also so got some made up in Brass.) Cheers.... HOF.
-
Thanks Joe, I'll PM you my E-Mail to enable you to send some Rigging diagrams when you get a moment. (It would be good to see so that I can plan ahead a little.... 🙂) Cheers and Regards, Harry.
-
Hi Joe, Thank you for the diagram and information!! Awesome!! 🙂 I'll certainly refence this information in the next two or three weeks and I'll come back to you if I have further questions. Cheers and Regards, Harry.
-
Thank you very much Sir, I have been studying the instructions, just to see what's coming up.... It would be great to see something better than my instructions.... Could it be PM'd? (I am certainly not one to refuse assistance!! 🙂) Cheers and Regards, Harry.