
HOLIDAY DONATION DRIVE - SUPPORT MSW - DO YOUR PART TO KEEP THIS GREAT FORUM GOING! (89 donations so far out of 49,000 members - C'mon guys!)
×


hof00
-
Posts
1,647 -
Joined
-
Last visited
Content Type
Profiles
Forums
Gallery
Events
Everything posted by hof00
-
 Thanks Ken, appreciated. It's going to take a bit of work to get things moving properly again. I guess that I did o.k. on the Bismarck build thus far with 1.5 arms....🙂 (Not as young as I used to be.... (Cliche)) I just don't wish to break anything at this late stage in construction. Cheers and Regards, Harry.
 -
Hi All, A quick update.... (Well, an update when you're not having an update) It's been some time since I posted on this build, it's still sitting on my workbench a little unloved. I am hoping to getg the Rigging underway in the very near future but as I have mentioned in the past, I am still limited by my right Rotator-Cuff injury and cannot lift my arm very much, something that has been plaguing me since the injury in August 2021. So, I'm now on my weight machine to help myself get things moving properly, and I need to move properly as there are many delicate bits to knock off!! I was hoping for assistance from my partners son but for one reason or another, this has not occurred as yet. I am also deliberating about whether or not I'll do the Deck Decals, I have a bit of time to think about it a little longer.... 🙂 Apart from the Rigging, the rest of the sub-assemblies are ready to be attached, (Boats/AA Guns.), so not much at all really. (I did toy with the idea of starting something new but decided against this as I just cannot build multiple projects. So, I have not given up and apologies to anyone hoping for something positive from myself, but it is coming!! Cheers and Regards, Harry.
-
Bristol F.2B WW1 Fighter by CDW - FINISHED - Eduard - 1:48 Scale
hof00 replied to CDW's topic in Non-ship/categorised builds
Looks awesome!! Cheers....HOF. -
Your build is awesome Rod! Some lovely details, I esp. like the ships boat. Just thinking that you are going to need an addition to your house to display them all!! 🙂 Wots next? Cheers and Regards, Harry.
-
Hi Chap, Looks awesome!! The Lighting just adds another "Dimension" to the overall presence. Cheers....HOF.
-
Hi Roger, Thank you for the advice. Cheers and Regards, Harry.
-
Thank you Gentlemen, Some food for thought.... I have seen a couple on E-Bay for over USD 700.00 I'll give it a go on the New Zealand "Trade Me" site first and see how I get on. Cheers and Regards, Harry.
-
Hi All, Could anyone give me an idea of a Memoli 1/90 Victory? The kit is unstartled and, everything sealed. I am thinking that it's time to sell this. Cheers....HOF.
-
Very nice indeed!! Cheers....HOF.
-
Very nice indeed!! To achieve what you have done is certainly a testament to your skills, great individualism!! (I'm still not finished my Bismarck; I'm having trouble with Rigging due to Rotator Cuff not properly healed, (I don't wish to break anything on the ship....), so will try to enlist some assistance from my partners son in the near future.) Looking forward to you Yamato build. Cheers and Regards, Harry.
-
Great Stuff!!
-
Hi OC, Just an idea that occurred to me, you've probably already thought about it.... Would a small Solar Panel, 6 or 12V battery and some LED type work lights be an option? Cheers and Regards, Harry.
-
Thanks Chap, Been here for a couple of years now.... Cheers....HOF.
-
O.k. thanks, I'm getting the picture.... Not a very good situation at all. I guess I'm lucky to be where I live, insulated from terrible energy costs. (NZ is mostly Hydro.) I do hope things improve.... Cheers and Regards, Harry.
-
My God!! Where in the world are you and more importantly, who does that to consumers? 300% increase is insane! Harry.
-
Hi Rod, Nice "Foundation" work. I have the same "Proxxon" device and cut my own Sanding pads also. The foam idea is great!! (I'll file that one in the gray matter for later use!! 🙂) Cheers and Regards, Harry.
-
Hi Joe, Thanks for that!! I guess that I am excited about completion to some extent also!! 🙂 Yup, not too much to go, just taking my time. Cheers and Regards, Harry.
-
Hi Rod, I wondered where you got to.... 🙂 (I've been looking for "Seguin" updates!!) I think that the "Beastie" will be finished soonish. Well, I cannot take a photo of the magazine "Stack" as I have them filed in 3 "Eastlight" ring binders. (One for the build and two for the Bismarck history and warfare at sea history.) (I can take a photo of the last two issues for you before they get filed though. 🙂) More Bismarck build stuff tomorrow. Cheers and Regards, Harry.
-
Thanks Chap, At this stage, I have a love/hate relationship with it.... 🙂 Cheers and Regards, Harry.
-
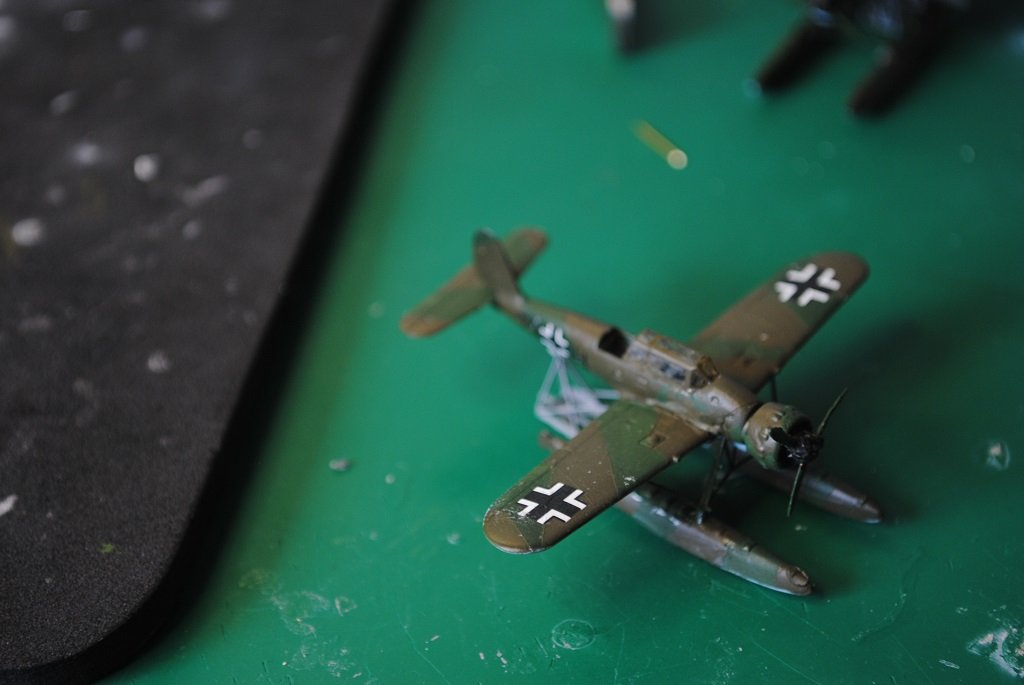
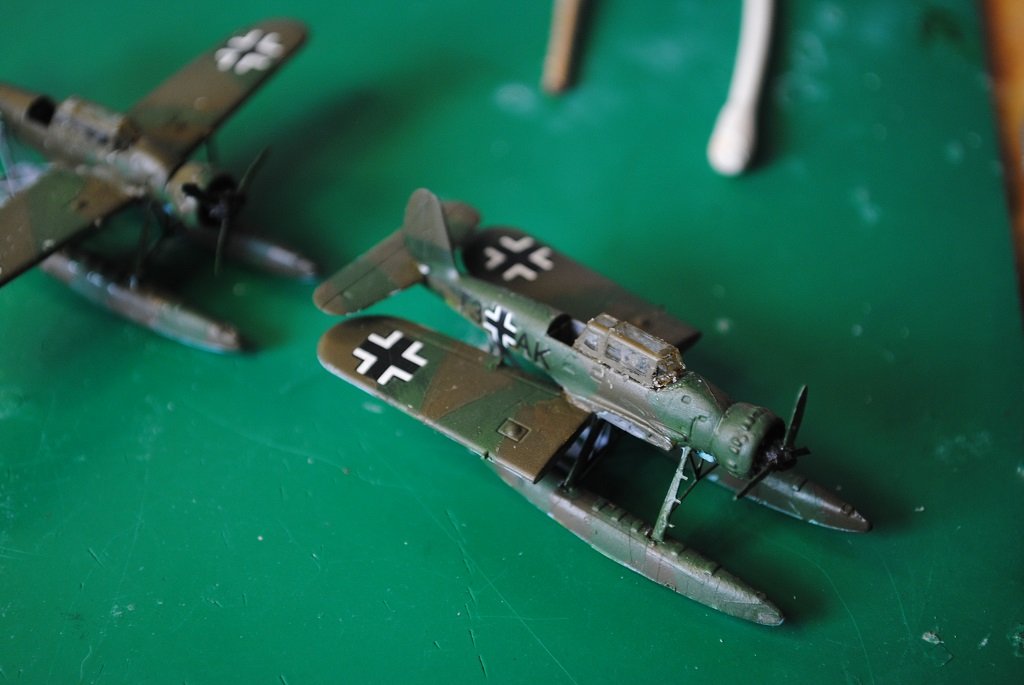
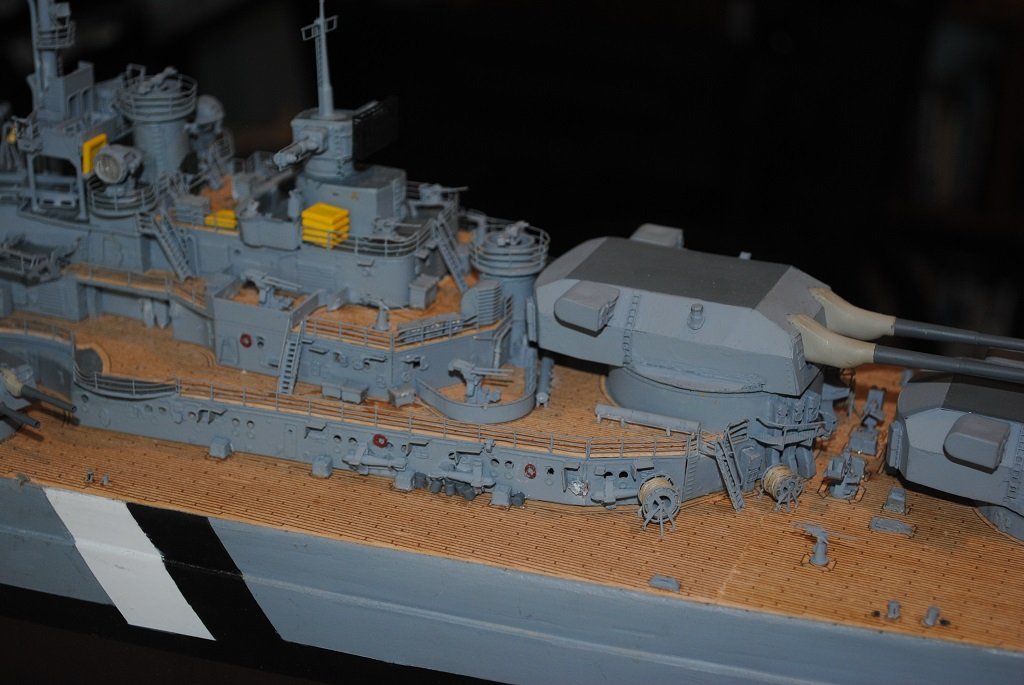
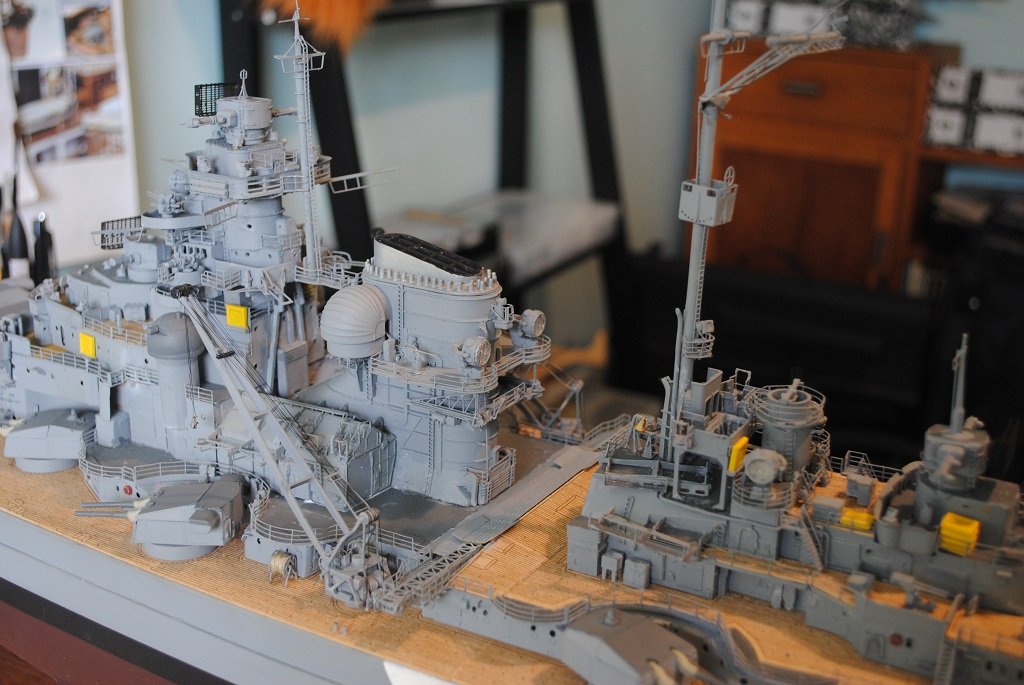
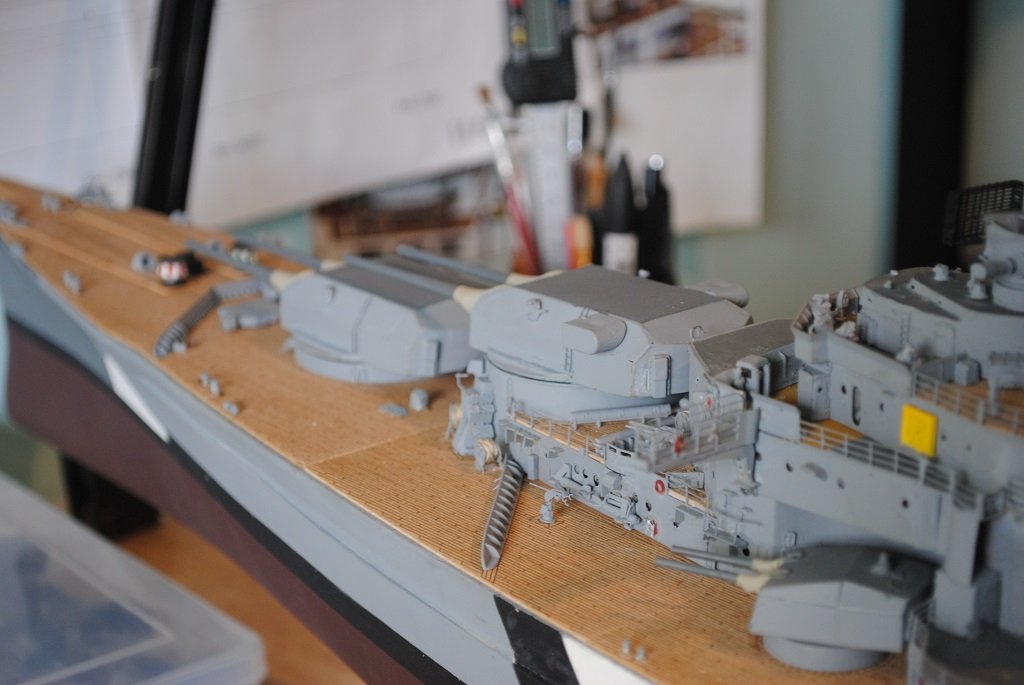
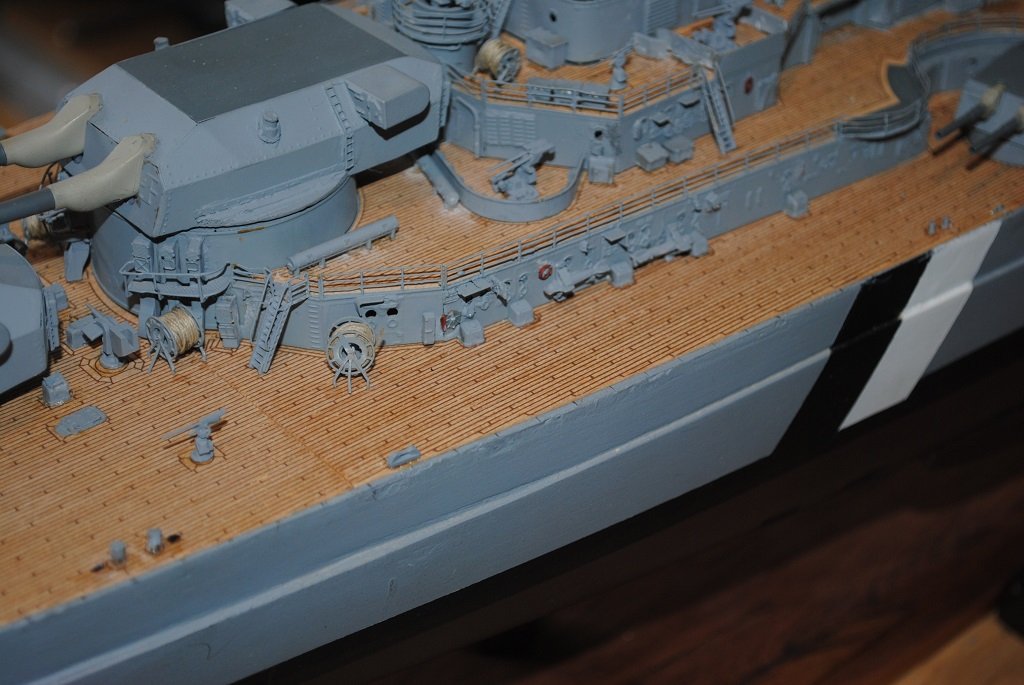
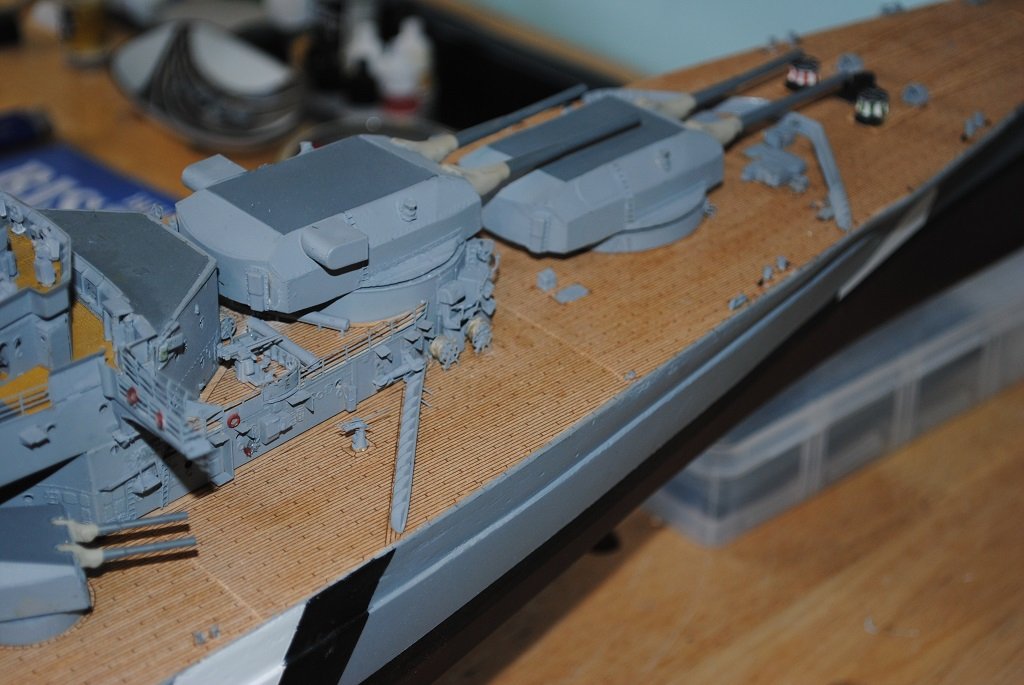
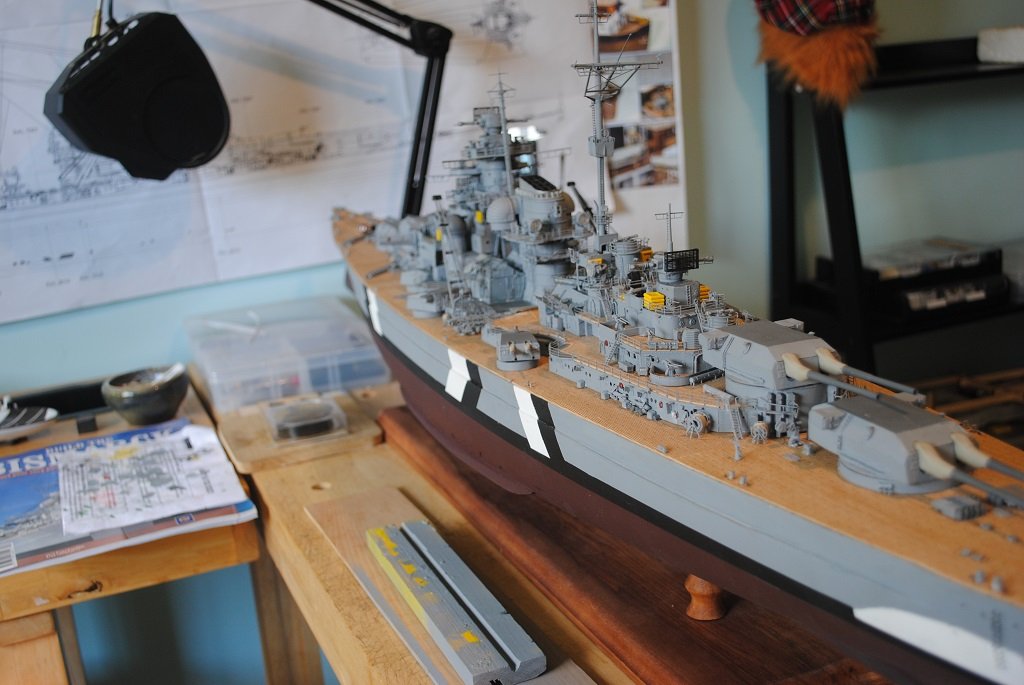
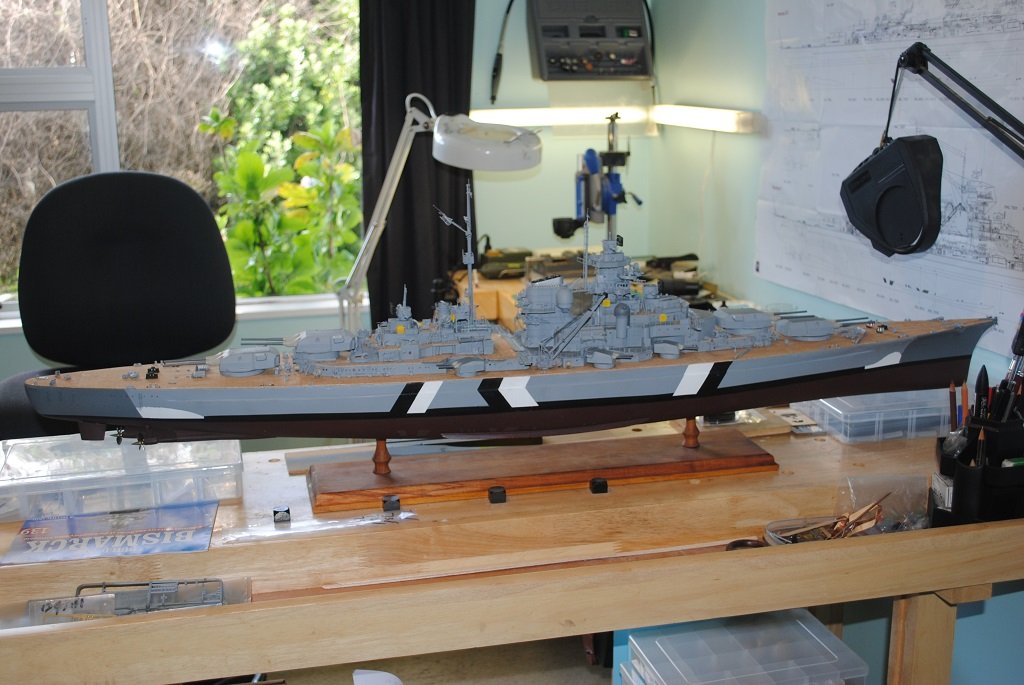
Hi All, Very small update: (Mostly gratuitous photos that are hopefully better than my previous attempts.) So, a little closer to construction completion, Hawse Reel installation, Catapult completion, Etc.... Shortly, I'll get various Eyebolts installed prior to rigging and prepare Deck fixings for Anchor Chains. I need to "Prototype" Accommodation Ladders. Anyway, I'll let the photos do the talking.... 🙂 Cheers.... HOF. Photos:


- 544 replies
-
- 15
-

-


