DONATION DRIVE - SUPPORT MSW - DO YOUR PART TO KEEP THIS GREAT FORUM GOING!
×

Siggi52
-
Posts
1,156 -
Joined
-
Last visited
Content Type
Profiles
Forums
Gallery
Events
Everything posted by Siggi52
-
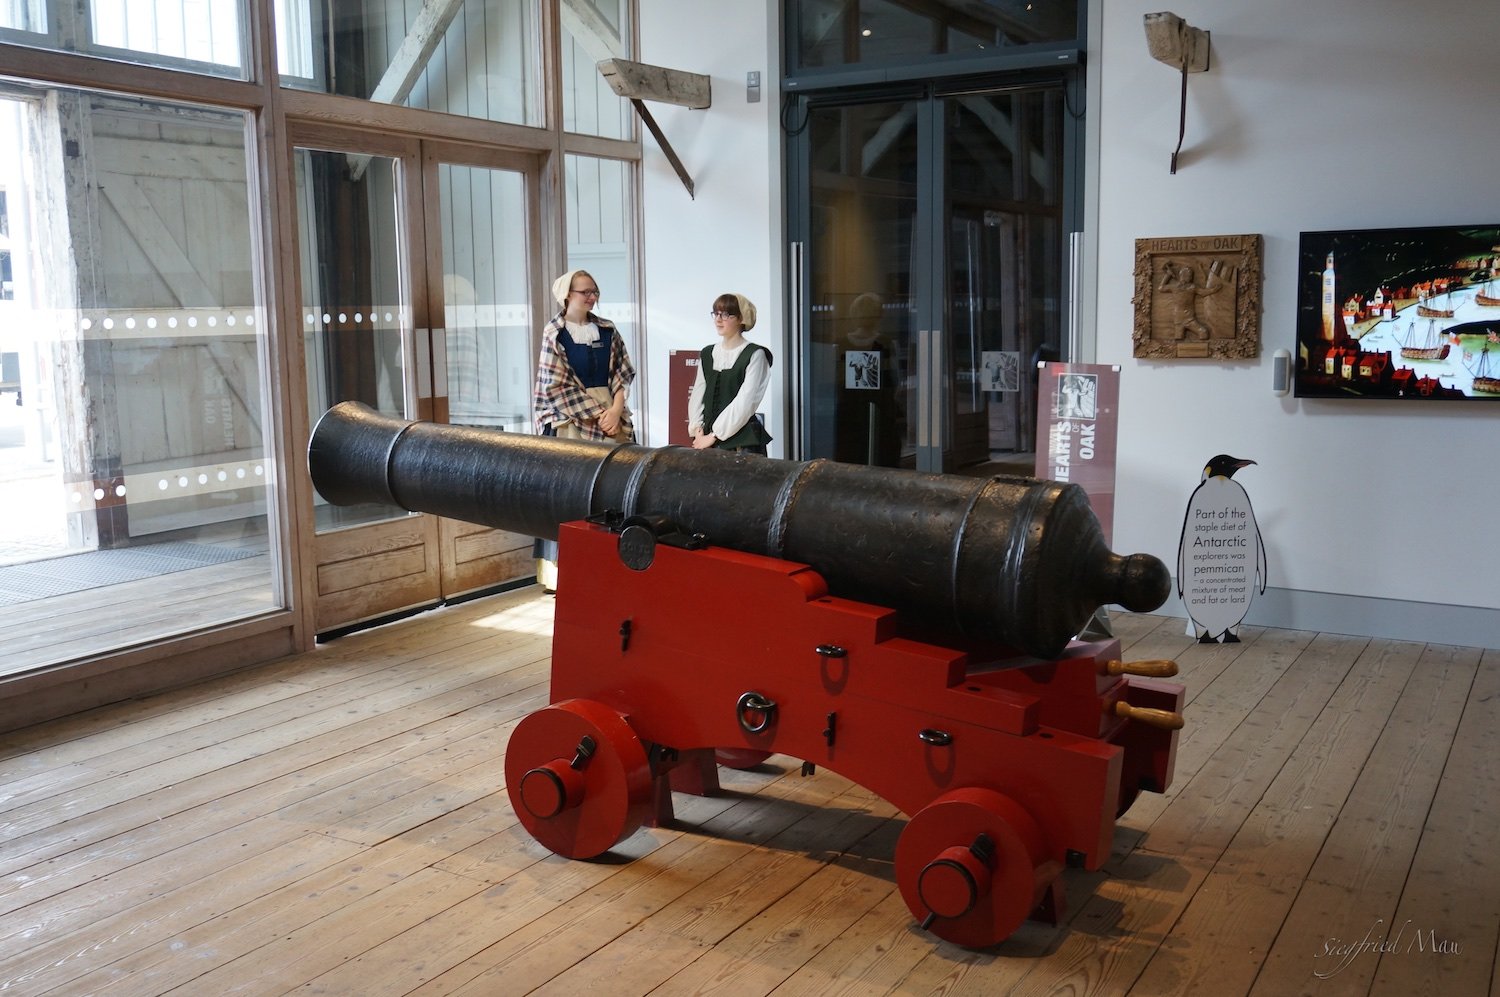
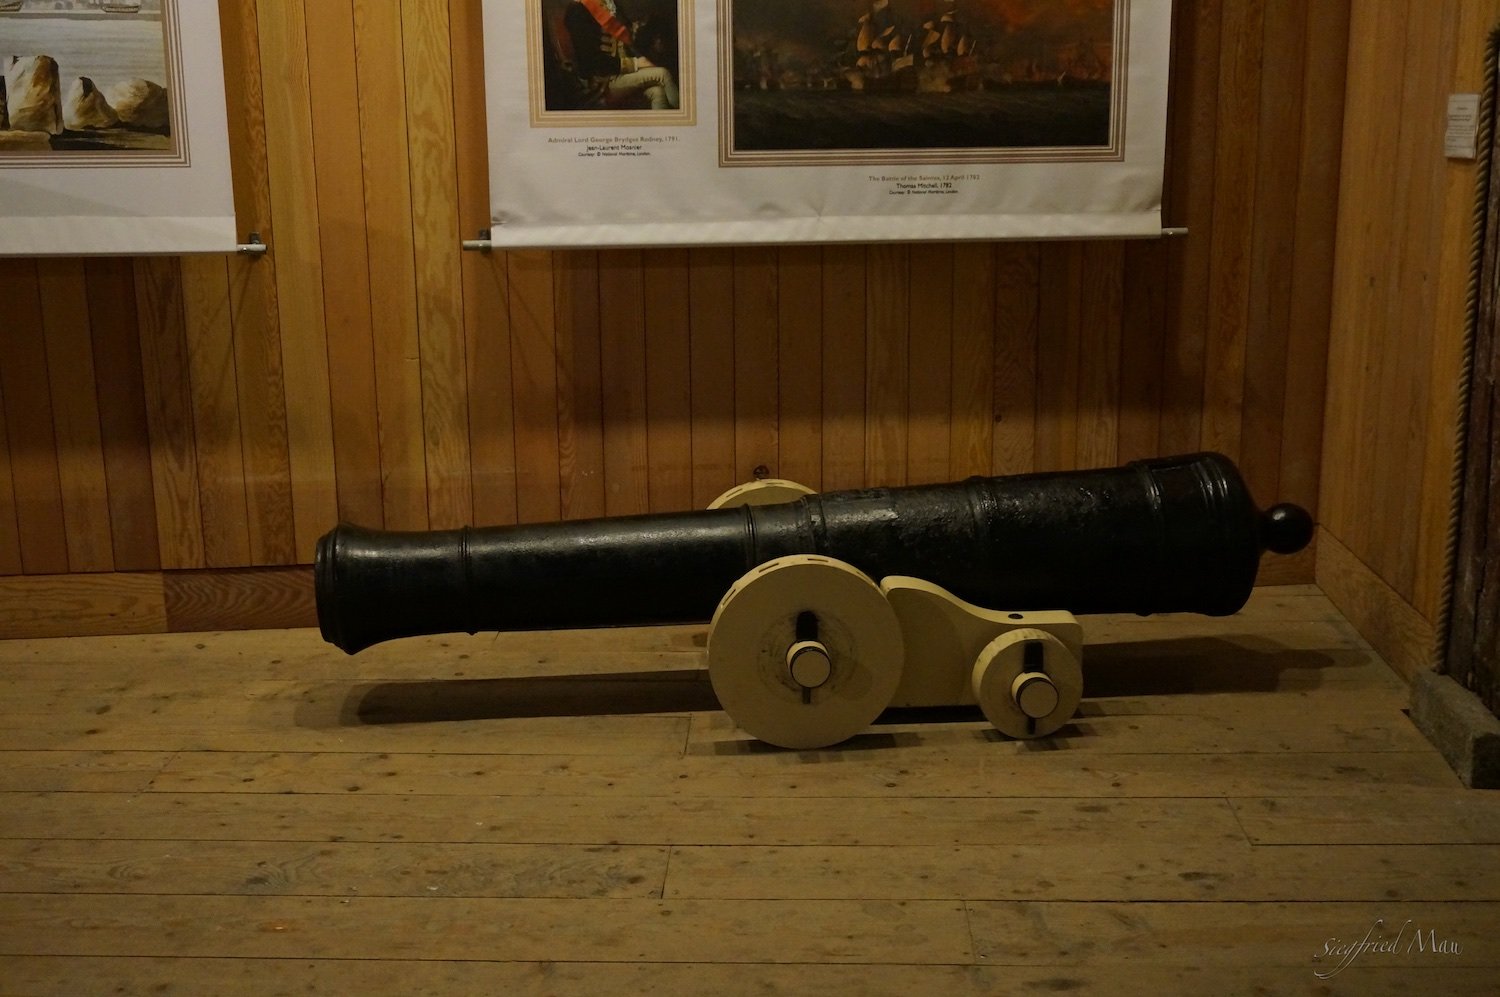
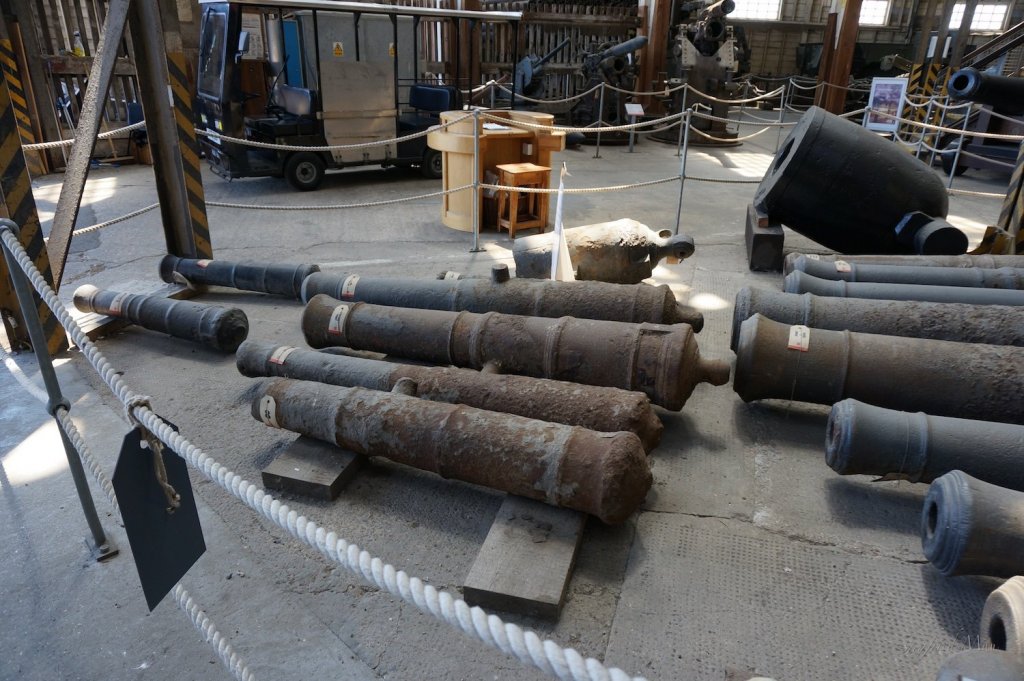
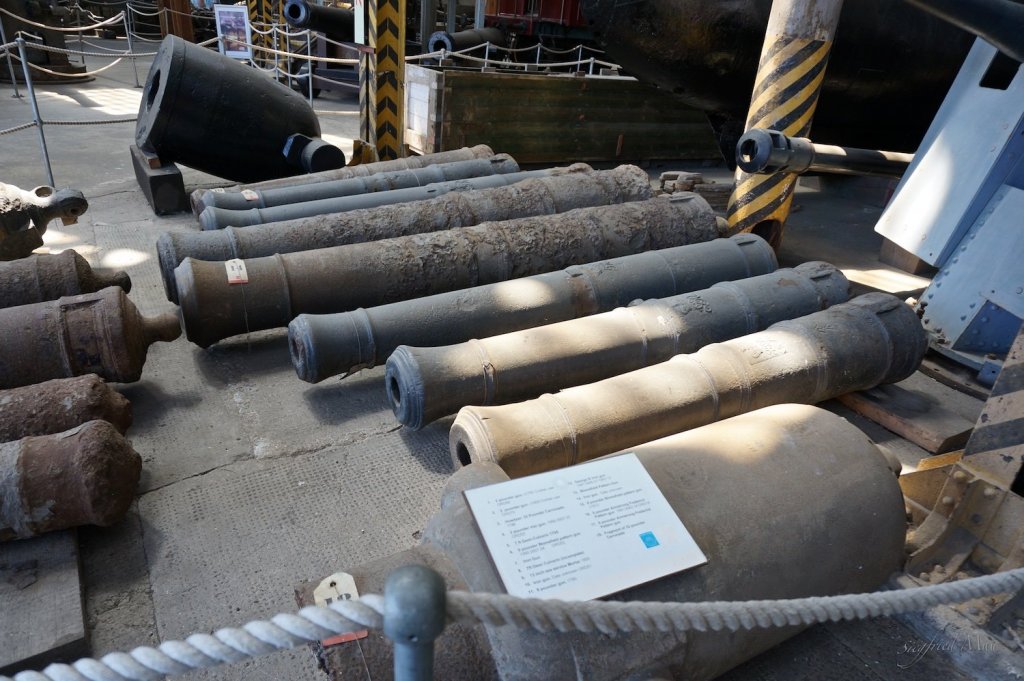
 Good morning, these pictures of cannons I made 2013 in Chatham. Most of the muzzles are like the one in Marks second drawing, not so step. So what is right? The No 9 is the big mortar far back to the right, No 18 is the mortar where the explanations are lying on.
.thumb.jpg.9420330ab5e46f6dfe441f8442d6dbbe.jpg)


-
Hello Mark, first of all, I'm happy to see you back at the shipyard. I think that I will return in the near future. Like you, I have the problem, which cannon design should I use for a 1747 launched ship. I found this side in the internet, about britisch cannons. https://www.arc.id.au/Cannon.html But the more you know, the more complicated it seams. I decided for me, to use the Armstrong pattern of 1760. Scaled down to 1:48 I hope there will be no real difference to the 1722/24 or 1742 design. Because I could't find any description of these designs. If anybody has an description about these designs, it would be great to know more about it.
-
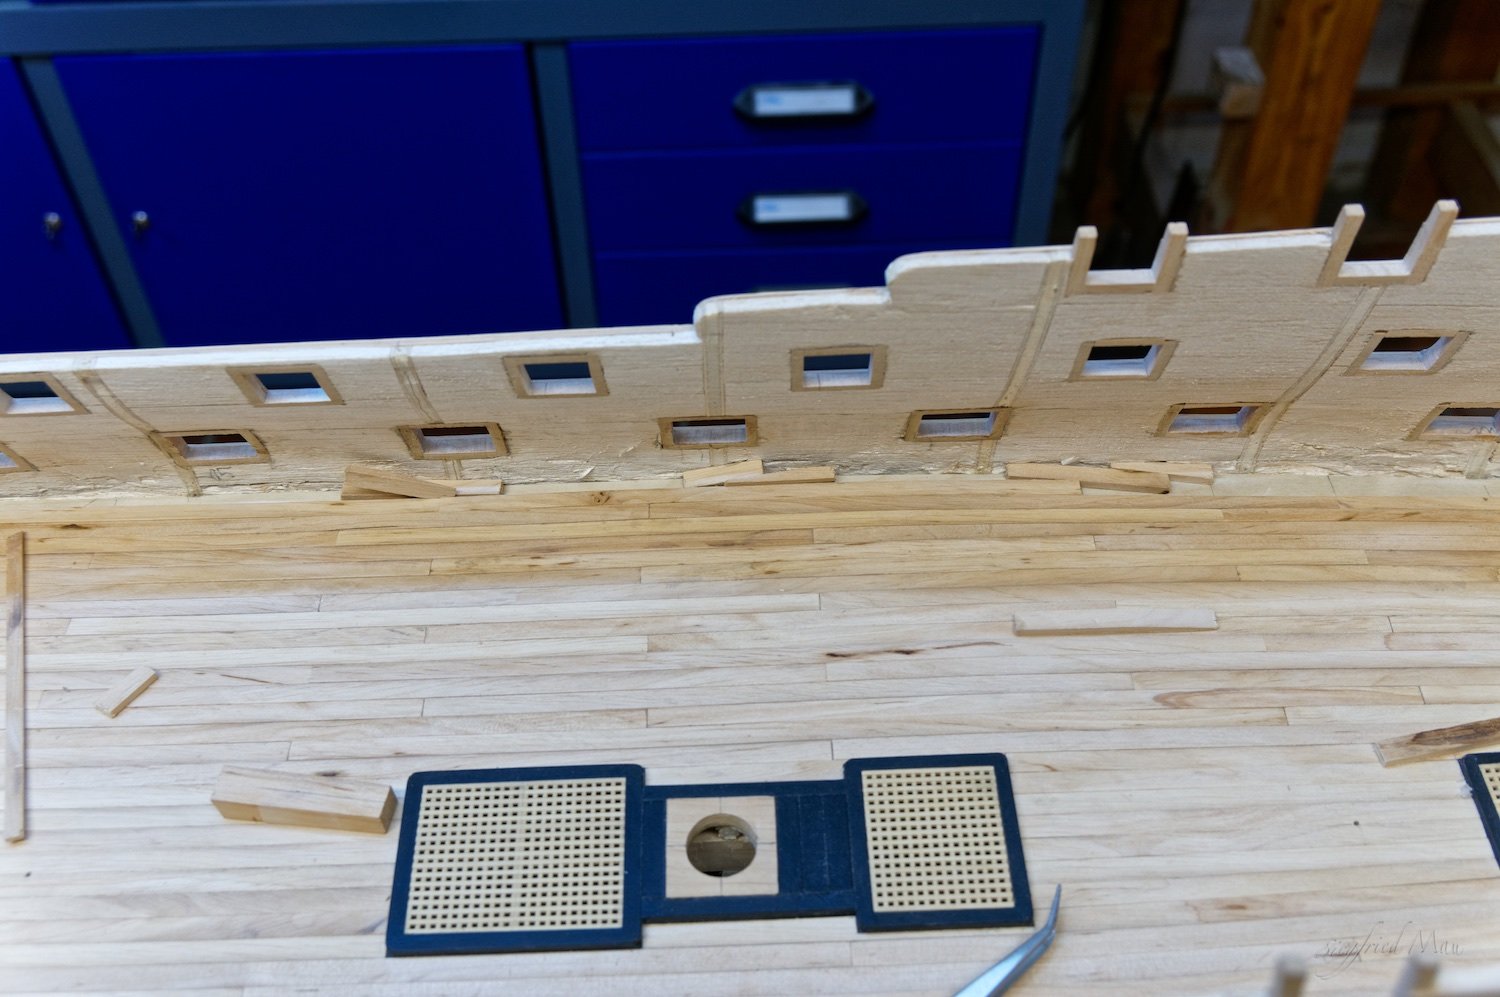
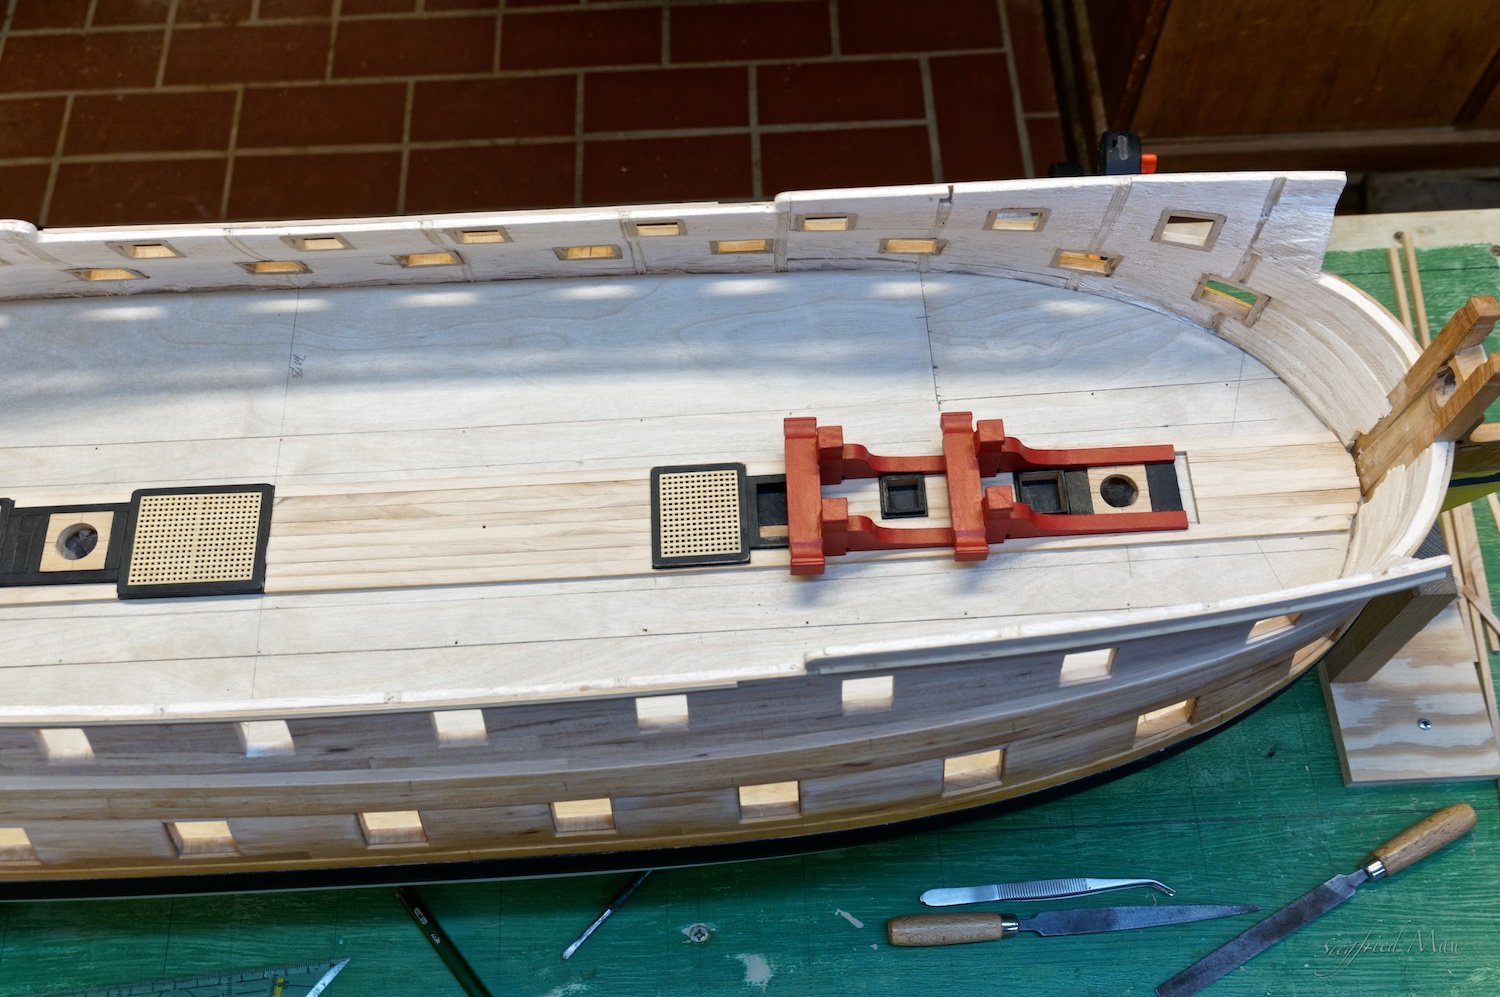
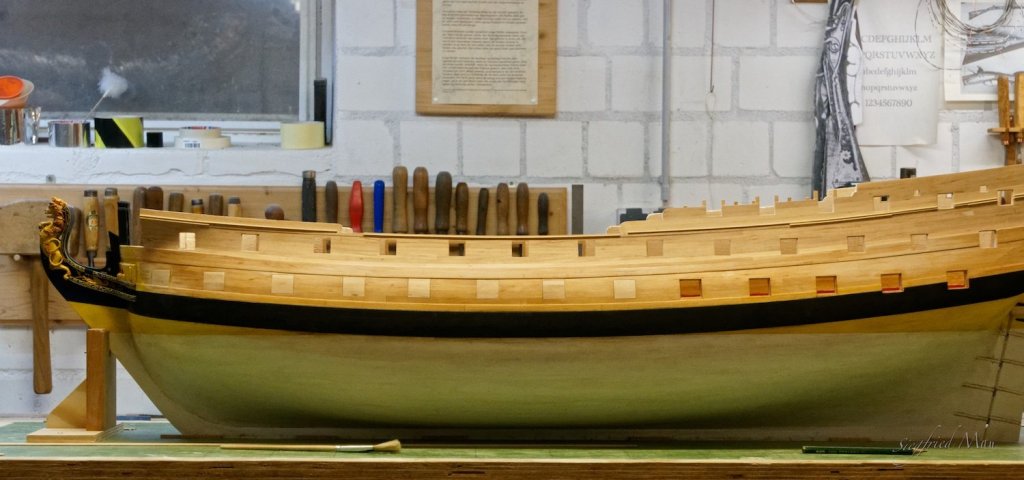
Hello, just that you see that I'm still working, now and then 😉 I finished the inner planking of the gun deck with deck clamps for the upper gun deck and started to build the gun port lids.
-
Thank you Marc, I'm not very busy these days, because we have here a super summer. The drawback is, it is much too dry. It burns everywhere. But after the last years summer, or was it winter the whole year, I'm not so often in the basement at the shipyard. But now and then I'm at work, planking the gun deck walls.
-
ancre Chebece 1750 by Jeronimo - FINISHED
Siggi52 replied to Jeronimo's topic in - Build logs for subjects built 1501 - 1750
Good morning Karl, it a great model, bravo -
Seahawk and Carl, many thanks and also thanks to all who made there likes for my work.
-
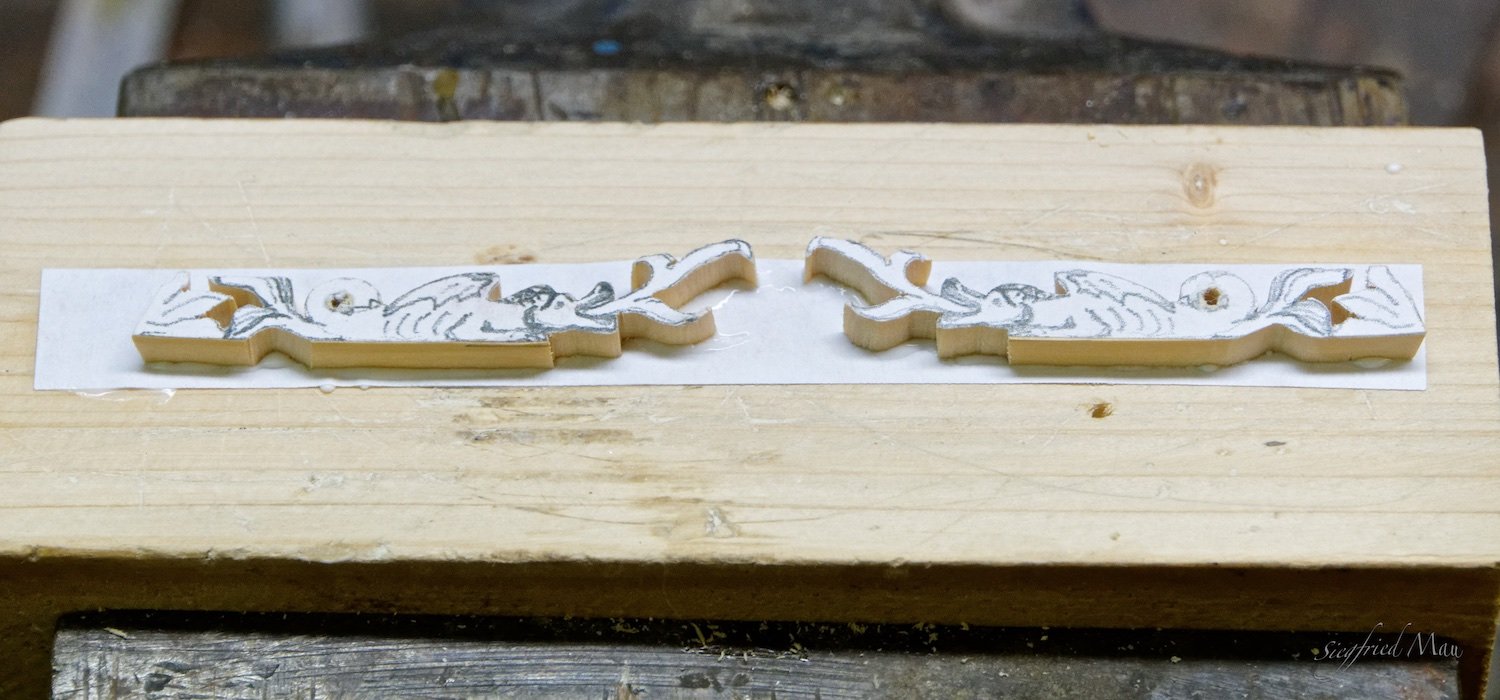
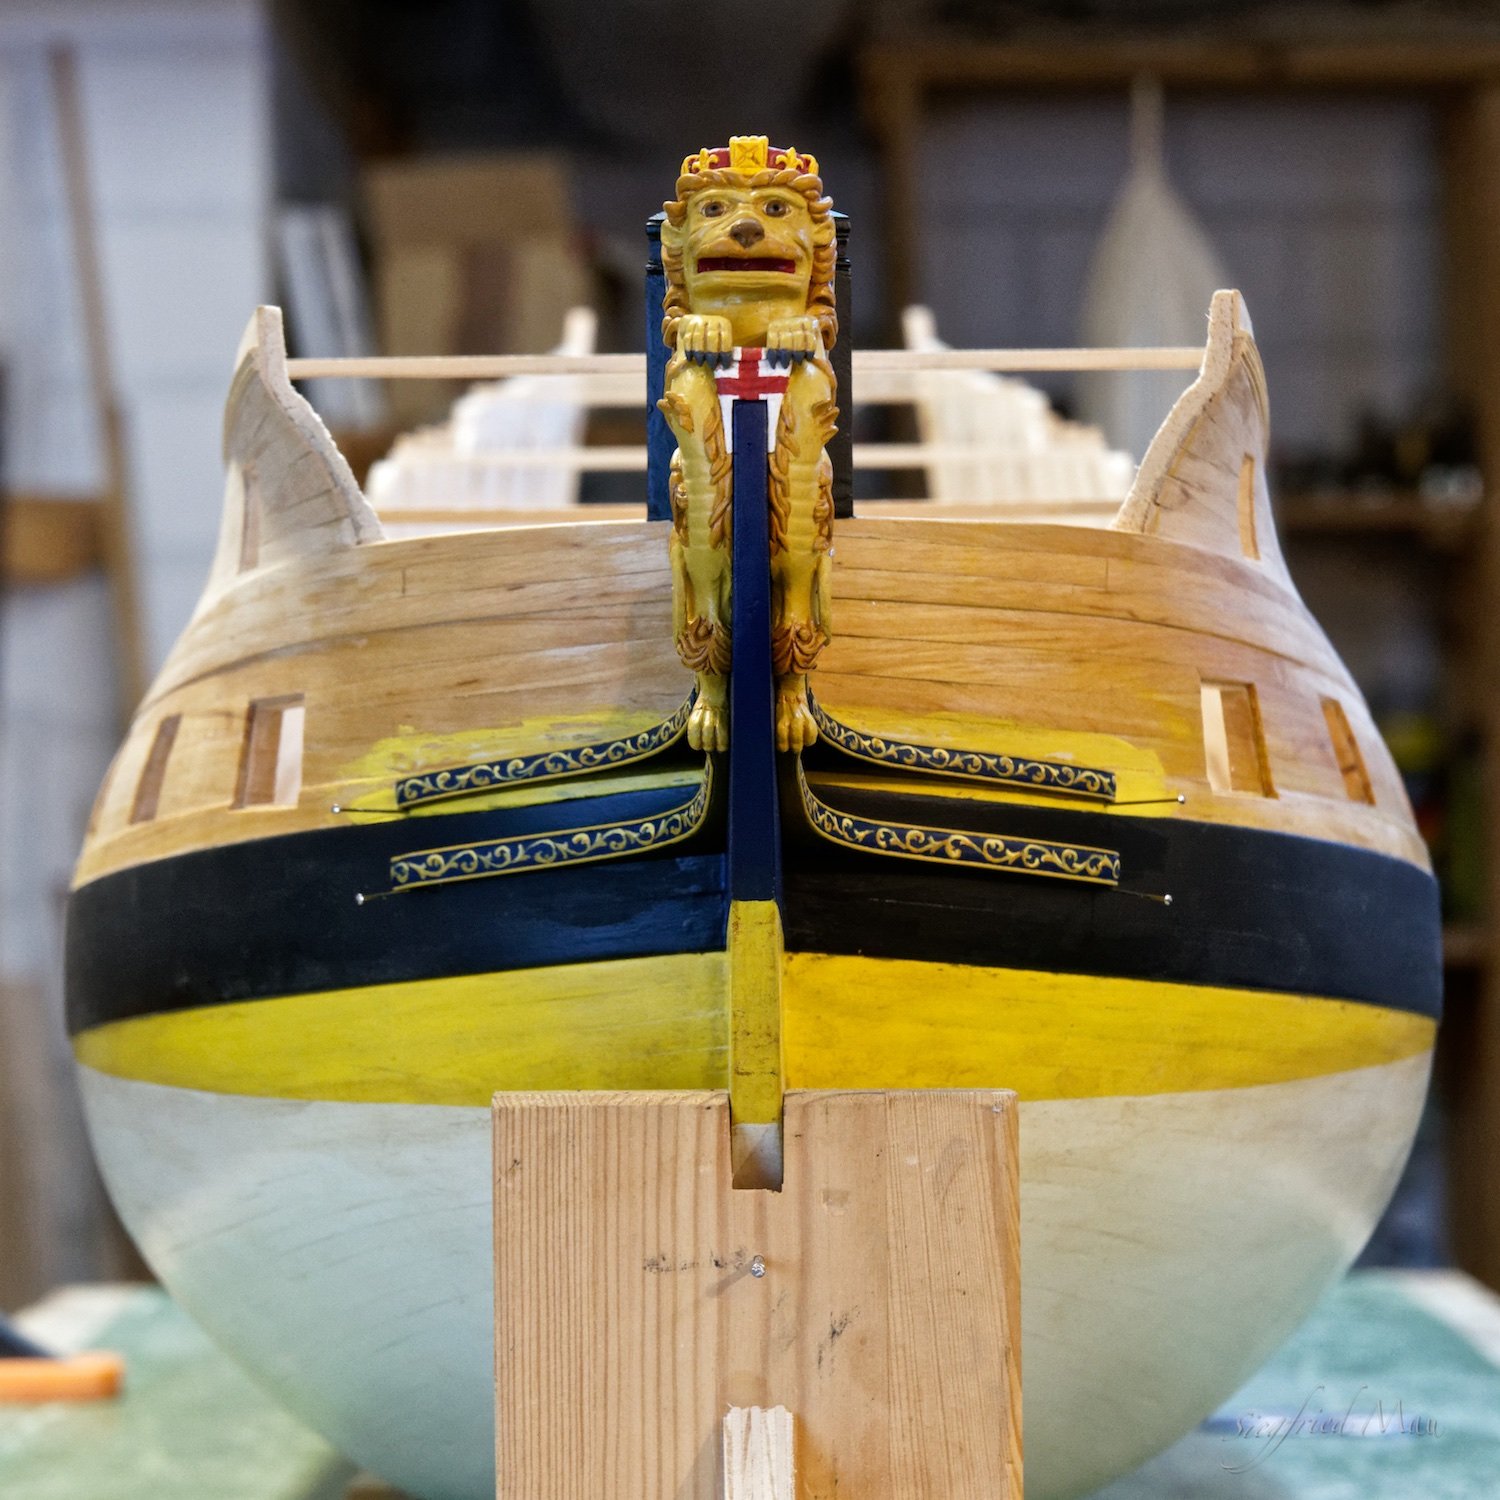
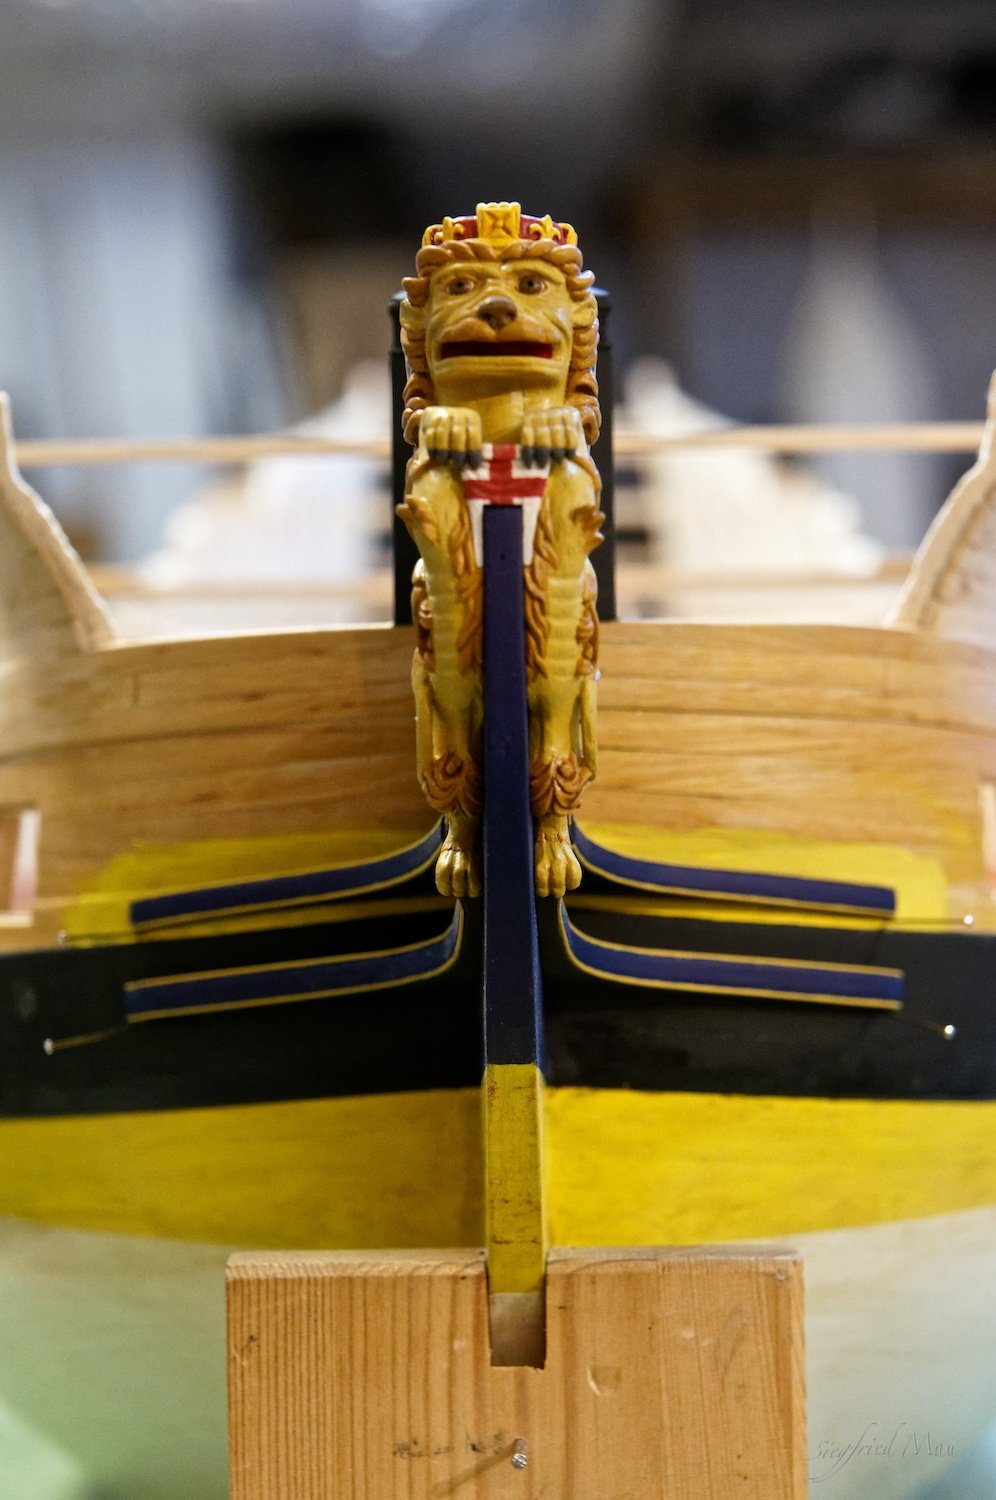
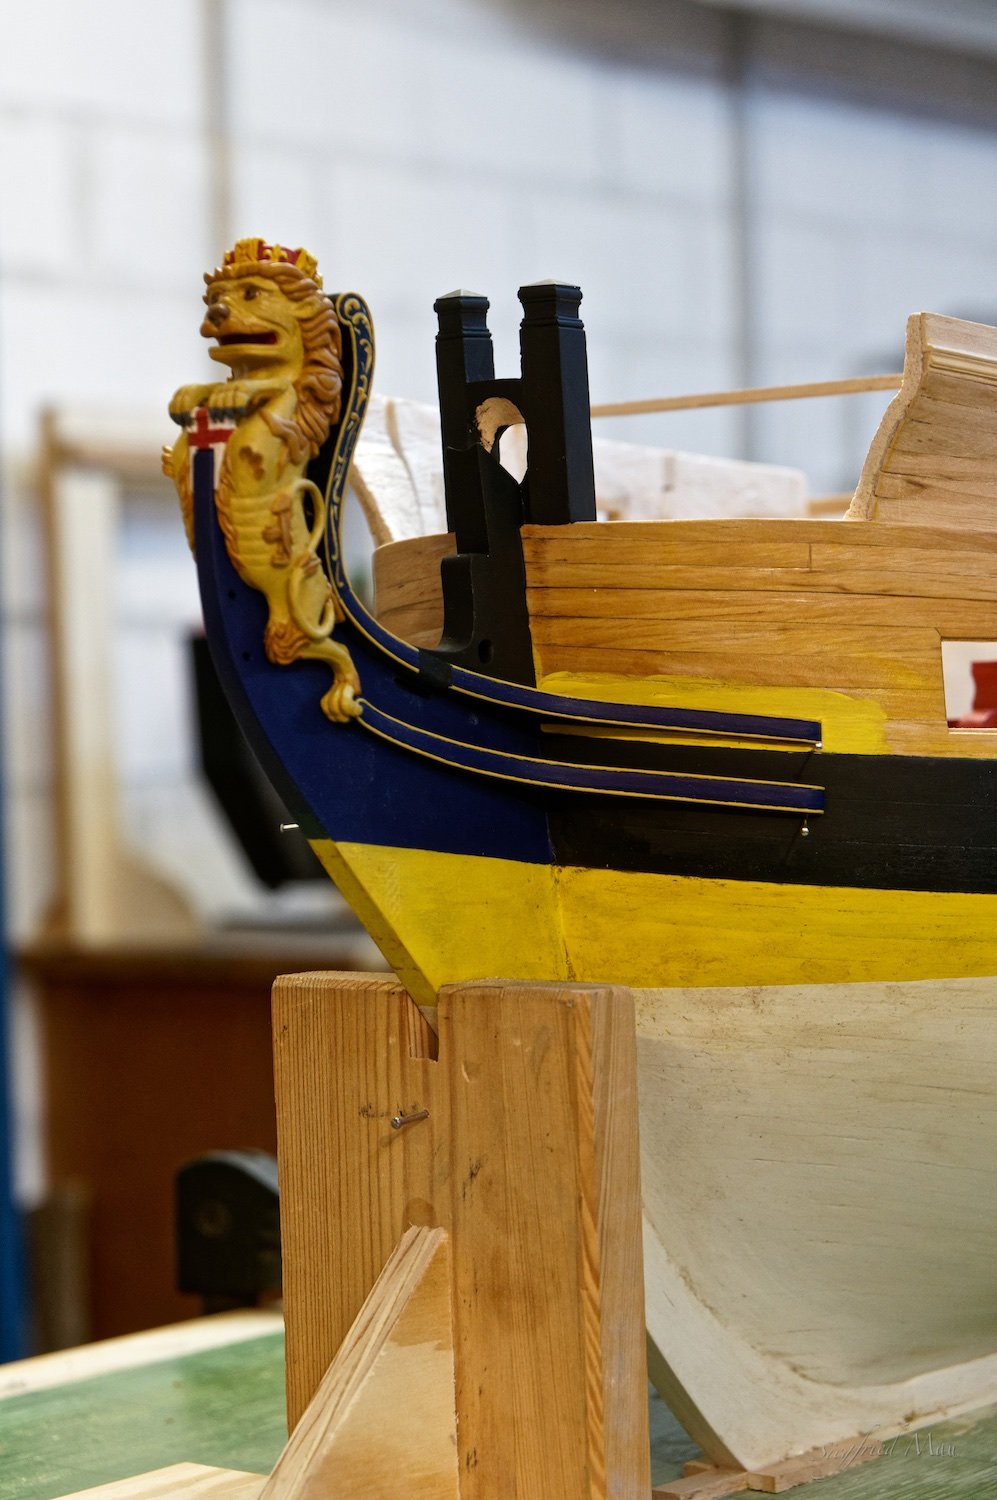
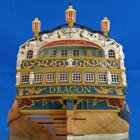
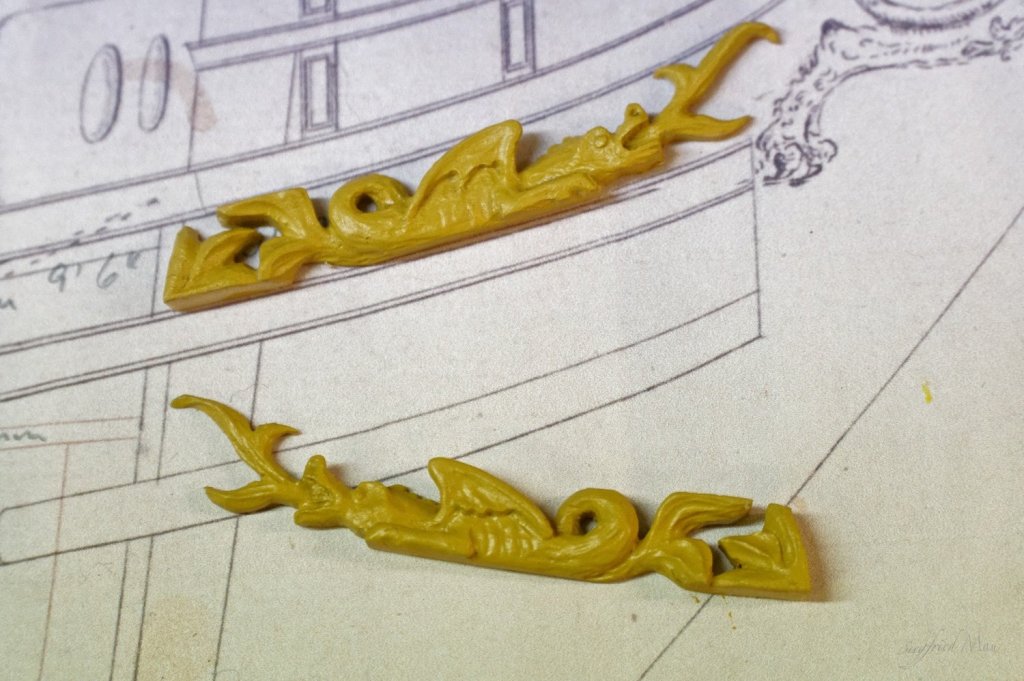
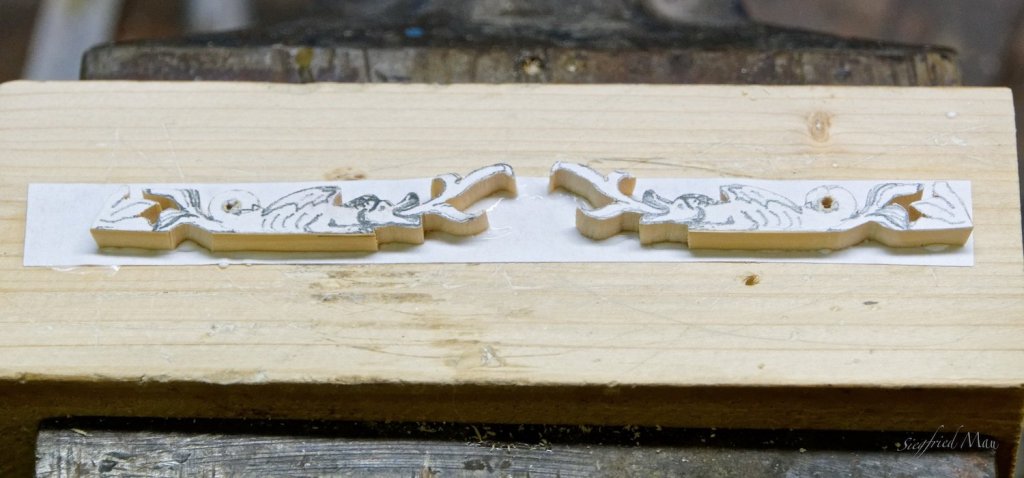
Hello, today I finished the small dragons, who keep Leo's feet warm I glued them to a piece of scrap wood, with a piece of paper between, so that I could hold them better At the last pictures they are not already dry, so that I will tomorrow make the rest ready.


-
Many thanks Amalio and Grandpa
-
Hello Doris, the horse looks great, but I would shorten the head a little and make the transition between neck and head a little thicker.
- 1,035 replies
-
- 6
-

-
- royal katherine
- ship of the line
- (and 1 more)
-
Thank you Druxey, and also all others for your likes. The main problem I have when painting such small things, is my nervousness. When I see that it works, my hands get more and more calm. But again, thank you all for your tips.
-
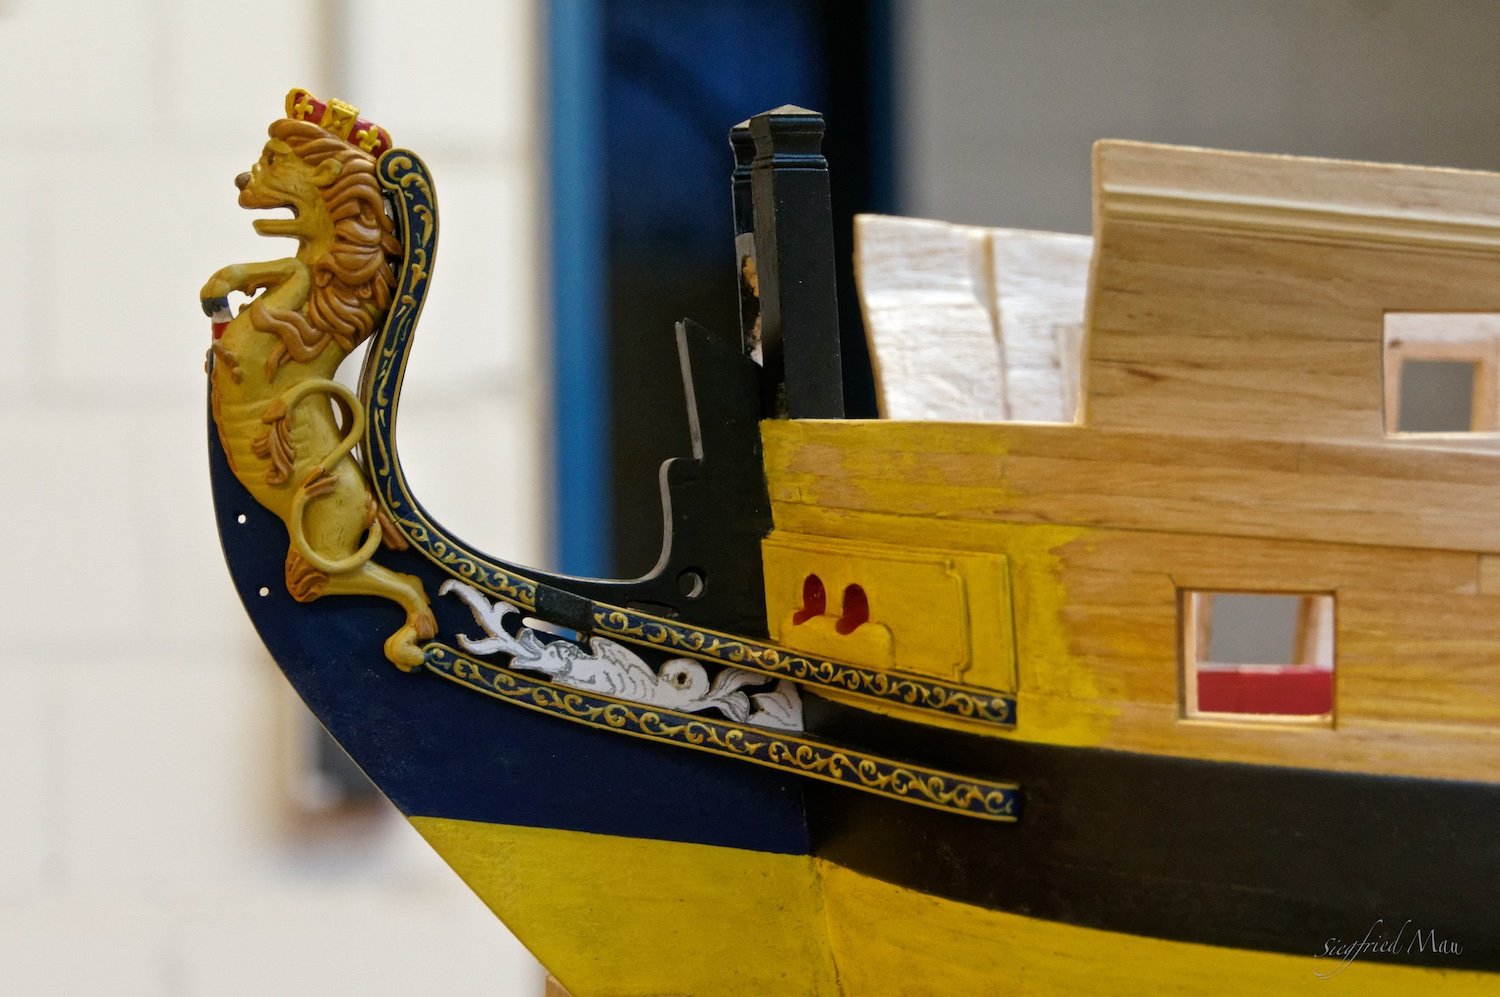
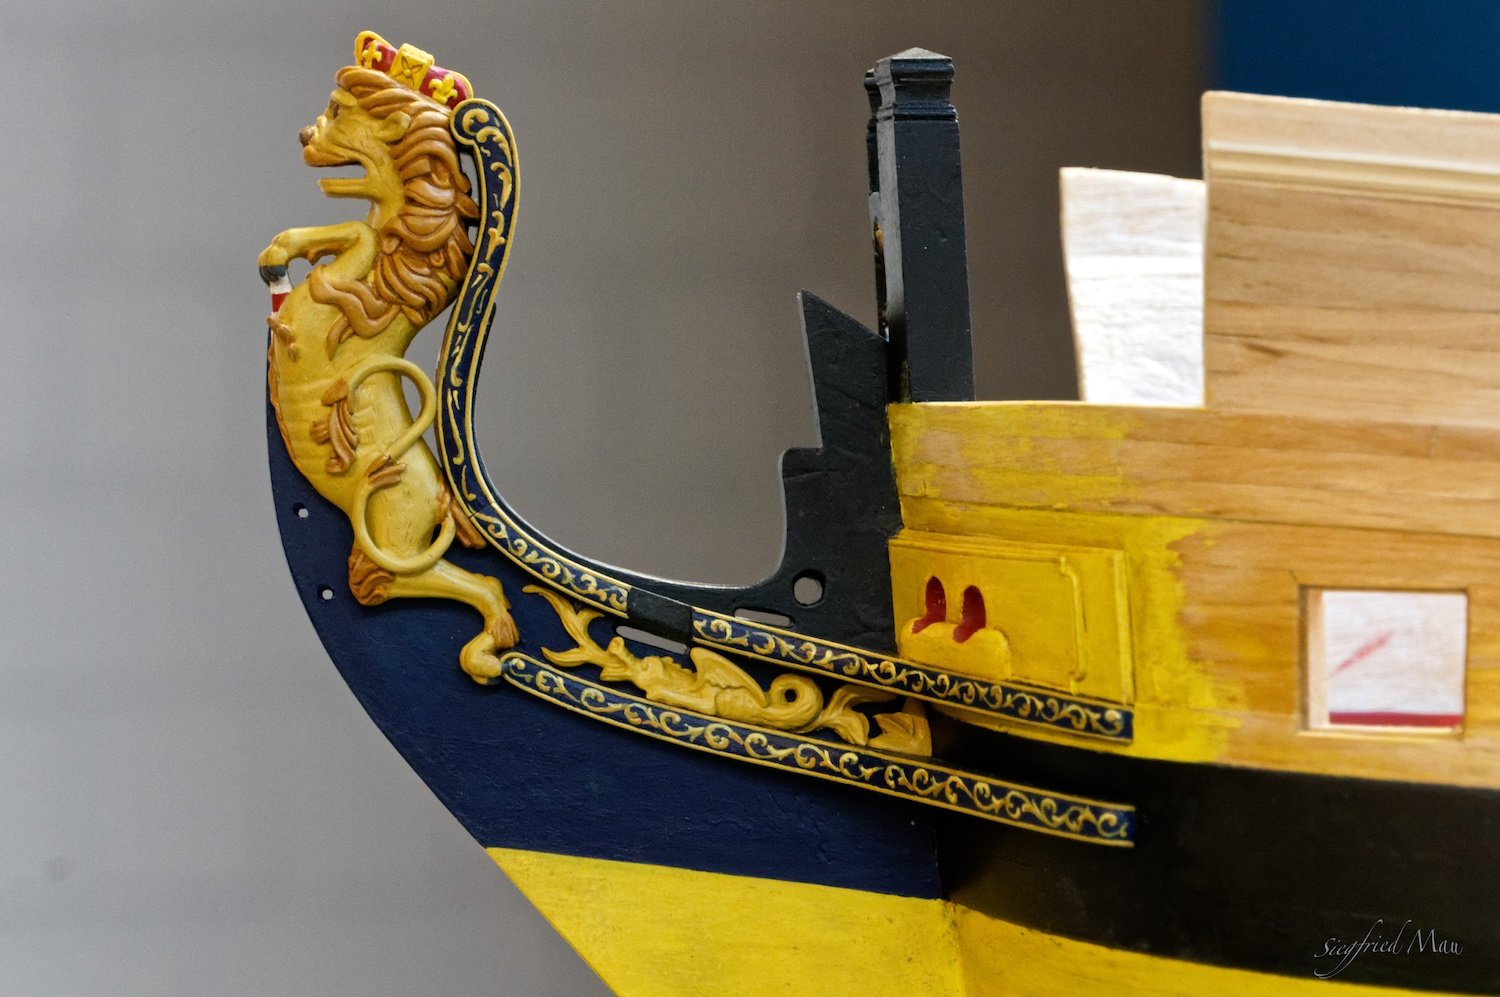
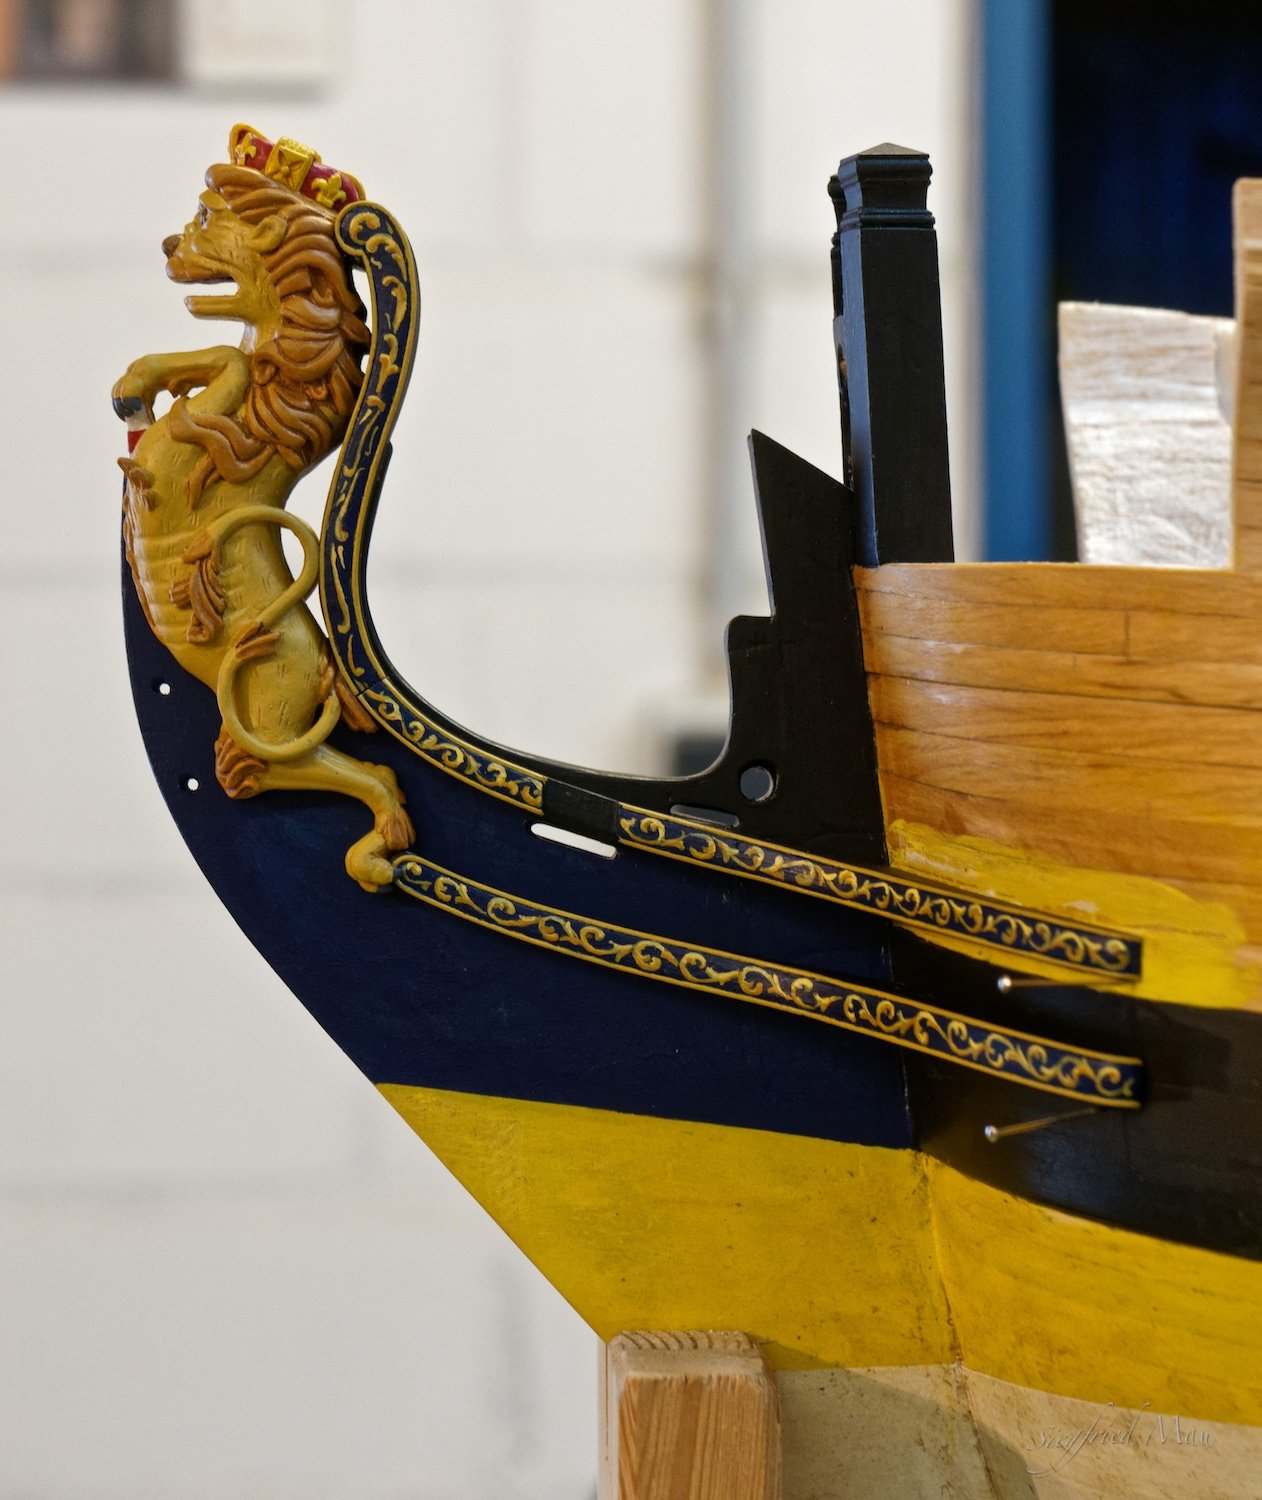
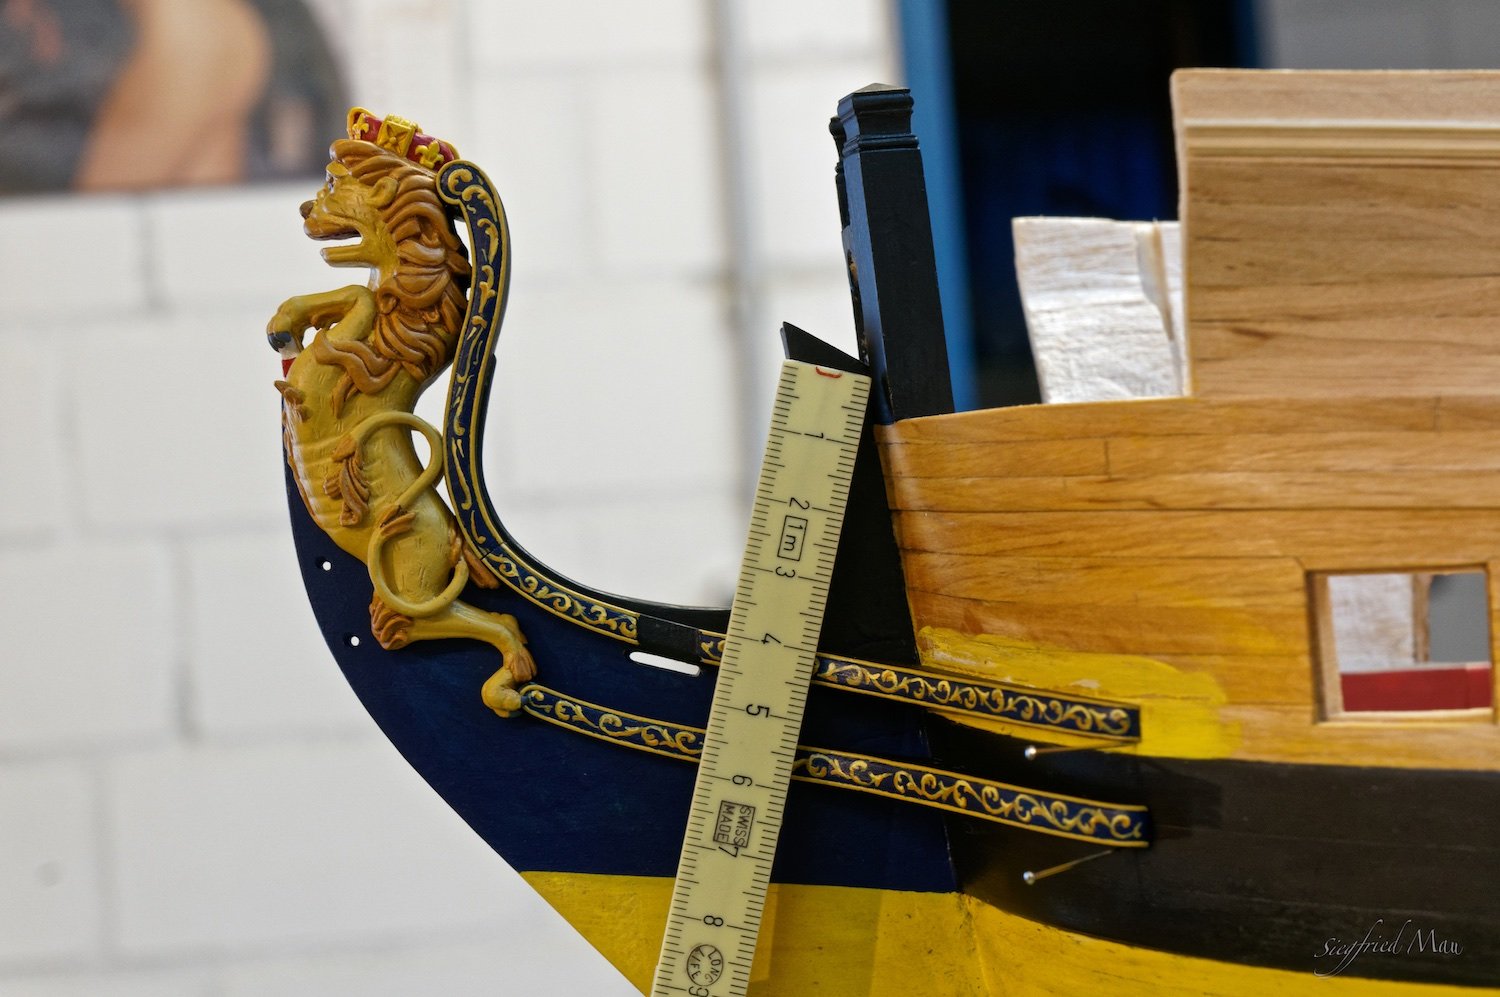
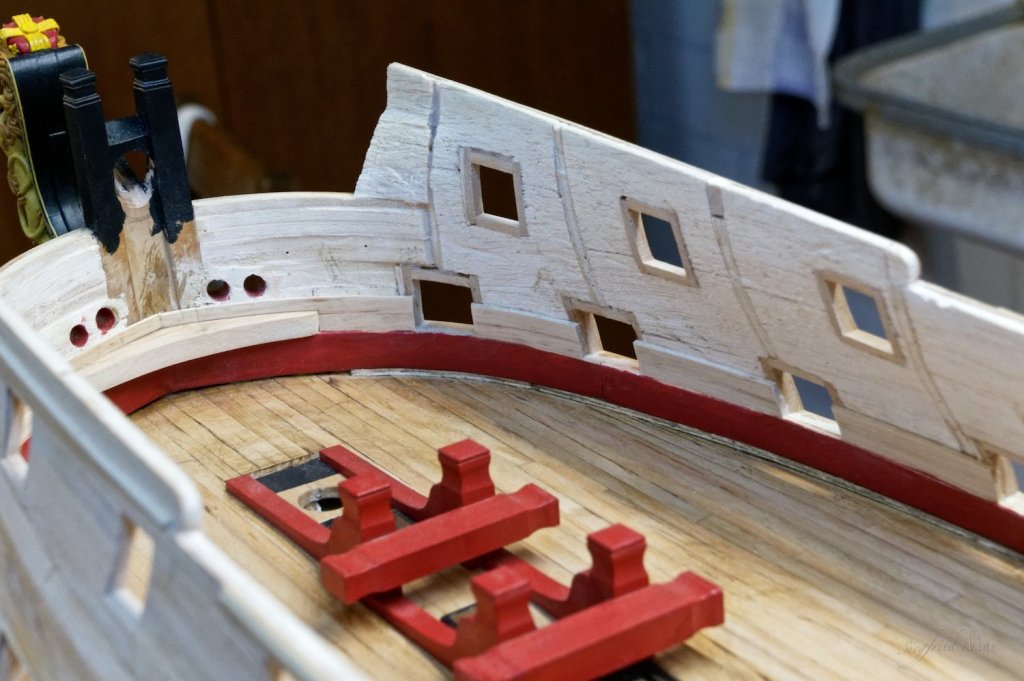
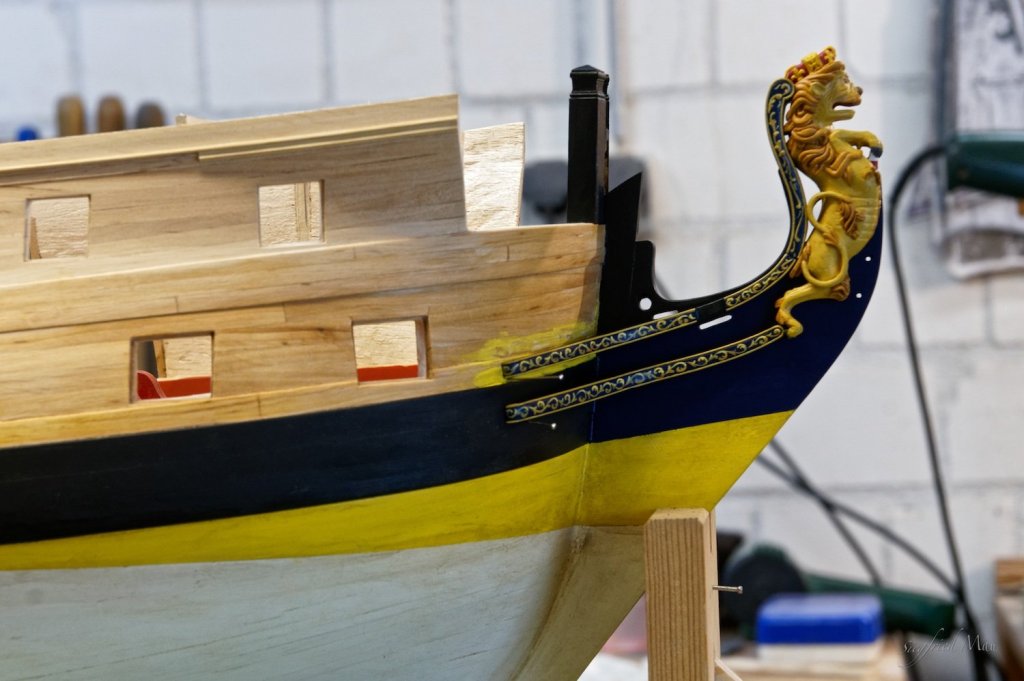
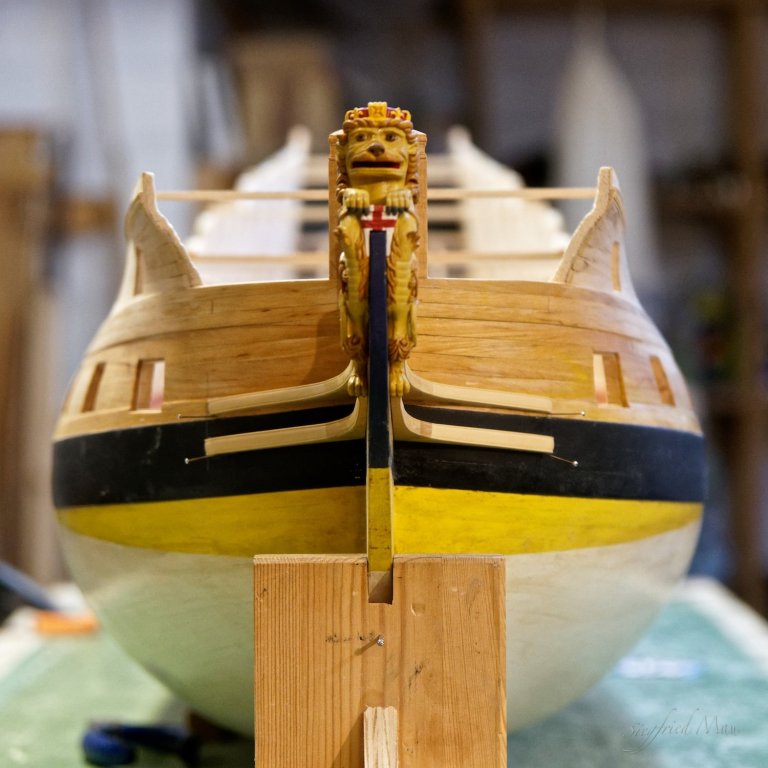
Hello and thank you all for your comments and likes, I was not very busy the last week, but I made the hawse hols with the linings and bolsters. The next things are the trail boards between the cheeks. I have a trail board, all in ocker but only the little dragon in green, in my mind. I saw it somewhere, but I did't find that picture again. If anyone has that picture, or know where I could find it, tell it.
-
ancre Chebece 1750 by Jeronimo - FINISHED
Siggi52 replied to Jeronimo's topic in - Build logs for subjects built 1501 - 1750
Super, Karl -
Hello Carl, for these small cheeks you need no stick to support your hands. I painted them not installed and they are still not fast installed. As I wrote, to the end of the job my hands get more calm. That are just the nerves.
-
Hello Hubac, no, I'm not unhappy with the result. That is fine. I just do not like this kind of job. It's all soooooo small, the paint sticks to the brush and would't flow, the hands tremble and so on.
-
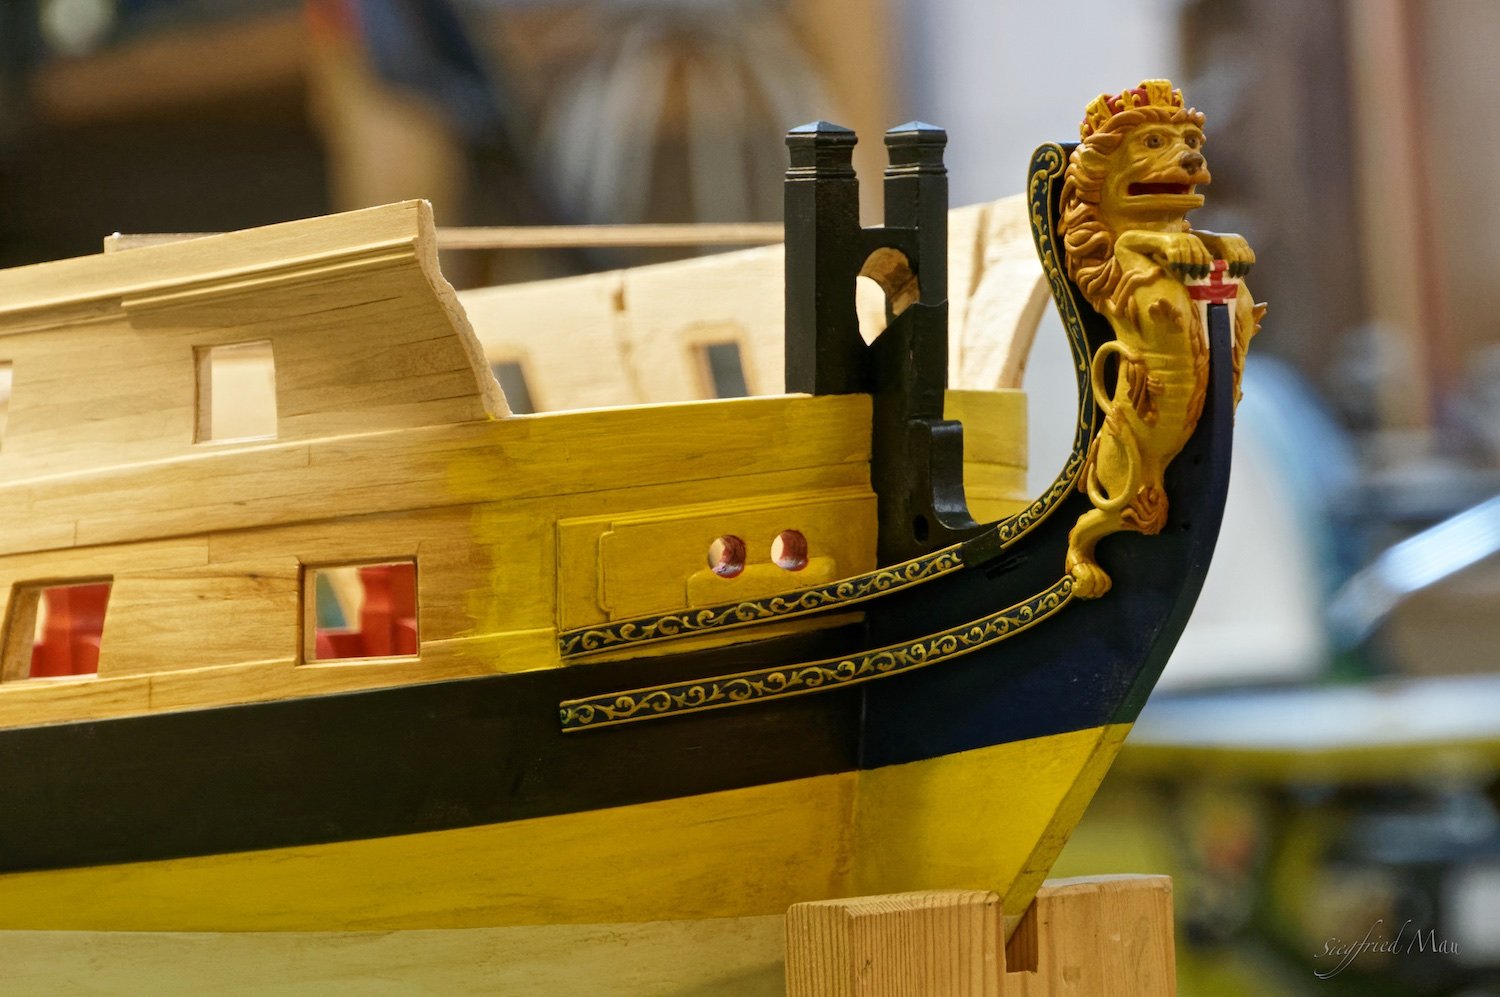
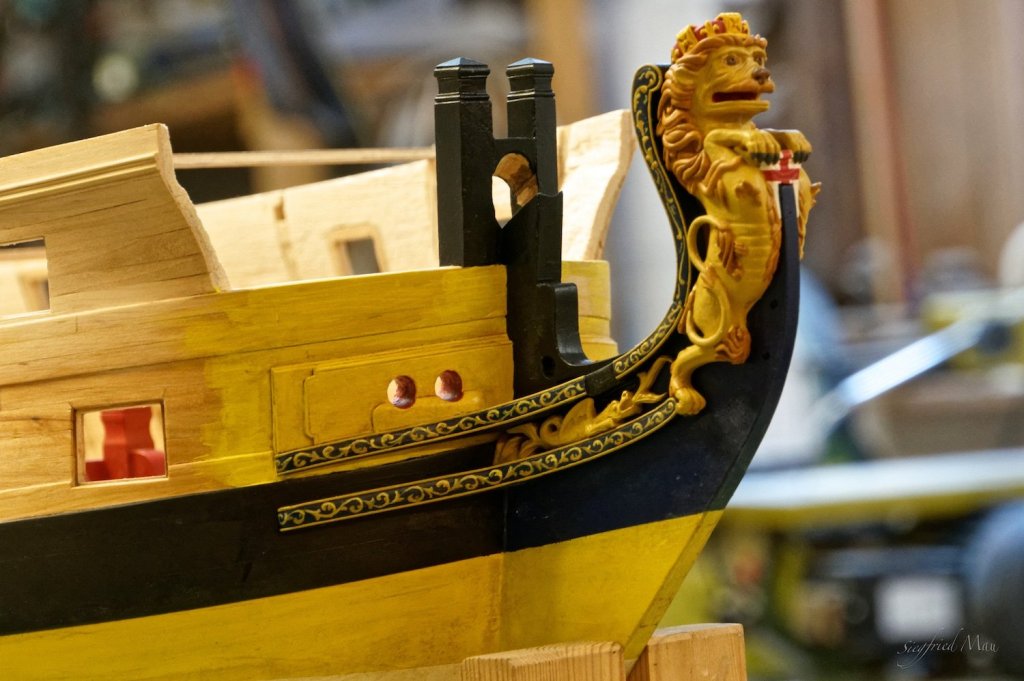
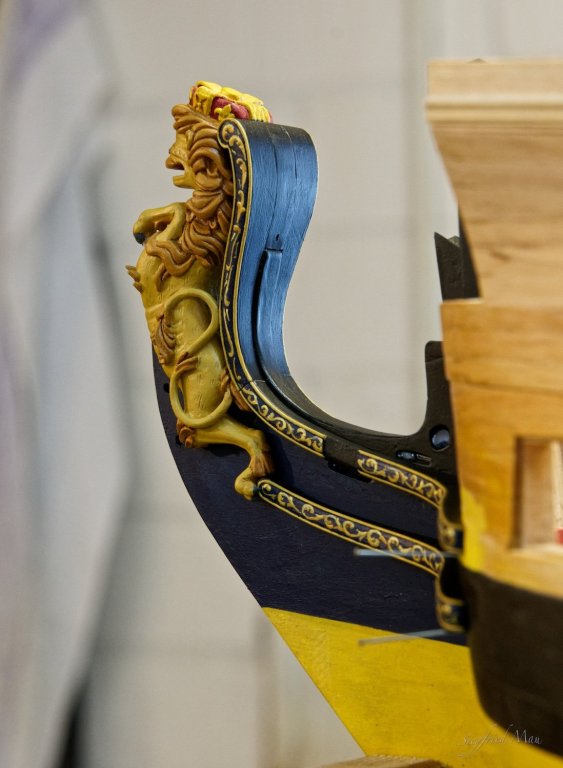
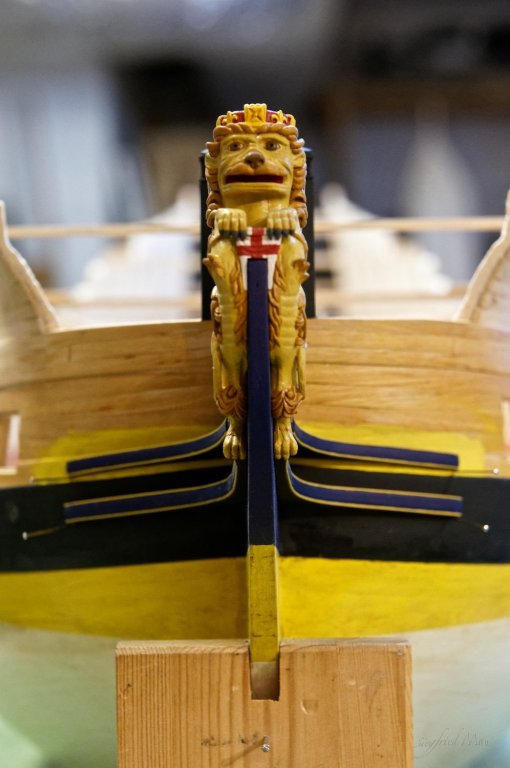
Hello, and thank you all for your likes. Today I finished the long feared paint job I do not like it very much, but to the end my hands get more calm and I think the result is not sooo bad At one of the pictures with the cheeks not painted, you may have seen that the left one was a little higher than the right one. That came because the treenail was in a wrong hole. I saw it first at the picture and went immediately down into the basement to see what had happens, but all is ok. And here you see why I do not like the job very much, it's all so small.


-
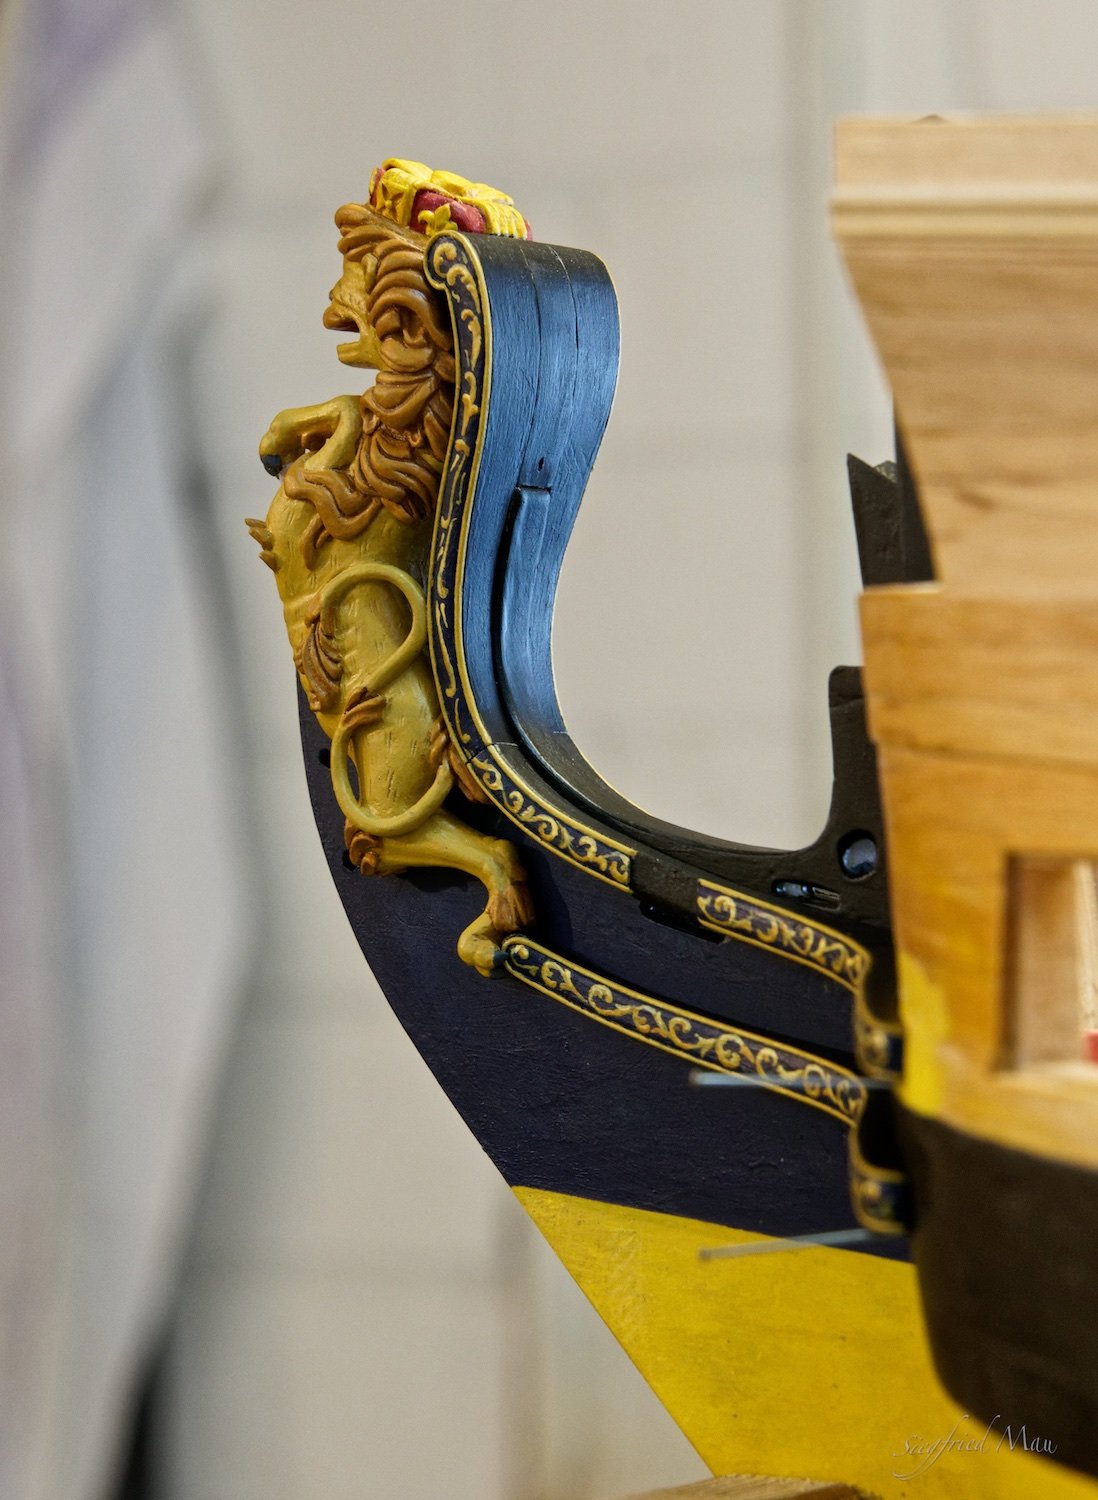
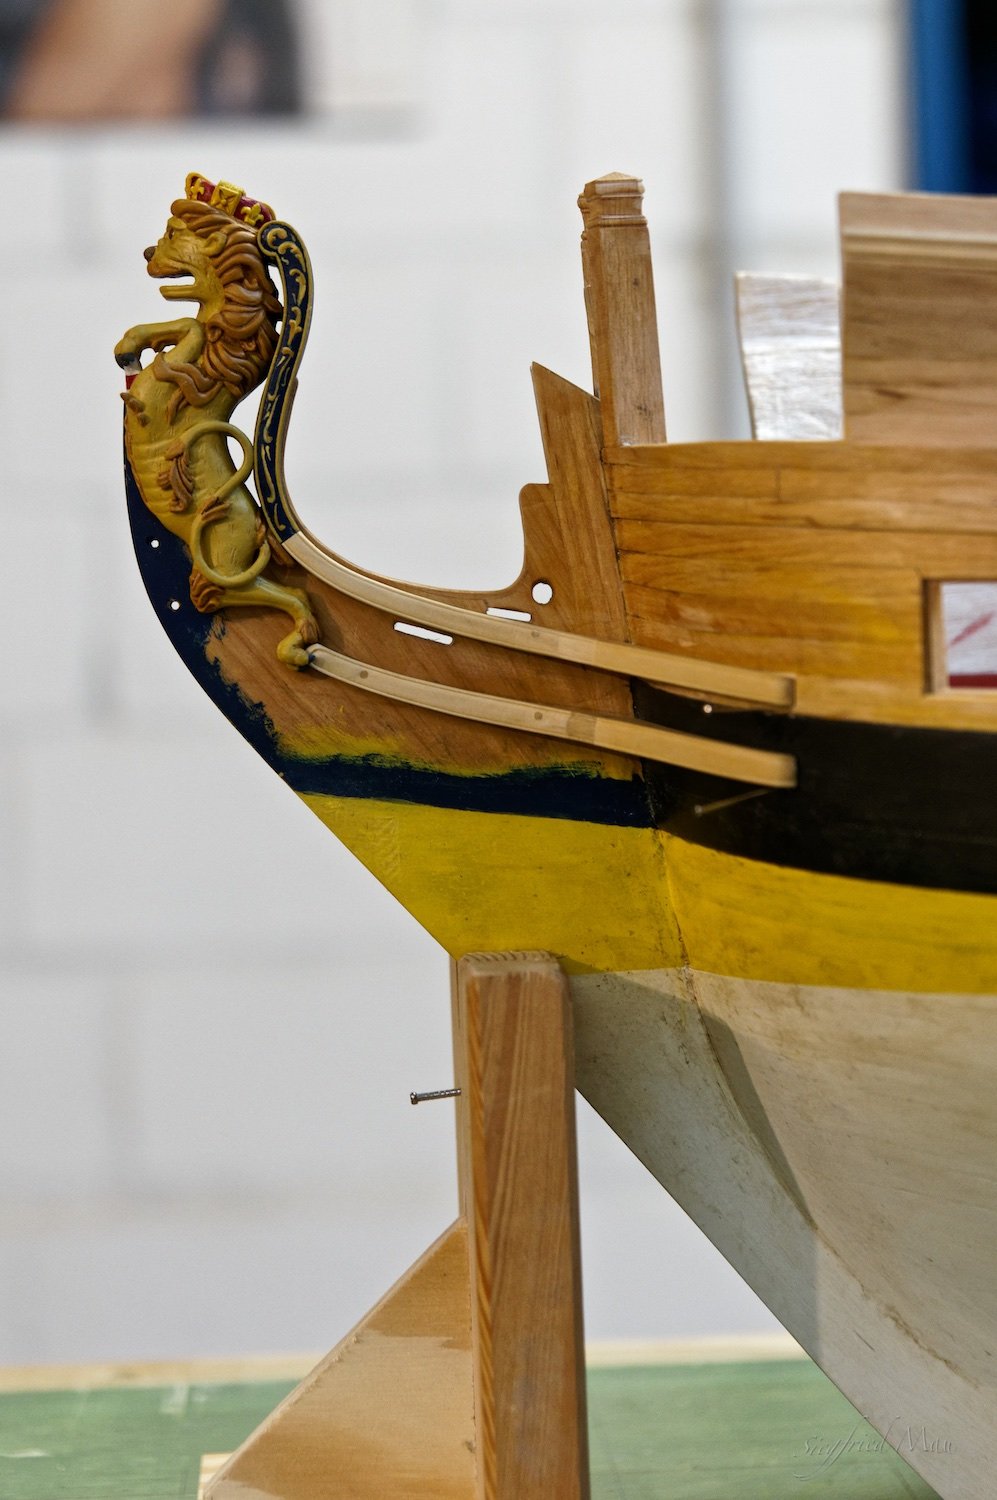
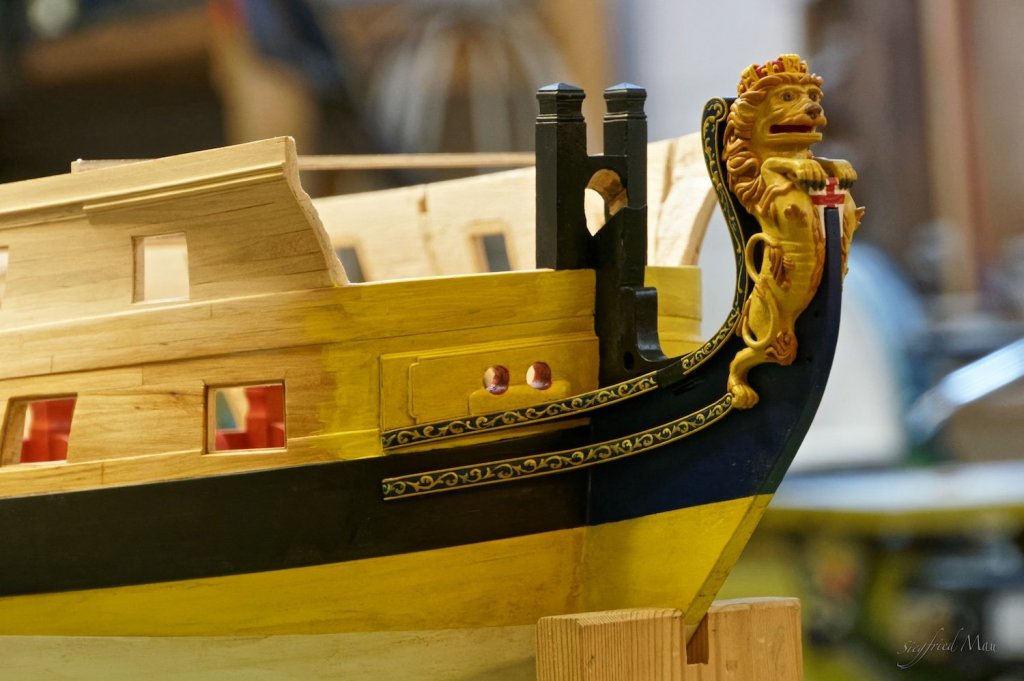
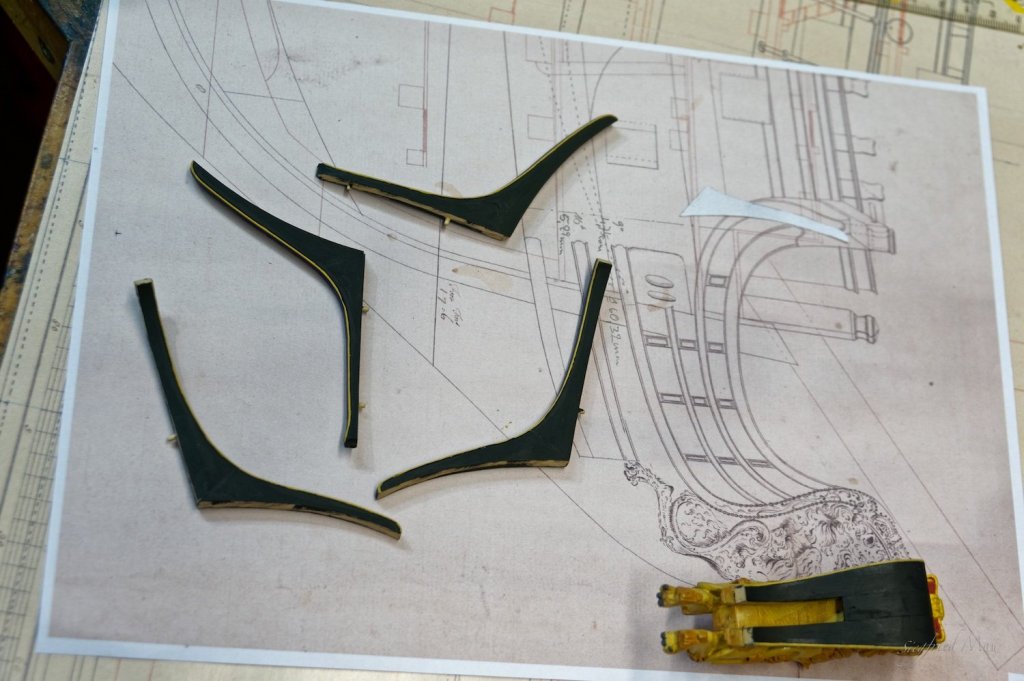
Hello, it is done, the cheeks are mostly ready. First some pictures before I have painted them. Here I started painting them. That was from the feeling more work then building them. But this is only the basis paint The real hard work begins tomorrow, all these small acanthuses.


-
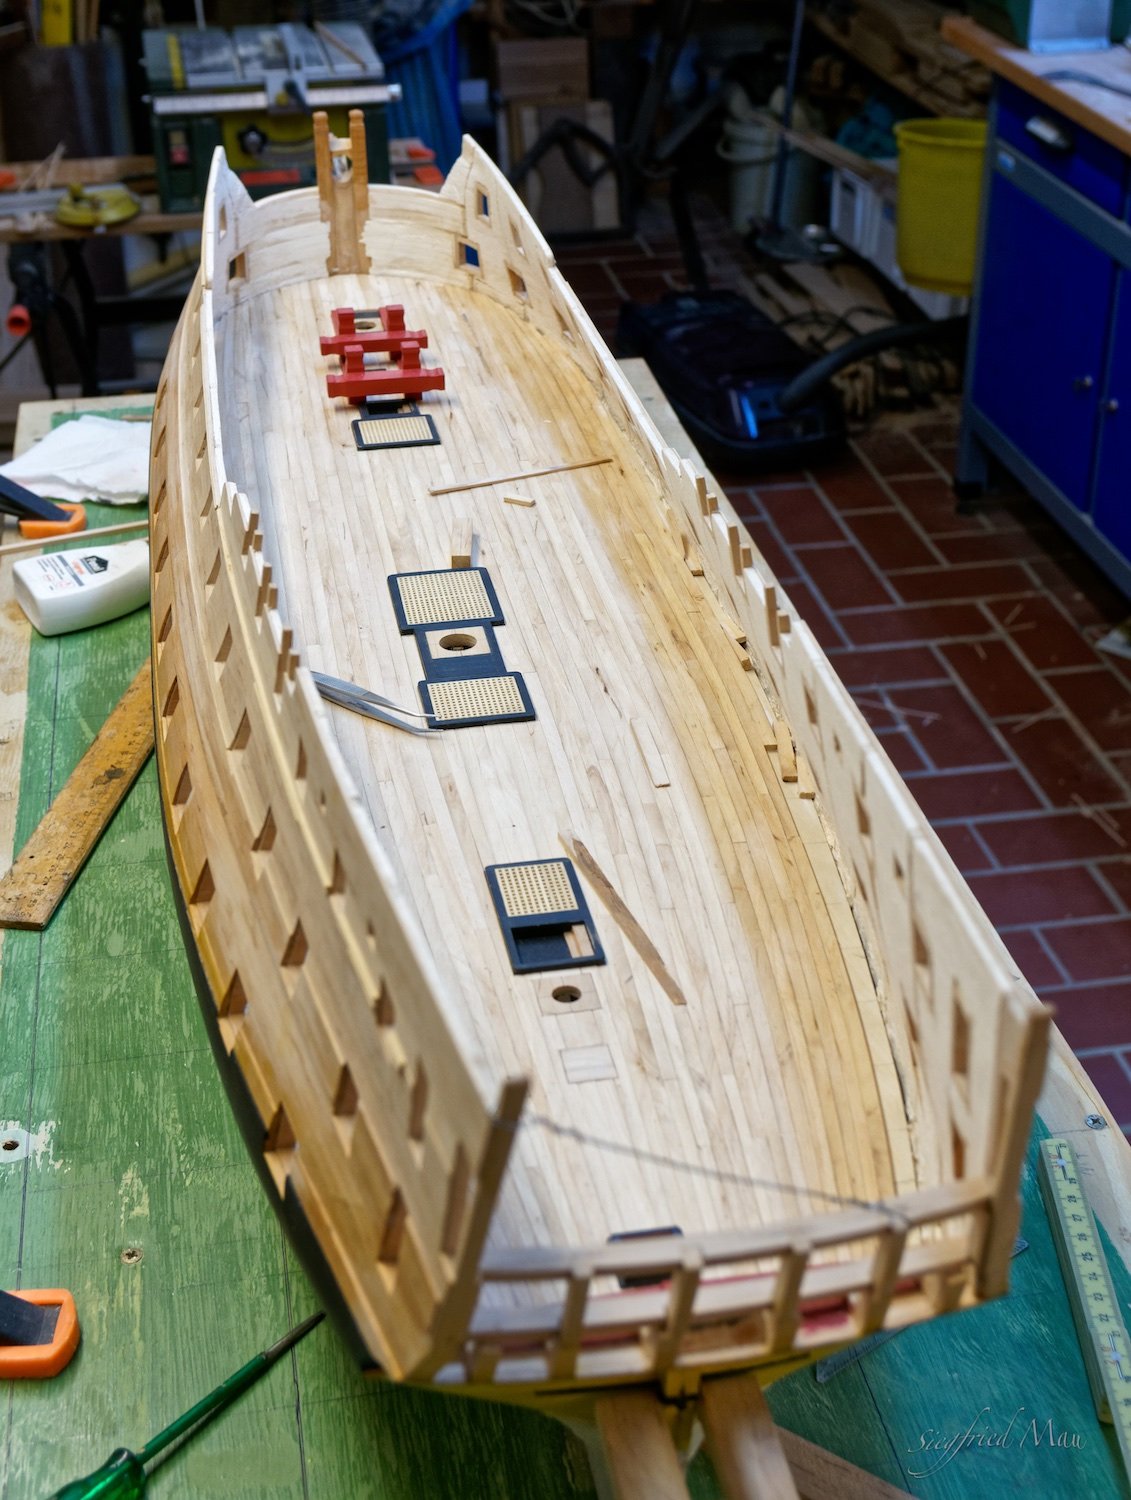
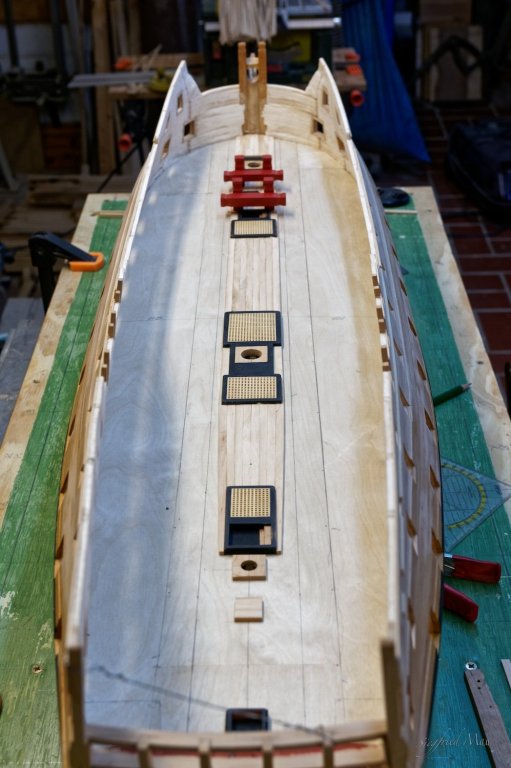
Hello, thank you Nils and all others for your likes. Today only a small update. The men installed the waterway and thereby the planking of the deck is ready. Now the paint and varnish can dry. Next I think I must made the cheeks. The head has the tendency to bent to the left. It's now only a little, but nobody knows what will come in the future. There went something wrong when installing the head and I hope I will stop that with the cheeks installed.

-
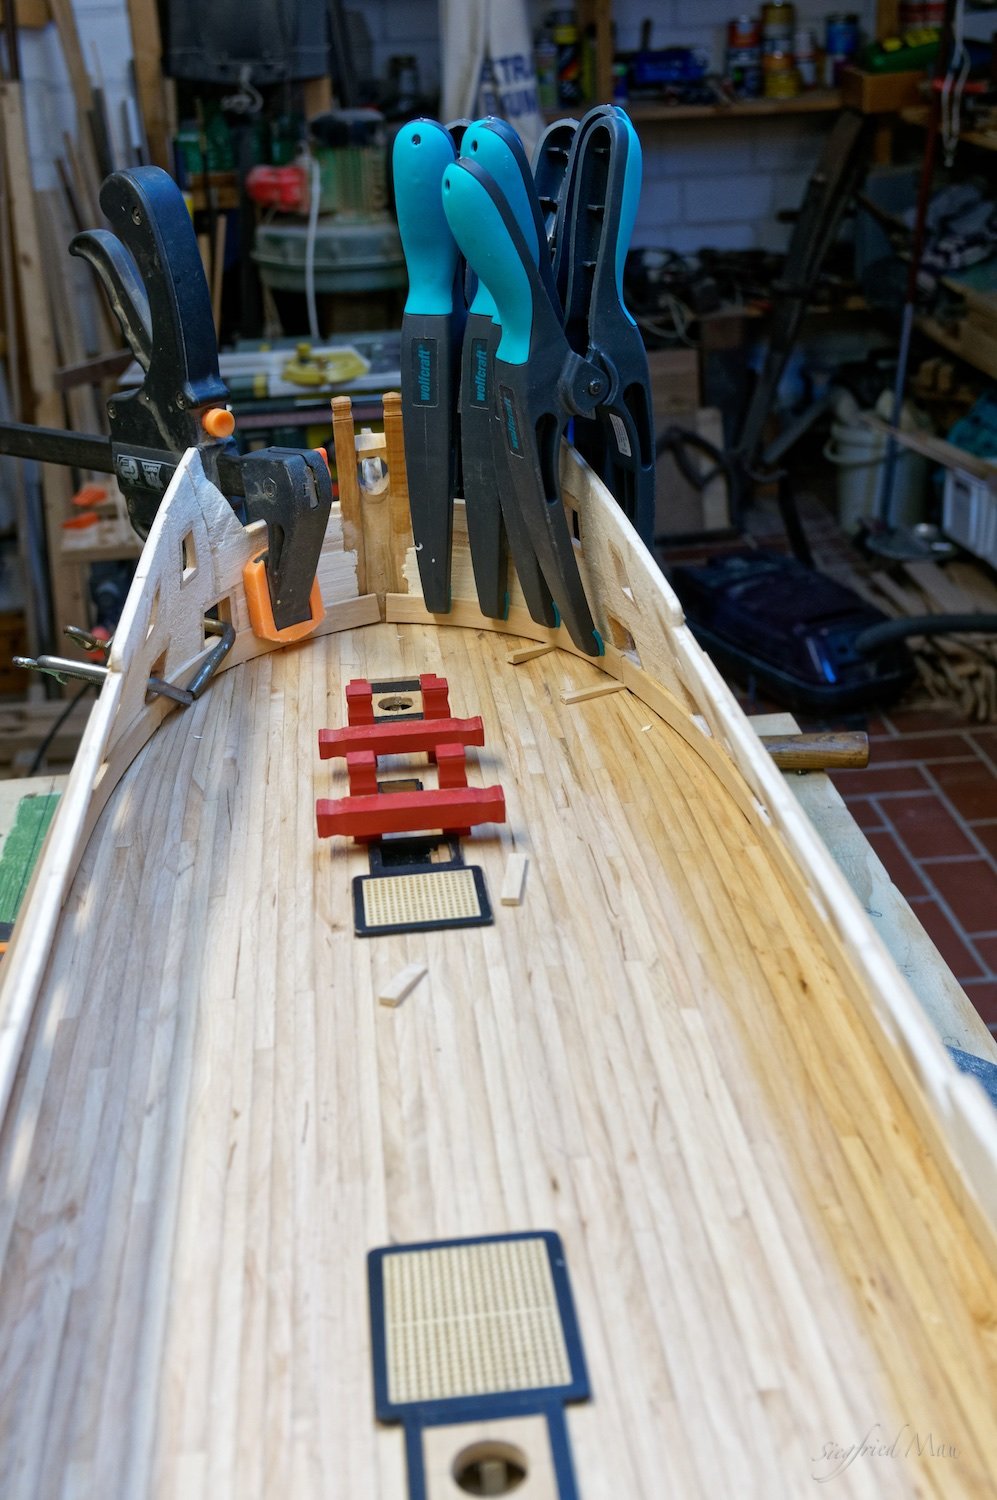
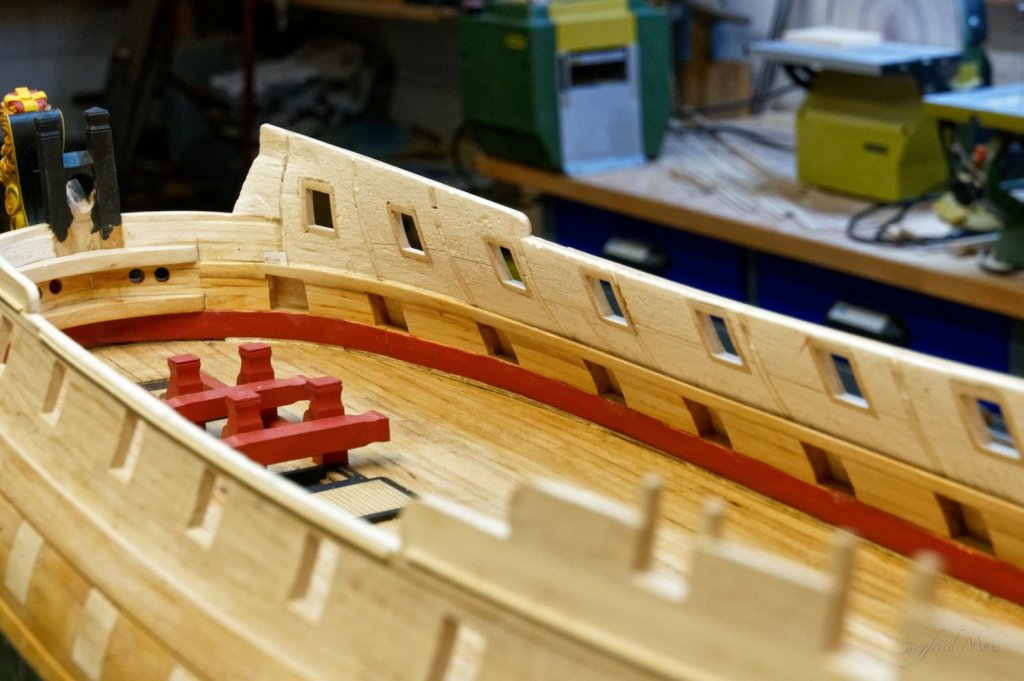
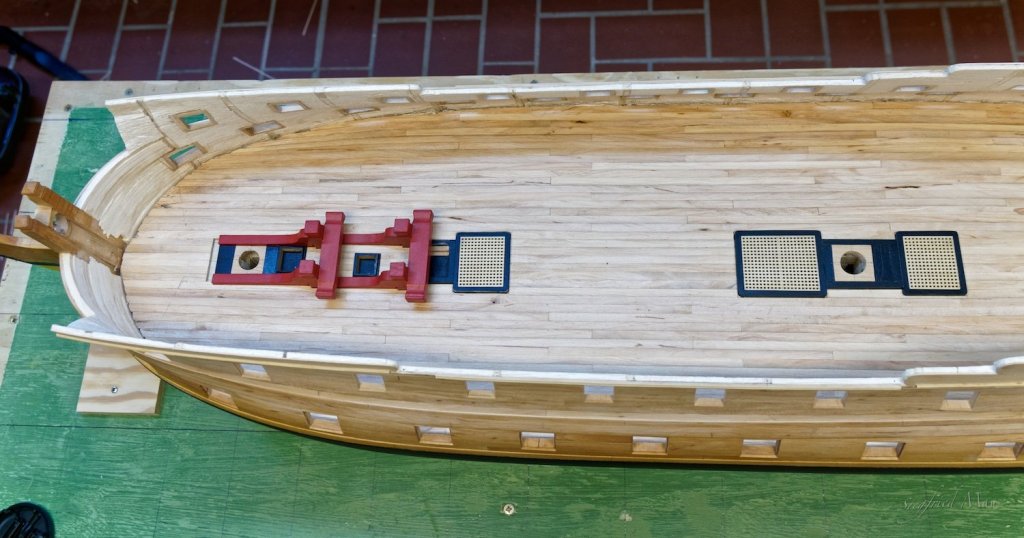
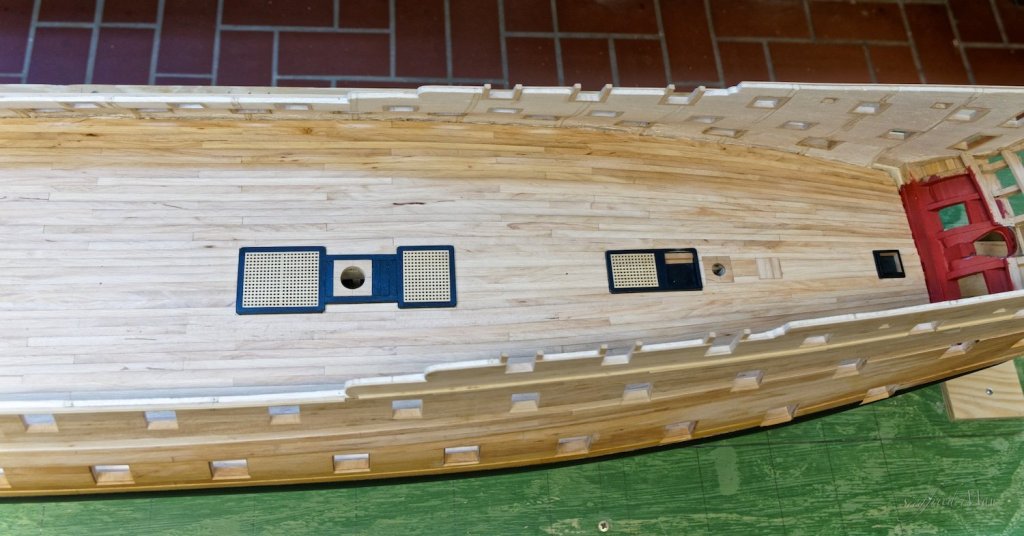
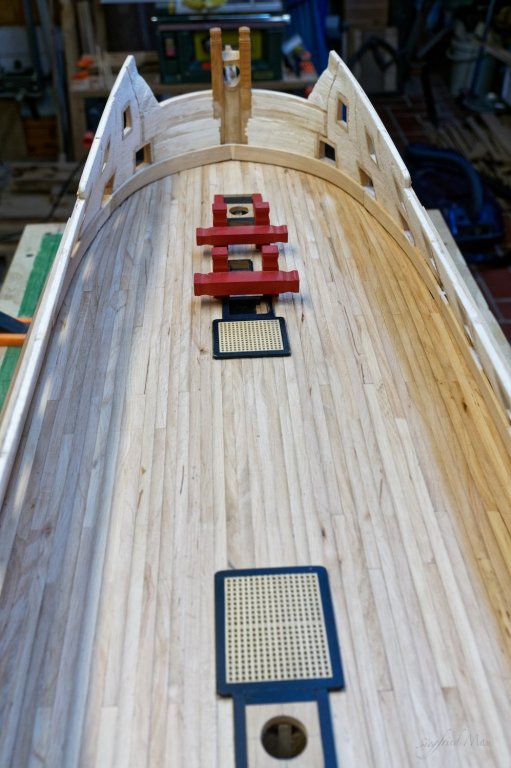
Hello and thank you all for your likes, today I finished the planking of the gun deck and I made also the spirketting. I think that I need the next week for relaxing my fingertips and let here and there some new skin growing These riding pices are very hard and stable. I build the deck without the margin plank, you would't see it later. The waterway I will install in the slit between the deck and the spirketting.


-
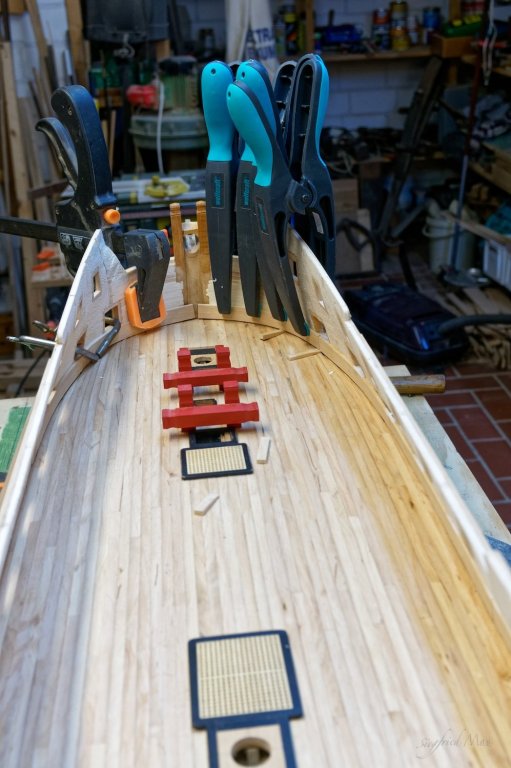
Thank you Amalio and hello to all, also thank you all for your likes. Today only a small update. I started planking. Around the riding bits it was really a challenge, but at least I got it. If you see there some irregularities in front or behind the hatches, that is sawdust. So don't worry.

-
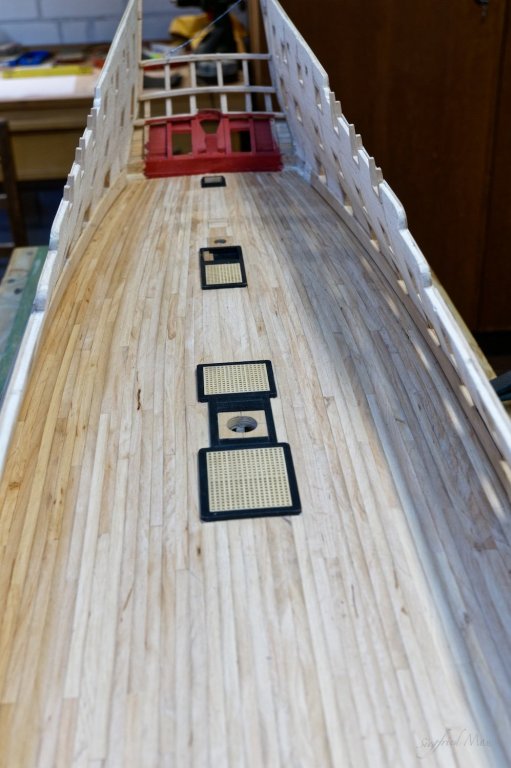
Thank you Druxey, then I could make it even with the deck. At the plan for the 1745 establishment they have two scuttles, one larger so as you describe and one as for the ladys hole to the left.
.jpg.c1c94e2817061955ee6e46d79ba78fa3.jpg)