palmerit
-
Posts
1,090 -
Joined
-
Last visited
Content Type
Profiles
Forums
Gallery
Events
Everything posted by palmerit
-
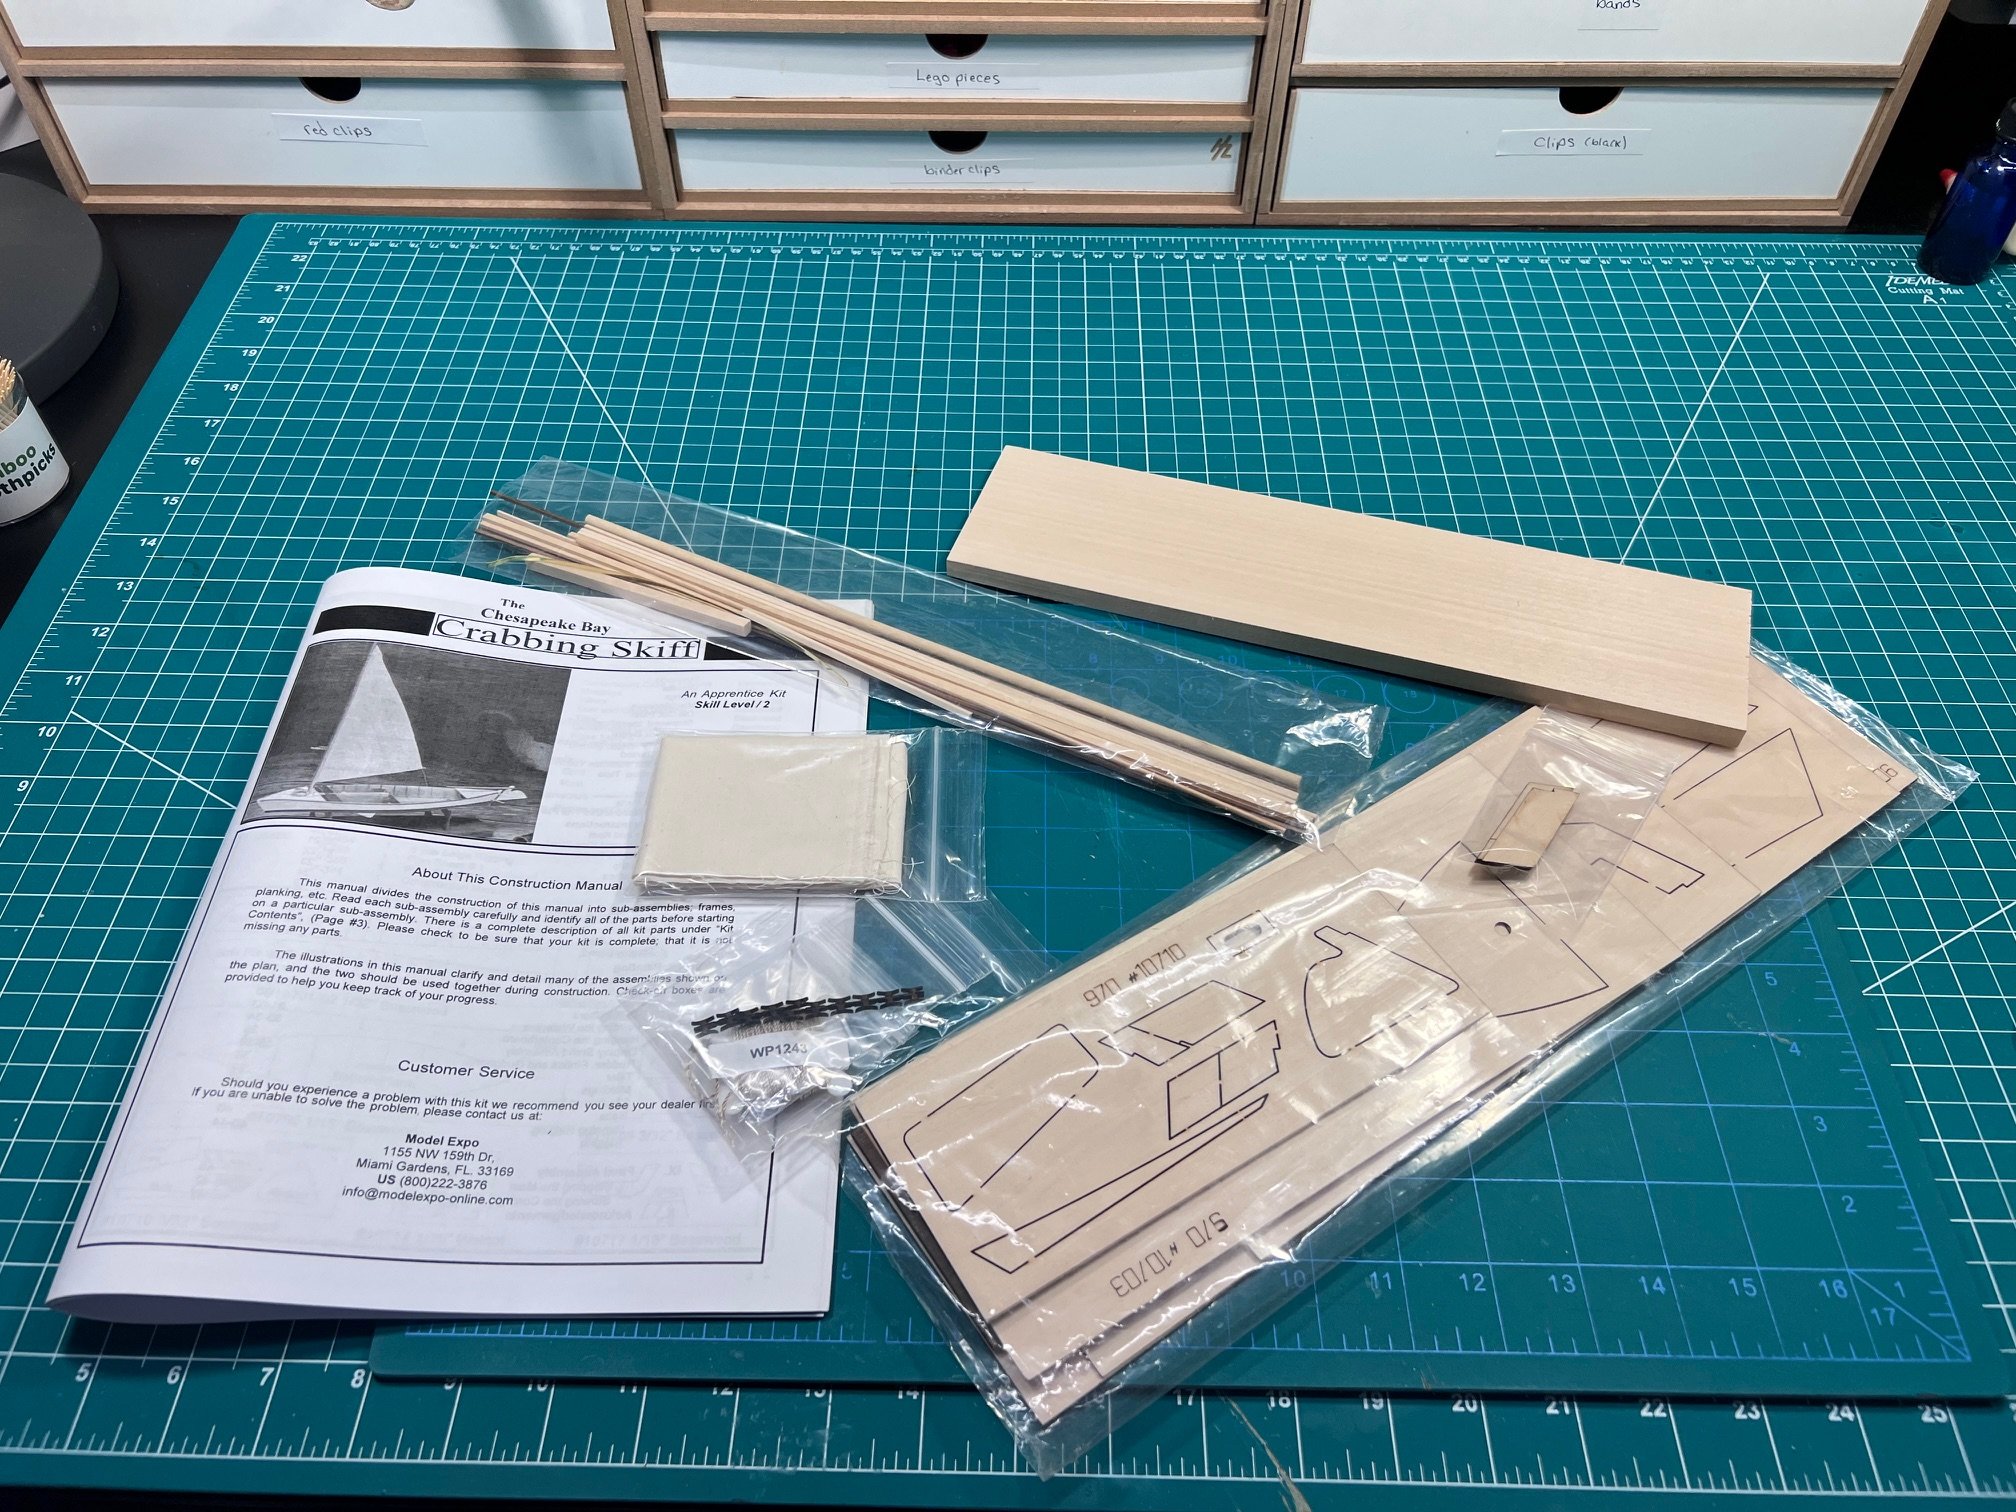
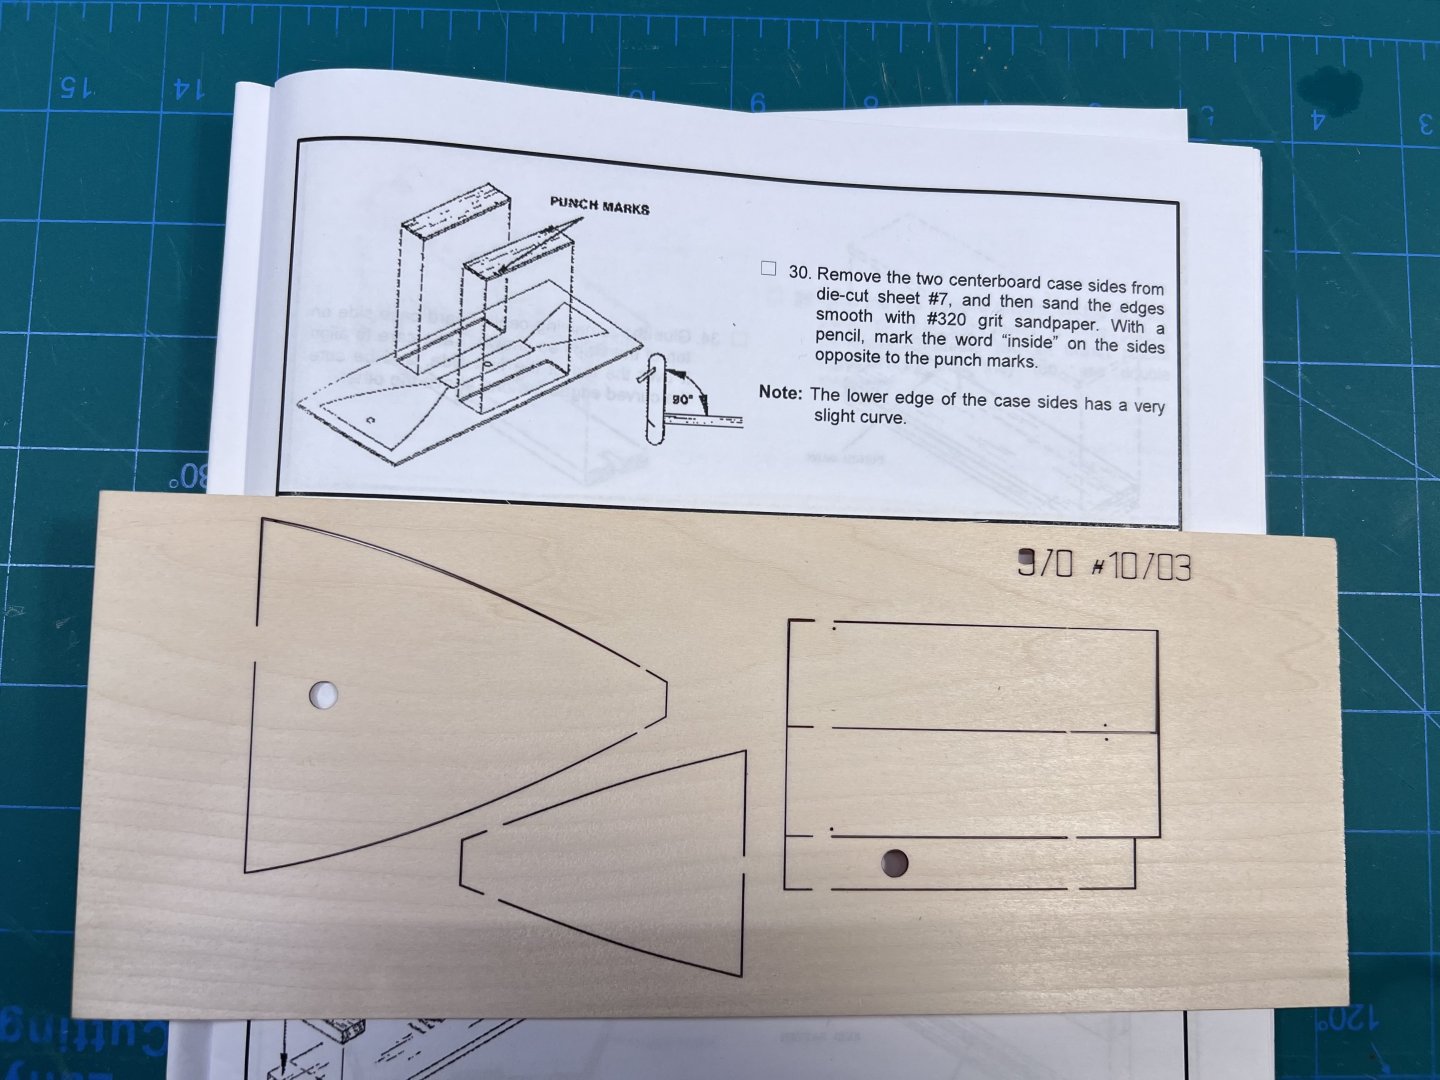
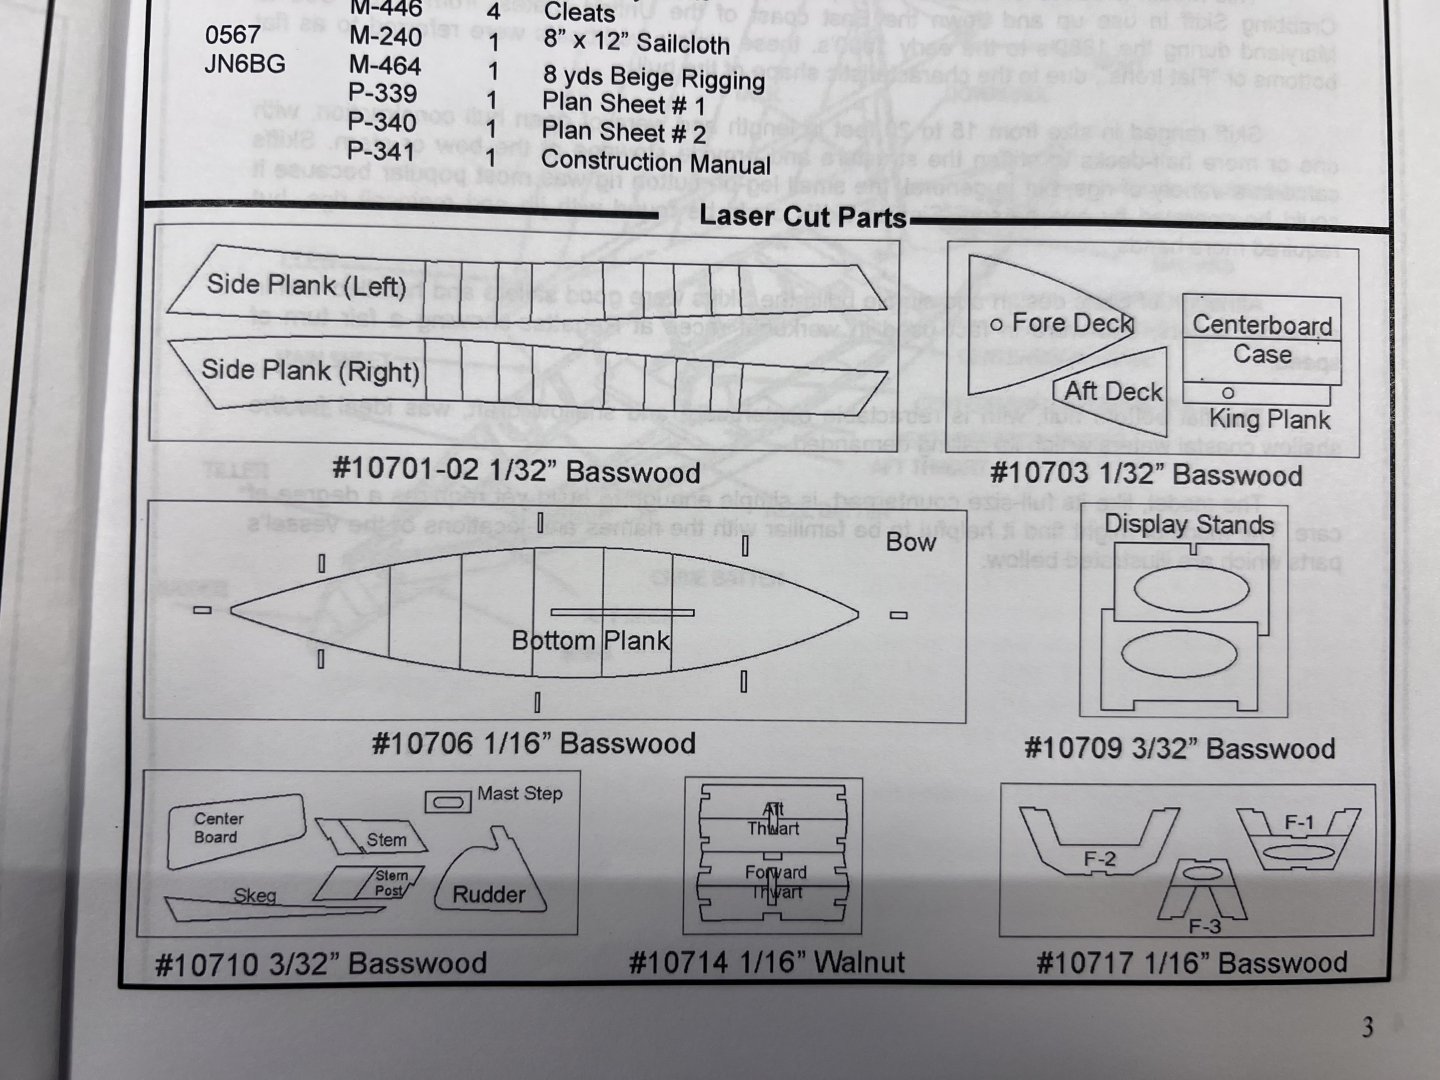
I know this is a reissue of older Midwest Model kits. The parts are not labeled and the piece maps in the instructions do not match the sheets. There is a piece map in the very front of the instructions. Easy to miss - as I did with a previous Midwest model.
- 38 replies
-
- 1
-

-
- crabbing skiff
- Chesapeake Bay crabbing skiff
- (and 2 more)
-
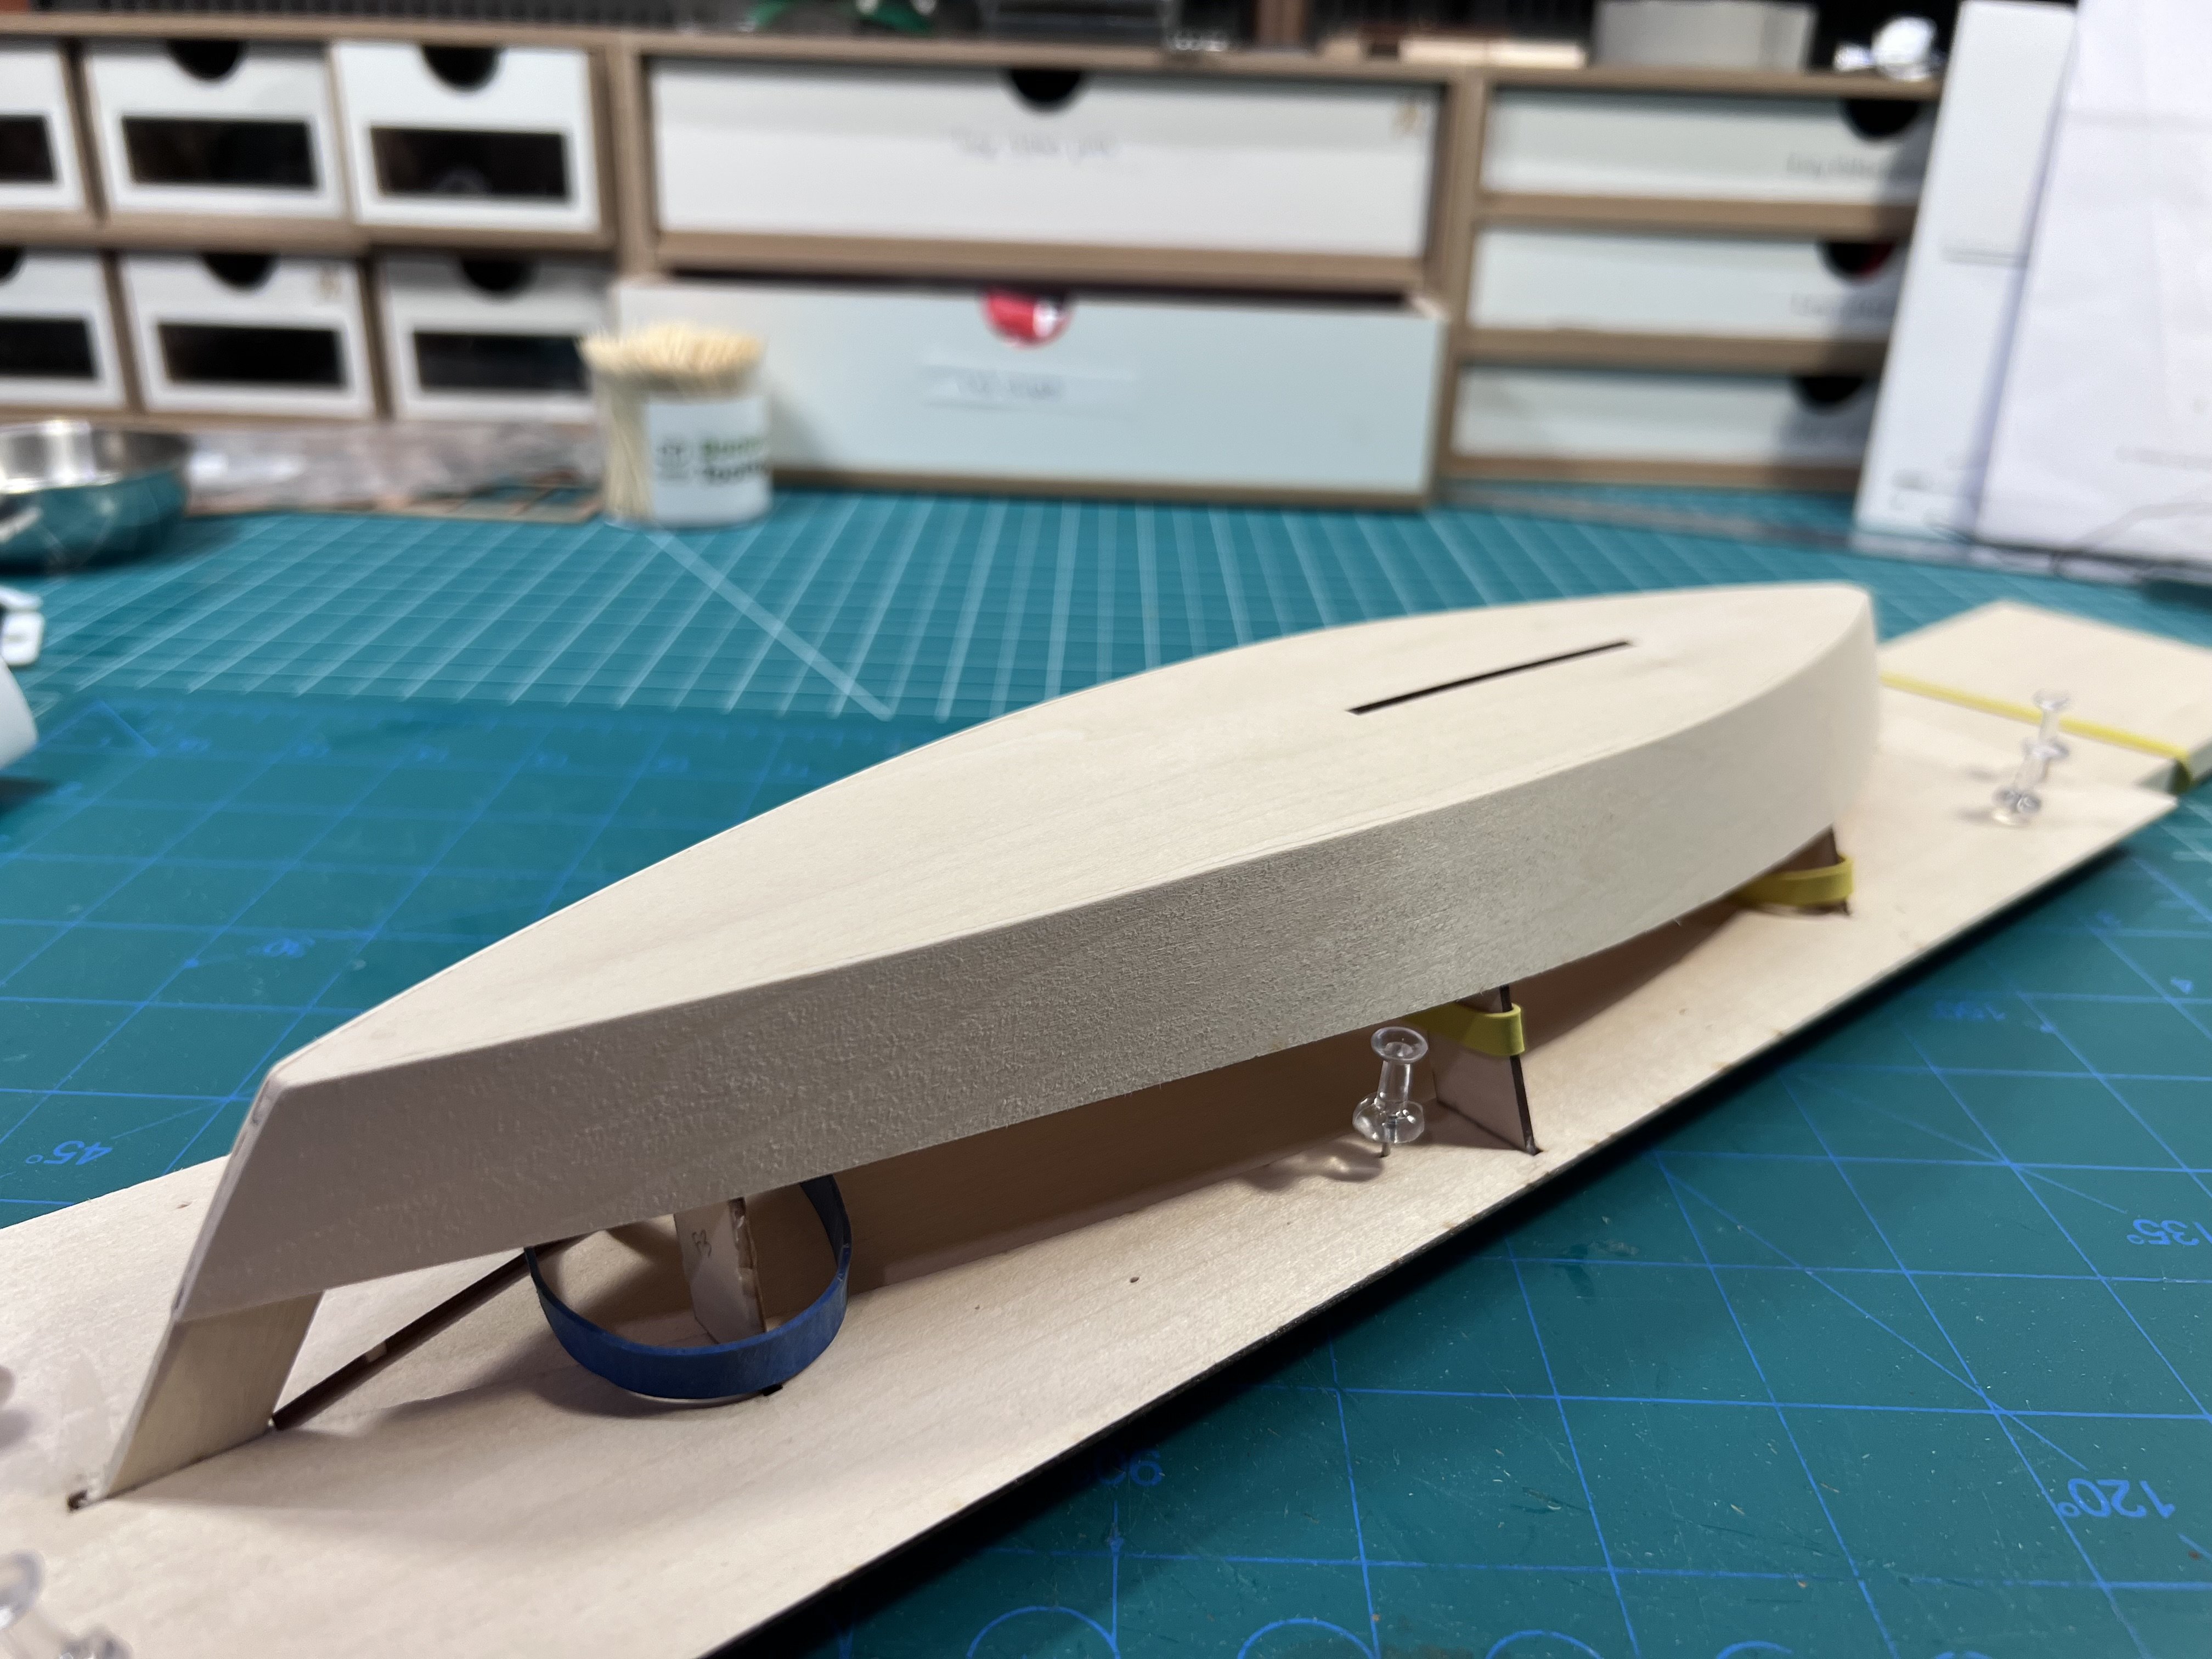
Sanded down the rough edge and cut the hull from the build board.


- 38 replies
-
- 3
-
-
- crabbing skiff
- Chesapeake Bay crabbing skiff
- (and 2 more)
-
Maybe trying a model at a relatively larger scale? Olha Batchvarov is doing a group build of the Model Shipways Gunboat Philadelphia at 1:24. It's not a lot of small fiddly pieces. No tiny thin planks. And maybe having the videos may help - not that you don't know what you're doing, but watching someone do it might help remind your hands how to do something. I'm a neuroscientist (not a physician, not a neurologist) and with brain damage from surgery or stroke from my understanding it's trying to rewire (literally) your brain. It's slower to happen as an adult, and may depend on what brain areas were removed and what areas are close by, but other brain areas can sometimes take over lost functioning to some degree, but it takes practice. If you're seeing a physical therapist, especially one focusing on fine motor skills, you might ask them about what things you might want to do to transition back into your hobby. They might even see model building as a form of PT. Lots of people don't do their PT homework - having done a little myself for a relatively minor problem I know doing my "homework" was a chore - whereas building a model is a hobby. Best of luck!
-
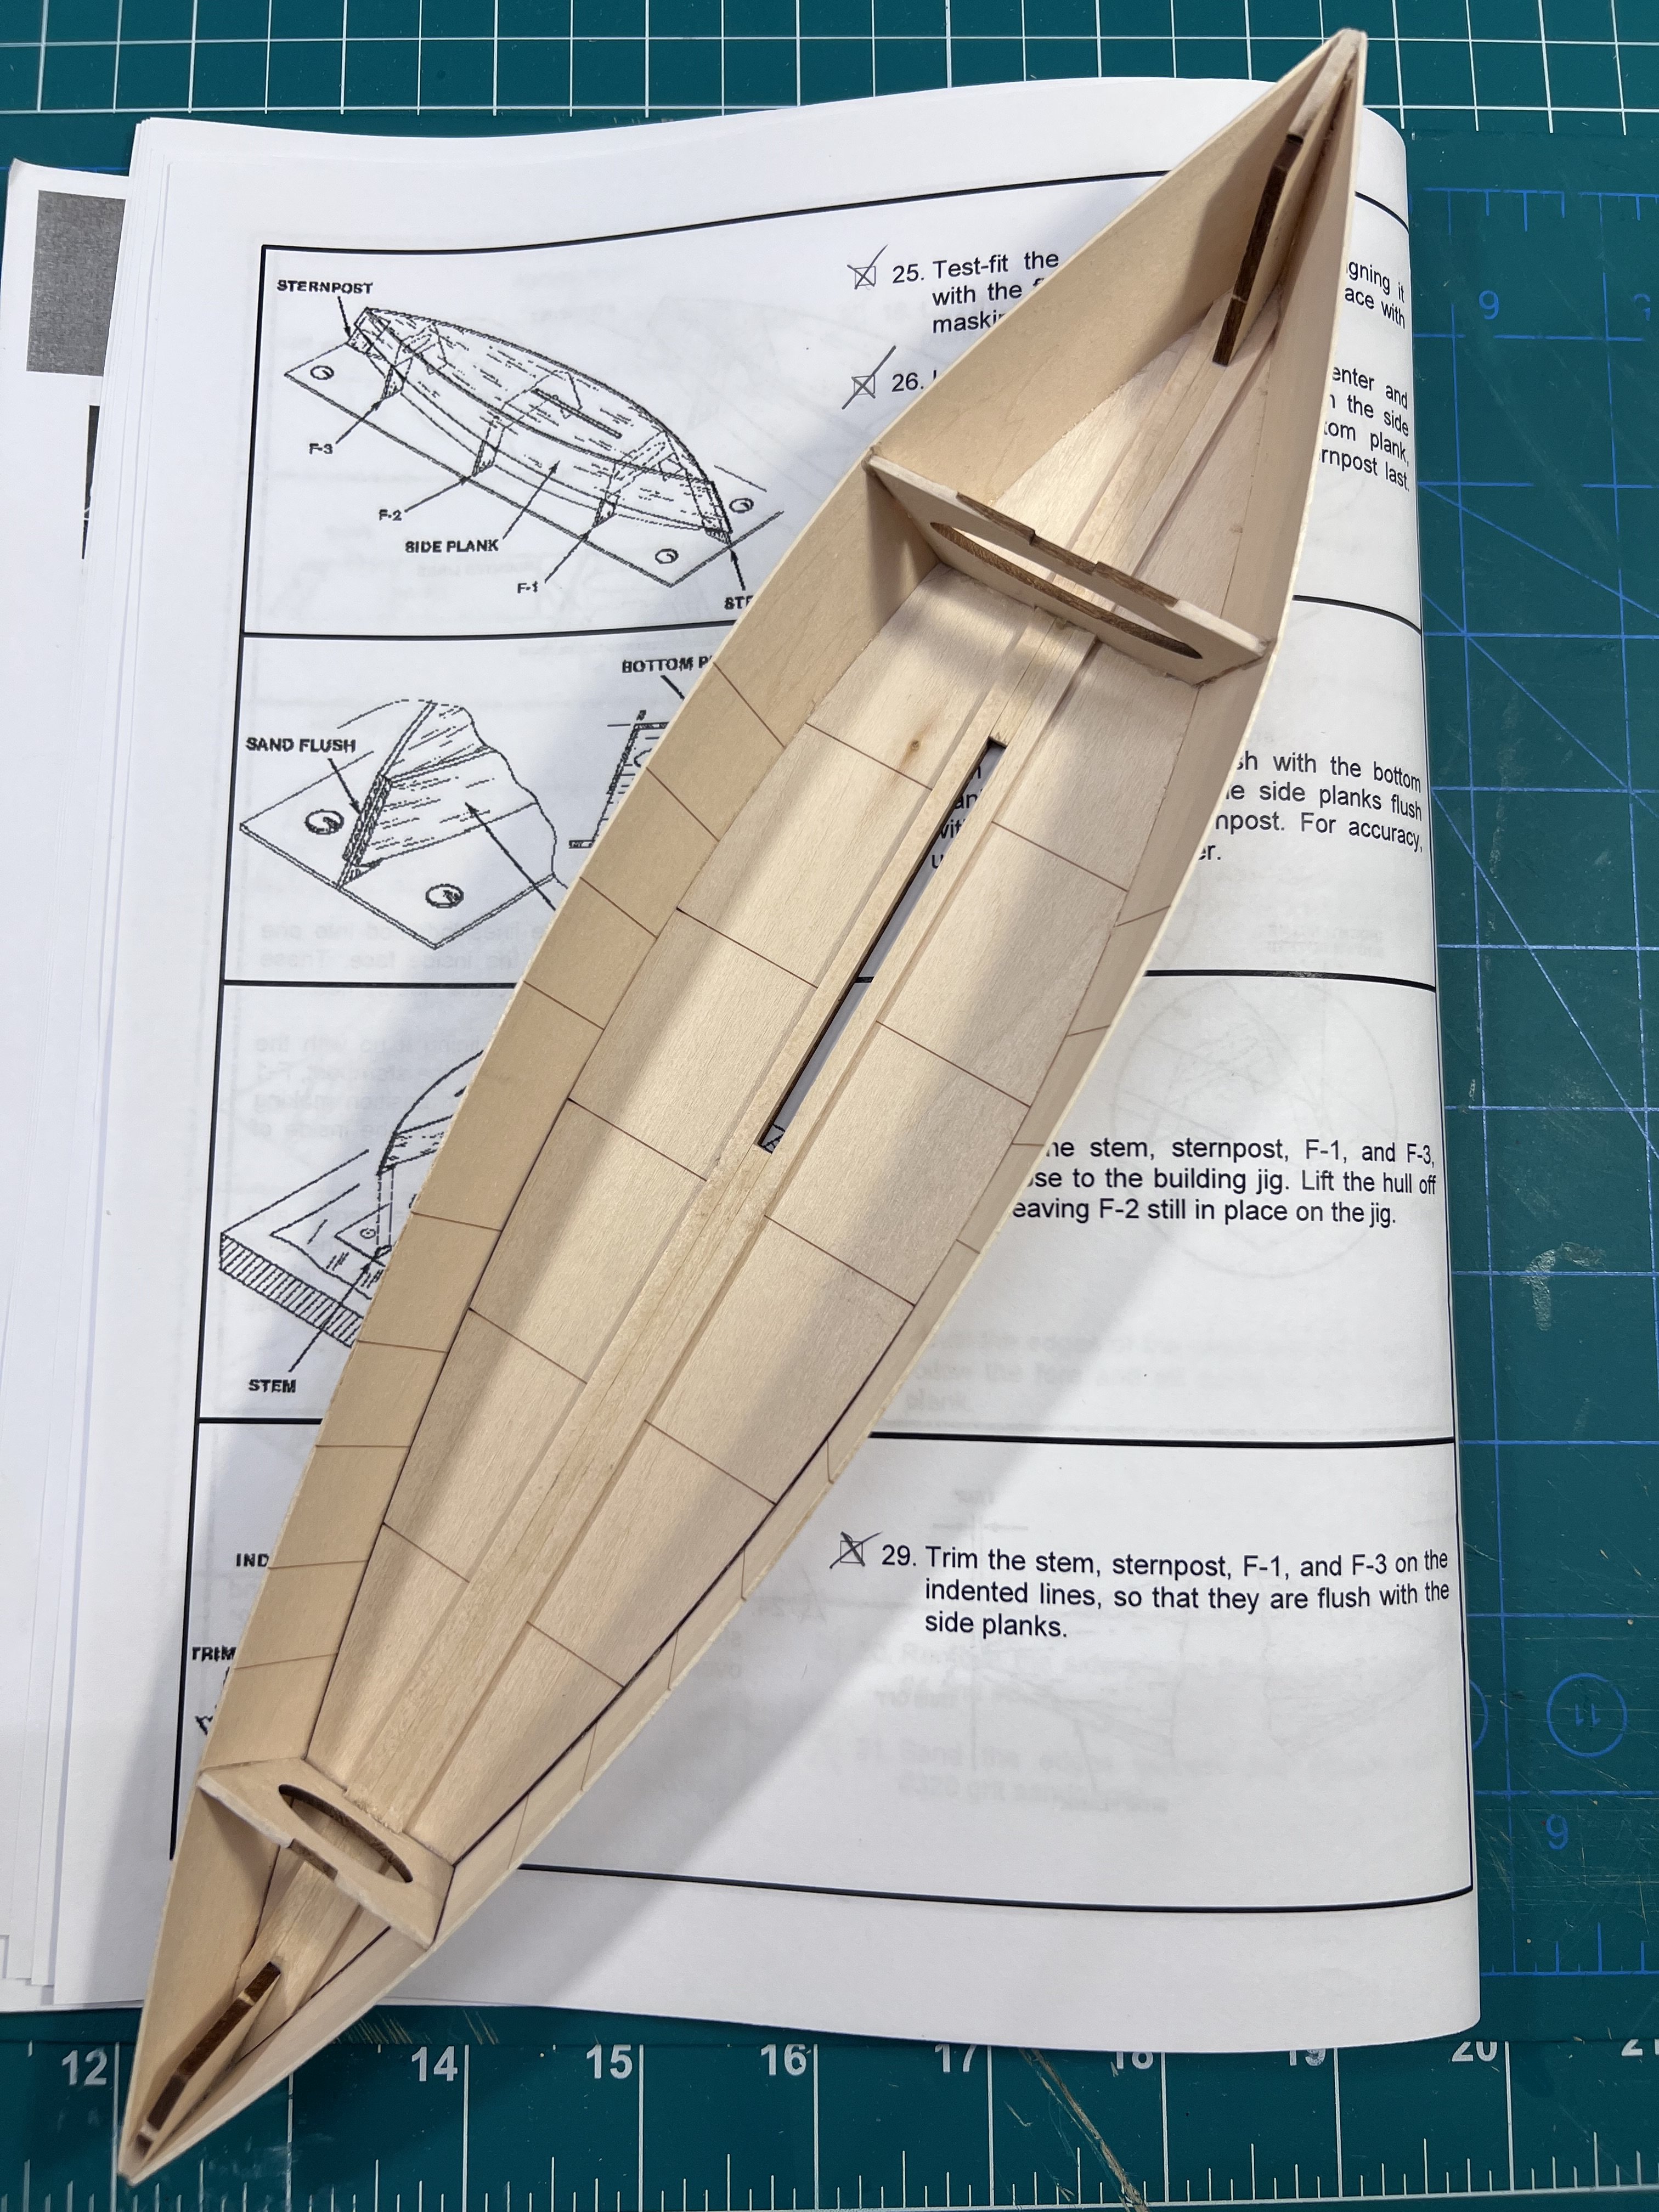
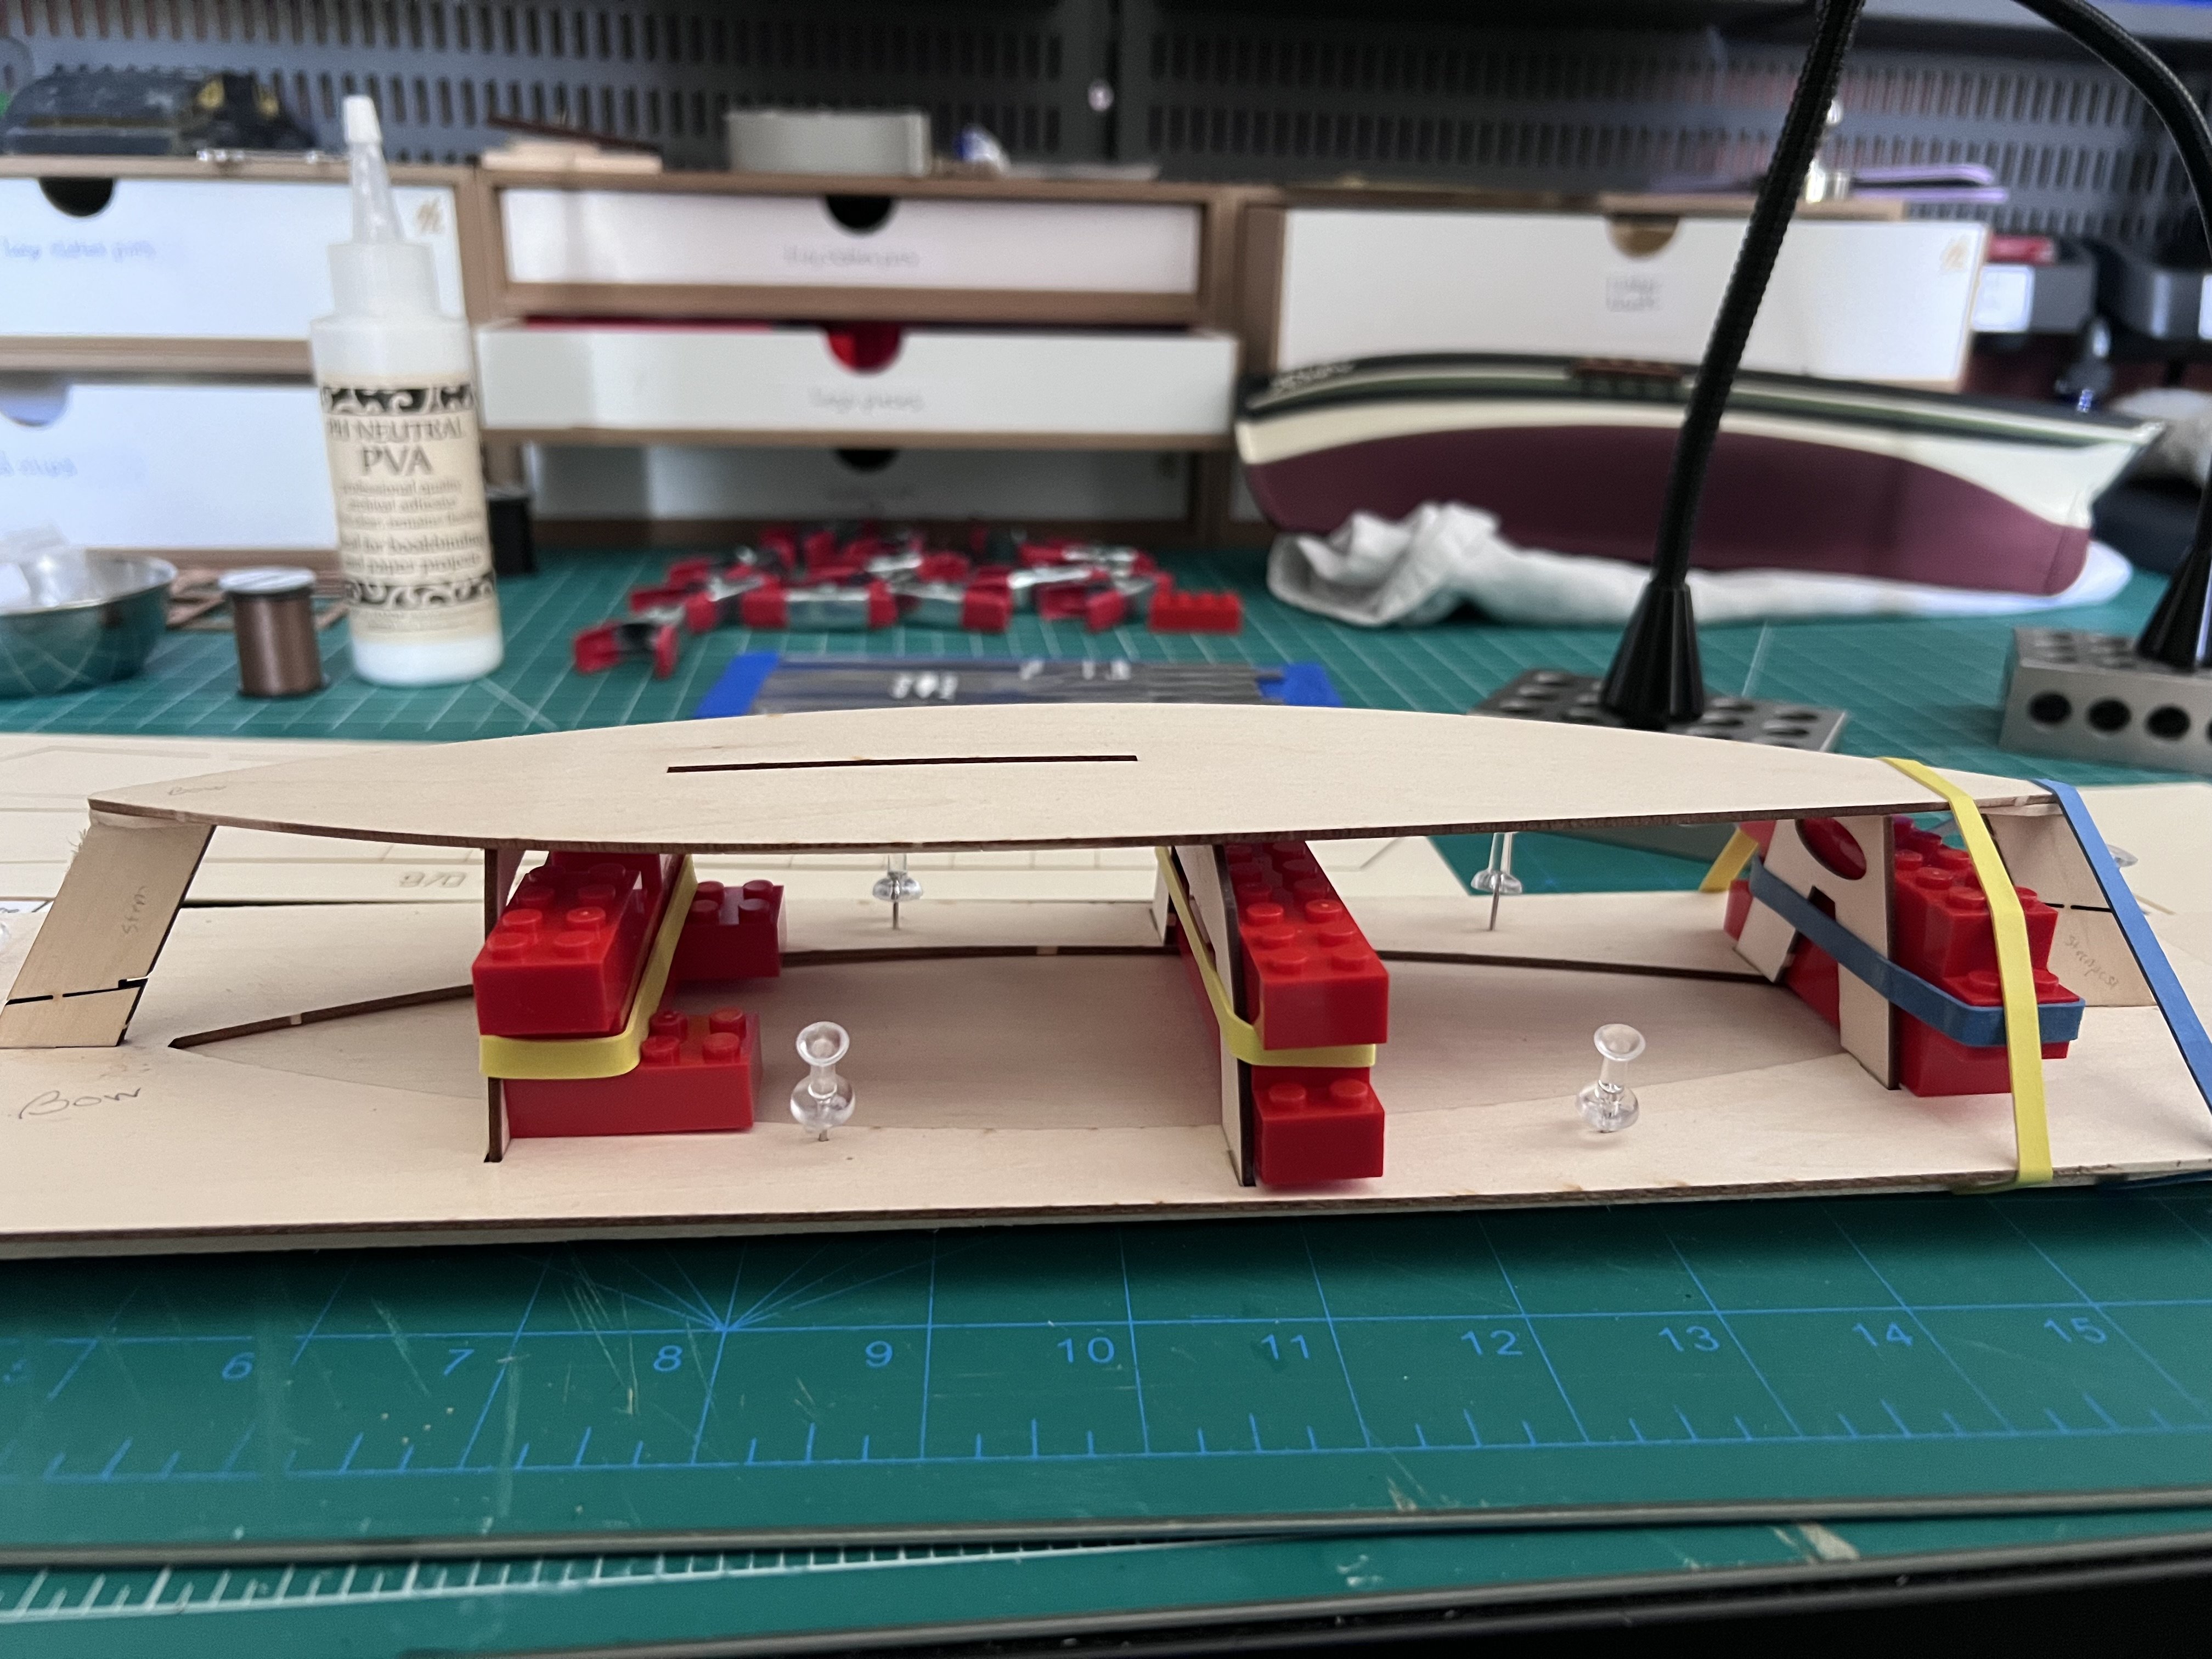
Ok, so as much as I said it was nuts to use CA, I ended up using medium gel CA to attach the plank (there’s a single plank on each side of this model) just to the middle of the base, then when it was set I used wood glue and clamps and rubber bands to attach the plank to the rest of the base and to the front and rear frames (the middle frame is removed). Need to be careful because basswood is soft and thin so easily deformed and dented.
- 38 replies
-
- 3
-
-
- crabbing skiff
- Chesapeake Bay crabbing skiff
- (and 2 more)
-
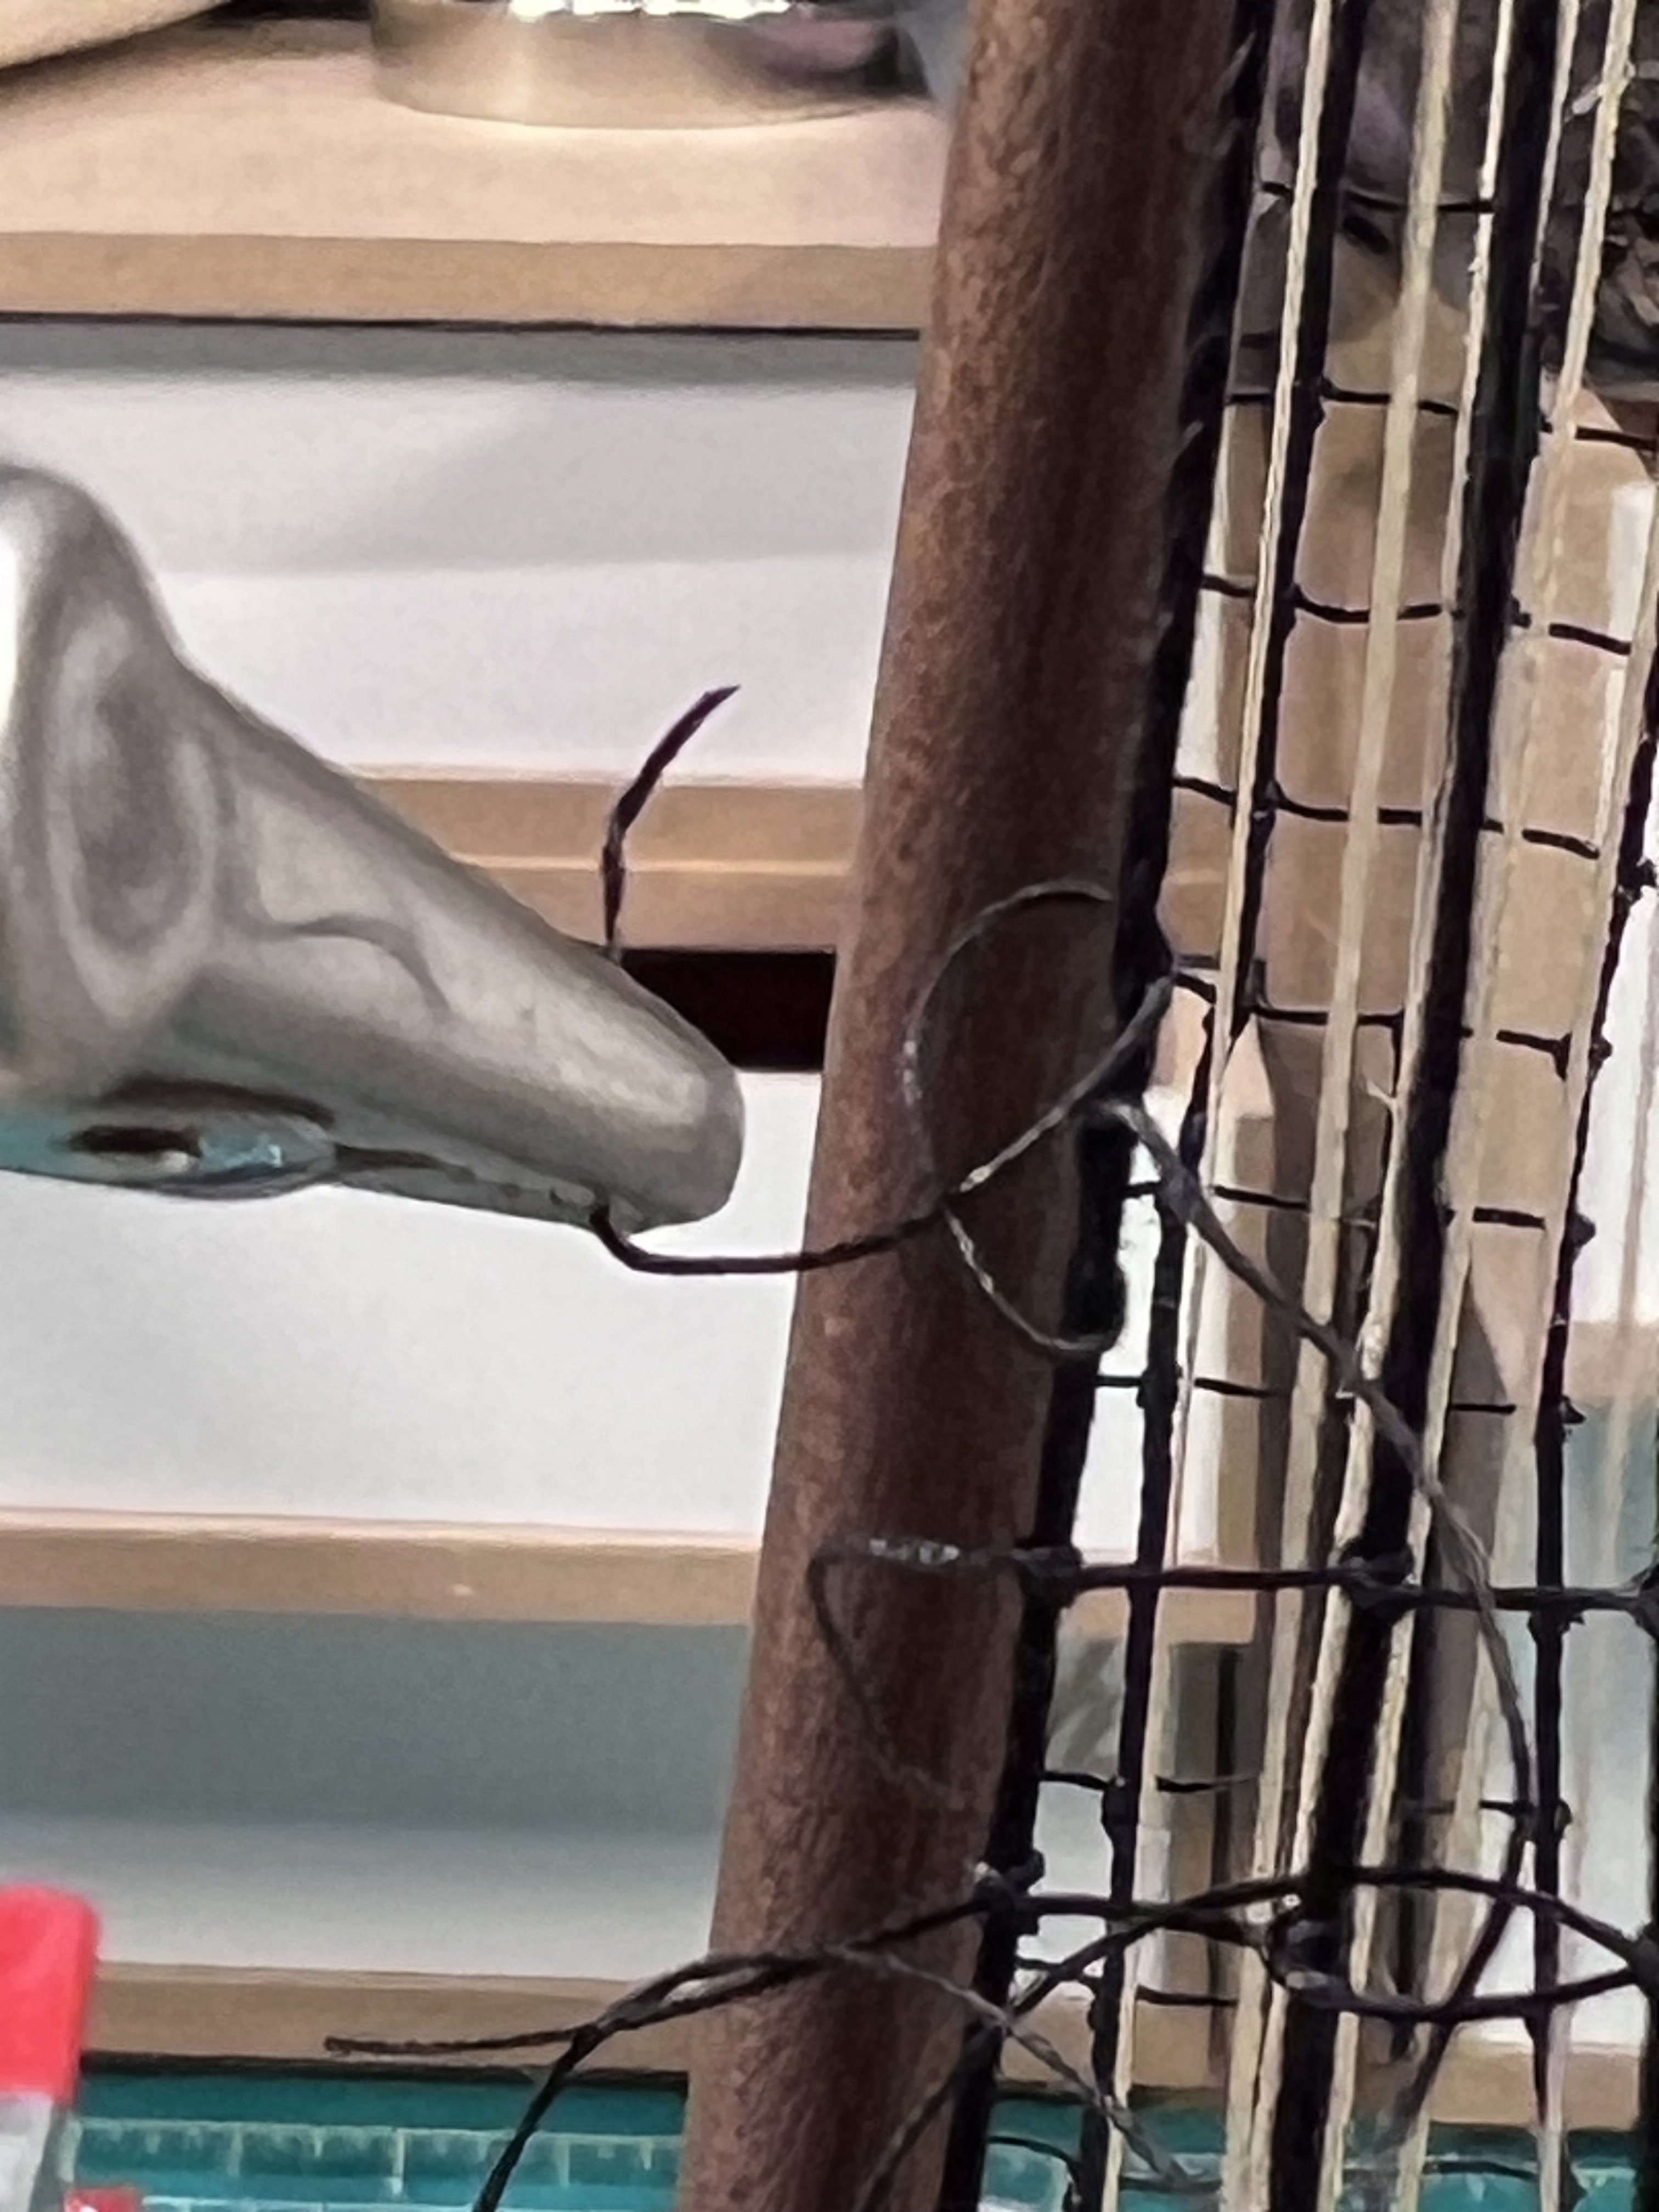
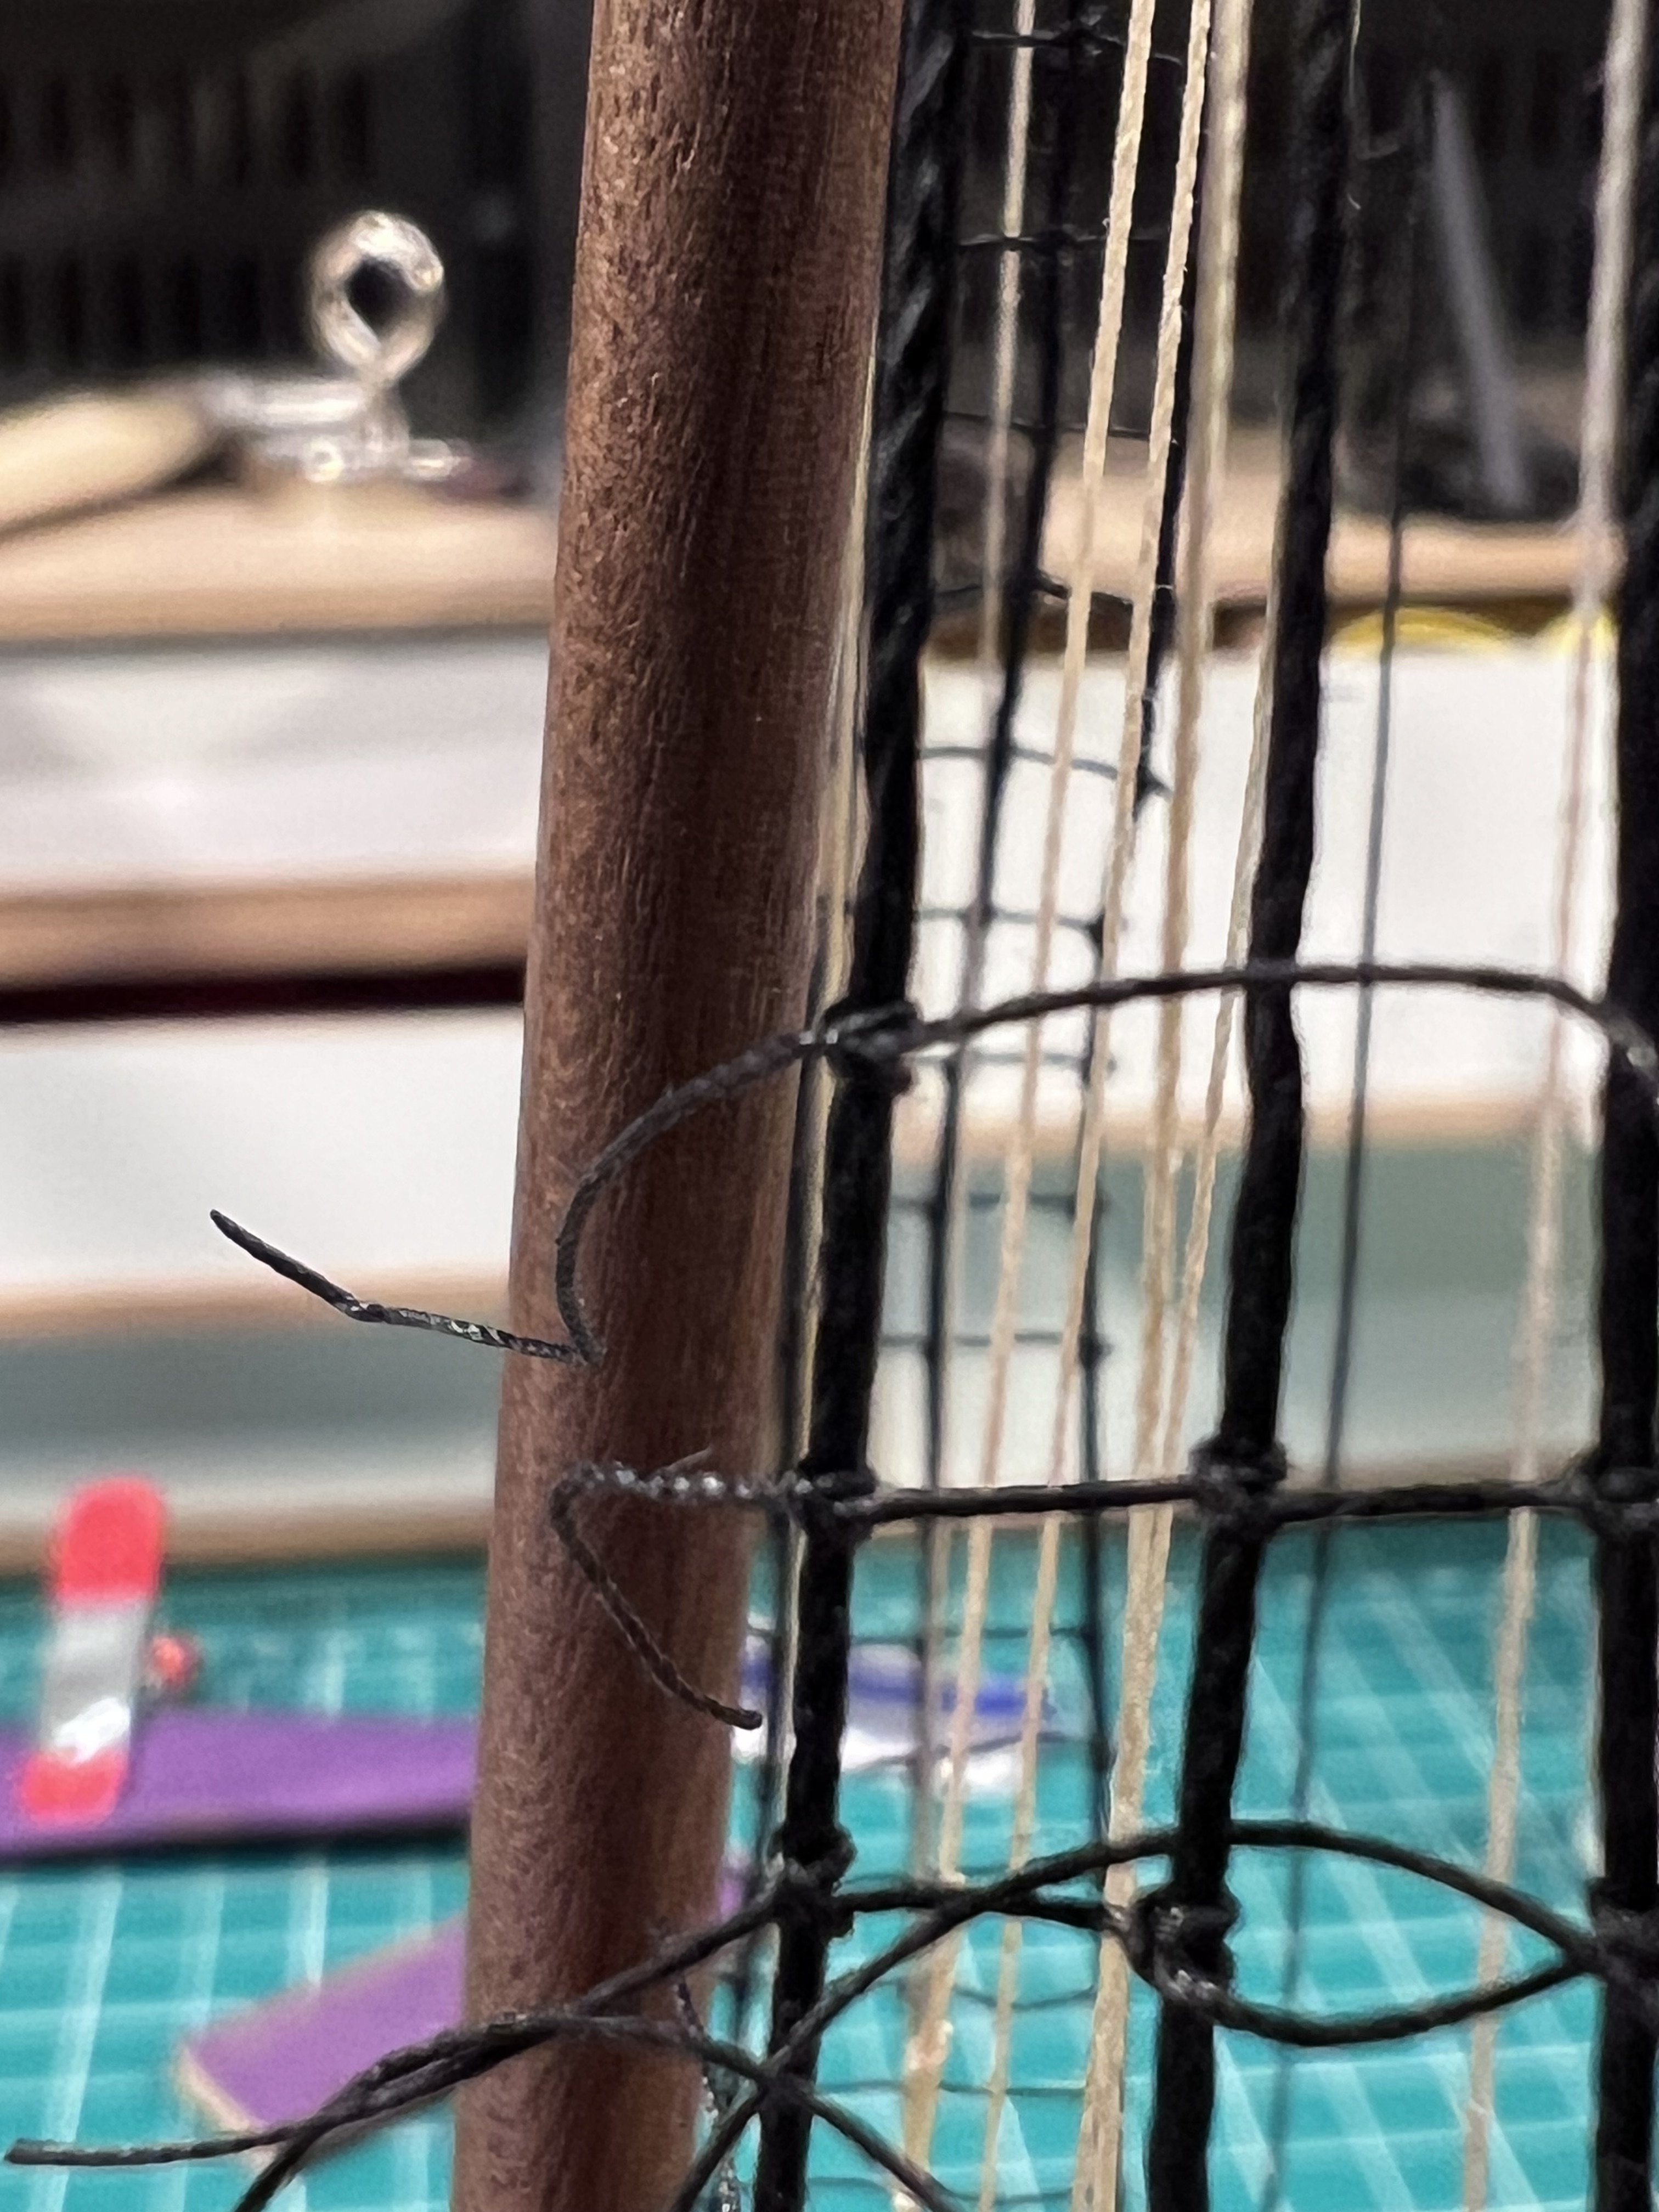
Curtis_Wooden_Shipyard has a nice video on attaching shrouds and deadeyes.
- 133 replies
-
- 2
-
-
- Ranger
- vanguard models
- (and 1 more)
-
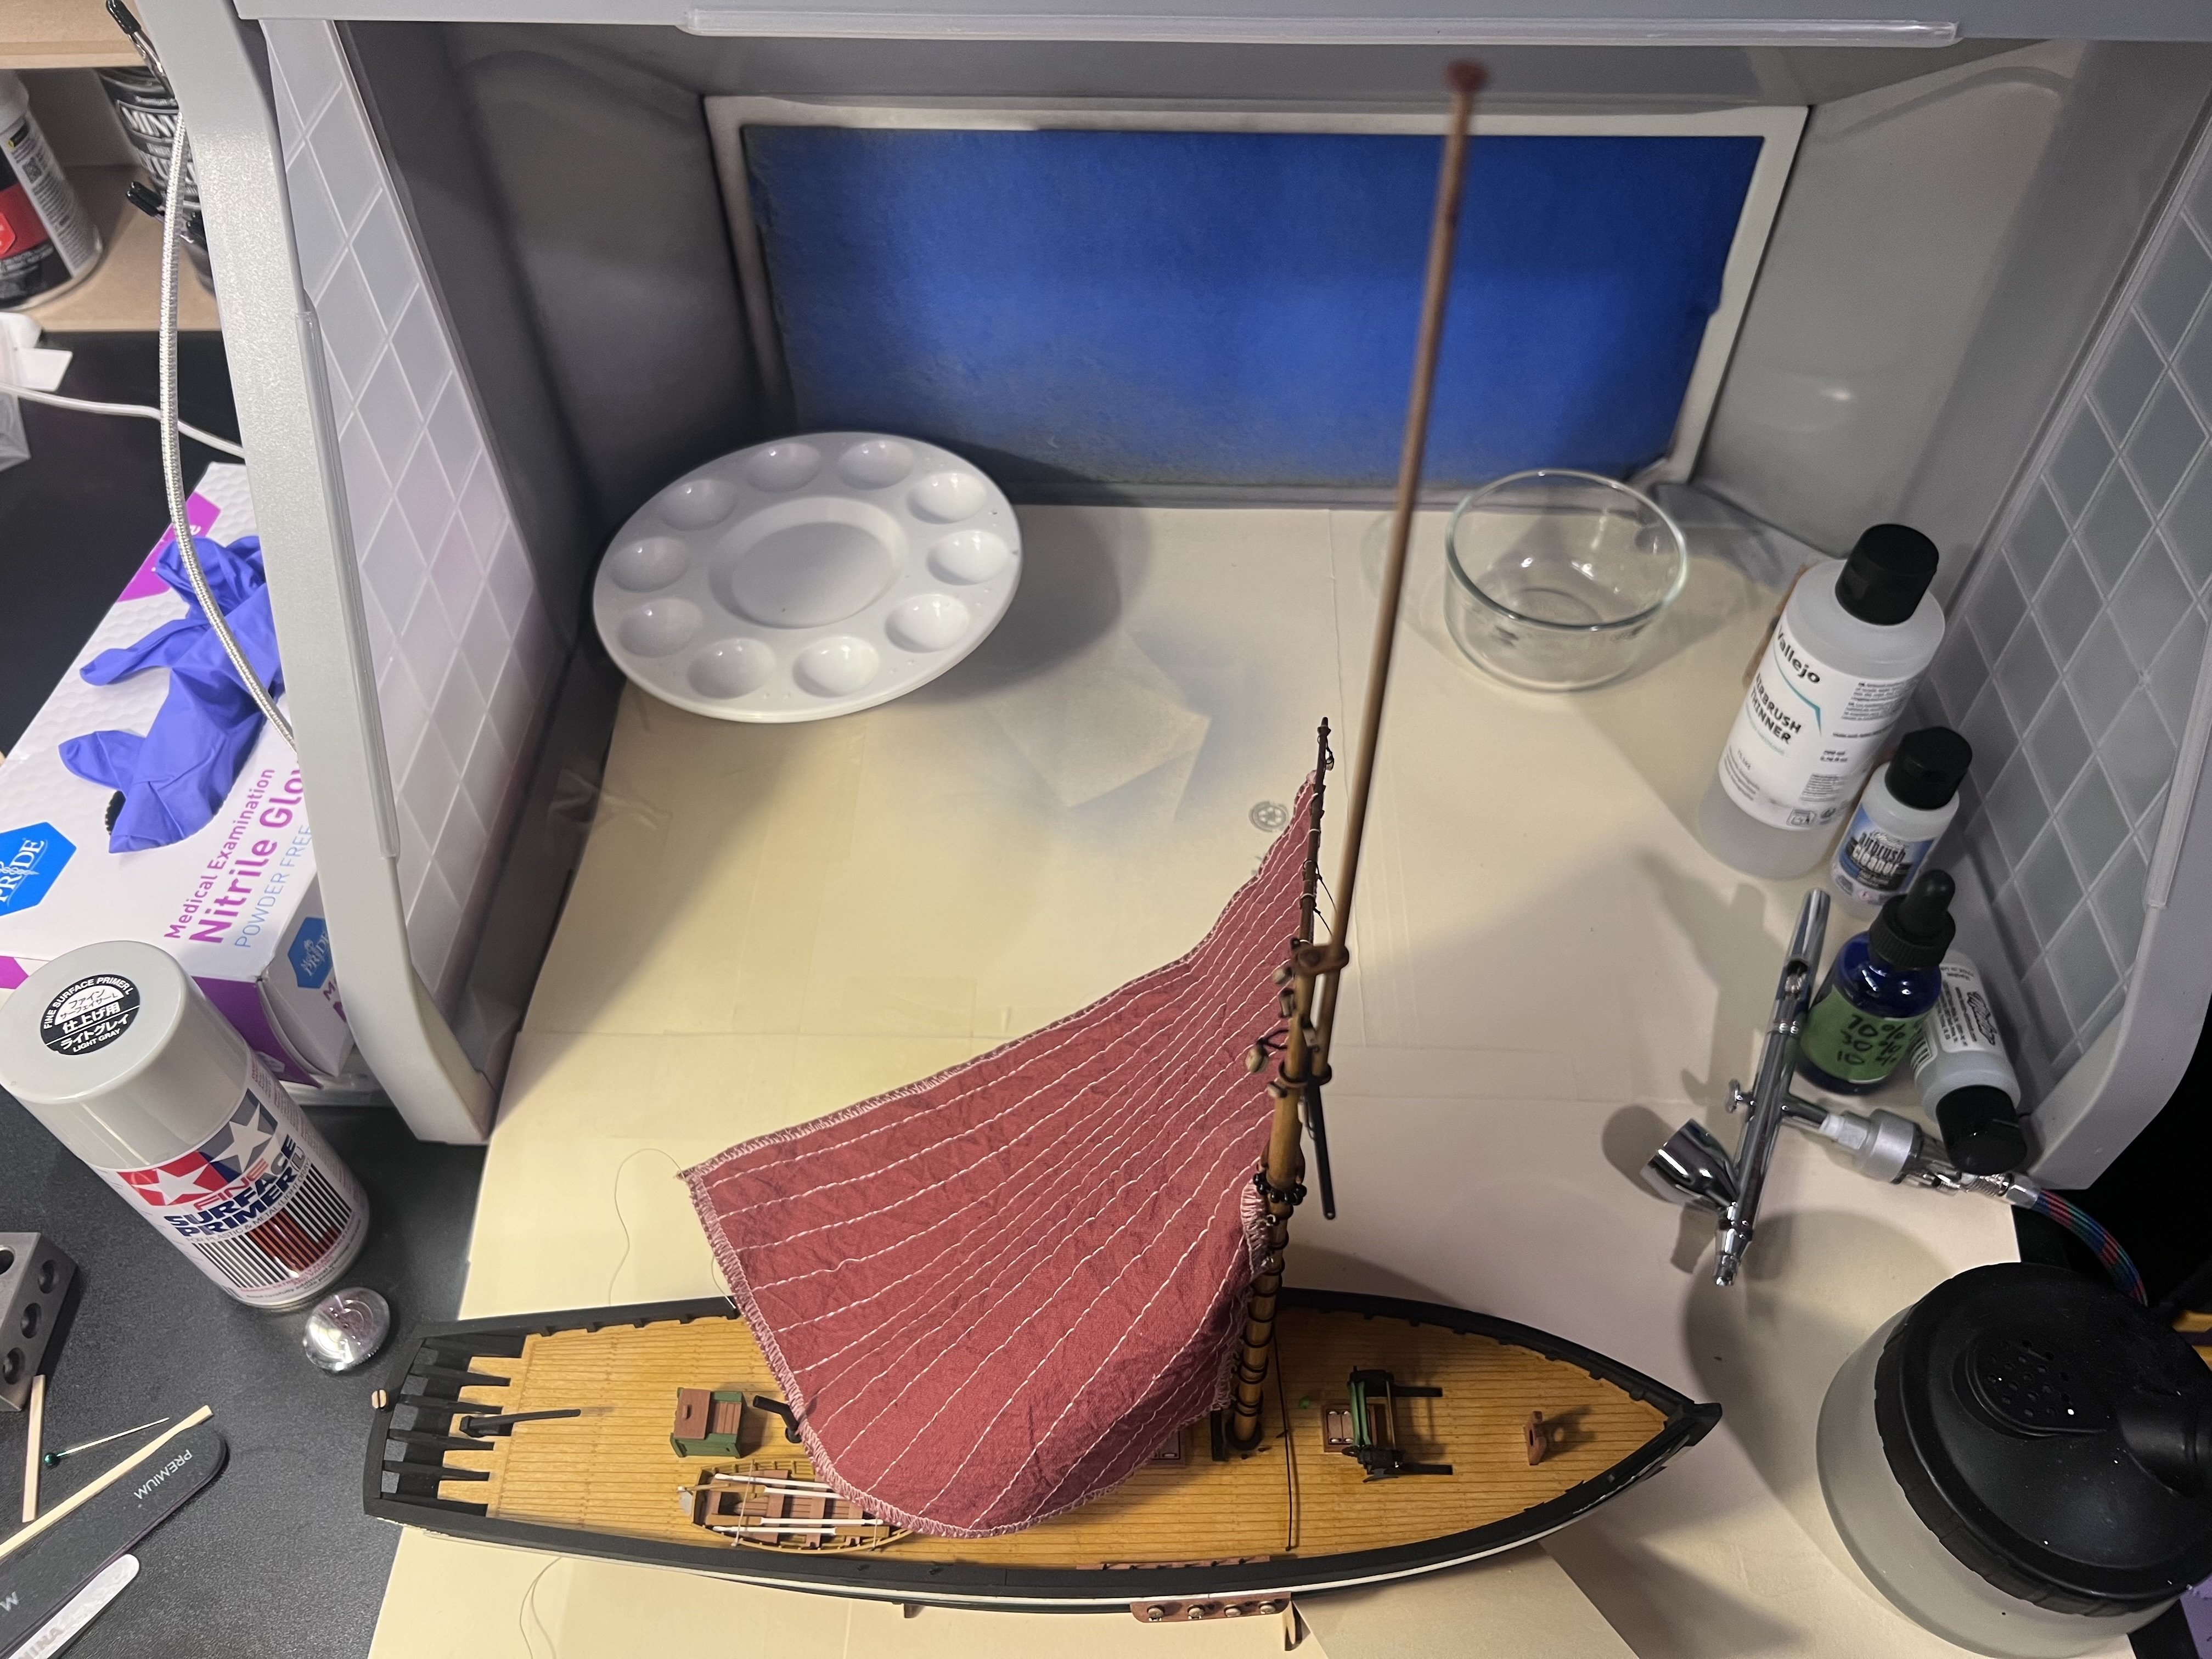
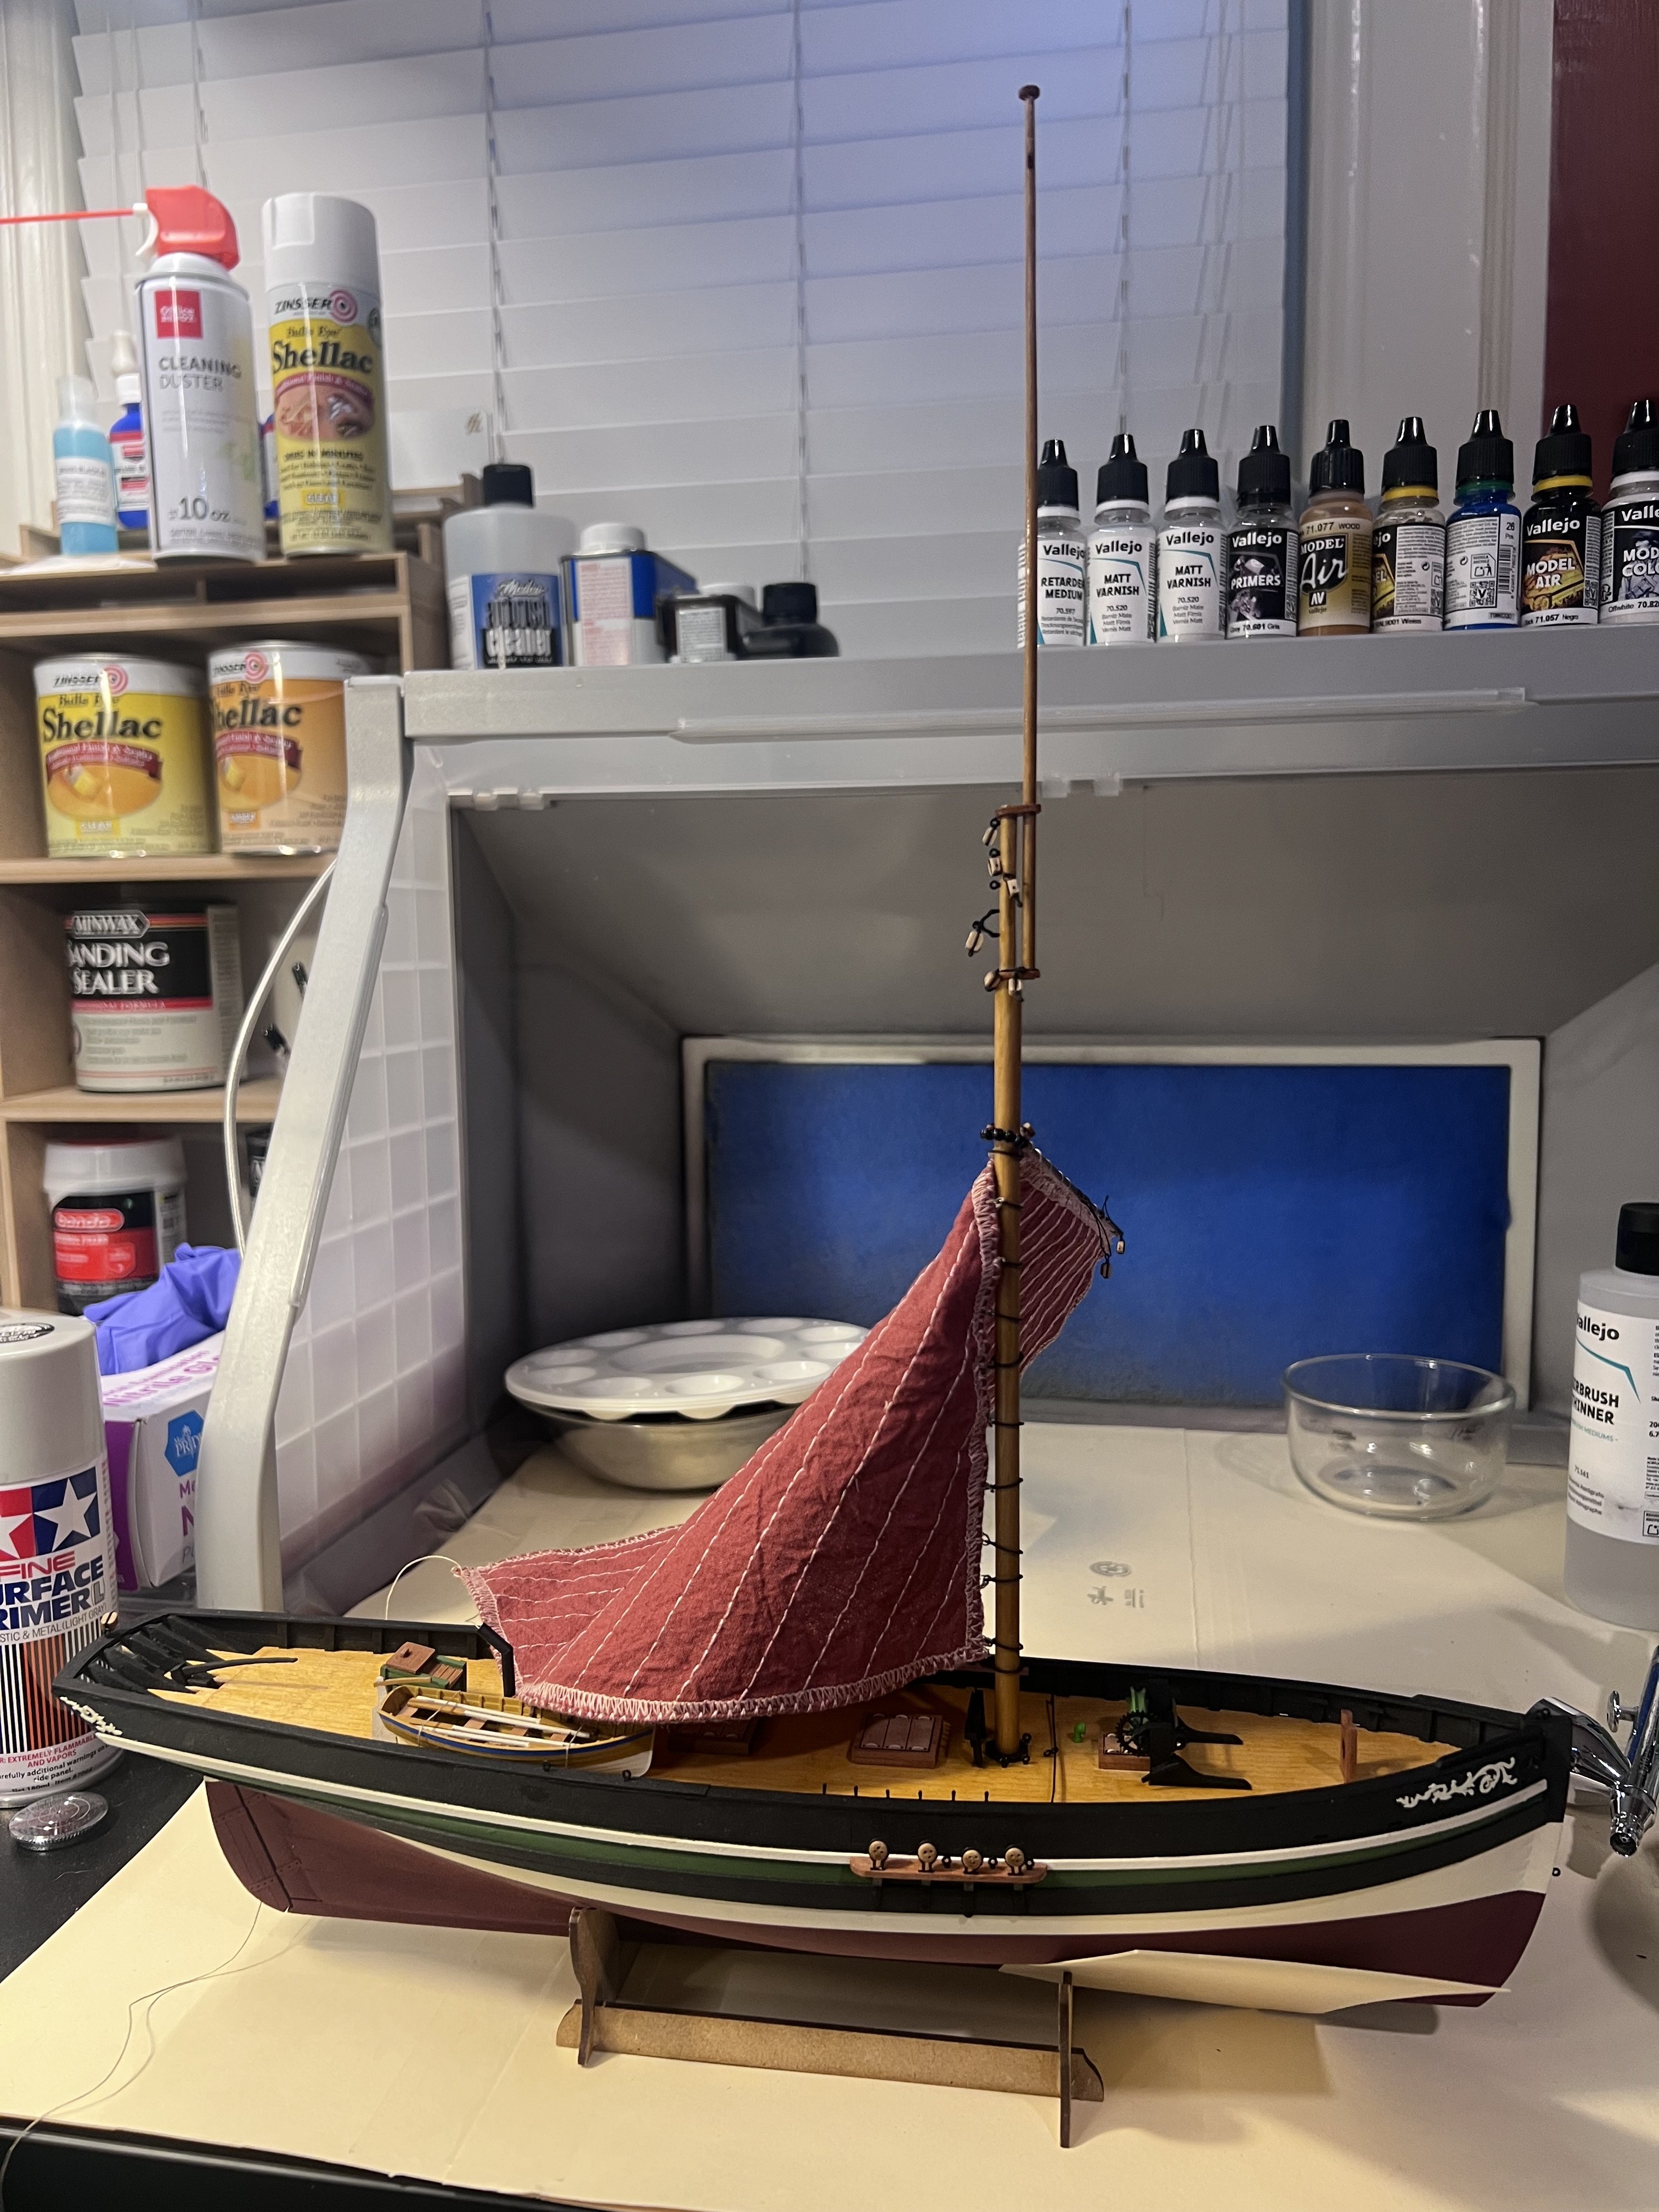
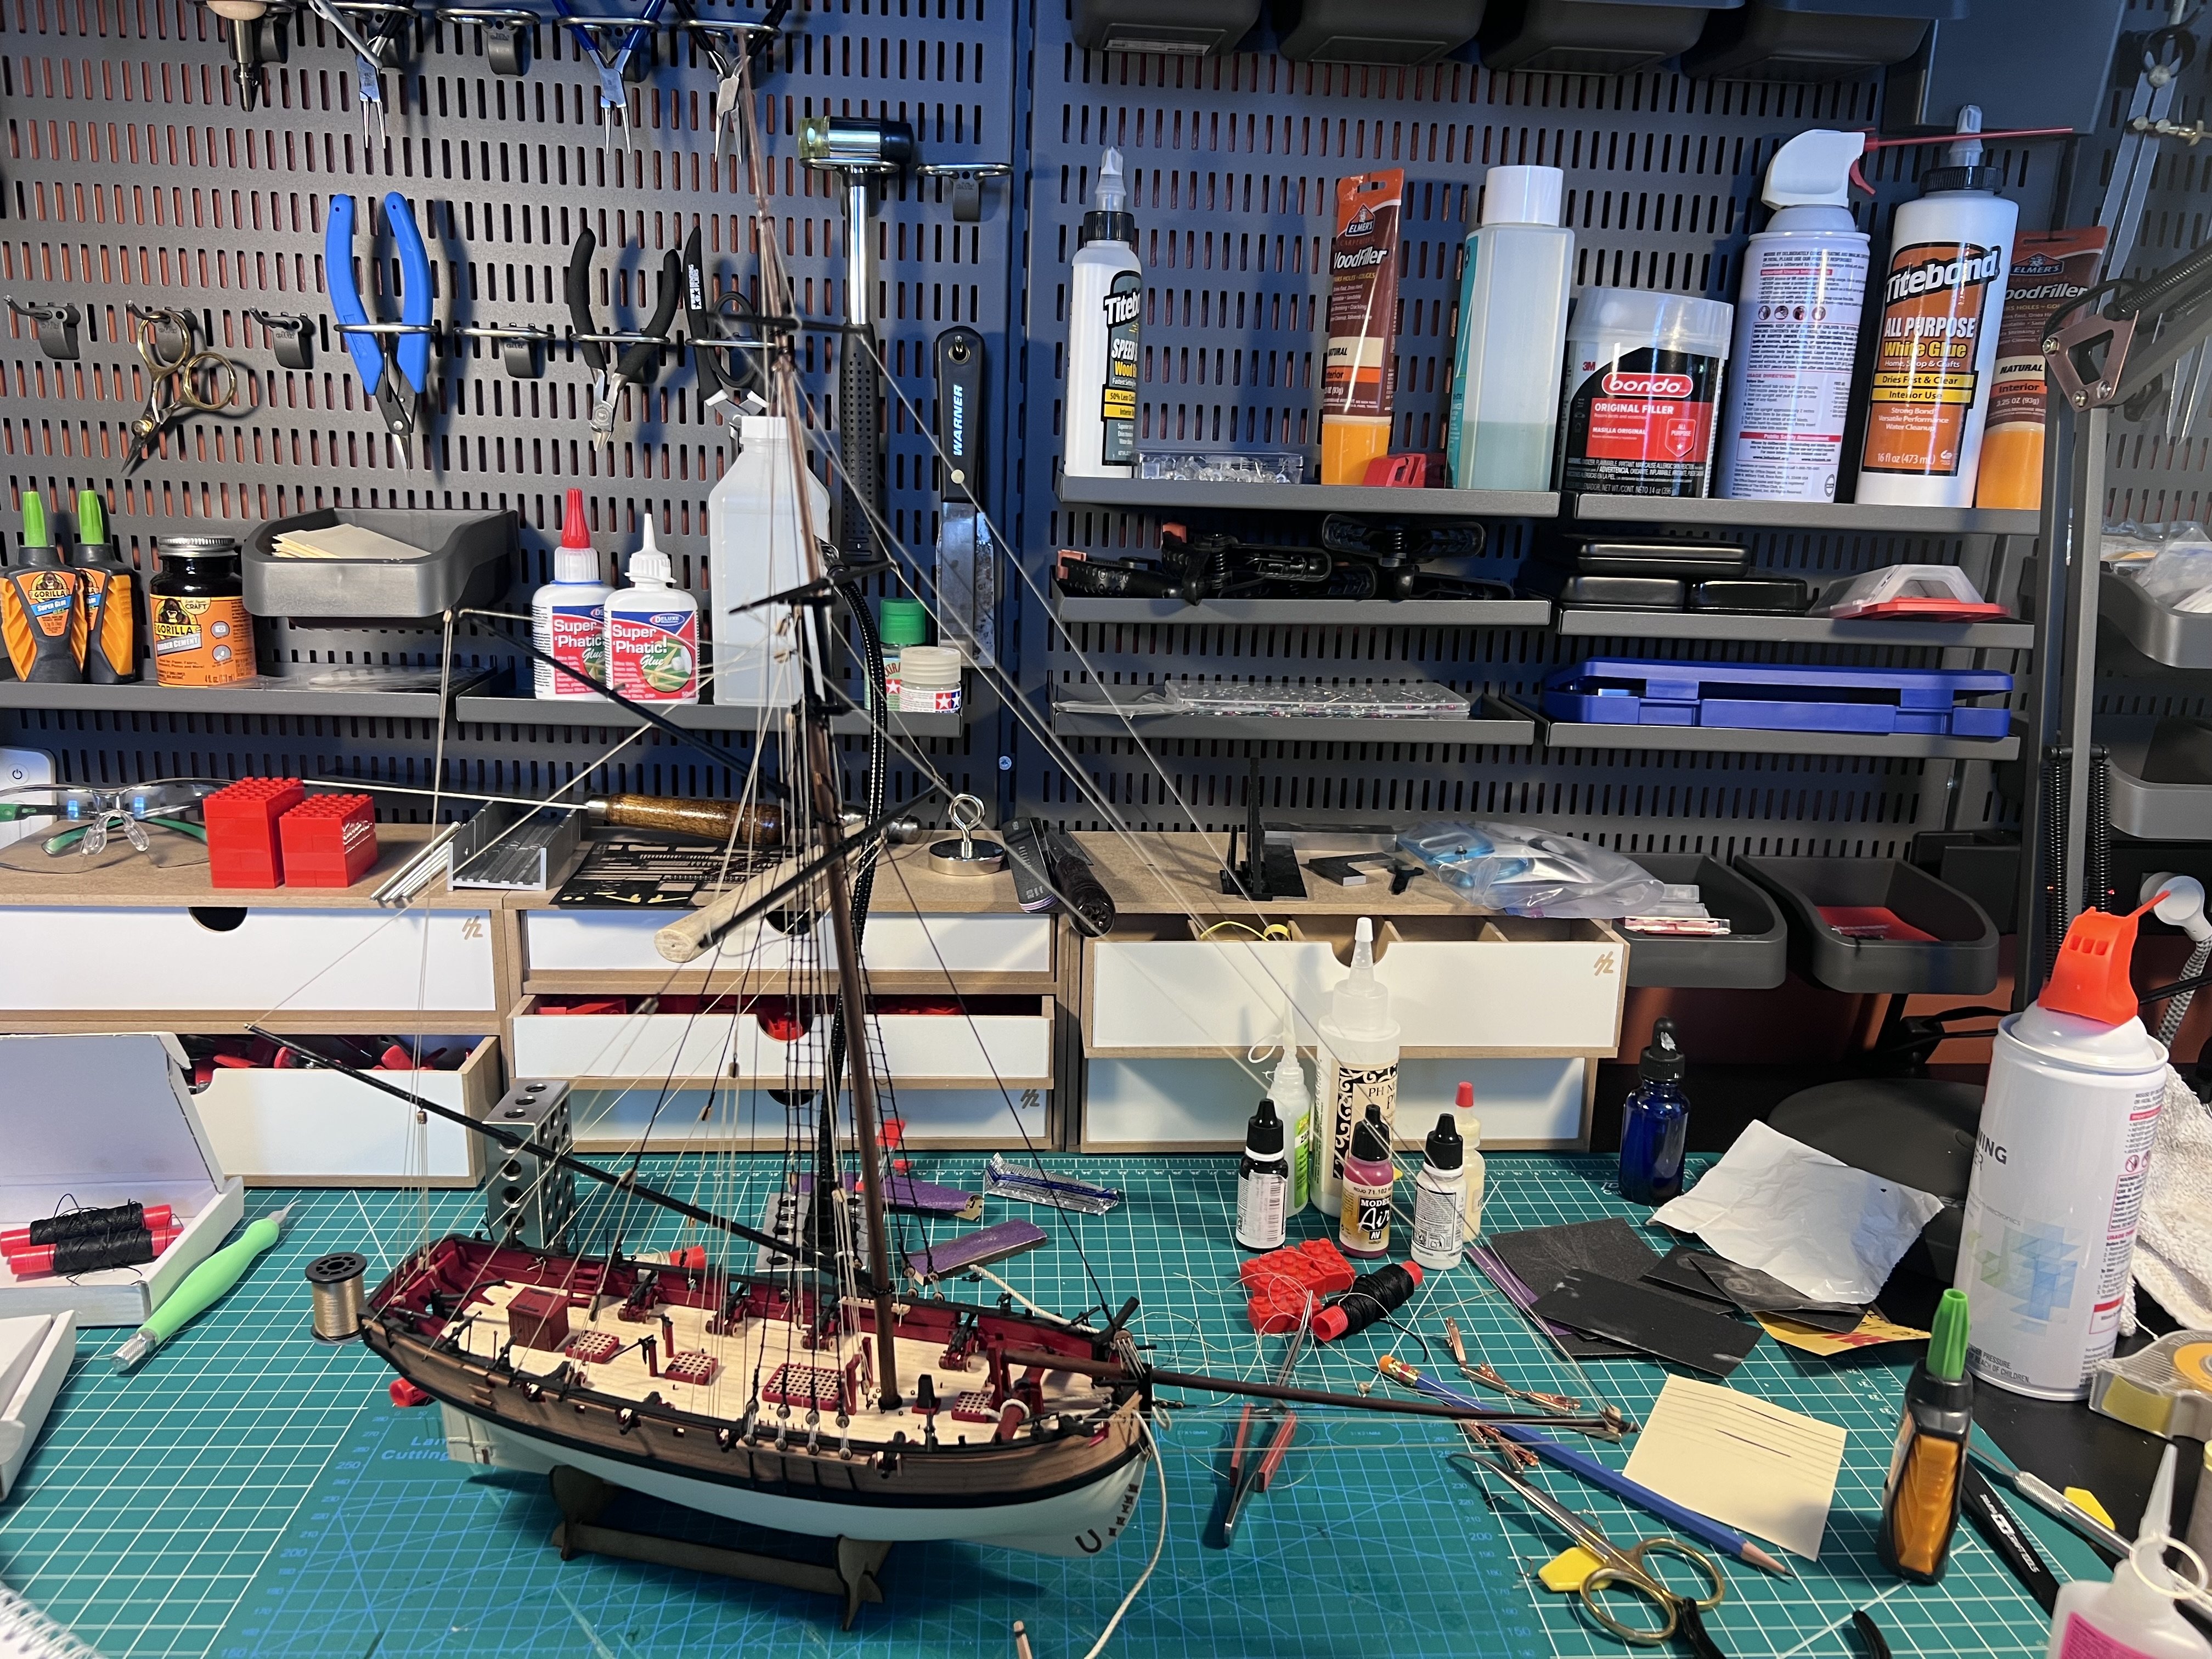
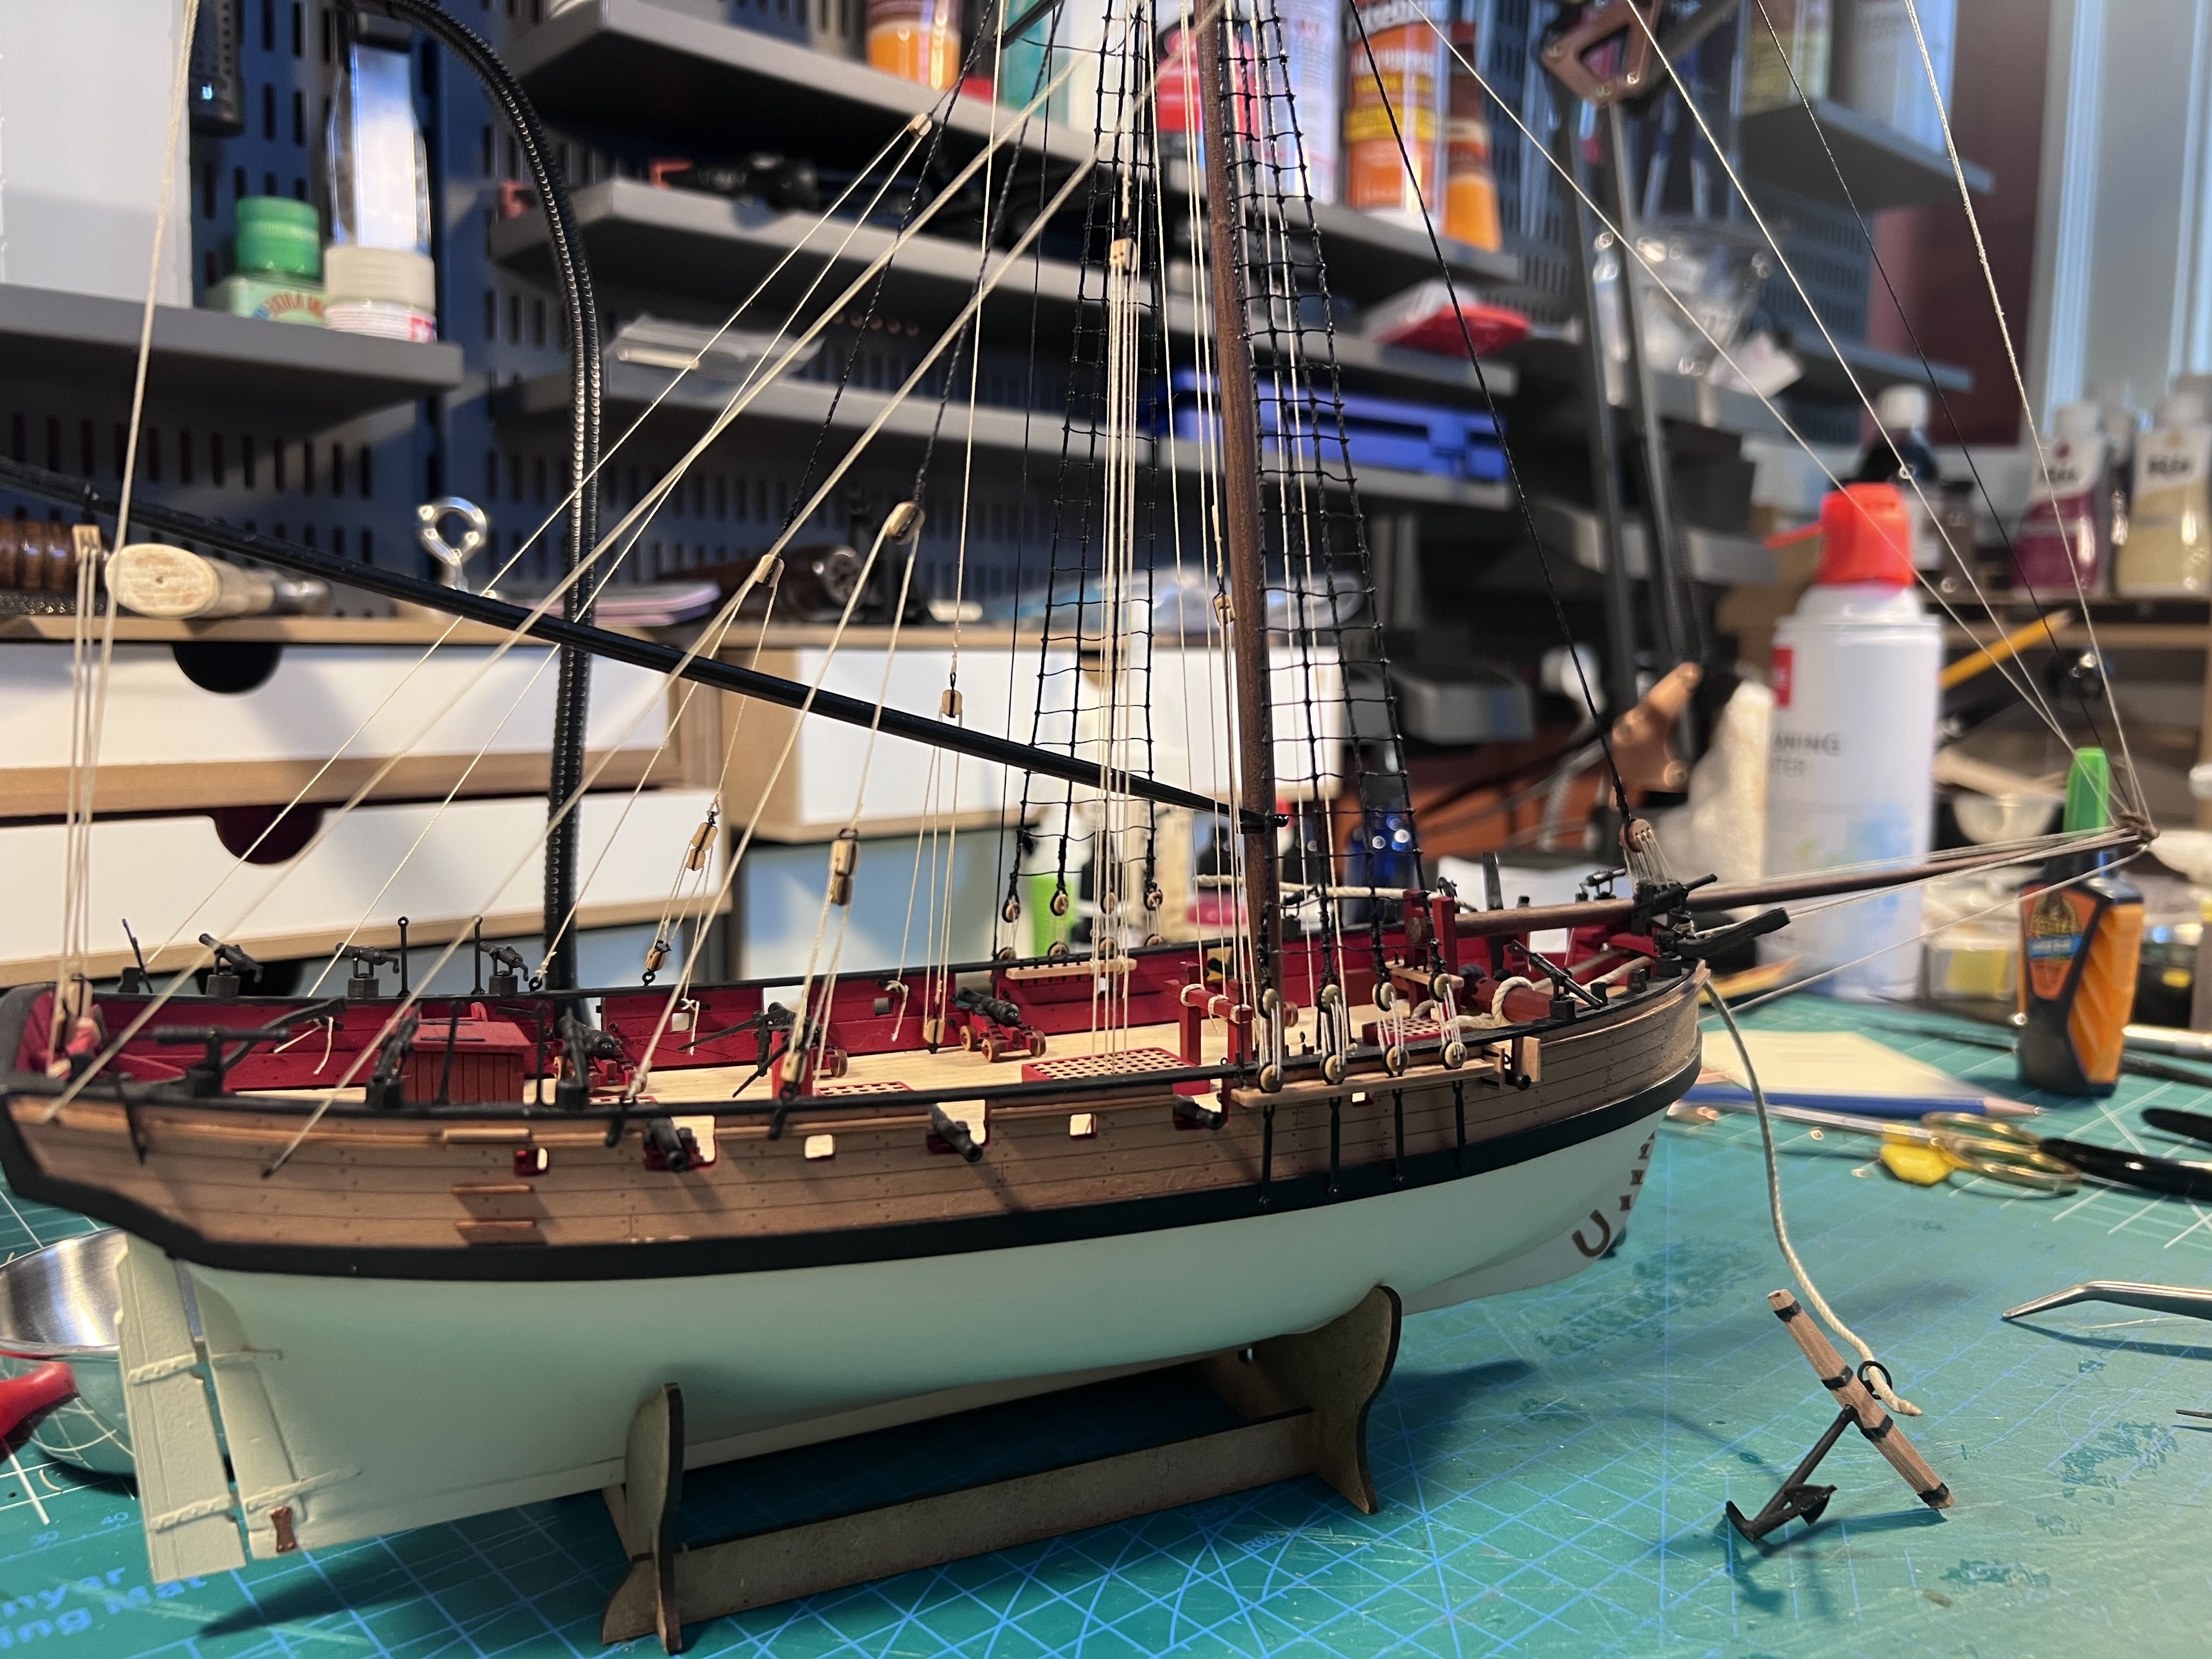
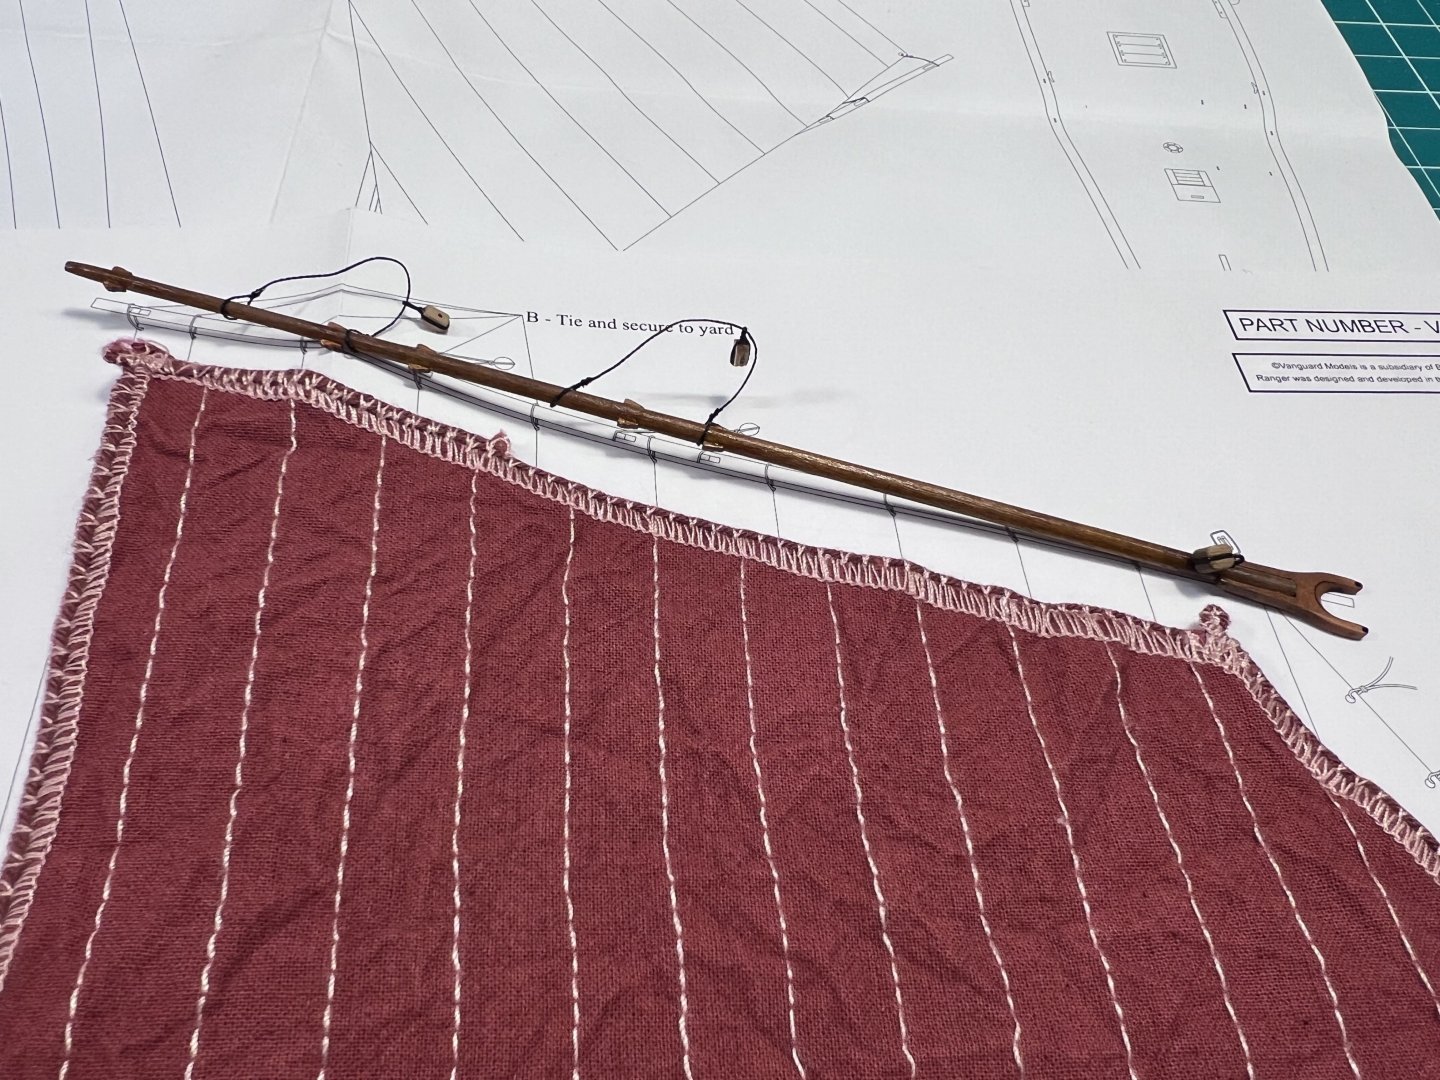
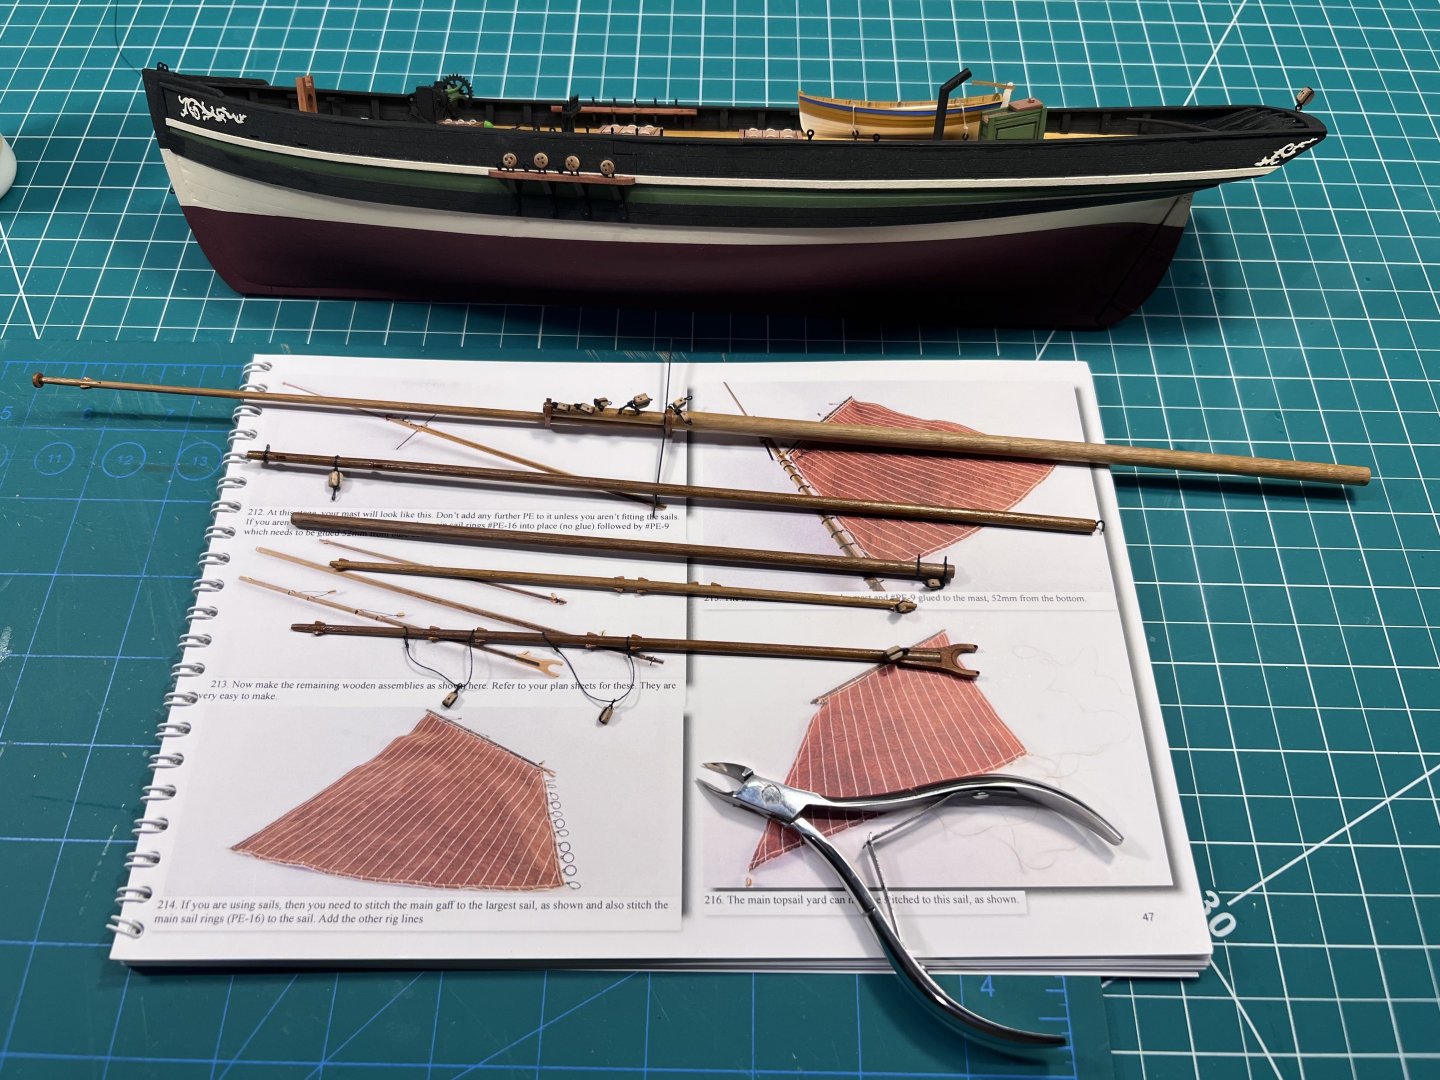
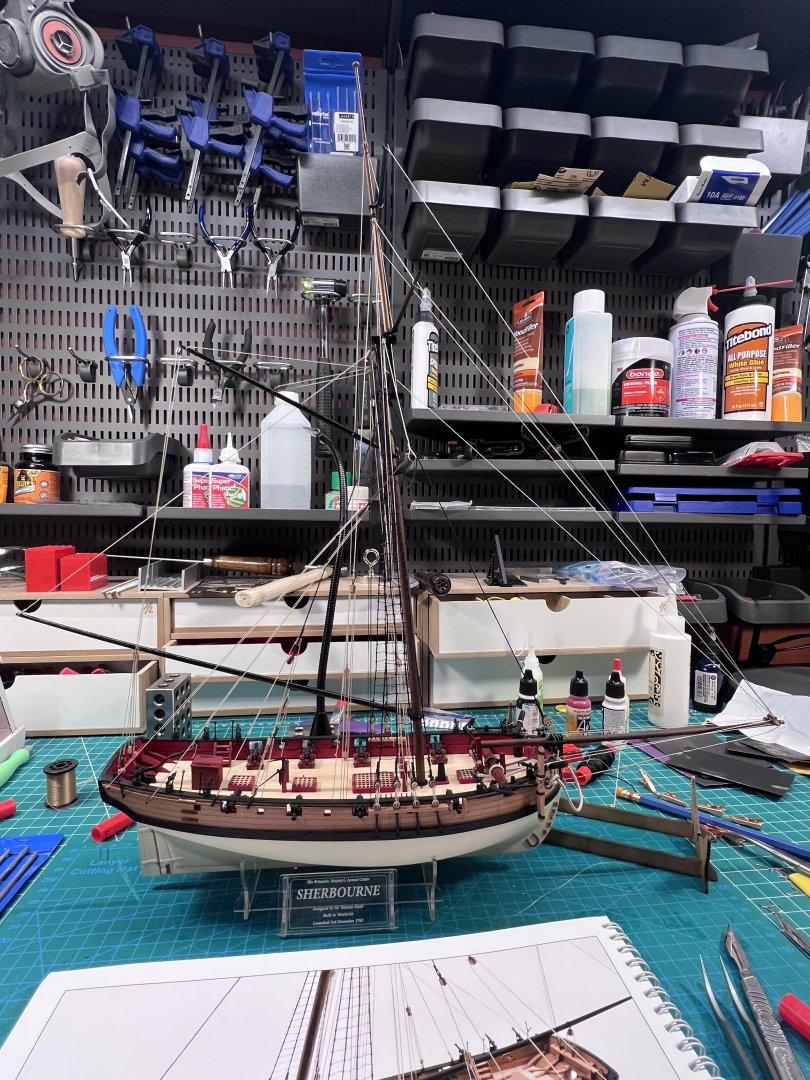
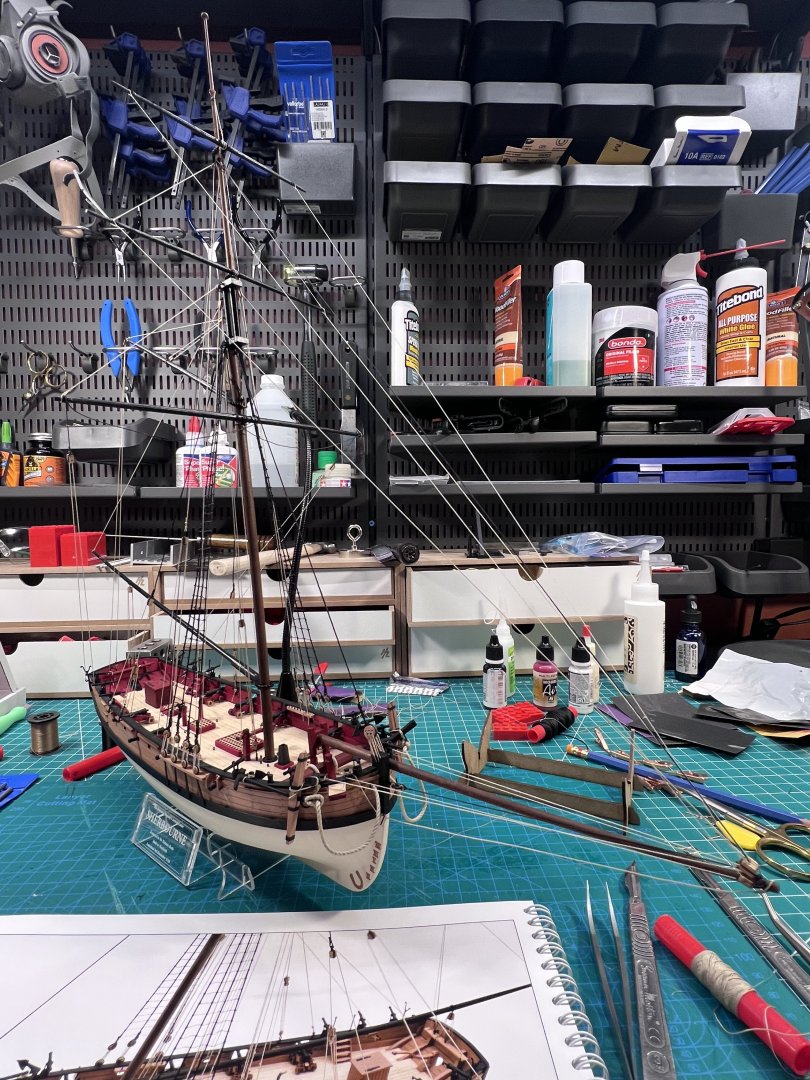
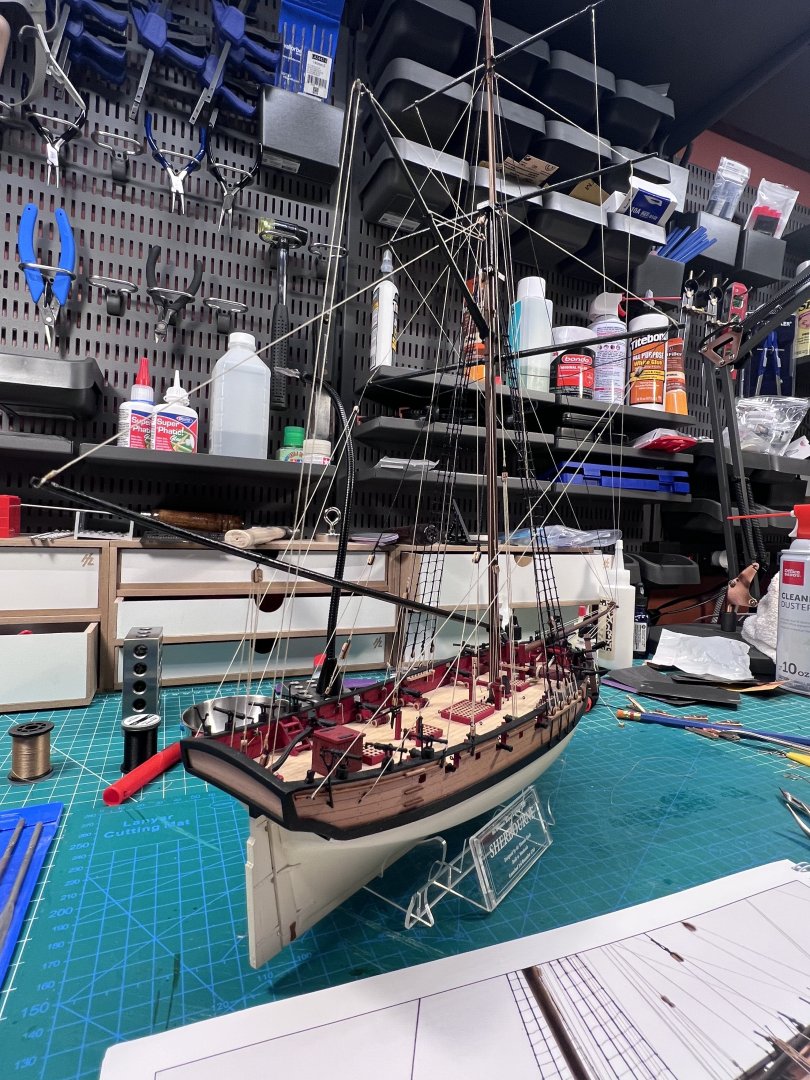
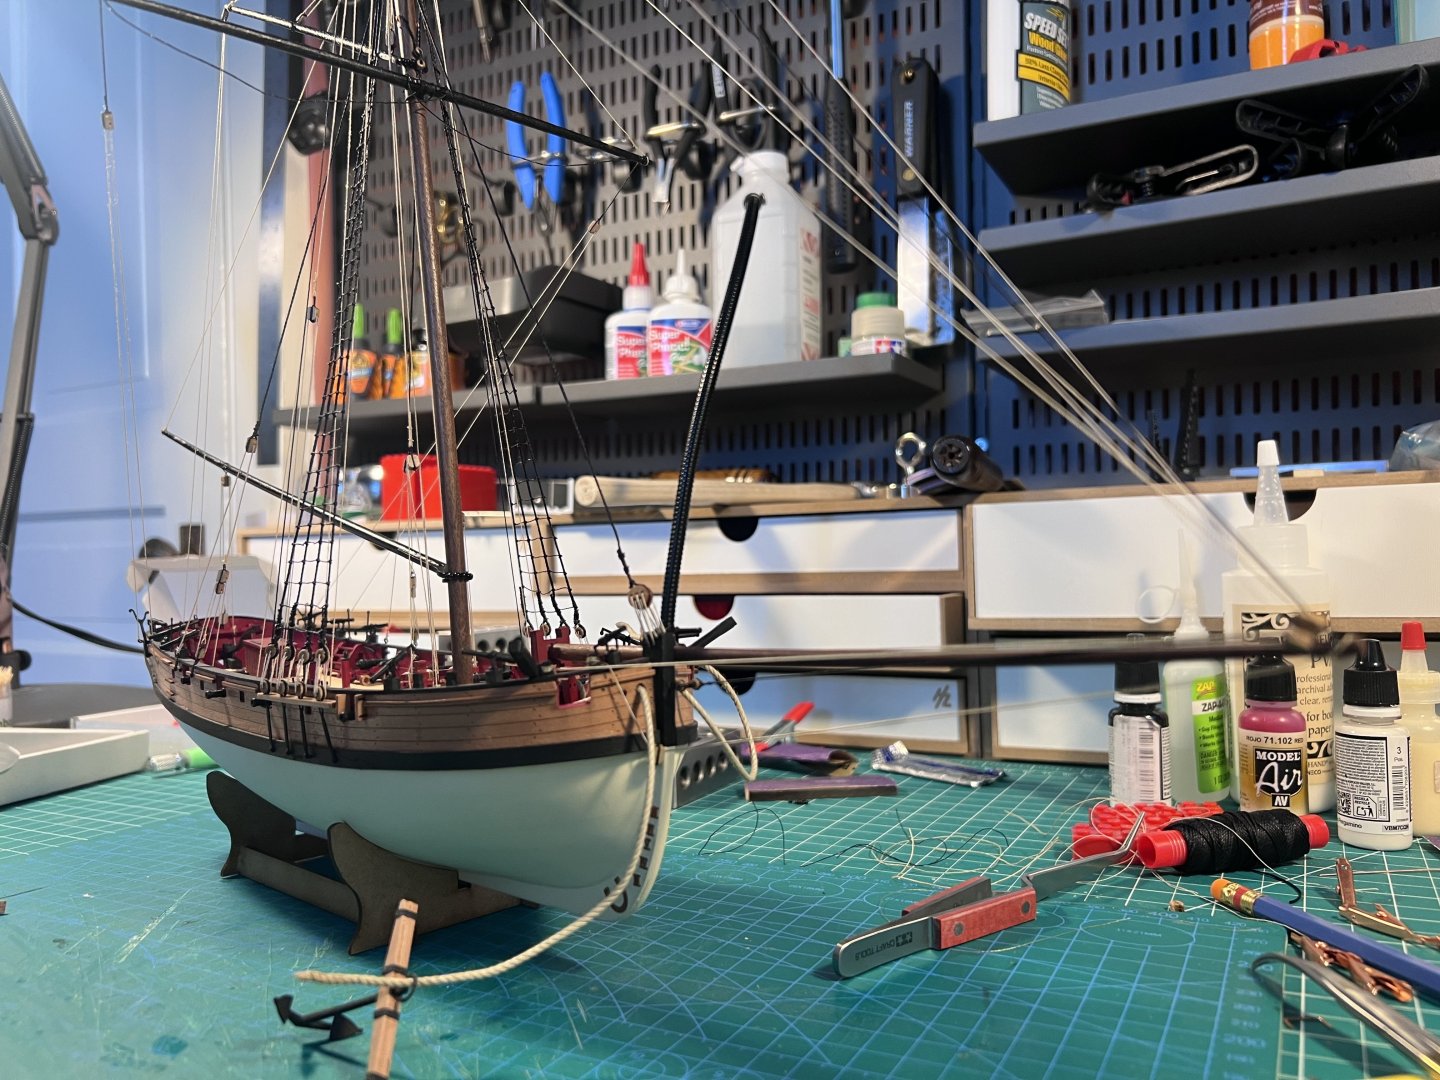
Getting ready to add the mast, start the rigging, and add the sails.


- 133 replies
-
- 4
-
-
- Ranger
- vanguard models
- (and 1 more)
-
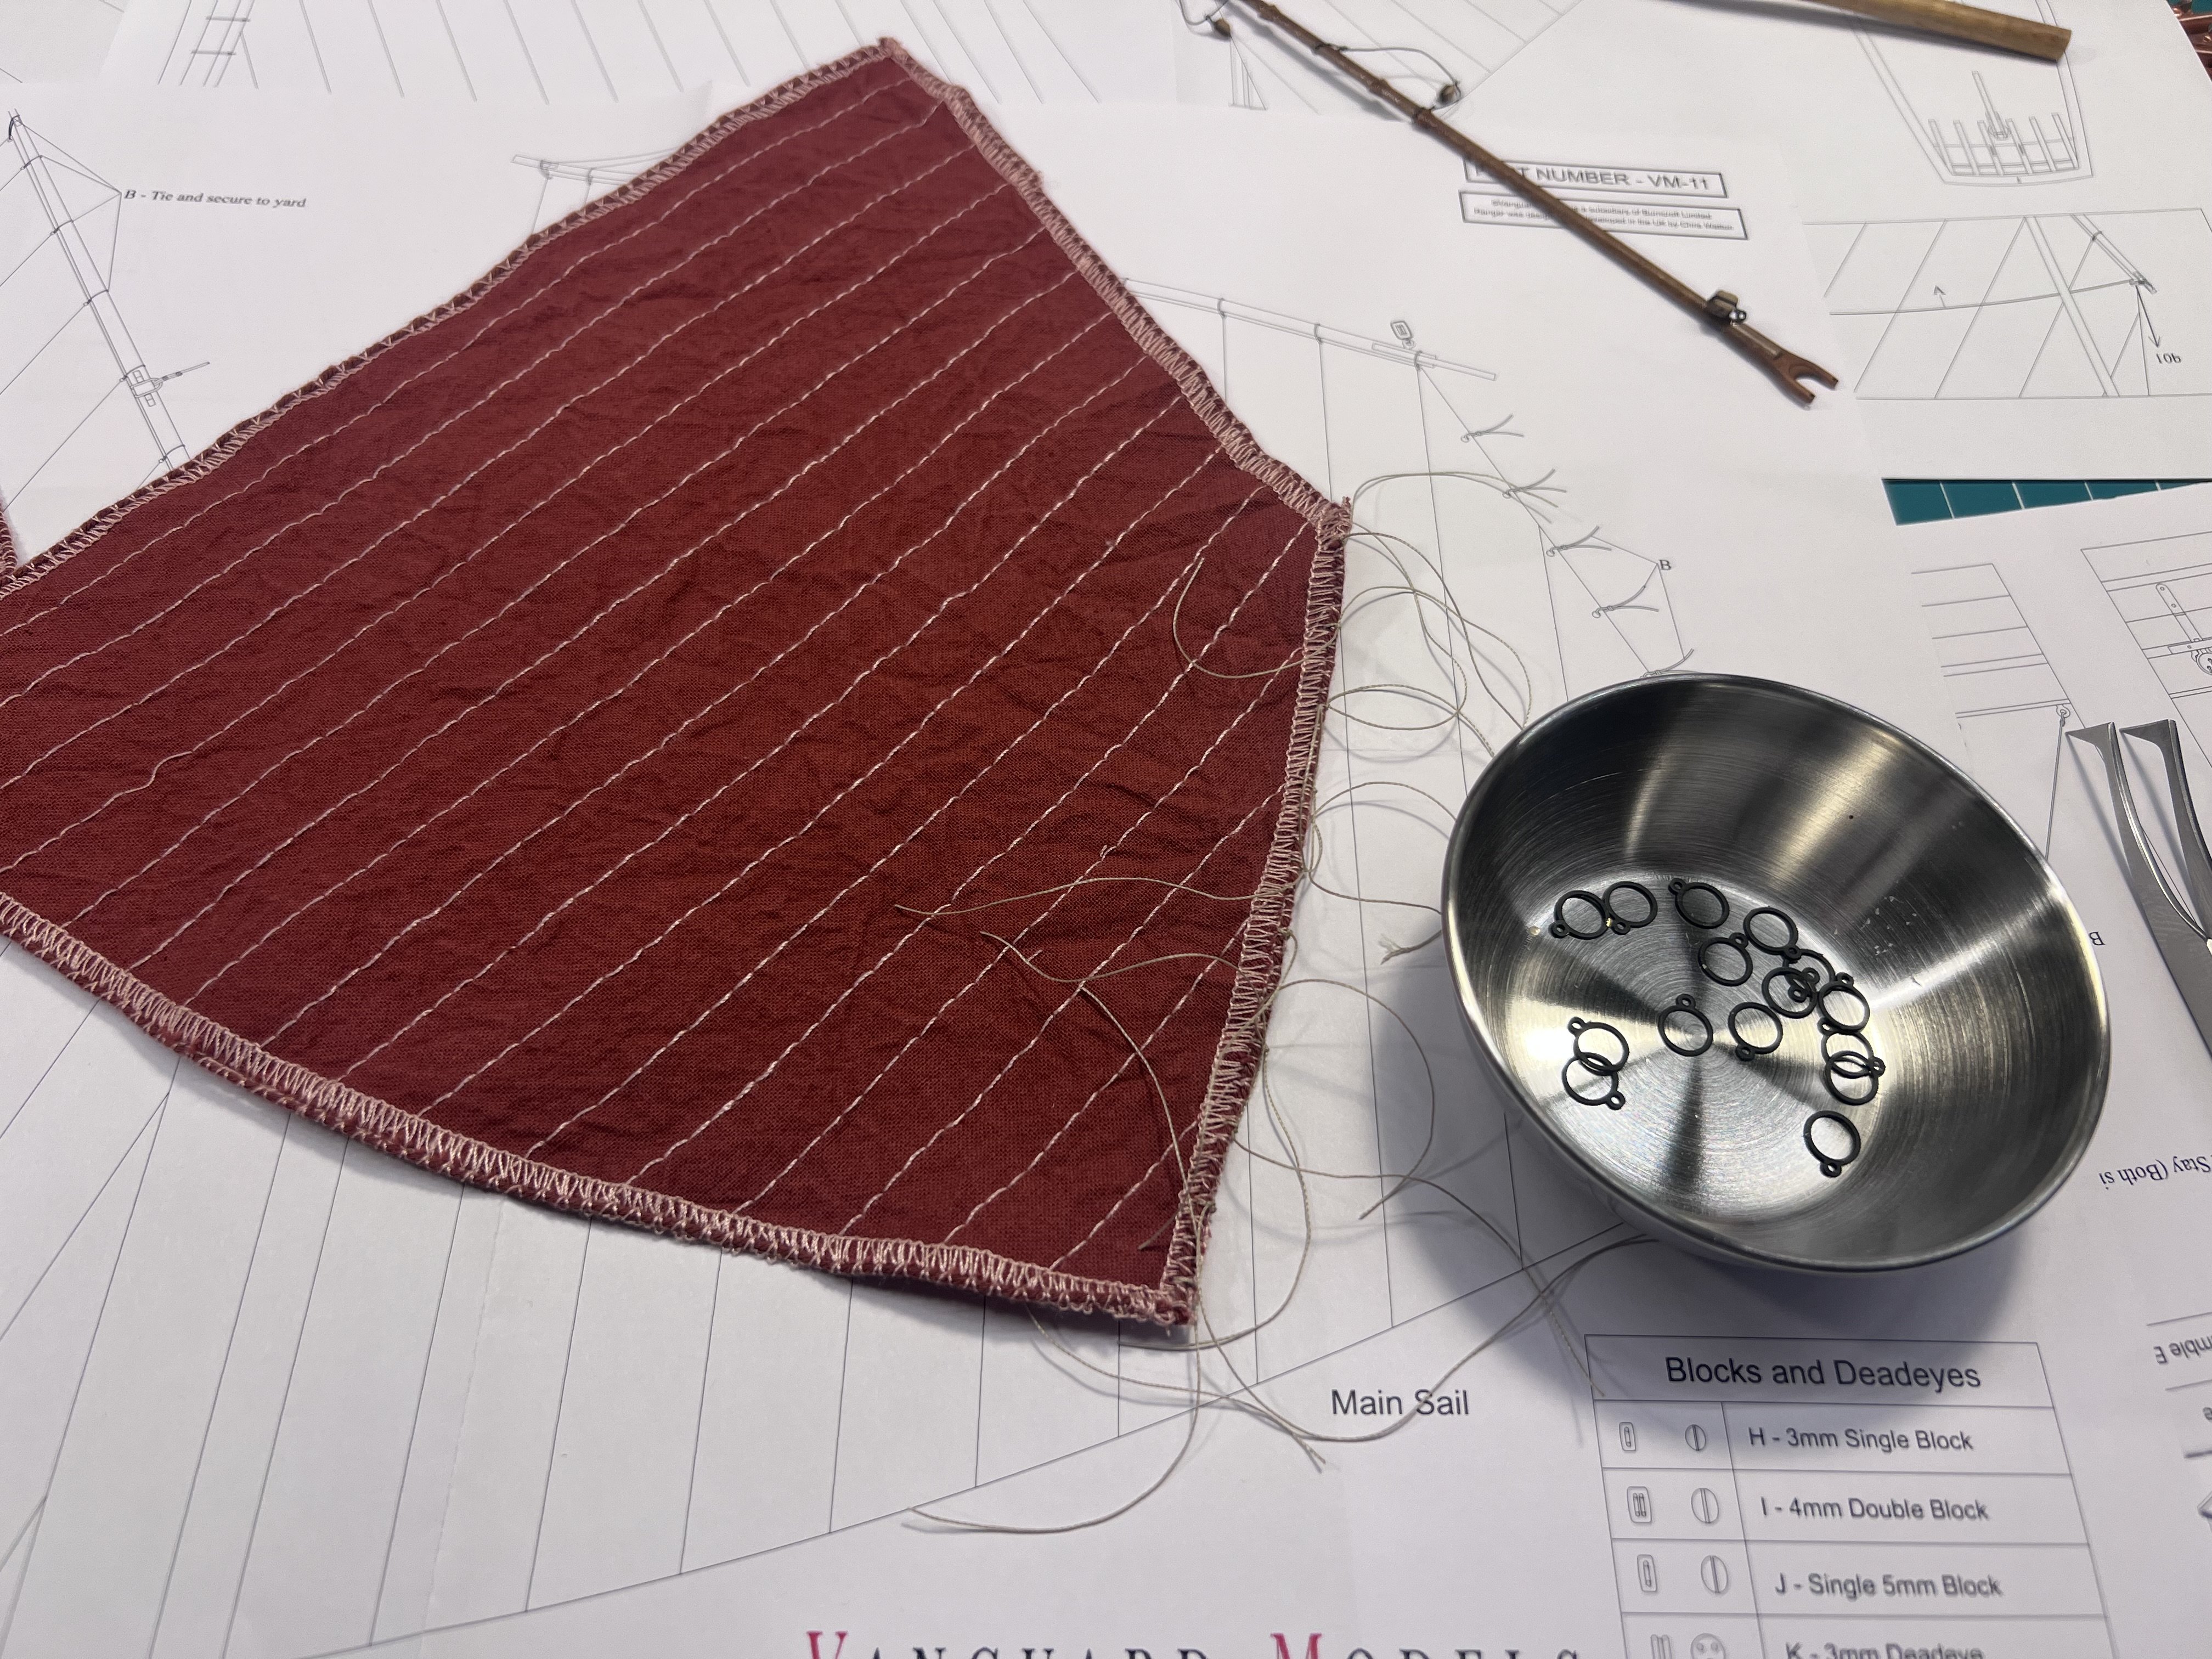
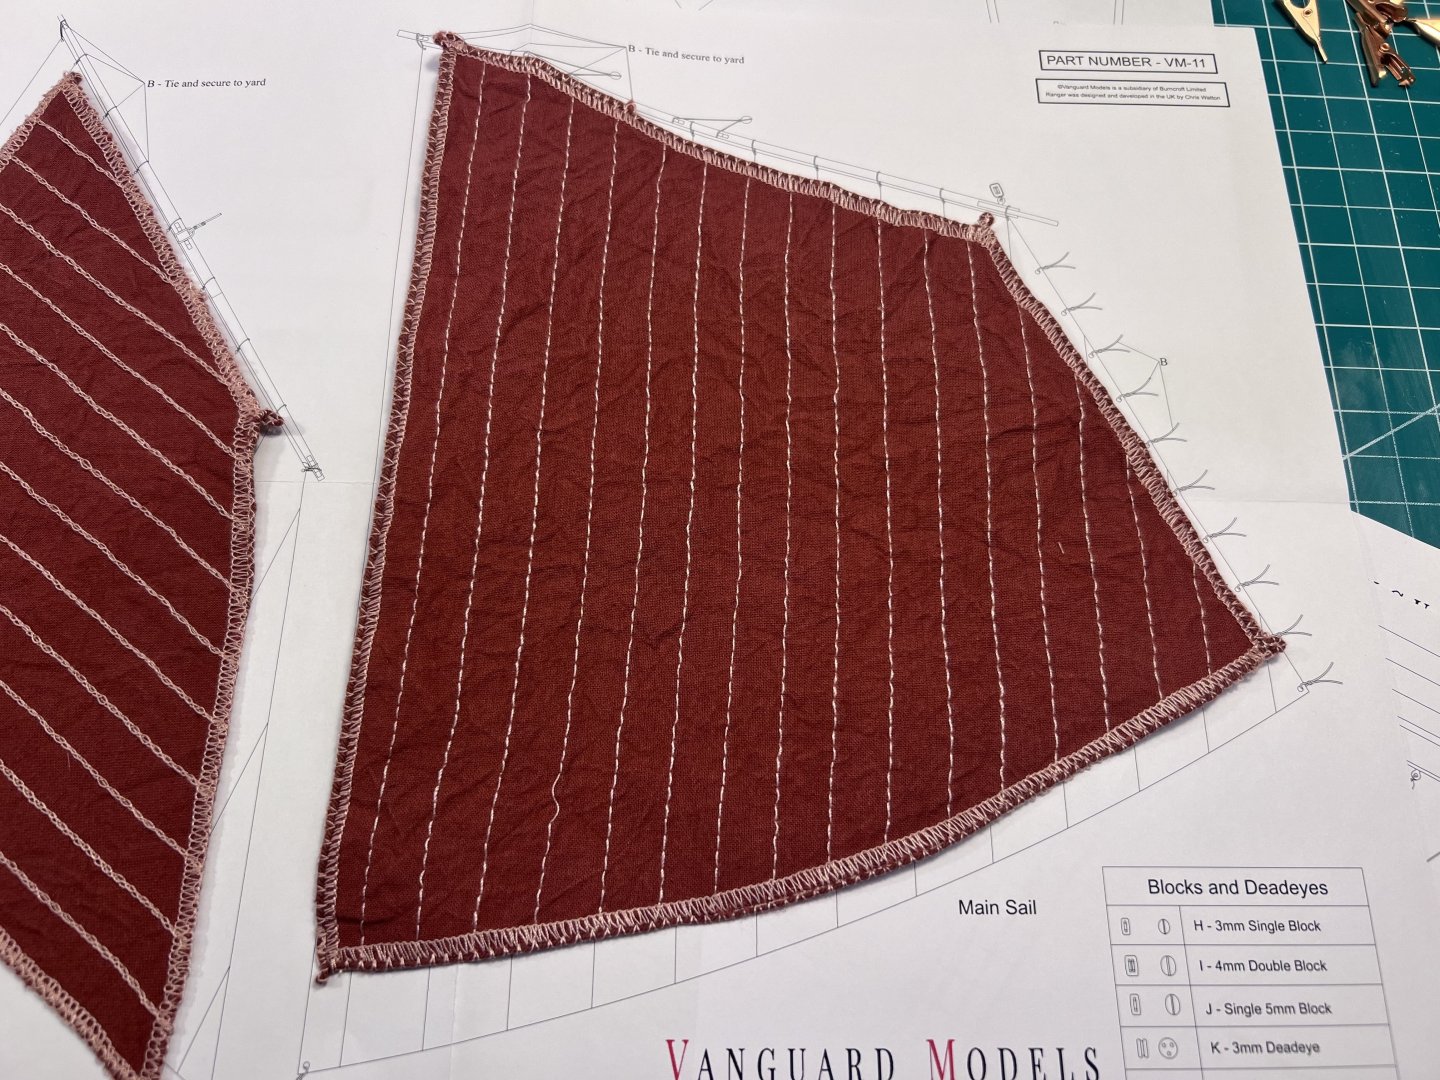
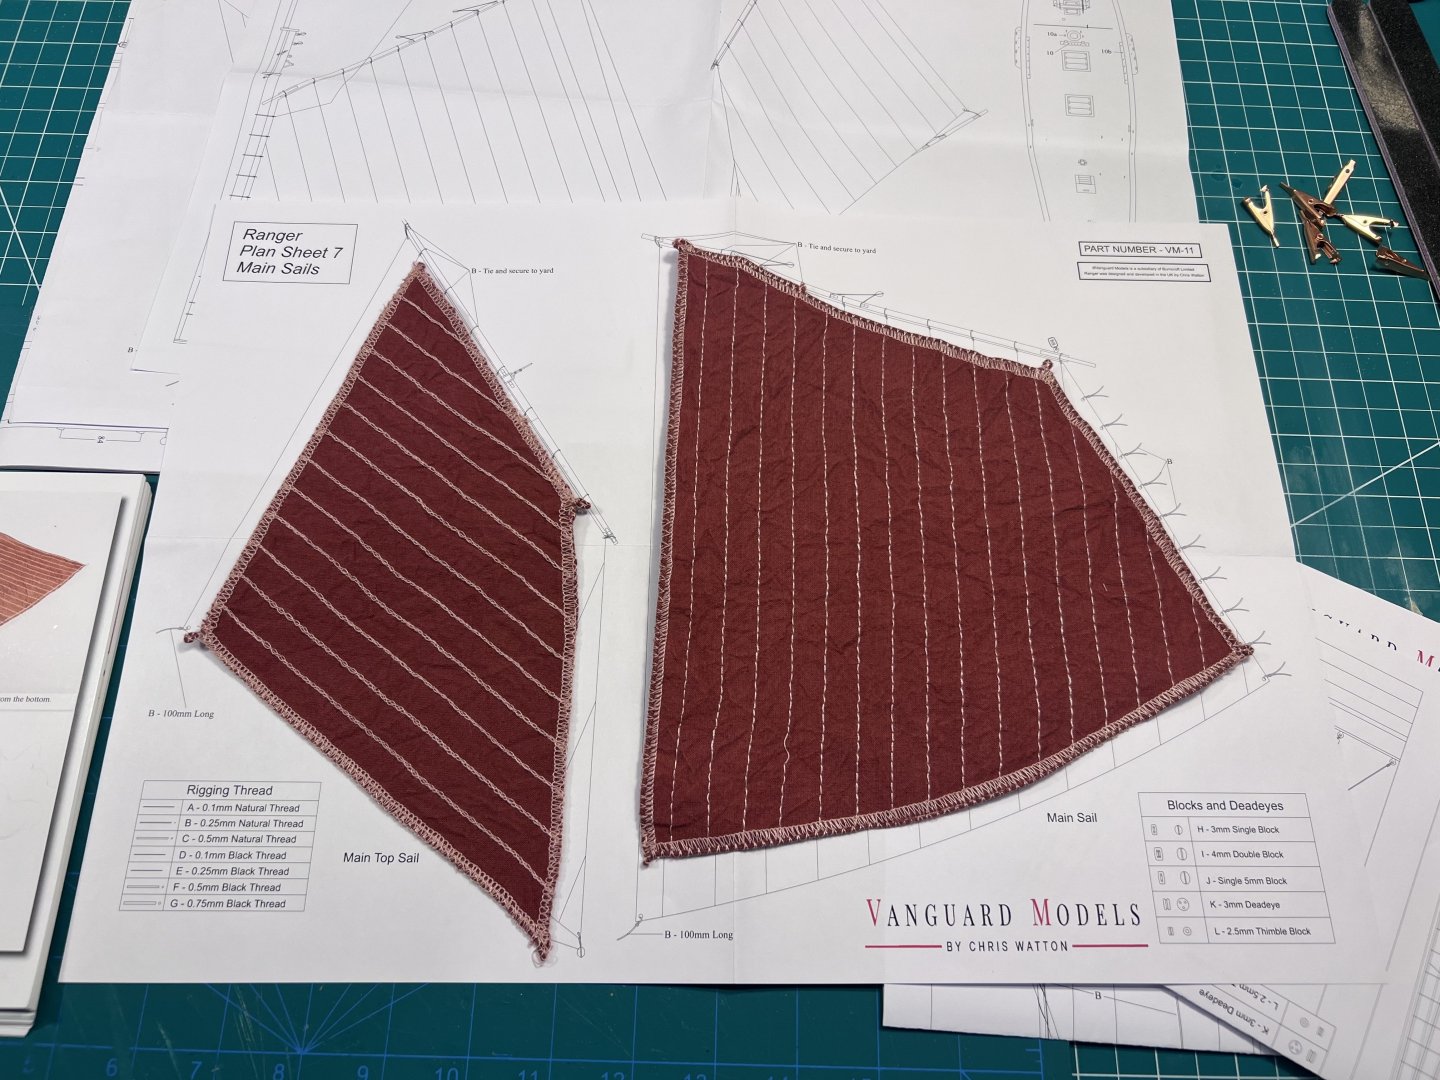
Oddly, the sail size isn’t 1:1 with the plans. I was hoping to use it to determine where to tie on main sail rings. The boom is 1:1. I think Chris Watton said he didn’t use sails from where he got them originally. This was from agesofsail so it could have been an old model from their inventory.
- 133 replies
-
- 3
-
-
- Ranger
- vanguard models
- (and 1 more)
-
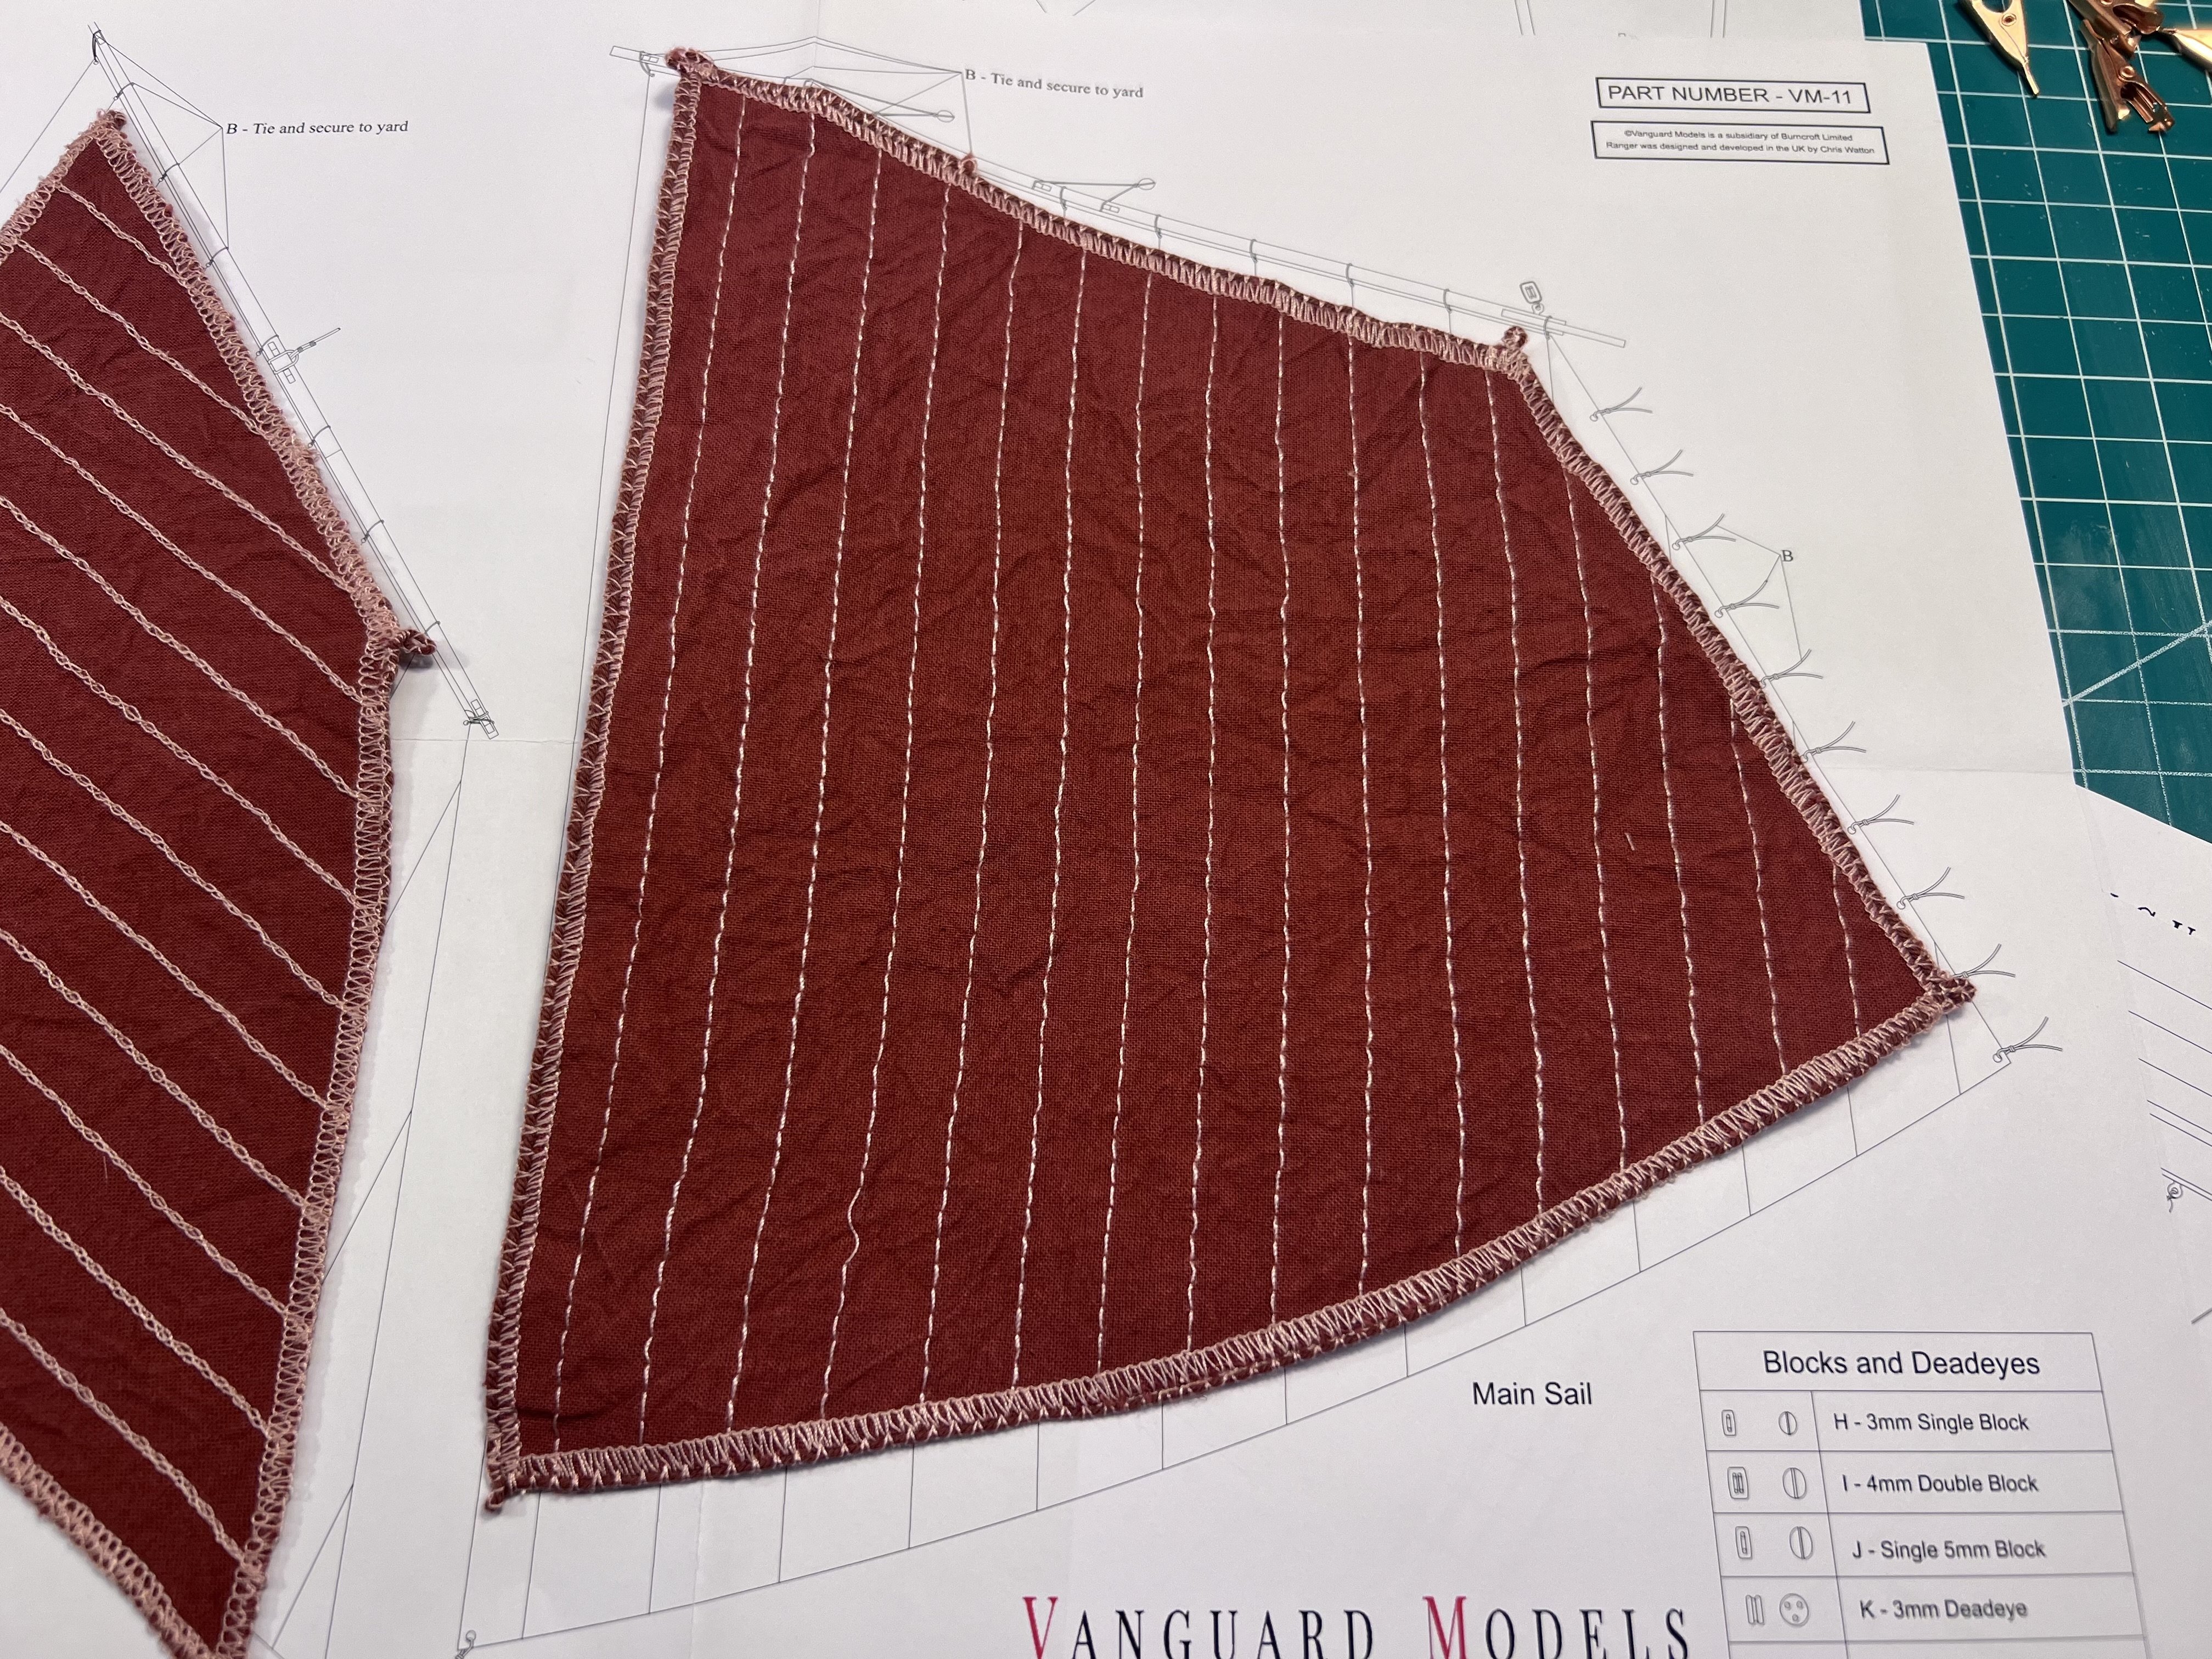
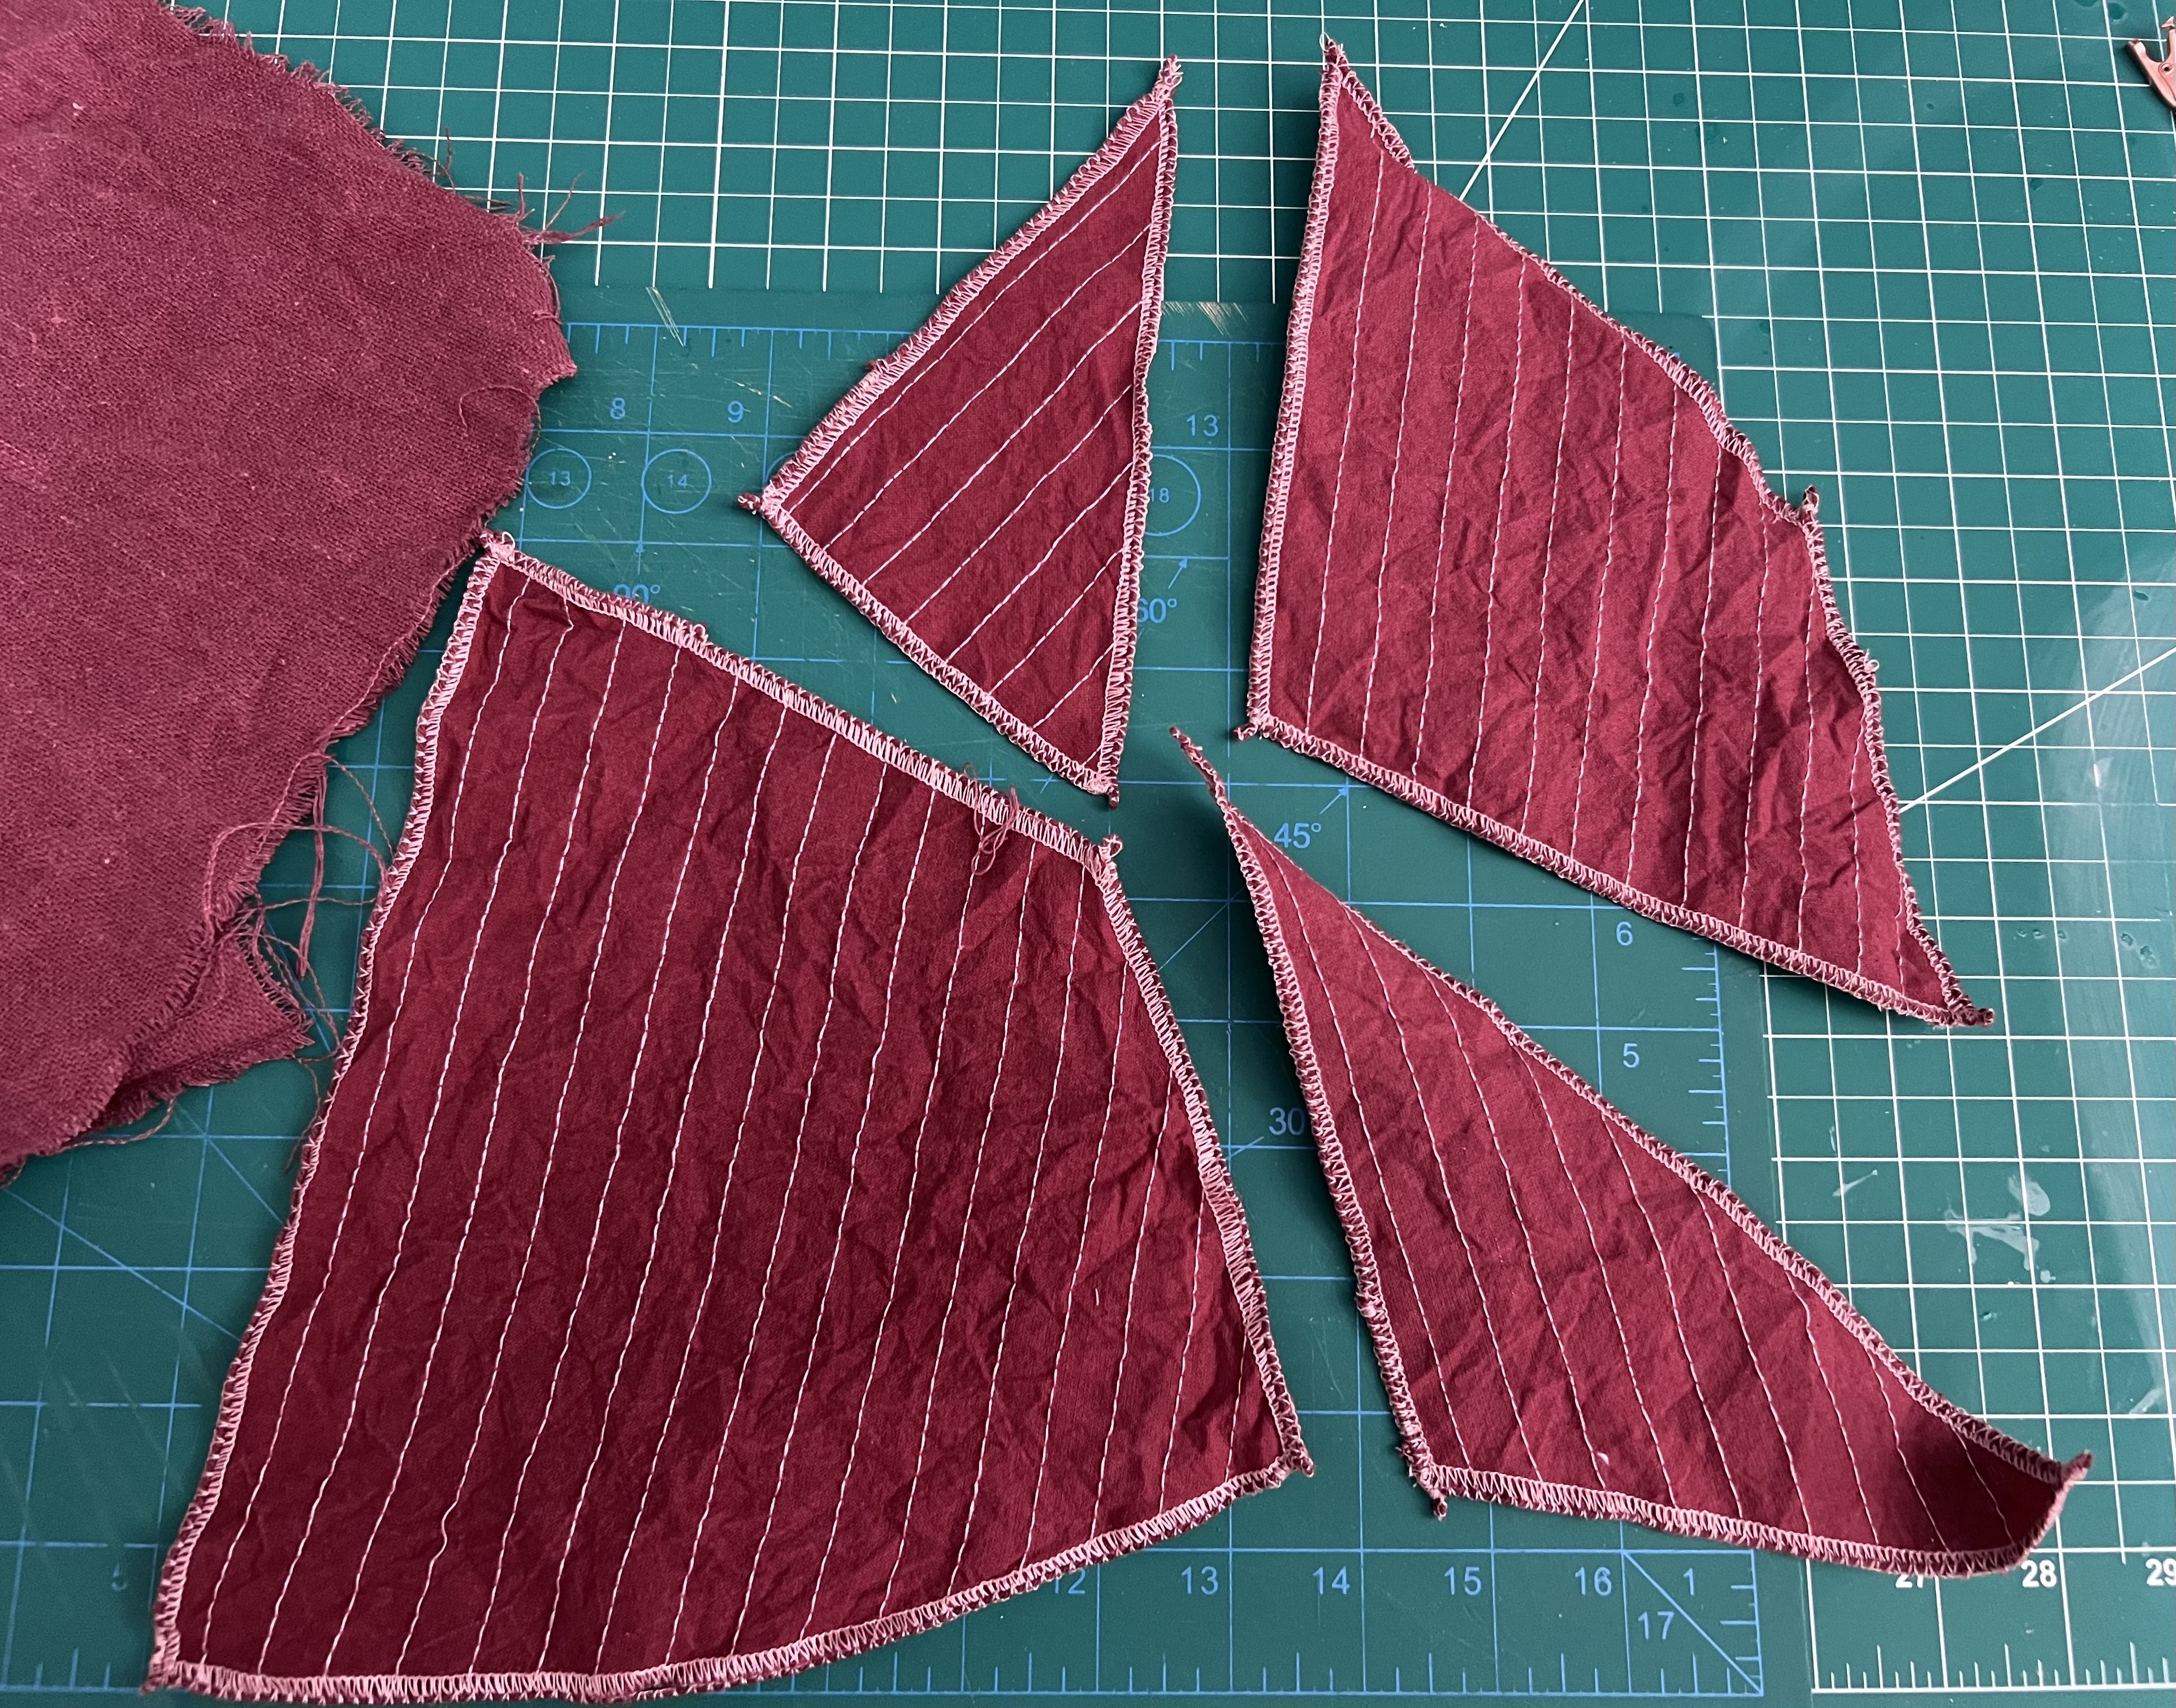
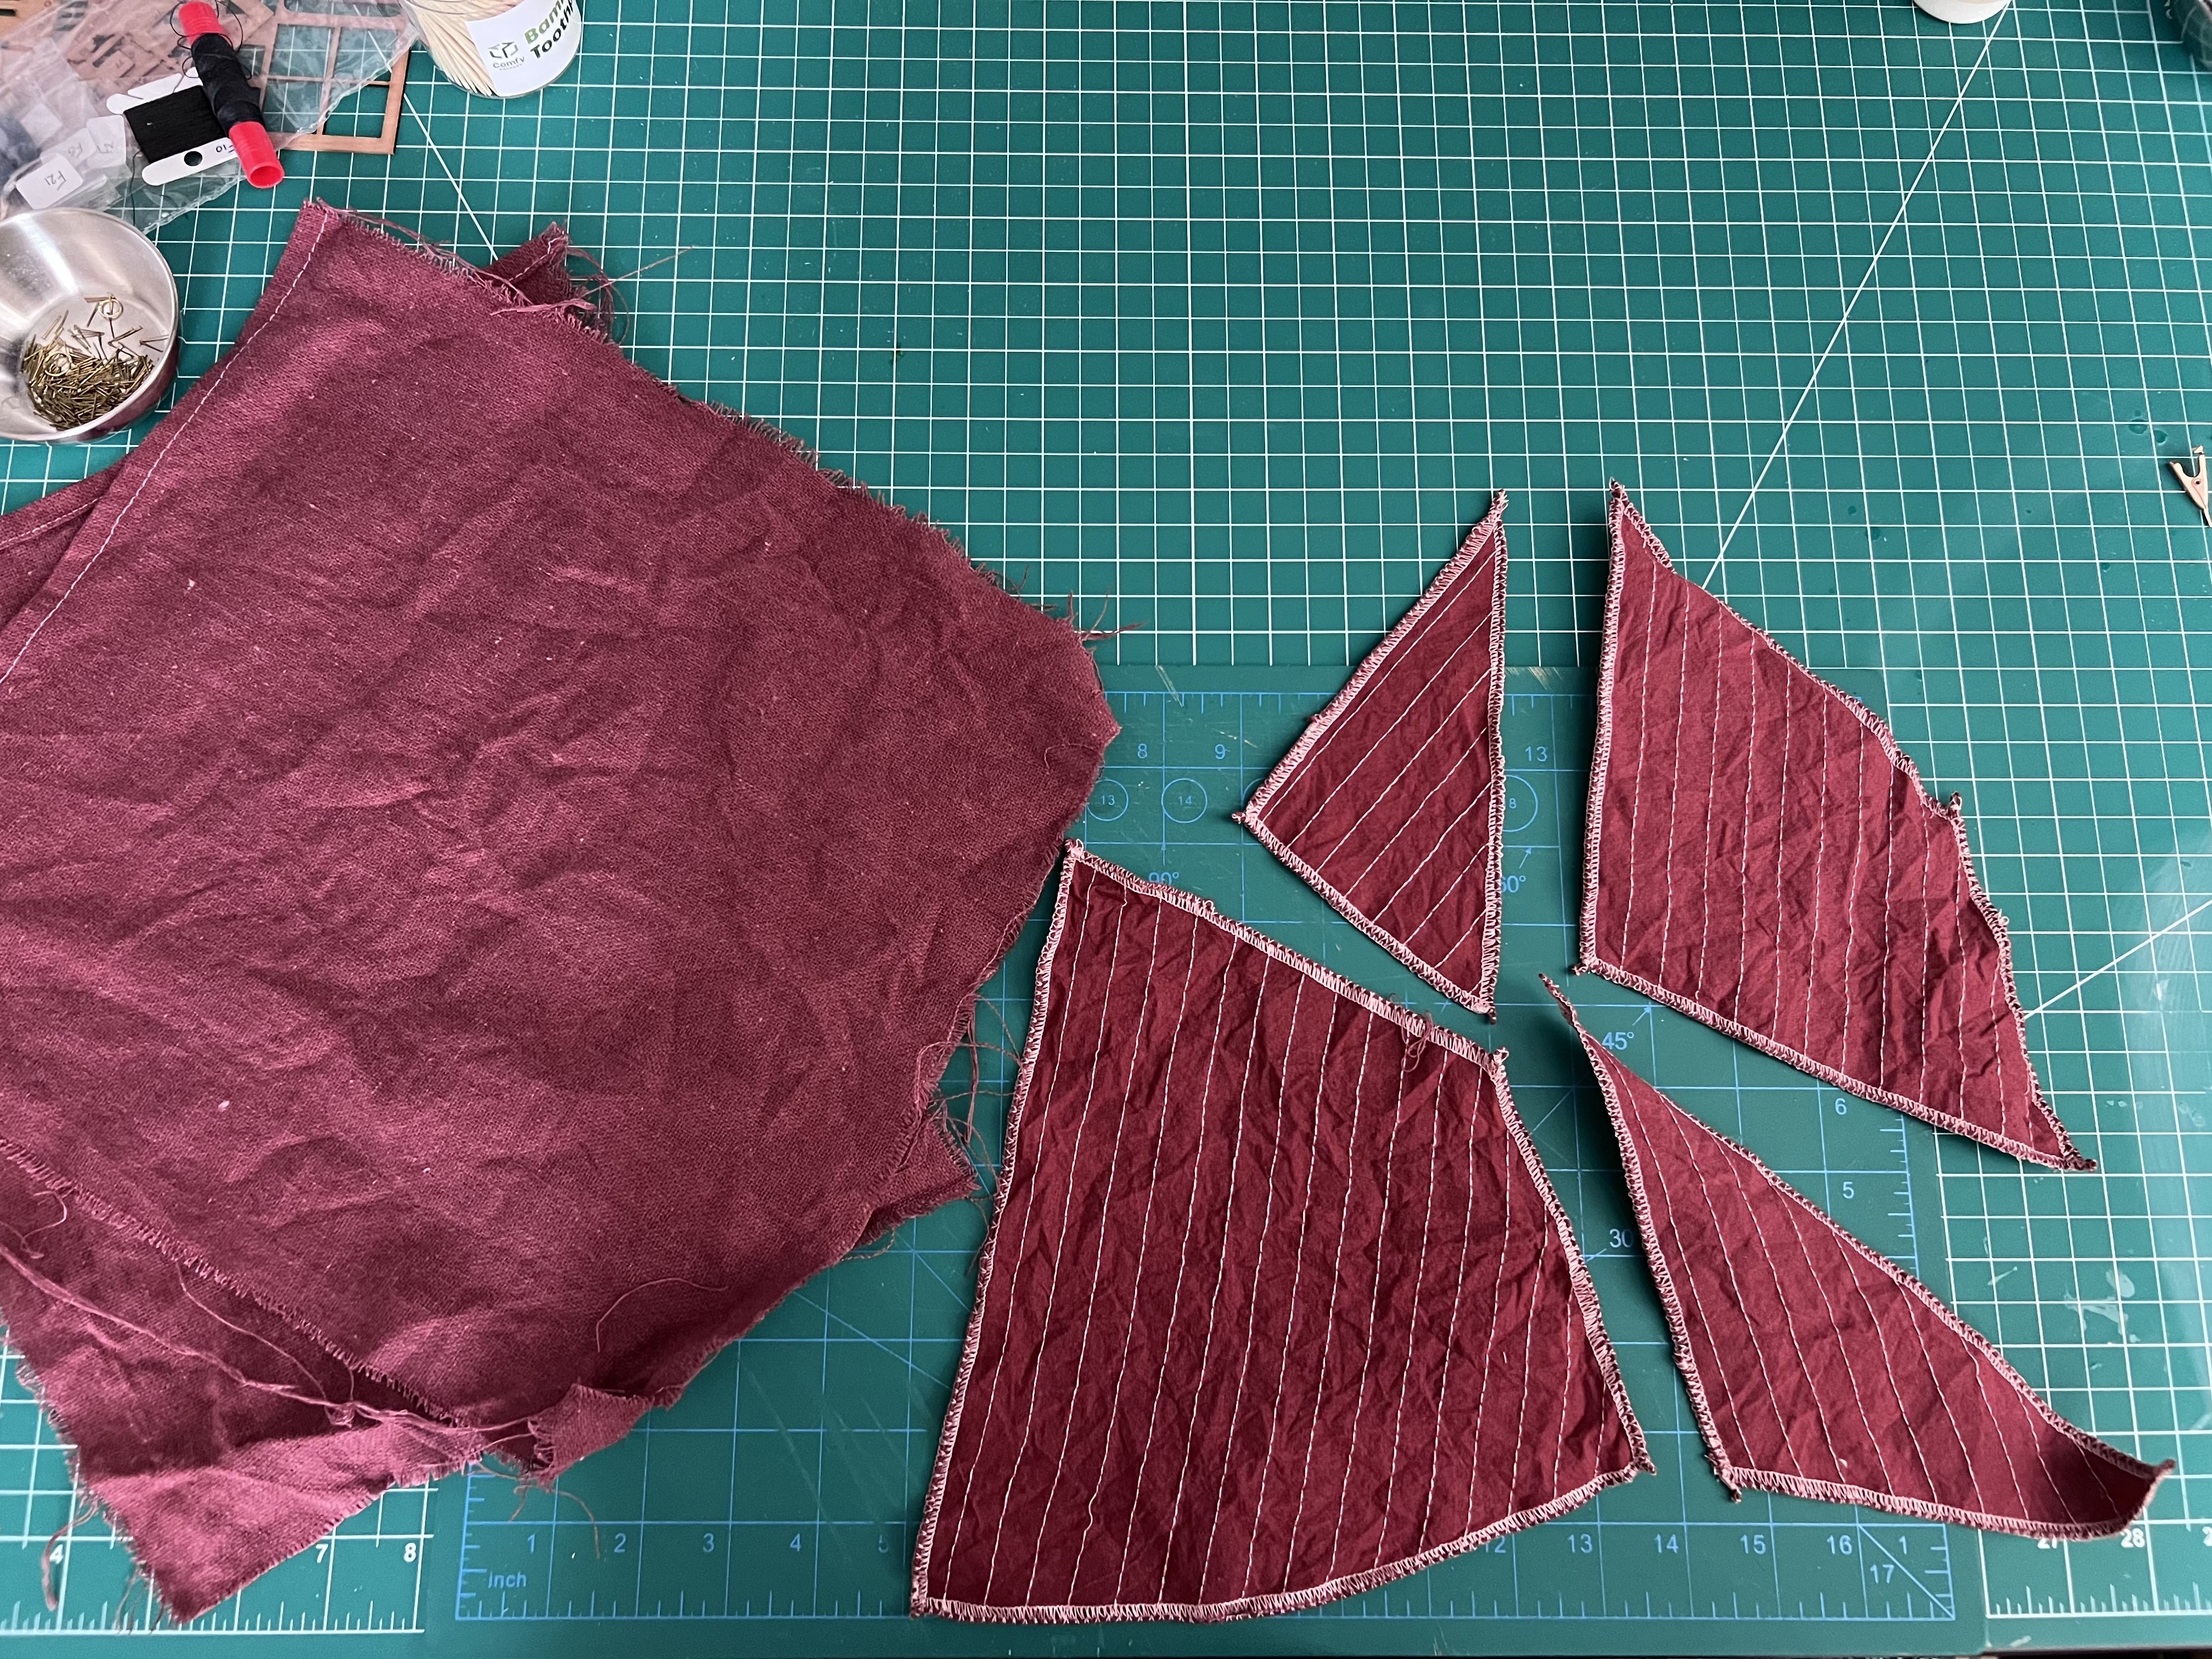
Dyed the sails. Playing around I ended up using a 2:2:1 ratio of RIT Tan : Scarlet : Cocoa Brown. Started with a 1:1 of Tan : Scarlet but that seemed too red. The end result is redder than the others, but I like it, and from what I’ve seen online for ships of this sort there seems to be some variability. I’m also showing some linen fabric I dyed in the same batch. While probably closer than I had used an old t-shirt the shade is a good bit different.


- 133 replies
-
- 2
-
-
- Ranger
- vanguard models
- (and 1 more)
-
Vanguard afficianadios...... Cutter Alert vs Brig Adder
palmerit replied to bigcreekdad's topic in Wood ship model kits
Don’t have either but they seem the same size with Adder possibly having more rigging, at least because Adder has two masts each with double ratlines. Given that they’re the same price I’m guessing Alert has more of something else. On the Vanguard site you can download the instructions and compare to see which seems a better fit. I don’t remember if anyone here has done both, at least in terms of build logs I remember. -
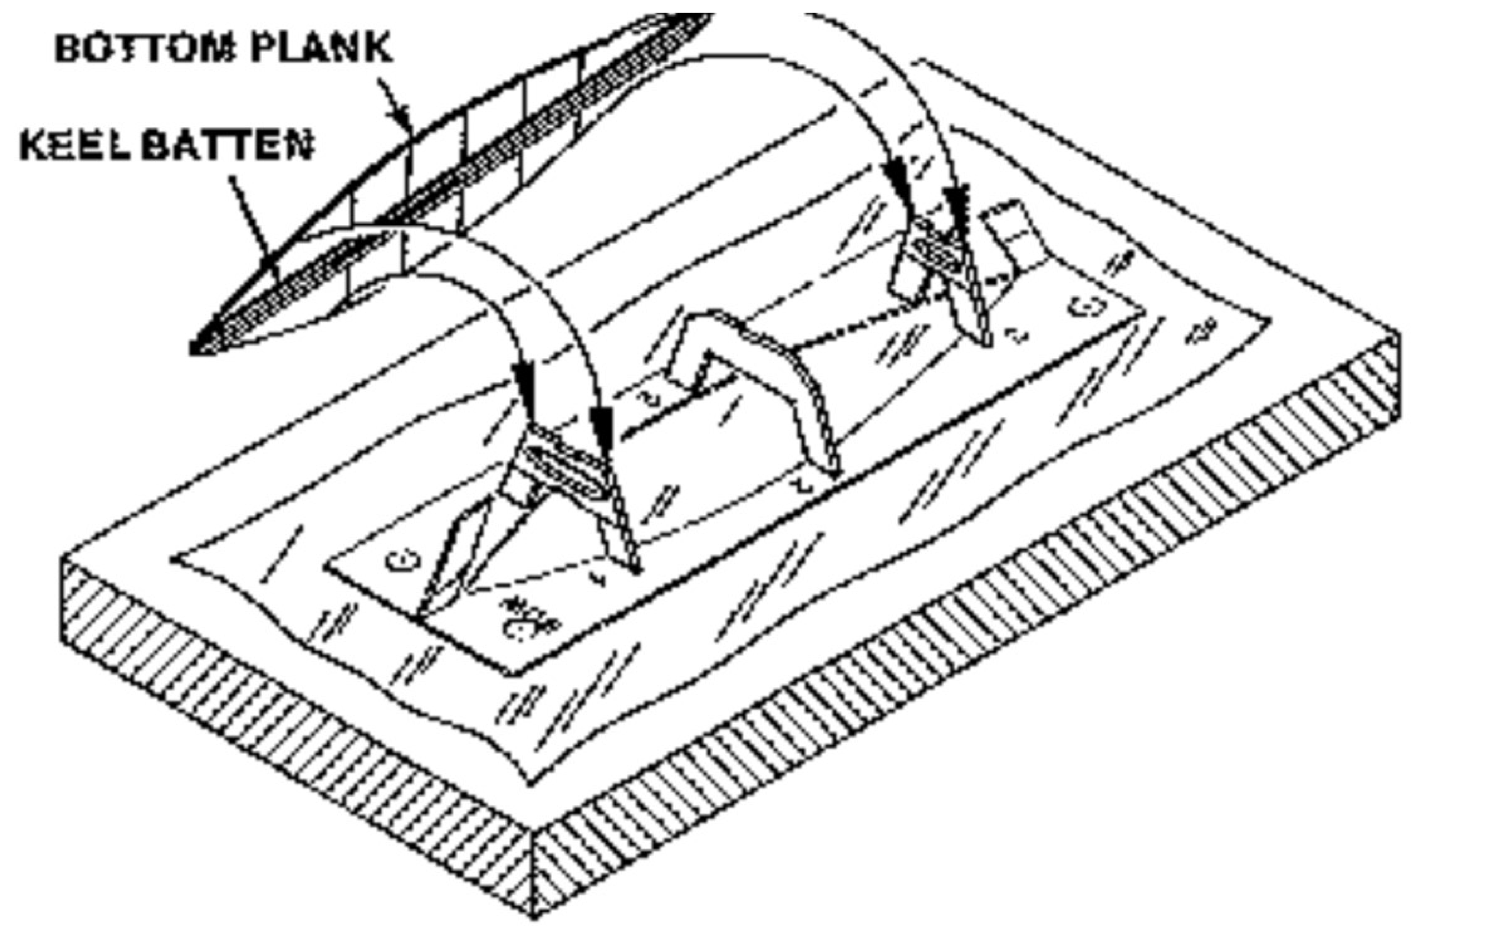
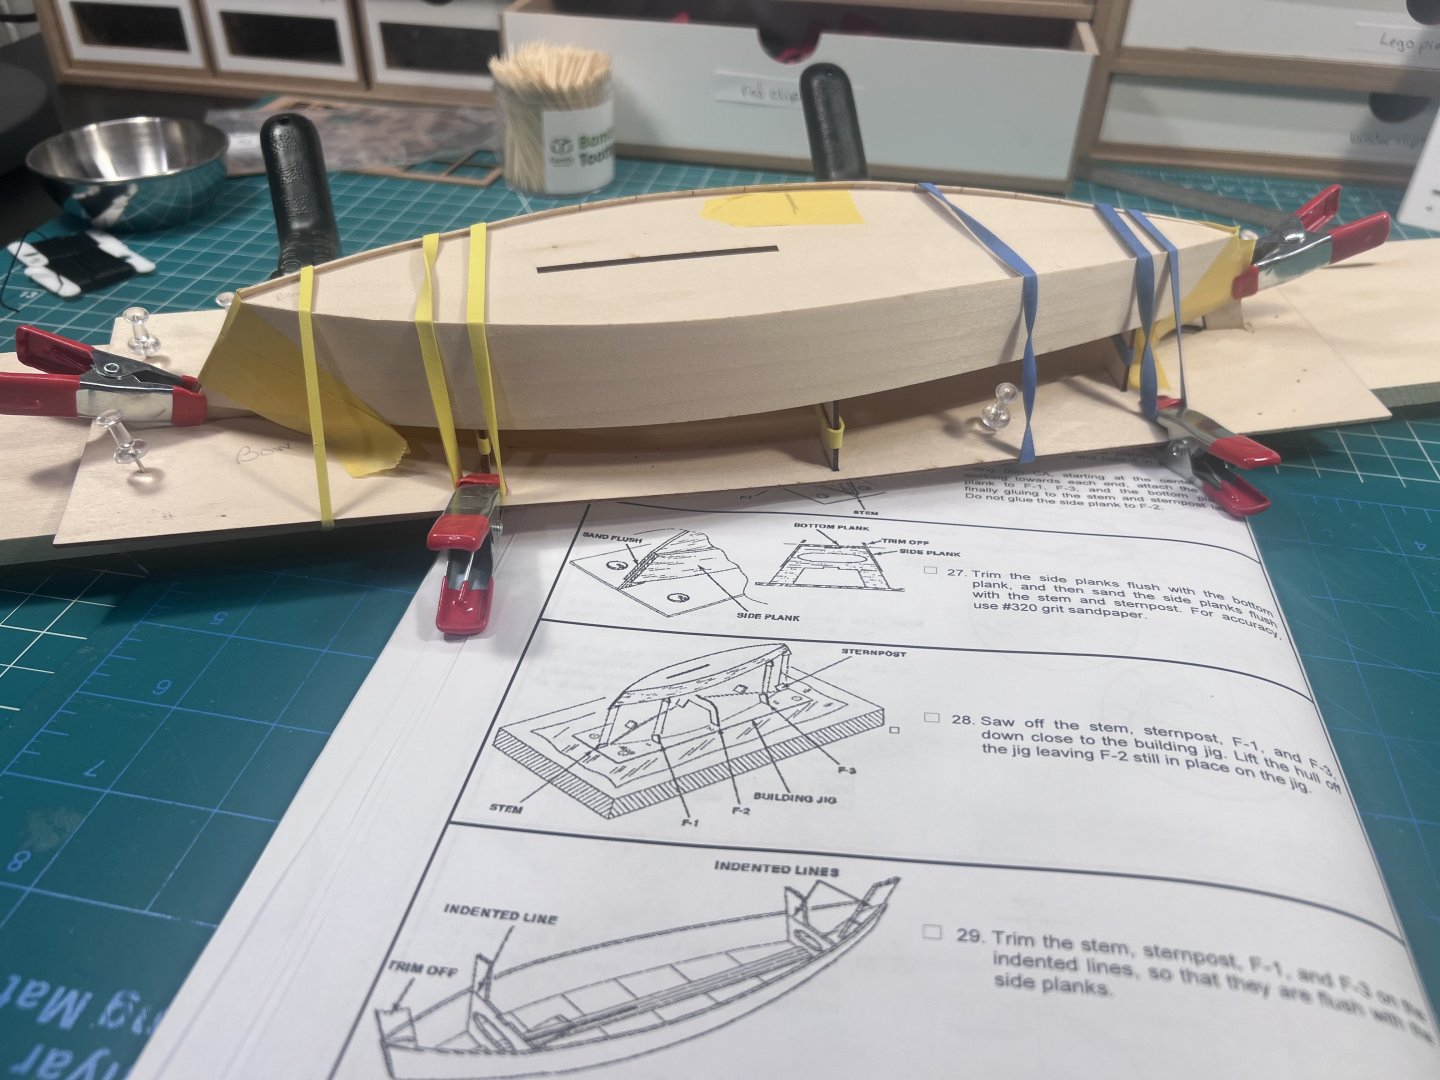
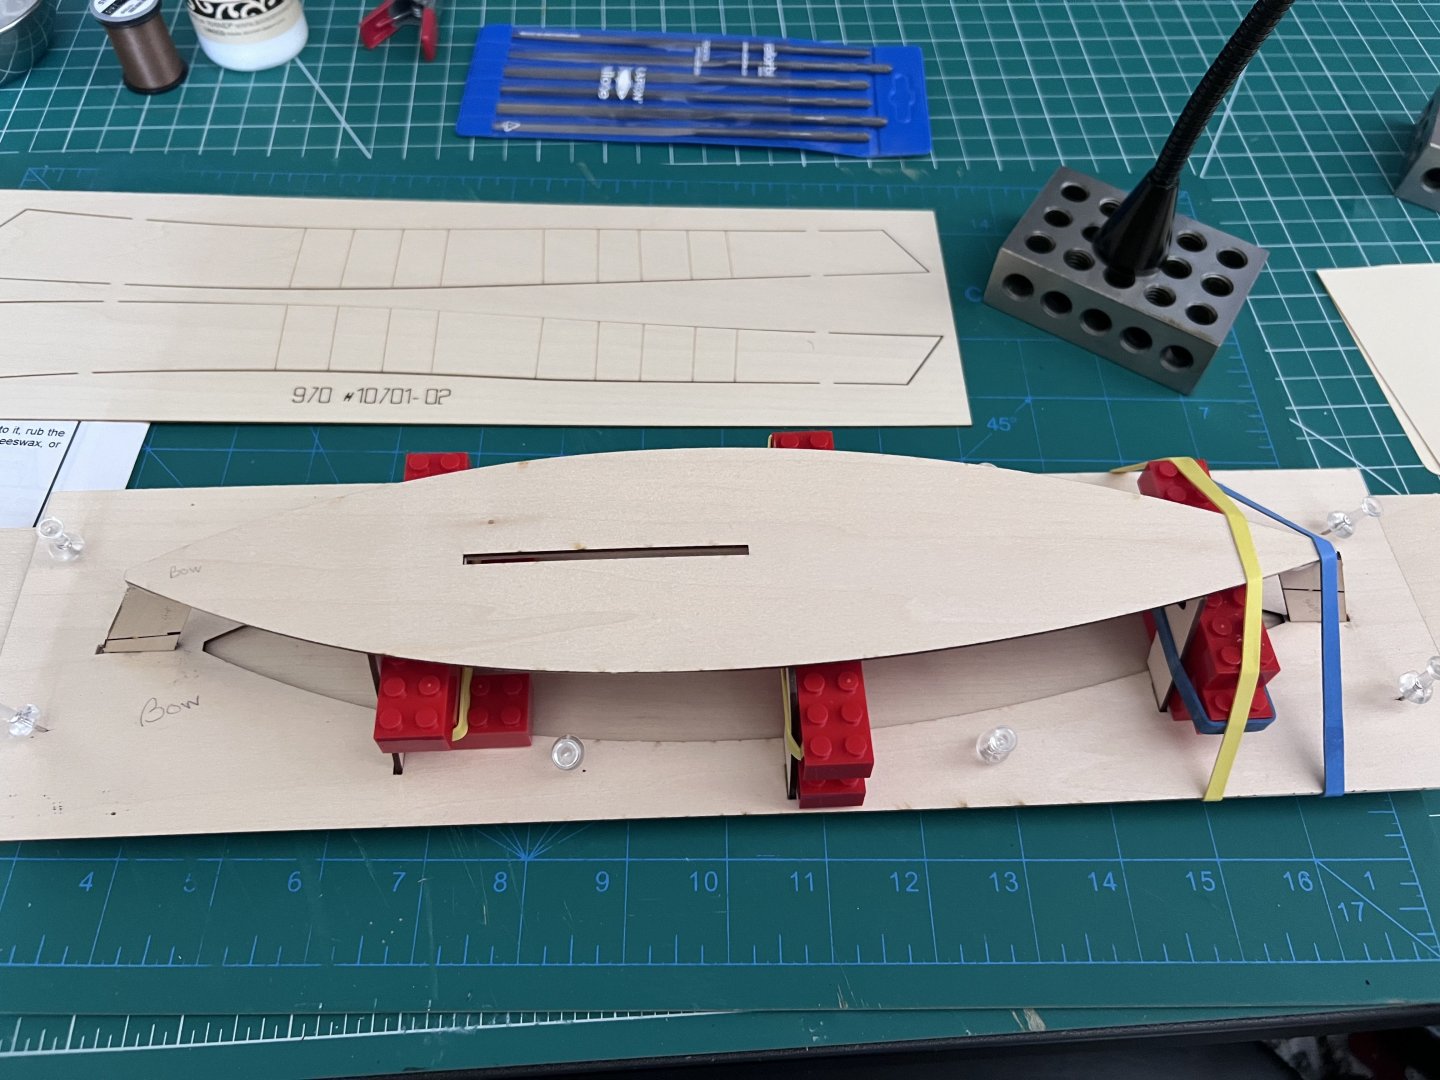
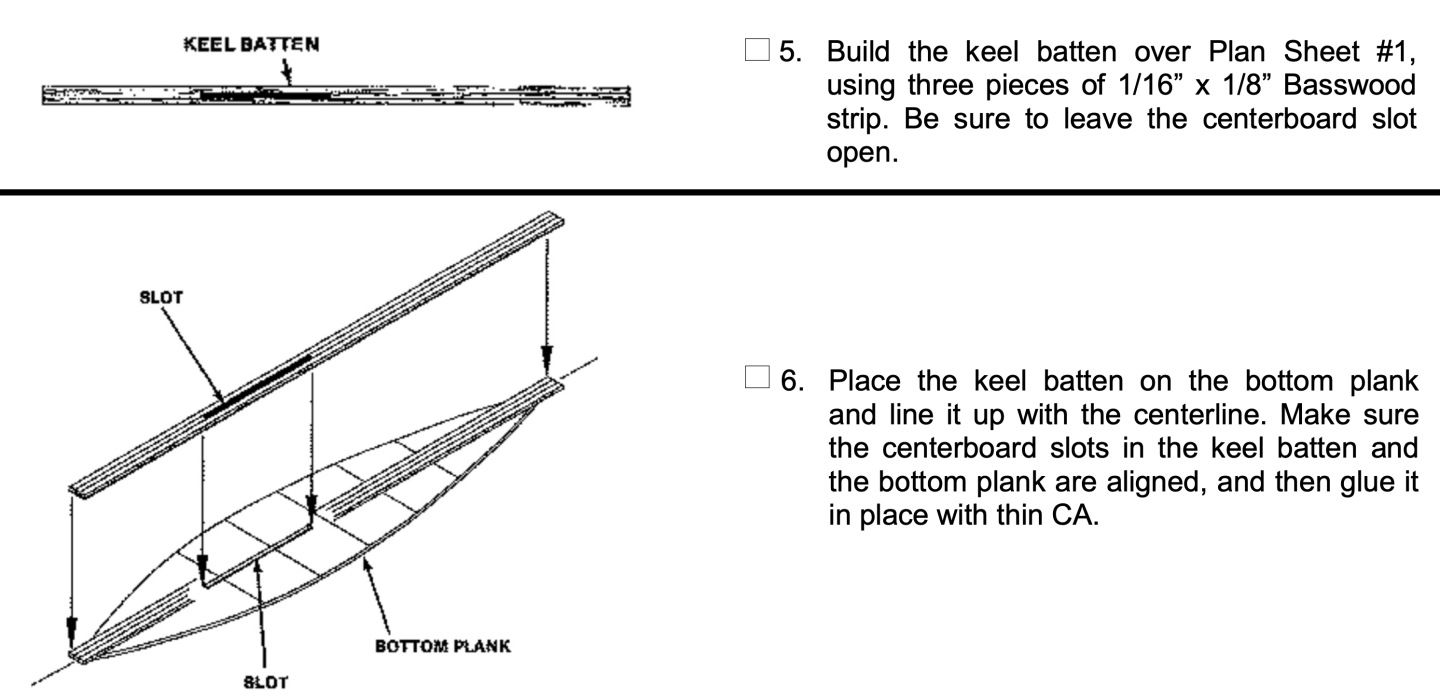
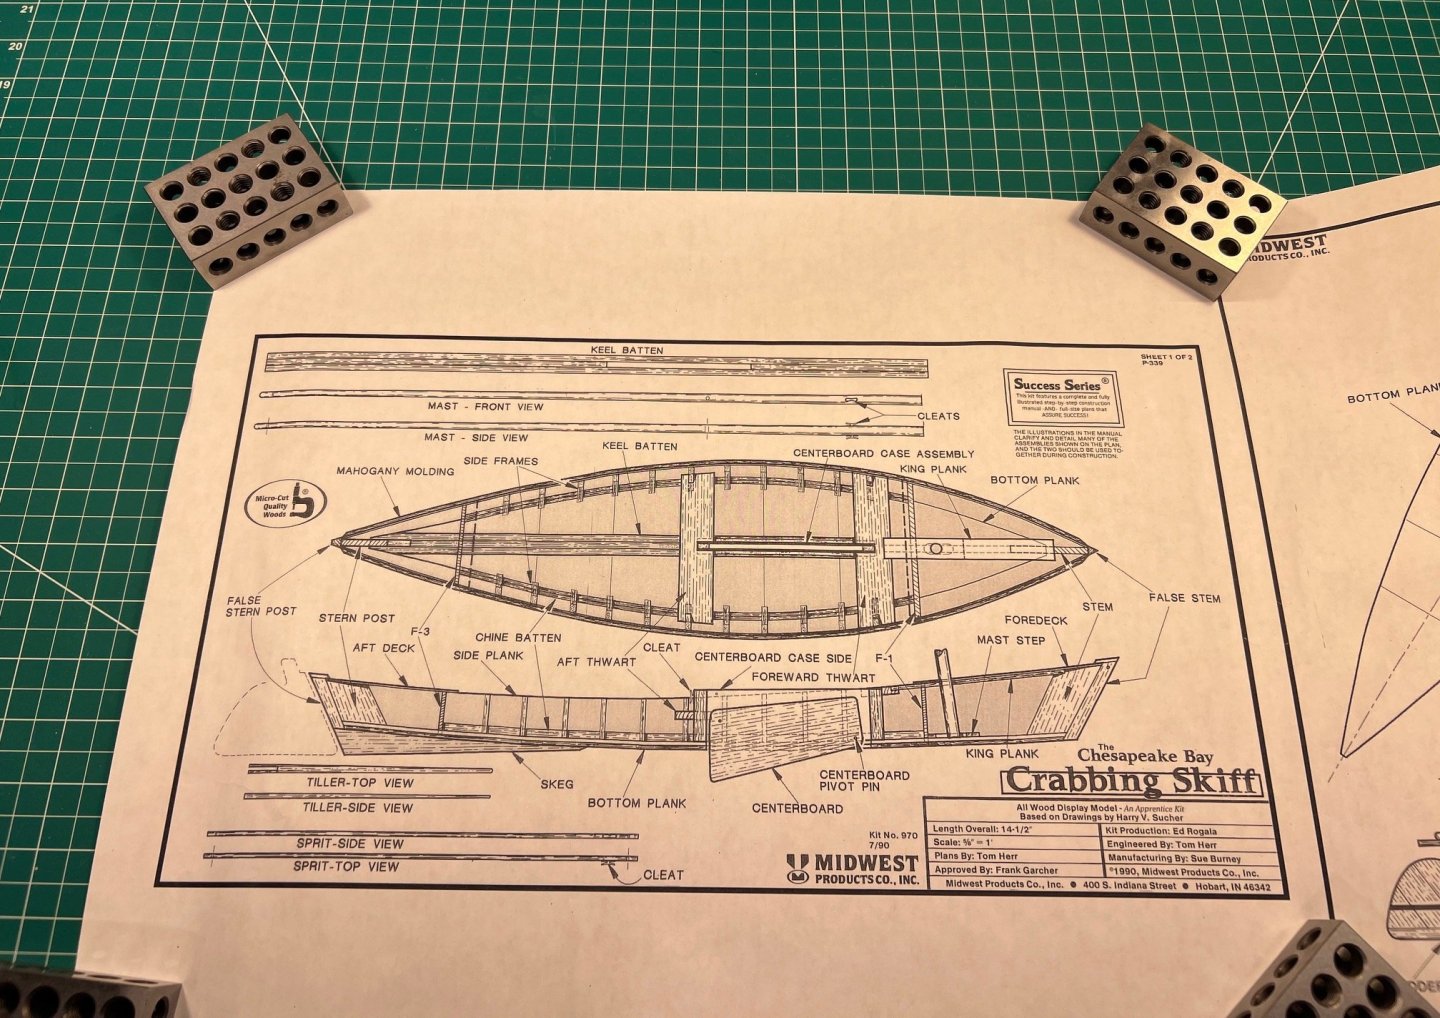
This is a relatively "beginner" model - doing it because I won it in one of Olha's raffles. But it also is an illustration of what makes wooden model ship modeling a challenge for the beginner - I guess I'd call myself a novice now. It's easy to think that since this is a "kit" all the pieces, if you follow the directions, will just go together. They often don't. It's wood and wood varies in size and can contract and expand. The quality assurance isn't always for all model kit manufacturers as good as it could be - I'm going to chalk that up to this being a niche hobby with not a ton of buyers and so not a ton of room for profit. it just means you need to think about each step of the construction as an invitation to a possible puzzle you need to solve. Once you realize that, a possible source of frustration becomes something else. In this case, I needed to make a keel batten out of strips and glue it to the base of the boat. Easy enough. Sorry, I forgot to take photos of it in my build, so I'm including the illustration in the instructions. Then later you need to turn the base over and fit the keel batten into slots in the frame so that the bottom is also then flush with the remained of the frame. Again, forgot to take photos, so I've pasted the illustration. Turns out the keel batten was slightly larger than the slots. You want it tight, but this would just not fit. So I had to take a file and little by little widen each side of the slot until the batten fit snuggly into each of the frame pieces. You need a nice solid base to attach the building board to (it's just the scrap thin basswood from where you take out the bottom of the boat, so it's not a board itself). It needs to be solid because you'll need to do a descent amount of bending of the bottom around the frames to get all the pieces glued down (you don't glue the middle frame because that's going to be removed), and you'll want to be able to use something like rubber bands that go around the boat and around the solid board. You wouldn't want to soak a thin sheet of basswood like the bottom is made out of because it would get warped. You need something like rubber bands and weights to keep things in place. And you need to make sure the frames, which were glued in square before, stay at 90 degrees. Everything is thin basswood so it all bends easily. The instructions call for using CA glue, which I think is nuts. You need to really do a lot of repositioning to get all the parts to line up right and then you need to get rubber bands and weights in place and things might get out of position and need to be repositioned again. The Midwest kits (this is my third) all seem to love using CA glue. Use wood glue except when you're adding something like metal parts. CA glue cures too quickly (even medium) when you need to do a bunch of fiddling and repositioning in my experience. Then there was the challenge that the ends of the base did not meet up to the ends of the stem and sternposts. Maybe that was because the slots to insert those in the building board (see above) did not fit. Not thinking, I made them larger in a direction that made the stem and sternposts farther apart. I probably should have instead gone in the other direction when I widened the slot. So anyone else building this: If you have the same issue with the slots of the stem and sternpost not fitting, check the length of the bottom to guide you in which direction to make the slots larger. You learn something even from a simple model. Note that the photos are from this morning after I had to reglue one end of the boat and secure it. Last night, there were rubber bands in a few other places and some weights - actually 1-2-3 blocks covered in Saran Wrap - holding everything along the full length of the boat in place. When the glue is all cured I'll have to do some shaping, filing, sanding around the stem and sternposts. The instructions call for some of that anyway. I'll just need to do more than I might have otherwise.


- 38 replies
-
- 3
-
-
- crabbing skiff
- Chesapeake Bay crabbing skiff
- (and 2 more)
-
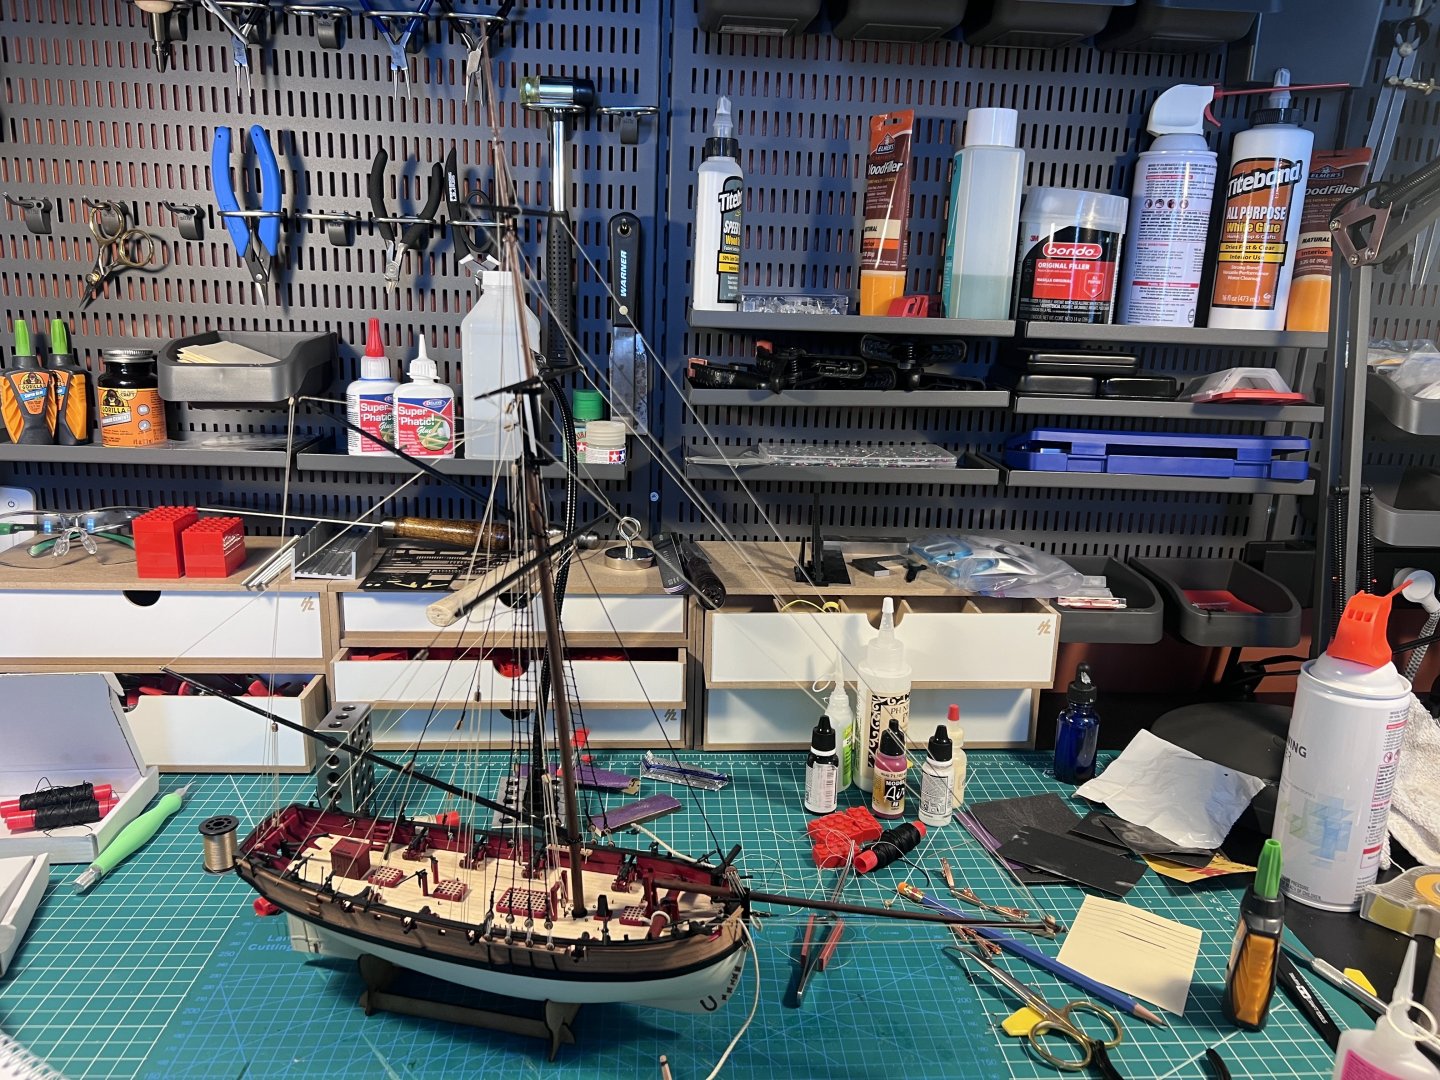
It's so much more helpful having as many build logs as possible. Thankfully, there are a bunch on the Sherbourne that I just completed. I learned something from all of them and I've also popped onto more current ones and occasionally answered a question or even just given a thumbs up. I've never felt like by starting a build log that I now have taken on some responsibility of being a definitive guide to the model. I'm certainly not qualified to be. I'll try to describe challenges I've had. And on some models (not Vanguard's, but others) I've struggled through mistakes in the instructions or the kit parts and I'll describe how I got around them. I've tried to give credit (and links) to places where I found how to do something (which might benefit someone down the road who is starting out and having to rediscover the wisdom on this site and elsewhere). For me, I mainly just like keeping a visual record of my own progress on a model. I do things simple. I take photos on my iPhone and then just upload directly on the iPhone and type in a short bit of text. There are times when I have more to say and I'll still upload photos from my iPhone, save the response, and then hop over to my computer since it's quicker to type from there. I'm sure for folks who take photos with a camera and need to copy from a phone or camera to a computer and then get those photos uploaded to this site that keeping up a build log might be a bit more of a chore.
-
I saw a YouTube by SeaWatch and the guy with the YouTube video series in Trinidad. They said the TTFM books should be out by the end of the year.
-
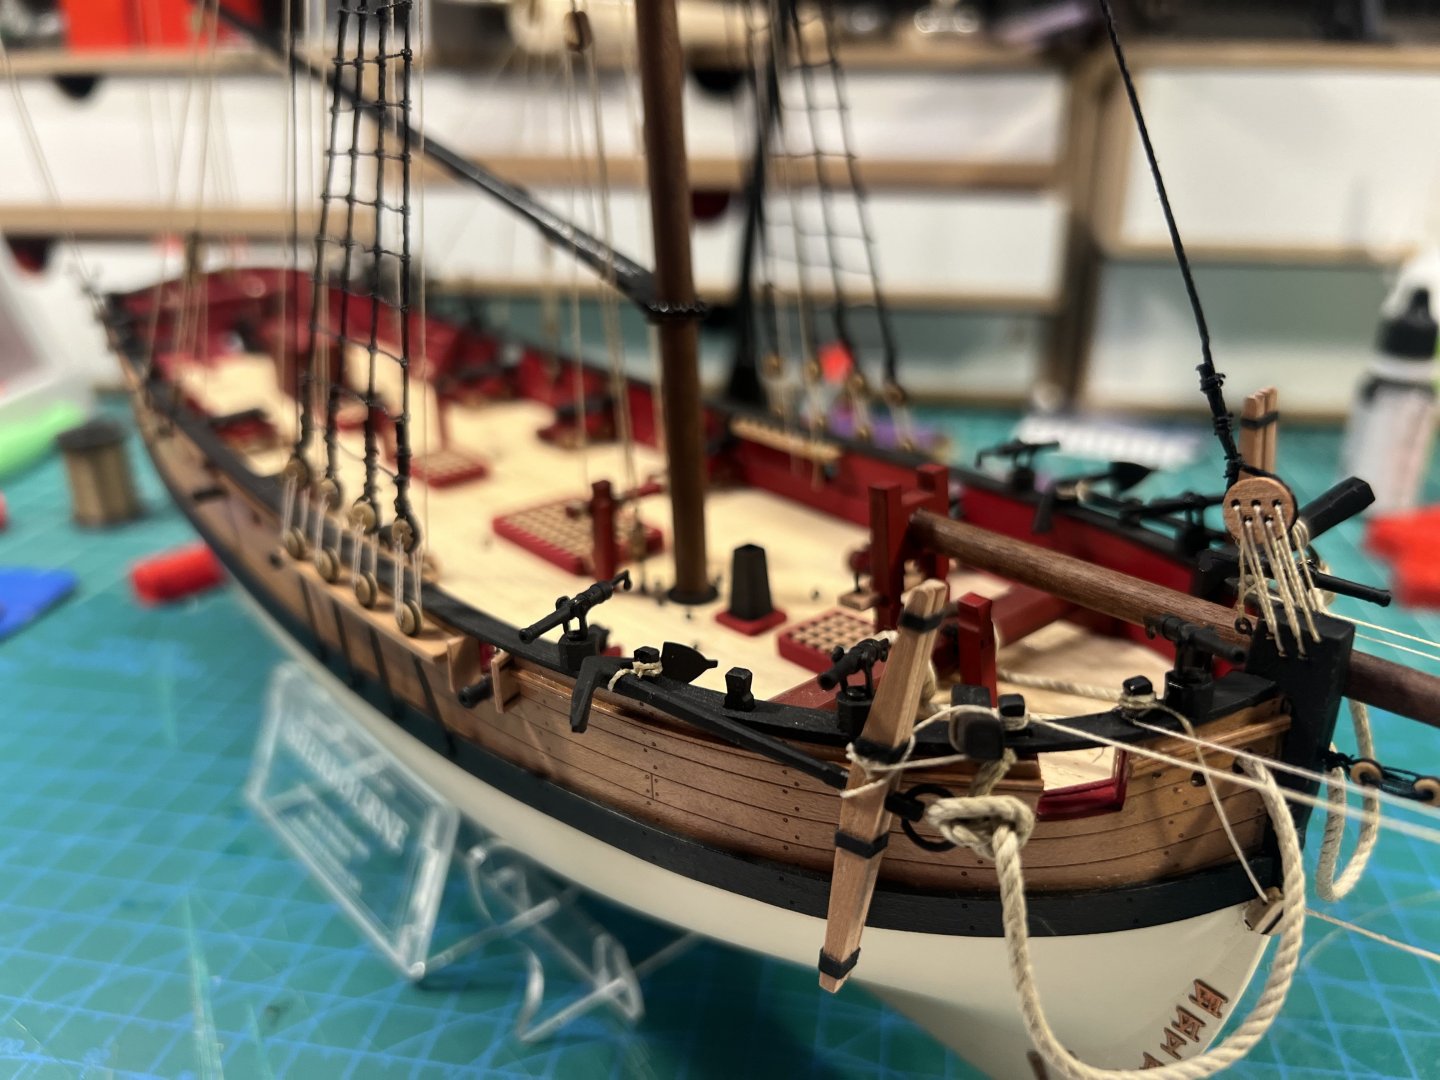
Finished the assembly and adding blocks to the mast, bowsprit, and booms.
- 133 replies
-
- 7
-
-
- Ranger
- vanguard models
- (and 1 more)
-
I've pasted some screen shots of sail colors from @DB789, @James H, and @Dfell, respectively.


- 133 replies
-
- 2
-
-
- Ranger
- vanguard models
- (and 1 more)
-
Getting ready to dye the sails. I was looking at some other build logs of the Ranger and was recommended to me on this one when I asked about it. @Dfell says in their log "Sails all dyed using RIT Cocoa Brown and Scarlet (equal mix of each)." @DB789 says in their log "Decided on a colour for the sails, RIT dye Tan (mixed quite strong) and after that the sails dipped for a minute or two in weak RIT dye Scarlet mixture, the latter to give the sails a less bland brown colour." @DB789 added earlier on my build log "I did try mixing dyes together based on the colour mixes on the RIT website - I think that’s probably the recommended way of dyeing. My dye mixing is all in the Nisha log that I sent to you. ... I only tried the sequential dyeing for this set of sails as I was disappointed by the colour achieved from tan dye alone. Had no idea if it would work, but was very pleased with the outcome. " The instructions for another Vanguard fisher, the Lady Eleanor says "you can use any dye of your choice, but for prototype, this is the product we used" and it shows a RIT dye in Wine (Bordó). @DB789 also recommended this RIT video. First time dying something except for tie-dye. We'll see how it goes. I did buy some linen-like fabric to practice on. It's not quite the same as the sails, but closer than something like an old t-shirt would be. I'll post some comparisons between the fabric and the actual sails when I'm done playing around.
- 133 replies
-
- 3
-
-
- Ranger
- vanguard models
- (and 1 more)
-
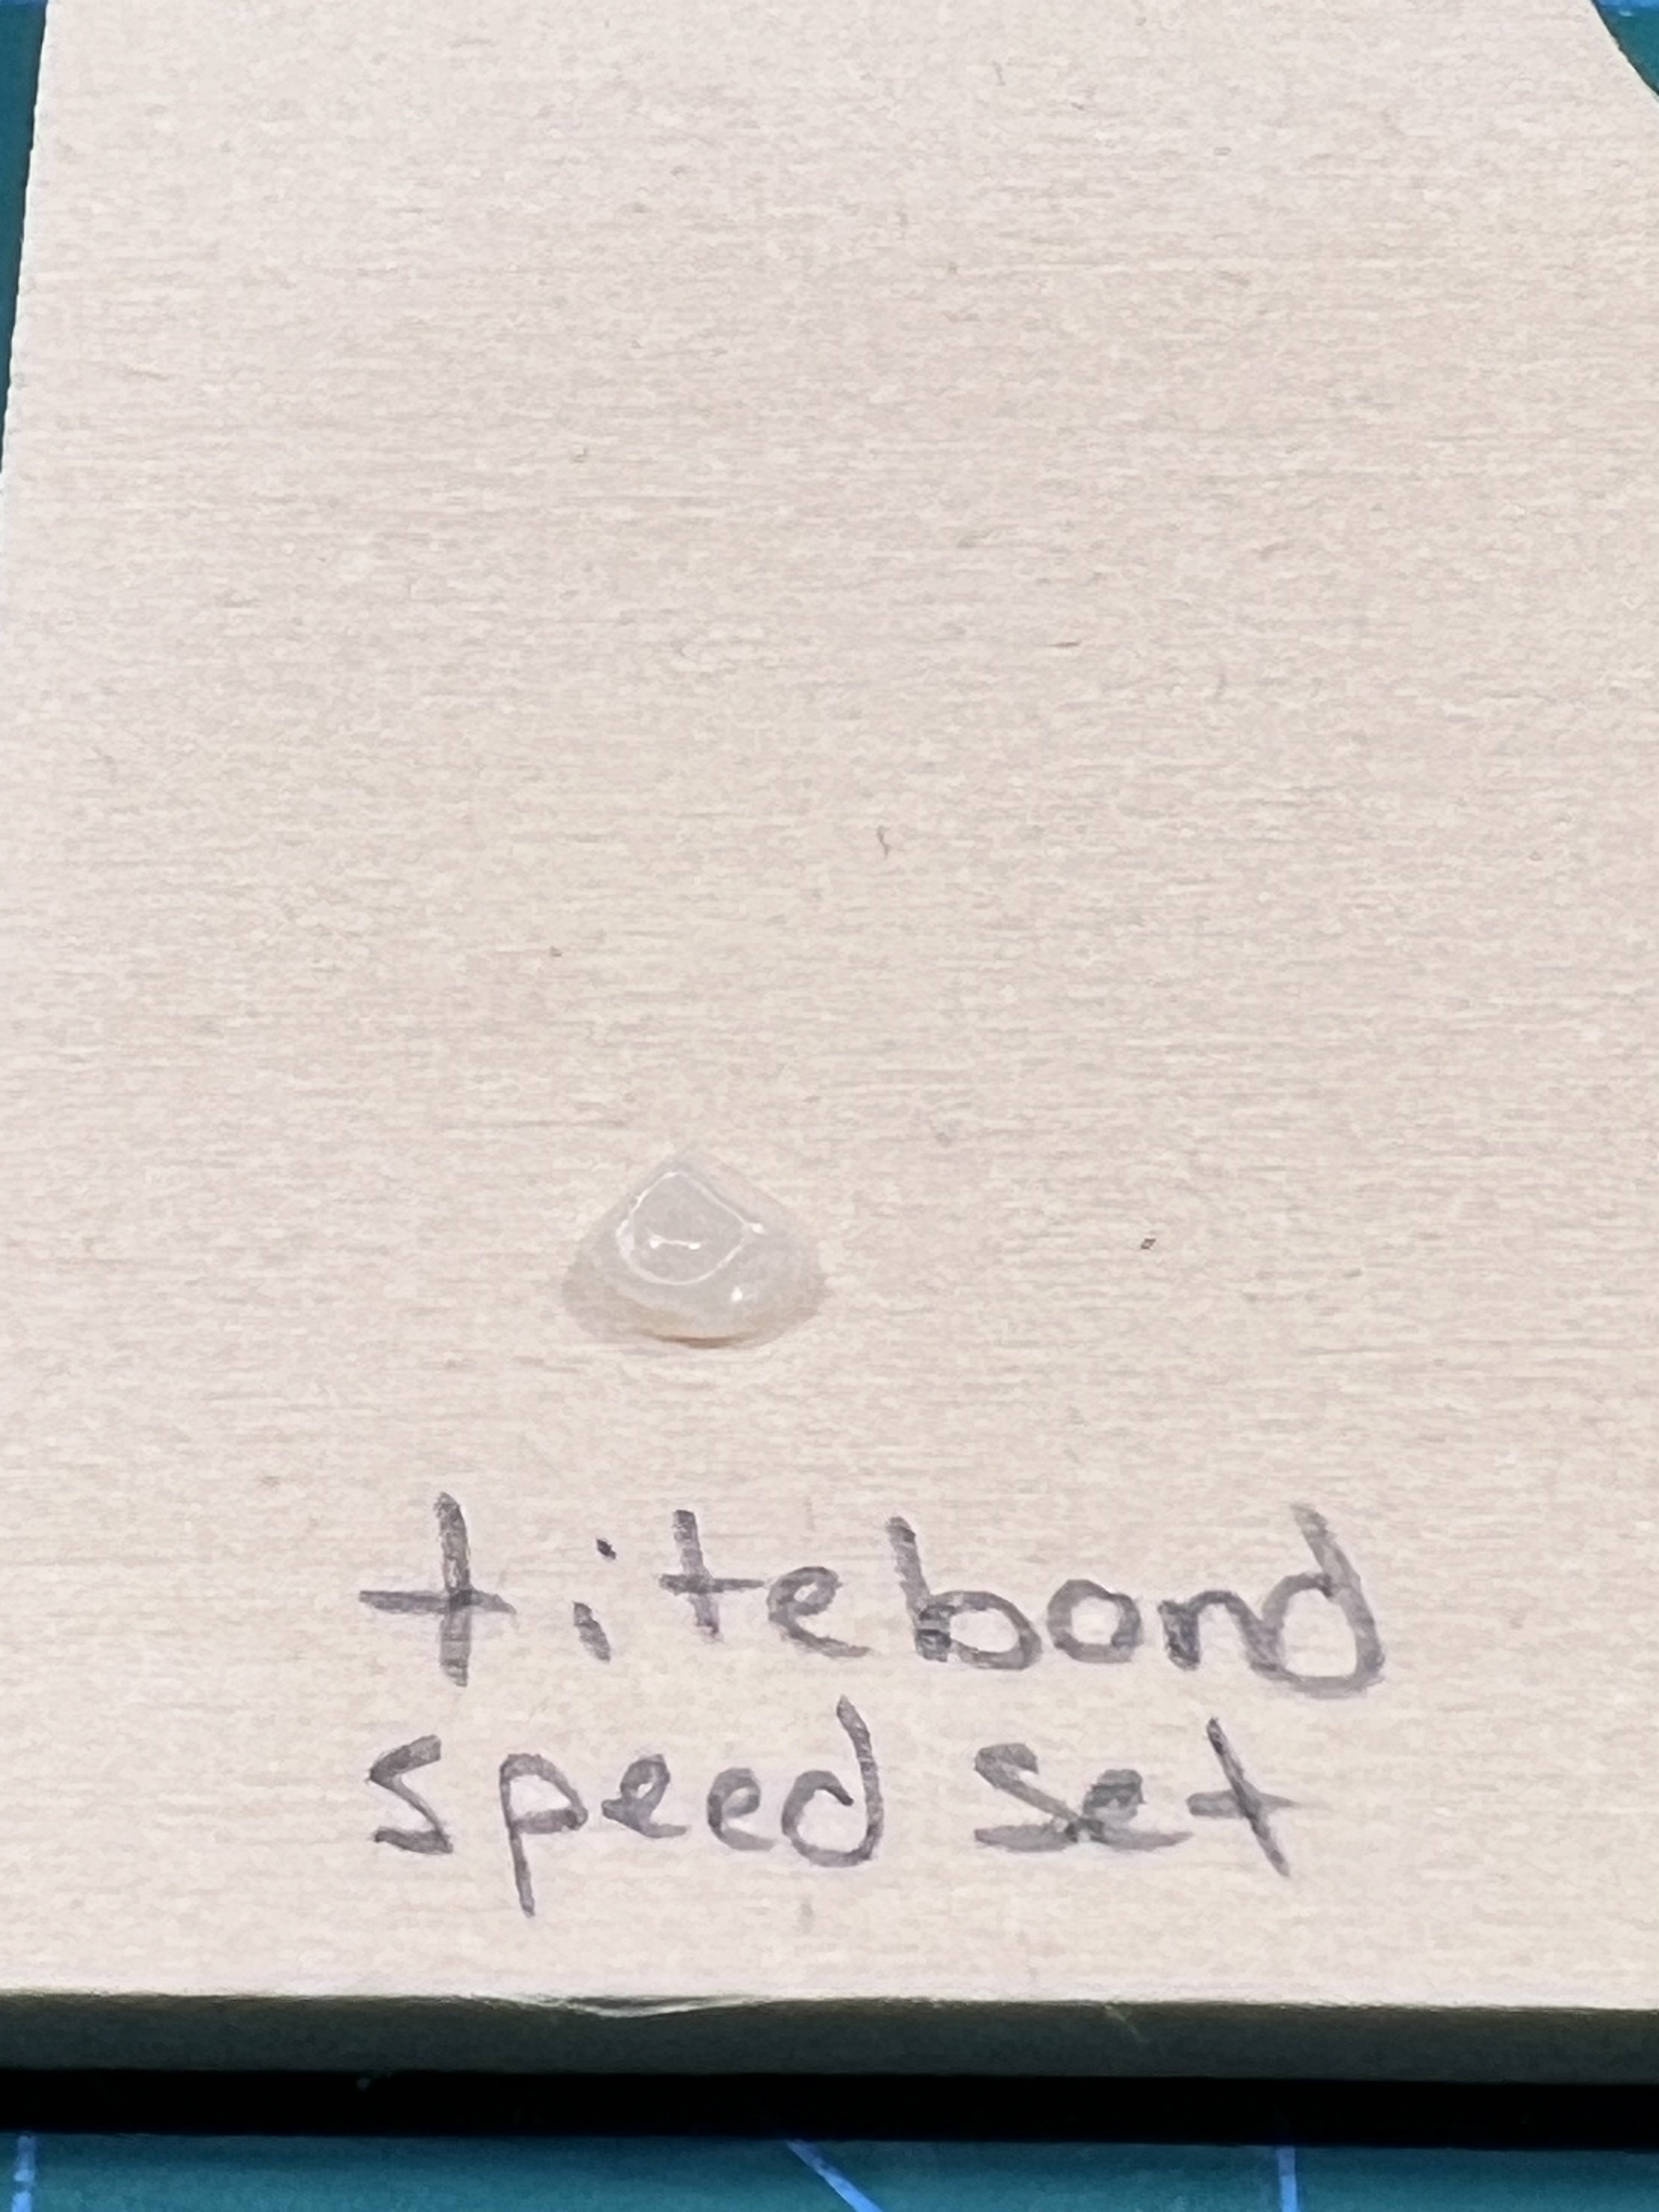
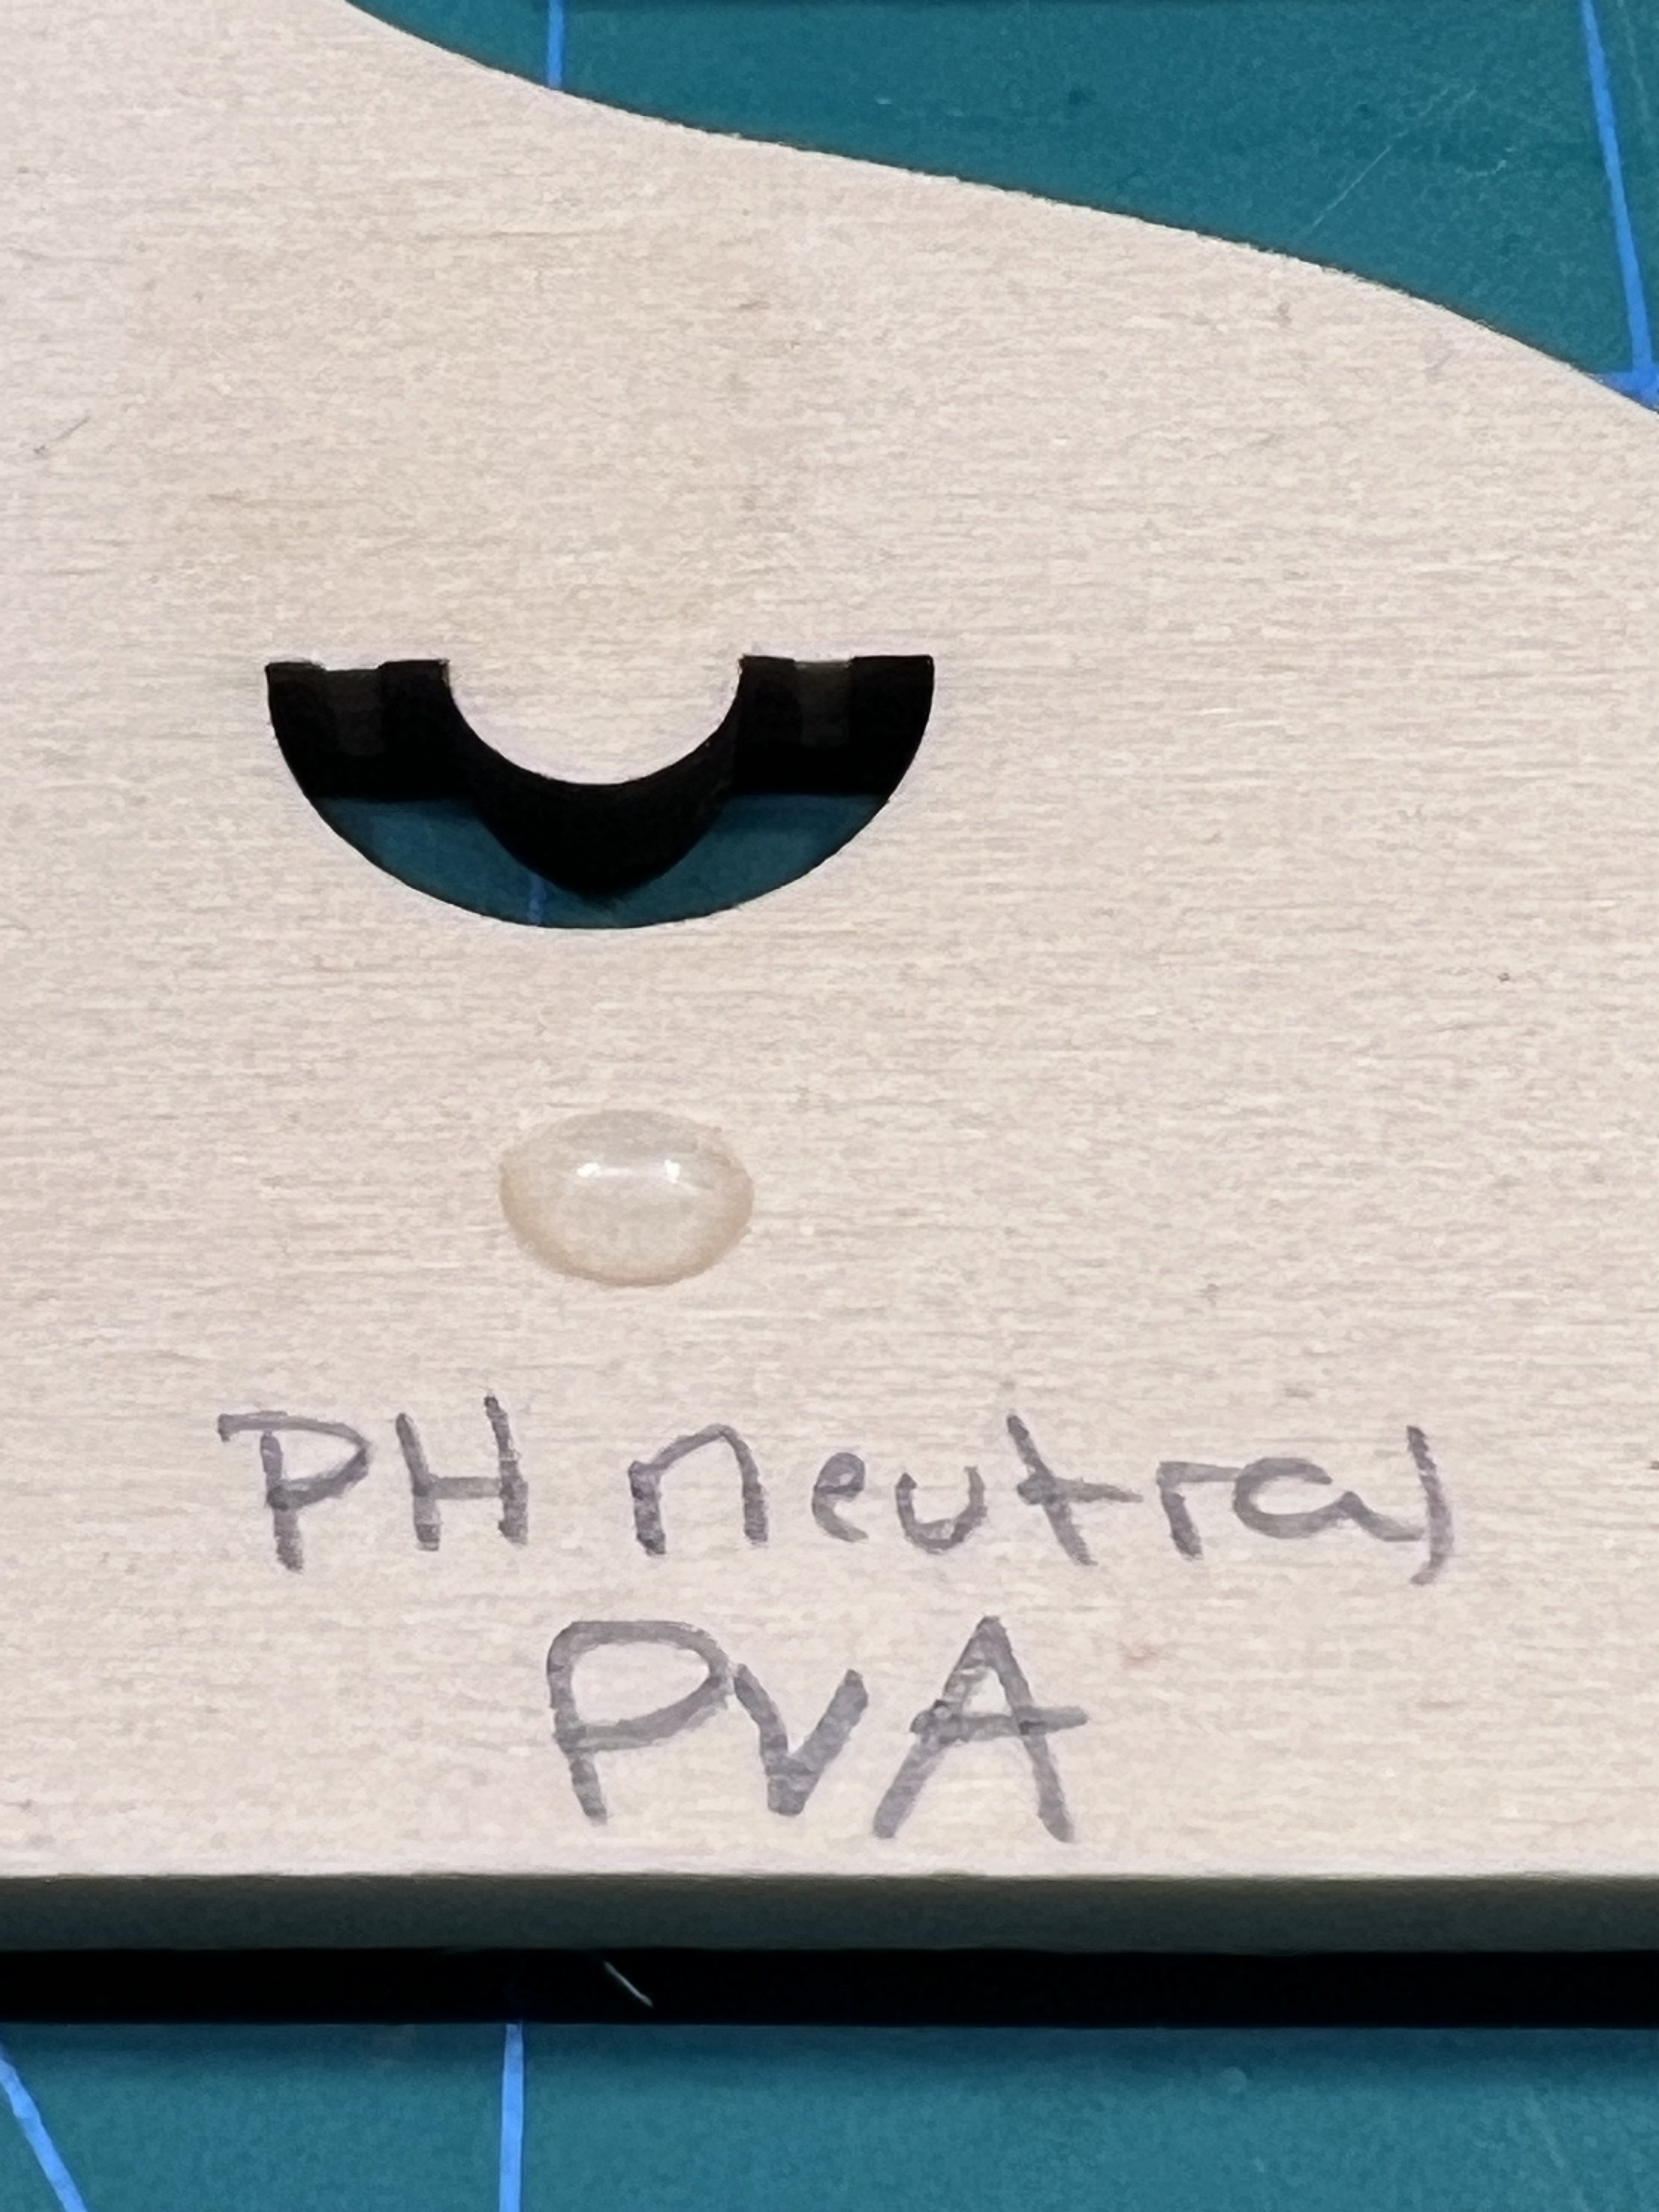
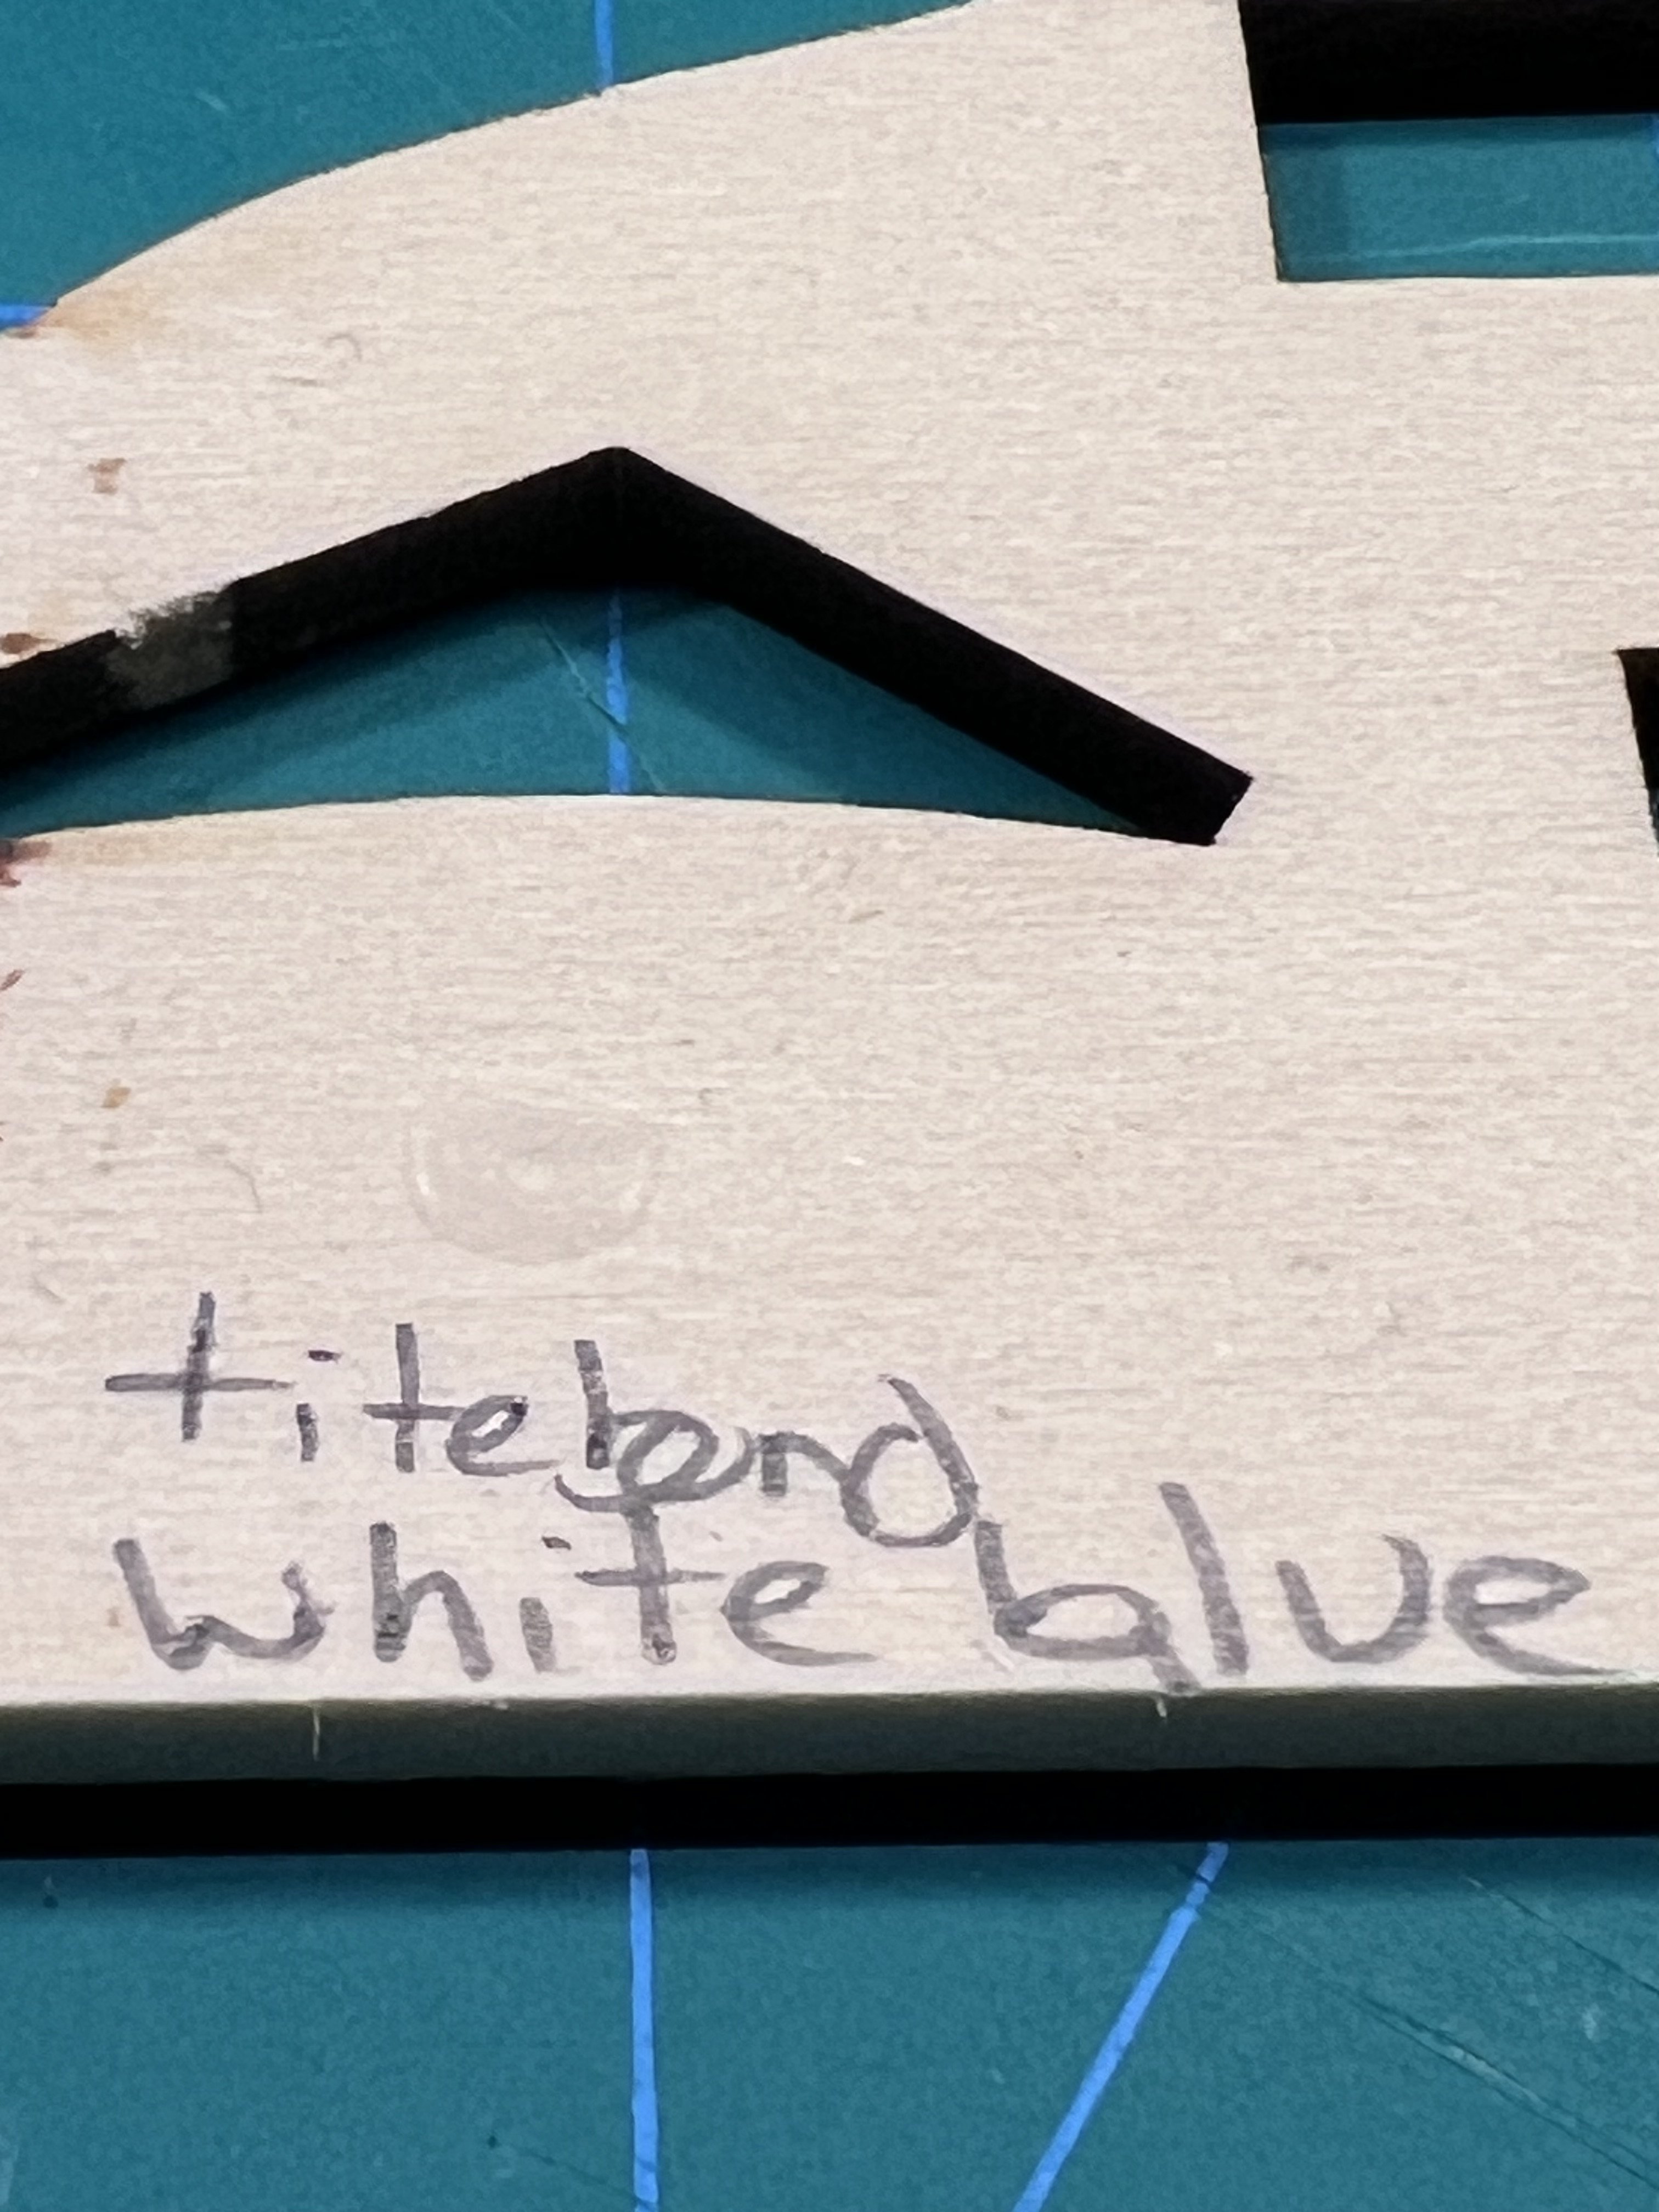
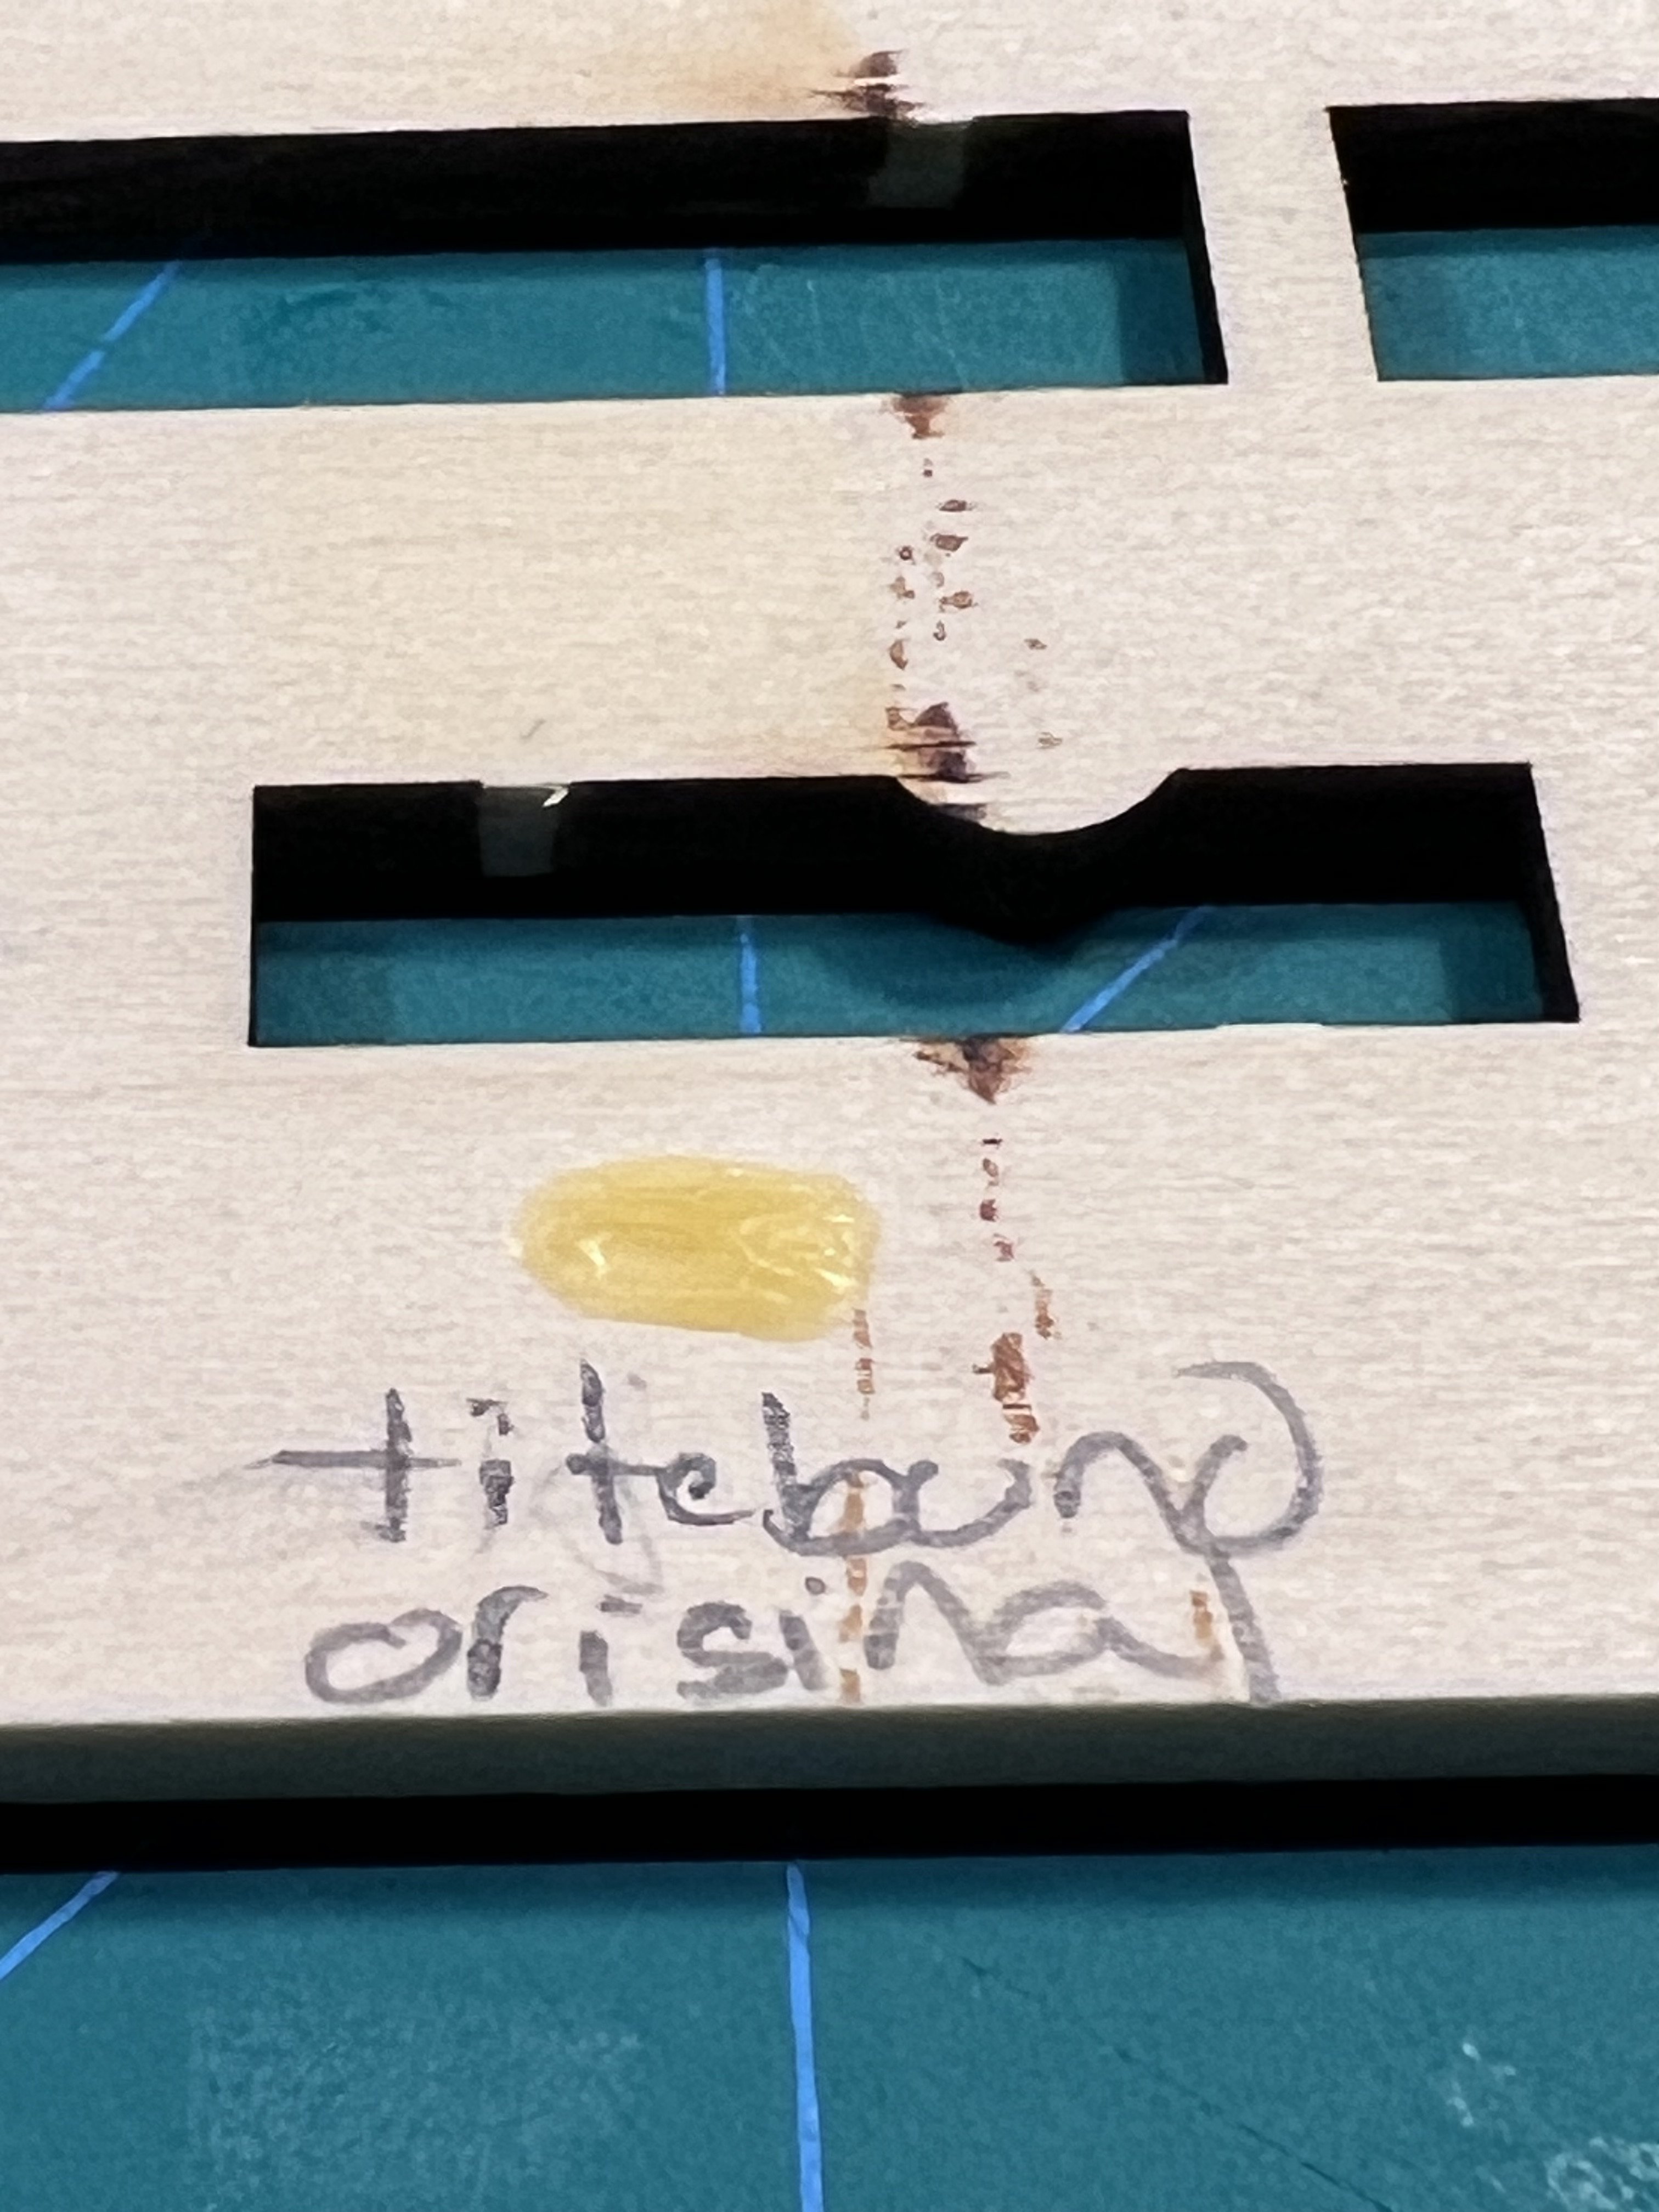
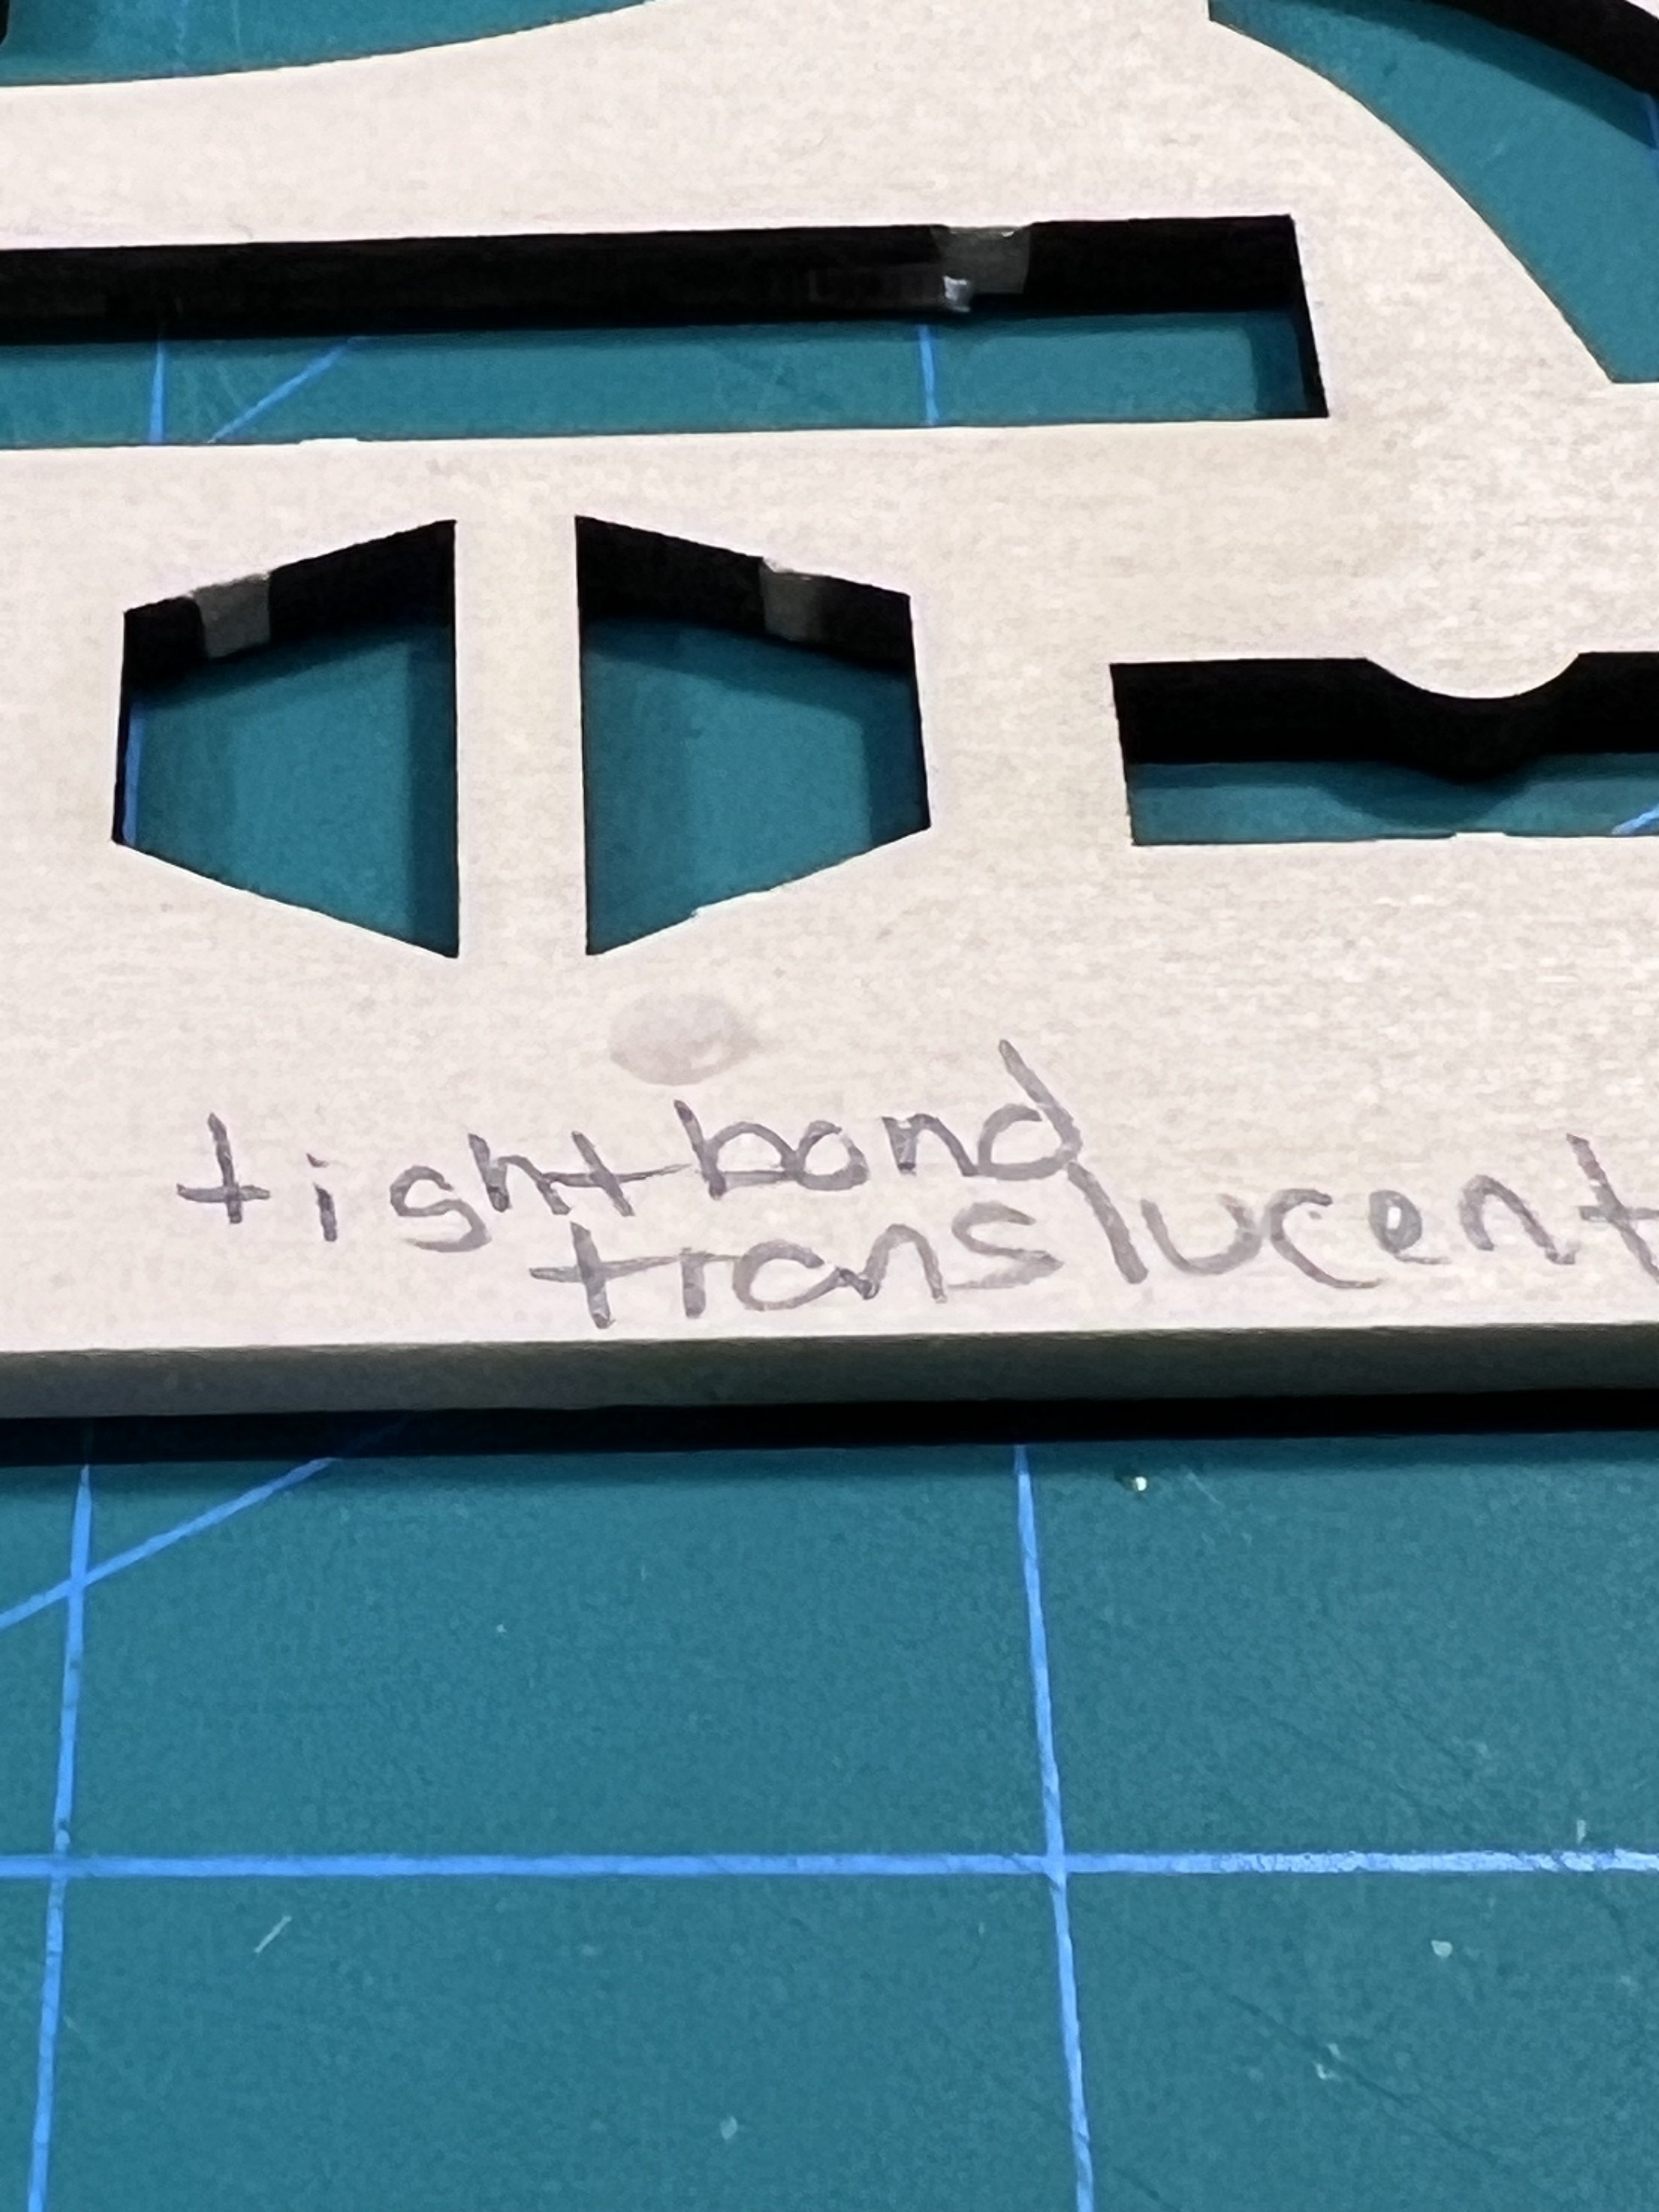
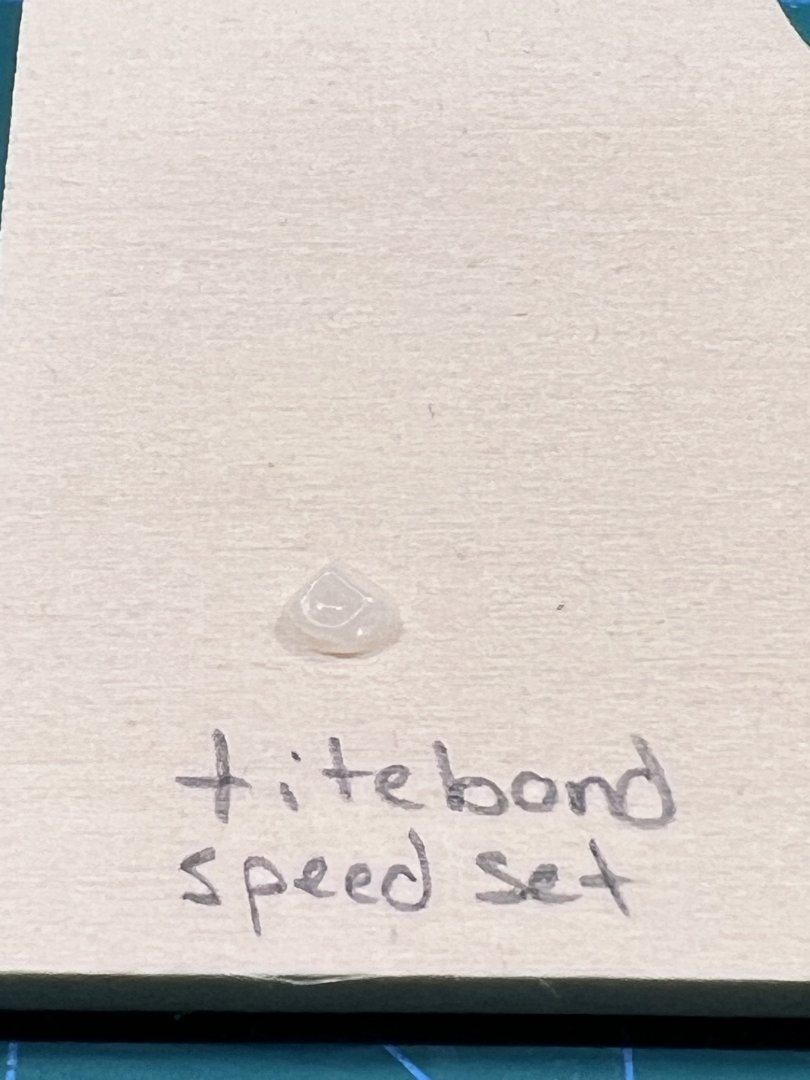
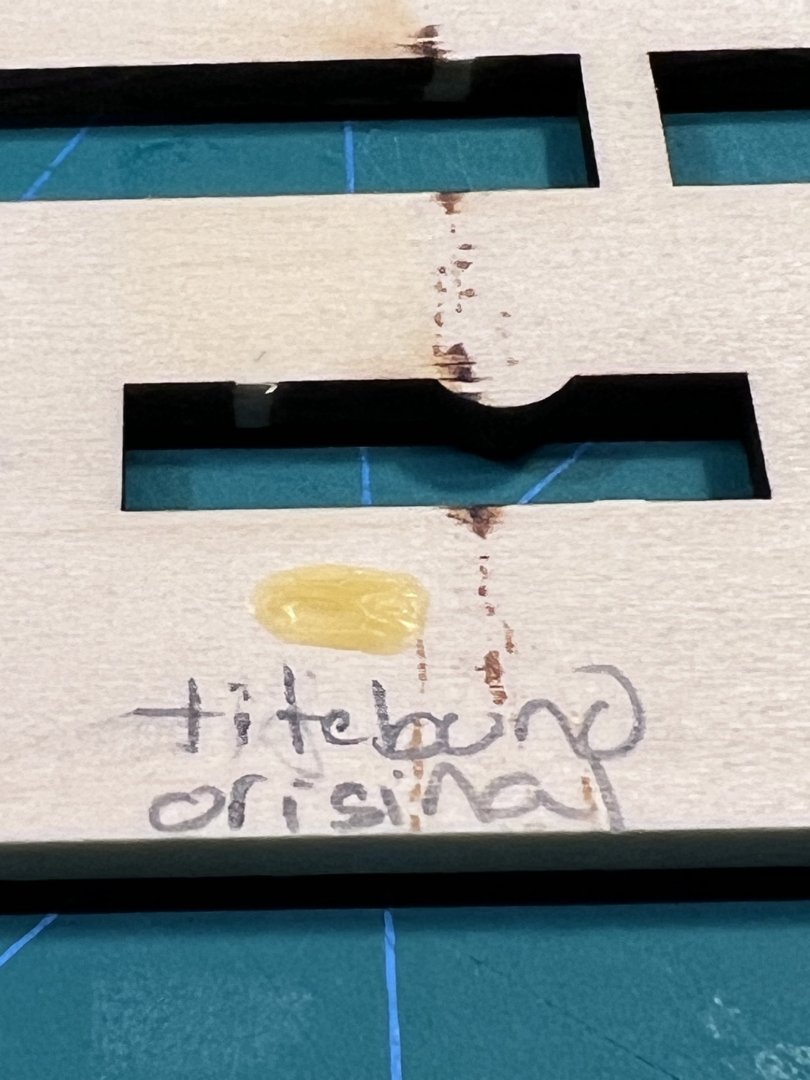
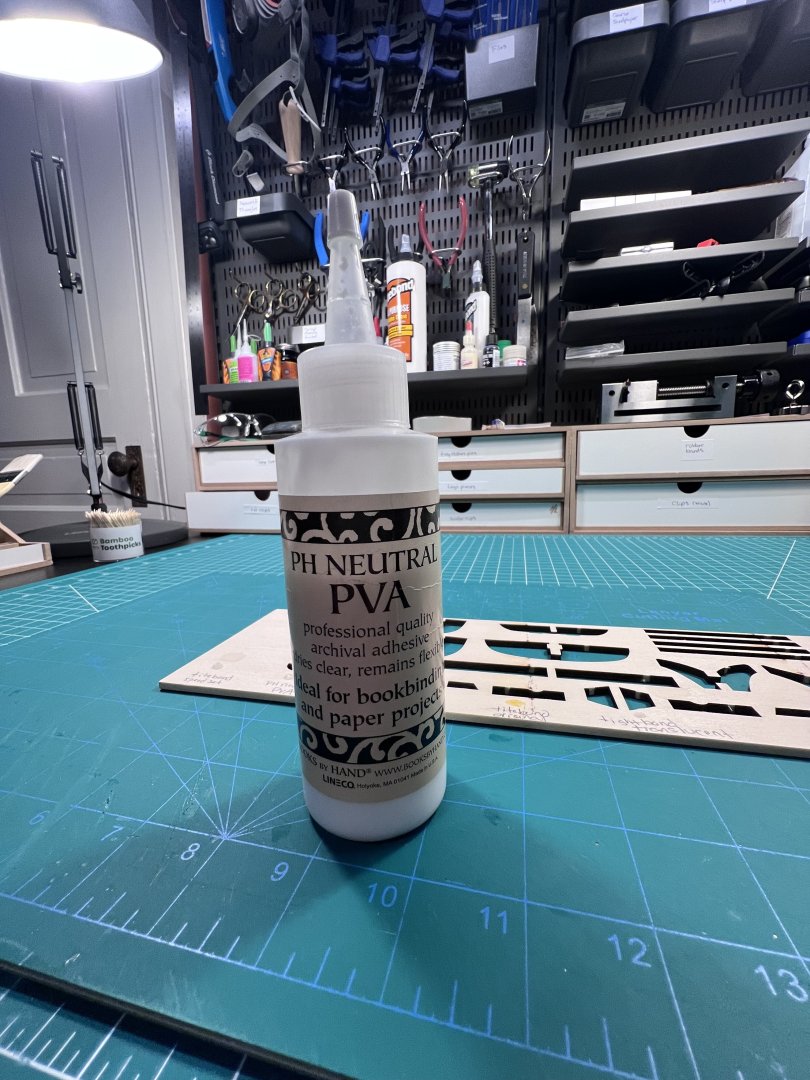
I had accumulated a few different glues. I had never compared them on their translucence - until now. Titebond original is bright yellow. Titebond Speed Set, Titebond White Glue, and Titebond Transluscent are variously white to semi-opaque. PH Neutral PVA (bookbinders glue) is nearly clear. I’m going to relegate the original Titebond to the cellar. I’ll use the others when I’m pretty sure I won’t accidentally get some glue on bare wood - and if I do I’ll scrape it off before it dries. I’ll use the PH Neutral bookbinders glue for times when I want a clear glue - like when using a diluted PVA on ratlines.


- 38 replies
-
- 5
-
-
- crabbing skiff
- Chesapeake Bay crabbing skiff
- (and 2 more)
-
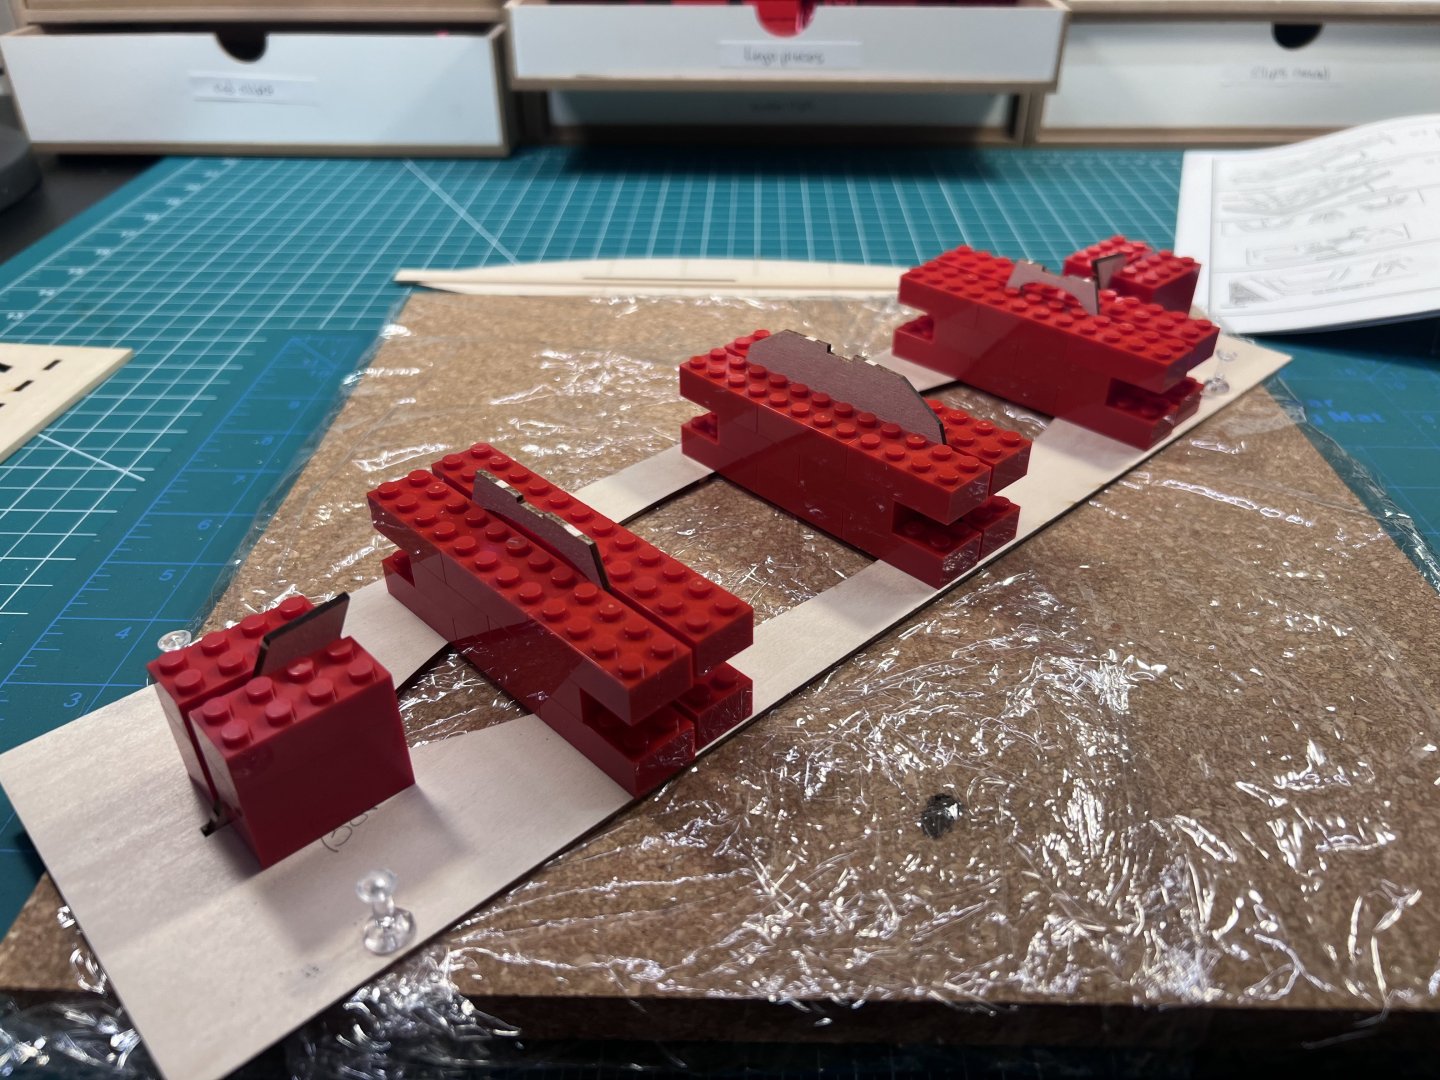
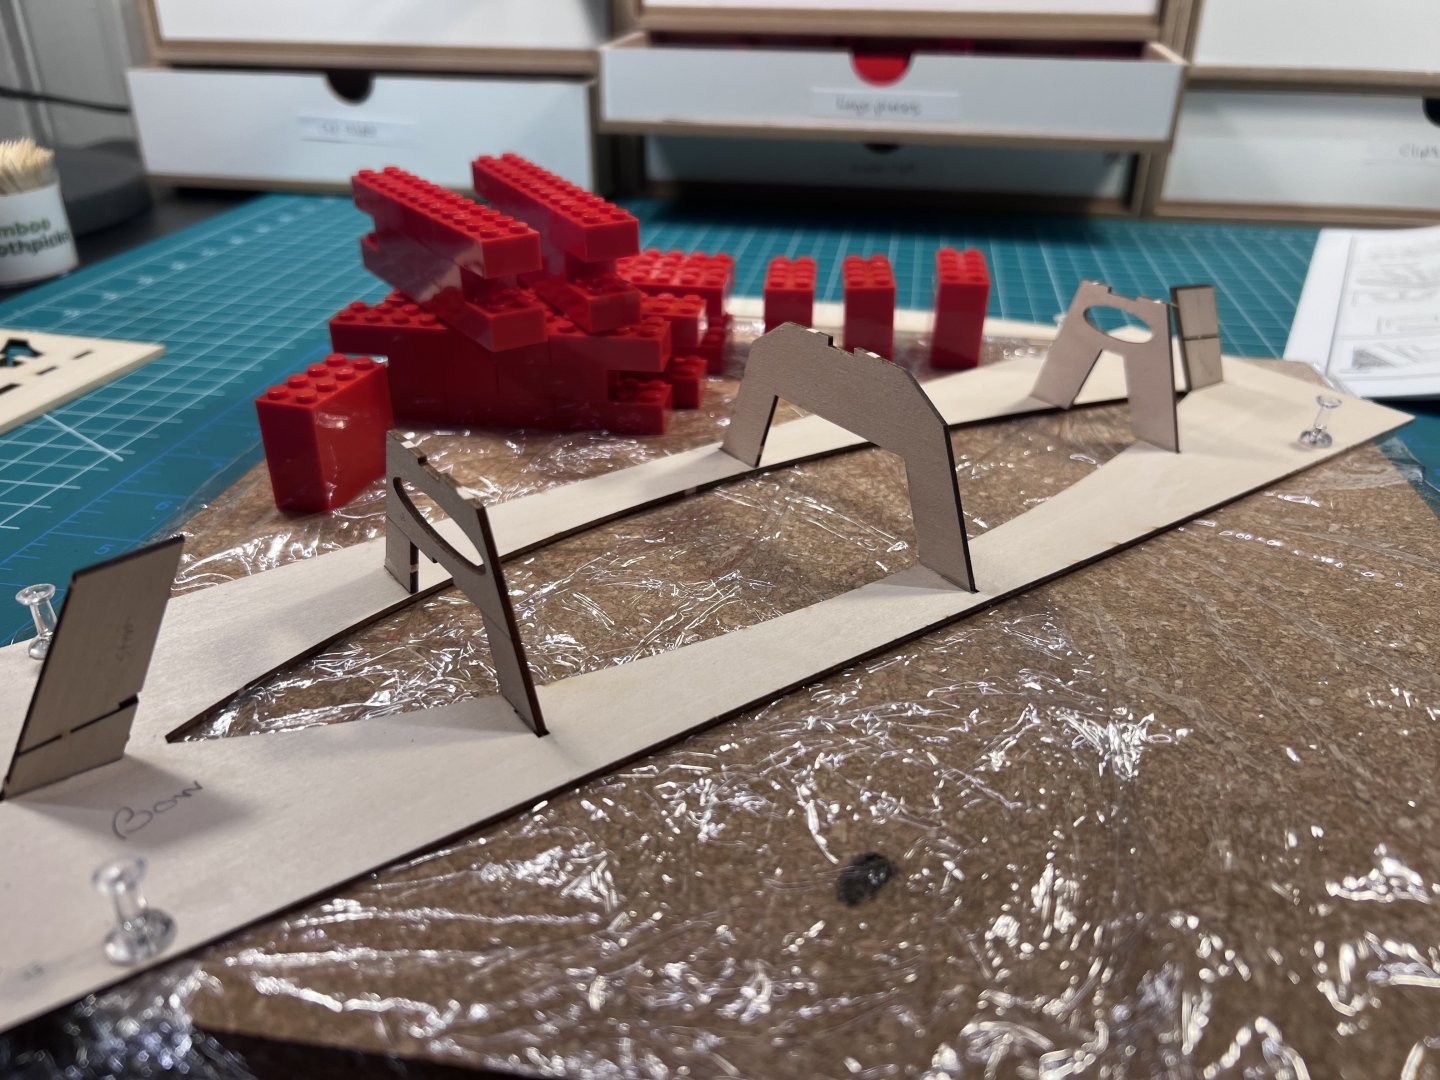
The instructions call for making a makeshift “square” from the corner of a square sheet to align vertically the frame pieces, one of which will be removed later. Lego pieces work better - better even than using a real triangle or square.
- 38 replies
-
- 3
-
-
- crabbing skiff
- Chesapeake Bay crabbing skiff
- (and 2 more)
-
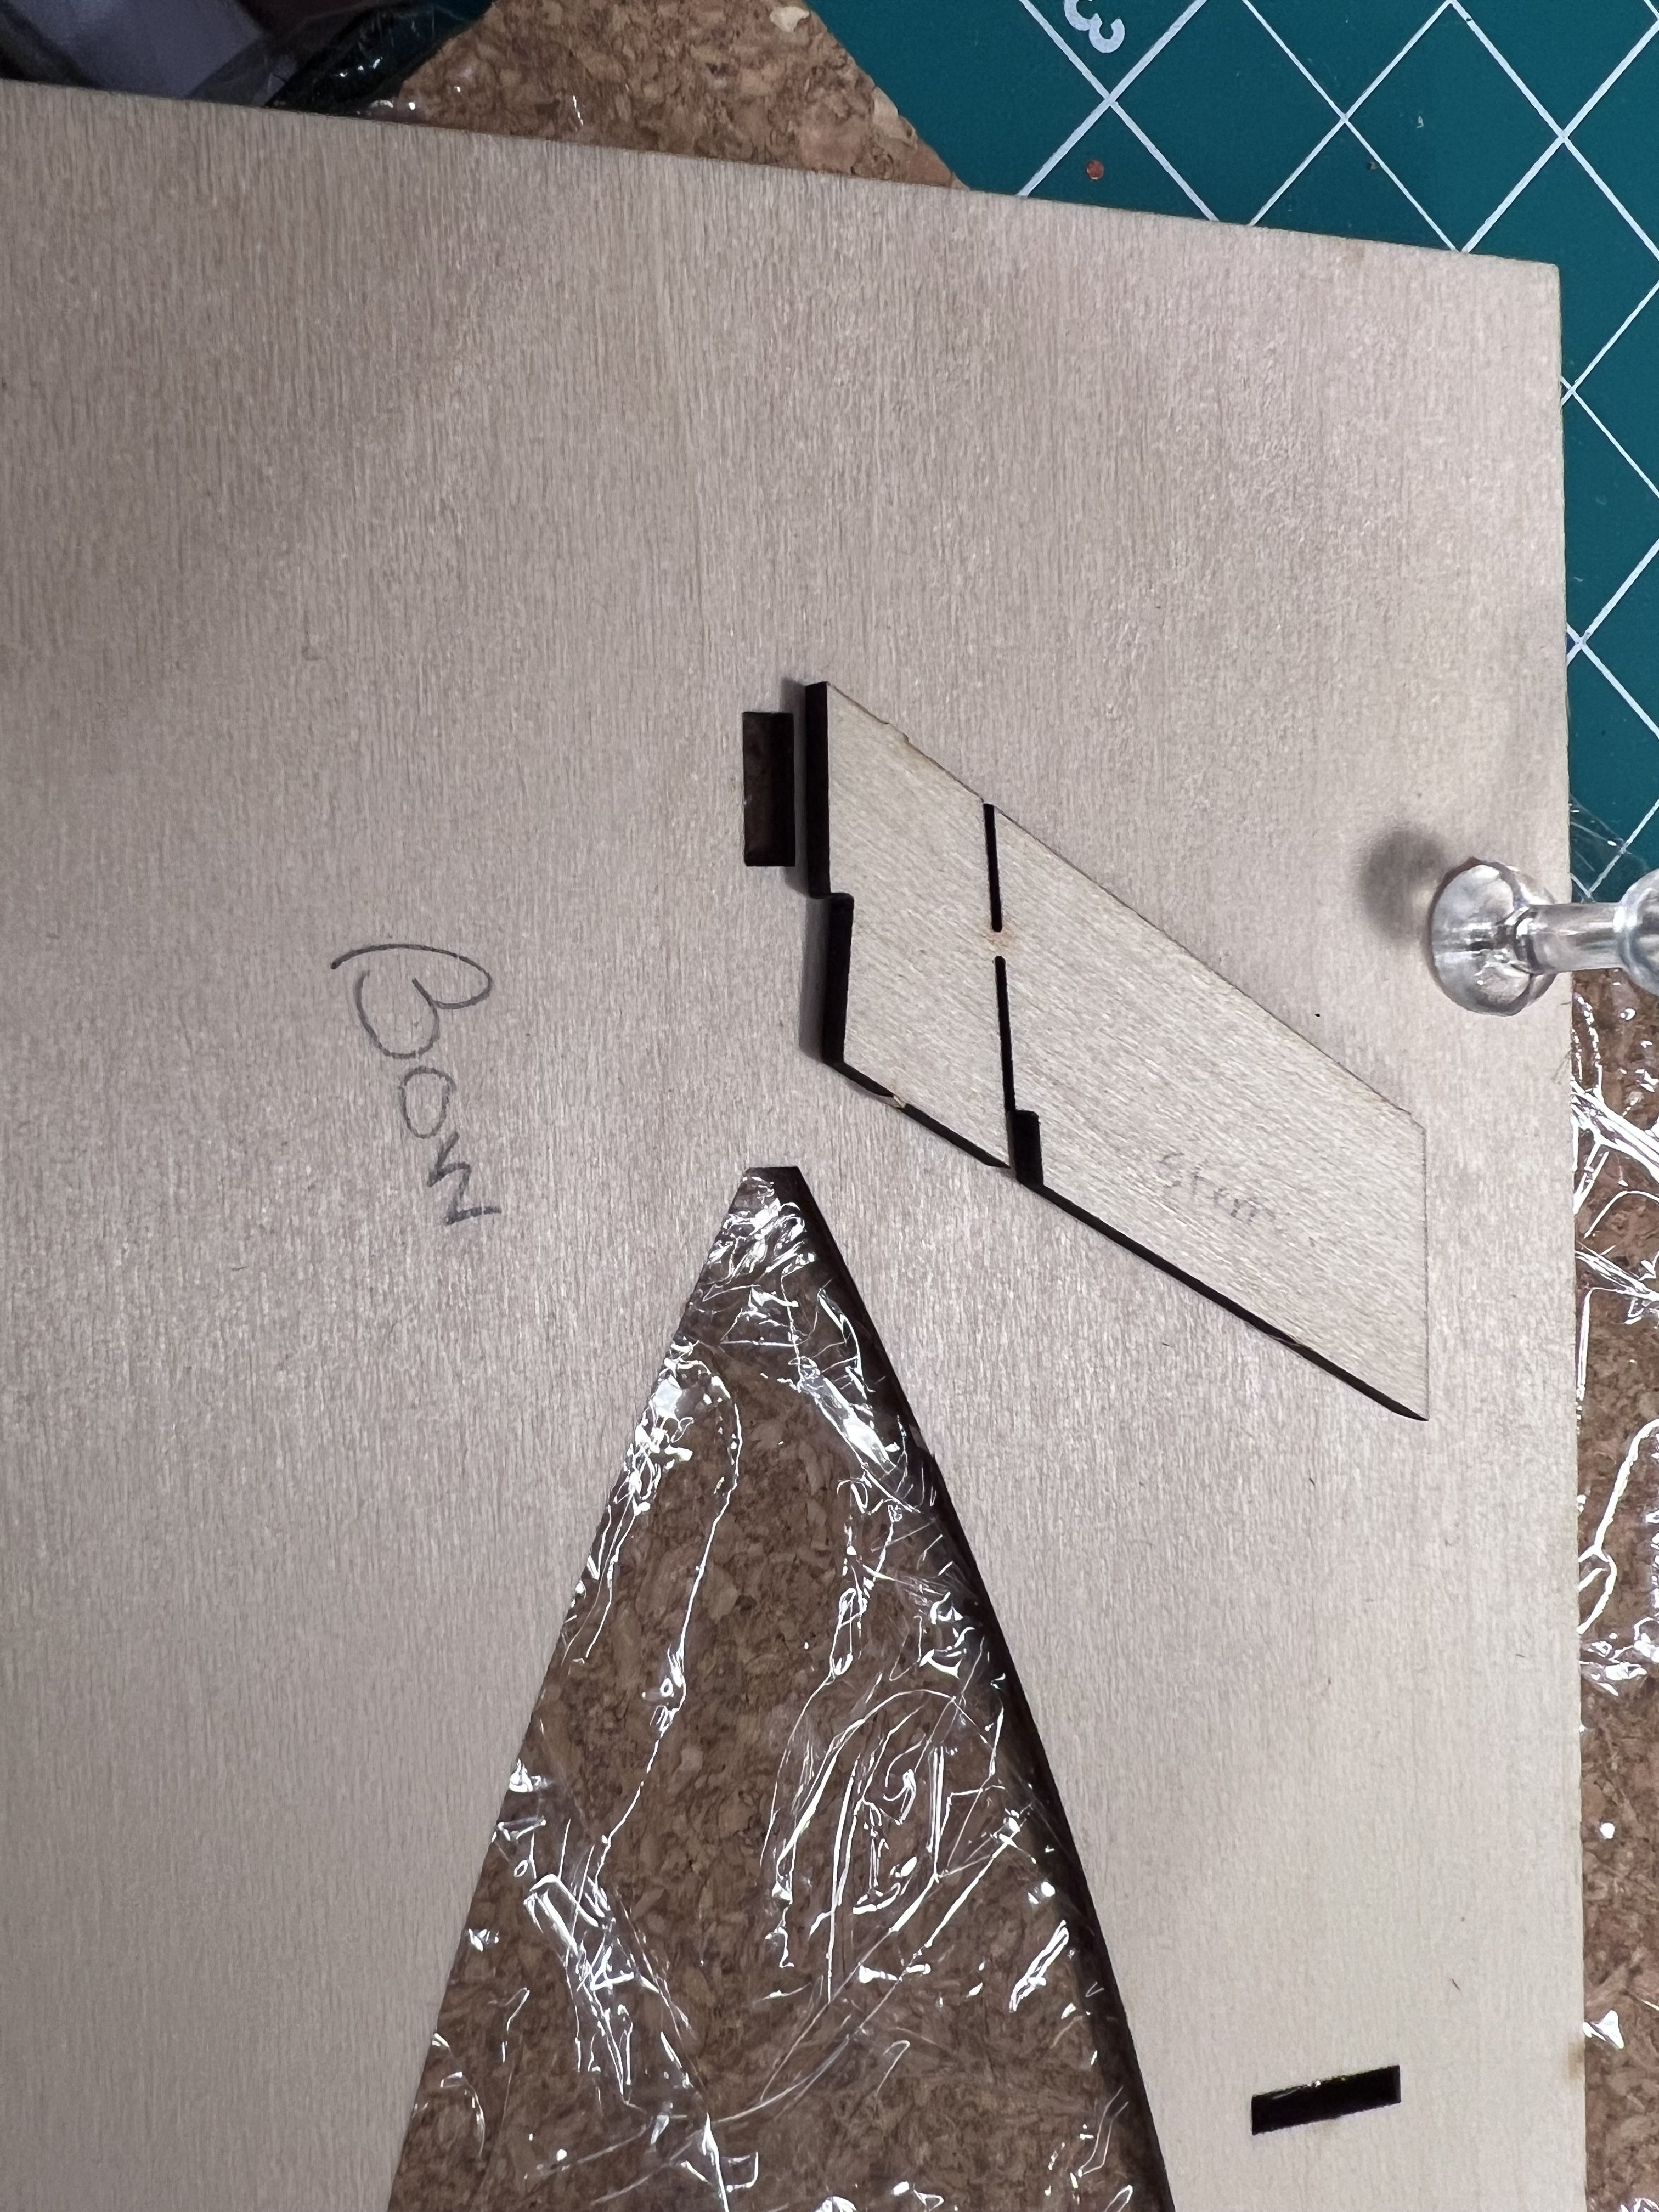
Well, the frustration begins. The stem and sternpost are supposed to slot into the building board but the tabs on the piece are not the same size as the slot they are supposed to fit into. (Easy enough to just cut the slot out longer, but given that this is a relative beginner model it’s the kind of thing that can stop a beginner in their tracks. A lesson you learn is that you can and you need to improvise and treats these errors in the model as small puzzles you need to solve. I just don’t know why model kit companies don’t see it in their interests to try to minimize these basic errors, especially in starter kits.)

- 38 replies
-
- 3
-
-
- crabbing skiff
- Chesapeake Bay crabbing skiff
- (and 2 more)
-
It's been interesting watching Olha Batchvarov's build of the Gunboat Philadelphia on YouTube. The planking is different (it's wide sheets of basswood that are too thin to edge bend), so don't use it as a how-to for the kind of planking you're doing. What's been eye-opening for me is how long someone with that much experience takes to get a piece of planking on the hull or the deck just right. It's cutting, checking, sanding, maybe some more cutting, checking, some sanding, checking, sanding, checking, sanding some more, checking, checking again, some more sanding. I know she's more efficient than most people watching her channel. But I could certainly imagine that some who have built that model just glue the pieces in place with a couple cuts and get the model "completed' way more quickly than she does. Expertise makes things quicker. But it's really seemed to me to be a place for lots of patience. Watching her video has helped me realize that I'm not doing something wrong if it takes me a while and sometimes I just need to toss a strip and start over. The NRG Half Hull model also helped me understand the shapes that pieces of planking have to take. That model uses a different approach in that you cut out the planks from large sheets of basswood to the right size to fit the 3D geometry instead of using long thin strips of wood bent to shape. Edge bending of planks is a different technique. But the Half Hull helped me get a better mental image of what I was trying to achieve by bending planks in two orthogonal directions and the shape I was trying to achieve when fitting a piece onto a 3D hull.
- 19 replies
-
- 10
-
-
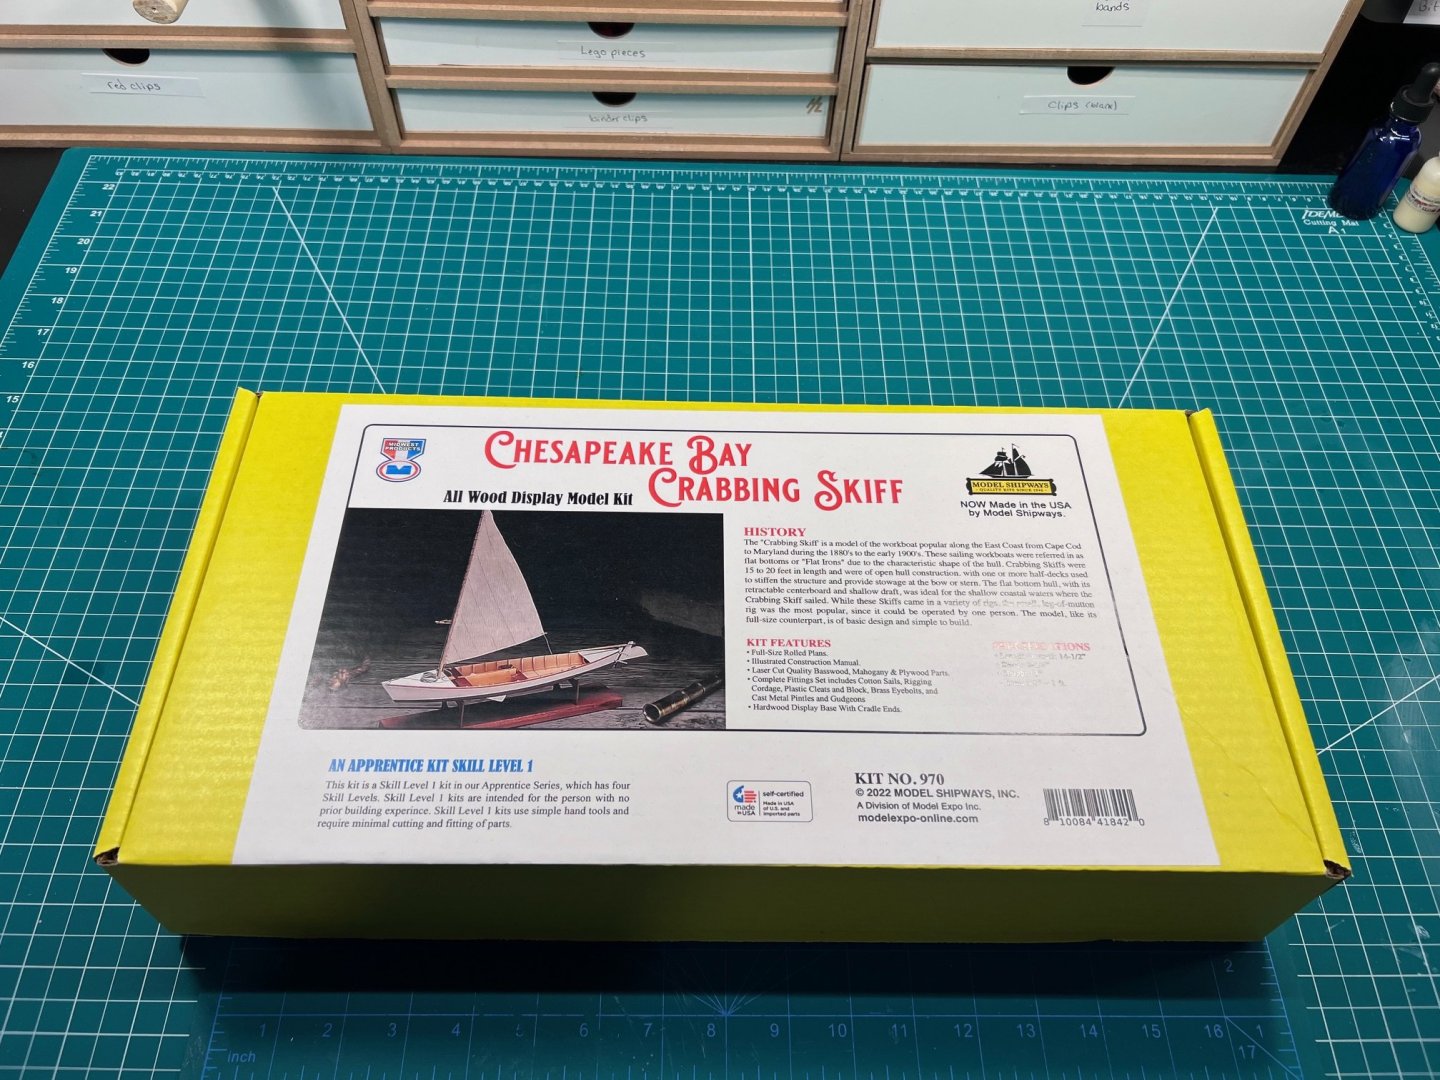
I won the Chesapeake Bay Crabbing Skiff (Midwest Products) on Olha Batchvarov's YouTube channel a couple months ago. Model Expo / Model Shipways has some kind of sponsorship with Olha's channel and they send her their model kits for unboxing videos and then she raffles those kits away. My understanding is that Model Expo / Model Shipways bought out the Midwest catalog and they've been slowly reissuing the Midwest models, starting - I've heard - with the simpler kits. Having worked on a couple of the Midwest reissues, it seems like not a whole bunch has changed in the models from how they were originally published, though sometimes there are differences between the instructions and how the pieces are laid out on the boards (creating all sorts of confusion that I hopefully won't suffer from on this build). I can also imagine that some of the pieces like blocks will be different from the originals. There have only been three other builds of this model, the latest finished in 2019. I think I have enough experience that this should be a relatively easy and perhaps quick build. With the new semester starting - my first class is on Thursday - I wanted something simple to work on. I'll be getting back to the Ranger soon too, with the rigging and sails next to come.


- 38 replies
-
- 6
-
-
- crabbing skiff
- Chesapeake Bay crabbing skiff
- (and 2 more)
-
This weekend, I bought some black fabric and I’m going to try to use my nice camera to take some nicer photos with a black background. It might take a bit of playing around. I’ve been reading the section of photographing models.
-
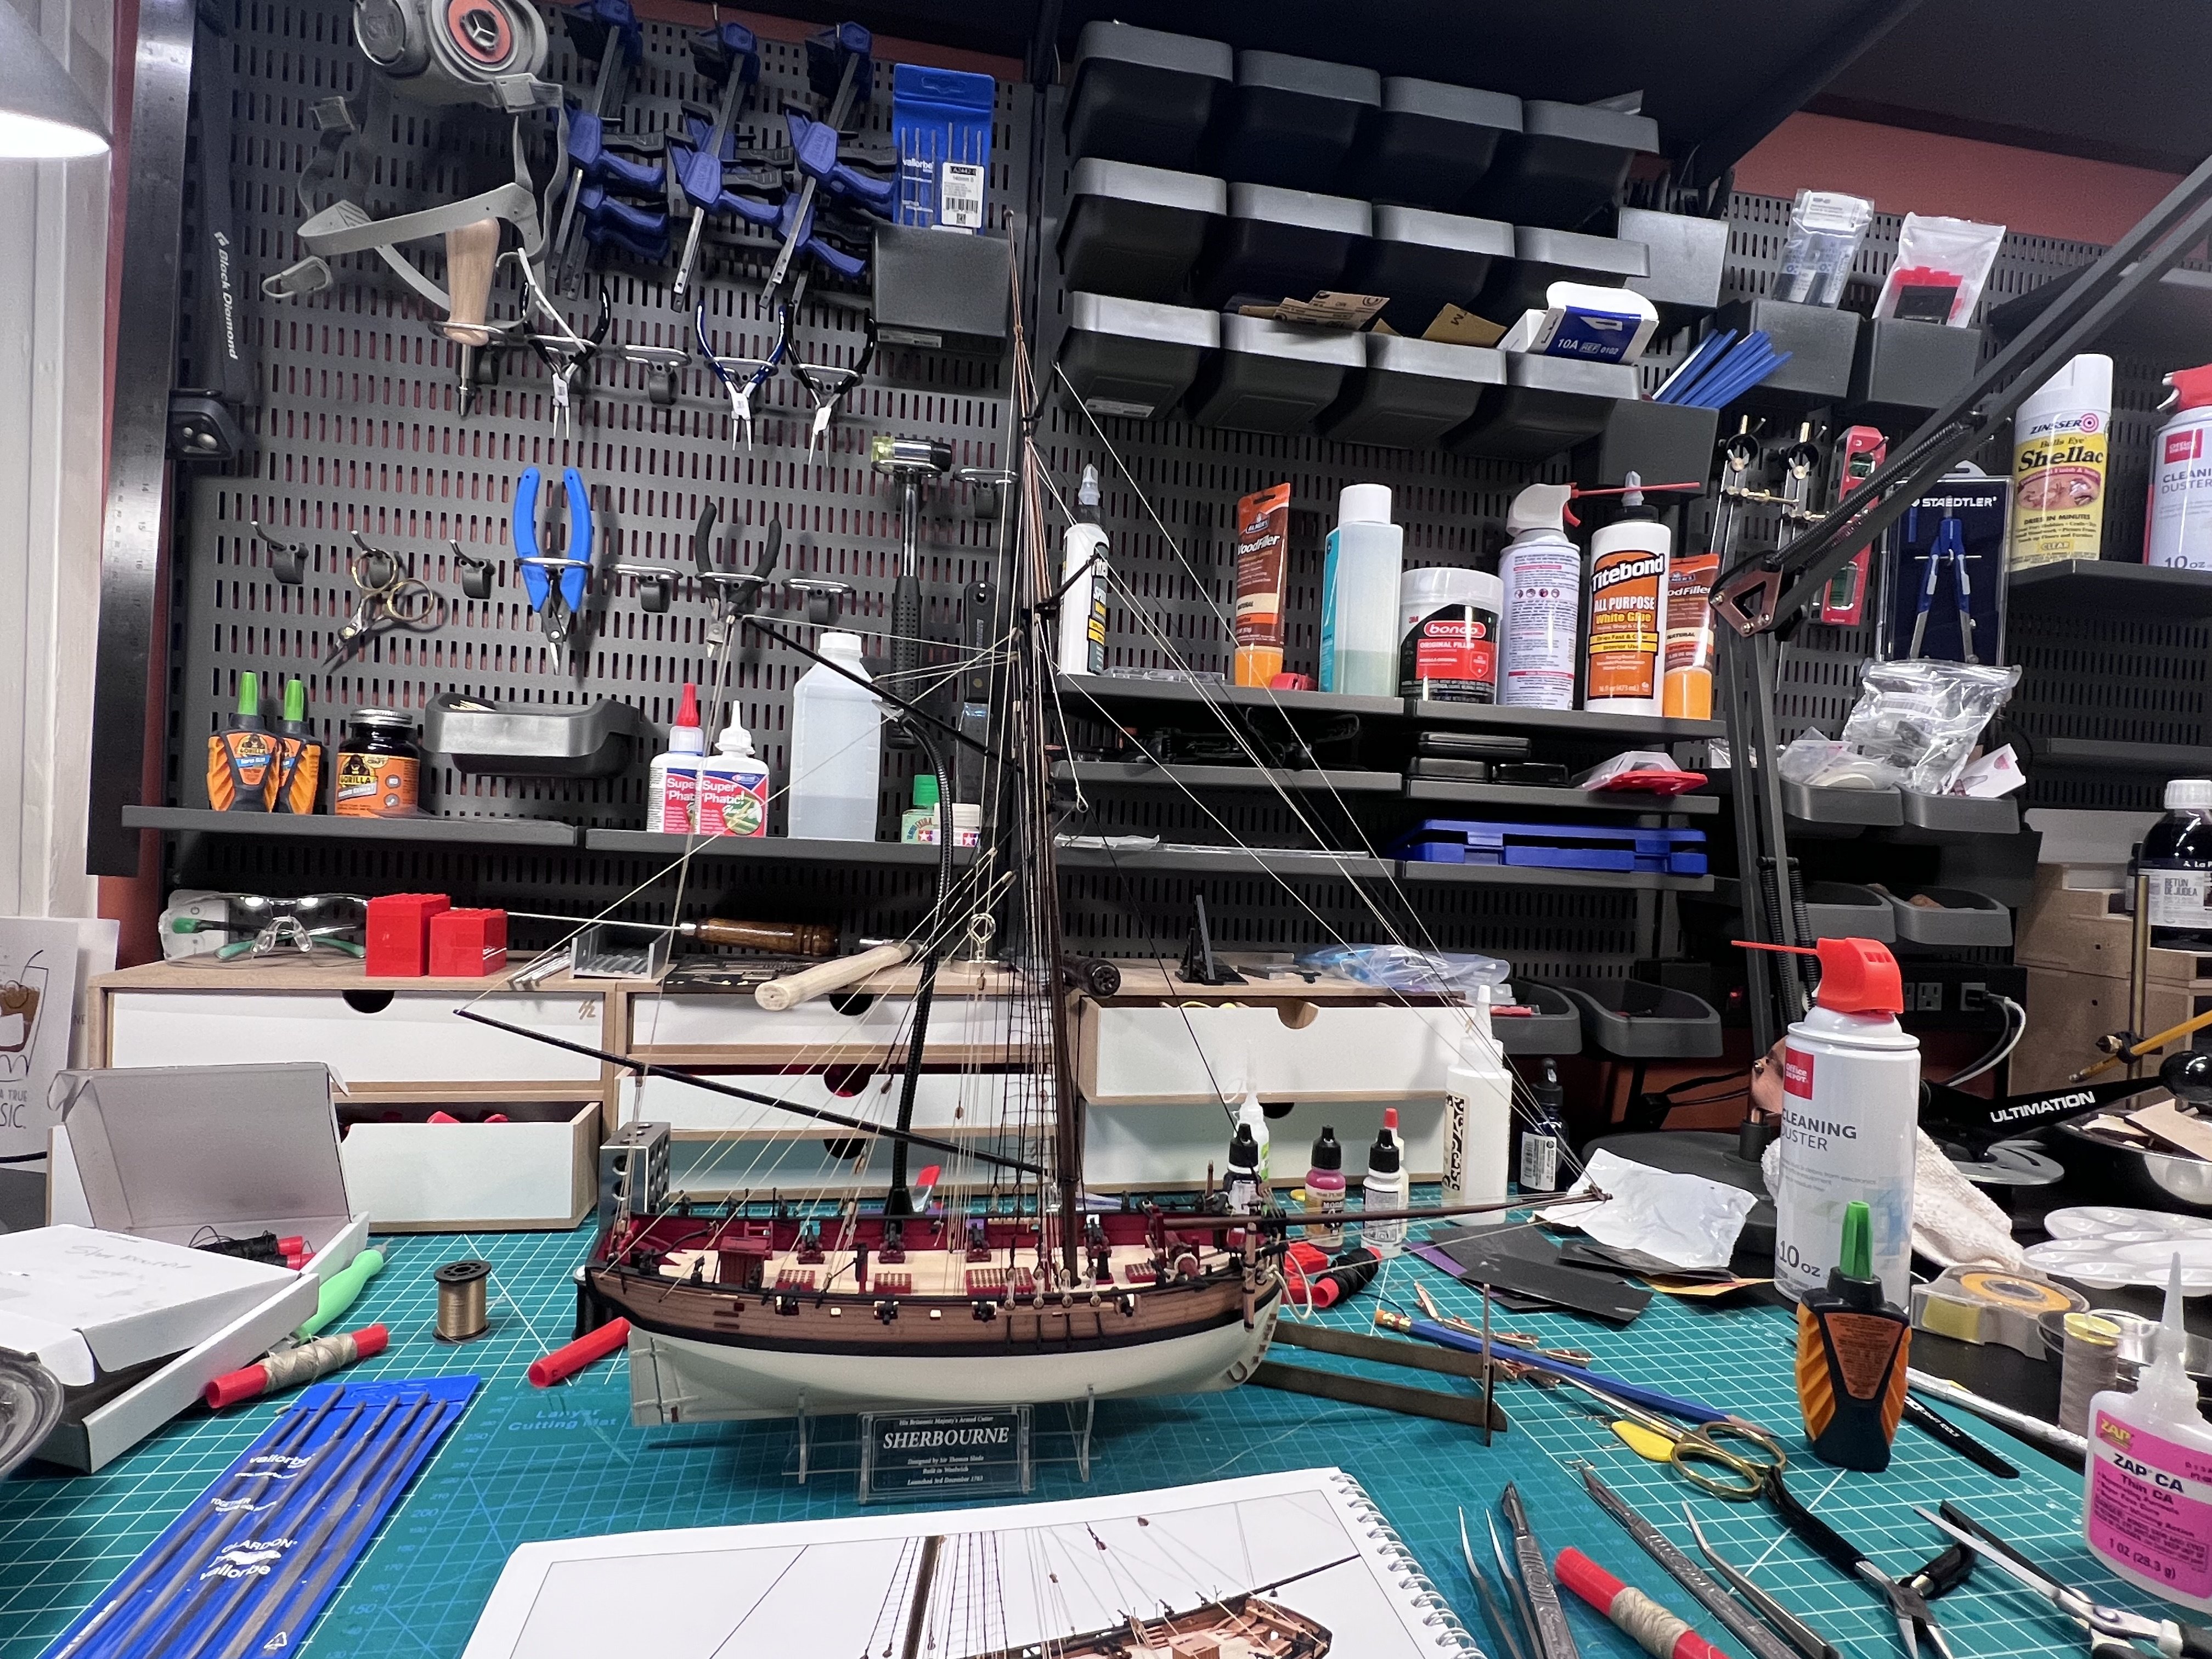
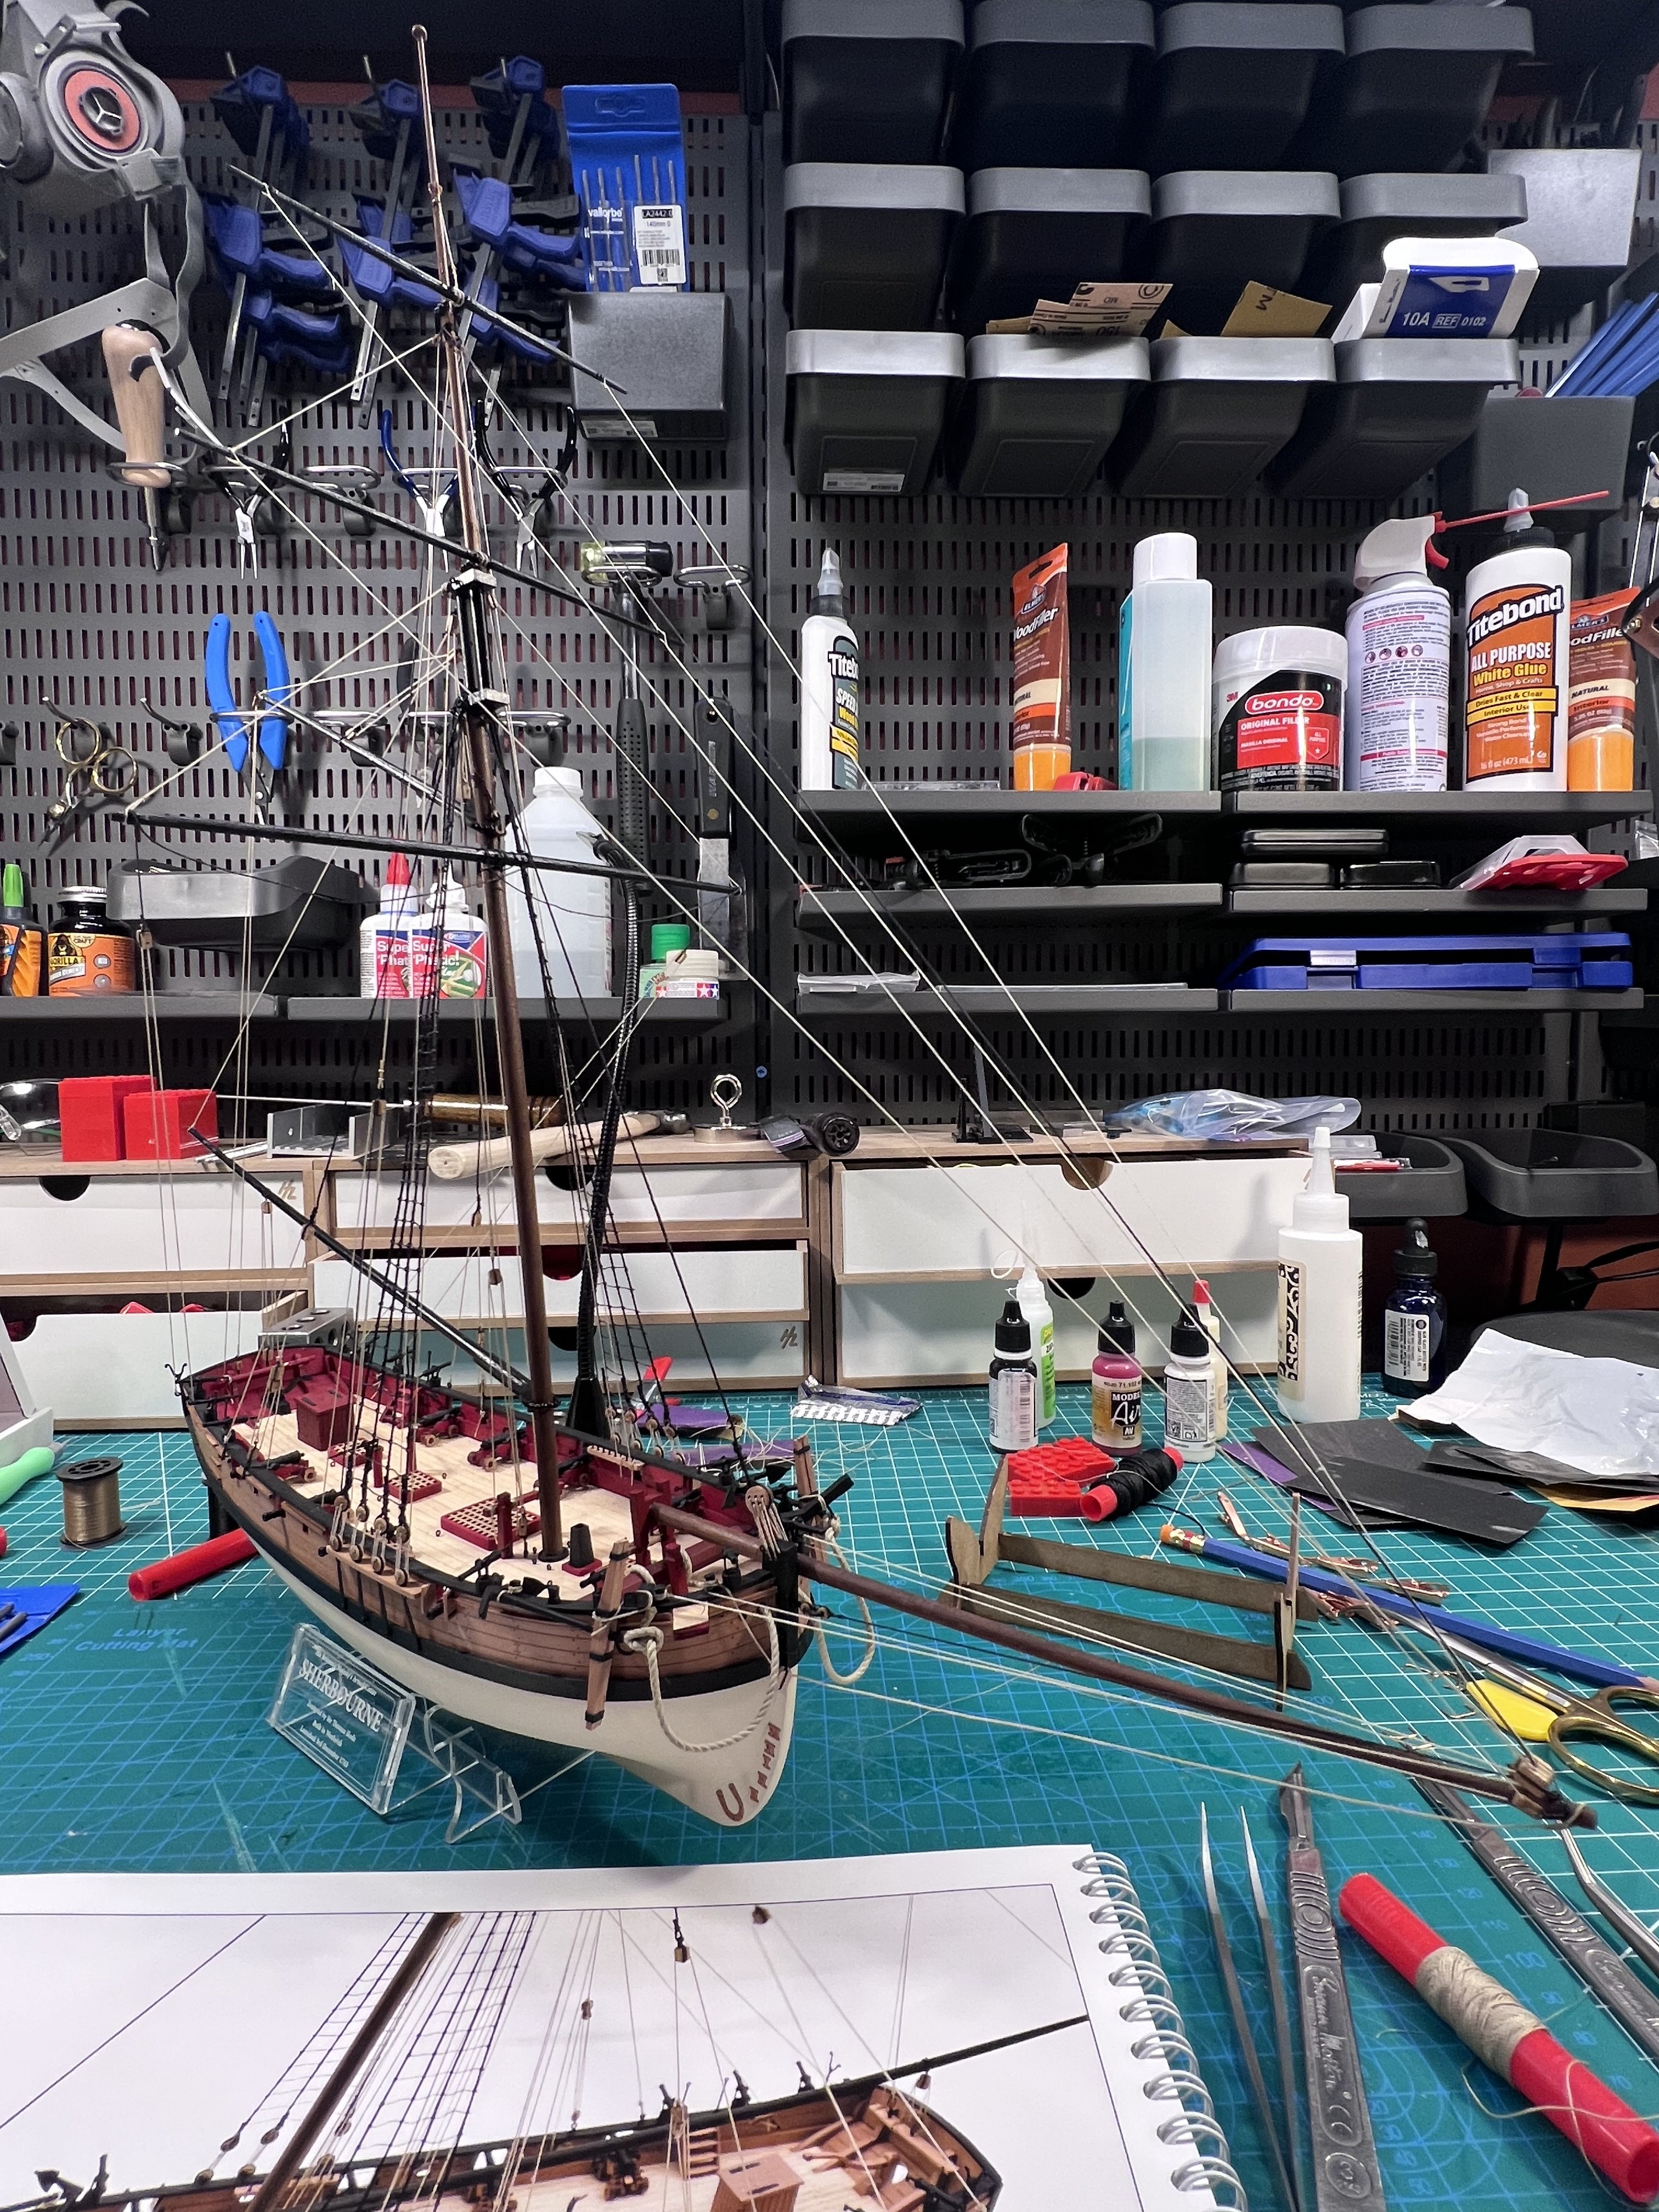
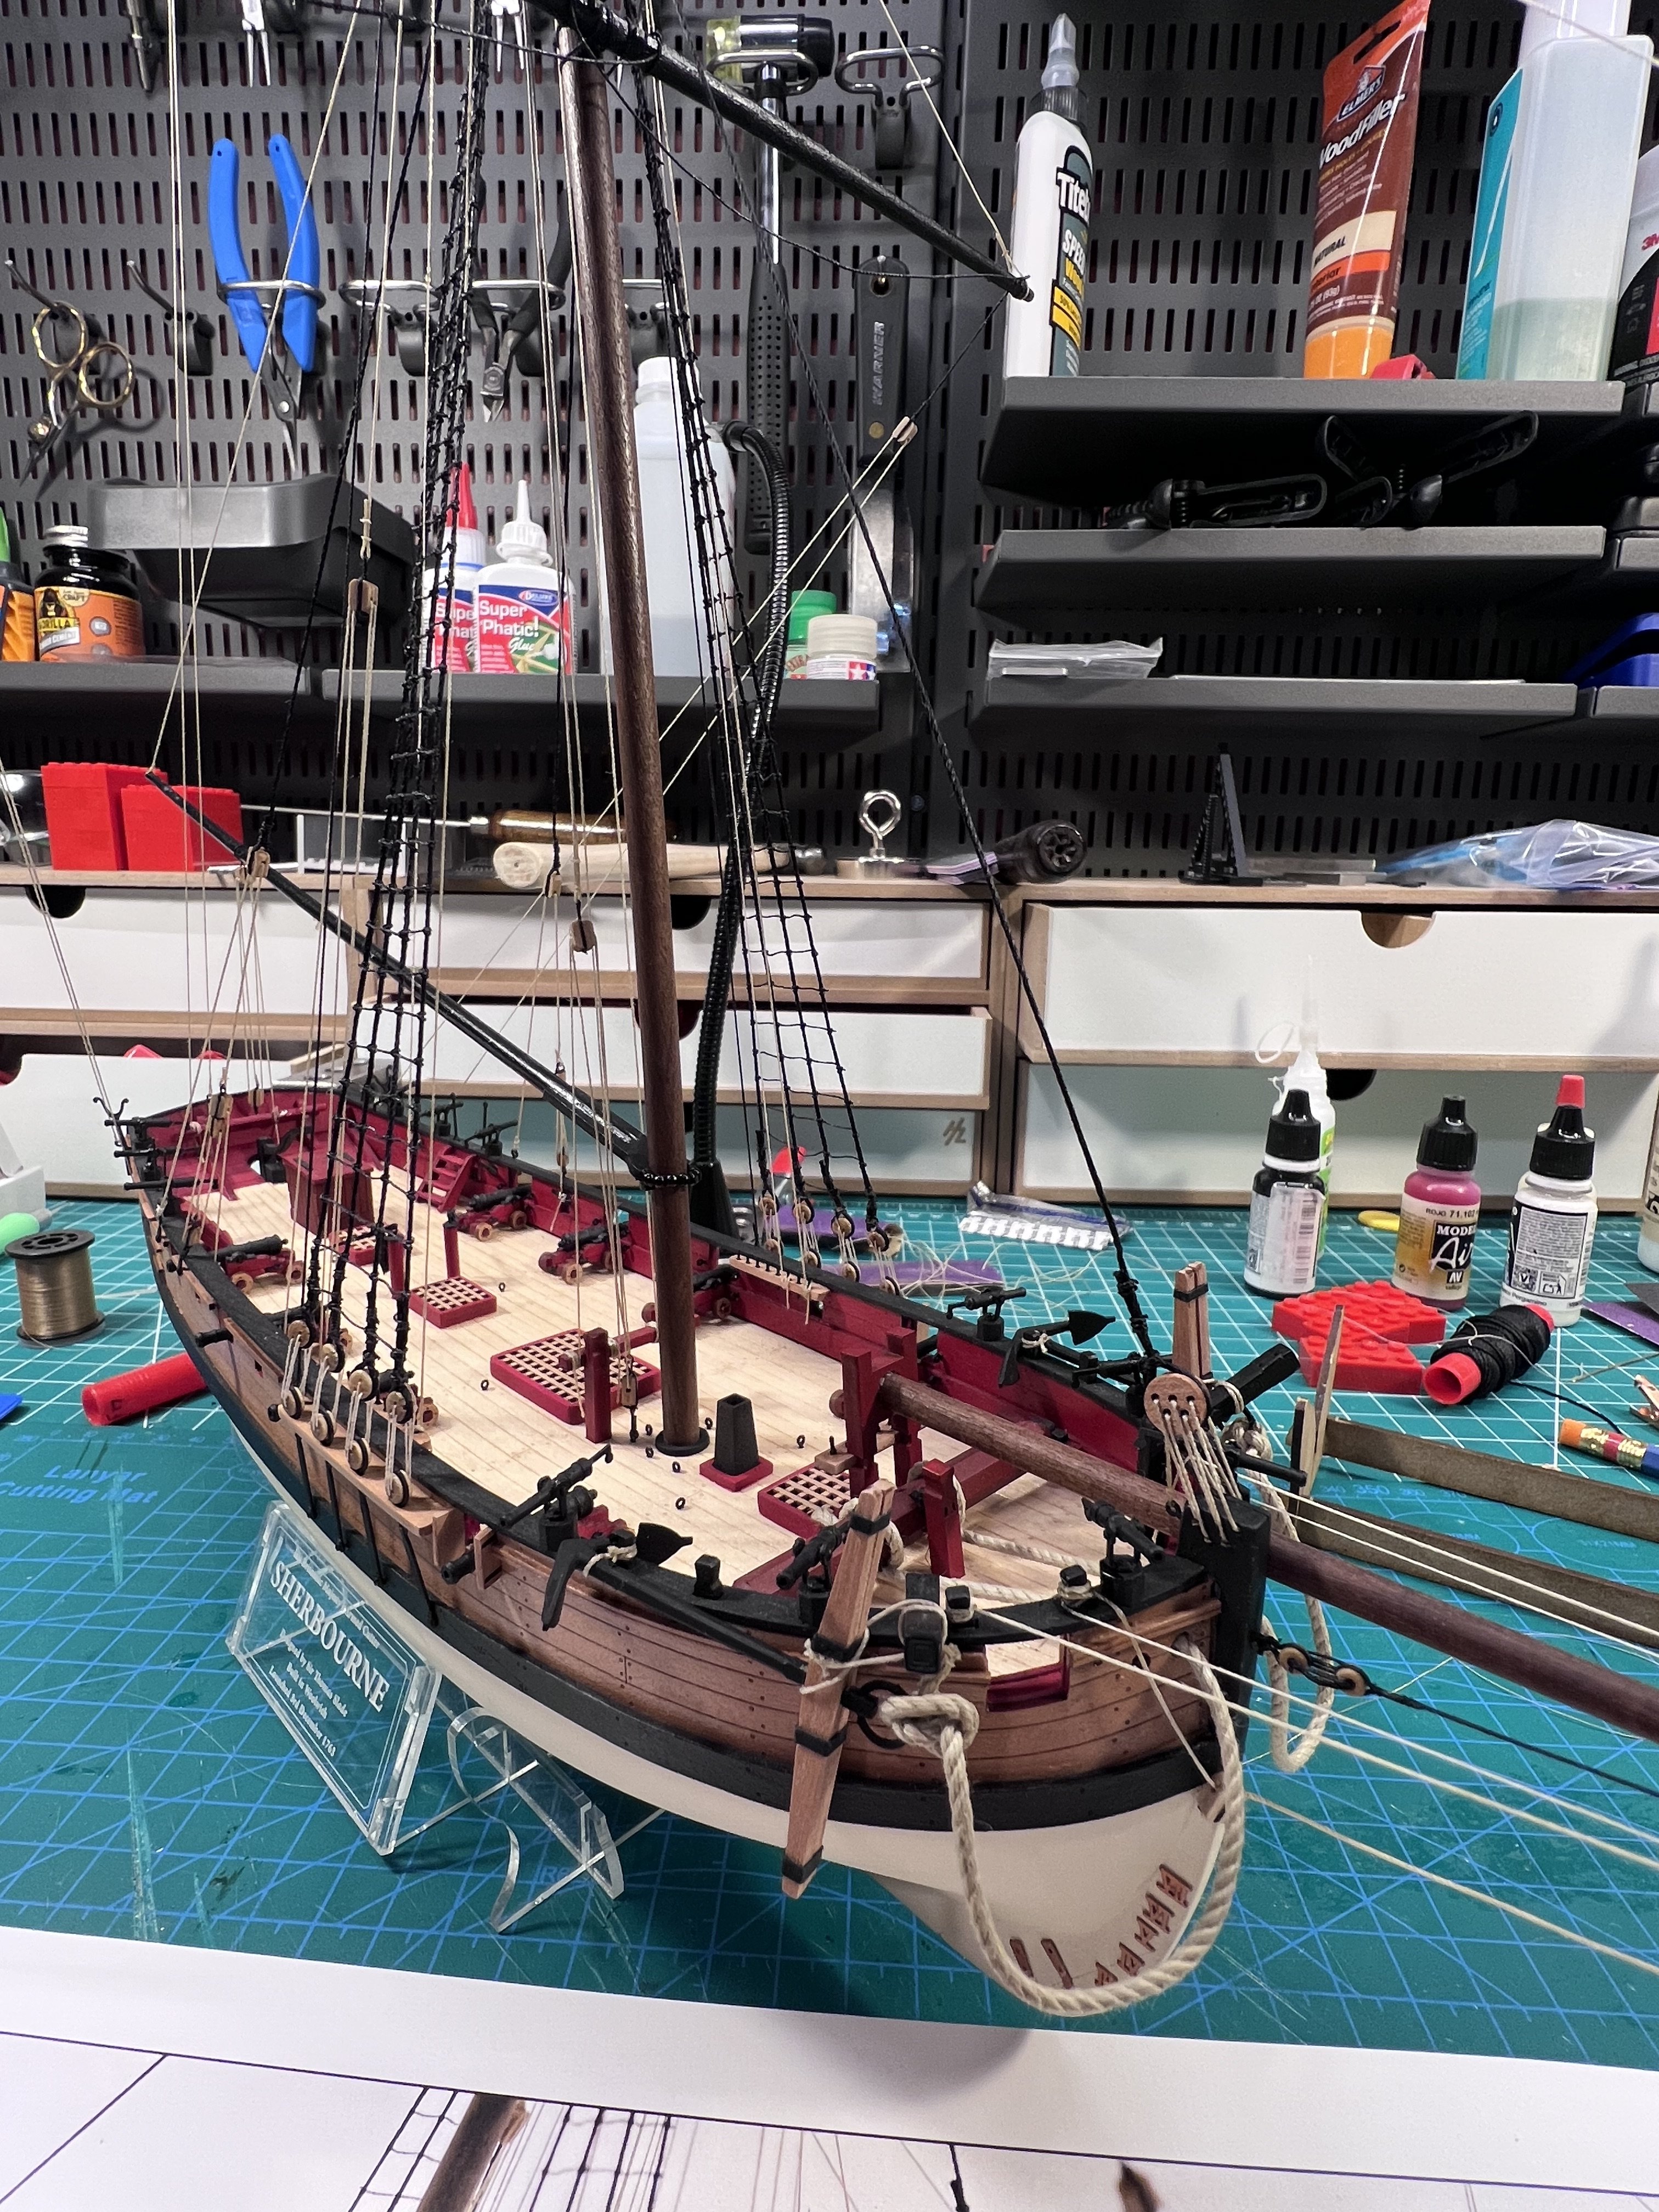
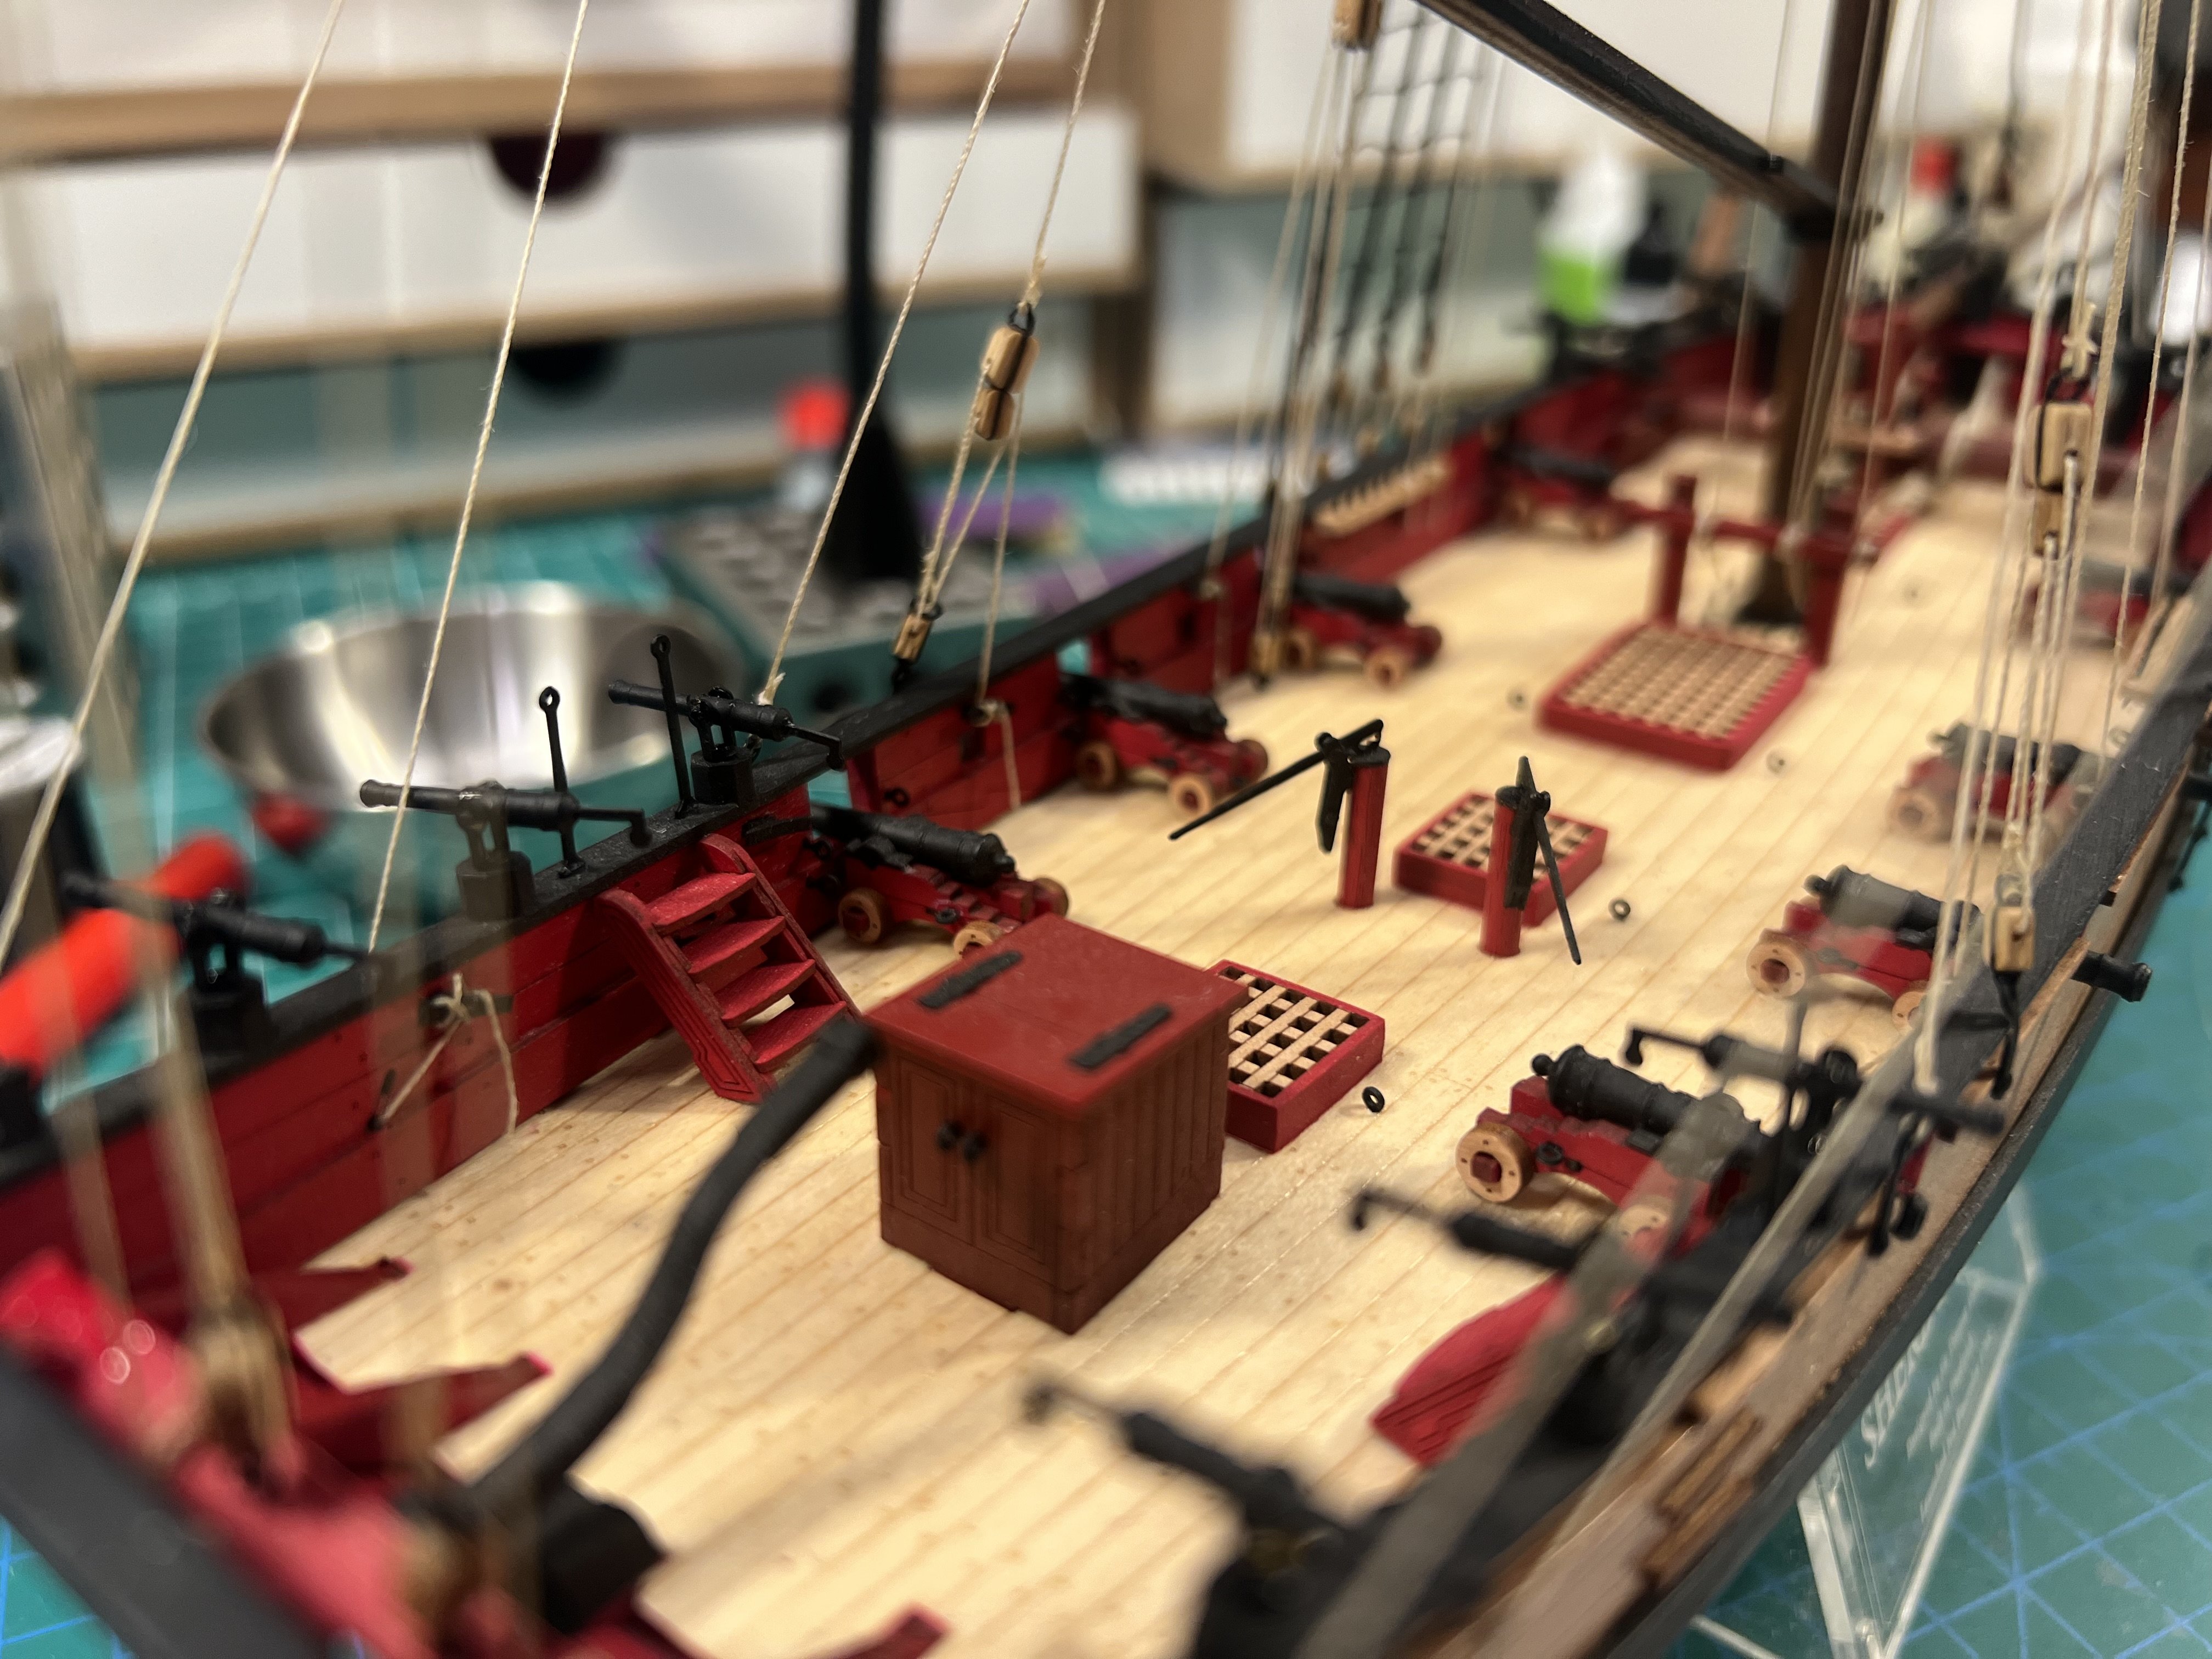
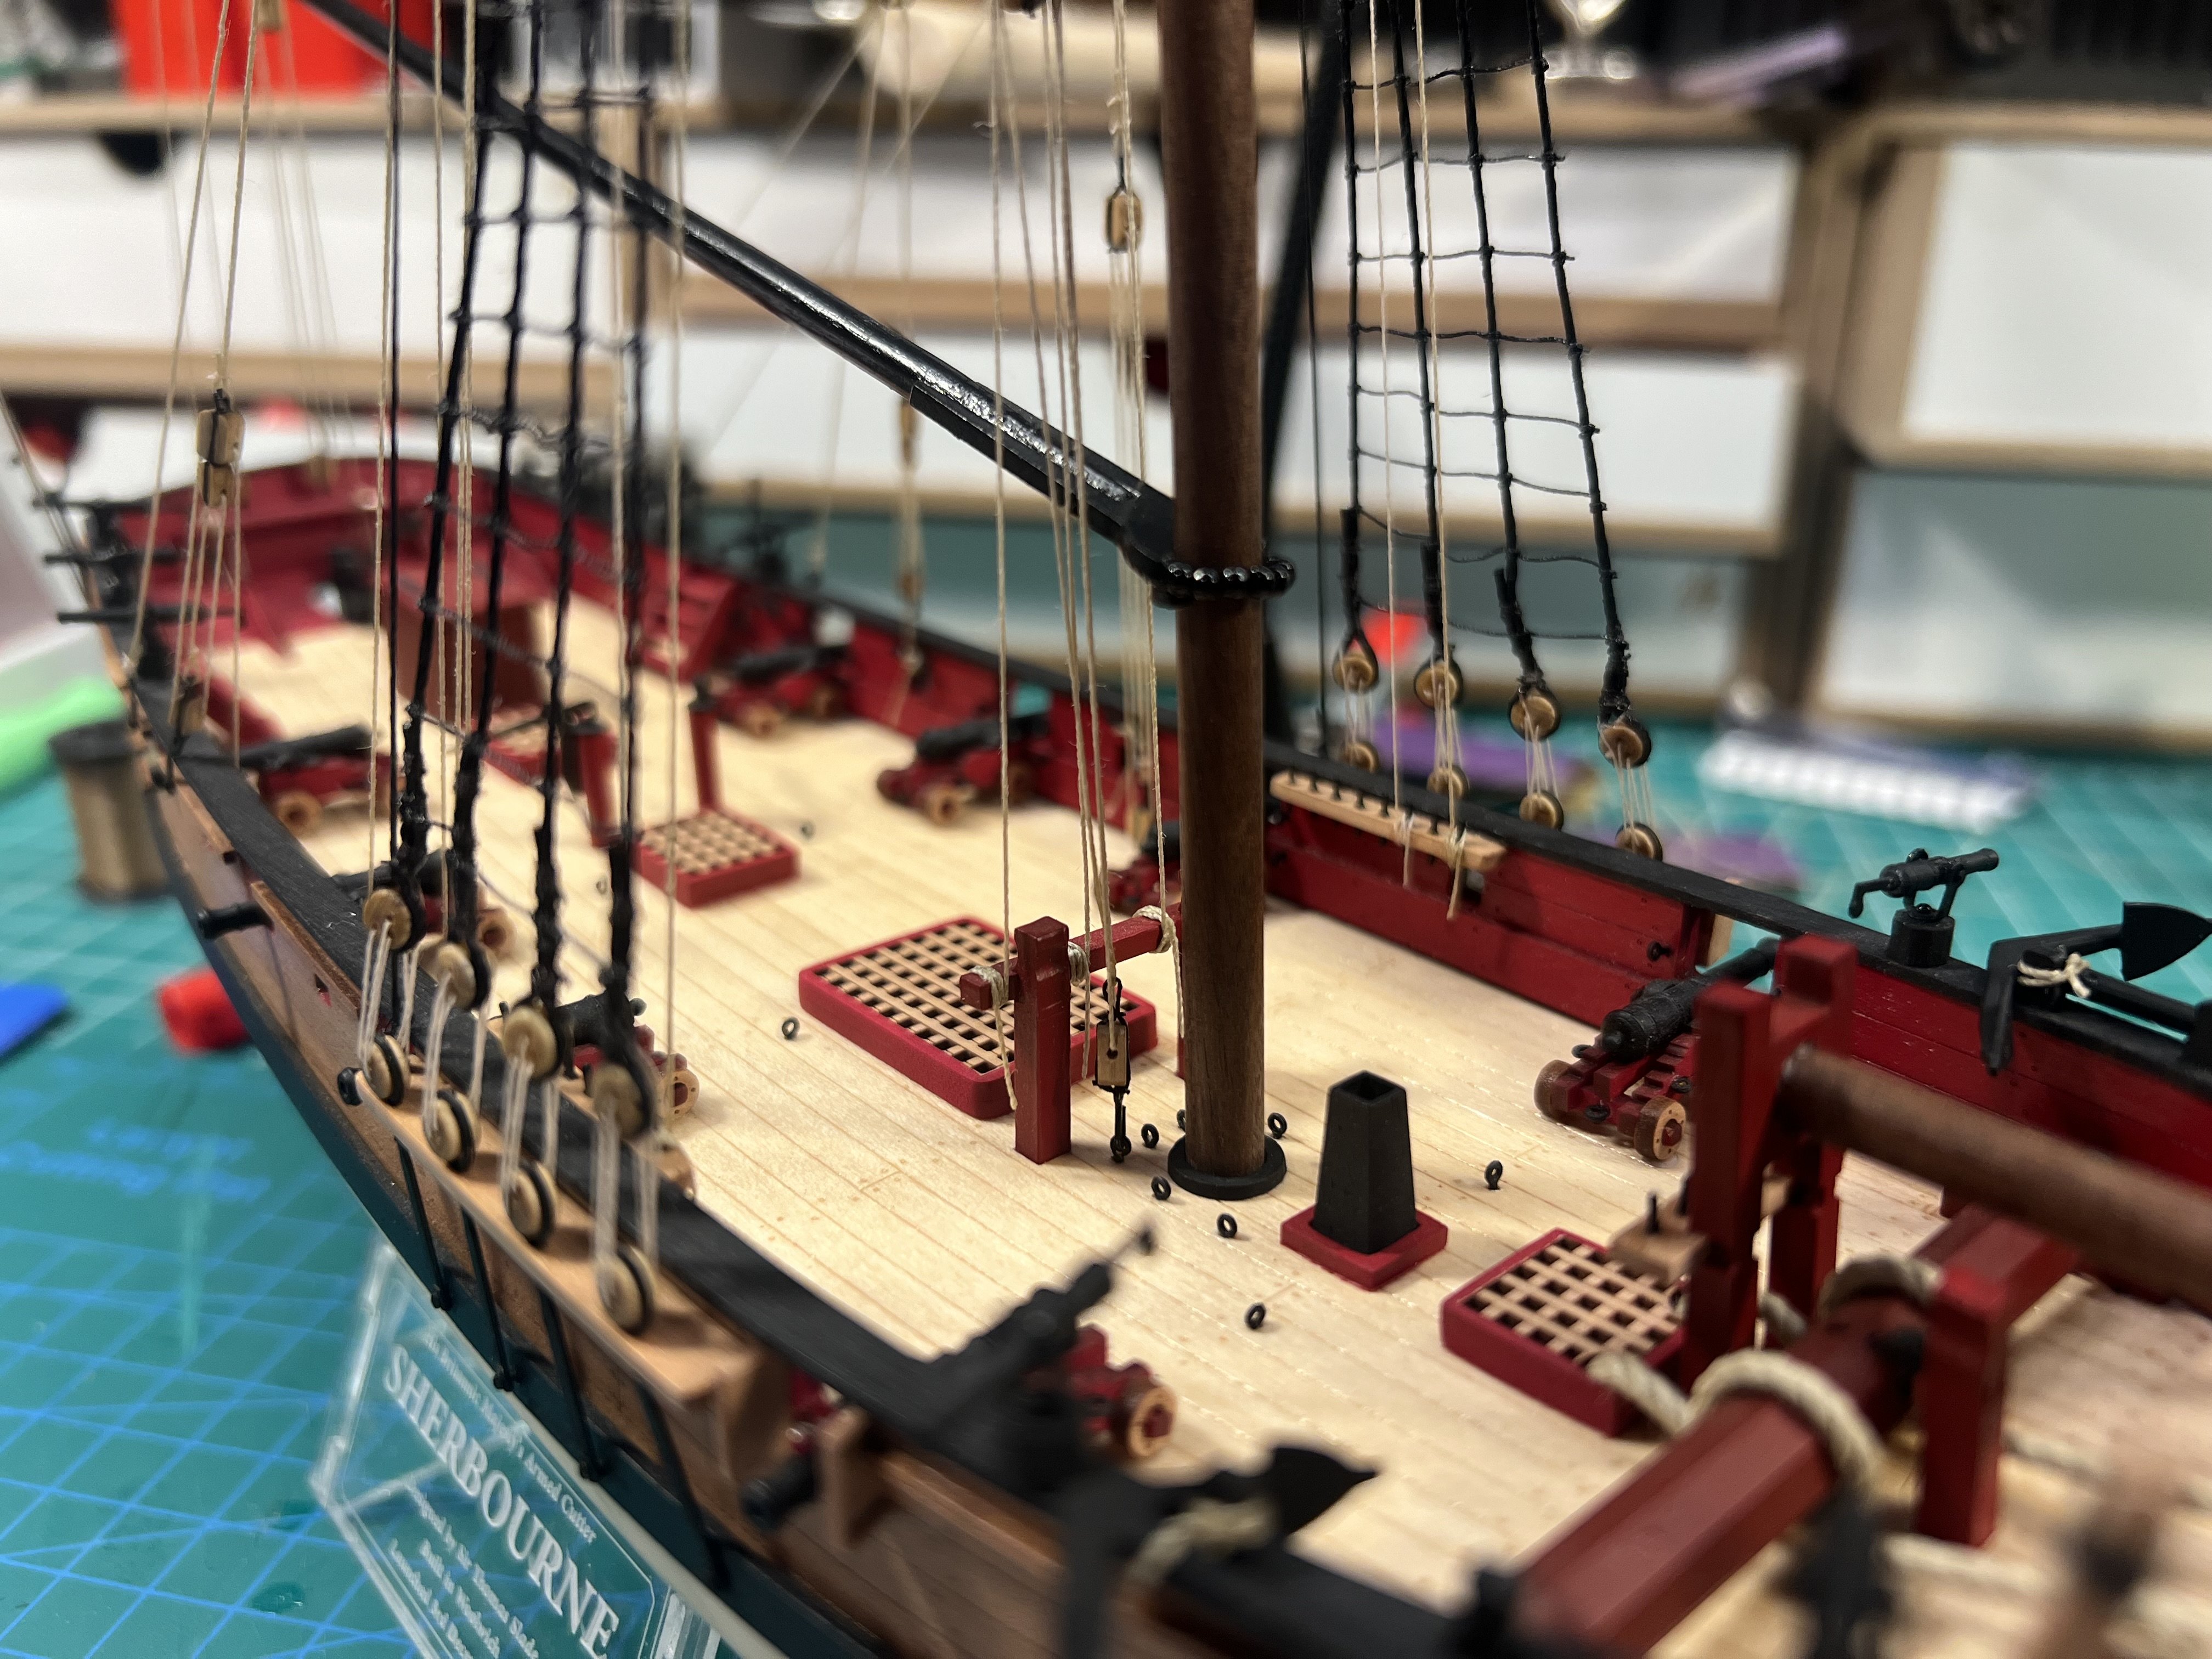
Well my first model is done. The first model I started, a little over a year ago. My first model, my first planking, my first real rigging. A model filled with more firsts than I can count. Along the way, I did complete five other (simpler) wooden ship models (and one Lego ship model). I did not step away from the Sherbourne over this past year because of any frustration with the model, but because I wanted to get some more practice on the fundamentals and to be able to take some time researching and learning about things like rigging - especially rigging. So my first model started, seventh completed. When I first decided last year to try out a wooden ship model, I really was at a loss as to what model to build. If I had not found this site, I probably would have equated wooden ship model difficulty with something like Lego model difficulty and bought a wooden ship model far beyond my ability (far beyond my ability now), gotten a few weeks into it, and packed it away in the cellar. The Vanguard Sherbourne really is a great first model. It's definitely a challenge. And not every step in the detailed instructions and plans are obvious to a complete novice, but the materials are fantastic, the instructions are clear, and there are lots of builds and videos on this particular model. What is especially rewarding about this hobby is that there is so much to learn at every step in building a model. It is really crazy that a complete novice like me can produce such a nice model. That's really testament to @chris watton and Vanguard models. Beyond Chris and Vanguard, there are way too many people to thank for all their comments and for their excellent build logs on the Sherbourne and other models. It would take too long to list them all, and at the risk of leaving out someone who provided really helpful guidance, I'll just send out a broad thanks to the modelshipworld community.


- 177 replies
-
- 18
-
-
- Sherbourne
- vanguard models
- (and 3 more)
-
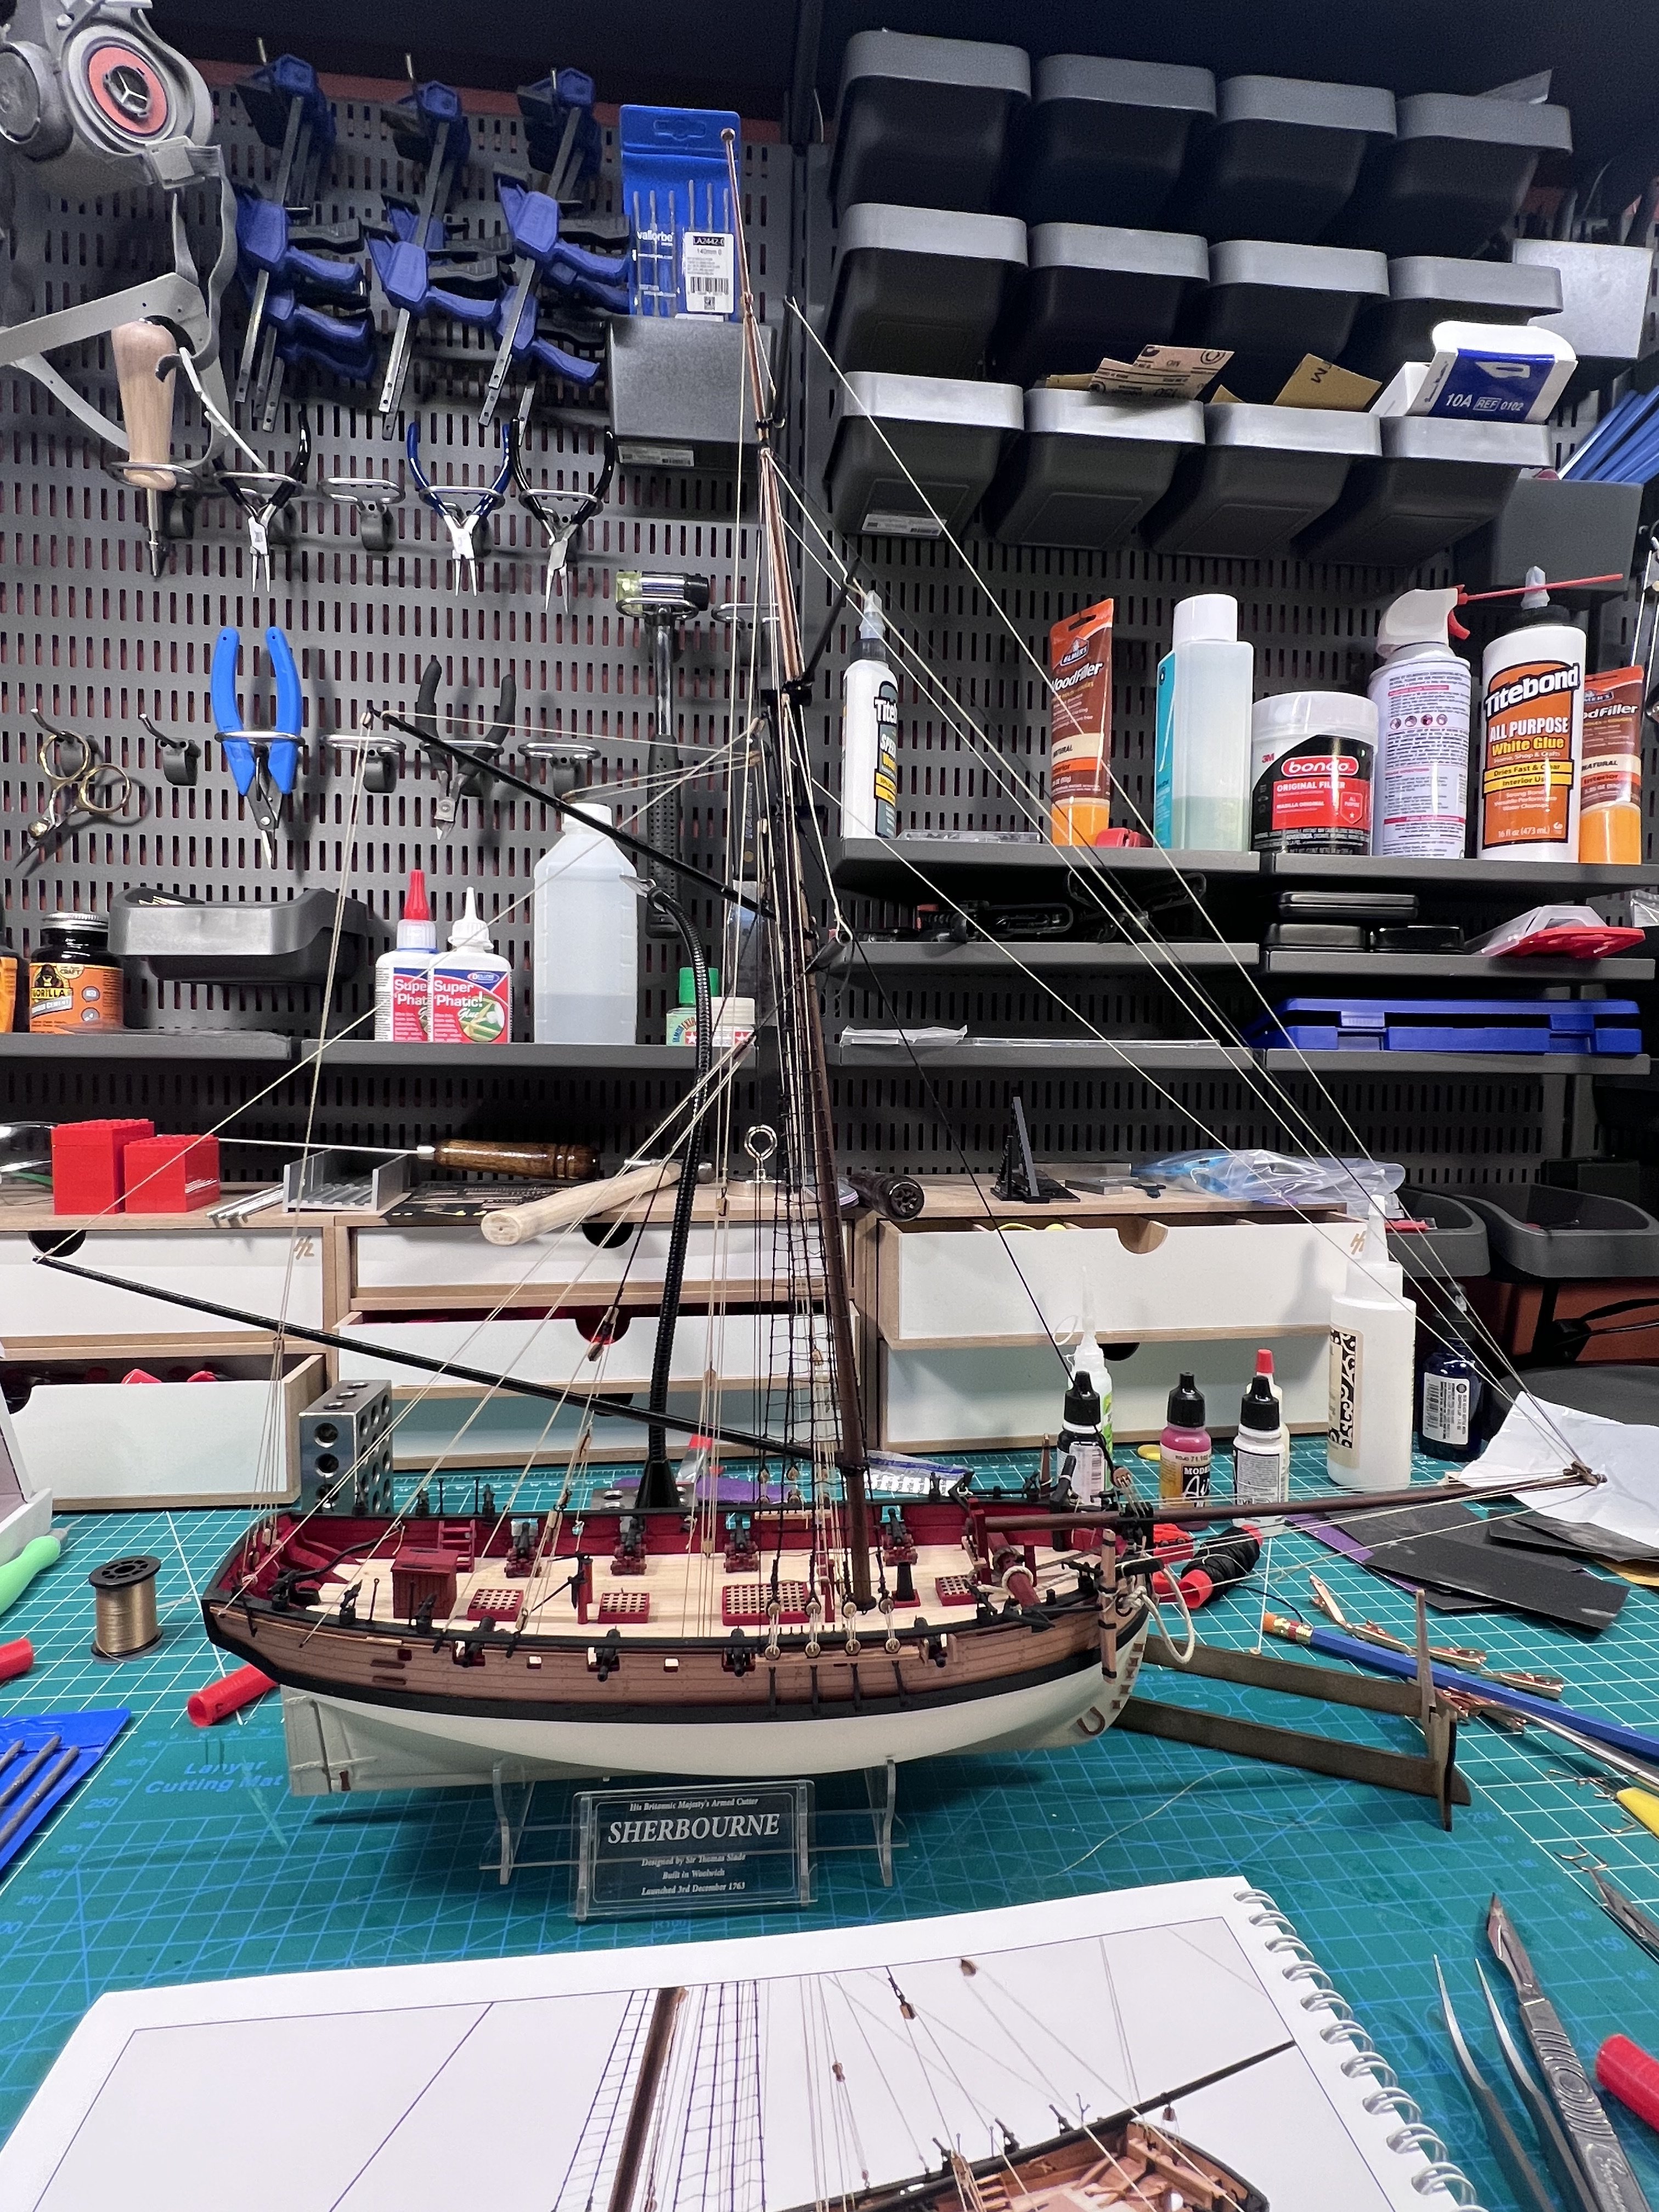
Done with the rigging. Just need to add the anchors and make the stand.

- 177 replies
-
- 5
-
-
- Sherbourne
- vanguard models
- (and 3 more)
-
The second effort (on the other side) was a little better - and I was several times quicker.


- 177 replies
-
- 7
-
-
- Sherbourne
- vanguard models
- (and 3 more)
-
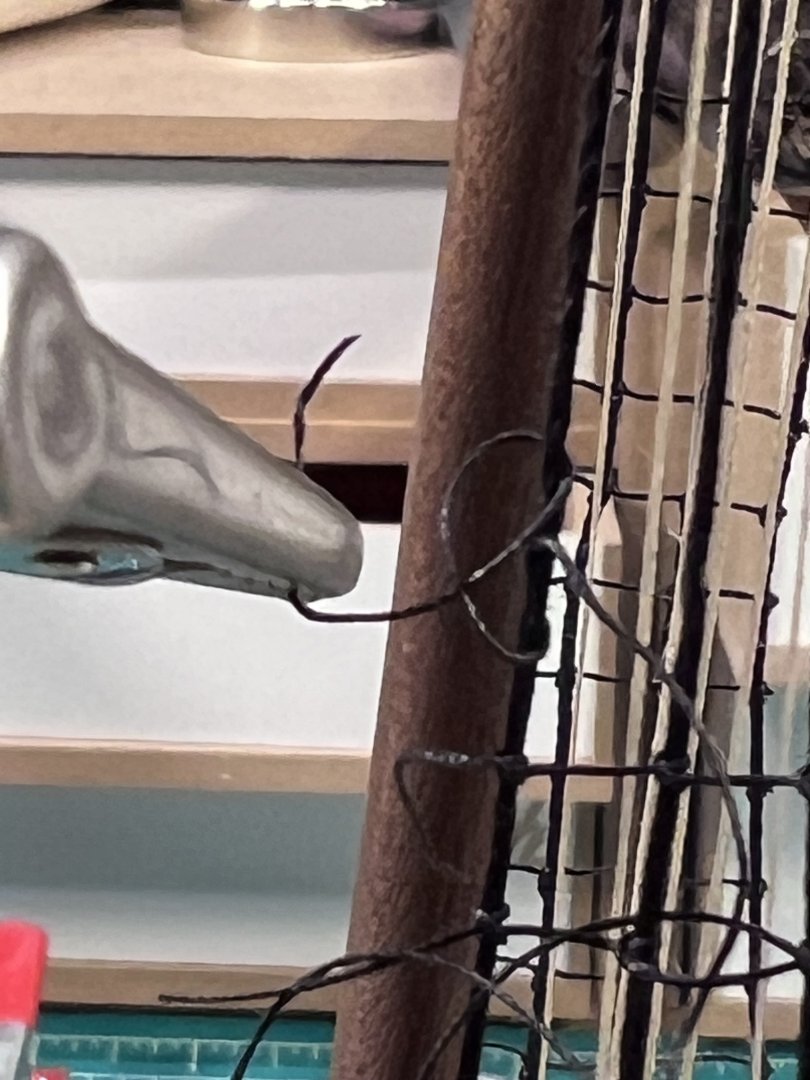
No way I could do this - at least when starting on the first knot on the left of each row - without one of the quad hands in place.


- 177 replies
-
- 3
-
-
- Sherbourne
- vanguard models
- (and 3 more)