MORE HANDBOOKS ARE ON THEIR WAY! We will let you know when they get here.
×


sport29652
-
Posts
325 -
Joined
-
Last visited
Content Type
Profiles
Forums
Gallery
Events
Everything posted by sport29652
-
 Zev make the move, come to the dark side of the force
 -
It's that not knowing how the curve will affect the planking that's getting me. I feel good about the lines everywhere except for the stern. This is my first shot at a stern like this so "hold fast" and see how's she goes
-
Robbin I use a combination of boiling water and then a planking iron to get mine to curve along the bulwarks. If you do boil, 1 min and see if she'll bend. Some planks reacted really well to this and bent without much fuss. What ever your do don't force it that much. holding it to your curve then use your iron to get a little more out of it. if its still not there , then soak and hit it with your planking iron. If you have to go at the same plank again don't boil it more than once. I hope this helps Eric
-
Thanks guys I sanded more, looks like it will hit the rabbit as straight as possible now. I left a little fudge room and if I need to sand a little more once I plank it, it will be minimal. Fairing so far is slow. Started using basswood shavings from my hand plane as shims for the smaller differences in the hull
-
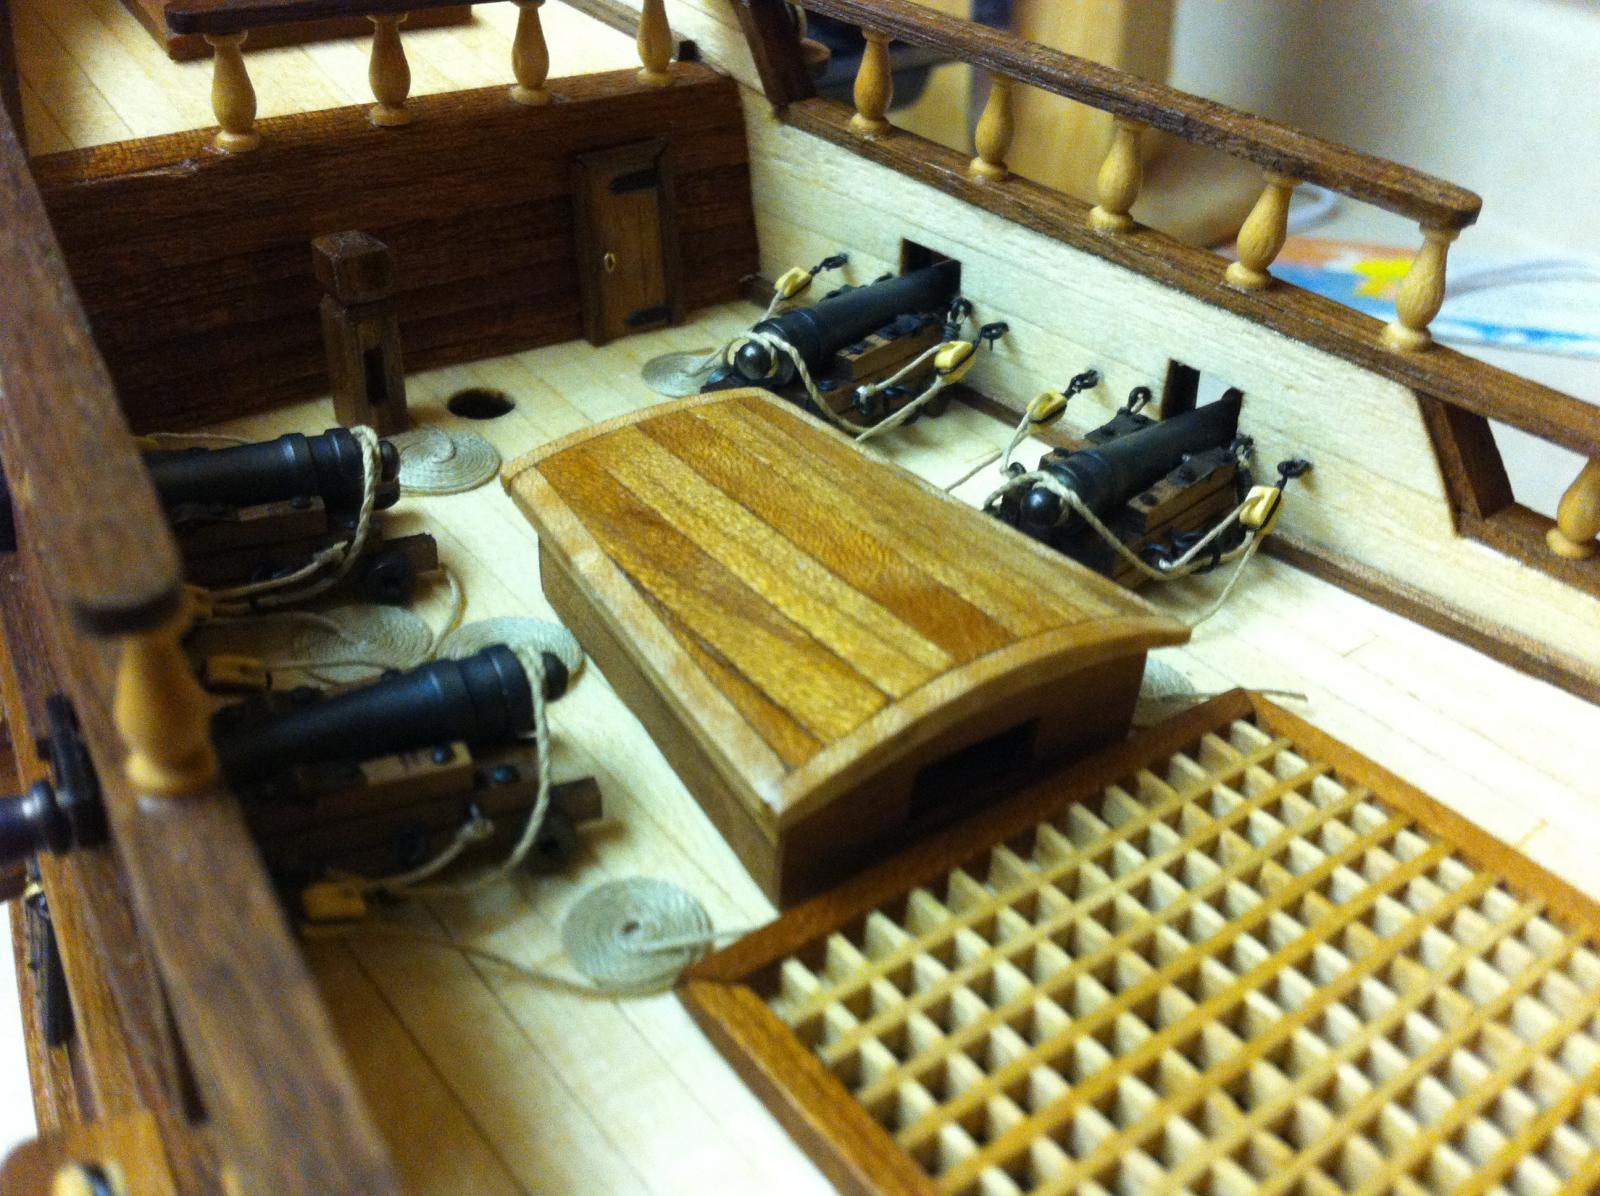
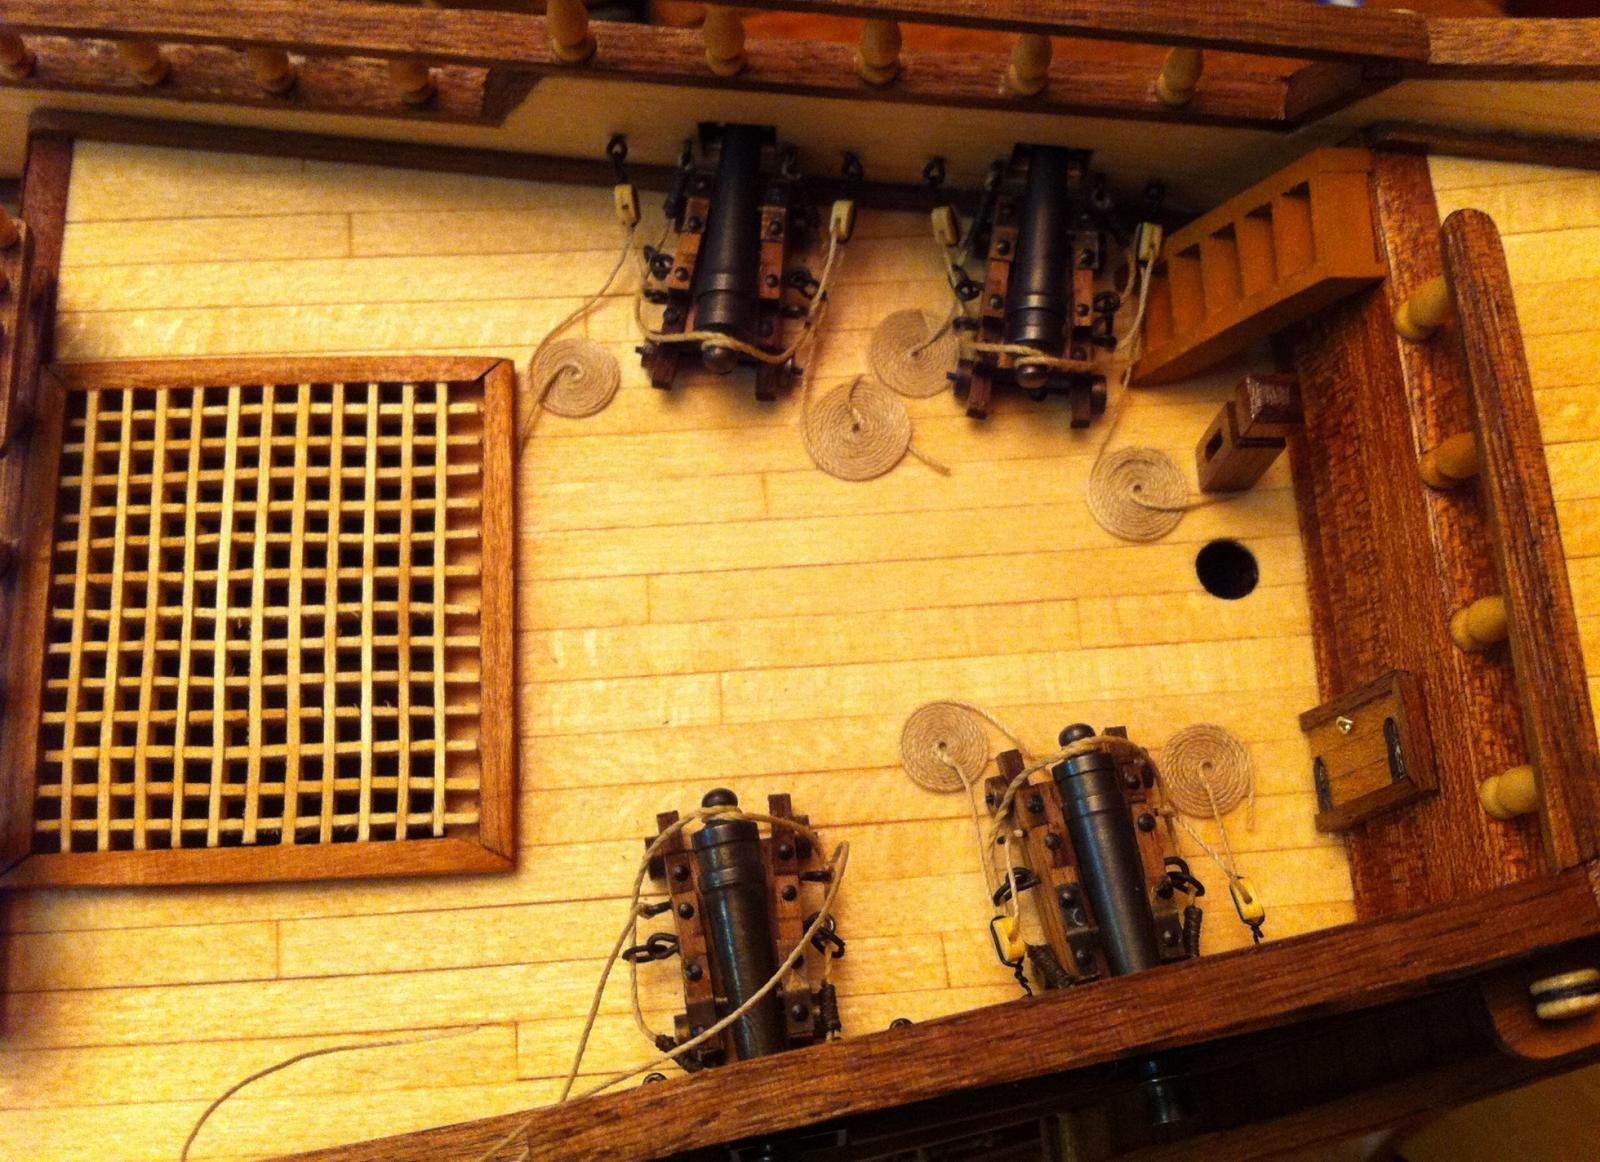
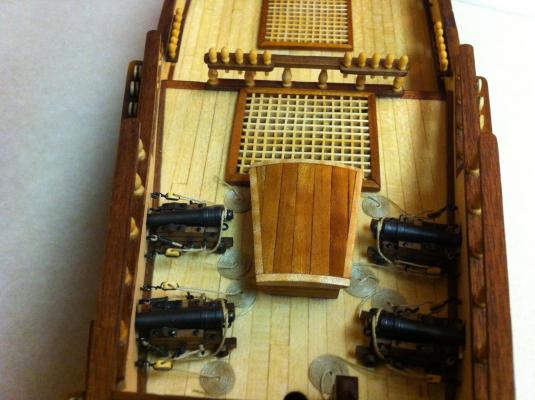
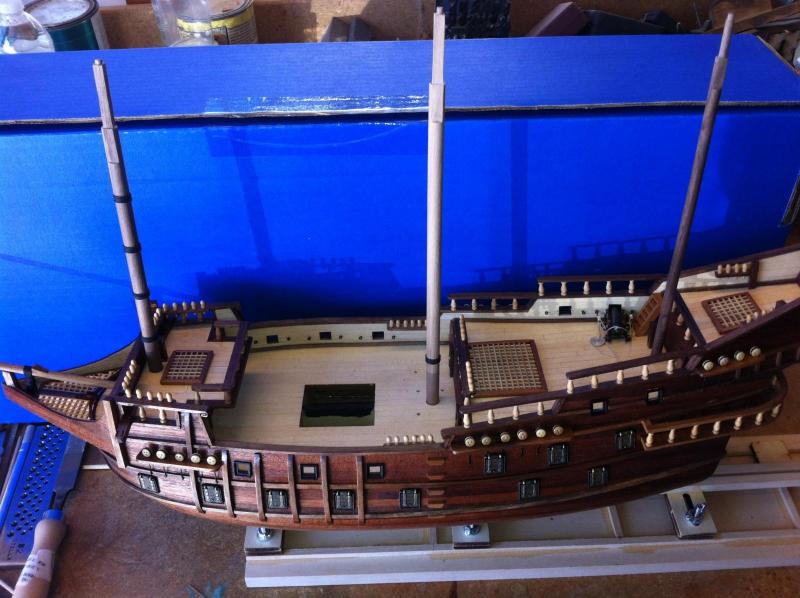
So the San Fran got some work today. Quarterdeck ? Cannons done, pilot house installed, on to the main deck cannons.

-
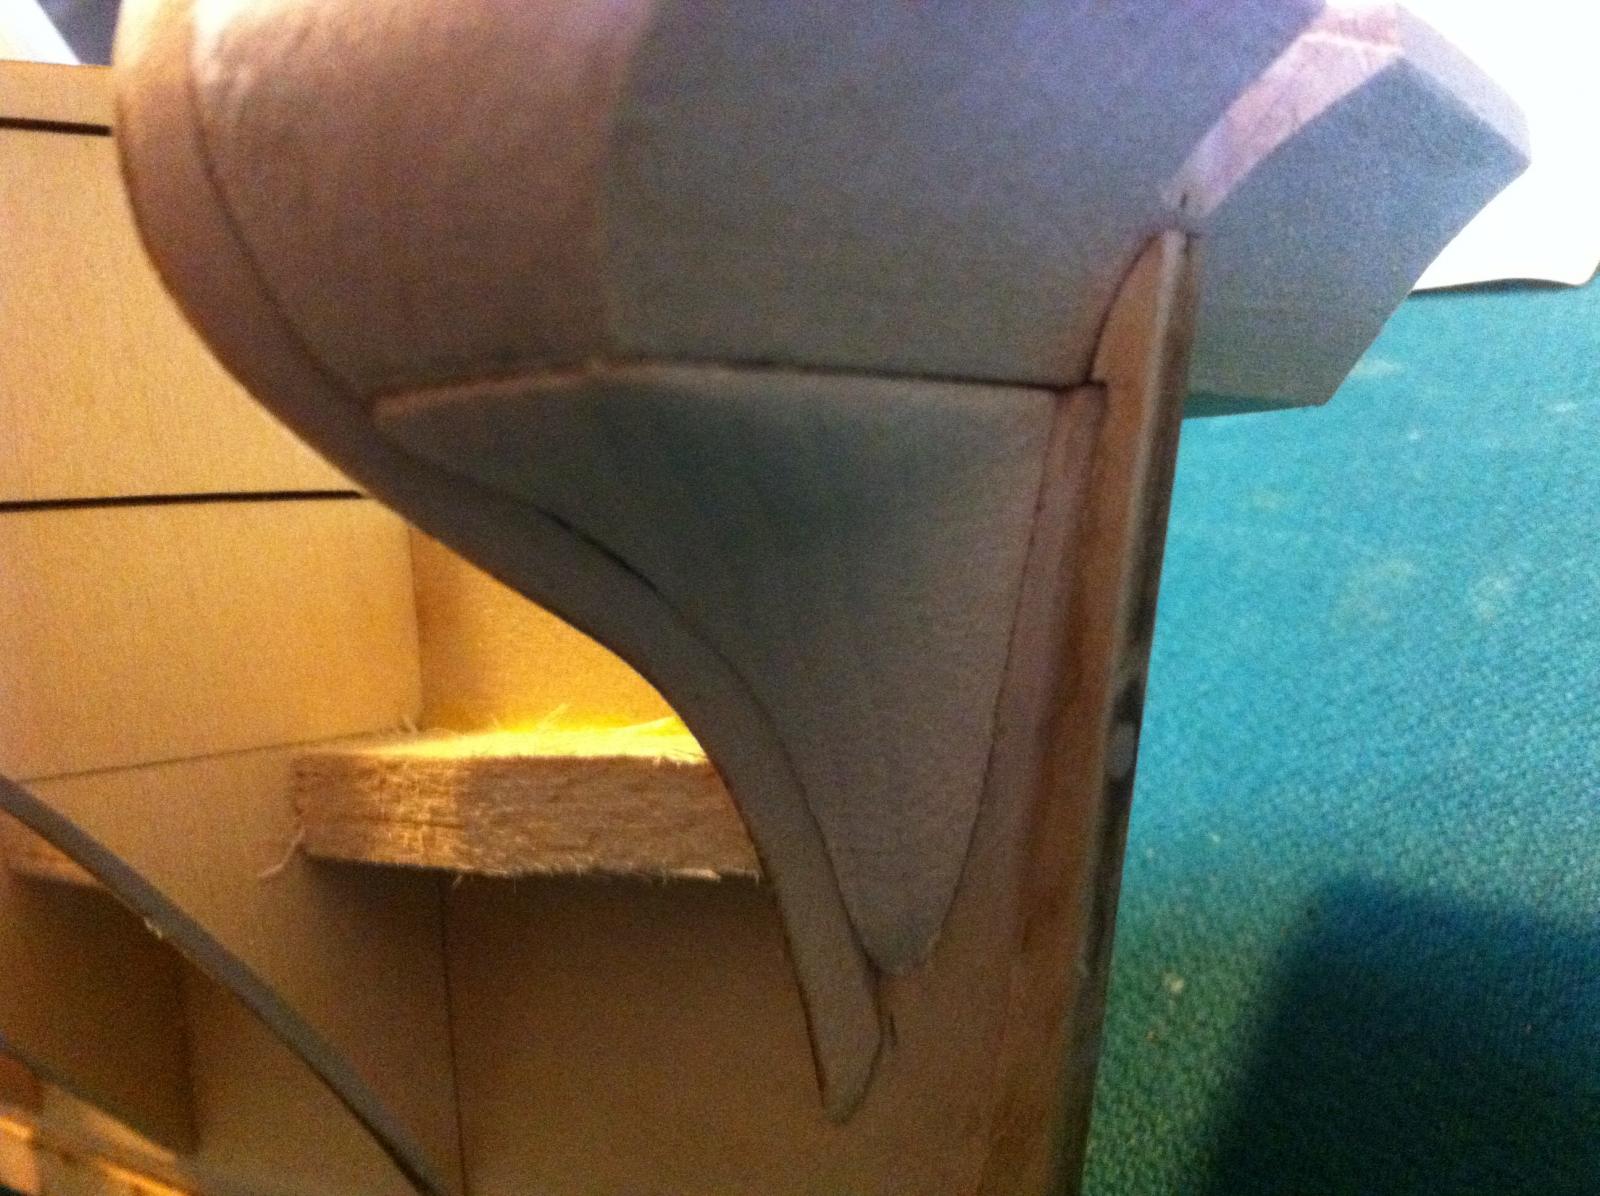
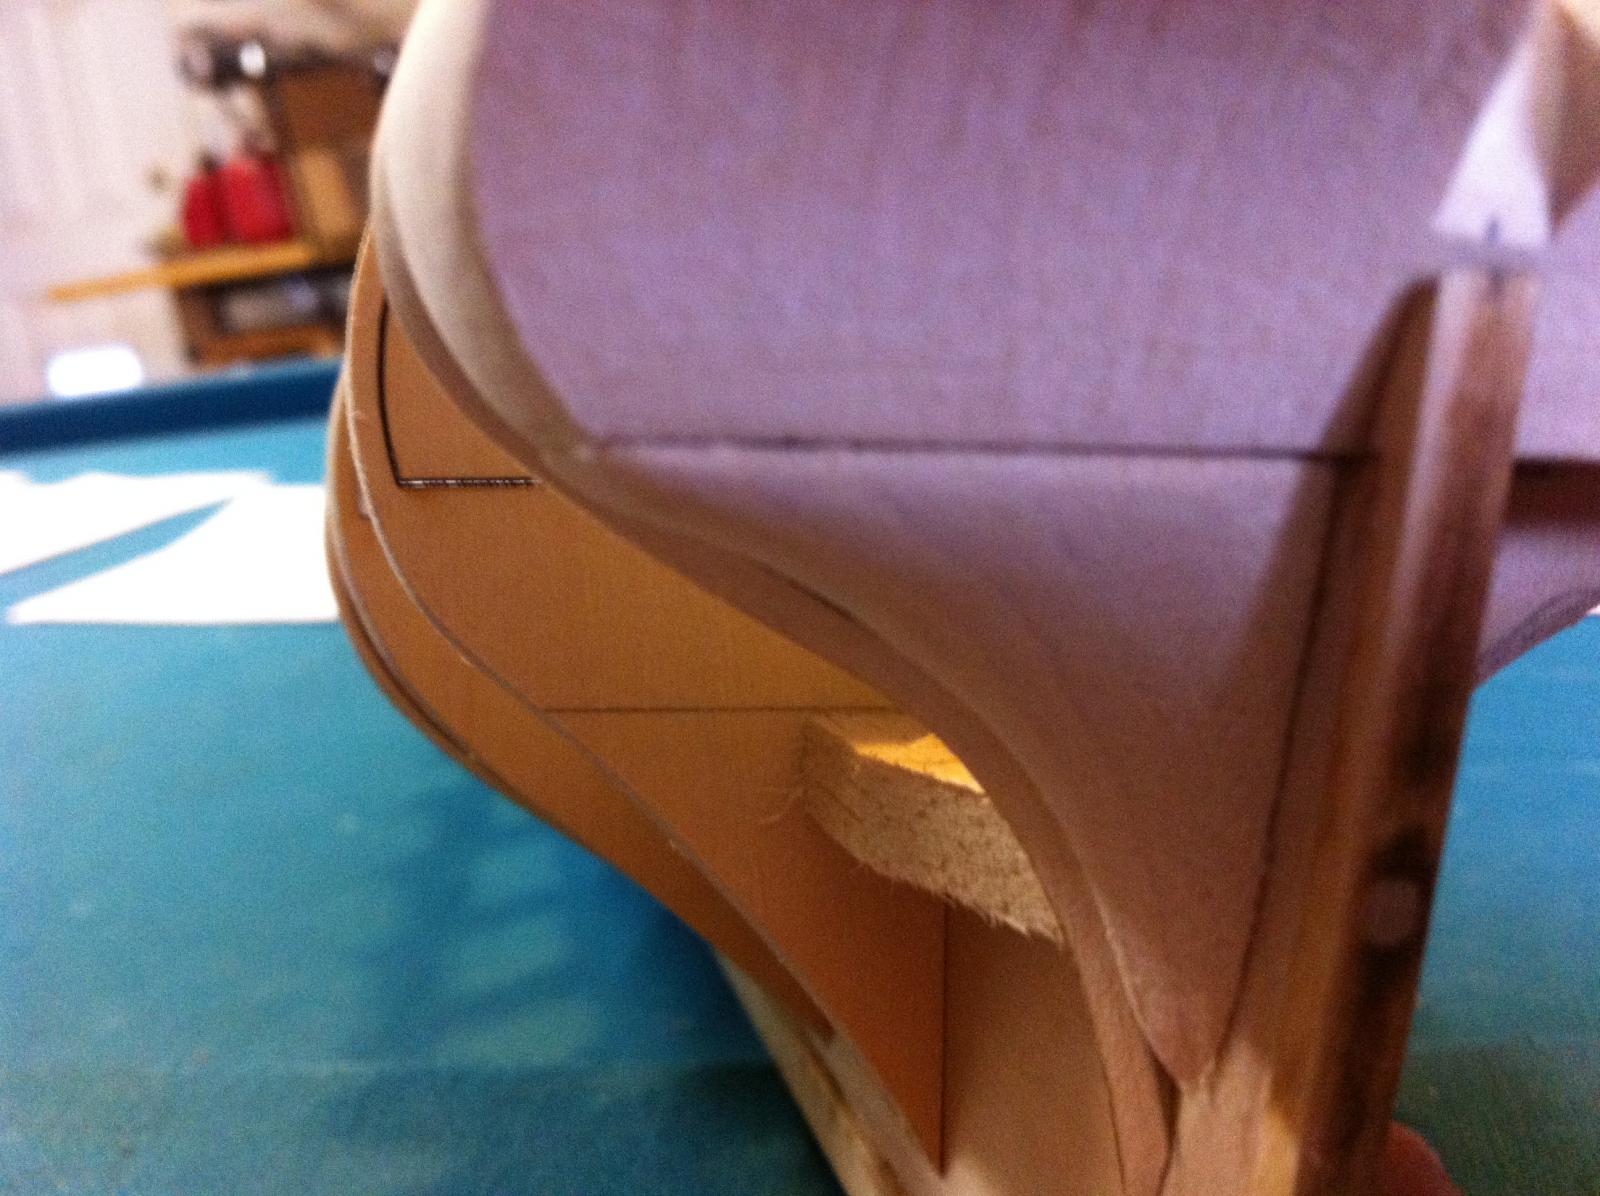
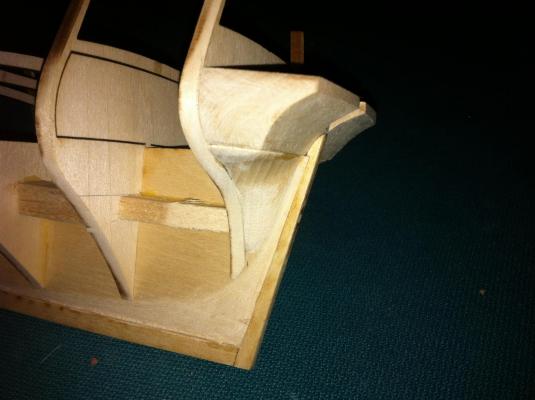
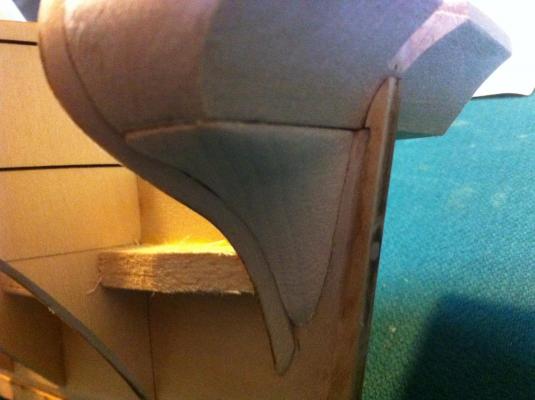
Guys could you take a look at this stern filler block. JPelt mentioned that it should not end at a 90 degree angle into the rabbit. So a smooth curve into the transom ?

-
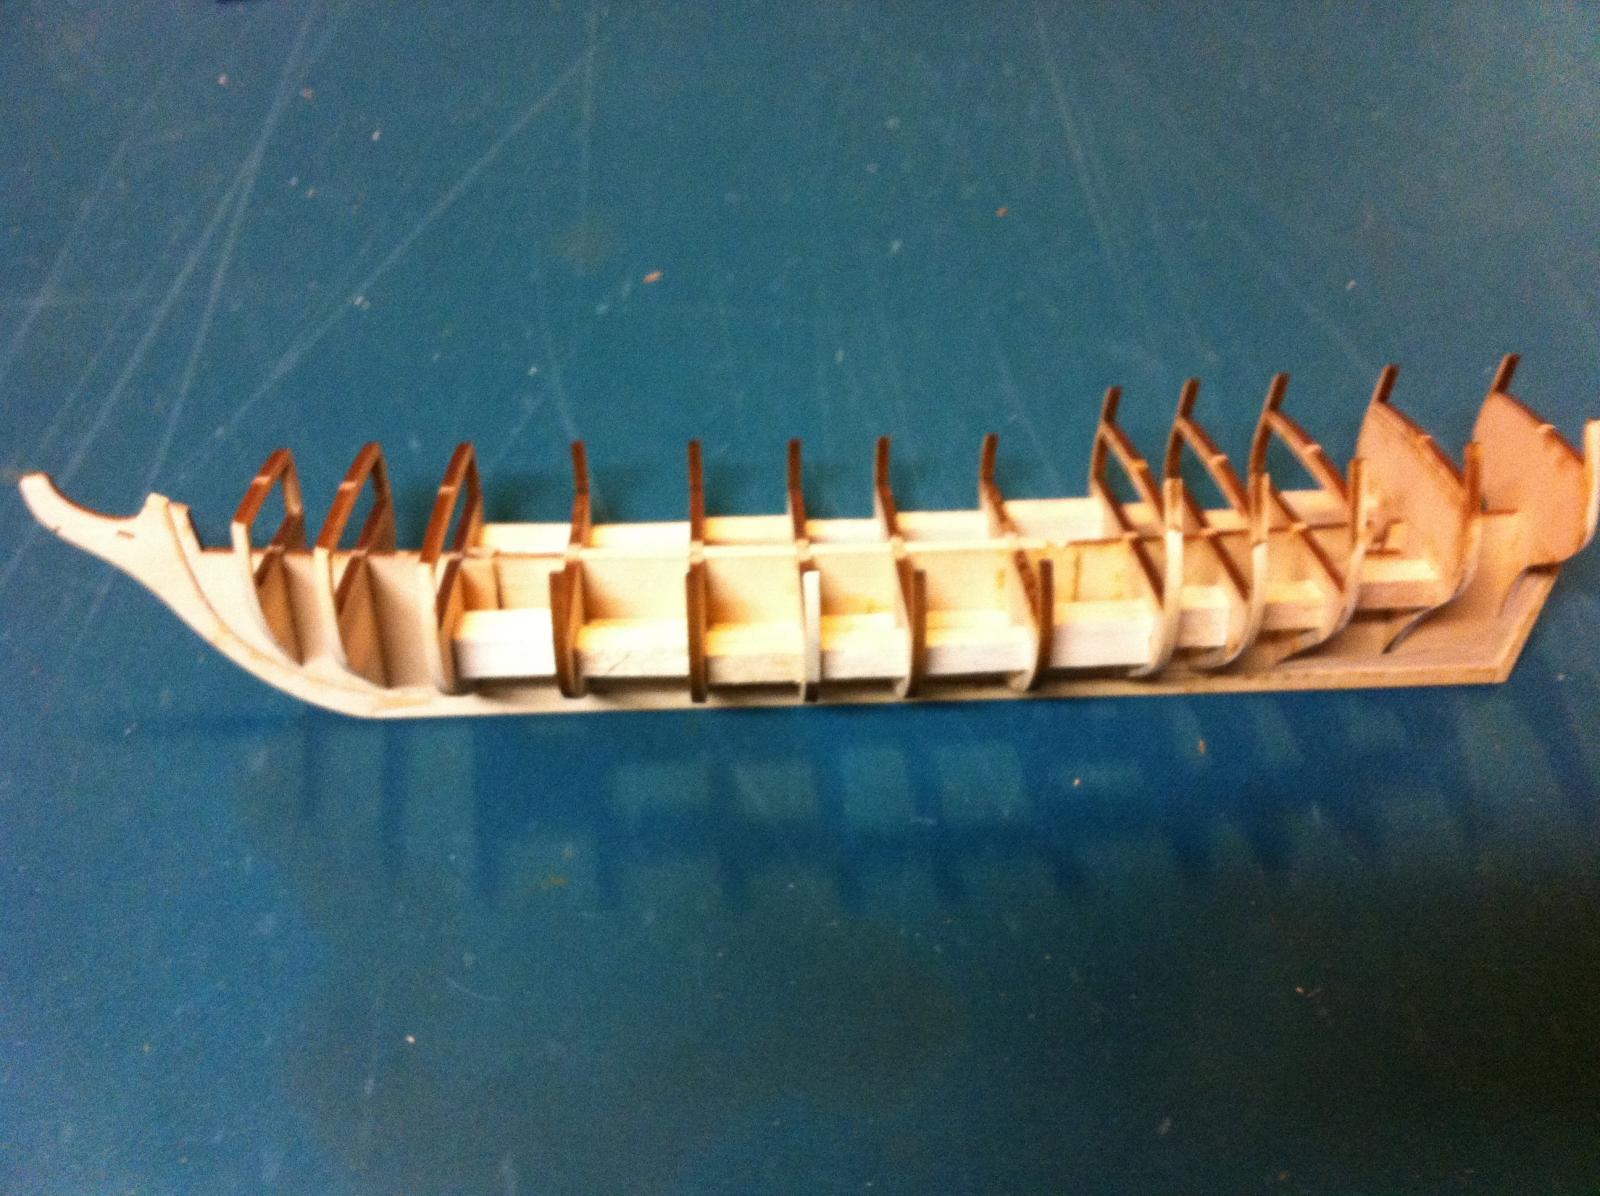
Installed transom, bow filler blocks and hull stiffeners. As I look to fair the hull I look back at the initial fairing I did prior to installing the bulkheads and wish I hadn't. The lines for fairing on the blueprints don't quite match the angles presented by my hull. Well live and learn. More shims, and stern filler blocks to do. Thanks Juan for the advice, when I bought this model I had the impression I would be assembling a precision cut hull, again live and learn and try to make it as pleasing to the eye as possible
-
Thanks kieth its amazing that something so obvious could be so overlooked. Great article for any San Fran builder. I don't know if it could even possibly be the same vessel but when I was in key west the past January I went to a shipwreck museum. Listed as a wrecked prize ship was the galleon San Francisco. Being new to sailing ship history I though that must be it. Got some great pics of the area at least Time on San Fran tonight : 0 Time on my rattlesnake : 3 hrs
-
I love the quote about research. Some times I have to remind myself I'm building a AL kit and the authenticity, scale, parts are not the best. Must adapt and overcome. Thank you for the encouragement and I hope to repay you guys.
-
lookin good, cant wait to see the finish on your hull
-
So haven't posted anything for bit because I was stuck on the gun rigging issue. Decided to just simplify the issue and eliminated the double block (boooo hissssss). I know it's a total bail on how it should be done but if I hadent moved ahead my san Fran would have ended up on a shelf. Really enjoying the rigging. My time tying flies seems to be paying off. Also need to get some decent tweezers the harbor freight ones are doing a very good job.

-
I bet your hull is going to look great with all of the contrast. Really looking forward to your progress
-
Thanks guys, yes at any and every point I will reinforce the hull. I look at the basswood wrong and it breaks. Has anyone used beams to reinforce the quarterdeck or the forecastle (don't think it's the right term). As I see it it should not interfere with the construction right ?
-
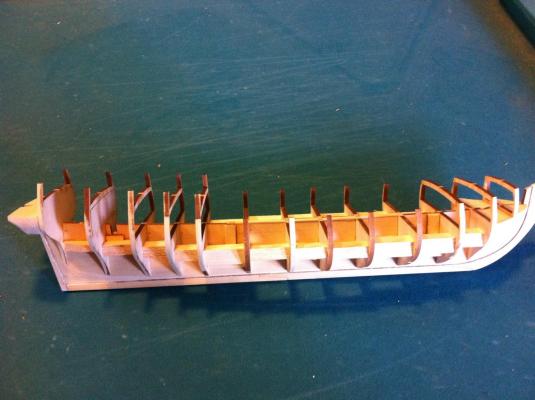
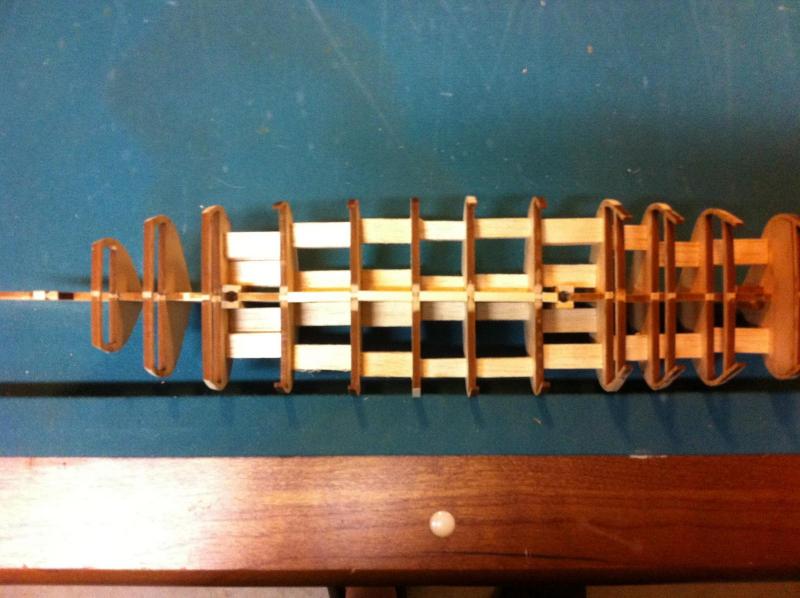
All bulkheads installed, added balsa stiffeners (not glued in place yet). Keel is straight and still have faring to do. At this point I have added numerous shims on the bulkheads to eliminate dips. Also used shims to bring the keel level with the deck. So far things "look" good, we will see if the ship gremlins visit me later in the build.


-
quick update, e mailed model expo with the issue I have with the two cannons I recieved in the kit. Recieved an e mail back the next day informing me that they are replacing the cannons and with in 10 days recieved my replacements. wish more companies were like this. I am absoutly impressed with their customer service and will be a life long customer.
-
well done sir !
-
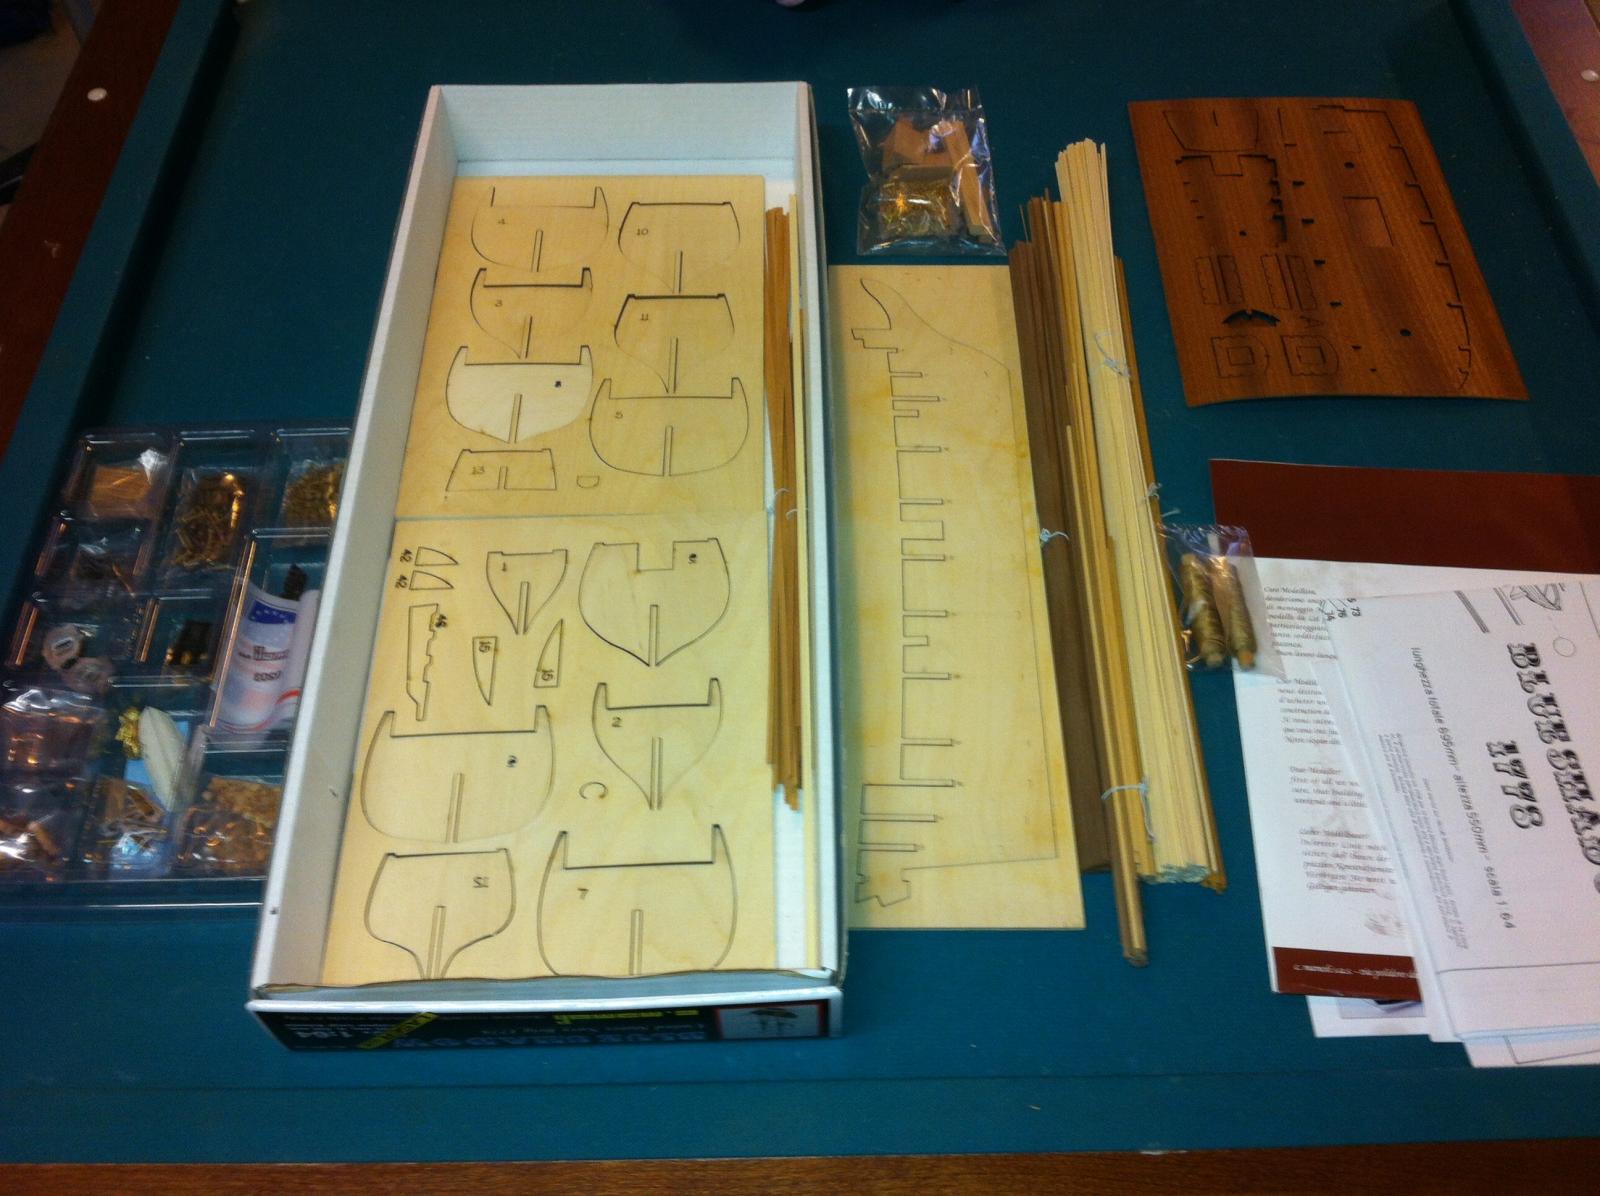
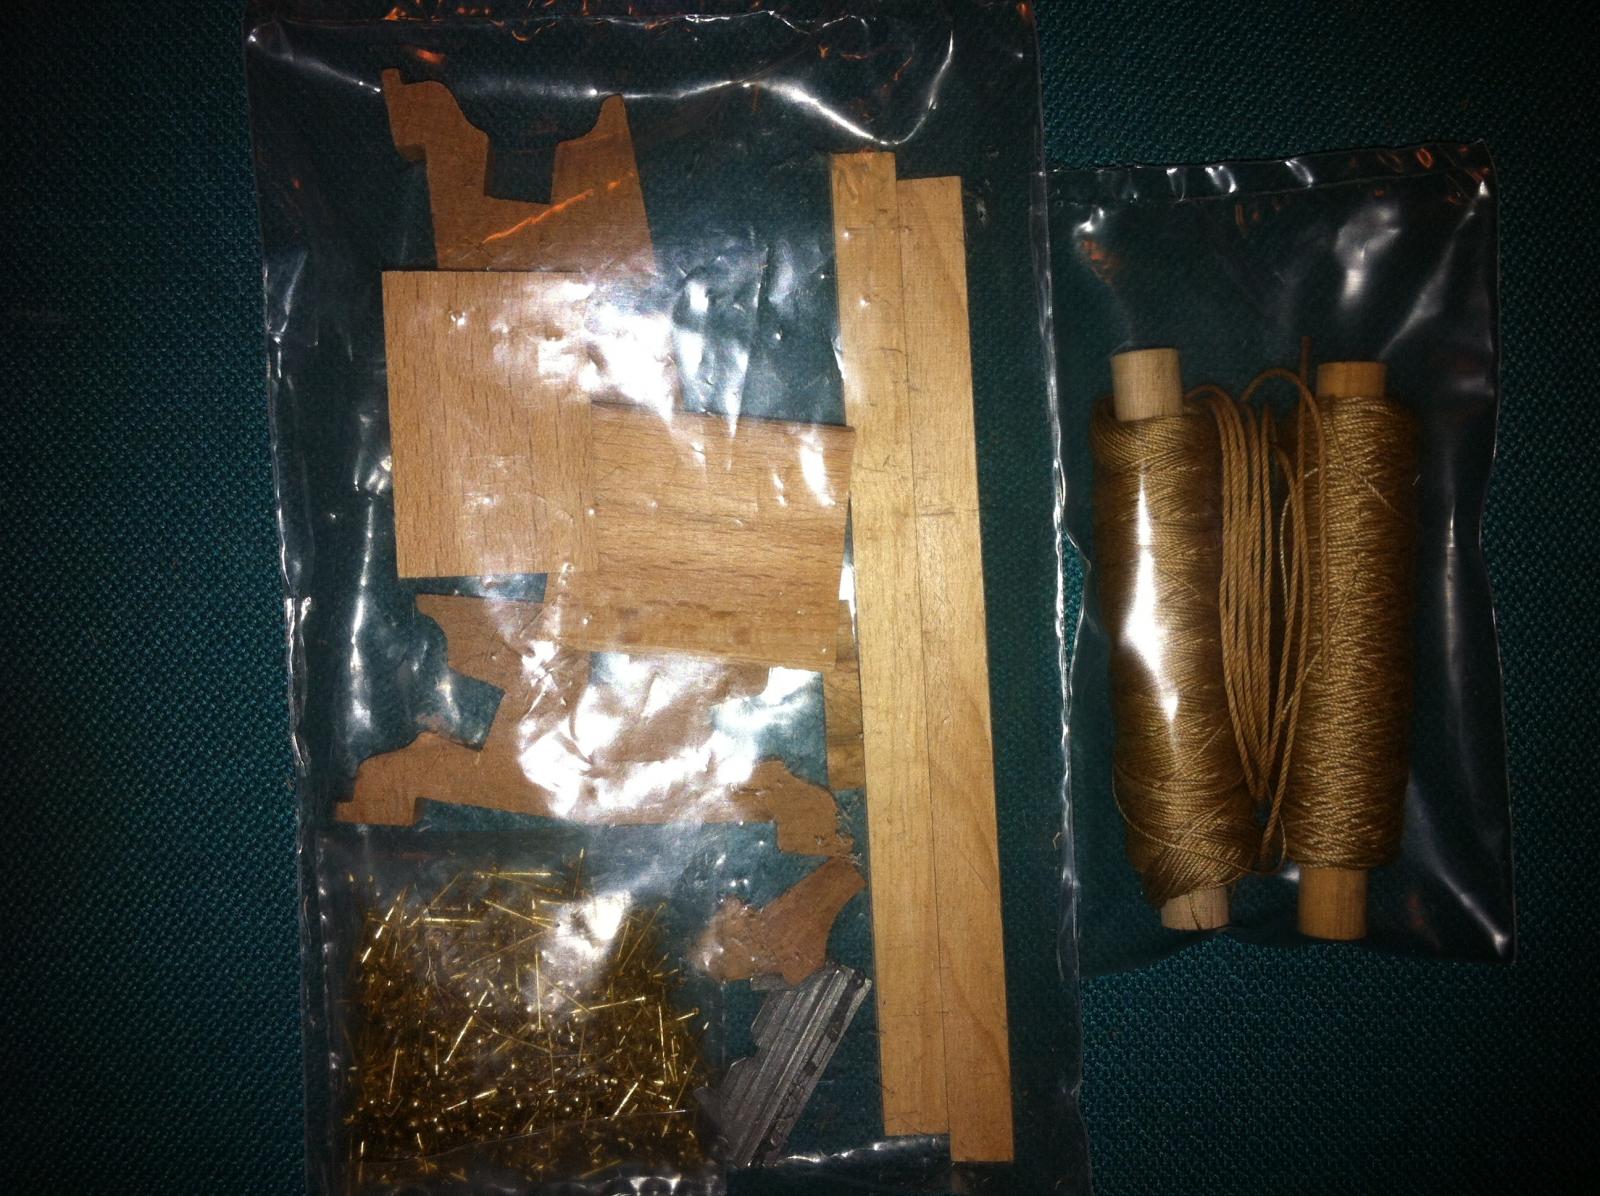
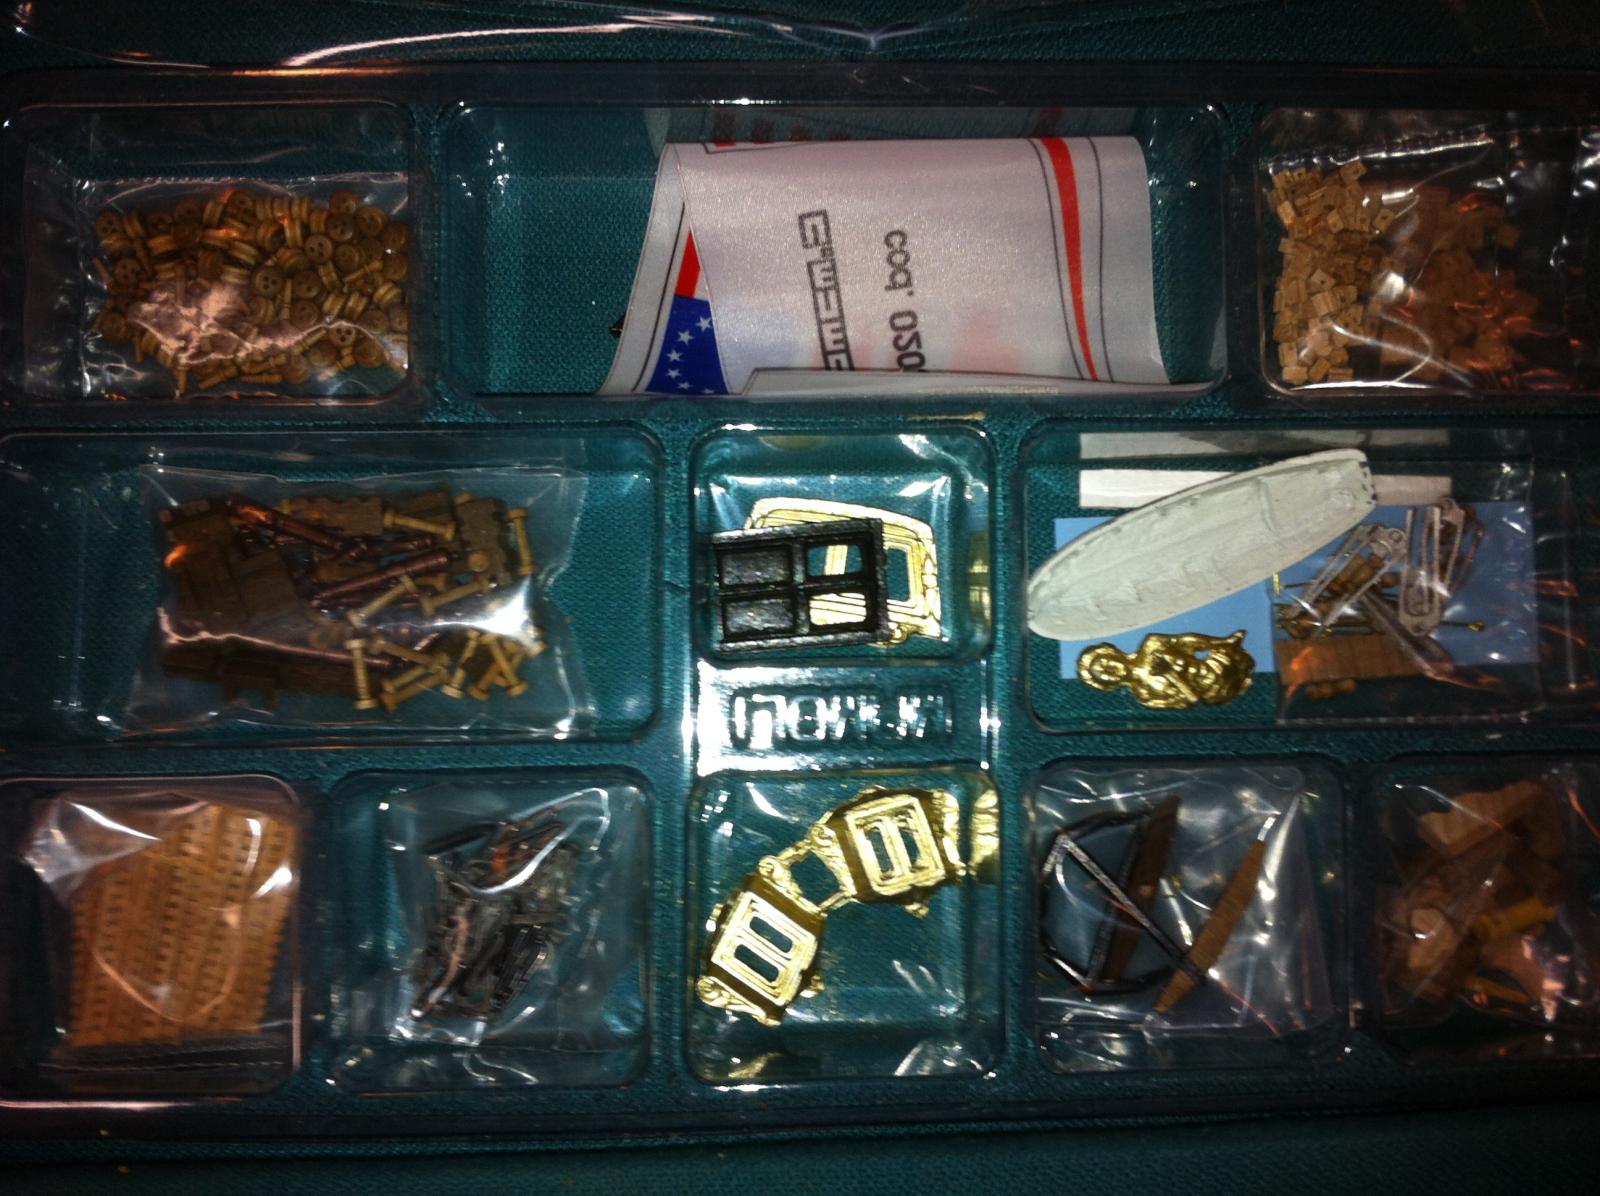
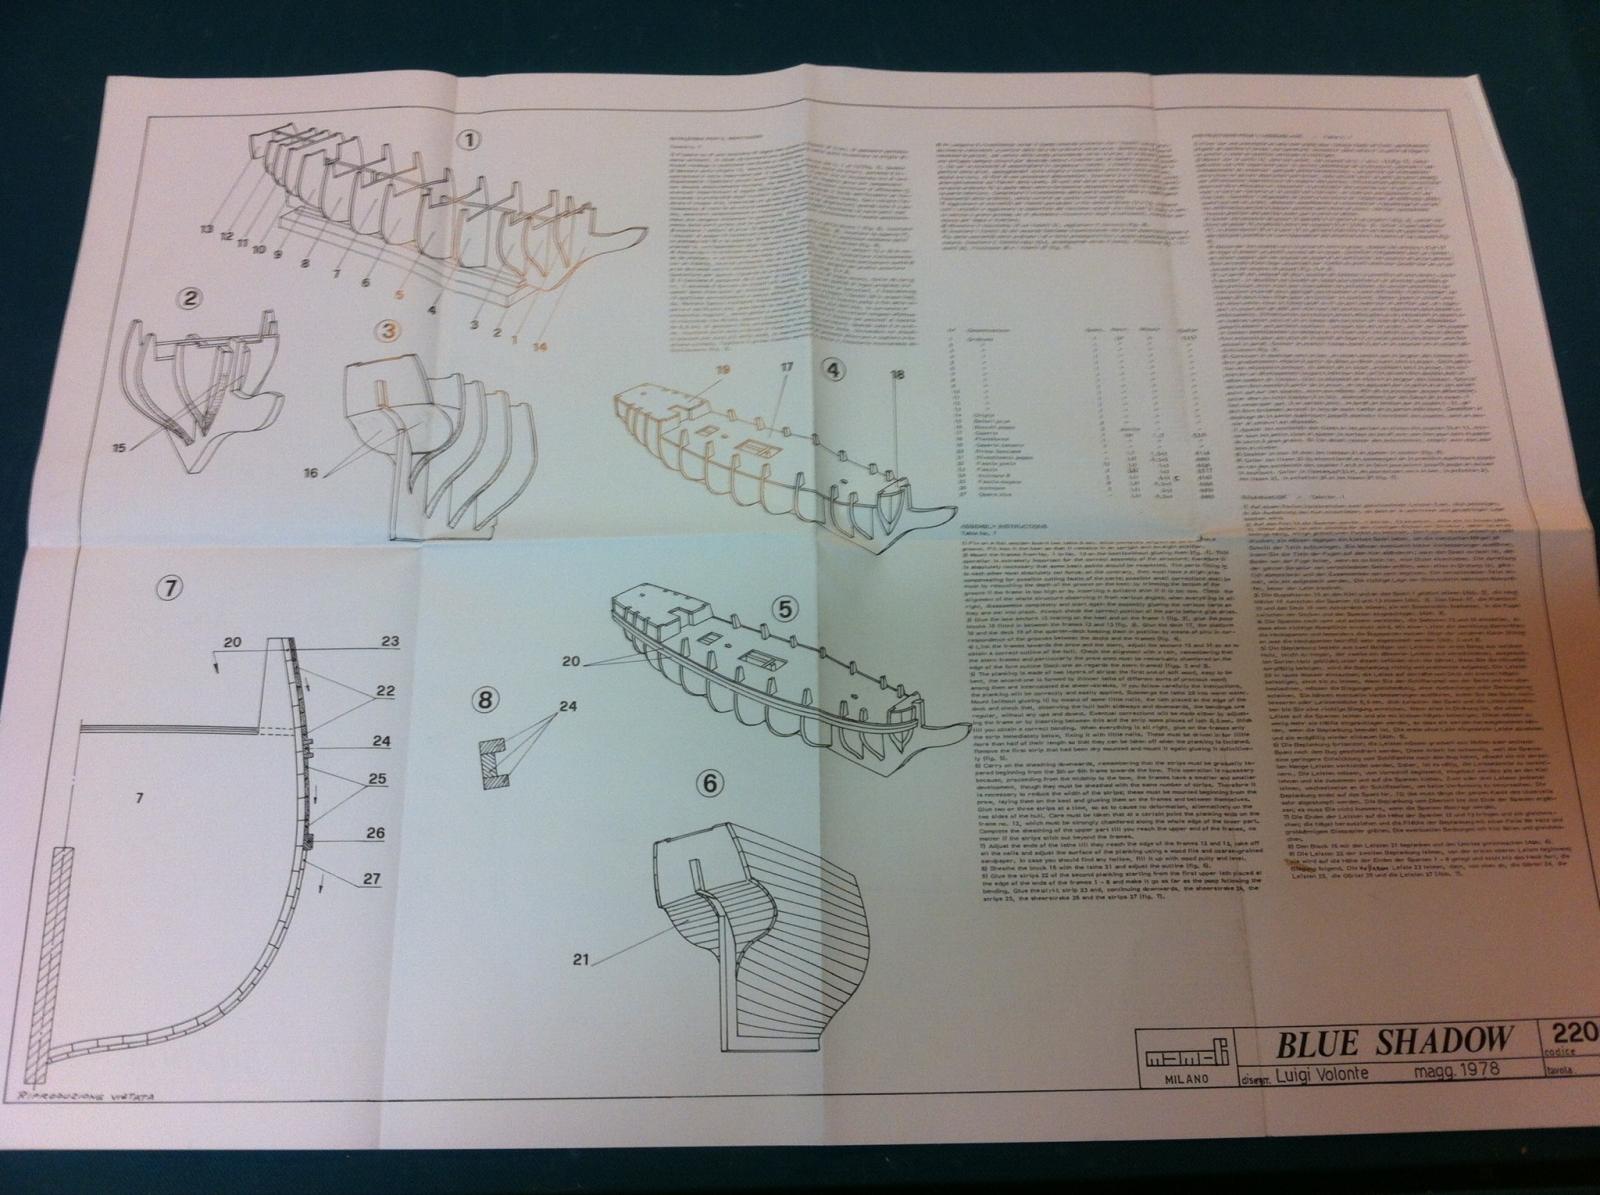
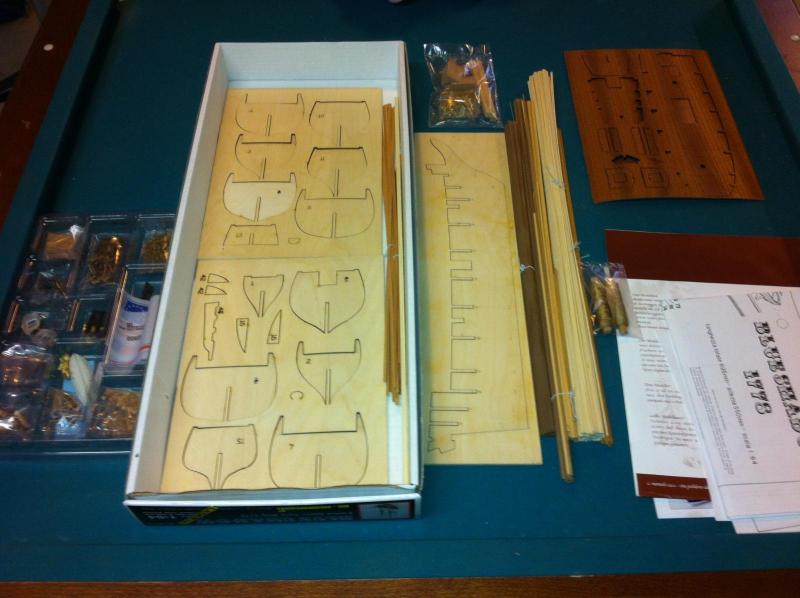
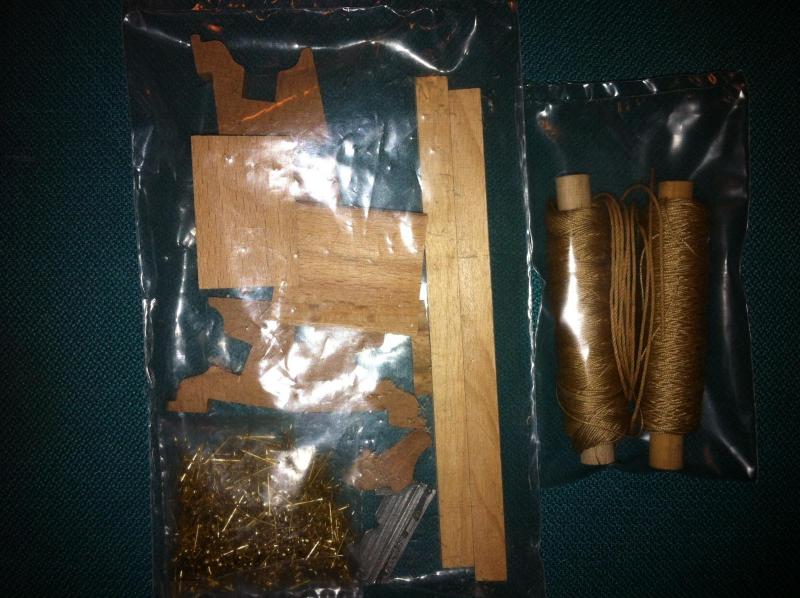
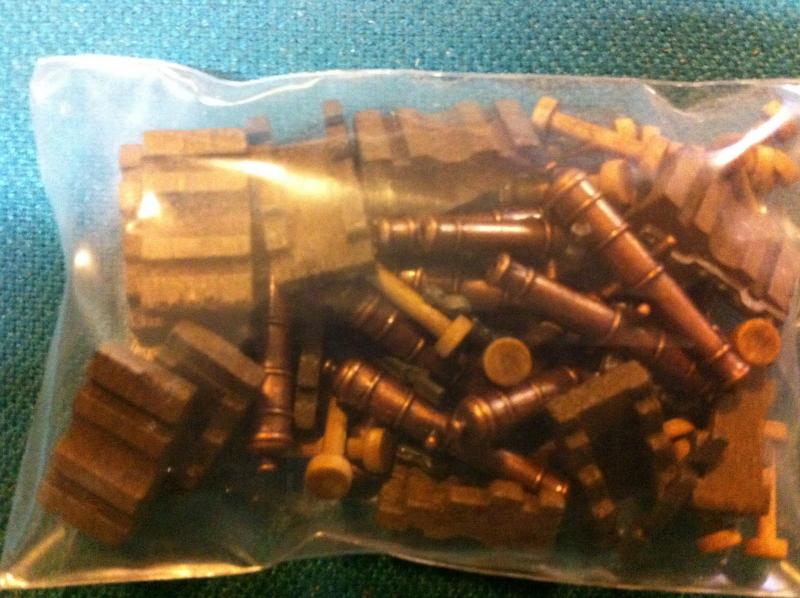
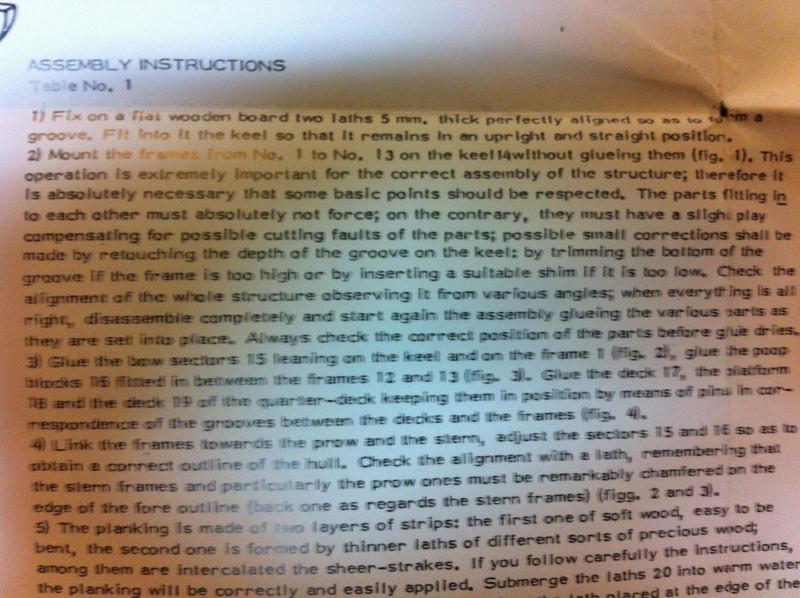
Since I had posted a relatively negative review of this kit I thought maybe some pictures would help prospective buyers make up their own mind. Seems like decent synthetic thread . Flag and castings seem pretty low quality . Ships guns and carriages . Instructions.......uh very detailed ha ha Well read for yourself, at least the rigging is relatively detailed with three double sided plans.


-
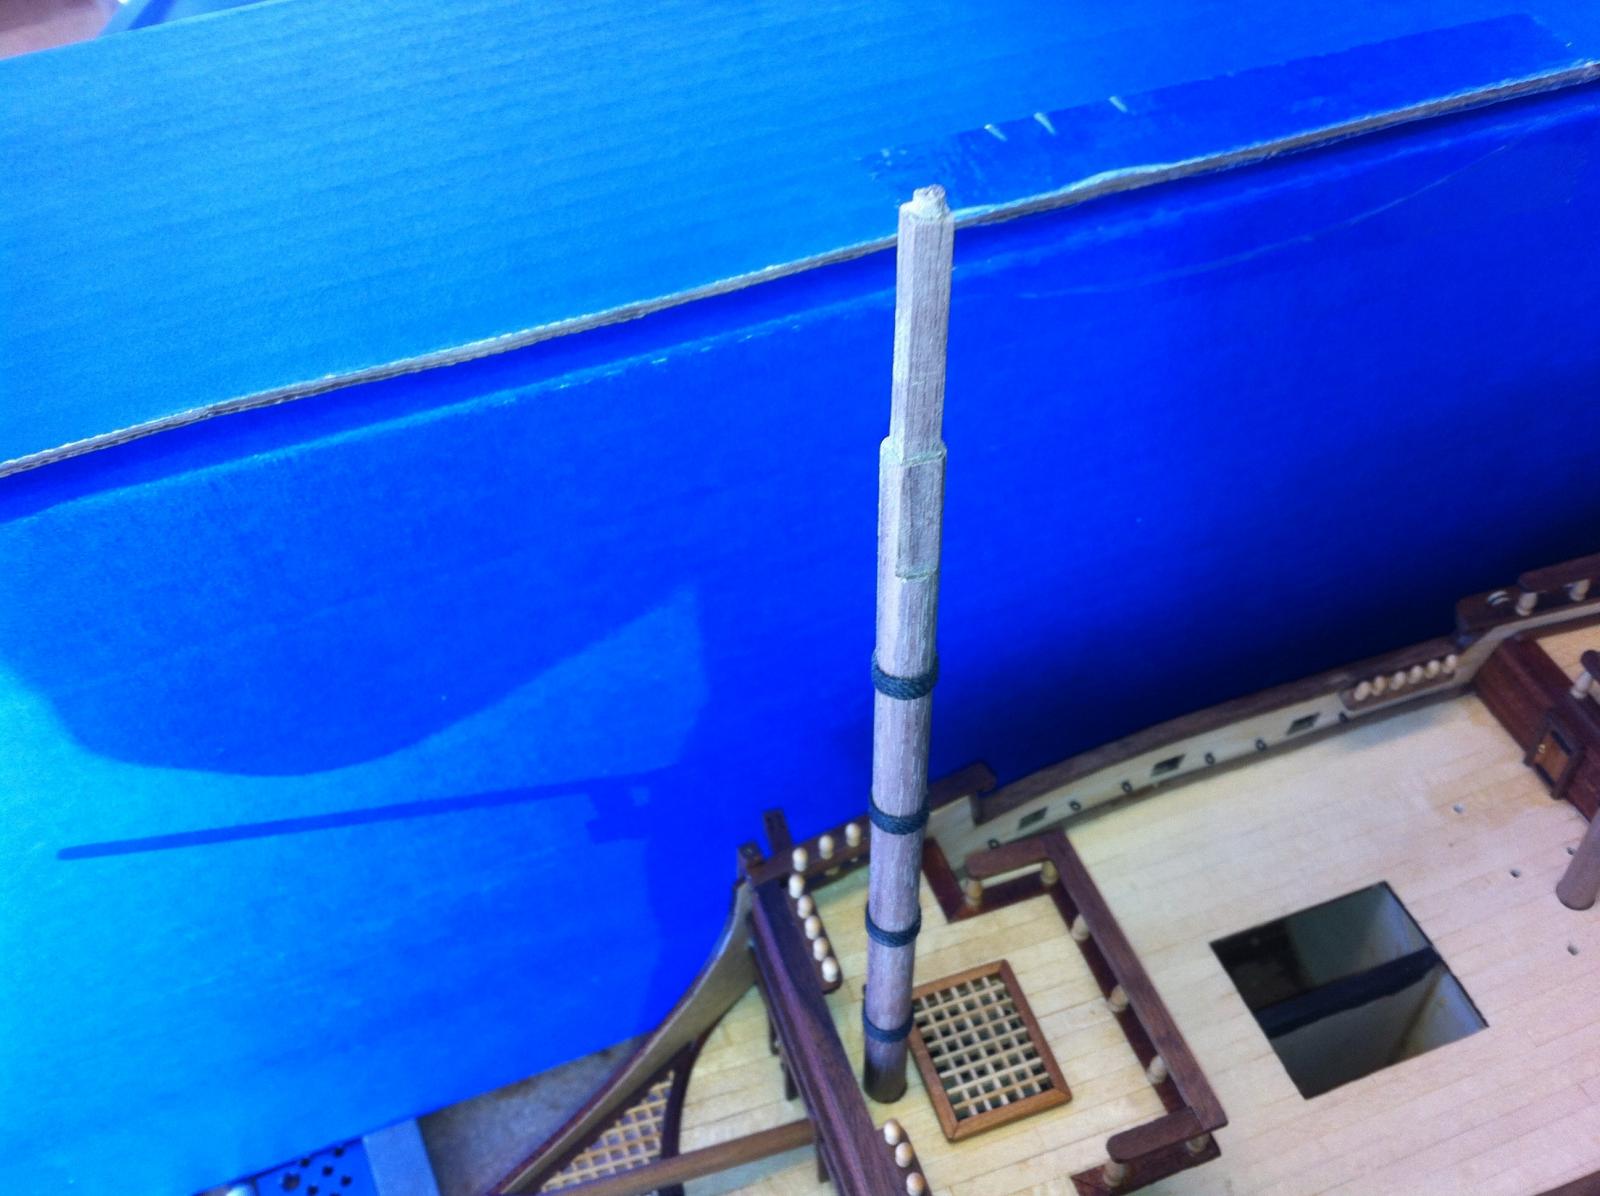
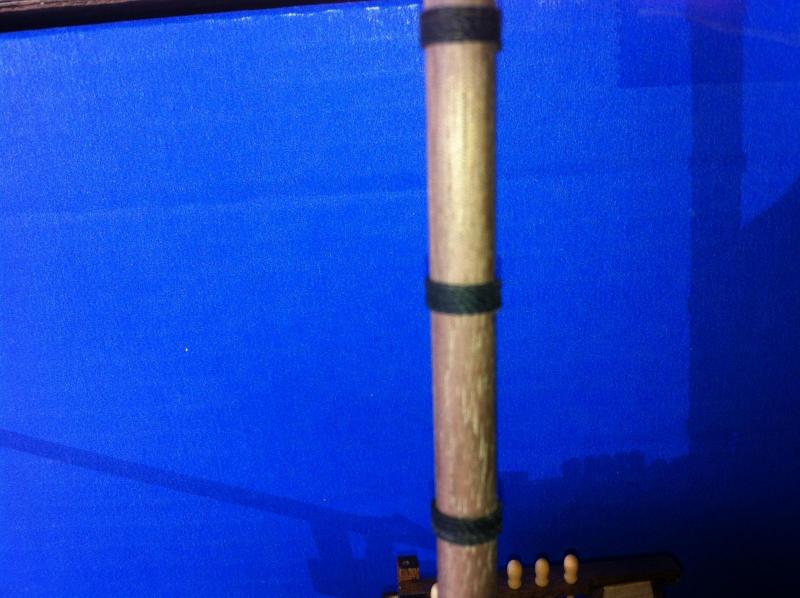
So for the past week I have been working on my masts. Using a file and my lathe shaped the tops. Eyeballed allot of it and at this point am crossing my fingers hoping it works out. At this point adding the rope reinforcements to the masts. Really don't like the thread supplied with this kit so I have been using thread from jotika. Dyed it black using kiwi shoe leather dye. The dye stiffens the line just a little bit and eliminates all of the fuzzies. Picked this up from volcanbommers San Fran II build on the old site. Hopping to hear some feedback on my gun rigging issue, ttyl

-
martin and ben, thanks for encouragement guys, I am definatly in the take your time mode with this build so far. fairing the hull and shims, fair again more shims and on and on. I guess what was hard in the begining was having to fix mistakes that I didnt make, but im over that now and looking at it as a challange with no shortage of wood or time.
-
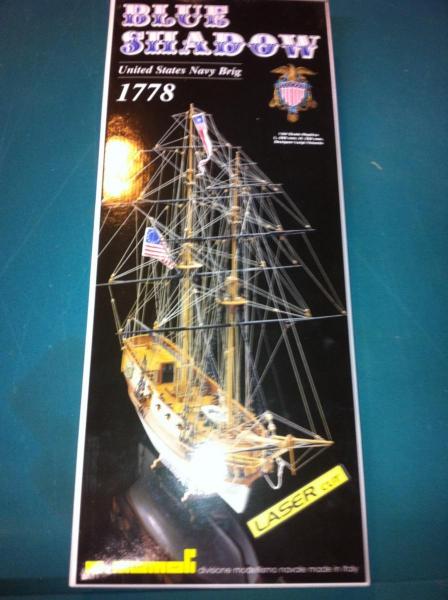
I bought this for $109.00 from model expo. The instructions are not for beginners and its a fictitious vessel. I got it to bash into another brig of that time period ( haven't figured out which is close in build and length to bash to) the wood supplied is good quality but I question the quantity. I read somewhere that the wood had to be used with great care or you would run out. The castings are ok at best. My biggest gripe is that the plans are very vague and like you I am a beginner. So I stashed this kit until my rattlesnake is done and hopefully the experience I gain from it will help me make the "blue shadow" into a real ship. By the way not to hijack your post but if anyone has any ideas for a good ship (american ship) to bash this into I would be great full
-
No thank you so much for the feedback. It's exactly what I'm looking for. I have a diagram for my rattlesnake that shows the rigging (proper). The huh moment I'm having is that these are the smallest blocks I could find, 3mm I think. So it looks like ill either have to make my own or go shopping. Again thank you for the feedback
-
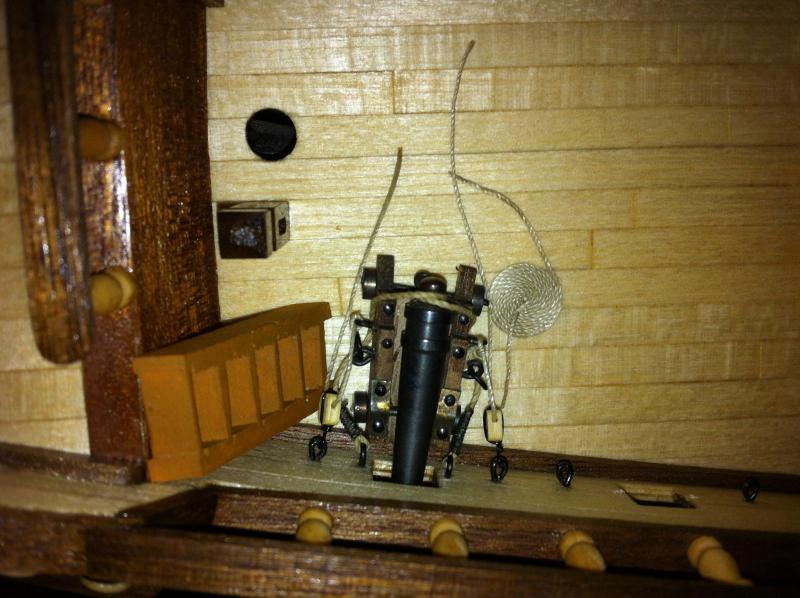
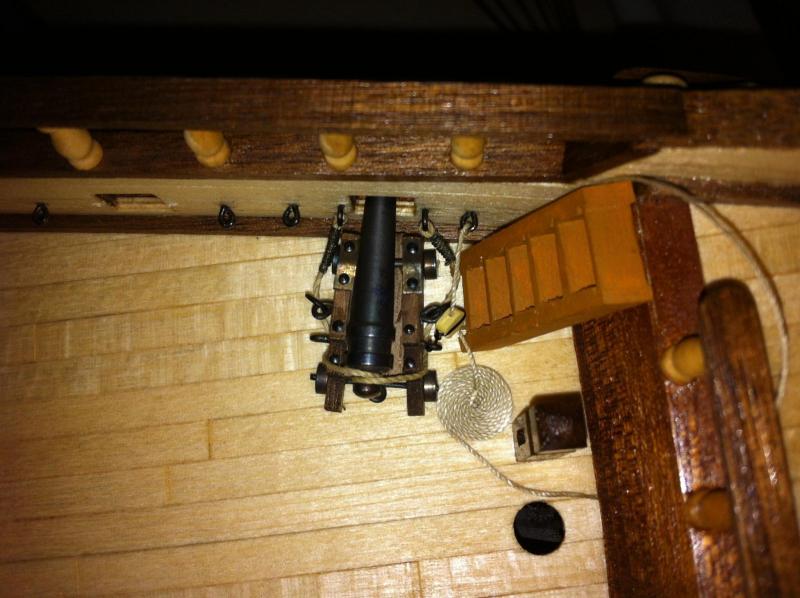
So I'm building the super popular da Fran II. Had this great idea to rig my cannons like I would on my next build (rattlesnake ms). So attached eyebolts to the bulkheads got my blocks all set up and went to rig my first cannon and the distance between the bulkhead and cannon was to say the least not enough. It looked like a train wreck. So my question is there alternative rigging souloutions for cannons that are somewhat realistic? The pic below is an idea I had to maybe rig the cannons. Any feedback is greatly appreciated. Nothing is glued down or perminate and none of the line have been trimmed
-
good job, looks like youll be done planking in no time.
-
So heres my single block idea (nothing glued or trimmed so their is some stray line). What does everyone think? Is it even realistic would this have been used and if so would the block be on the gun or on the bulkhead ?
-
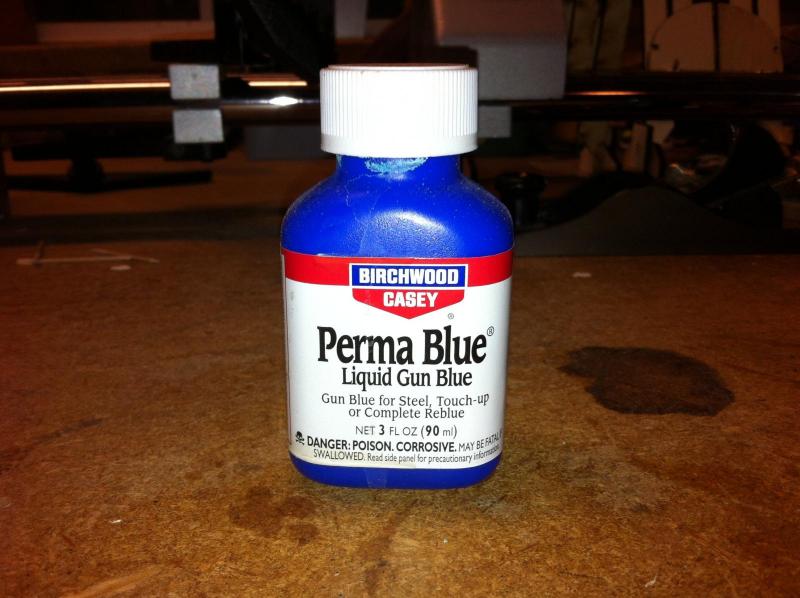
I used this gun black on all of my brass parts. 1/3 blacken 2/3 water. The cannons blackens nicely some if the othe parts required a soak in vinagar and or a buff with fine steel wool. Some of the parts had a sooty residue one them. When I buffed them with the wool and then re blackened they came out pretty dark almost like paint, some of the cannons look just like a blued gun. I prefer the black over brass looks just a little more real. Would live to see your scratch doors. Almost forgot you can get the gun black at any gun store for like $5.