MORE HANDBOOKS ARE ON THEIR WAY! We will let you know when they get here.
×


sport29652
-
Posts
325 -
Joined
-
Last visited
Content Type
Profiles
Forums
Gallery
Events
Everything posted by sport29652
-
Is their a U.S. version of this ?
-
 You have the older version of the Fran 2. I think fate has made you the guy to show us how to build the authentic gun carriages.
 -
You have to cut your gun carriages down. On the old site this issue came up in several builds. I wish I had the motivation to do the two wheeled carriages but rolled with what I had.
-
Sounds like you got to decide if "the juice is worth the squeeze."
-
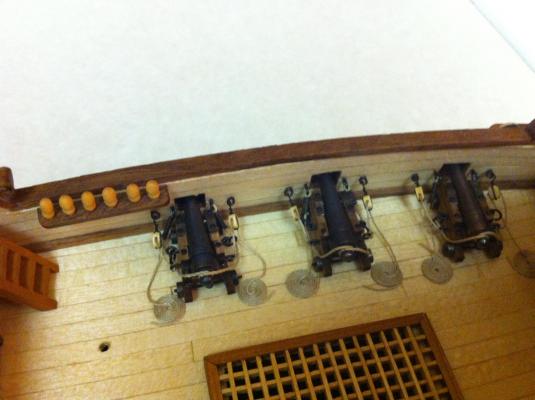
Thanks for the cannon pic's I hope to put those to good use.
-
It's just the lighting, no paint yet. When I do it will be ochre with white and black windows/trim.
-
Nicely done! I see scratch building in your future
-
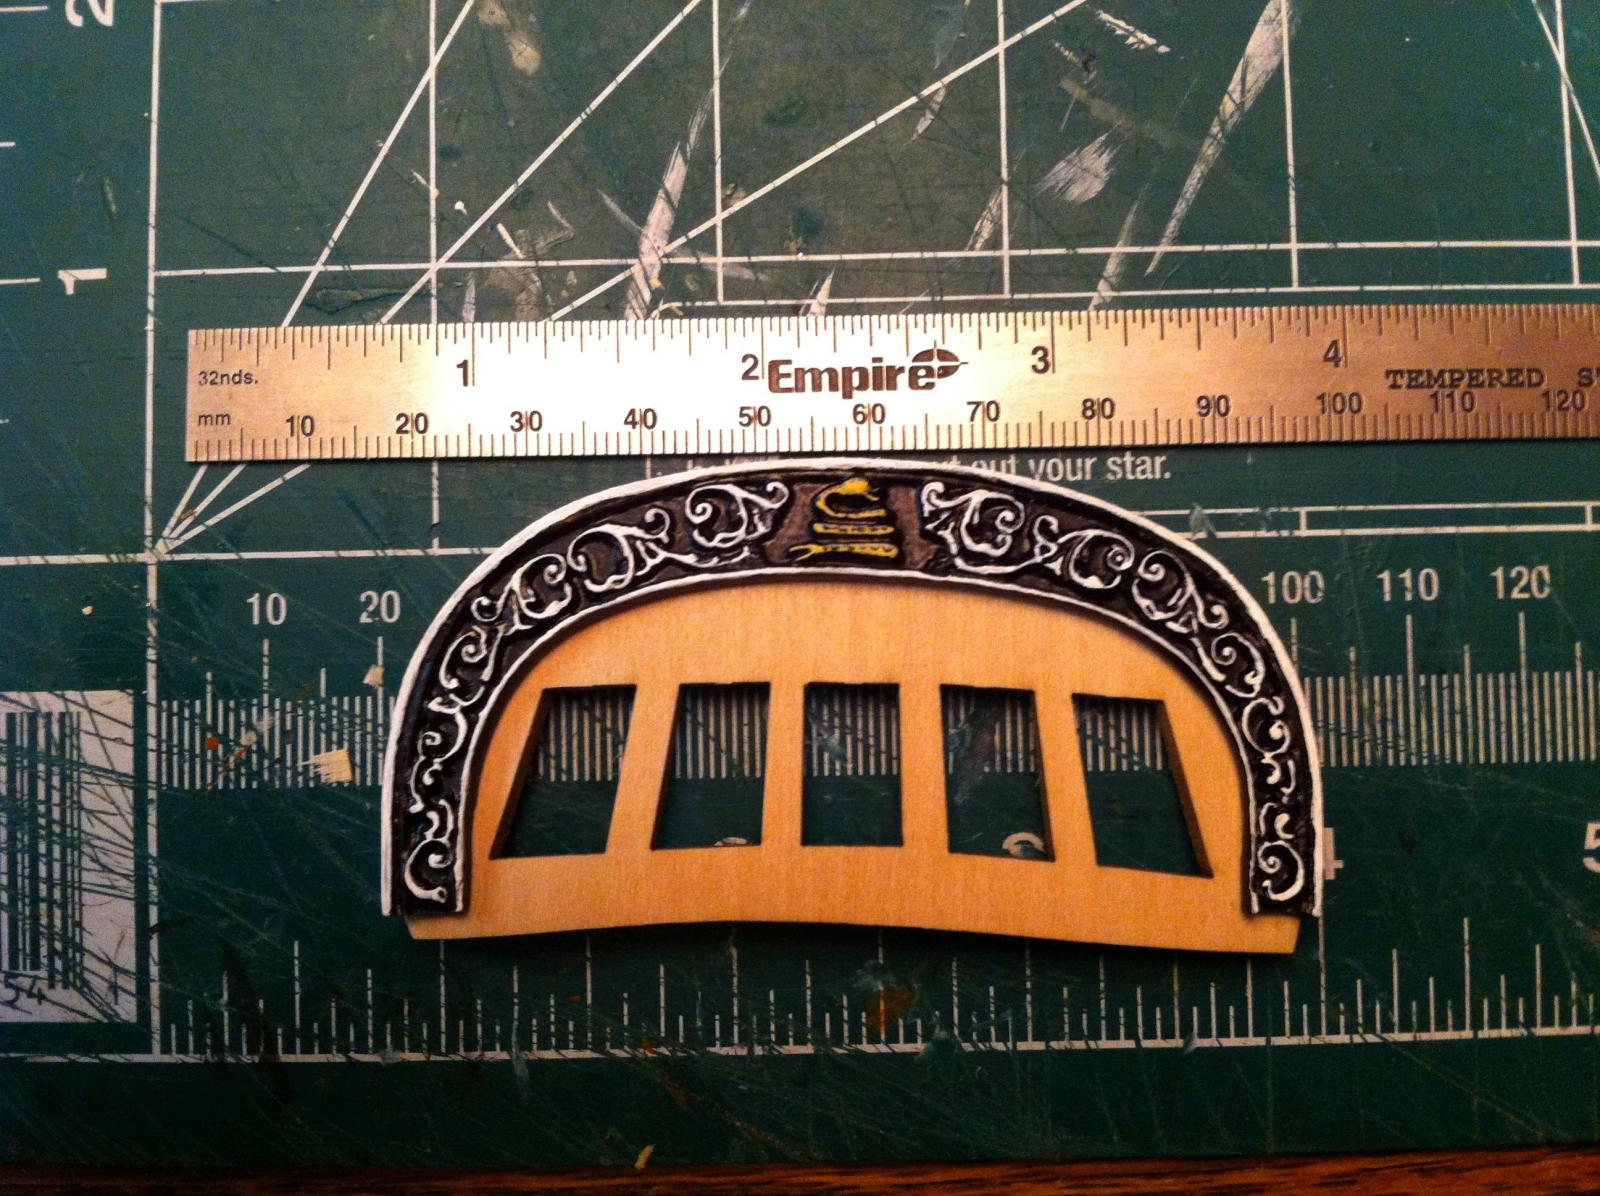
Thanks Randy I'll be spending more time on the Fran soon. Thought I'd share my transom carving paint scheme. I like the black and white look saw someone else's build and it looked sharp. beside when the snake is sitting next to my Connie in a few years they will look good together

-
Hey Robbin I was peaking in on your build and noticed the discussion about the chain plates. I shortened mine but I didn't know the should be at the same angle as the lines. I obviously have a problem with my deadeyes now as the chain plates are straight up and down. Hope this helps a little
-
Nice to see you back at it. I love the hinge idea. I think once you drill some in those you will have a superior hinge. I'm jut waiting for a stiff breeze to take mine off
-
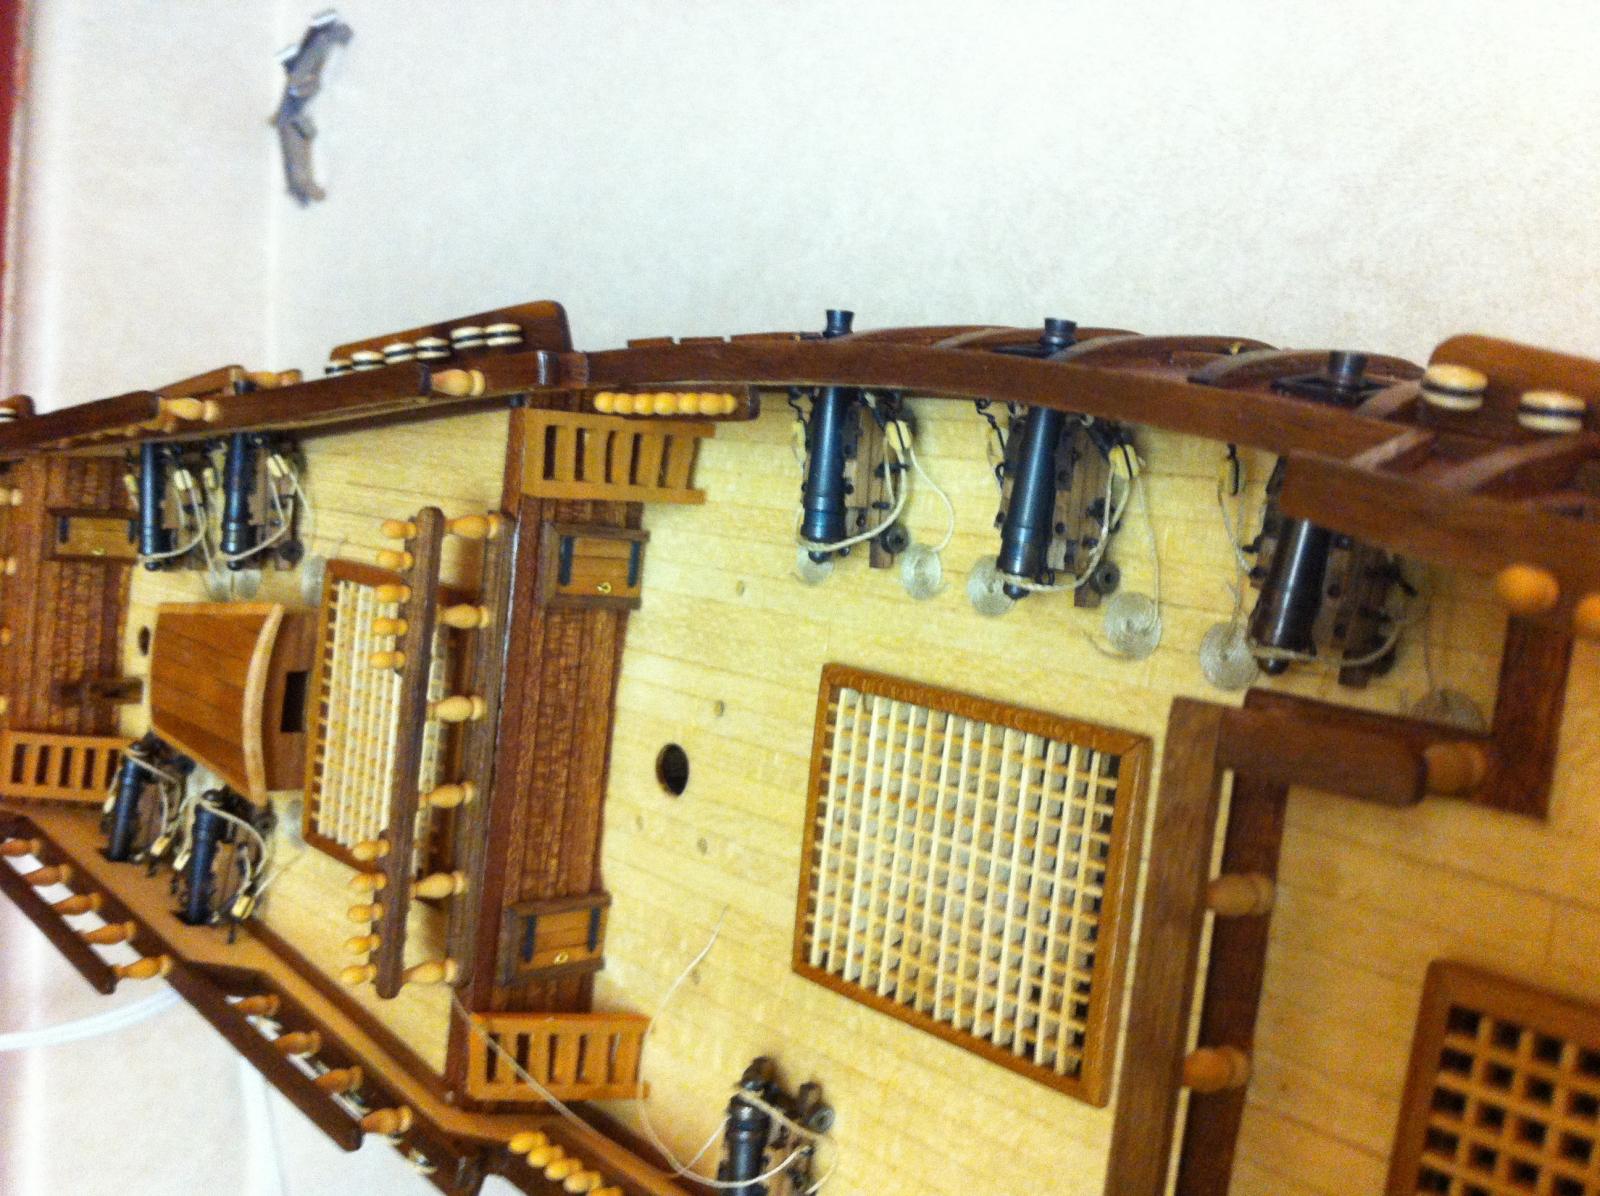
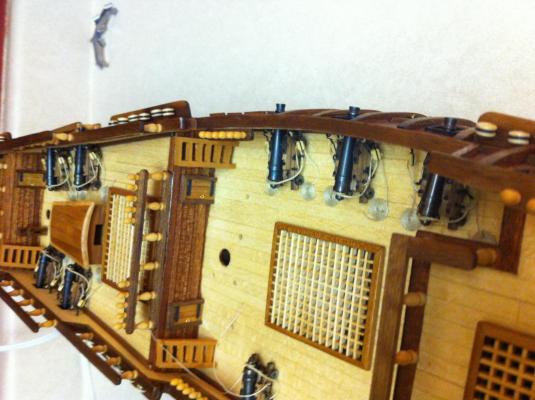
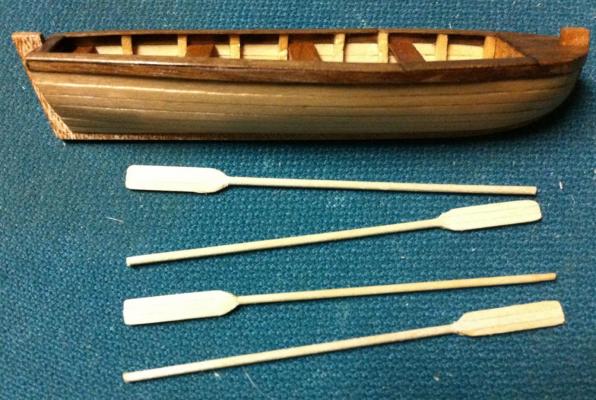
So the starboard guns are now installed. Then again maybe it's the port side ah hell the guns are in on the left side. The snake is definatly getting more attention right now but I am still putting tackle on the blocks and finishing up my life boat and oars. Is it me or are my oars a little too long?
-
Will try to make the different diameter wheels for the gun carriages and will post pics later. One last question paint the wheels? Black ? Grey? What would be authentic. Yes pawn shops are great you can get some great tools for cheep, but you really have to look at the tool cuz their is some junk out there. You can always find Machinist tools at pawn shops for good prices too
-
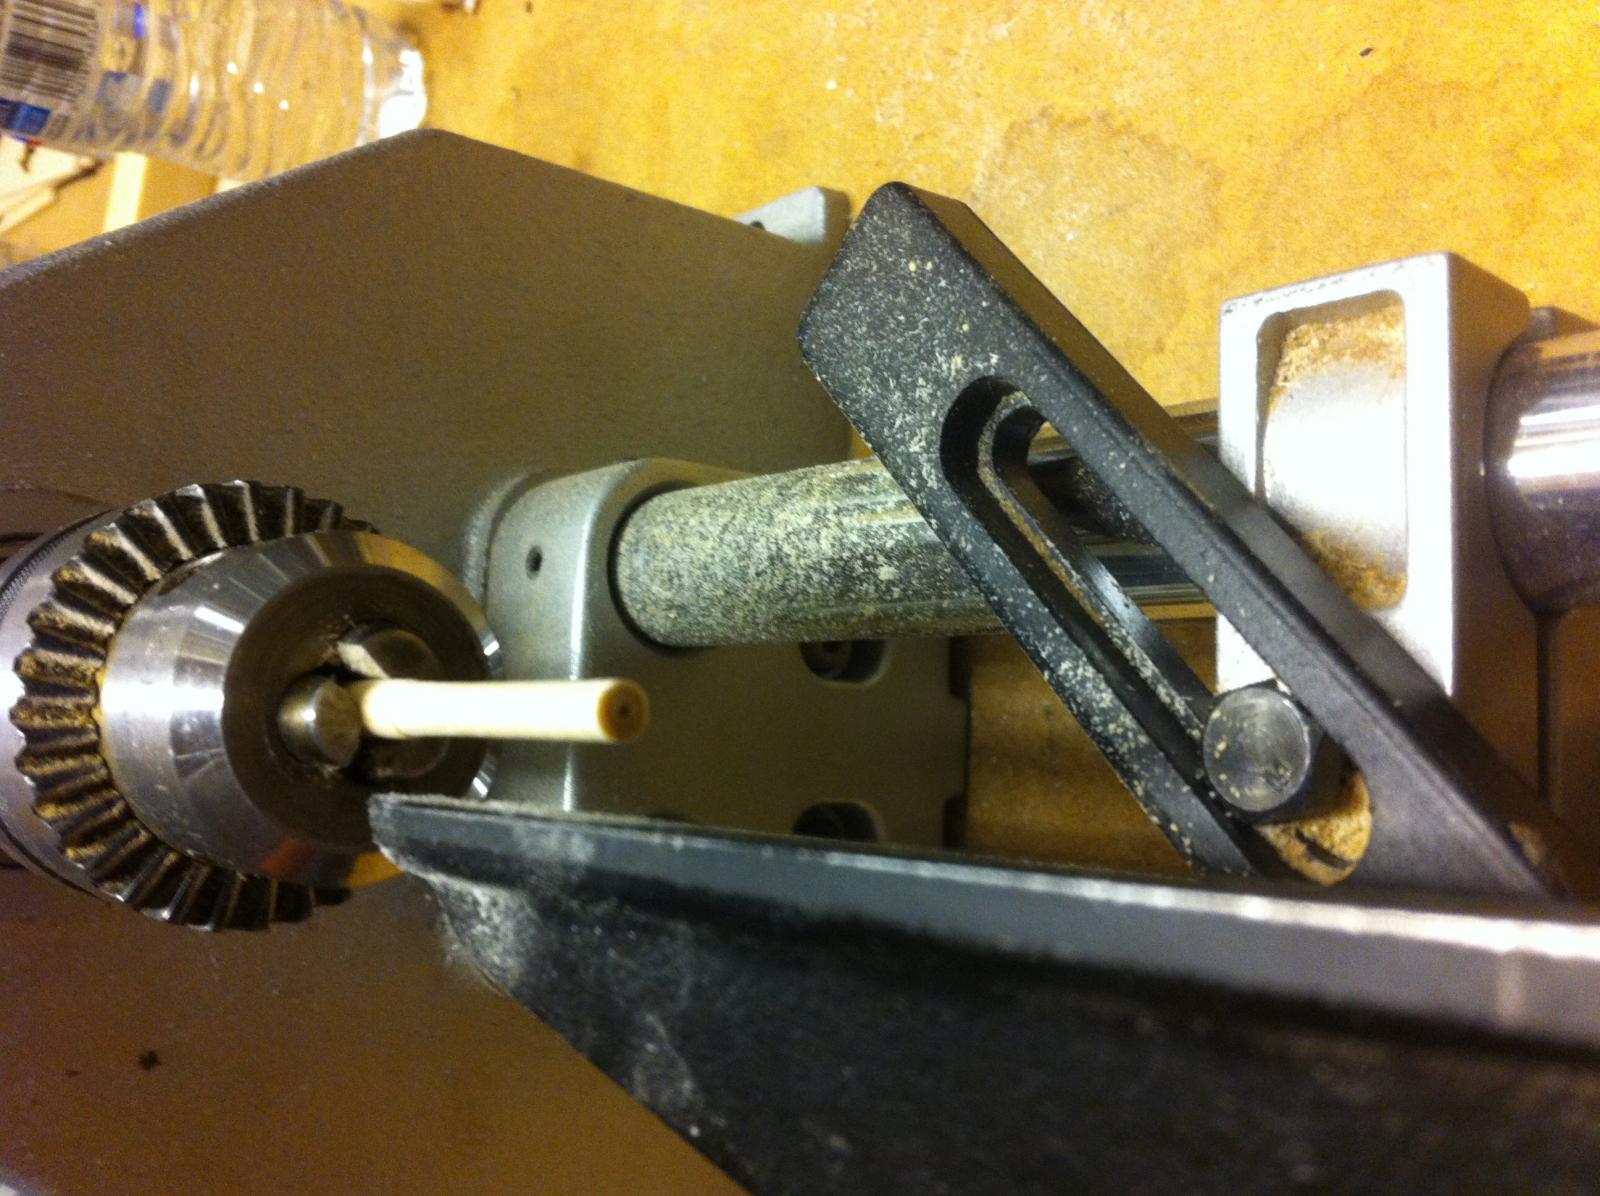
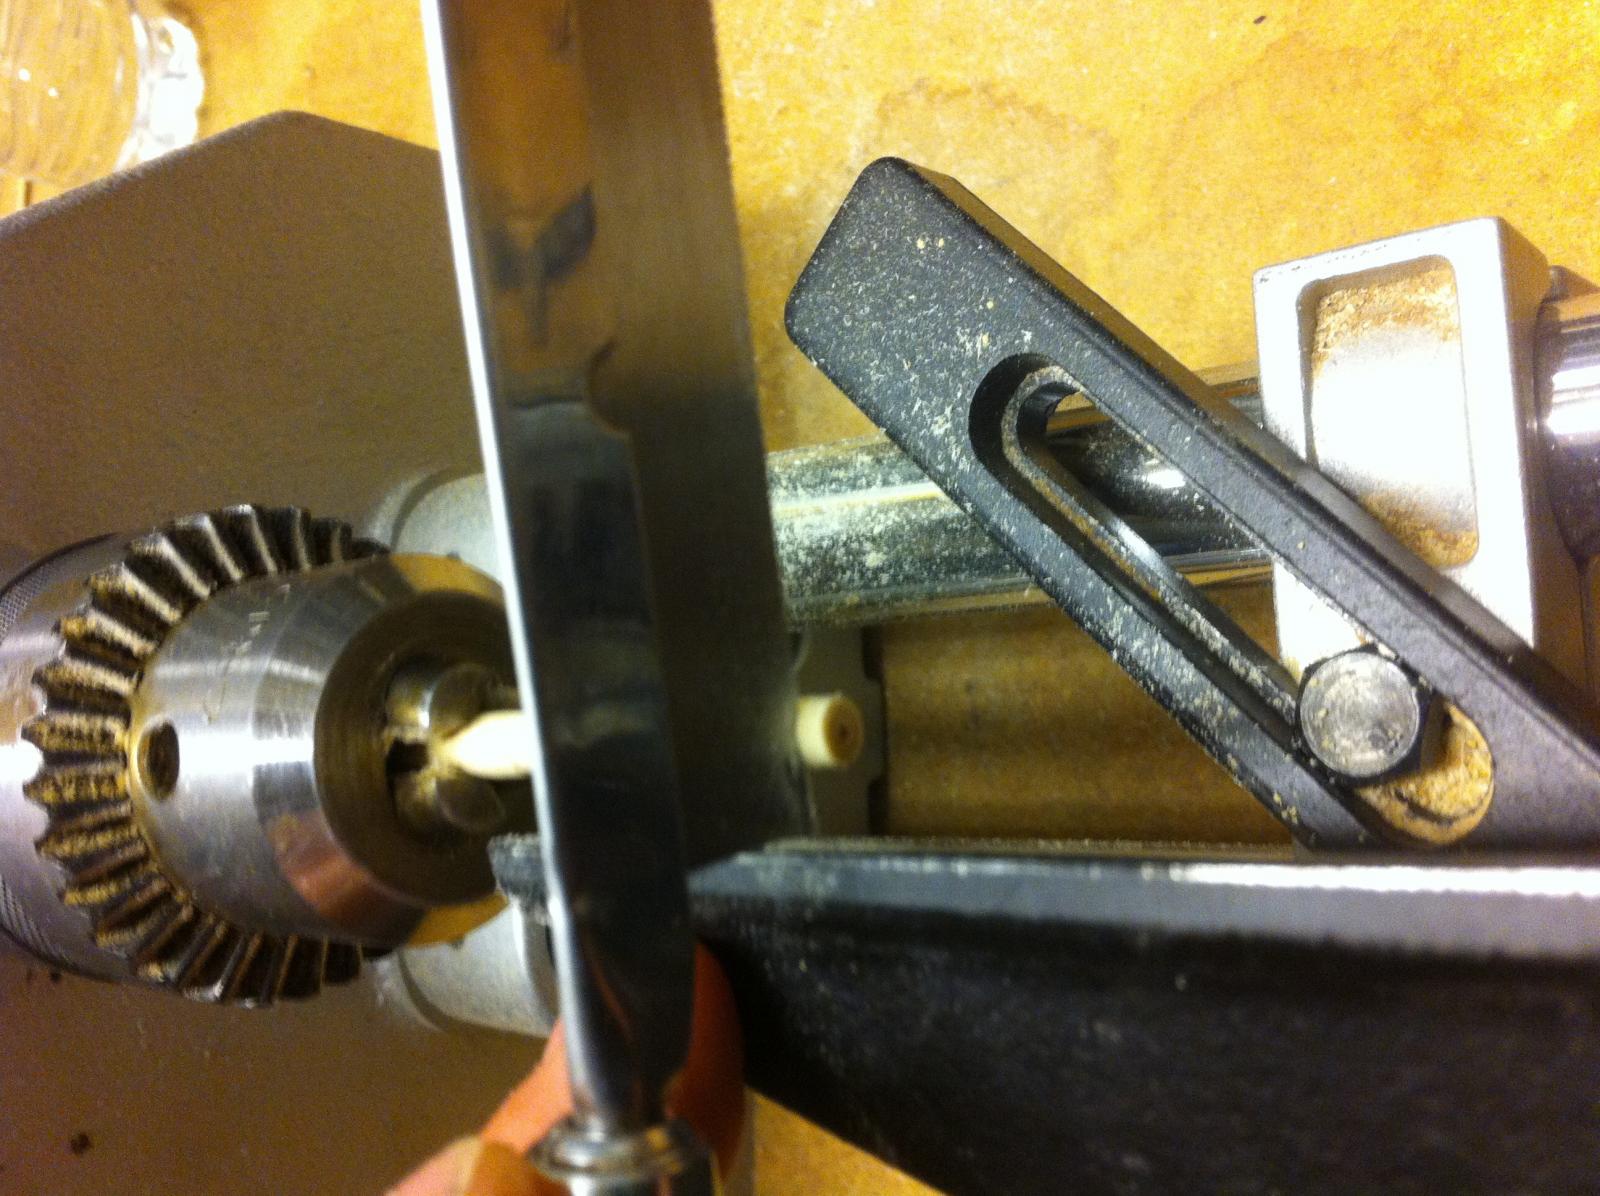
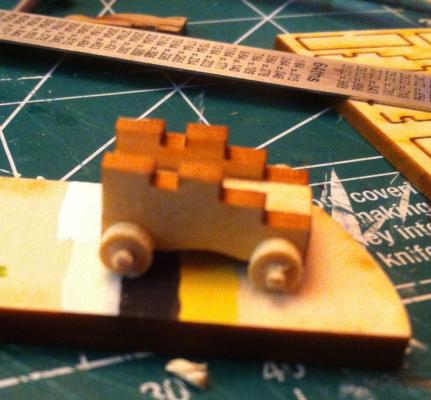
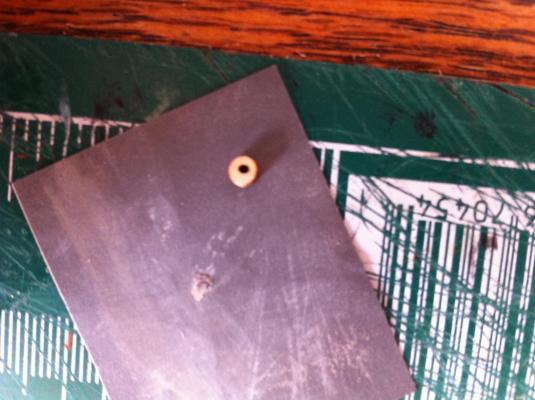
Thanks Russ, using your advice and my newest toy (Ryobi mini lathe from a pawn shop $50 with tools) I made some new wheels. So I used Jpetts method for tree nails, but instead i made axels out out tooth picks. I can make the wheels smaller but here's my first go at it. Oh yea red paint for the carriages right? Now that I have a gun carriage I will use it to Check my gun ports.


-
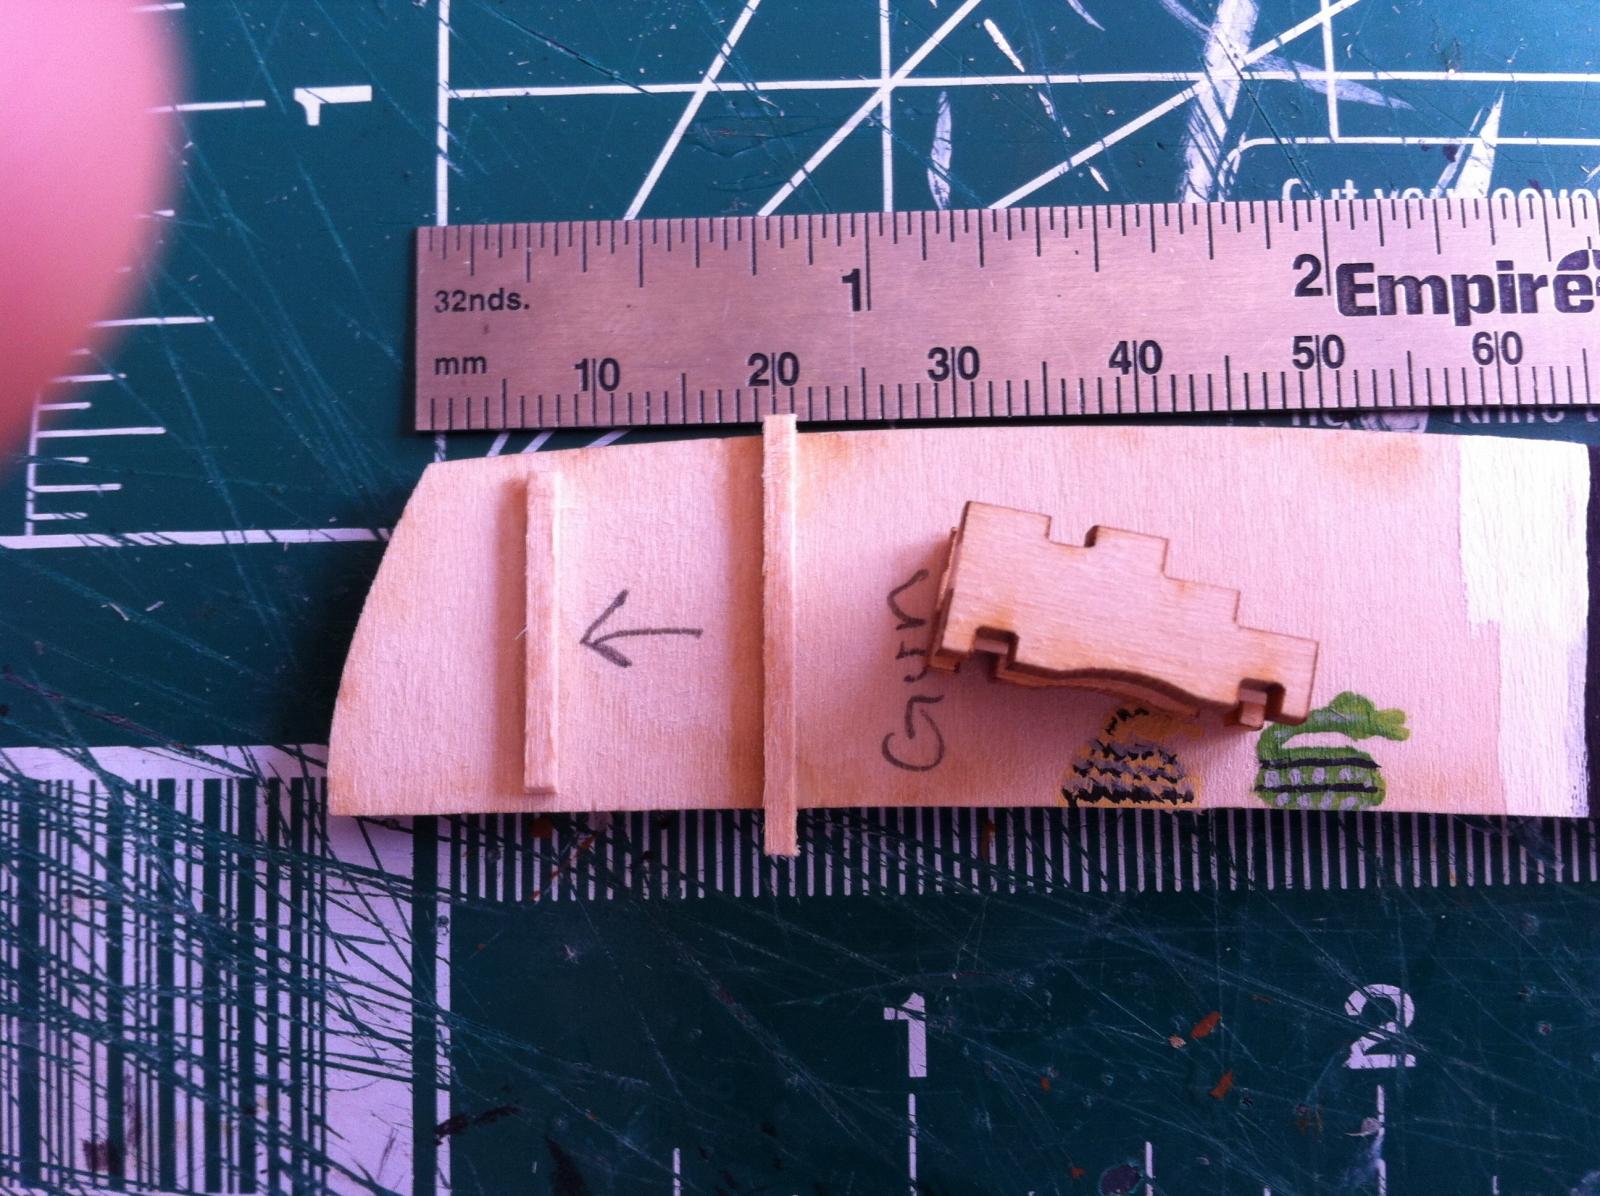
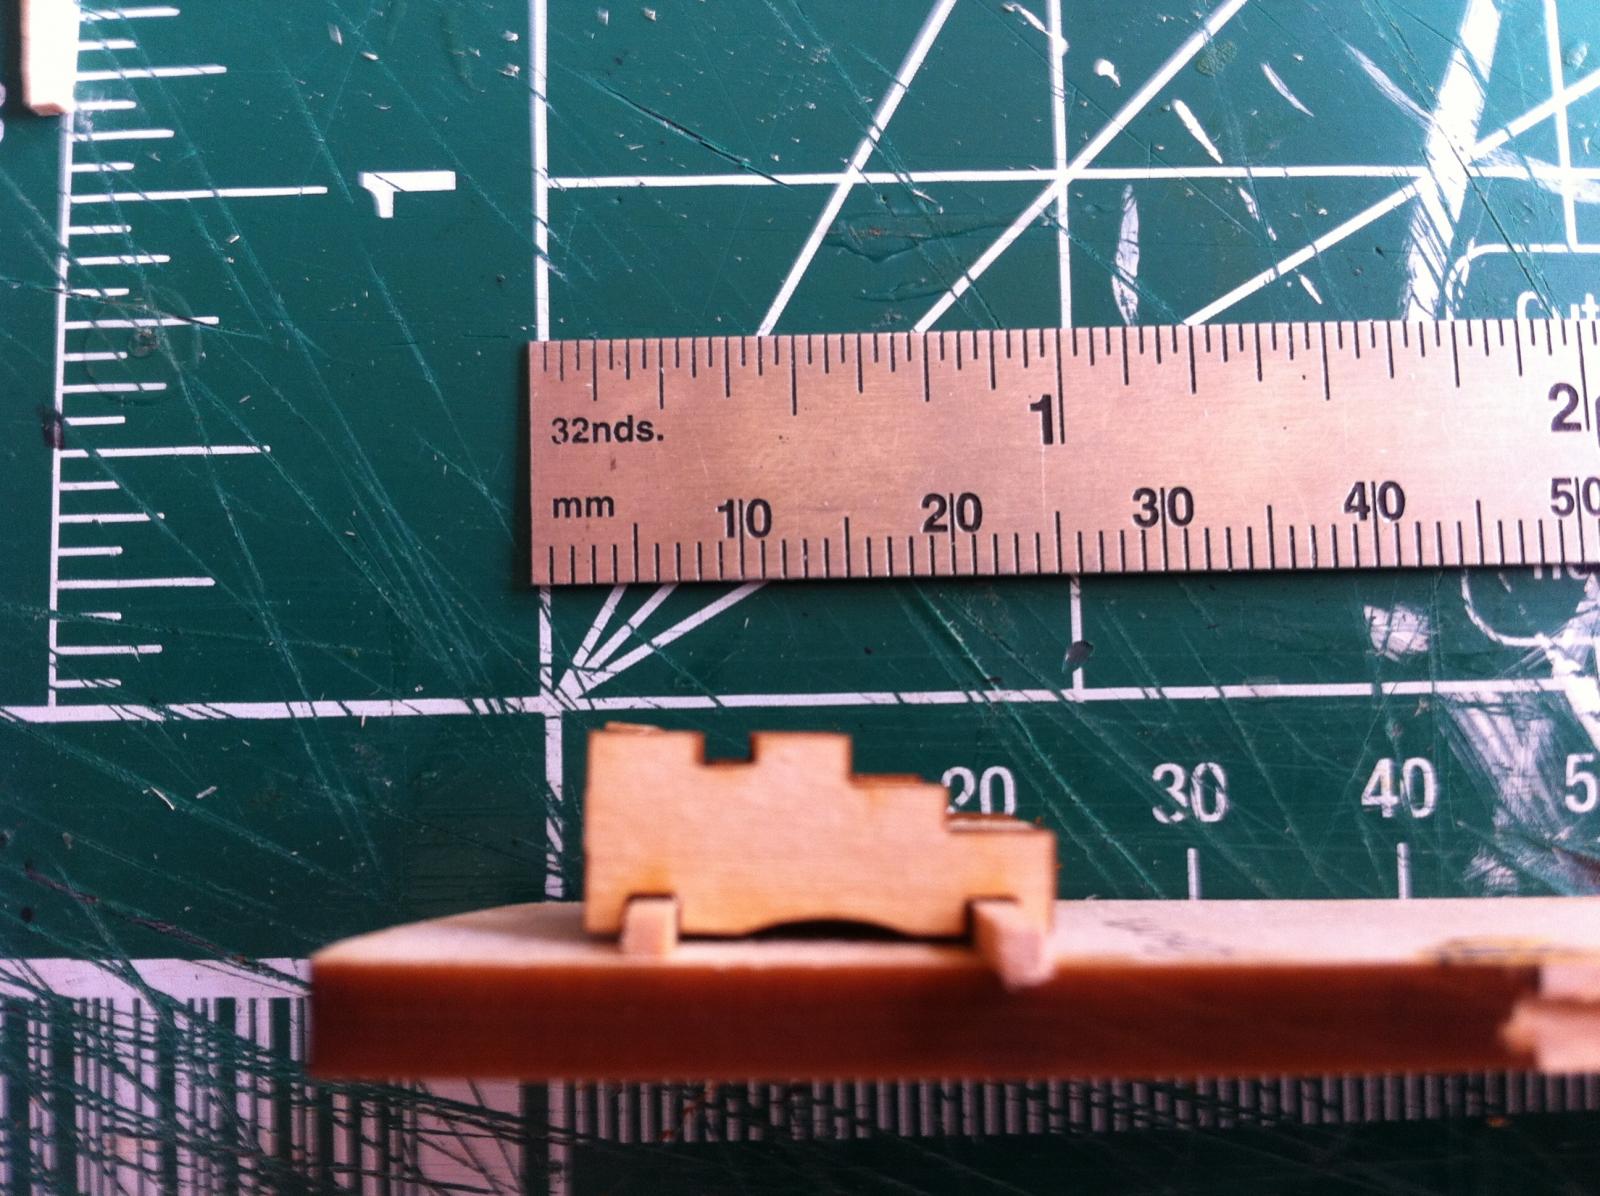
So I assembled one carriage and made a jig to help align the others. So that's the simple part, the laser cut basswood wheels are far from round. Sanding them would be a huge challenge, ive had buggars bigger than these wheels (sorry for the dark humor got to get my frustration out). Wondering how other people have addressed this?


-
Zev, have you taken a look at the cannons and carriages supplied with the kit? My carriage wheels are just plain stupid some look like eggs and others look like my wife's home made pizza's. looking to see if you have a souloution or a way of addressing these wheels
-
Juan is there any chance you have a picture of yor cannon(s). Mine are a little oval looking to see some examples of this gun assembled
-
Zev great to see that you have made the move. I think that makes for three ms rat builds. Will be following you closely
-
Thanks Russ, keeping my line with the deck we will see how it goes
-
Took your tree ailing idea and gave it a go, brilliant ! Are you going to treenail the deck etc...
-
It's beautiful, I think I have hull envy
-
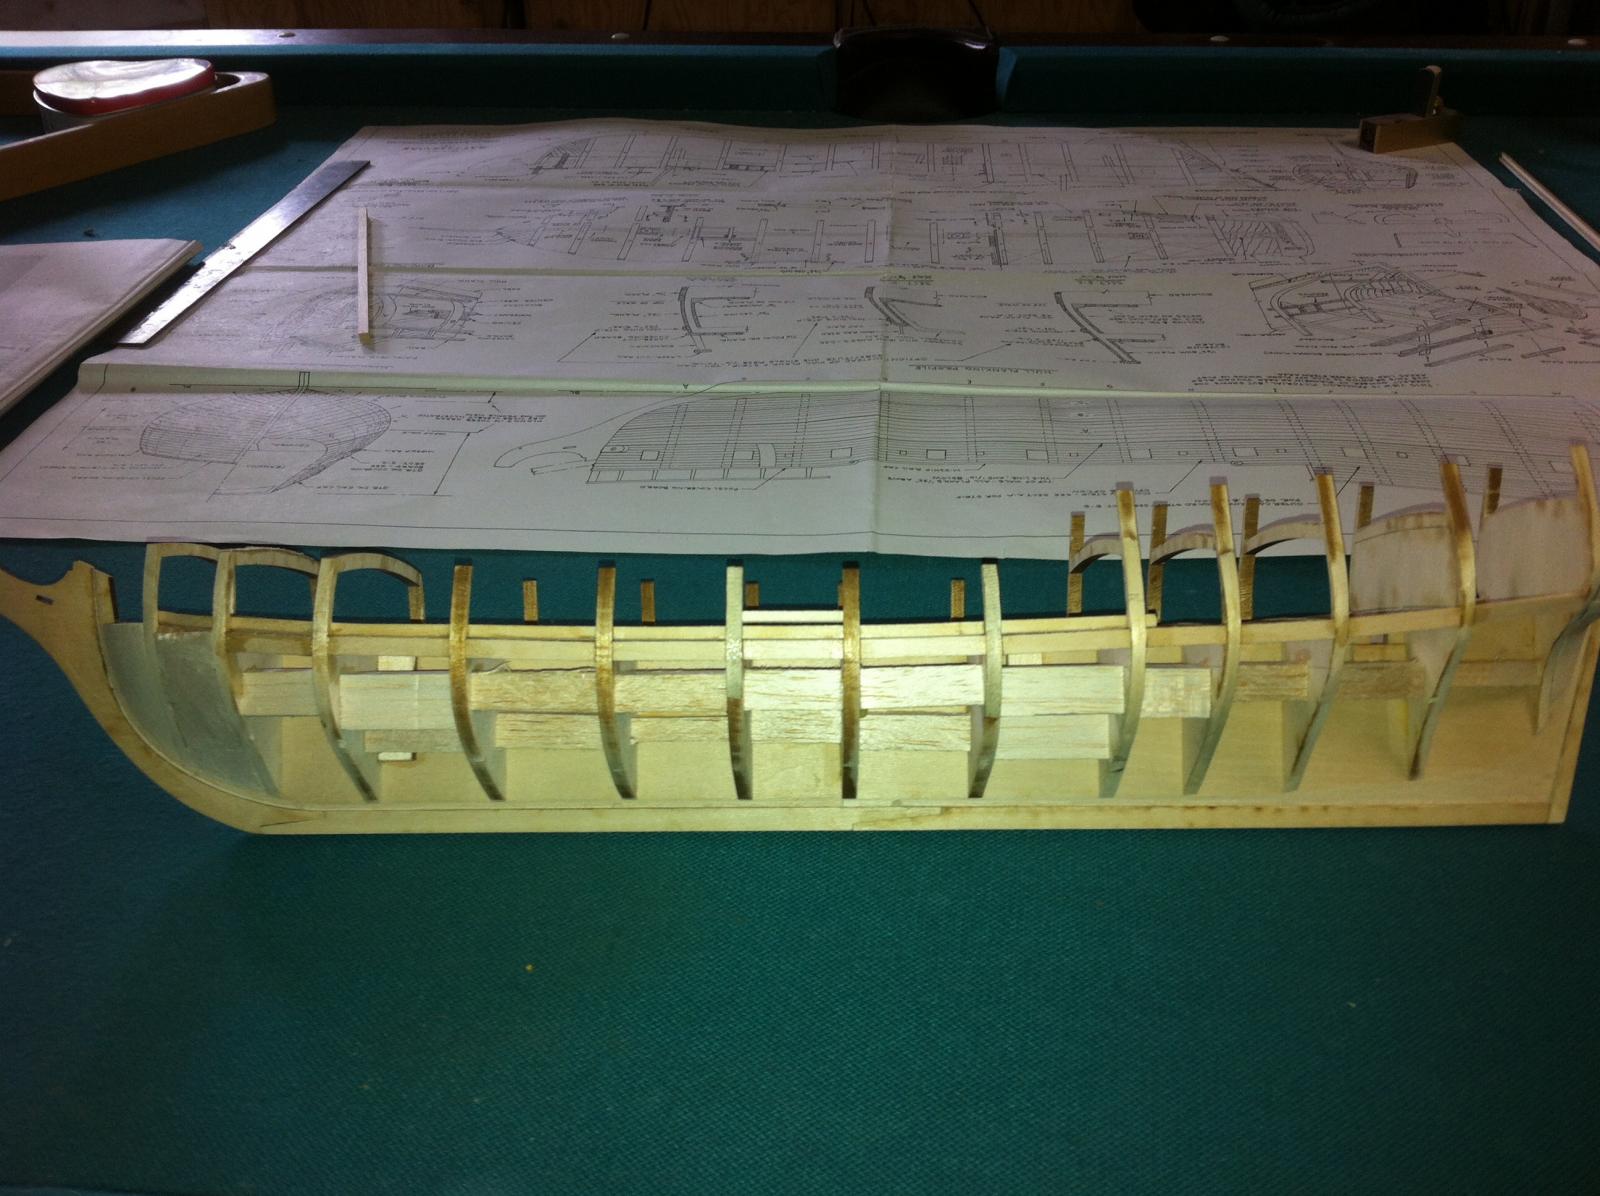
So looking over the plans there is a difference (slight) between Campbell and Lankford's layout of the gun ports. I this it's due to drawing the curve of the hull? So I'm going with Campbell's plans as my measurements line up nicely with his gun port set up following the curve of the deck. So I'm going all in on this one.
-
Jpett I noticed the different angles/height on the plans. Do you know why they seem to be placed the way they are. Some seem to be higher than others Etc..... Why don't they follow the curve of the hull?
-
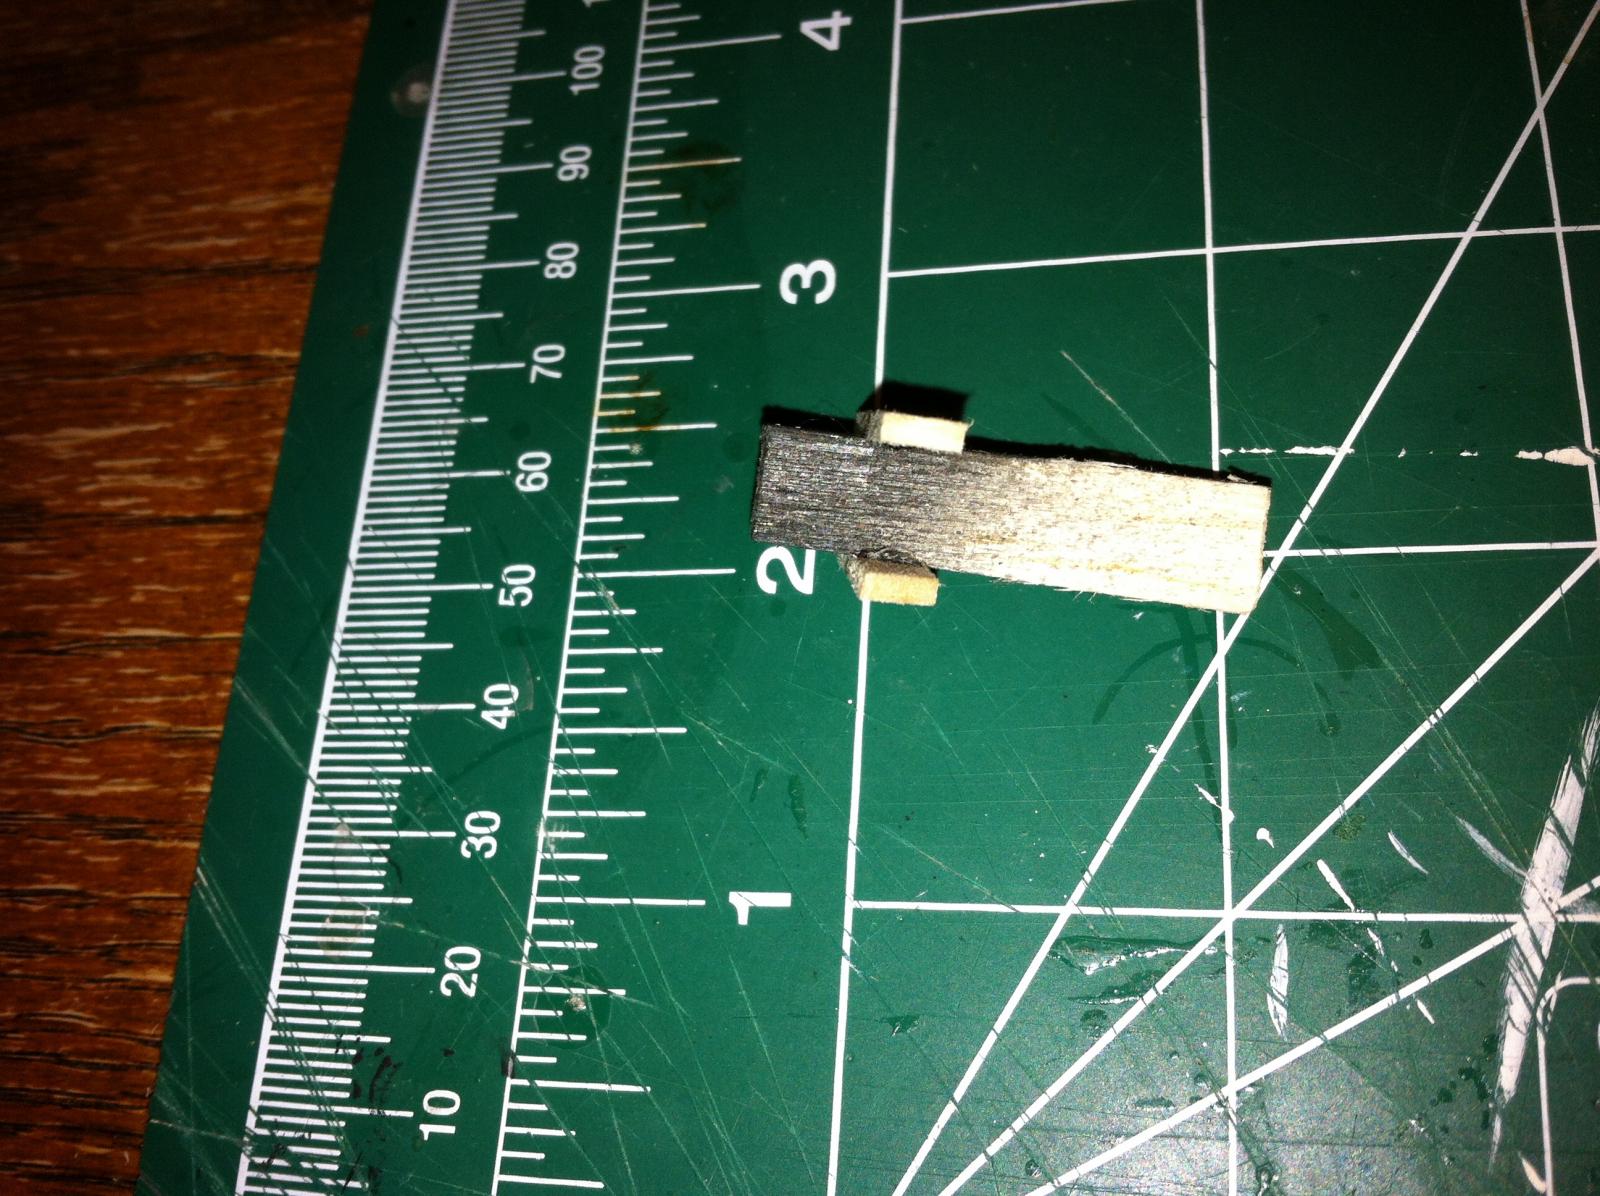
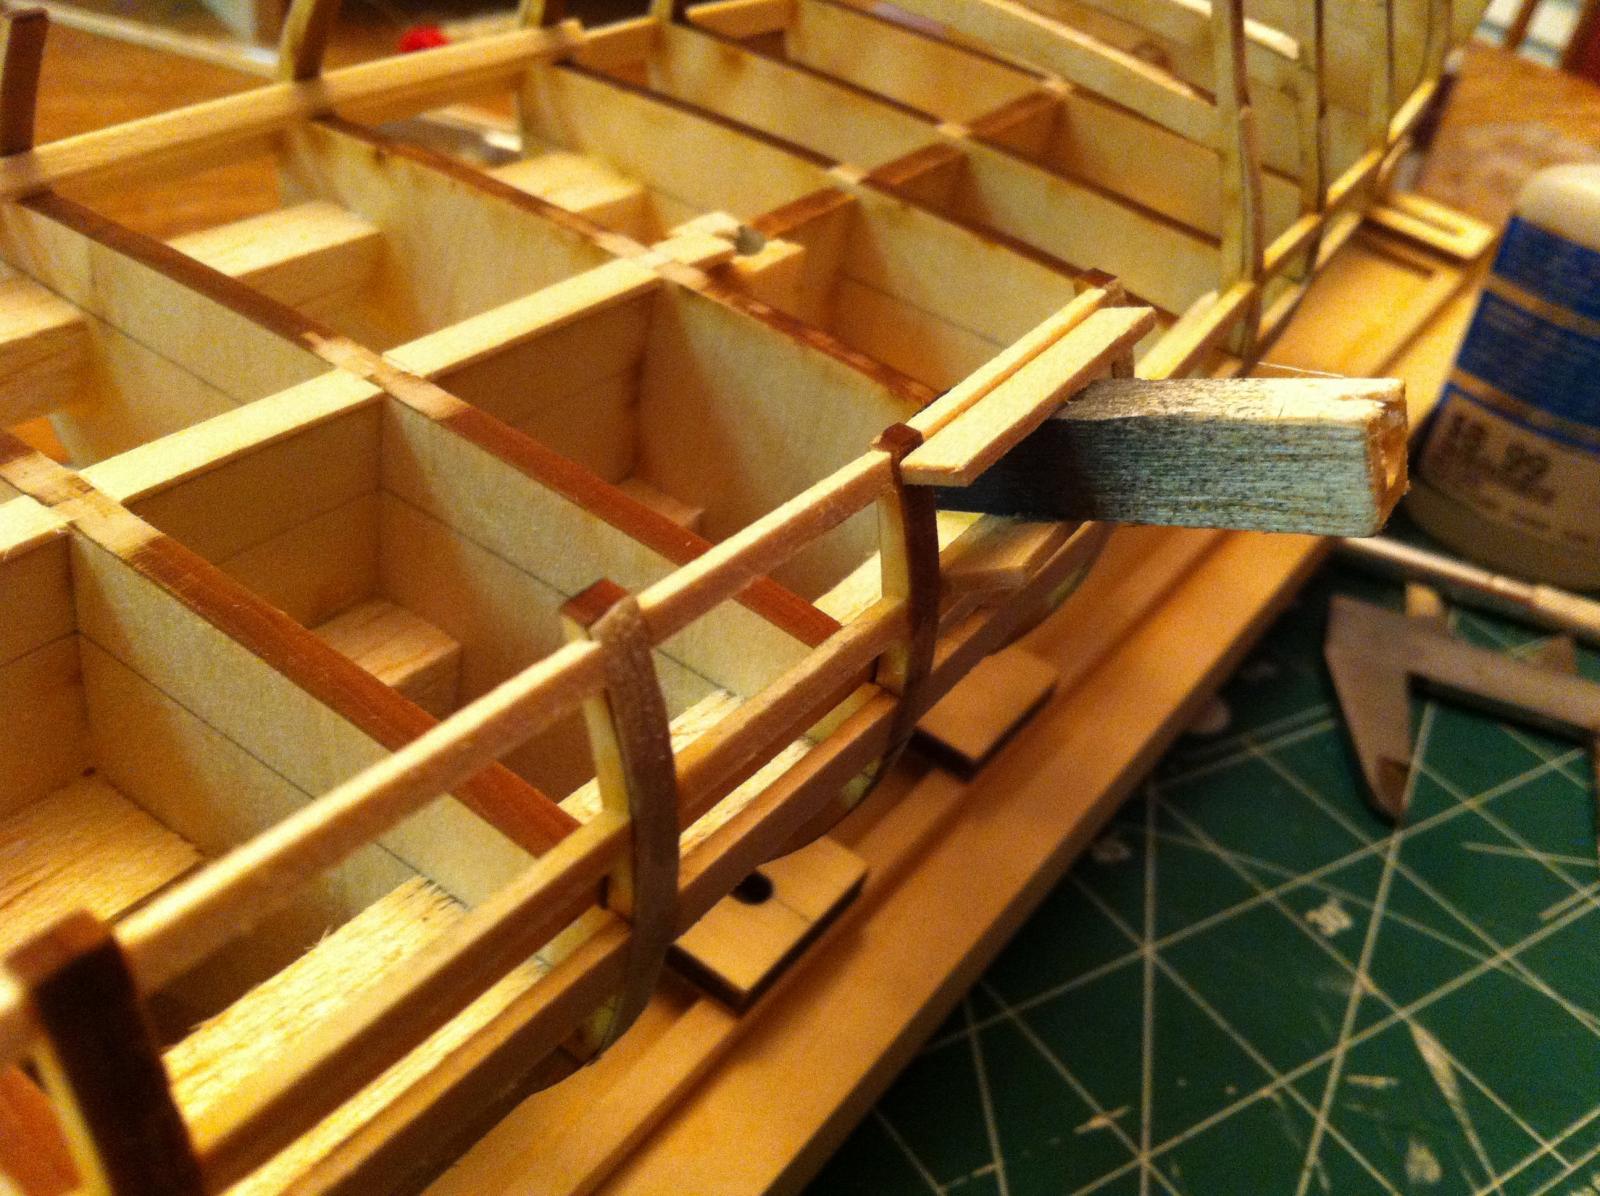
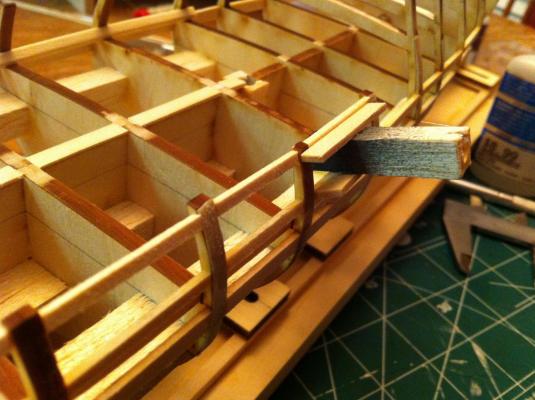
So got a little frisky tonight and started playing with the gun and oar port framing. Quickly had a this just don't look right moment. The "square-ish" 1/16 framing threw off my measurements by just enough for a big what the $&@! Moment. Made a jig for the gun ports, made the second course an easy fit but have to remove several frames and go back to square one with the gun port framing.
-
Russ, Martin, and jplet thanks for the support guys. I do want to just jump into the planking (it's like waiting for Christmas) but I'm taking my time looking at it from every angle. Will frame the gun ports and fair some more. Am a little hesitant to take off too much, cuz like the hair on my head, it doesn't seem to grow back once it's gone.
-
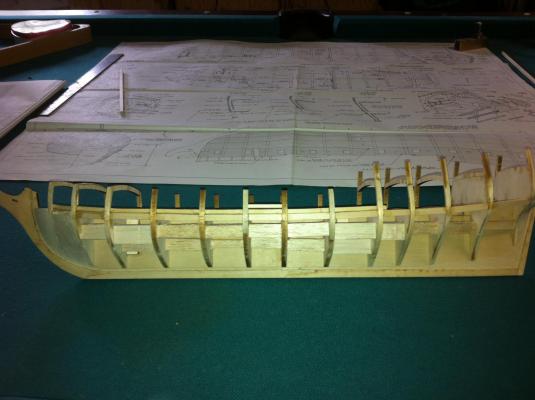
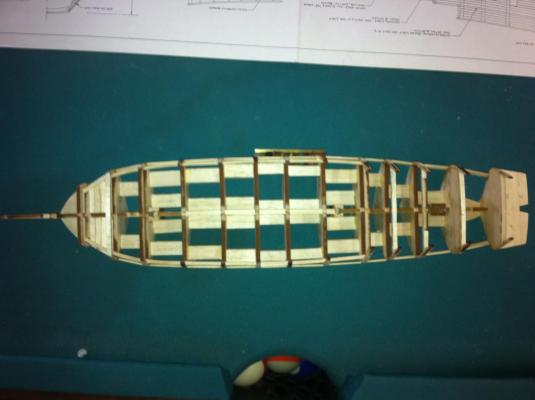
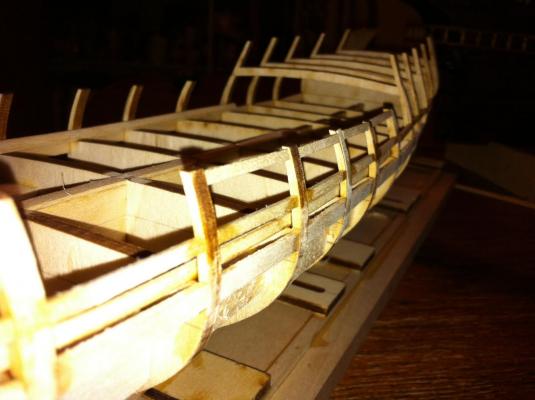
So the past week or so has been spent shimming, sanding, shimming some more and then sanding. I have also installed the waterways to stiffen the hull some more. I would not advise pre fairing the hull as the instructions states. The basswood is easily sanded once on the hull and you can get good lines. I took the hard road (as any good marine would do) and followed the instructions. So doesn't look like much but their is at least 10 hours into fairing and shimming there. Toying with the knight heads and the transom.