DONATION DRIVE - SUPPORT MSW - DO YOUR PART TO KEEP THIS GREAT FORUM GOING!
×


sport29652
-
Posts
325 -
Joined
-
Last visited
Content Type
Profiles
Forums
Gallery
Events
Everything posted by sport29652
-
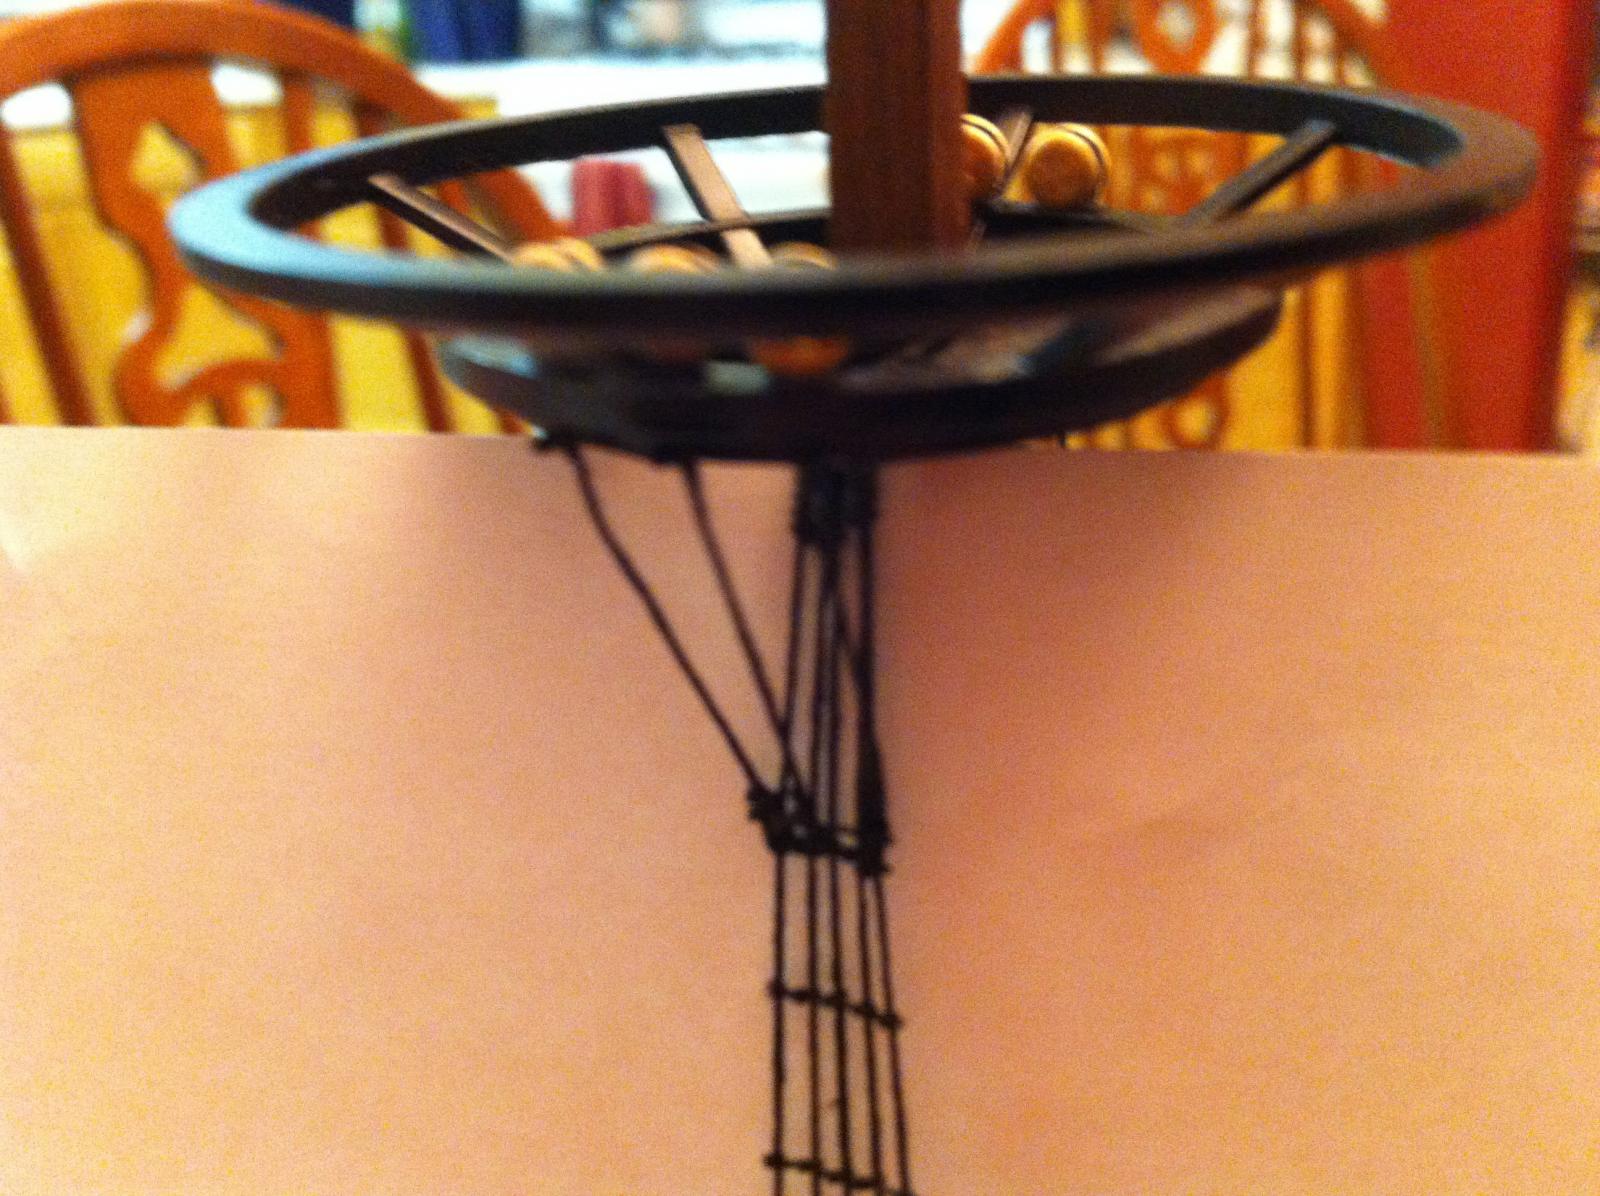
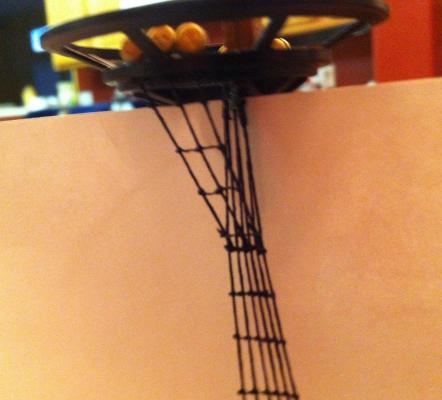
 Can I get some feedback one these. Not too sure what to call em but where the lower ratlines and the upper deadeyes attach. I made one set with the ratlines and the other without. Is this accurate ? I thought if I was climbing those I would want the ladder all the way up, but then I thought about it and I don't think I've seen these on anyone else's ships ? Ladder or no ladder ?
-
Good job ! I feel for you I just finished my lower ratlines and it was rough
-
One build I learned a ton from is Jpetts rattlesnake build. He show pic by pic how he did the planking belts. The rattlesnake has them pre sketched on the planes but I would think u would start with four belts that were equal in width at midship and then u can determine how wide the belt will be at the bow and stern. I am a rookie at this and I'm sure to be corrected
-
If I were to go back I think I could have taken allot from others like you, randy and wolf etc....
-
RATLINES half way done! Man are these a test of mans patience. Starting to take a serious look at the rigging. Again the instructions/plans are useless. They show blocks that don't connect into anything ? Did get some blocks and line from Chuck P. man does he sell some good stuff. Replaced my anchor rope with Syren line. I would have rigged this ship with his product but no turning back now. My rattlesnake will benifit from it though. In hindsight I wish I had fully assembled my masts with rigging then installed them. Saw so many builds do this but though this was easier. Again I need to learn from others... Not enough time to make all the mistakes on my own. Anyway feel like I coming into the home stretch and its a long stretch.


-
Those doors are top notch. Great build !
-
I stole the wet sanding from another member (can't remember who). I hope to treenail something maybe the deck ? Just not gonna do the hull so ill get my taste of it at some point
-
Last couple of planks added and ready to sand ! Good to hear from u guys your comments are appreciated. I'm going to get the larger bumps out of my hull first and then I will wet sand using watered down PVA. The resulting slurry will be worked into the slits and hopefully eliminate any cracks. Jpett, I love your treenail work but am going to pass I will paint my hull. I don't think I can even come close t your work. Ill be the ugly sister :-)

-
So here I am now. Learned a ton on this hull. If you look closely u can see the spilling drop planks and cheating. Has anyone used gorilla glue ? I have found that it's a great gap filler. I will use it from the inside of the hull to attack some of the gaps that have formed. And then I have to address the rats ***. Took me a bit to learn to soak the basswood and then it will conform to whatever curve u have. Lastly I have not sanded the hull to show every mistake or as I like to think of them as beauty marks. Comments please


-
The dark brown wood on the transom, I think you called it your cheat ? Was that to help cover the gap that forms? I have a gap there and will have to cheat to fill/fix it. Thanks for the pics
-
I agree with everyone else, to Pretty to cover. Can u take a pic of the stern ? I would Like to see how you planked it.
-
Gorgeous, your sf is one of the best I've seen so far.
-
Ugh..... I feel for you. Second times the charm, I think that's the saying ?
-
No worries I understand, the past few months have slowed me down a bit, now that little league is over ill have me time too, good luck with the new iOS. I always look forward to more software like I Look forward to a new strain of The flu. Just kidding...... Not really
-
What museum is this going to? I honestly think you should stay with the natural wood hull. It pops with the tree nails, I don't what you got up your sleeve as far as paint goes but u wouldn't take away from what you have now. Wow !!!!
-
Zev, havent heard from ya in a while? whats goin on
-
Nice randy, that new rope will look great
-
So where to begin, let me start by saying the basswood is much easier to use while planking. With that being said it seems to be pretty easy to induce unintended waves in the planking. I have spilled several planks so far and is not that hard (using the scotch tape method). The hardest part so far is the area where the planking meets the stern. It's ugly, didn't attach a pic of it, little embarrassed and once I come up with a fix I might post. For those people following this log I would defer to Jpetts log for the right way to do it. Ttyl


-
Wow good work!
-
Thanks guys, picked up a set of micro planes at harbor freight. The tools there are questionable but for $9 I don't think it will be to much of a loss. Will give them a proper edge and see if its more consistent
-
Looks good randy. I noticed some line tags on the shrouds. I used a good sharp pair of fingernail clippers to get mine close
-
So things are flowing right along. Three planks in and so far it's seems ok. Definatly worried about the big S word (spilling). I left my planks full width from bulkhead d to h. I taper my planks before cutting them to size. i can how i would mess up the taper if i didnt. I would like to find a way to taper my planks without sanding.

-
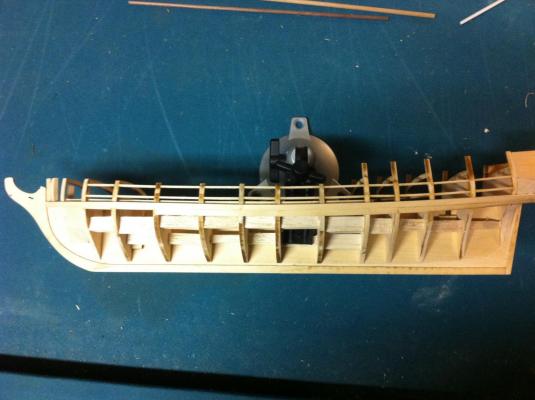
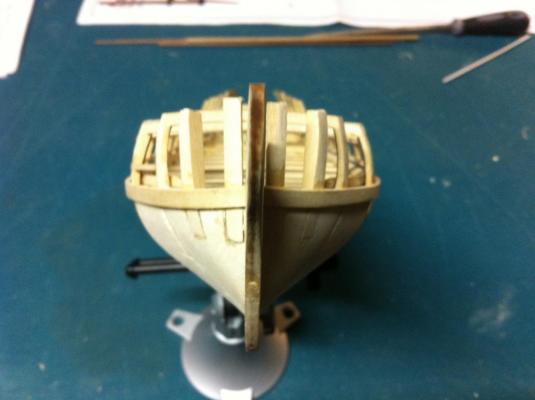
So took a break from the San Fran rat lines and decided to start planking the hull. I skipped a couple of steps like attaching the transom and framing the gun ports. I fear these will be damaged and I see no reason why they can't be addressed later. So my first strake I left one peace to maintain a smooth curve to guide all other runs of planks. I lightly used CA to attach and should be easy to remove if its no good. Only got a couple of planks on. I am using dividers to measure and mark my tapers. Don't really have a belt "a" yet but will taper to meet this as close as possible. As always any feedback is welcome
-
Fortune favors the bold, think you did a superb job! This is an insparational build
-
Judging by the work you have put in on other models this is going to look great. I have tyis kit waiting so am supper interested in your build