


rexnuktia
-
Posts
34 -
Joined
-
Last visited
Content Type
Profiles
Forums
Gallery
Events
Posts posted by rexnuktia
-
-
-
-
-
-
-
So using wood glue now, I find tiny pieces stay in place long enough to stick without clamping. I do let the glue thicken a bit (by waiting for a couple of minutes) before putting the pieces together.
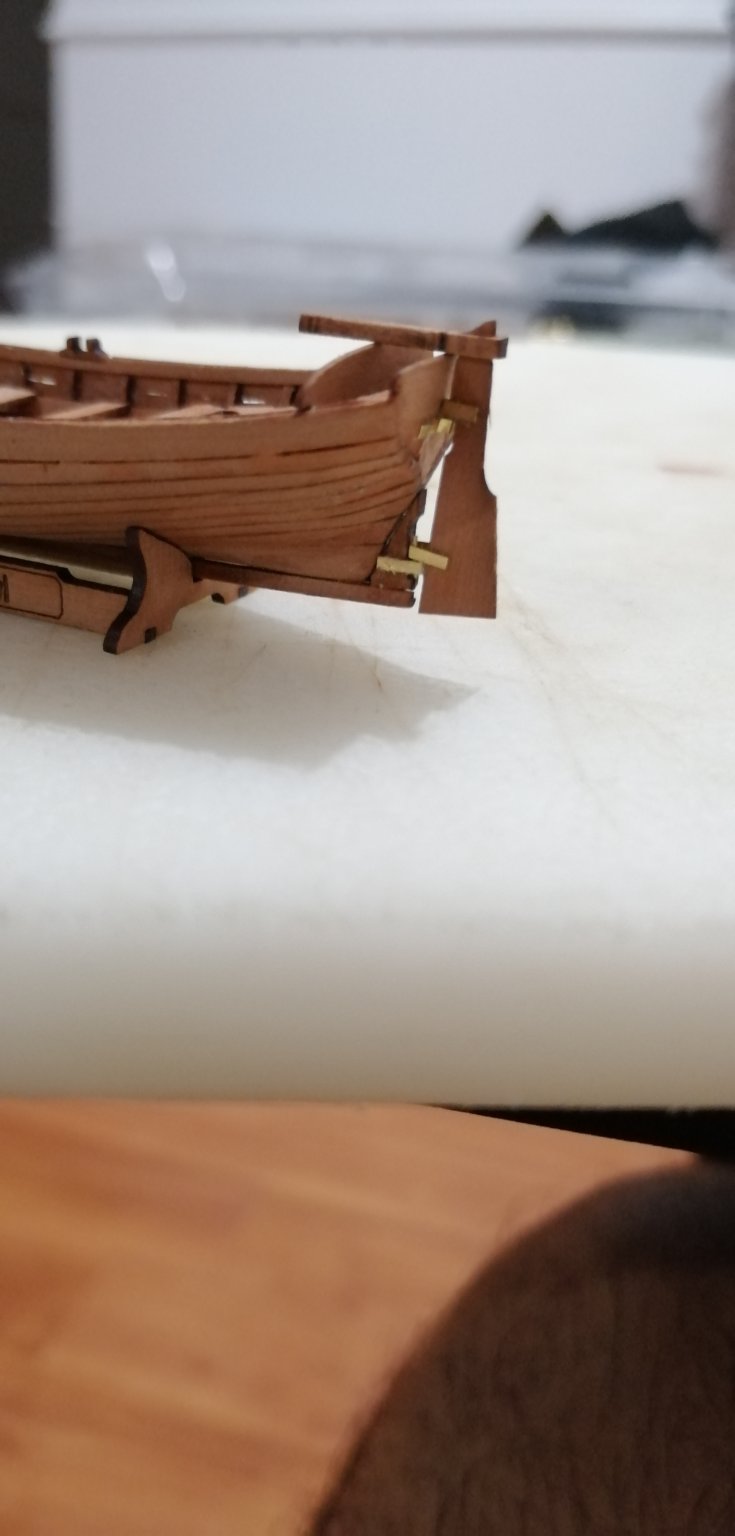
 Front nose jig will be removed after curing timorrow morning. The back board will not sit properly. I'll need to shave off some pieces from the aft sitting boards which will be done tomorrow as well after the glue is dry. Center board left off as per instructional recommendation. It needs the metal bracket and mast to align base mast holder first.


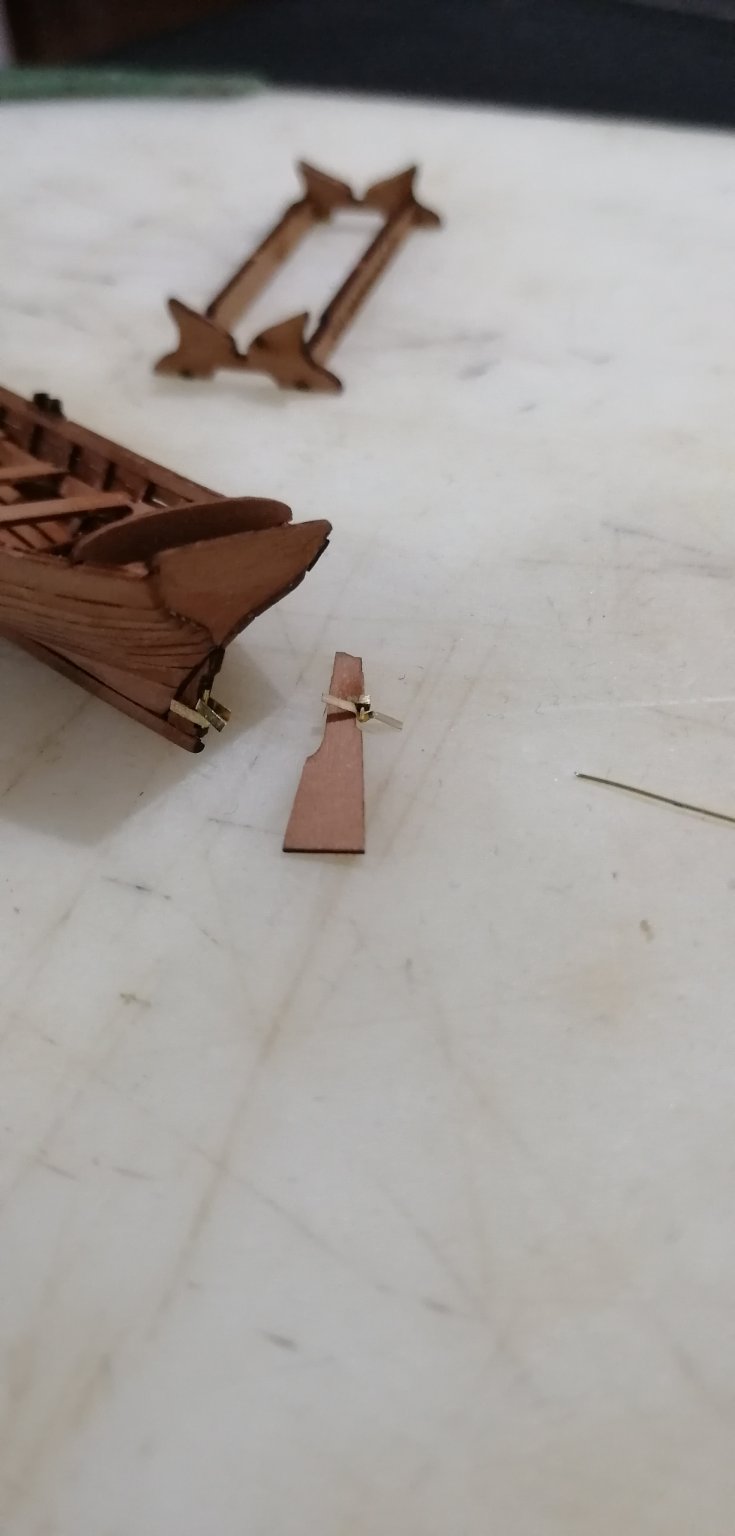
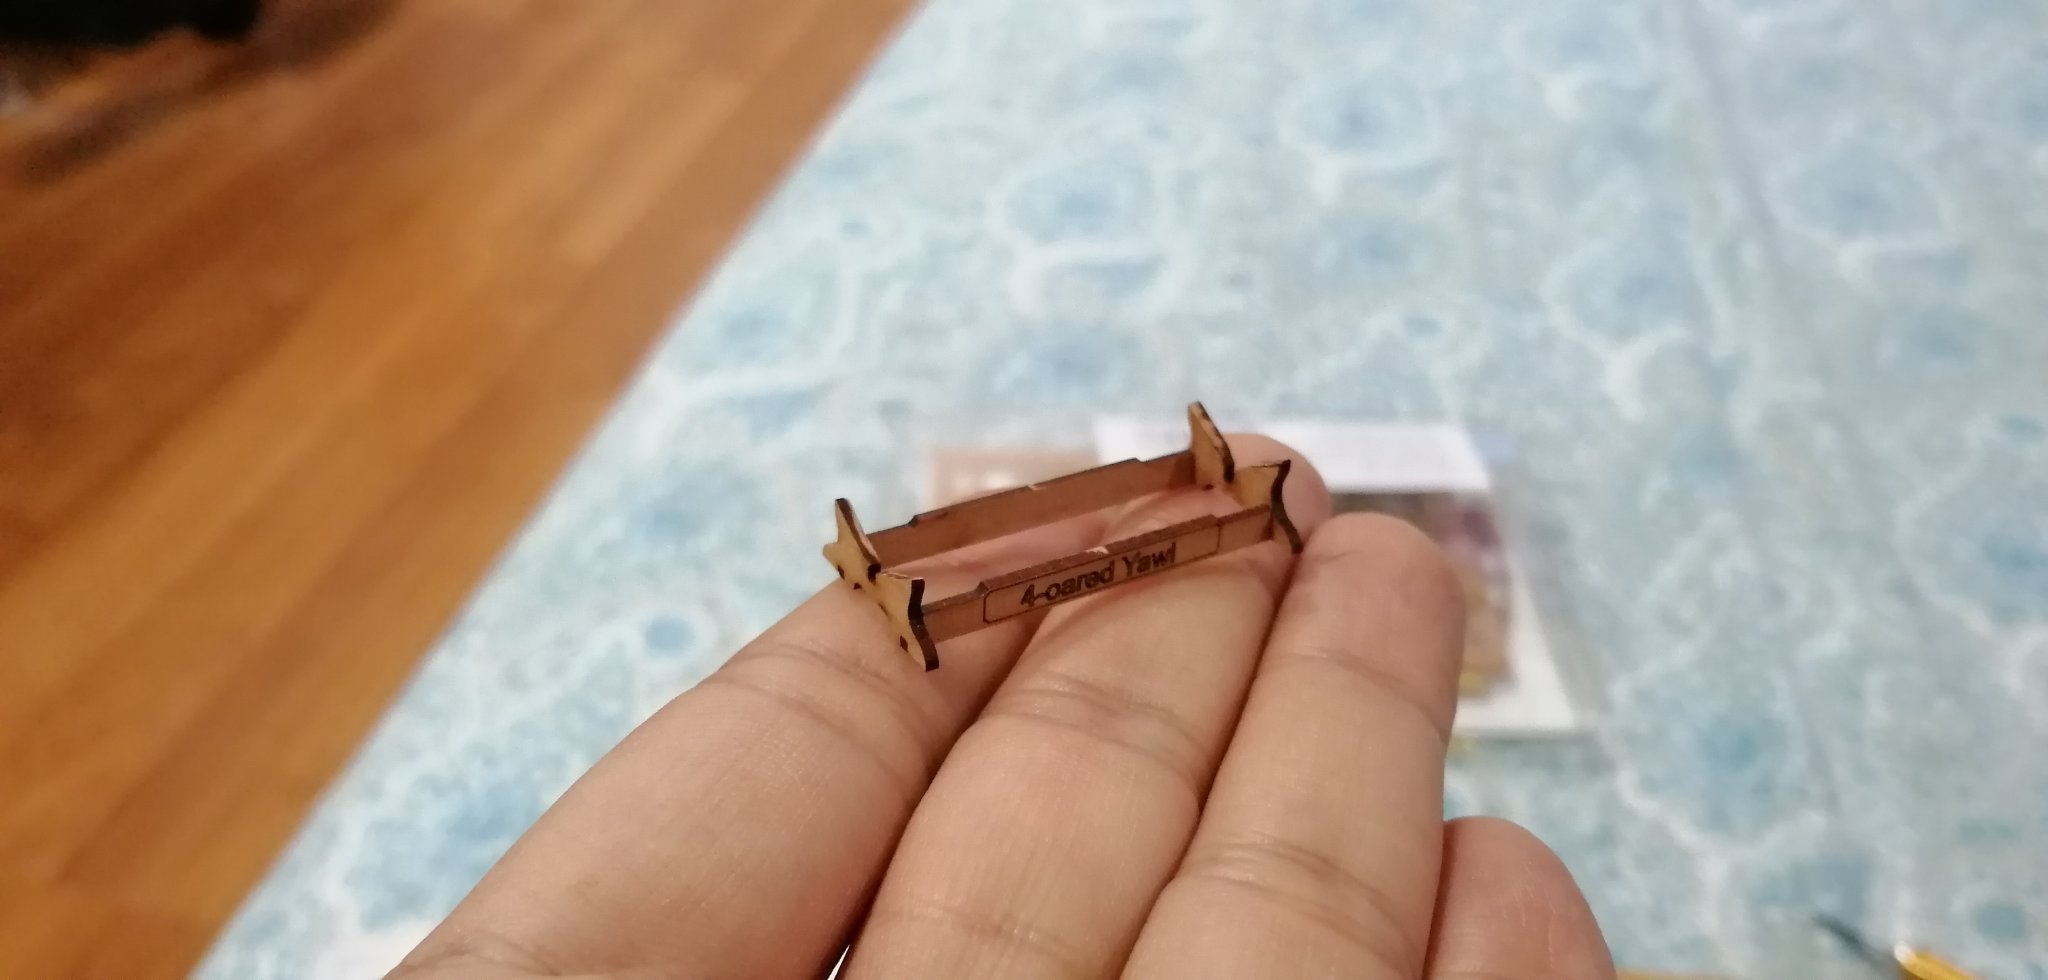
Also built the stand as glue was drying. Pieces stayed at right angles while the glue was drying.
-
11 hours ago, Cathead said:
EDIT: re. ccoyle, I did mean wood glue, though good point about the slowing-curing CA. I personally hate using CA both because of the fumes and because of its tendency to ruin wood as you noted. It's fine for setting knots but I really don't like using it on wood as it never seems to stay where it's put. I've read some people talk about using wood glue for most of the joints and a few spots of CA just to hold the plank in place while the wood glue dries, but have never tried that.
Original answer: There are a variety of very small clamps that can be purchased inexpensively from various sources. You can also make your own from small binder clips. In addition, I find that normal carpenter's wood glue sets up pretty fast (within a few minutes) when it is spread thinly between two pieces and held tight. This is especially true if you run a thin bead of glue along the plank edges, not just at the ribs. I can set a plank on a small boat like that with such glue, hold it in place with my fingers, and let go after a short wait. Fingers are the best clamps possible as they're infinitely adaptable and don't mar the surface. I still use clamps when I can to make life even easier, but I don't mind using fingers, especially if I just watch or listen to something while working to occupy my mind during the wait. If using wood glue, you should let it cure longer before stressing it, but it'll hold a plank in place pretty quickly. This works best if you soak and pre-bend the plank so there's less tension on it.
See my recent build log for two 3" boat kits from Model Shipways for ideas and the following photos:

Note the mini-clothespins in the background here, these are very useful:
Might not work for everyone, just sharing how I've done it.
That Sir, is exactly what I was looking for, although to ccoyle's point again, the slow cure CA is another very good option. Thank you very much for the guidance, I'll definitely check out your build links and give the wood glue a shot.
-
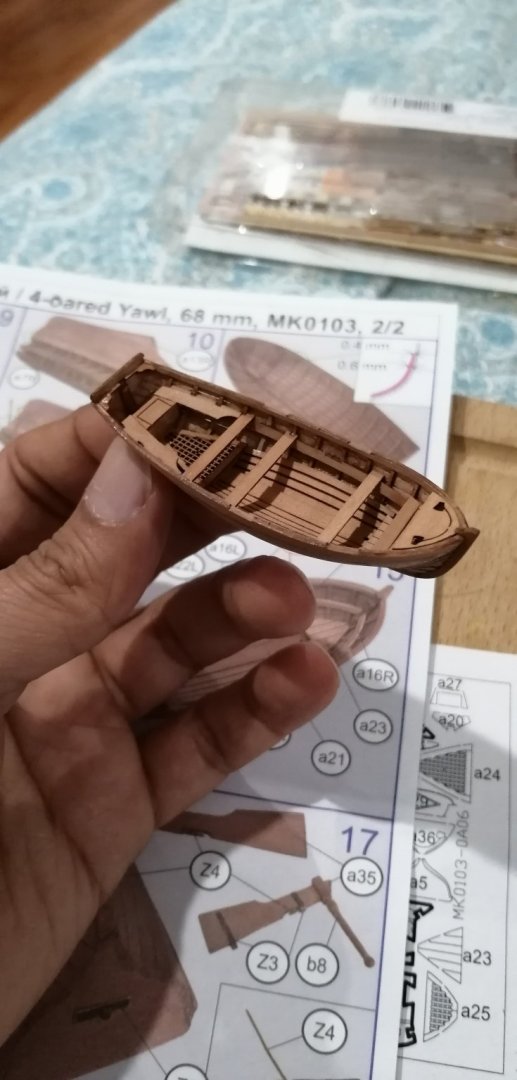
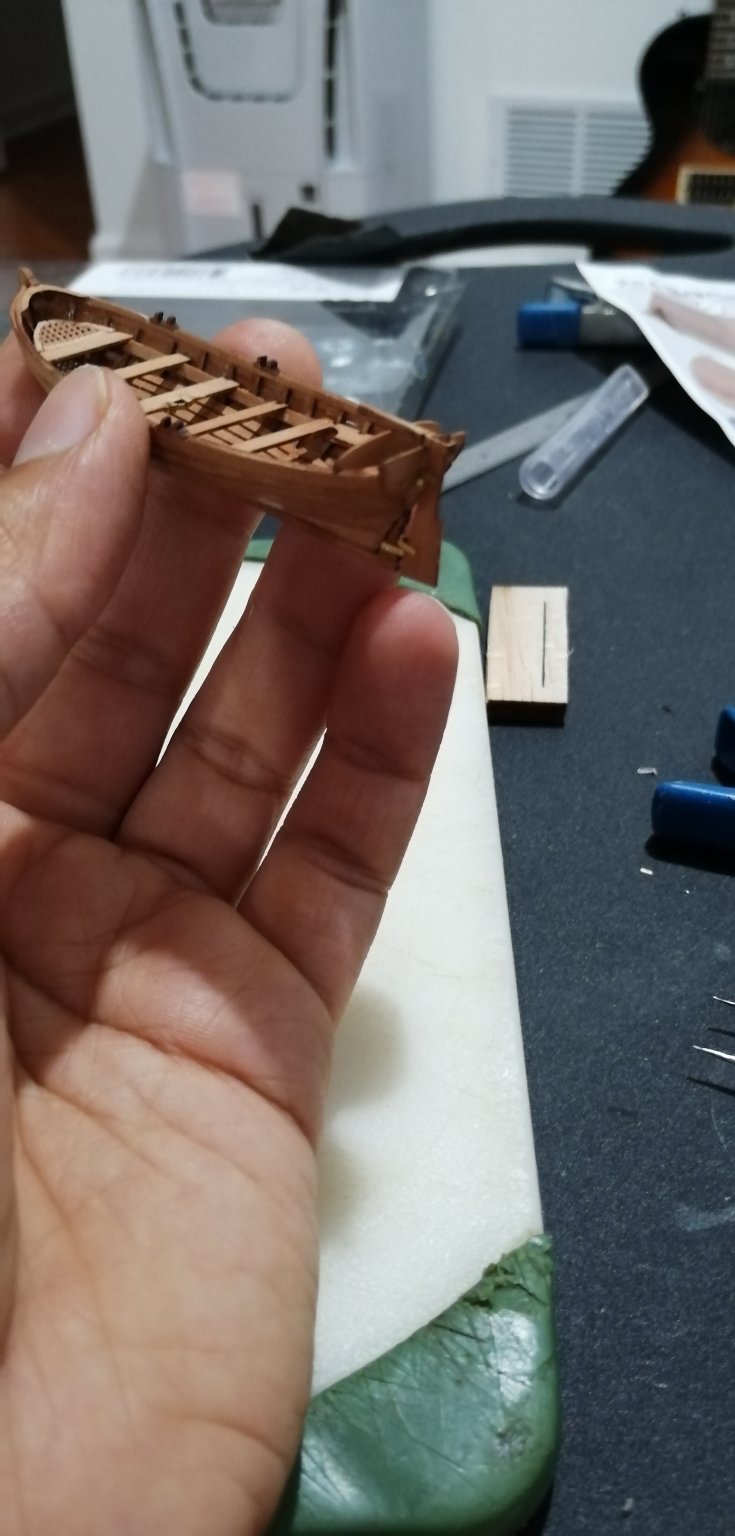
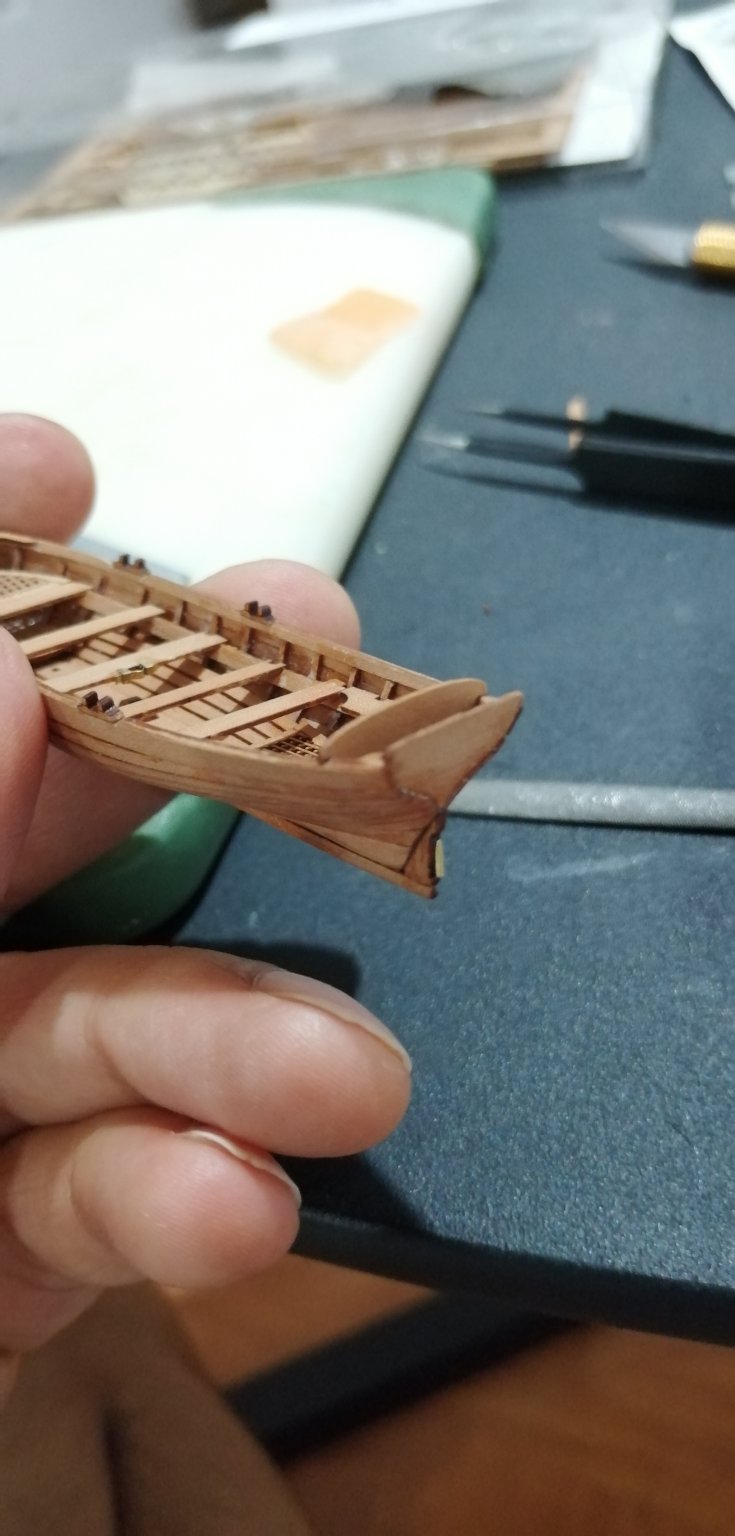
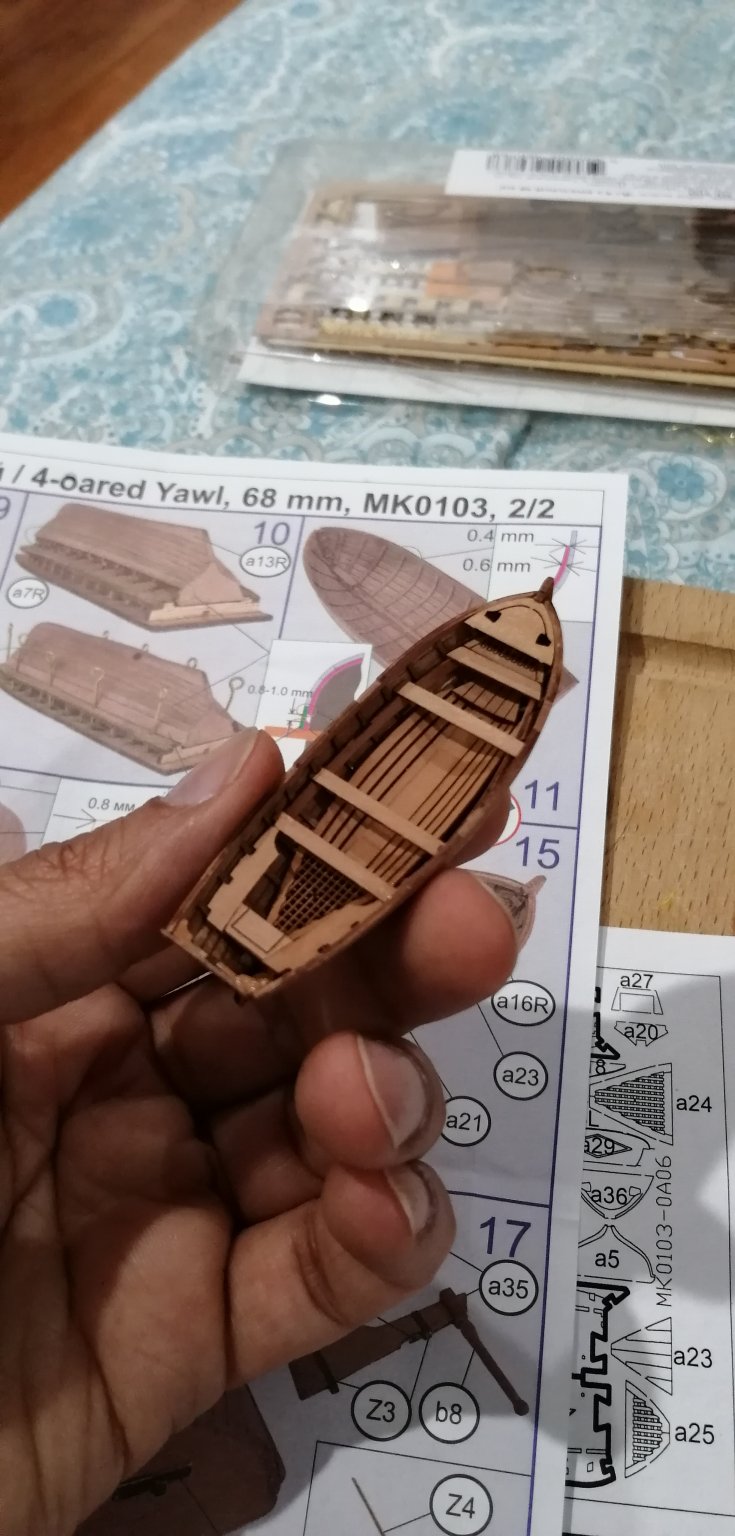
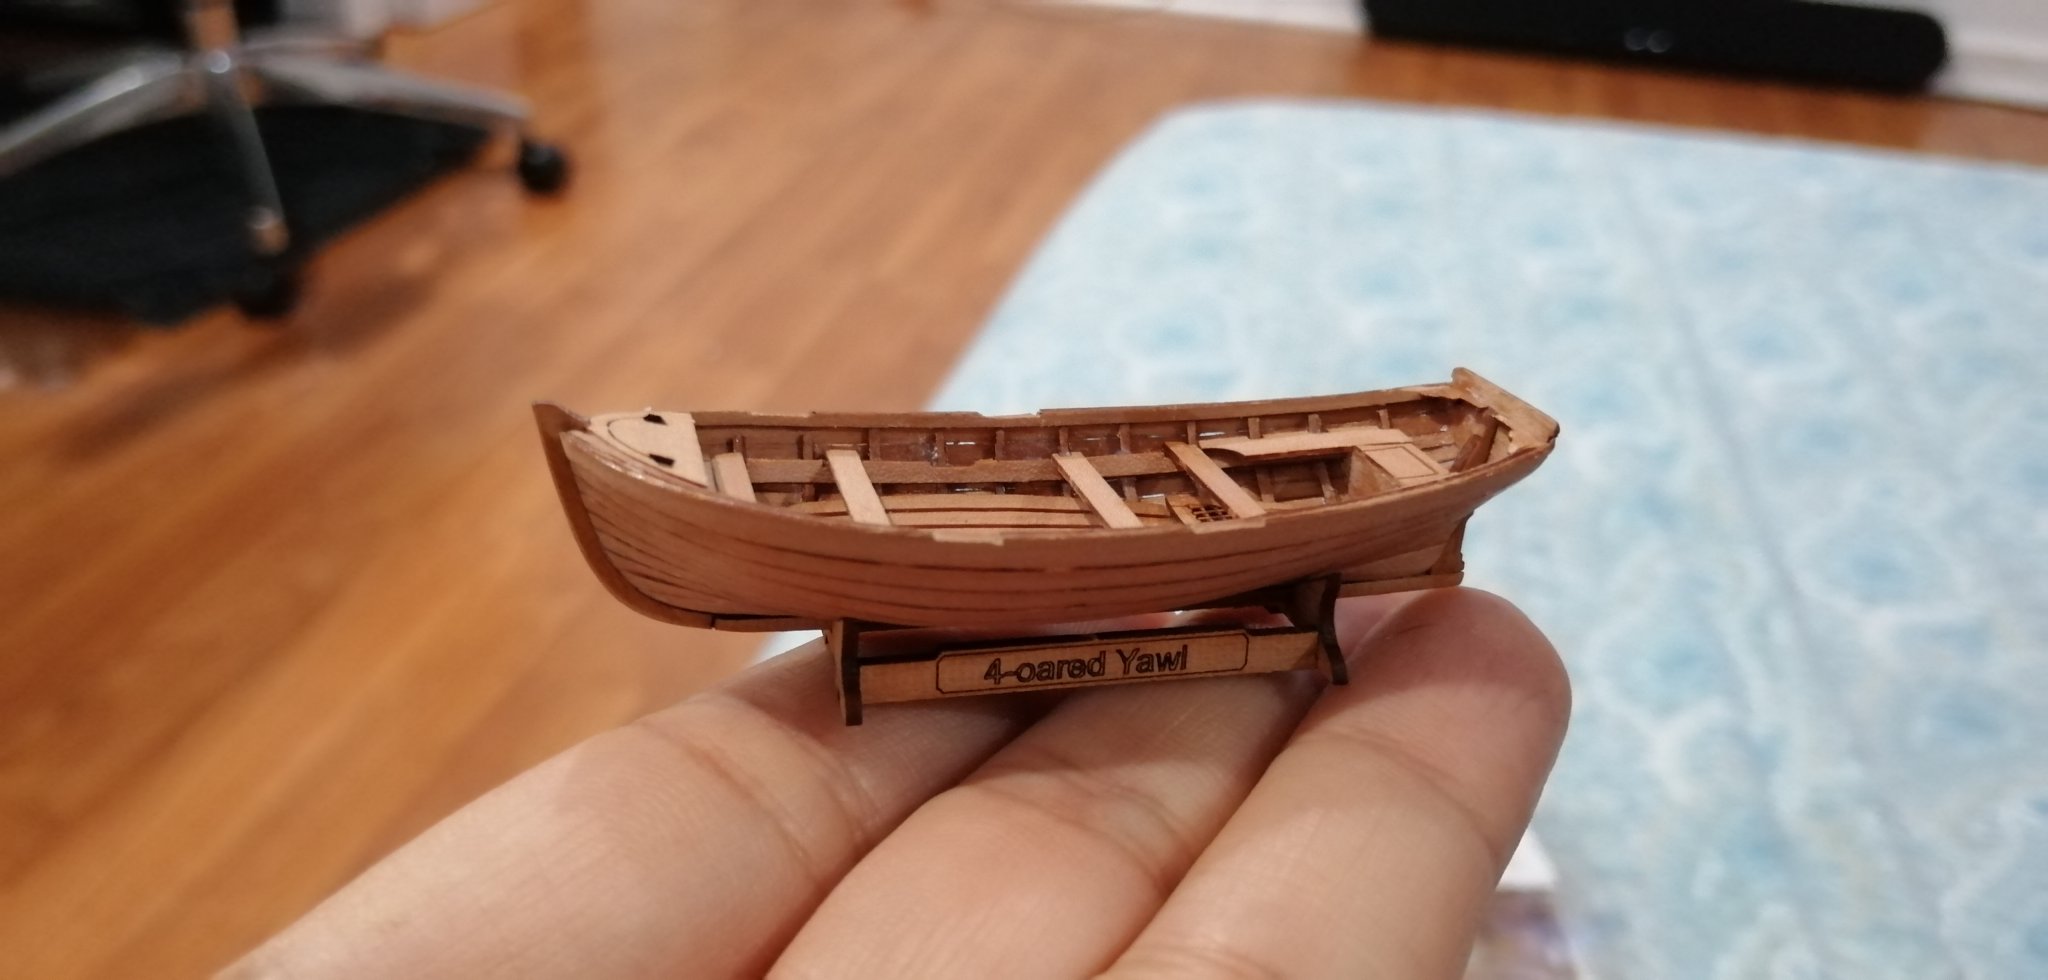
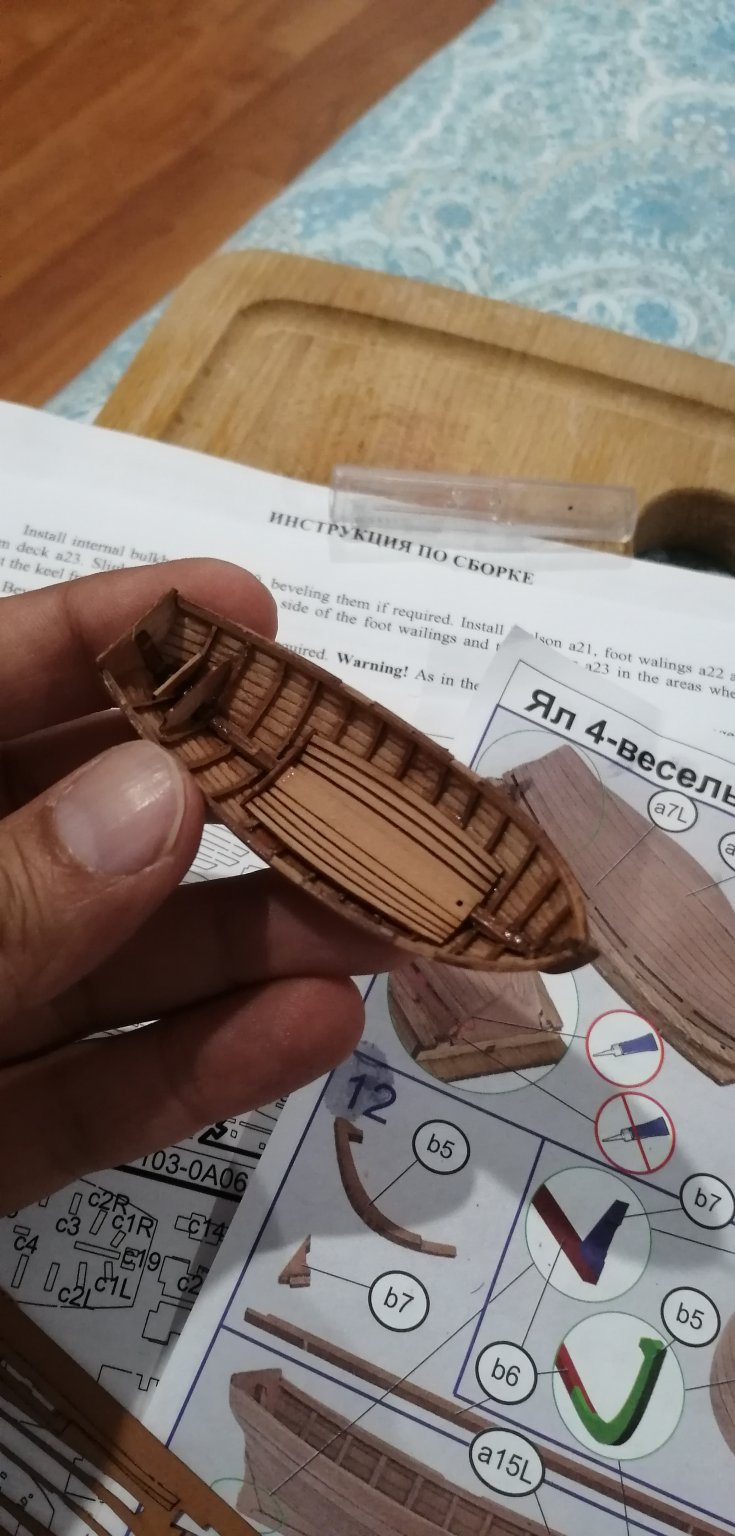
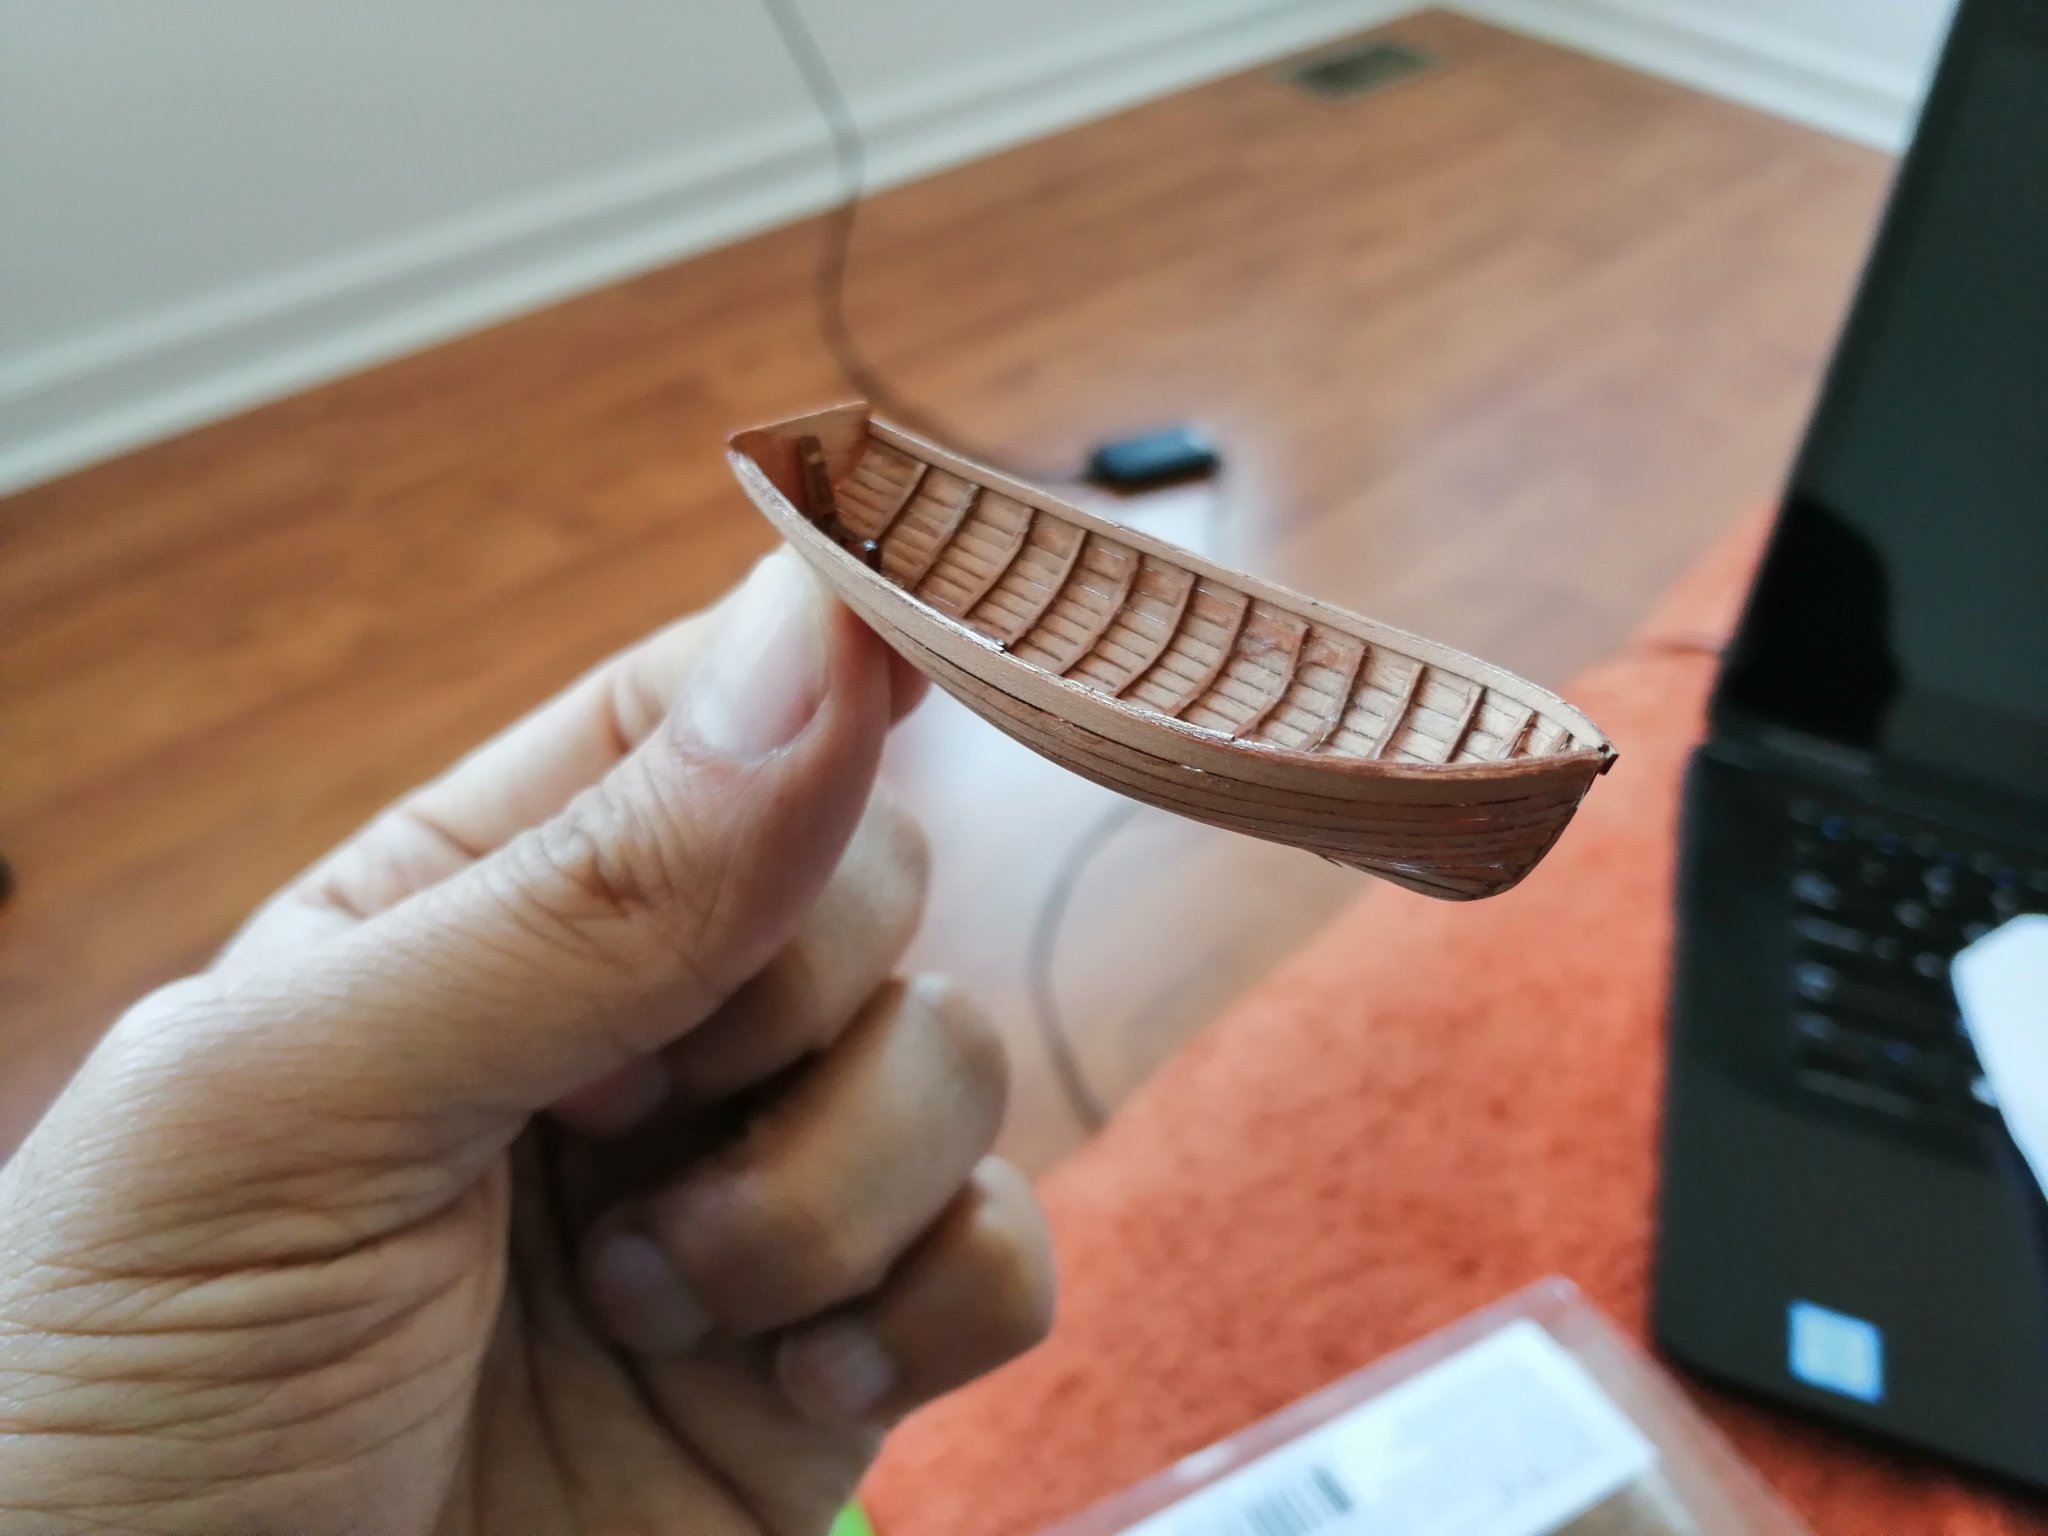
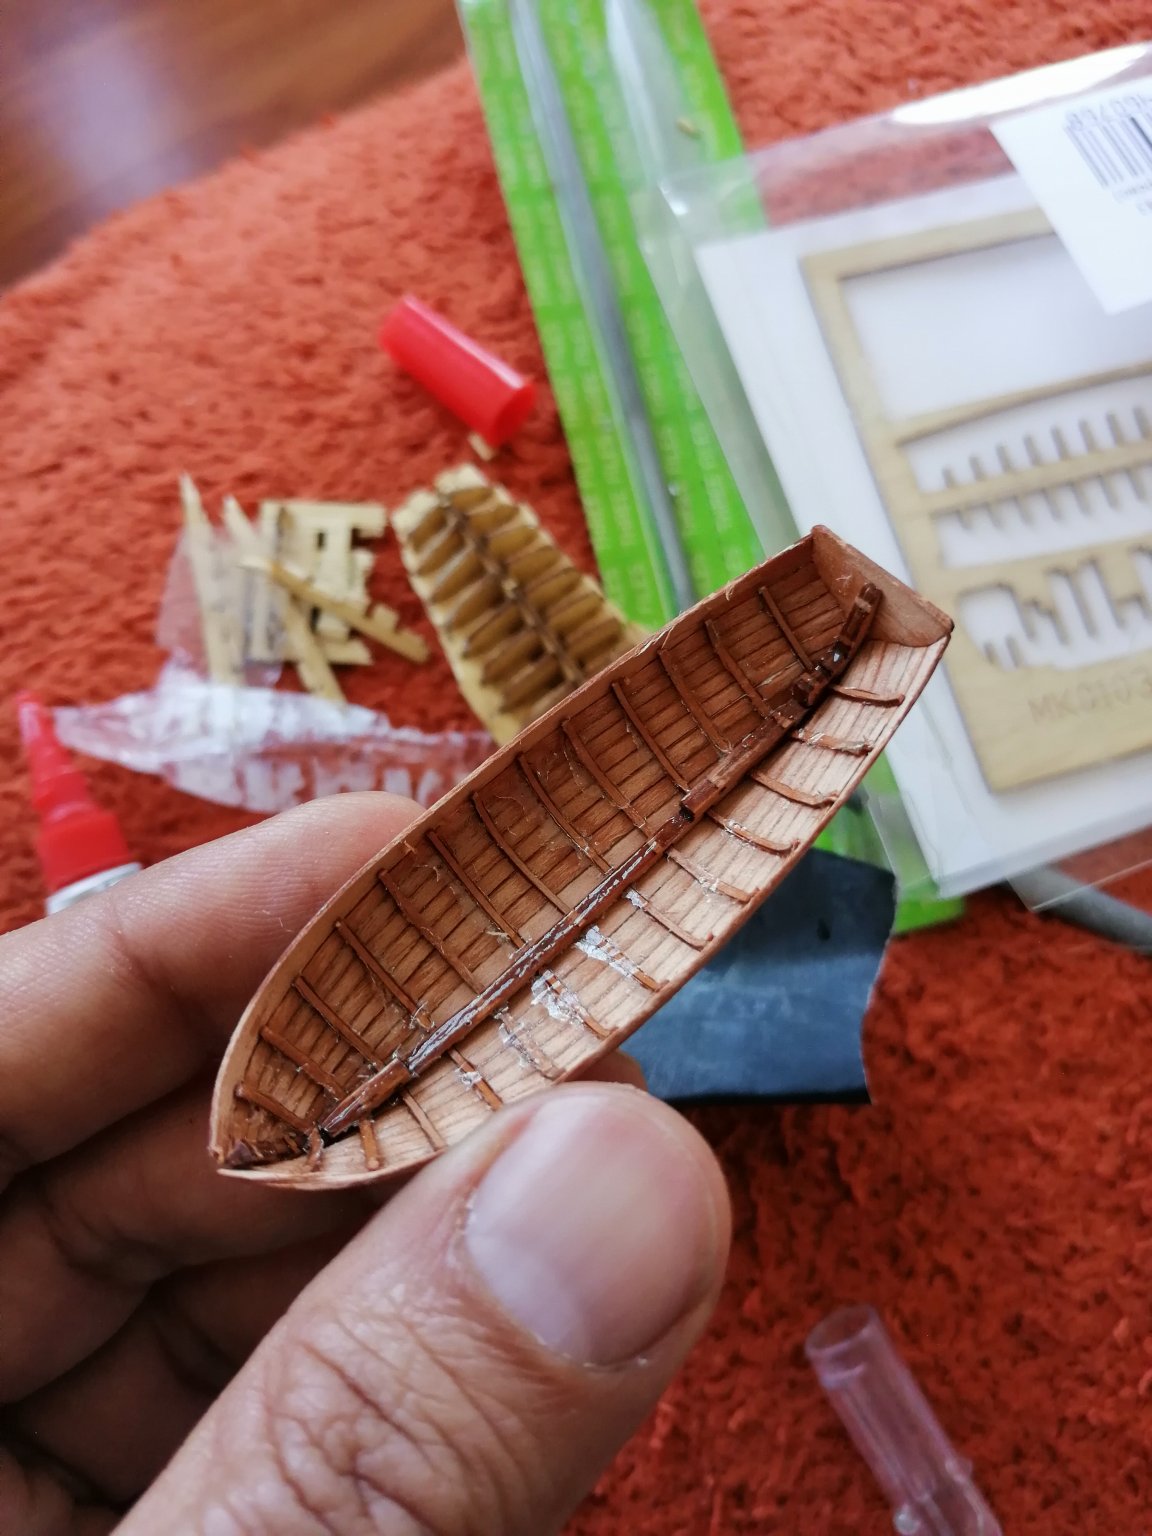
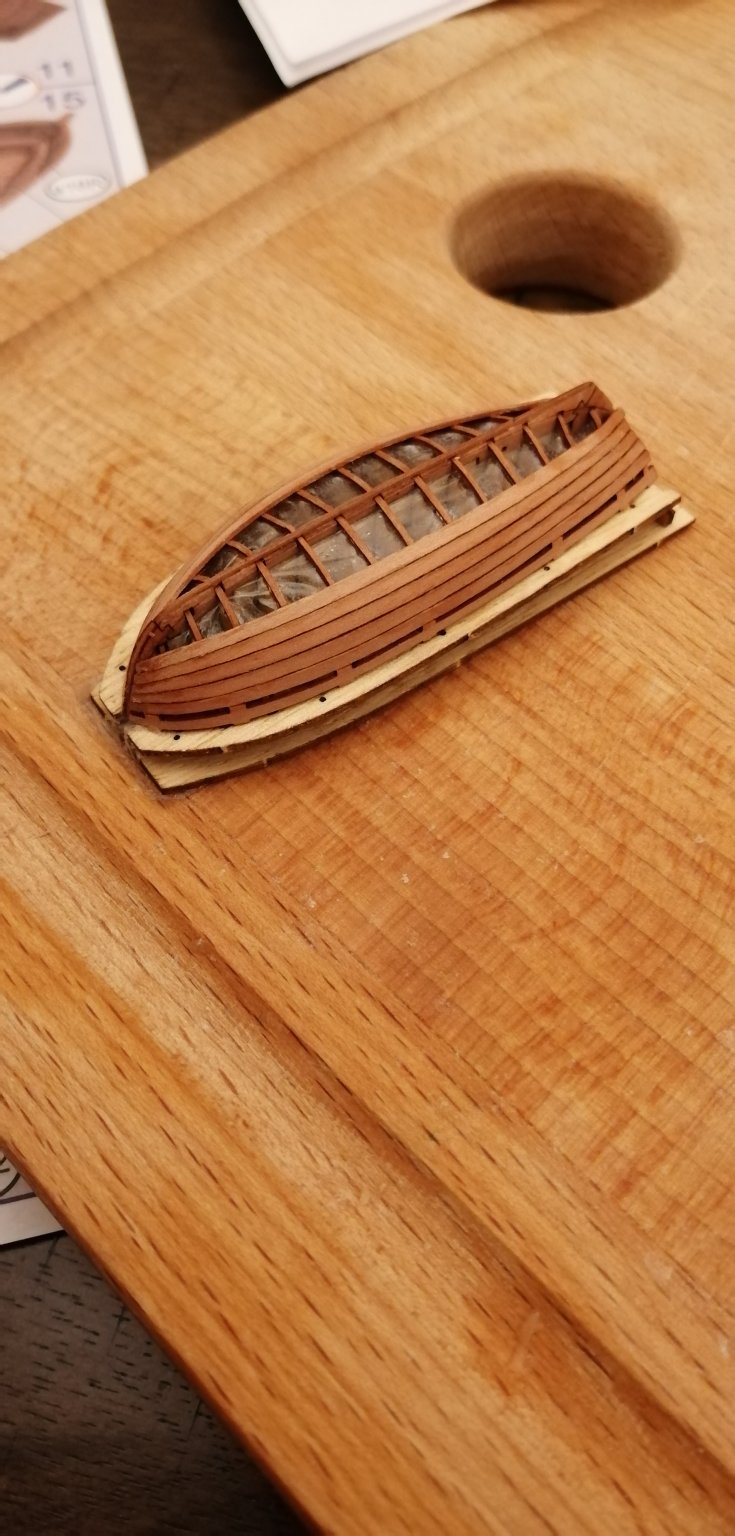
On the home stretch now. Having the foot boards in one piece is a brilliant design move. I was dreading putting these on one by one...
A couple of things were glued a touch out of alignment as my patience is running out. Will continue tonight as kids are a full time job during the day.
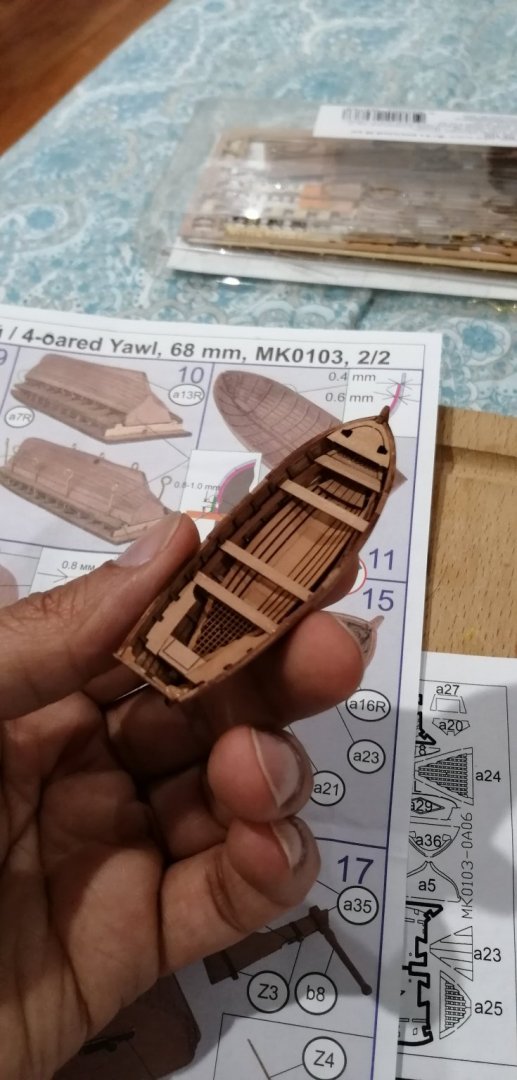
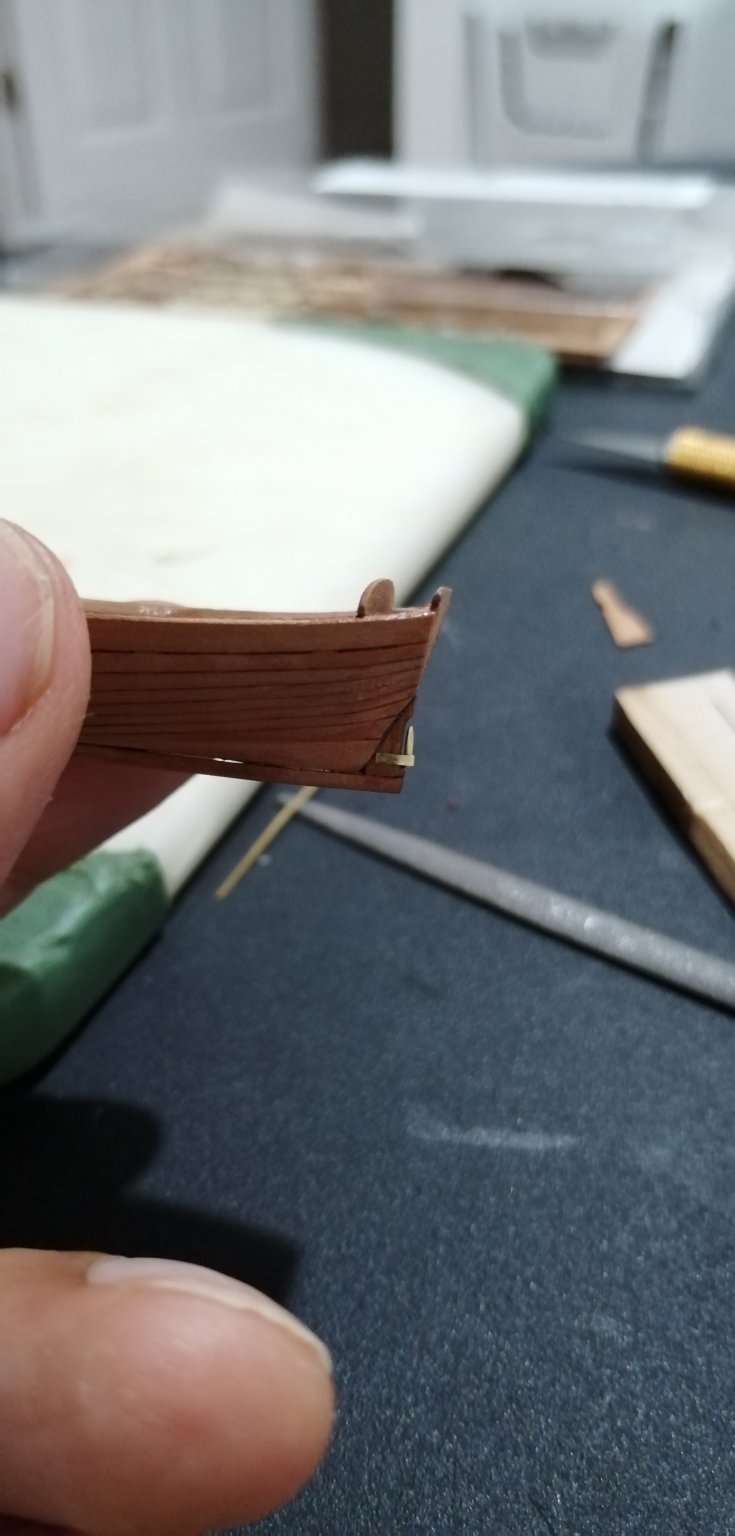
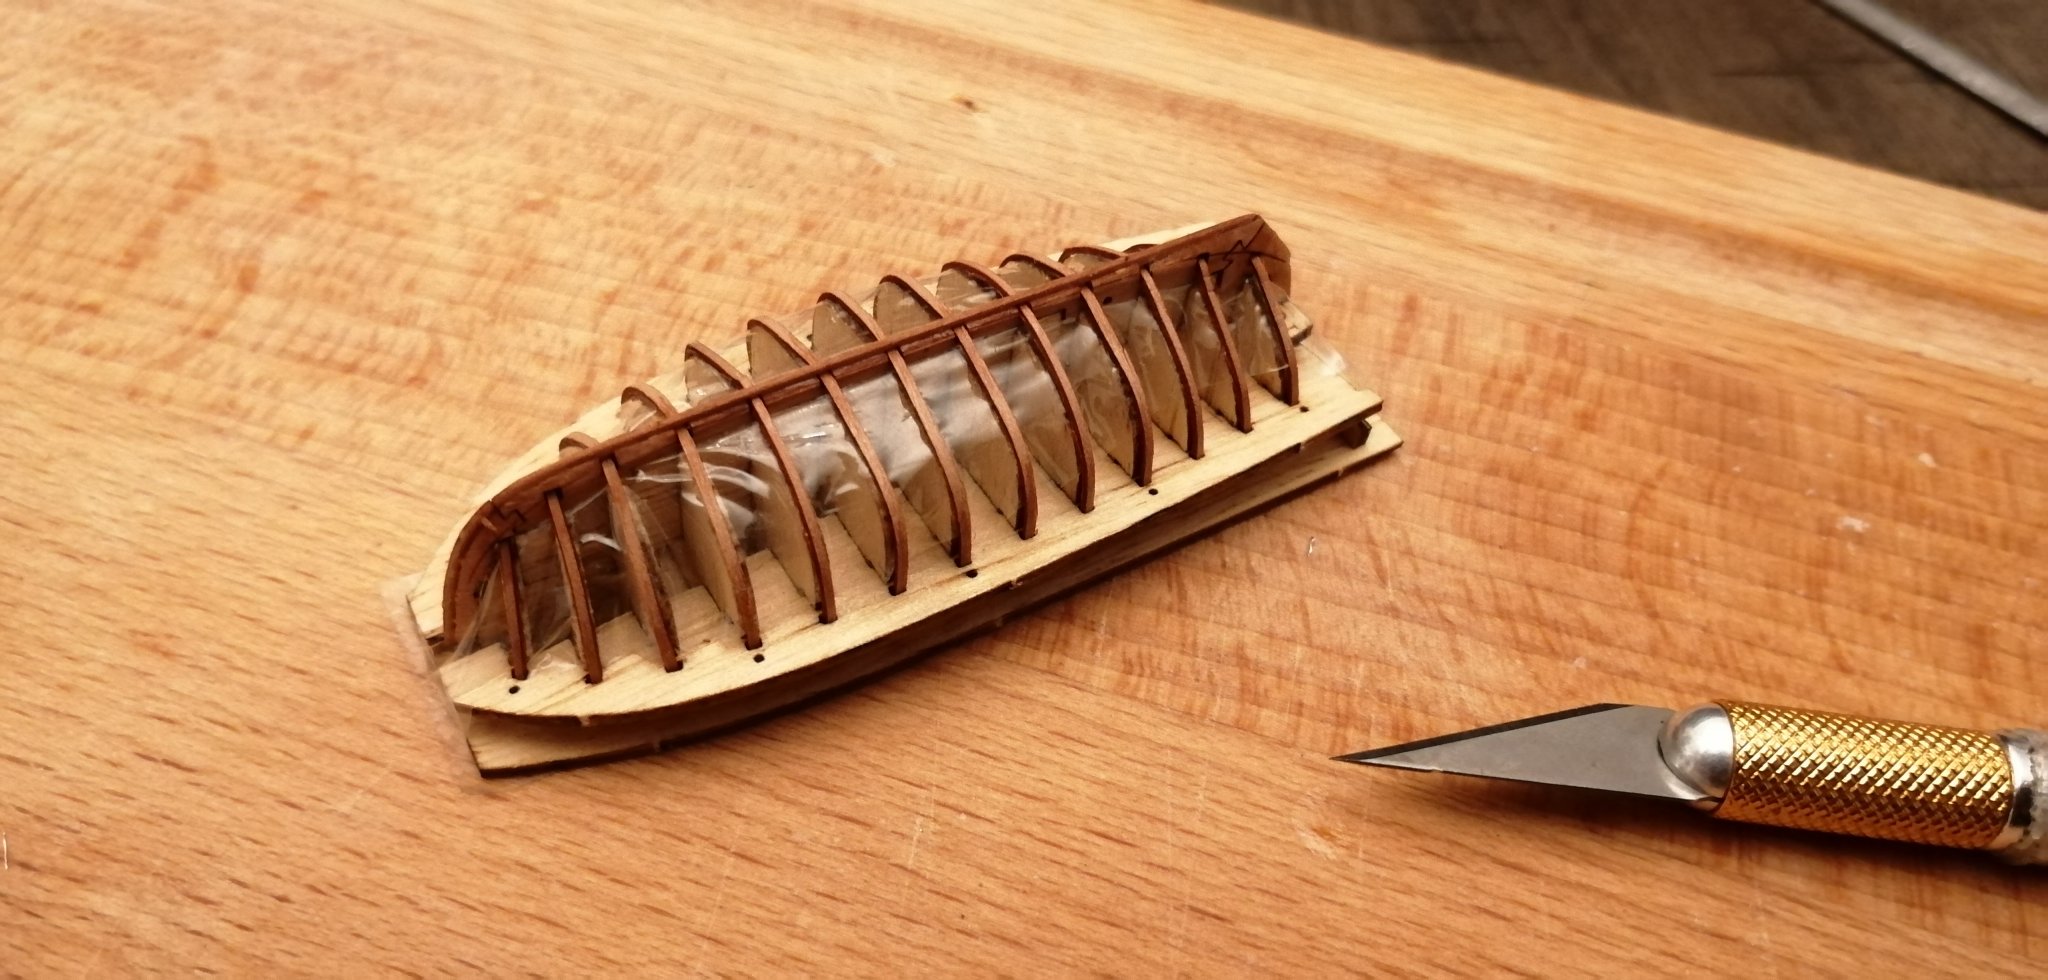
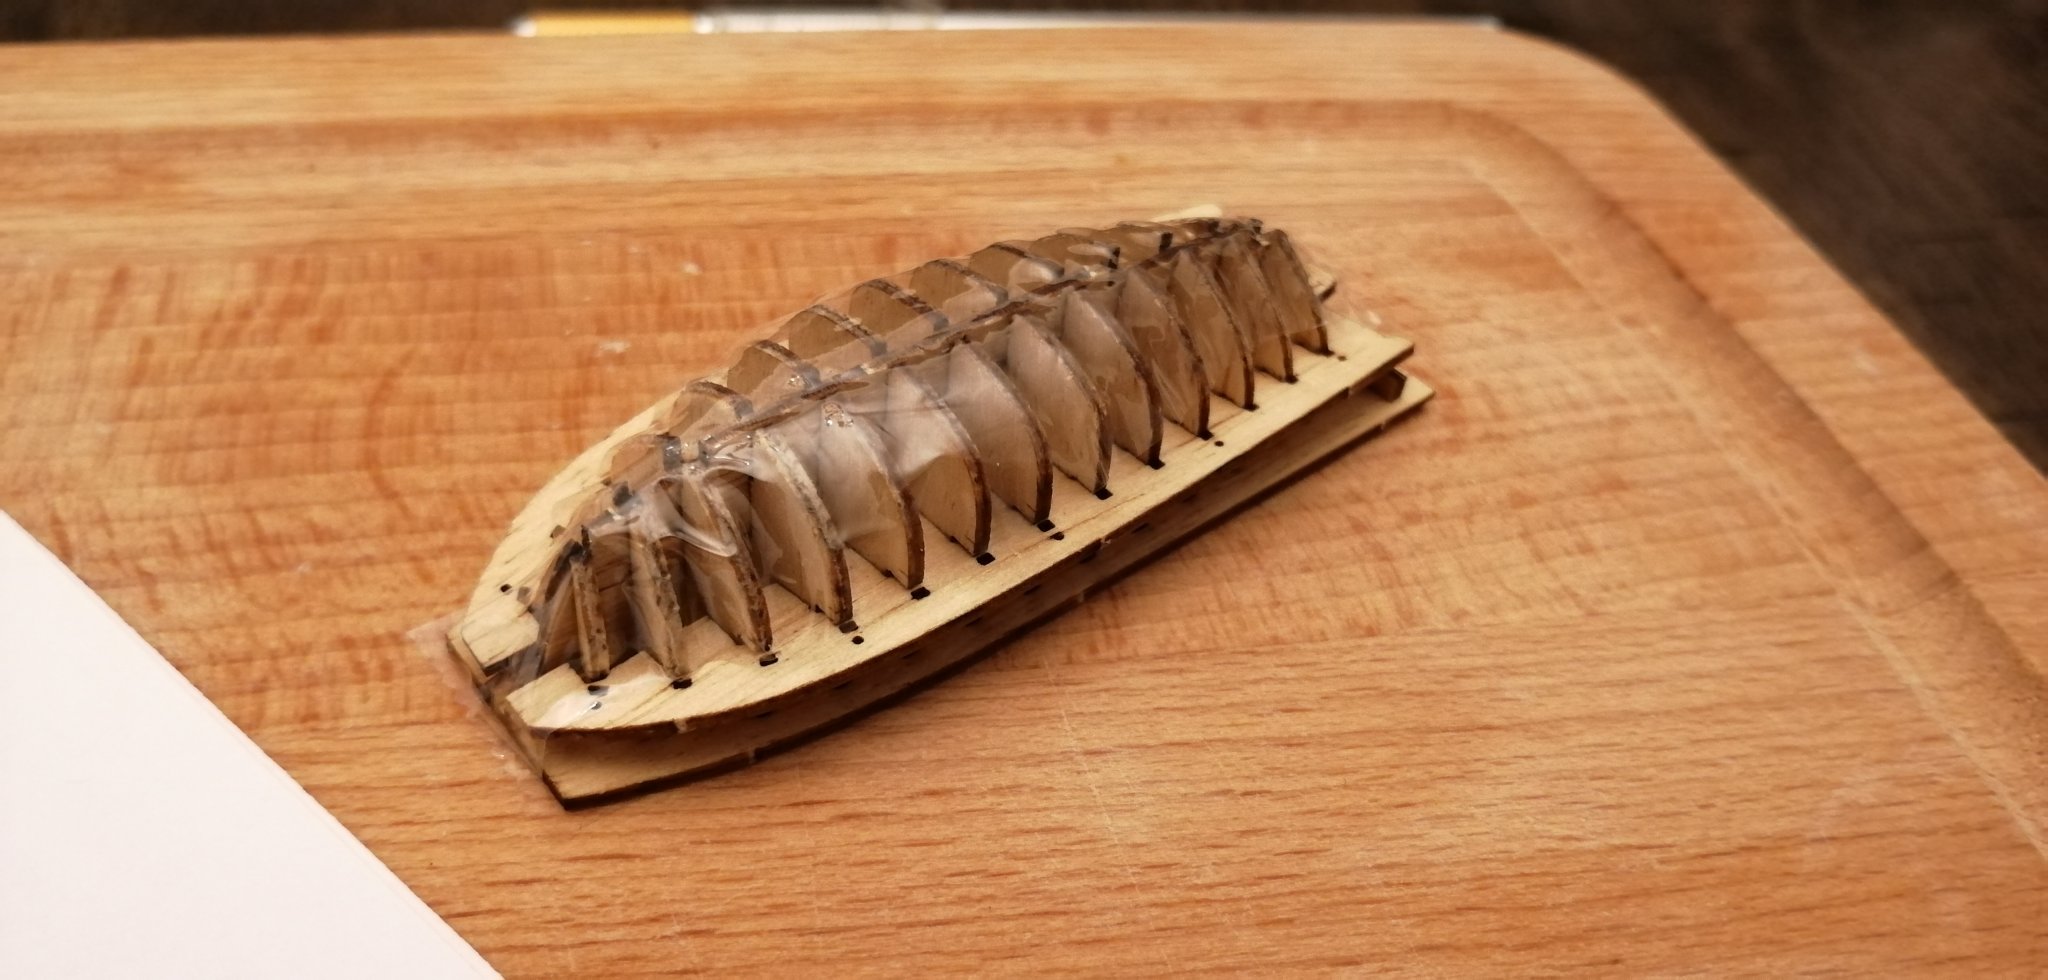
Also just wanted to add that I tried to glue the rear grating using wood glue, but after a few minutes, the part curled up. Had to go back to superglue to tack it in place.

-
-
On 5/14/2020 at 8:07 PM, Cathead said:
Small boats like that can be built with slow-cure glue, I'm finishing two 3" long boats from Model Shipways kits right now.
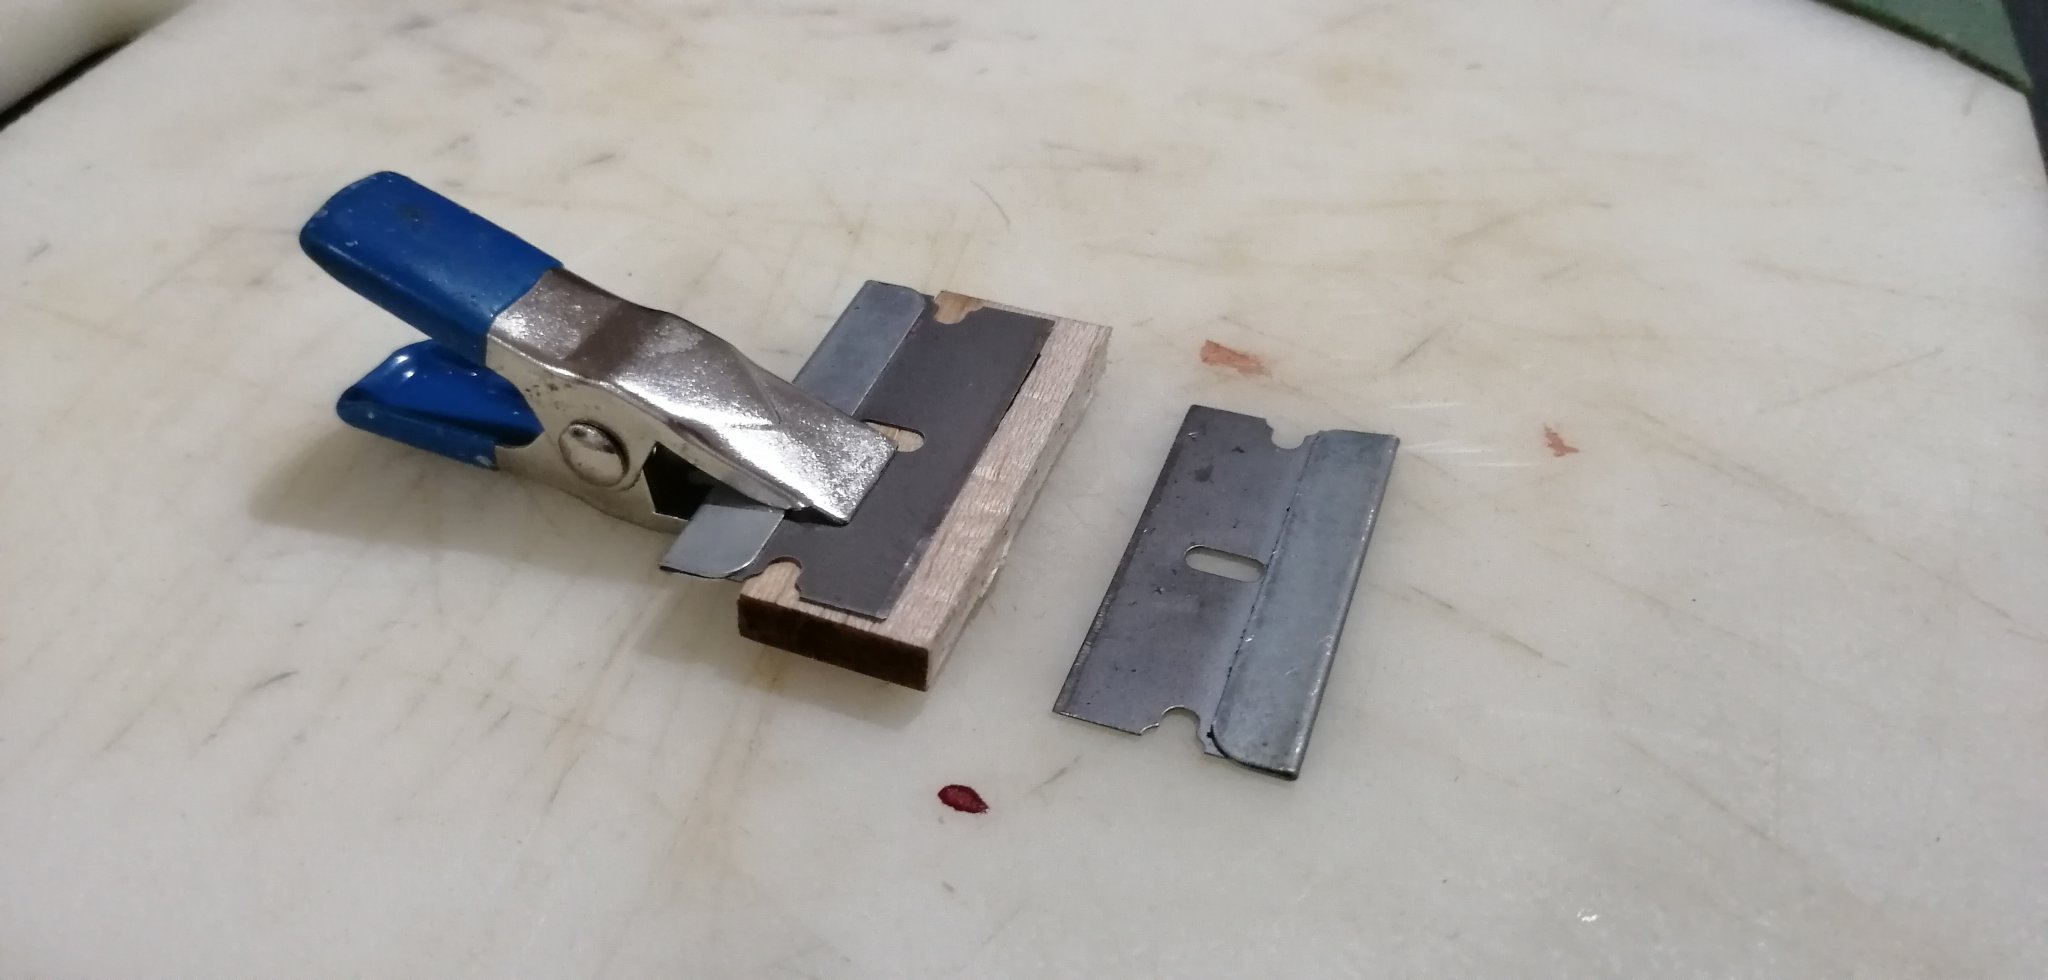
But how do you hold these tiny weird shapes pieces in place while waiting for the glue to dry? My clamps are way too big and utterly useless for such a tiny application. 😟
-
On 5/14/2020 at 12:23 AM, Nirvana said:
@rexnuktiaor may I call you Rex?
Anyway, a warm welcome to MSW, I have never build any Master Korabel but found your build log intriguing. That is small yawl.
If this is your first wood model kit you are doing great.
Personally I would have never started with such a small model.Looking forward to follow your log.
Thanks buddy, you can call me Amar. The "rexnuktia" screen name is just a made up thing from years ago when I used to play onlone video games LOL!
-
-
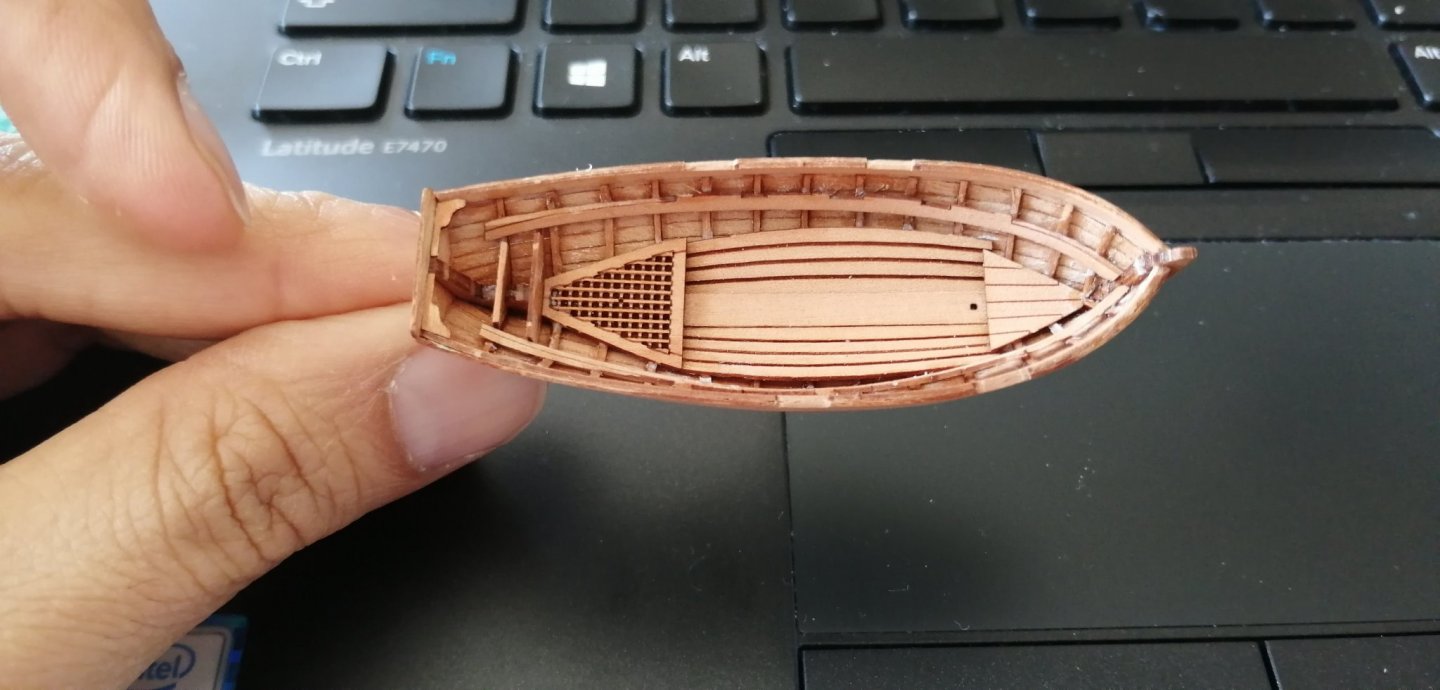
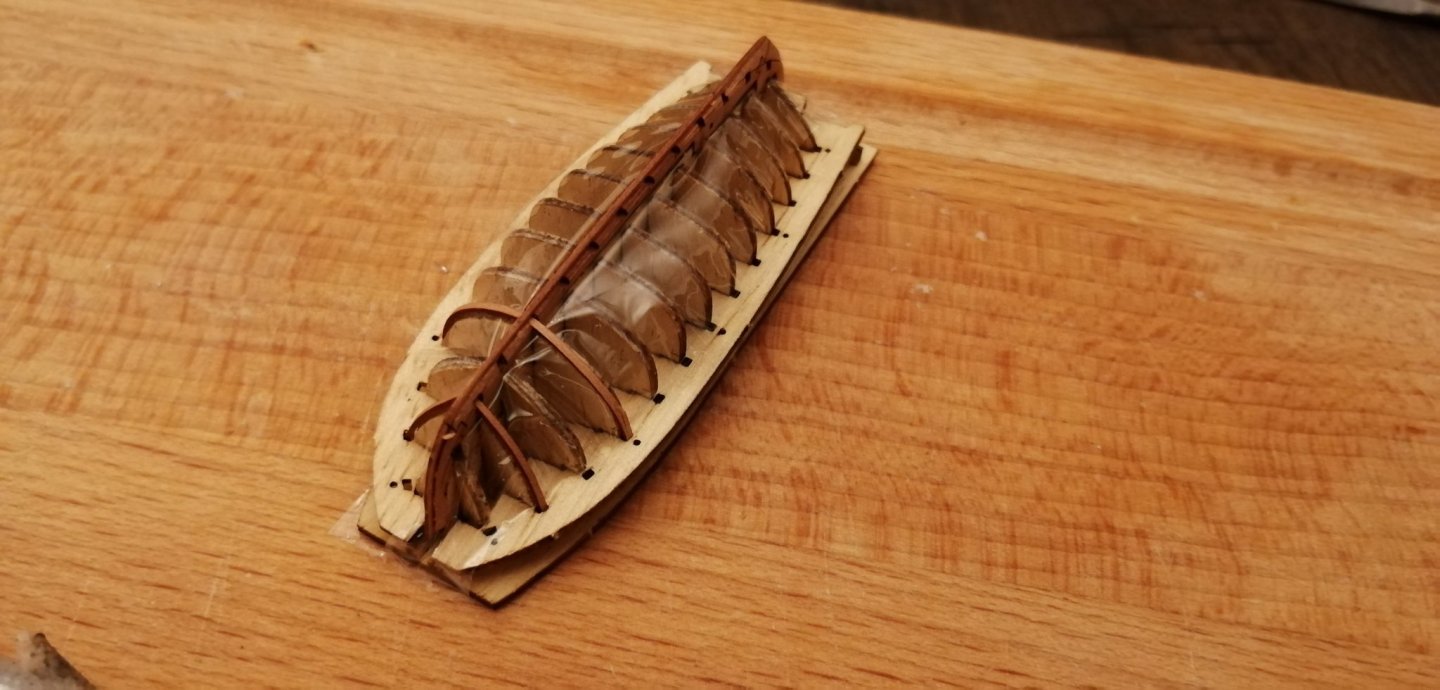
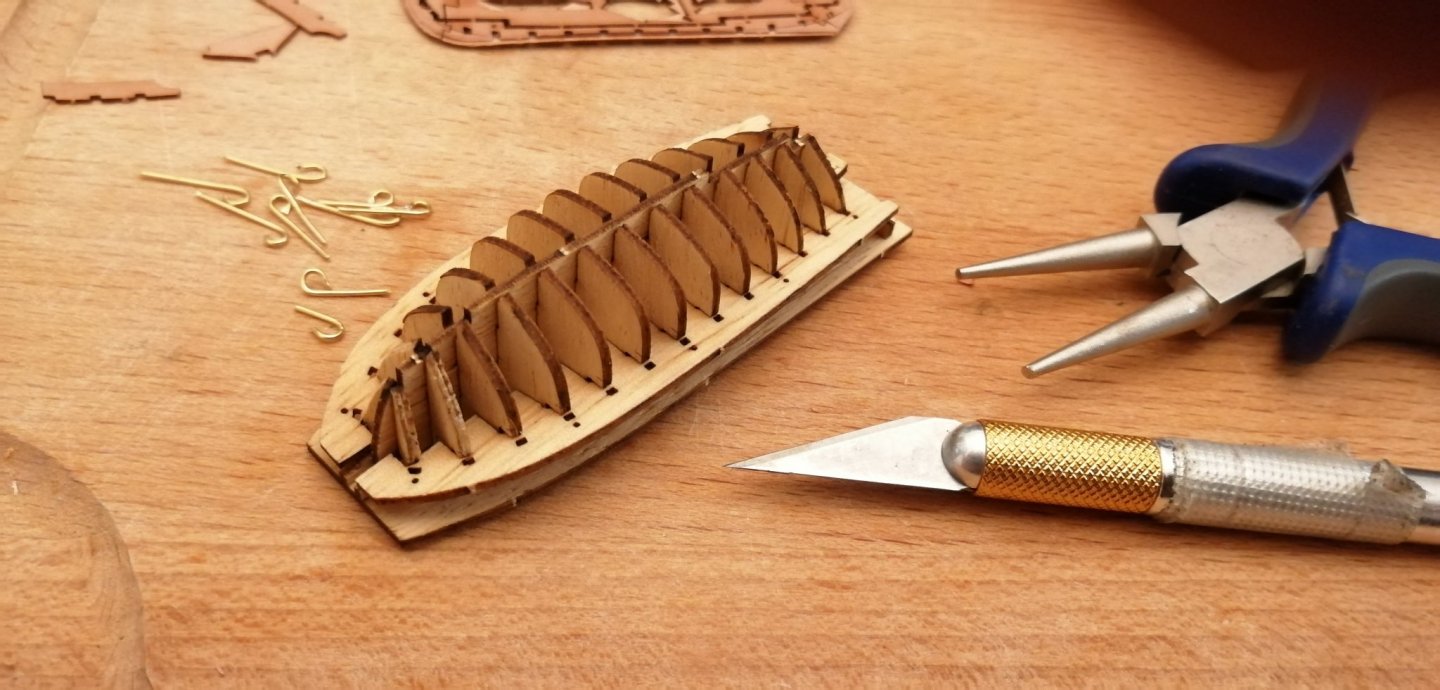
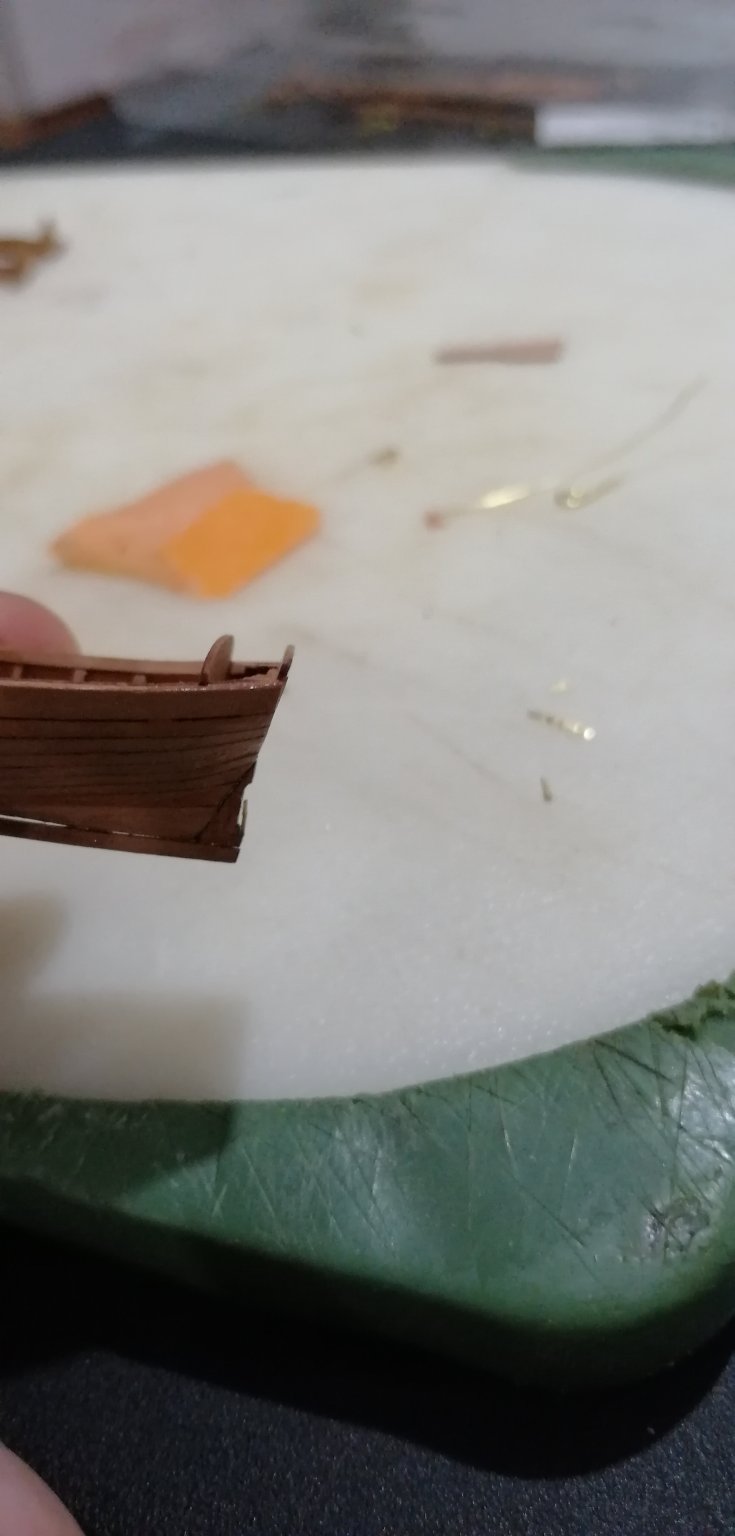
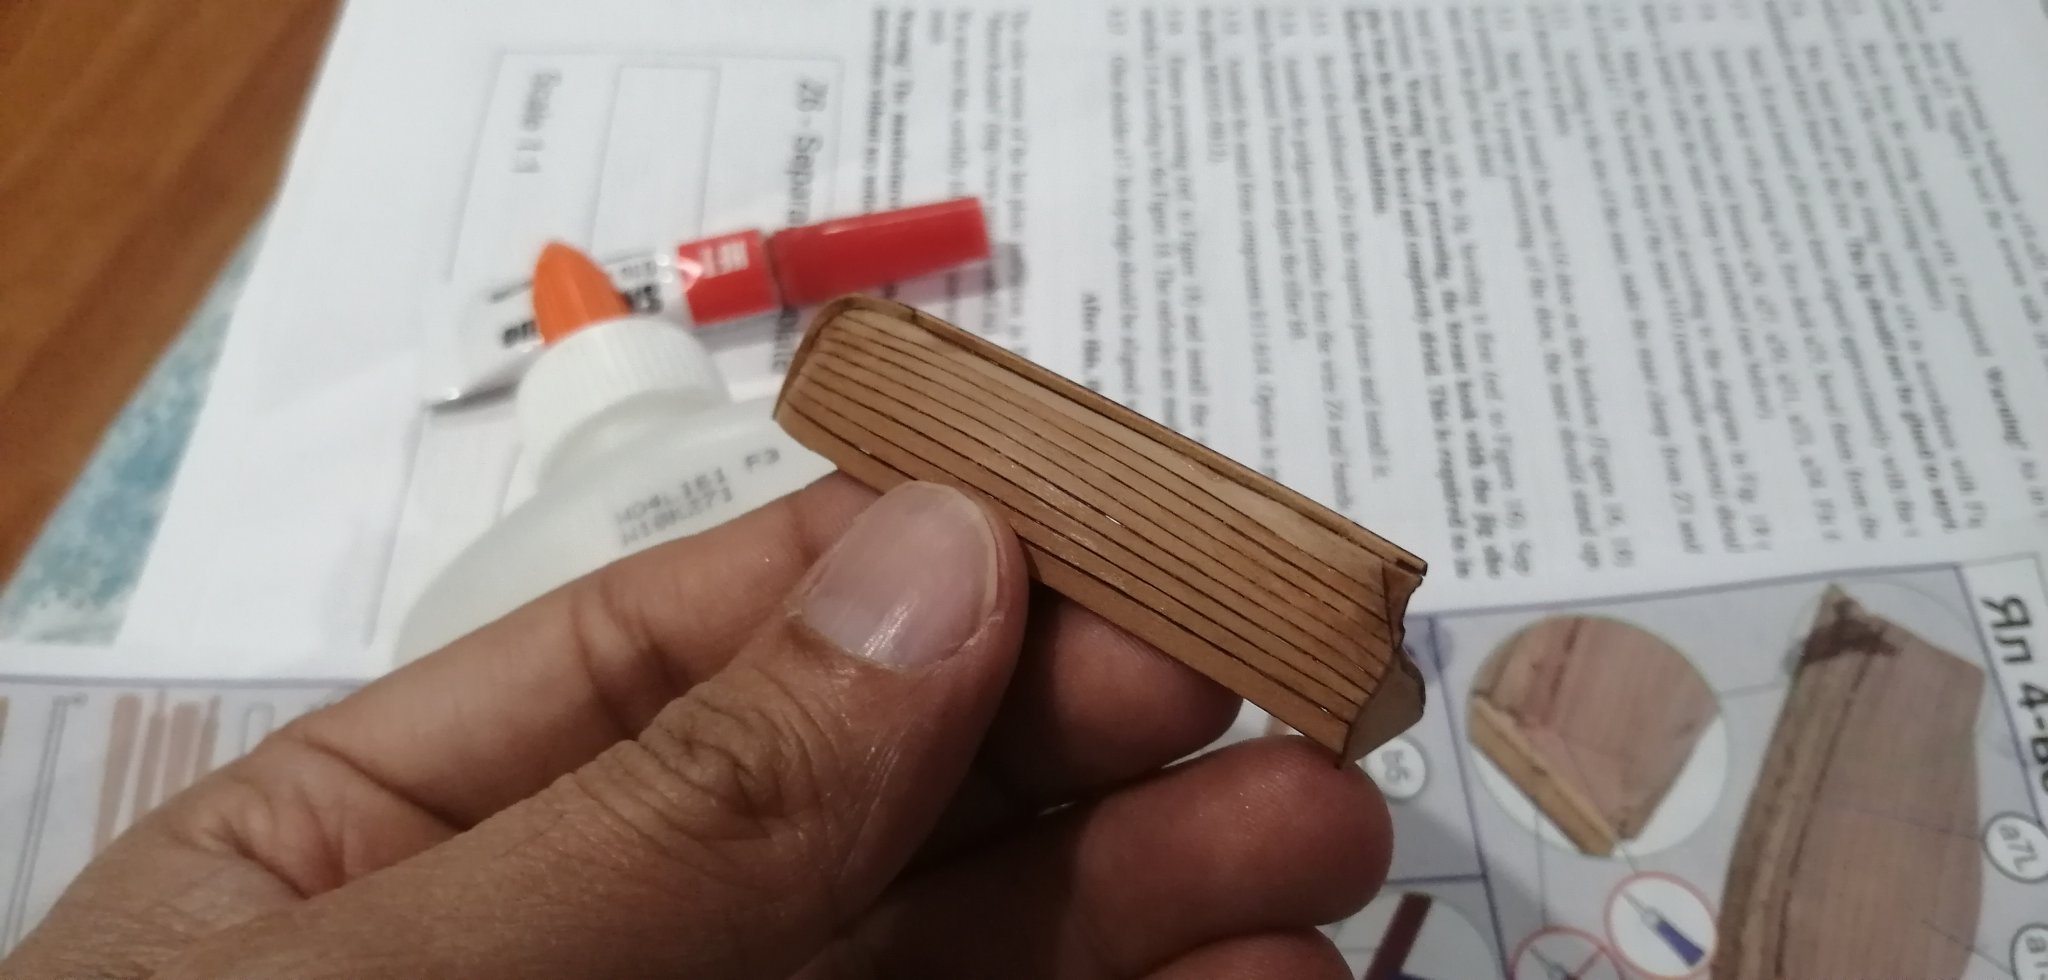
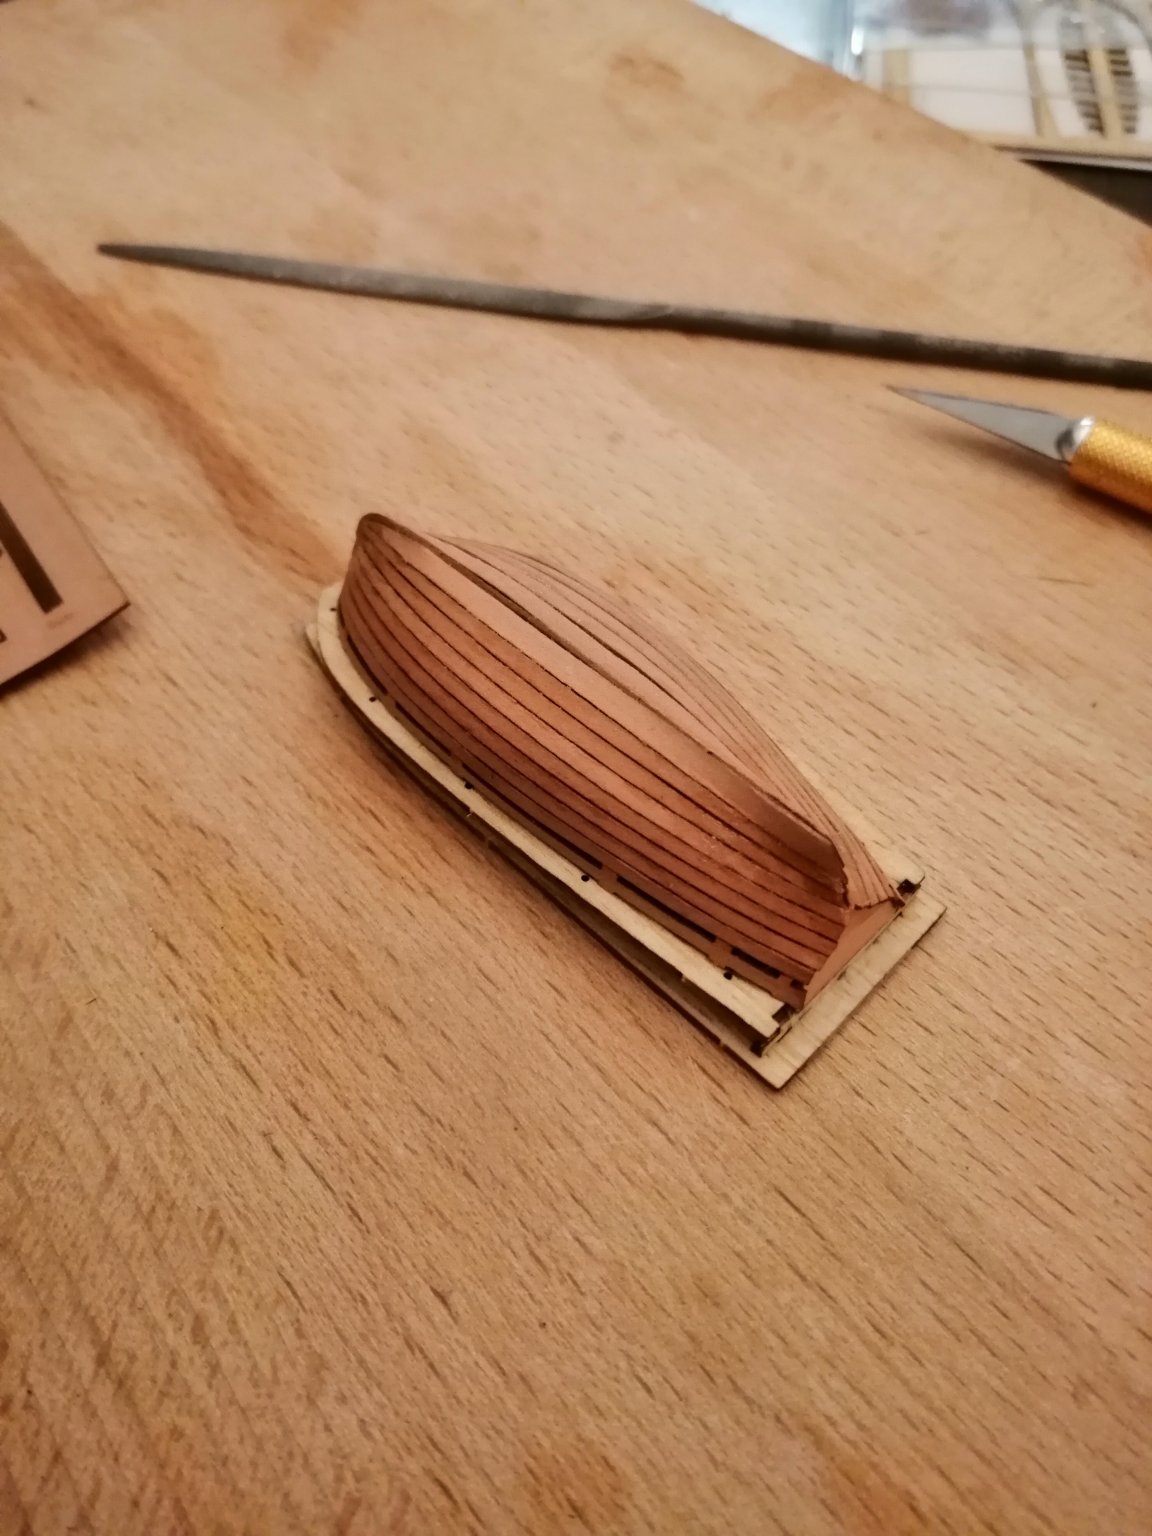
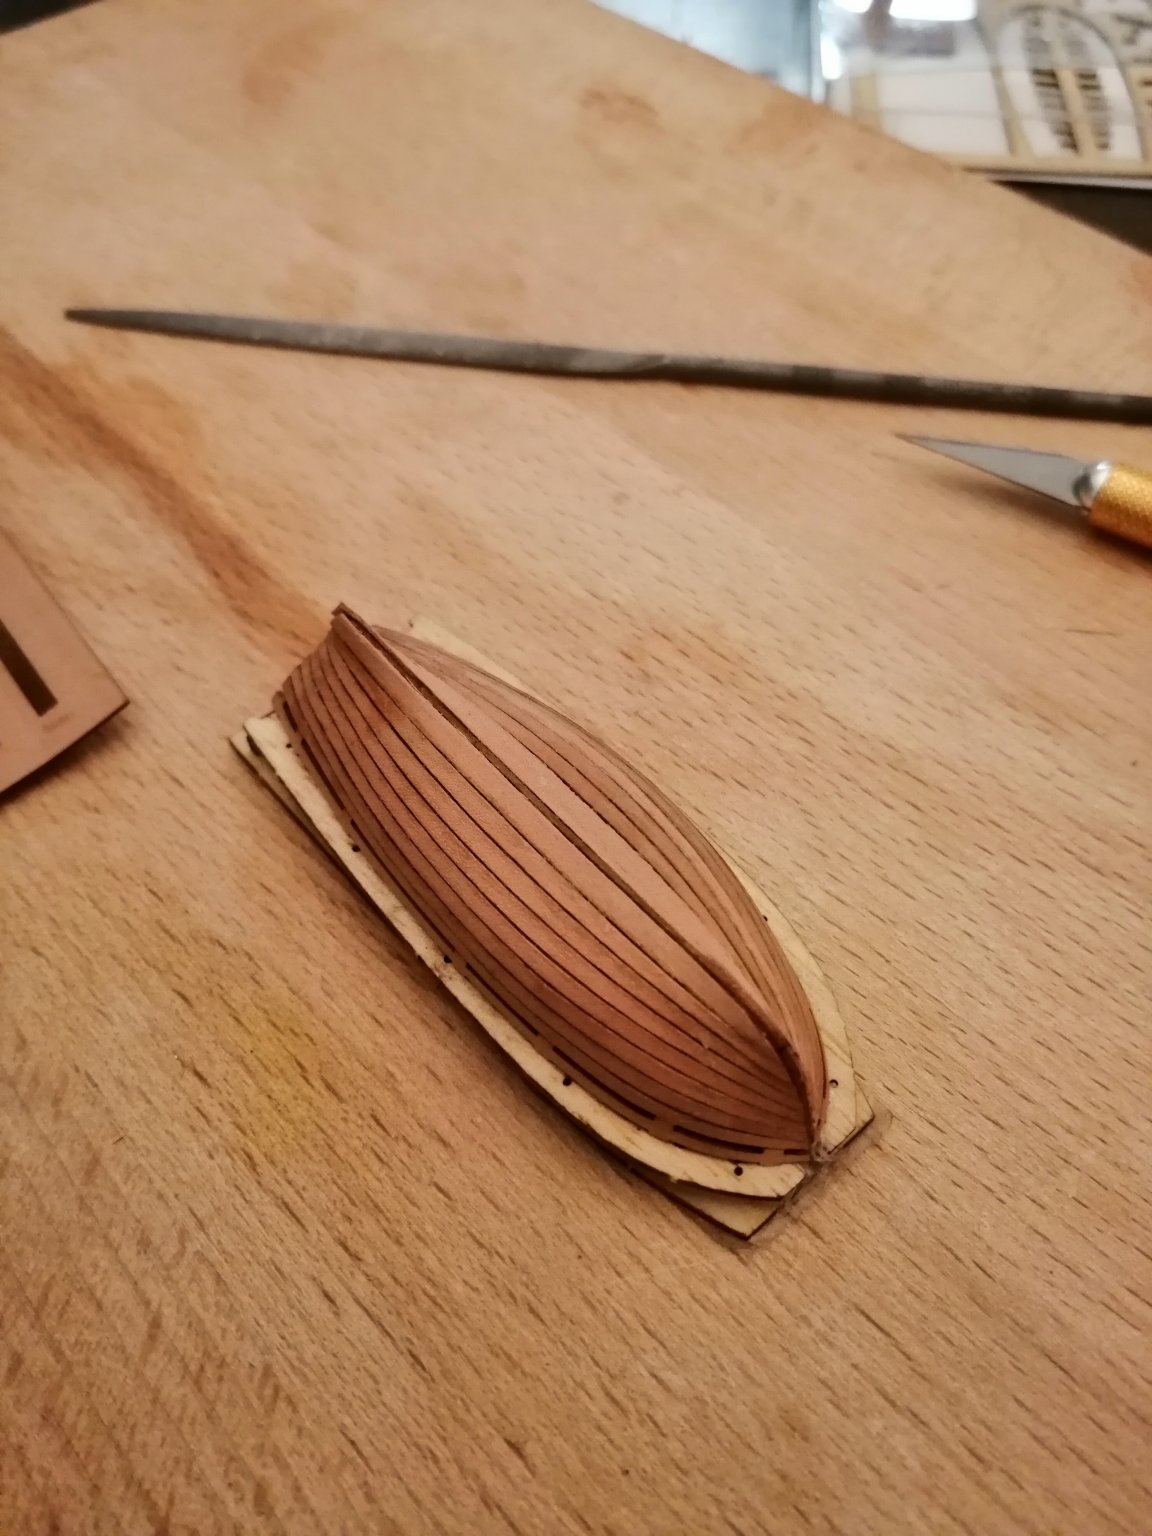
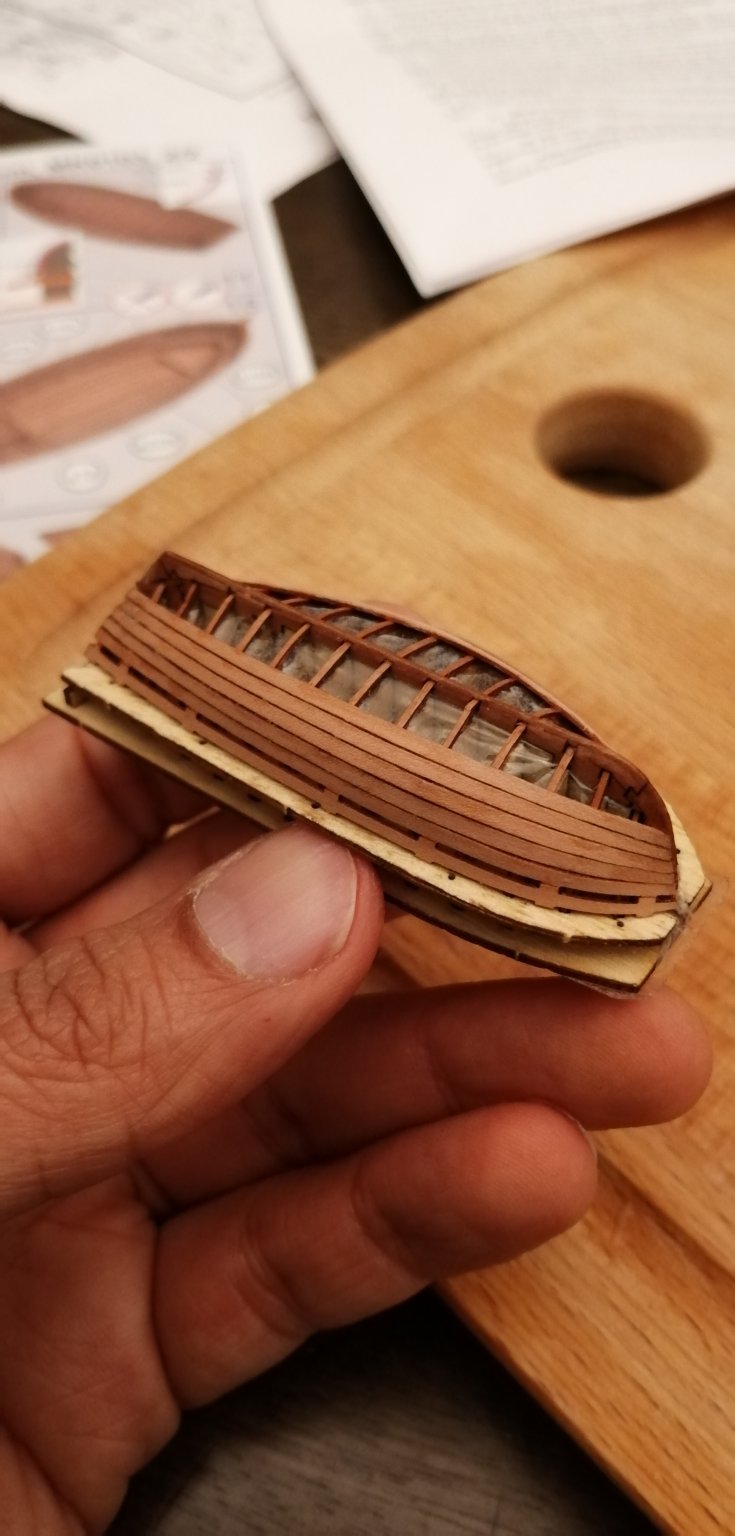
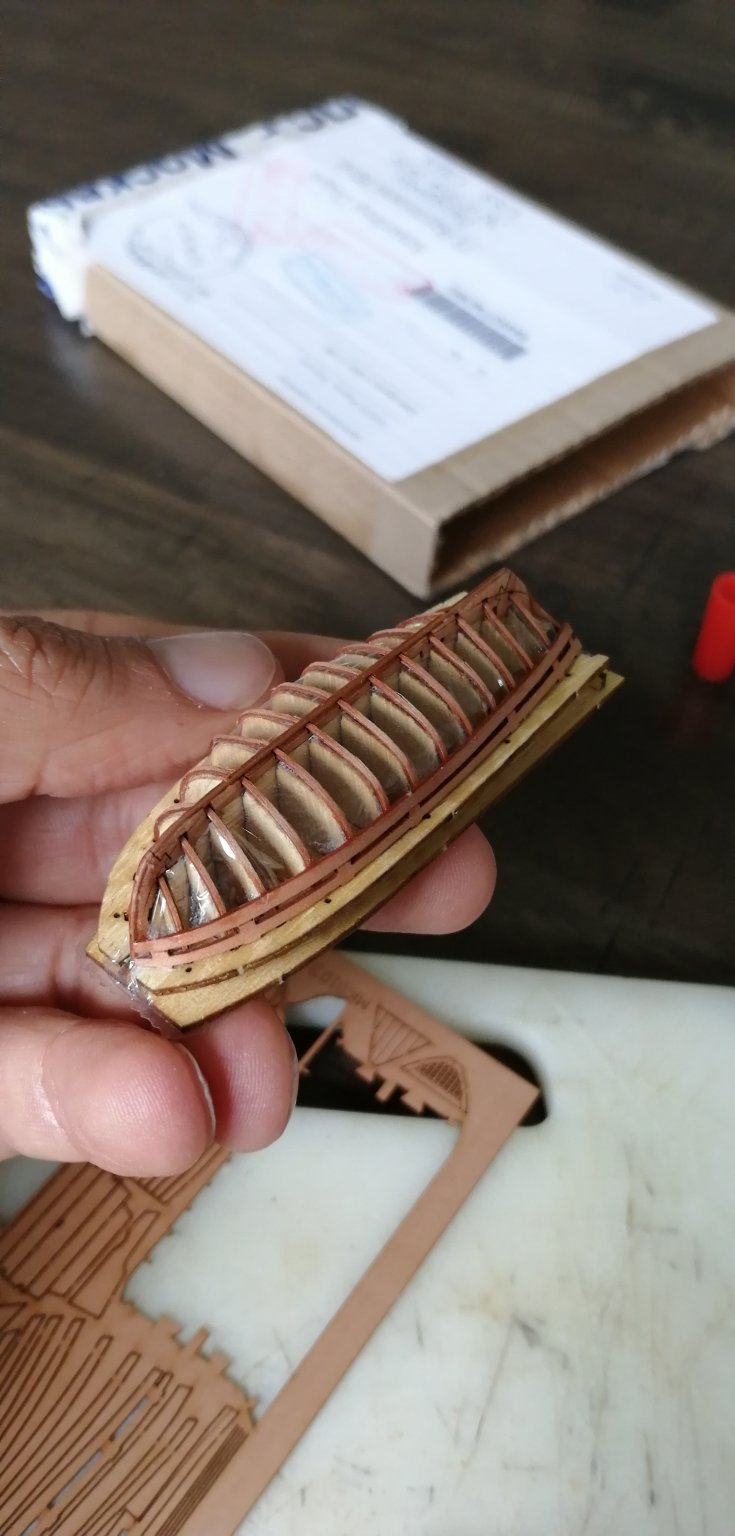
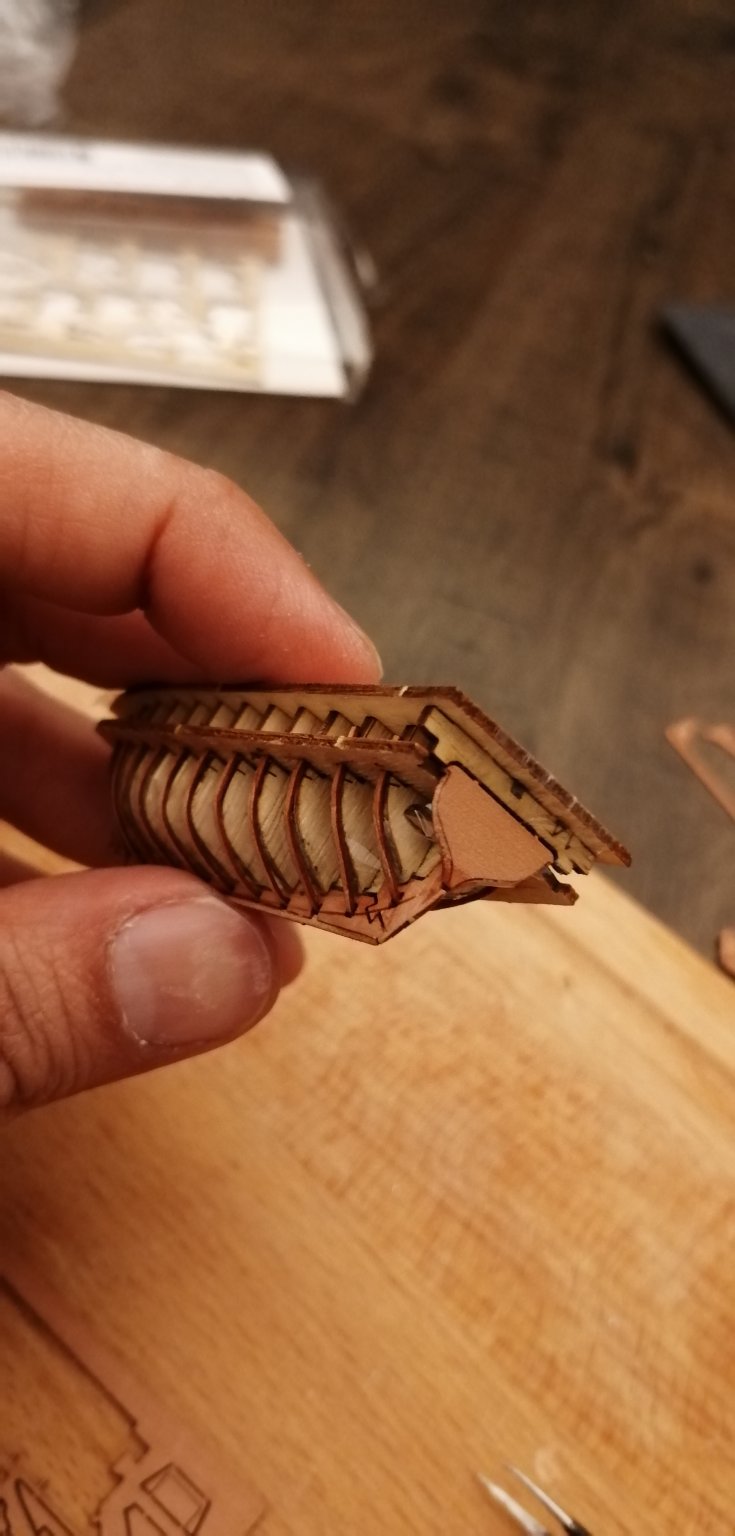
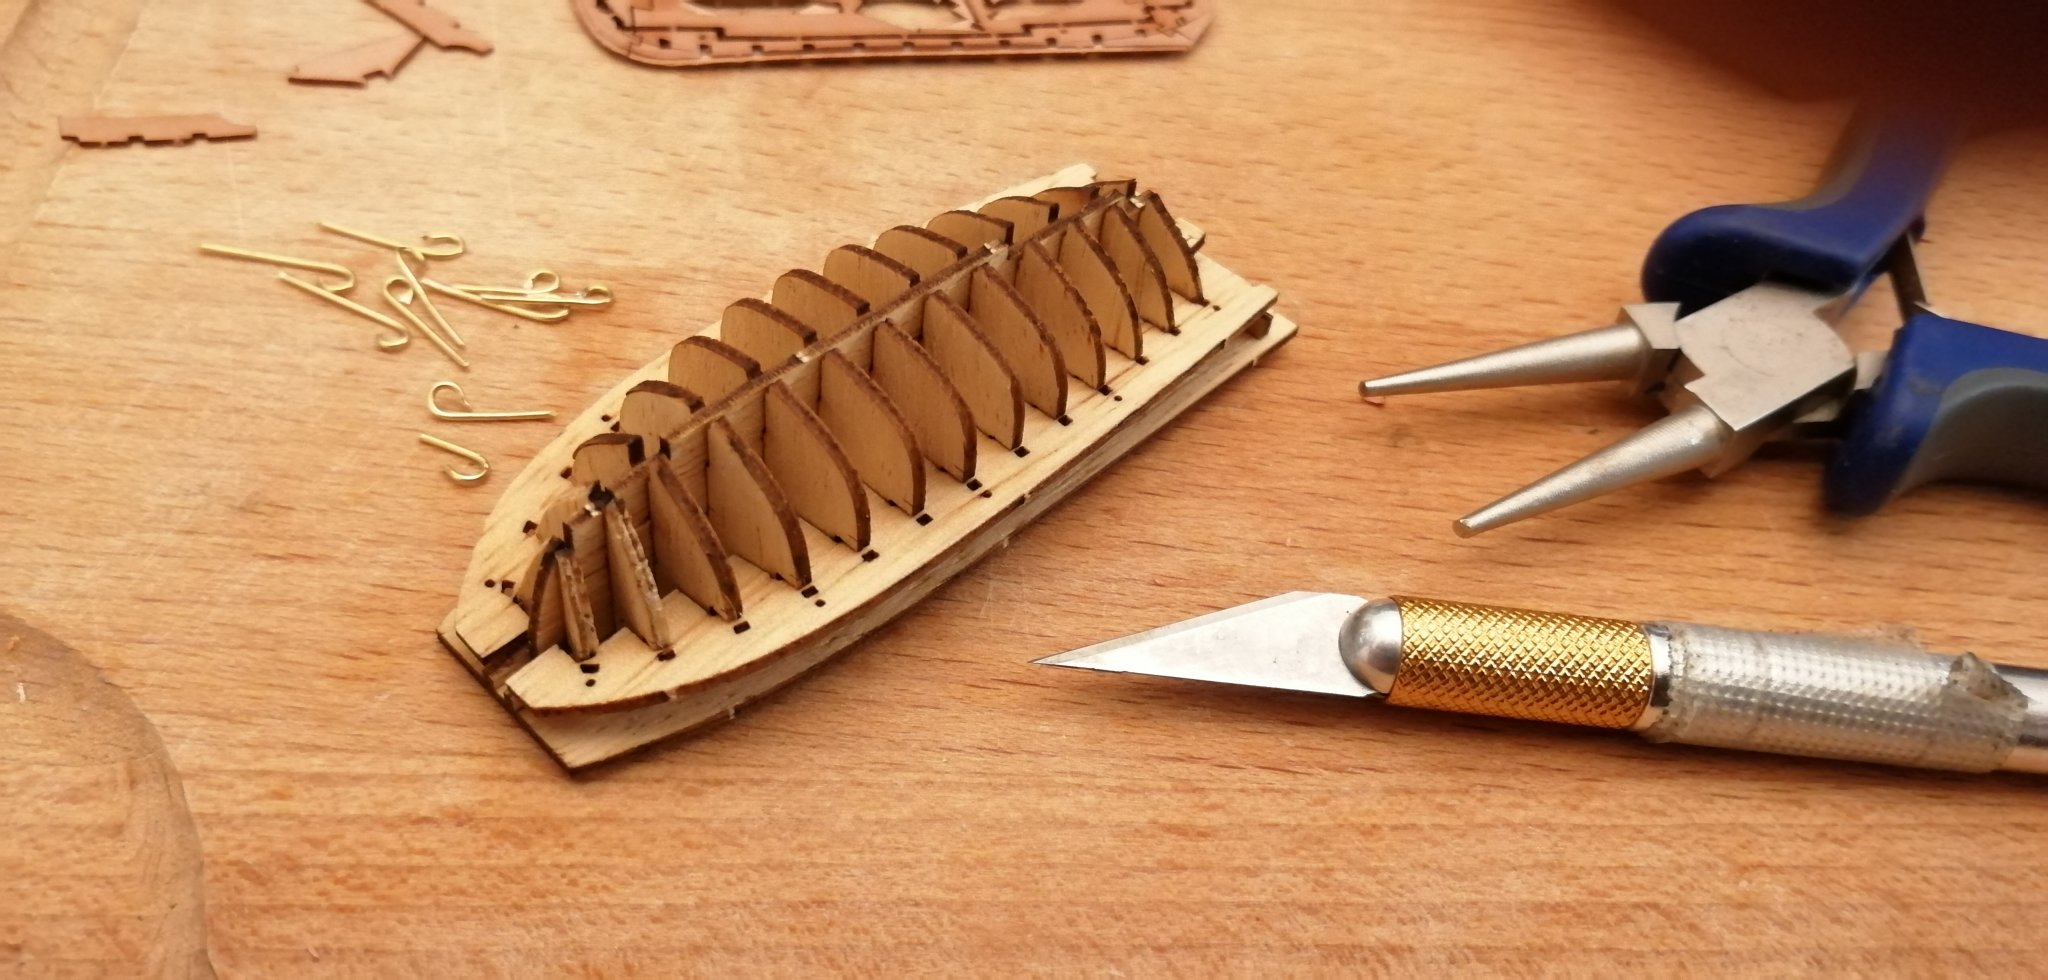
So today was really a struggle. Easily the most difficult part of the build was cutting the ribs 1 mm apart to attach the final top plank. Despite using a brand new blade, I ended up breaking a few formers. Then it got worse as the rear hull got stuck to the jig. Some man handling and jig demolition was required, but luckily I got the boat out in one piece.

- Moab, gieb8688, GrandpaPhil and 1 other
-
 4
4
-
Thank you so much guys (ccoyle & Ybes). Really appreciate the help and kind words. I'll keep these names in mind. In fact, I did get a response from the Ebay seller (Valentina) that she has contacted the manufacturer regarding english instructions. Glad I didn't wait LOL.
-
-
-
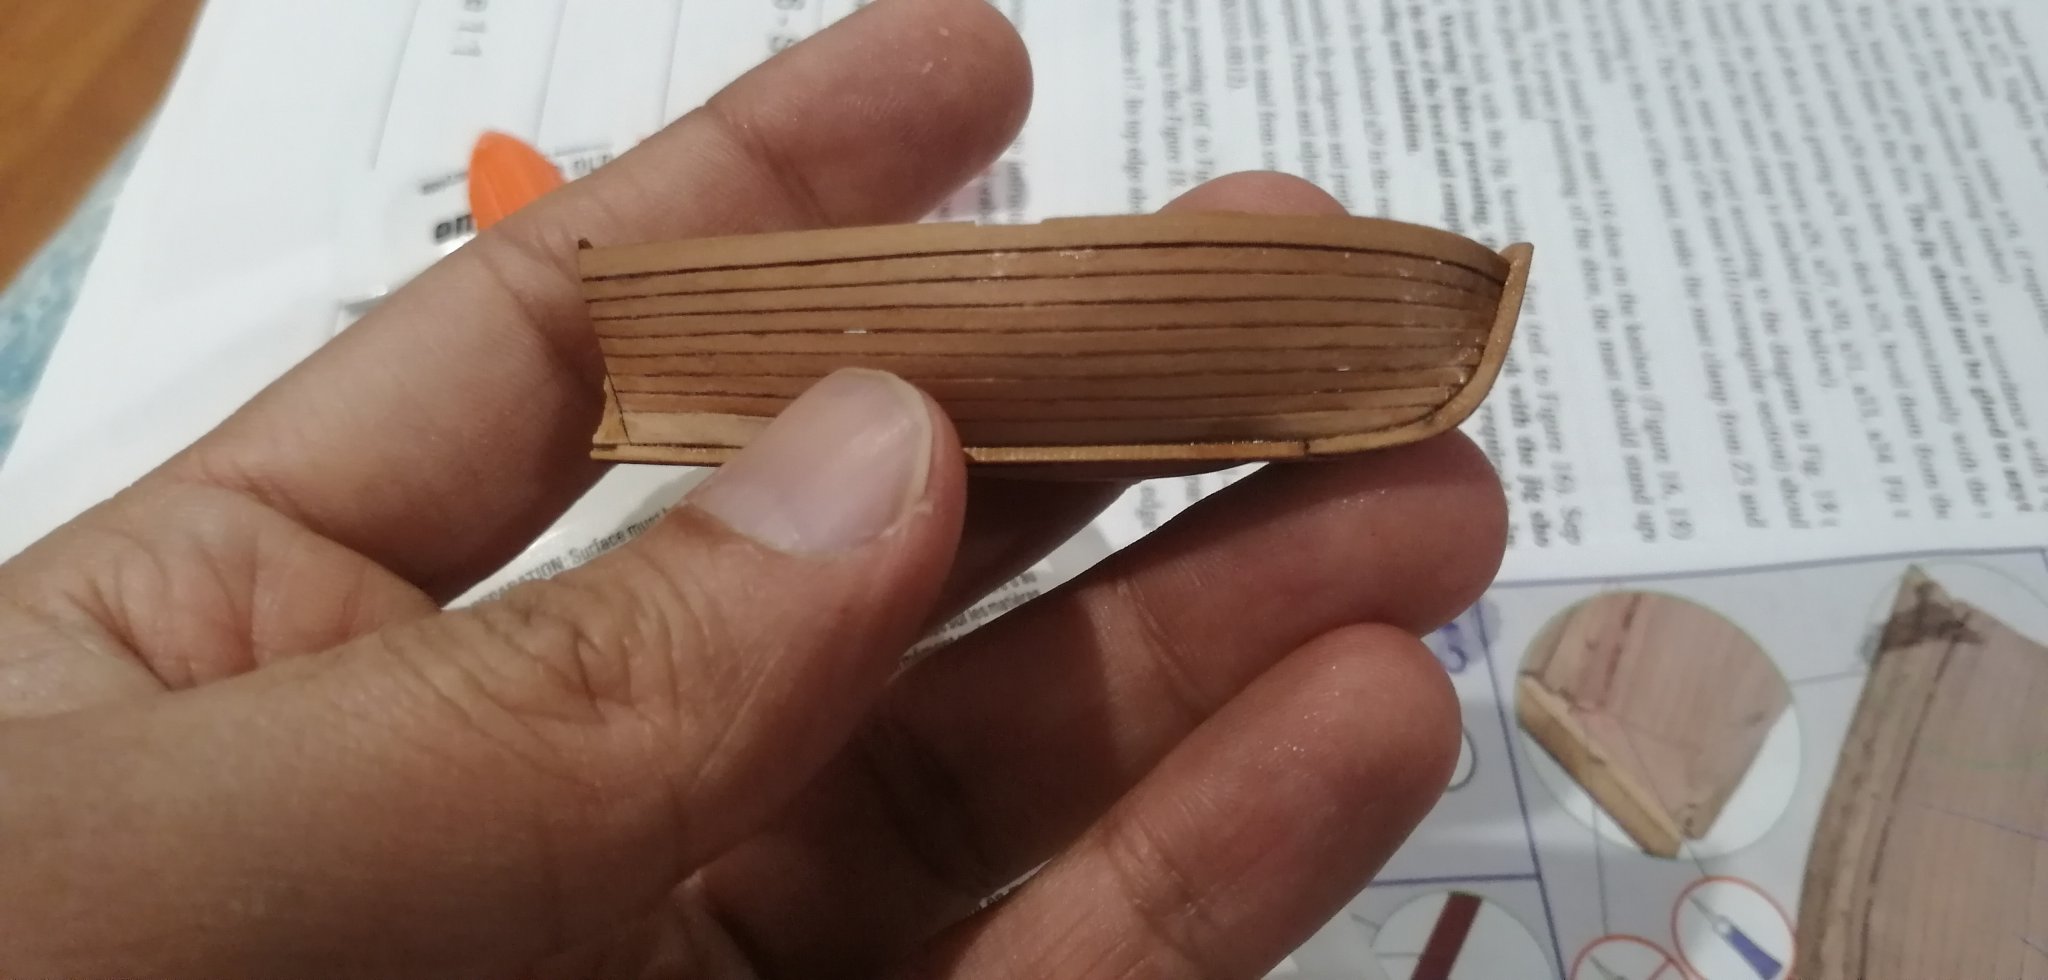
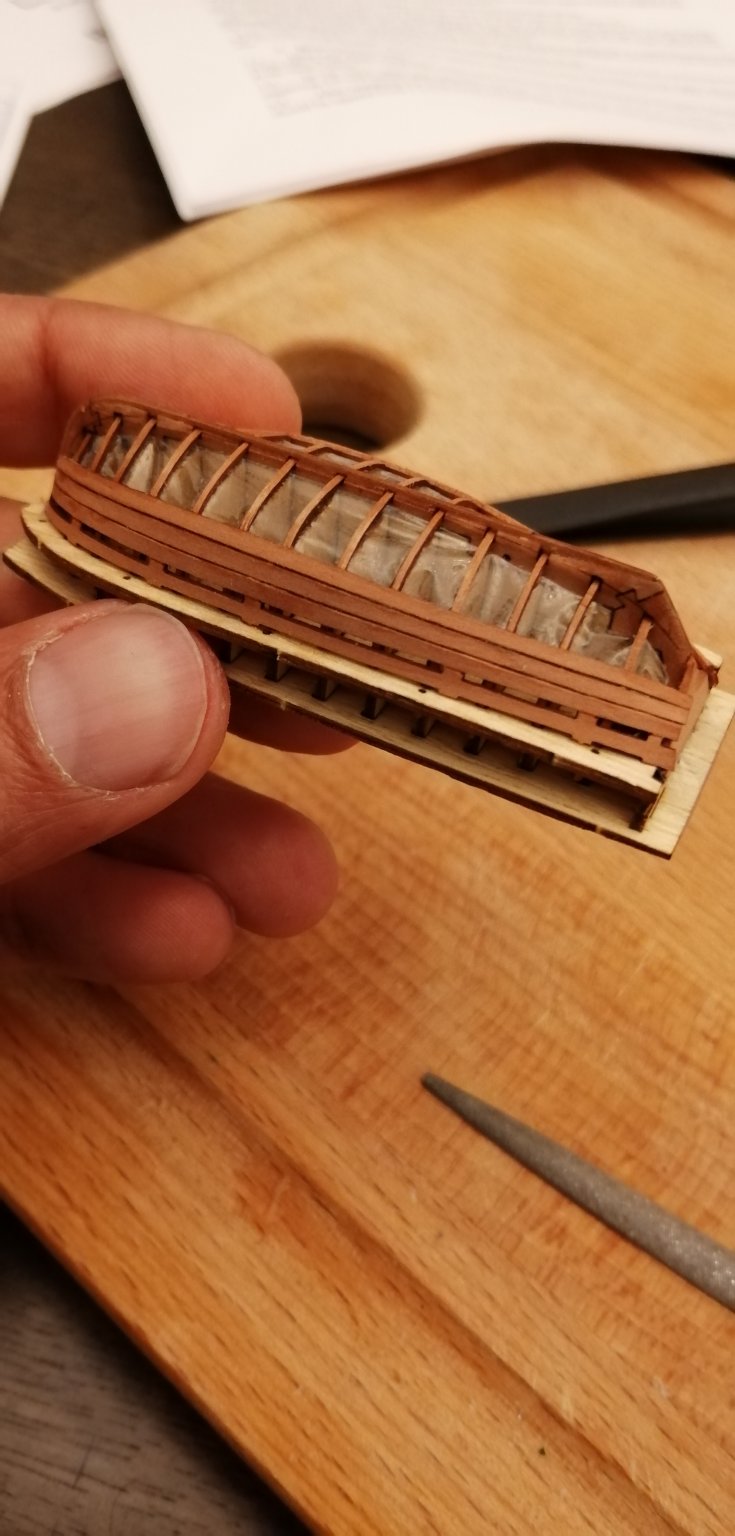
Coming along... I hope this isn't too much gap between planks?


- yvesvidal, GrandpaPhil, bruce d and 3 others
-
6
-
-
-
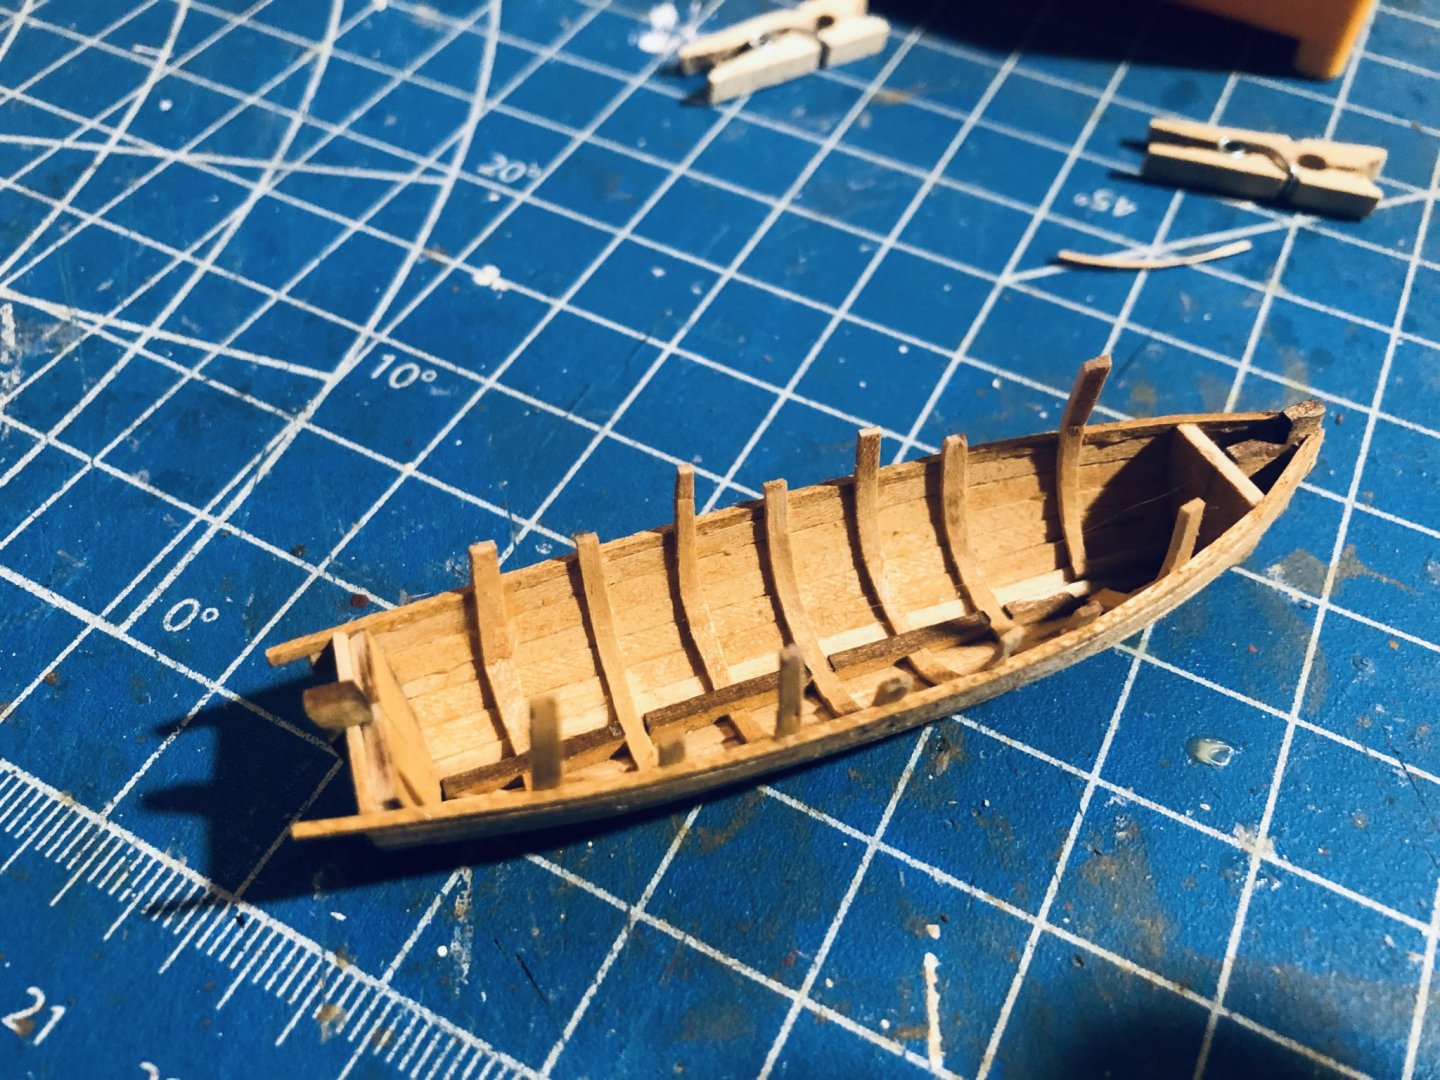
Cleaned up and added keel. Fit was adequate. Rib insertion was time consuming, but not too bad. I rolled a bend in each using my cutting knife. There is plenty of clearance for these to pass tbrough the holes in the keel and jig. Made only one mistake where one rib cracked and has a bump. I'll try to flatten it using superglue tomorrow before planking.

- GrandpaPhil, hexnut, gieb8688 and 3 others
-
6
-
-
3 hours ago, Moab said:
Does Master Korabel have an English site?...Moab
Nope, and good luck trying to find their Russian site using google. I don't remember how I found it, but then I had to translate each page to make sense of it. Luckily I found an email address which responded with thesd instructions.
-
6 hours ago, yvesvidal said:
Tiny kit but very detailed. Master Korabel is a true artist and his kits are top notch.
Thank you for sharing your build with us.
Yves
You are most welcome Yves, and yes, I completely agree; this is a beautiful very well detailed kit.
And now for some good news. I got an email response from Master Korabel with the english instructions. I am sharing them here for our member's future reference.
-
Forgot to mention the last pieces of the jig were soaked for about 40 minutes in cold water, and were now gently curved and attached. I was aware "etsinko" had mentioned fit issues due to the wood swelling, but it went pretty painlessly for me. And it's time to call it a night for now. I have a well founded reputation with the wife for not finishing my kits, so hopefully I can return to this tomorrow … wish me luck !

- bruce d, GrandpaPhil, yvesvidal and 5 others
-
8


4-Oared Yawl by rexnuktia - Master Korabel MK0103
in - Kit build logs for subjects built from 1751 - 1800
Posted
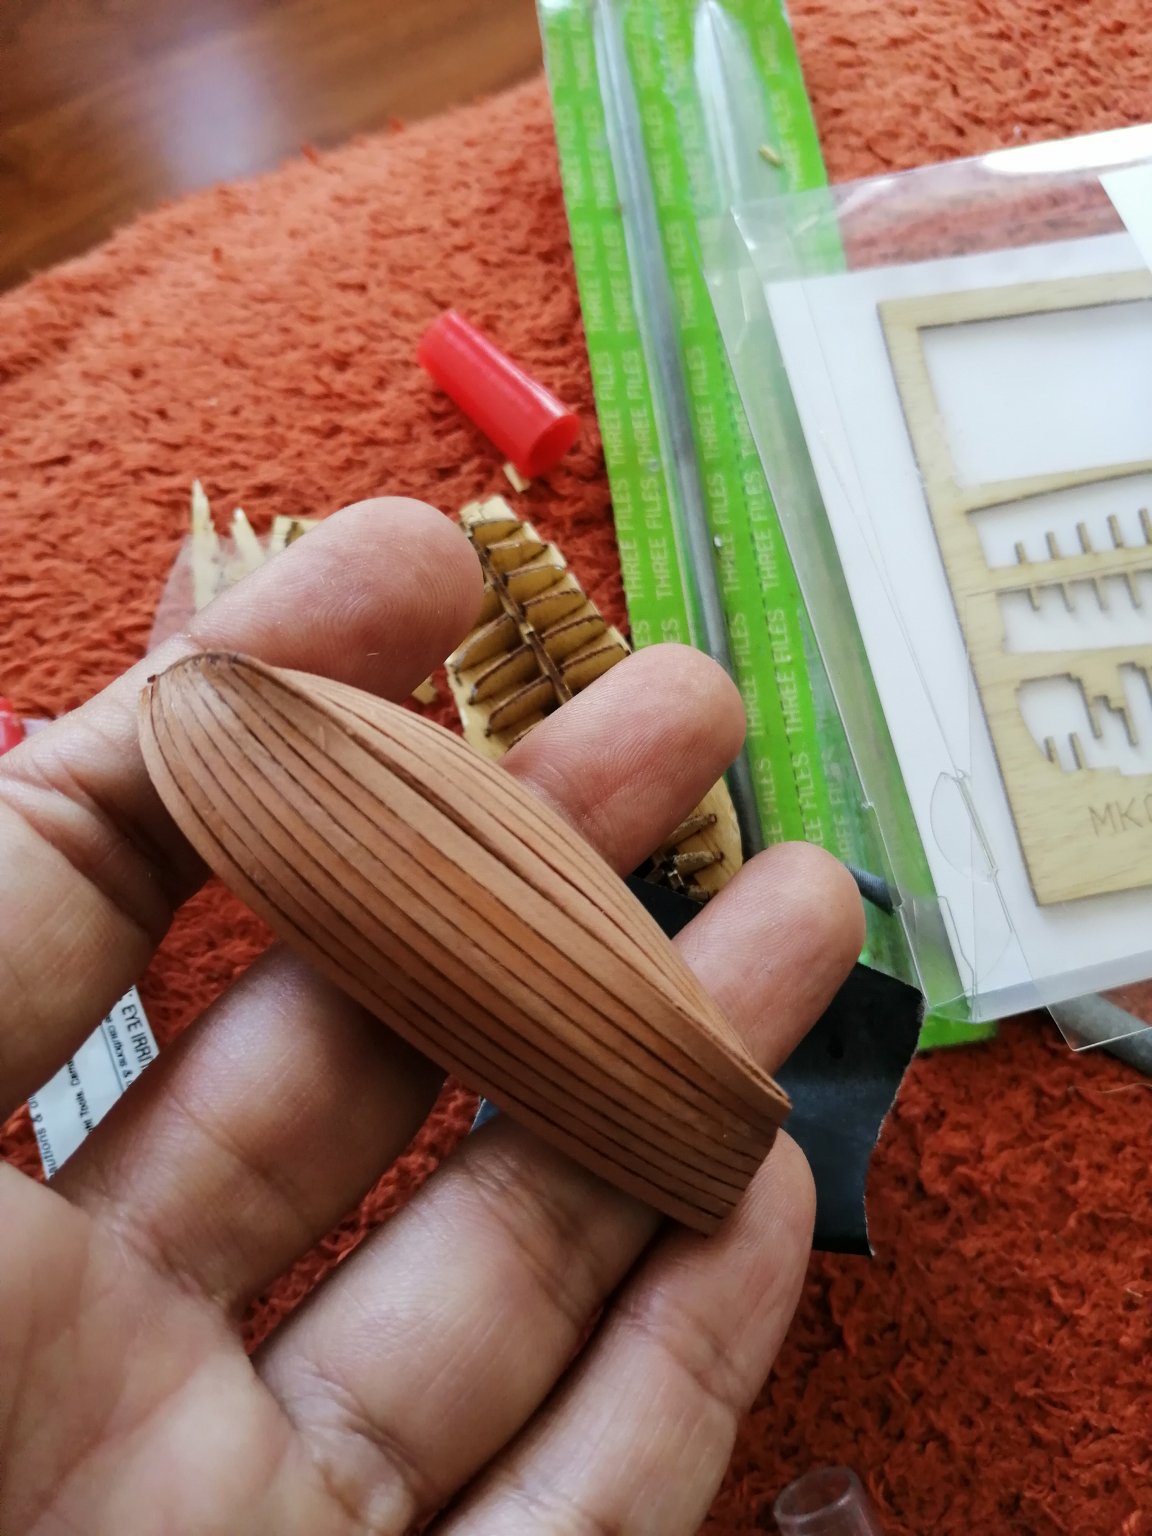
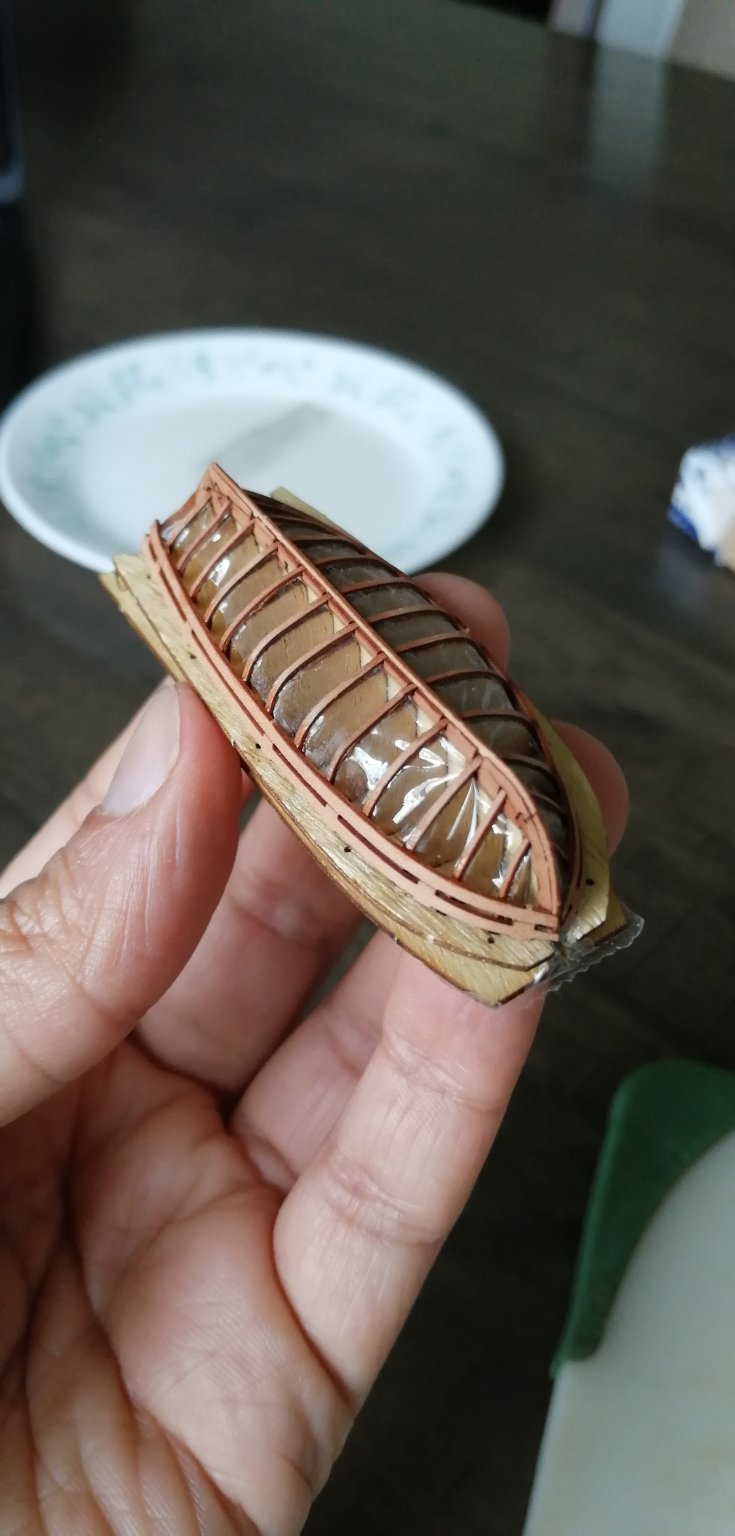
They just look like tiny masterpieces