Jaekon Lee
-
Posts
110 -
Joined
-
Last visited
Content Type
Profiles
Forums
Gallery
Events
Everything posted by Jaekon Lee
-

ancre La Salamandre by tadheus - 1:24
Jaekon Lee replied to tadheus's topic in - Build logs for subjects built 1751 - 1800
Hi Paul, your progress of nailing work is very nice. -
HMS Alert 1777 by Jaekon Lee - 1/64
Jaekon Lee replied to Jaekon Lee's topic in - Build logs for subjects built 1751 - 1800
Many thanks Nils as always. Hi Robin. Thank you for your interest on my build. For your question, I'm sorry but I could not catch your point due to my poor English. Anyway, I have very little knowledge about historical stove but I just follow the design of it as shown in Goodwin's book of ATOS. Cheers. -
HMS Alert 1777 by Jaekon Lee - 1/64
Jaekon Lee replied to Jaekon Lee's topic in - Build logs for subjects built 1751 - 1800
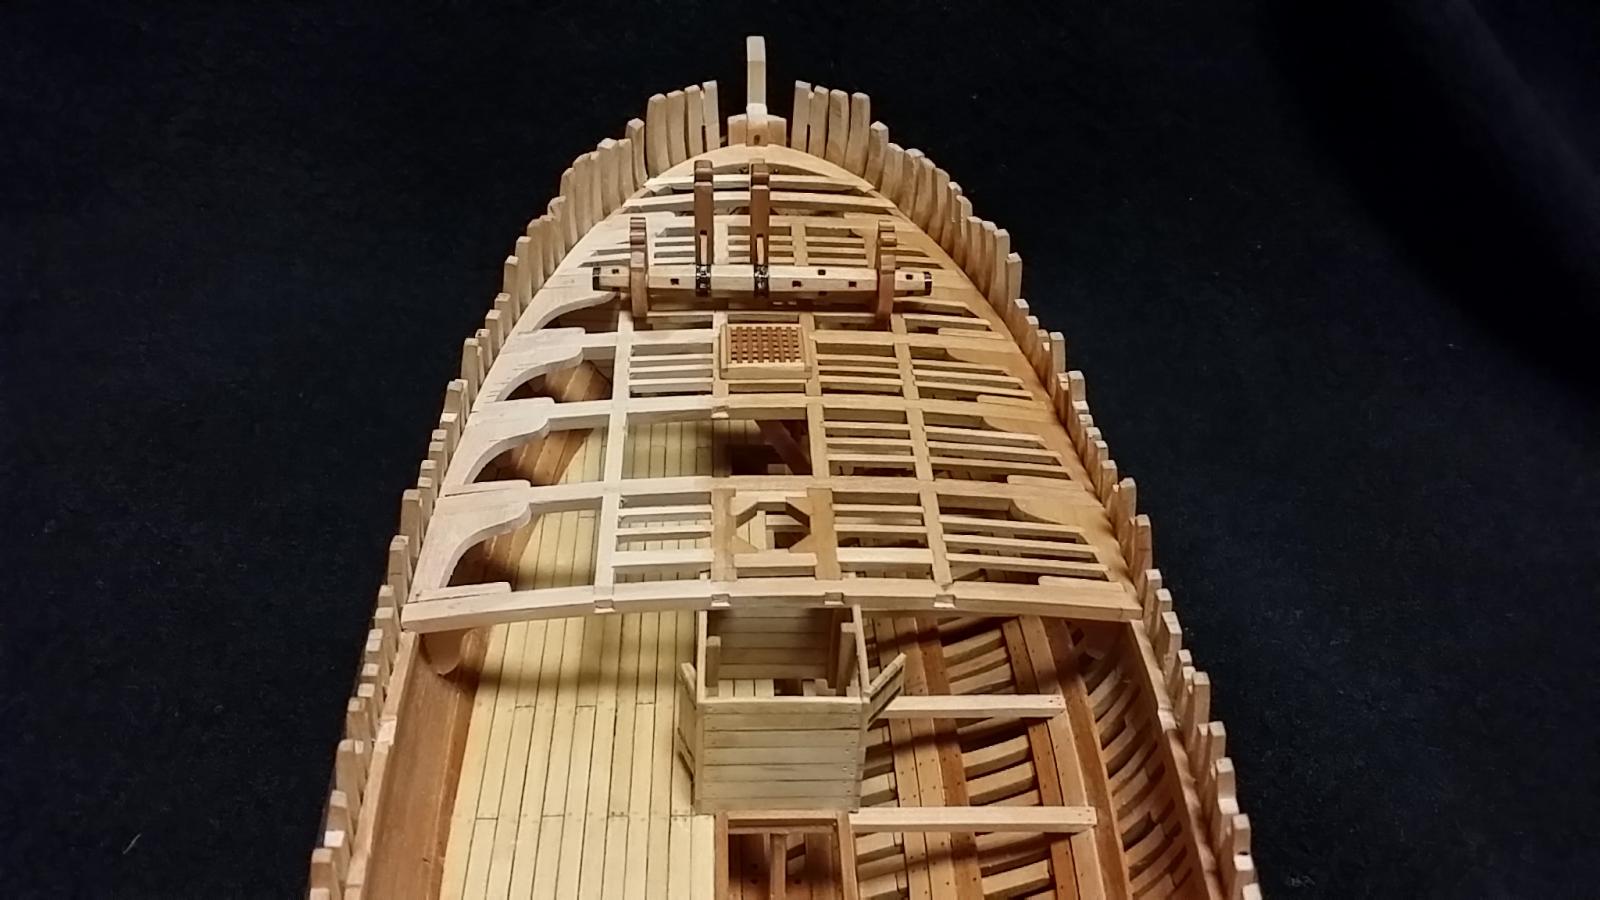
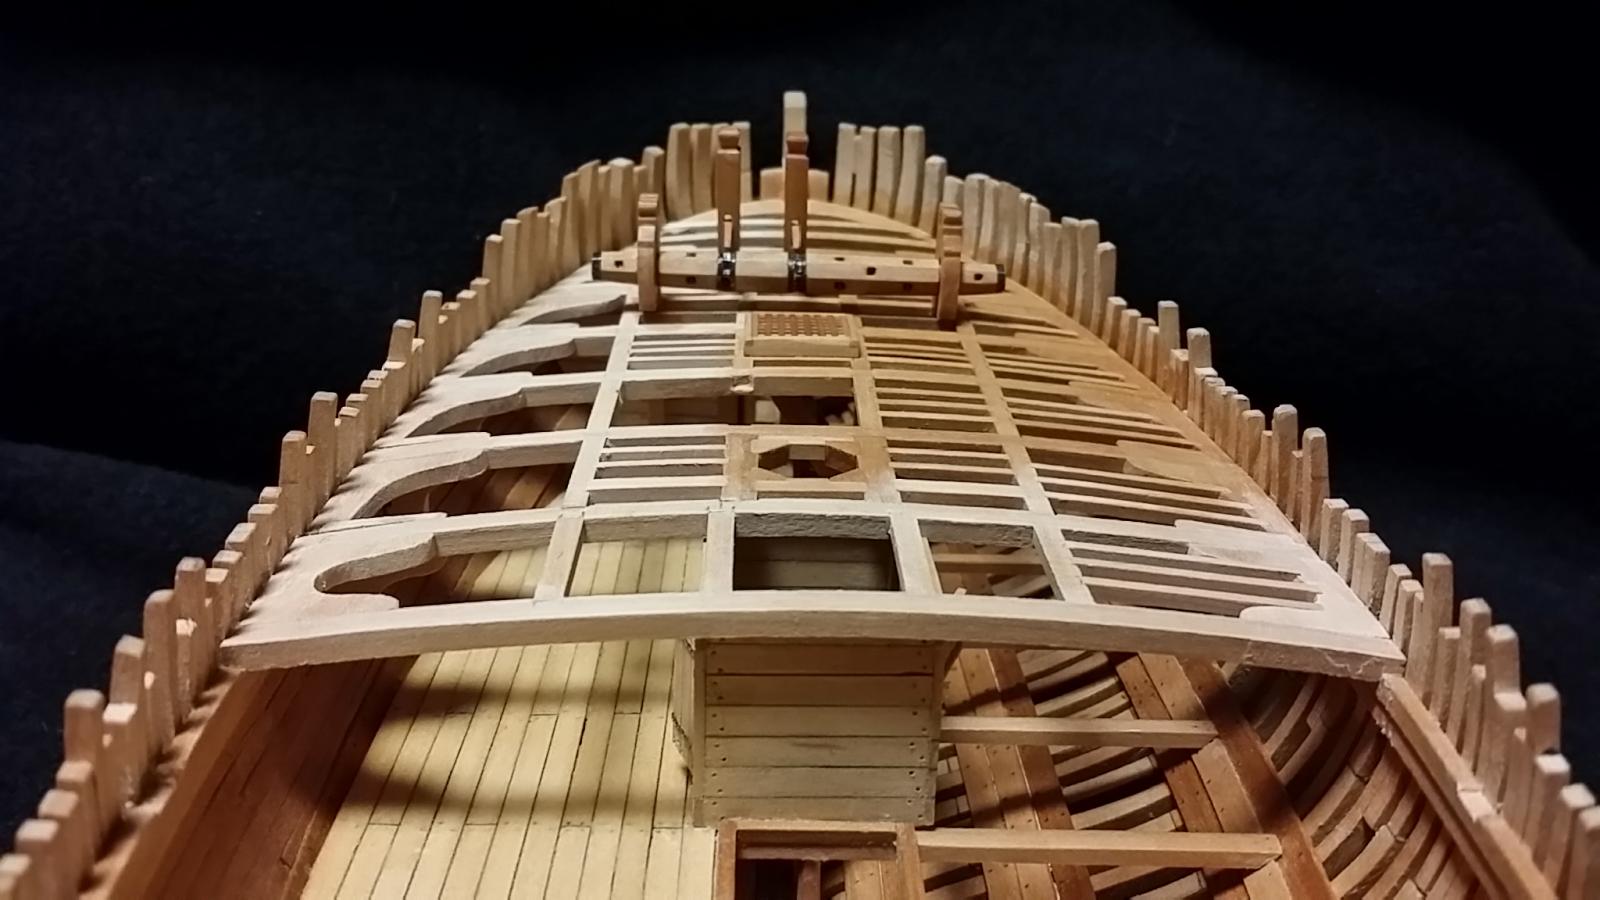
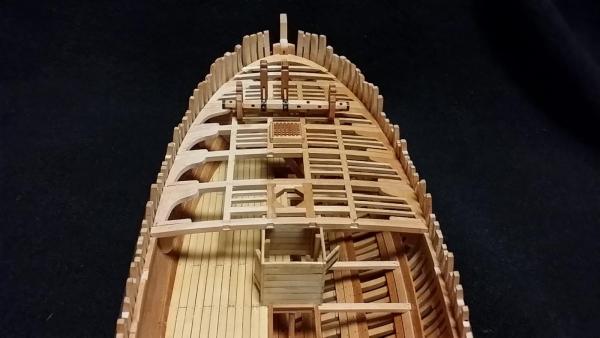
Two more upper deck beams and main transverse bulkhead with door and stanchion Cheers, Lee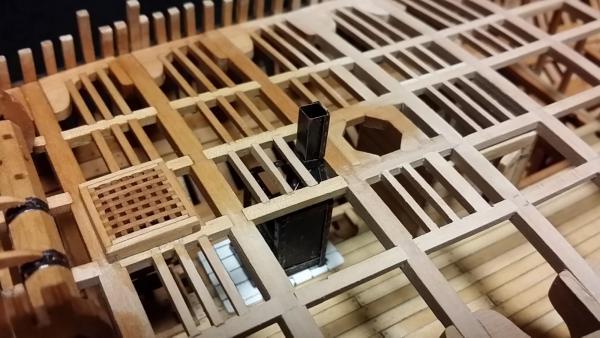

-
HMS Alert 1777 by Jaekon Lee - 1/64
Jaekon Lee replied to Jaekon Lee's topic in - Build logs for subjects built 1751 - 1800
Hi Antony, Nils and David many thanks. I'm so flattered. ^^; -
HMS Alert 1777 by Jaekon Lee - 1/64
Jaekon Lee replied to Jaekon Lee's topic in - Build logs for subjects built 1751 - 1800
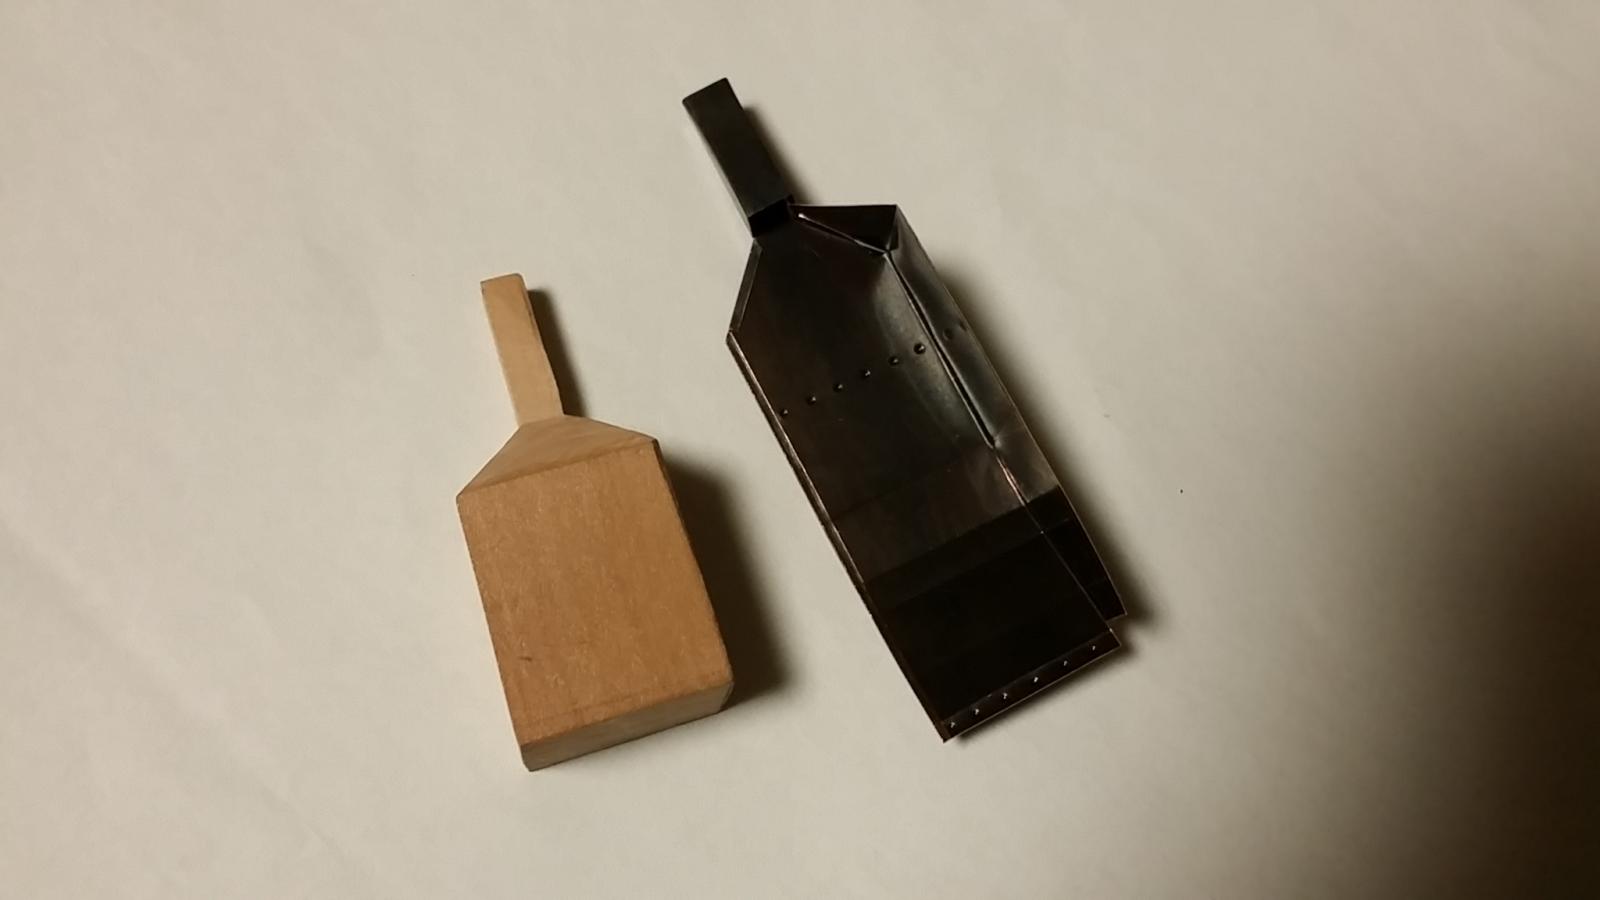
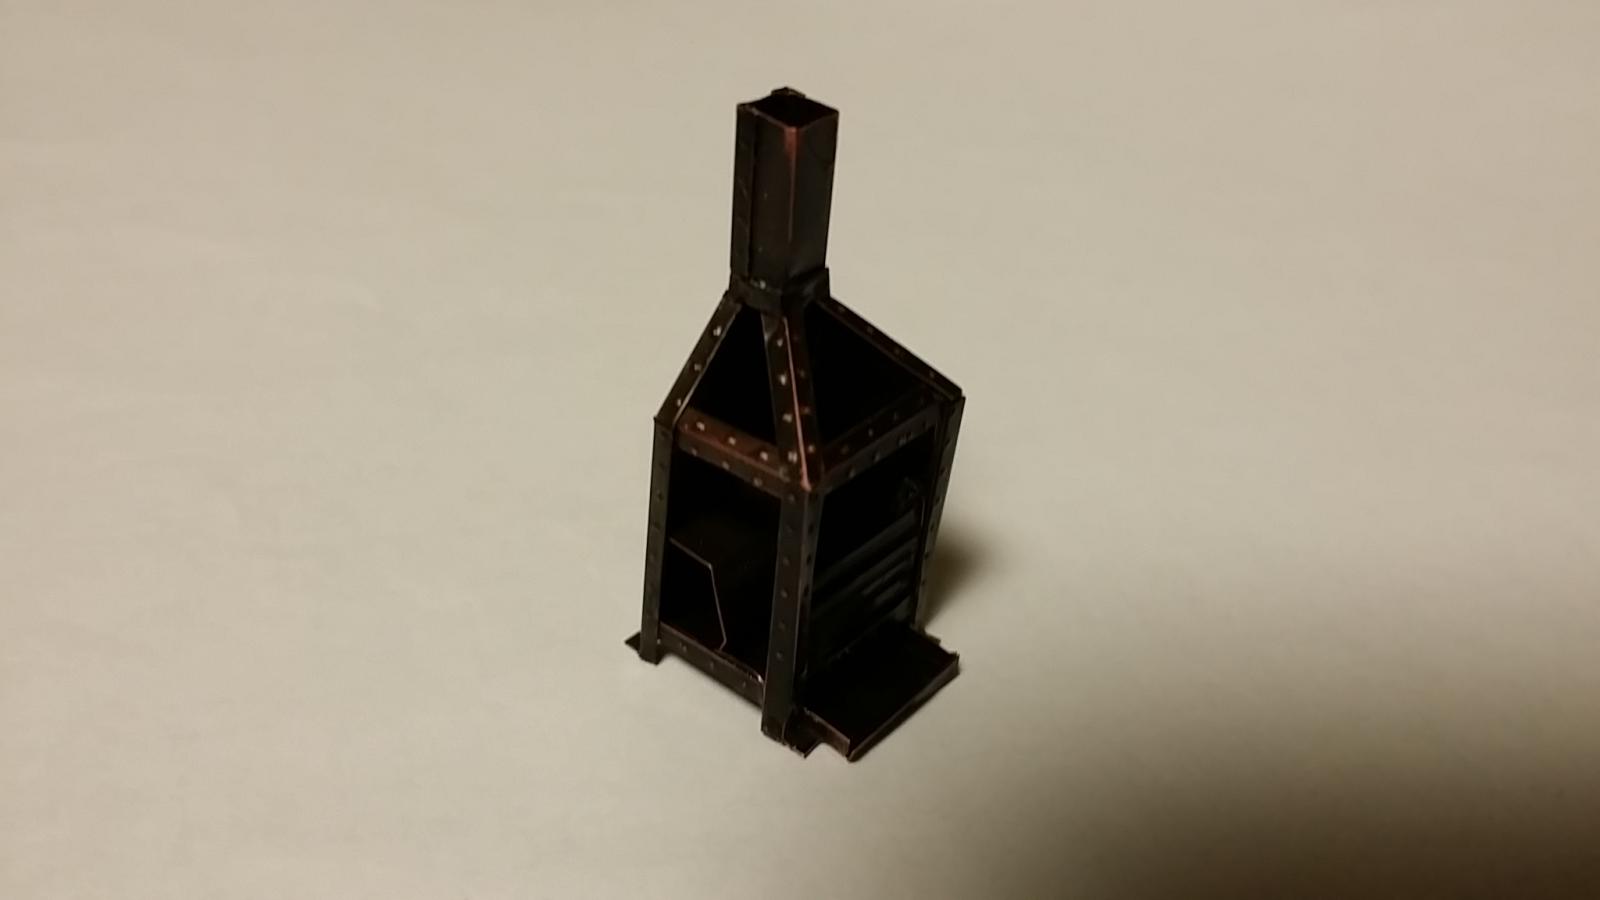
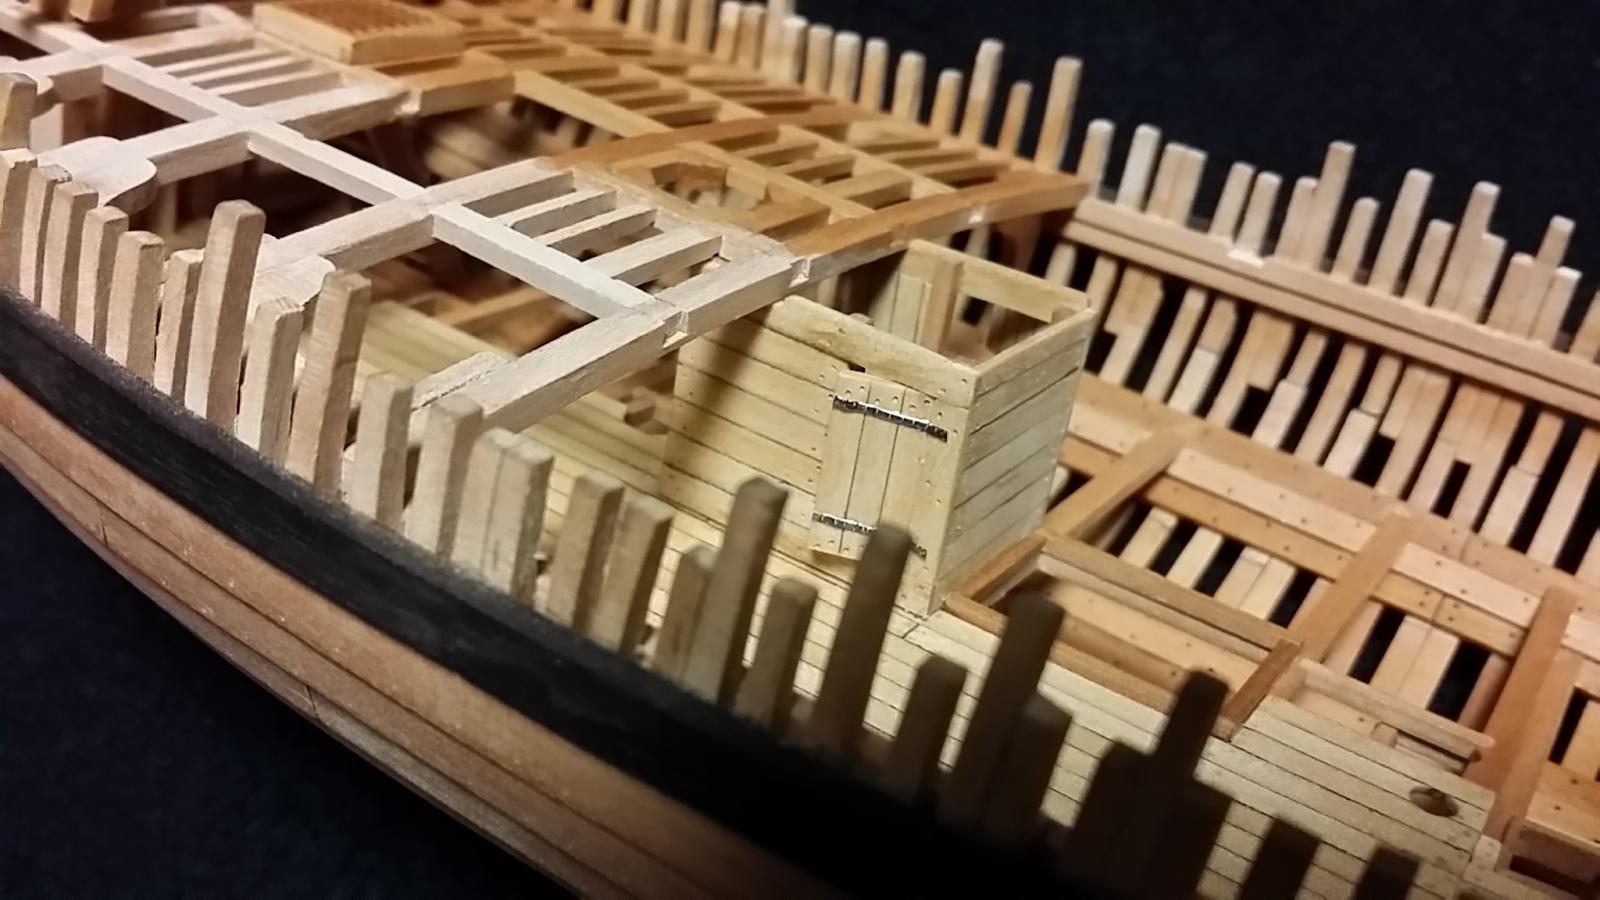
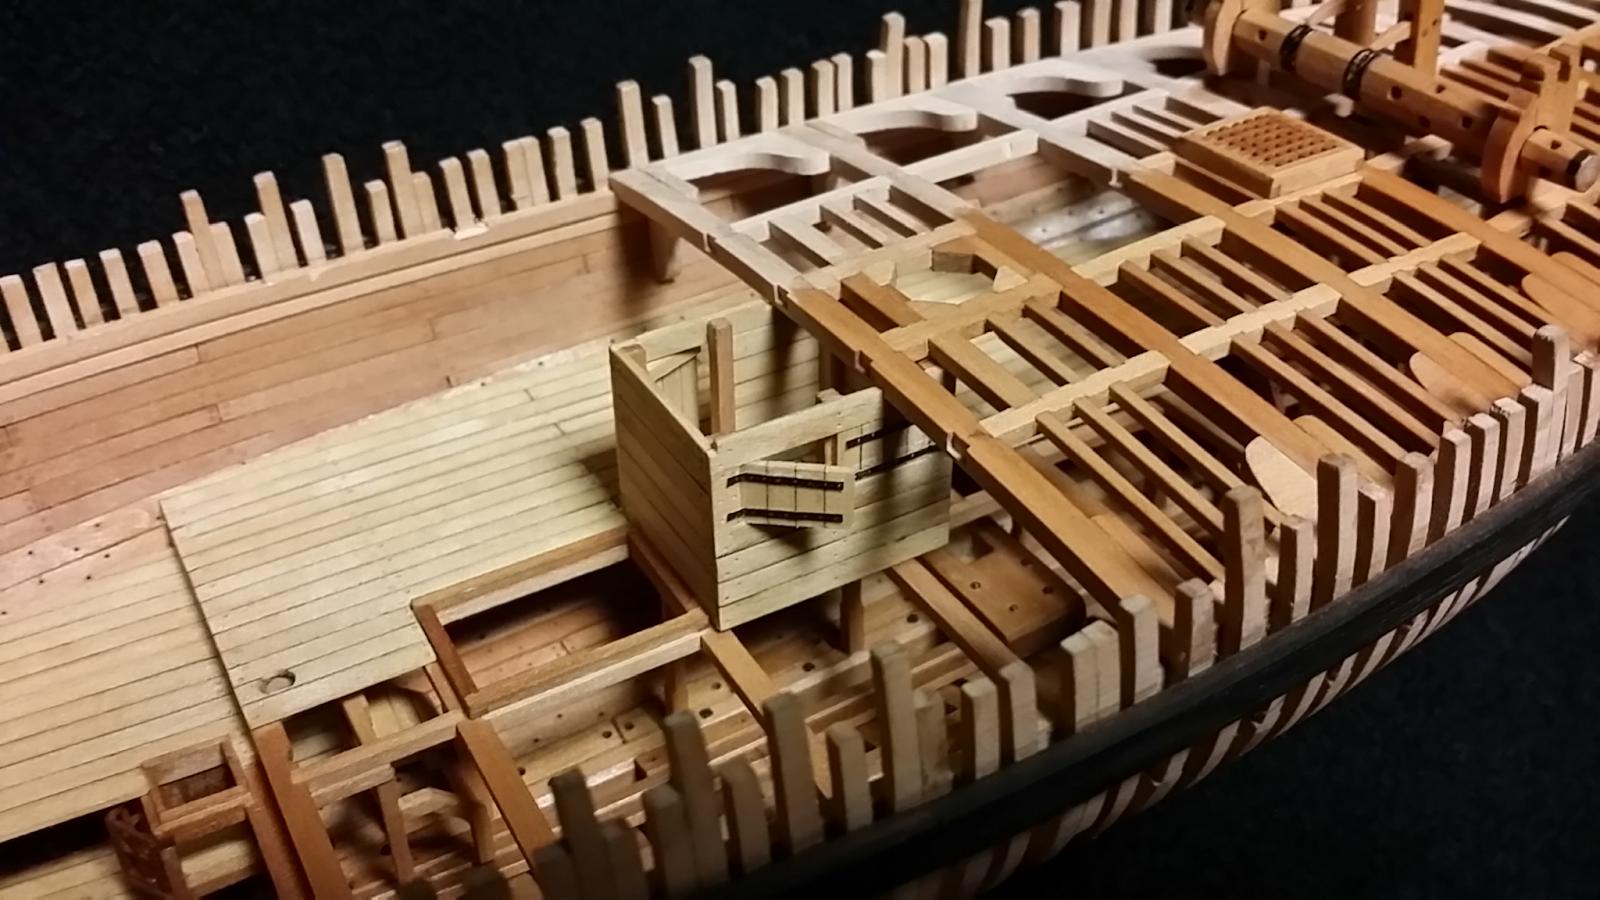
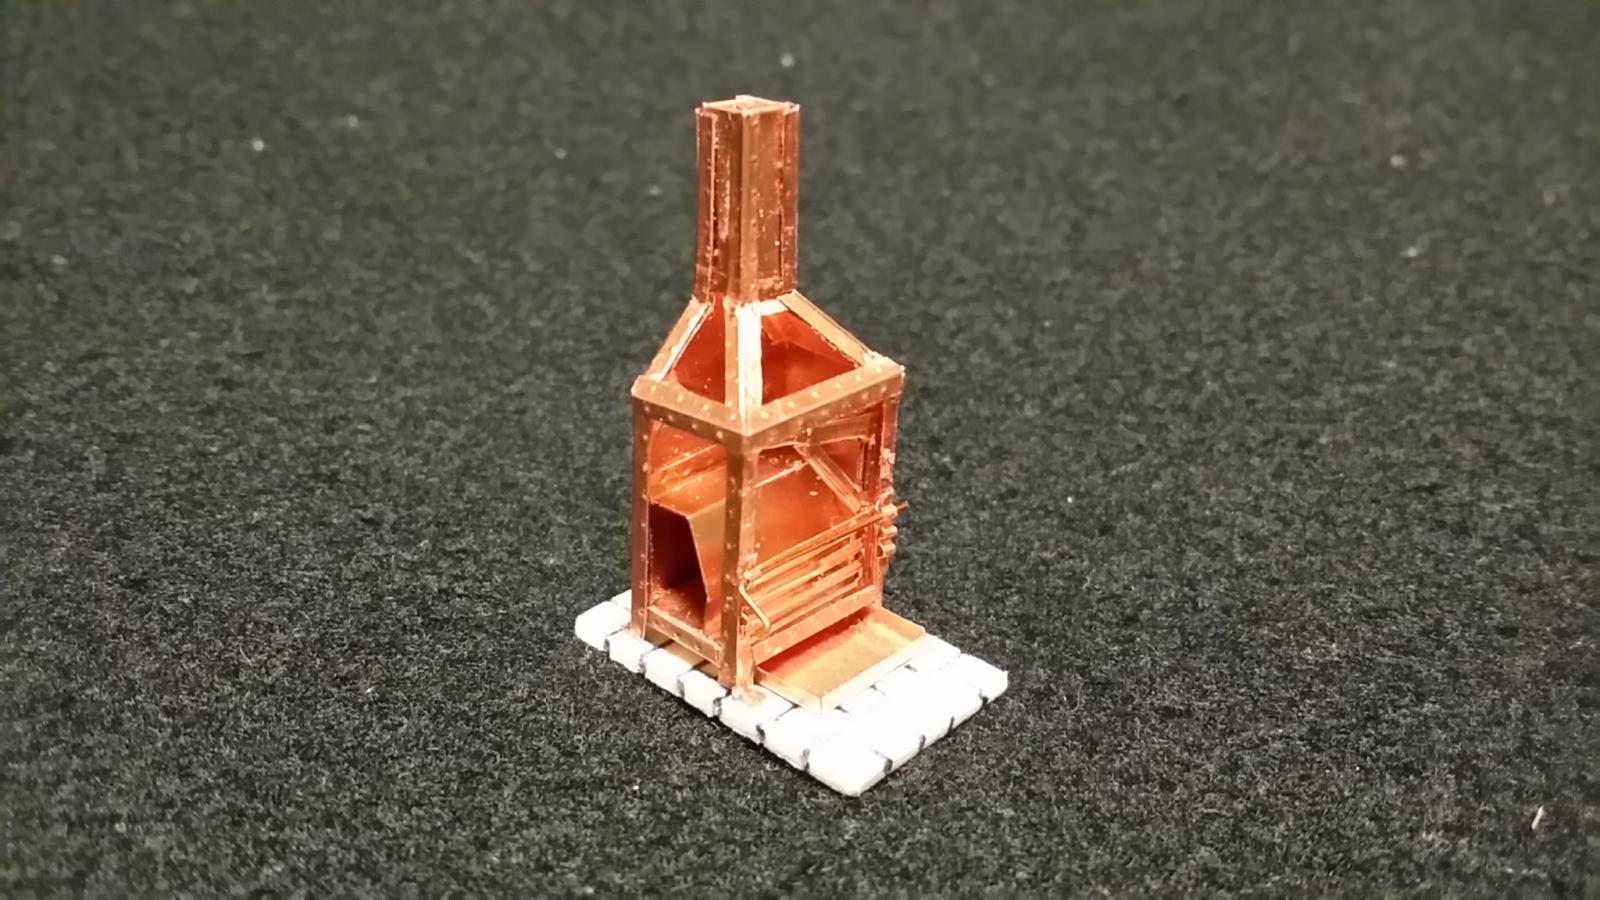
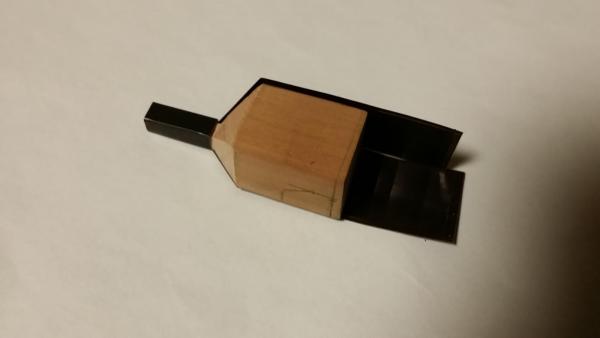
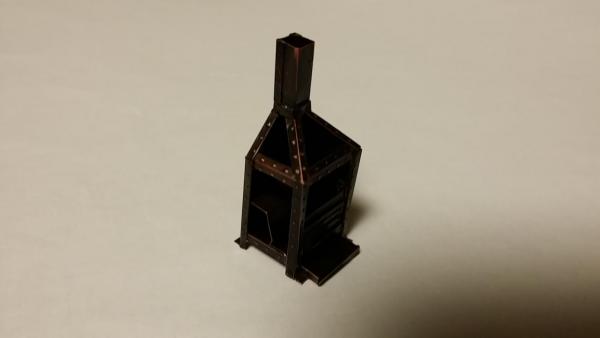
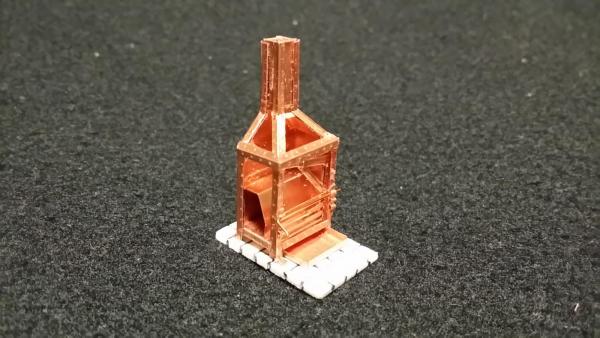
Metal stove, sailor room and 7th deck beam With pre-blackened thin copper sheet, metal stove was remade. In this work, wood mold was used and the metal parts was joined with CA glue. The blackened result looks better than previous one. The sailor room was built between main mast and hatch. Metal hinges for the door and window were simulated with copper strip just for decoration. Cheers, Lee


-
HMS Alert 1777 by Jaekon Lee - 1/64
Jaekon Lee replied to Jaekon Lee's topic in - Build logs for subjects built 1751 - 1800
Many thanks friends for the kind words. Hi, Nils. Of course. That would be my pleasure. -
HMS Leopard by gobi71 - 1/300 scale
Jaekon Lee replied to gobi71's topic in - Build logs for subjects built 1751 - 1800
Hi, Gabriel. I can't believe what I see. Fully frame built with details under 1/300. Just amazing work. You must have microscope eyes and fingers. Lee -
HMS Alert 1777 by Jaekon Lee - 1/64
Jaekon Lee replied to Jaekon Lee's topic in - Build logs for subjects built 1751 - 1800
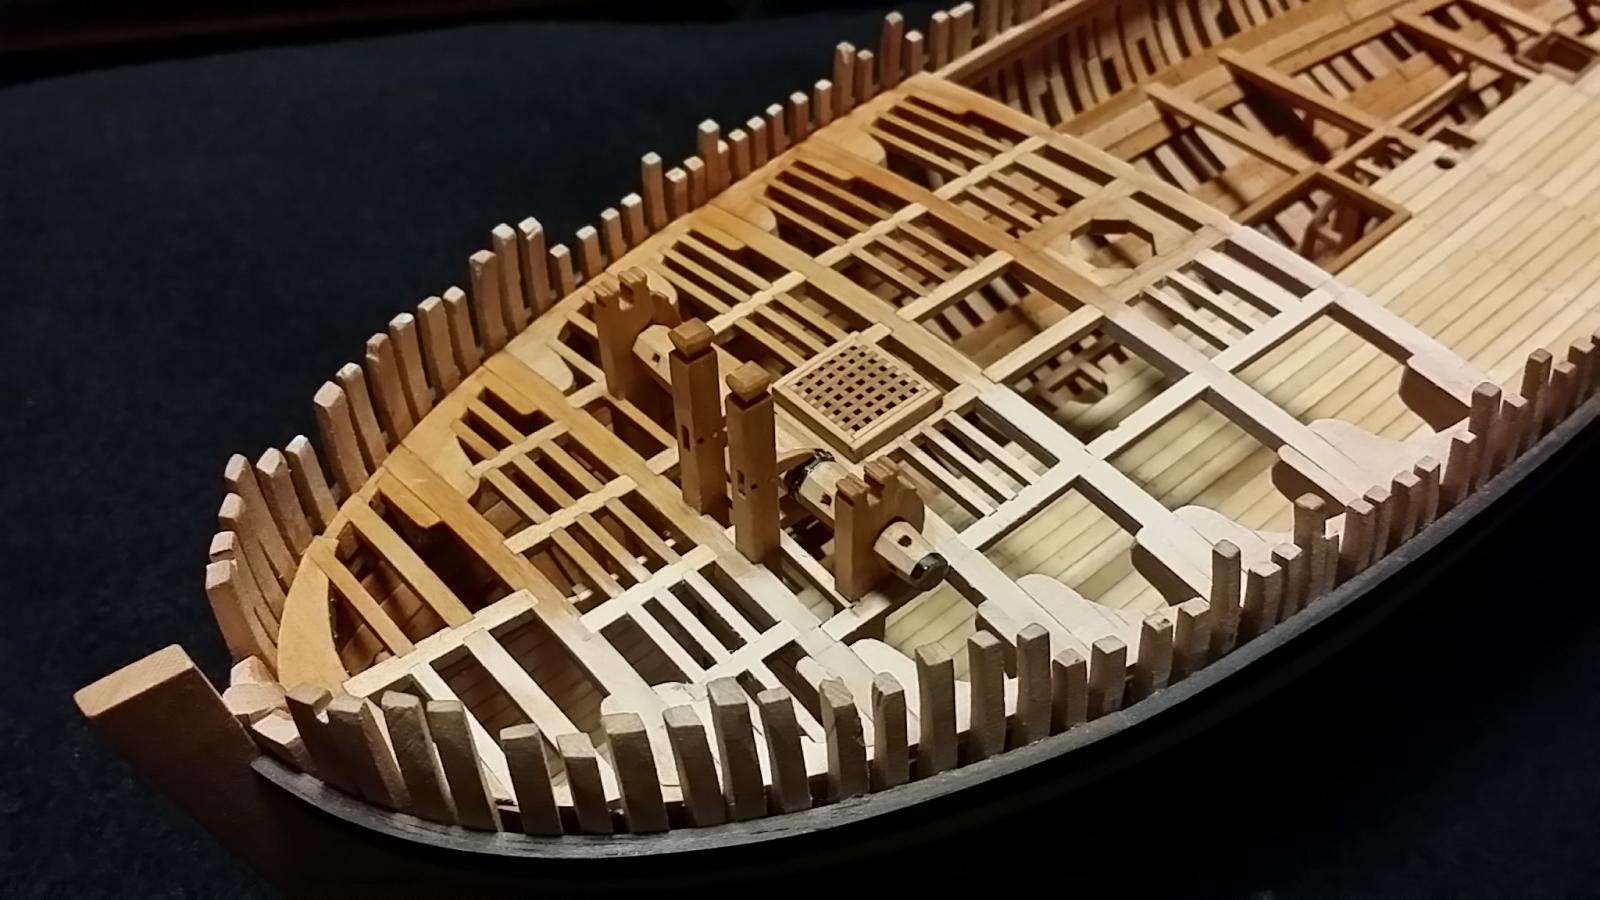
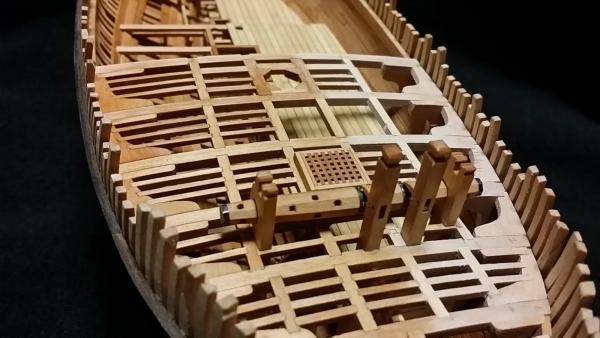
Upper deck progress Up to now, 6th deck beam has fitted. Making small fittings takes much time. Windlass, fore companion way grating were placed. Small metal stove has been tried with Cu foil but the result was too shiny and unbalanced with surrounding wood color, so I'll remake it with blackened Cu foil. Cheers, Lee

-
HMS Alert 1777 by Jaekon Lee - 1/64
Jaekon Lee replied to Jaekon Lee's topic in - Build logs for subjects built 1751 - 1800
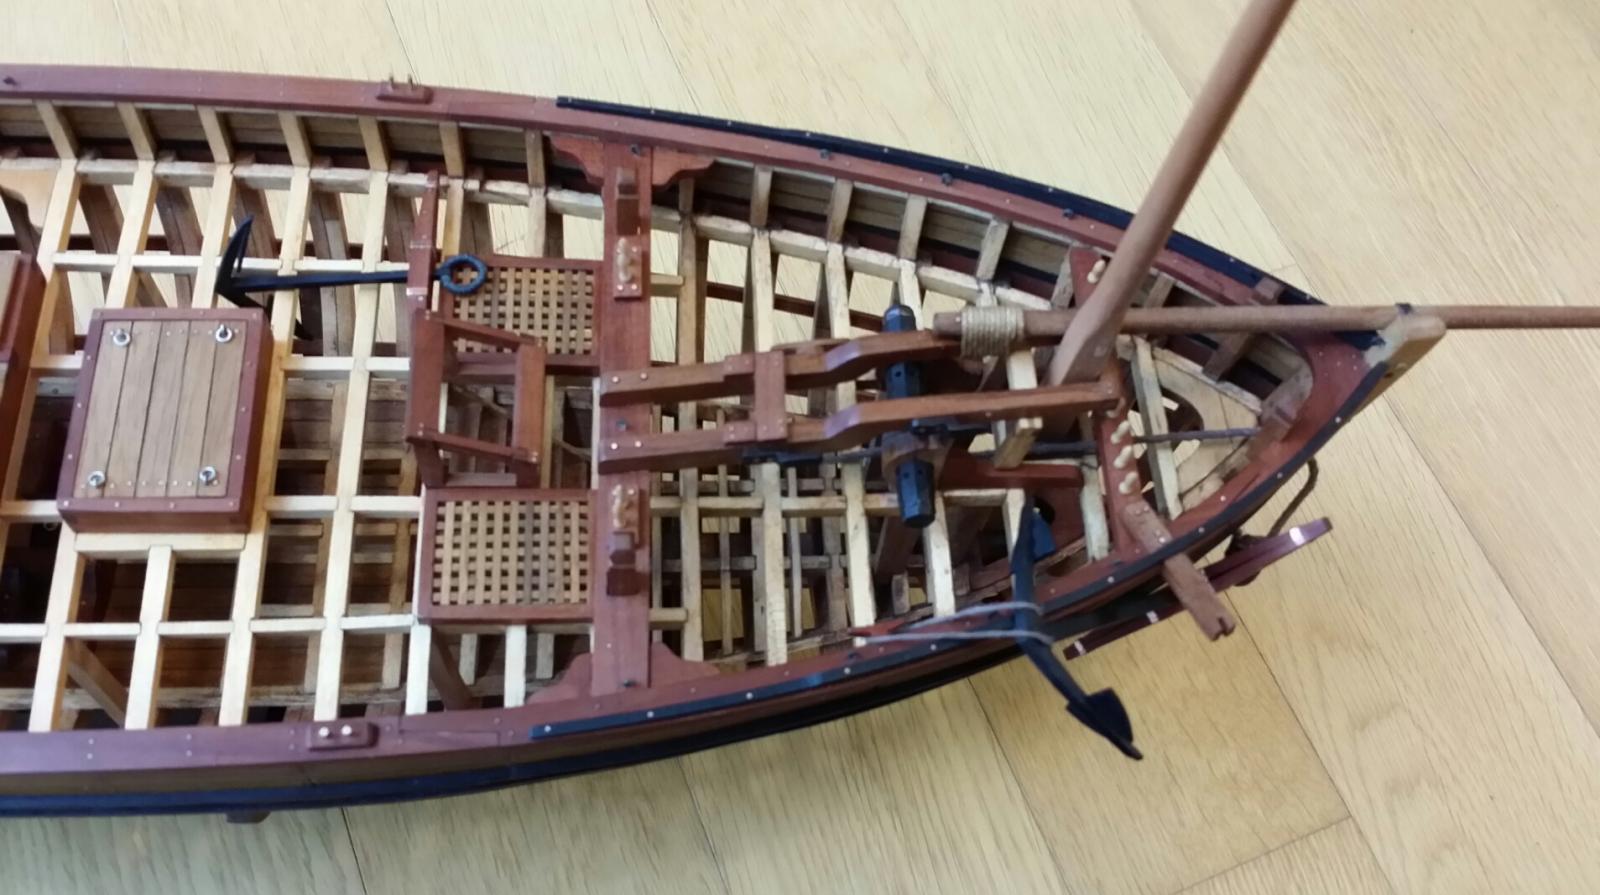
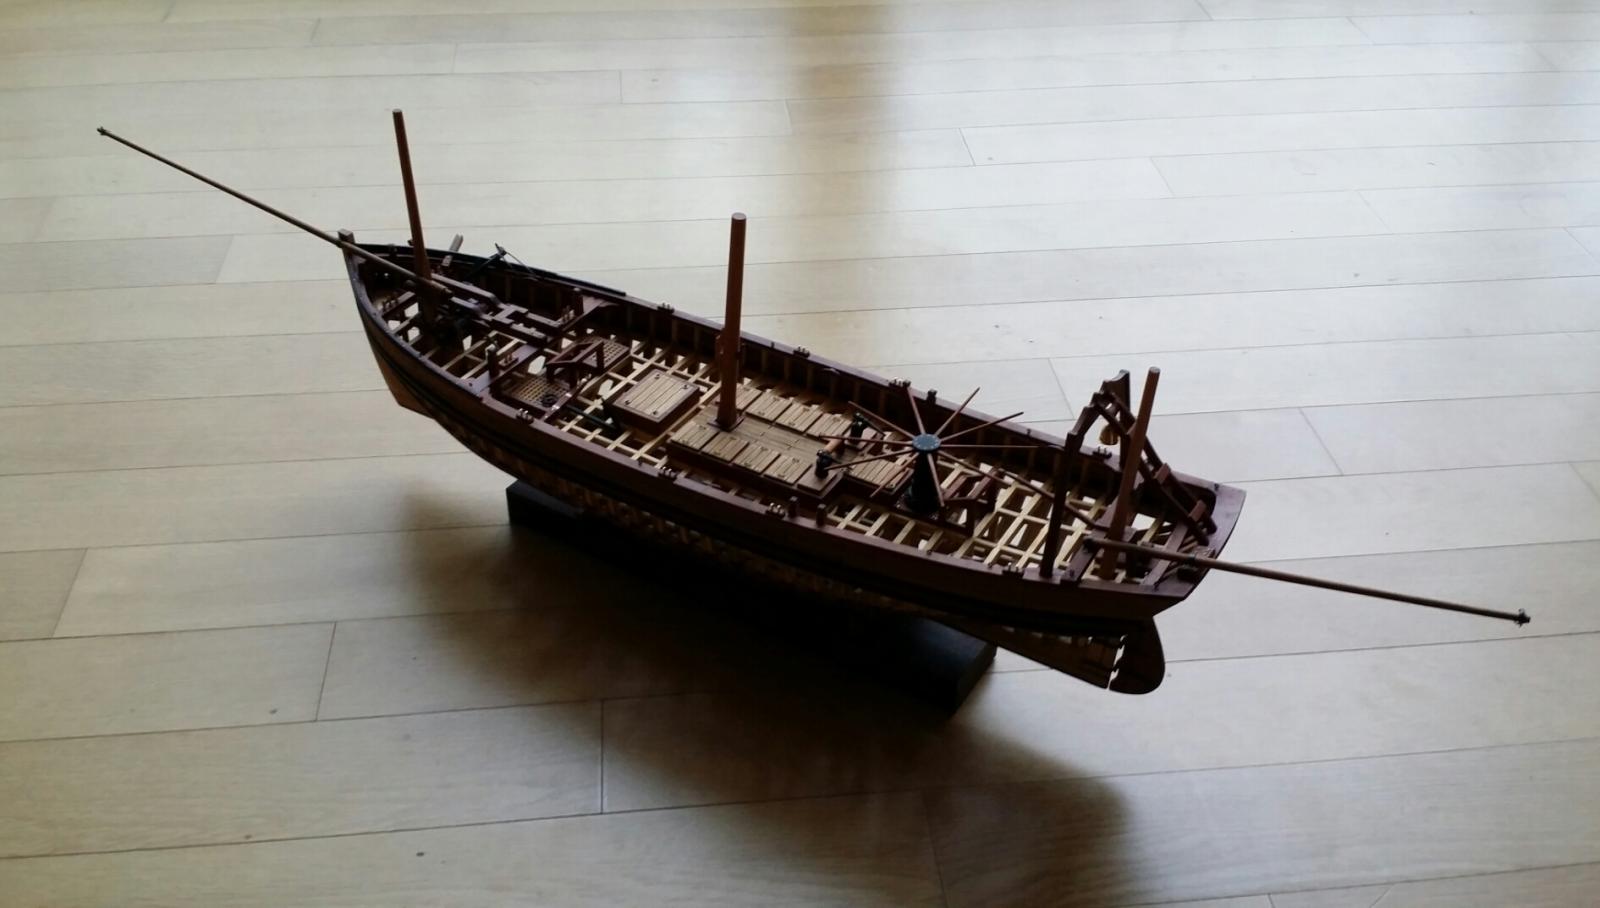
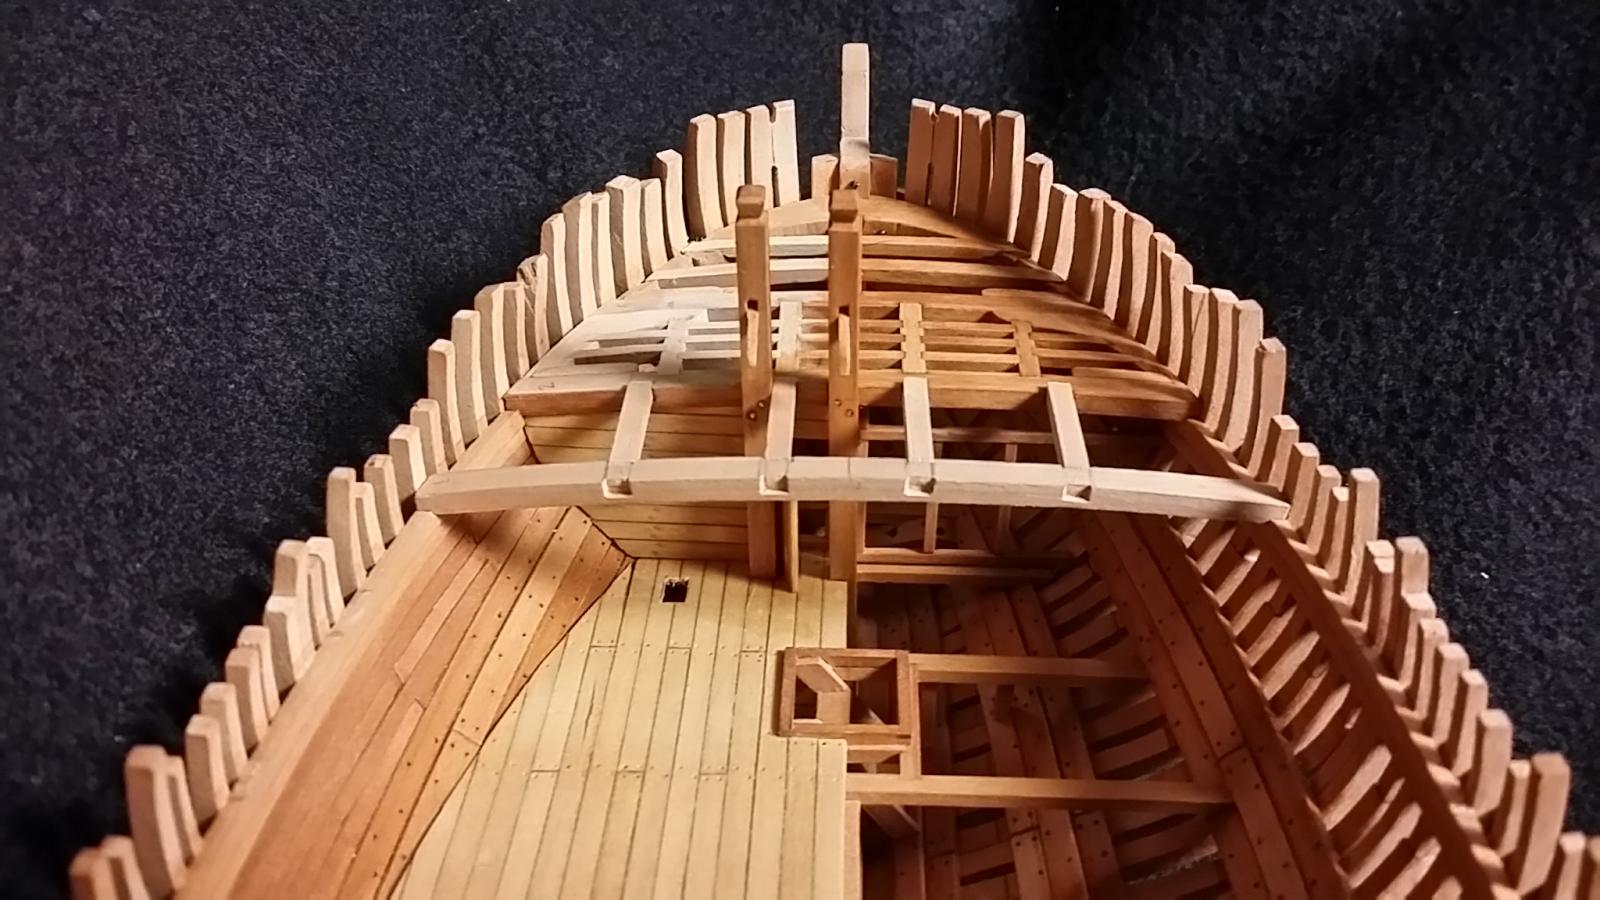
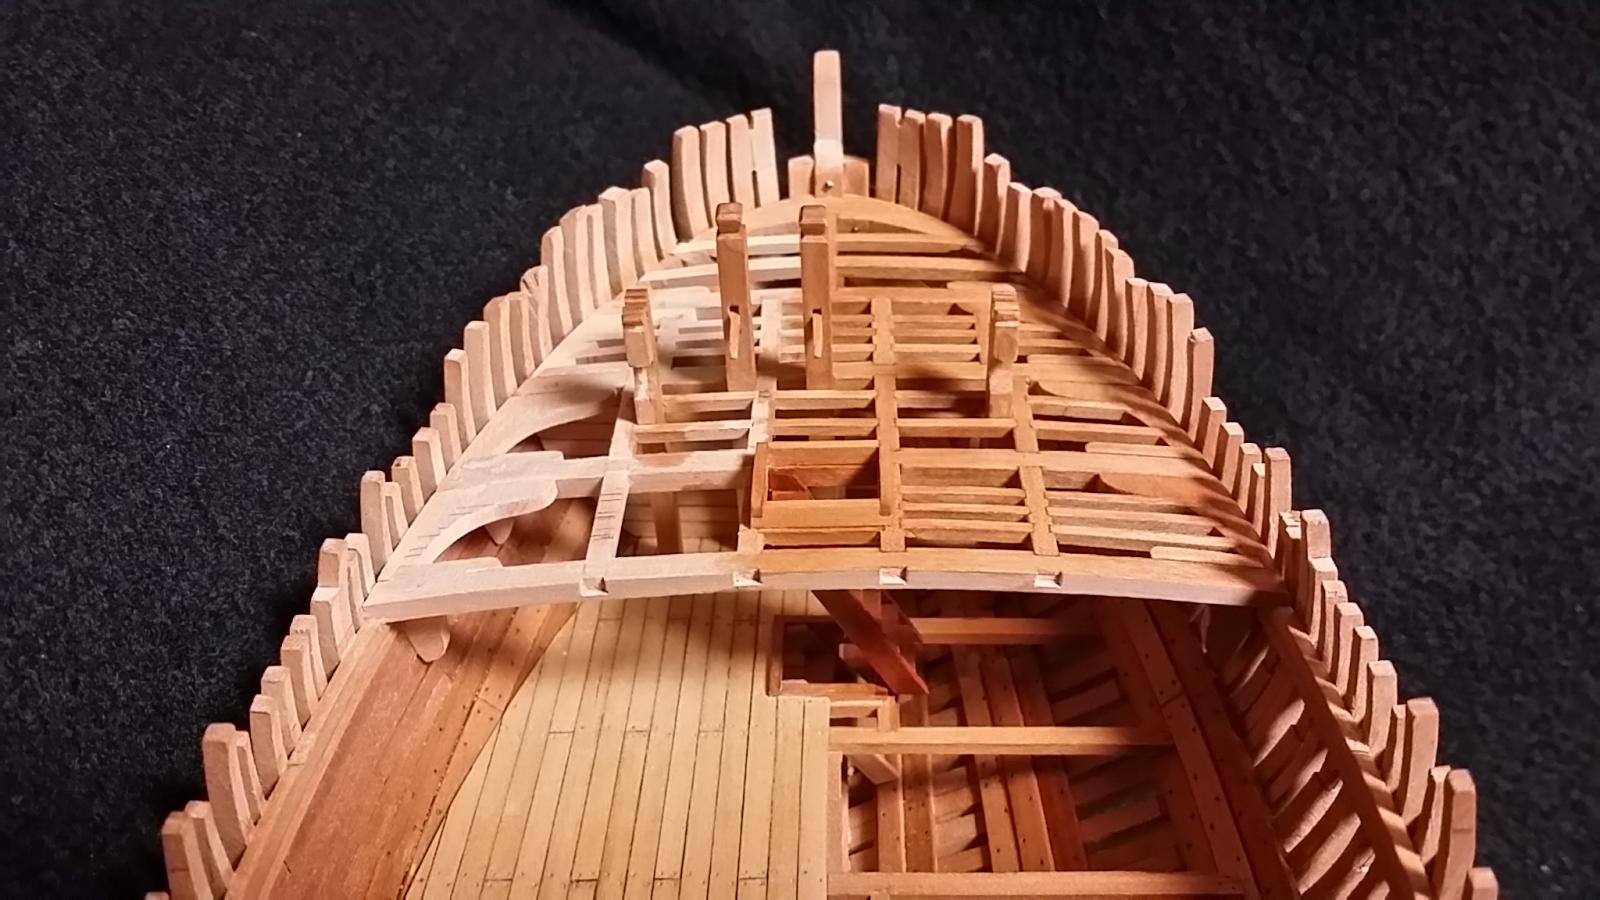
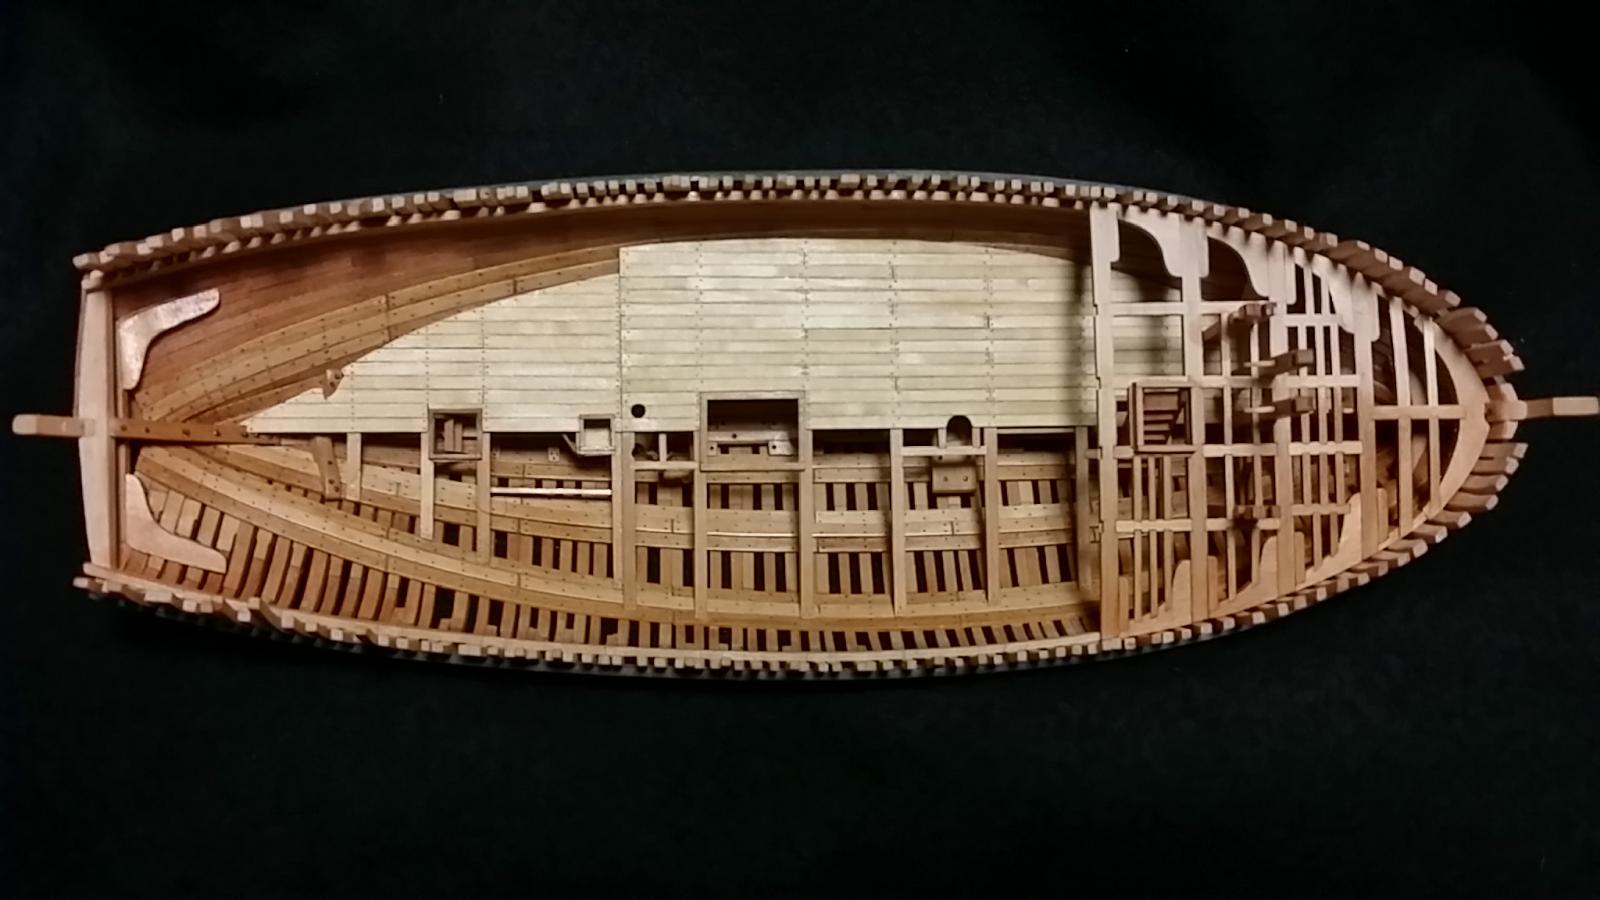
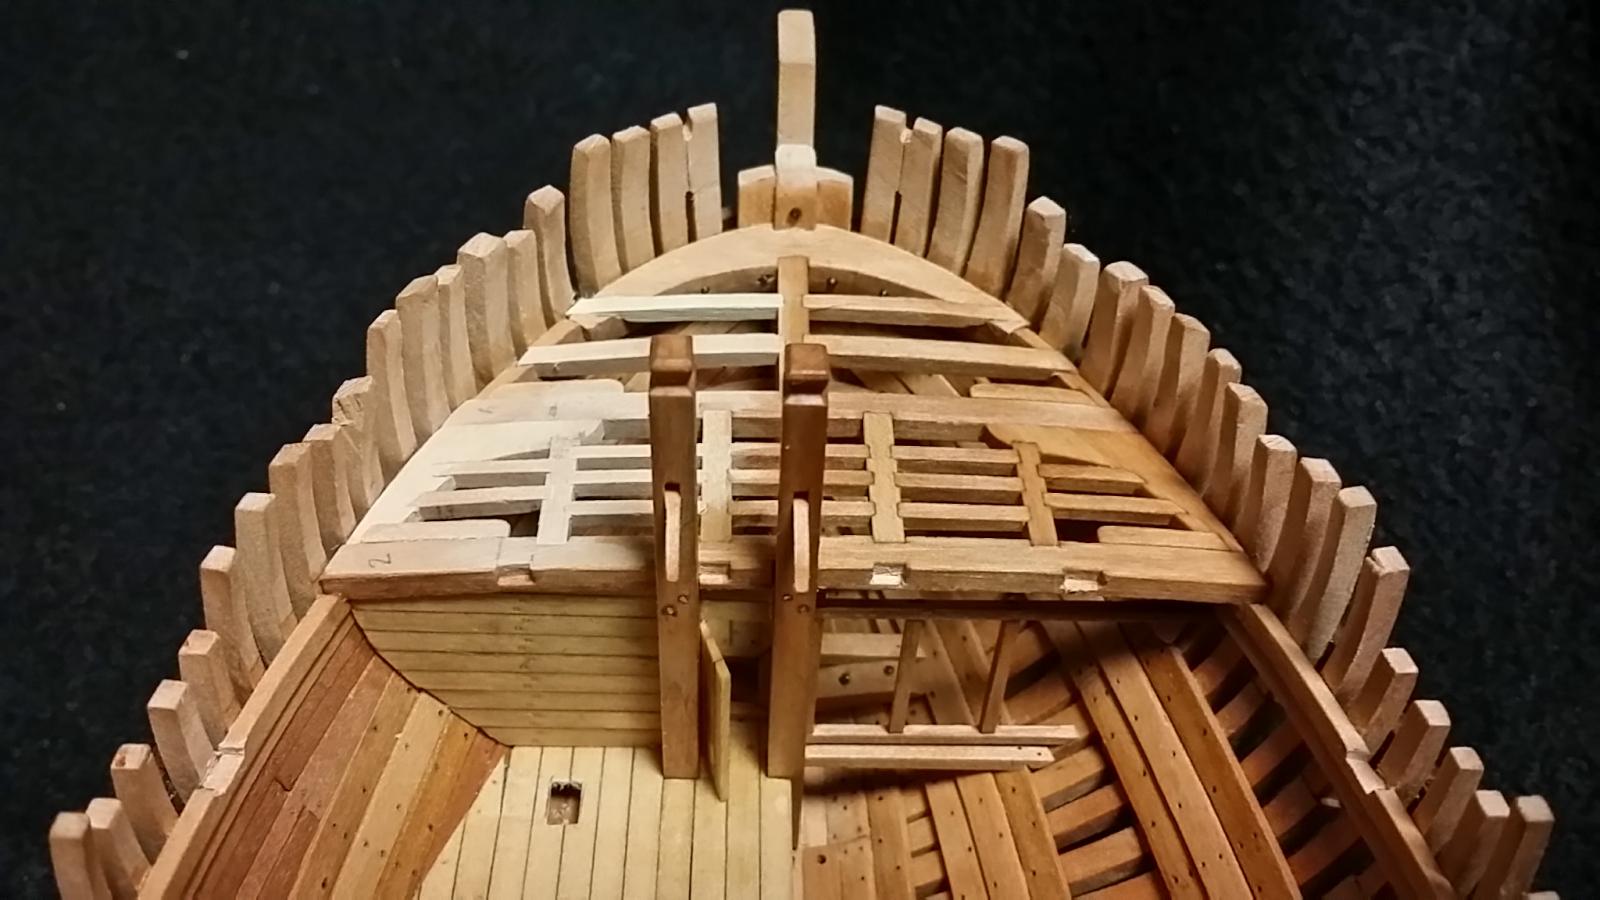
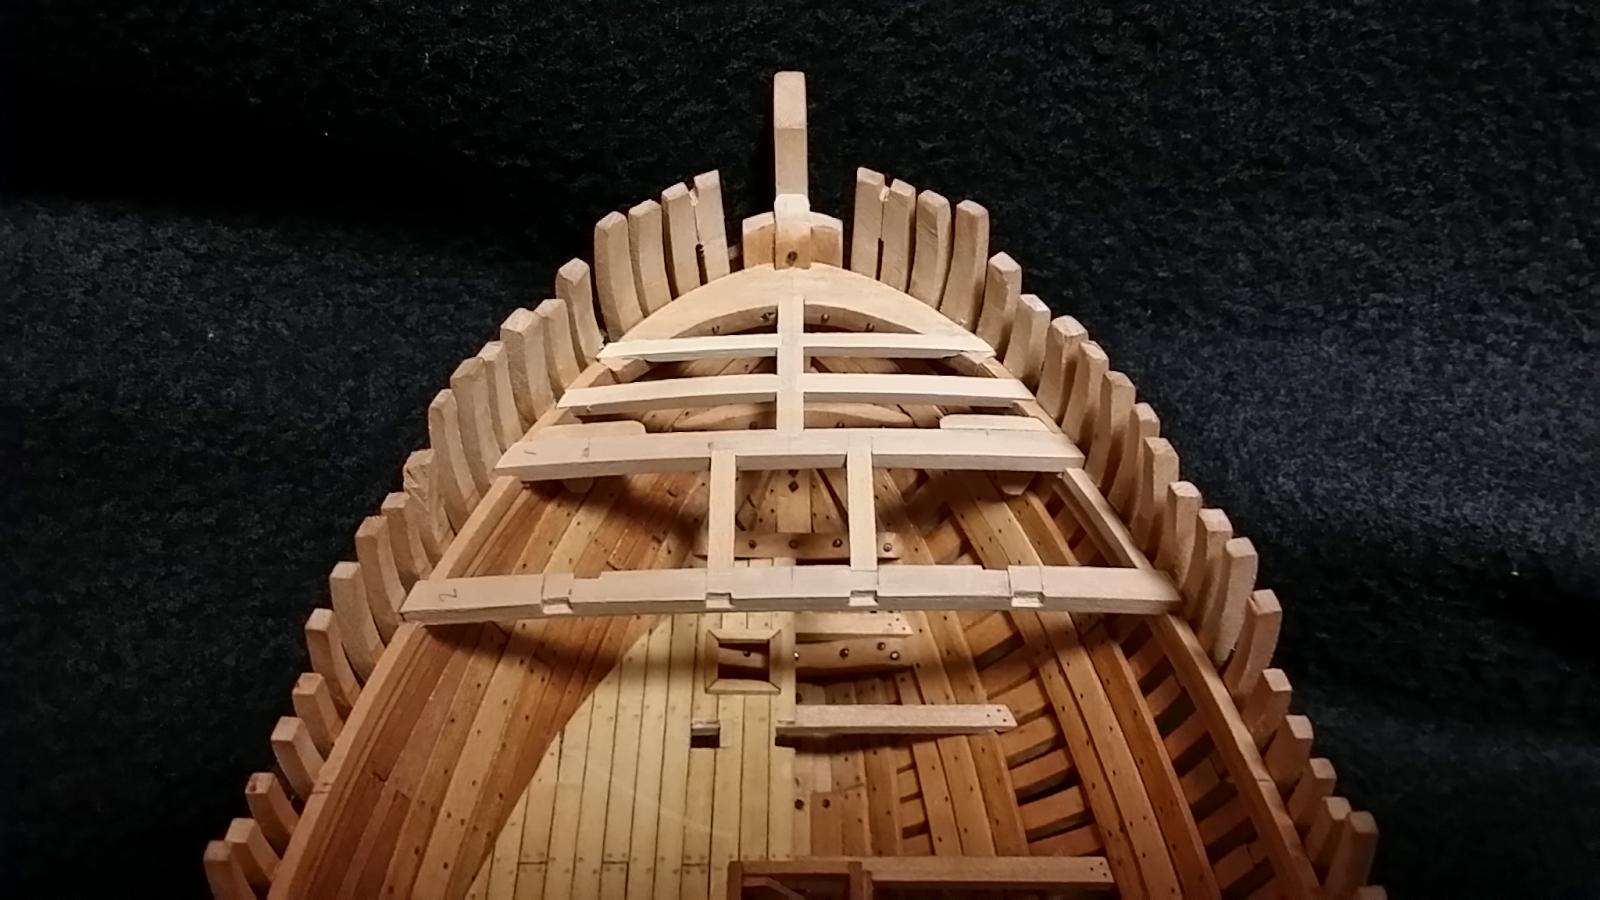
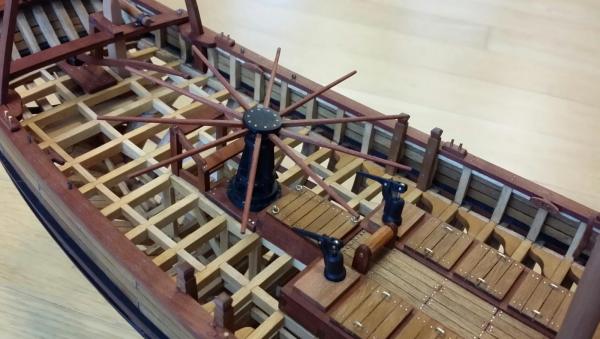
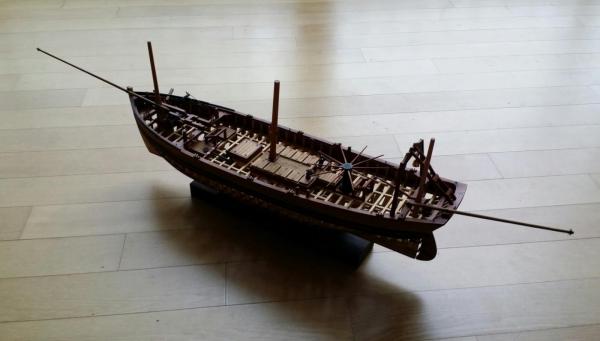
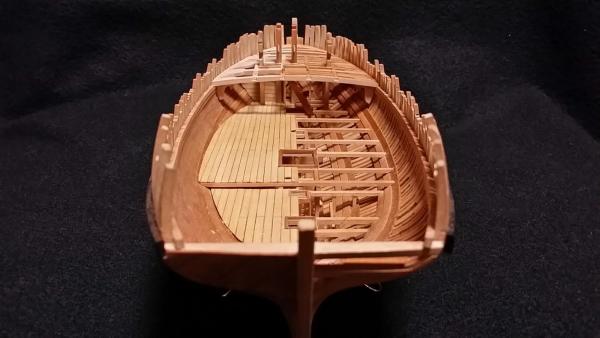
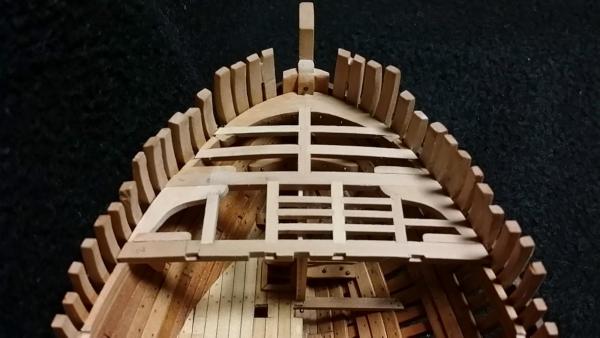
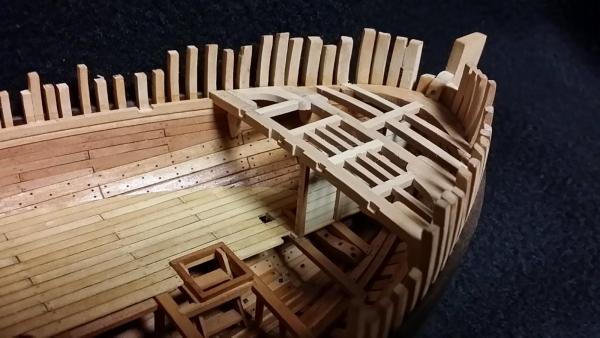
Hi, Kurt. I didn't use any jig but eye measurement. Just try and you will find the way. Thank you, Nils for the interest about fishing ship. I add some more close up pics. The large capstan seems to be used to haul heavy fishing net. Actually, there was no information about the deck beam structures, so, I did them with imagination.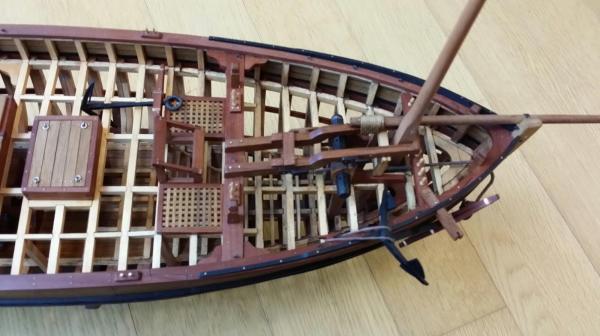

-
HMS Alert 1777 by Jaekon Lee - 1/64
Jaekon Lee replied to Jaekon Lee's topic in - Build logs for subjects built 1751 - 1800
Thank you David. Yes, I like to work with hand tools but, I don't have tenacity of hand tool. I just want not to make any inconveniences to my neighbors with the noise from power tools. I live in an apartment... Of course, when I treat timbers, I use power tools and machines at the public workshop in my hometown. Cheers, Lee -
HMS Alert 1777 by Jaekon Lee - 1/64
Jaekon Lee replied to Jaekon Lee's topic in - Build logs for subjects built 1751 - 1800
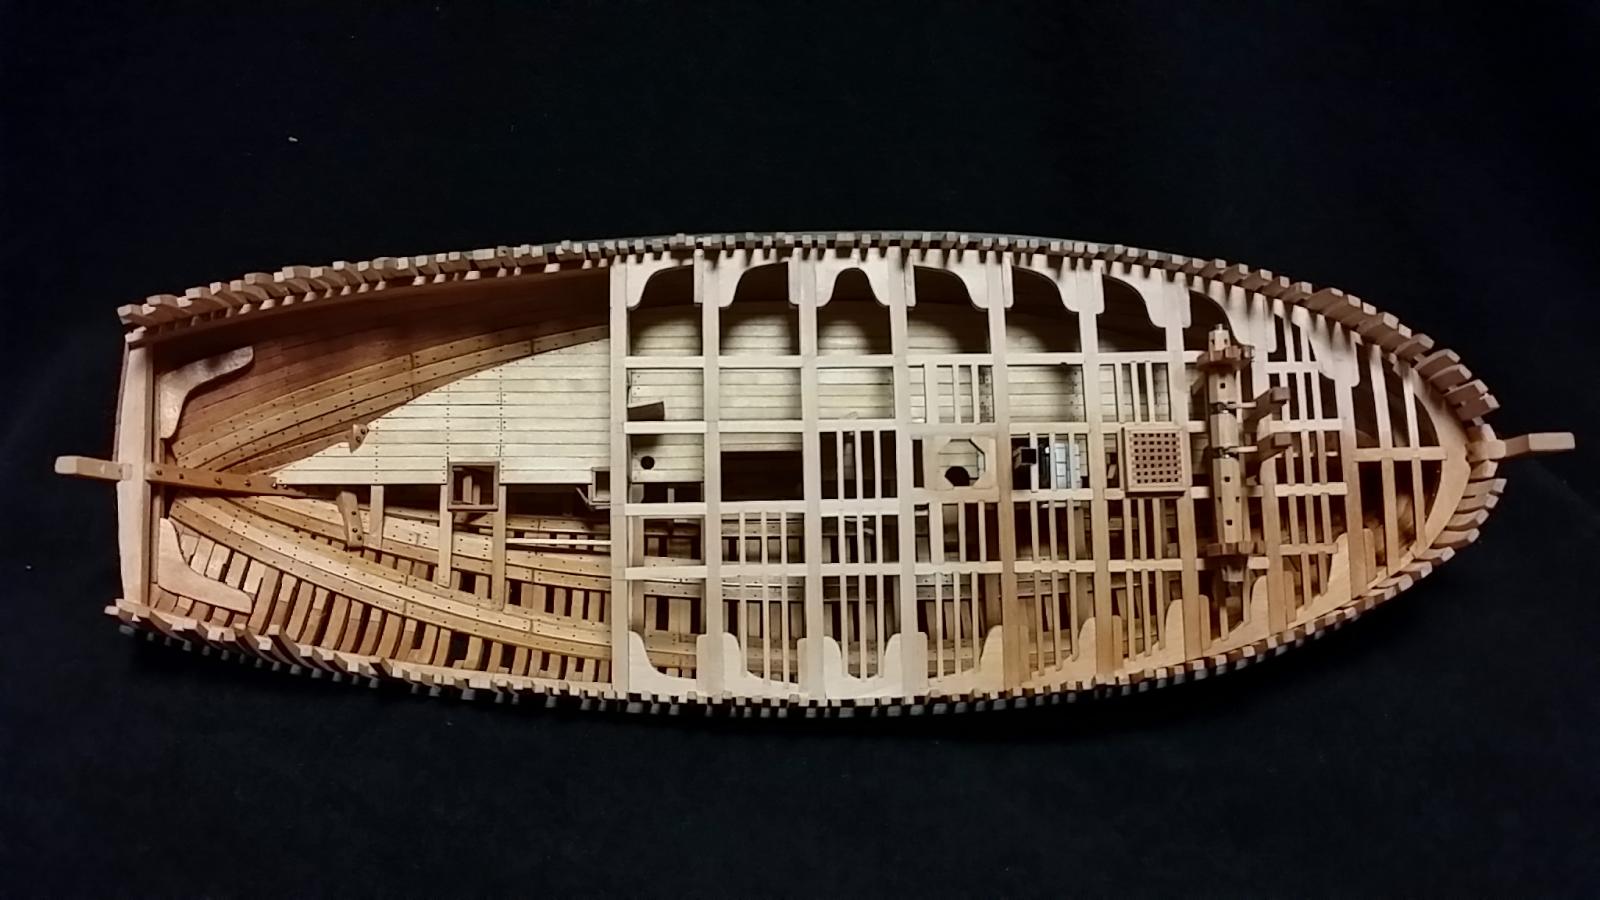
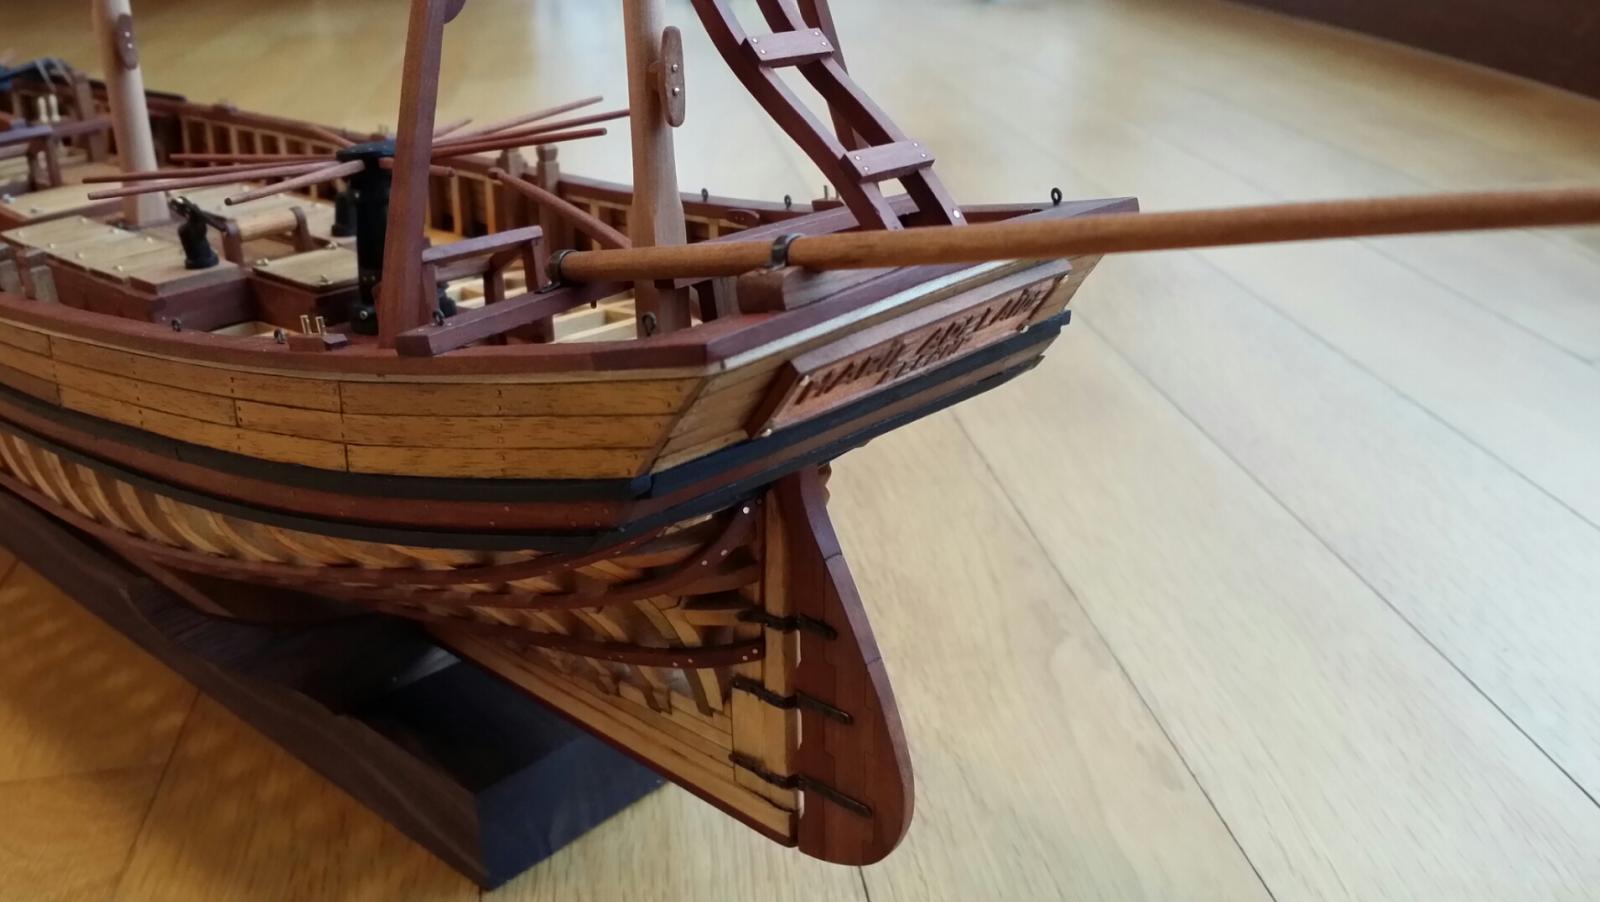
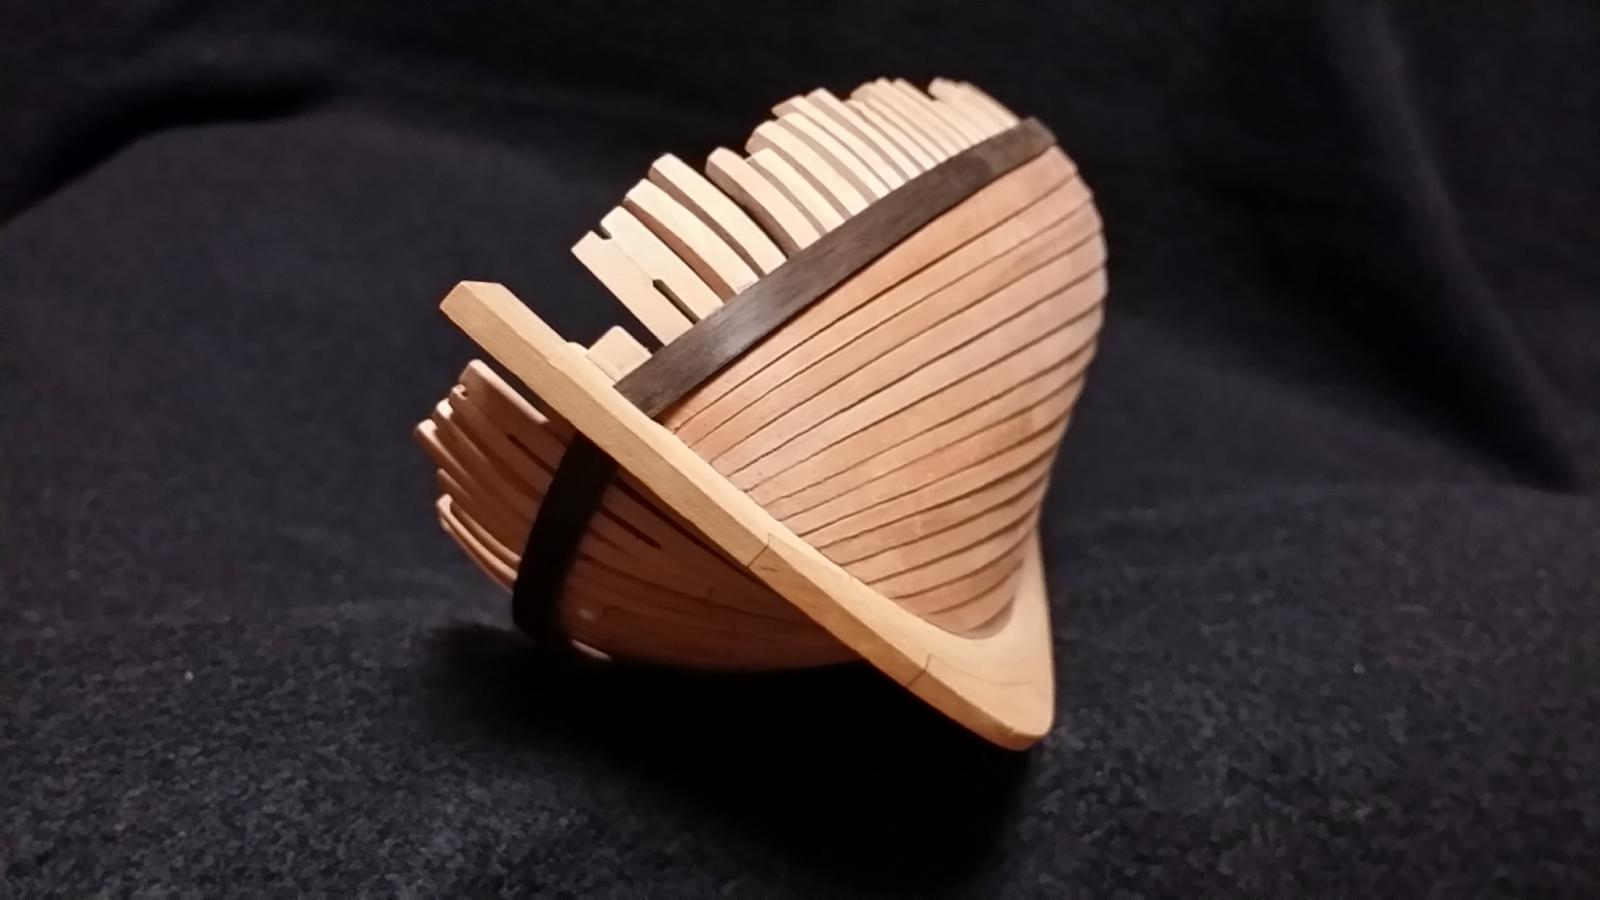
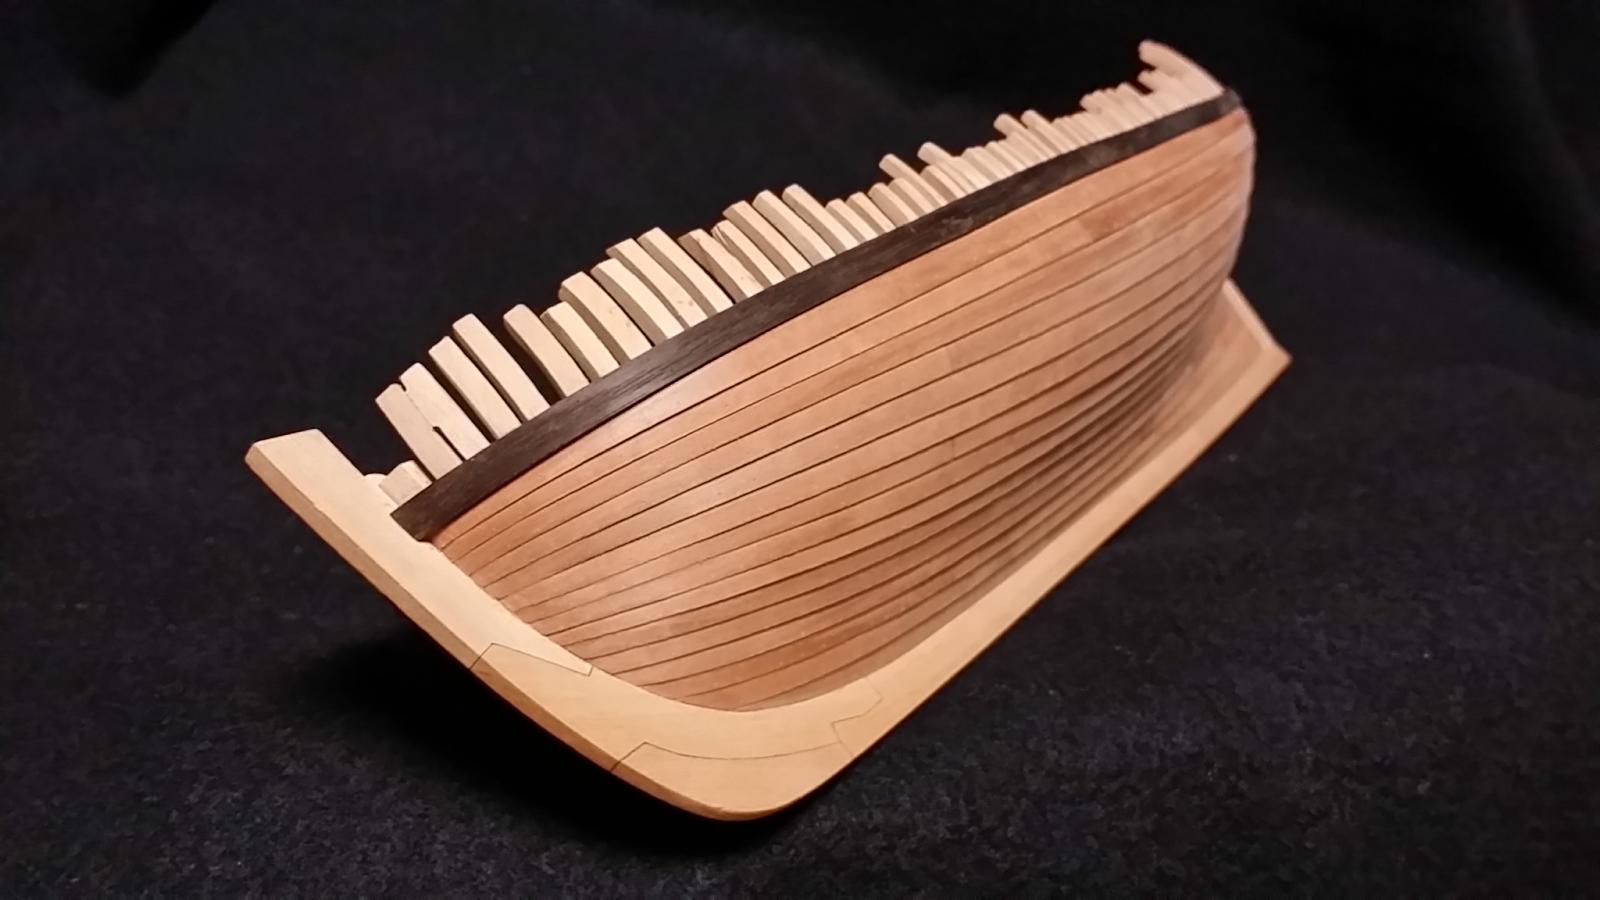
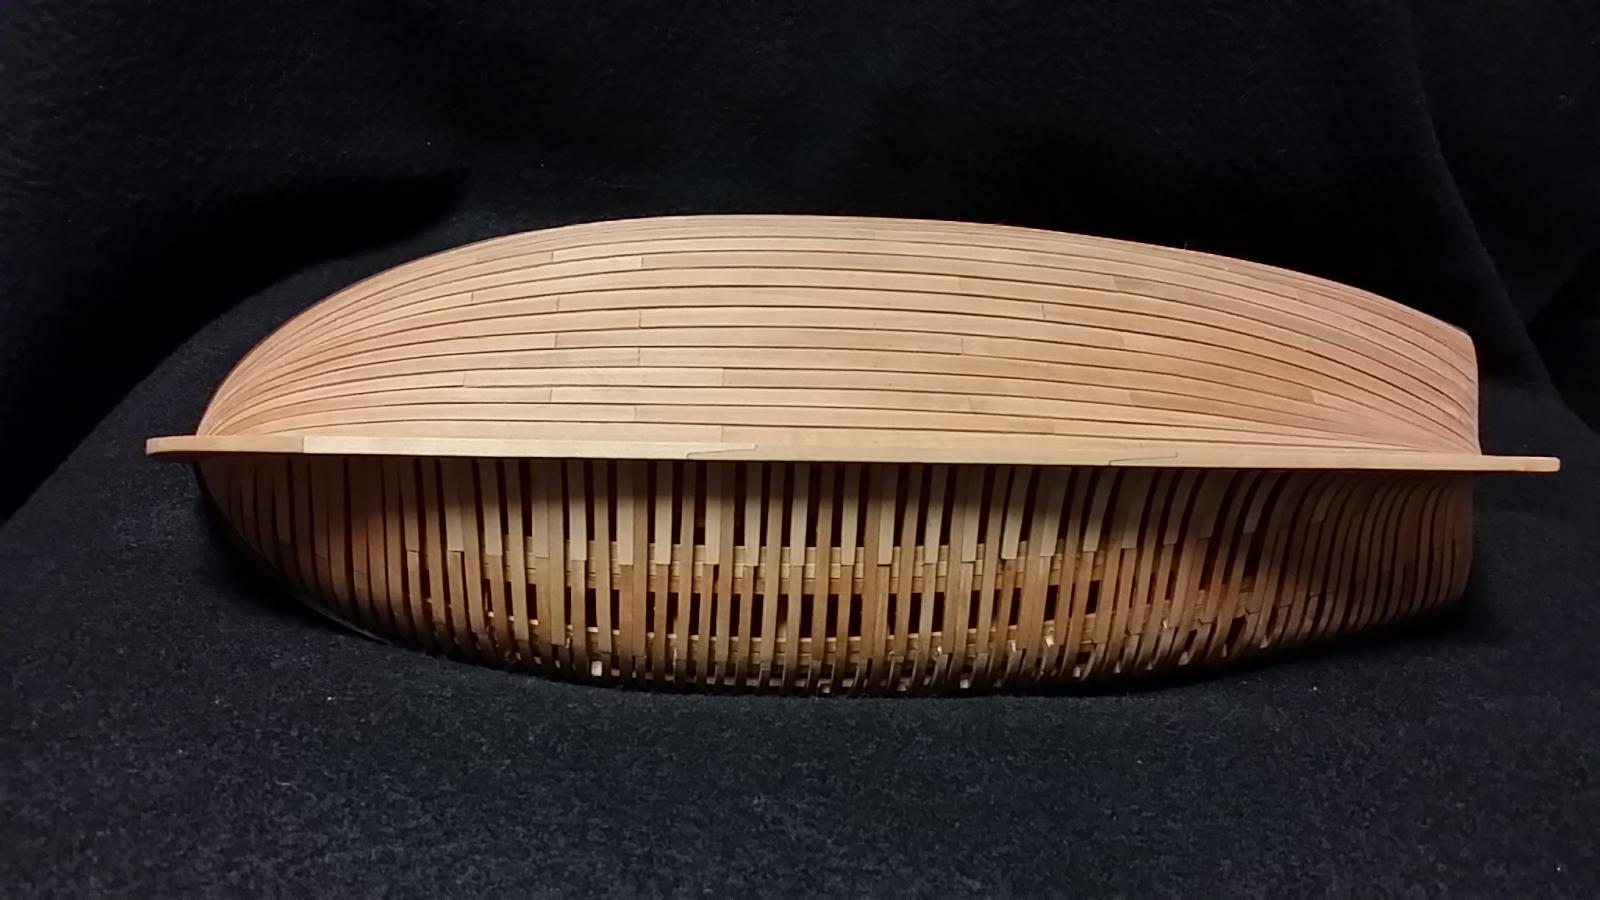
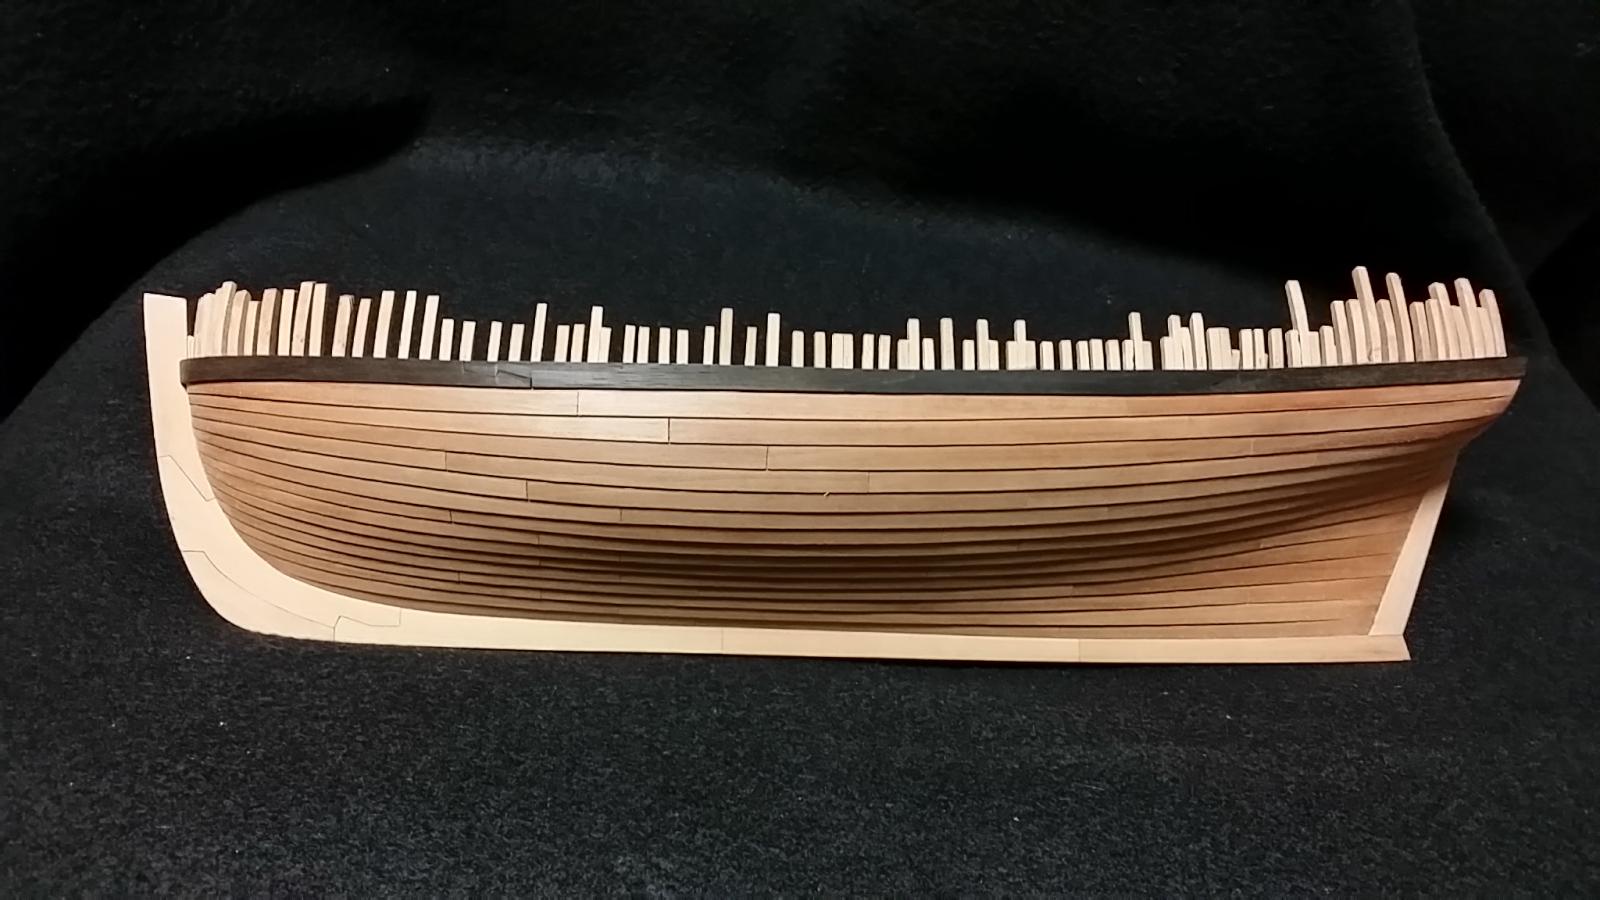
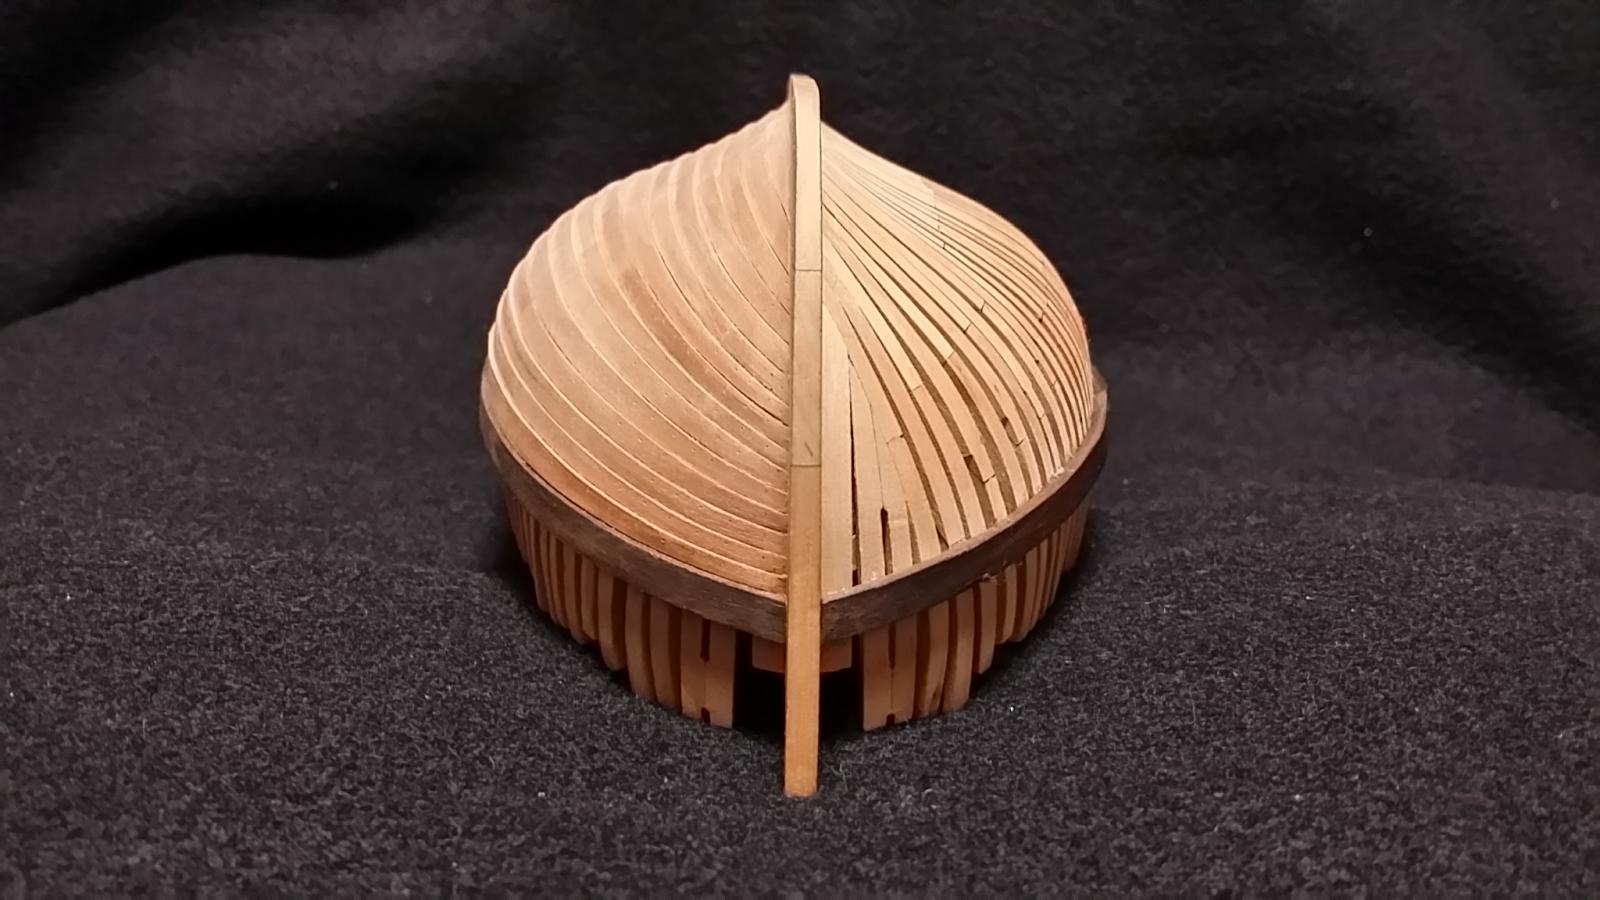
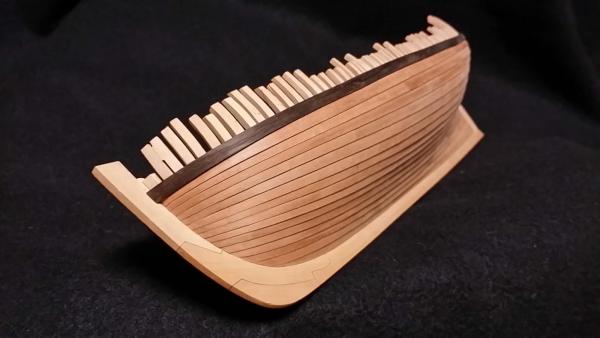
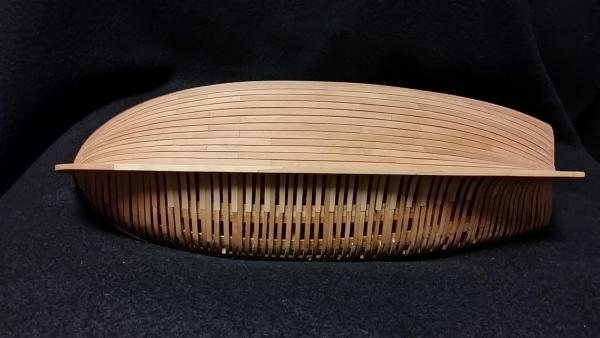
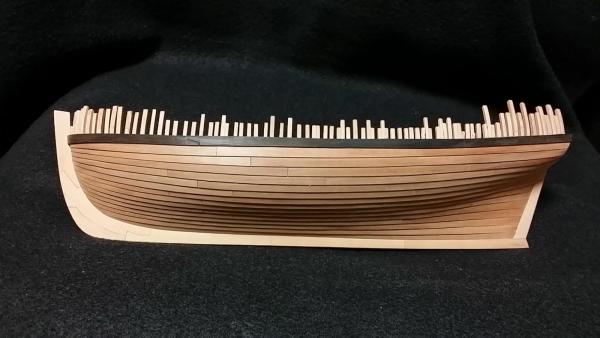
Hi, Kurt. Thank you for your compliment and interest. This Alert is my third model ship building. The first one was "Azorean whale boat" and second one was "Marie Adelaide" the herring fishing boat at the northern Europe sea. Both of them were full framed scratch built and I think they are unique examples because I can't find any similar one from googling. Unfortunately, I have no chance of kit building and rigging yet. Alert is my first trial of battle ship and I hope I get a chance of rigging practice. Following photos are finished "Marie Adelaide" of unplanked version. I built her based on the basic plans from the book "Souvenirs de Marine (Amiral Paris)" Cheers, Lee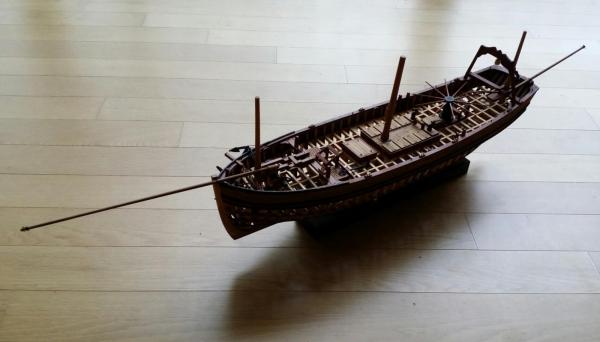
-
HMS Alert 1777 by Jaekon Lee - 1/64
Jaekon Lee replied to Jaekon Lee's topic in - Build logs for subjects built 1751 - 1800
Thank you Druxey, Antony, John for your worm words. Hi, Nick. I use general woodworking tools such as fret saw, razor saw, low angle block plane and shoulder plane. Special miniature planes, as posted at #90, are useful. I made miniature chisels with small flat screw drivers. Stationary cutting knife was also very useful for me. Hummm nothing special -
Mary Rose 1545 by tarbrush - Scale 1:72
Jaekon Lee replied to tarbrush's topic in - Build logs for subjects built 1501 - 1750
Hi, John. Congratulate your beautiful frame work finishing. Sectioning the hull seems to be good idea for interior detailing. I may follow you. -
HMS Alert 1777 by Jaekon Lee - 1/64
Jaekon Lee replied to Jaekon Lee's topic in - Build logs for subjects built 1751 - 1800
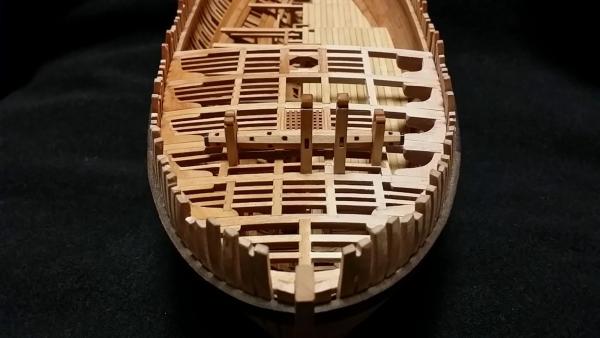
Progress of deck Thank you Nils and friends as always. Deck beams were added one by one with related fittings. Up to now, 4th deck beam, carrick bitt pins, fore companion way and coaming have been installed. Standards for bitt pins and windrass spindle will be added after upper deck planking. Cheers, Lee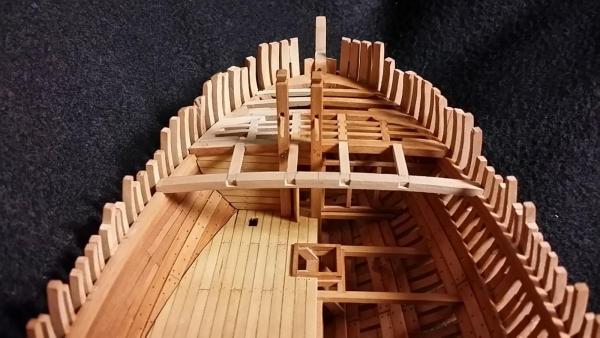


-
HMS Alert 1777 by Jaekon Lee - 1/64
Jaekon Lee replied to Jaekon Lee's topic in - Build logs for subjects built 1751 - 1800
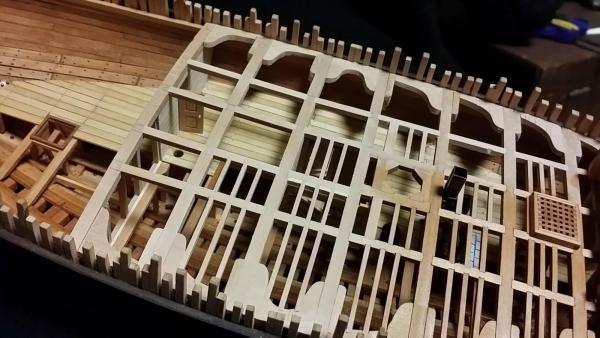
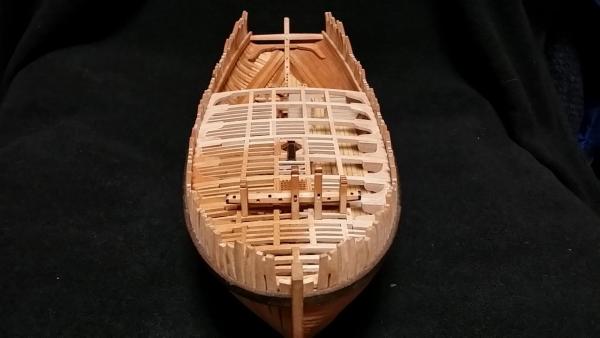
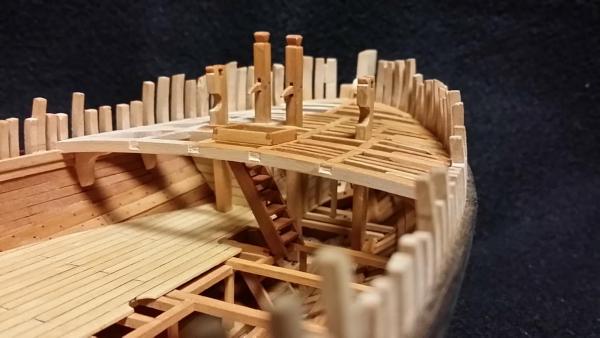
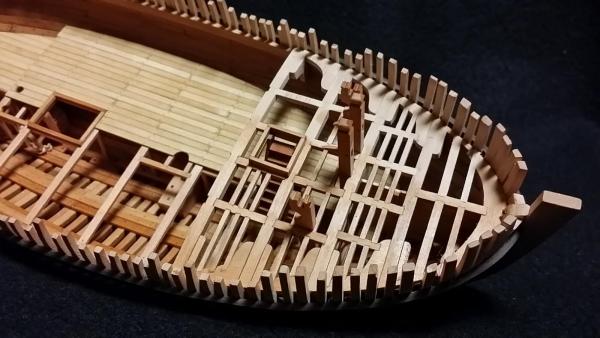
Compartment of fore bulkhead and pawl bitt pins Little progress on and below the fore upper deck. Pair of pawl bitt pins will support the bowsprit. Half of fore bulkhead and access door to boatswain's room were planked. For the starboard side, only the bulkhead stanchion structure was built. Cheers, Lee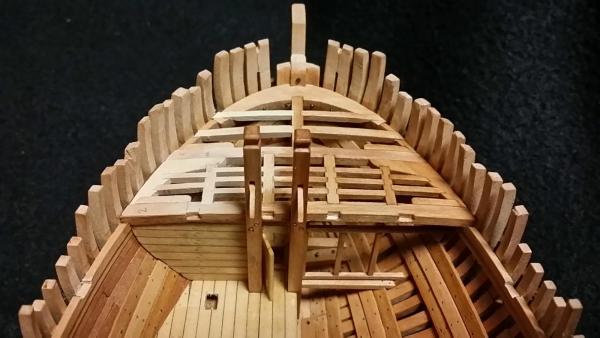

-
HMS Alert 1777 by Jaekon Lee - 1/64
Jaekon Lee replied to Jaekon Lee's topic in - Build logs for subjects built 1751 - 1800
I agree with you, Kurt. If you have to use 1/32, consider beveled shoulder rather than rabbeting. -
Great start, Dave! Dream ship of the modelers.
- 962 replies
-
- 2
-

-
- sovereign of the seas
- ship of the line
- (and 1 more)
-
HMS Alert 1777 by Jaekon Lee - 1/64
Jaekon Lee replied to Jaekon Lee's topic in - Build logs for subjects built 1751 - 1800
Hi, Kurt. Thickness of planking strake is about 1.5mm and the shoulder is rabbeted to half of thickness. -
HMS Alert 1777 by Jaekon Lee - 1/64
Jaekon Lee replied to Jaekon Lee's topic in - Build logs for subjects built 1751 - 1800
Thank you Nils for your compliment. There are some limitations in 1/64 scale to simulate fine details. I think 1/48 would be the best choice for the modeling. Cheers -
HMS Alert 1777 by Jaekon Lee - 1/64
Jaekon Lee replied to Jaekon Lee's topic in - Build logs for subjects built 1751 - 1800
Fore upper deck Hi, all friends. I'm very happy with your kind words and comments. Still I can not decide the method and material for bolting on hull planking, I moved to upper deck work as below. I'm not sure l can keep the carlings as well aligned with the progress of work. Regards. Lee
-
So beautiful work, Albert.
-
HMS Alert 1777 by Jaekon Lee - 1/64
Jaekon Lee replied to Jaekon Lee's topic in - Build logs for subjects built 1751 - 1800
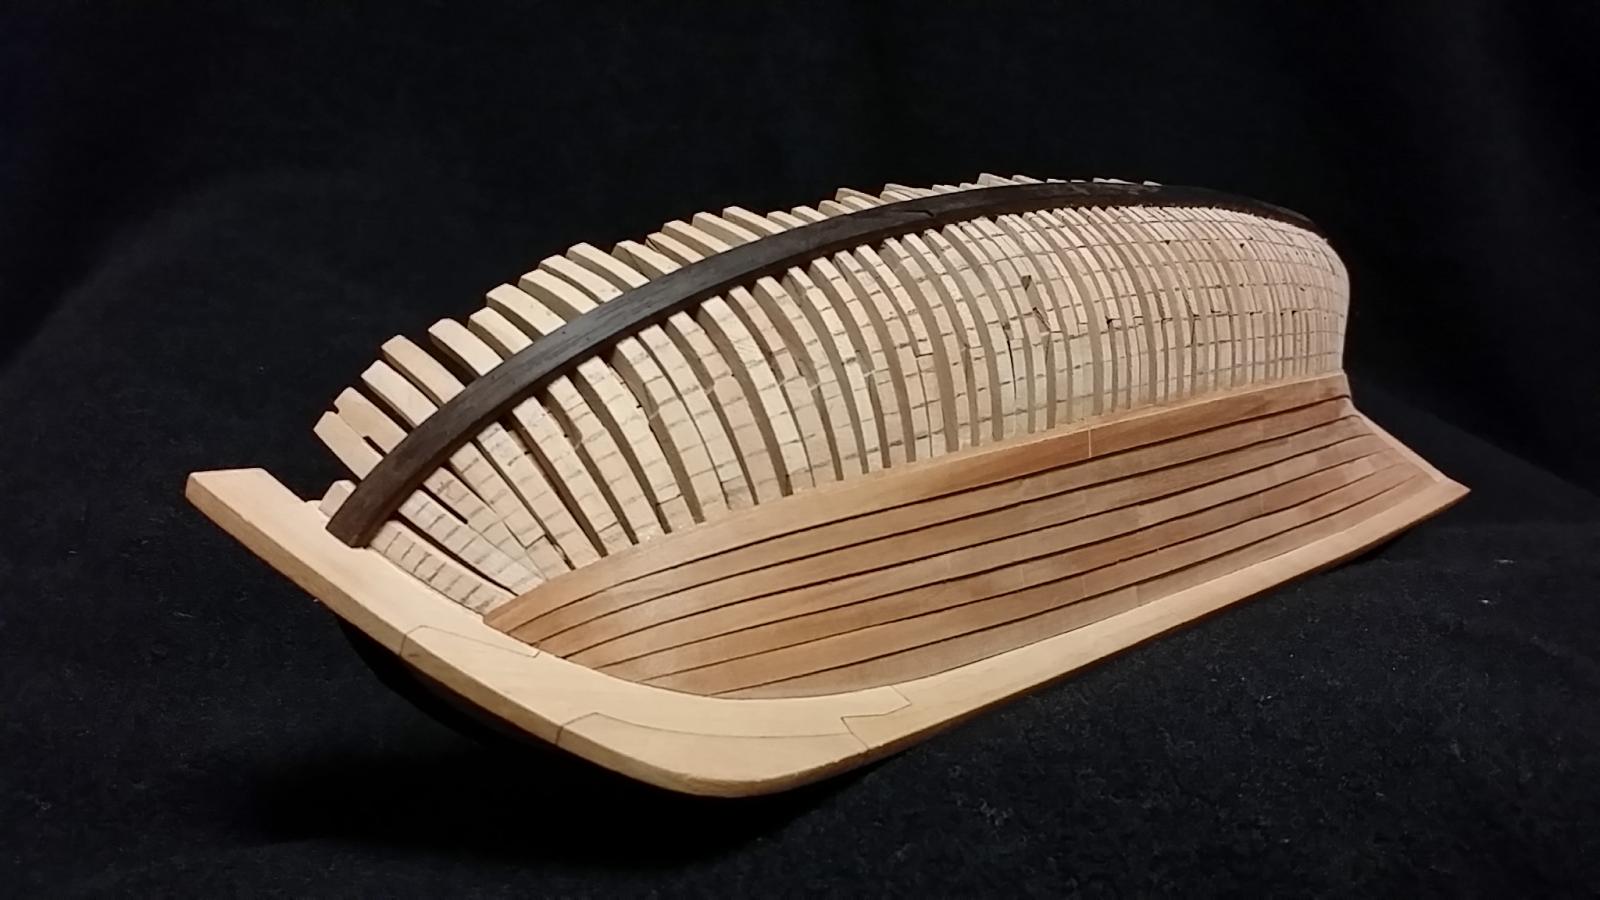
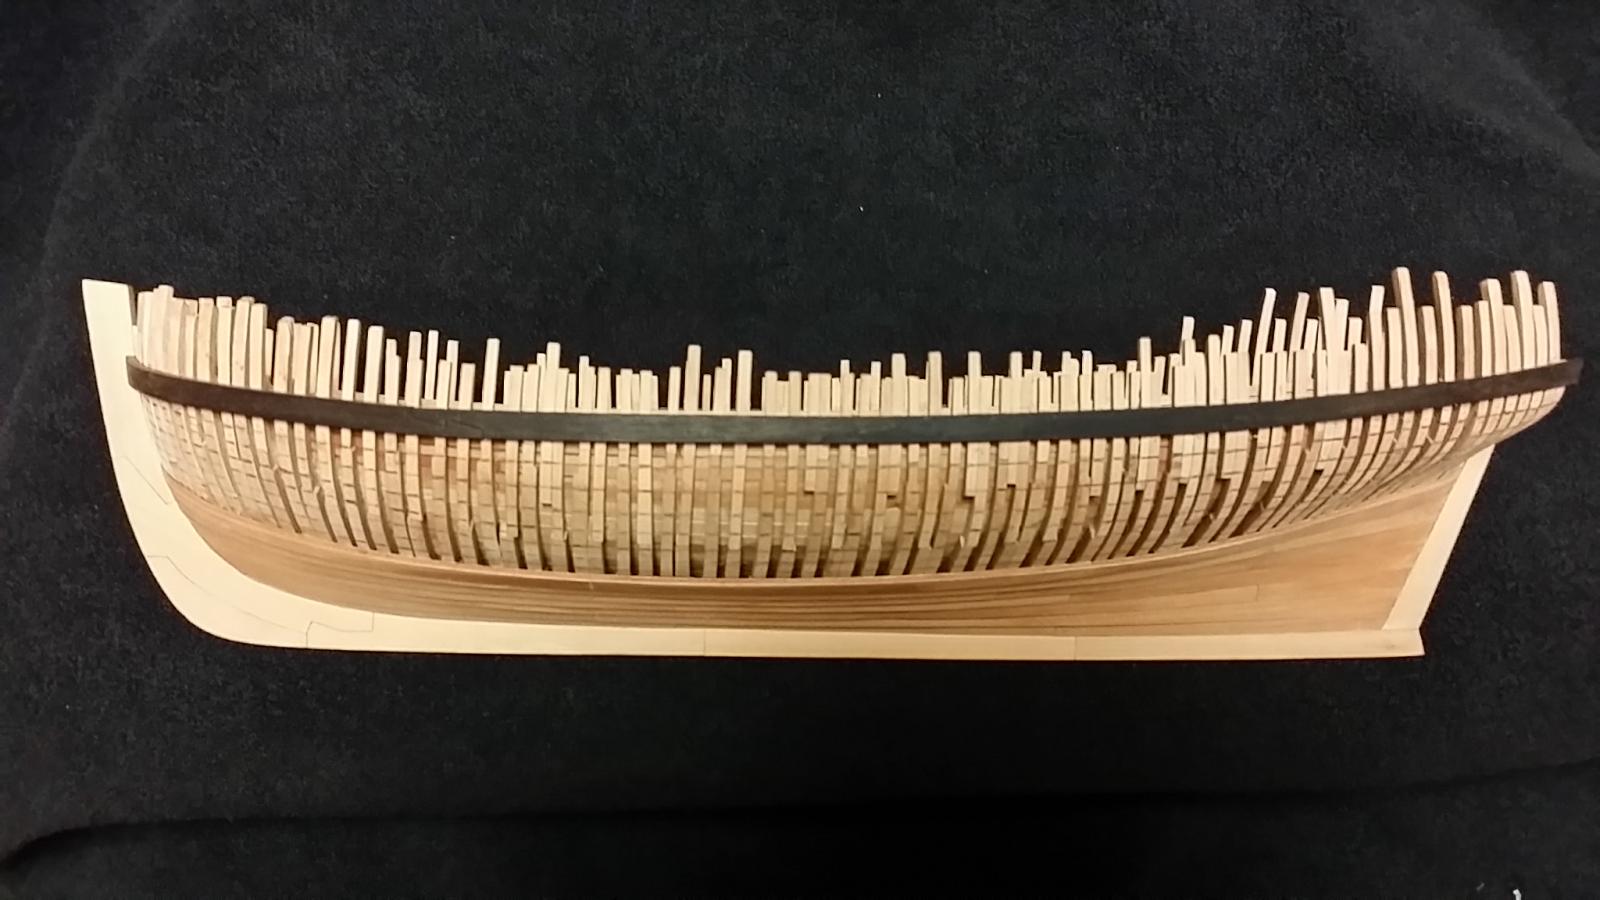
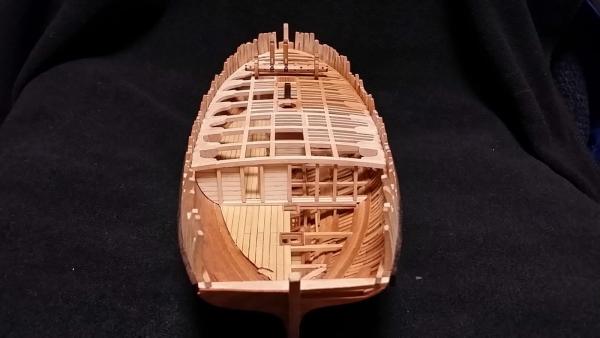
Port side hull and square tuck planking Cheers, Lee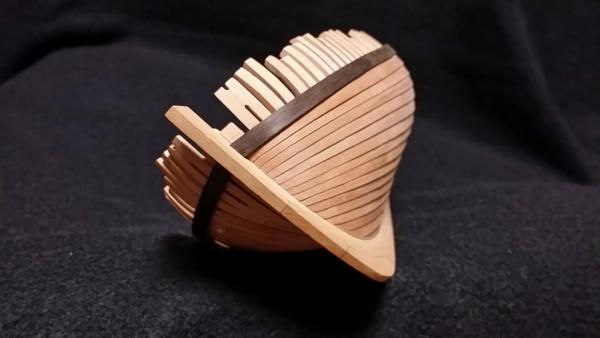


-
HMS Alert 1777 by Jaekon Lee - 1/64
Jaekon Lee replied to Jaekon Lee's topic in - Build logs for subjects built 1751 - 1800
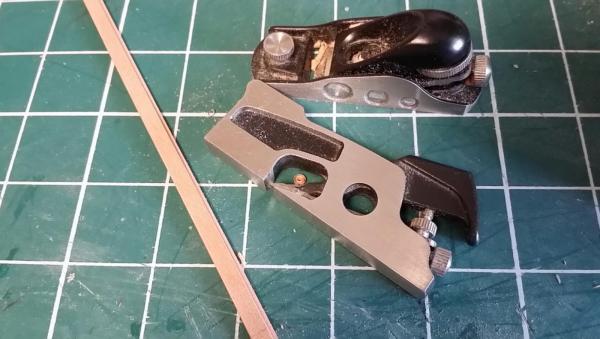
Thanks, Druxey and David. Druxy, the depth of rabbet is half of strake thickness but the depth was gradually increased to the full thickness of strake at the fore and aft ends for the carvel planking. Yes, the miniature tools are from Lee Valley made by Veritas. These miniature tools are useful especially for the light cut of miniature modeling work though longer time is required than power tools. Cheers, Lee -
HMS Alert 1777 by Jaekon Lee - 1/64
Jaekon Lee replied to Jaekon Lee's topic in - Build logs for subjects built 1751 - 1800
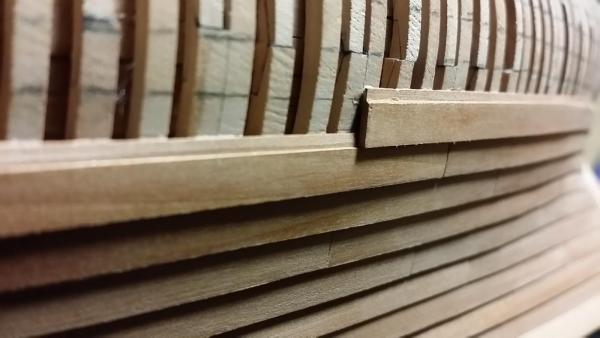
Thank you Nils, Mike, Alex and Antony for your compliment. Antony, I took pictures of planking procedure. I hope they are helpful. I usually use miniature shoulder plane to make a rabbet at the top side of strake. Cheers, Lee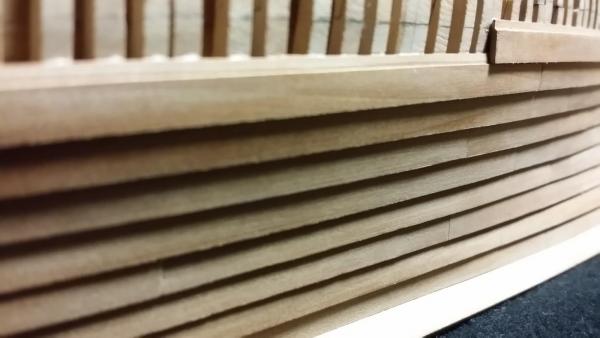
-
HMS Alert 1777 by Jaekon Lee - 1/64
Jaekon Lee replied to Jaekon Lee's topic in - Build logs for subjects built 1751 - 1800
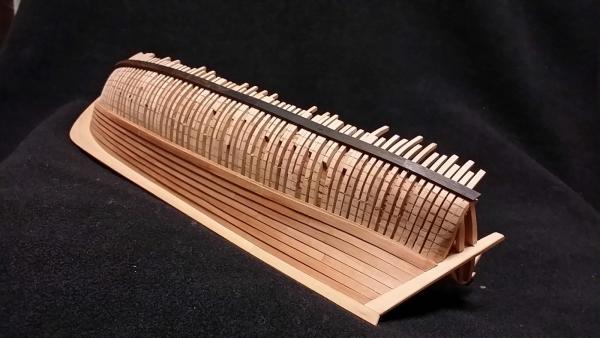
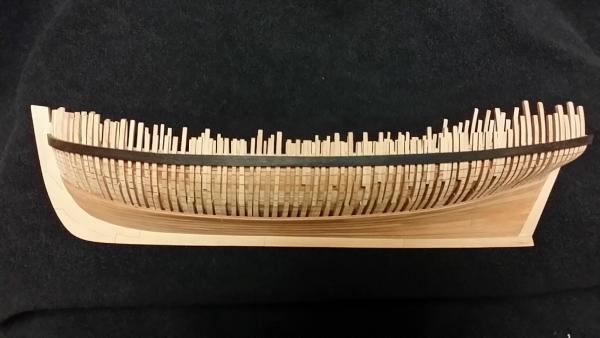
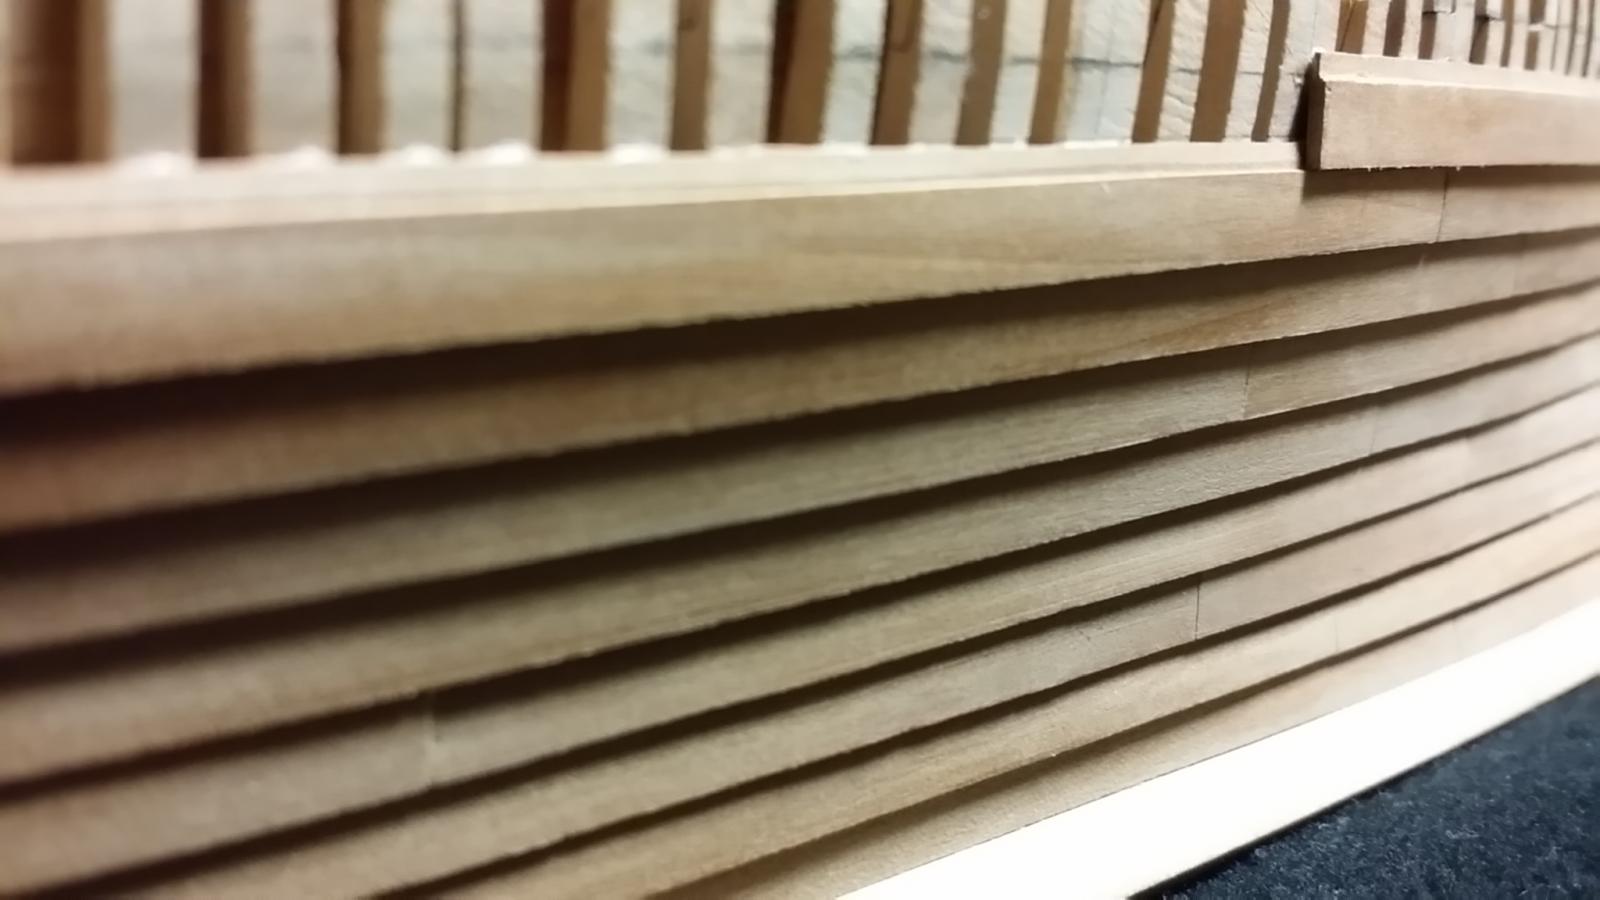
Progress of port side hull planking About half of port side hull has been planked up to now. It takes so many time and rework than I expected. I thought there will be a little chance of fairing of clinker type planking, I was careful on work. However, I found there are many unsatisfied area. I learn that "Do not believe the view by eye." and taking picture is much helpful to check the result. Cheers, Lee .