

Homebrew
-
Posts
43 -
Joined
-
Last visited
Content Type
Profiles
Forums
Gallery
Events
Posts posted by Homebrew
-
-
-
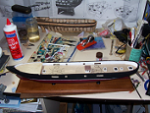
I thought you might be interested in this :
-
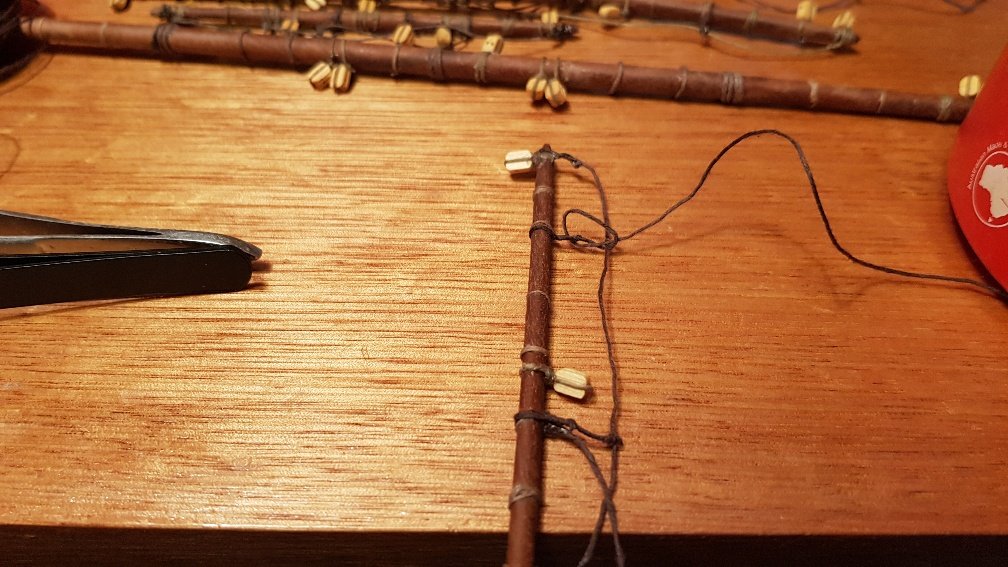
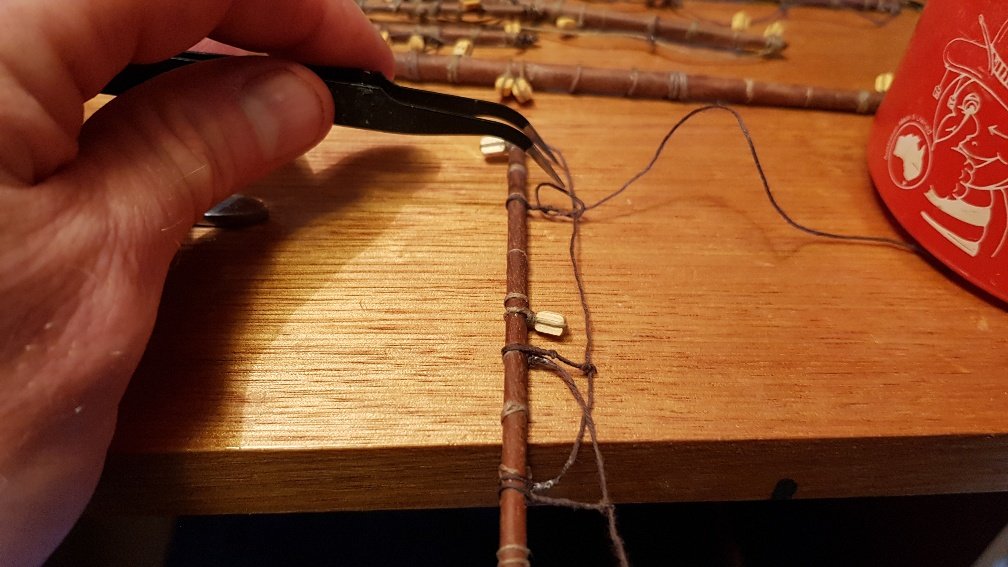
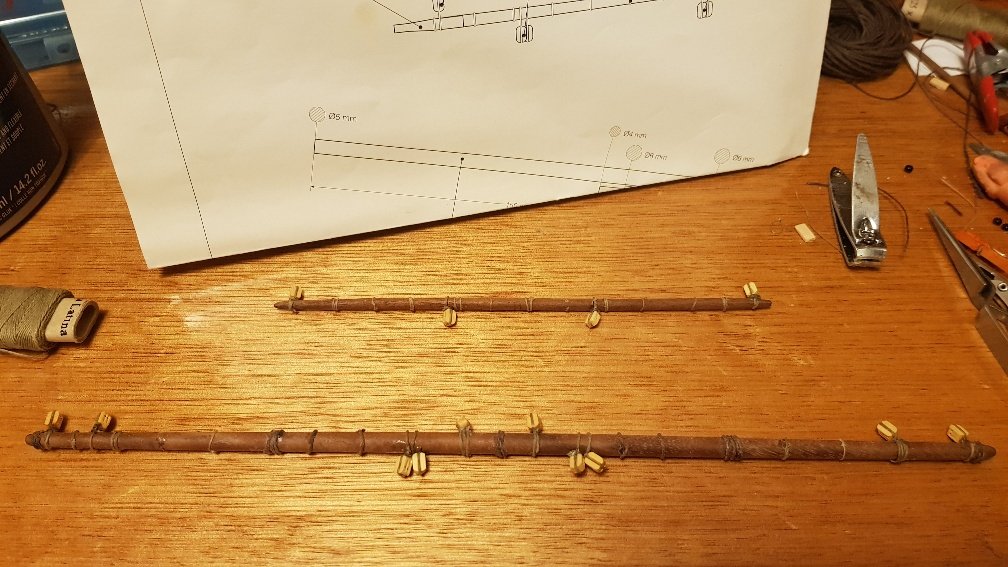
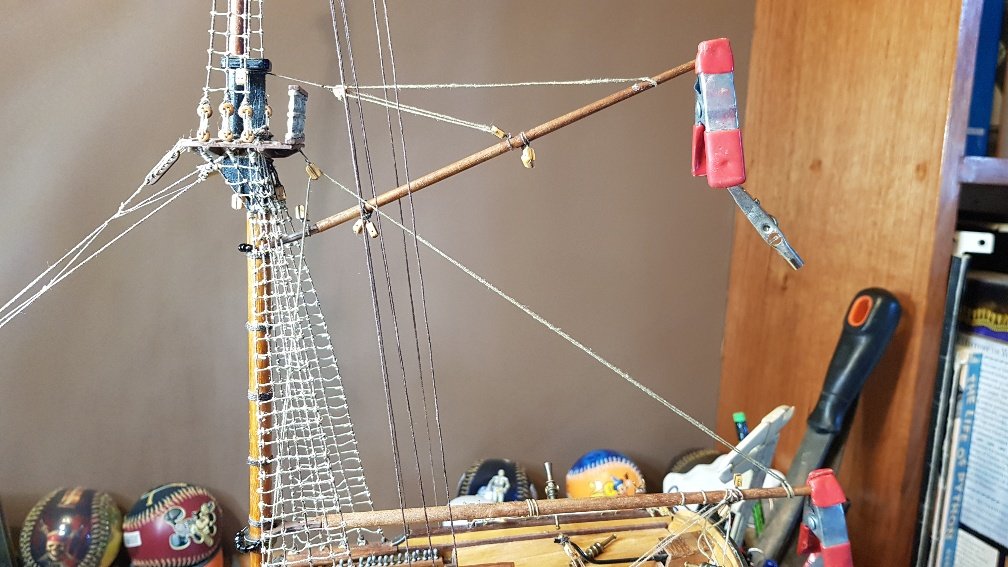
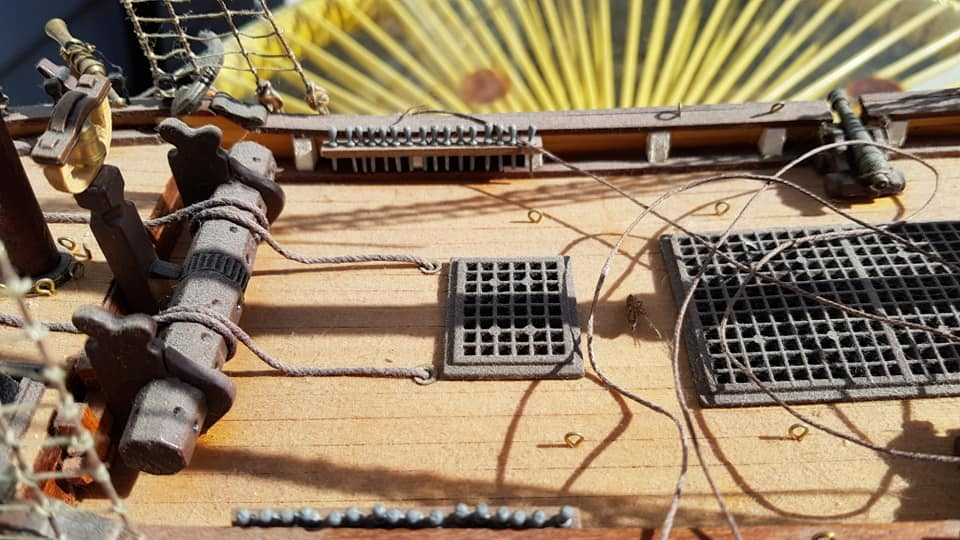
The only modelling I have done is the occasional work on making the Carronades. I found a few differing designs, so I picked one that I thought might be straight forward to make. I carved two then plaster cast four to reduce the individual variation.
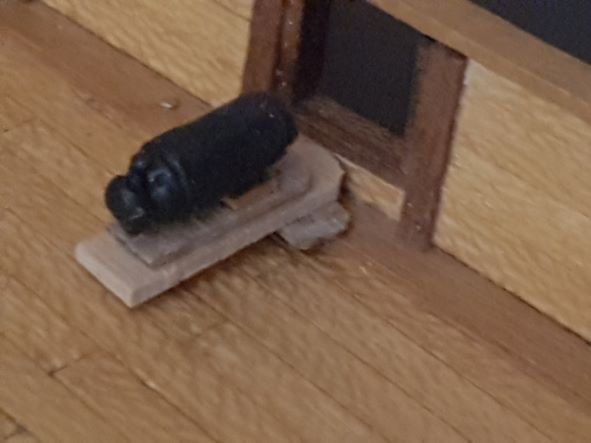
Next I put together some of the slide carriages. It looks like I am going to have to remake one of them.
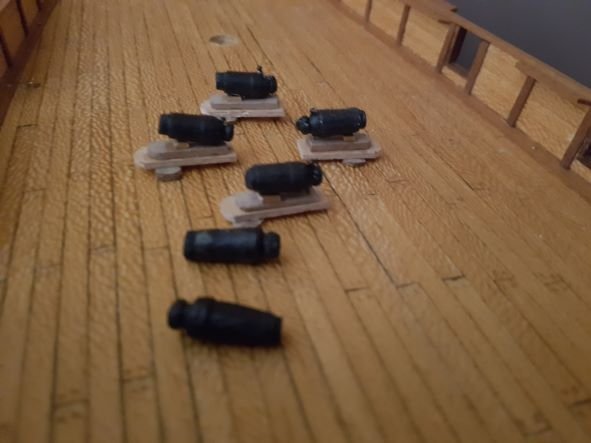
They look a little small in situ, however 3 beer me reminded sober me that they are only 6 pounders and the gunports on the model are larger than standard gun ports. I'll also need to adjust the carriage because it doesn't look right.
Next step will be the construction of the long guns.
- GrandpaPhil, CiscoH and ccoyle
-
 3
3
-
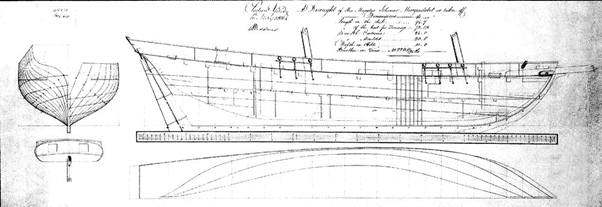
The book "The Search for Speed under Sail" by Howard L. Chapelle has a hull plan on page 217 and a sail plan on page 219 for the Lynx.
Chapelle also mentions on page 214 that "Privateers as a rule showed many more ports than they had guns".
Given this information I am going to add two gunports at the stern as they appear on the plans, and also in the replica.
As for armament - after a bit of thought (what would Jack do?) - I am going to keep the number of guns to 6, but replace 4 of the long guns with carronades. The carronades will be on pivot mounts, but the long guns will be on standard 4 wheeled carriages which means they are mobile enough that they could be moved to any gunport as required.
-
I was off crock today so I did some research on the Ringle
From Wikipedia:
The Ringle is named after Ken Ringle, a Washington Post journalist who sent a book about Baltimore clippers to Patrick O'Brian in 1992 just before he wrote the final chapters of The Wine-Dark Sea. O'Brian was so grateful that he introduced the Ringle into the books and named it after the man who had introduced him to the type[2].
She is used by Aubrey as a tender to his 74-gun ship HMS Bellona in The Commodore and The Yellow Admiral. The Ringle also appears in The Hundred Days and Blue at the Mizzen.[1].
I have all of the Aubrey-Mateurin novels so I flicked thru these four books. They didn’t state the full armament of guns, or the crew compliment.
From the Commodore, p120, “He trundled along until he came upon one of the Ringles carronades.” which means the Ringle definitely had carronades rather than long guns.
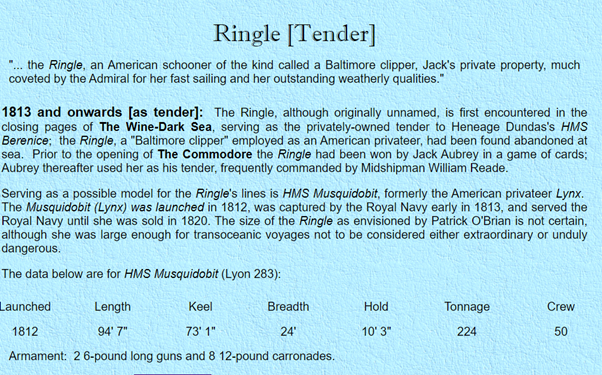
From The ships of Jack Aubrey website (https://www.ctbasses.com/misc/BruceTrinque/aubrey3a.html)
More from Wikipedia:
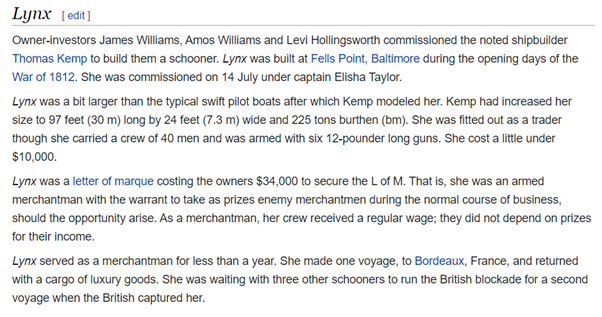
A full scale sailing replica of this schooner, the tall ship Lynx, was built at Rockport, Maine in 2001 by Woods Maritime under President Woodson K Woods, and then operated in California. Her home is now Nanntucket, Ma transferring from port of registry previously Portsmouth, N.H. Lynx now sails the eastcoast from Maine to St Petersburg, Fl frequenting ports of Boothbay Harbor, Maine - Nantucket, Ma - Martha's Vineyard - Annapolis, MD - St Simons Island, Ga - and Tall Ship Event ports of call.
A model of the schooner as HMS Musquidobit is on display at the Maritime Museum of the Atlantic in Halifax, Nova Scotia.
The Lynx replica was built from the British Admiralty Lines measured from captured American Baltimore clippers (https://tallshiplynx.com/)
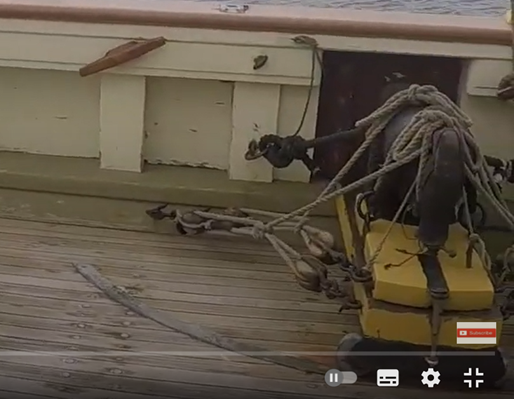
This is a trailer of a documentary about the Lynx. It’s worth watching because it shows so much detail on the boat. https://www.youtube.com/watch?v=LNWdRGAAjfM
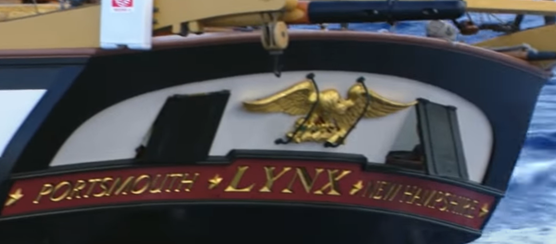
Screenshot from the video shows that the Lynx had rear gunports:
It also has a couple of nice images of carronades
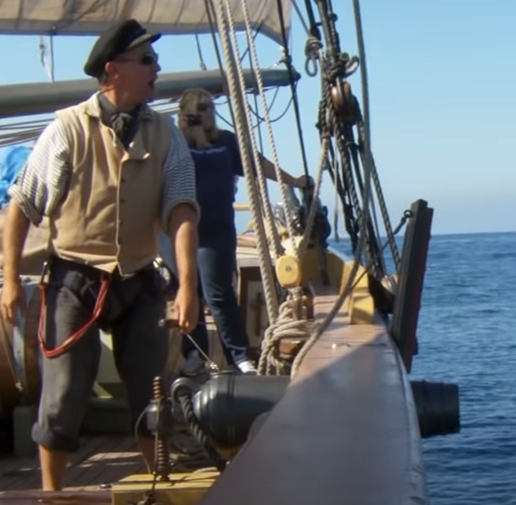
This was time well spent. The Lynx site has detailed information on the ship that was most likely the source for the Ringle. I’ll definitely be replaying the video when I work on the rigging.
It makes sense that she has carronades because they are lighter, require fewer men, and have a much smaller footprint on the deck. Aubrey would have wanted her light and fast rather than as a pure fighting ship. Ringle has 8 gunports on the sides and two at the stern.
So….here is my question.
from The Commodore p131 “Mould was held with 3 turns around the tiller”.
The stern ones are interesting because Ringle has a tiller, however a fully rigged Tiller doesn’t leave room for guns at the stern.Is it likely that the stern ports were used only when necessary and didn’t have a permanent cannon at the gunports?
- GrandpaPhil and BobG
-
2
-
On 9/15/2021 at 9:53 PM, Spellapeaka said:
Very nice! I am at about the same place on my Harvey. Looking forward to watching the build!
I had a look at your build. Nice work!
Also our kits seem a little different, it looks like AL updated the kit. The deck furniture is different and the instructions now have pictures are are more than 11 pages long -
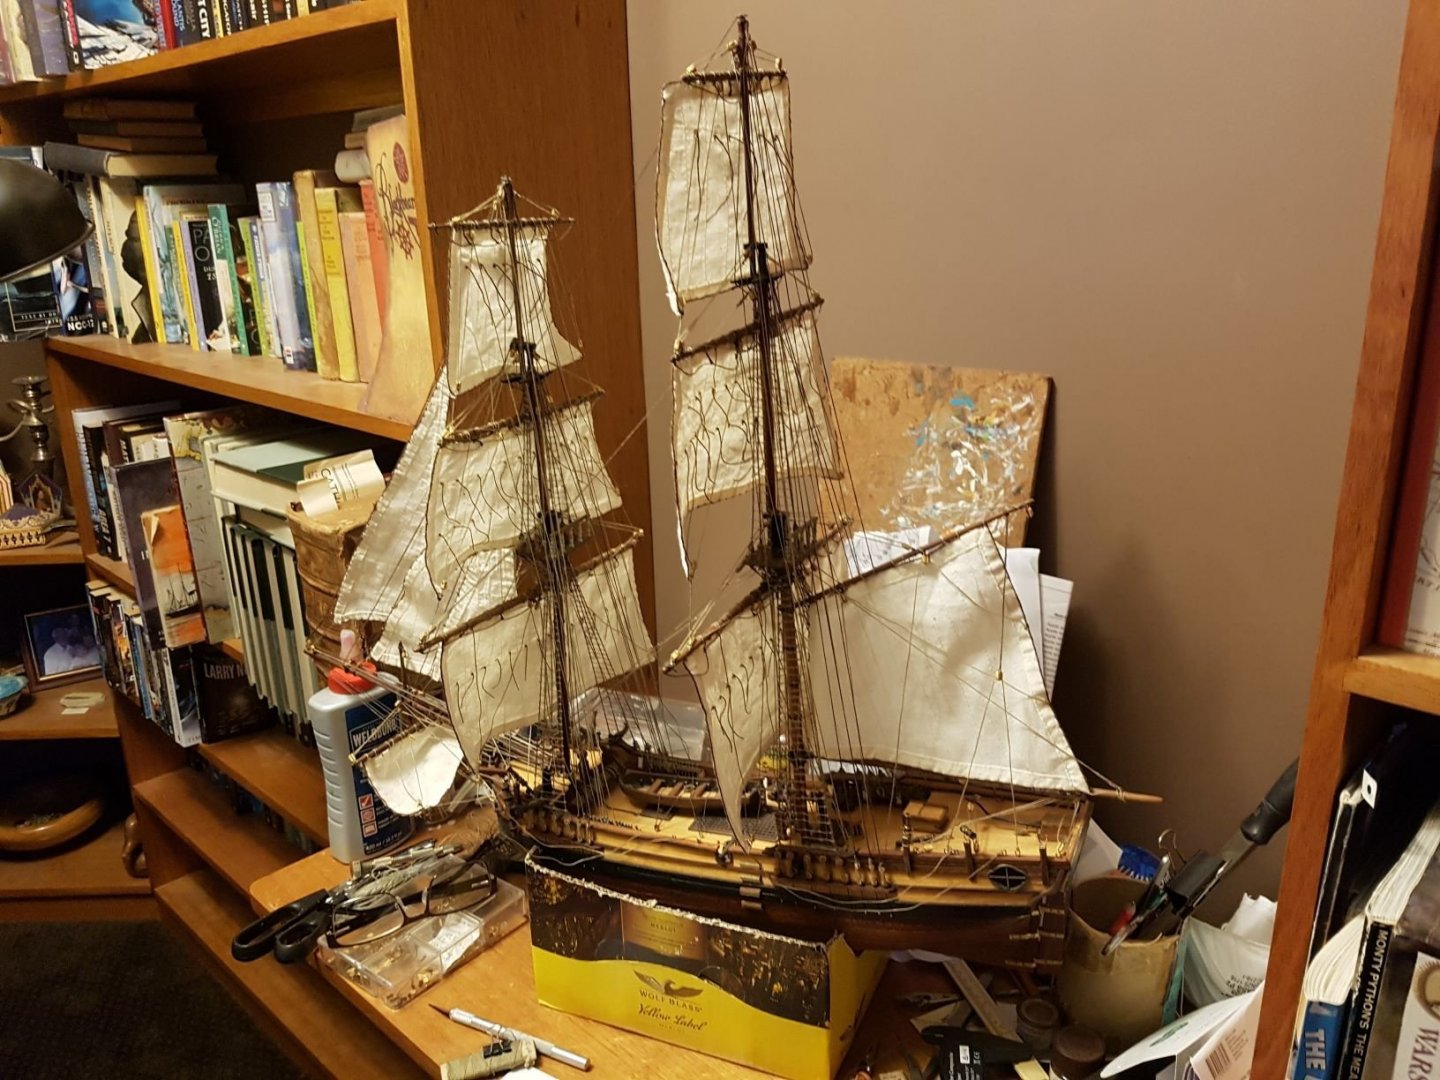
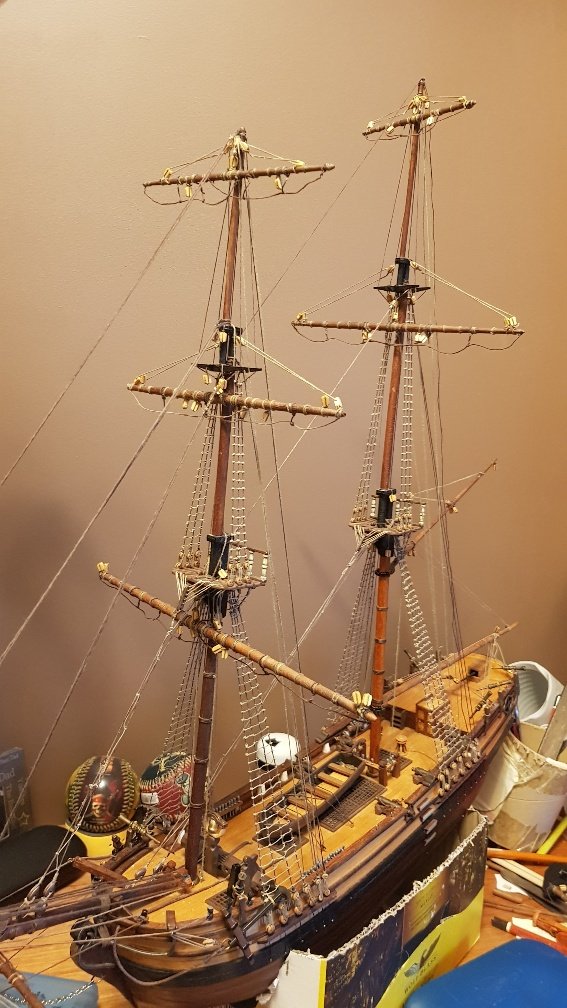
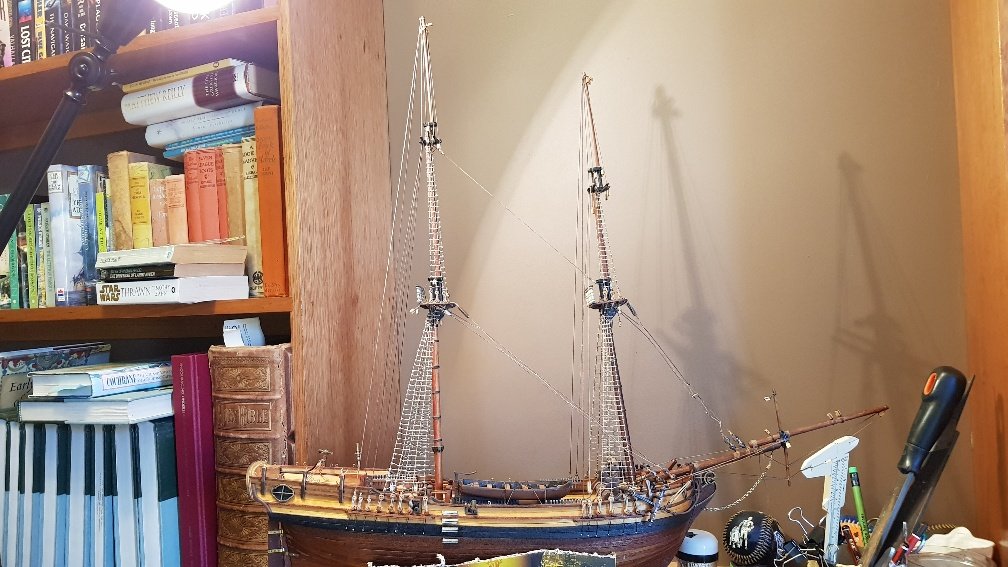
I started this AL Kit of the Harvey about over 20 years ago.
I put it aside to start another kit then never returned to finish her. She was my first attempt at ship modelling so I have made a number of mistakes.It is time to finish her off.
She is not in bad condition - most of the pieces seem to be present with only a few broken bits.
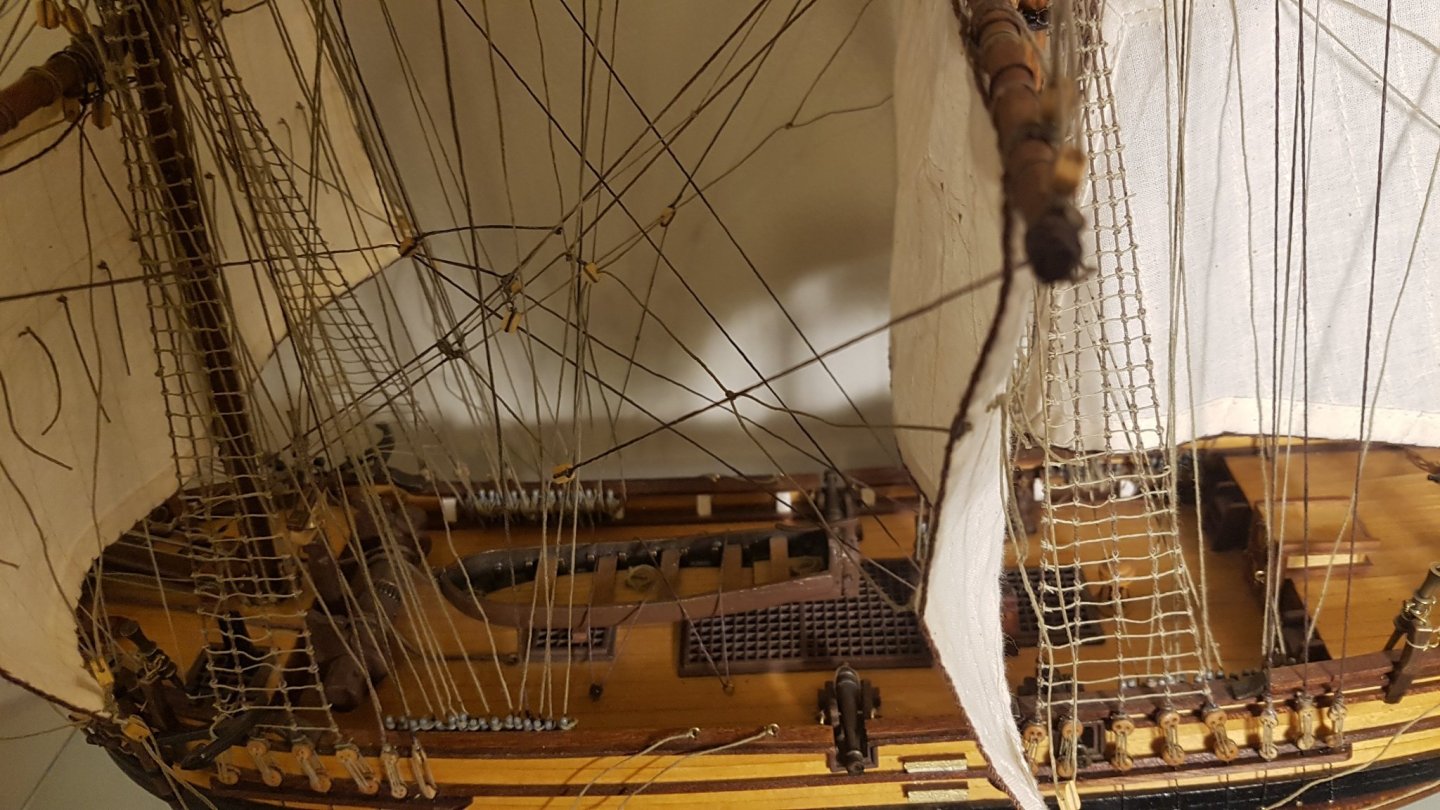
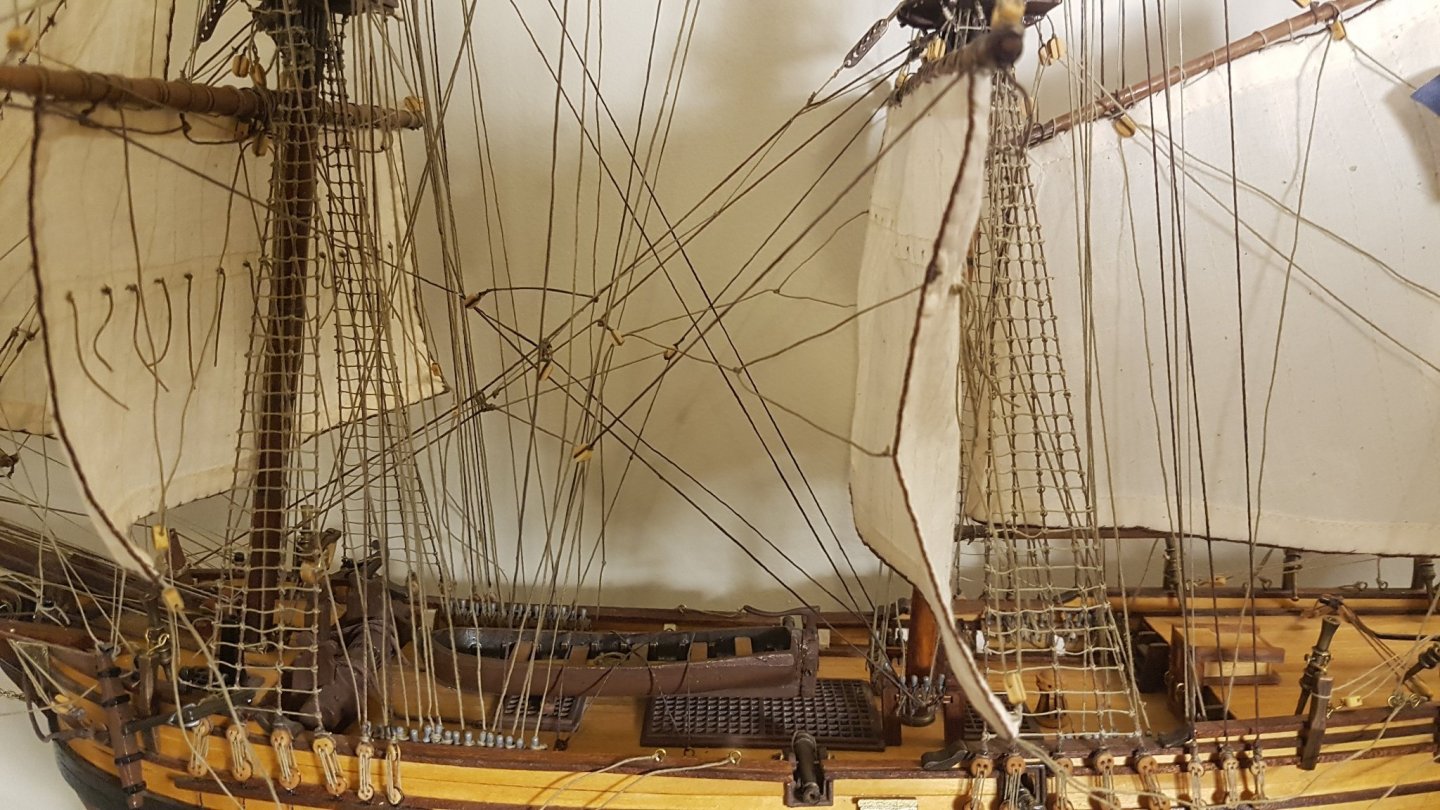
The Hull is fully planked, all of the deck structures are complete, the cannons are build (of course), and two of the masts are built along with most of the yards.
I usually play audiobooks of Patrick O'Brian while in the ship yard so in honour of the great man I am going to call this Baltimore Clipper "The Ringle".
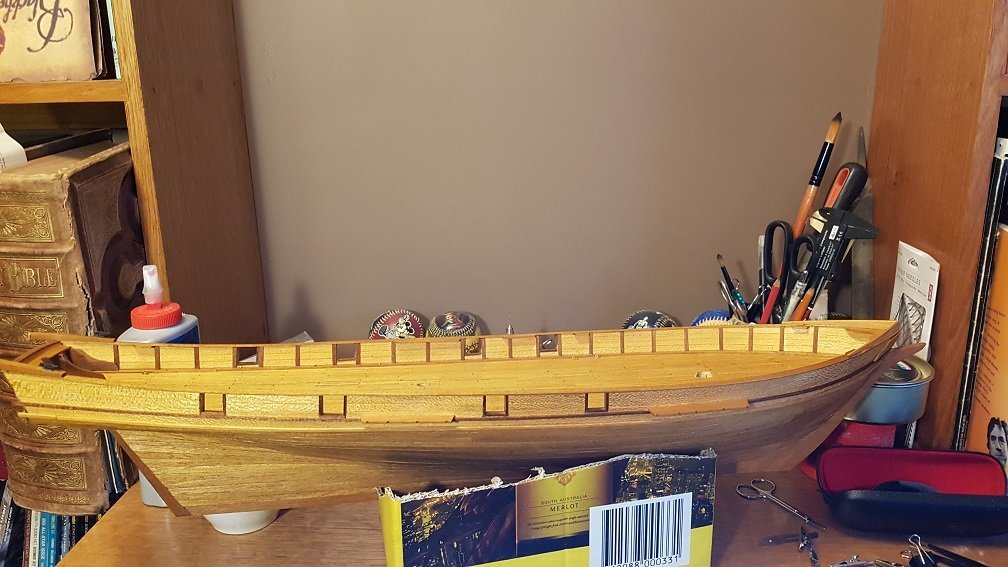
I dusted off the hull, then added a coat of Tung Oil
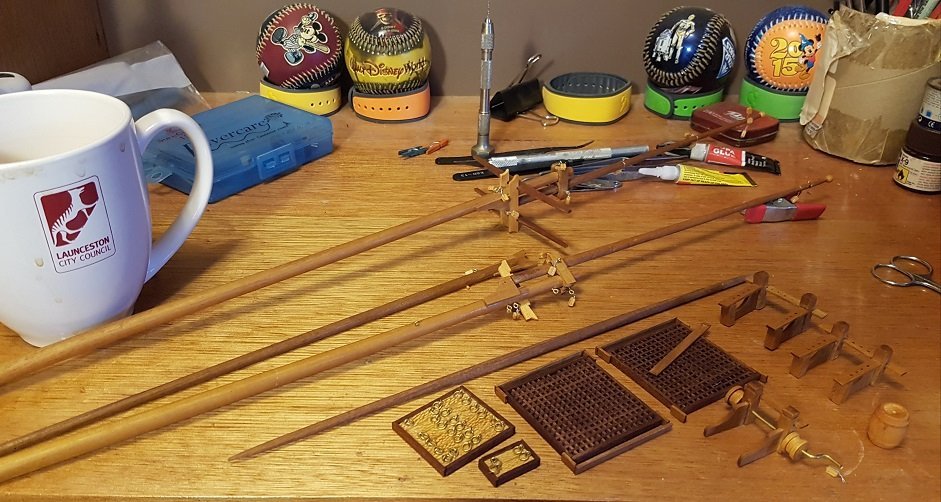
The masts and deck furniture are in good condition.
It's surprising that not more was broken, but fortunately there is very little damage.
-
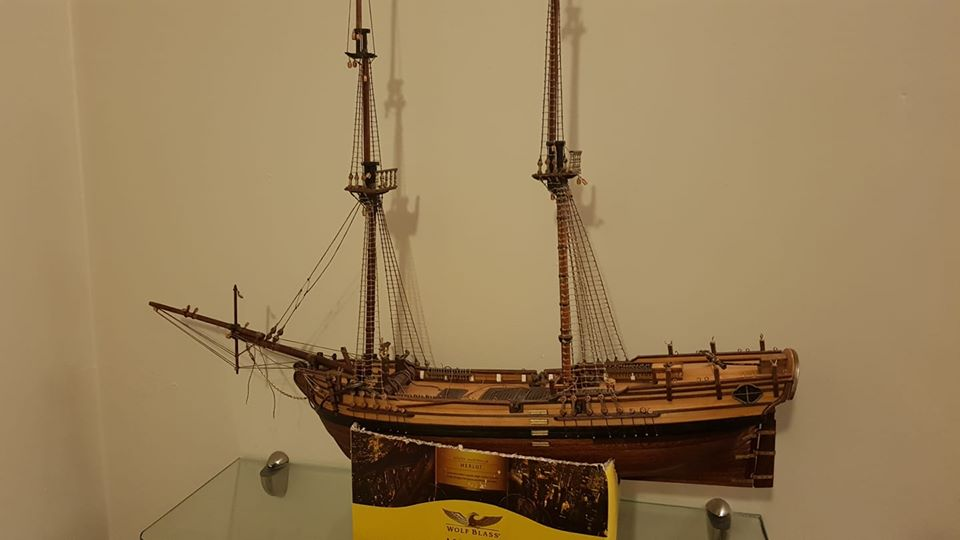
HMS Supply is FINISHED !!! I started her about 11 years ago.
I grew to enjoy the rigging.
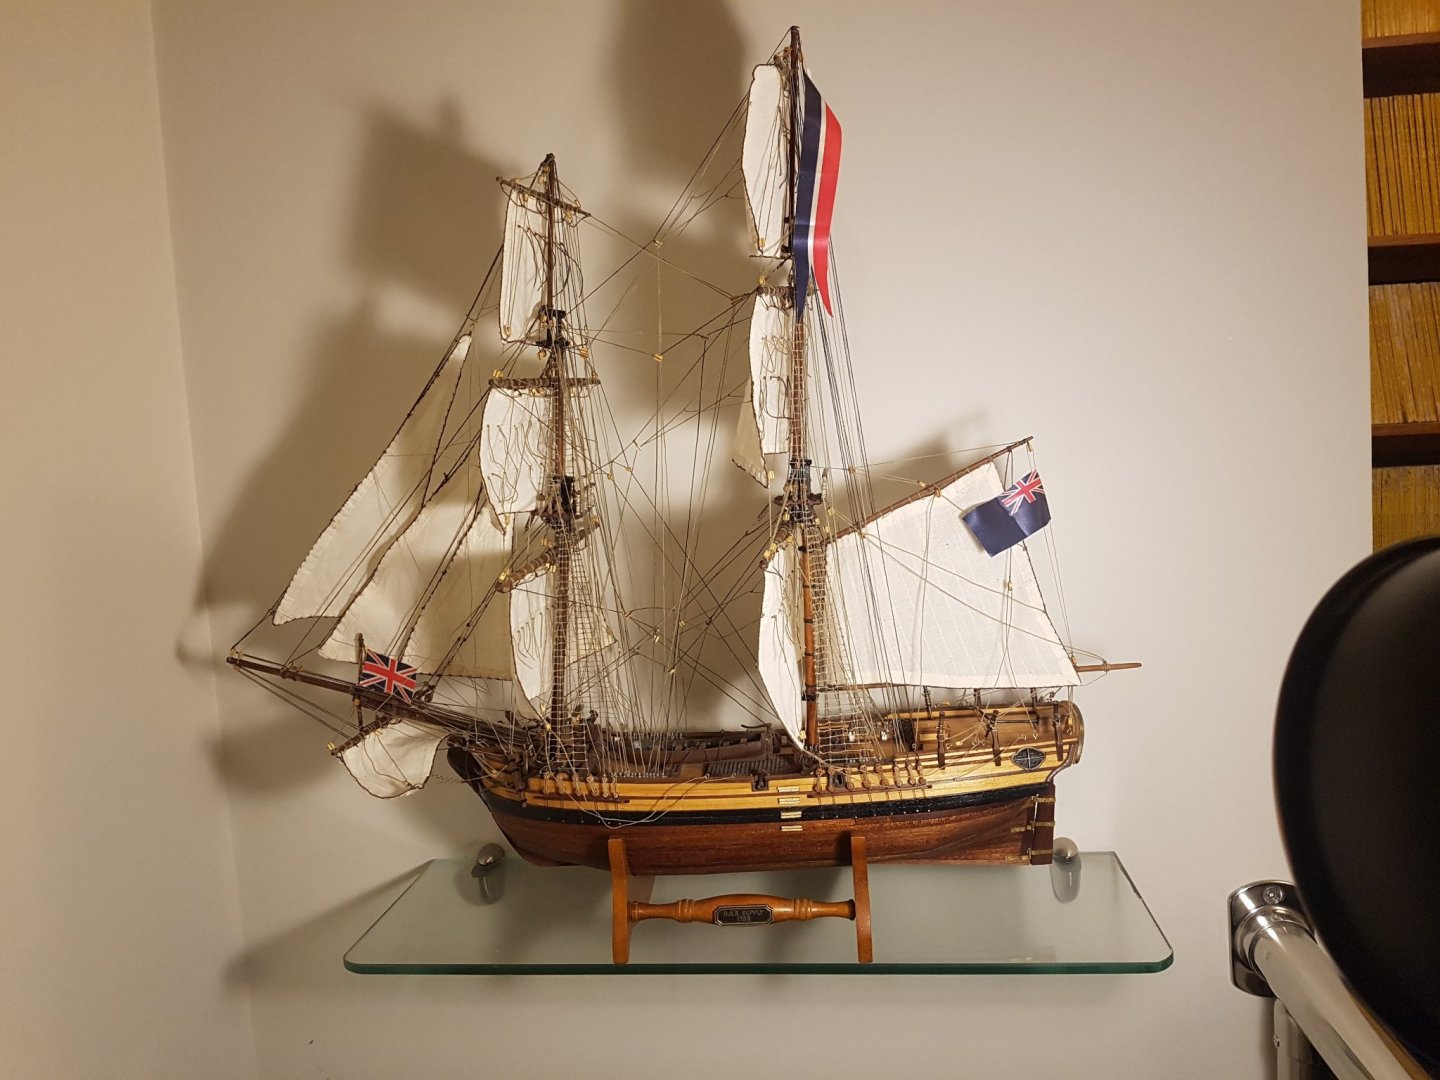
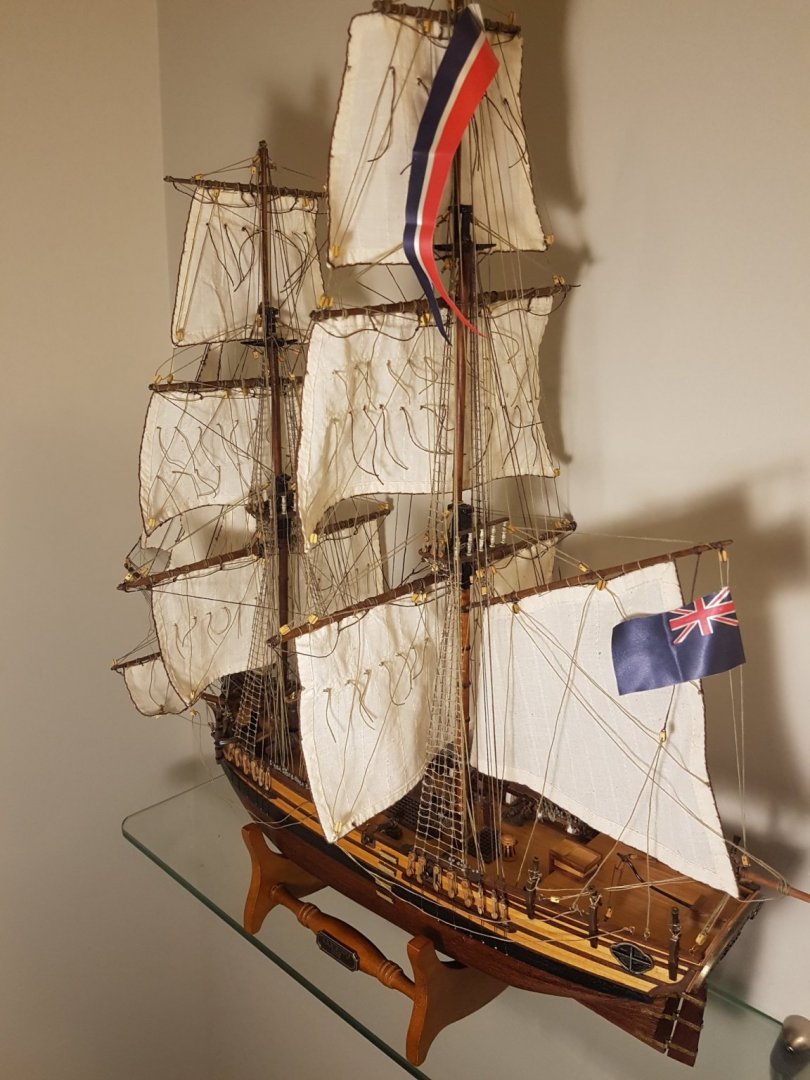
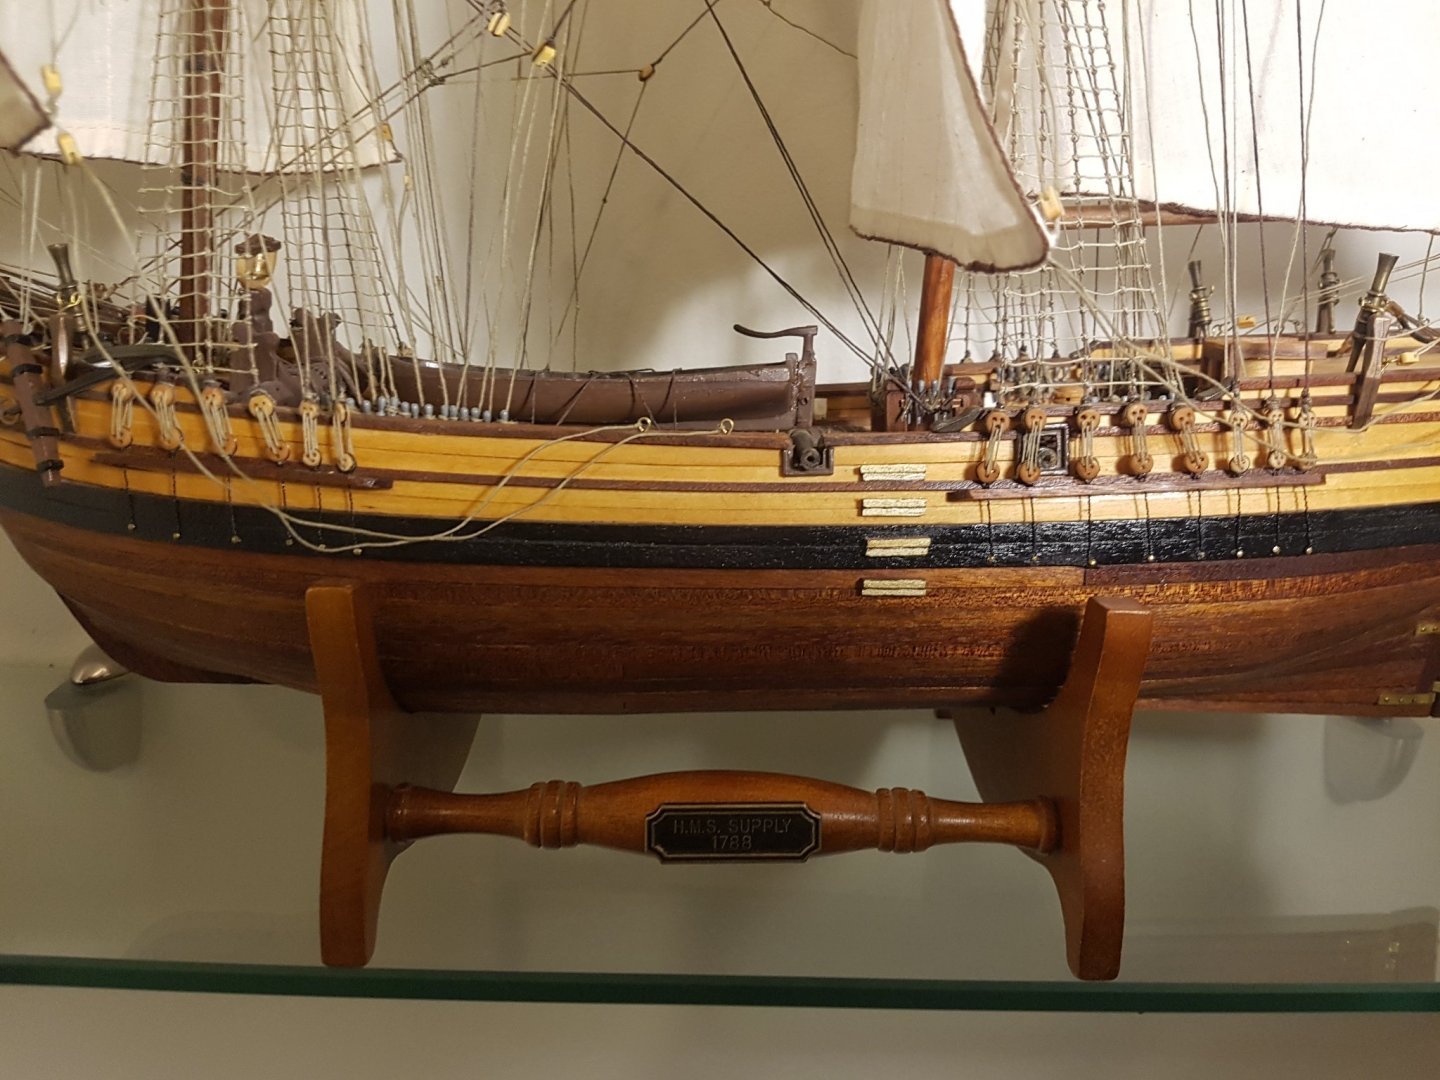
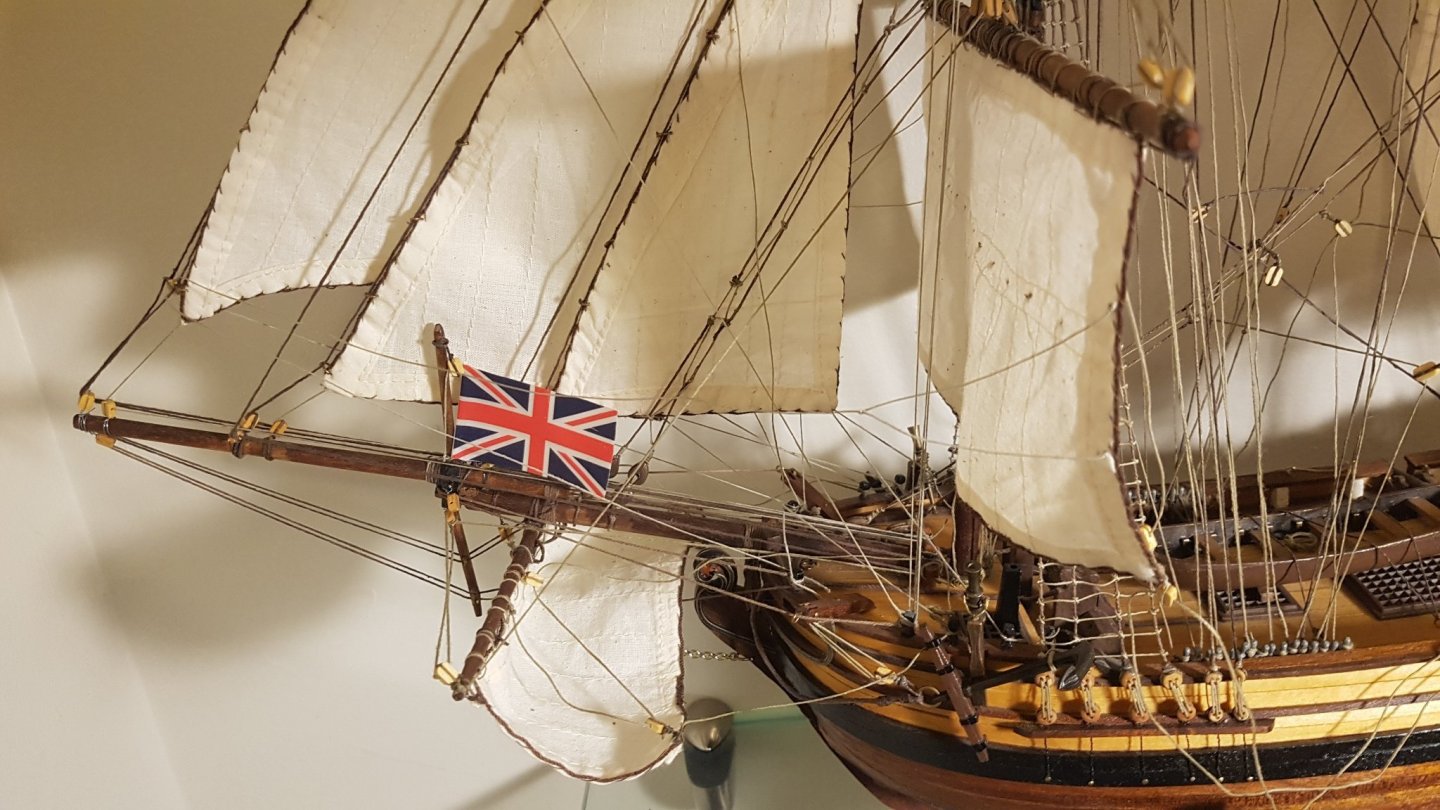

Thanks to the many modlers who aided and encouraged me over the years.
Cheers
Mark
-
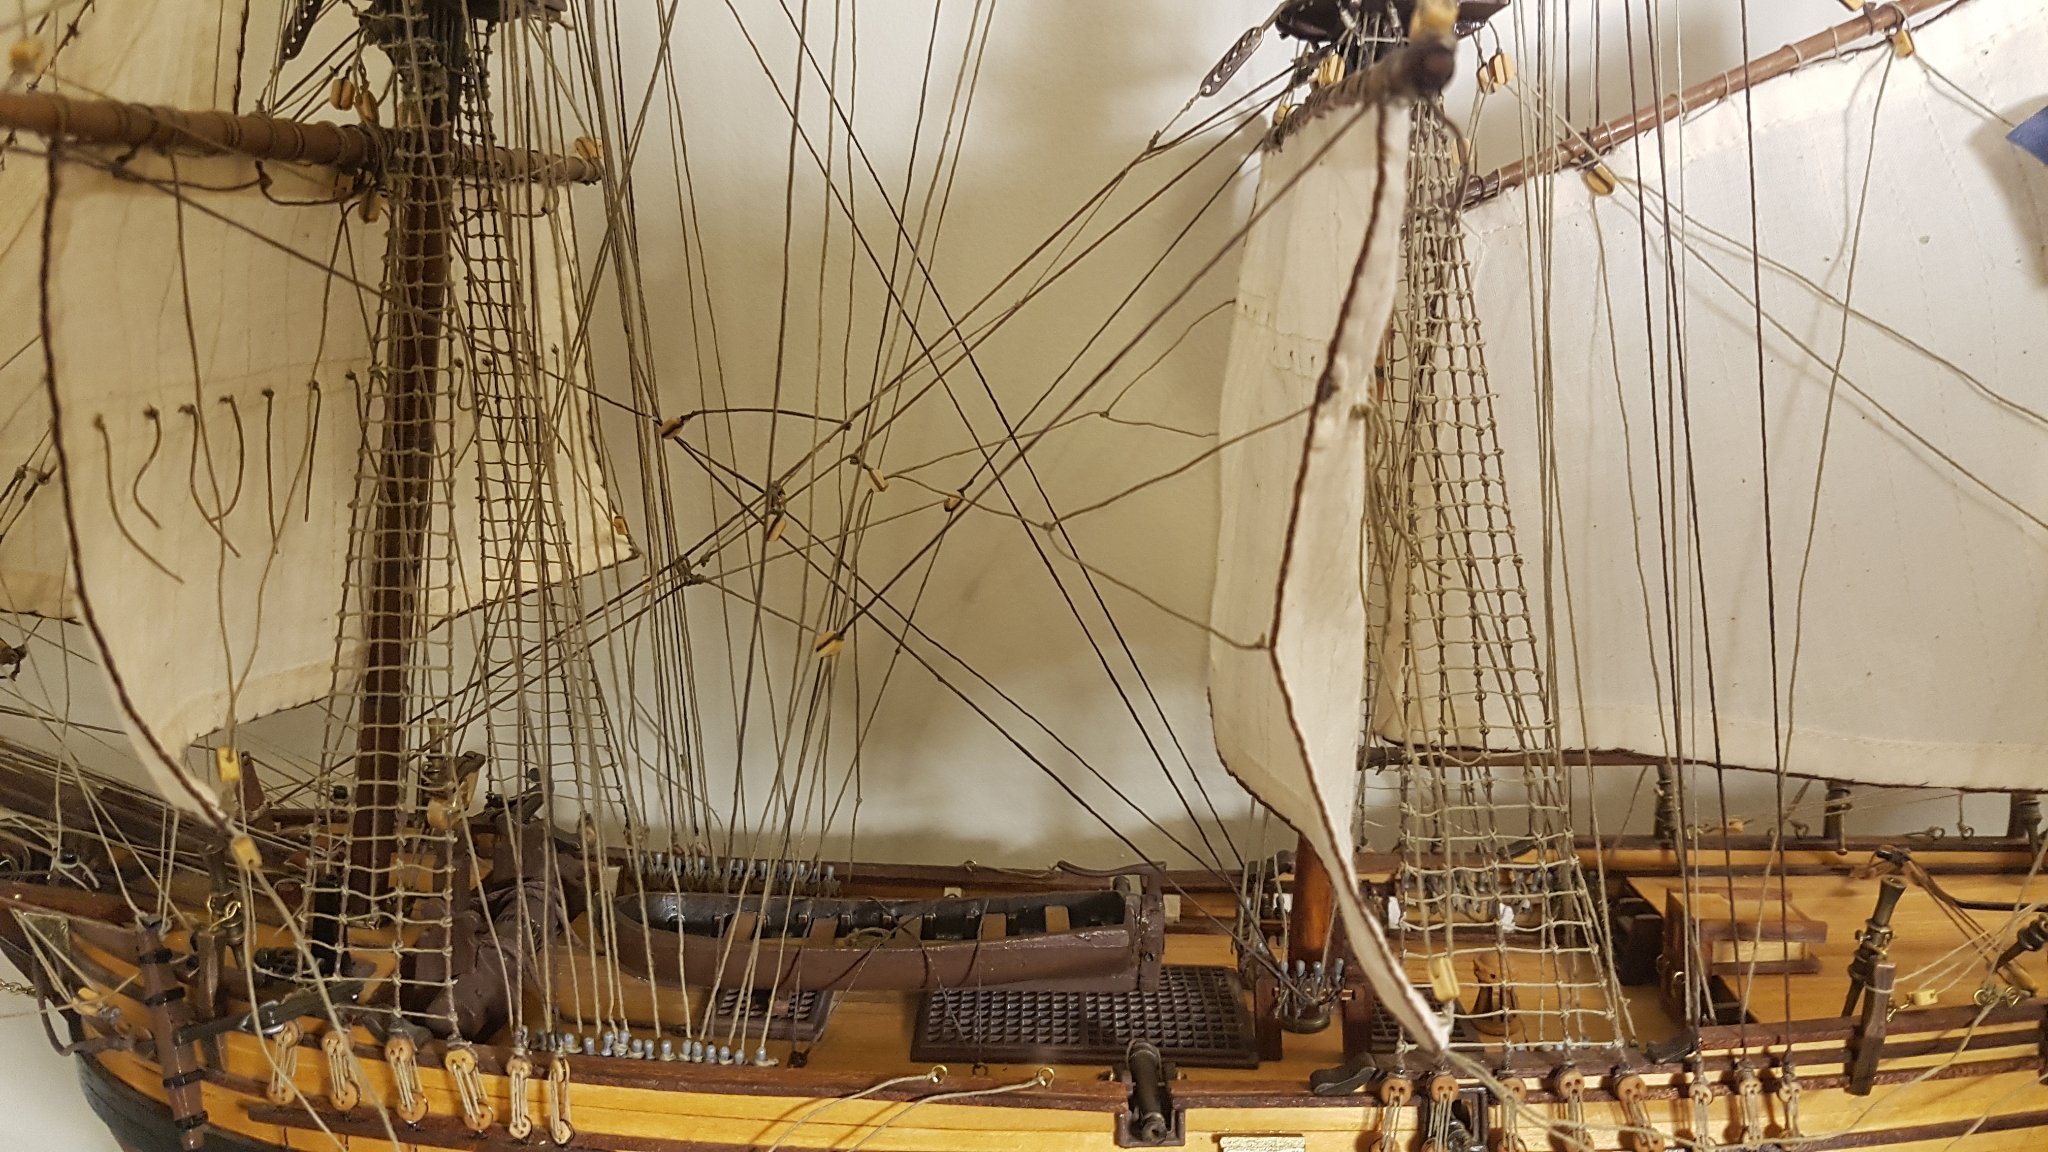
I have made very slow progress over the last 12 months.
Basically all that has changed is the rigging of the sails.Last night I rigged the last of the rigging for the sails.
Now I only have to finish the rigging the lines connecting the masts to each other.
Does anyone know what they are called?
-
The upper yards are now rigged to the ship.
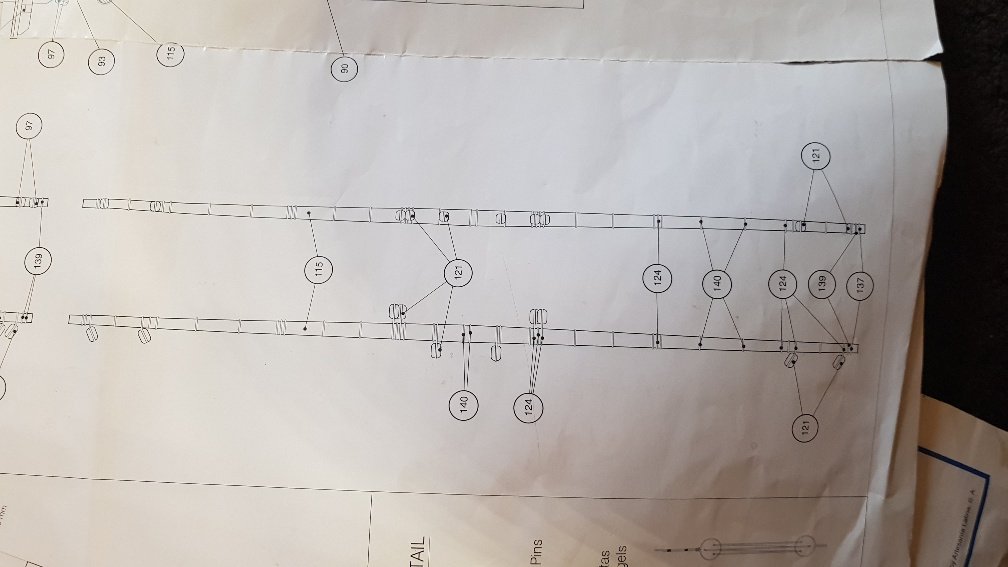
I had some trouble with the Fore Main Yard because the rigging plan for the blocks is wrong, and I had followed it
The blocks on the end of the yard are shown on the opposite side to where they need to be according to Petersson, so I had to rerig these blocks.
It should have been obvious that there was some issue because the foremast main yard is different to the main mast yard rigging plan - see below. The rigging should logically be similar for both.
-
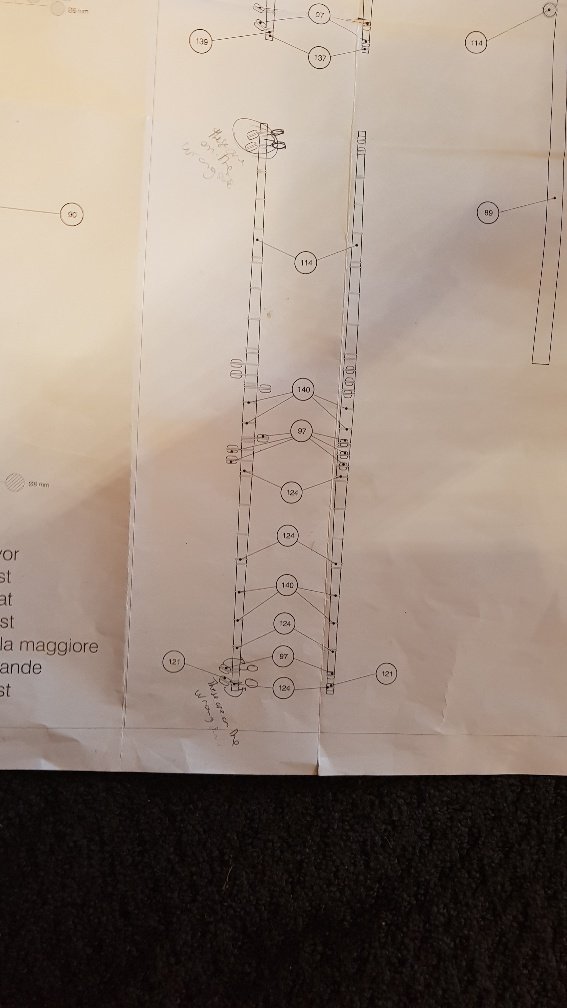
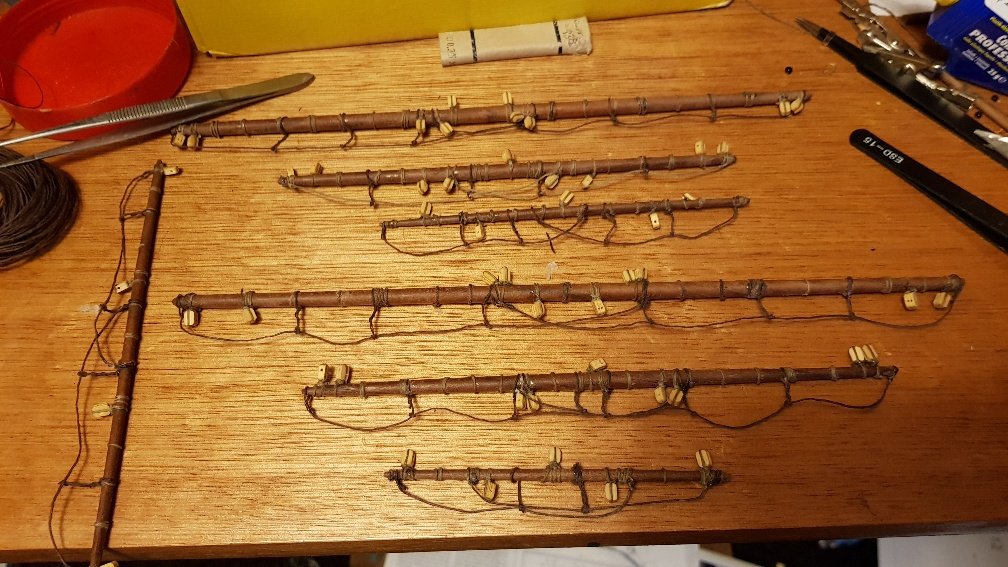
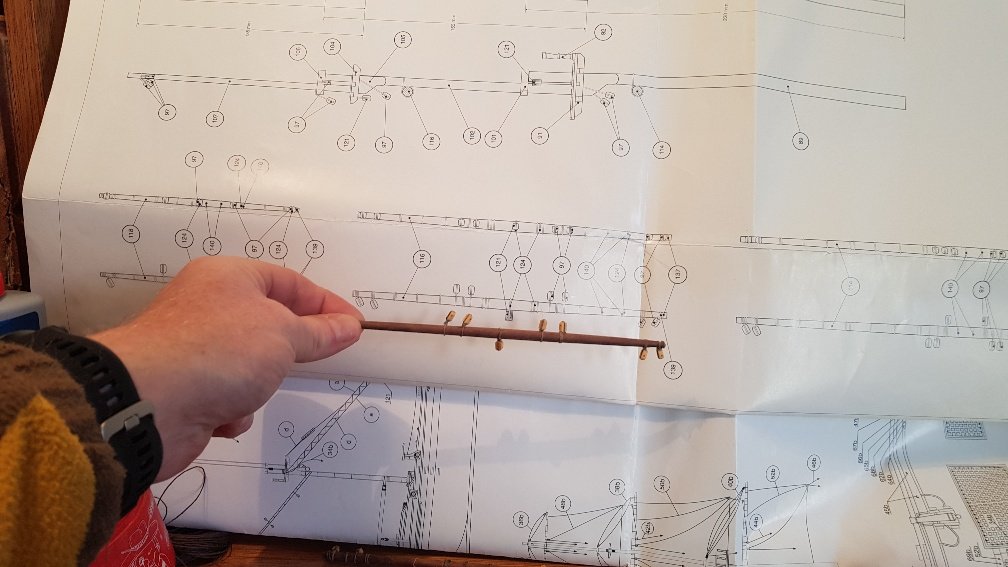
Yards with Blocks and Footropes
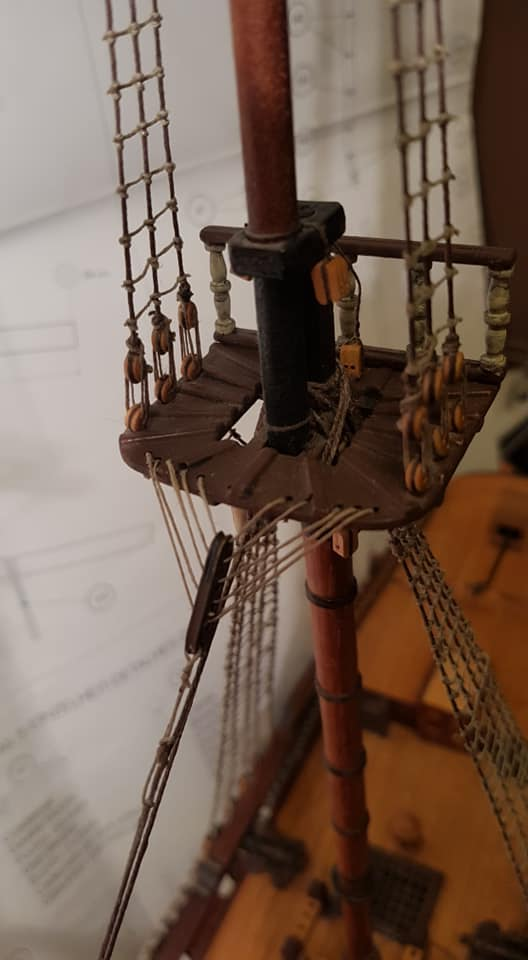
All the Yards are now finished at last.
It was slow going.
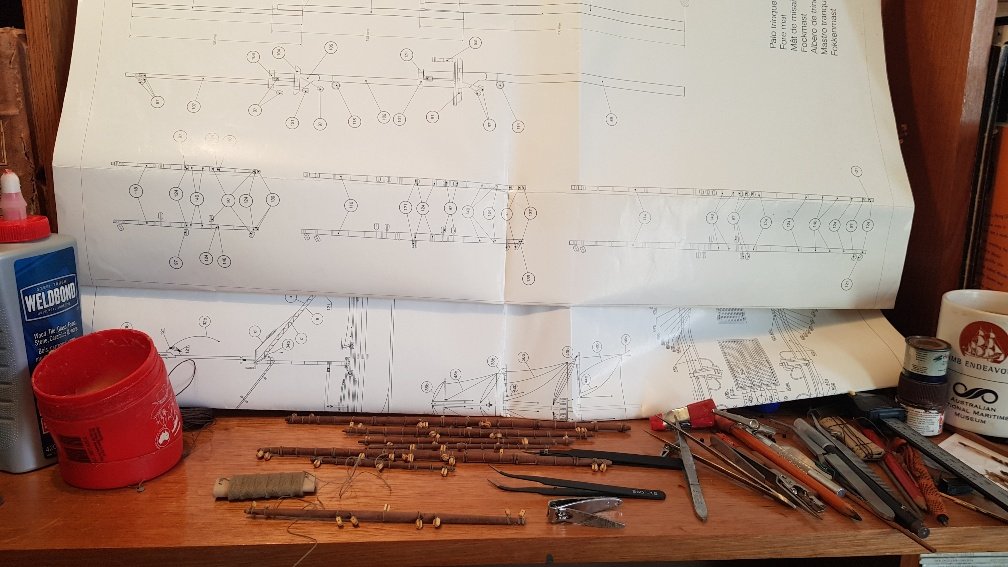
I had to constantly refer to the plans when adding the blocks, so I stood up the plans in front of me, so I could quickly check that I had the blocks in the right spot.
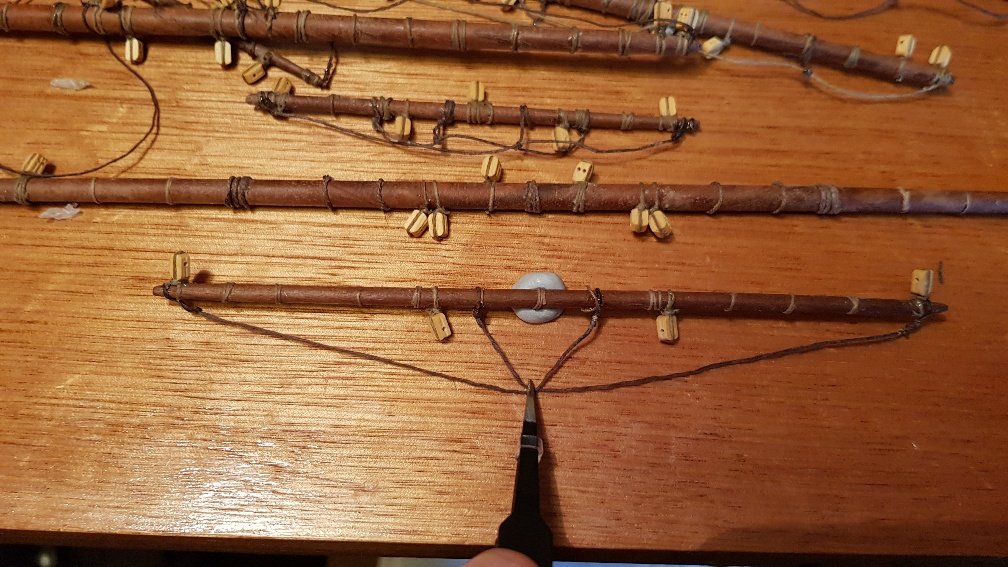
It took me a few goes to work out how to rig the Footropes and Stirrups.
There are two footropes for each yard. I found that when I measured then cut two lengths of thread that they didn't look the same after I had tied the footropes to the yard, maybe I was using different amounts of thread to tie the knots, anyway it was a problem for me.

The method I used to keep the footropes the same length was to tie one side, then to tie the other side but with a slipknot so I could adjust the length so that they looked the same when I pulled them taut. Anyway this worked for me.
I tried a few different ways to tie the stirrups.
In the end I had it going pretty well and without the need to glue the knots, which made me happy.
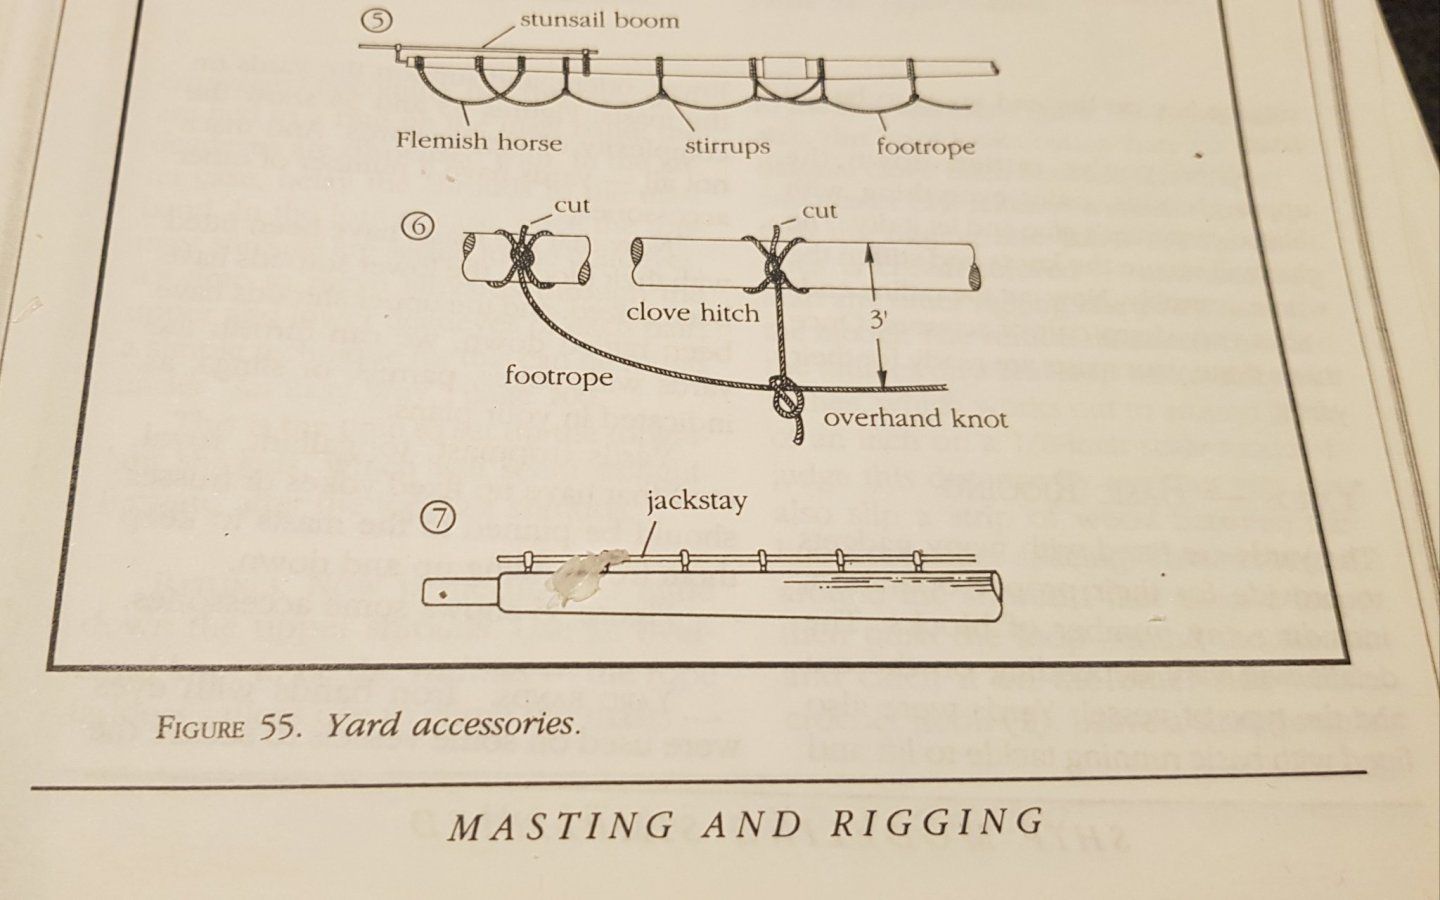
The Stirrups are tied around the yard and the also the footrope. Refer the Mastini diagram below:
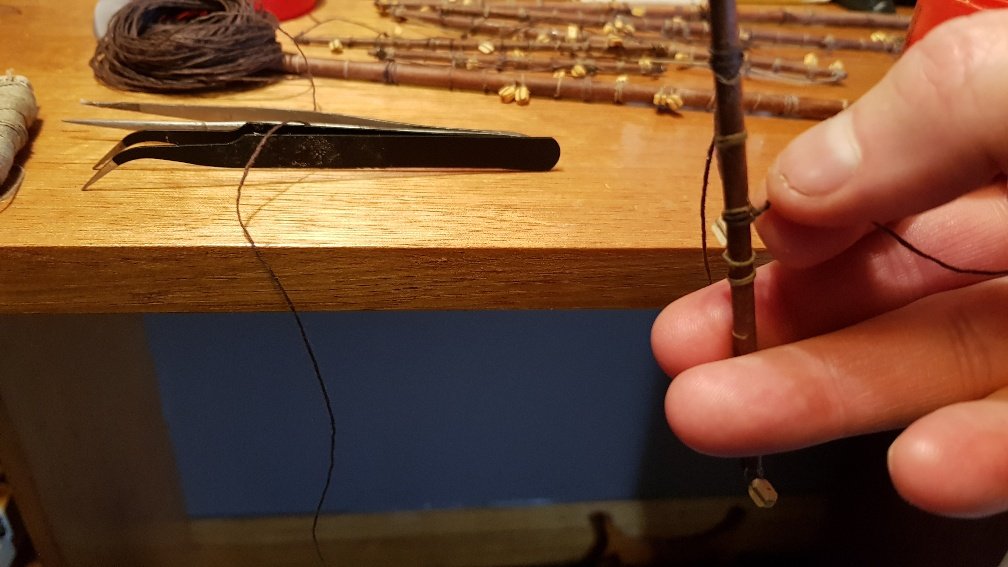
I use beeswax on one end.

I wrap that around the yard.

Then twist the two ends together as many times as possible. I put it on perpendicular to its final position because then I can easily rotate the entire yard to twist the two ends together. The beeswax holds this end in place. Rotate the 'knot' to the correct orientation.
The next step is to tie the knot around the footrope as per Mastini "Ship Modelling Simplified" diagram.
At this point the knot will travel beyond where I want it to go if I don't keep it in place. I find that by gently controlling the loop you can place the knot exactly where it needs to be. If you grab the footrope then you can stop the knot travelling down the line.
Onto the next stage!!
-
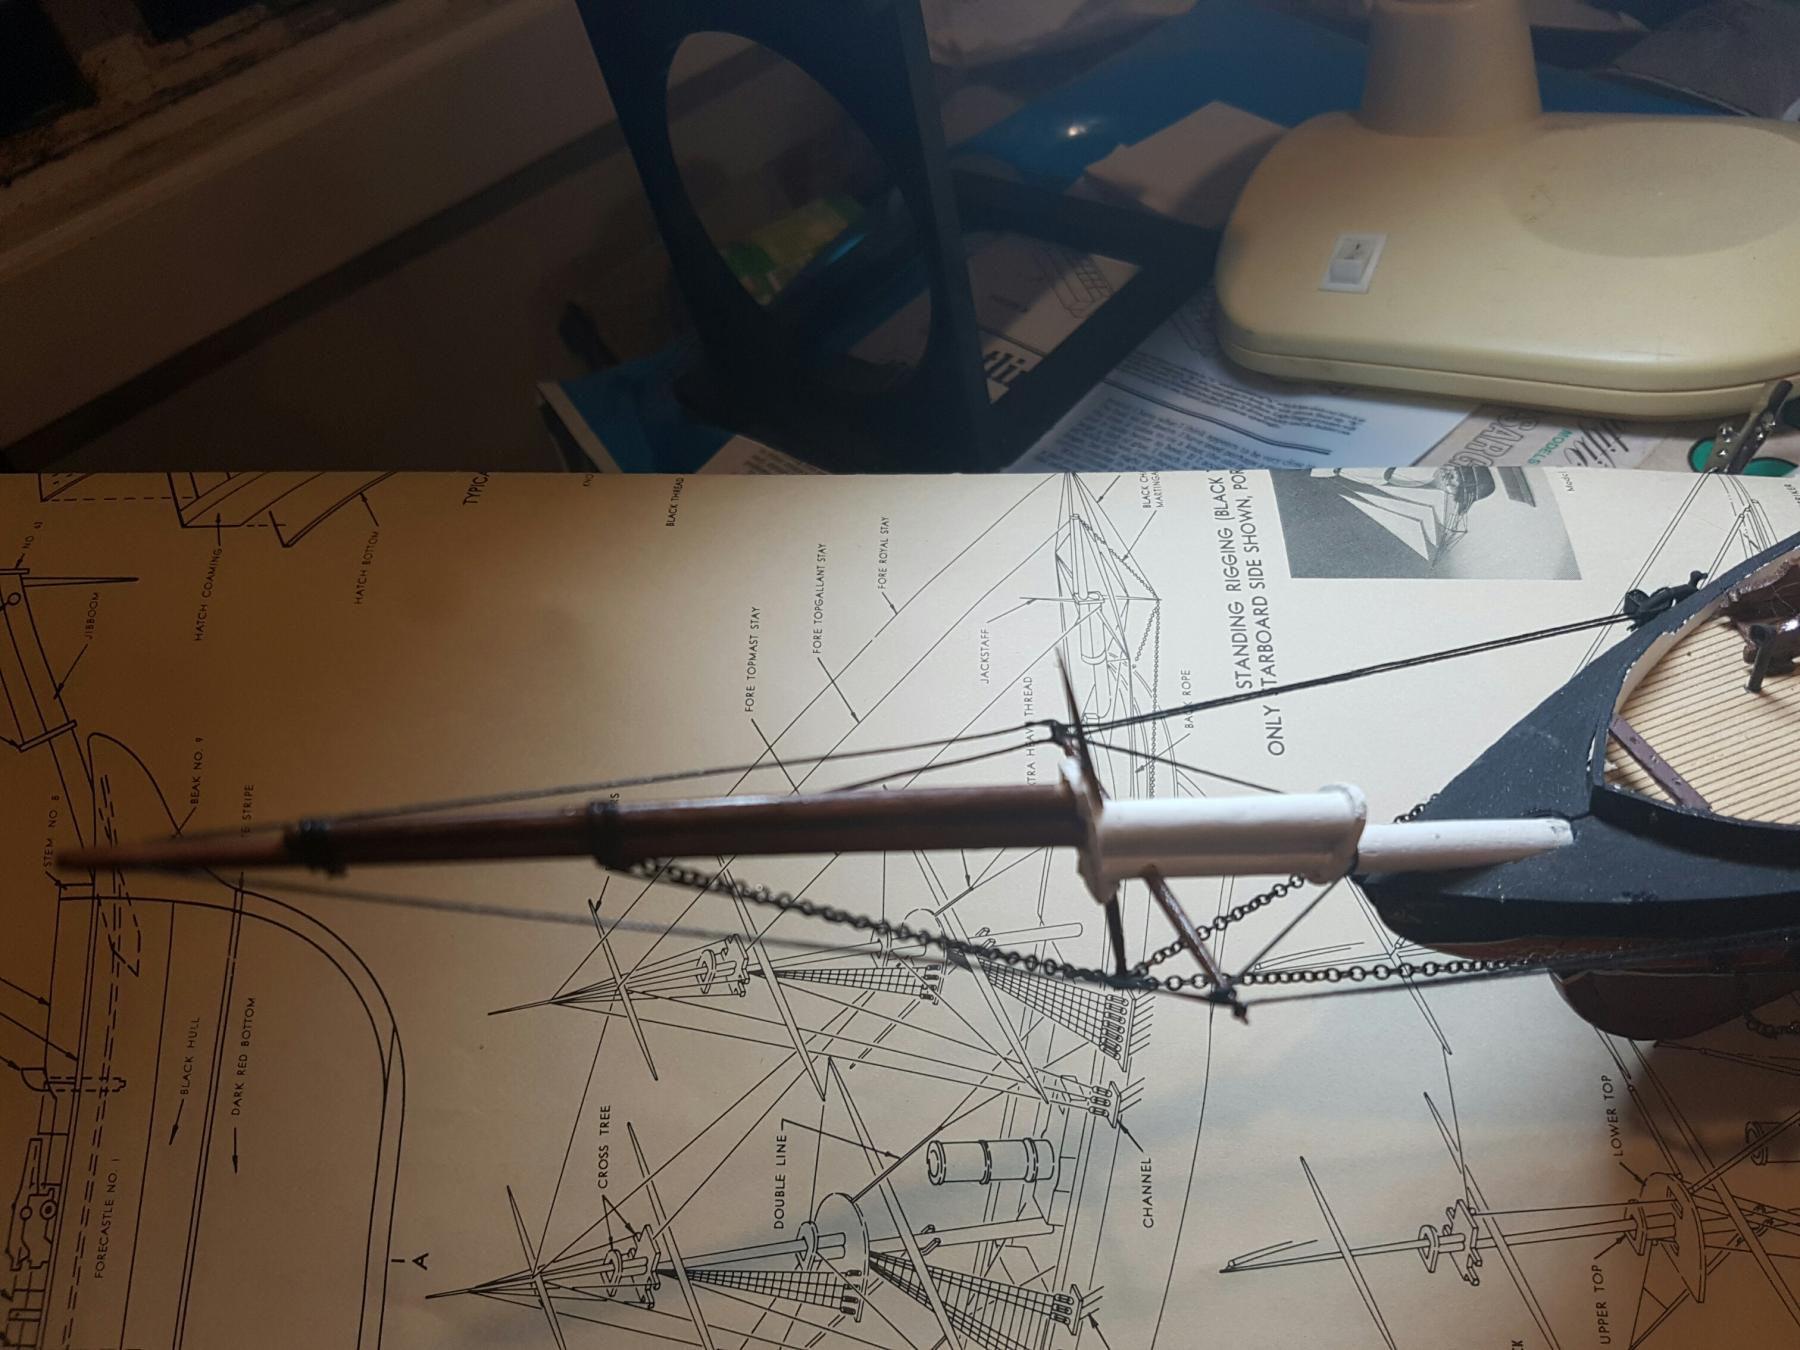
Shaping the Yards
I have finished the Standing Rigging.

So now it is time to move onto the yards.
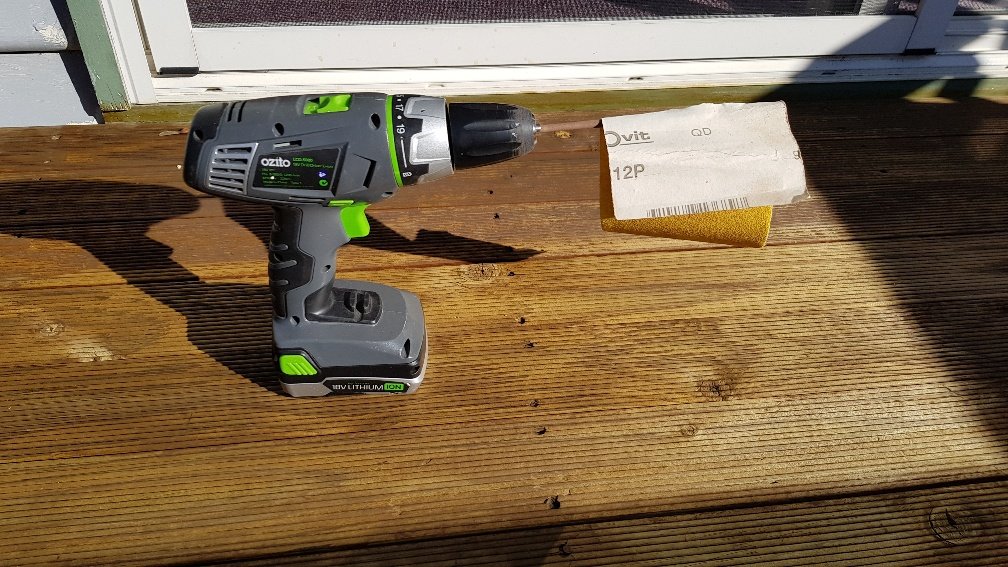
There are 7 yards on the Supply - 3 for each mast plus one for the Bowspirit.I shape yards by using a drill with several grades of sandpaper. I check the width with a vernier caliper. I have tried many other ways, but I like this method. It gives a surprising amount of control, which makes it effective and quick.

- GrandpaPhil and Jeff-E
-
2
-
Rigging the Spanker Gaff and Boom.
I find it is very hard to keep the rigging taut.
- GrandpaPhil and Jeff-E
-
2
-
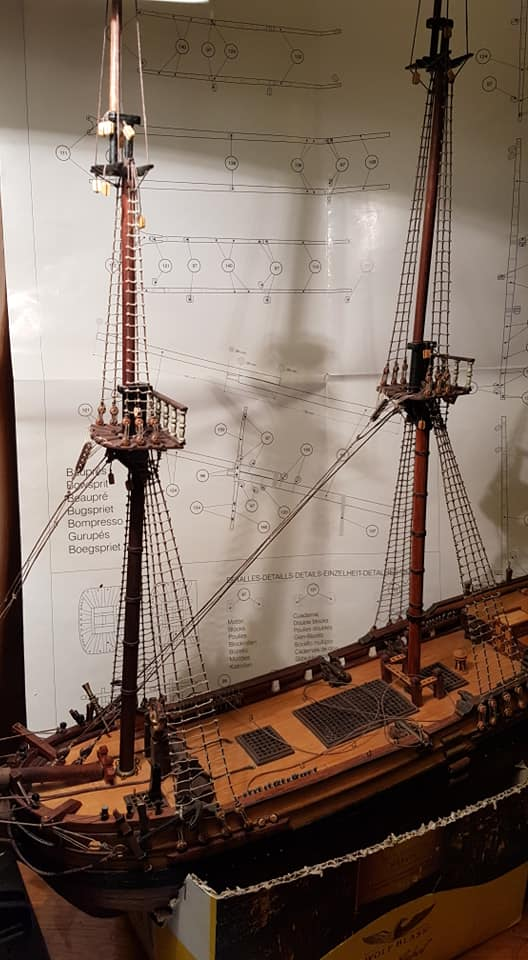
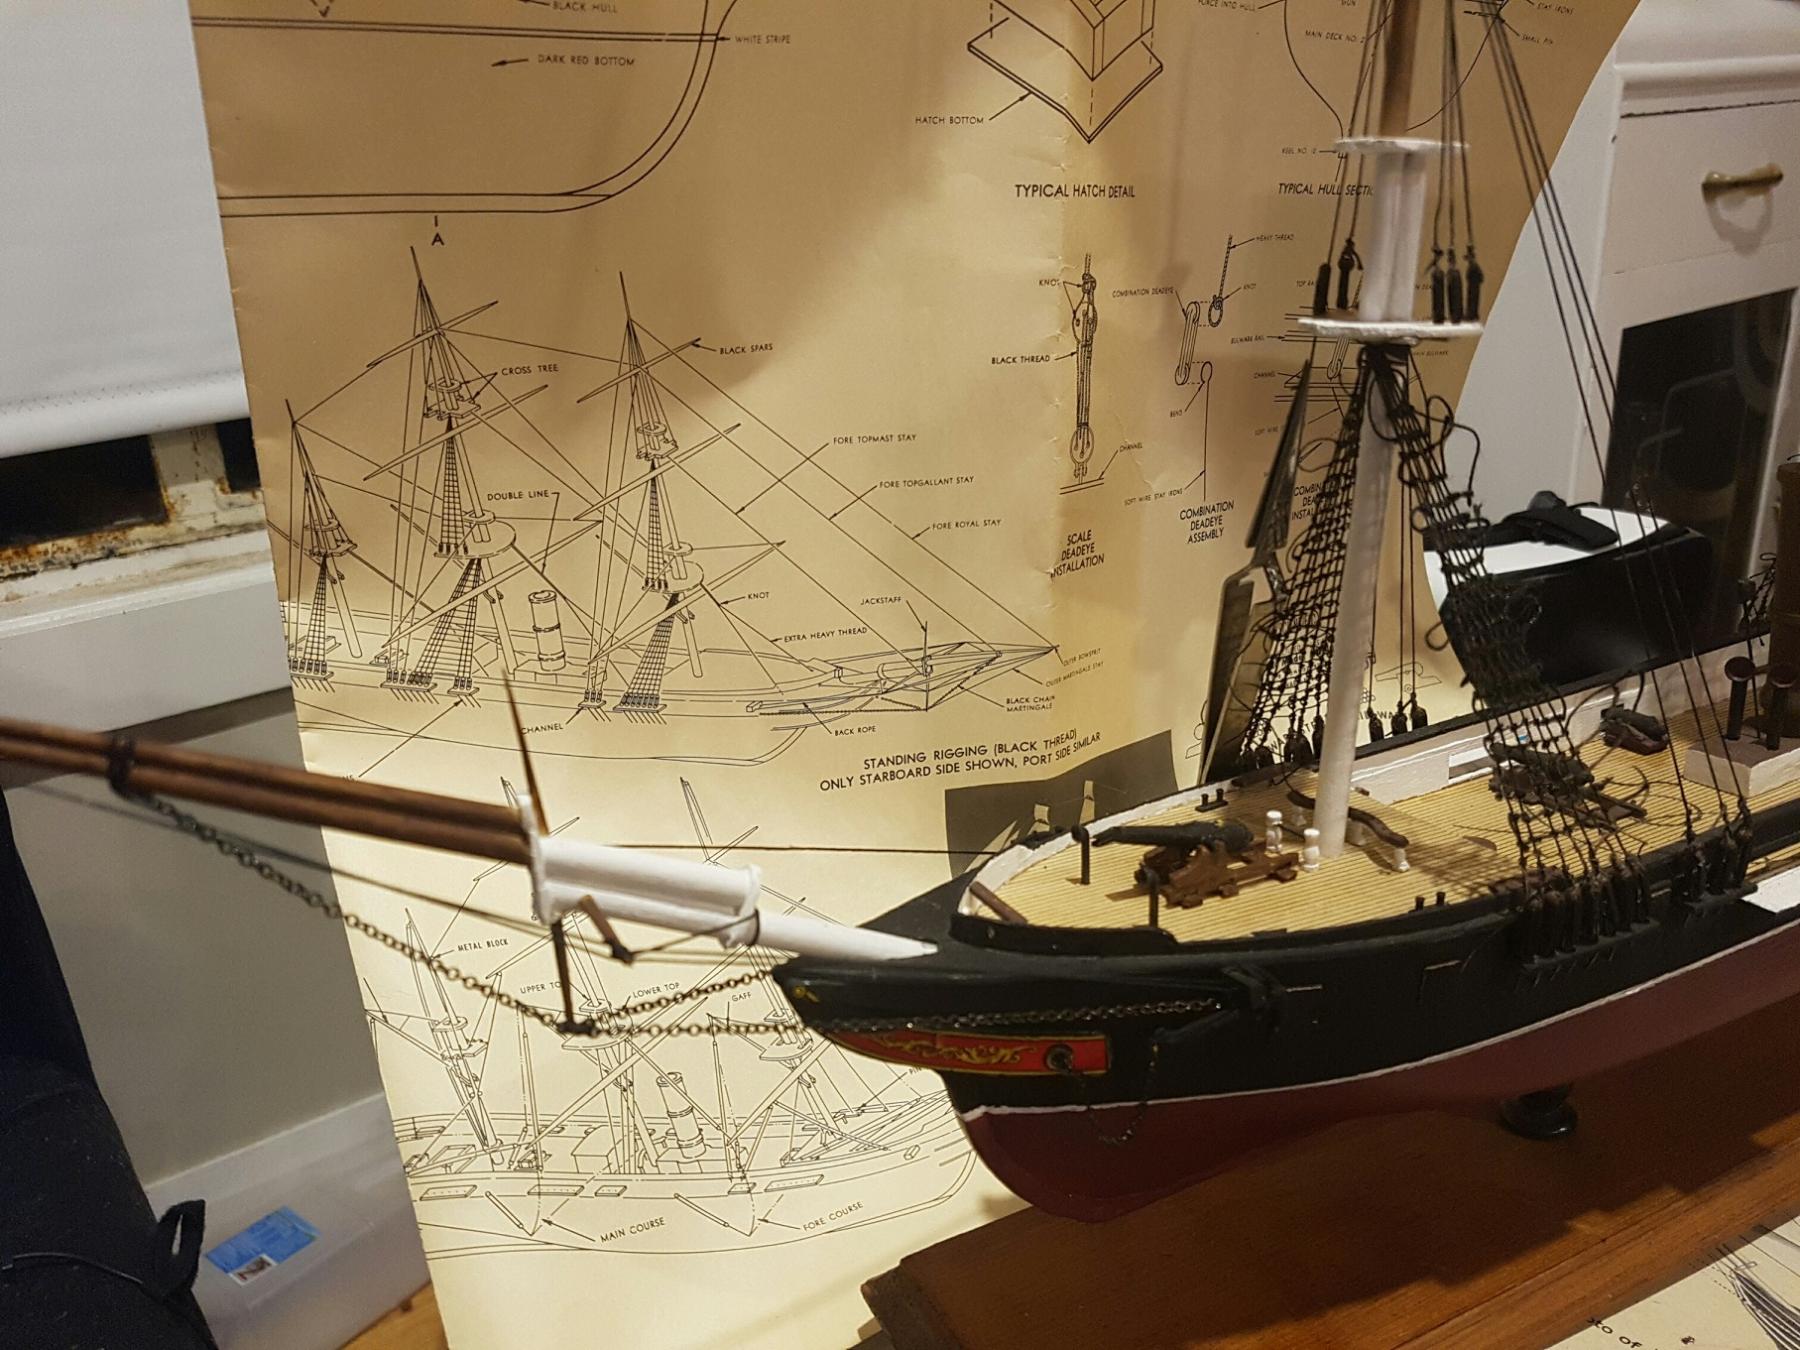
This weekend all I did on the model was to rig the Stays.
I discovered that I had rigged the deadeyes upside down on the Shrouds. To keep consistency I rigged the stays on the chainplate the same way.
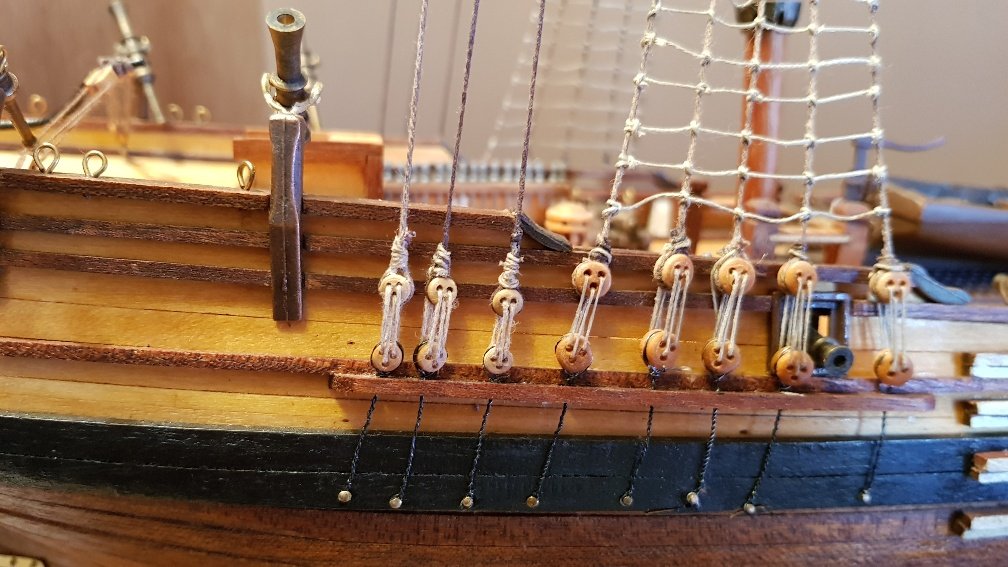
At least I got it right on the top.
This is the rest of the mast. I completed both Main mast and Foremast Stays.
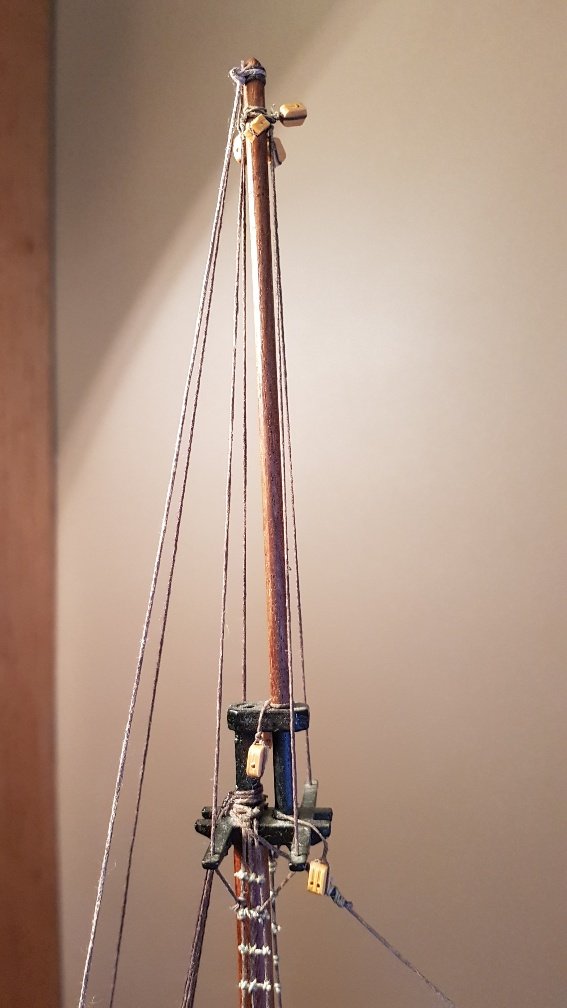
Rigging deadeyes always takes me so long.
- Jeff-E and GrandpaPhil
-
2
-
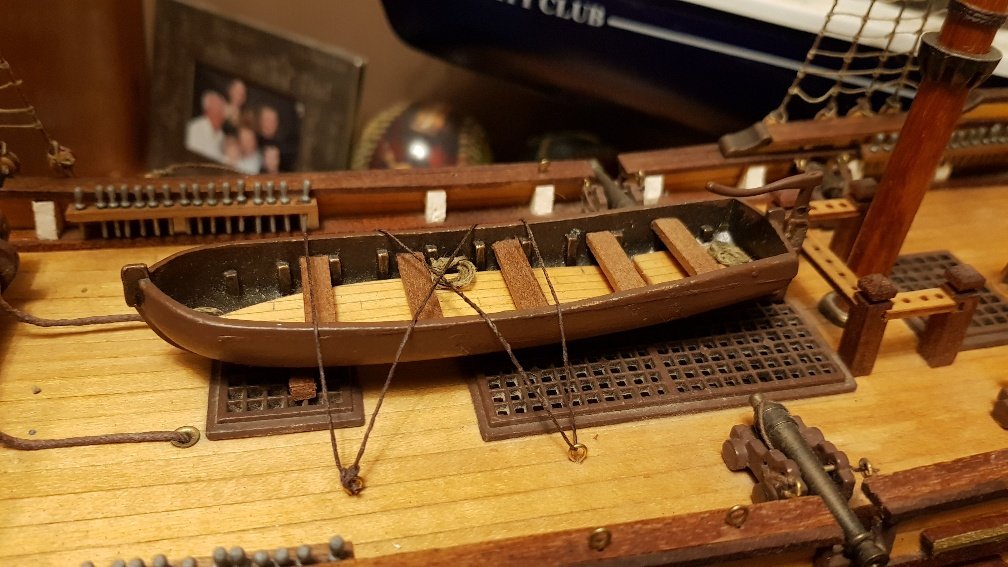
The Ship's Boat
I wanted to put in the ship's boat while there wasn't much rigging in the way.
The boat supplied with the kit is made of metal with a metal rudder.
It's not very complex as the boat doesn't have any oars or sails - just some coils of rope. It is tied down very simply to iron bolts.
-
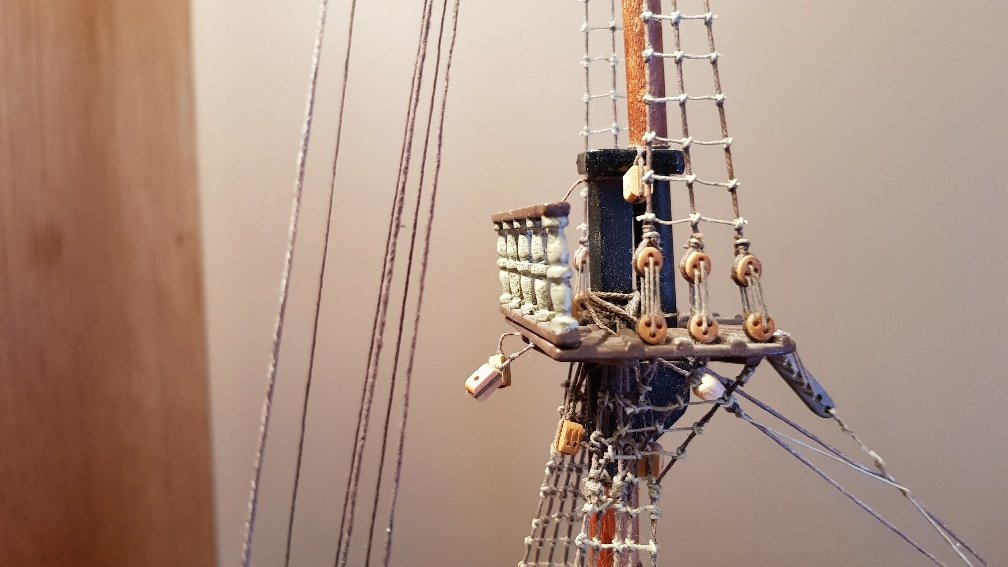
In this session I added the Crowsfeet to the HMS Supply.It's the first Crowsfeet I have rigged so I had to work out how to do it.I consulted the usual books Lees and also Lennarth Petersson. They showed nice pictures but didn't explain how to actually rig it, but it doesn't look too difficult.First off I added the stays to the main mast including the snaking.
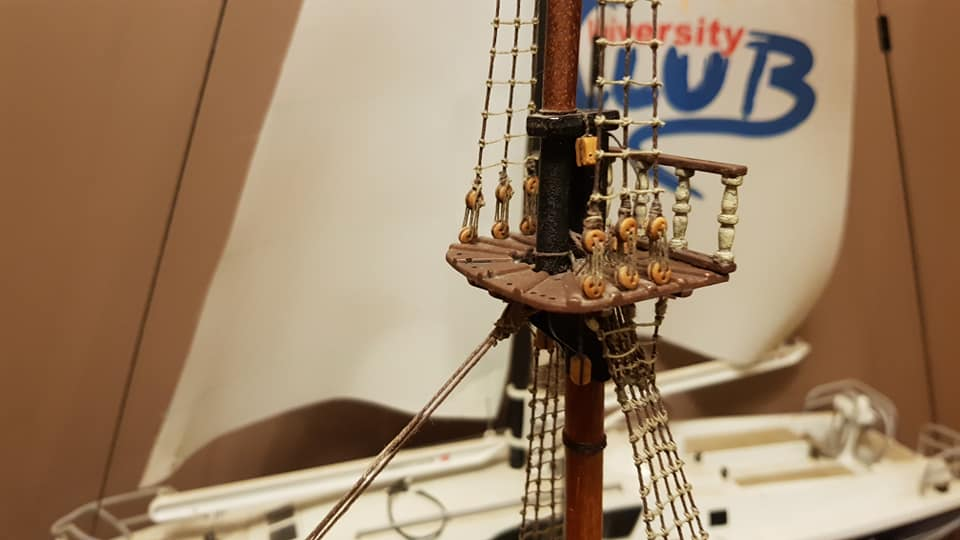 For the crowsfeet I started by tying the long block with all the holes to the stay, then attaching the crowsfeet rigging to the crowsnest.I wanted to use one single line for the rigging.My method was to
- tied a knot to the end of the line
- feed it up under the far left hole in the crowsnest so that the line goes over the top of the front edge of the crowsnest
- pass the line thru the lowest hole in the block (the one furtherest from the crowsnest)
- feed it thru the far right hole in the crowsnest from the top
- feed the line back up thru the neighbouring hole
- feed back thru the block, etc, just keep repeating till all done.
- I didn't know how to tie off the line, so I superglued the line end underneath the final hole. In hindsight I should have put in a knot there too.
Cheers
- ccoyle, steamschooner, Jeff-E and 1 other
-
4
-
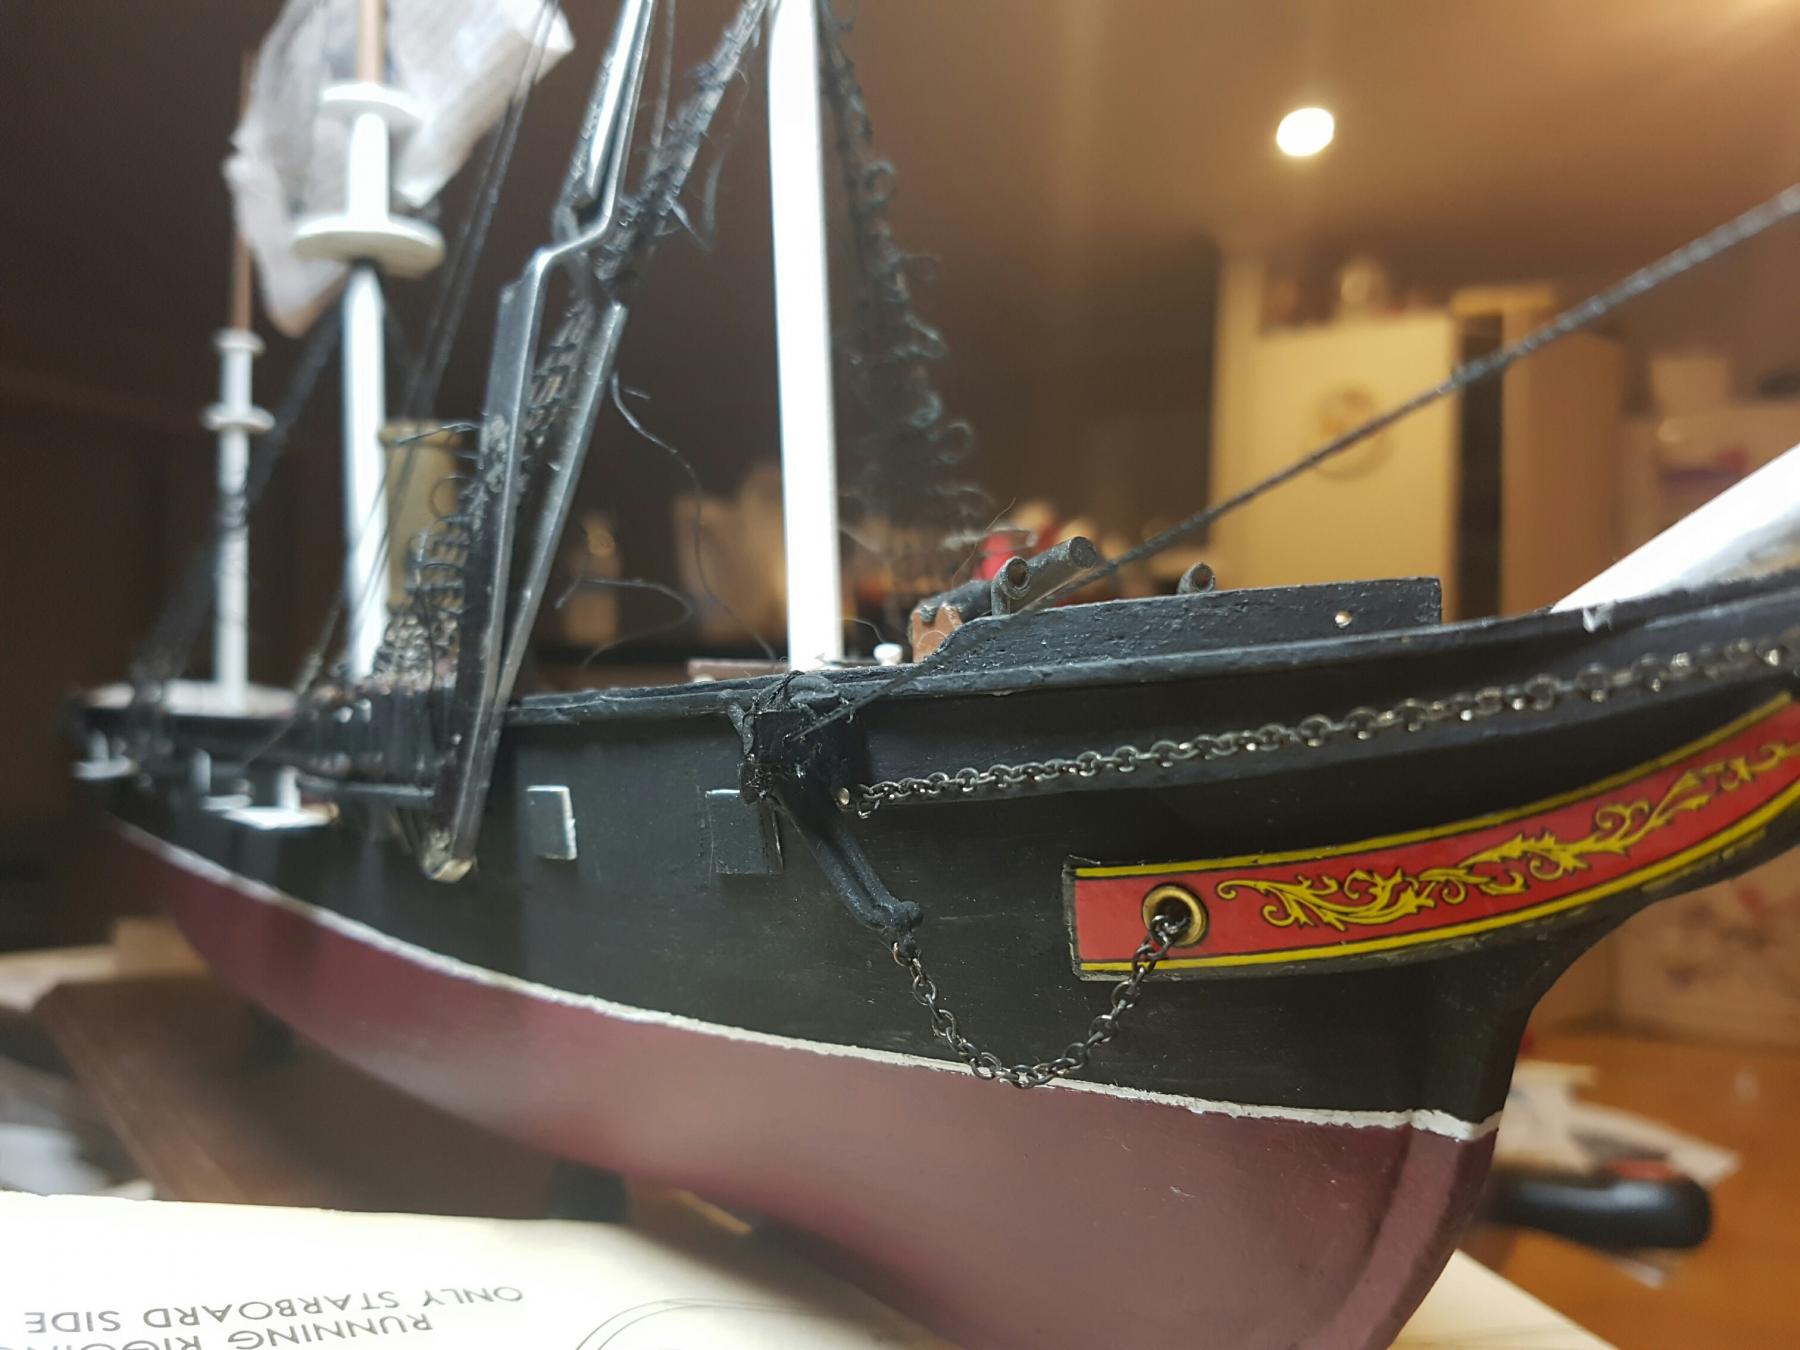
Ahoy!
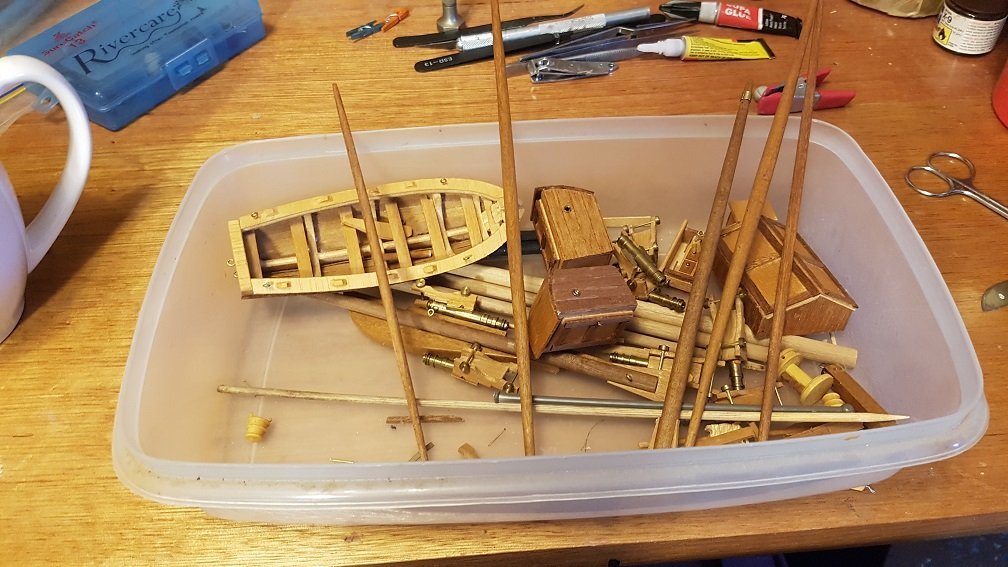
I'm returning to ship modelling to complete this model.I stopped after I fell down the stairs with it quite a while ago.
Most of the damage was to the bowspirit, dislodged cannons, and small miscellaneous breaks.

It had gathered a bit of dust over the years on the shelf.
I cleaned of the dust bunnies with brushes.
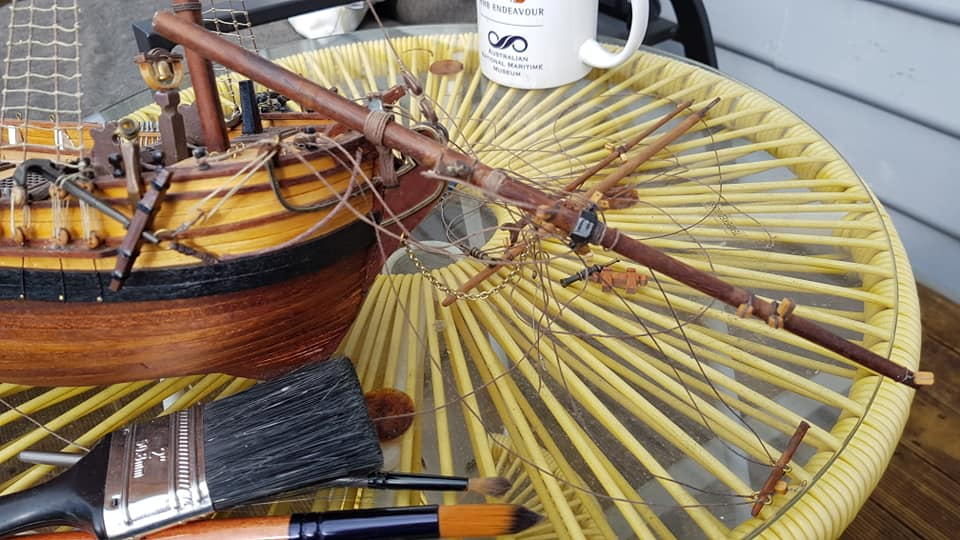
A couple of pieces had to be reconstructed because they were lost, then it was just rerigging.
- Jeff-E, GrandpaPhil, Duanelaker and 1 other
-
4
-
-
Thank you for your encouraging words, EJ.
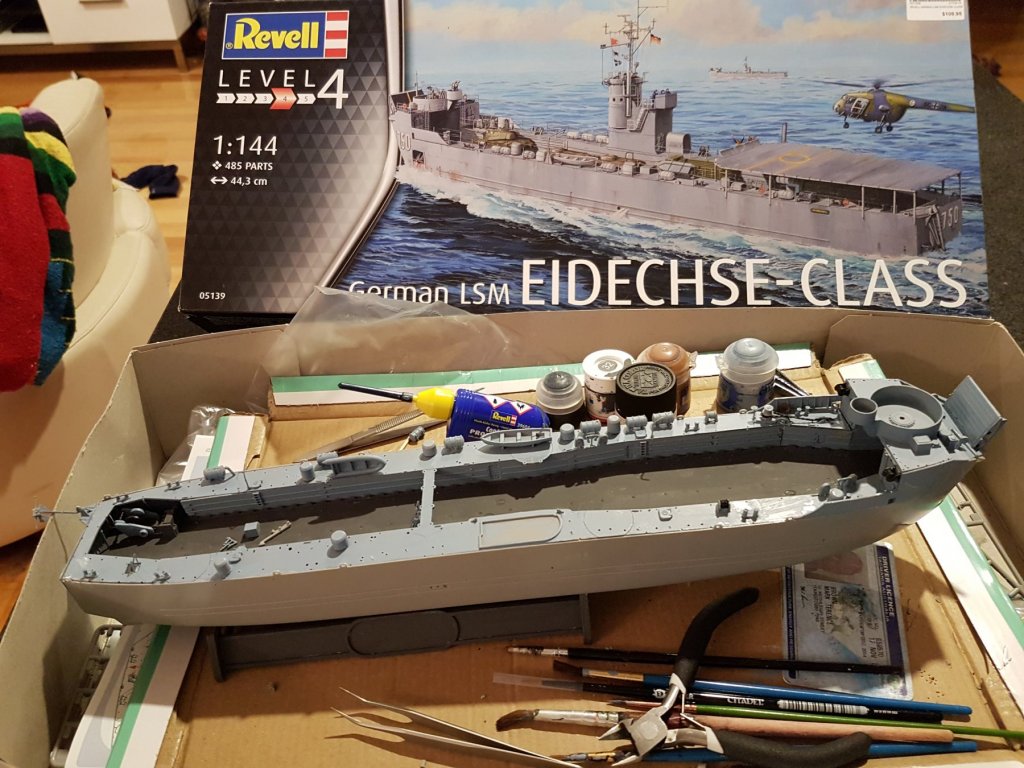
Our local model shop closed down recently so I picked up a model with the aim of kickstarting me back into the hobby.
It is a plastic kit rather than wooden but atleast it is nautical.
It is steadily progressing.
Happy Modelling
Mark
- mtaylor and GrandpaPhil
-
2
-
-
-
This is another link to a detailed plastic model of the Kearsarge.
I'm posting this for my on benefit.
-
I found this awesome build log while surfing through this forum - sorry I did not record who originally added the link. I did not realise how good the link as till much later by then I had moved to other topics.
http://www.segelschiffsmodellbau.com/t631f302-U-S-S-Kearsarge-um-almost-Fullscratch.html
By the way - how do I add a link without retyping it?
Cheers
Mark
from Tasmania
-
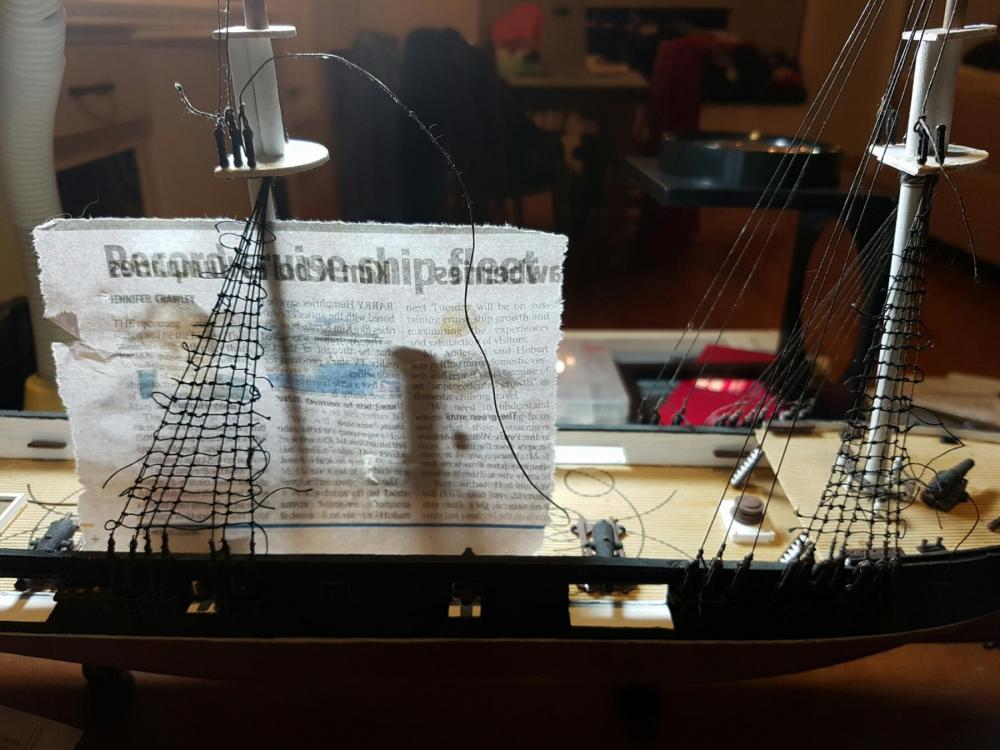
I am progressing on the Ratlines.
There are 6 larger shoulds, and 3 sets of top mast shrouds.
So far I have only finished 2 of the larger shrouds - so maybe 25% complete tying knots. I have yet to trim the excess, realign them to be neat & tidy then glue each knot in place.
Cheers
Mark
from Tasmania.
- etubino, GrandpaPhil and EJ_L
-
3


Ringle by Homebrew - Artesania Latina - Scale 1:50 - kit-bashed Harvey
in - Kit build logs for subjects built from 1801 - 1850
Posted
I got the hang of it now.
I managed to rig 6 deadeyes and run some of the shroud rigging. It took me an embarrassing amount of time, but it is starting to come back to me.