HOLIDAY DONATION DRIVE - SUPPORT MSW - DO YOUR PART TO KEEP THIS GREAT FORUM GOING! (Only 20 donations so far - C'mon guys!)
×


CharlieZardoz
-
Posts
969 -
Joined
-
Last visited
Content Type
Profiles
Forums
Gallery
Events
Everything posted by CharlieZardoz
-
 Mmm mmm look at that detailing! Ashame the real ship didnt last longer than she did. Both her and New York deserved a proper refit.
 -
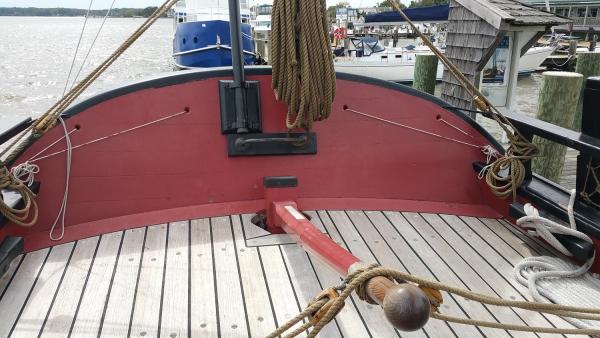
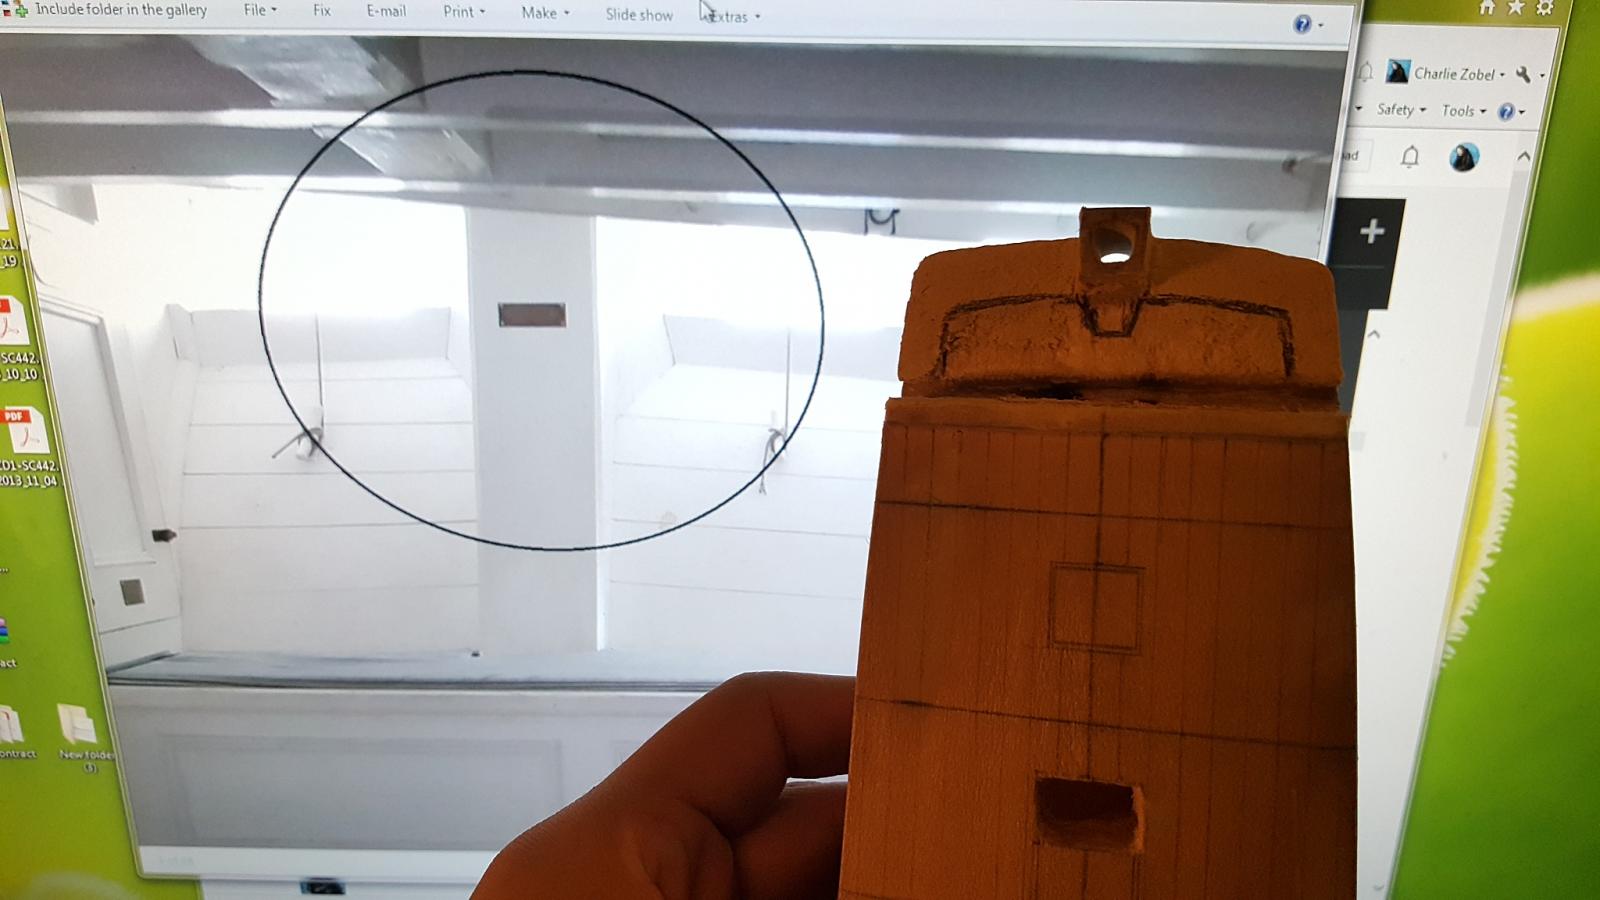
Id love a super closeup of some of the stern detailing. I see some flags and such. The model with the masts is looking super sweet!
-
Aye what I see myself doing because I want to focus on 1/64 scale stuff, is do a few small kits in 1/64 scale to learn the ropes, then take a few kits that exist on the market at different scales like the Armed Virginia Schooner or Halifax and just go off the plans and scratch the parts. I mean aside from the frames and few fittings most kit pieces like plank wood is useless to me anyways. After small ships I'll get back to larger kits like Syren, Niagara, Prince De Neuf or something like a Cruiser and Swan class then do the same and scratch ships like Vixen, Wasp and my interpretation of Enterprize. Then do the same with frigates, larger ships etc. I don't expect to hit frigates for quite a few years but I'm patient for the long haul. I've got my health and my... sanity? Well so much for that! Bwahahaha!
-
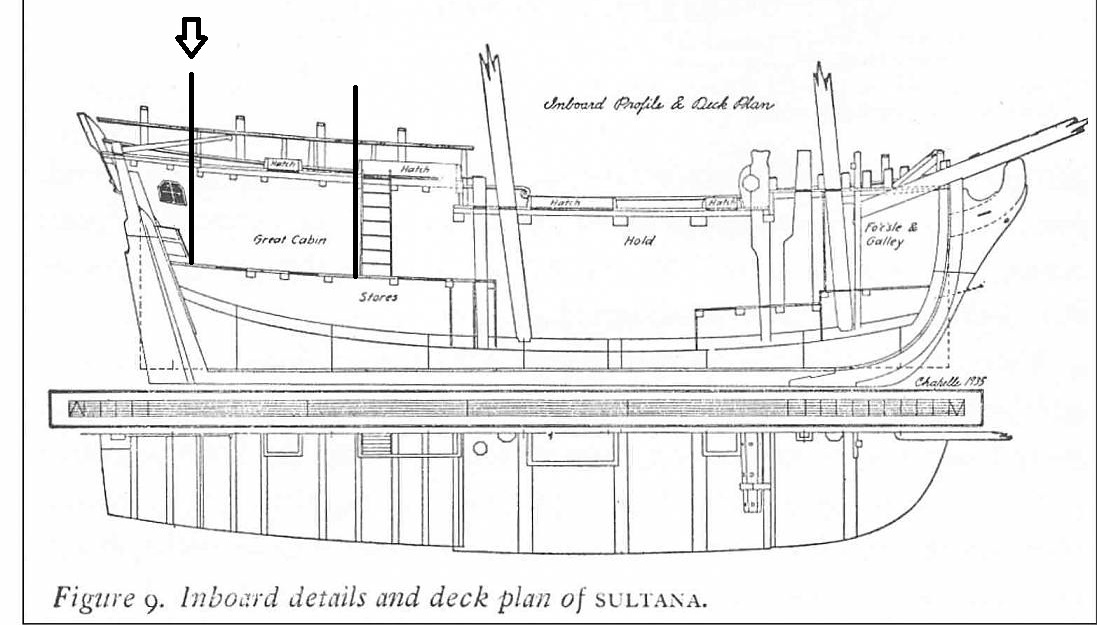
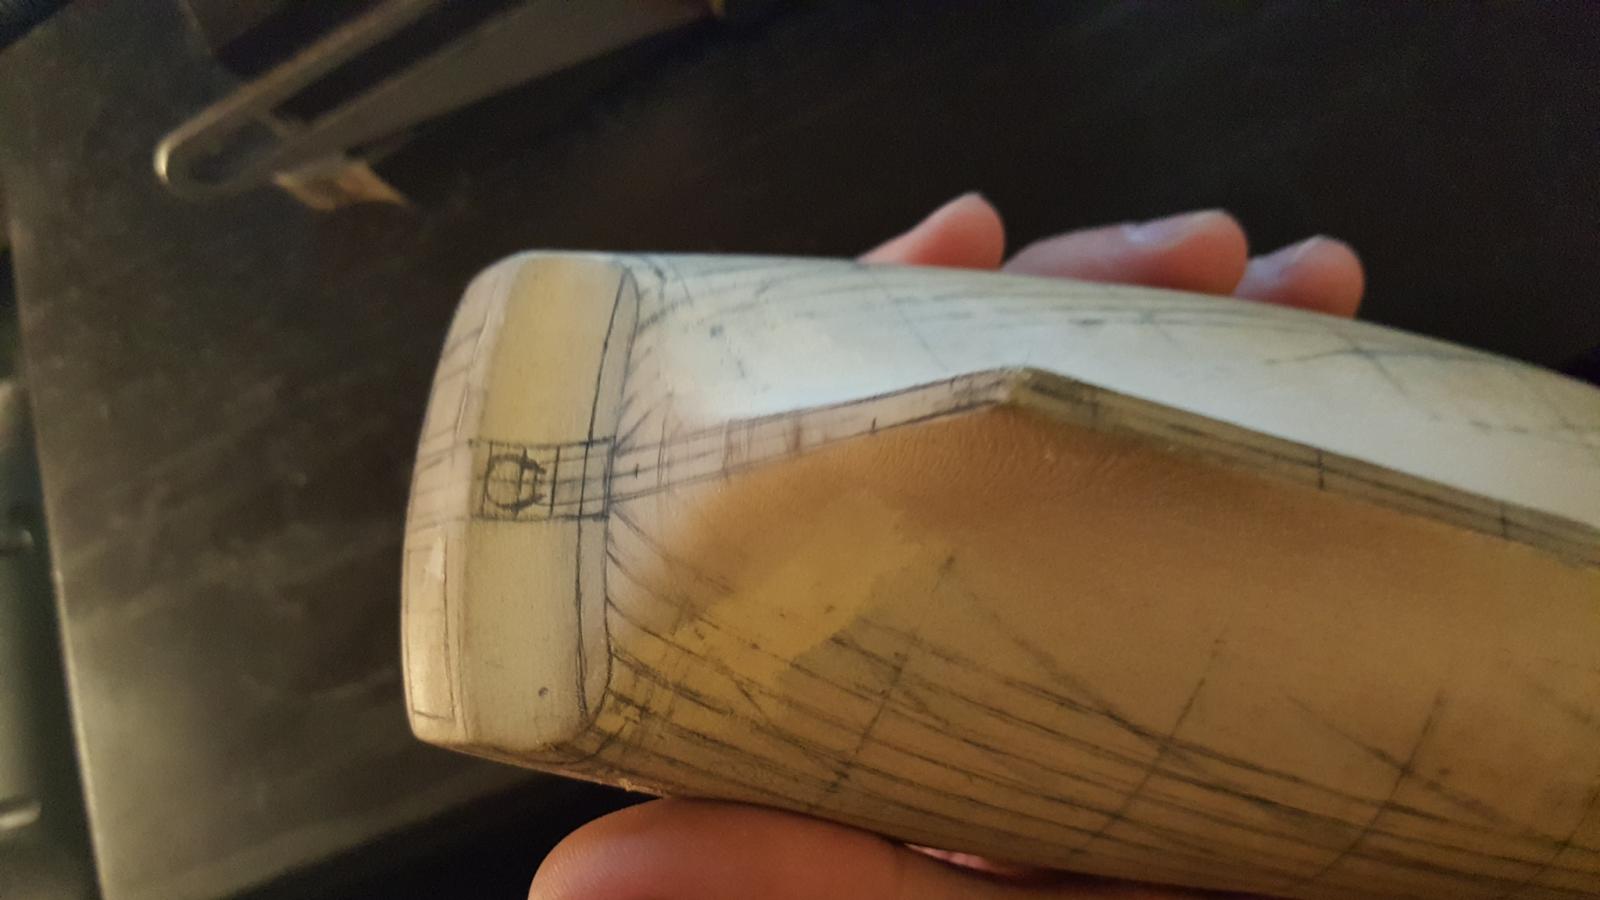
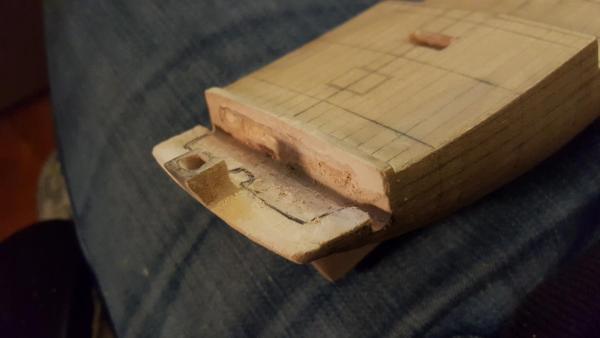
Thank you everyone for the encouragement. The idea itself is to have just enough of the back area open so the windows can be lit up for effect with a touch of detailing. As you can see in the full picture below the great cabin is much larger than the piece i'm hollowing out and while I considered doing the whole thing in reality this being my first wood model it seemed excessive and begged the question of why do a solid hull at all. I wish to challenge the medium and myself without necessarily betraying the nature of the material (it is ultimately a solid hull), and also acknowledge my limitations at this point in building. There shall be other models with more elaborate cabins Halifax, Fair American and more and this process is teaching me quite a bit of what I can expect in the future
-
I haz a plan
-
Basswood and thank you
-
So here is where we are I still have some sanding of the area to do and then will try and construct that little area probably adding a few veneer planks and a few faux looking ribs at the top to make the thing look nice when one peers though the tiny window. I'm not going for 100% accuracy just a flourish and there is still plenty of work to do, stay tuned!

-
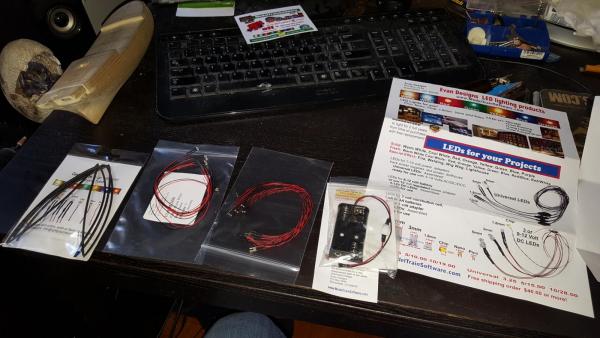
This is the surprise I was mentioning. A little LED kit that is 1.5 mm in size and runs off a 3v battery. My plan is to drape a few lanterns in the areas I circled and behind that will be a mirror for added light. Behind the mirror I will drill a hole which will emerge at the hatch area then another hole down and the wires will pop out through the spot where the keel meets the plans and no one will even know... except us!

-
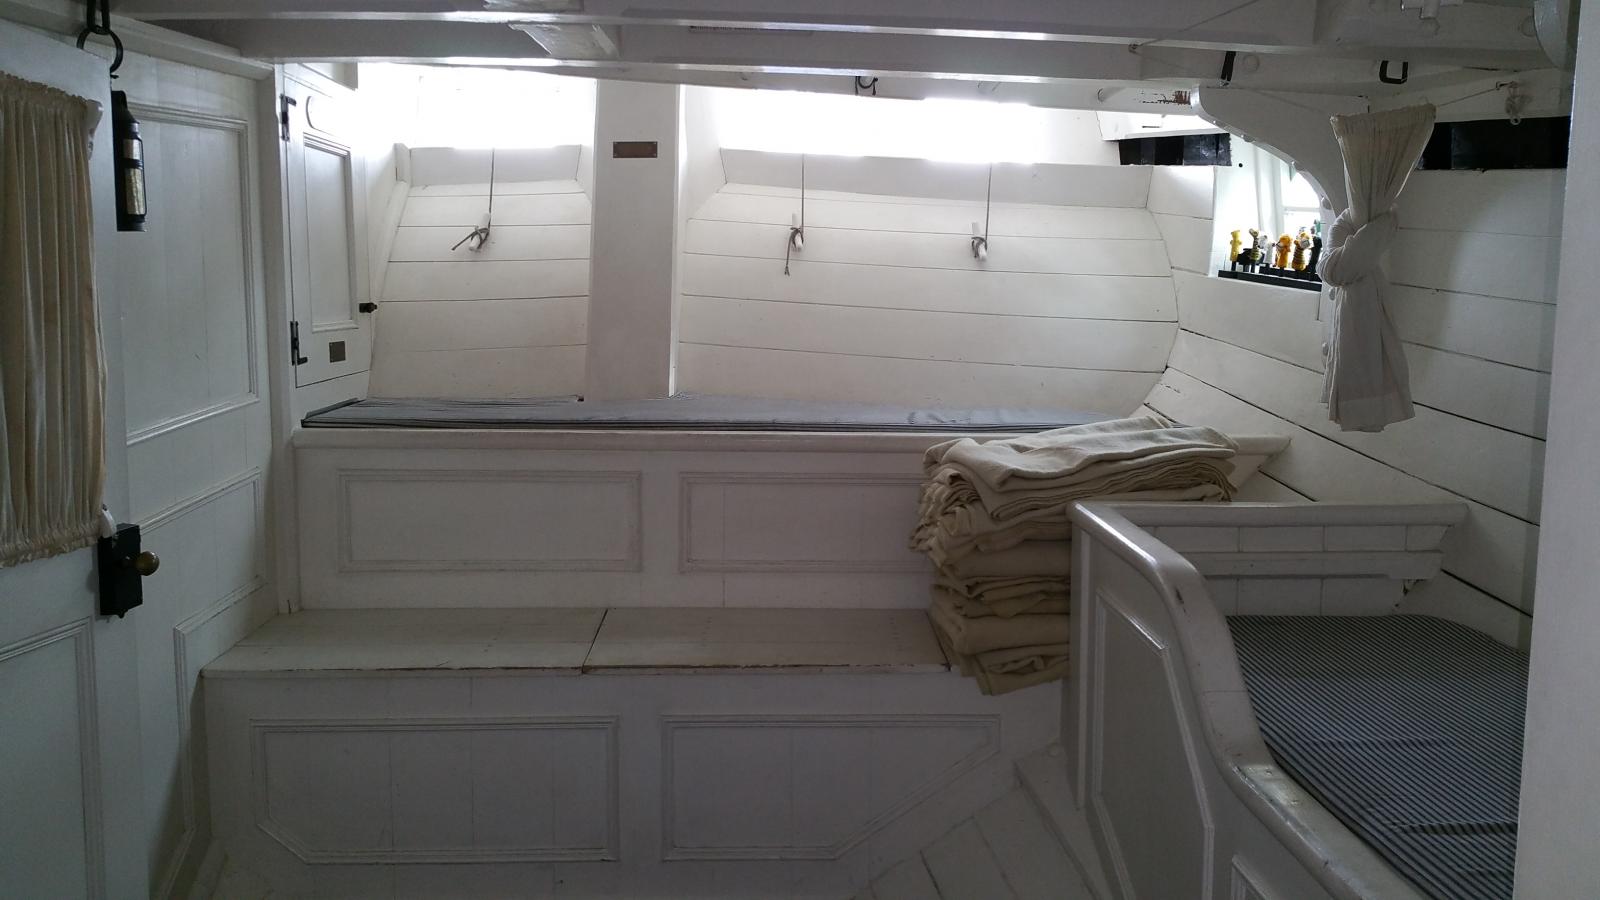
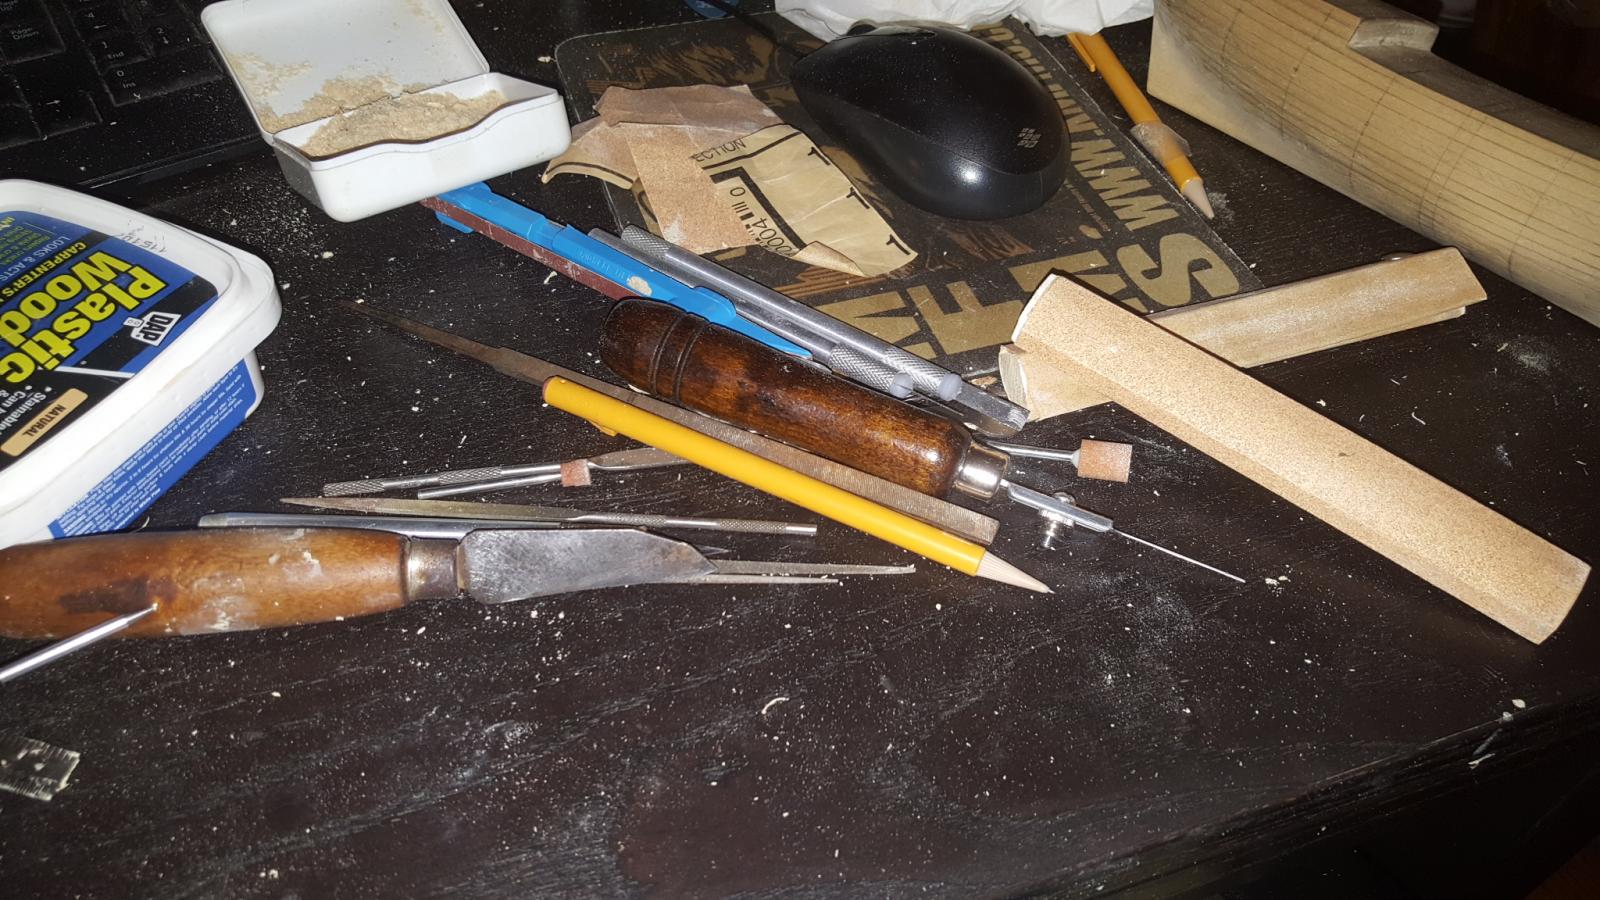
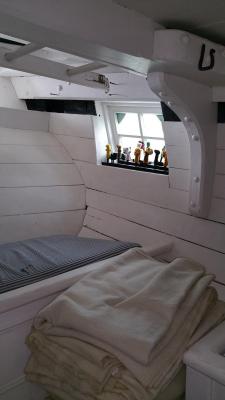
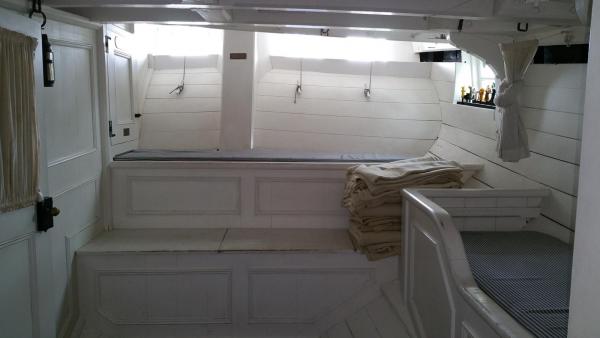
This pic from the interior of the boat is what I'm going for. A very simple step down which ends where the quarter badges end. As you can see my tools are quite covered in sawdust at this point


-
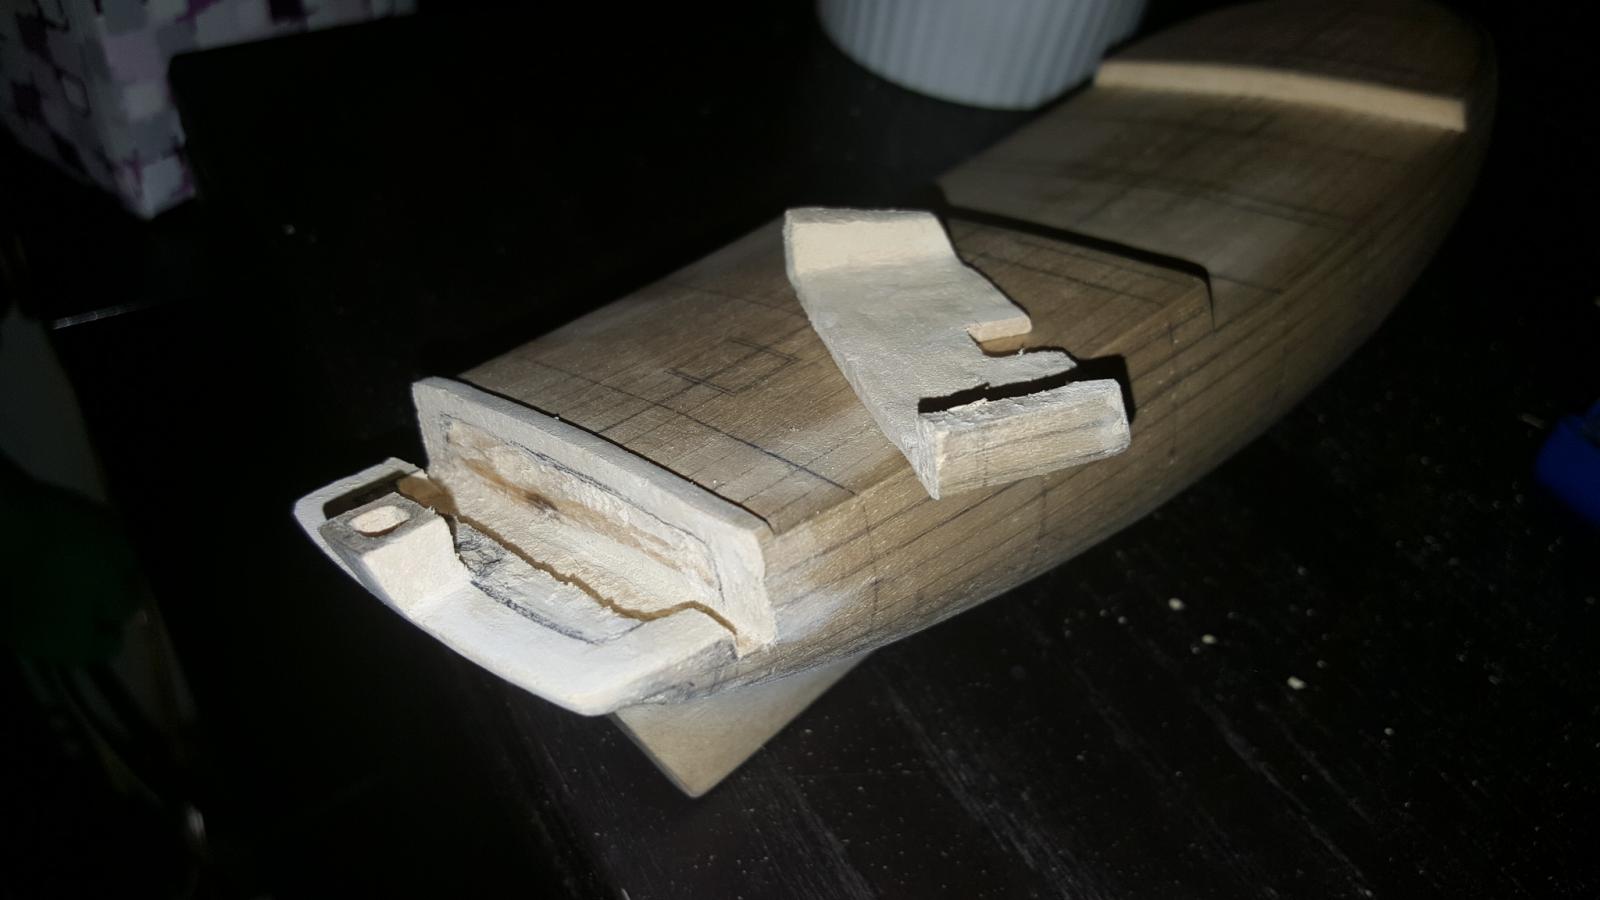
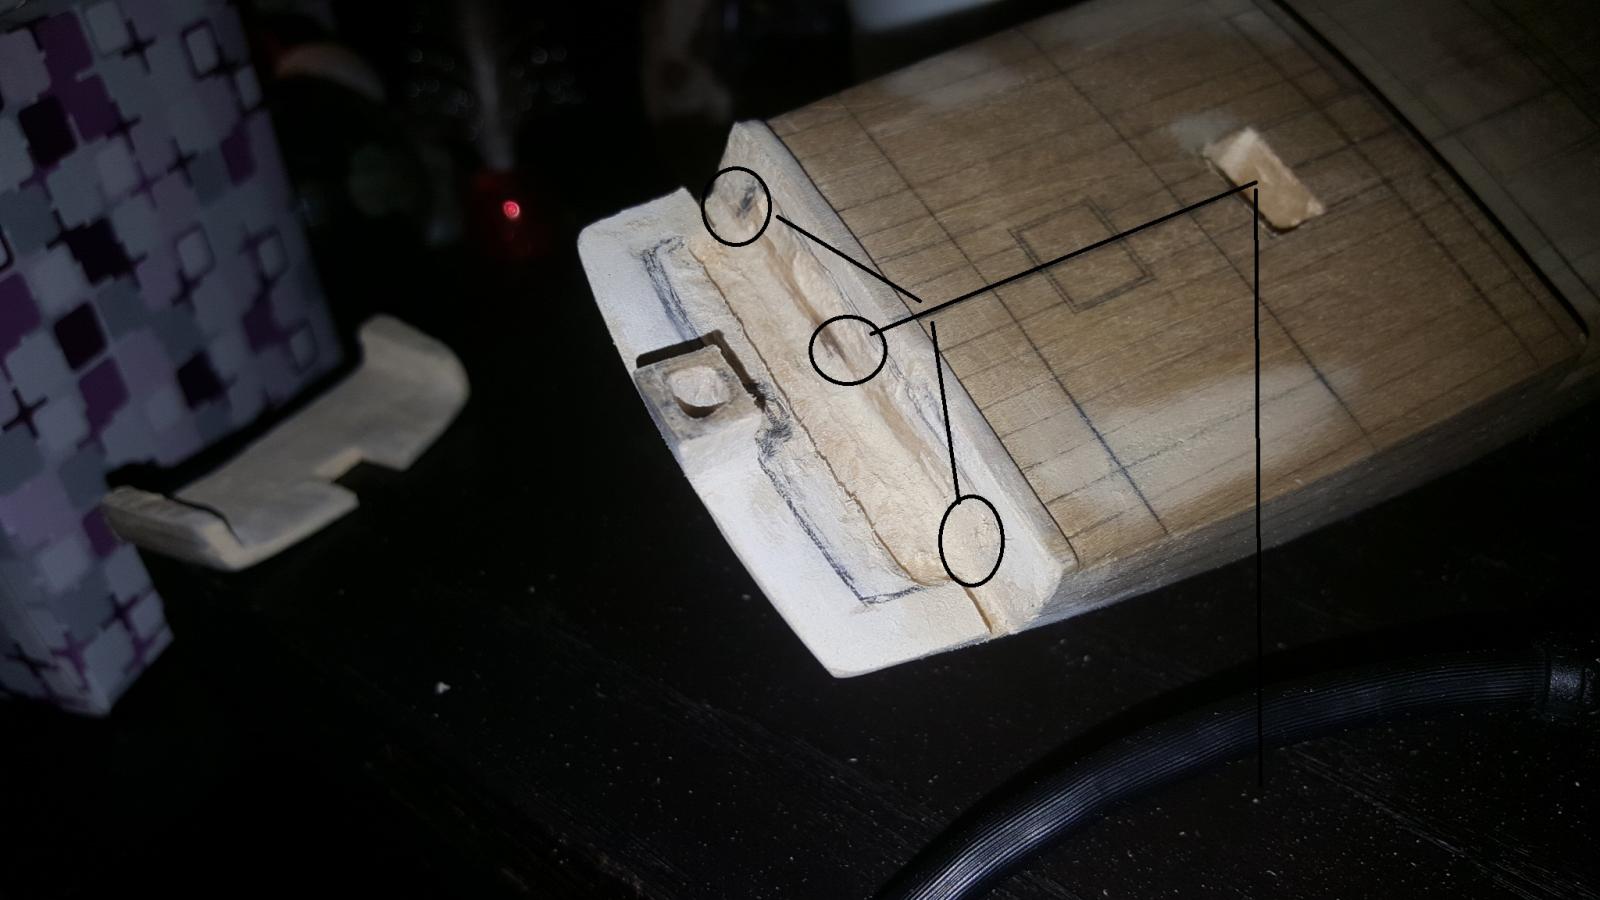
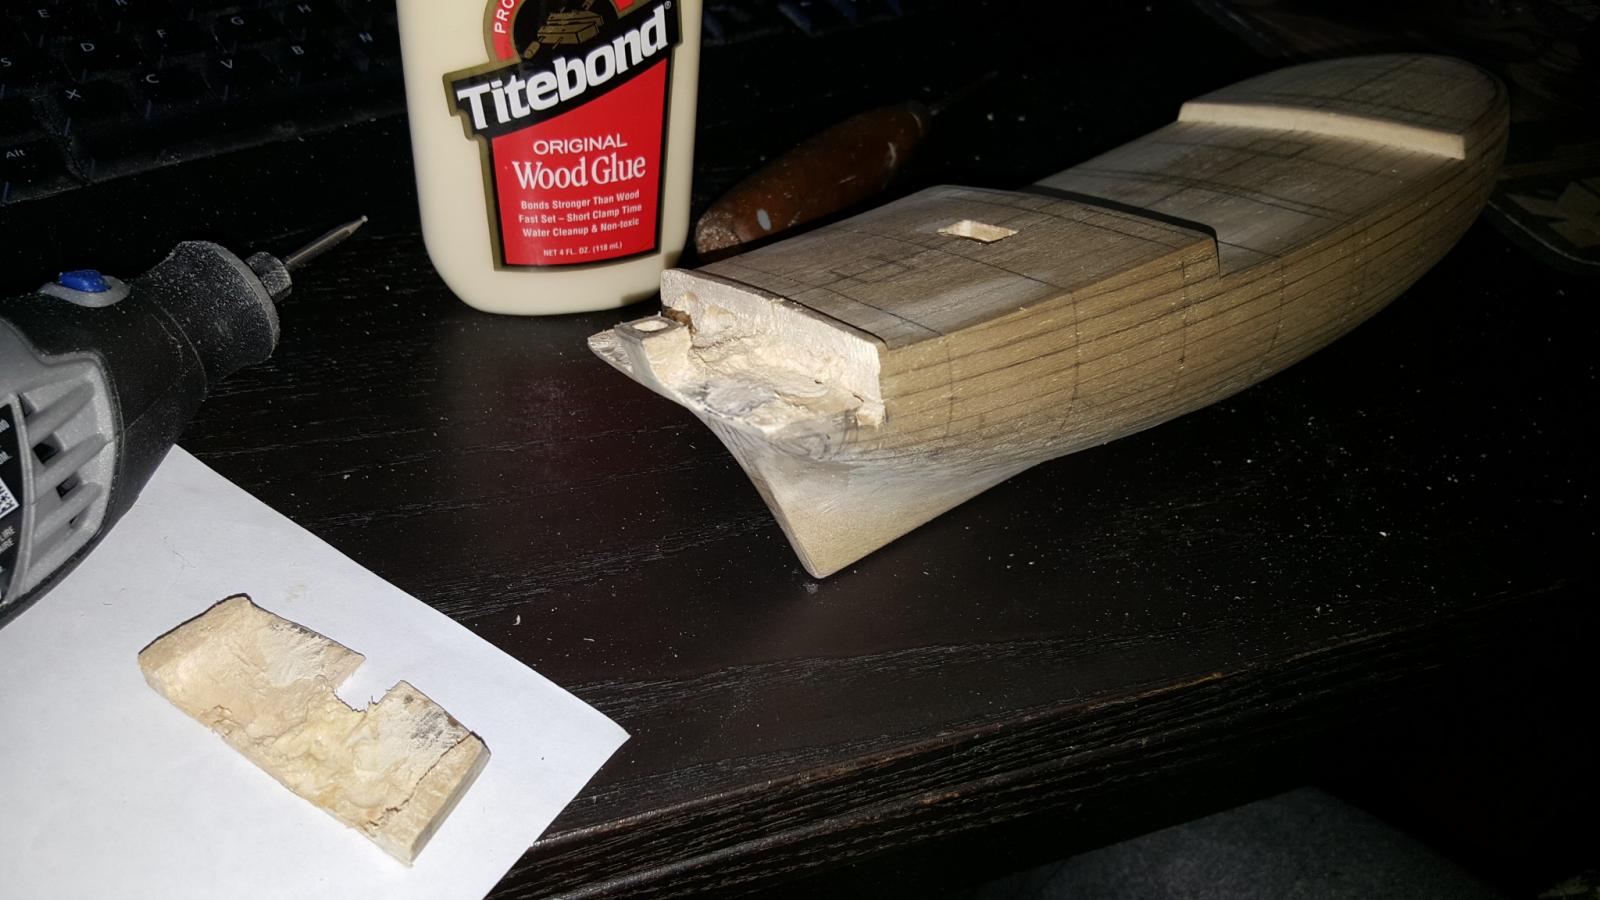
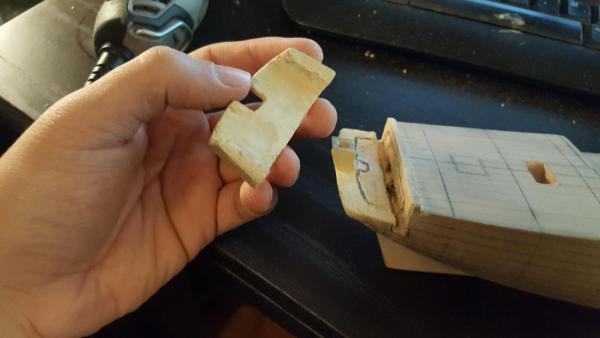
After the piece was off it was merely a matter of using the dremel using various sized bits to sand away the extra material. Using wood putty I then smoothed out some of the rough cuts and then sanded that down as well. Be careful! The top piece will warp when putty is added, as any wood will when water is added, but an asy fix since it can simply bend back to shape. My advice is leave it on the model in its original place to dry


-
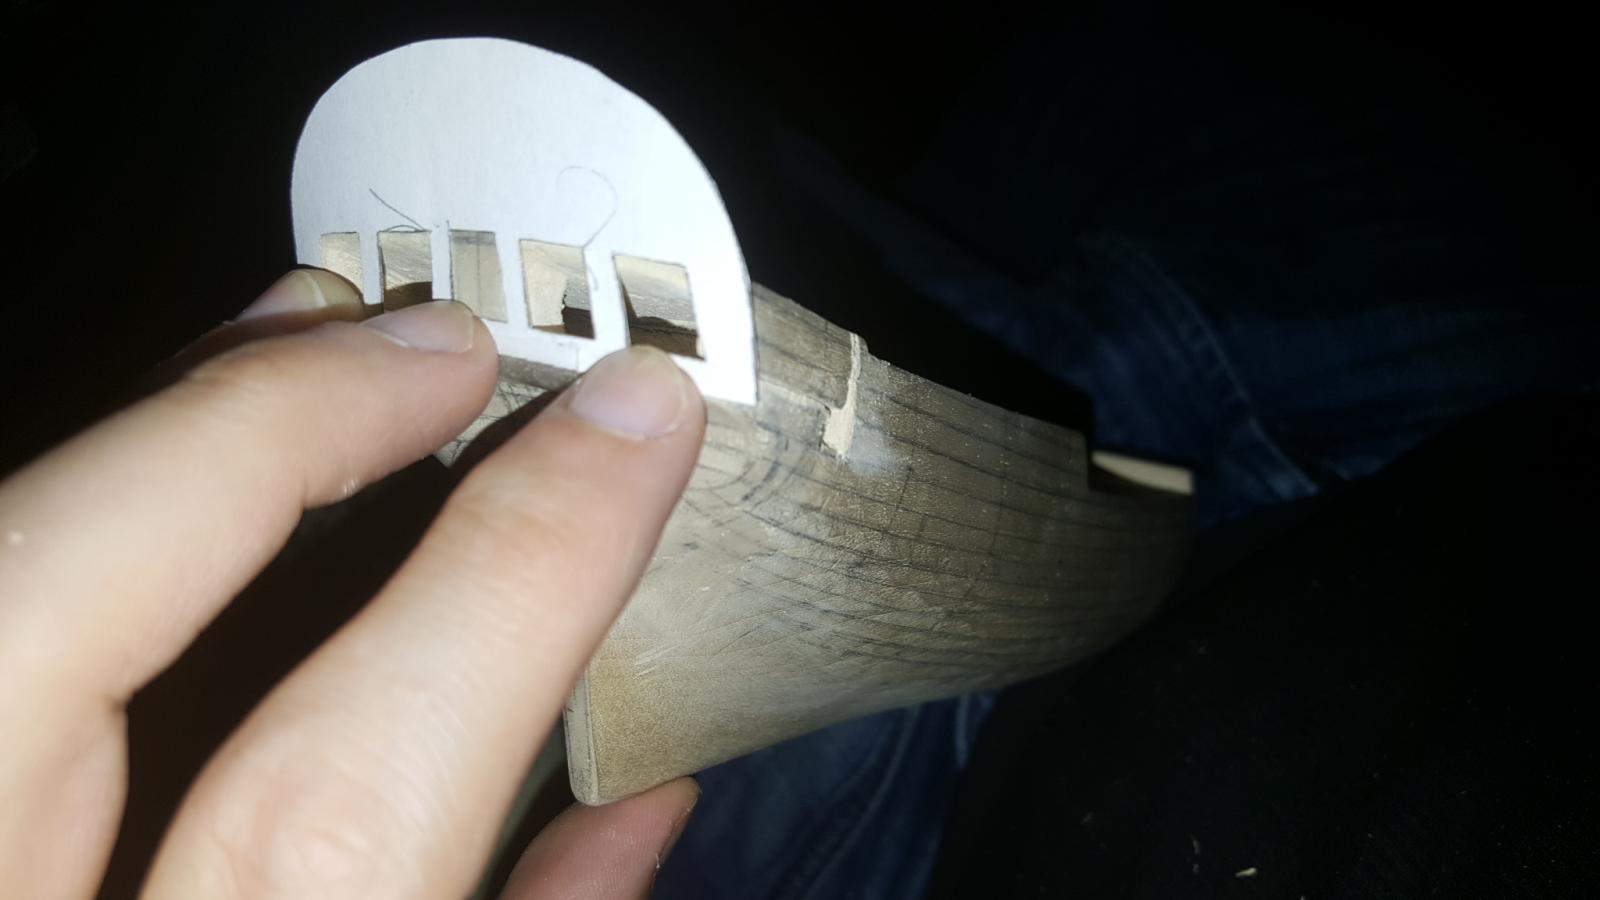
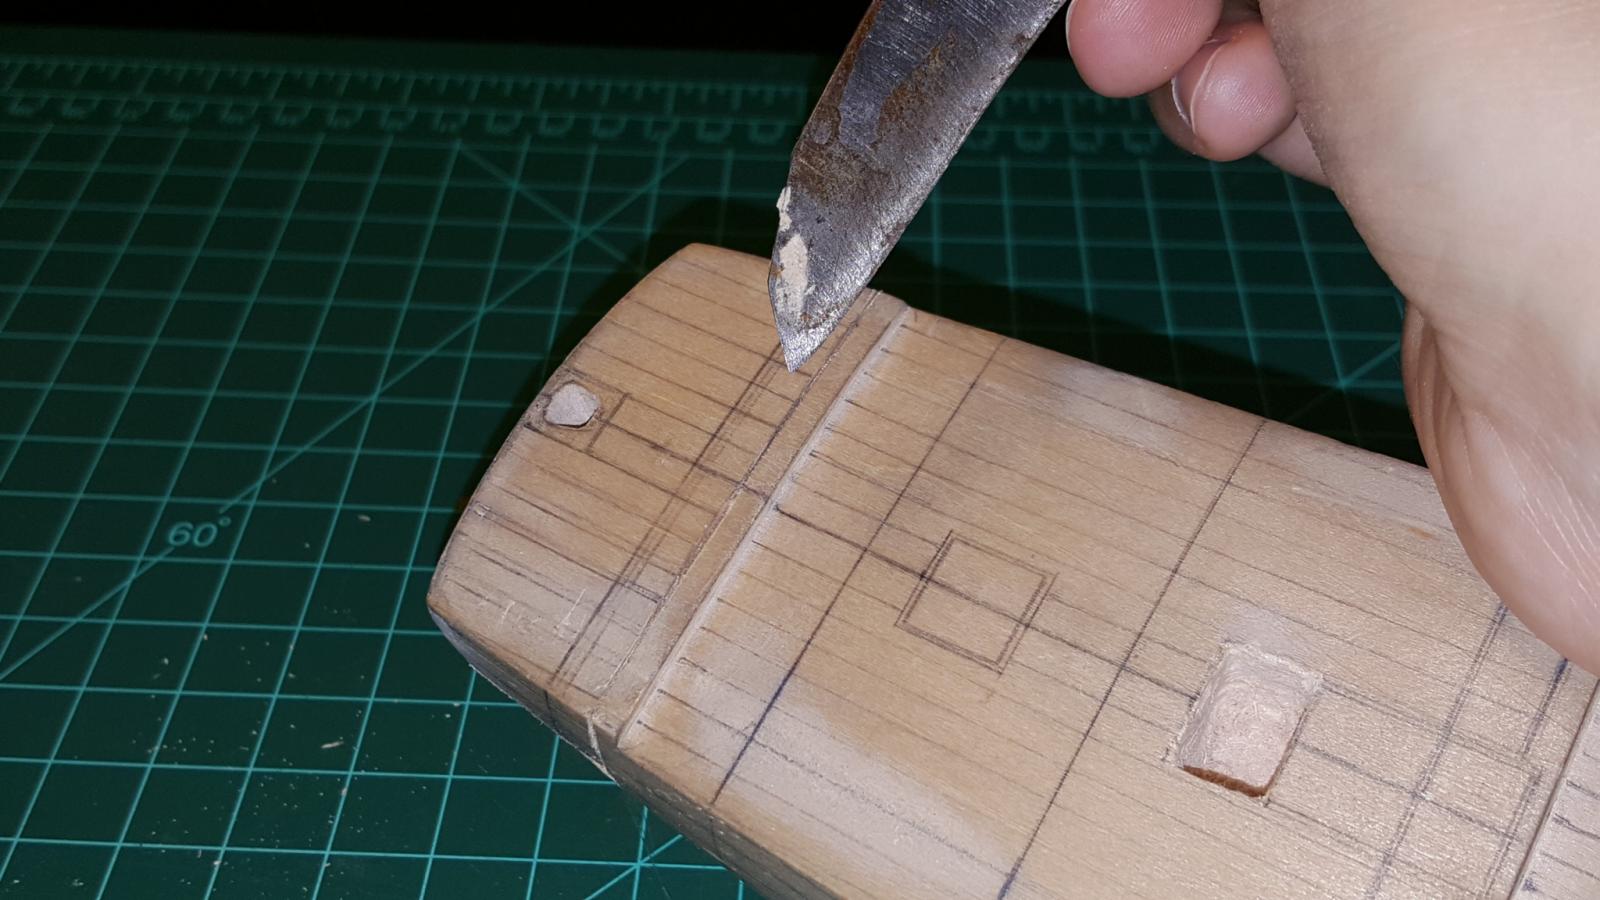
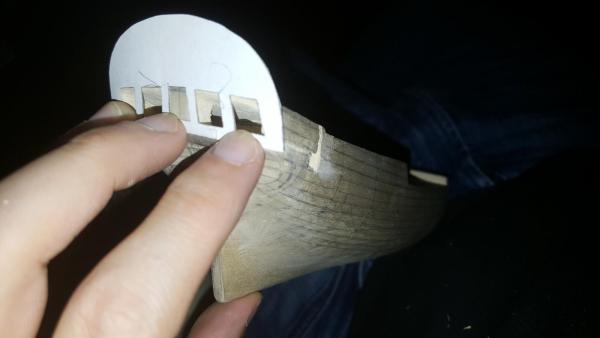
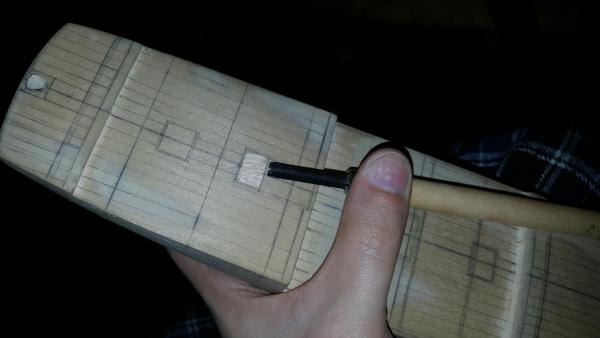
So I traced the edges with a knife to get the area I wanted to cut outlined, then once it went in deep enough used the saw to finish it. Since the interior was already hollowed out I didn't have to go far.

-
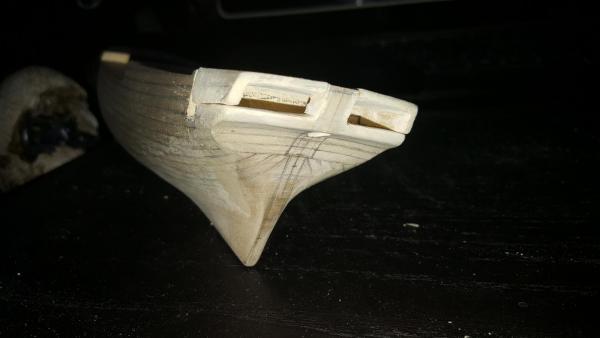
Greetings team! So over the last few weeks this happened. Have I gone mad? Well yes but there is method. I realized burrowing into the hull wasn't giving me the desired result so I just lopped the piece off and as you can see it pops back pretty easily. Let me show you what I have planned.

-
I wonder would an archeological team be able to examine those remnants to determine which ship it was, assuming anyone would care enough to spend the money, but would there be enough of the remnants to learn anything more about the ship in question. This is also a general question to all ship hull remnants such as those in the Penobscot expedition.
-
The subsciption frigate New York and other details
CharlieZardoz replied to CharlieZardoz's topic in Nautical/Naval History
Ah yes ive seen the anachronistic Henry Allen drawings in Donald Canney's Sailing Warships book. Thank you for the clear images Talos much better than the one I scanned. When I get a moment ill start posting some figureheads/sculptures of Columbia for New Yorks plausible detailing. Hopefully Chapelle's offset book wasnt also burned by the ex-wife -
To paint or not to paint, that is the question?
CharlieZardoz replied to ratskiss's topic in Wood ship model kits
I would say replace all kit planking wood as its usually not that great. Paint is a matter of preference if you use a nice boxwood or pear then maybe oil/stain the wood and paint the detailing red black blue etc. But thats one way to do it feel free to follow your heart- 11 replies
-
- 1
-

-
- HMS Surprise
- Artesania Latina
- (and 1 more)
-
Its going to be fully planked with a cherry keel and pear and boxwood sides and holly deck I just want to wait until all the carving work is done so once the planks are on I dont handle it too much with finger oils.
-
Thank you Mark. Your support is always appreciated
-
My advice with solid hull kits from my experience is that they aren't really an "engineers" kinda model. It's very freeform, you basically have a block of wood, some plans and fittings and the wood is generally in the shape it should be but adding is sometimes just as important as taking away with Sultana ive added a lot with wood putty in spaces which needed it to get the right shape. Is it exact? Not really but it's closer to what it should be than when it came out of the box. Solid hull modeling is almost like sculpting the templates are guides but best go by eye and if you aren't happy with the plans then just order printed copies of the originals from the national archives and make your own templates like I did.
- 83 replies
-
- 1
-
-
- revenue cutter
- BlueJacket Shipcrafters
- (and 2 more)
-
Probably a vinyl/acrylic sheet or whatever Chuck uses for the skylight on the Cheerful.
-
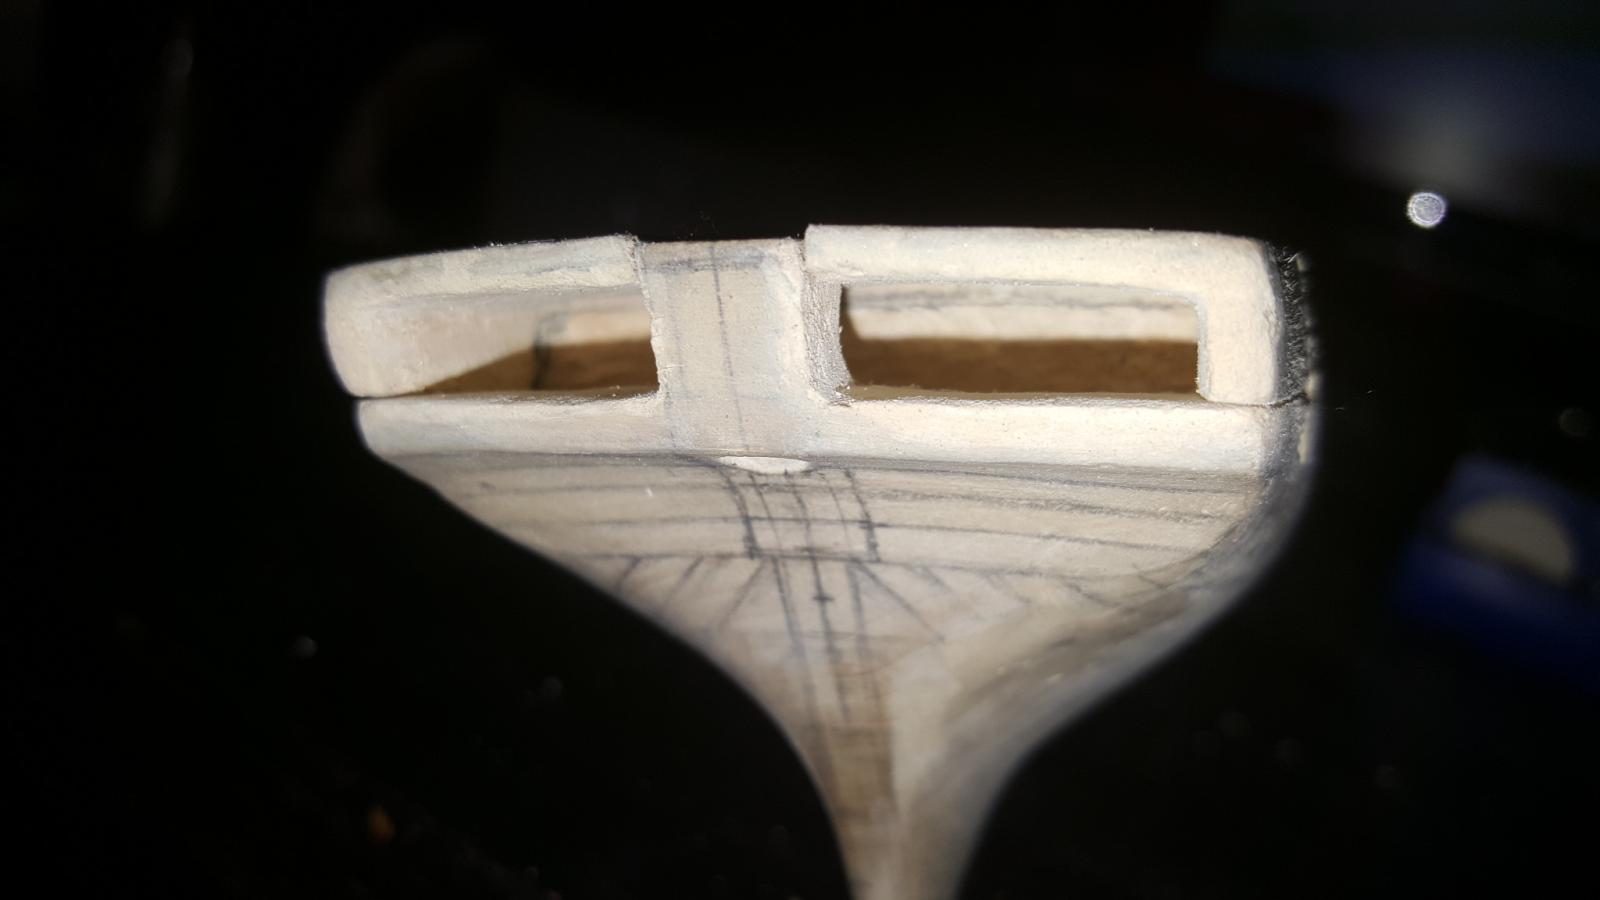
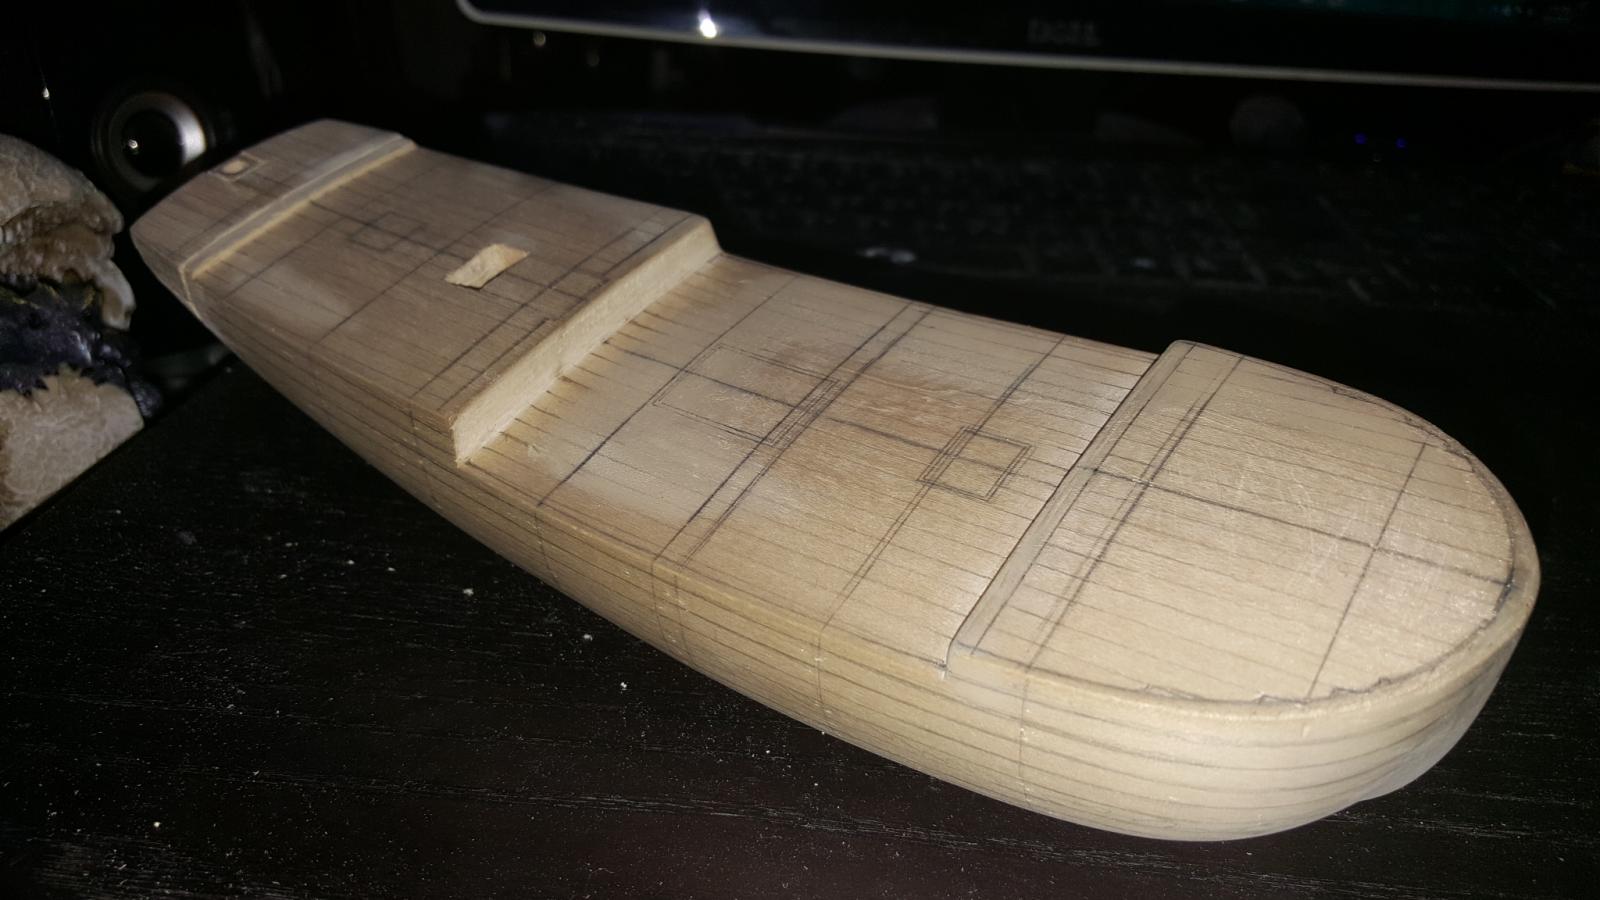
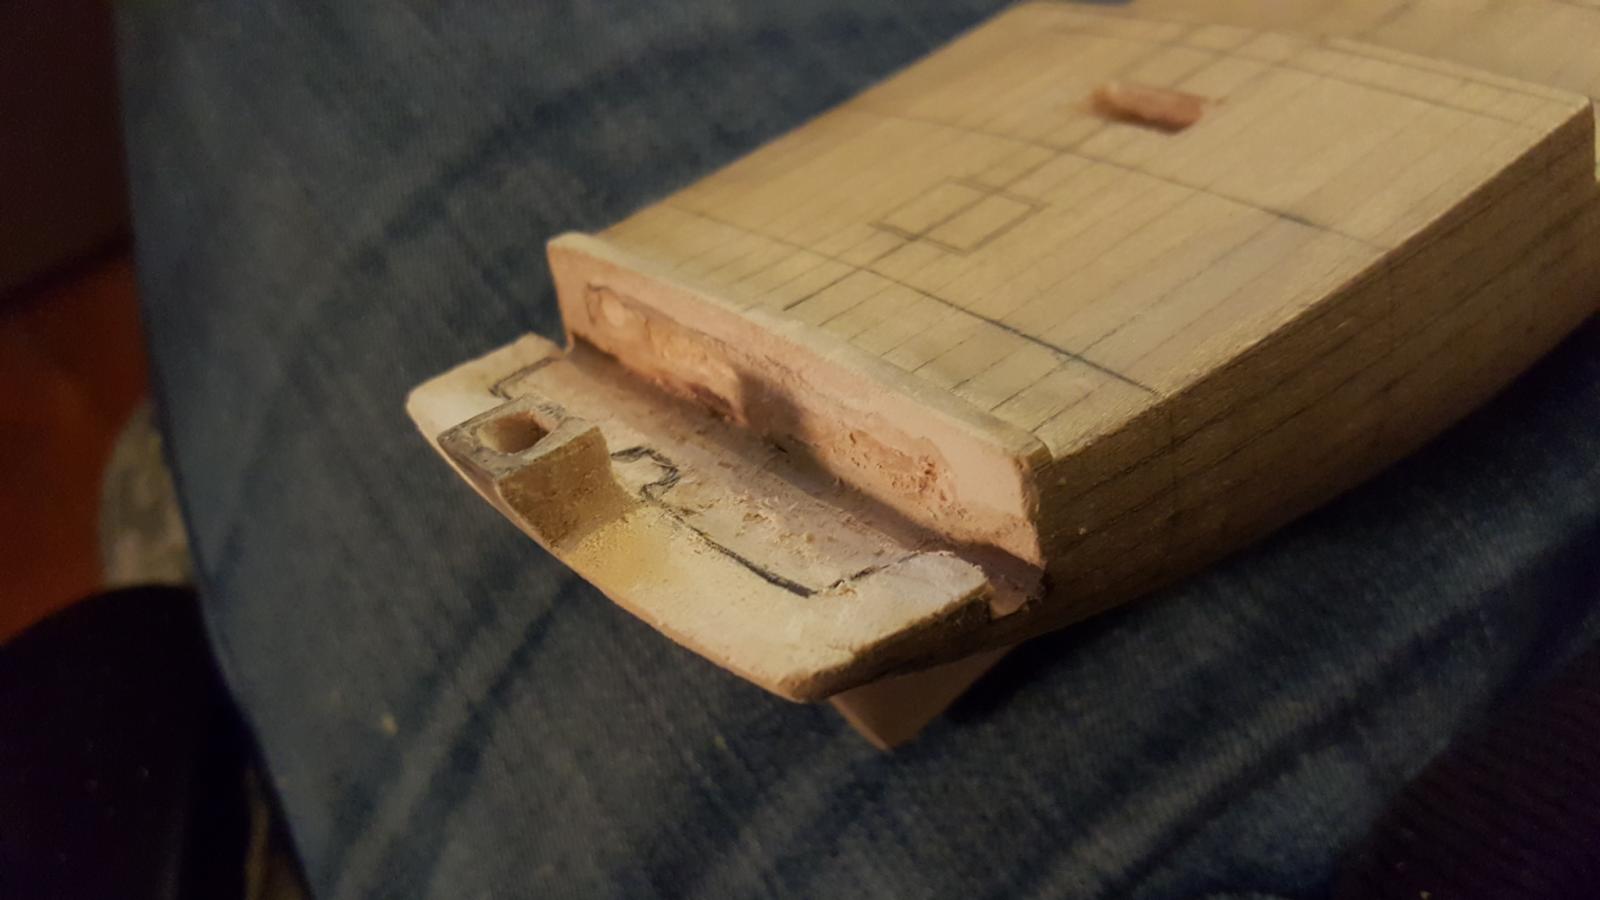
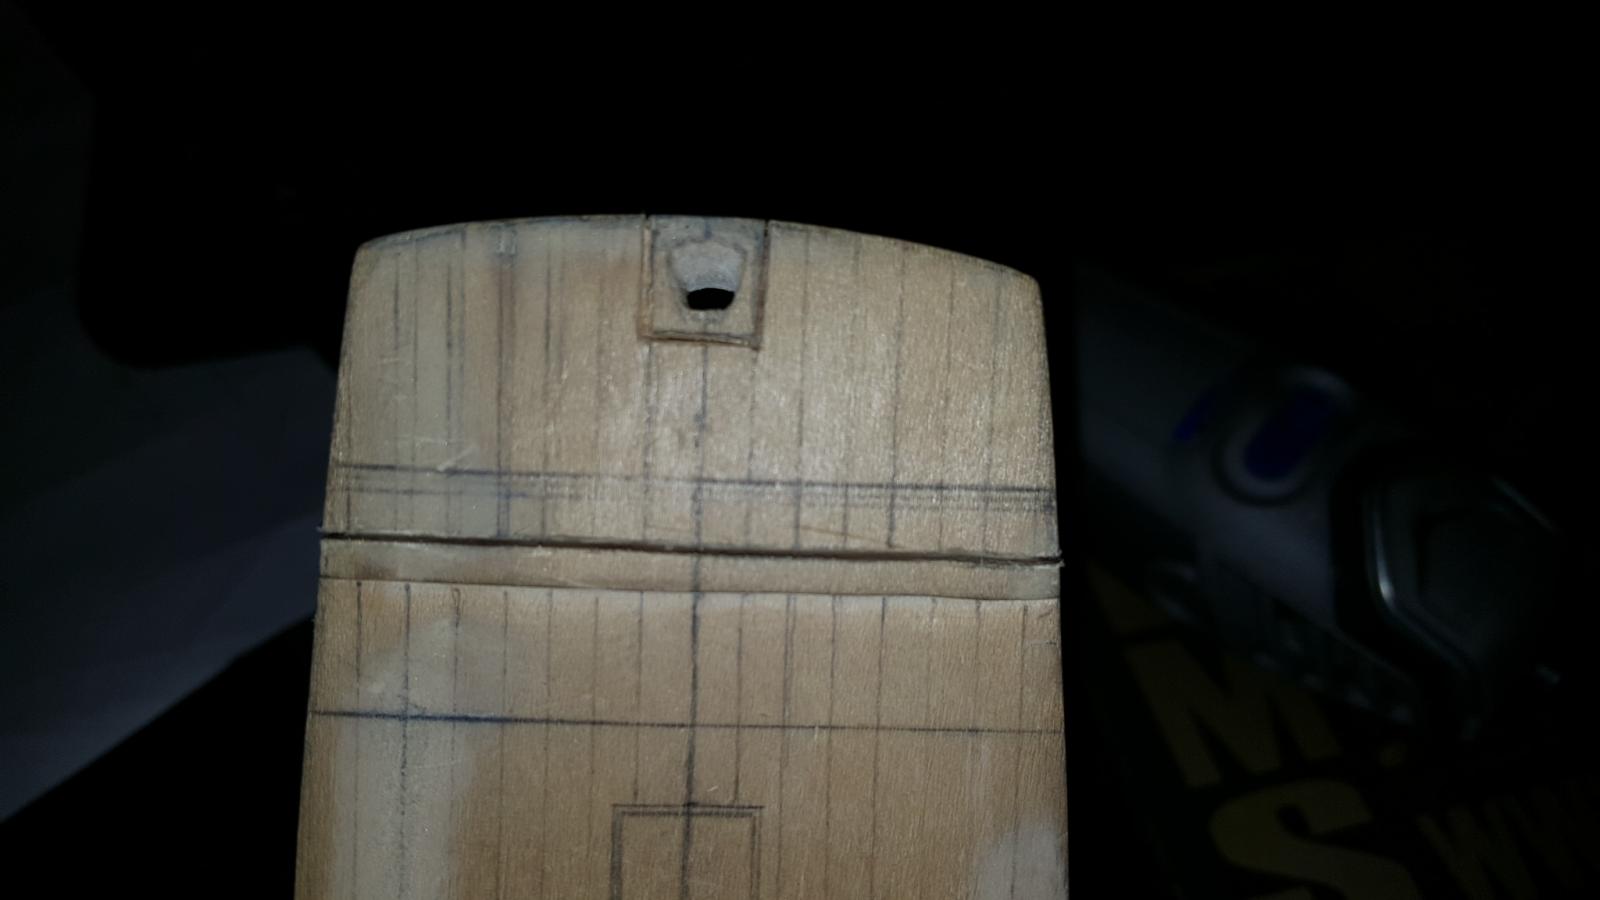
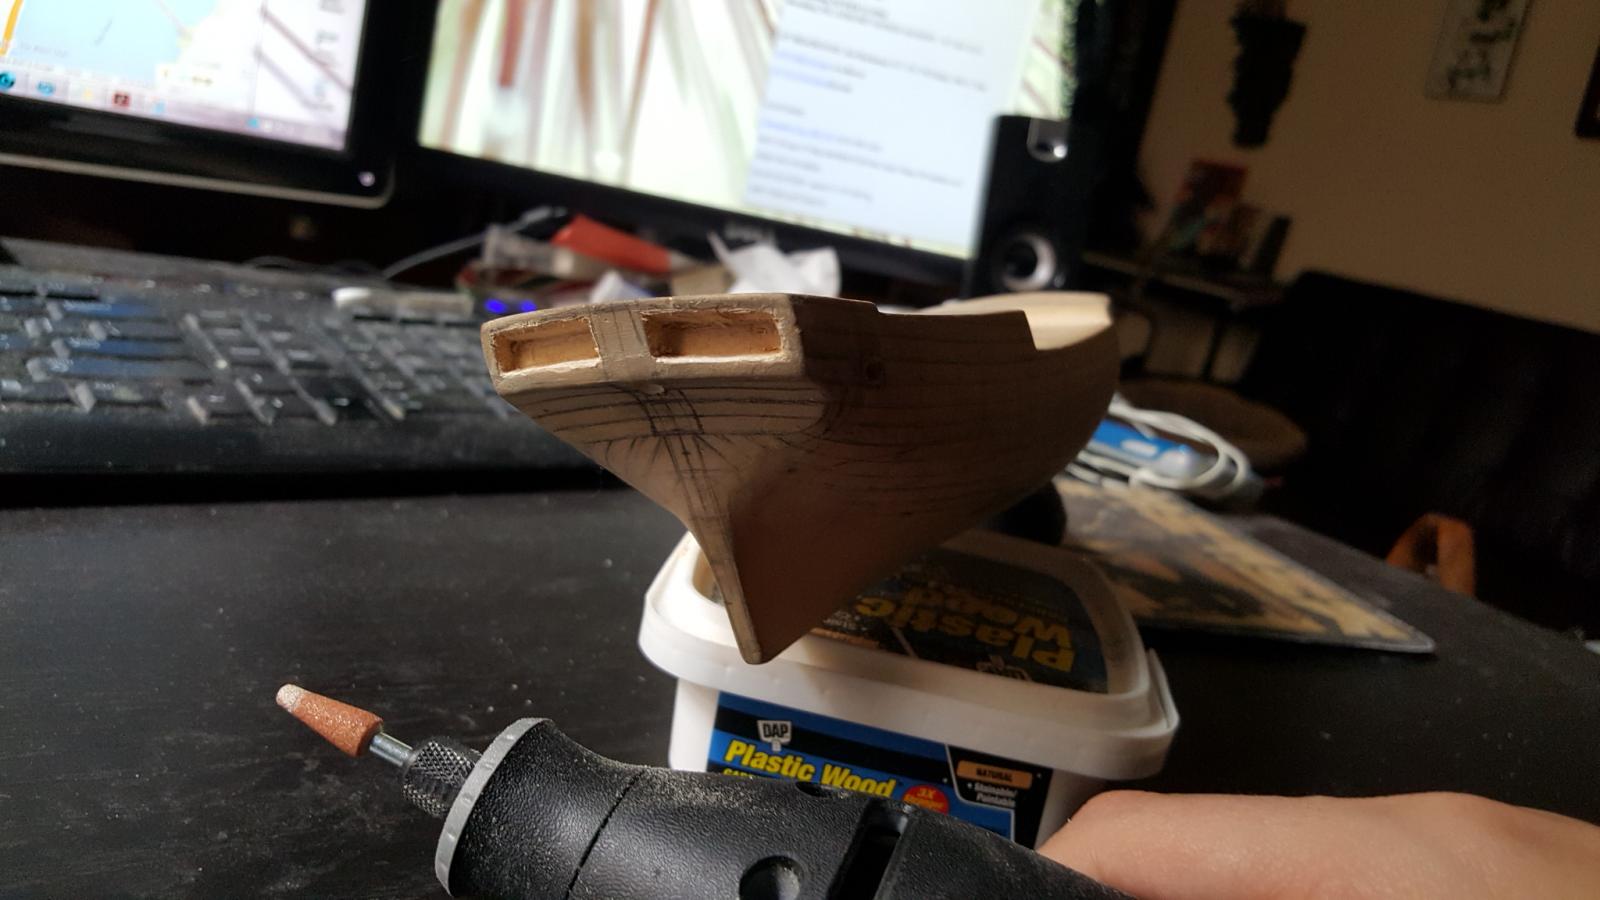
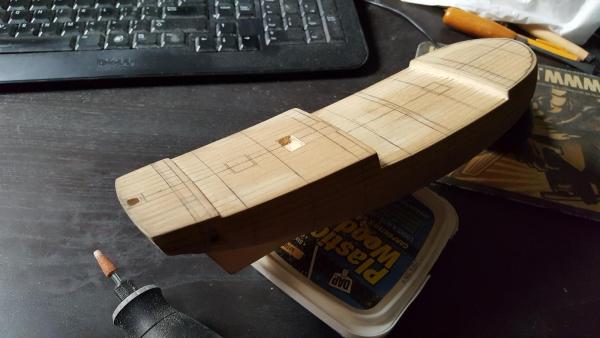
And here is the end result. I have more work to do but it gives an idea of what it's going to look like. The drilling needs to be about 1 1/4" for both the hatch and stern area which I'll widdle away on during the week. Until next time.

-
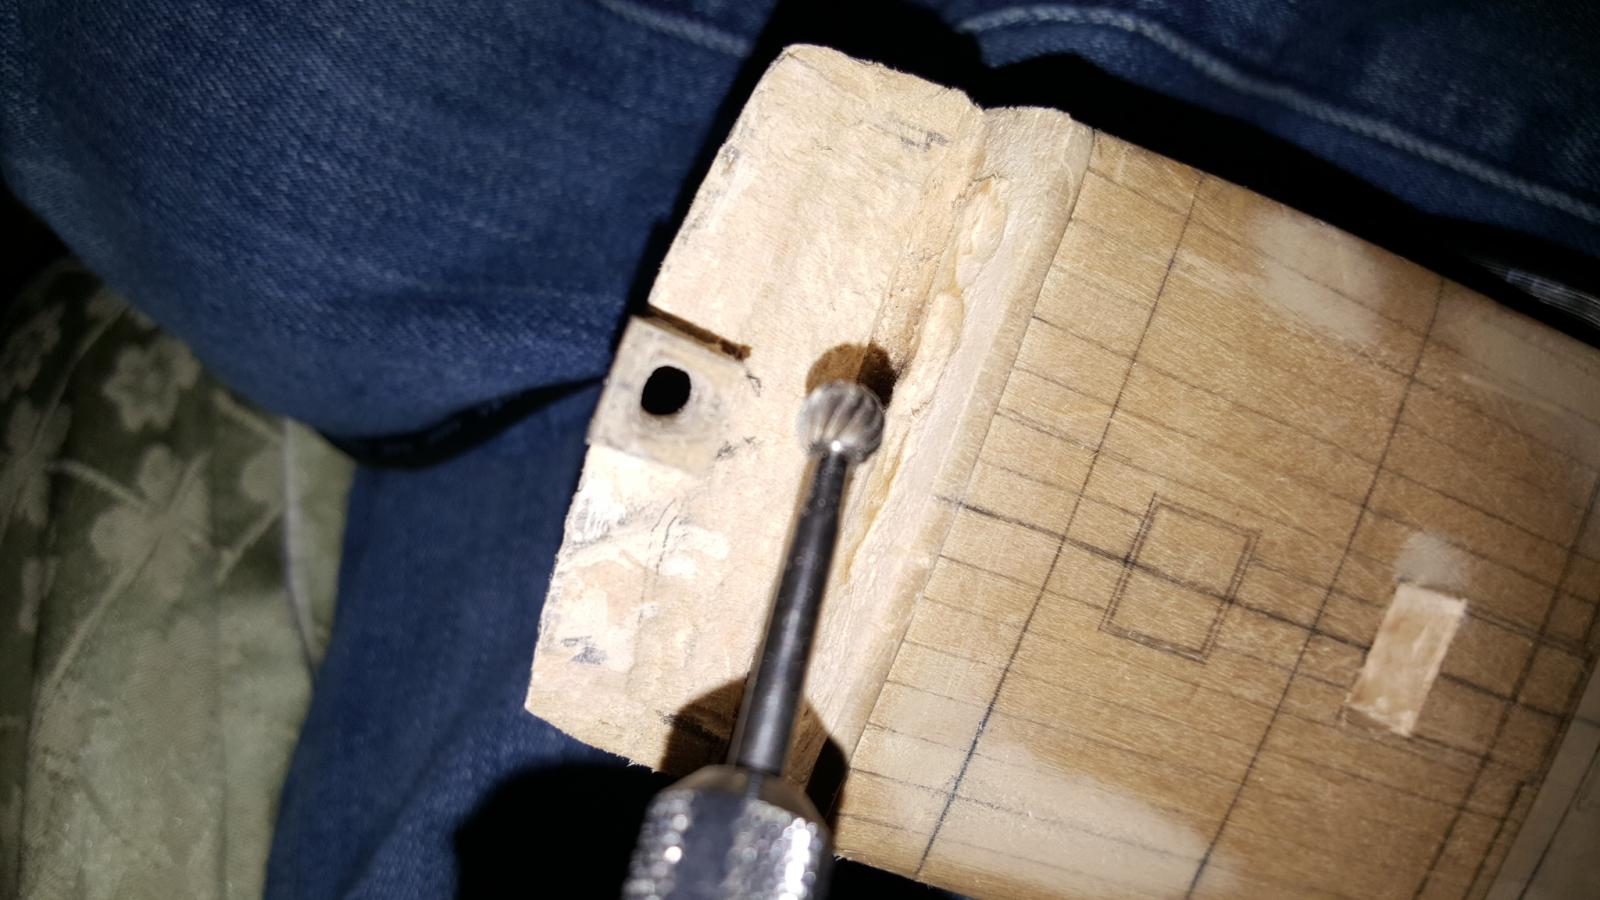
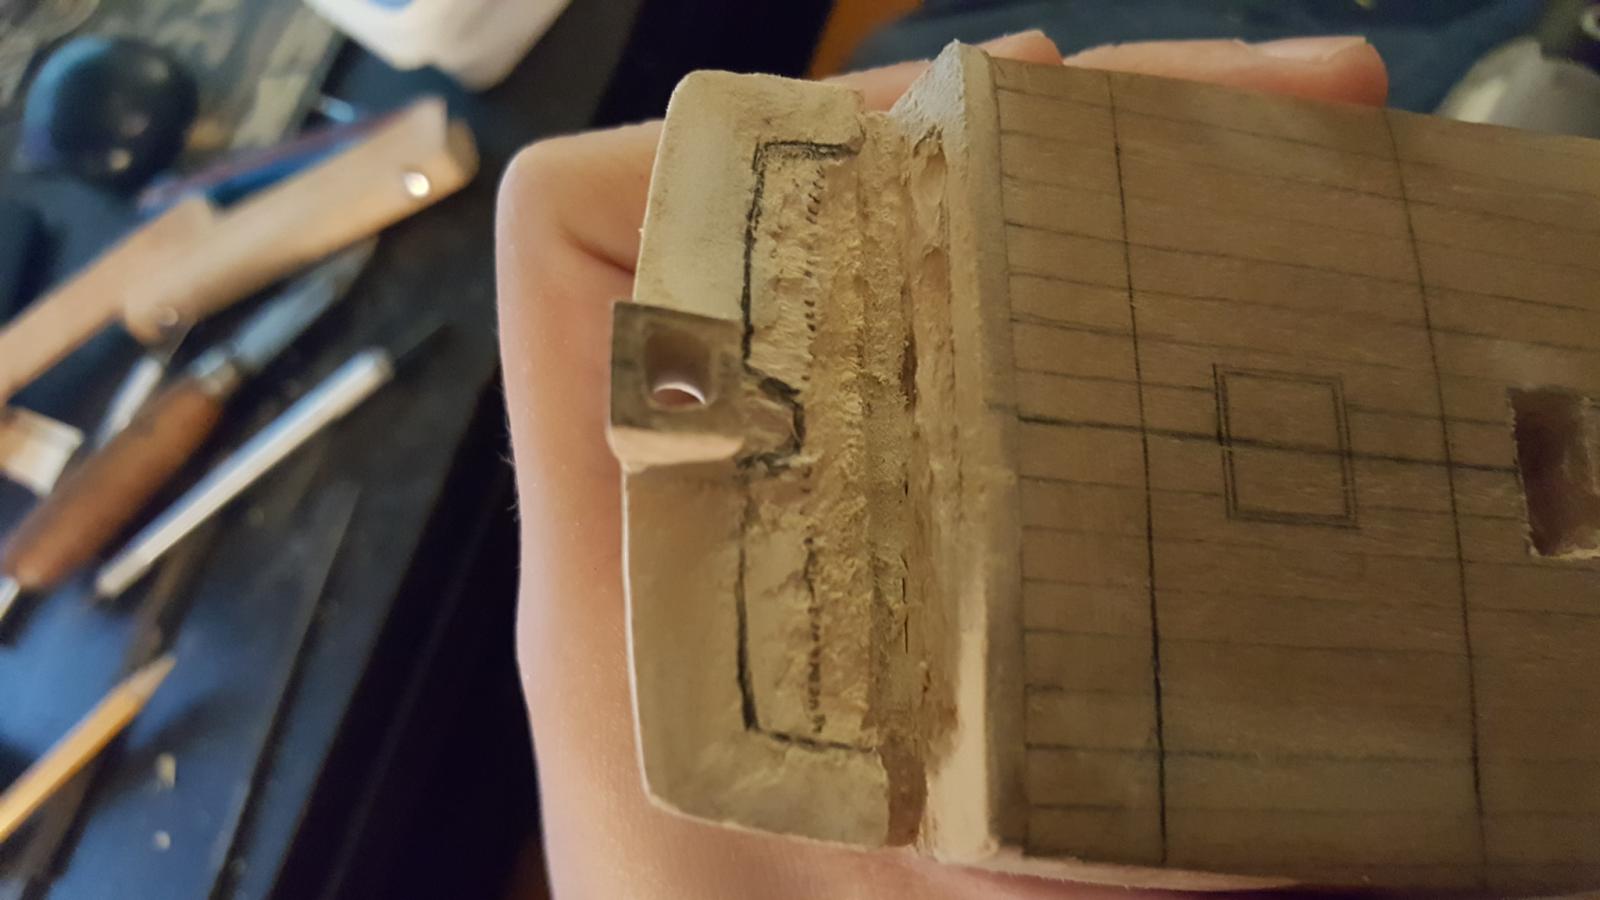
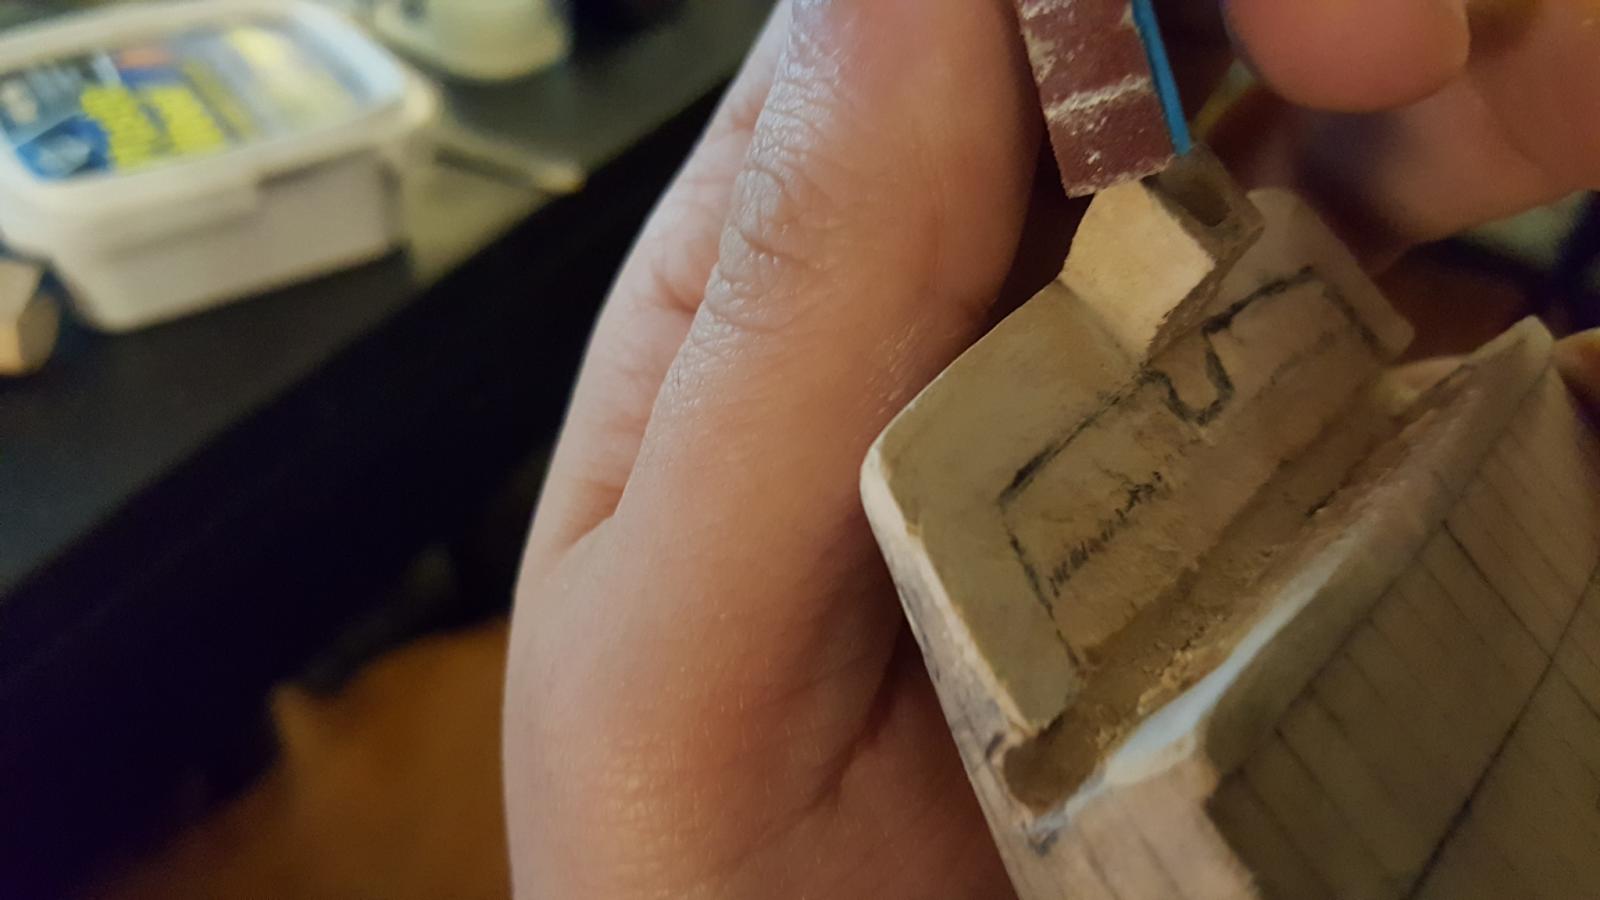
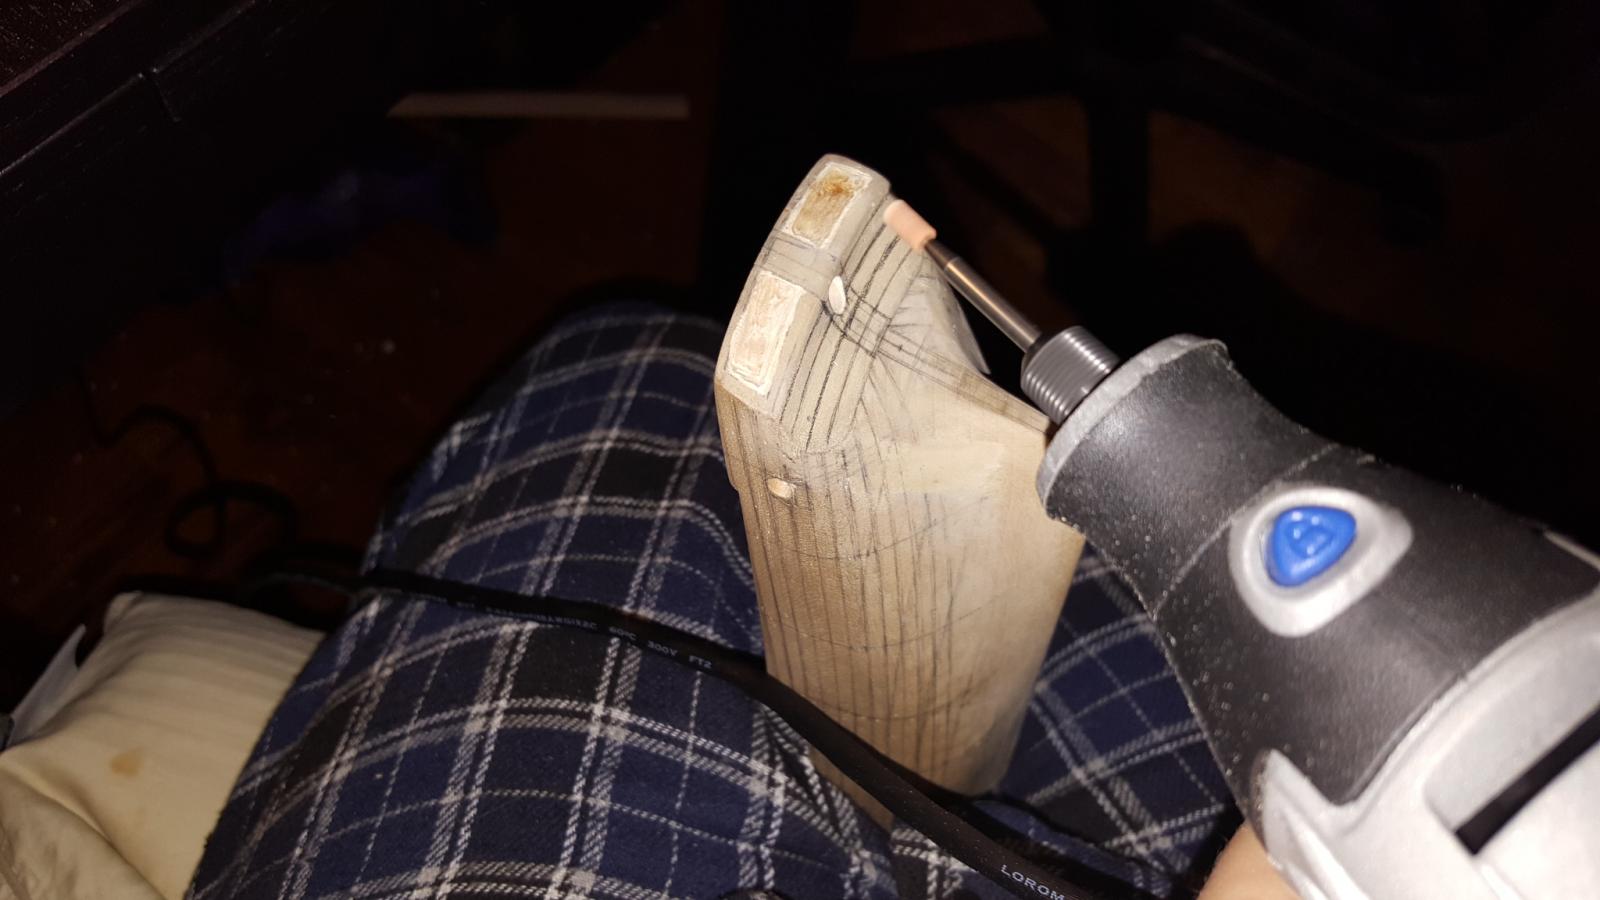
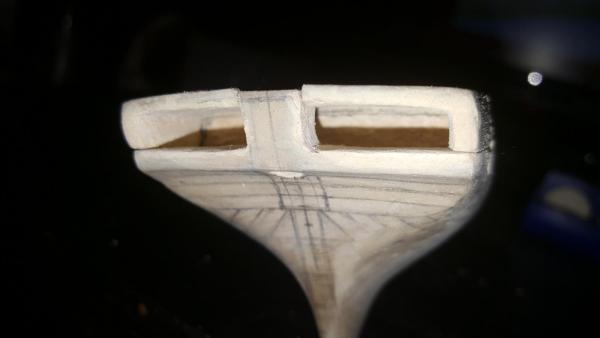
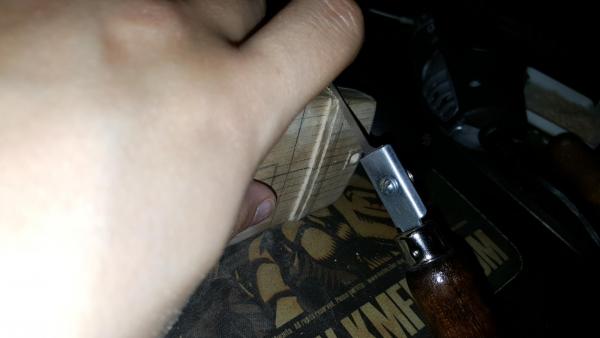
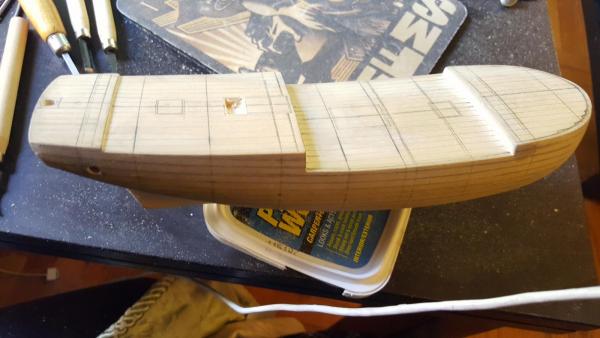
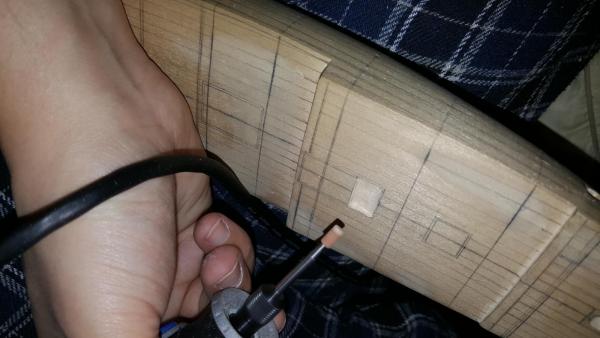
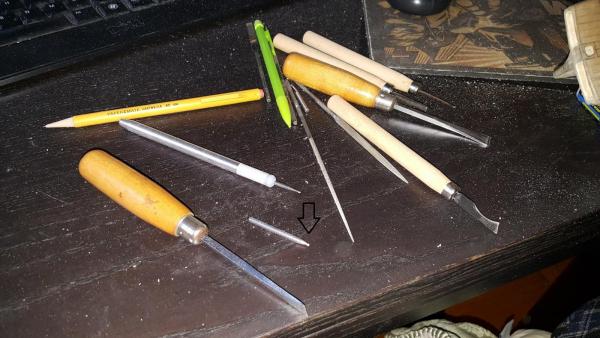
The hatch area needs to be opened and I also plan on opening the back area where the windows are. So using wood carving tools I traced the outline first then used the dremel once the area proportions were established. You can see in the pics some of the dremel tools I used either very narrow sanding tools or the little metal one I pointed to with an arrow. I also used a drill bit to drill into the quarterbadge area. Eventually the stern windows will meet by the quarterbadge holes and the inside and I will hollow the rest out with various tools.


-
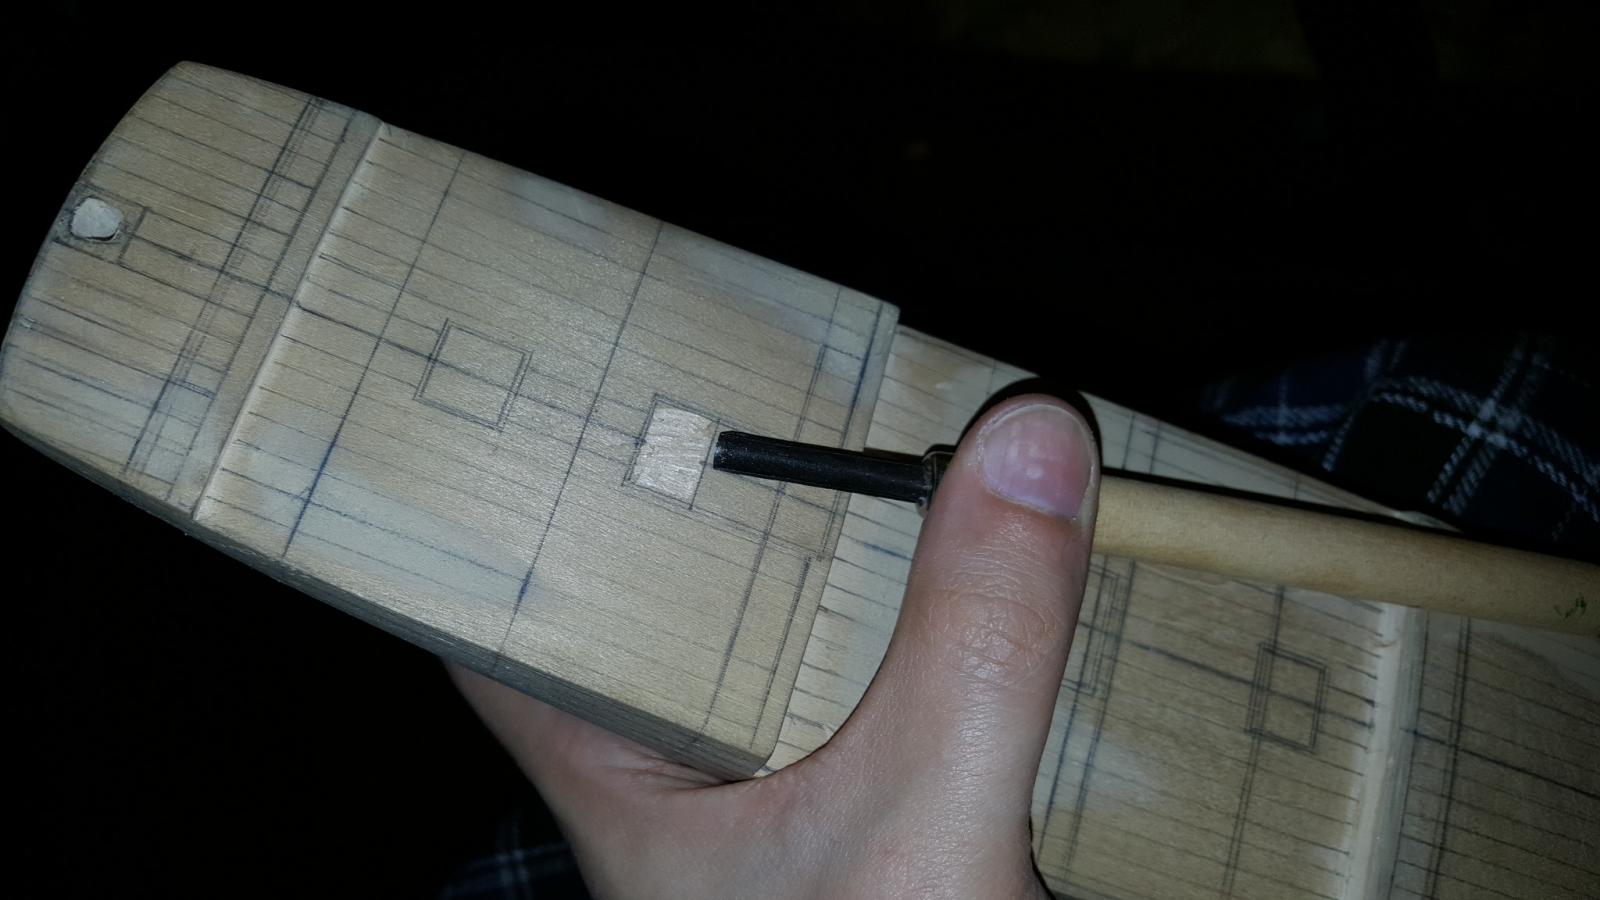
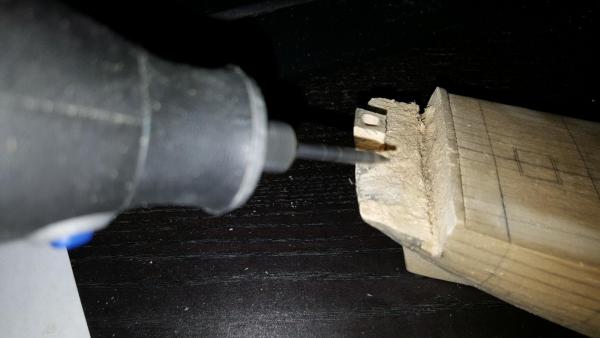
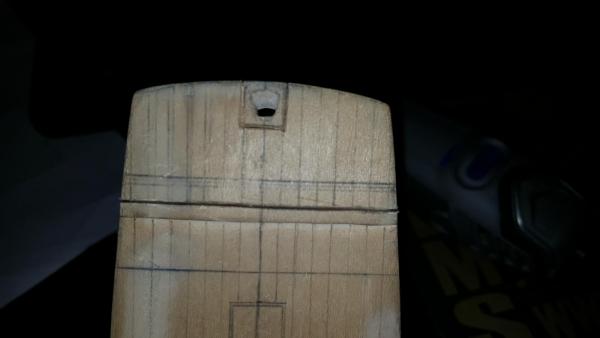
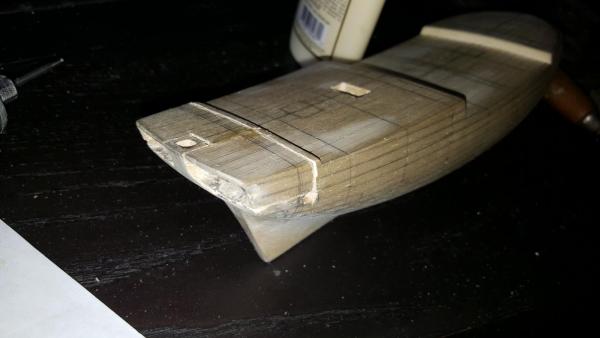
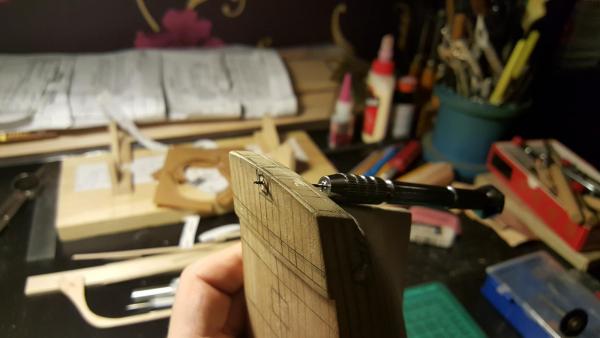
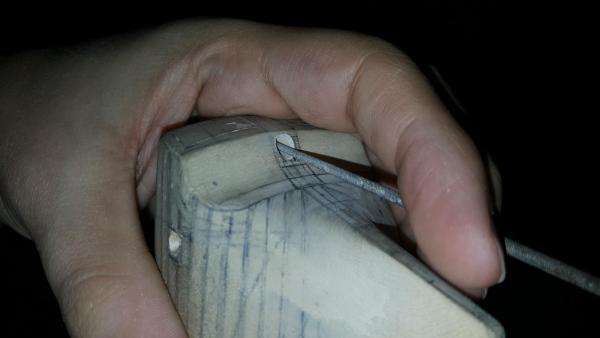
I first took a small drill bill and did the work by hand then used a larger bit to widen the hole. This way keeping the angle of the rudder was easy. Lastly using the right needle file to widen the hole to more or less where it needs to be


-
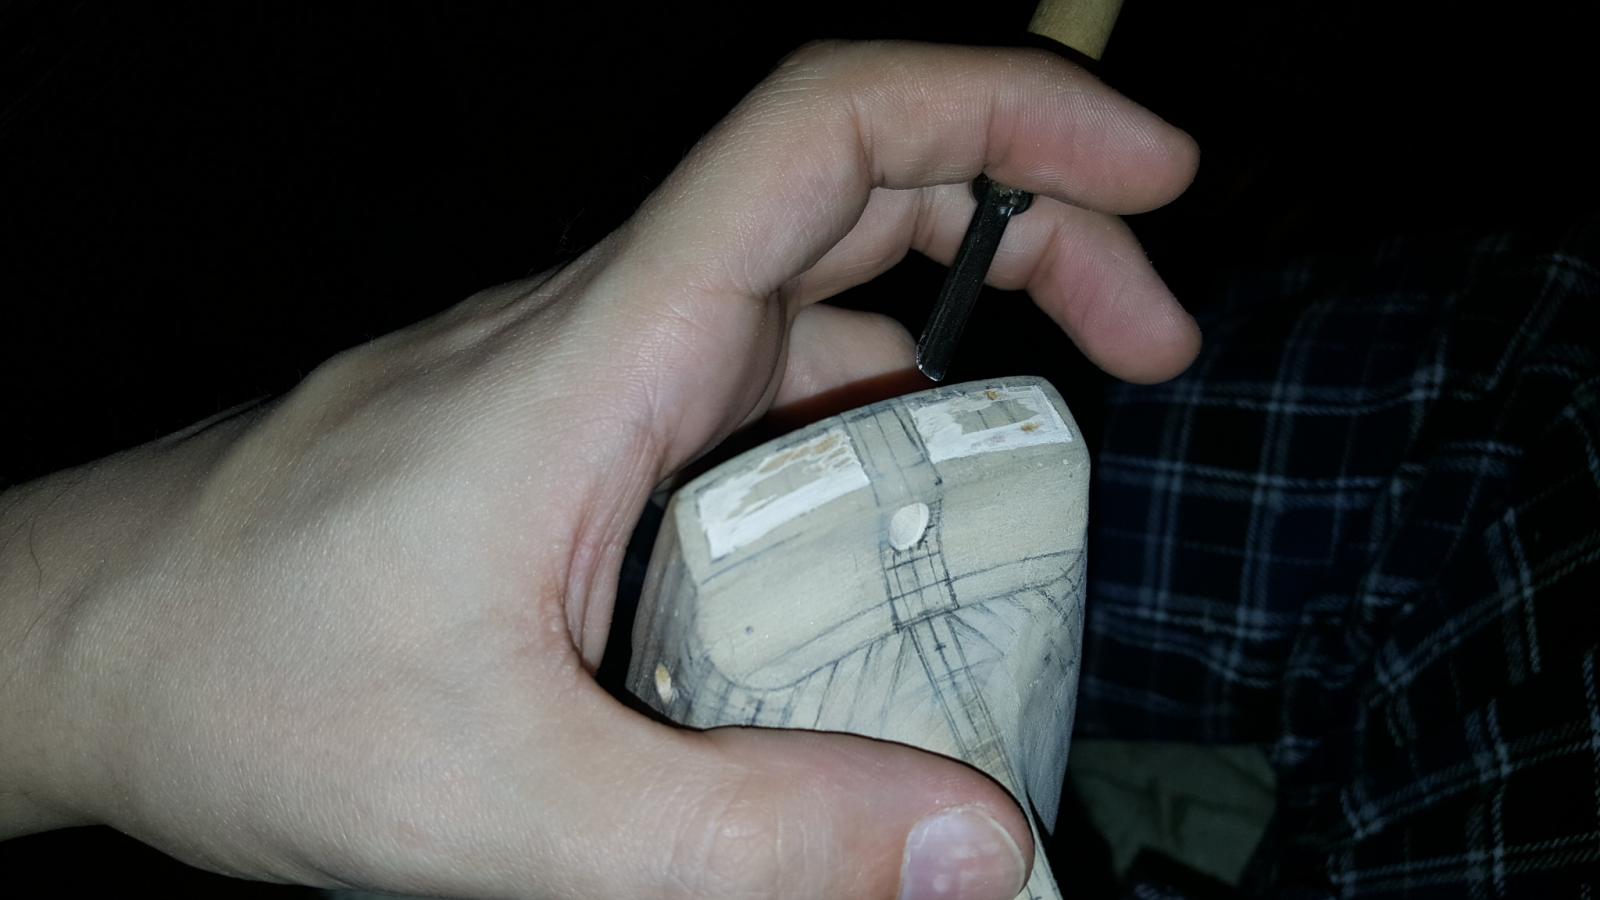
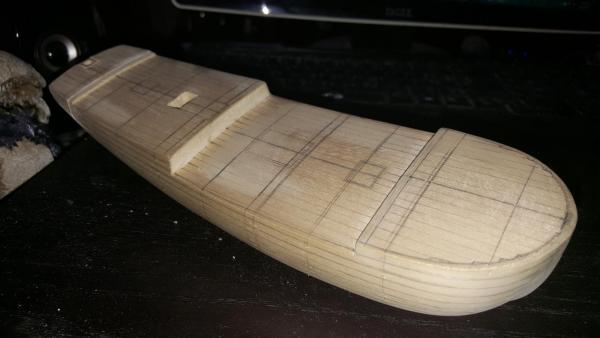
Hi team! So just a quick update this week as I've started the carving into the hull of various areas that needed to be opened. First was the tiller area and you can see from the photos that its sort of a triangular circle. You can also see that the keel has been thinned out a bit and will be even thinner when I'm done. I think part of my work ethic is to do a little of one thing then another then return to the other until it gets done