HOLIDAY DONATION DRIVE - SUPPORT MSW - DO YOUR PART TO KEEP THIS GREAT FORUM GOING! (89 donations so far out of 49,000 members - C'mon guys!)
×


Greg the peg leg sailor
-
Posts
1,265 -
Joined
-
Last visited
Content Type
Profiles
Forums
Gallery
Events
Everything posted by Greg the peg leg sailor
-
 G'day Daverow Dave the sizes of the fore and main mask is from the kellson not from the deck or waterline. The mizzen mask is from the first deck, if you choose the belief that the mizzen mask is taller than on the replica. Just my pennies worth. Cheers Greg
 -
When I said painter, I mean to say artist. As you may be aware a naval artist are very exact in what they paint.Greg
-
G'day Keith. I'm not trying to tell you how to things again mate..... I got an idea for your balustrades. If you go to a party supply shop, you can get some very fancy toothpicks. If you dip the toothpicks in 50/50 solution of PVA glue and water and wait until it dries. Then it can be sanded using a fine grade sandpaper with out spintering. Cheers Greg. Ps when we'll see more posting of your progress? Greg
-
G'day Pat from Sydney. Firstly I would like to say, your model is great. I'm building one myself, and I would like to ask a simple, but maybe a dumb question. I was planning to make all the mask first and then put them on the hull and then do or the rigging etc. Is this wrong and why? The reason why I was going to do it my way (I'm not Frank Sinatra lol) because I want to have the main topmask stay and the fore stay to be a "straight line". This is what I have found out from my own research on the net etc. I've a document writen by naval painter who painted the replica of the HMB ENDEAVOUR. She done a lot of research on the original Endeavour, and she felt what she was told to paint was not the truth. Hence her article. Very interesting read. I will try to post a pdf of the article, so everyone can read it. Cheers Greg Ps. The file is 3.4 megabytes and is too big. I will try to cut it in half if I can an post it later. Greg
-
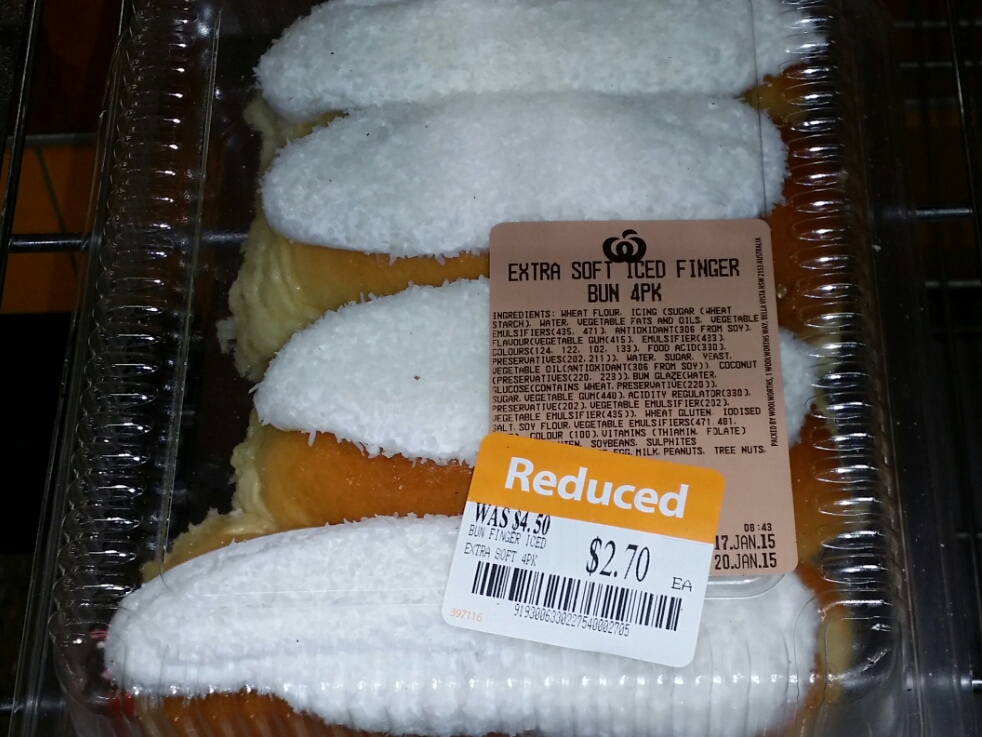
Here is a photo of the packaging I took today.

-
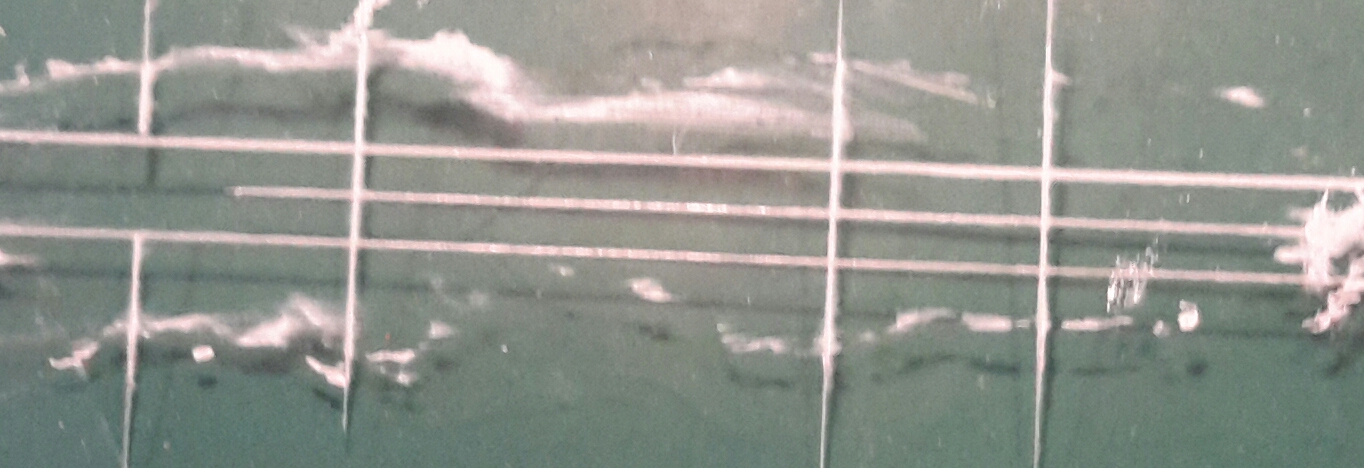
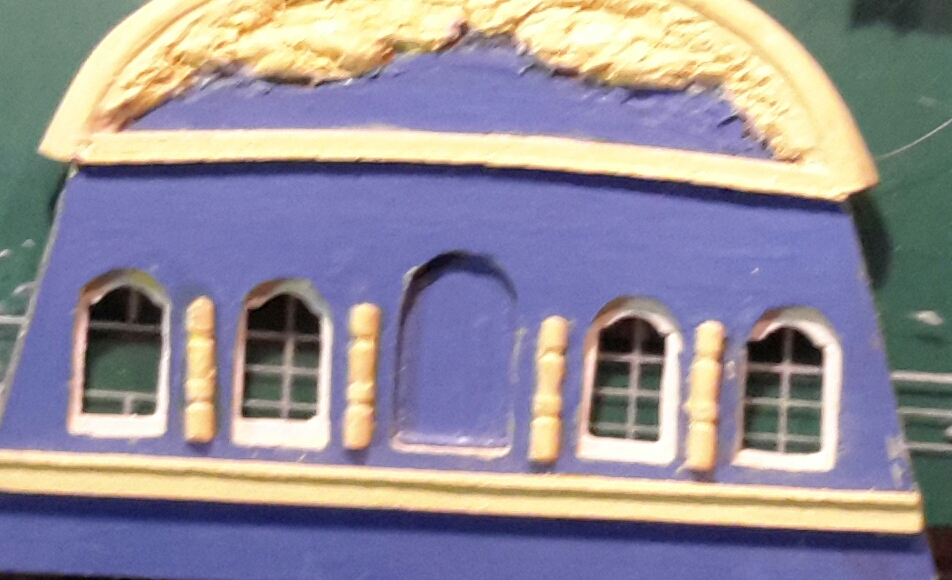
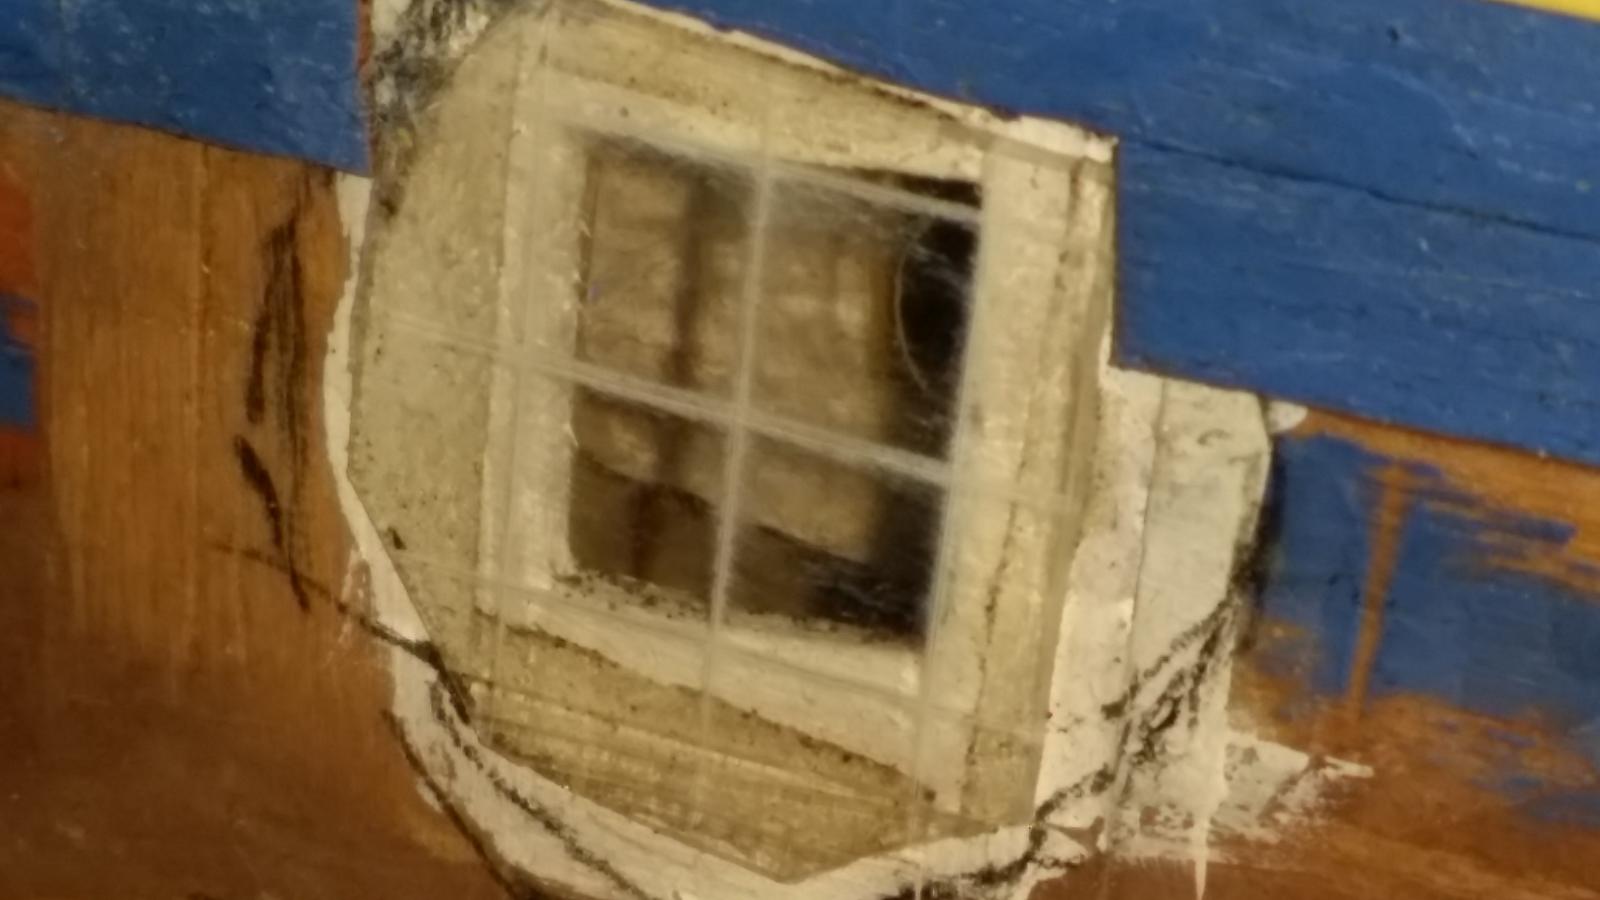
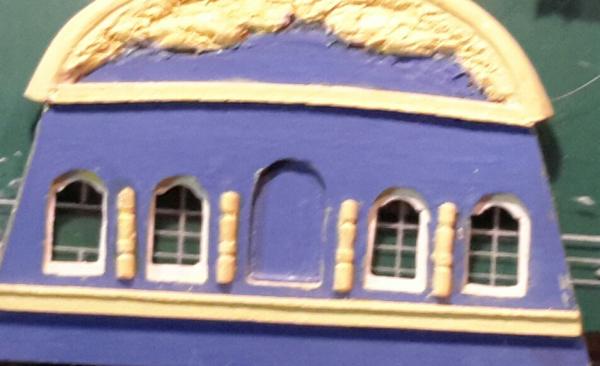
HOW TO MAKE SMALL WINDOWS PAINS 1:60 scale My build: HMS ENDEAVOUR. I have an idea for your windows. I'm building my first ever model: HMS ENDEAVOUR by Artesania Latina. This kit came with metal window, but I decided to put led lights in my ship. What I did and it worked out very good if I have to say it myself. For the window's pennels I used polycarbonate clear hard plastic (the packaging from fingerbuns from Woolworths etc). I scibe on the inside with a sharp scaple and the painted enamel paint (any colour you want) over the scores and wiped away the excess. This method worked for me, the finished job looked like small windows pains. Below is an uncleaned version of the scribe plastic painted white. Next is the plastic quickly fitted to the unfinished stern. Next is the side window pains inserted in the second planking. Last is the unfinished carving of the side window roughly fitted.


-
Here is a side window of the HMS Bark Endeavour without the carving. Hope it's clear enough because it is only 9mm X 9mm in size. Cheers Greg

-
Gooday Keith. Your workmanship is extremely good. What is the packaging you asked? Well it's a hard clear plastic, probably a polycarbonate what you mentioned. My Parkinson is not too server atm, but I do get times when my hands shakes and shakes.. I'm on madipare, its helps a bit but not to the extent of being 'normal'. I will post some pics here when the frames and windows pains are all together. Cheers Greg
-
Gooday Keith I've been reading your log and its very insperational to me. Well it maybe like a humble student teaching the teacher, but I have an idea for your windows. I'm building my first ever model: HMS ENDEAVOUR by Artesania Latina. This kit came with metal windows as well, but I also decided to put led in my ship like you. What I did and it worked out very good if I have to say it myself. For the window's panels I used the packaging from fingerbuns from Woolworths. I scibe on the inside with a sharp scaple and the painted enamel paint (any colour you want) over the scores and wiped away the excess. This method worked for me, the finished job looked like small windows pains. Also just after starting the modern, I was diagnosed with Parkinson. I have to work out how to do things differently. What I do now, is draw or photocopy what I want to make on architectural tracing paper and I glue the small pieces of wood on the tracings. This way I can make very tiny horizontal and vertical joins etc.. I only use balsa glue. After 24 hours of drying I can remove the thing I was making and I can then clean it up. I use my belt sander upside down a lot to clean away the clue and then I use a file or nail sanding stick (from my wife lol). The final piece is quite sturdy and is clean ready for painting or staining. I know it's maybe not a method for you, but it works for me. Cheers from Sydney Greg
-
I would like to know how to print on material to make the ensign and the union jack for my model of the HMS Bark Endeavour?
-
Gooday Mtaylor. When I said putty, I mean colour putty from Bunnings. This can be sanded down and the colour match is quite good. Cheers Greg and thanks for your input.
-
My mistake Mark. Cheers Greg
-
Hi I've been doing a lot of research on the net and I found out that the standard length used in the 18th century was 22 feet. This works out to be 111mm at 1:60 scale.
-
Btw 111mm is the scaled size of the timber that was used on the Endeavour. Cheers from Sydney.
-
Gooday Graham. What I advise you to doo is to buy some wood putty and smooth and sand back your second coat. Then cut each strip to 111mm in lenght and put these smaller strips o as your final layer. Use o.5mm x 5mm strips and use a lead pencil to go around each edge to simulate corcking.
-
Bill, there must be a better word for an amazing talent you have...I know, let's call it Billiant. Well done. Keep the photos coming please.
-
Thank you Andy. You have some great ideas and inspiration. You have gave me a lot of ideas. Well done
-
Hi Bill.... it would be great if we can see more of your carvings i.e. the side and bow.