


mattsayers148
-
Posts
685 -
Joined
-
Last visited
Content Type
Profiles
Forums
Gallery
Events
Posts posted by mattsayers148
-
-
Hey Cathead,
I think this may be leap of faith point. If you do each plank individually you might be done by summertime. If you do the multiple steps when staining, you will begin to see each and every plank with distinctive grains. If you do a one time heavy stain, then you'll most likely blend everything together. Any seams that have filler in them will define each plank as well. No matter how you chose, doing a quick on/off with the stain will give you more control of the look. It will also help you see any areas that need further sanding.
Matt
-
Hey CaptainSteve,
You are too kind. I've been looking, so that's a good start? Do you have any input about other magnifiers. The ones I'm talking about in particular: (1)the soldering one with the little work stand, light and iron holder (2)the lighted table one w/ adjustable arm (3)the one you can clamp anywhere and has a bifold adjustable arm. Also what magnification should I look for(3x, 5x, 10x)? Buck and anyone else are asked for their input as well.
I don't know why I'm fighting this. Is it claustrophobia? Is it fear of my family feeling like they've completely lost me now? Or the very real threat that the squirrels may leave me altogether? I am starting to bend, just not broken yet.
Matt
- CaptainSteve and GLakie
-
 2
2
-
Hey CaptainSteve,
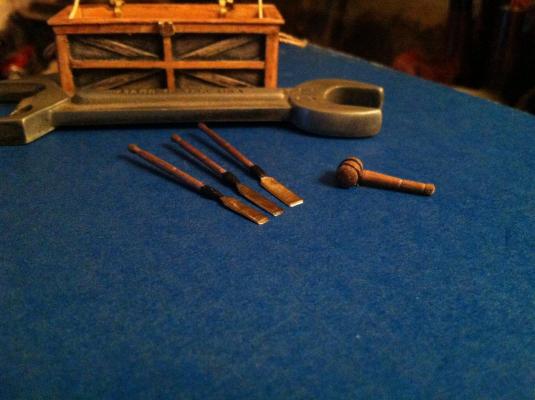
My template pics: I printed these using the scale option until they were really close to scale. I turned walnut stock referring to the full pics for similar details.
I used this piece from my exploded bic lighter for the blades. I flattened them out, shaped em with my dremel, then put flames to it with a bic lighter. The flame darkened the shine out .
I know what you mean, the handles are only 1/16 thick, that why I used the walnut.

- usedtosail, msberkman, IgorSky and 5 others
-
8
-
Hey George,
Thank you for the kind words. Contrary to the popular belief in elves, I have my deep beliefs in the less popular vermin, squirrels! They battle with their archenemy, common sense, and often win they do. As long as I keep my hair and beard long, to give them shelter, they've agreed to tell me a thing or two now and again.
Matt
- GLakie and CaptainSteve
-
2
-
Hey "probablynot" Brian,
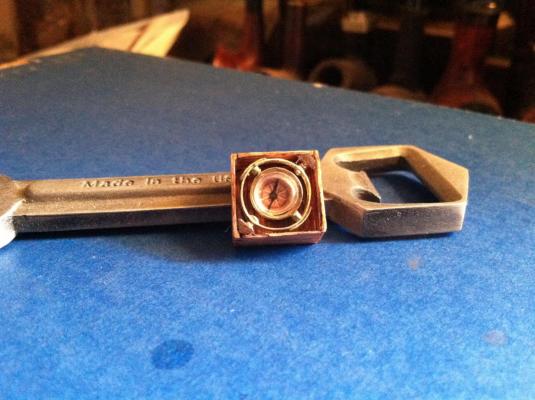
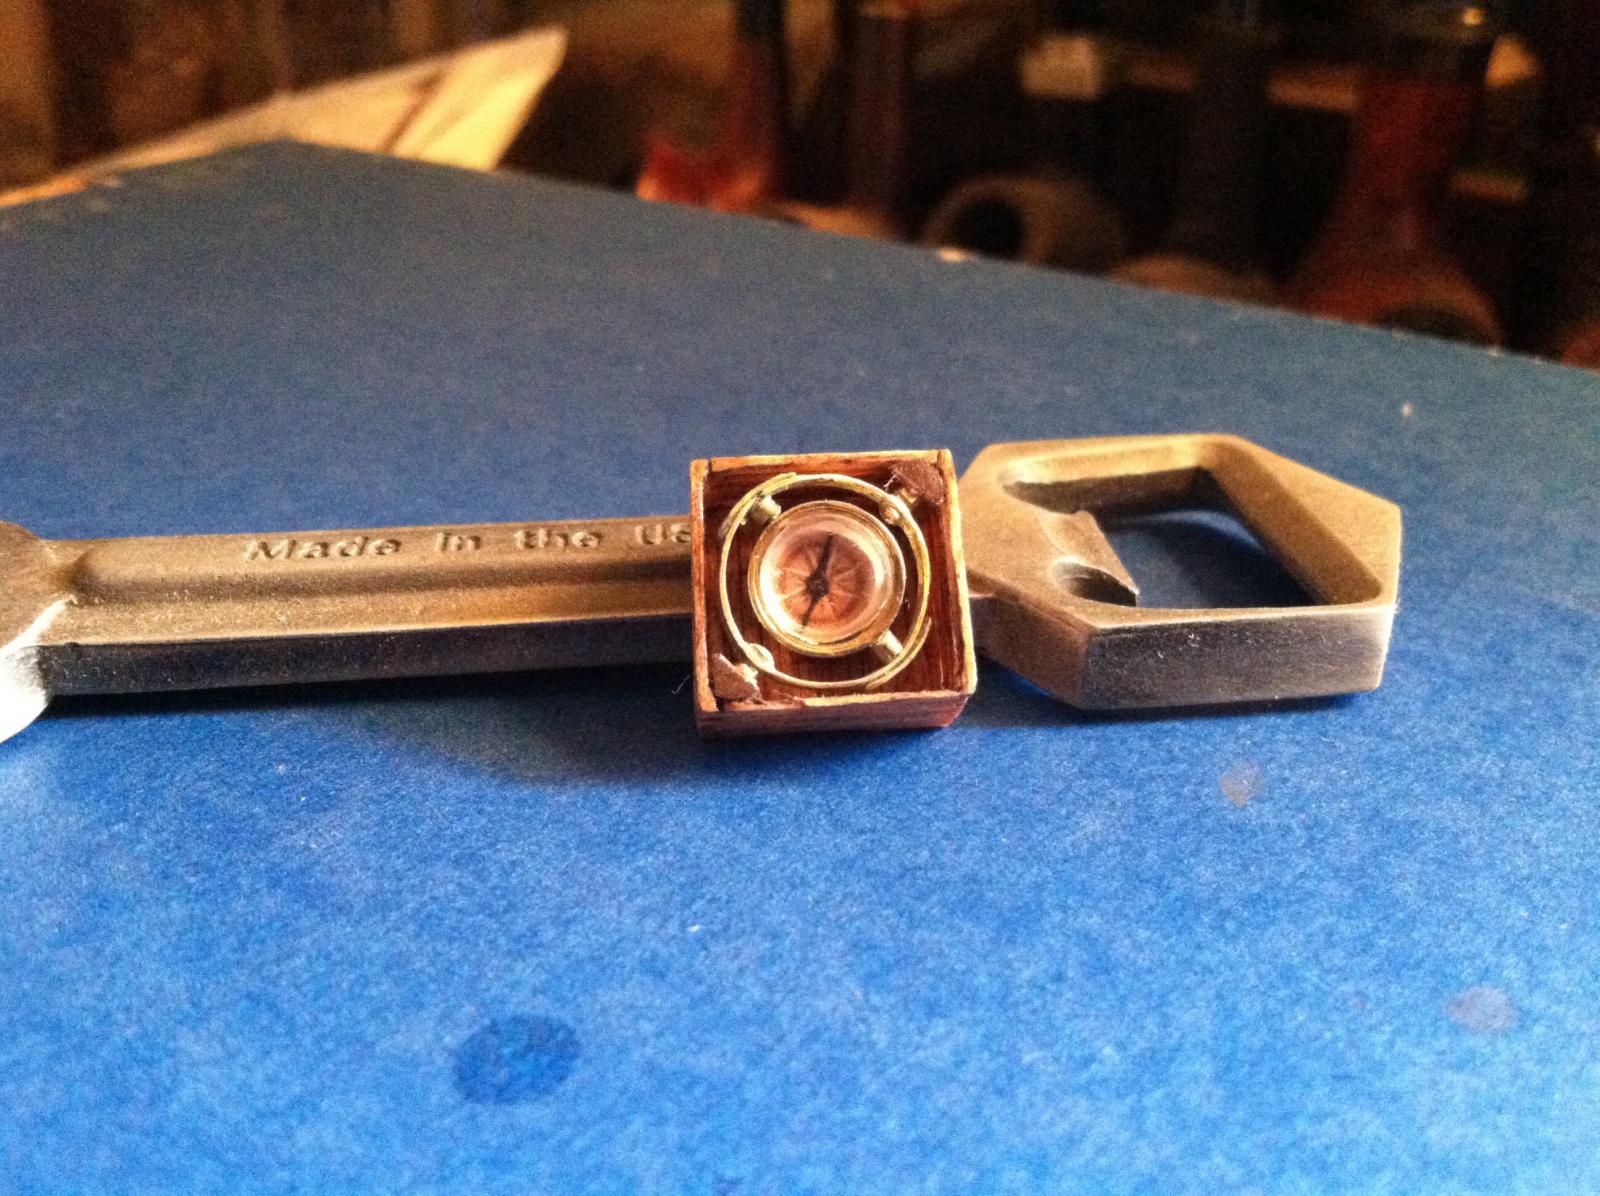
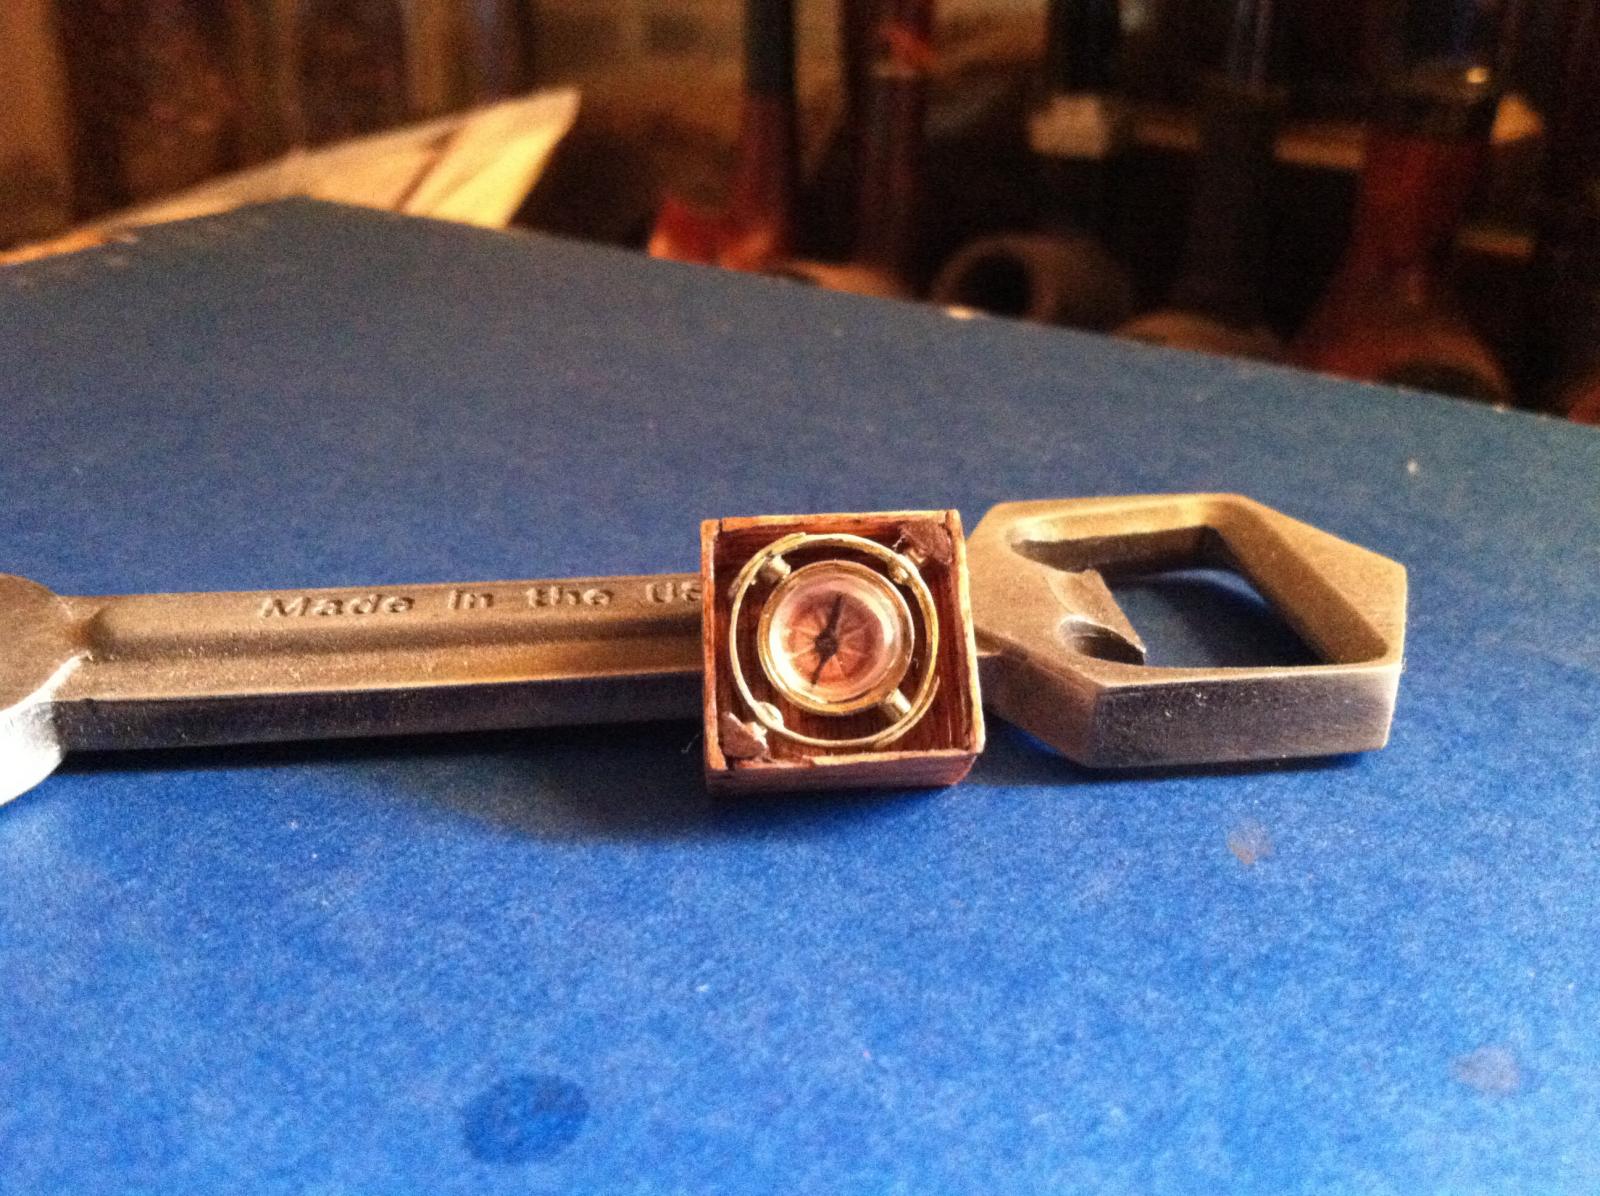
Thank you, and yes the gimbals are functional. Although, I've failed to produce a functioning compass. The challenge is out there, and though I have not produced at this moment, there may be a few squirrels in my head that I have yet to befriend.
I have other photos of the compass on my build log.
Matt
-
Hey Cathead,
Looking great so far. As to your question regarding staining over partial stains. If you put a light coat on, you will most likely see light and dark areas. Personally that's how I like it because it gives depth to the wood. In a project like this one I've scraped and stained several times through the stages. Heavy grit, darker look, fine grit, much lighter appearance. Scraping will achieve lighter still. Many different colors can be achieved by useing different grits and/or scraping. Good luck.
Matt
-
Dude, dude, duuuude! You inflated and deflated my head so fast, I think I'm gonna be ill. If you dawn a pair of sunglasses and ask me to look at you, I ain't doin it!
I'm just waiting to see if you sneek a scanning electron microscope into your dry dock. My hats off to you, absolutely...Wow!
Matt
-
Hey Buck,
Now who would there be to give such great inspirational guidance with out you? I'm still undecided about the "seeing" device, so I'm going ahead with the tools without one.
Thanks to you and everyone for the likes. It's pretty hard keeping stride with the big dogs!
A few chisels a day...eh, I'll try and one a day til the boat capsizes.

-
Thank you all for the likes,
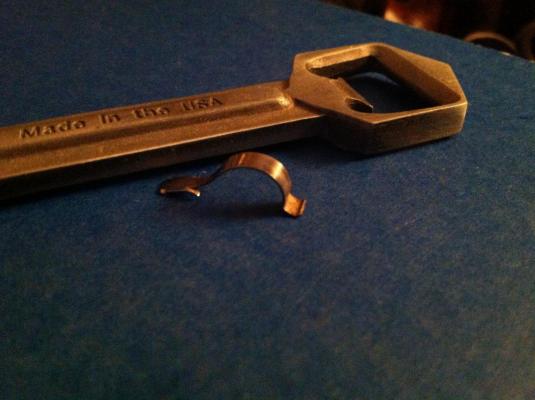
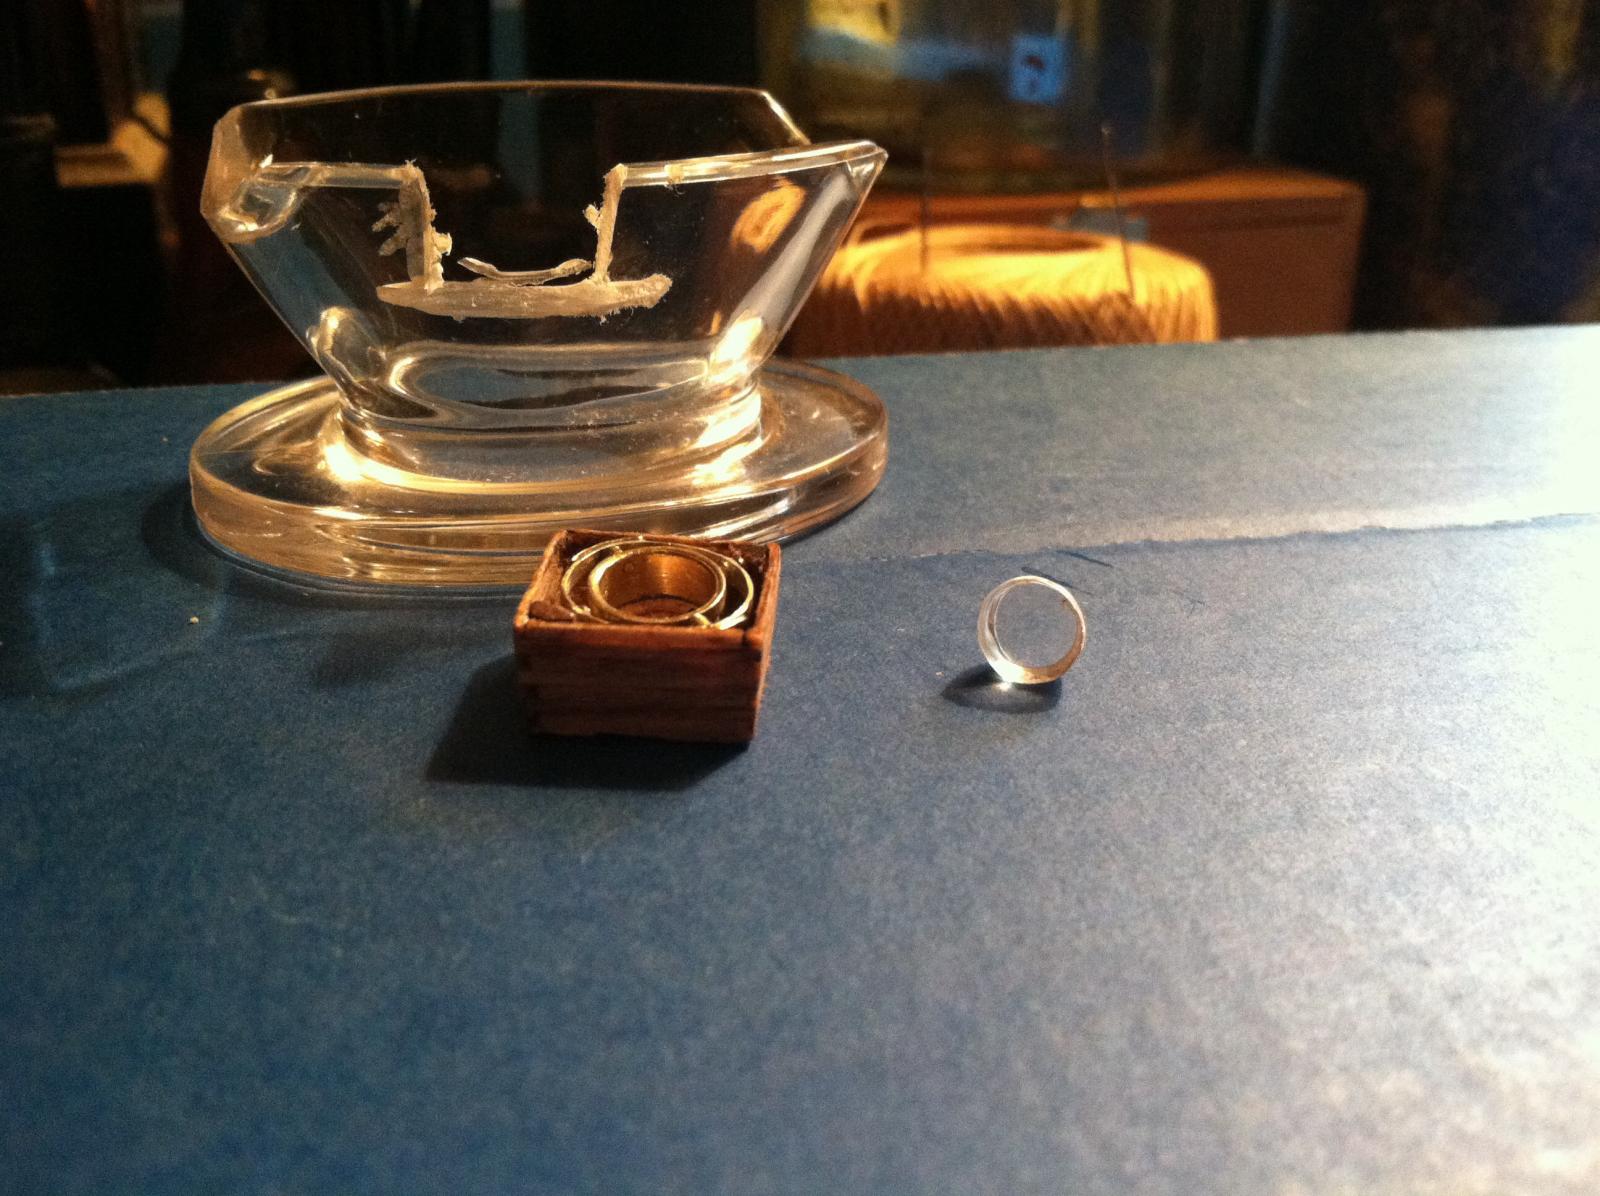
While working on my tools, I grabbed my favorite pipe and my tub of sweet, aromatic Captain Black. I saw she needed cleaning, so I went to my tobacco drawer to grab a pipe cleaner. I open said drawer and BAM!, there's my compass lens that's been milling around in my head for weeks.
Those little squirrels, I'm gonna have to give them an extra little treat for helping out on this one.
Check out CaptainSteve's Kit bashers guide for more info on my lens.
Matt

- Salty Sea Dog, dgbot, CaptainSteve and 6 others
-
9
-
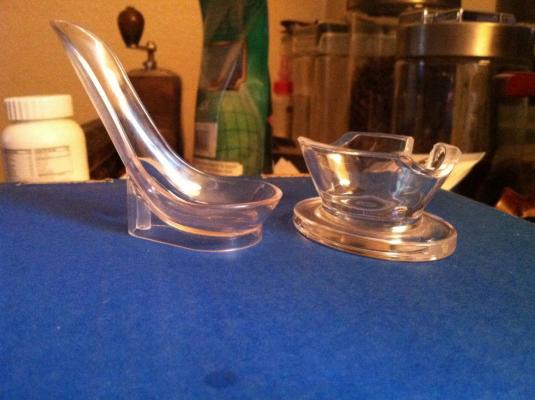
CLEAR PLASTIC PIPE HOLDER
Uses: many / scale: any. Can be found on eBay for $.99 with free shipping.
I've been keeping my eye out for something to make my compass lens with. So I was getting a pipe cleaner to clean my pipe, and POW, there's my lens. I hastily went for my dremel and 30 min later I had my lens. I used a thicker piece(1/8) and after shaping, buffed out the edges to clear up most of the fog.
Matt


-
Hey CaptainSteve,
So what's checked off on the list this week? Inquiring minds want to know.
Matt
- CaptainSteve and GLakie
-
2
-
Hey CaptainSteve,
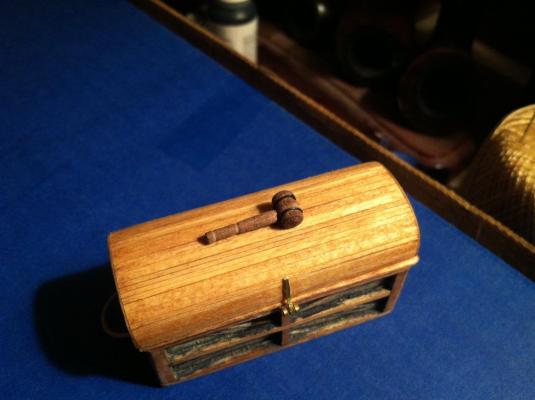
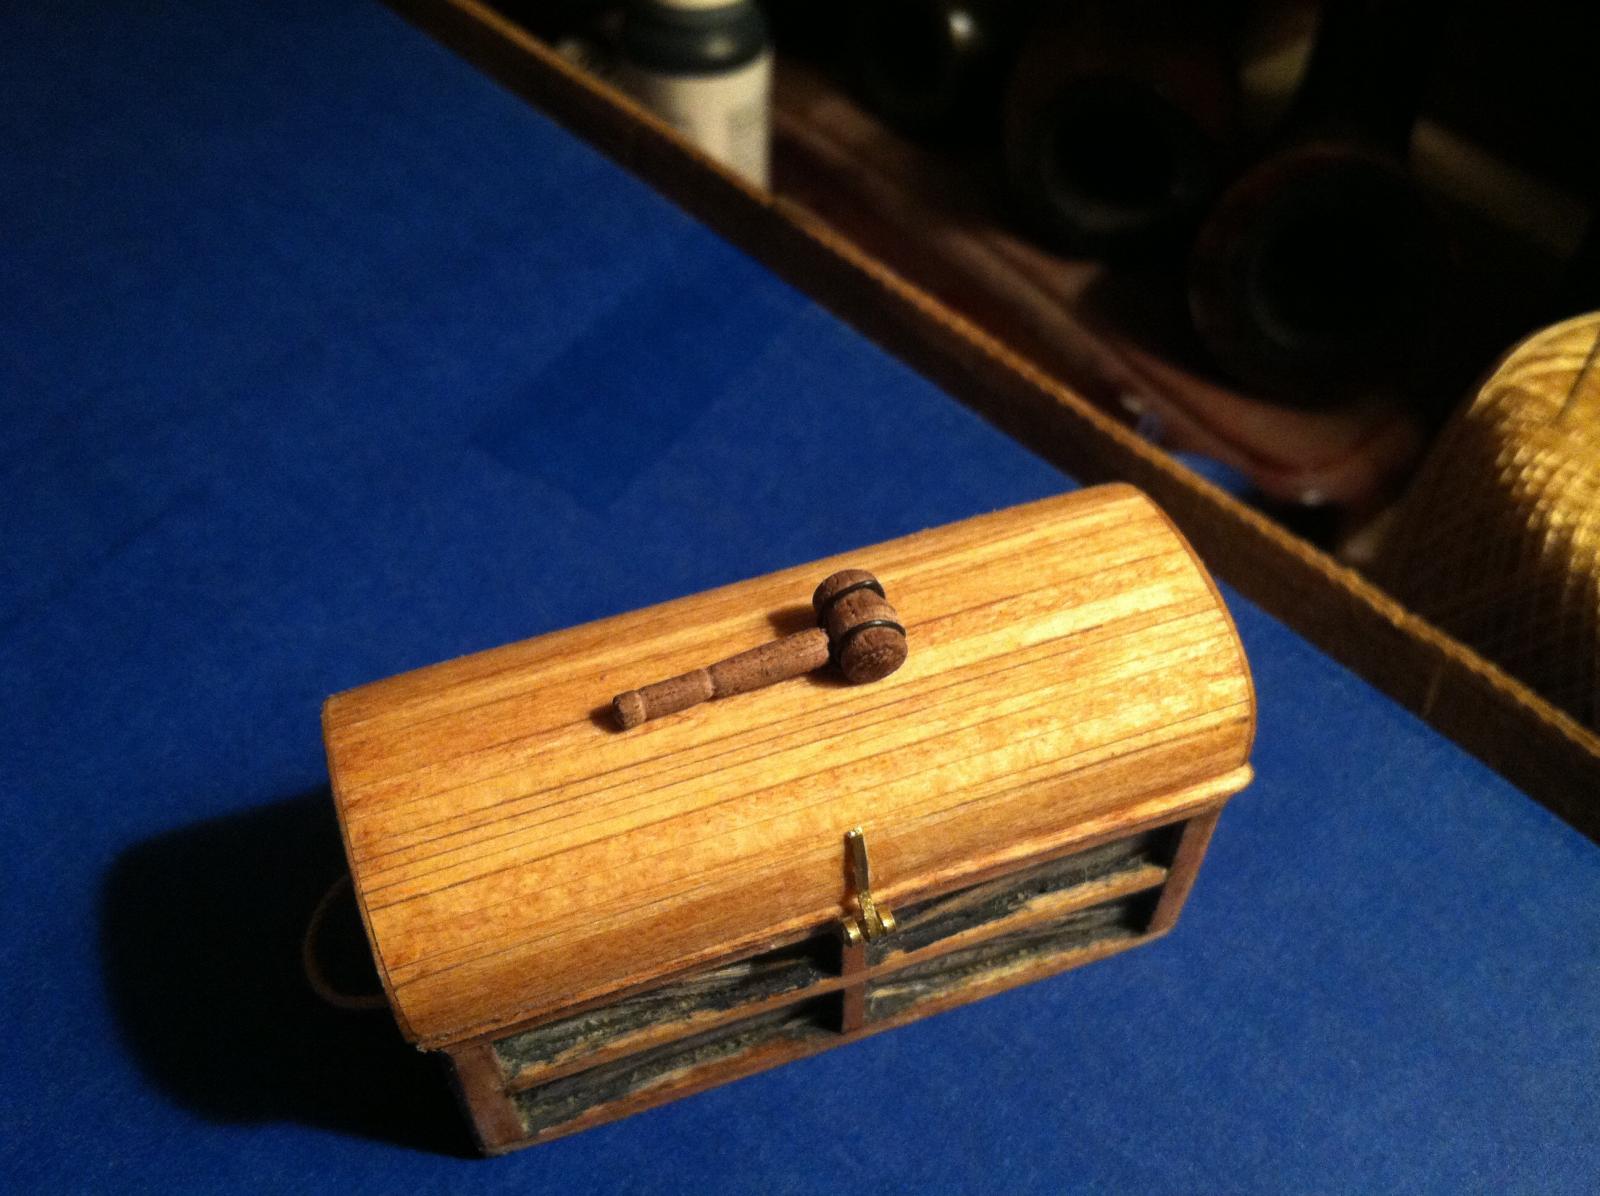
Thank you for your positive words and well taken advice. Now that I got past that hurdle, it's time to start filling my tool chest.
Matt
-
-
-
Sorry everyone, I forgot to include pics of windlass in place.


- Salty Sea Dog, dgbot, GuntherMT and 5 others
-
8
-
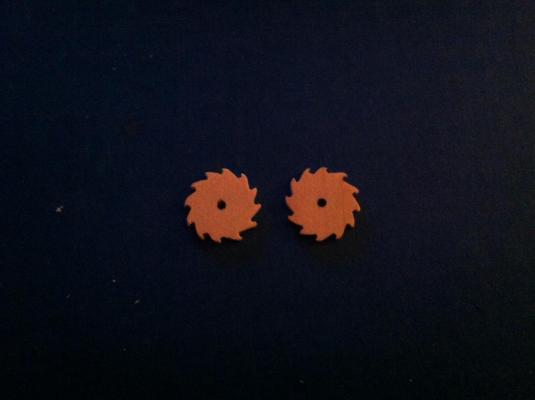
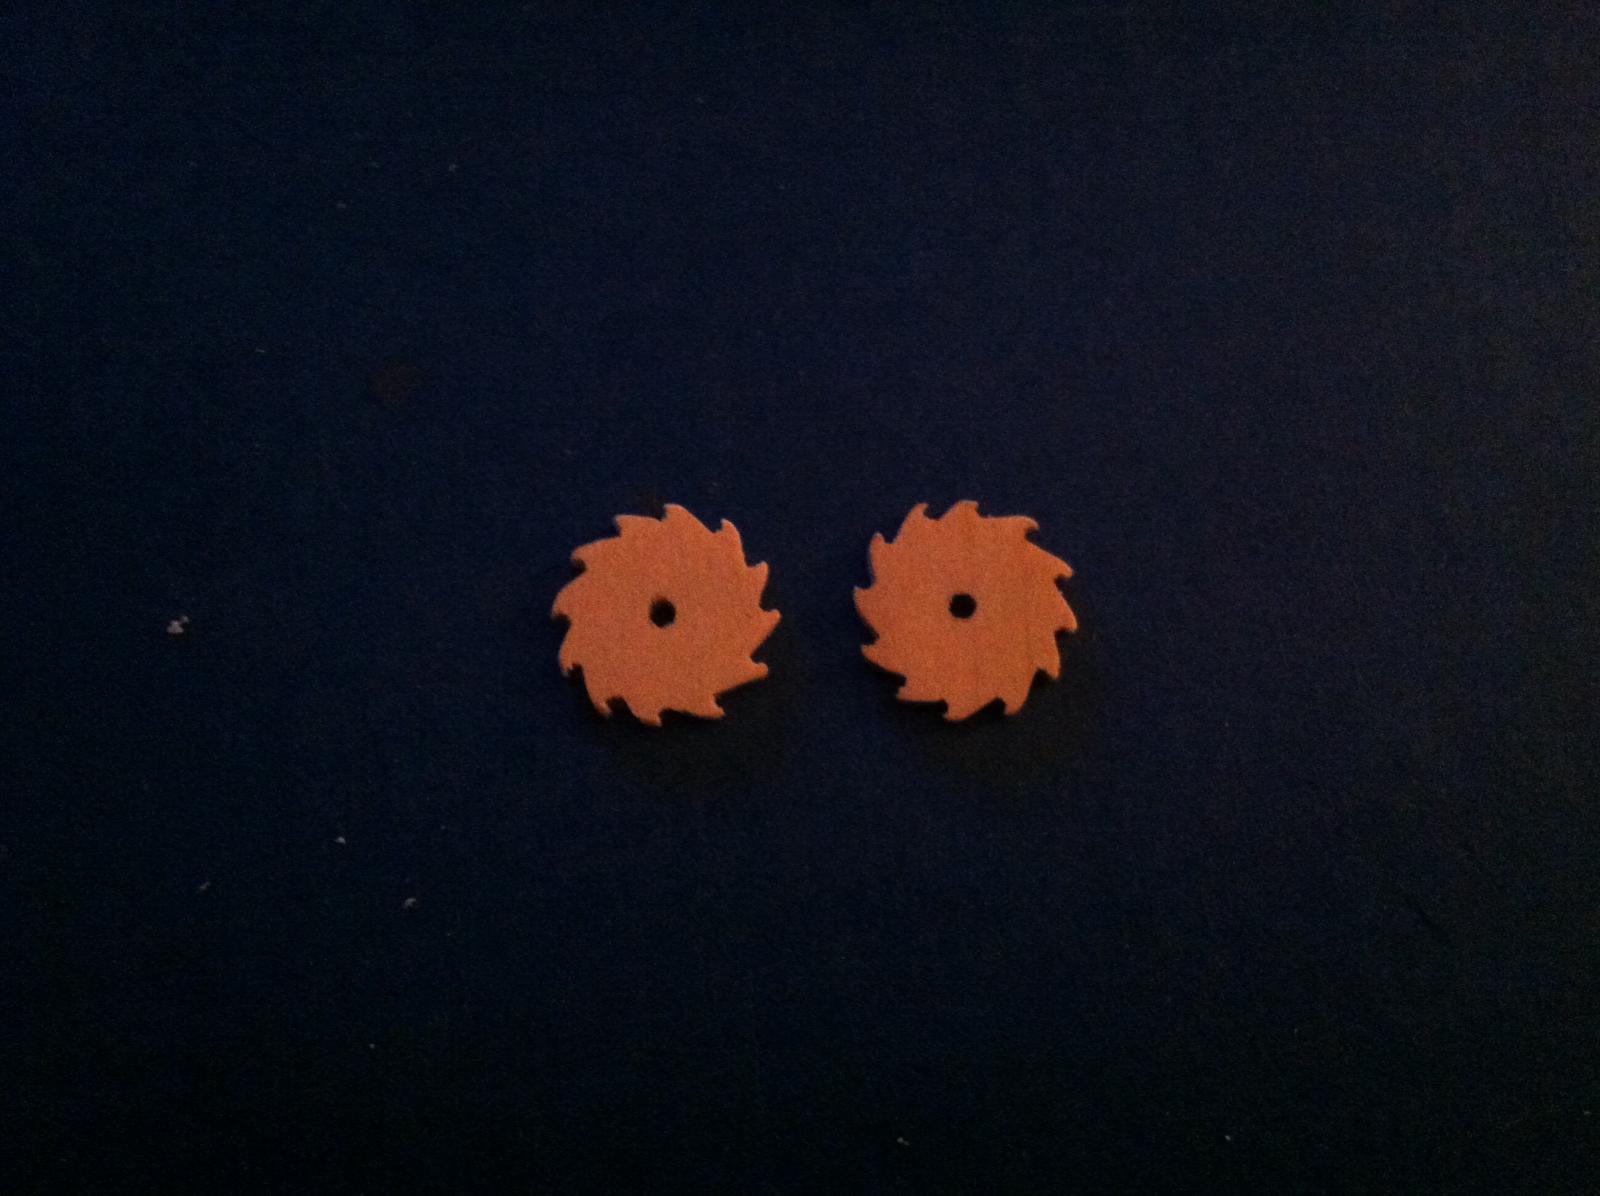
Thank you Keith and for all the likes.
I started out trying to use these blanks, but ended up making my own. I wrapped with blue tape to get the exact circumference, layed tape out an divided into desired amount of teeth. I transferred marks to wood circles(2 clamped together), then useing my thinnest cutting wheel I got busy. I had drawn lines for depth of teeth and cut straight line across, then angled cutting wheel to cut from top of one line to the base of the next one, around.
I just had to do it really slow, had three other sets thrown in the scrap pile before I got a set I could live with. I just had to do small cuts around and around, nipping away to attempt evenly spaced teeth.
Matt

-
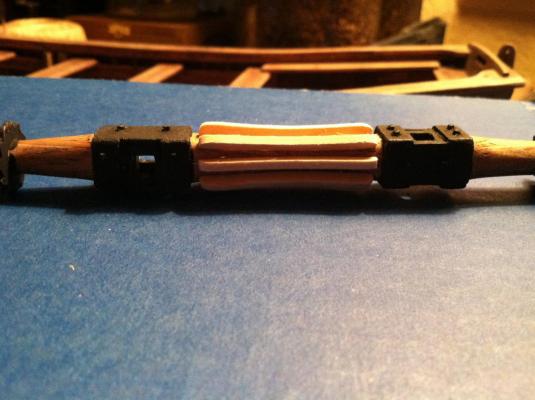
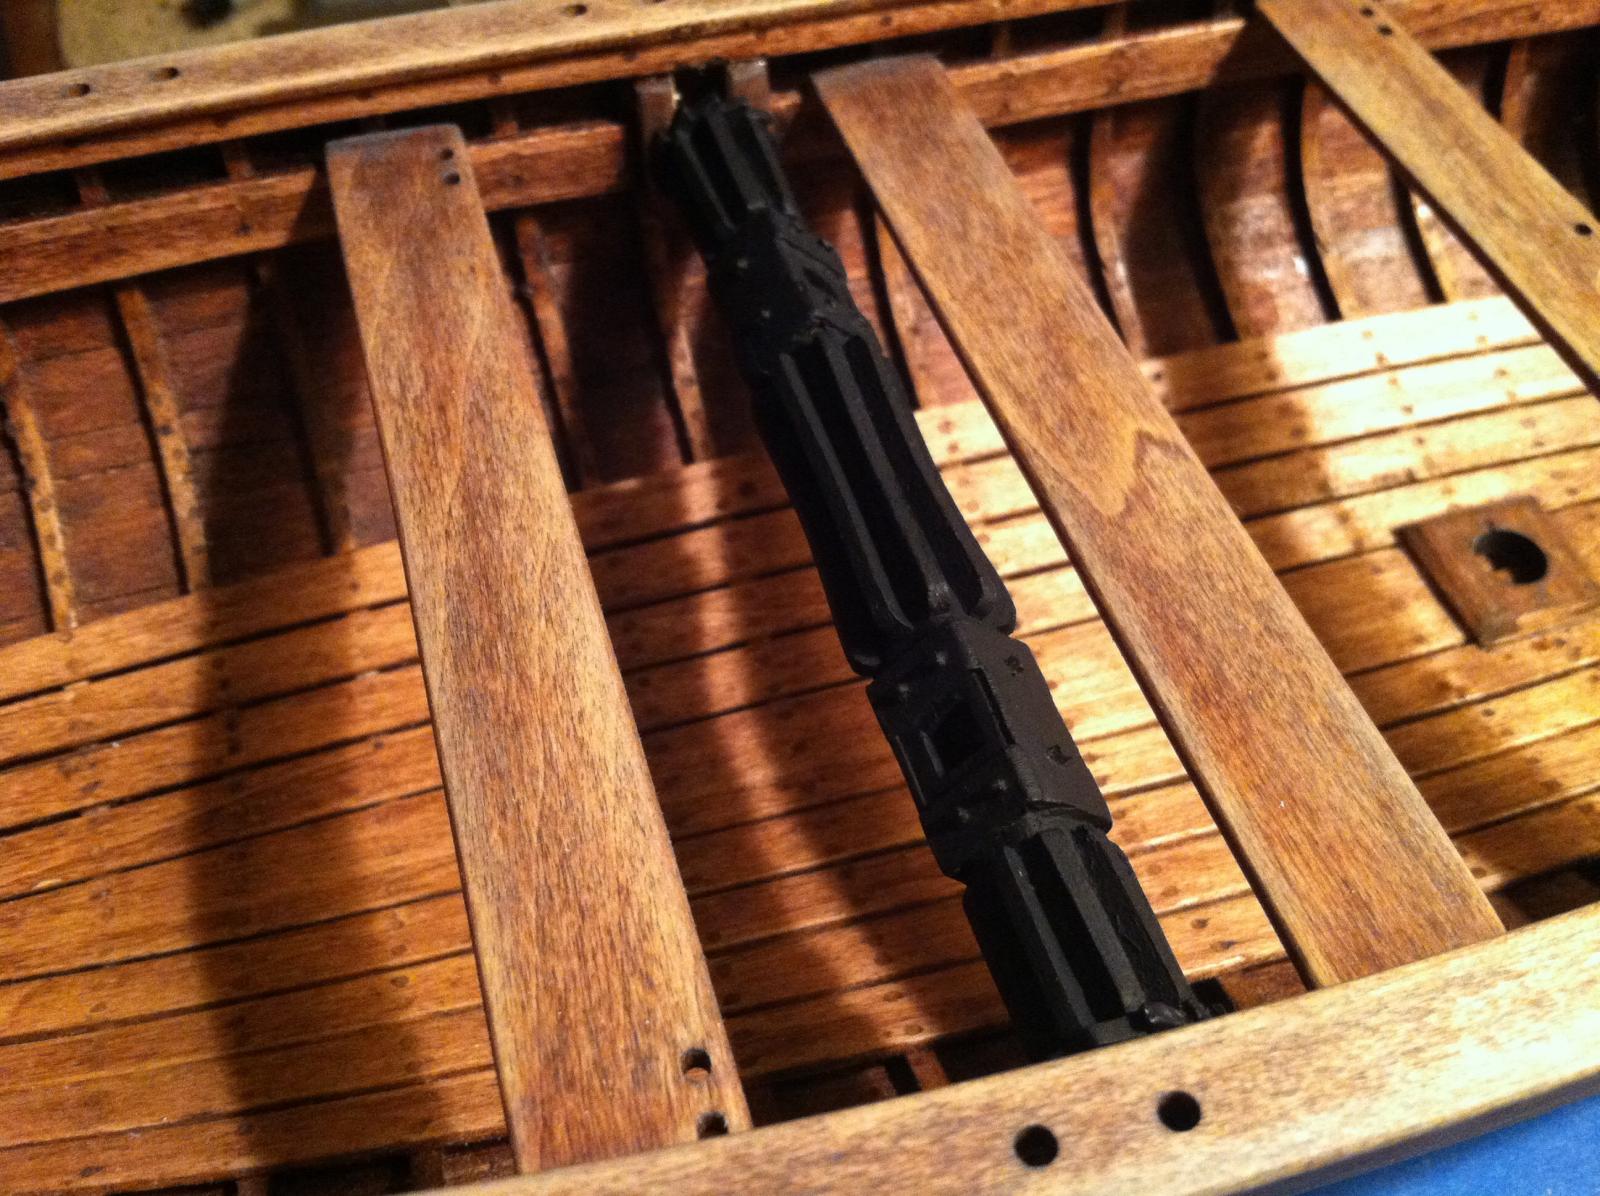
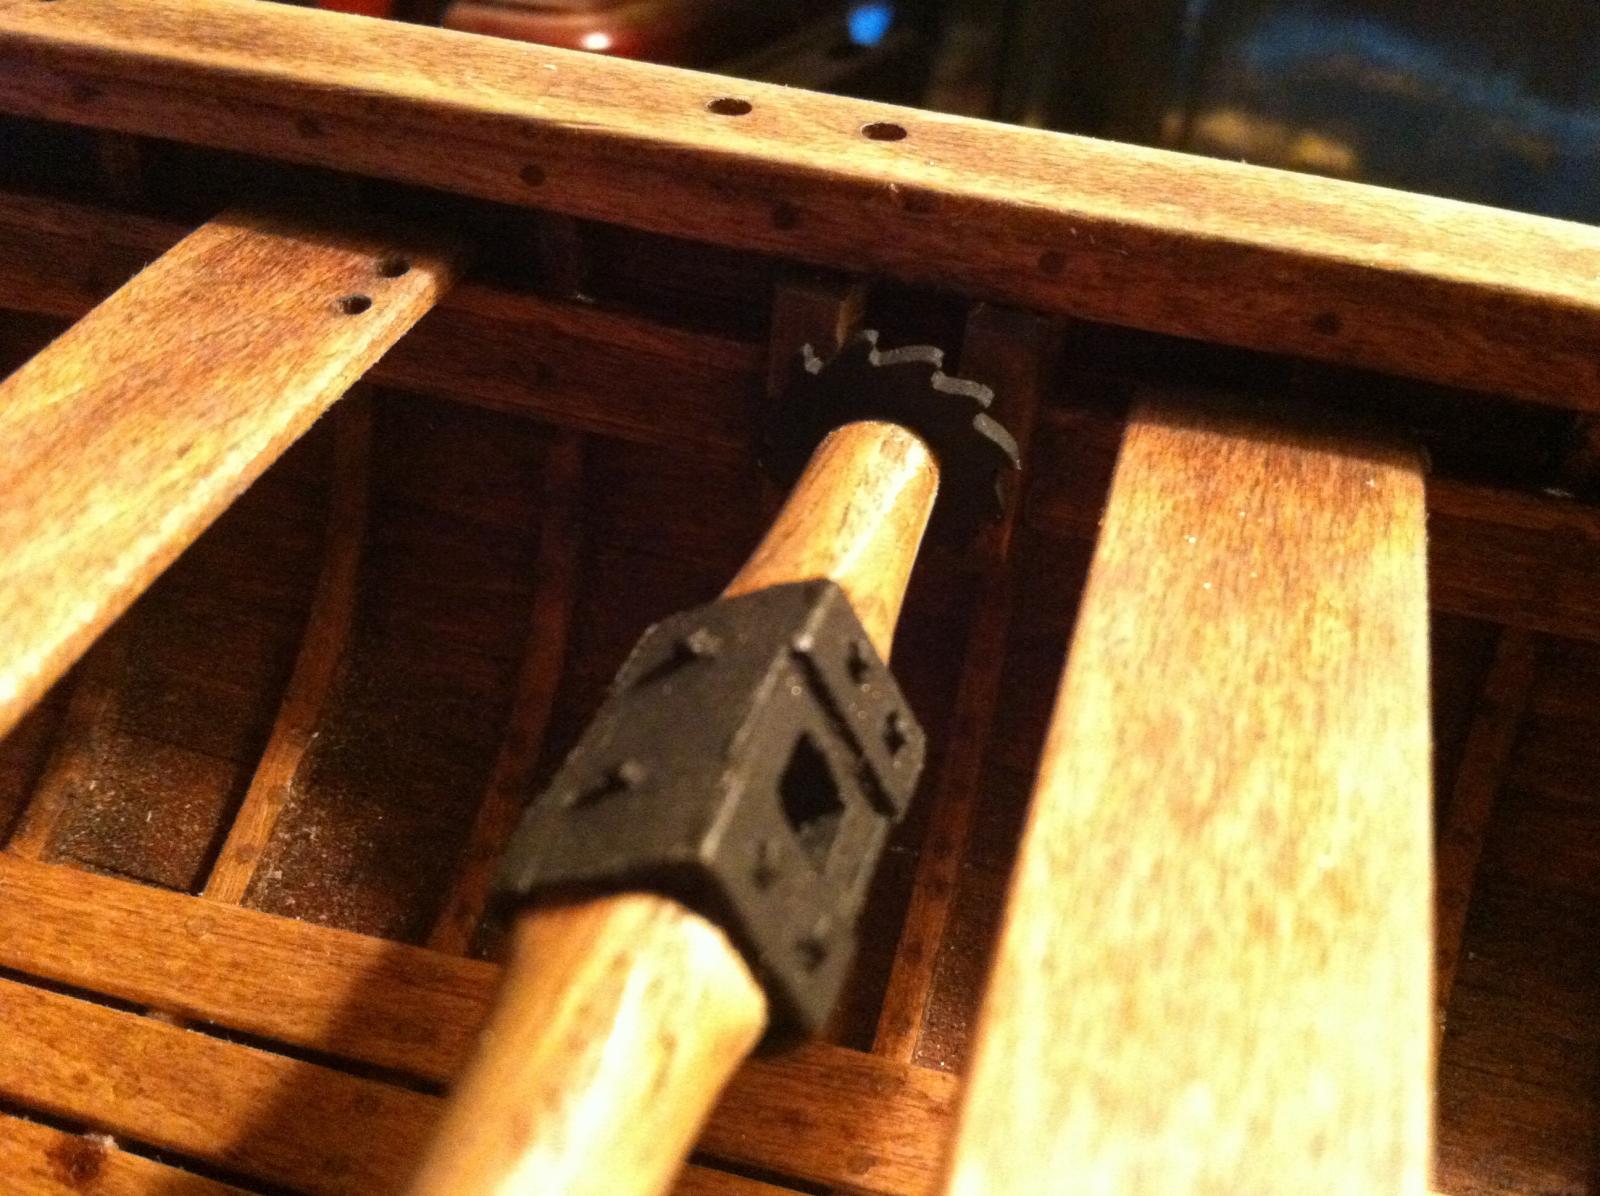
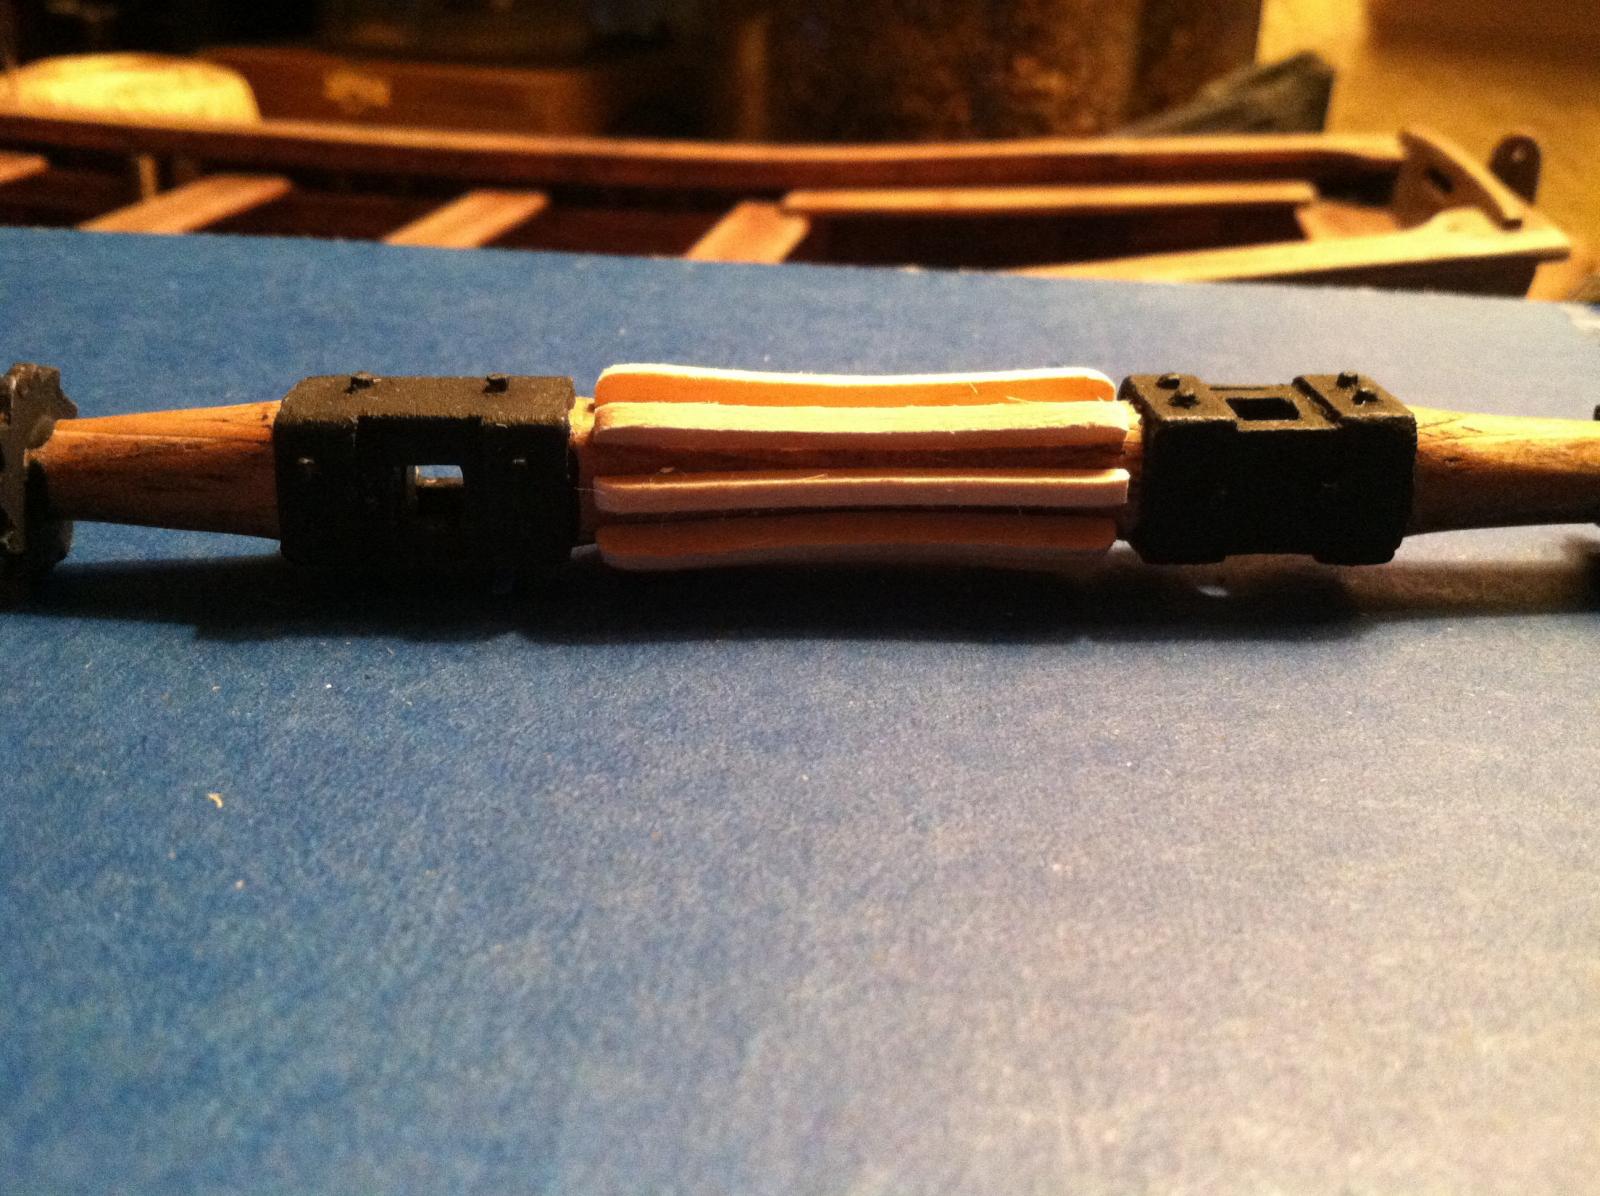
So I did some work on the windlass. I made the ratchet gears out of wood so that I could make it to whatever size need be.
It was recommended that I bulk up the windlass, so I decided to add whelps. Only thing left to do is installing the pawls.
I decided to install the gears opposite of each other so there would be a locked position for both up and down.

-
-
-
Thanks Mario and for all the likes.
I think your toolbox with tools was one of first I had seen when I started my build. It has certainly helped inspire me to see yours and others with such talent. Trial and error is a great teacher, but it's nice to have all the help here to avoid some of the common errors.
Matt
- Cap'n Rat Fink and GLakie
-
2
-
Hey Cathead,
Great start for a fun build!
I was able to overcome the shrinking, moving nightmare by using thin CA. I'm no pro and I love my gorilla glue, but the CA solved the problem for me, you just have to be really careful. When I looked at a lot of other build before I started this one, there seemed to be issues with gaps at the last plank. Knowing this I beveled every plank for a tighter fit. Then I put in a 3/16 piece(straight then bent) and scribed in the last plank to it. I stained without sanding, and like Pops said, it leaves a bleached, aged look, but that's what I was after.
For the tween frames I reused the jig like I was makeing another boat. That way I avoided the bending frames inside, and they fit real well, as long as you don't mix them up.
You're doing great and I'll enjoy watching your build. Good luck!
Matt
-
Hey Pops, that's great you got a camera. I bet your oars look perfect. I just did the "crazy" oars. Now all I need is a coffee pot on board.
Matt
-
Hey Pops, I think you're right, at this scale there is WAY too many details to be done. I wonder if a life size boat would be quicker?
Hey Cathead, it's my pleasure to share things I find. It's humbleing and inspirational to see all the incredible work done on the builds here.
Thanks to everyone for all the likes. So I got my bag of gears today, and sad to see they seem a bit too small for the ratchet gear. I just might have to make them out of wood.
Matt
-
Hey CaptainSteve,
Some call it OCD, some call it anal-retentive, some call it crazy! Just imagine what my family and co-workers are exposed to on a daily basis! It's kind of love, hate thing.
Matt
- CaptainSteve and GLakie
-
2


HMS Bounty Launch by mattsayers148 - FINISHED - Model Shipways - scale 1:16 - SMALL
in - Kit build logs for subjects built from 1751 - 1800
Posted · Edited by mattsayers148
Hey CaptainSteve,
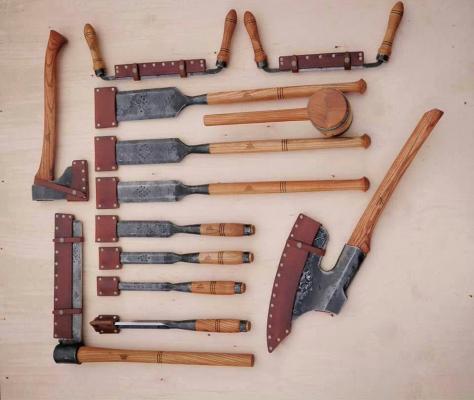
The guys name is John Neeman, google him, he's got some incredible handmade tools.
Matt