KeithAug
-
Posts
3,986 -
Joined
-
Last visited
Content Type
Profiles
Forums
Gallery
Events
Everything posted by KeithAug
-
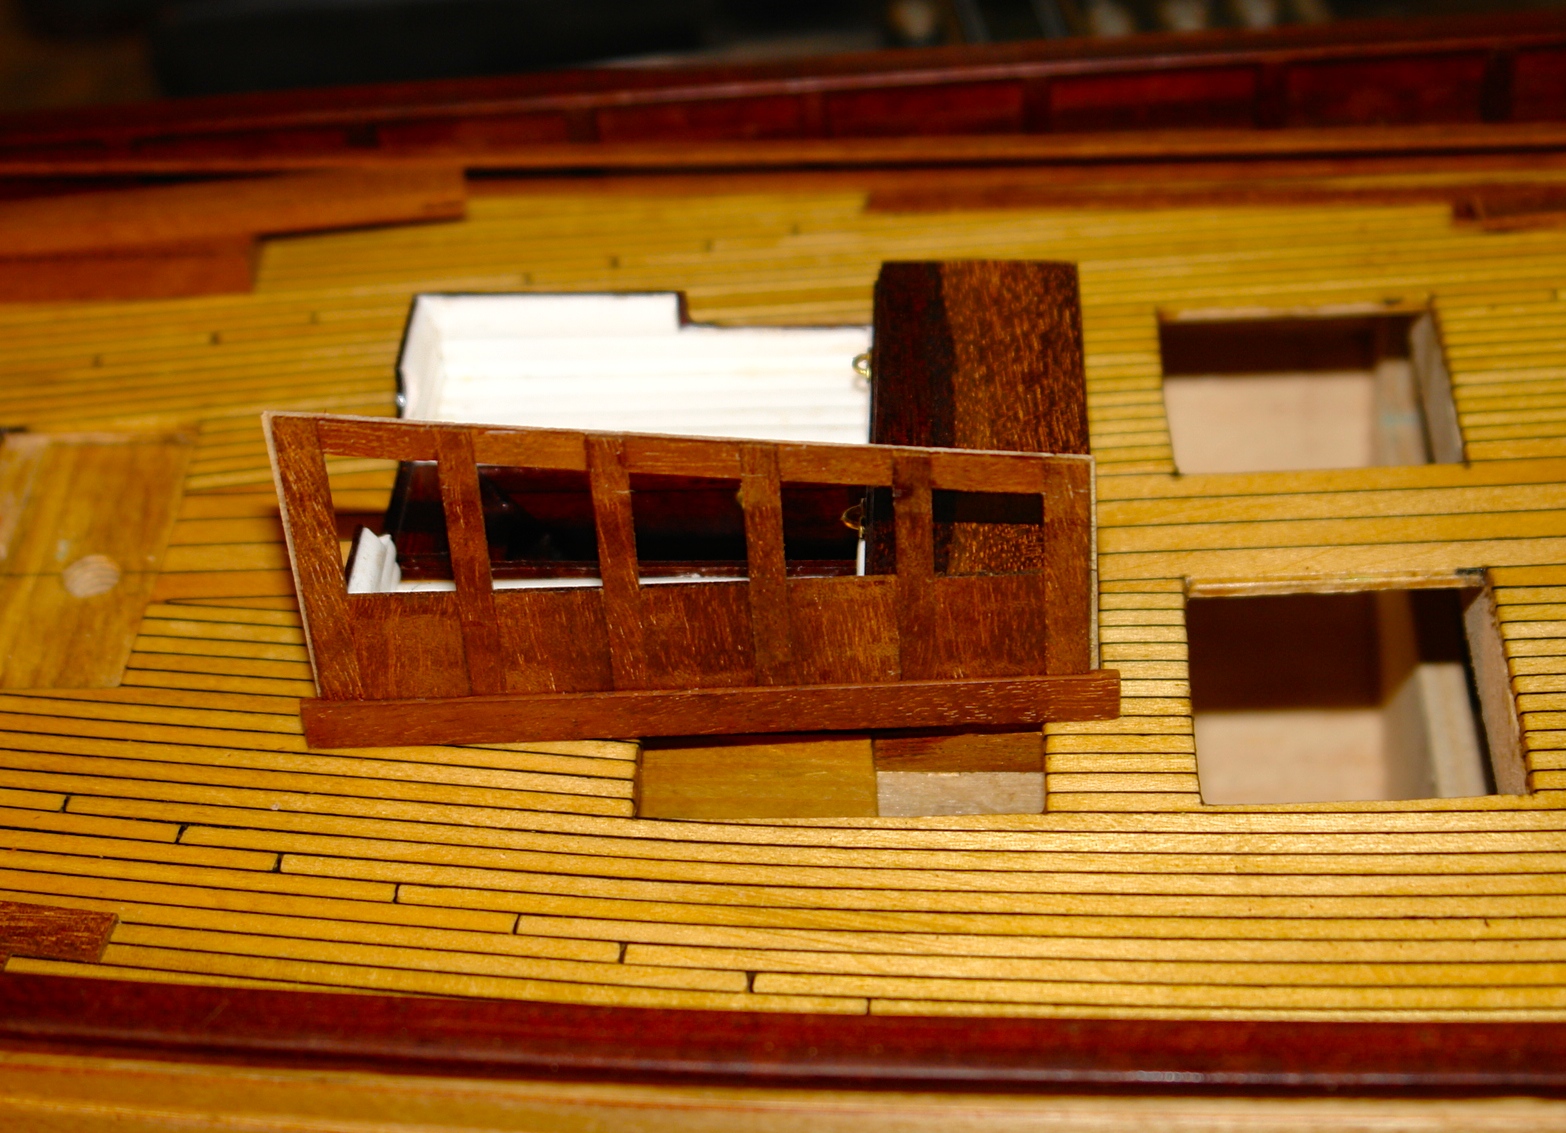
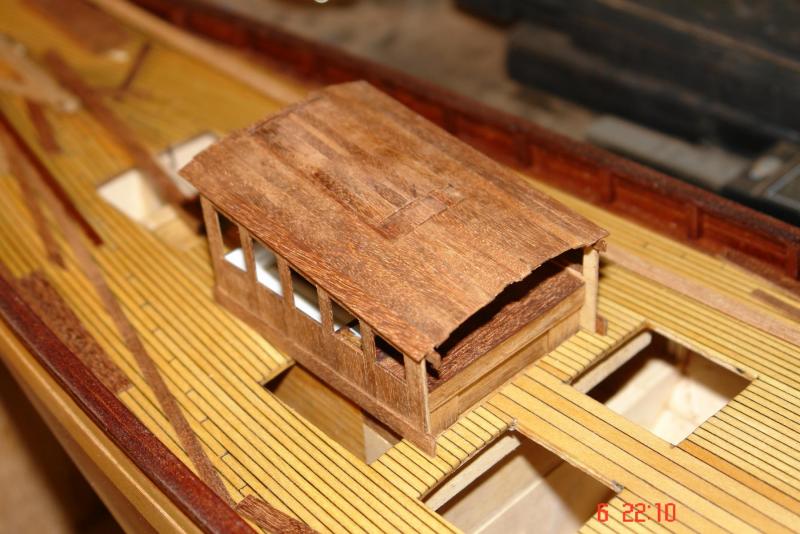
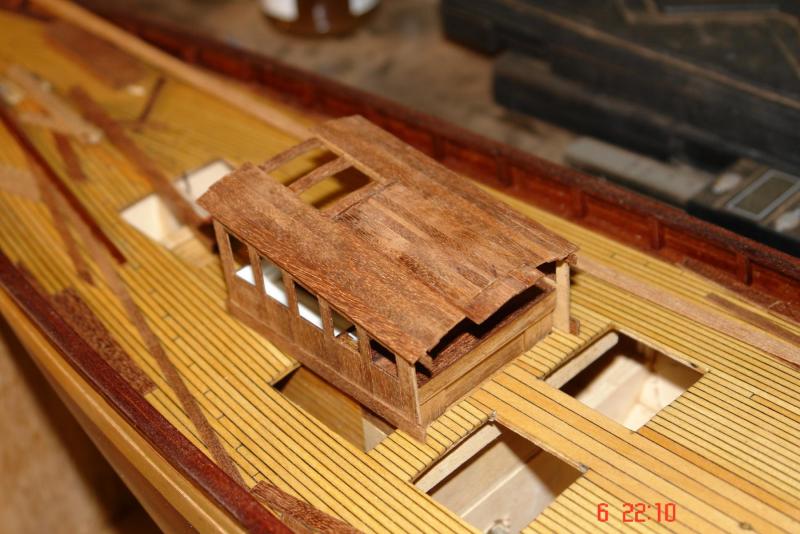
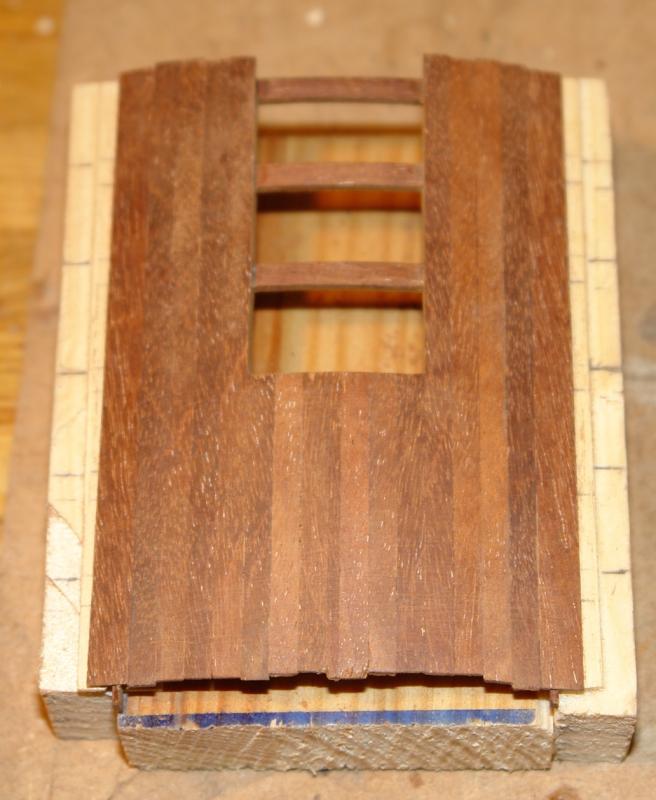
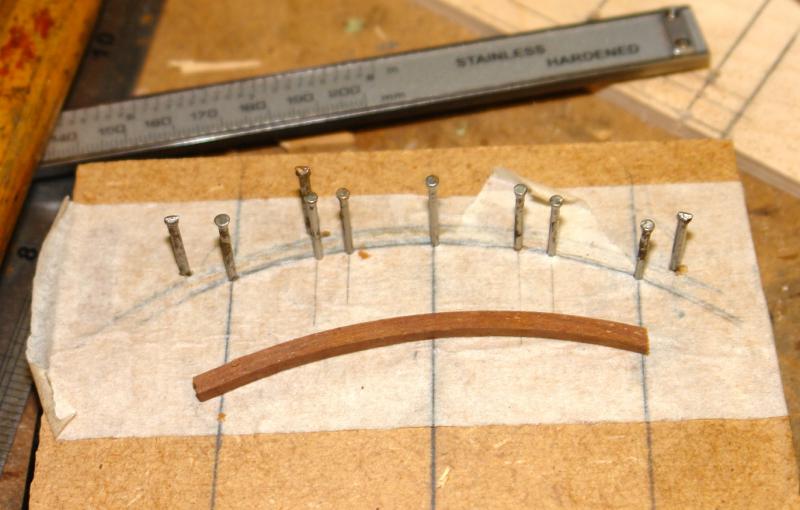
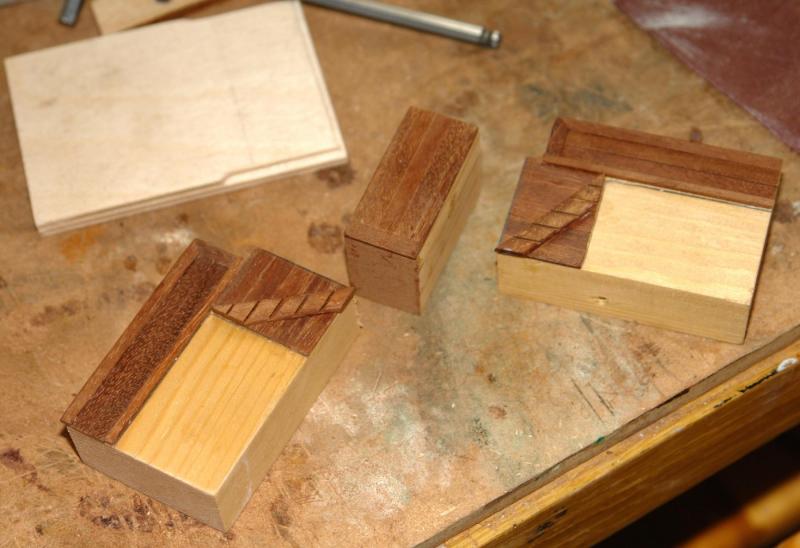
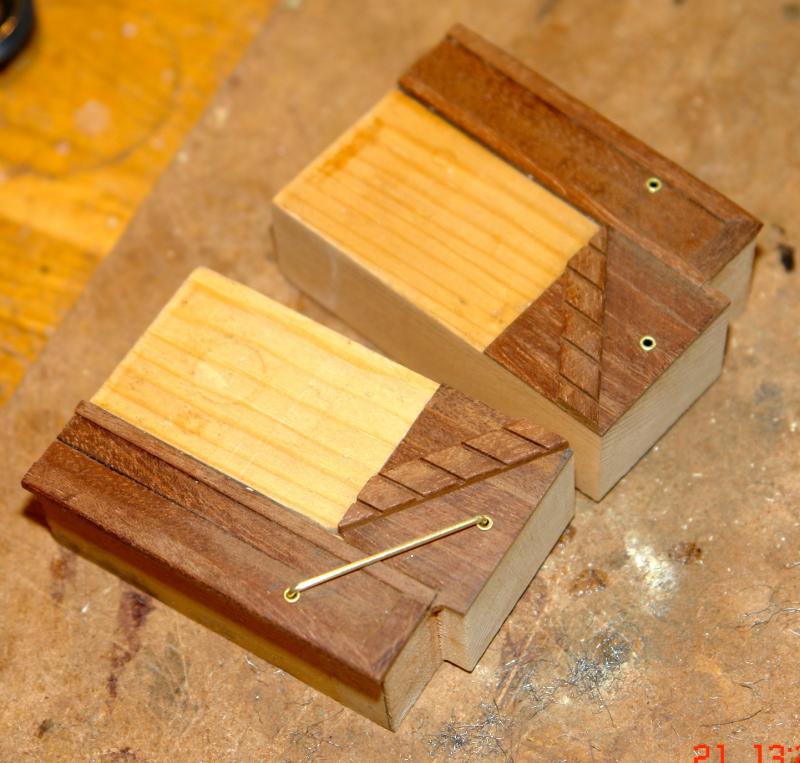
 I wanted to make a working roof hatch - avoiding the dilemma of whether to have it open or closed. It was therefore important to make the curve of the inner surface of the hatch match the outer curve of the deckhouse roof. Rather than make a jig I decided to use the deckhouse roof itself as the jig. To avoid the hatch becoming accidentally attached to the roof I covered the roof with a strip of masking tape. The hatch was then constructed on the roof using .040 inch x .160 inch mahogany planks overlaid by a second layer of .030 inch x .160 inch planks. The second layer was inset from the edge by .040 inch to produce the lip which will locate in the runner. The components of the deck house were balanced on one another (not yet ready to glue) to check what it is going to look like.
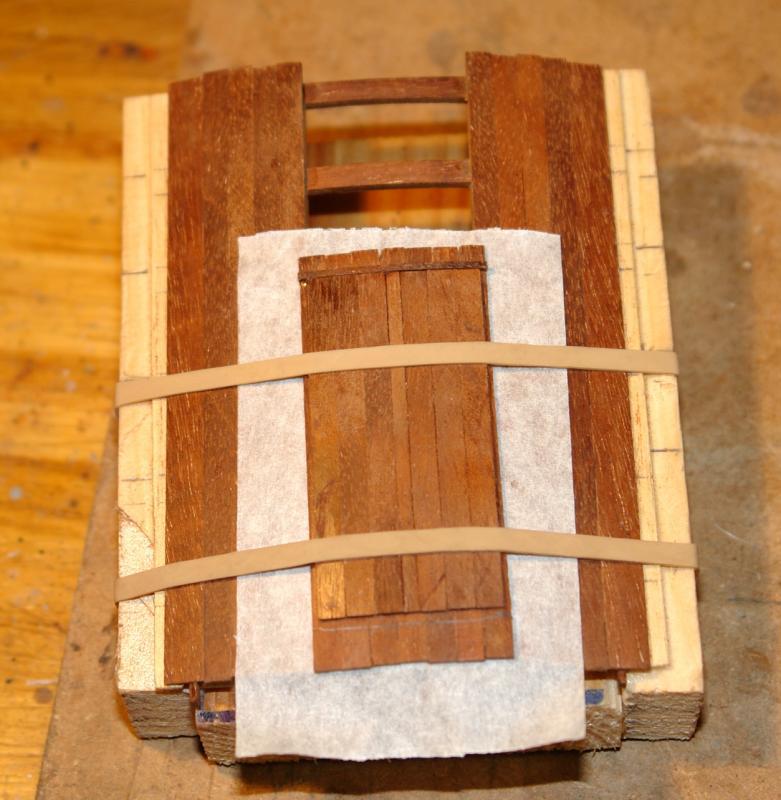

- 882 replies
-
- 13
-

-
Michael Your clamp seems to work well - think I may have to make one if I can find the time. Are you using soft solder? You seem to be quite mobile so I assume the leg is hopefully on the mend?
- 749 replies
-
- 3
-
-
- albertic
- ocean liner
- (and 2 more)
-
Michael I sometimes get a bit obsessed about detail, even if you can't see it. I think you may suffer from the same problem!!!!!!!!!!!!!
-
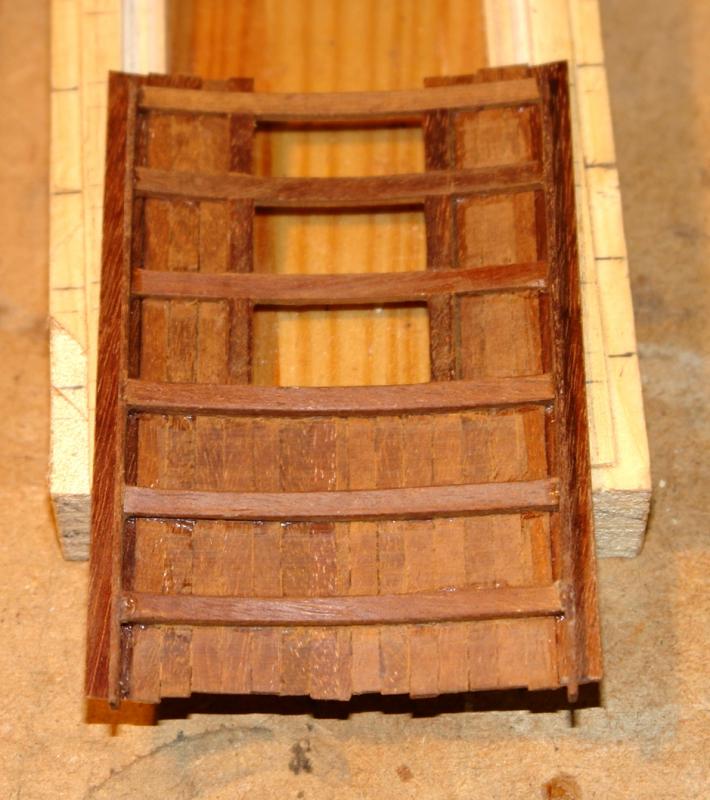
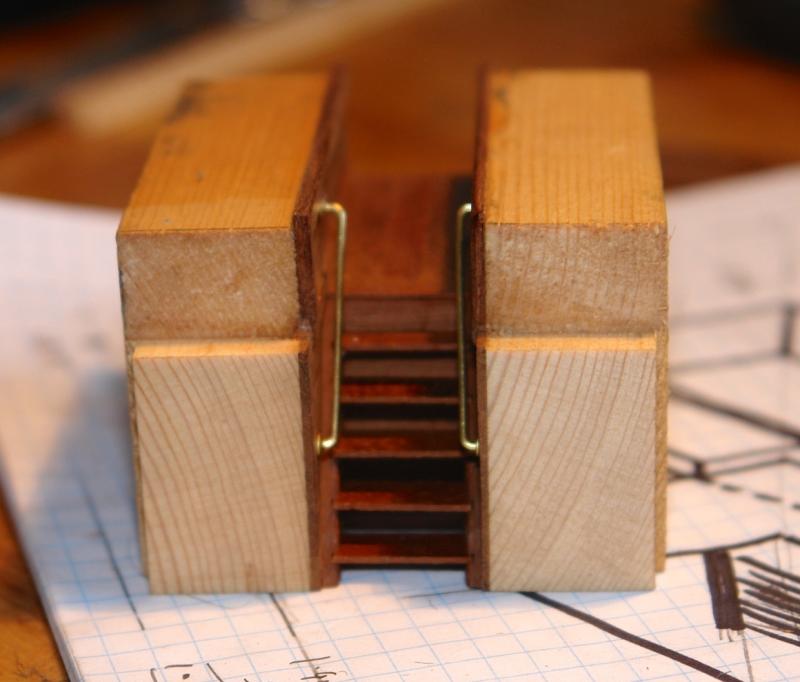
Thank you Michael. The roof beams are true vertical / horizontal while the roof slopes down towards the bow. This means that the beams have to be flared. I did this using a sanding stick using fine emery cloth and very little pressure to avoid breaking the beams from the edge strips. I was pleased to get to planking the roof as this started to add much needed rigidity. The planks were .040 inch thick by .160 inch wide mahogany. The first two planks were placed to form the edges of the sliding roof hatch. Elastic bands proved effective in holding the planks while the PVA dried. Once fully planked the roof was sanded and the additional longitudinal beams attached to the underside. The roof construction is very light but surprisingly rigid. The 3 beams which cross the hatch opening will be removed later.


- 882 replies
-
- 10
-
-
ancre La Salamandre by tadheus - 1:24
KeithAug replied to tadheus's topic in - Build logs for subjects built 1751 - 1800
Hi Pawel Excellent work. How many years do you think its going to take to finish her? -
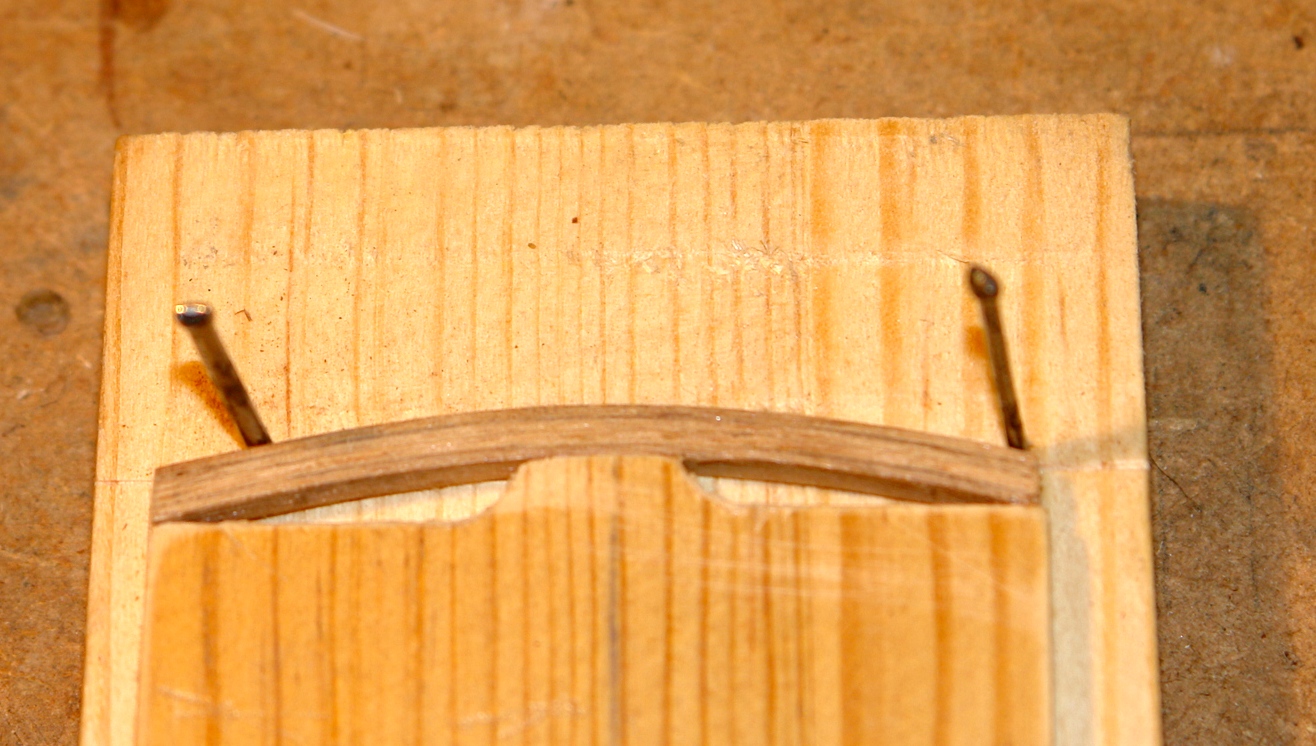
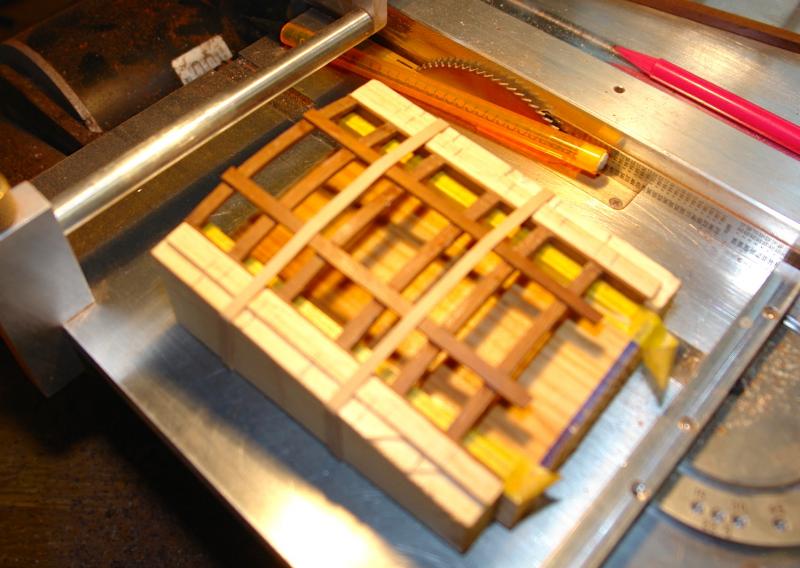
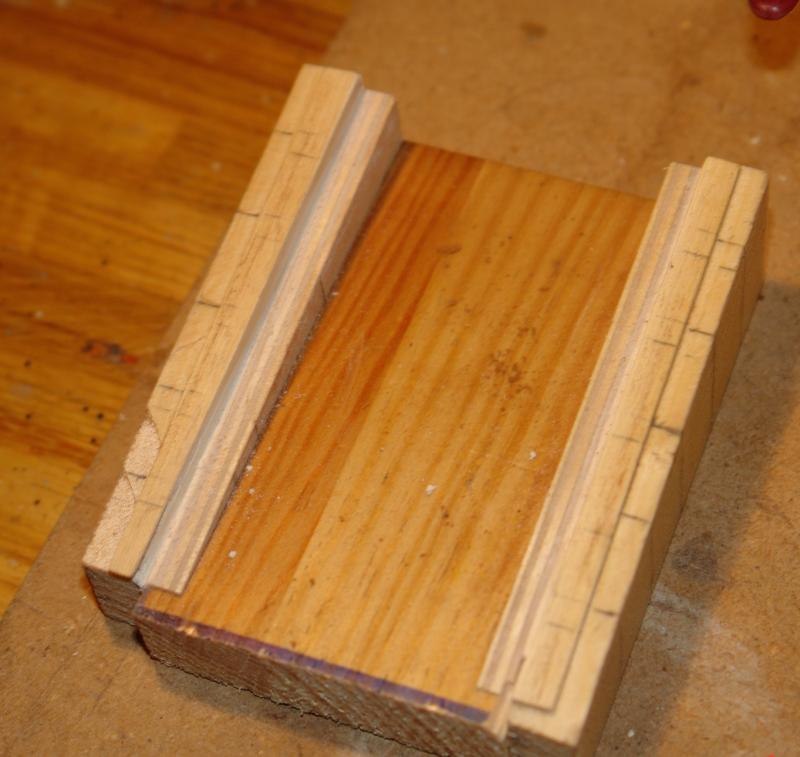
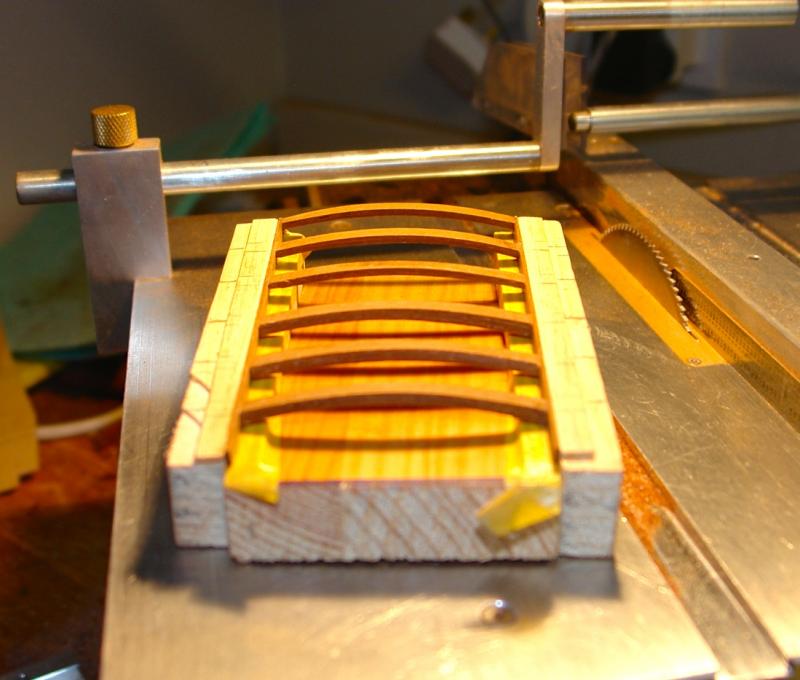
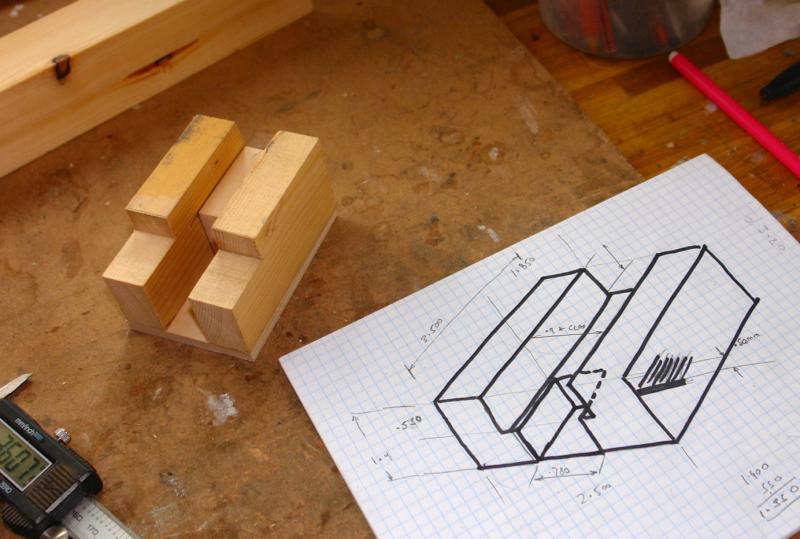
Progress continues to be slow as other distractions intervene. I continued to build the deck house, trying to reproduce the original in miniature. The roof is quite a delicate structure at model scale. I decided to laminate up the roof beams. The beams to the front of the deckhouse are thicker - laminated from 3 pieces of mahogany each .040 thick. The beams at the rear of the deckhouse are thinner - 2 x .040 planks. I made a simple jig (nails in a plank) to hold the beams while gluing (PVA glue). Another simple jig was shaped (on the mill) to produce and accurate cutting guide to consistently get the planks the correct length. Finally I made a 3rd jig in which to build the roof. 2 edge strips were laid in the jig and then the 6 curved beams were placed glued at each end with PVA ------ all very delicate.

- 882 replies
-
- 10
-
-
ancre La Salamandre by tadheus - 1:24
KeithAug replied to tadheus's topic in - Build logs for subjects built 1751 - 1800
Love it Pawel. -
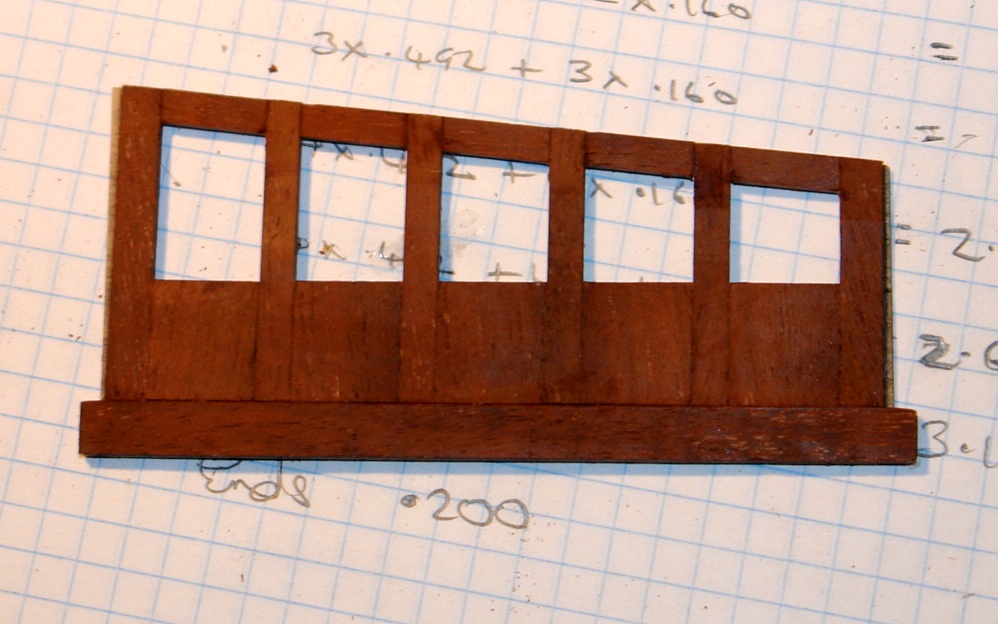
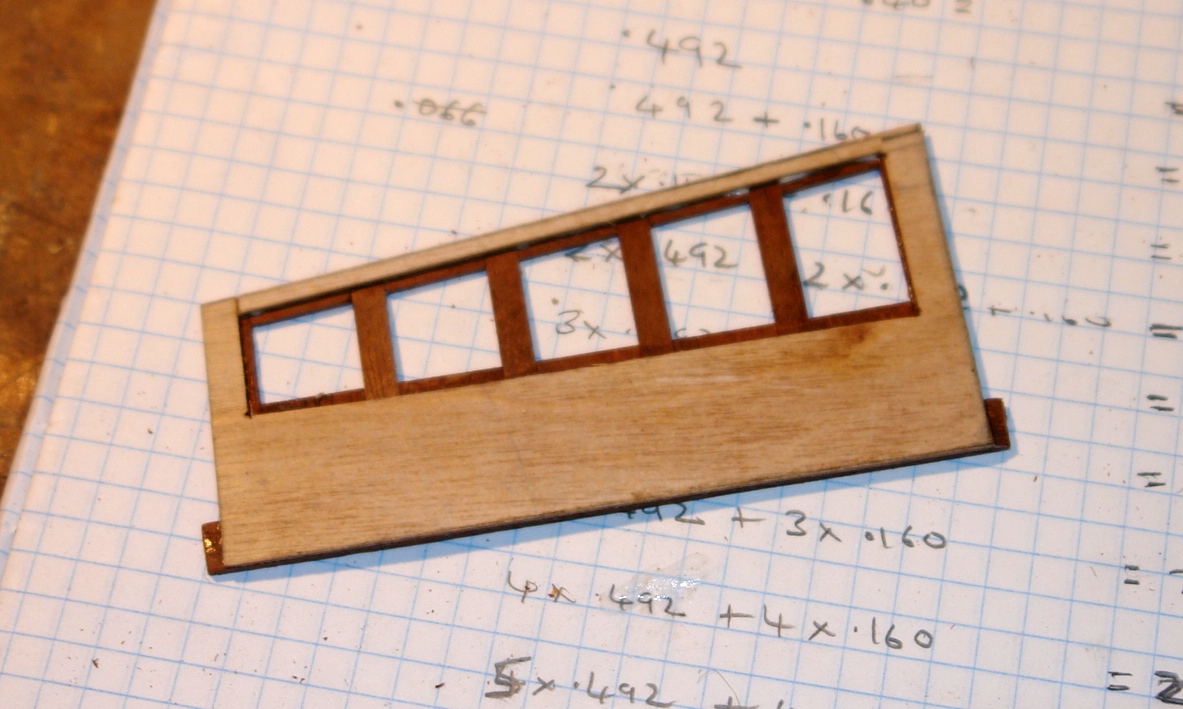
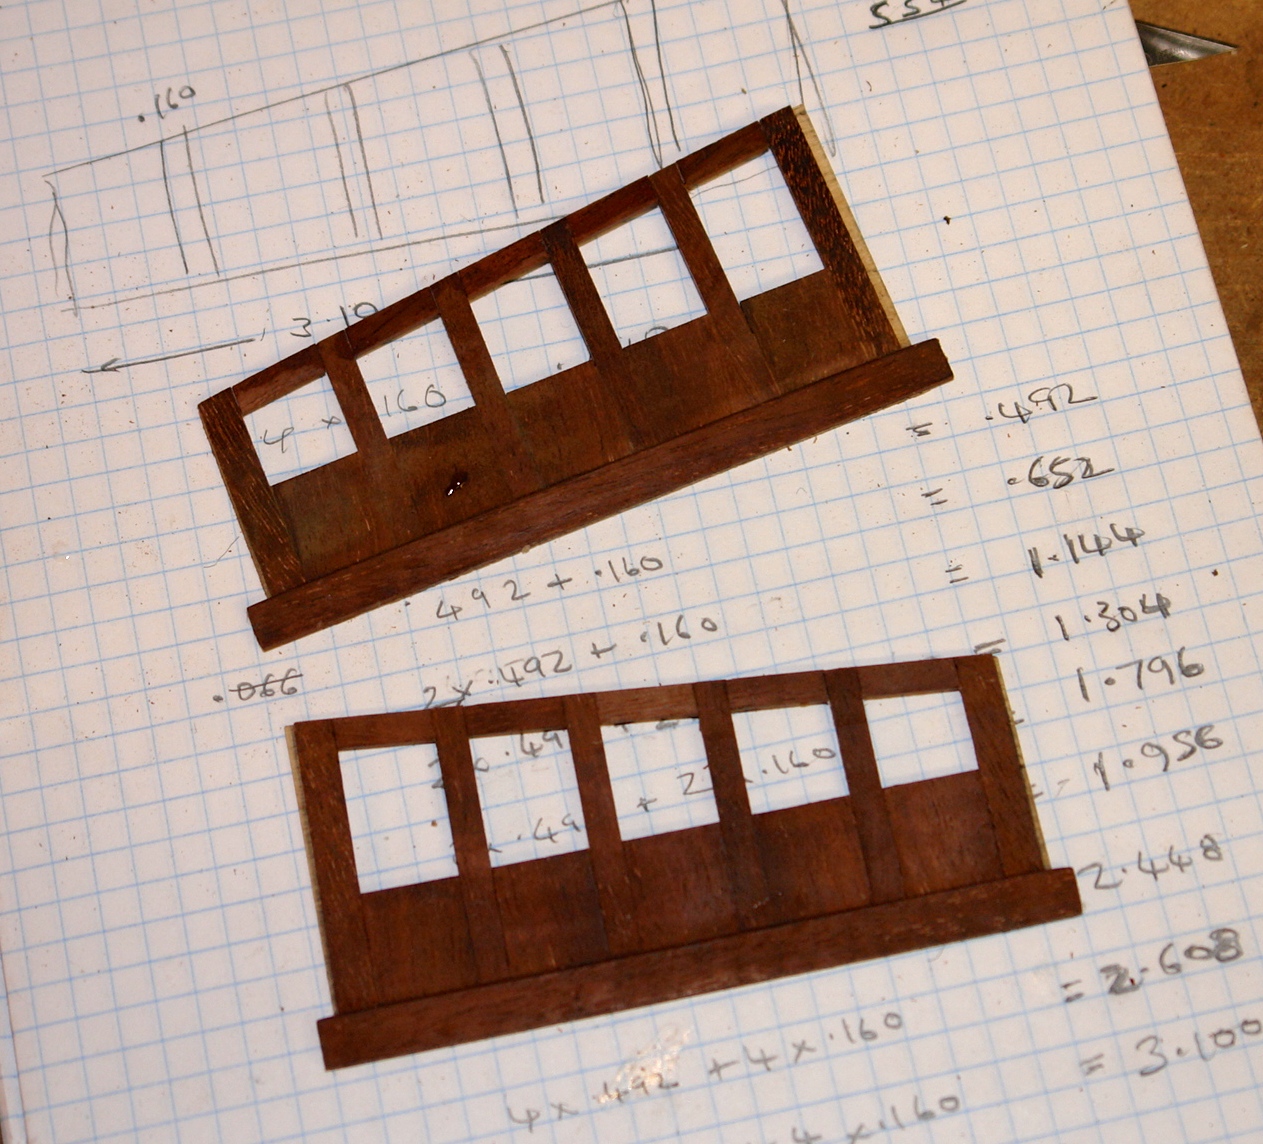
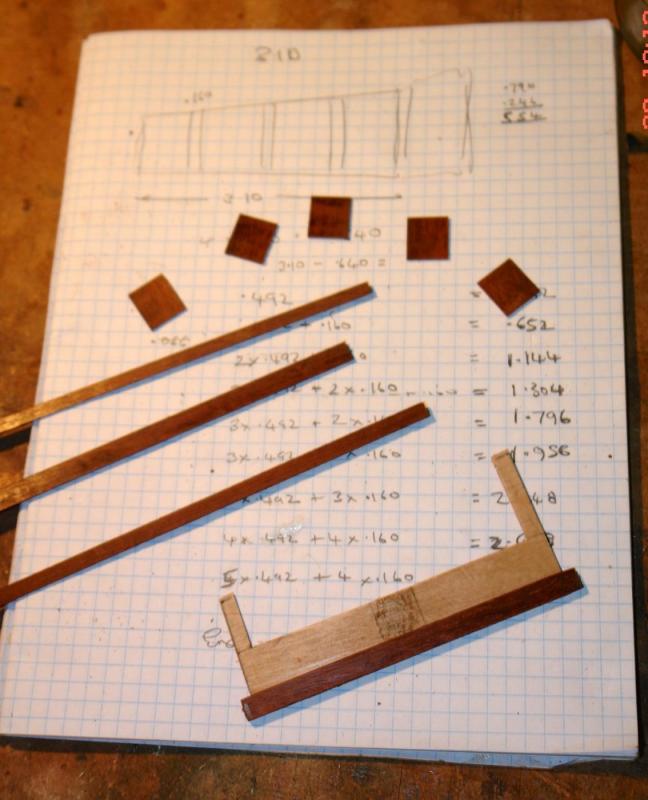
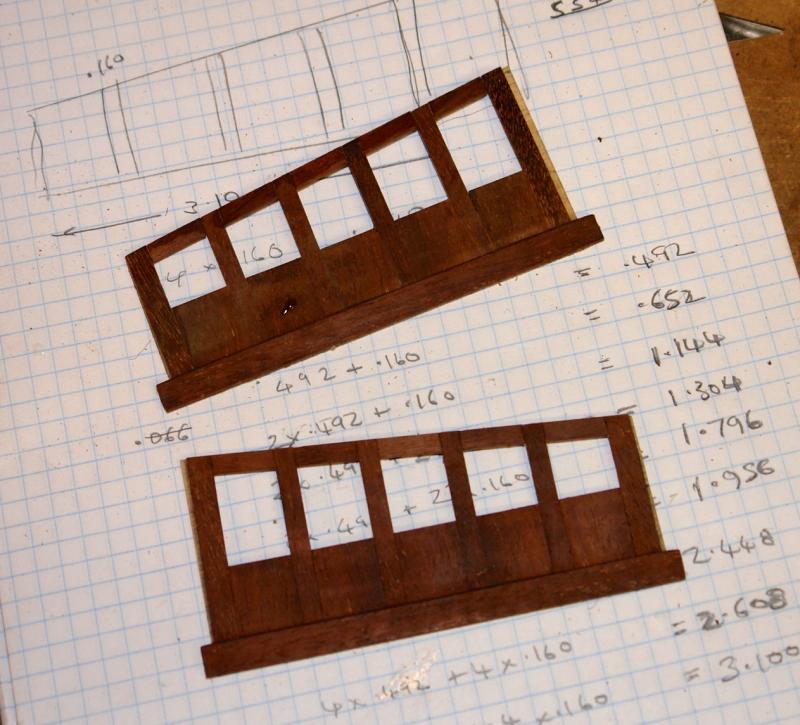
I decided to do a bit on the deckhouse - actually the sides. I am going for a sandwich construction, a .031" inch ply core with .040 of mahogany cladding on either side. I spent a happy couple of hours on the table saw cutting the mahogany cladding. I am finding with increasing practice that I am able to make cuts to an accuracy of a couple of thou - quite sufficient. I went to some trouble to get the right spacing for the window - as per calculation sheet below parts in photo. The "kit of parts" is shown below. Assembly was straightforward using PVA glue. The side is 3.5 inch wide. On the reverse side you can see the recess for the windows. One piece of clear acetate will be used, the frames creating the impression of 5 windows. The cladding of the inner surface will trap the acetate in place. This avoids trying to glue the acetate in place which I always seem to make a mess of. After a days work ( with many interruptions ) I had made a bit of progress.


- 882 replies
-
- 11
-
-
Sorry to hear about the incident Michael. In similar situations I tend to get a long lecture from my wife which I promptly ignore - and then regret. I agree with Mark "follow good advice" and get well soon.
- 749 replies
-
- 4
-
-
- albertic
- ocean liner
- (and 2 more)
-
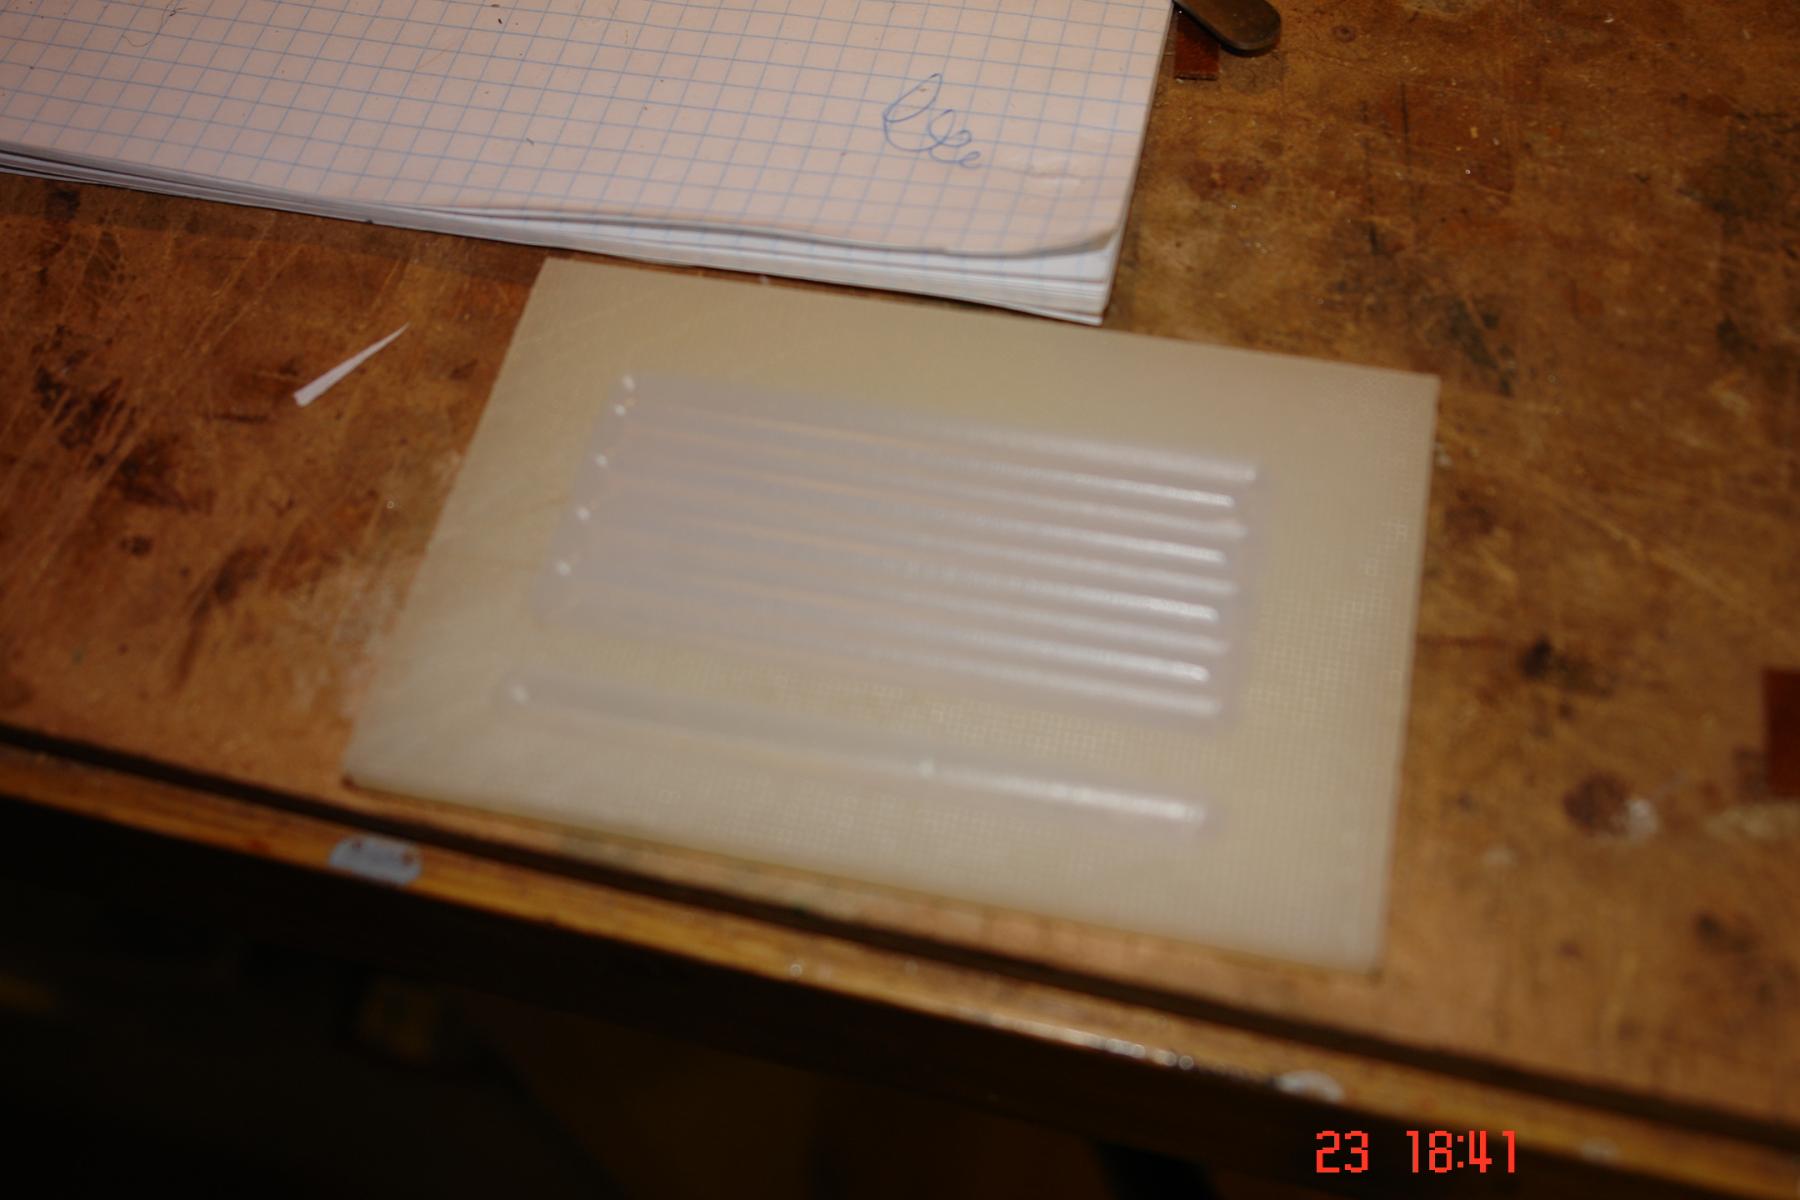
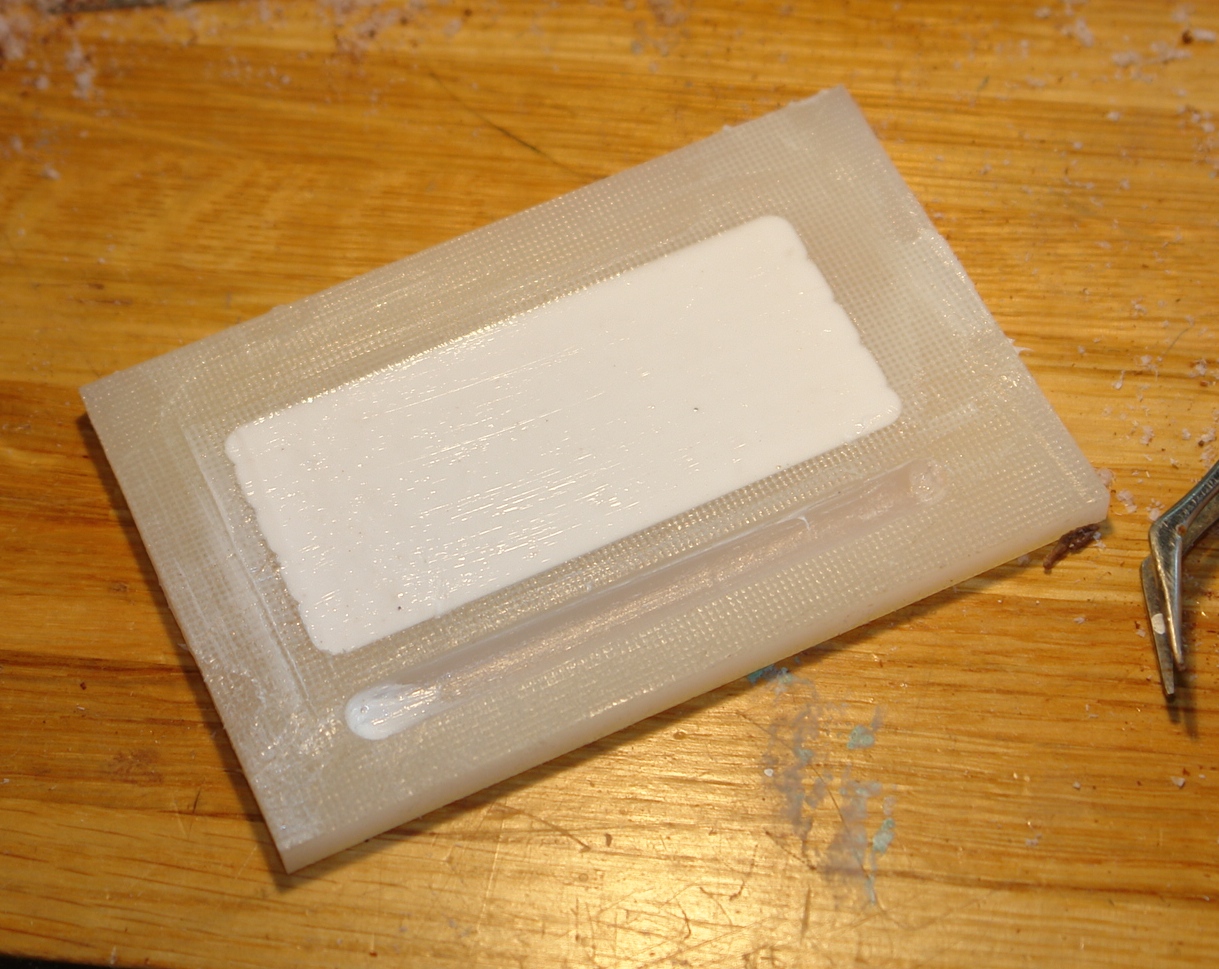
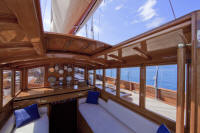
Seats I thought a bit about how to make the seat cushions and backs. Altair has white seats without any features. I wanted to make the seats white but felt that some contouring would enhance the look. I did consider covering foam backed by ply with linen. I thought however that this would look clumsy at the scale of 1:32. Eventually I decided on creating a ribbed mould and "casting" the cushions in silicone. The ribs were cut in nylon sheet (actually an old chopping board) using a ball end milling cutter. The casting was a fairy simple operation. I produced 4 silicone castings over 3 days - allowing plenty of time for curing. The sheets were then shaped to fit on to the benches


- 882 replies
-
- 16
-
-
Thank you "E" ......... I could probably have made a full size one nearly as quickly!!!!
-
Her beauty continues to grow Nils.
- 2,625 replies
-
- 6
-
-
- kaiser wilhelm der grosse
- passenger steamer
- (and 1 more)
-
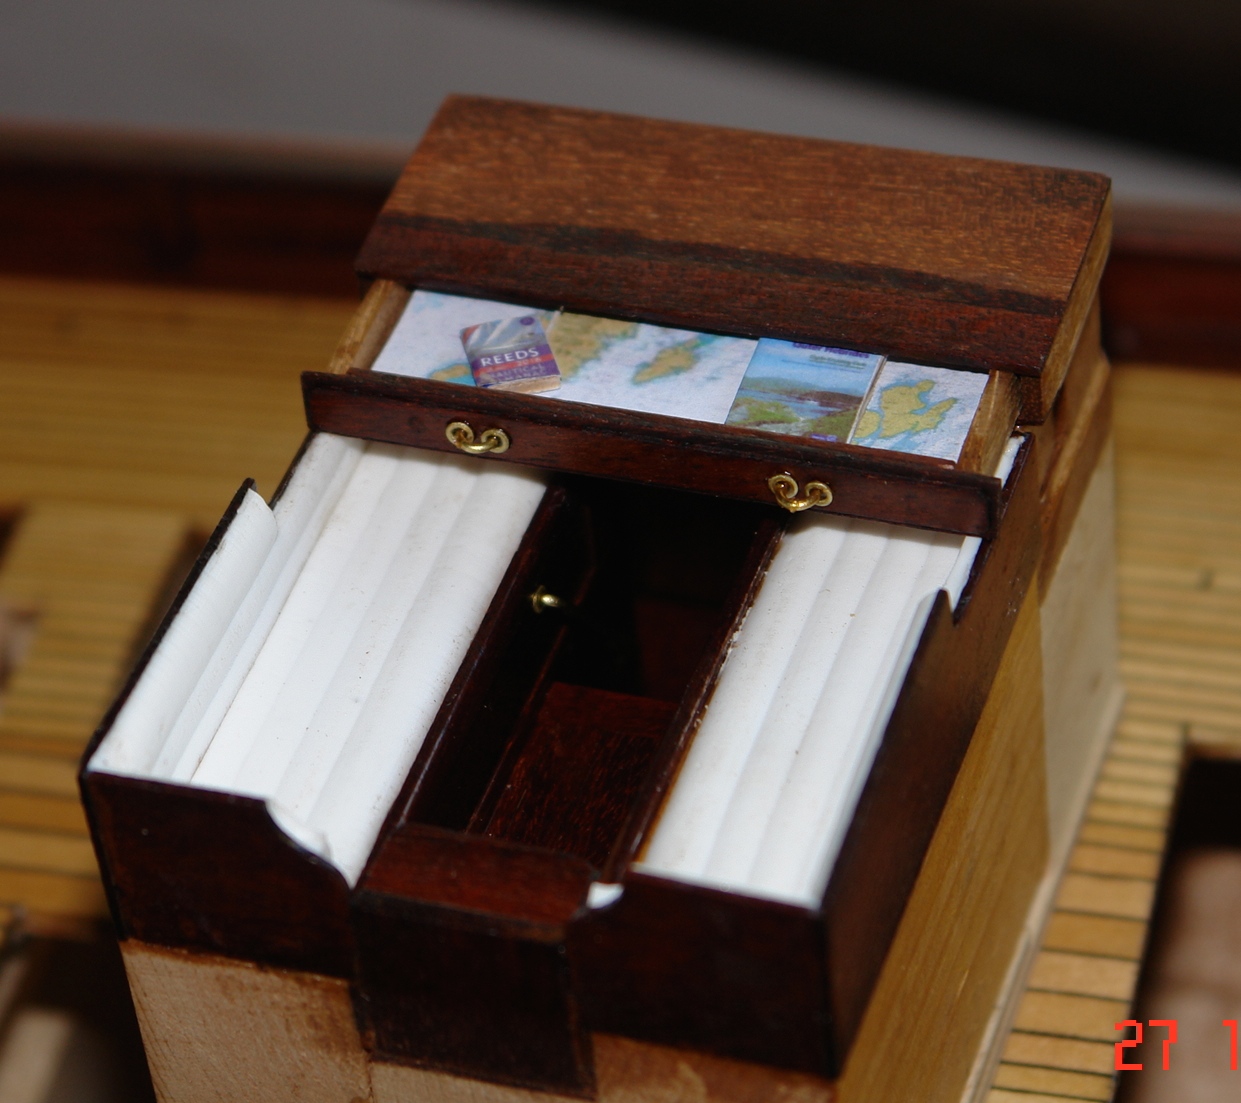
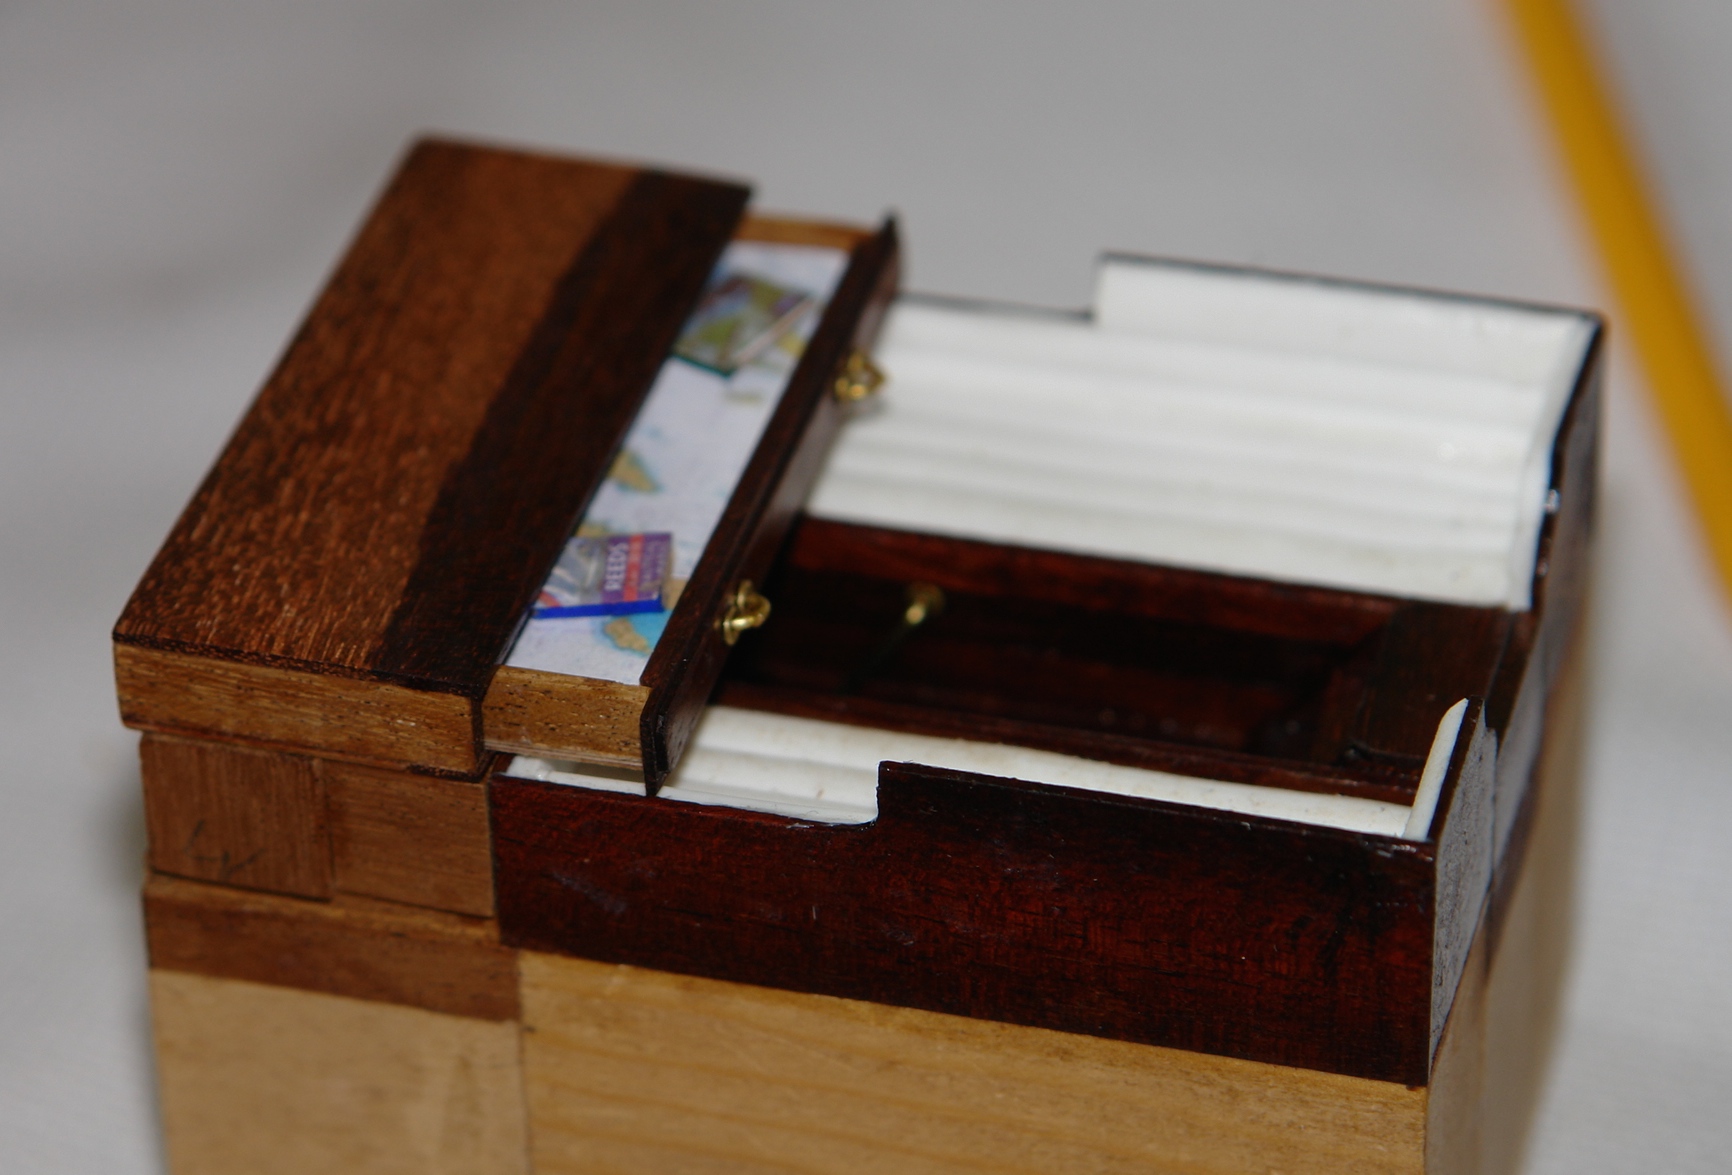
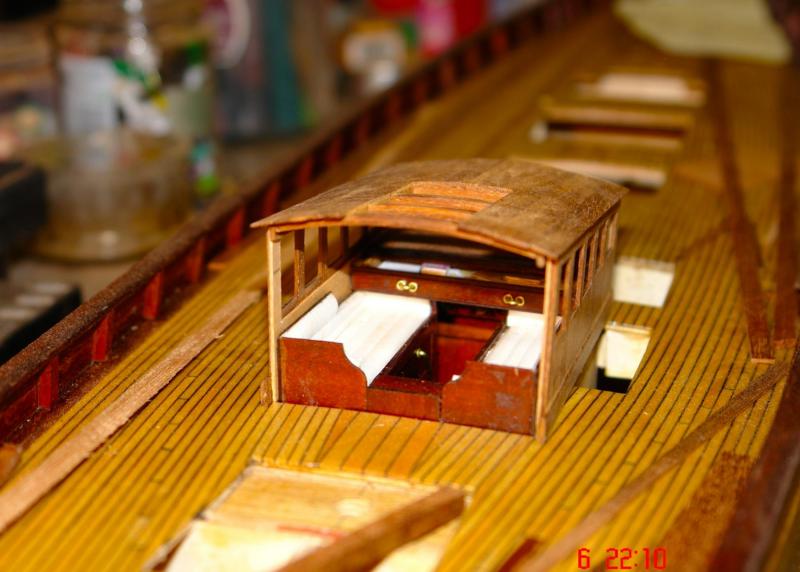
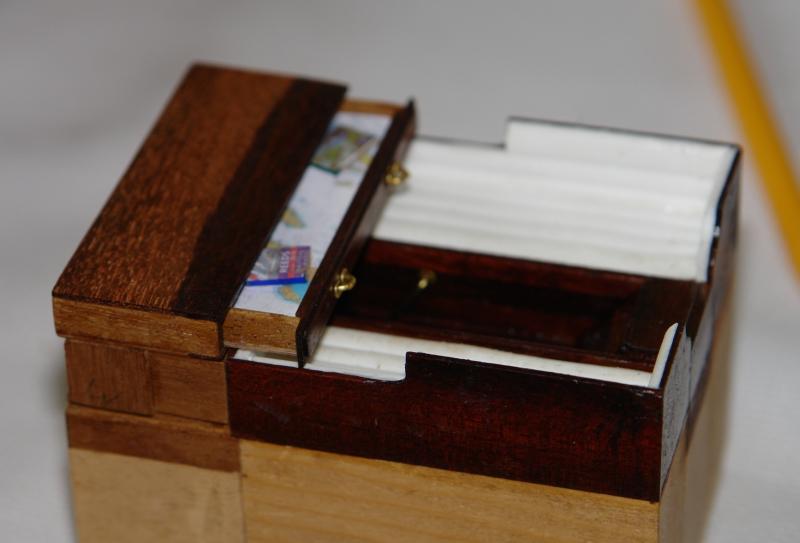
Mark / John - thank you for your comments. Also thank you to all who have hit the like button. John - I have a dilemma about leaving the draw open as in its open position it makes the flag locker even harder to see. Maybe I will have to move it on an annual basis. I am toying with making a parallel rule, dividers and a hand bearing compass but this may be a step too far. First I think i will have a go at the seat coverings.
-
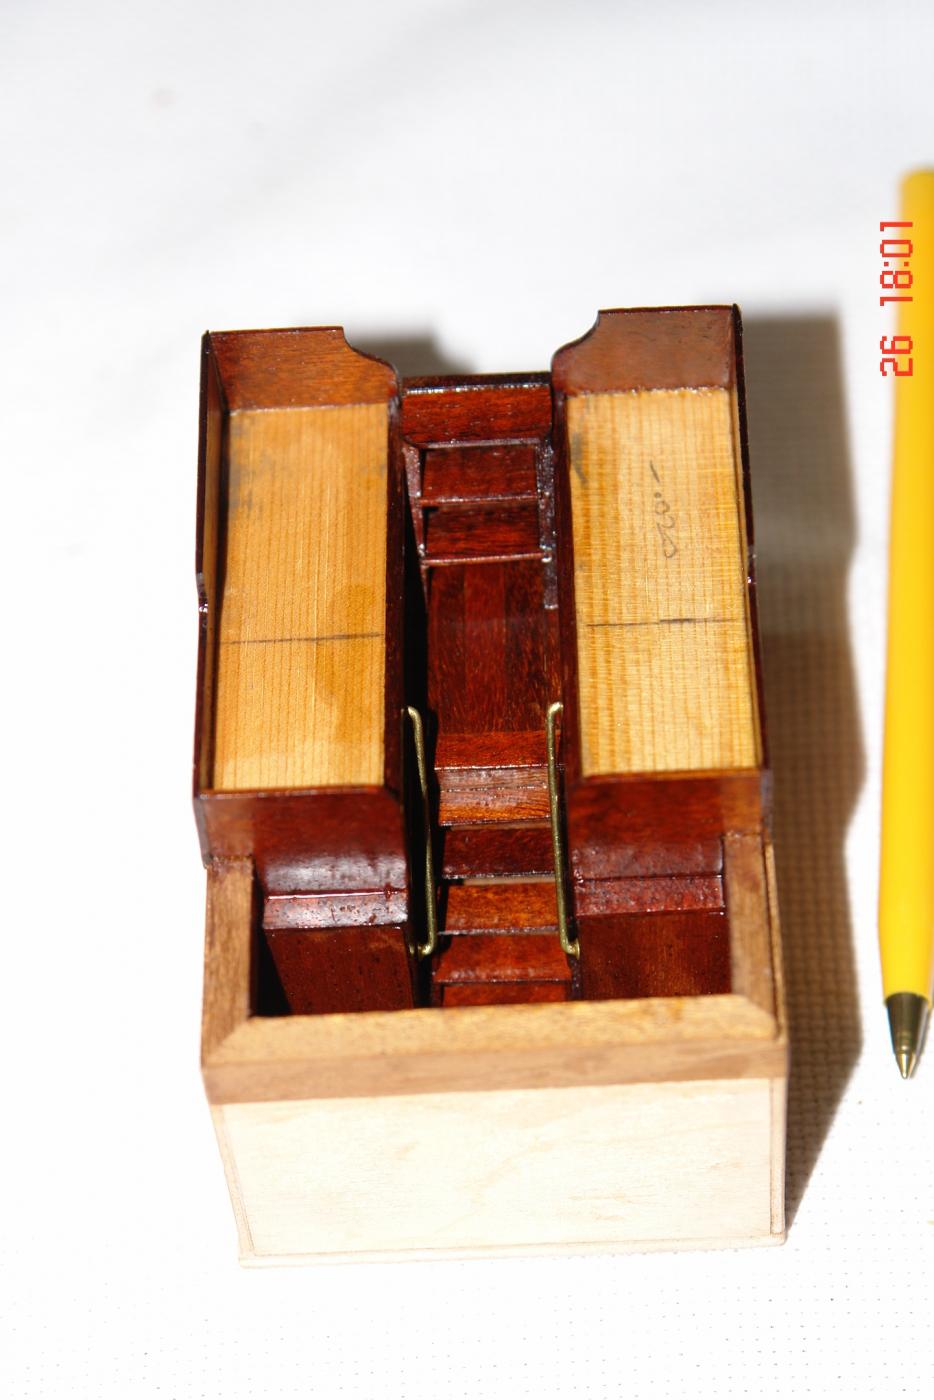
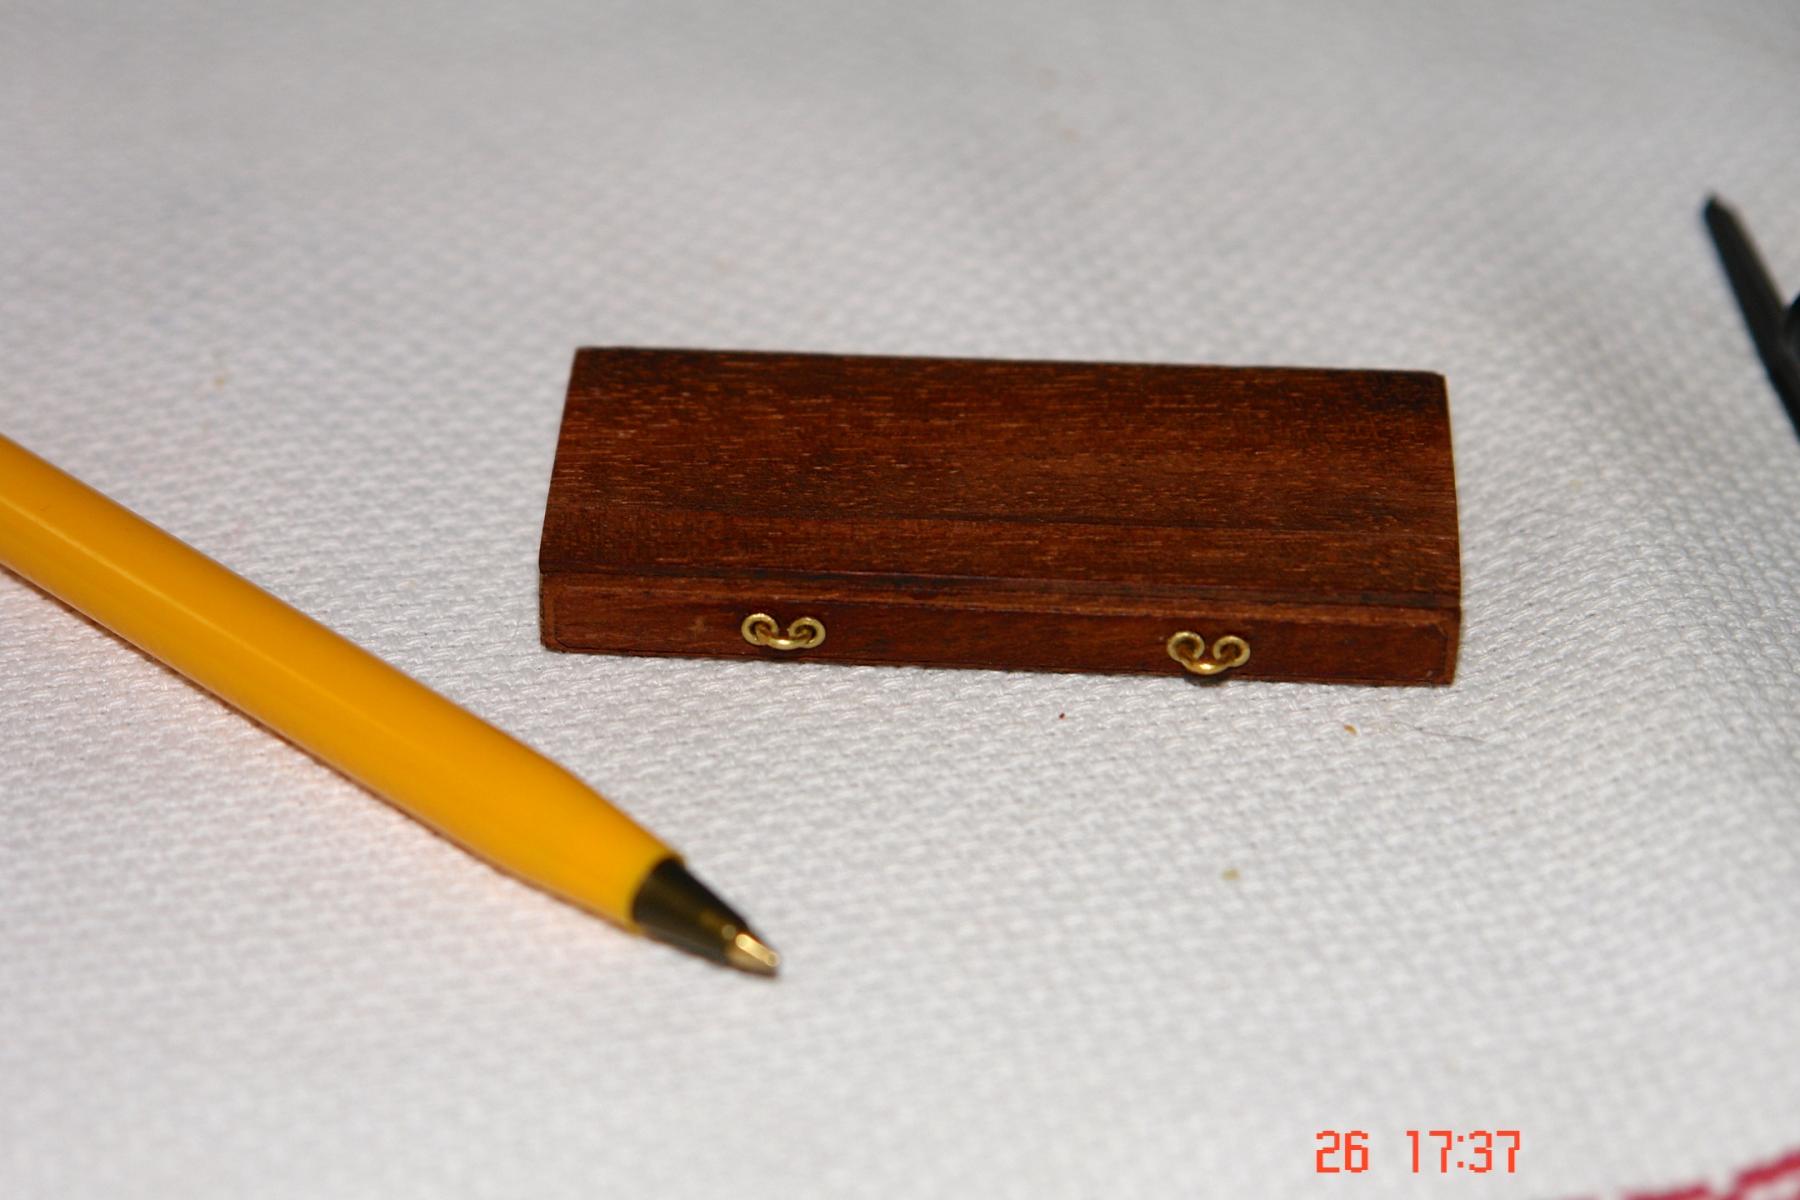
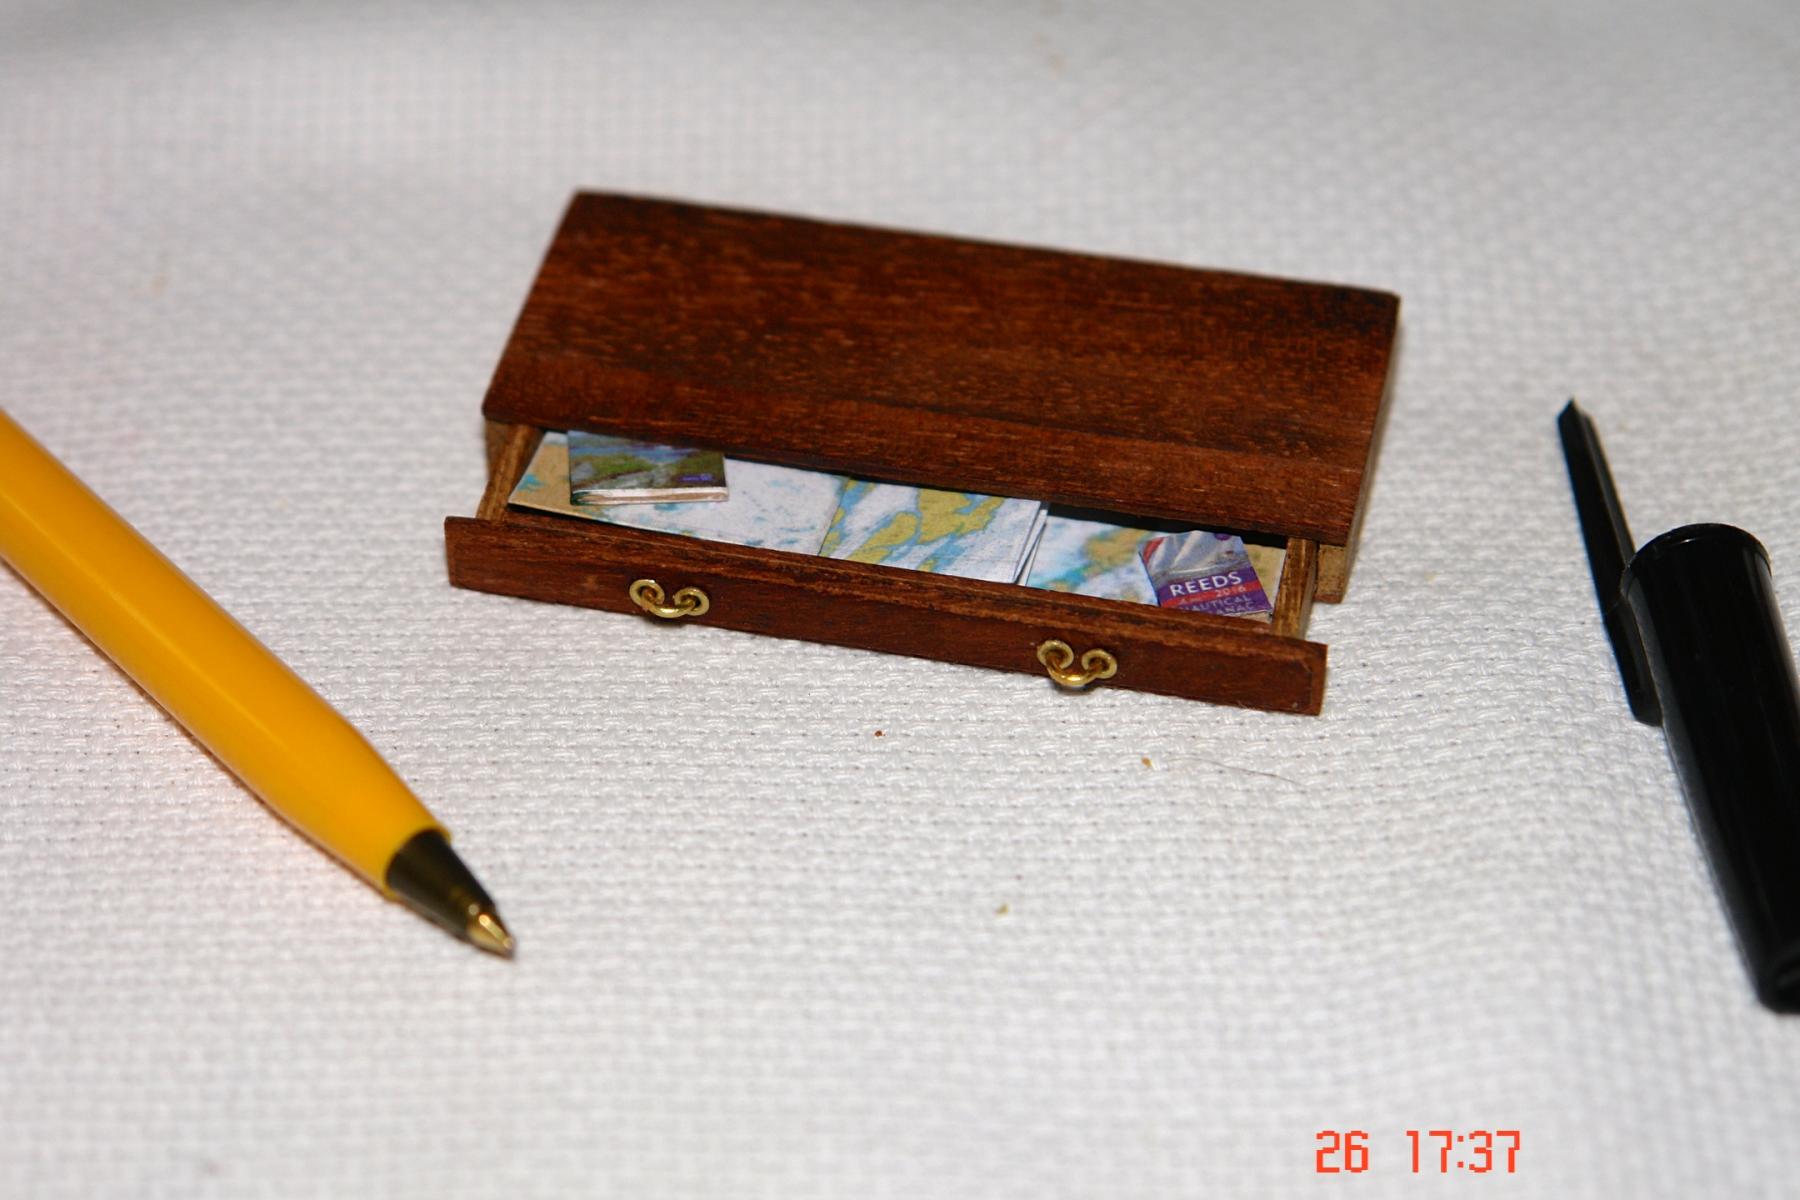
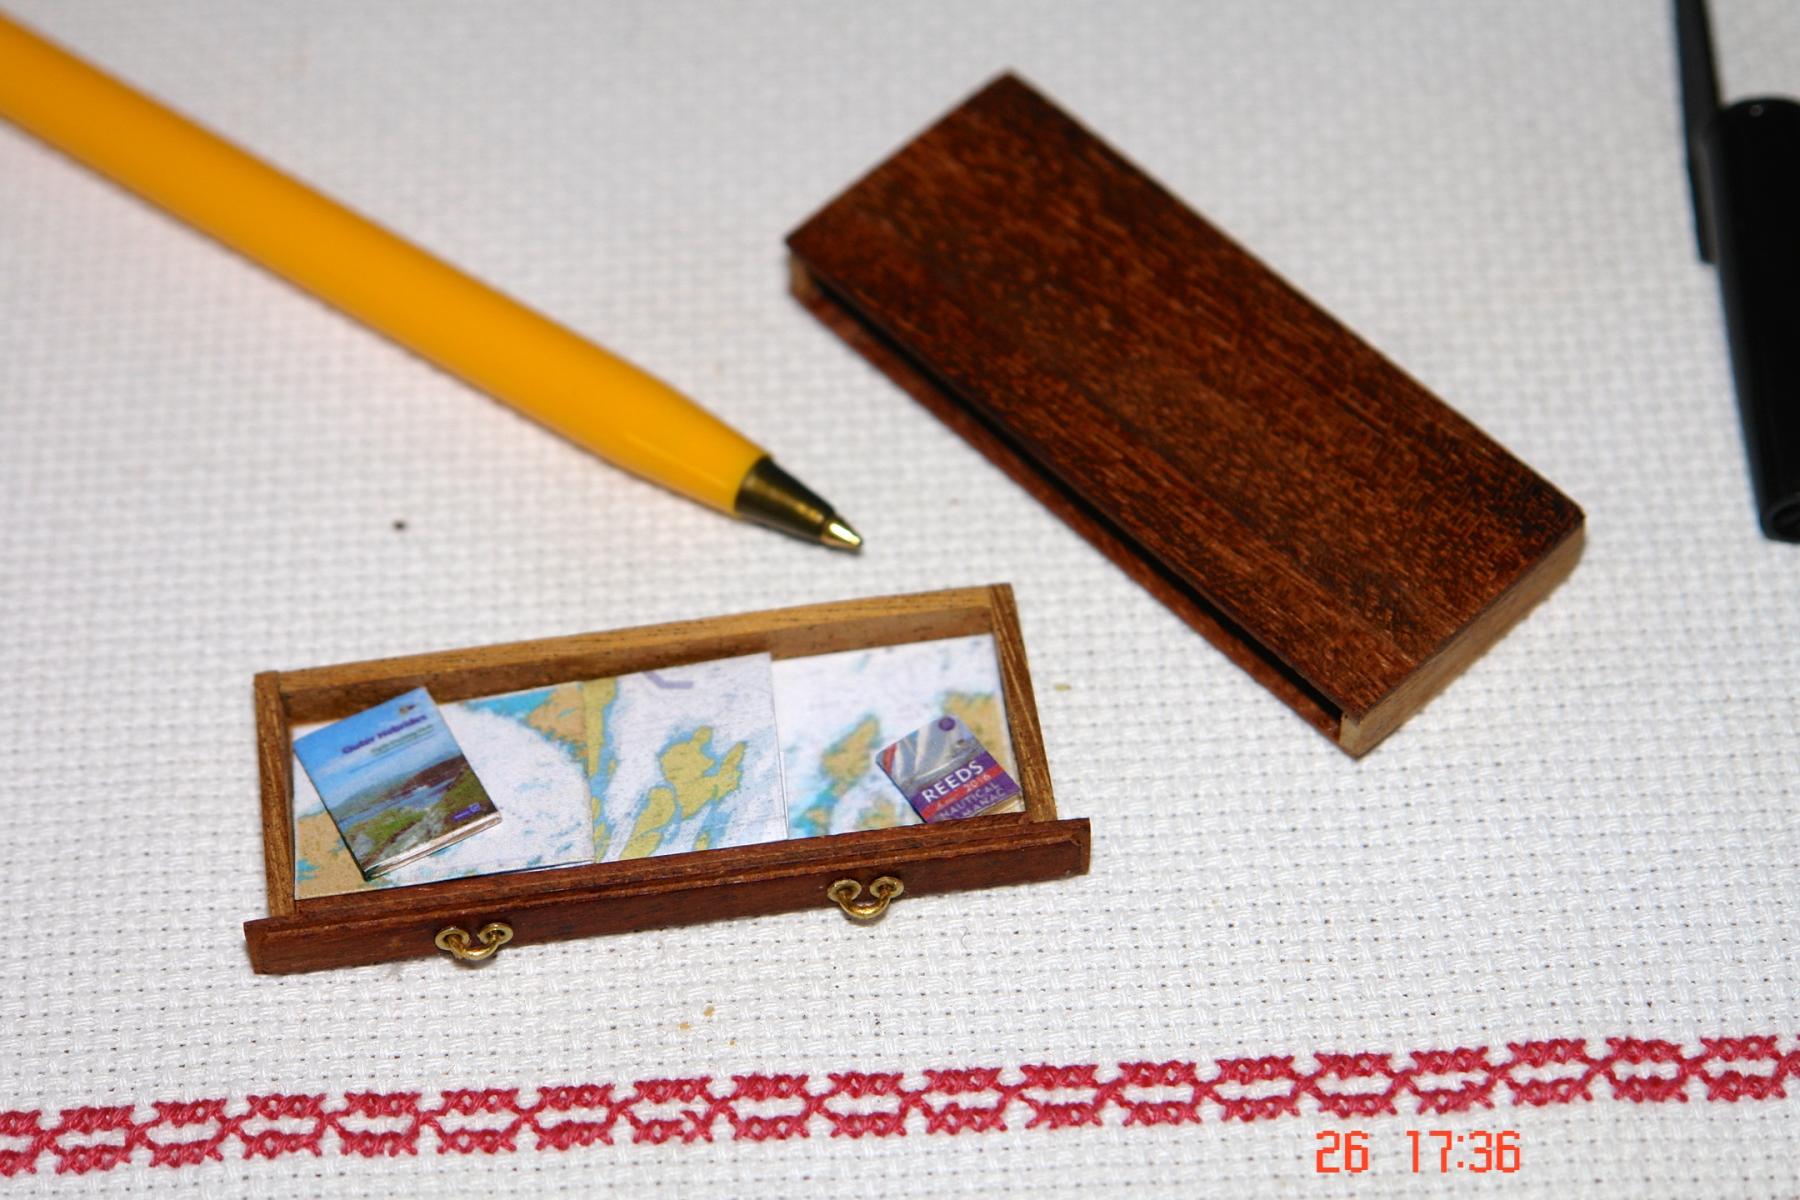
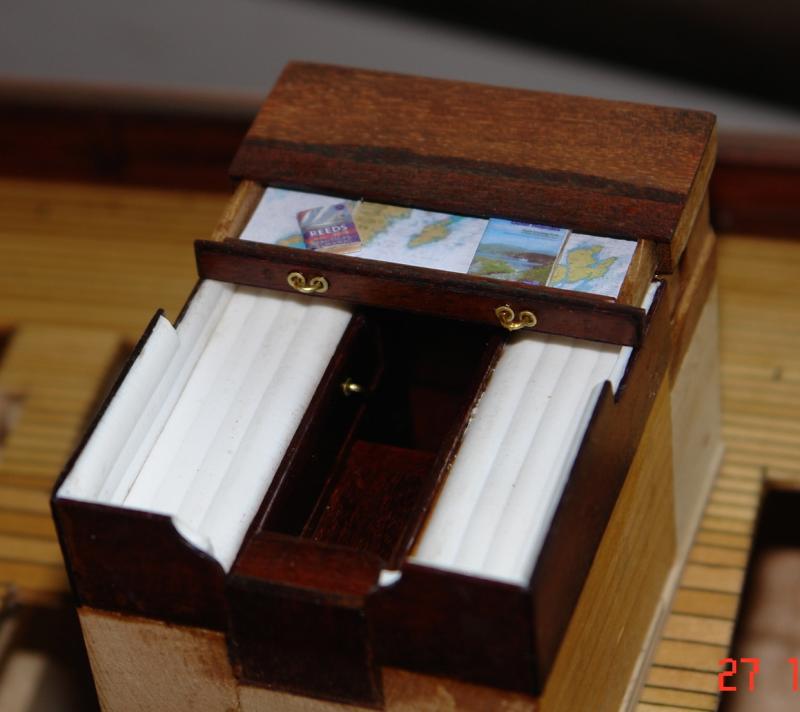
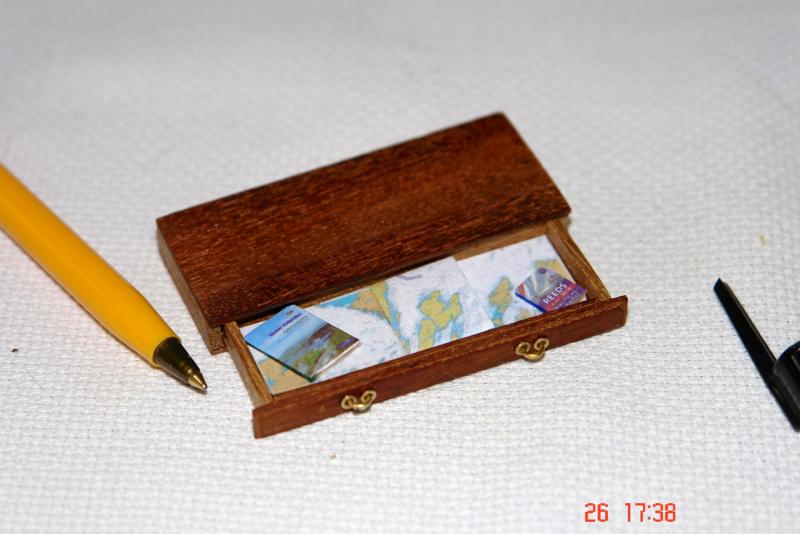
The upper steps in the deckhouse are now complete and the first finishing coats of poly applied. As I think I previously said the chart table sits above the flag locker. I got a bit carried away with making it. The charts cover the Western Isles from the Butt of Lewis to the Mull of Kintyre. The books are old friends - "The Yachtsman's Pilot to the West Coast of Scotland" and "Reeds Nautical Almanac".


- 882 replies
-
- 18
-
-
Hello Michael It looks like a wonderful diversion to while away the cold dark Alberta winter months. Best wishes for a successful build.
- 749 replies
-
- 3
-
-
- albertic
- ocean liner
- (and 2 more)
-
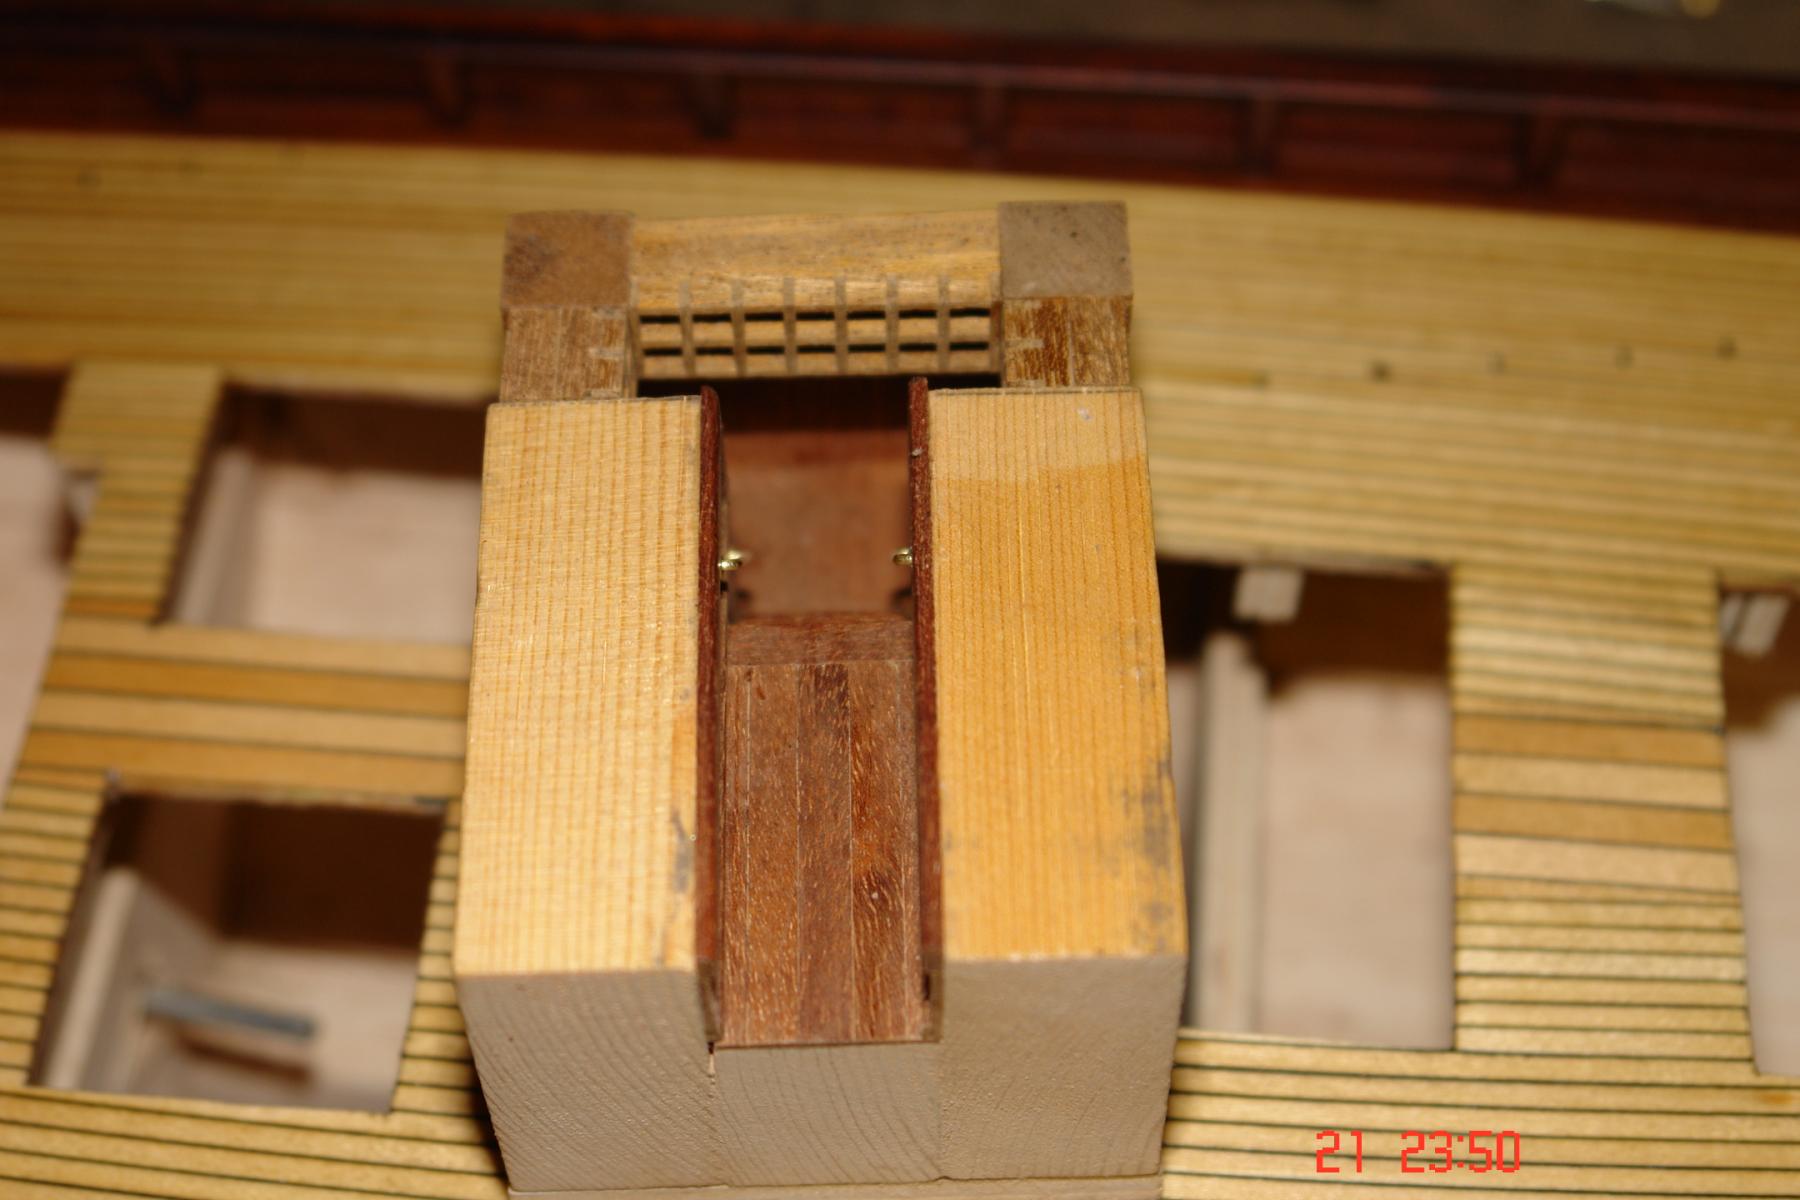
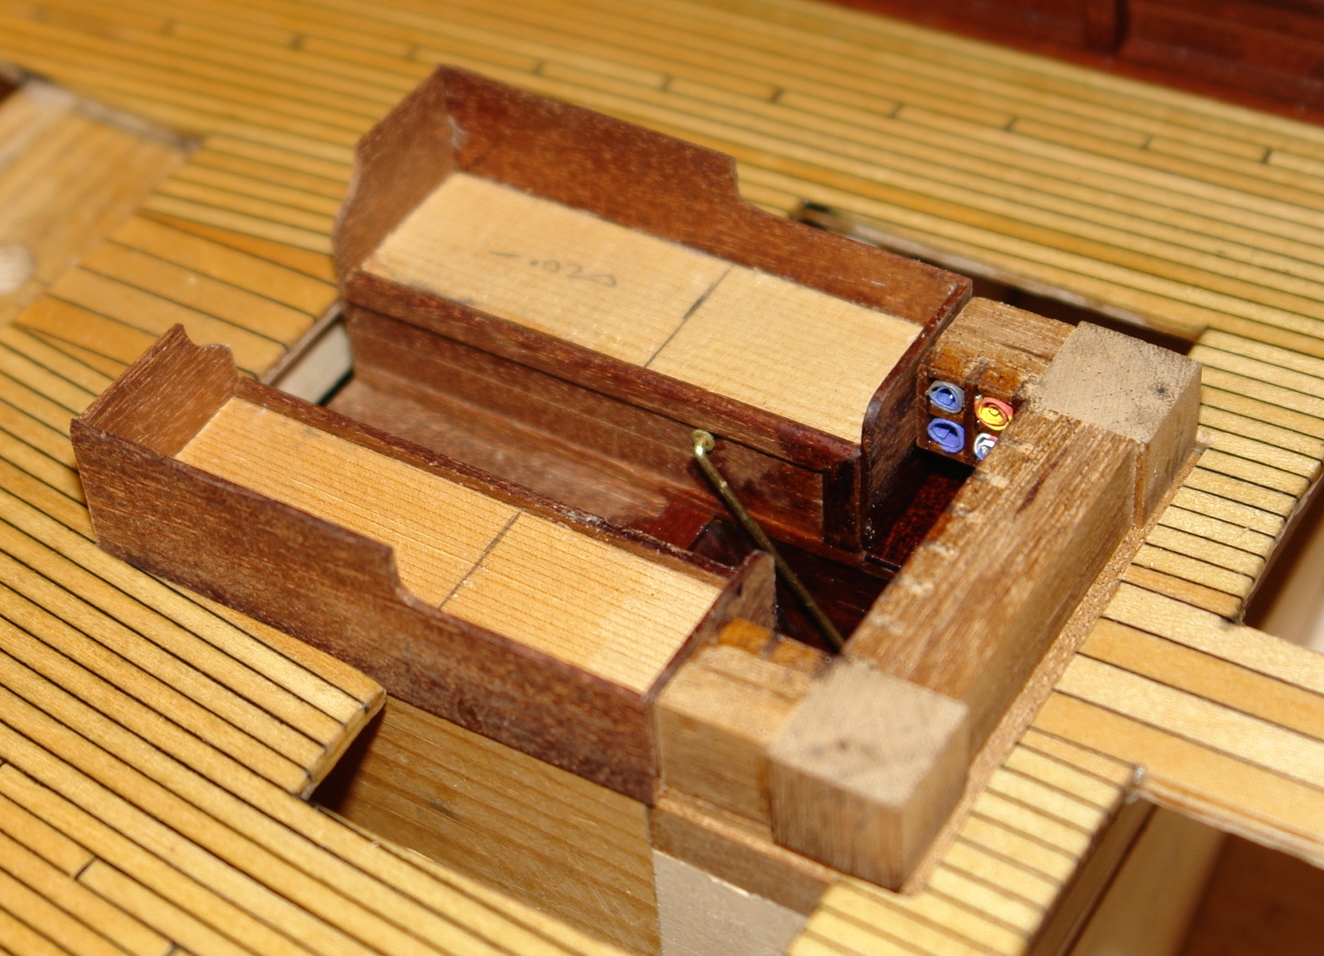
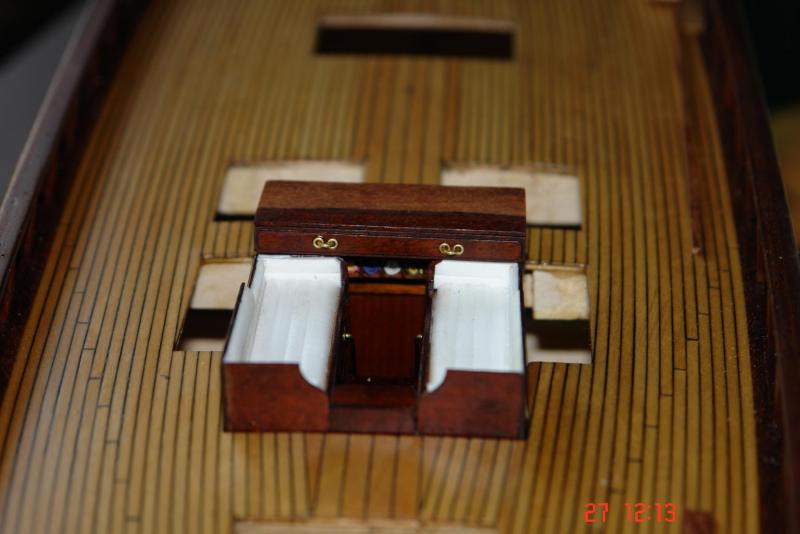
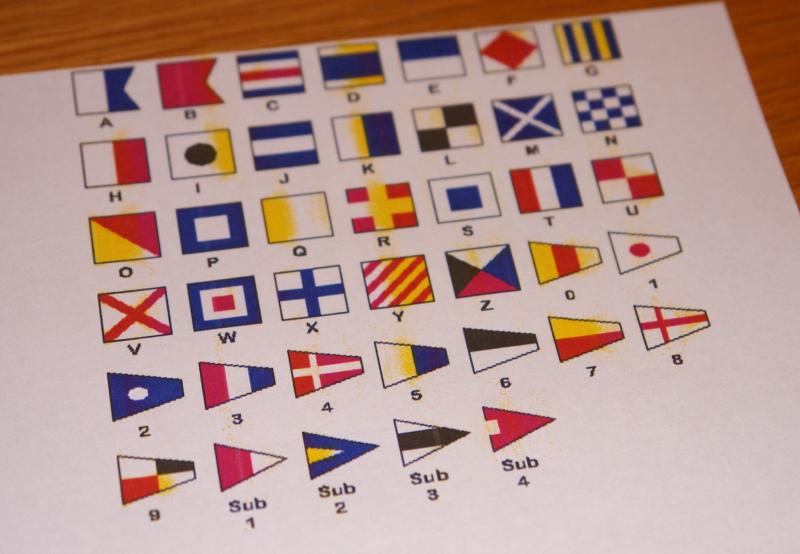
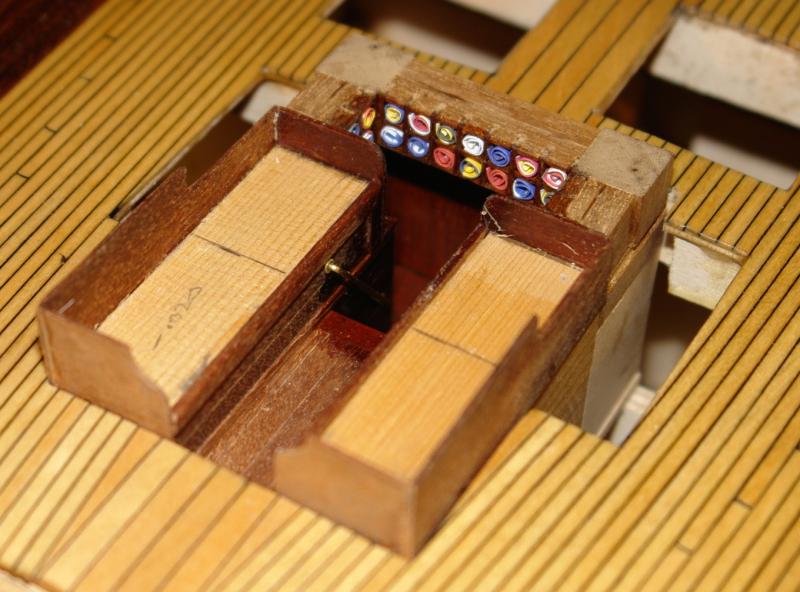
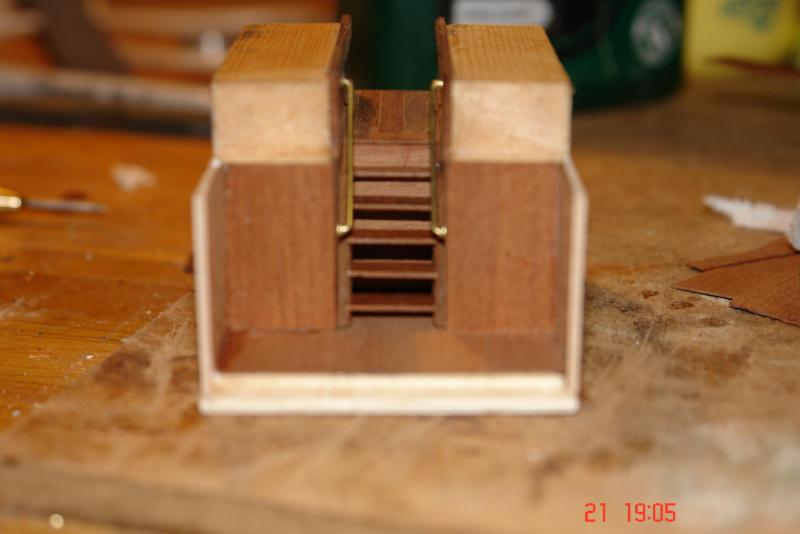
I thought the flag locker looked very bare...... So I got some flags from the net and filled the locker........ As you can see I also built up the sides of the seats. Cushions to follow. Very little of the flag locker will be visible once the chart table is fitted over it. But I know it is there!!!!!!!


- 882 replies
-
- 14
-
-
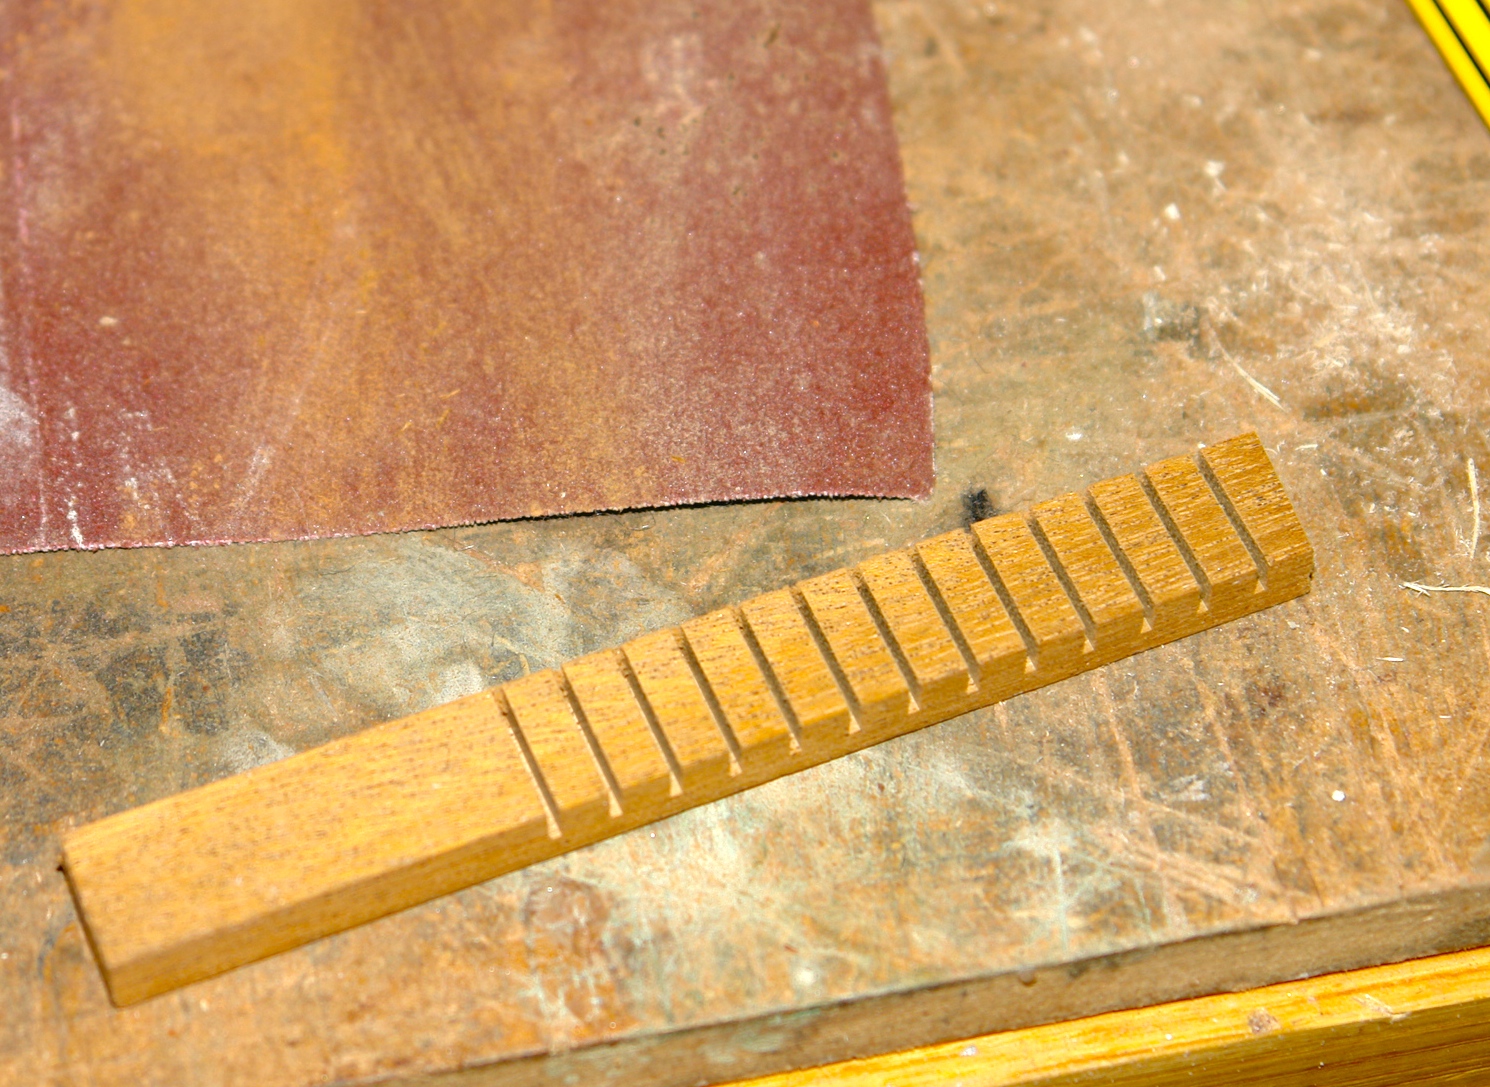
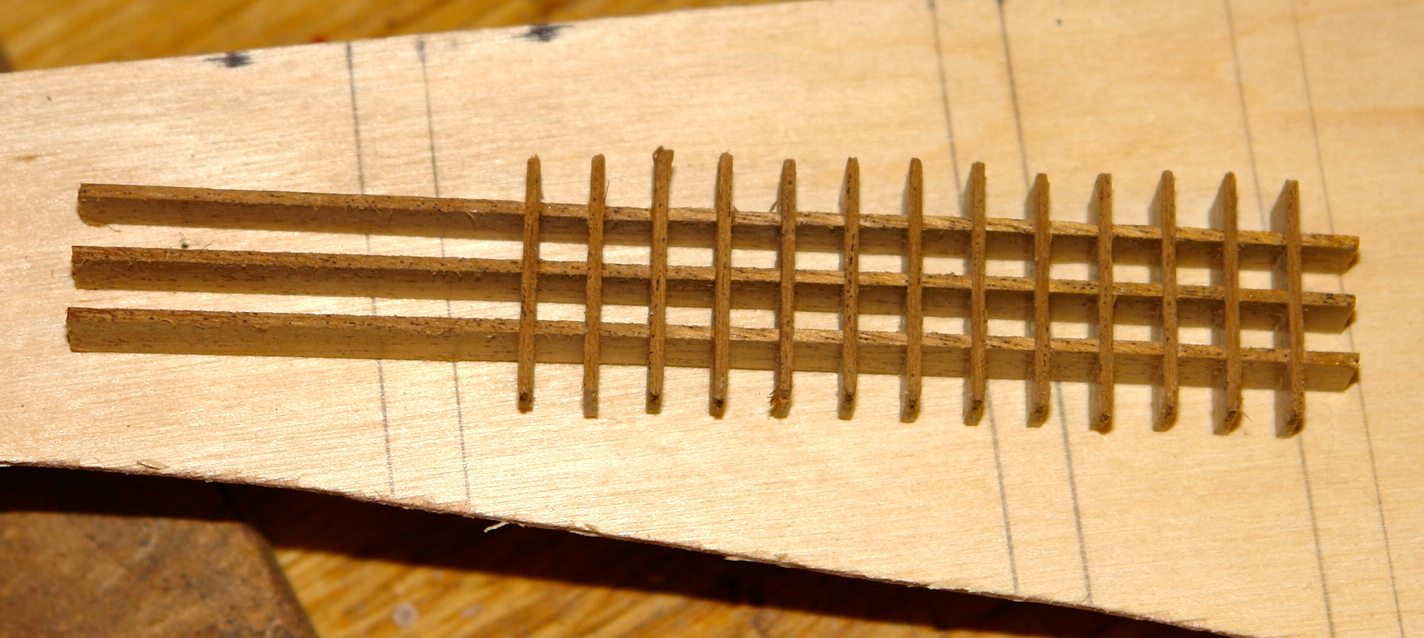
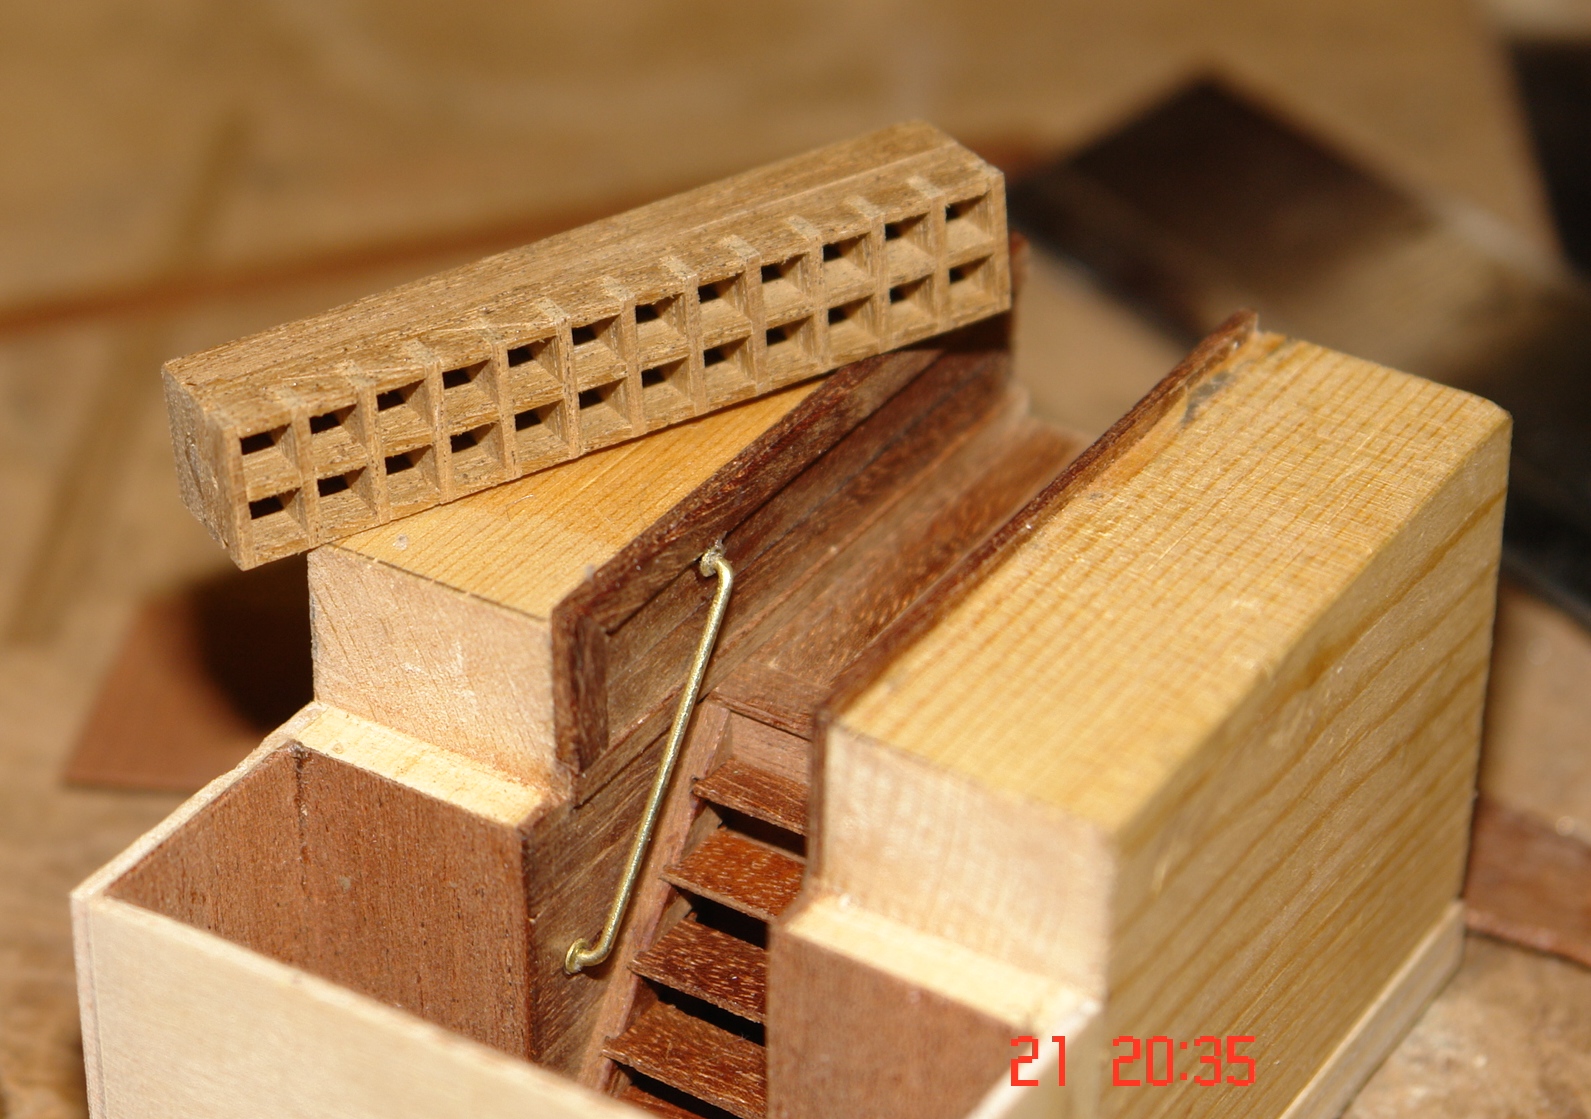
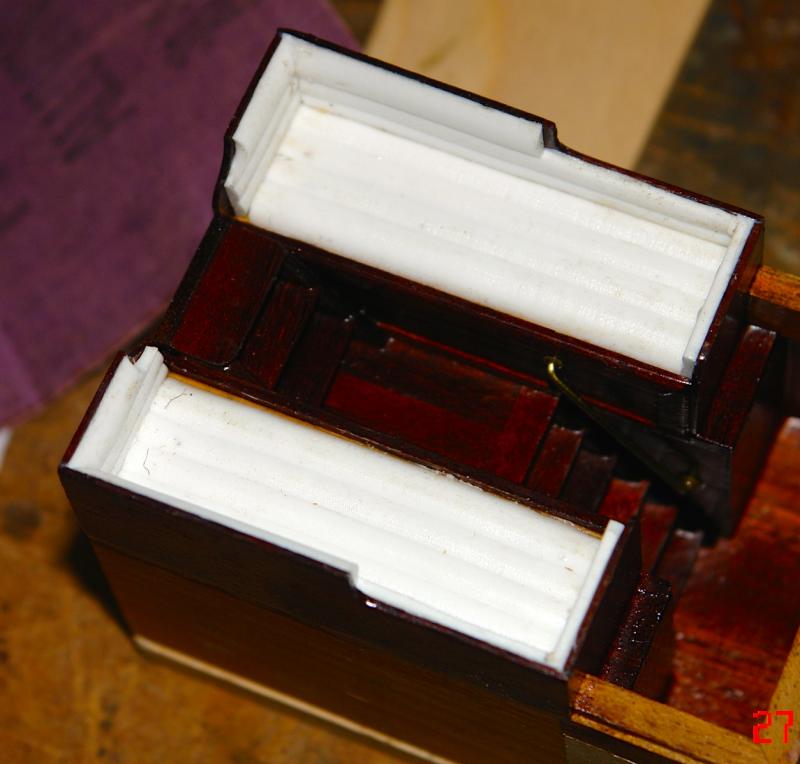
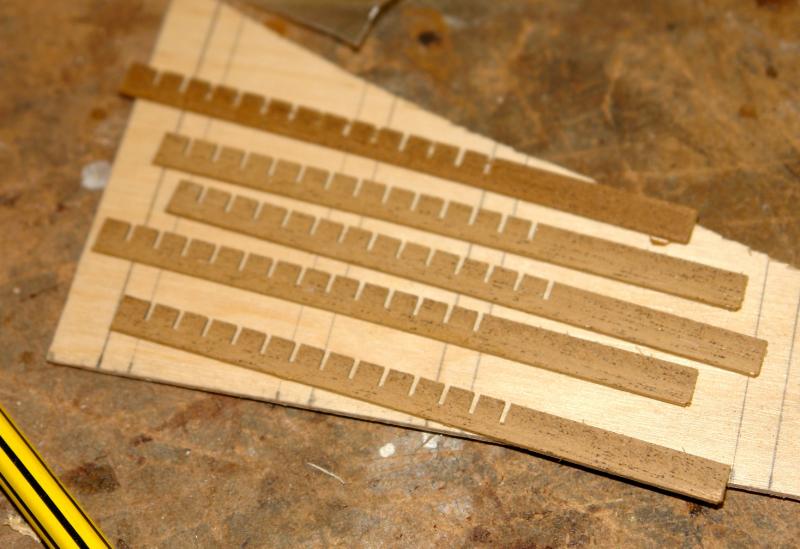
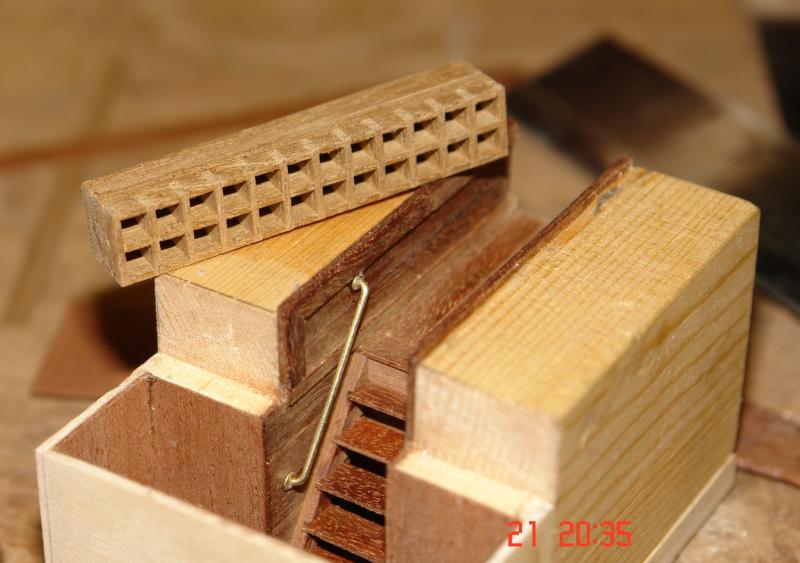
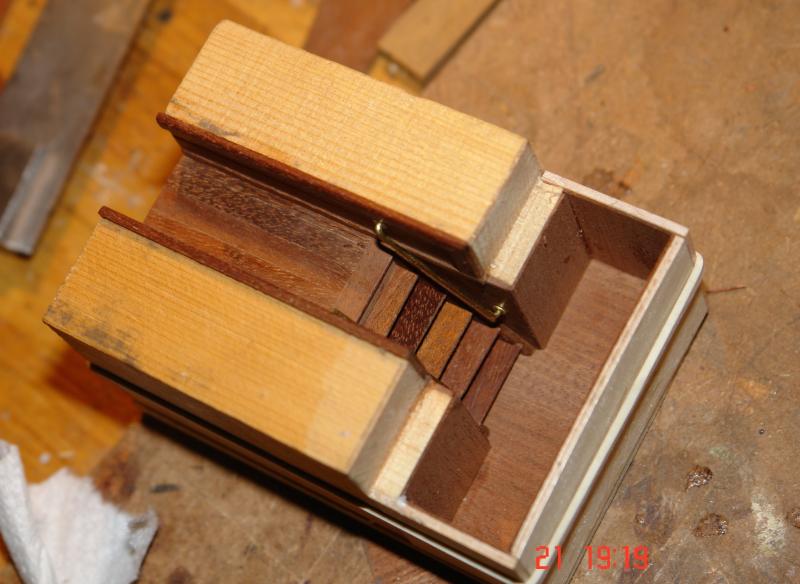
Above the transverse corridor sits the flag locker. It consists of a number of pigeon holes into which the flags are posted for storage. I made the pitch of the holes .200 inch with .040 walls - hole size .160 x.160 inch or 5.12 x 5.12 inch at full size. Cross slots were cut in a piece of mahogany at .200 inch pitch before .040 inch slices were milled off. Assembly was easy, but care was necessary to avoid damaging fragile parts.


- 882 replies
-
- 11
-
-
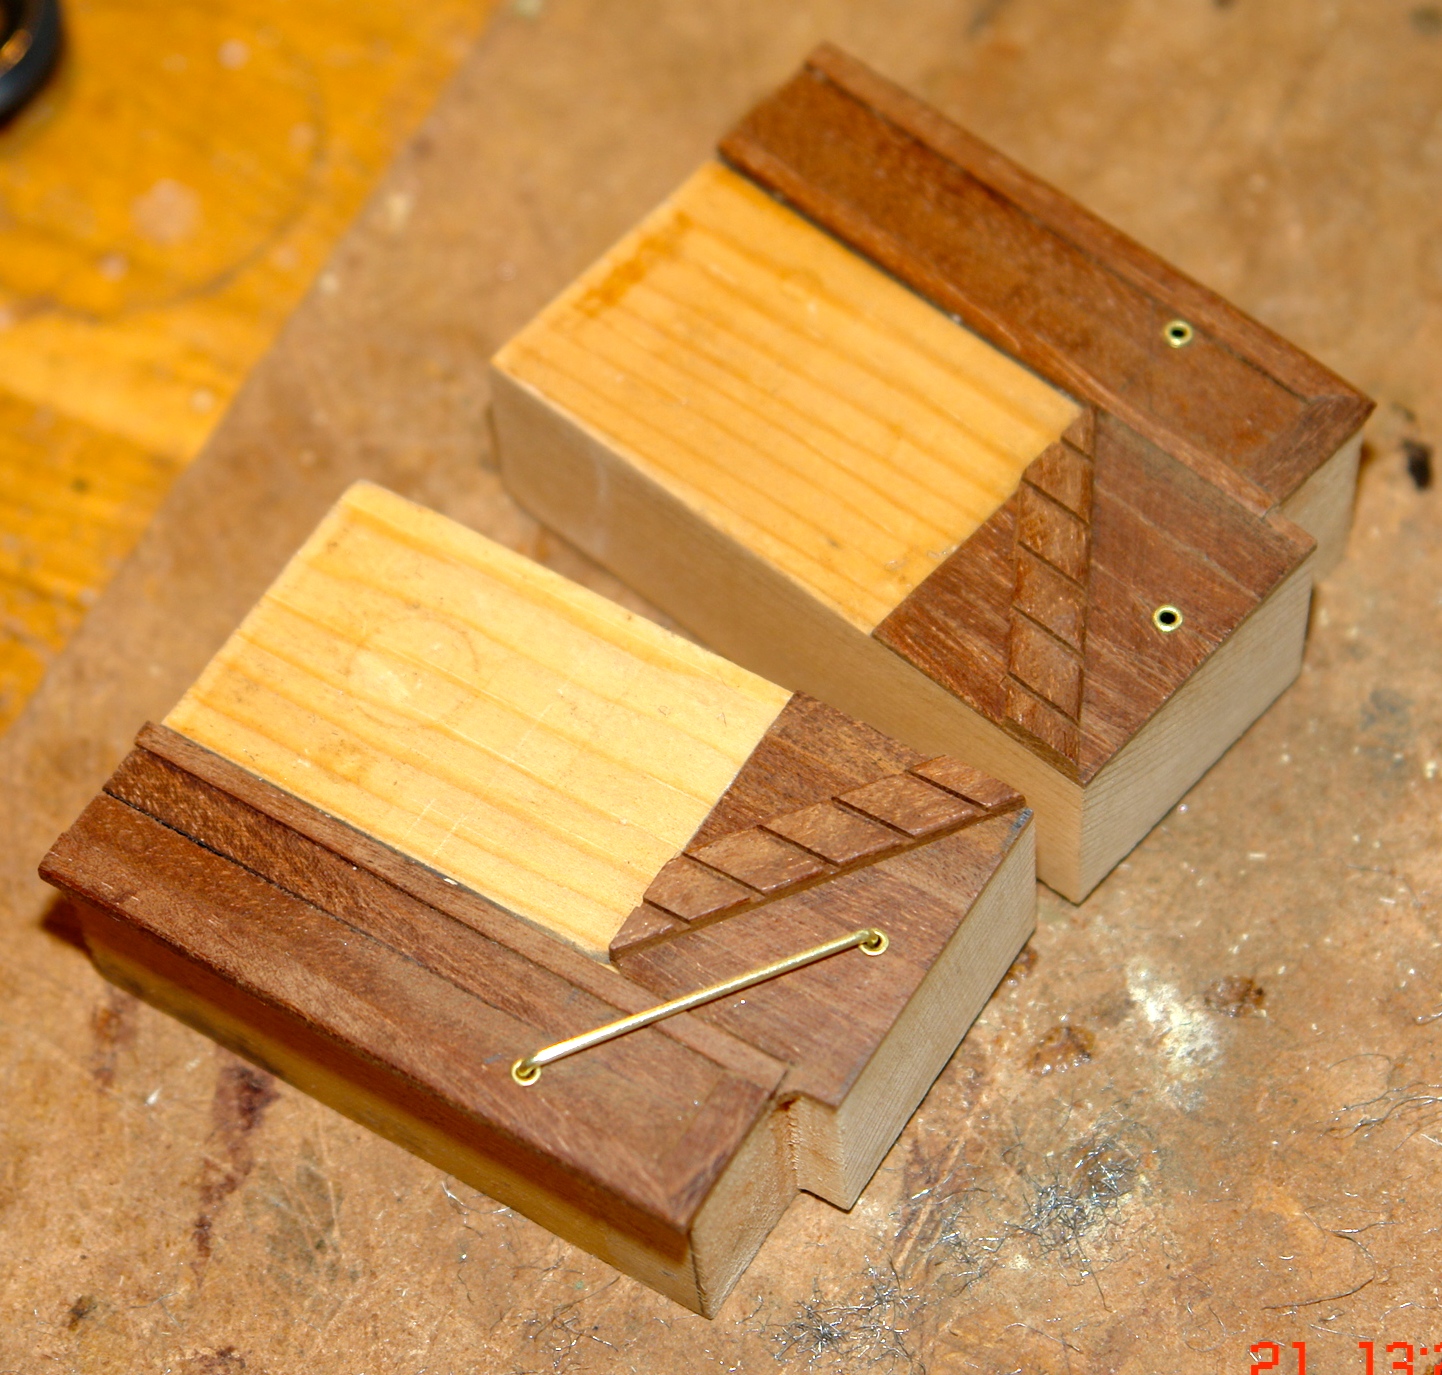
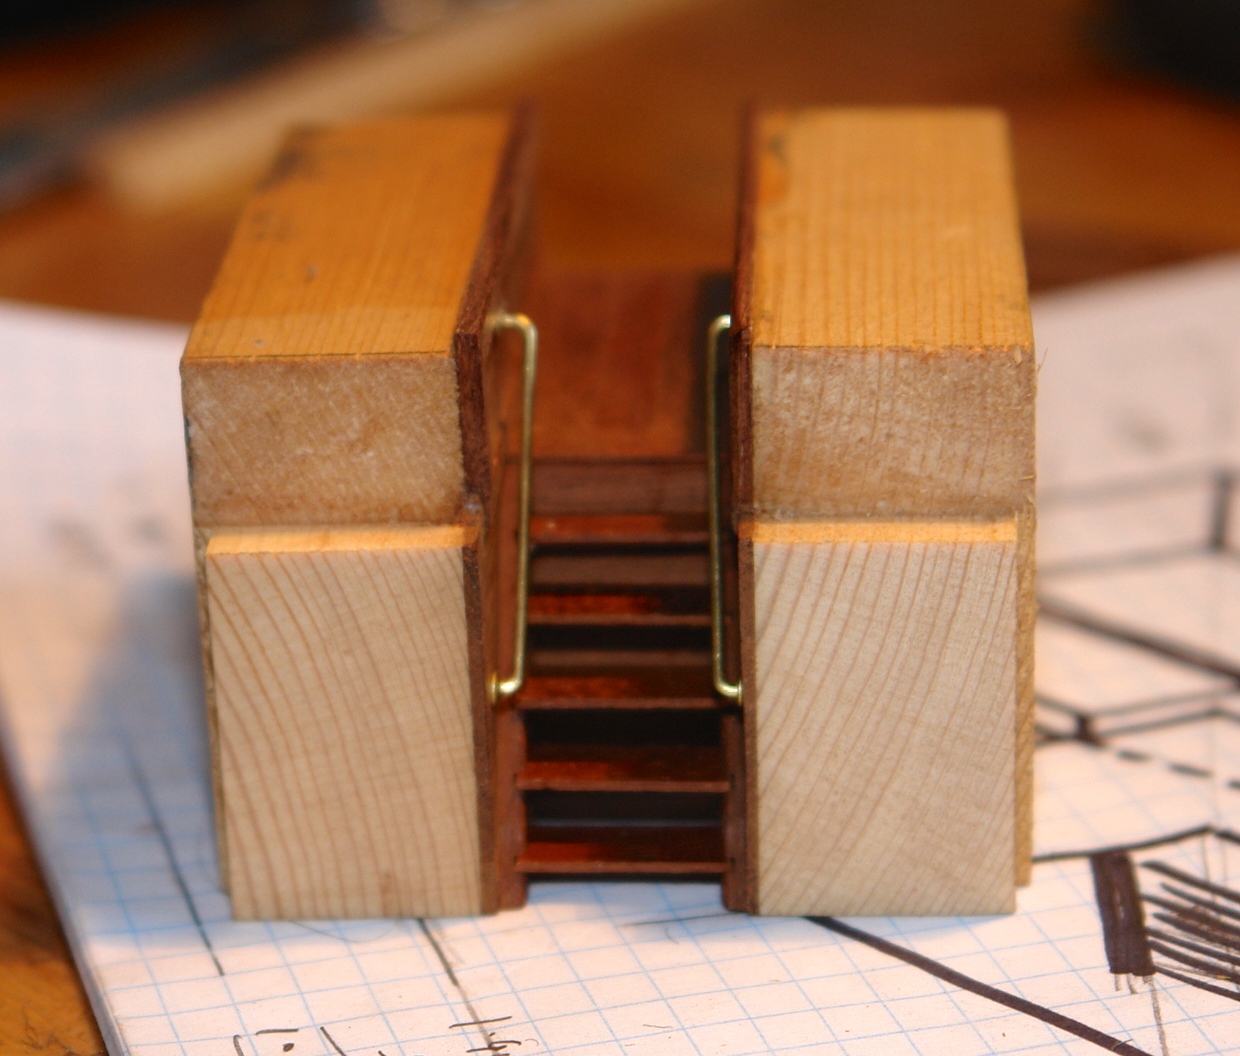
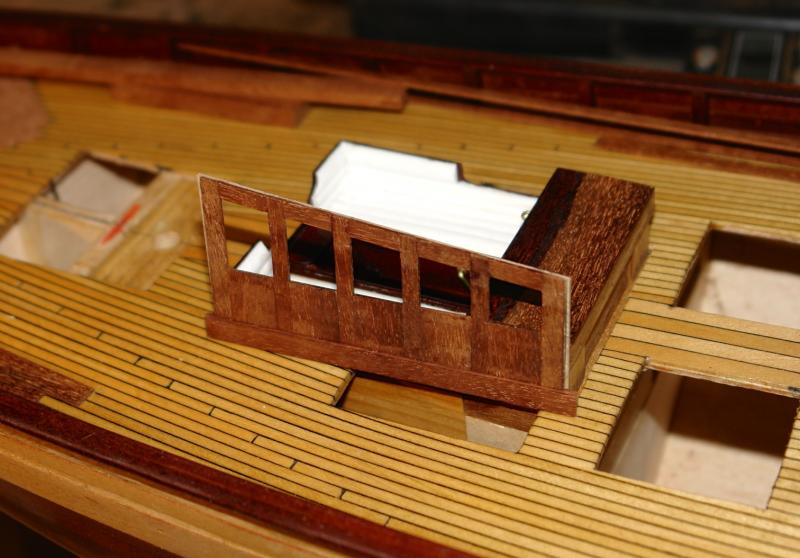
Thank you John Between redecorating duties I managed to make a bit more progress. The deckhouse is quite open and I thought I needed to attempt some internal detail - to be viewed through the windows, open doors and deck house roof hatch. Before I start a few photos of the original. I started by blocking out the basic shapes. Then I covered the visible surfaces in mahogany and cut out and attached the sides of the steps and the handrails. At the bottom of the steps is a transverse corridor. Its virtually impossible to see from outside the deckhouse but I thought I had better represent it.

- 882 replies
-
- 10
-
-
Thank you Michael. I'd like to be spending more time on the build but my daughter is demanding my decorating skills.
-
Nils Brass is the right choice - they look so good. It may be time consuming but time hangs heavy on idle hands.
- 2,625 replies
-
- 6
-
-
- kaiser wilhelm der grosse
- passenger steamer
- (and 1 more)
-
Hello Francis The deck planking - particularly the caulking is a little tedious. It's quite important to get the right black card. You want card that isnt too friable, I used Clairfontaine Trophee A4 card from Amazon. I used PVA glue and put a thin bead on the deck alongside the previously laid plank - smoothing it out with my finger. I was trying to get a very light film of glue. Having applied the glue I then placed the next plank on the deck near the previous plank and used tweezers to place the 1mm wide card strip between the planks - working from one end I progressively pressed the planks together nipping the card between the planks. The plank being laid was held in place by pins as I had done on the hull planks. I wiped off the glue squeezed out between the planks as I went along. I hope that makes sense but come back to me if it does not. I did my current build "Altair" in the same way and you may find the detail on this build helpful. In a number of the pictures you can see progress and the pins holding the most recently applied plank in place. - Pages 3 and 4 are the most relevant.