KeithAug
-
Posts
3,986 -
Joined
-
Last visited
Content Type
Profiles
Forums
Gallery
Events
Everything posted by KeithAug
-
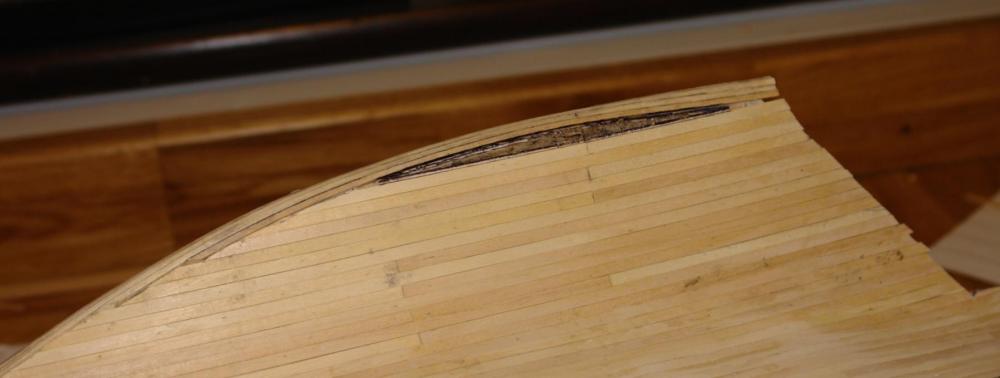
 Hi Julie Much of the fun is in finding the problems and working out on how to make it better on the next build. I'd be surprised if you didn't sand through the 1st planking somewhere - its almost inevitable given the thickness of planks. As you say the balsa will save the day. Its really important to get the fairing of the 1st planking perfect. The mahogany planks are virtually a veneer and you have no scope for fixing irregulrities at that stage. When I do scratch builds I generally go for 1st planking .060 inch (1.5mm) thick and 2nd planking .040 inch (1mm thick). I find these thicknesses make the problem of sand trough unlikely.
 -
Julie Re taper planks - I dint find I needed them. The planks seemed to straighten themselves up and lay quite nicely on the keel without curvature. You may remember I ruled lines on the hull to satisfy myself that I was happy with where the planks would fall. I am not quite sure I understand your question re sharp edge but I would agree that as the planks approach the hull area just above the rudder you do get a sharp edge.

-
Julie / Rob Thank you for the nice comments. I really must get back to the build and do a bit of an update.
-
Julie - you are nearing the stage where you start to find that the planks want to bend across their thick / stiff direction as well as bending in the normal thin / flexible direction. this double bending creates the tendency to produce the clinker effect we have previously discussed. You have a choice as this situation starts to develop. You can either continue with the parallel planks as I did with Endeavour or start to shape the planks as I did with Altair. You can make your mind up as you progress. As you say it is important to make sure that you remove all glue from the last plank - particularly if you plan to leave it for a while. I tend to have a wet rag and a plank off cut handy (cut to a wedge). Once glued and pinned I immediately work along the line of pins - removing a few at a time and wiping the edge before replacing the pins and moving on to the next section. Once the whole plank edge has been cleaned I draw the off cut along the edge to remove any glue squeezed out by reinserting the pins.
-
Julie - I think its looking pretty good. I have seen much more experienced builders producing far less uniform results. Well done so far.
-
Julie - I'm please to be able to assist. There is a lot of relevant 1st and 2nd planking detail in my current build if you are interested - Altair - see below.
-
P.S. Julie looking at the back of your keel it looks quite consistent in thickness. Mine had a waist - see photo.

-
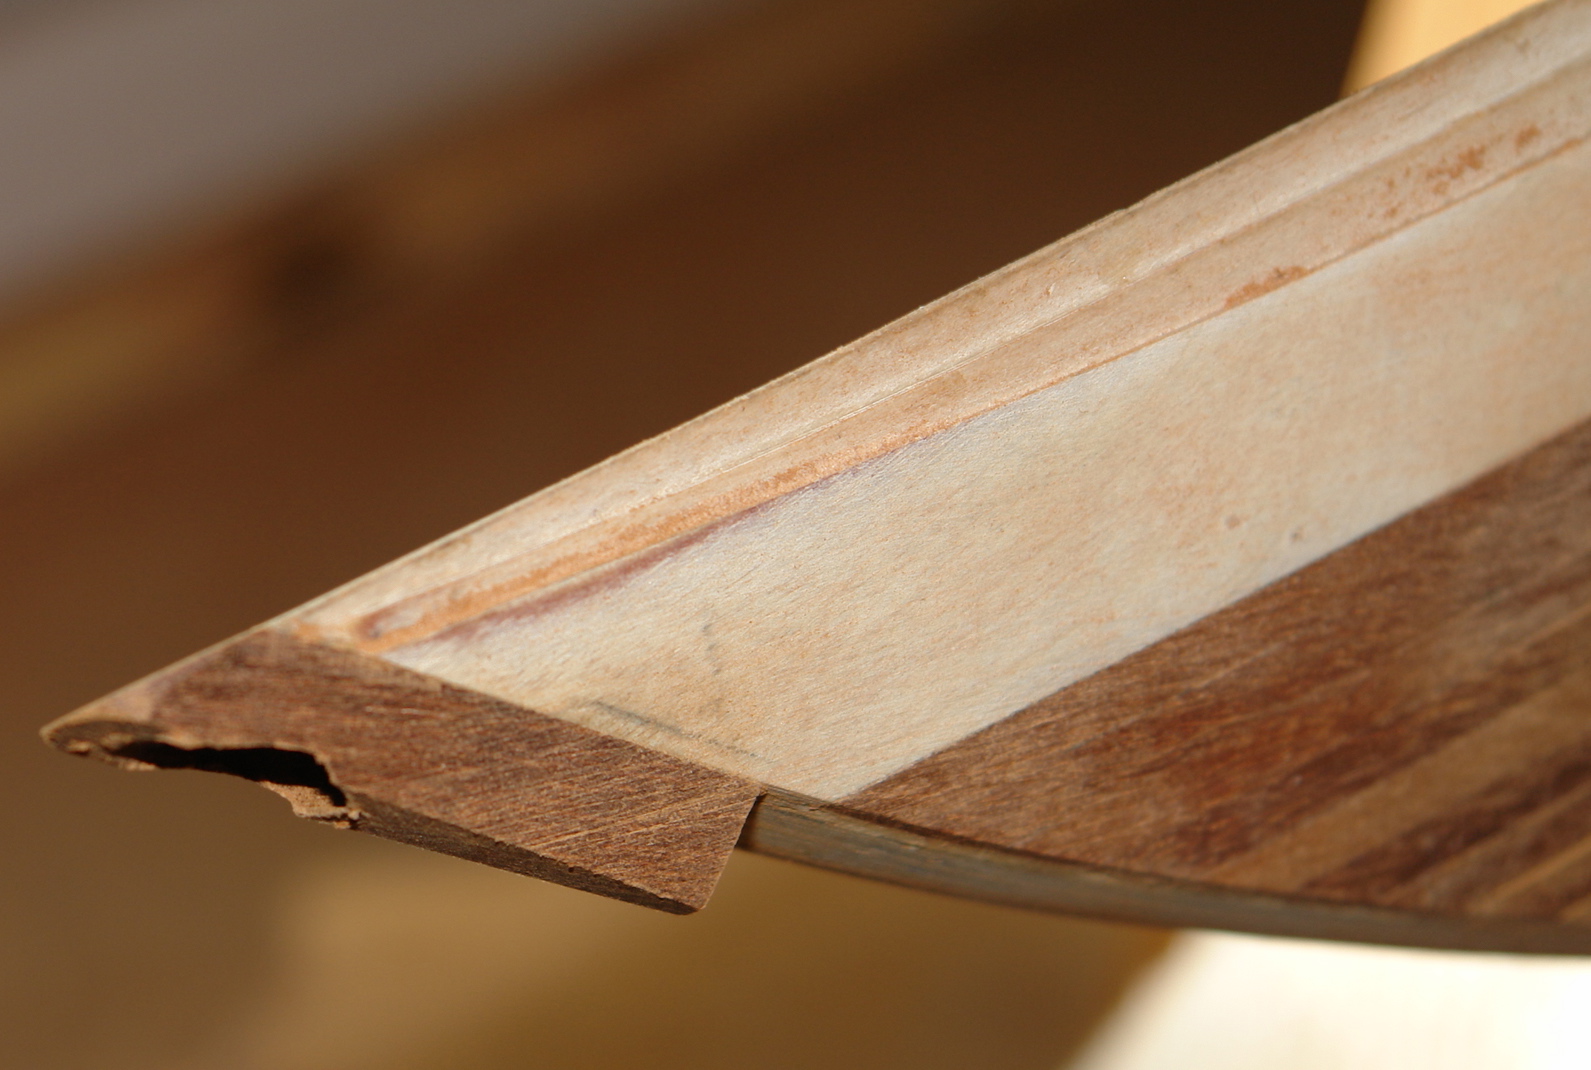
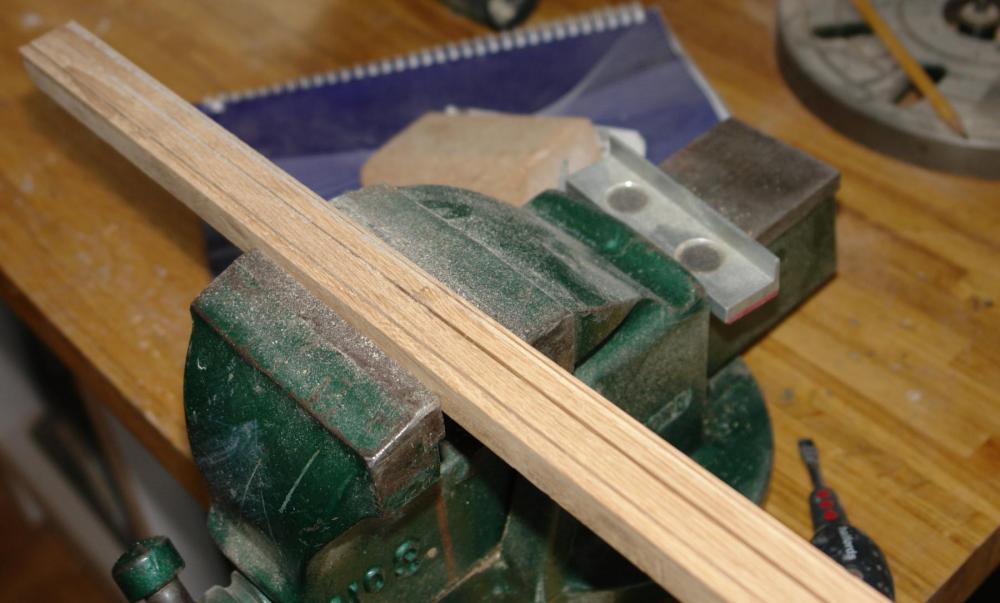
Julie - I prefer to get it right - even though it will be hidden by the second planking - but many will revert to epoxy filler and as it won't be seen it will look fine. Here is how I did it. Firstly I didn't start at the bulb. If you work up to the bulb at least you have something to but the bulb planks up to. Here is how I did it. I planked from the deck towards the keel until it started to become apparent that the bow profile needed to start transition from sharp to a rounded form. At this point I laid the first 3 bulb planks along the keel. One central, plus one either side. All the keel planks need to be shaped into a trapezoidal shape and I did this by sanding using a sanding jig that I made. This was a piece of oak with a 2mm wide 1mm deep slot cut along its length. The 2mm x 2mm keel strips were place in this slot and the protruding 1mm was shaped by sanding along its length and at an angle to the surface of the oak. If you have a violin plane this might be better than sanding. The oak plank had other slots of differing thicknesses to take other planks. I progressed with the hull planks until once again it seemed that the rounded form of the bulb needed to be fuller - I then laid the next 2 planks along the length of the bulb. I continued in this manner until the hull and the bulb planking was complete. My feeling was that my method was better than that suggested in the instructions.

-
Need Copper Plating for Amati Vanguard - HELP!
KeithAug replied to glbarlow's topic in Wood ship model kits
Glenn Cornwall Model Boats sell Amati plating - http://www.cornwallmodelboats.co.uk/acatalog/amati-copper-plates.html. But it seems to me that if you had little waste you should expect more to be supplied free of charge. -
Hello Steve - for a first model it looks impressive. One of the first things I learned was that primarily the model had to please me. So if your model isn't accurate in a few details it does not matter, unless it matters to you. Most MSW shipmates will provide praise, help, encouragement and advice without being critical, unless you specifically request it. The best advice I can give is keep building - you will find your models getting better and better. Welcome aboard.
-
Ship lettering
KeithAug replied to piperck's topic in Building, Framing, Planking and plating a ships hull and deck
Chris - prompted by Marks comment I found photo etched brass letters at Cornwall Model Boats - I know they ship to the USA. http://www.cornwallmodelboats.co.uk/acatalog/scalelink-Letters.html -
Ship lettering
KeithAug replied to piperck's topic in Building, Framing, Planking and plating a ships hull and deck
Hello Chris You may find something here - http://www.becc.co.uk -
Hello Tom Thanks for the feed-back. I plan to paint the plywood bulwarks, and a waterline strip in white. The hull between the bulwarks and the waterline and below the waterline will be left as mahogany - probably finished in satin poly. I have to force myself to find time for Altair - usually after 10pm when my wife goes to bed. Toby looks like a character!
-
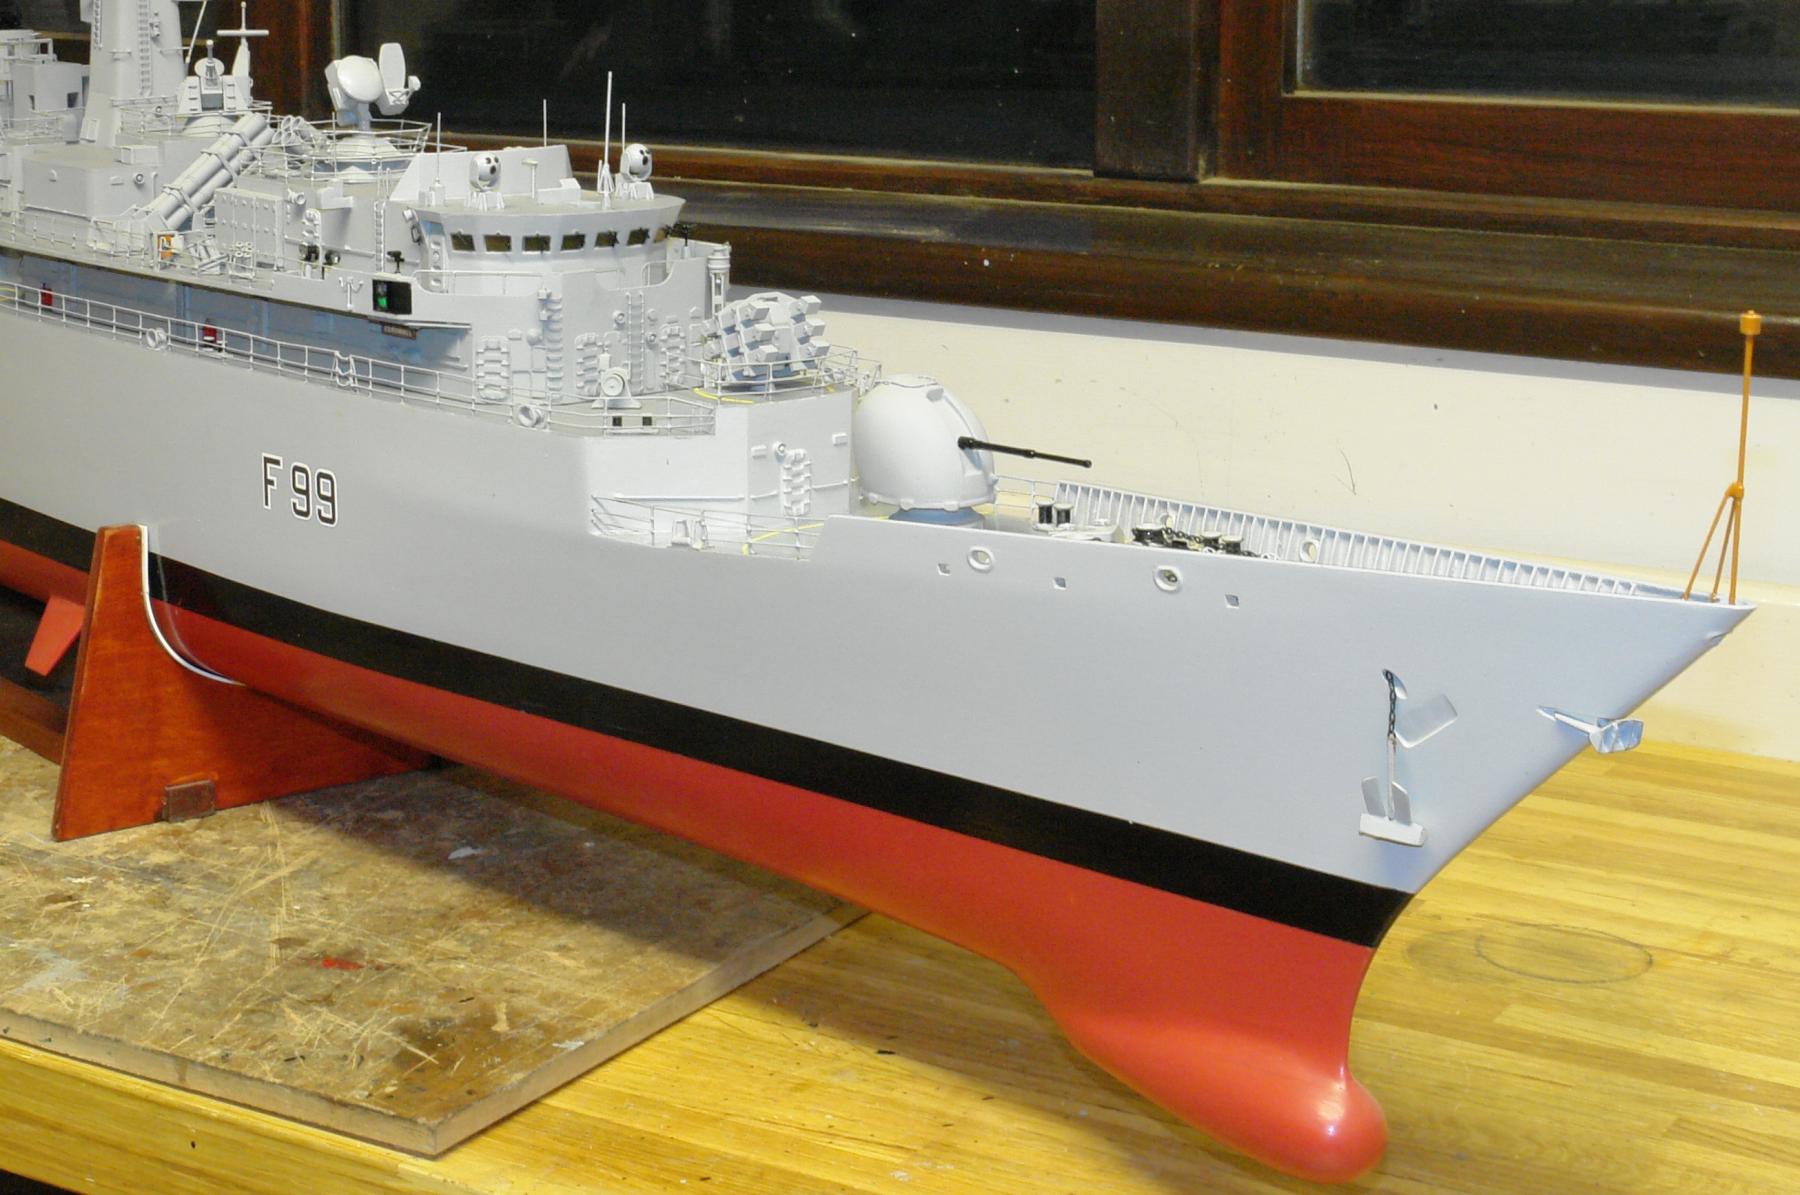
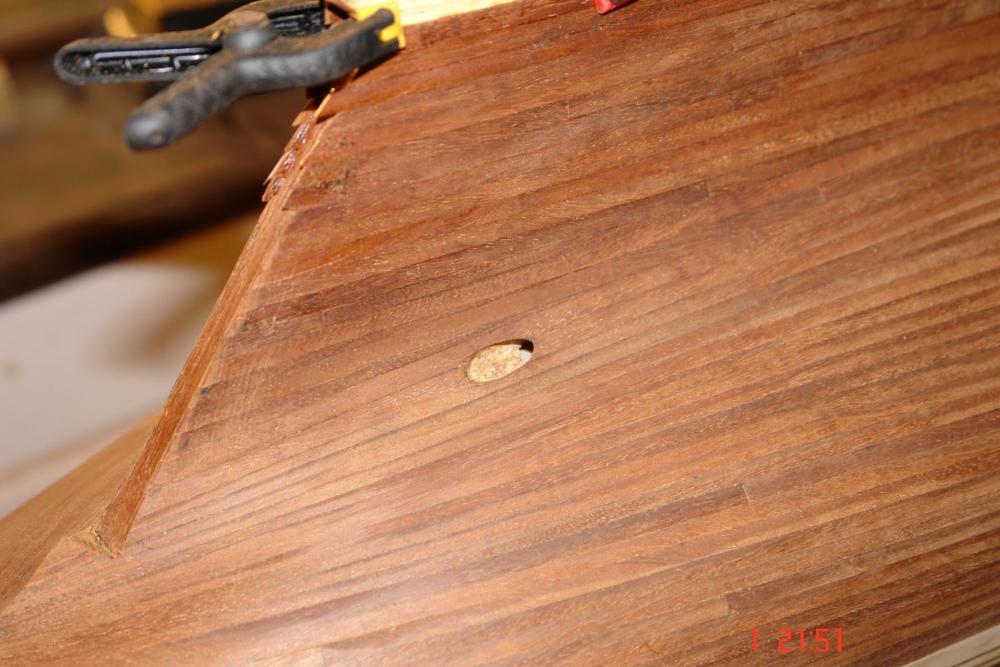
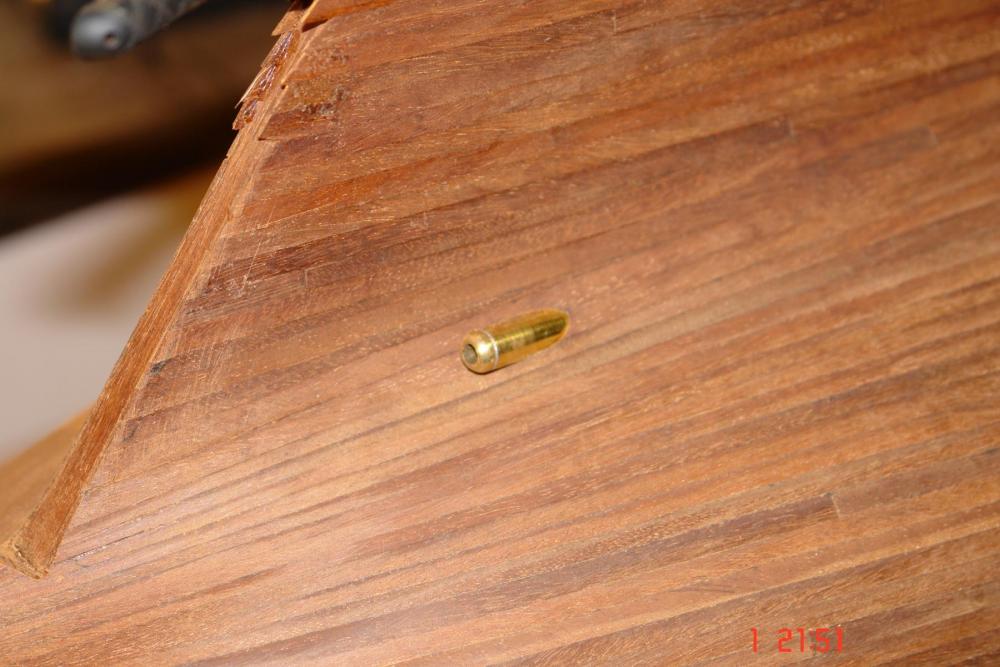
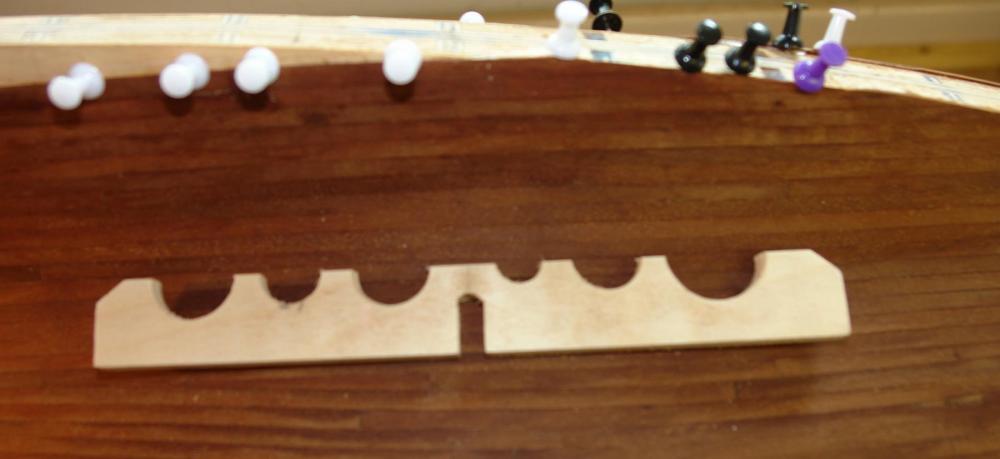
Thank you Mark. A couple of bits of minor progress before returning to house repairs for a while. Planking around the hole where the prop shaft exits the hull was always going to be a bit tricky and I wanted to get it right. Some very gentle filing with a circular metal file was necessary but it turned out well. I also thought I needed a profile gauge for getting the bulb of the keel correctly shaped. I drilled a series of different sized holes in a scrap of ply and slit through the centre. Here are the jobs for the next few weeks:- Daughters flat:- Rebuild the steps down to the kitchen. Replace skirting boards in 2nd bedroom, prepare for painting and paint. Prepare hall for painting and paint. Replace ceiling lights and light switches. Lift floor coverings in preparation for replacement. Home. Dig and install a new land drain to protect annex from water ingress. Treat all woodwork with preservative. Replace joists and floorboards in ground floor. Lay new bamboo floor. Sons house. Replaster damp damaged areas in second bedroom. Redecorate. I sometimes wonder why I retired. I have gone from a reasonably well paid job in industry to become a jobbing builder!!!!!!!!!
- 882 replies
-
- 10
-

-
ancre La Salamandre by tadheus - 1:24
KeithAug replied to tadheus's topic in - Build logs for subjects built 1751 - 1800
Pawel Your photographs are very clear - what camera do you use? Very realistic work. -
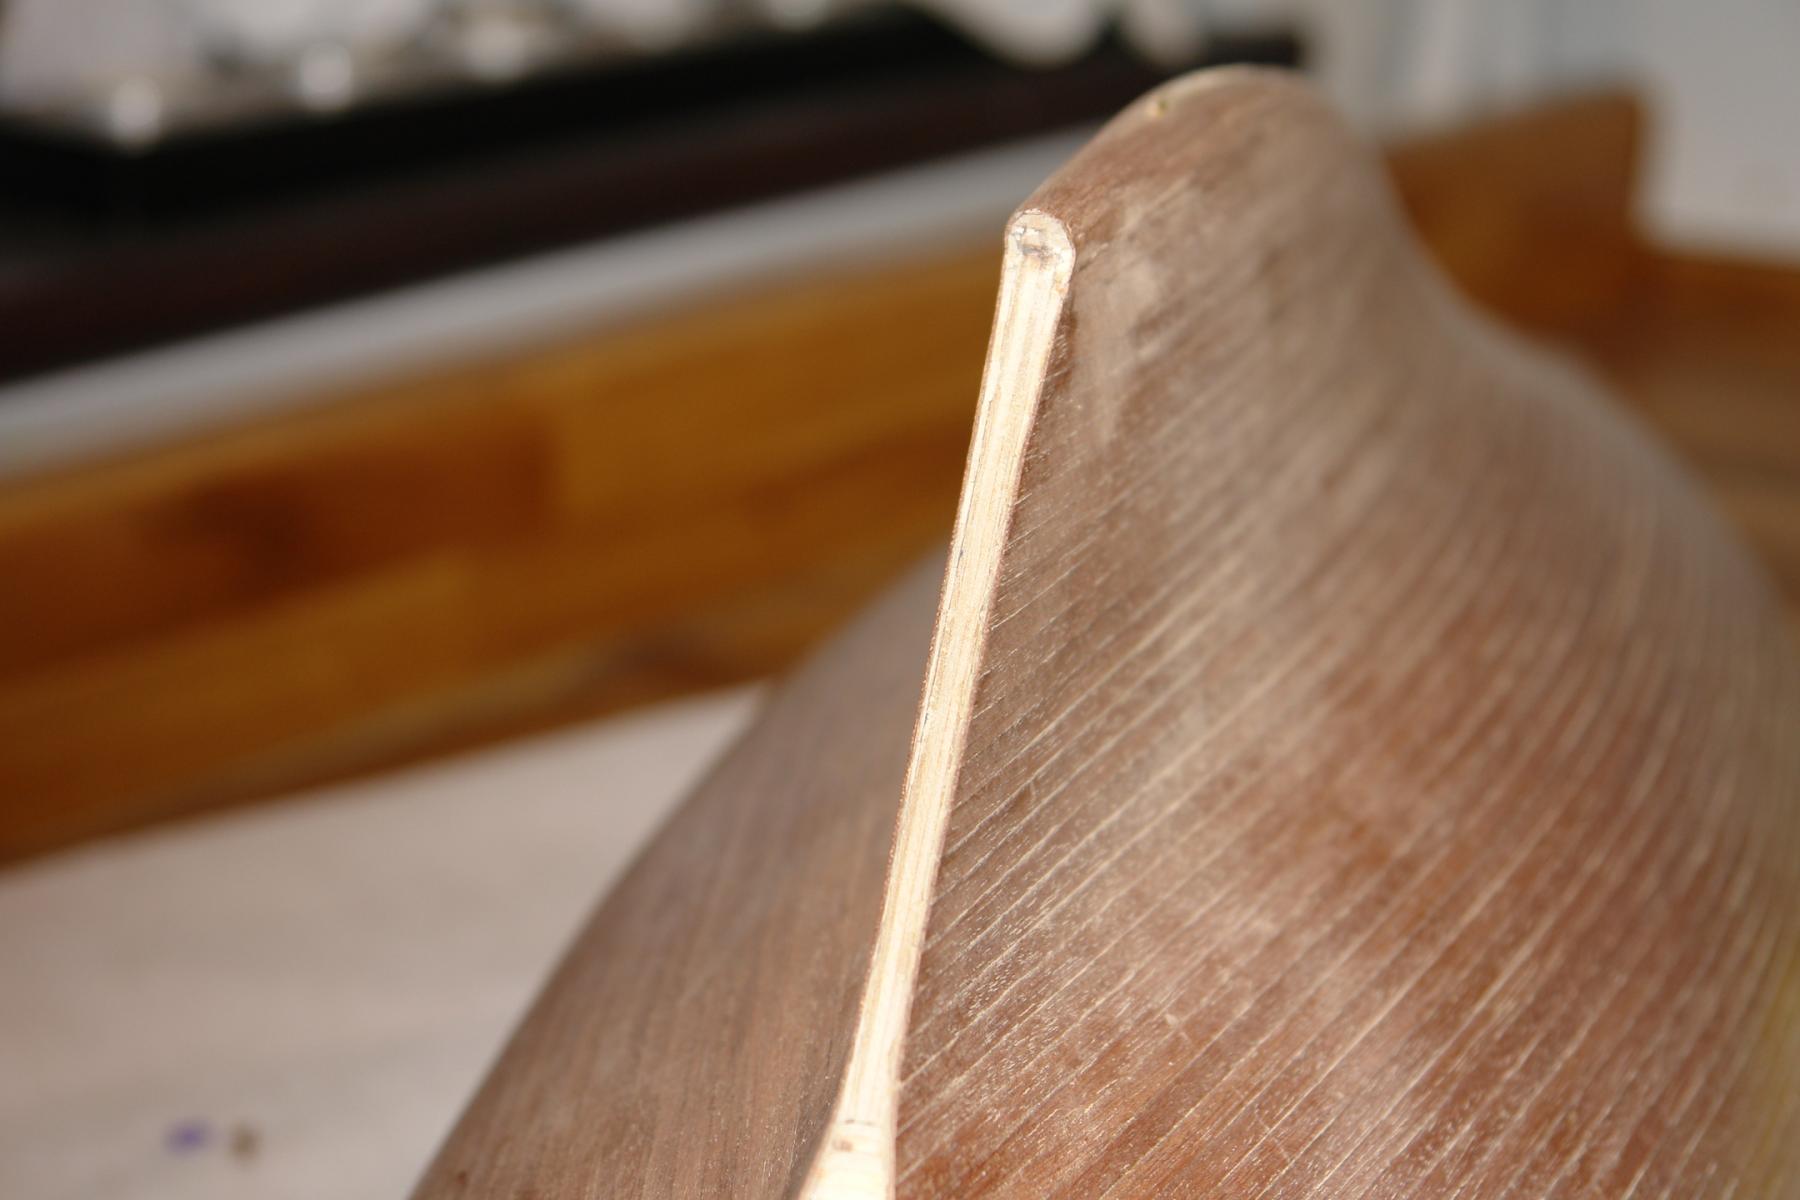
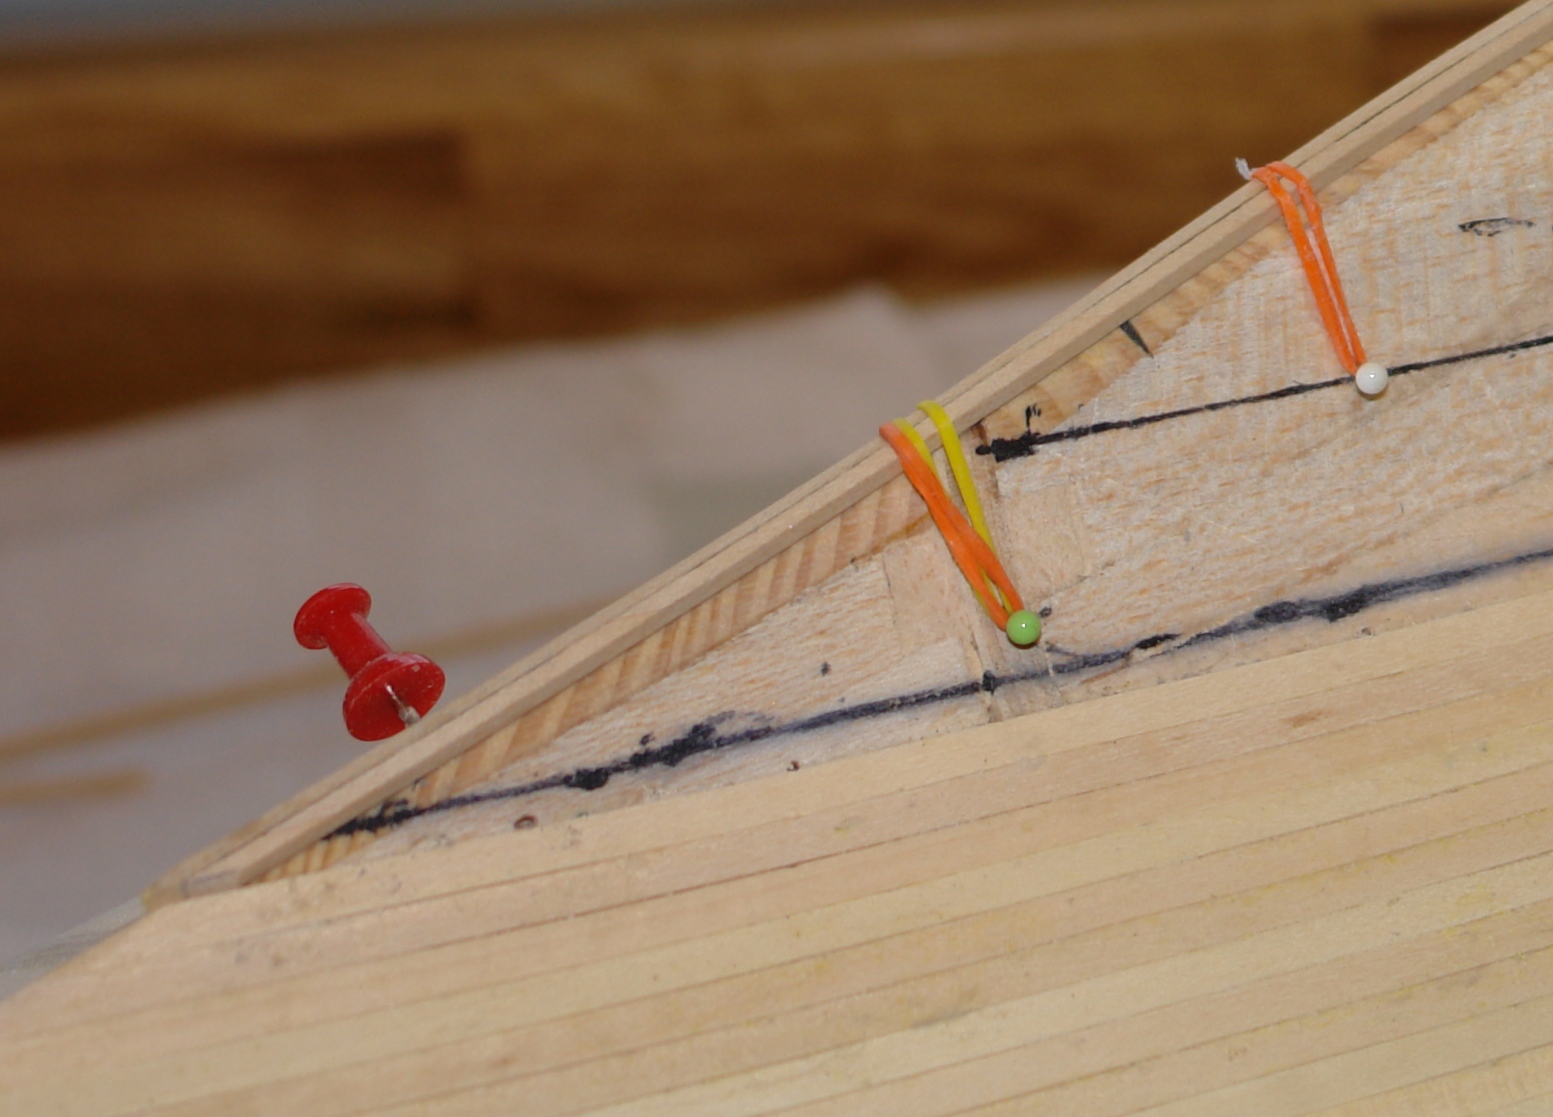
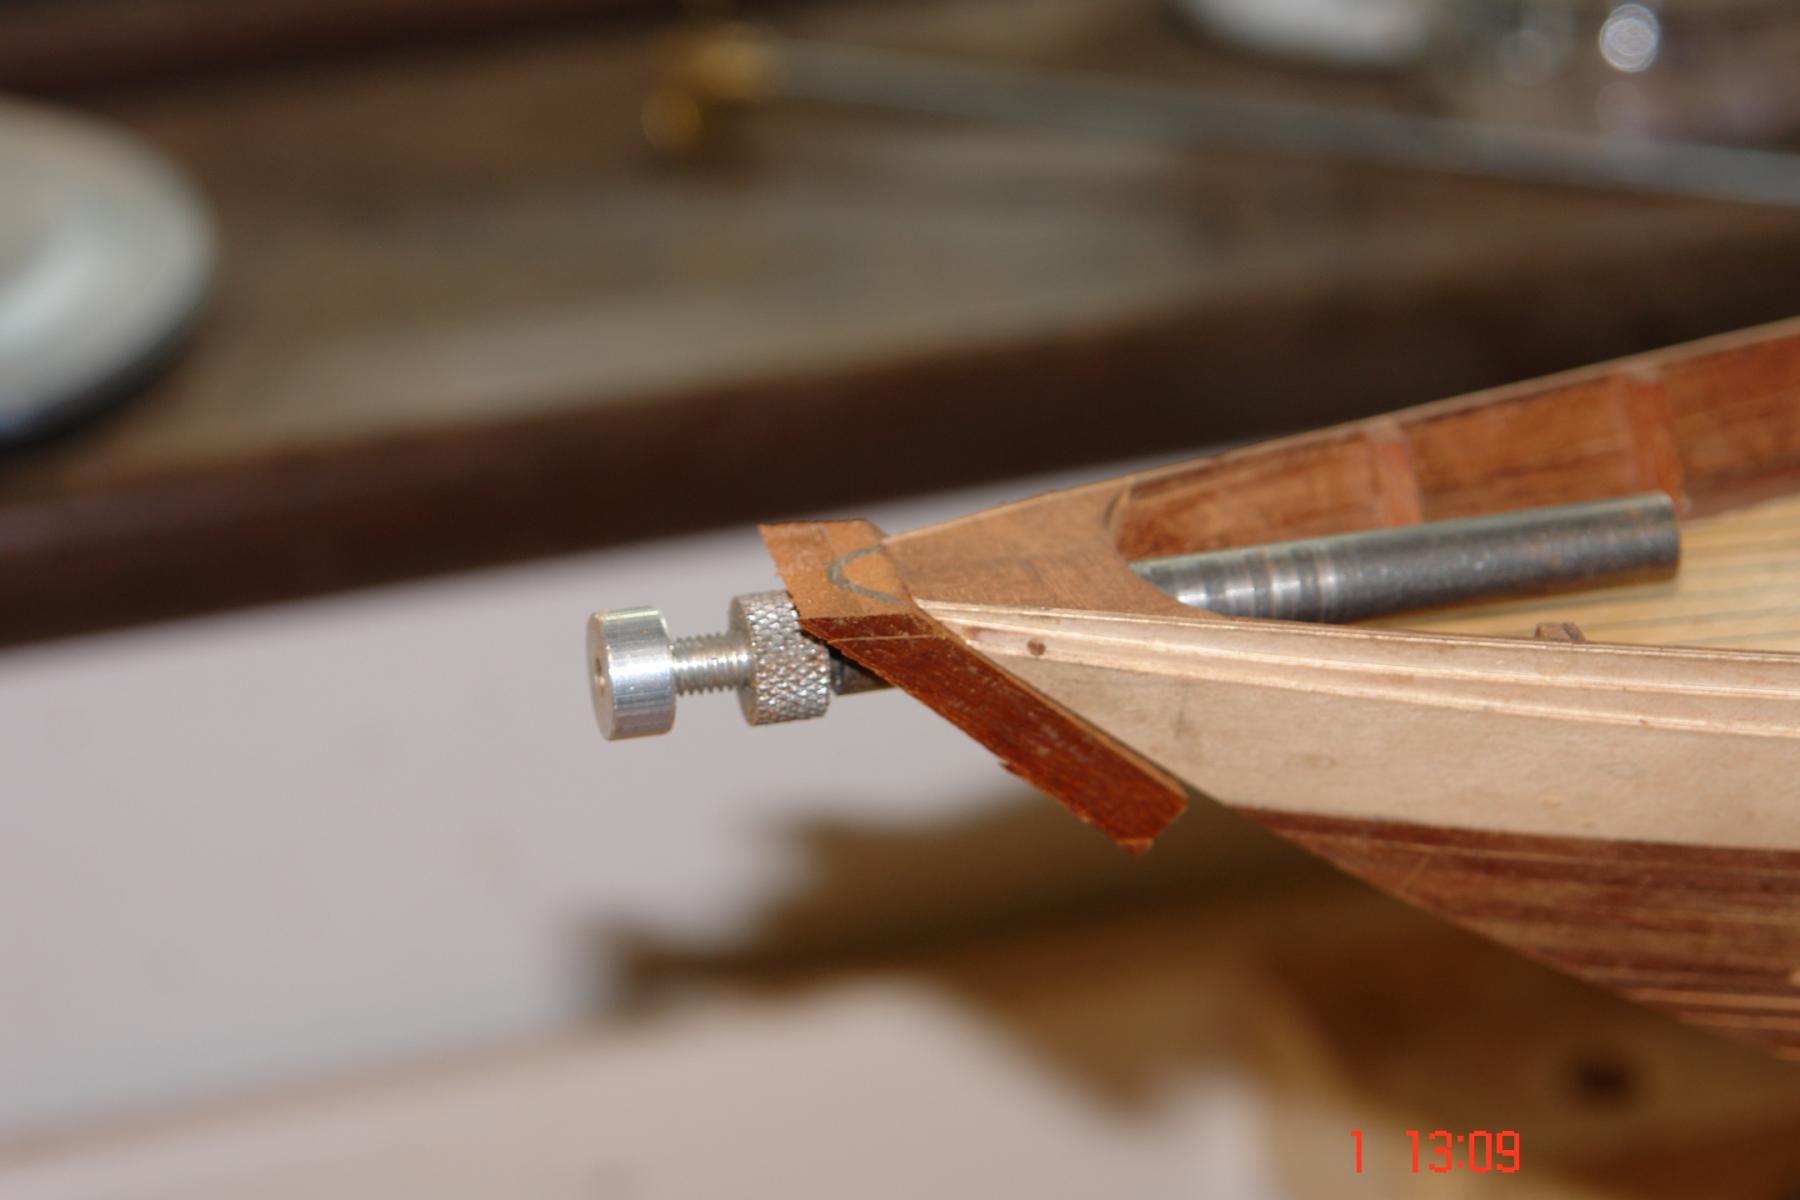
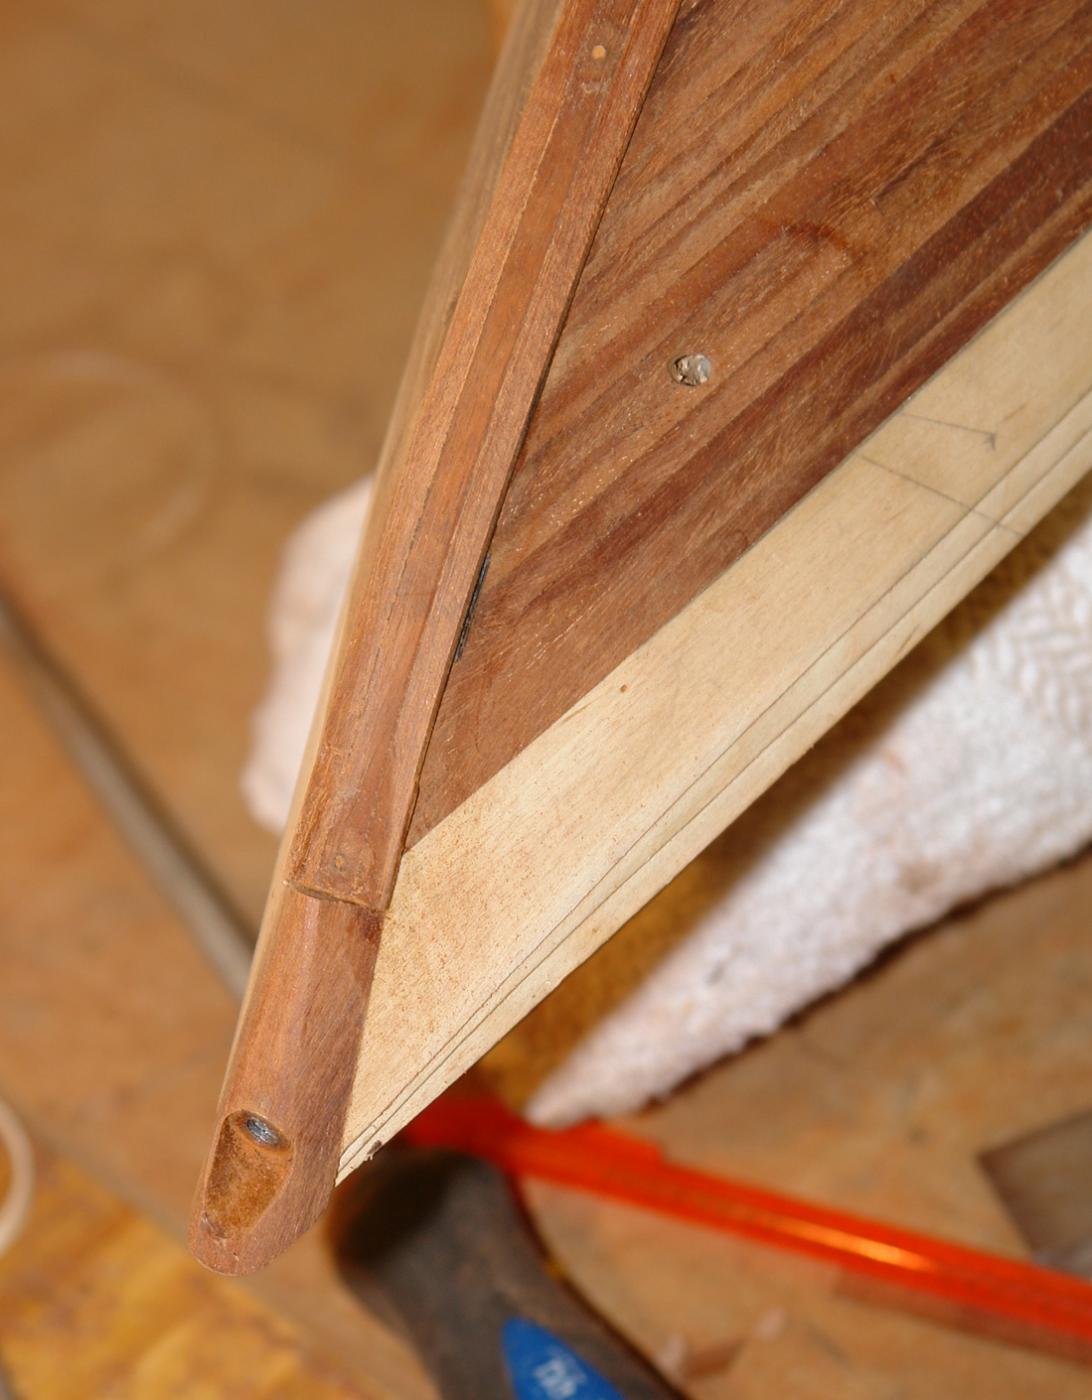
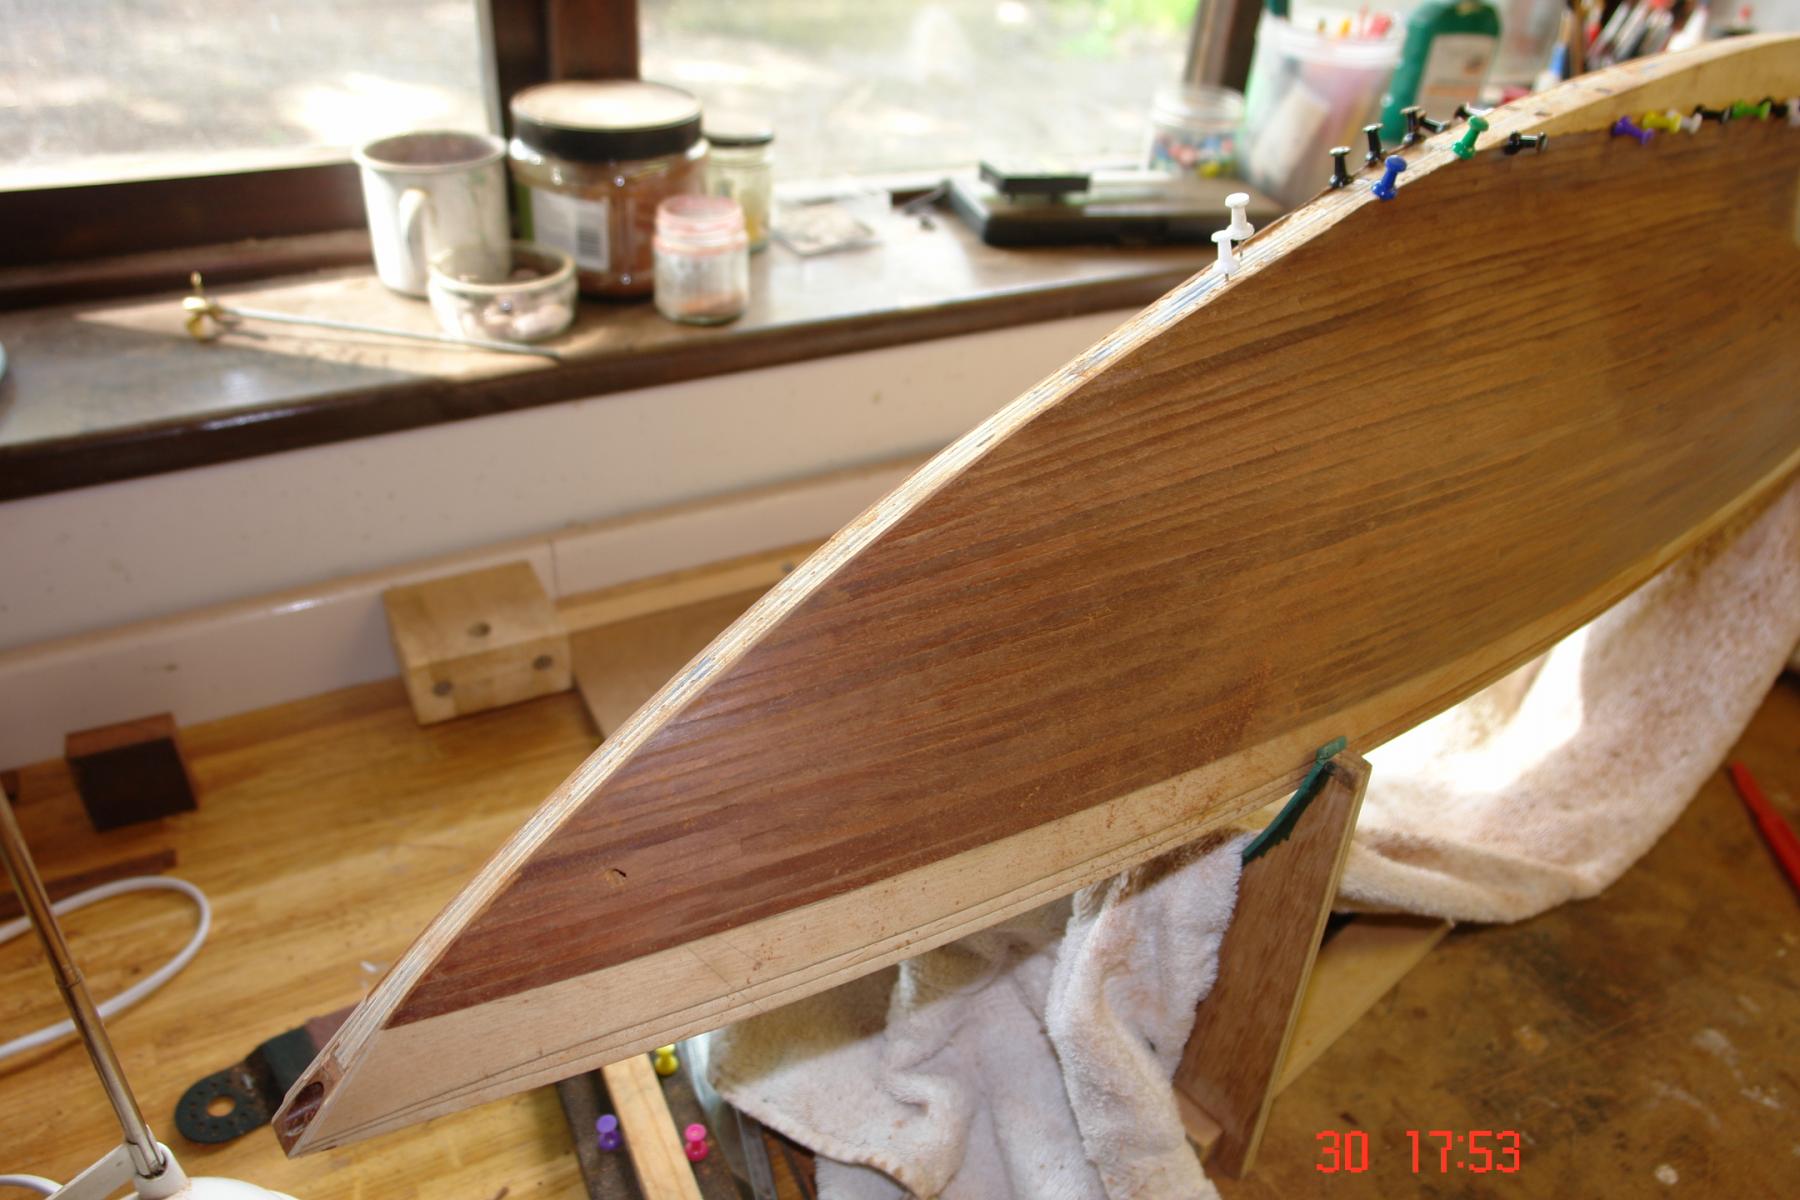
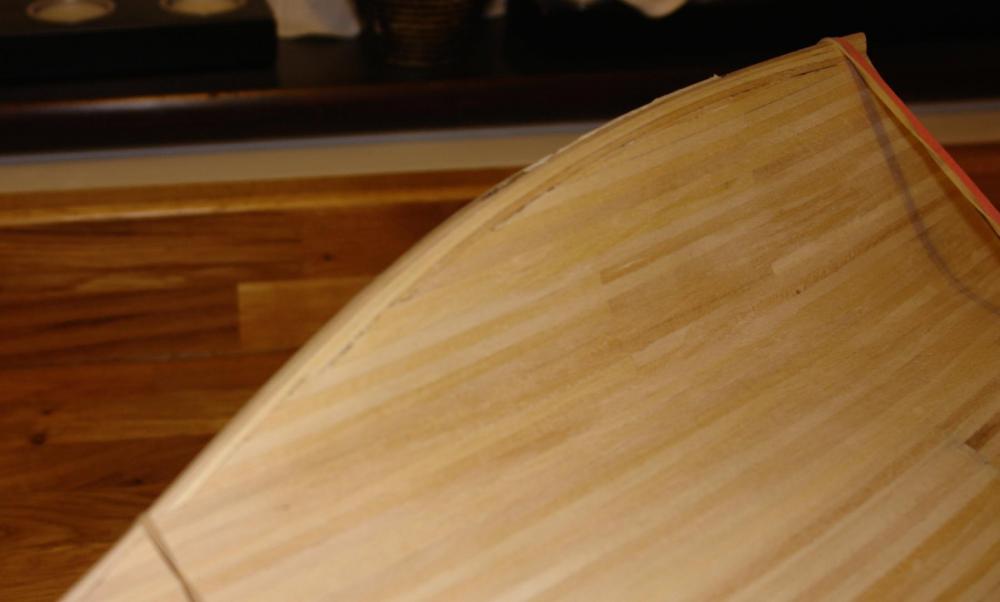
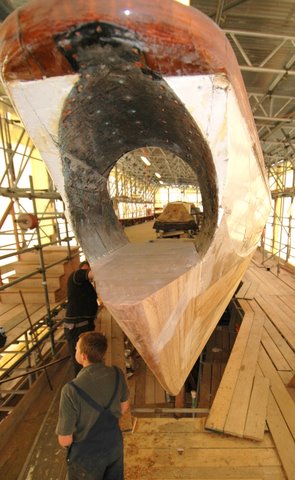
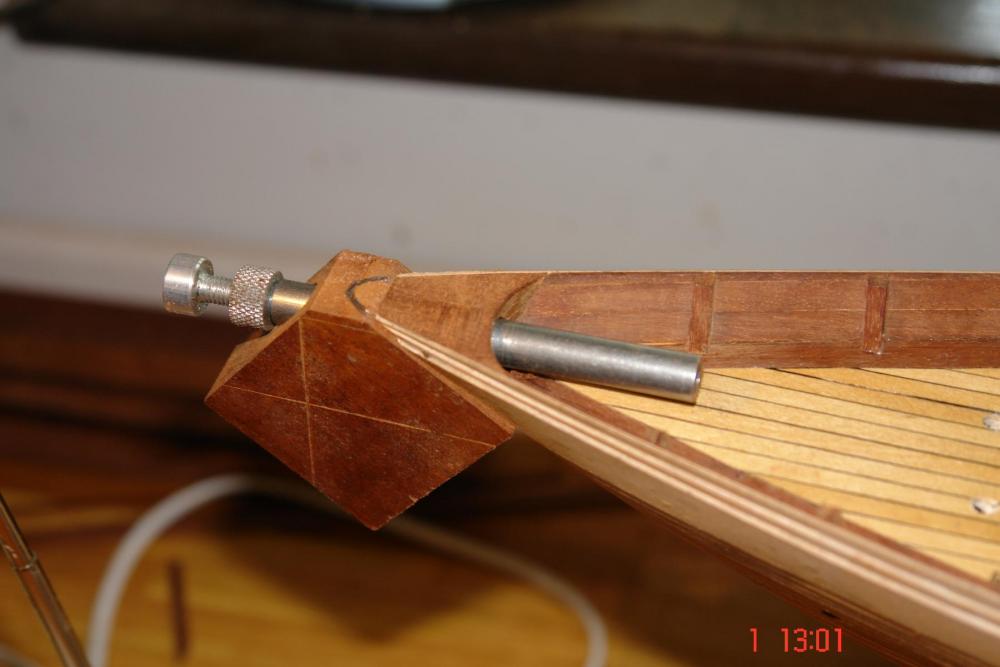
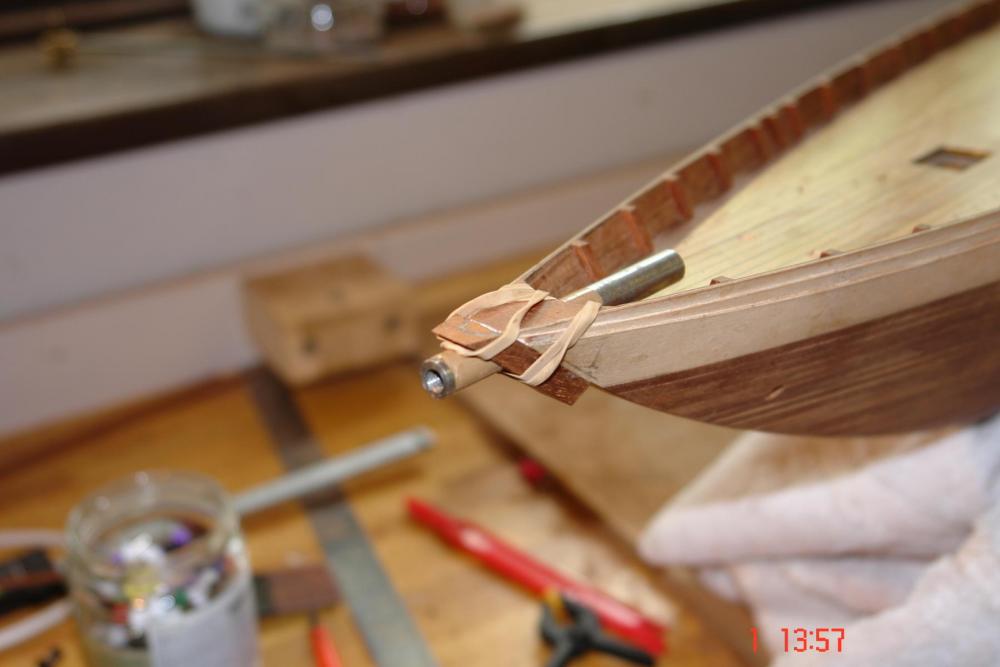
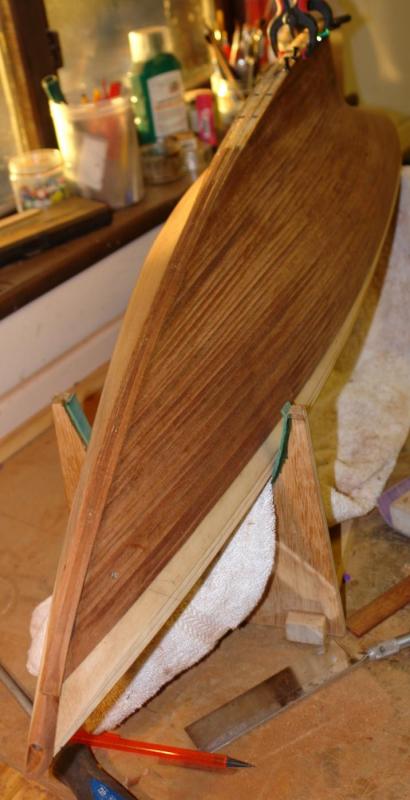
For a while I have been thinking about giving Altair a nose and today was the big day. But first of all a photo of the real thing. Also worth noting how the stem planks run along the keel. I had already bored a 10mm hole through the "stub" nose and I needed the holes in the stub nose and the nose to align perfectly. So I took an off-cut of mahogany, cut the correct angle to mach the stub nose and bored a 10mm hole. the photo shows the block in place with a steel bar to give the hole alignment. I then cut away the excess with a saw and disc sander and glued it in place. The nose was then sanded to blend with the hull. I also made a start on the keel planks and finished shaping the nose. The hull is starting to look satisfyingly sleek.


- 882 replies
-
- 11
-
-
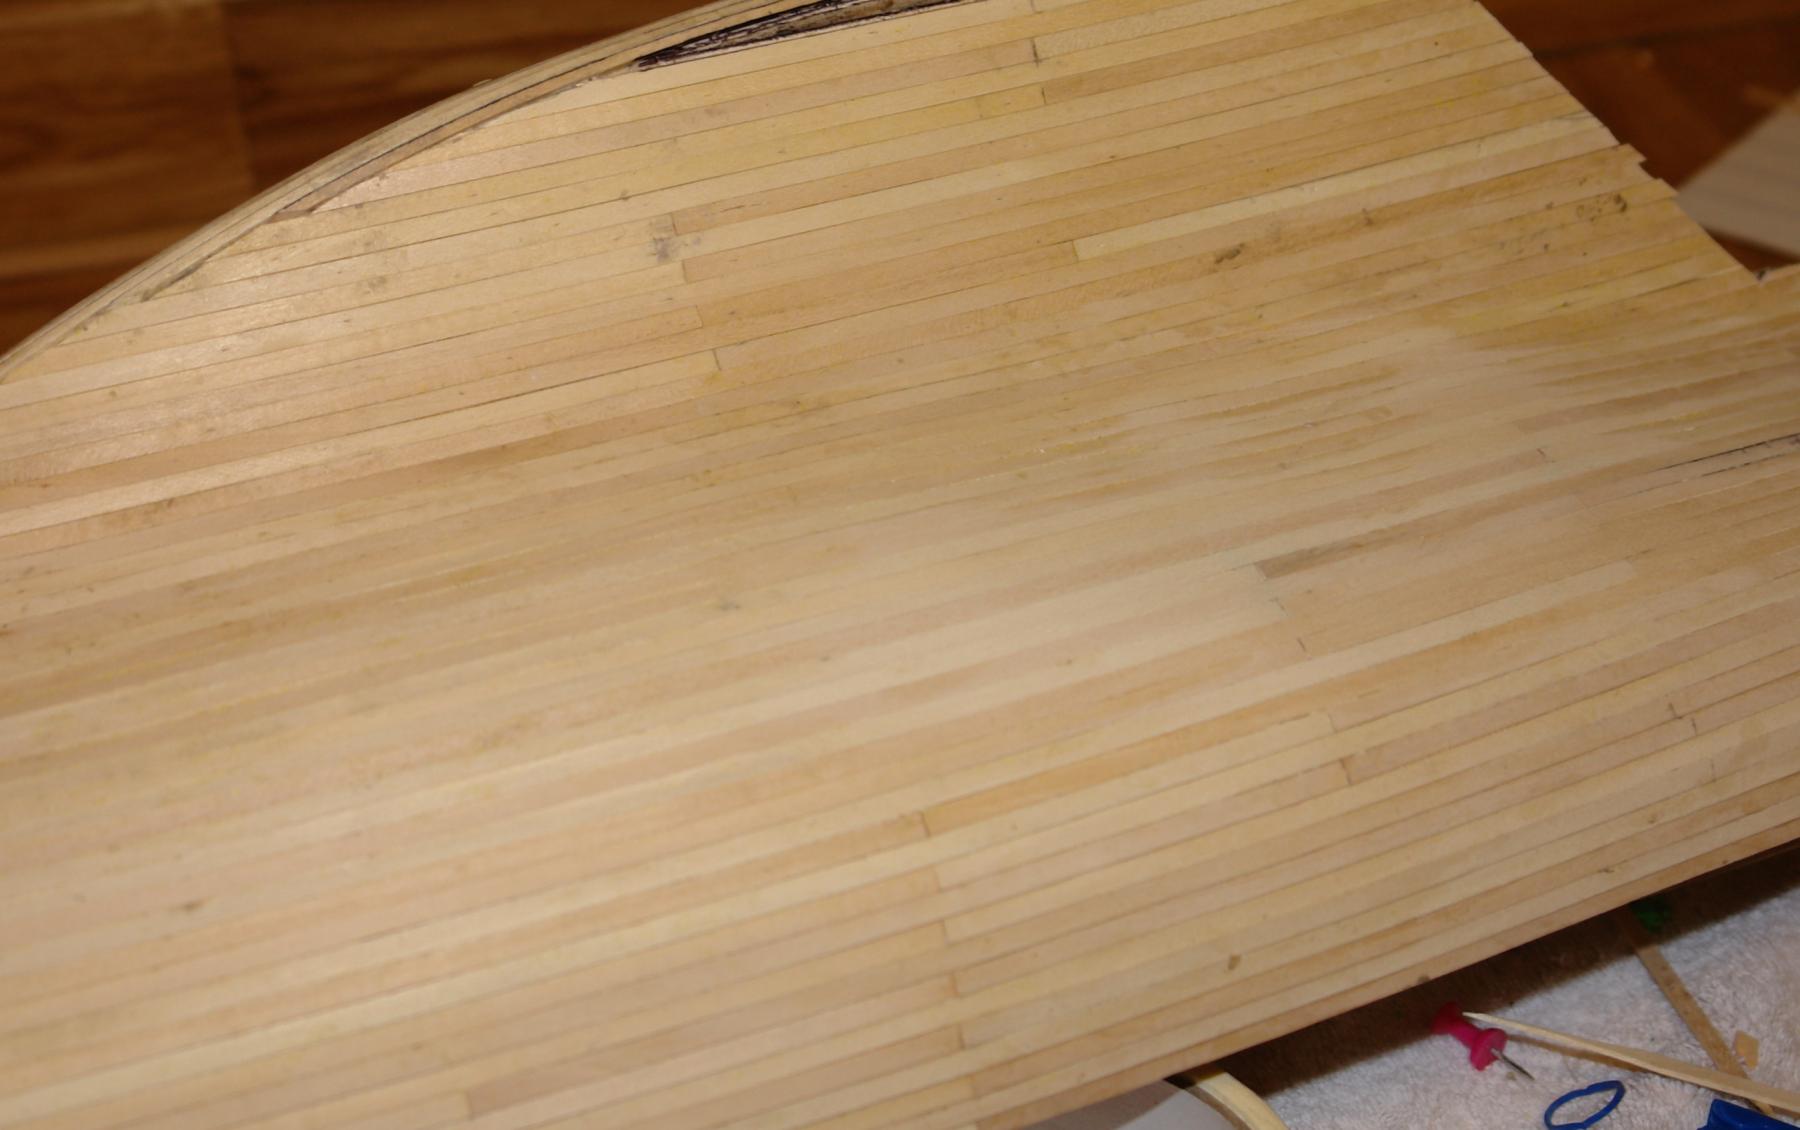
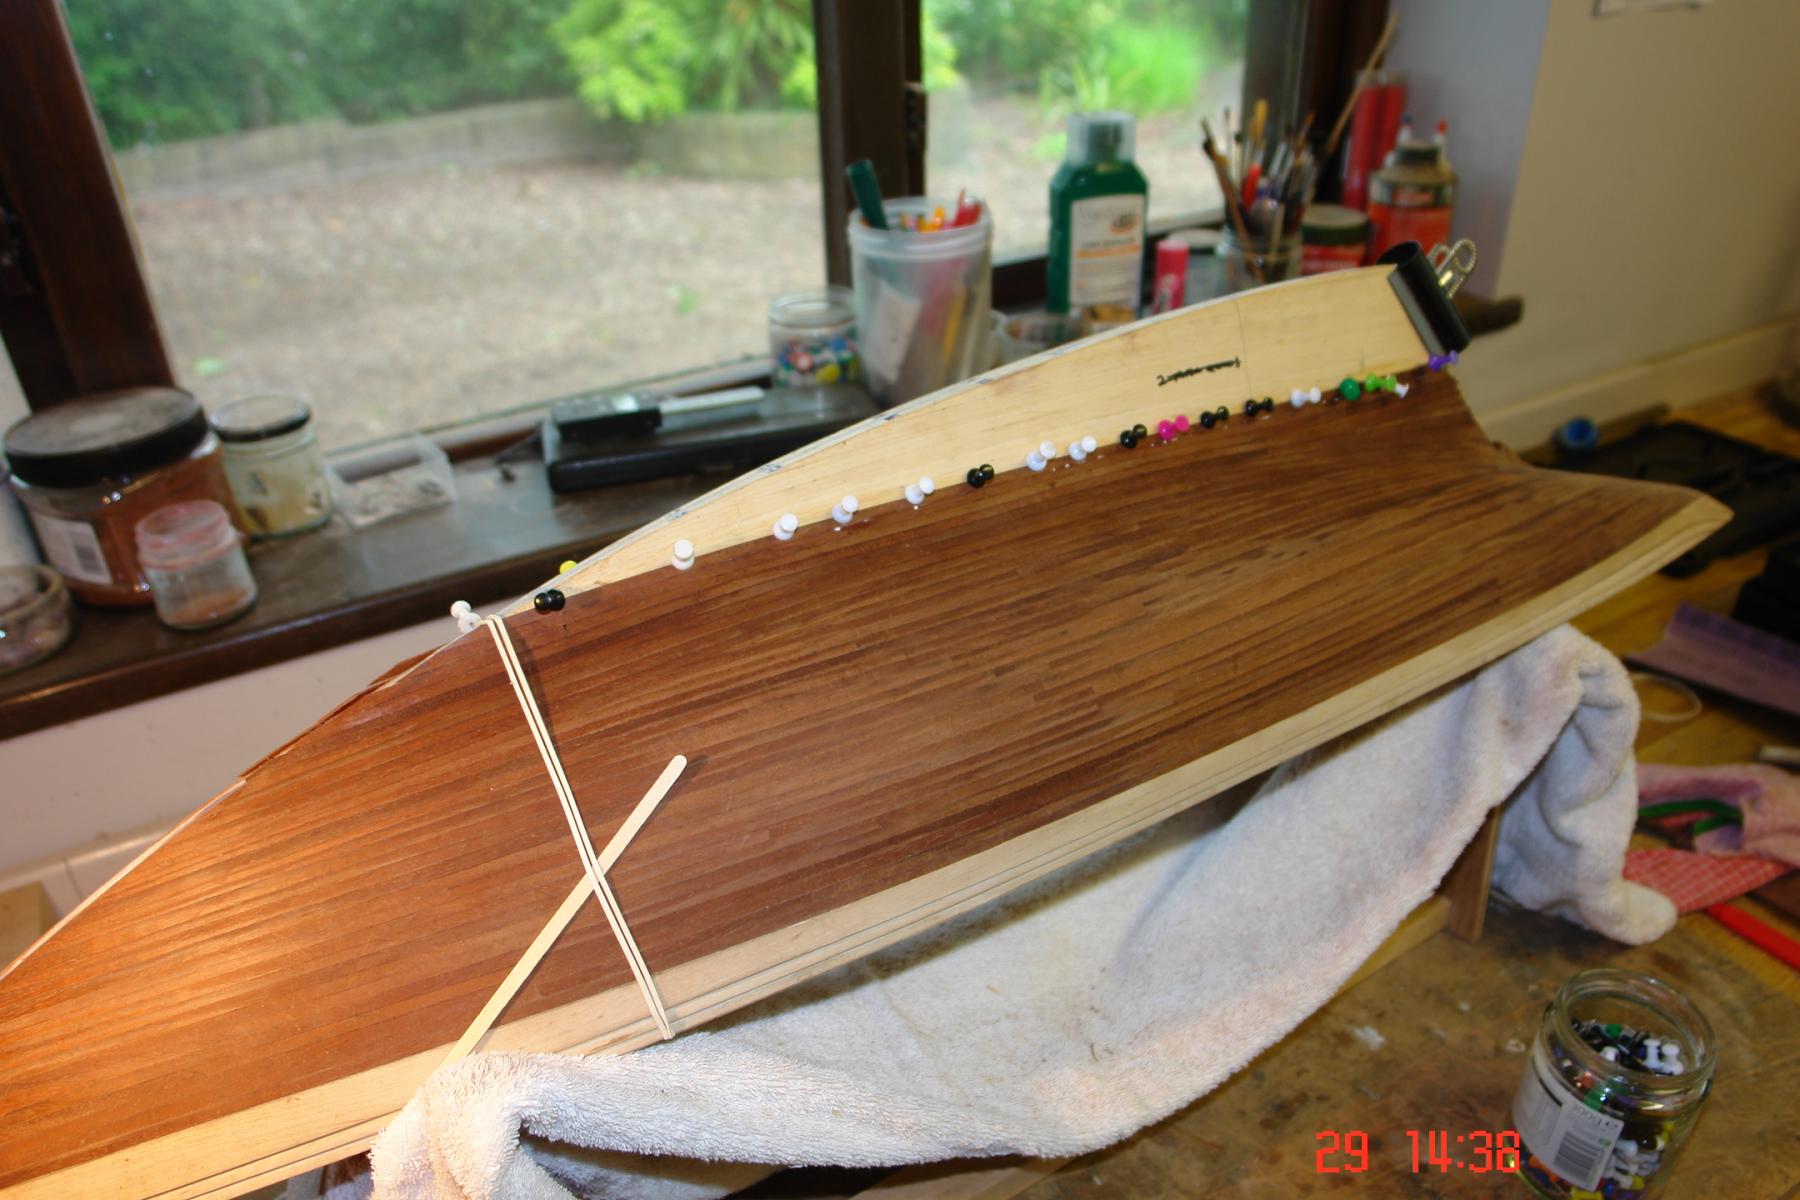
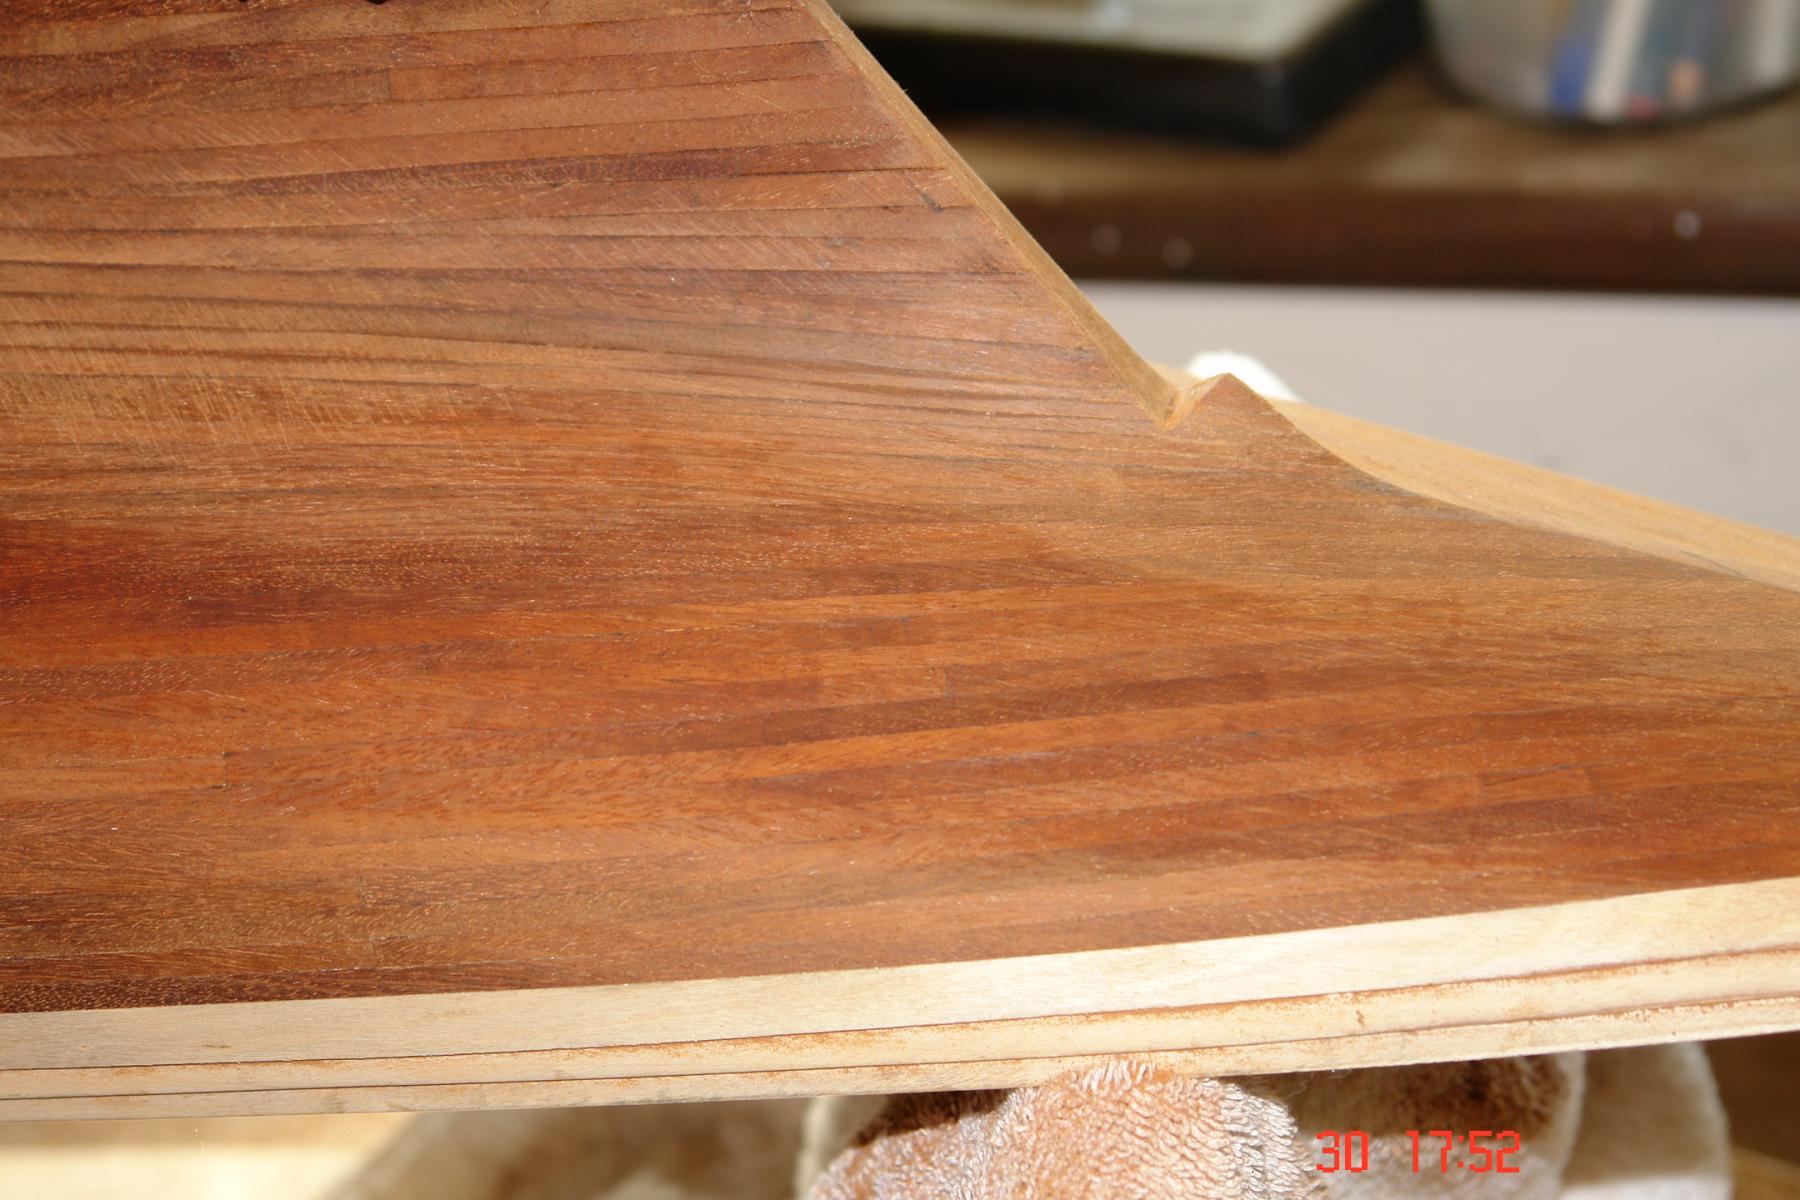
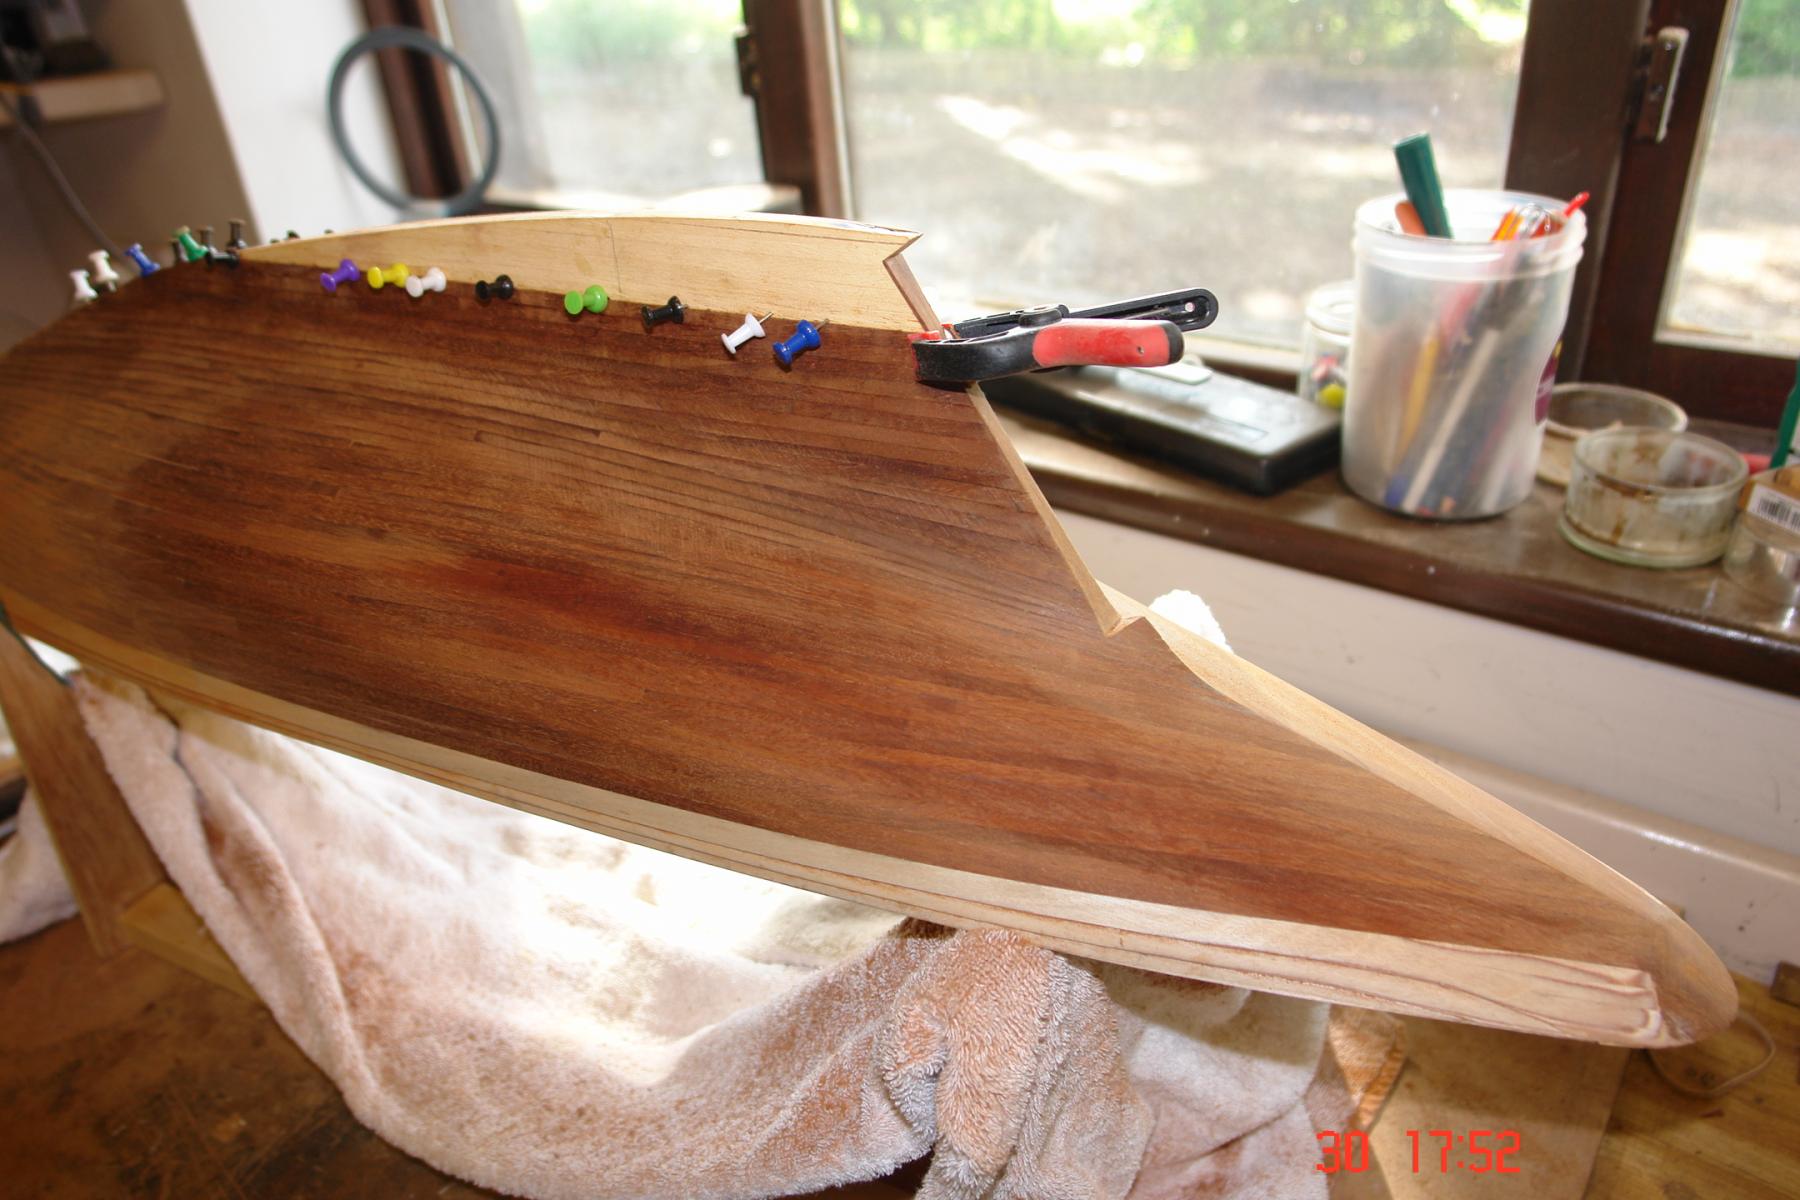
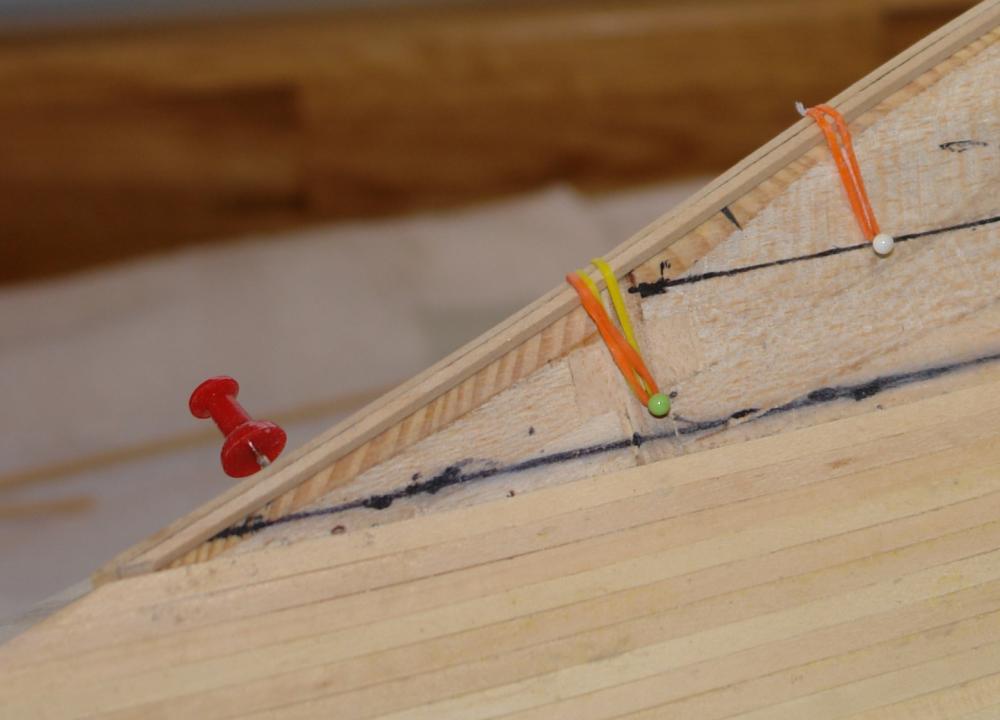
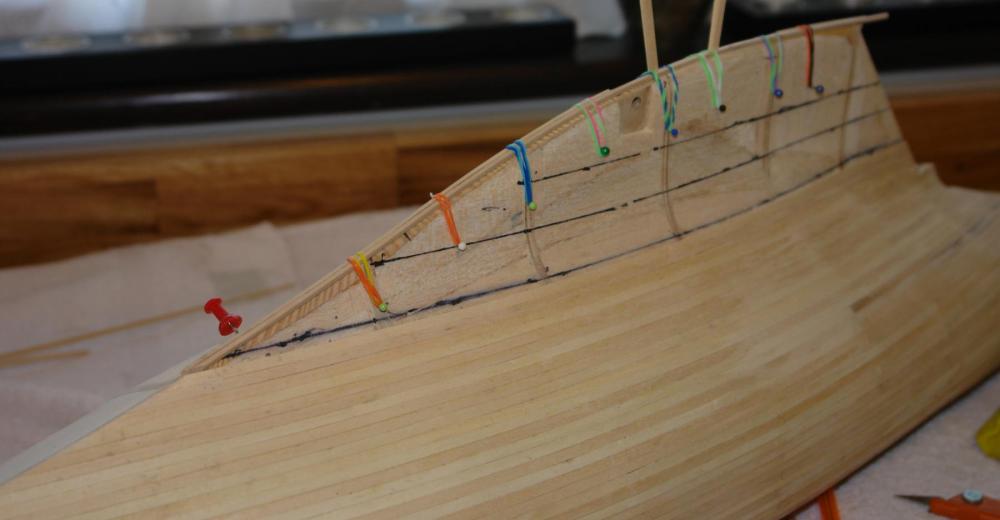
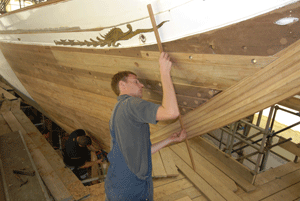
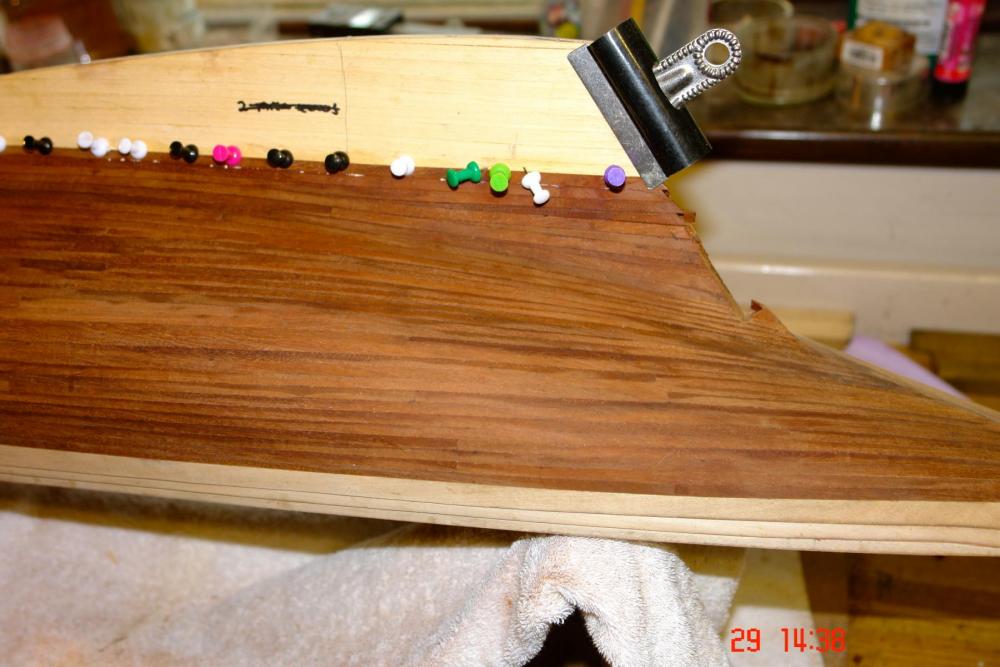
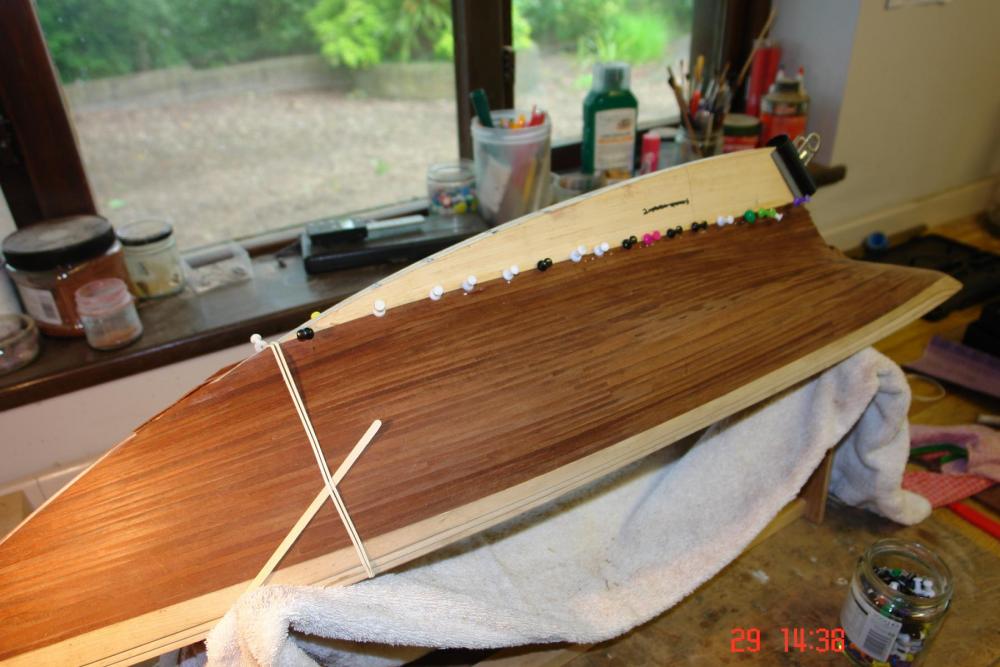
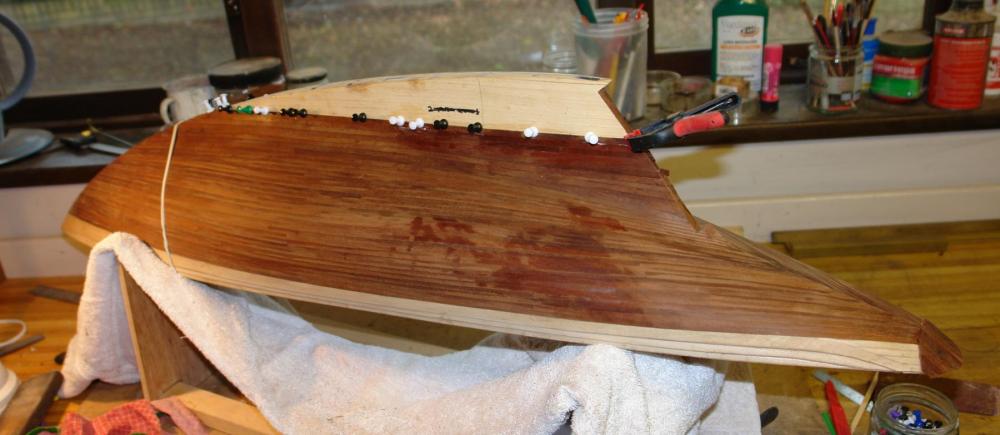
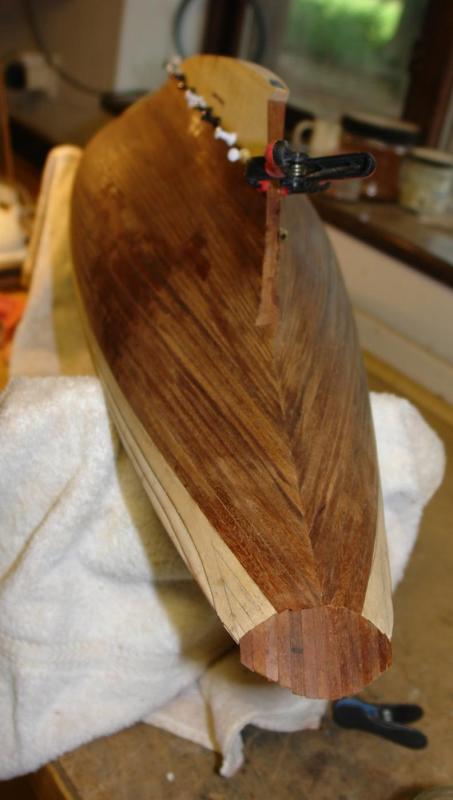
I am nearing completion of the hull second planking so a few photos to show progress. By this stage all the remaining planks are parallel so the job is becoming much easier. You can see that I have had to add a couple of wedge pieces to fill out the back of the keel. I have started looking for fill in jobs while the glue dries on the last plank. Here I have planked the stern. I have also started doing a bit of rough sanding to get the hull planks smooth. I also sanded the stem ready to lay up the longitudinal planks from which stem profile is shaped. Only about 8 planks to go before the hull planking is complete.


- 882 replies
-
- 10
-
-
Hello Brian The plans were bought from Cornwall Model Boats. www.cornwallmodelboats.co.uk. They sell a wide range of model boat plans and ship worldwide. Thank you for the positive comments.
-
ancre La Salamandre by tadheus - 1:24
KeithAug replied to tadheus's topic in - Build logs for subjects built 1751 - 1800
Tadheus lovely work and very realistic. -
Tom, Yes hand tools only. Power tools were limited to a mini craft drill, a Black and Decker hand drill and a soldering iron. I didn't even have a power sander. I managed to make a lot of the circular parts out of nesting brass tubes - I got a huge bag of offcuts from a local model shop. What little turning I needed to do was done with the black and decker and various files. I bought the frigates props / shafts / rudders but apart from that all the other metalwork was hand made. That said I don't think I would ever want to do without a lathe and mill now. Both were bought 4 years ago and I rely on them a lot. I did buy planking pre cut - but this was an expensive option and now I cut my own - as illustrated earlier in my build log. I have now adopted a policy of if If I need a power tool I buy it or make it, life as a result is much easier. Tom / Jorgen Thank you for your kind comments.
-
Hello Julie welcome back. Having completed the balsa backing I sanded it level with the deck frames. I did the first planking working from deck level to keel. I then fitted and glued the deck in place. I then fitted the deck edge plank. I then sanded the 1st planking. The edges of the plywood deck and deck edge plank being sanded as I sanded the hull planking. I then did the 2nd planking. The advantage of this sequence is that the second planking comes all the way up to deck level and covers the edges of the plywood and deck edge plank. I think you could adopt the above sequence and use the first plank to correct your dip by sitting the deck on the plank locally with a bit of shimming on top of the frames to support it.
-
Hi Jorgen Thanks of the feedback. You clearly have skill - with practice you will be soon be achieving the quality of work you aspire to. For many years I had relatively simple tools - here are a couple of models I produced with only hand tools and a model makers hand drill. The tug was my first model - a kit. The frigate was my second - scratch build
- 882 replies
-
- 10
-
-
Boyd This is a lovely build and I love your attention to detail and quality of work.
-
Hi Thomas (or is it Boyd?) Thank you for the positive comment. I'm in the slow build phase at the moment but I should improve pace as we move towards autumn.
-
Jorgen Sometimes its easier to work at large scale. I thought your build was excellent given the scale challenges.