-
Posts
217 -
Joined
-
Last visited
Content Type
Profiles
Forums
Gallery
Events
Posts posted by kostas_gr
-
-
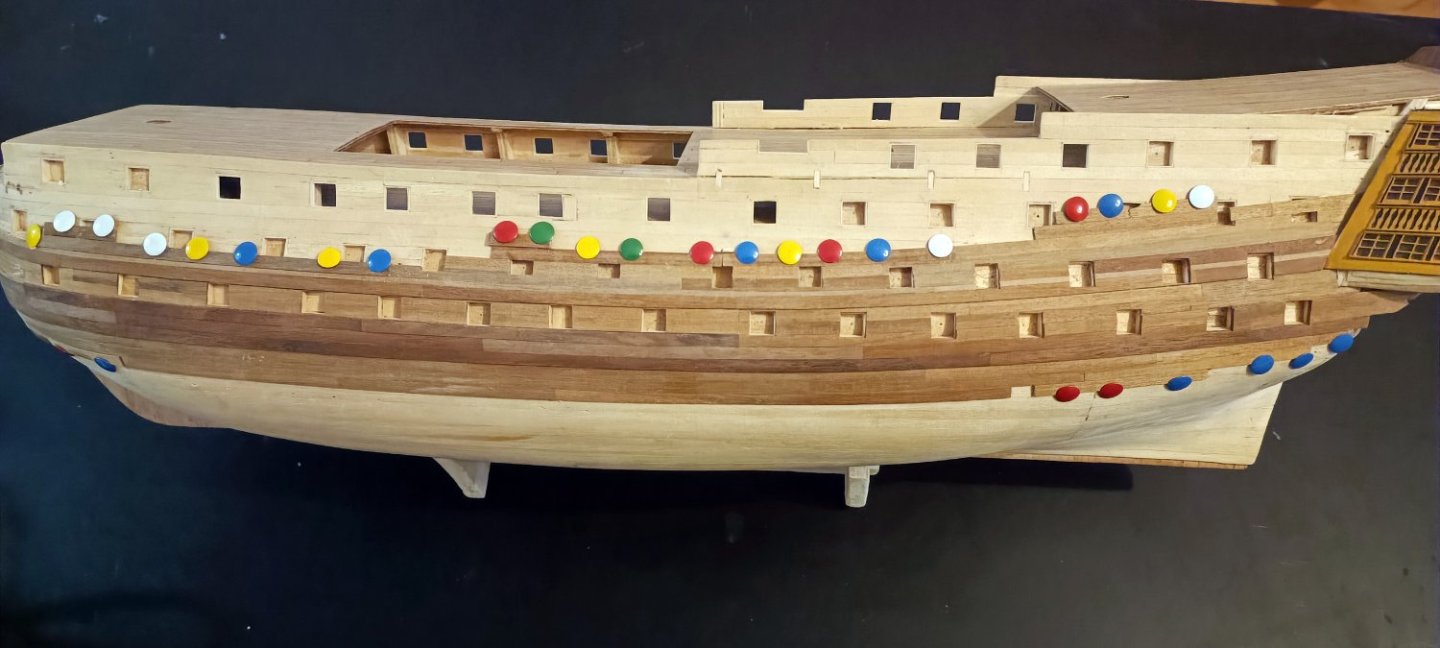
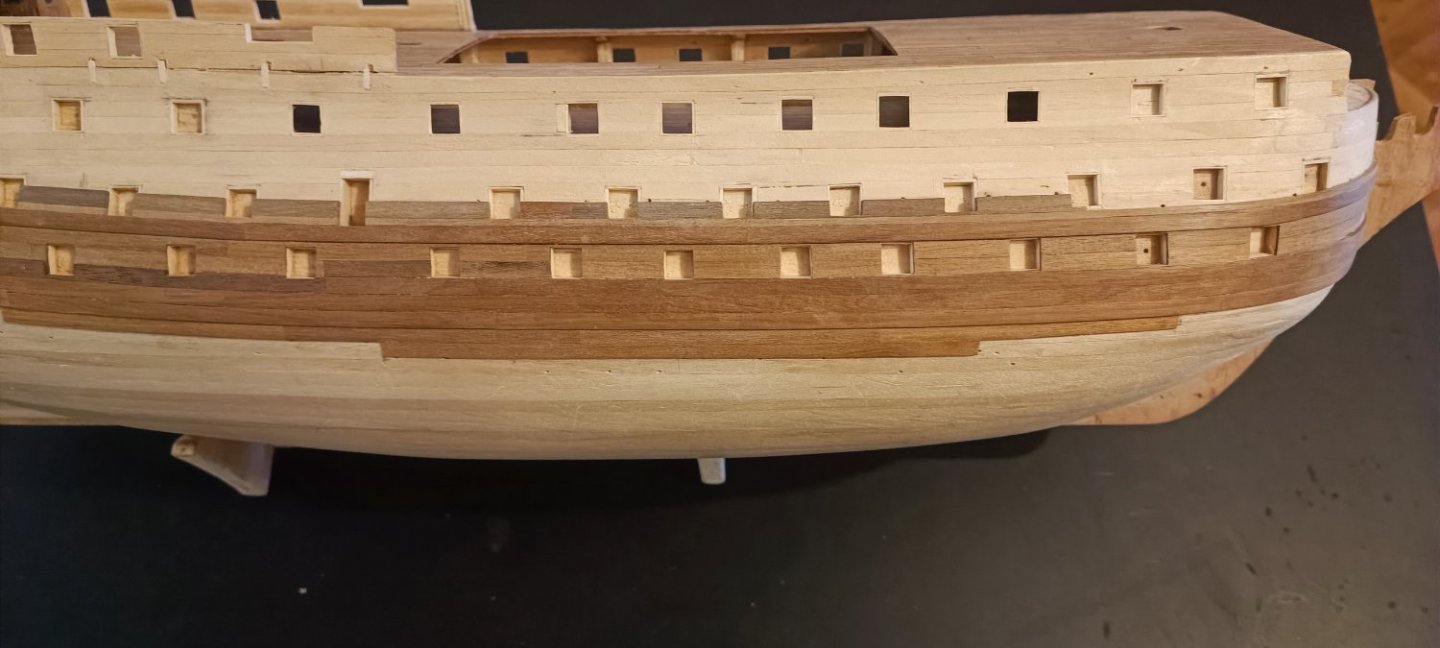
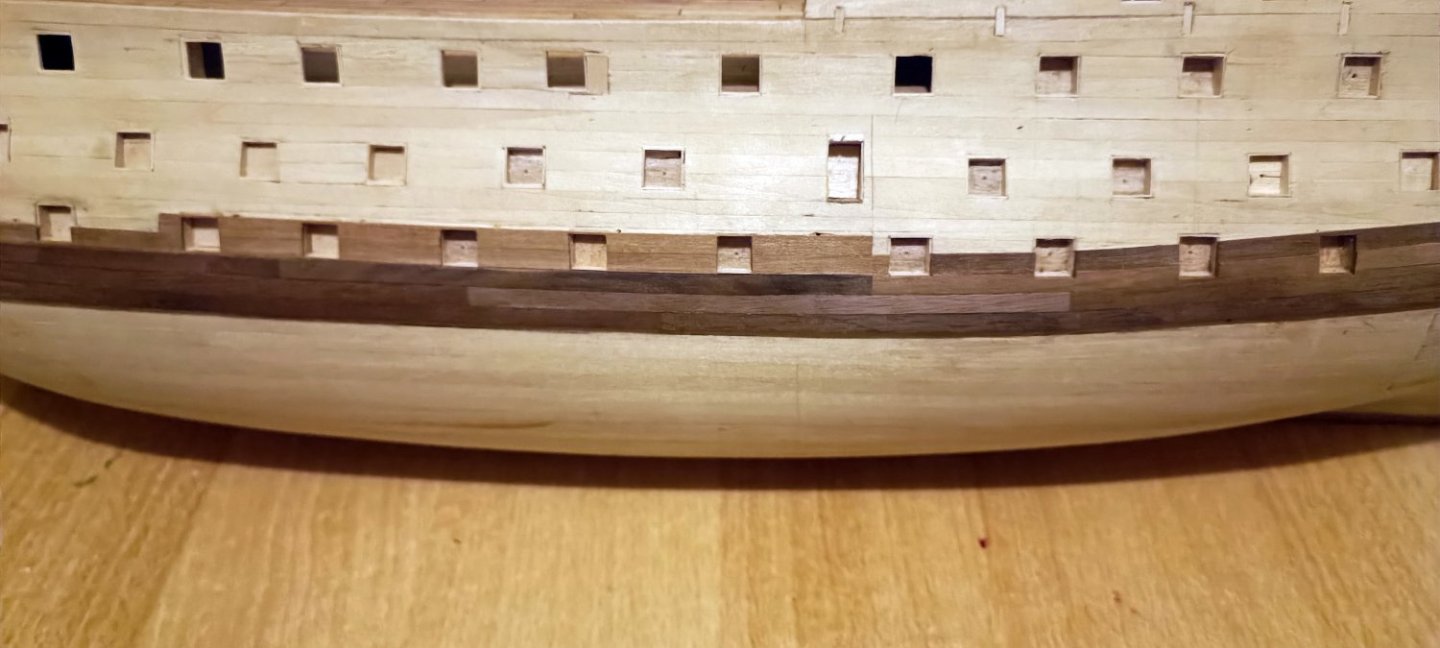
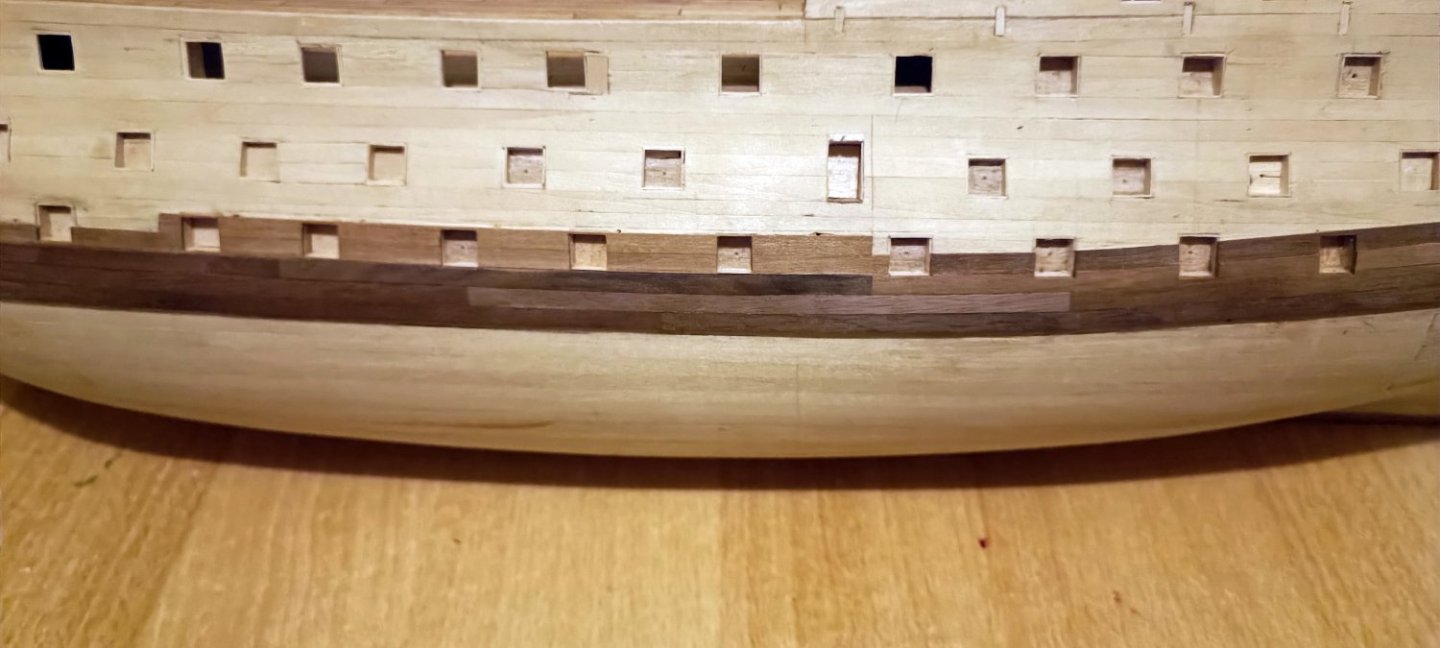
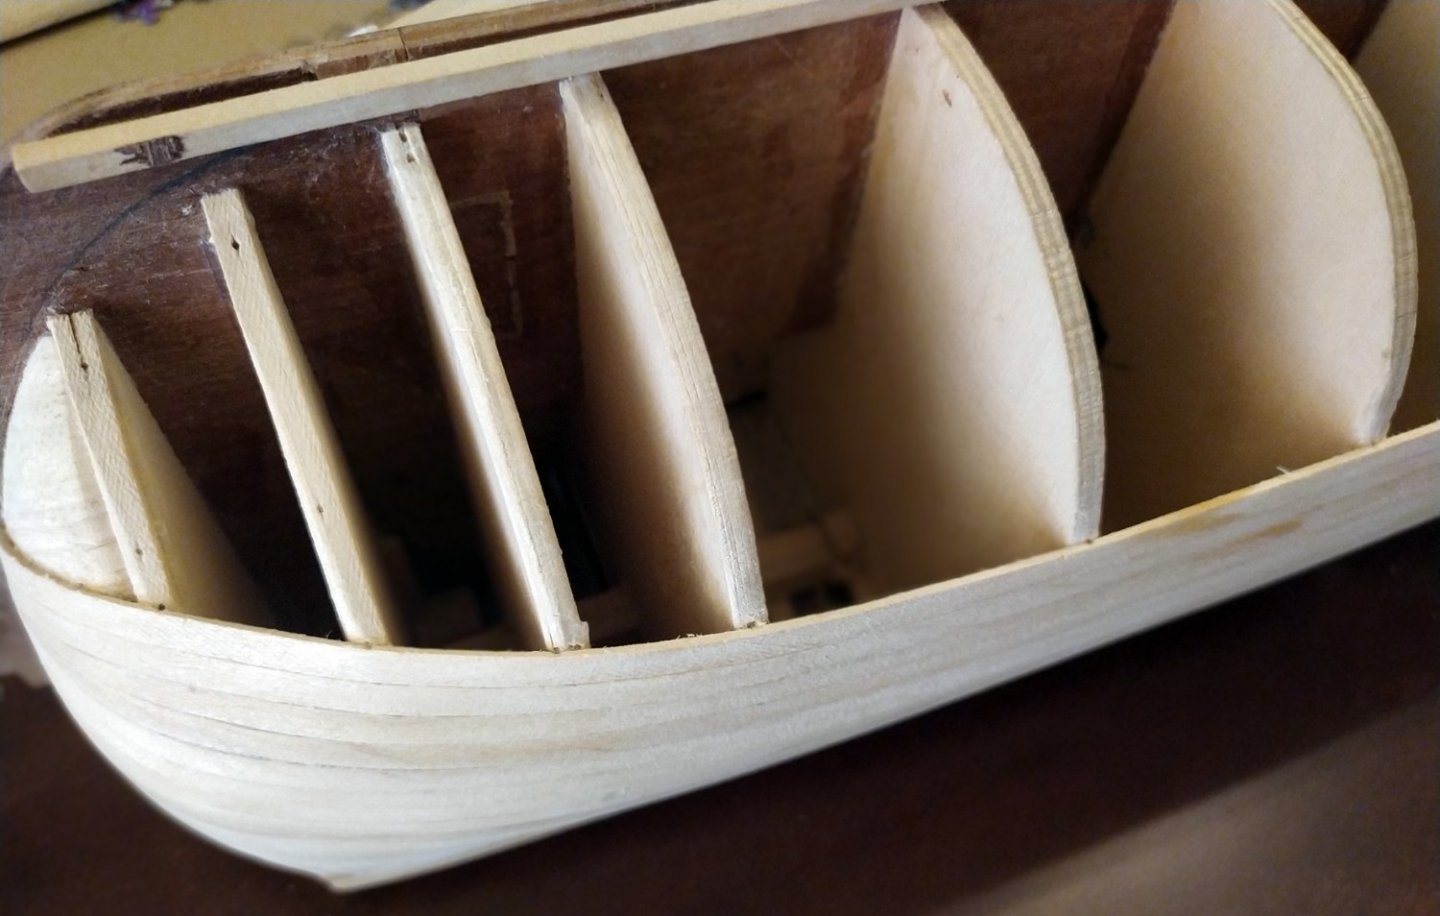
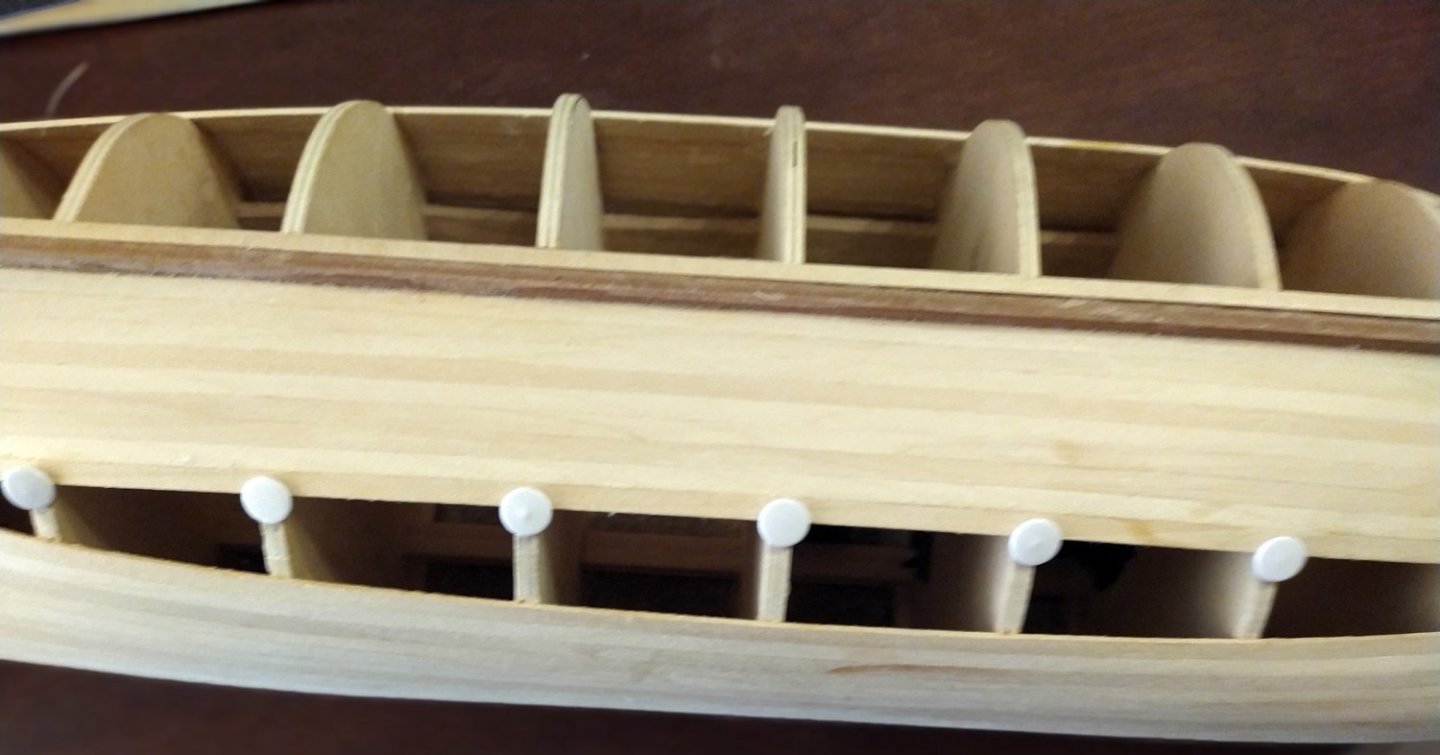
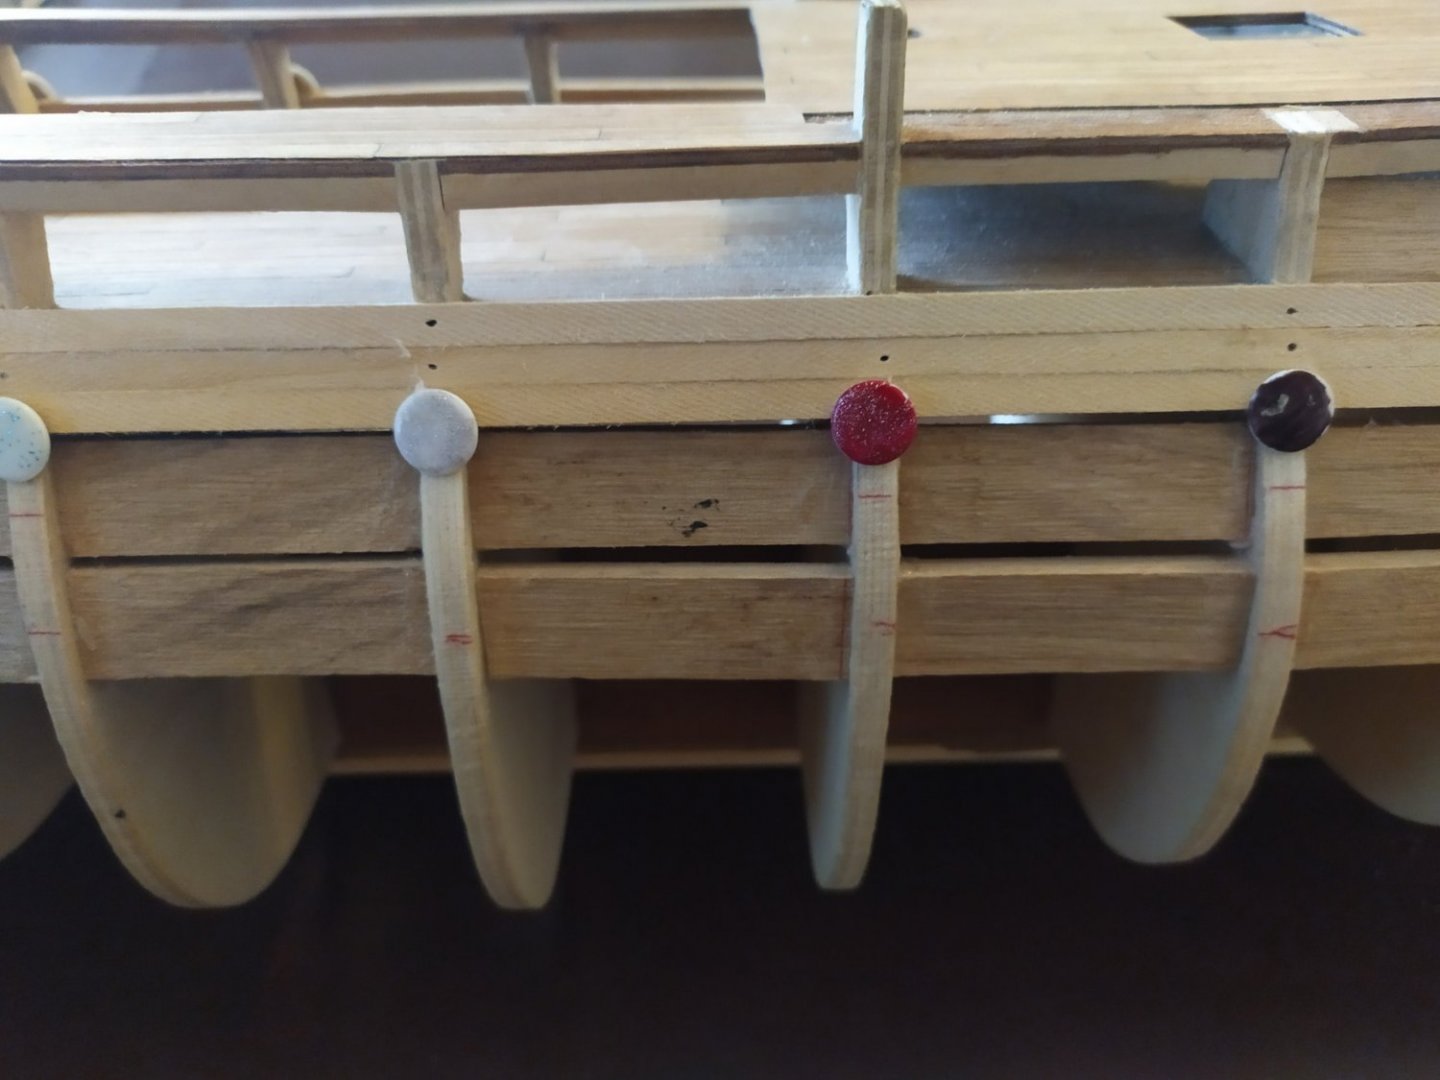
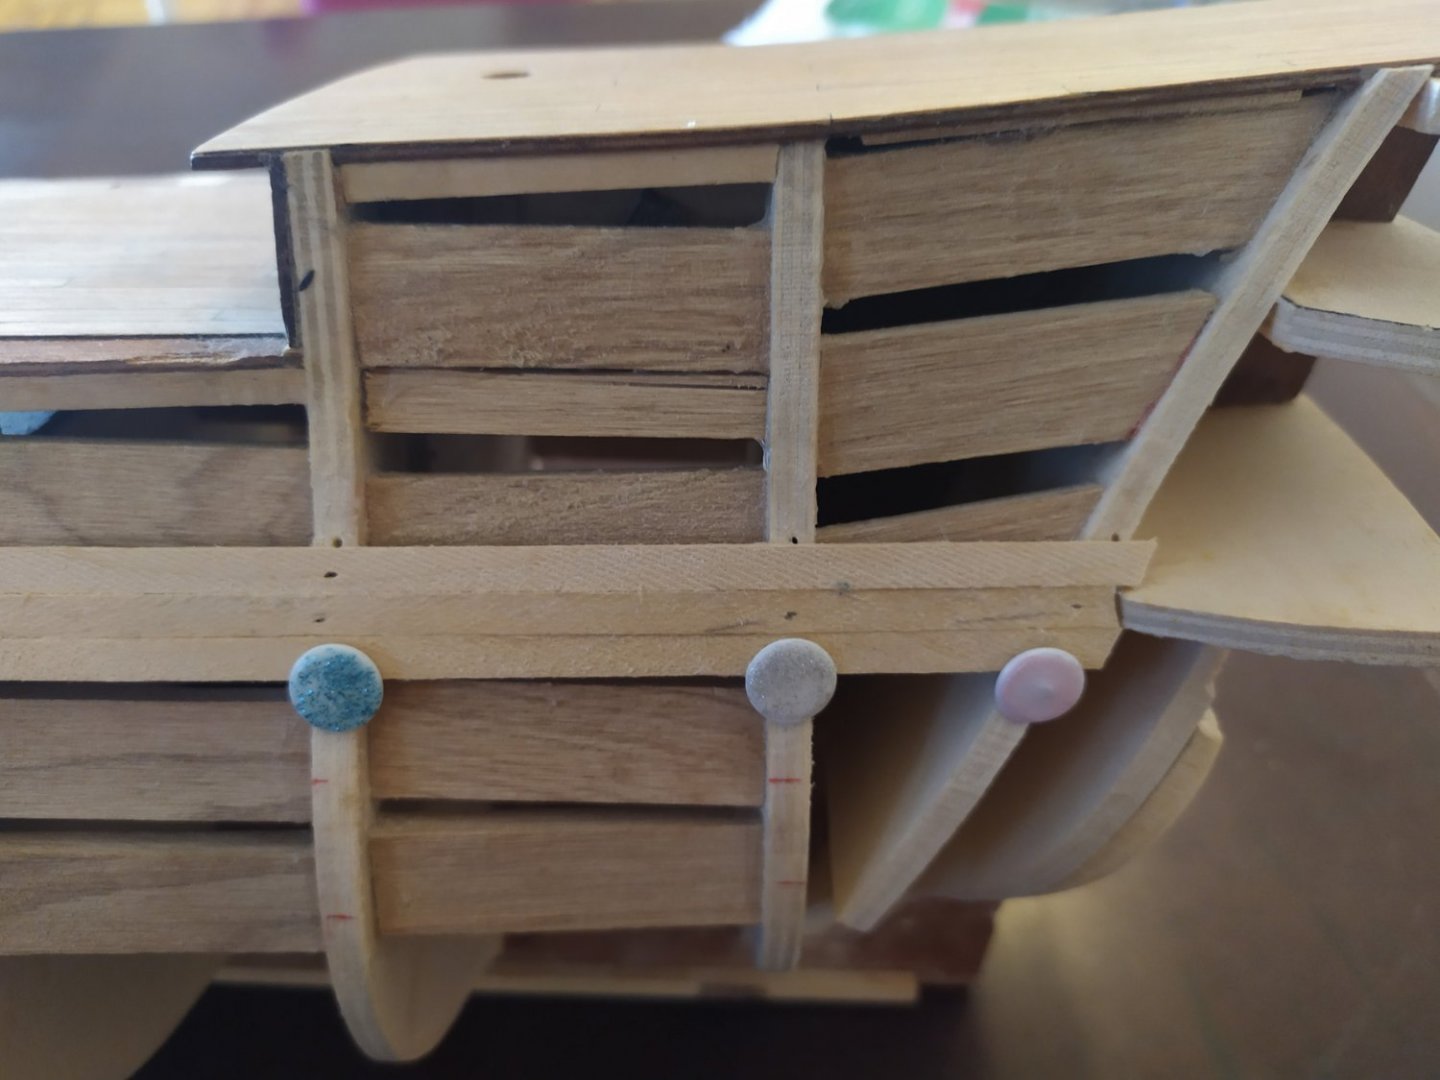
Planking the hull using 9cm walnut planks, using the "rule of three" ( 9cm : 3 =3cm space from row to row).
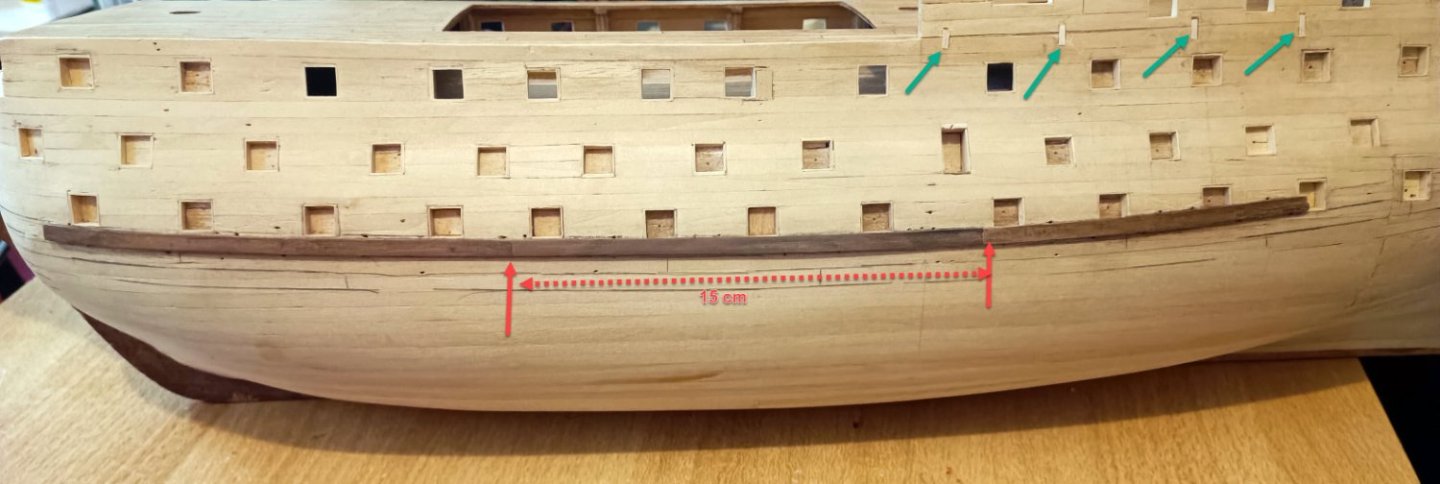
for the wales I have used 15cm planks (with rule of three)
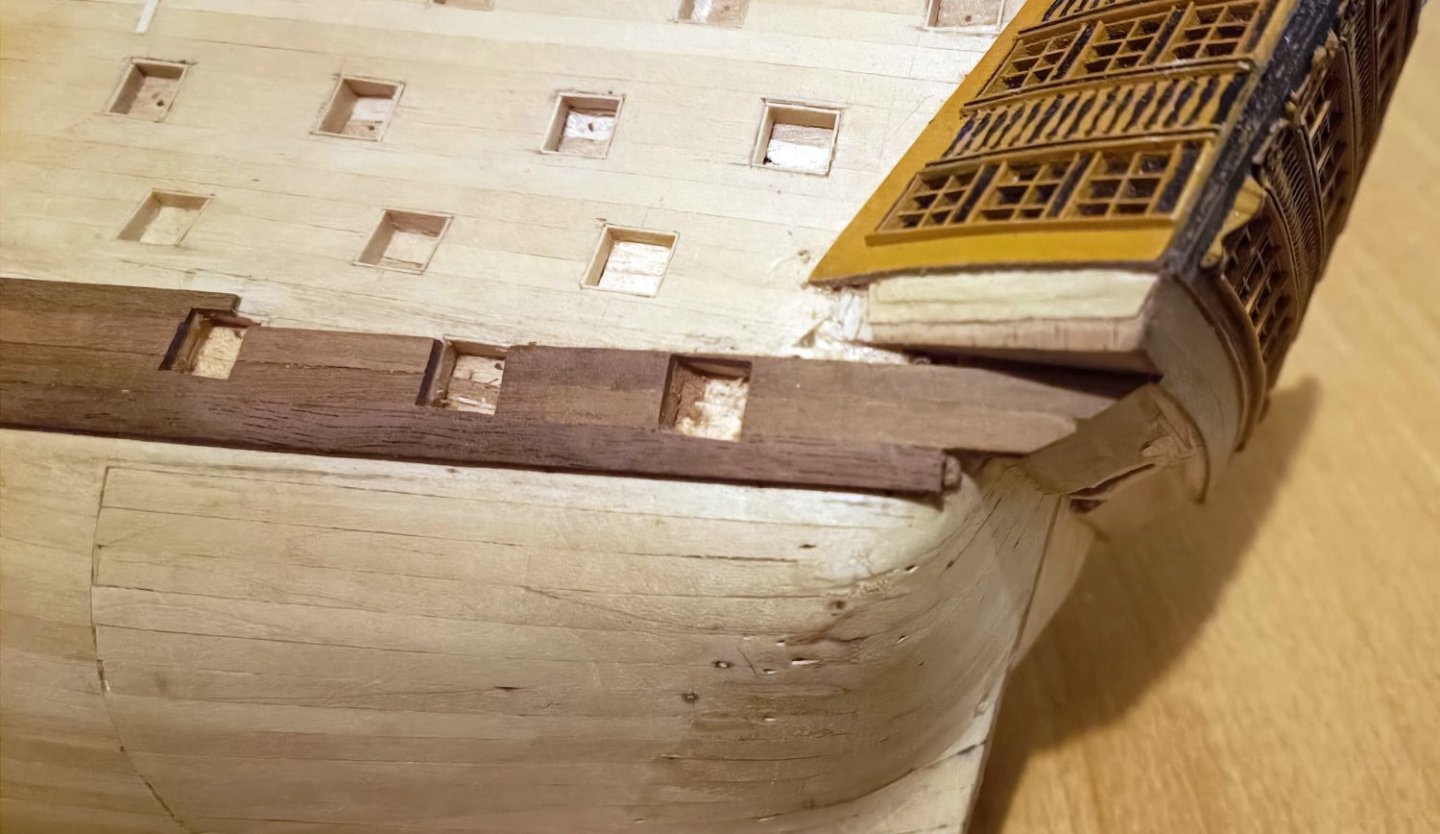
there is color differences among the planks, especialy from the wales and above, sometimes becouse of the wood itself, sometimes becouse I have used more heat (using iron heater) than needed in order to bend them.
I will paint them black-yellow later, so it doesnt matter, but from the wales and below I will keep the nature wooden color so I choose walnut stripes that are similar (colorwise)
- allanyed and KARAVOKIRIS
-
 2
2
-
- ccoyle, Prowler901 and KARAVOKIRIS
-
 3
3
-
Hi Allan.
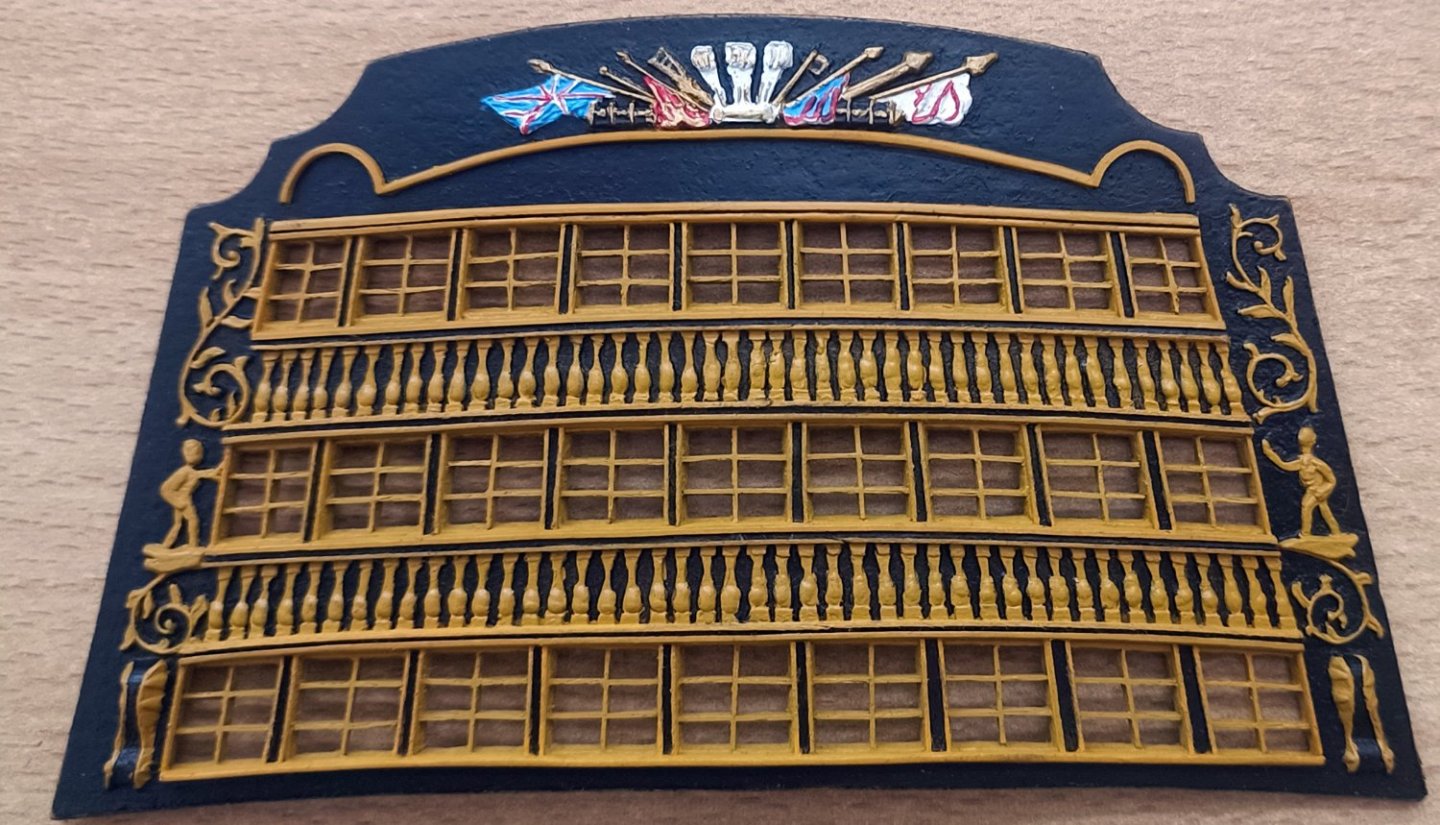
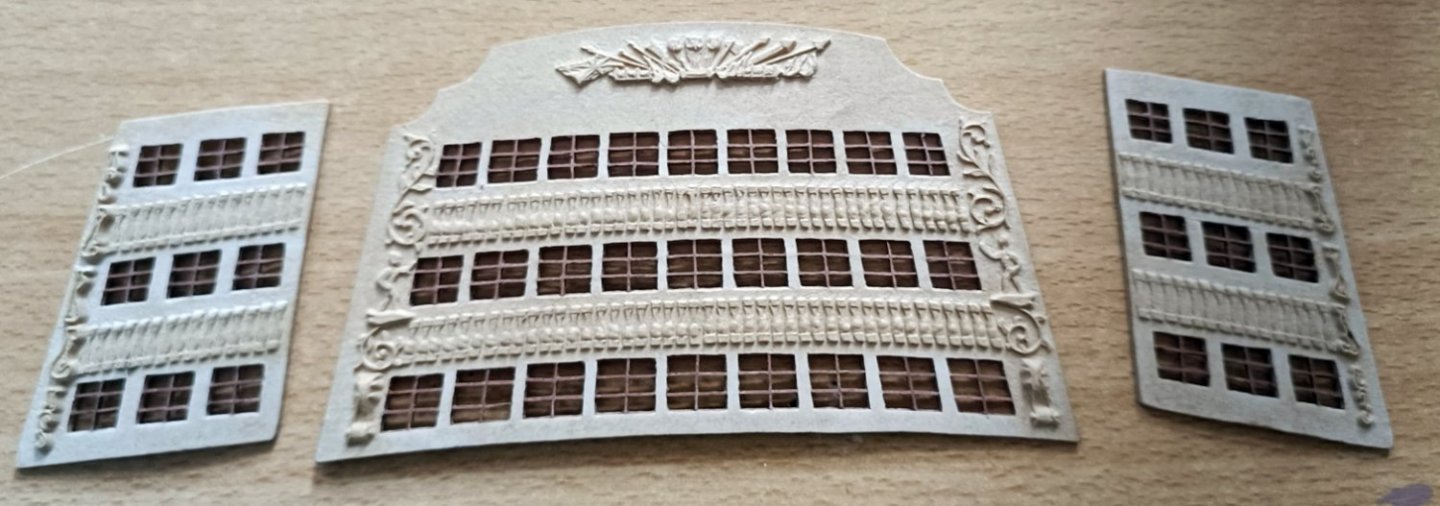
The kit is outdated with many errors. There where no panels for the windows, the kit had a yellowish transparent film, with the panels painted in black
***the pictures are taken from Sheerline's post
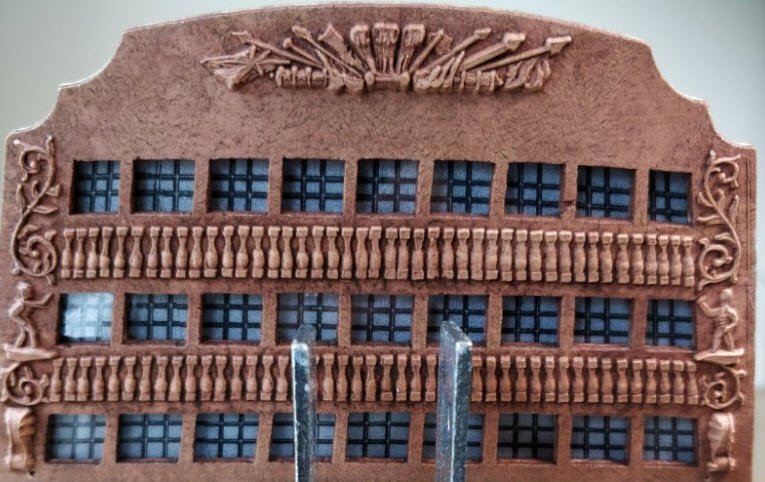
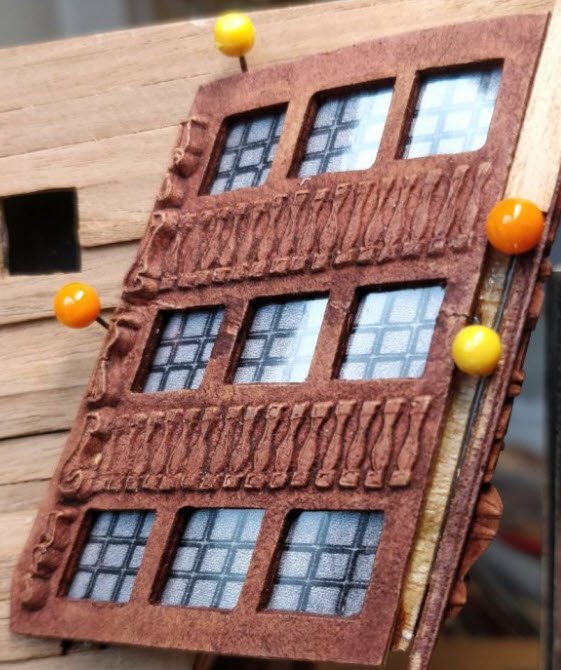
I wasnt pleased with the outcome (using kit instructions), so I tried to scratch build them.
When I tried to create 9 panels (like in the original ship) it was almost impossible, maybe I should have tried a different technique..., so I did 6 panels per window and looked not tha bad.
The kit has a lot of outdated (or wrong) details and I knew I couldnt fix them all.
- allanyed and KARAVOKIRIS
-
 2
2
-
-
- ccoyle, KARAVOKIRIS and Mr Whippy
-
 3
3
-
-
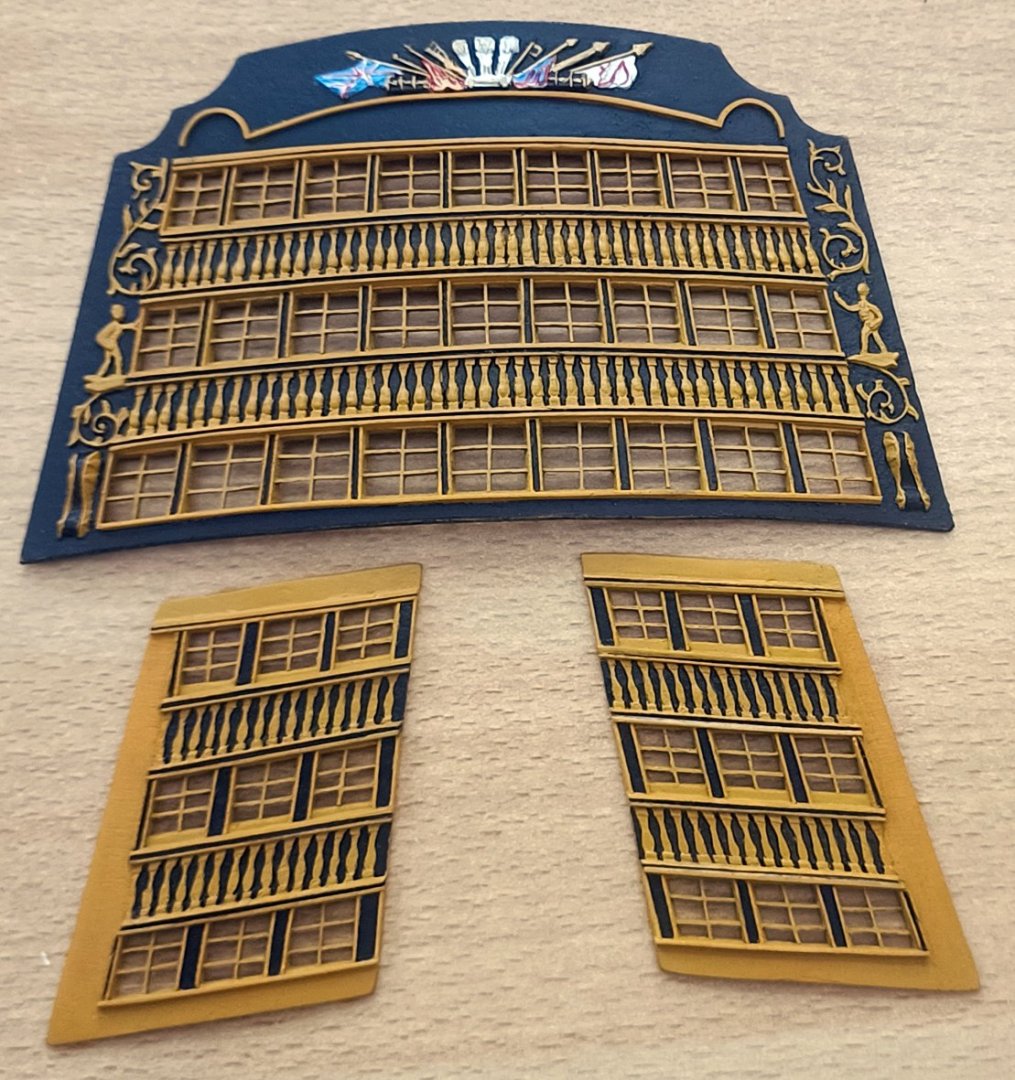
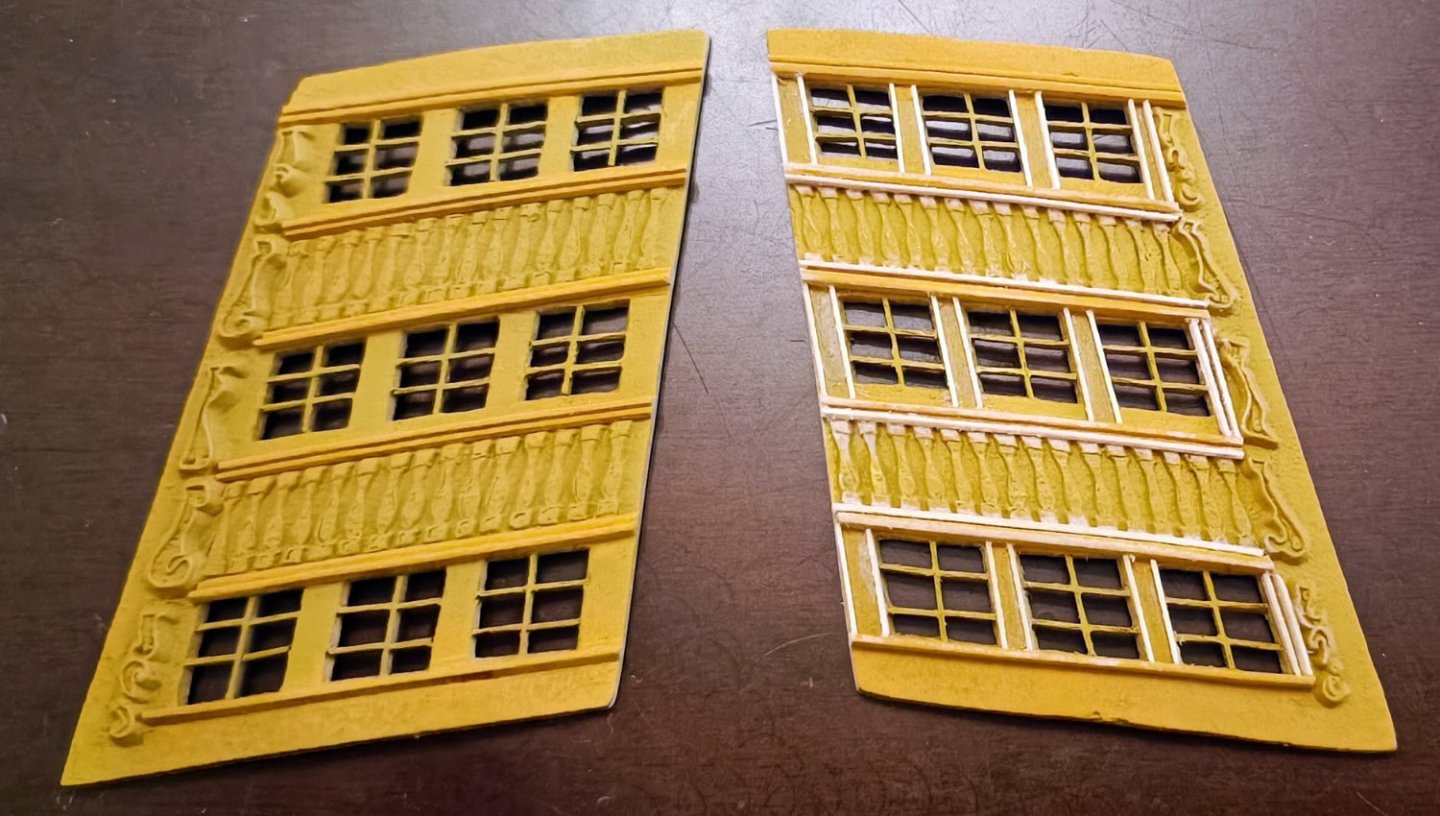
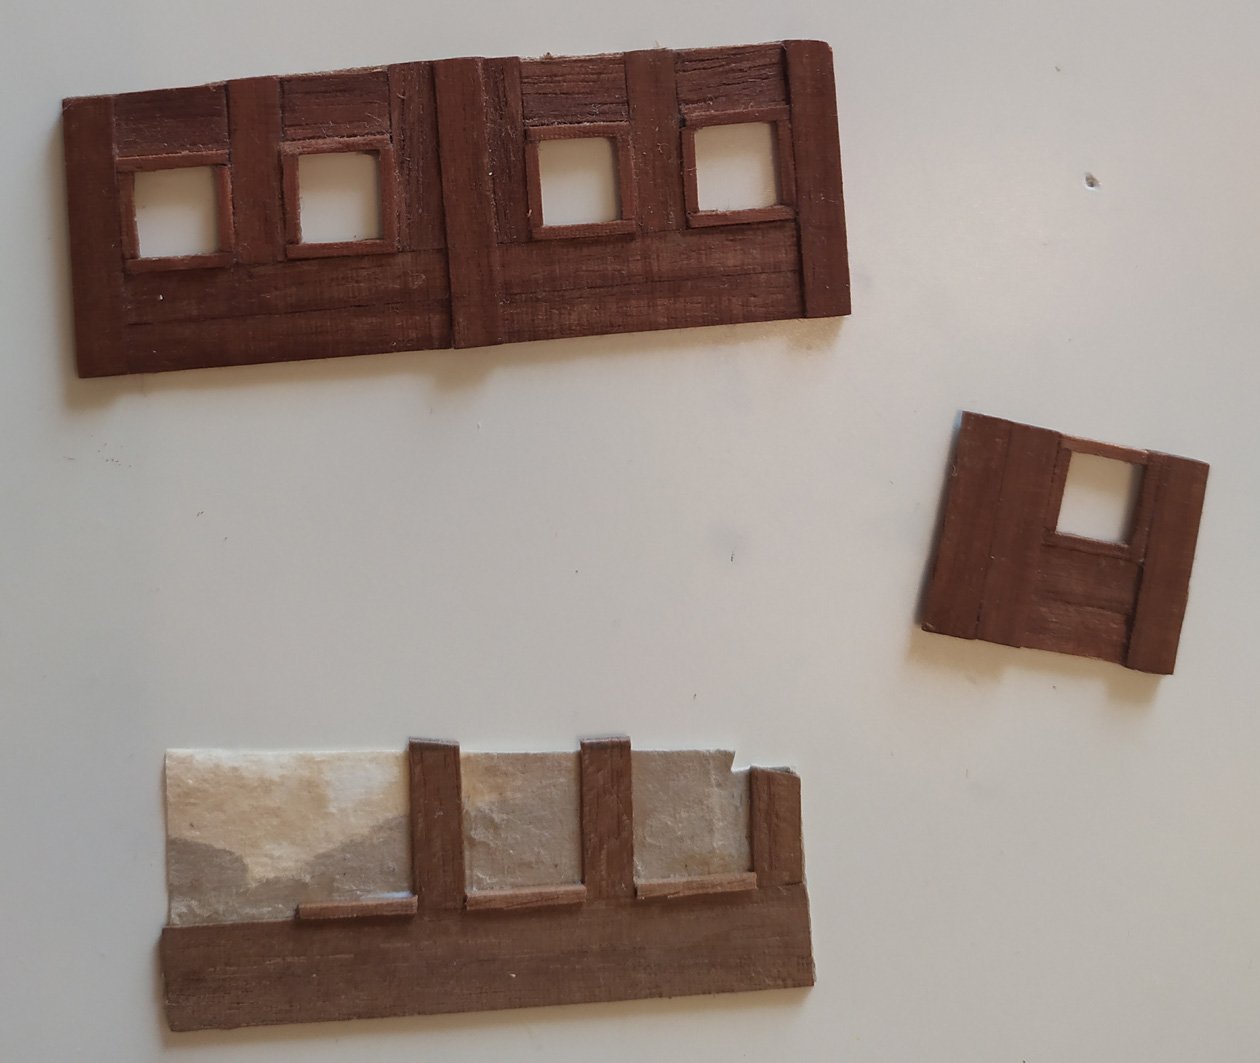
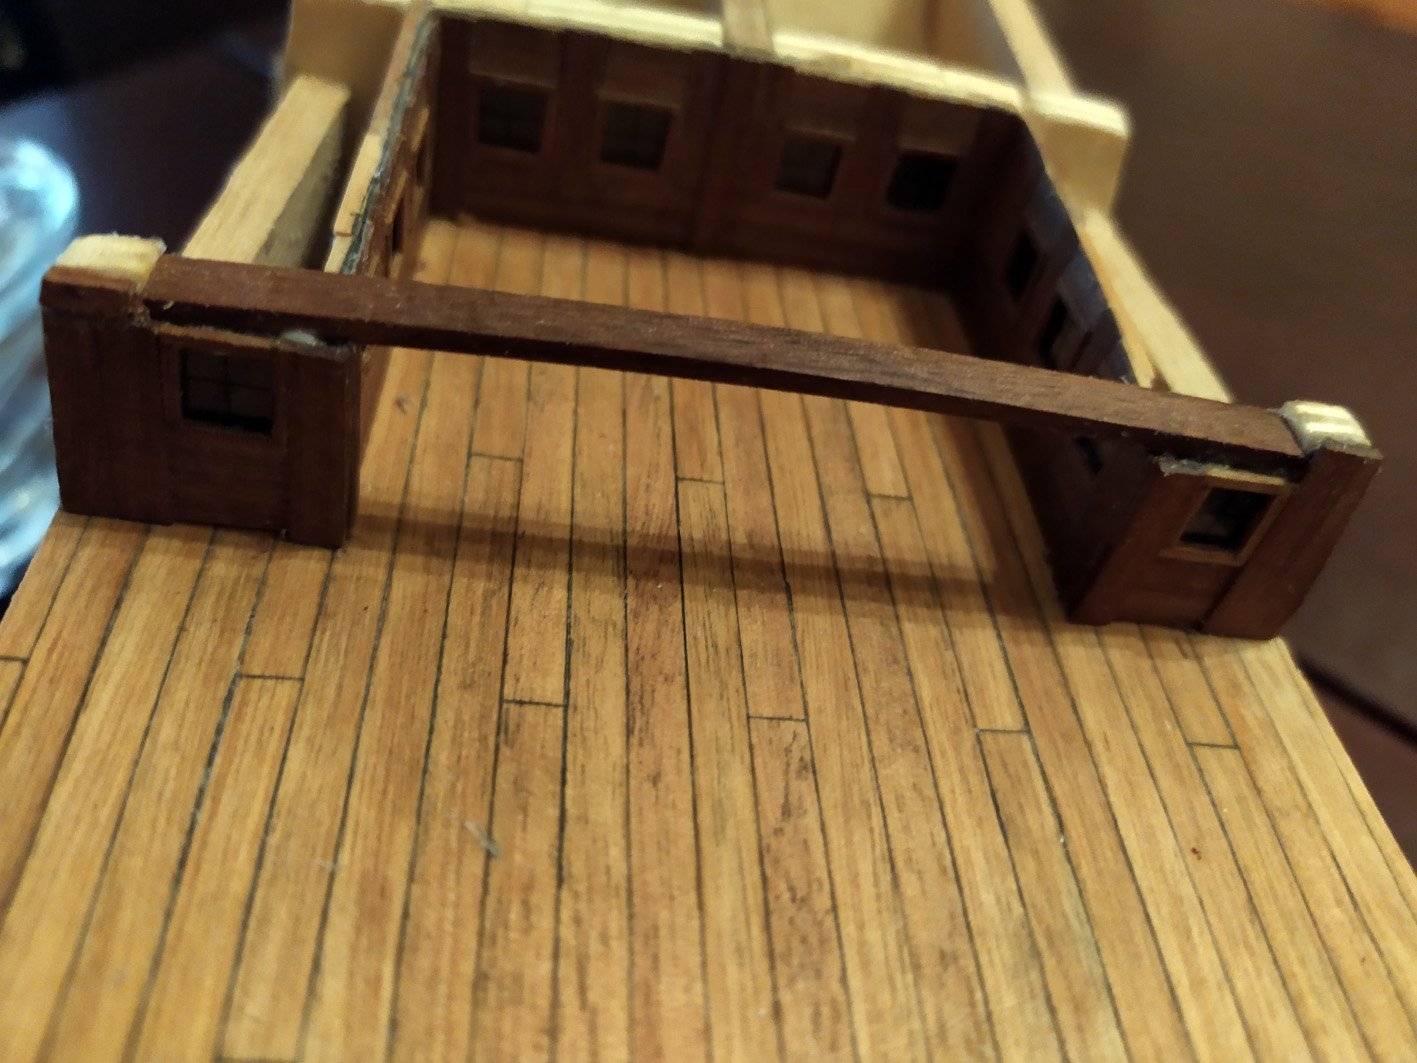
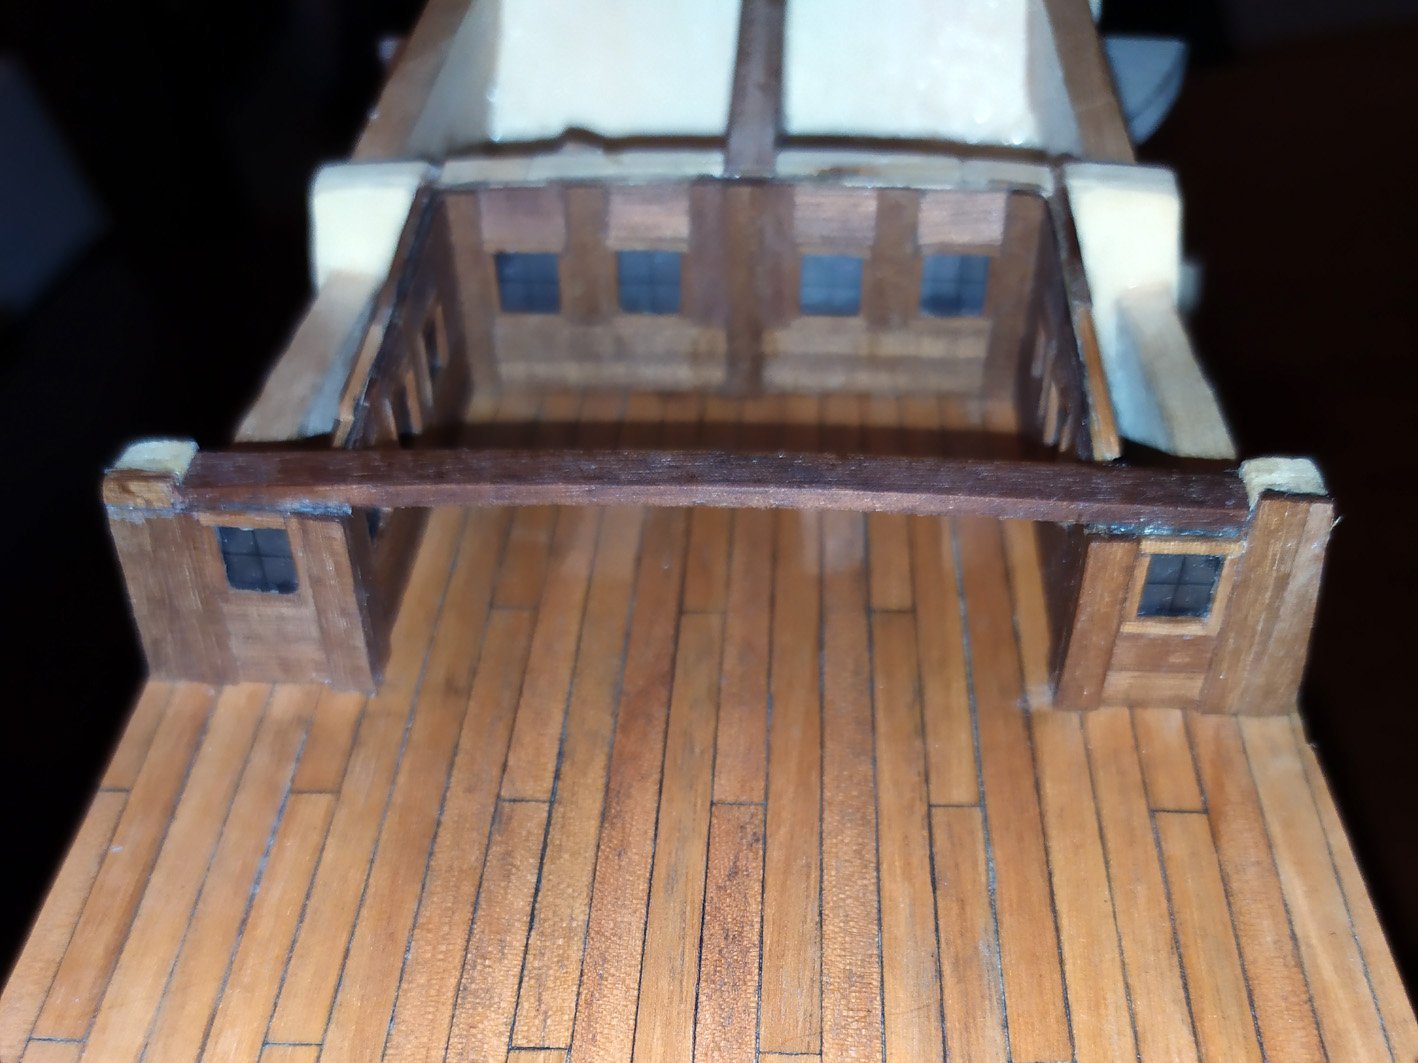
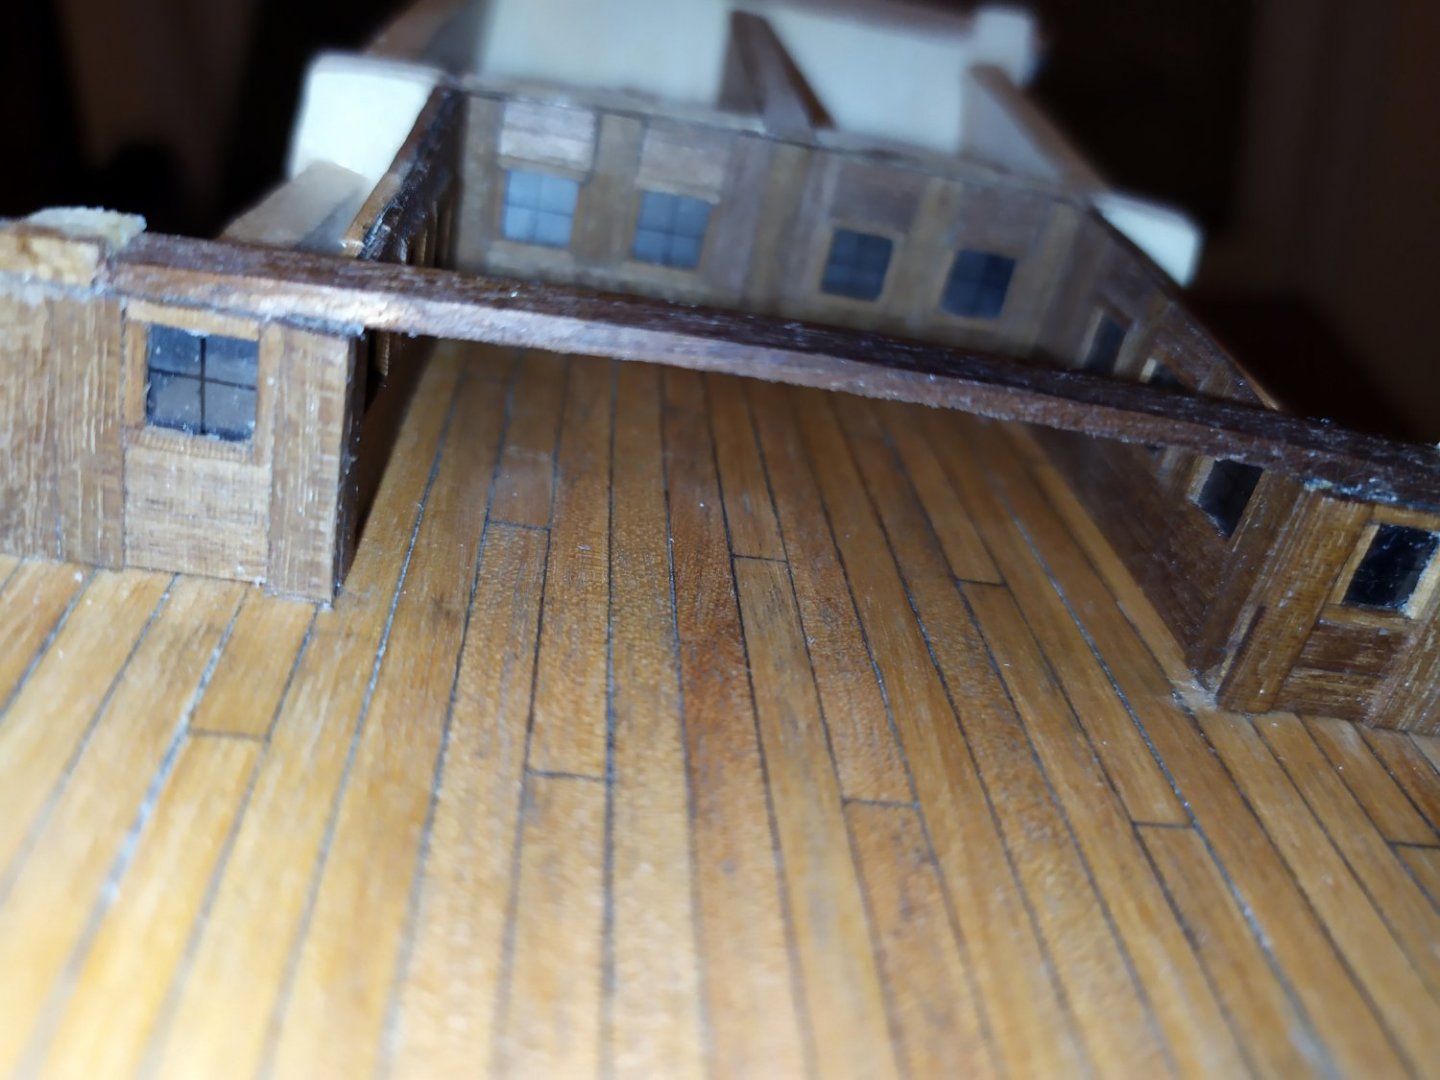
On the the right gallery, I have placed frames around windows, now they are looking more realistic.
I have already paint gallery parts yellowish before installing the frames, So I will have to repaint them
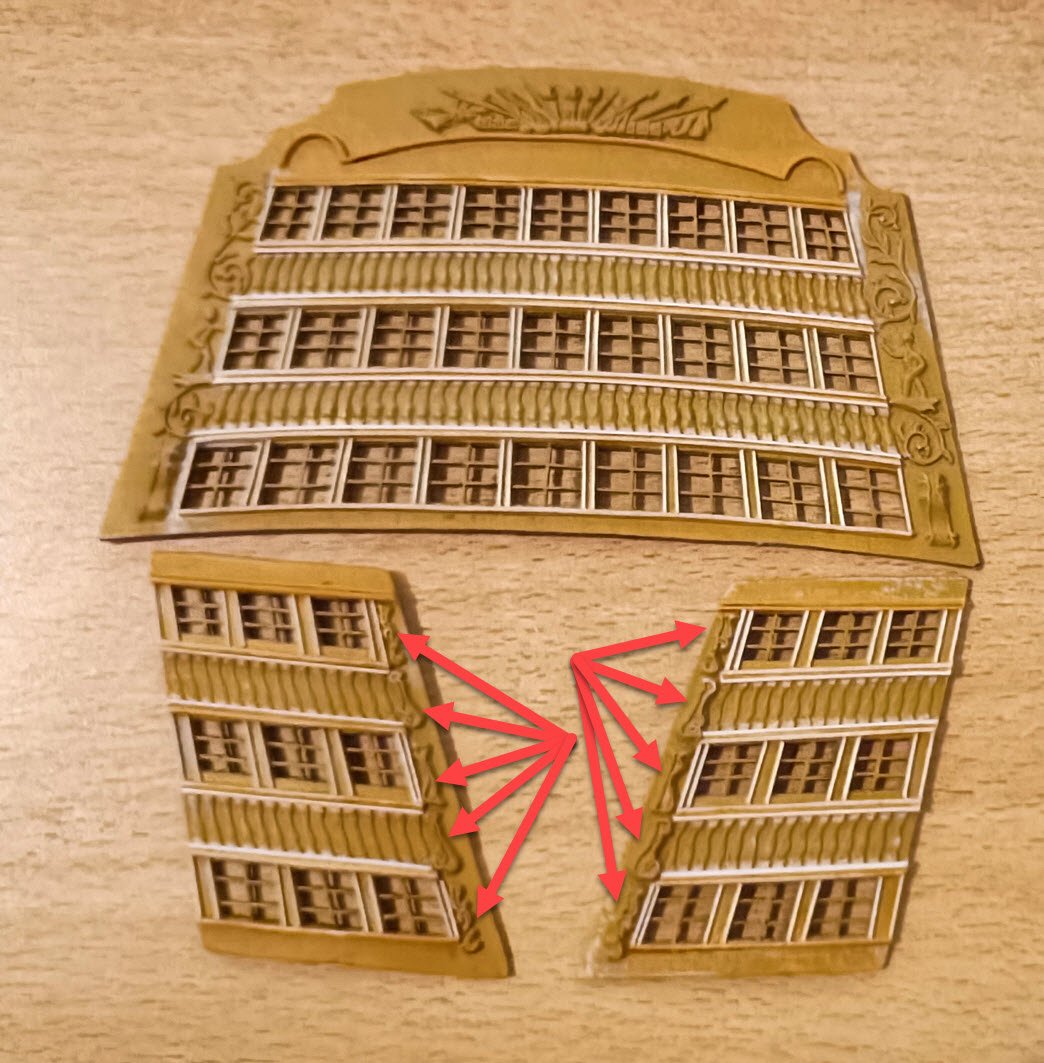
The carvings on the side galleries (red arrows) are not present on the HMS Victory, so I have to remove them
-
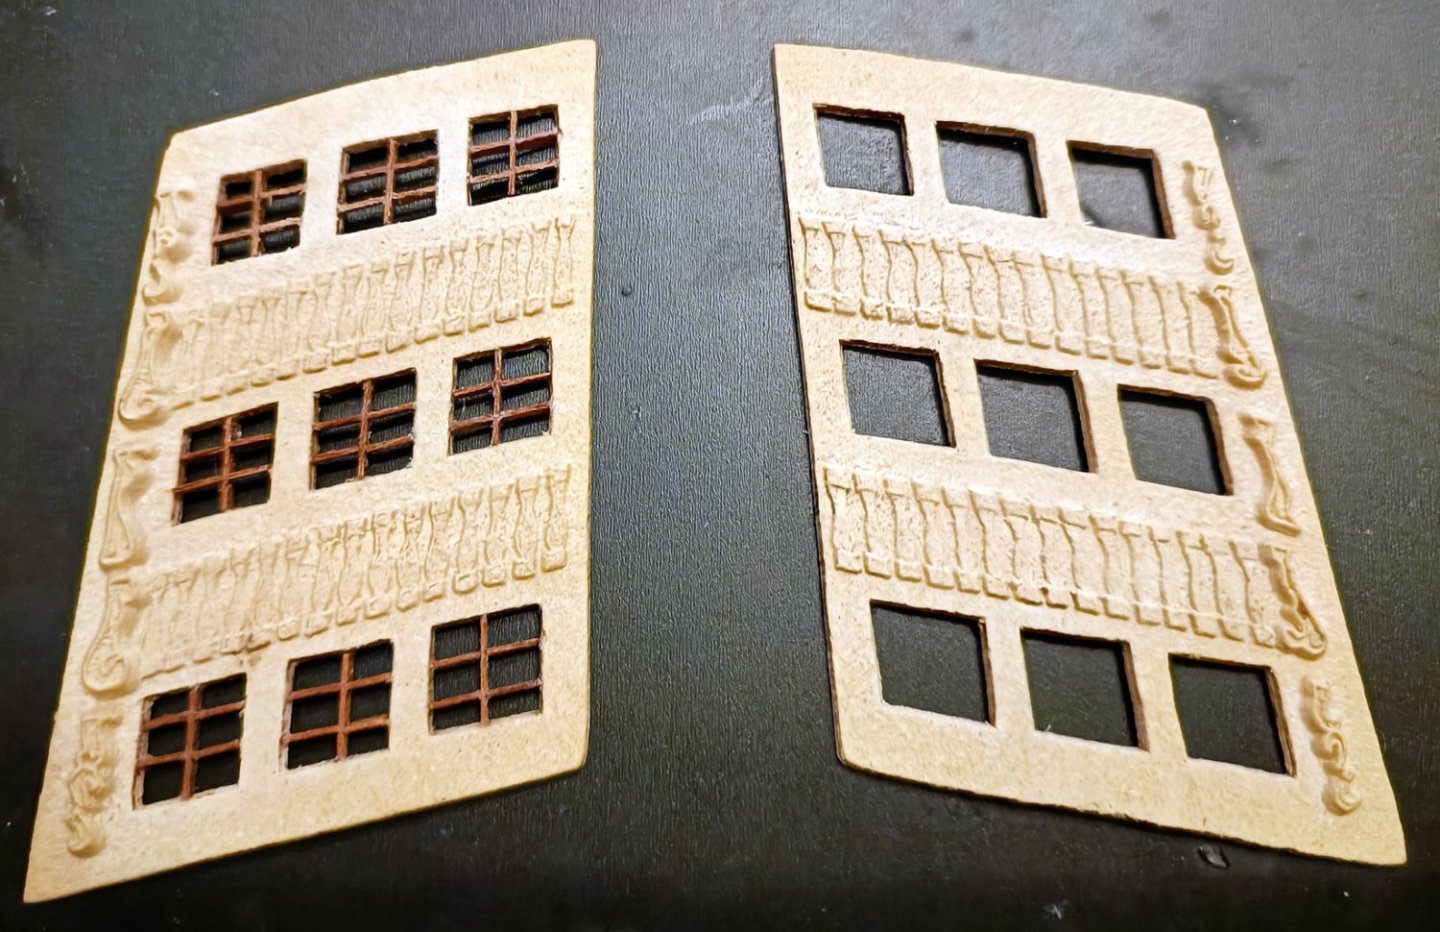
Corel's Stern galleries are outdated or poor, so I will try to apply some fixes before painting
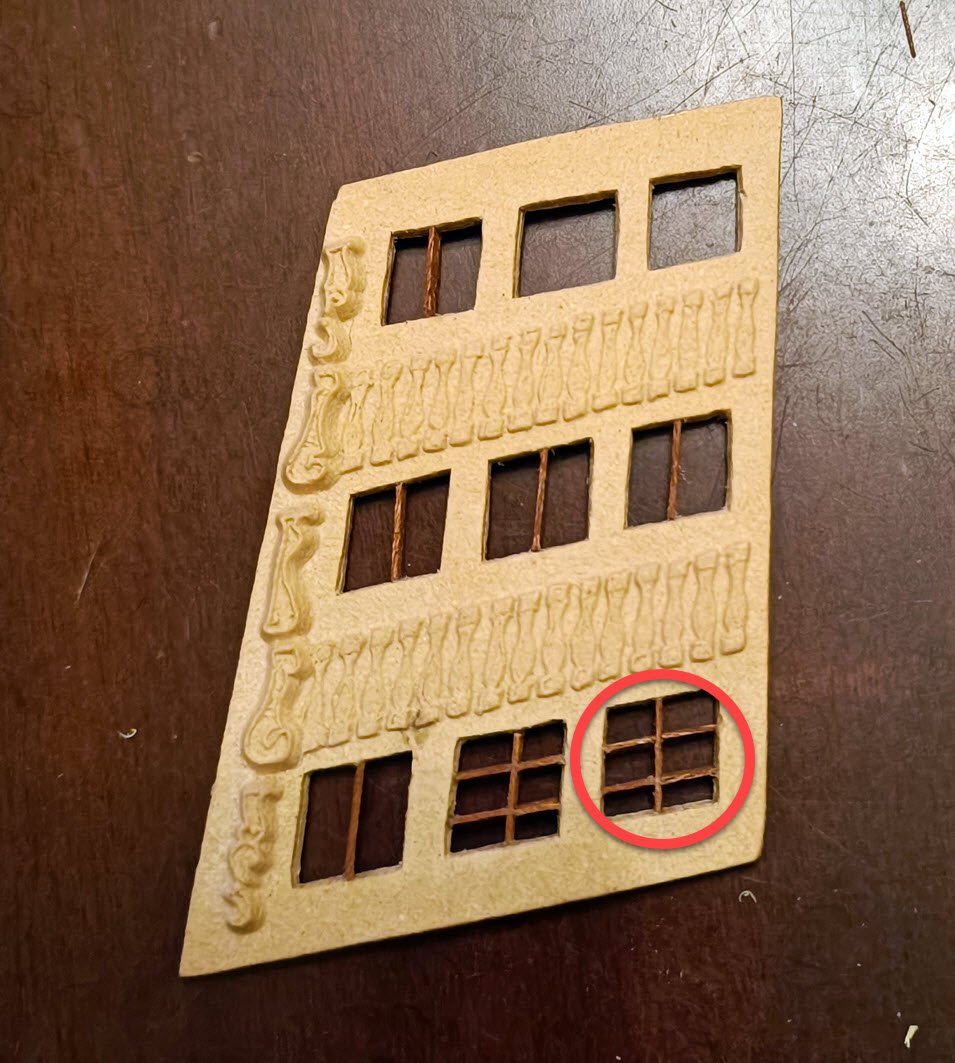
Starting with windows...
Corel's kit is providing a yellowish trasnparent sheet with the windows rails printed, so I decided to install new ones.
After many hours, finally all windows rails in place.
Next step will be the fisrt coat of painting using airbrush, in order to aply the less (thinner) paint as possible for the Gallery carvings
- Prowler901 and KARAVOKIRIS
-
 2
2
-
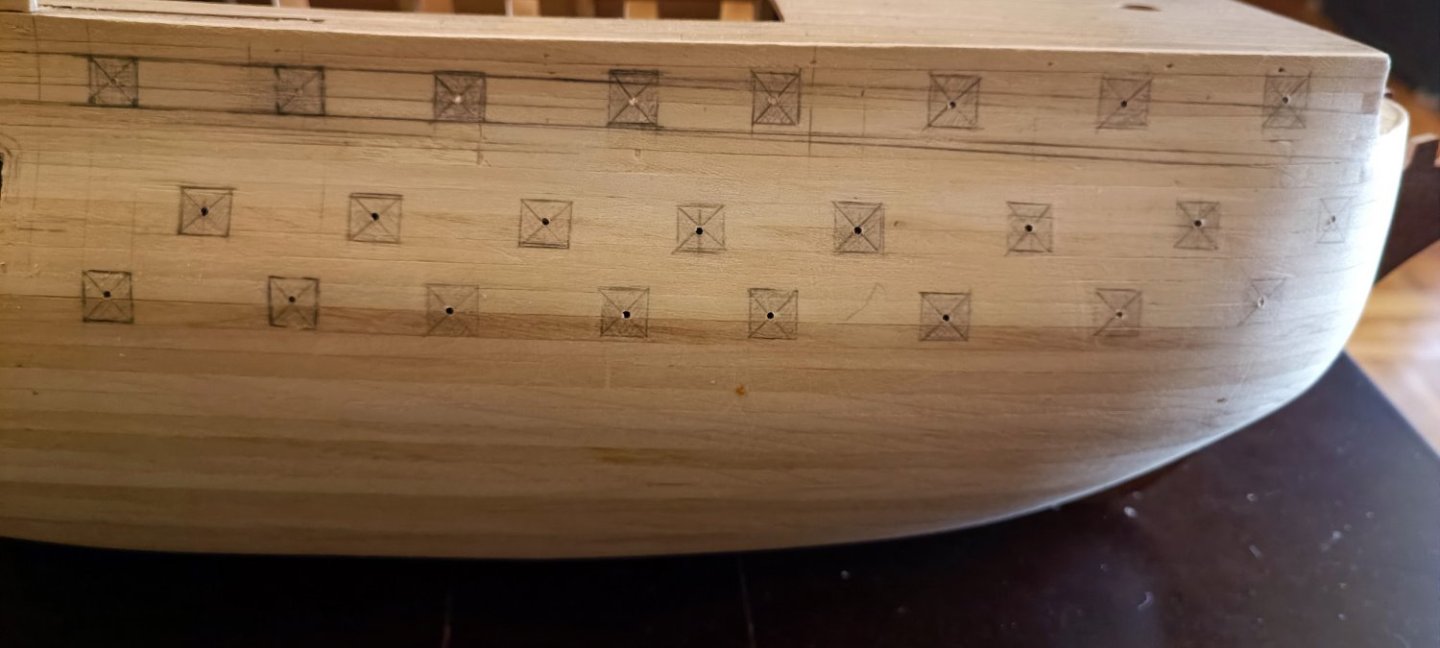
First hole to be drilled have to be in the center of portholes, in order to be used for the cannon barels
next step, maiking several holes around frame to make easier the opening ports
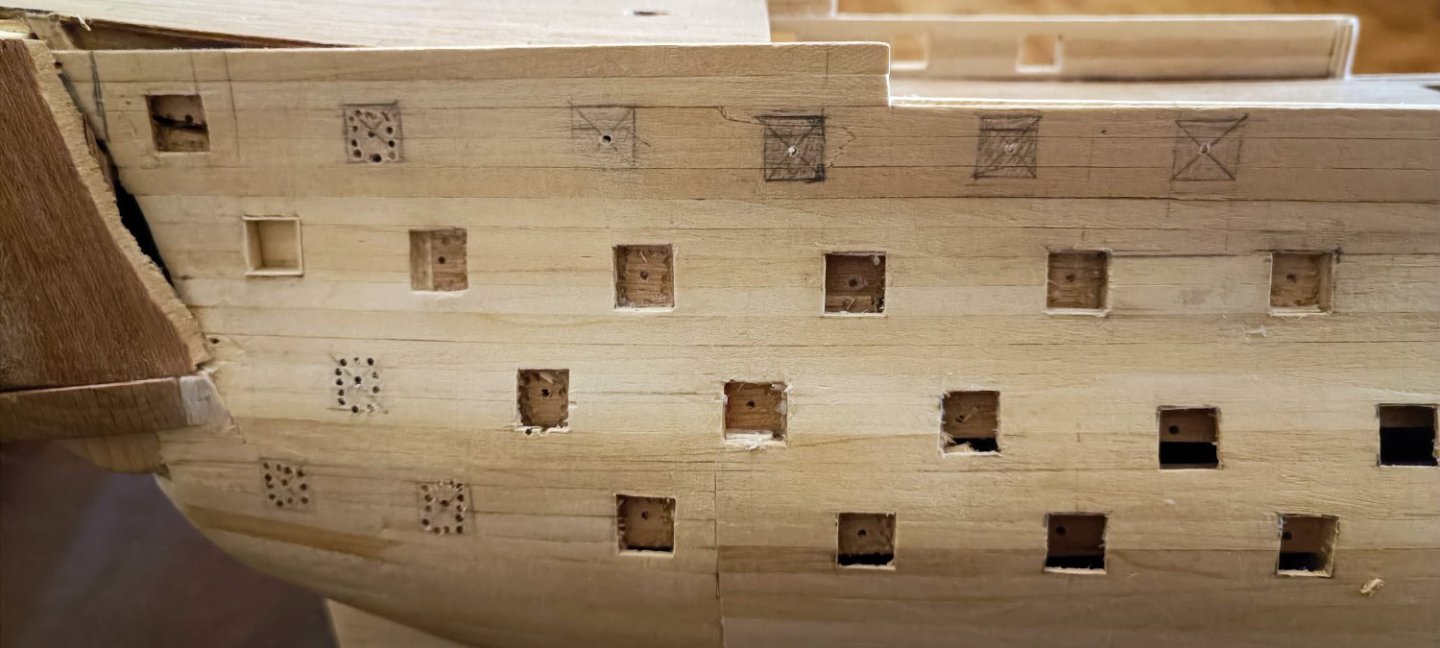
In many portholes there was a missmatch with the wooden axis for the gun barrels, so I had to check and fix all the portholes
Next step was to attach the frames, in this step it was the rigth moment to measure and correct the size and the position of the portholes
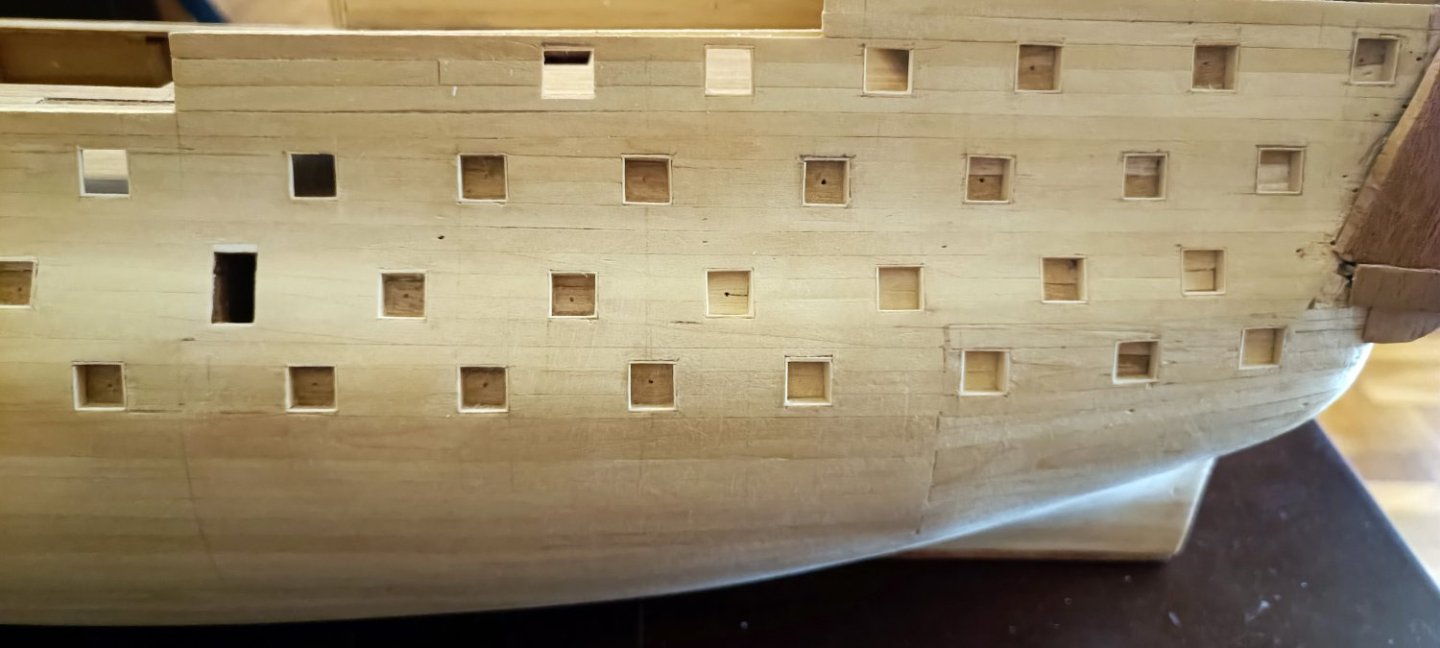
- KARAVOKIRIS and Prowler901
-
 2
2
-
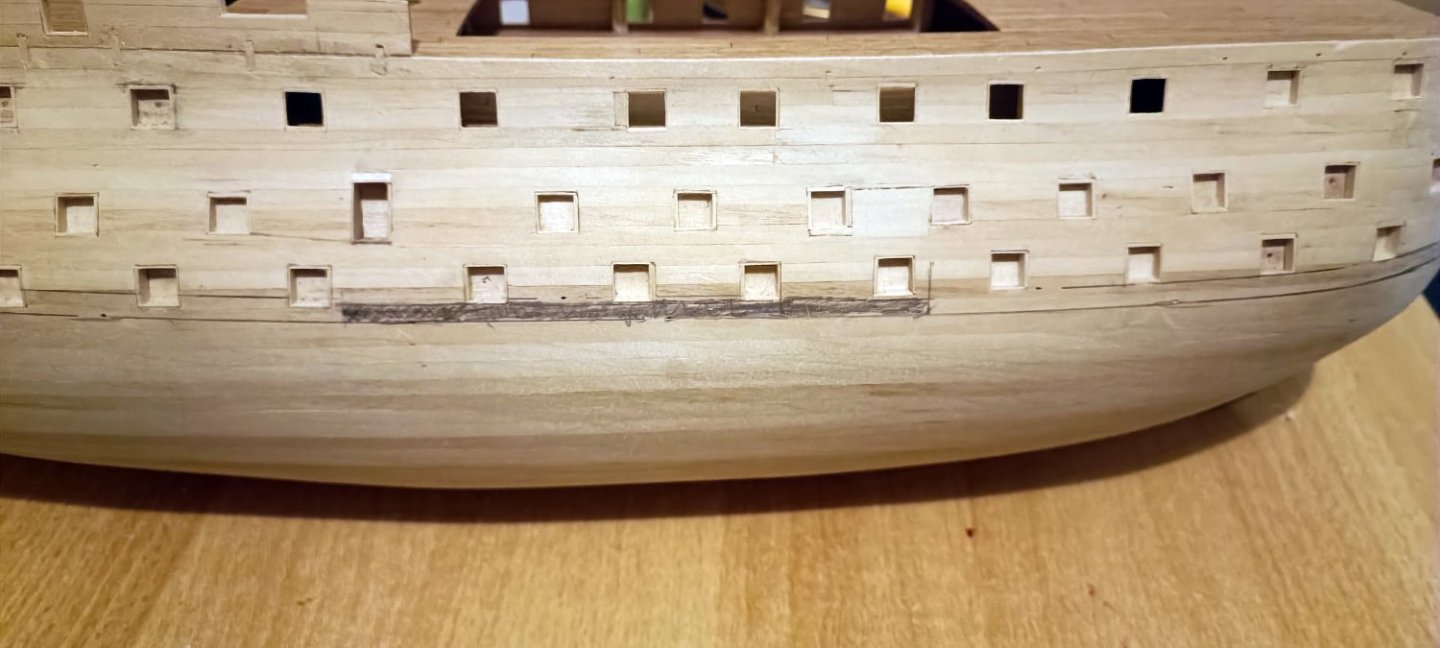
first layer of hull planking is almost finished. I have marked with pencil the gunholes just before start drilling
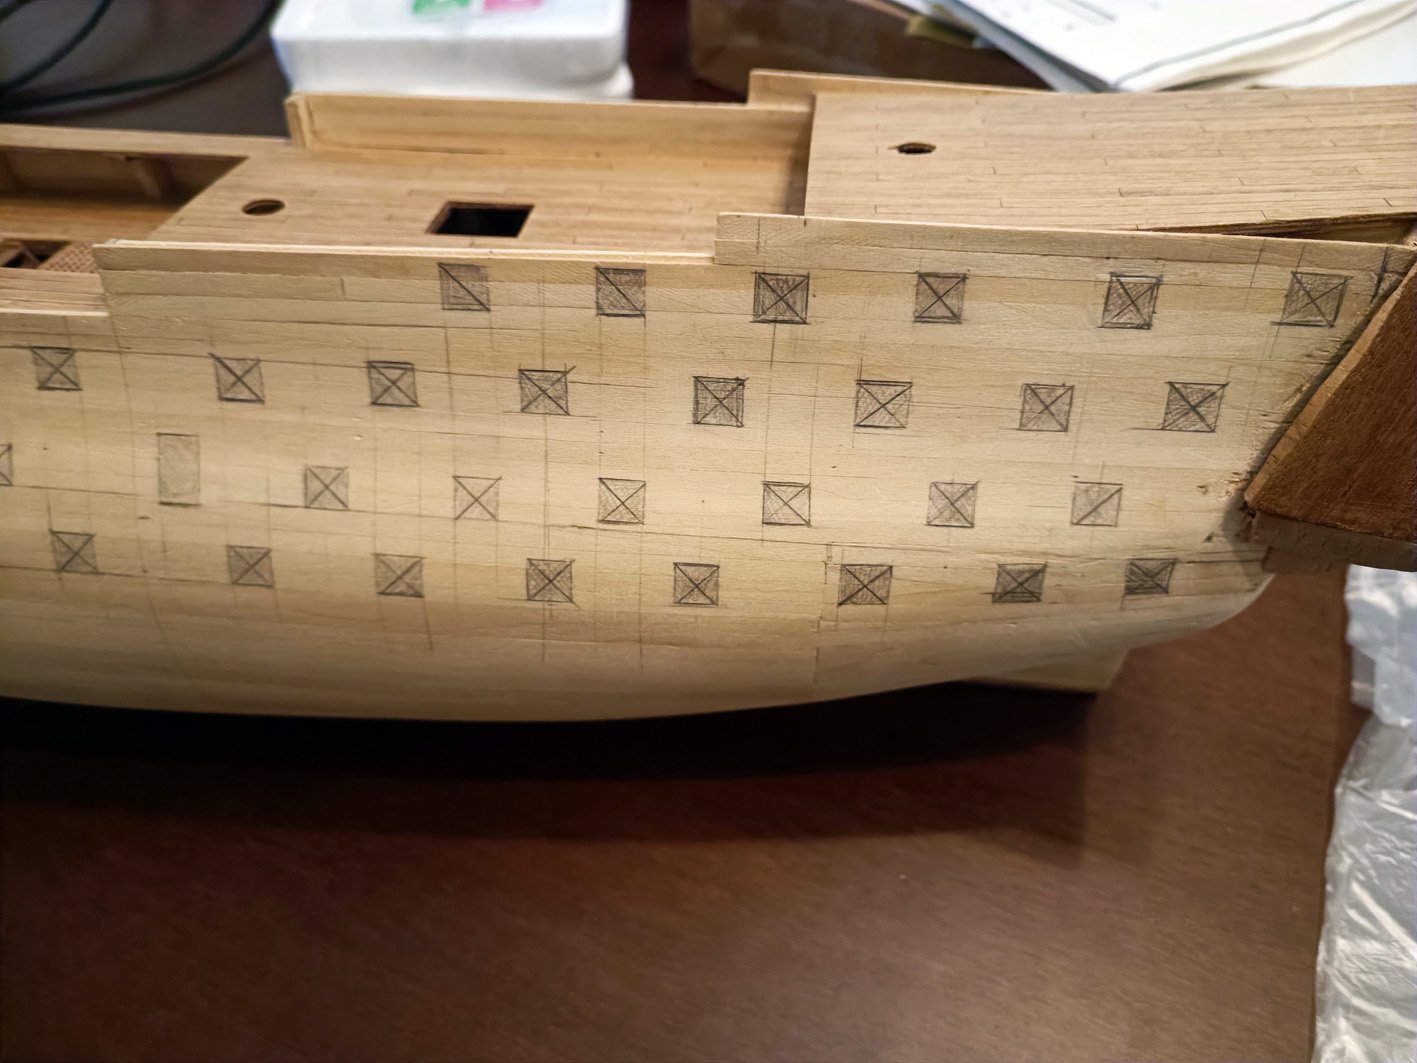
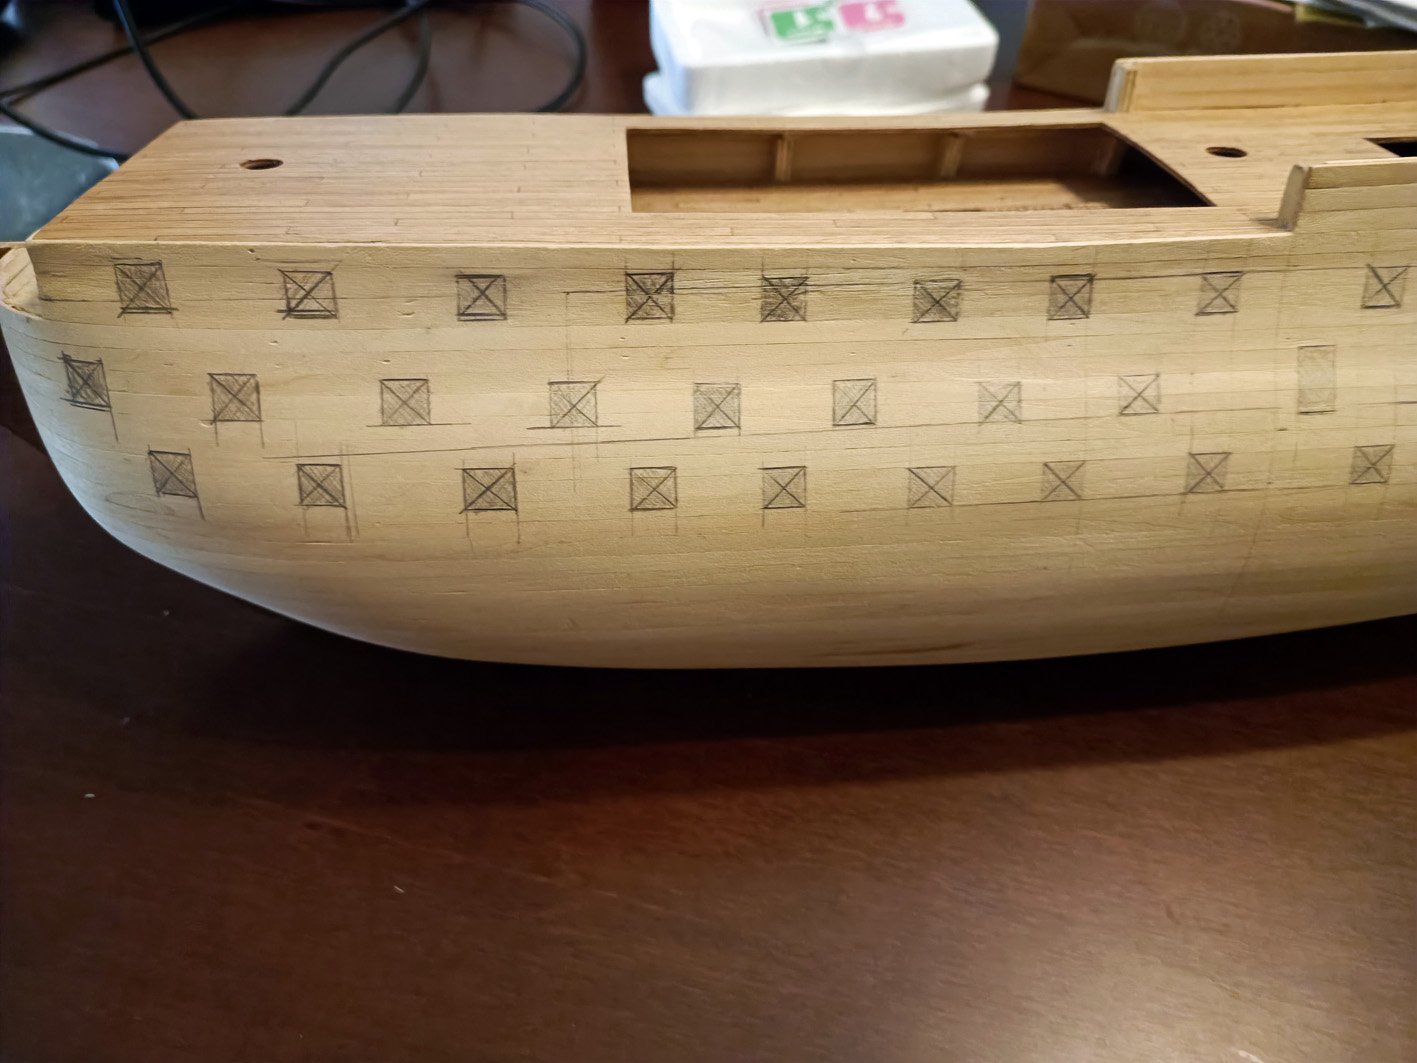
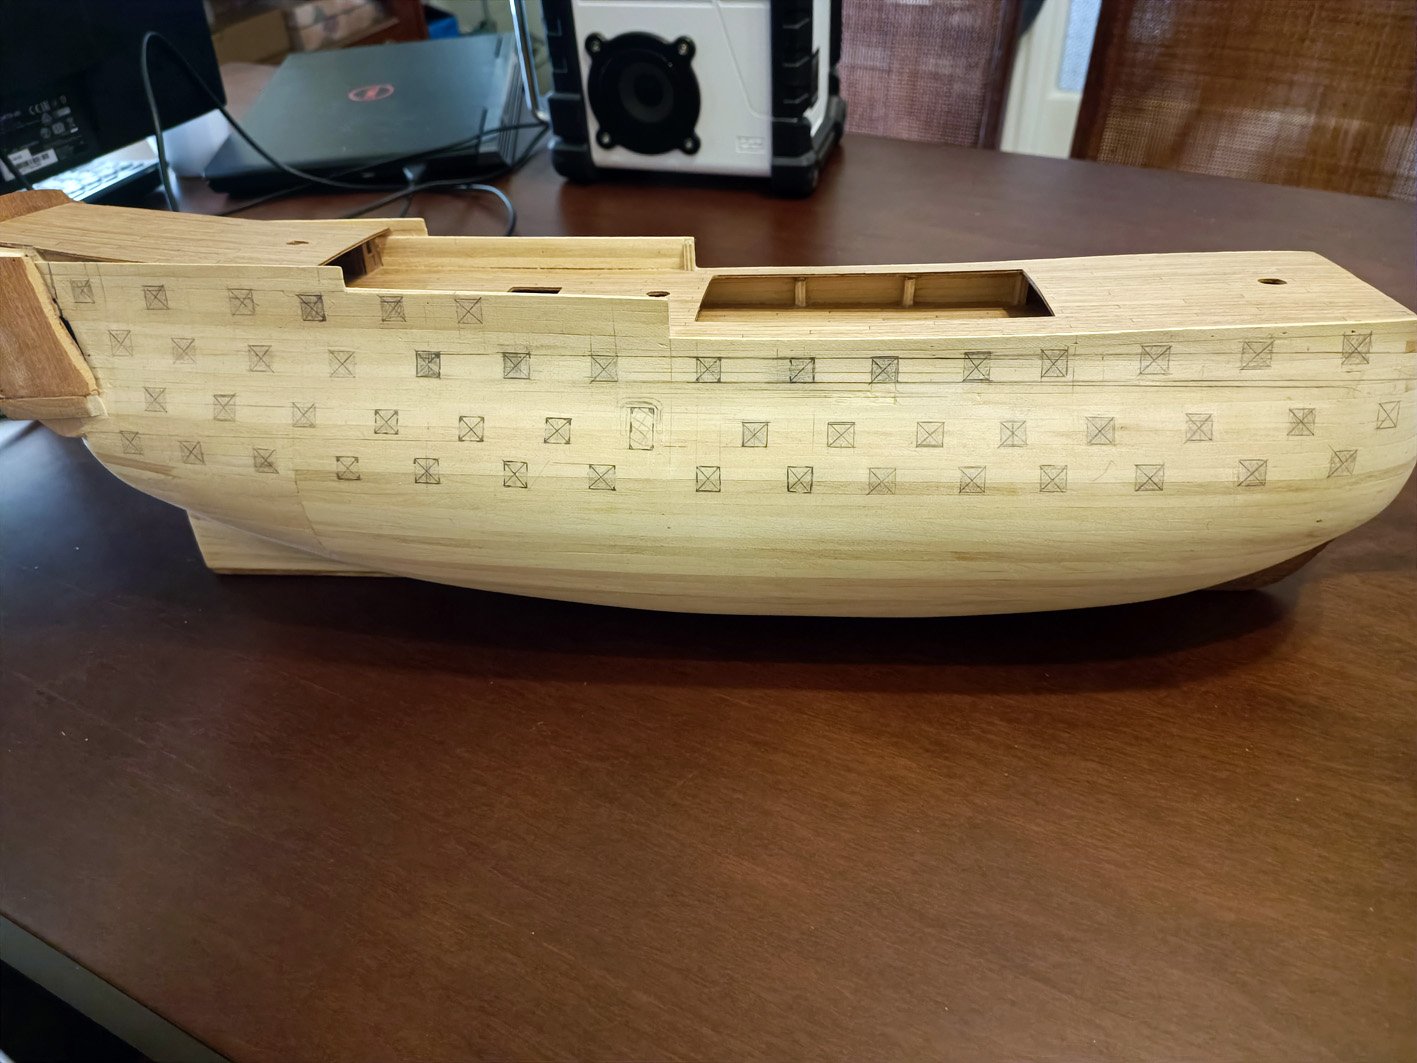
- KARAVOKIRIS and Prowler901
-
 2
2
-
- ccoyle, Prowler901, KARAVOKIRIS and 1 other
-
 4
4
-
- KARAVOKIRIS and Prowler901
-
 2
2
-
- KARAVOKIRIS and Prowler901
-
 2
2
-
- KARAVOKIRIS and Prowler901
-
 2
2
-
Thank you for your remarks.
I have tried treenails in lower deck .... disaster!!!!
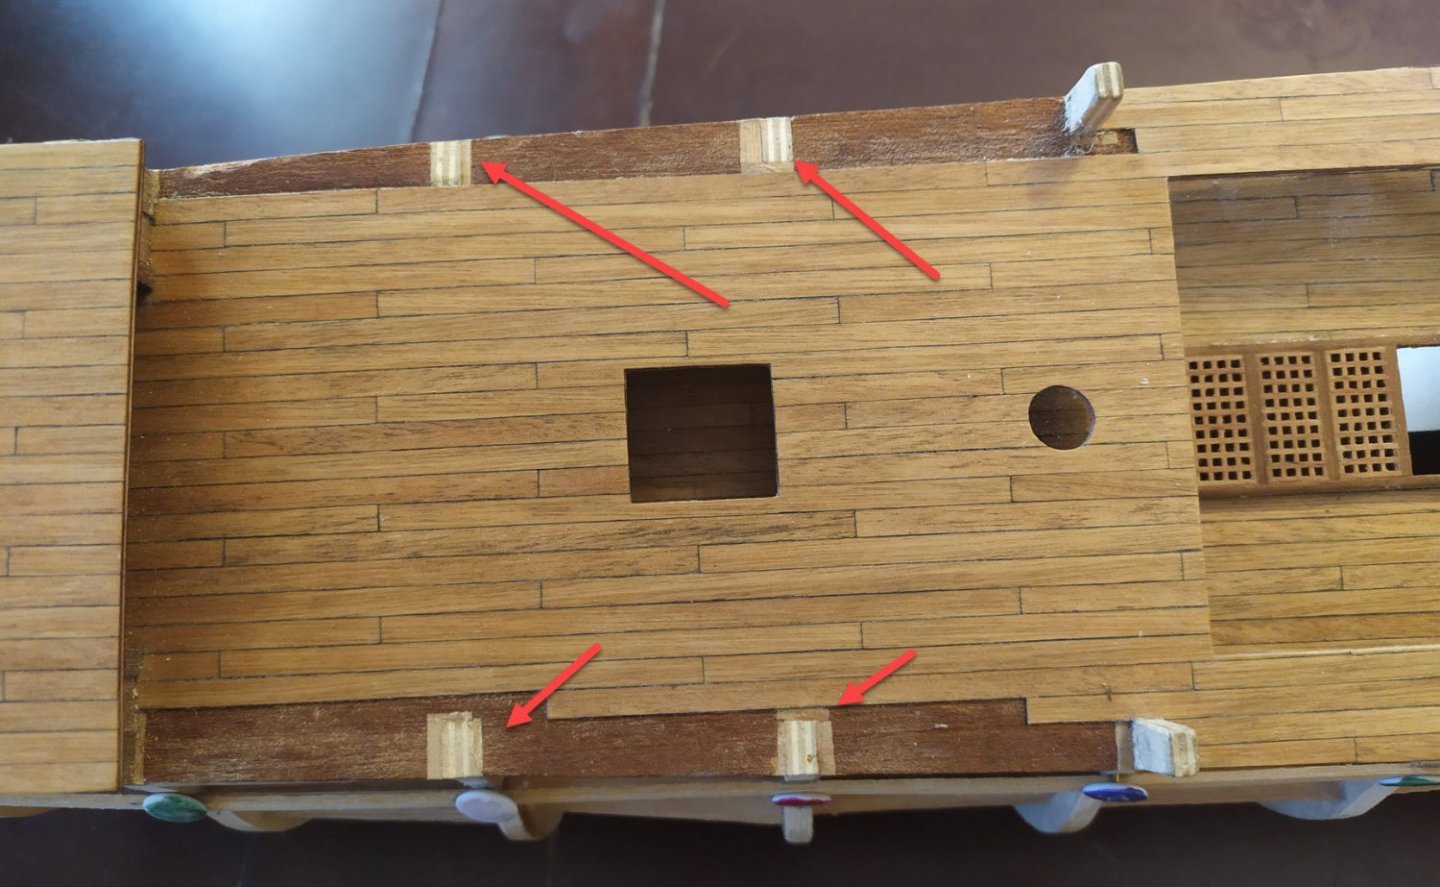
Gratings are made from kit, but the frames I used darker timber and I have trimmed the top of the frames becouse I didnt liked them to look perfect square.
I have used different methods in my 2 previous builds, I am not sure which one I will follow. Actually I am not thinking of using brass plates in lower hull.
I have already finished first layer, I will post pictures soon.
I am monitoring 3-4 build logs at MSW for HMS Victory, but I have to decide which steps I will follow, some of them are quite complicated for me
-
- KARAVOKIRIS and Prowler901
-
 2
2
-
On 3/17/2022 at 8:48 PM, fifthace said:
Stunning work.
Really thinking about getting this one myself now.thank you very much. I really think you should give it a try. If you plan ahead all steps (including the modifications) its not that hard.
In my case it was last minute decision to use sails becouse I wanted more details (rigging) on the deck.
-
good start on this cross section. I have finished mine few months ago, I really enjoyed the whole process.
There were few things in this kit that I didnt liked them at all, so I changed them. Becouse of those changes I had to improve a lot of other things.
-
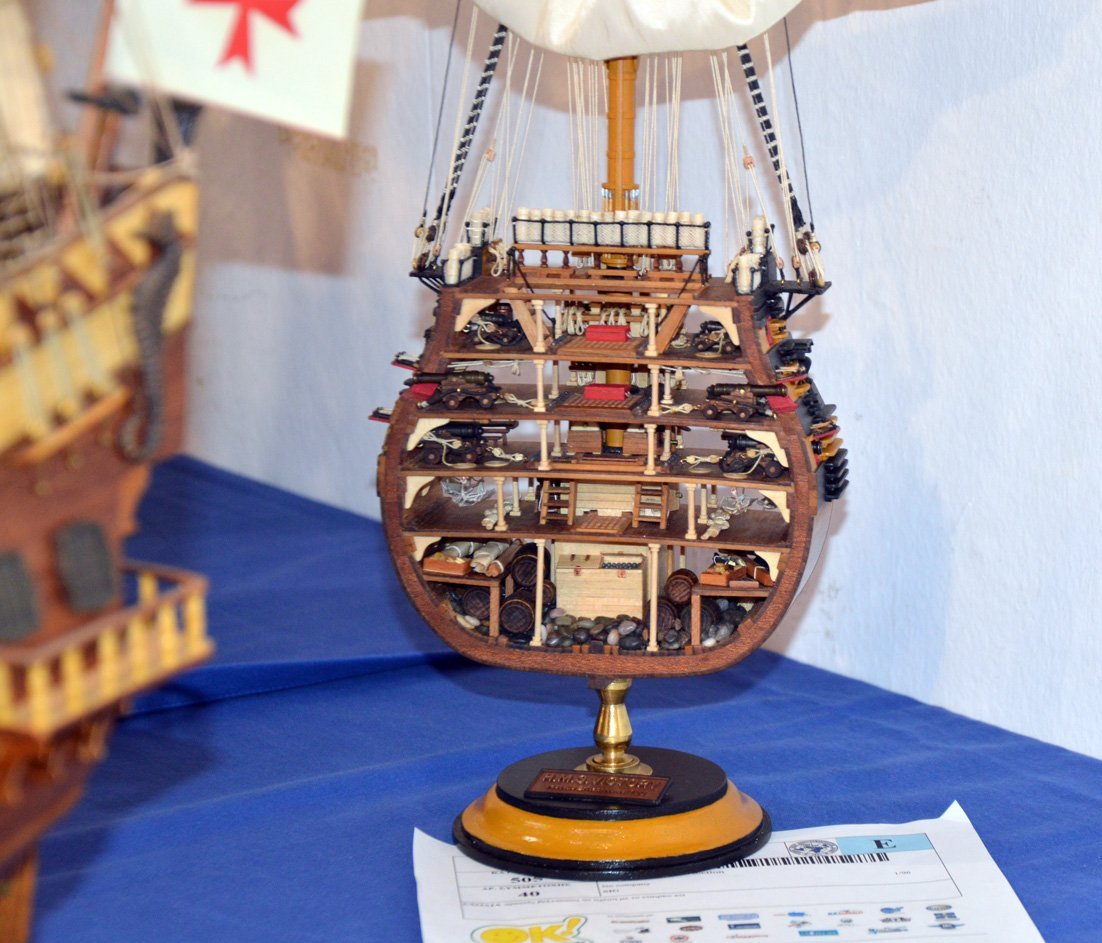
15 hours ago, BobG said:
Beautiful! Congratulations on your silver medal, Kostas!
Thank you very much
-
- BobG, mort stoll, yvesvidal and 5 others
-
 8
8
-
- ccoyle, BobG, Ryland Craze and 2 others
-
 5
5
-
-
- Henke, BobG, GrandpaPhil and 3 others
-
 6
6
-


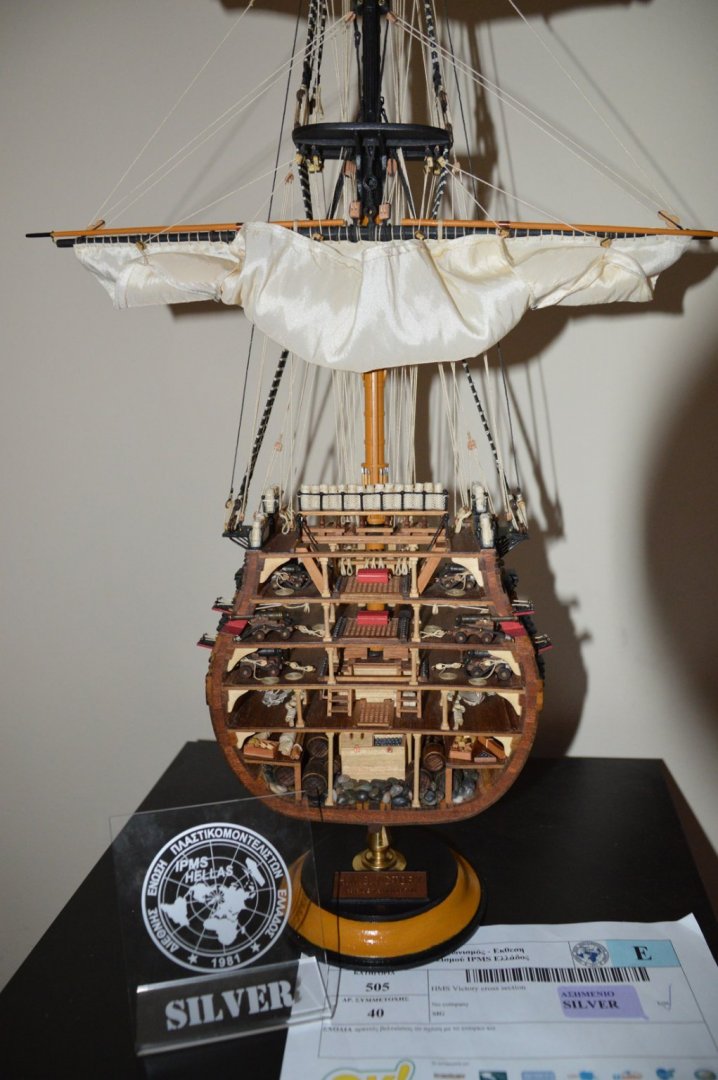
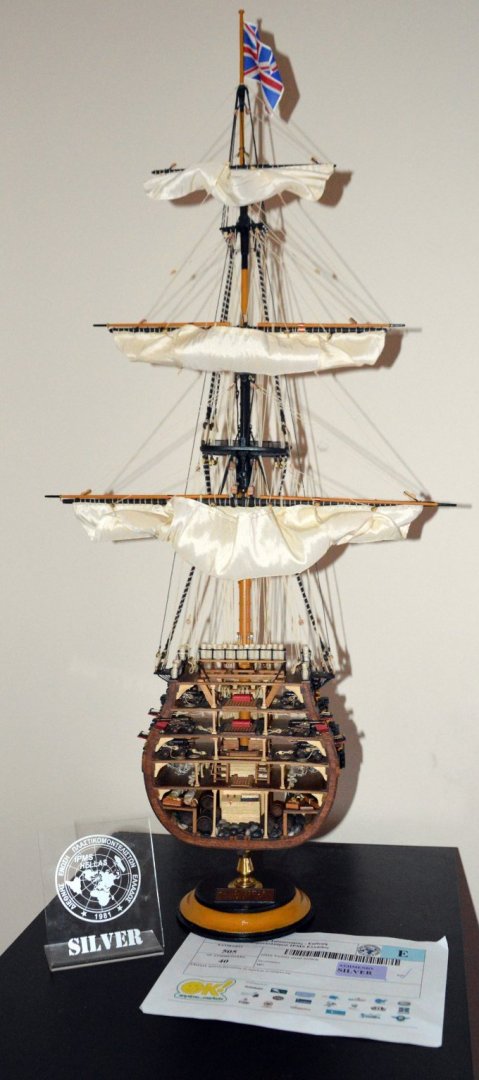
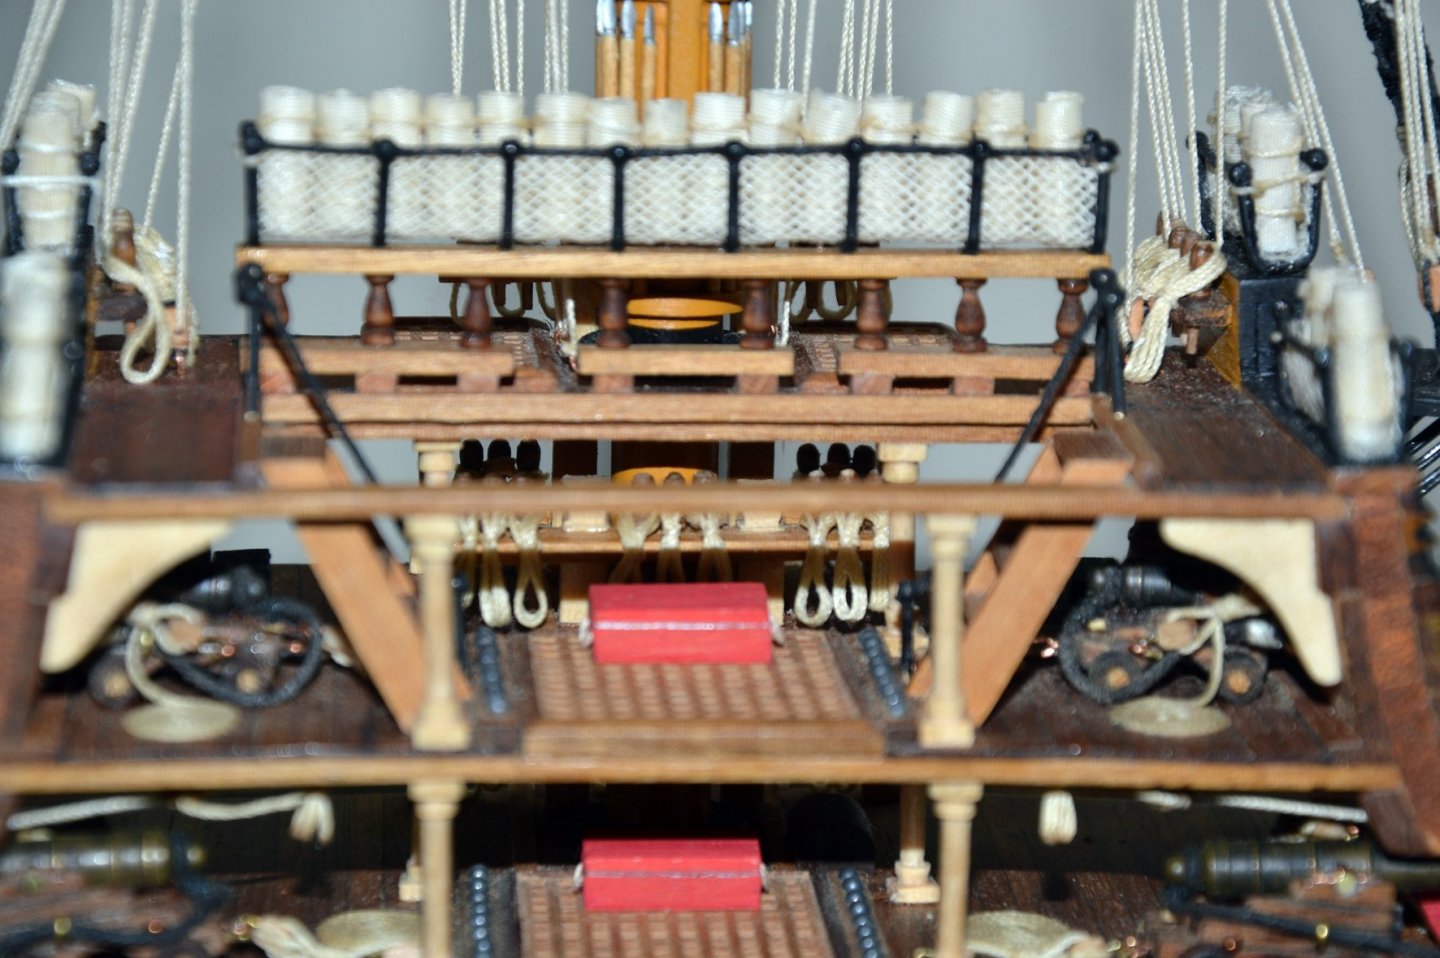
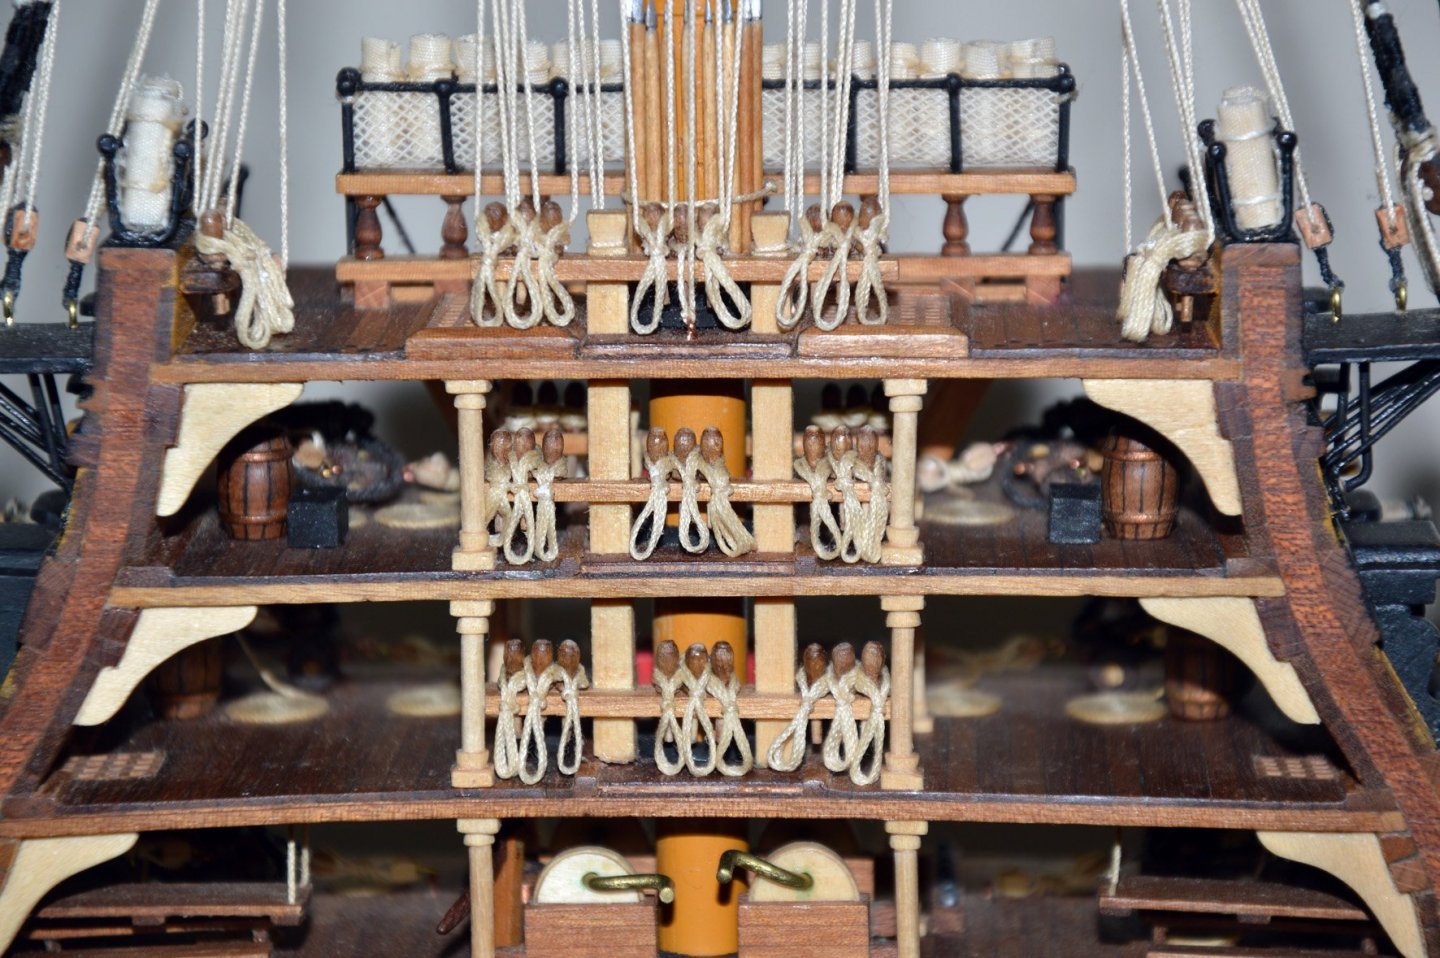
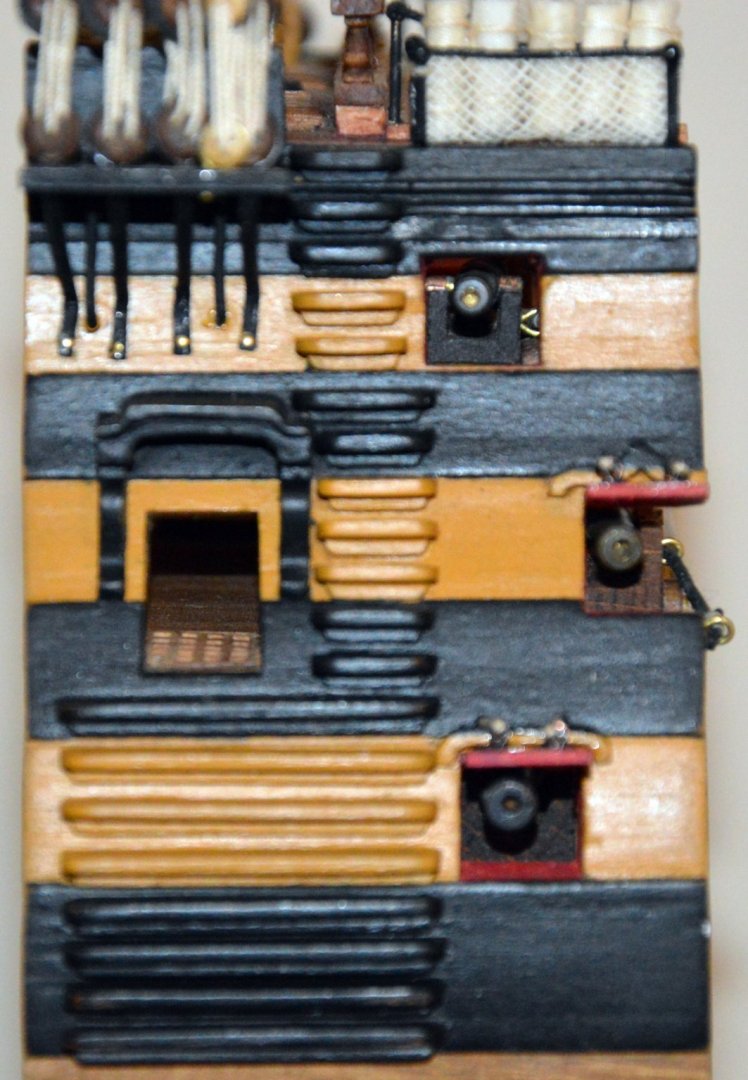
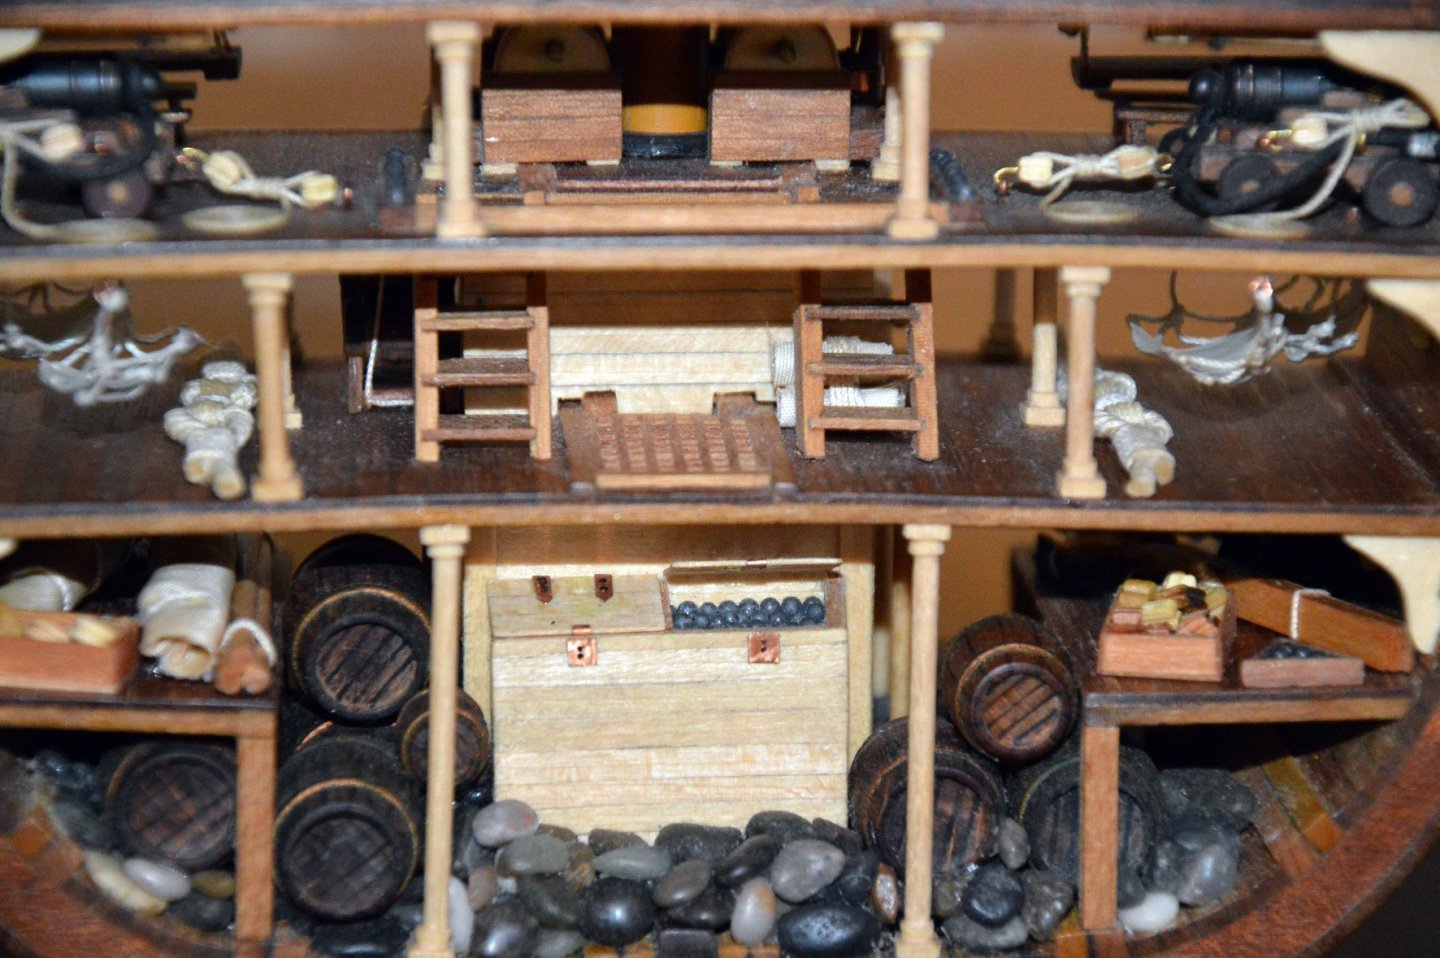
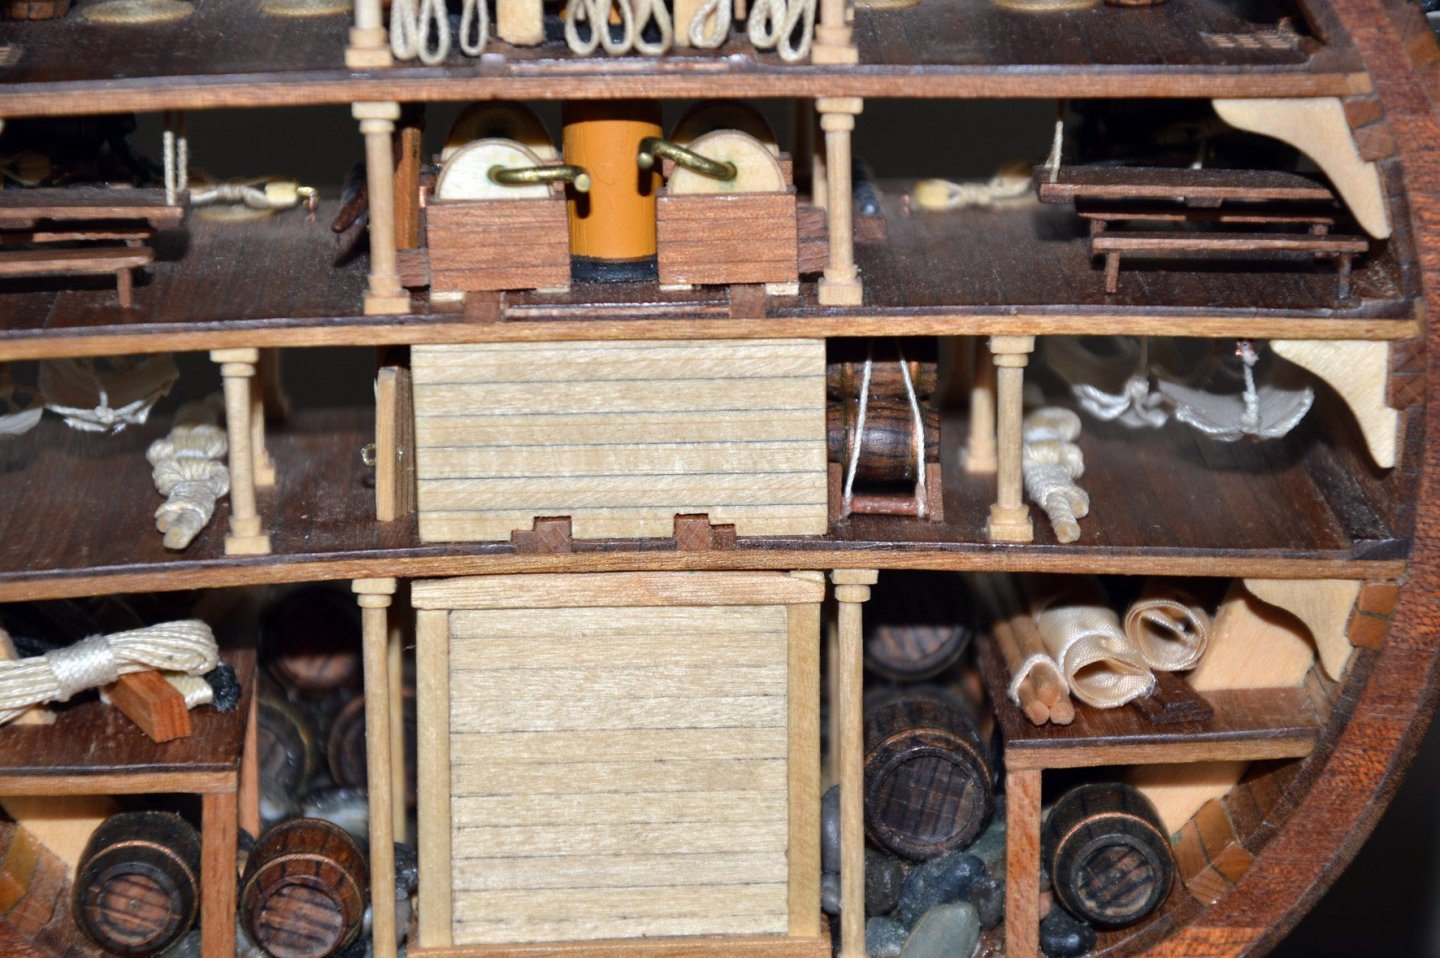
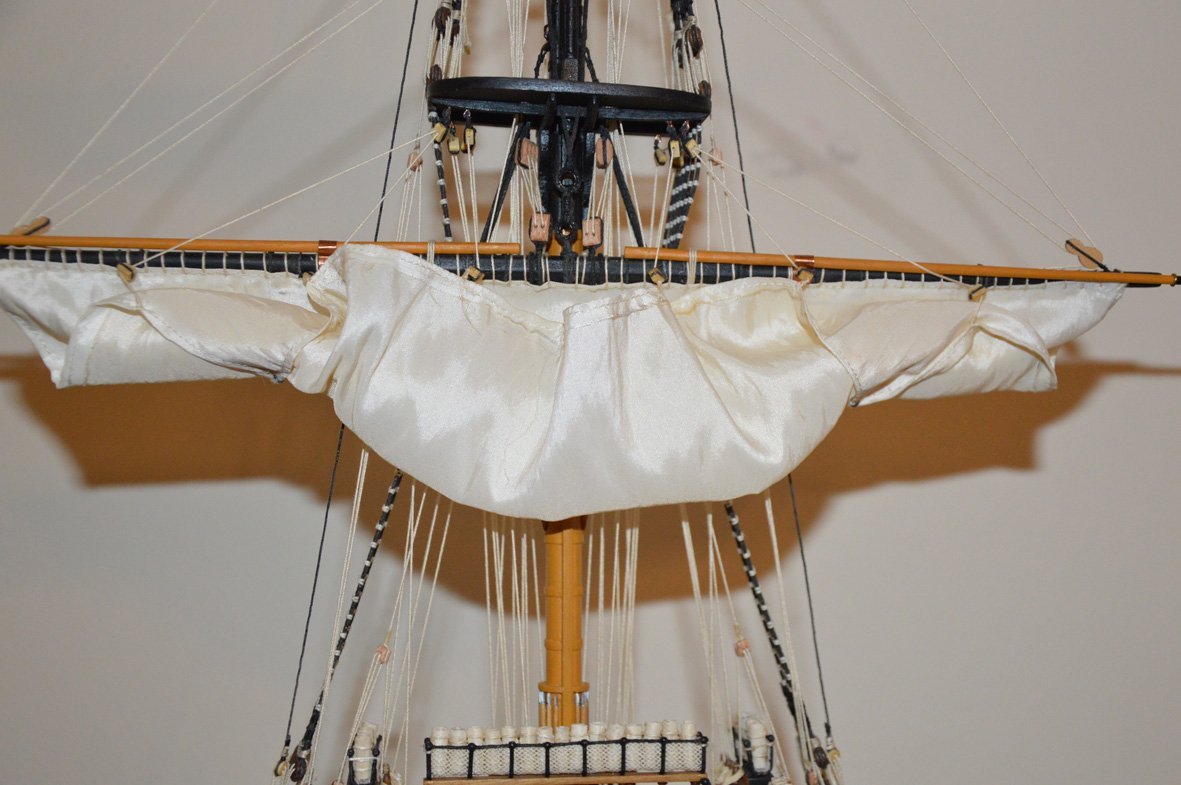
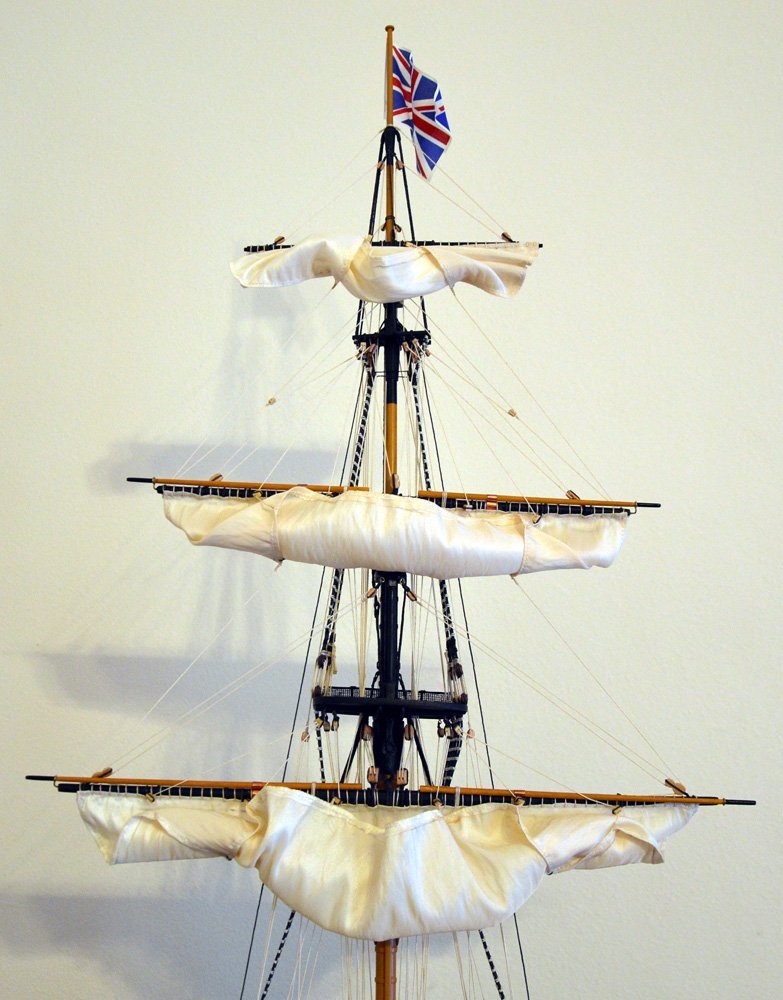
HMS Victory by kostas_gr - Corel - 1:98
in - Kit build logs for subjects built from 1751 - 1800
Posted
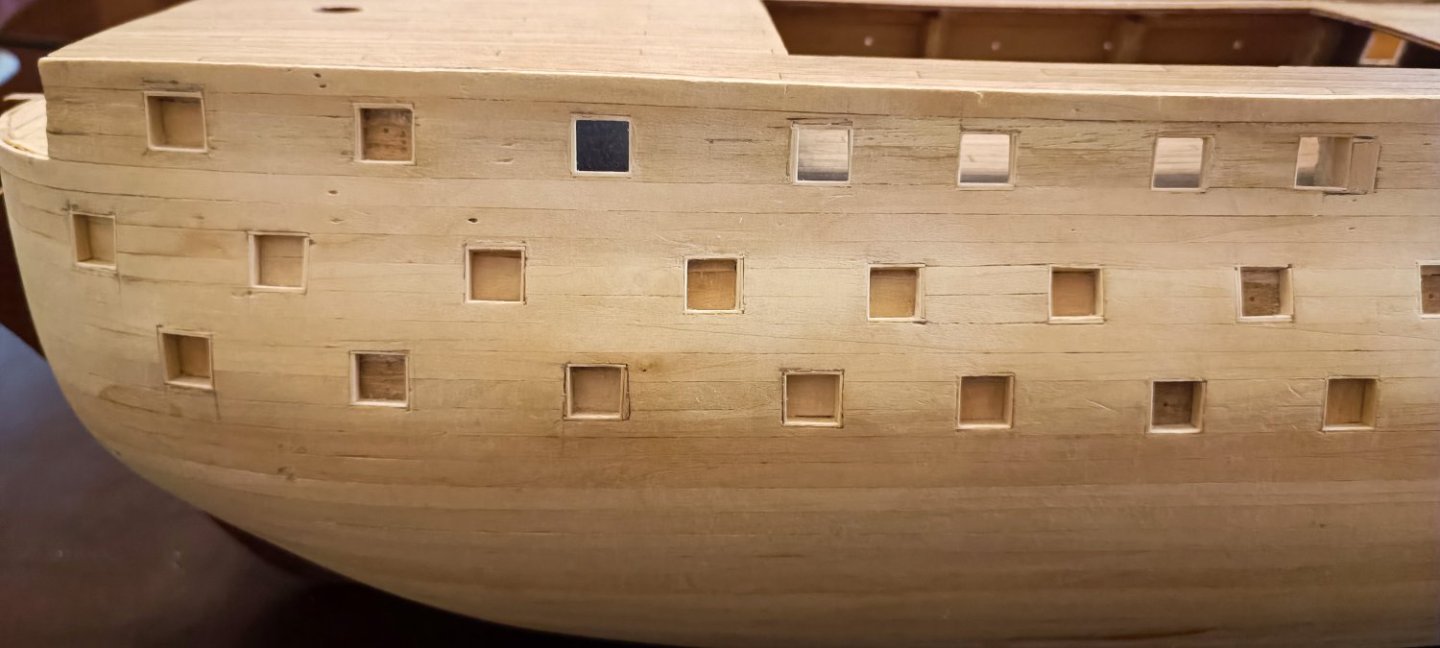
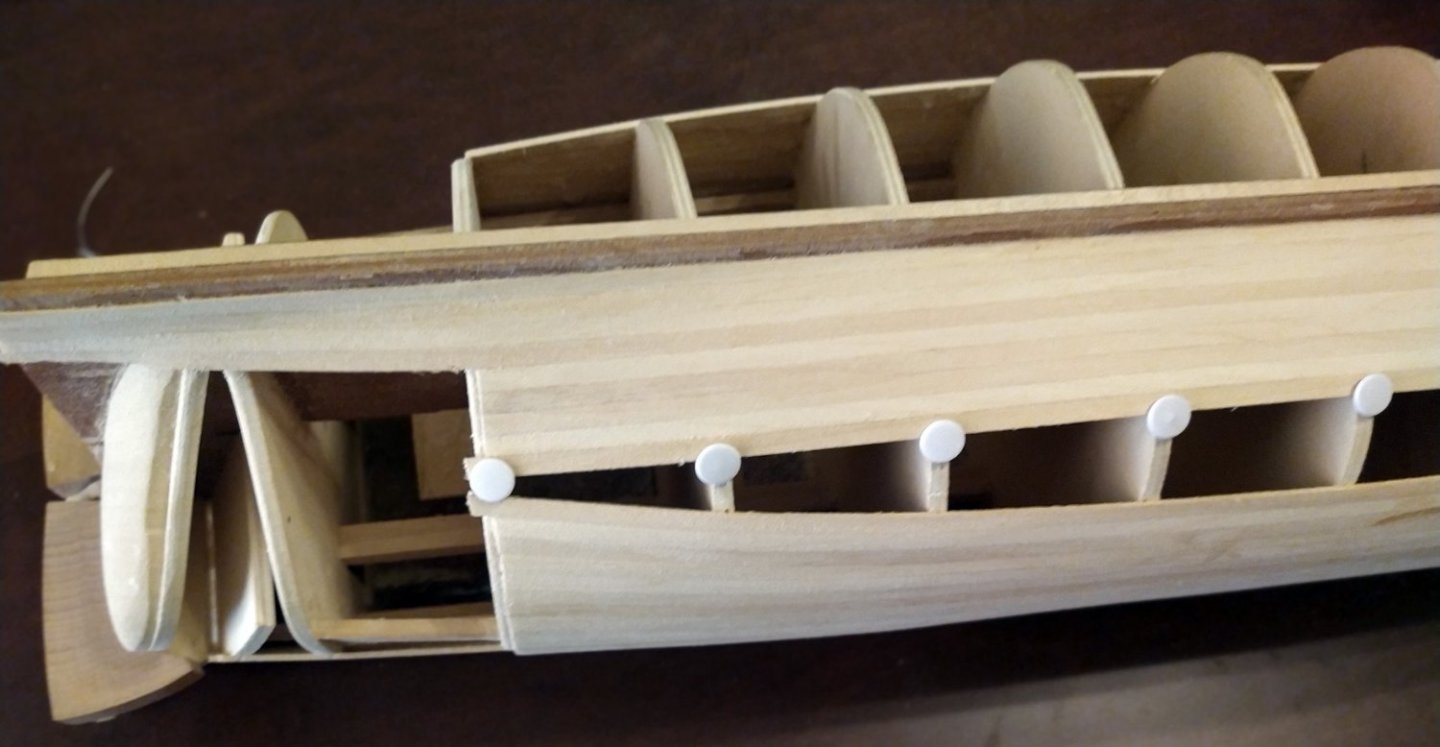
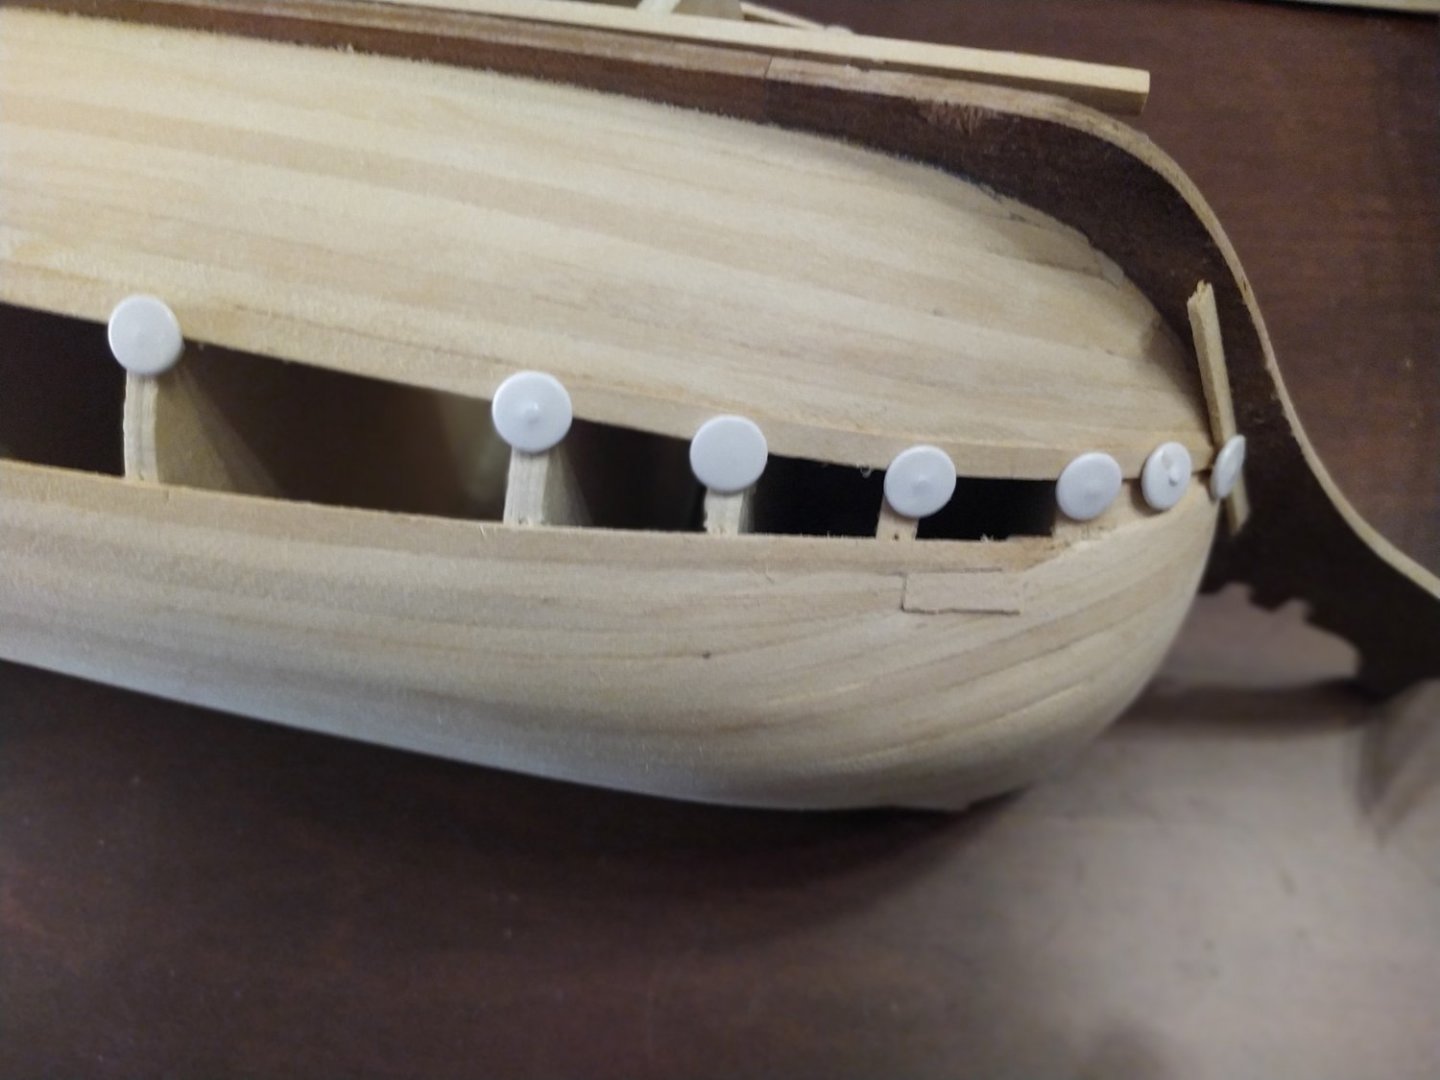
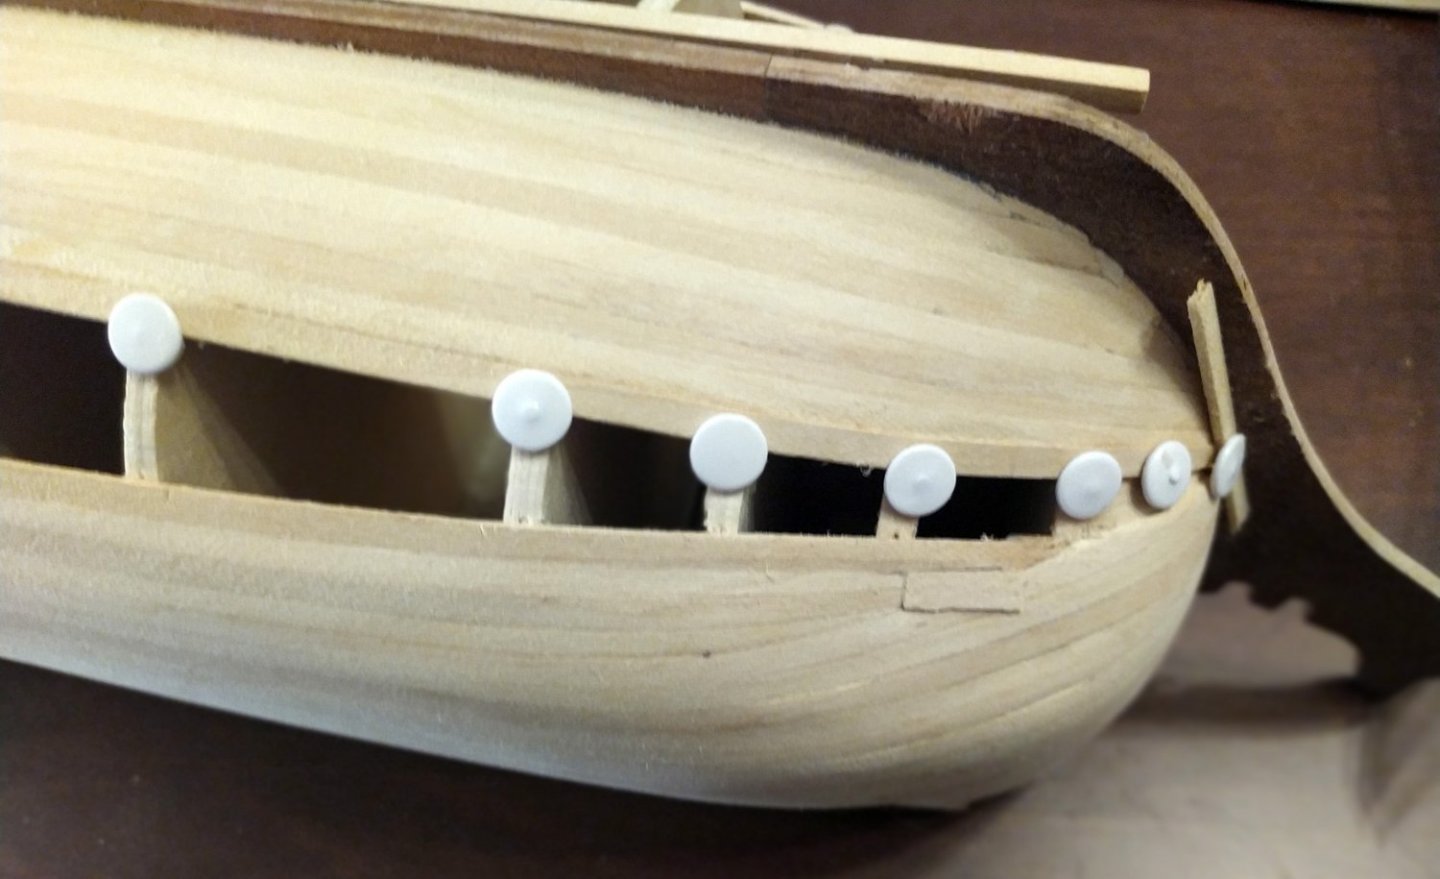
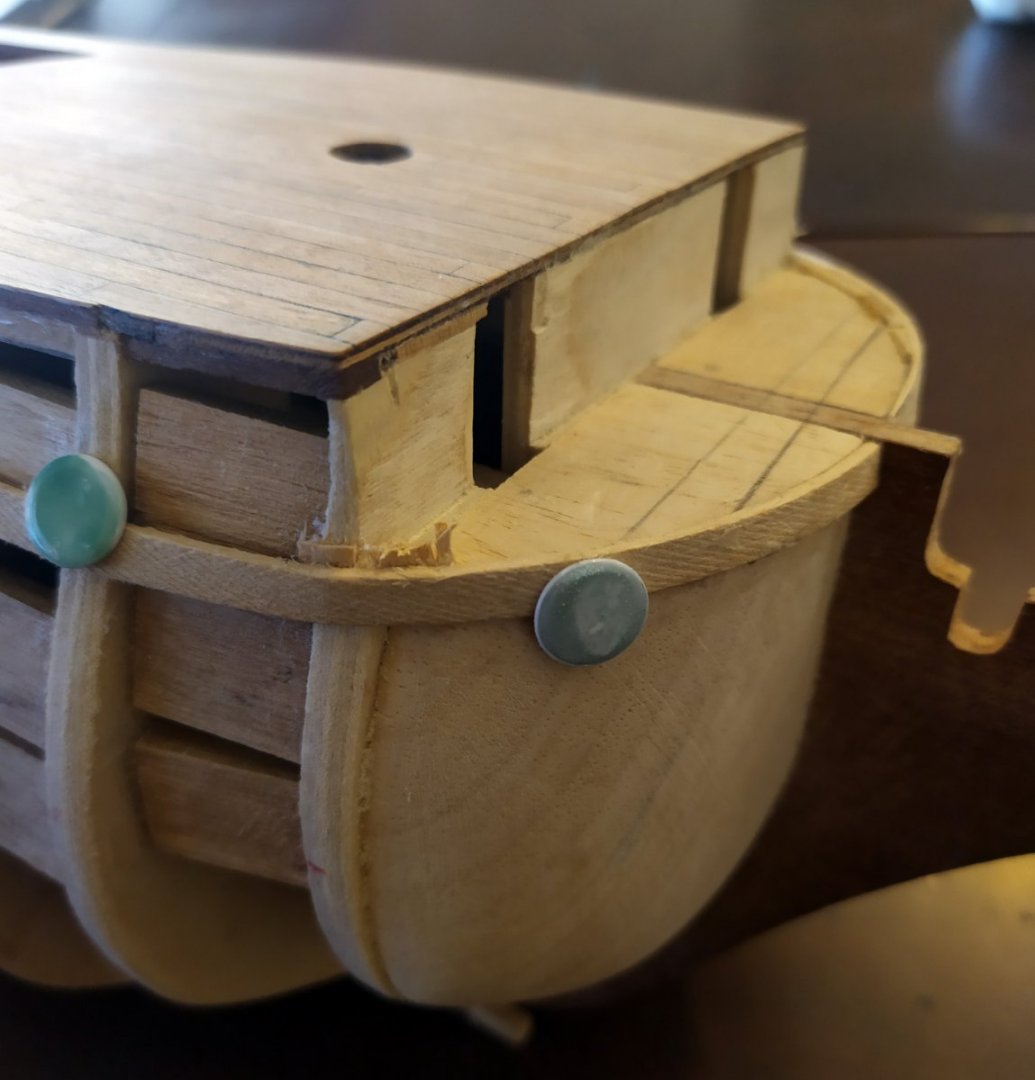
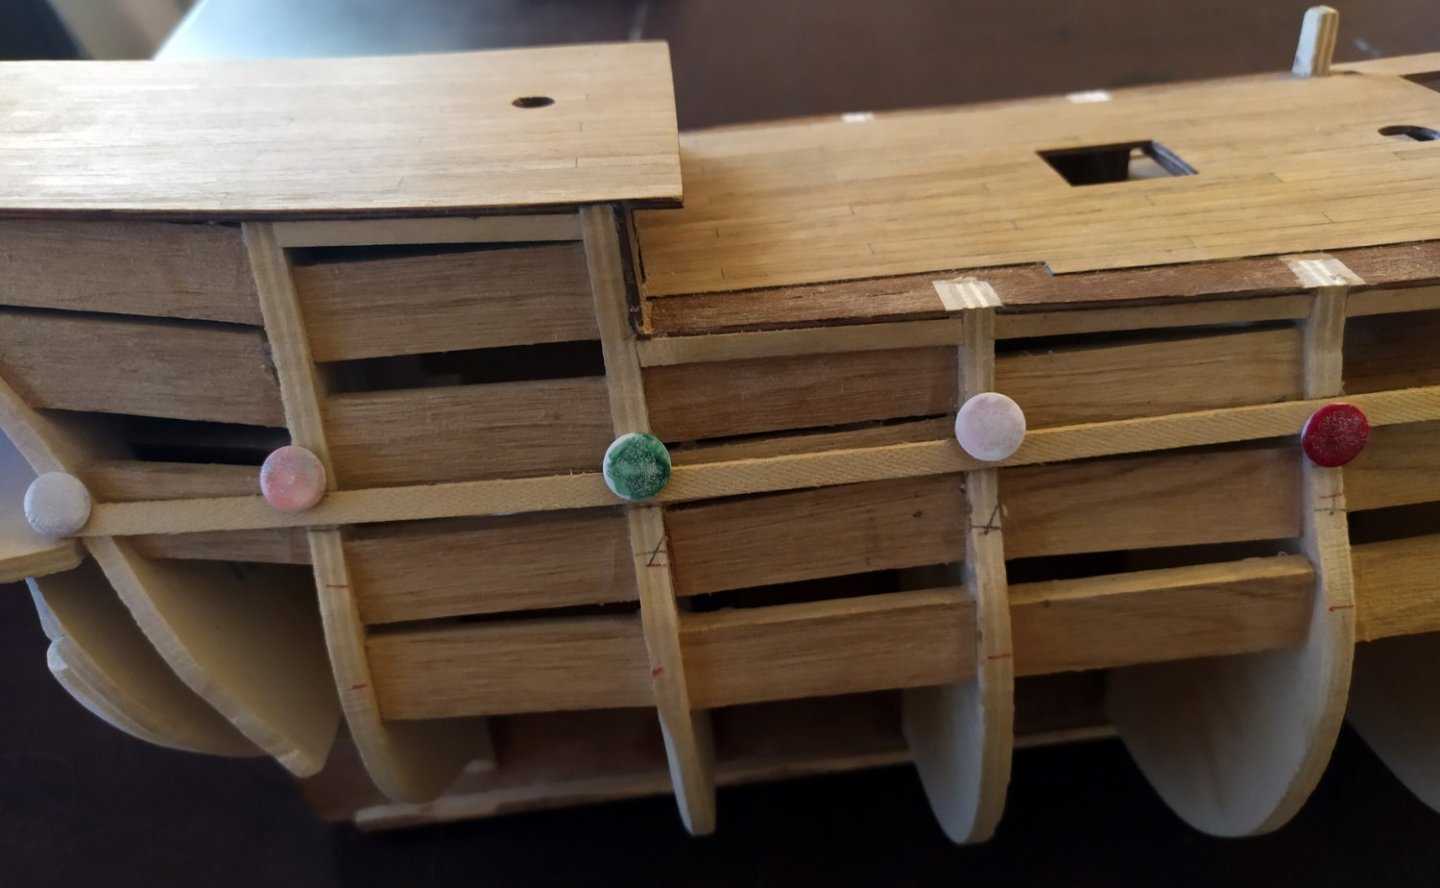
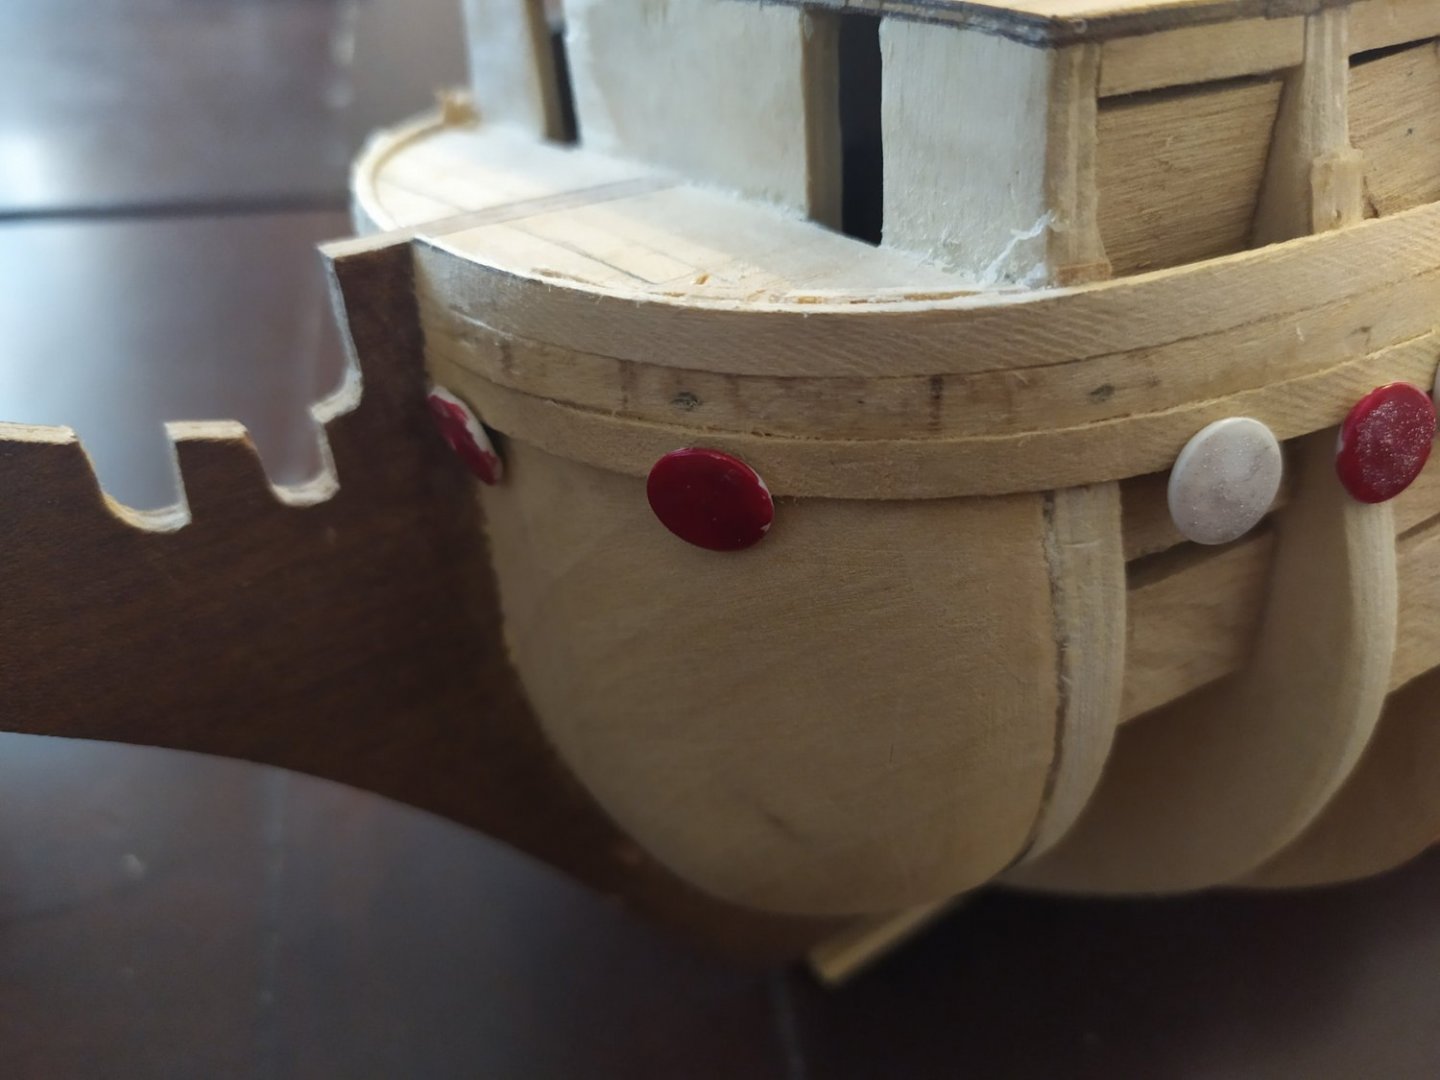
working on second layer of hull planking
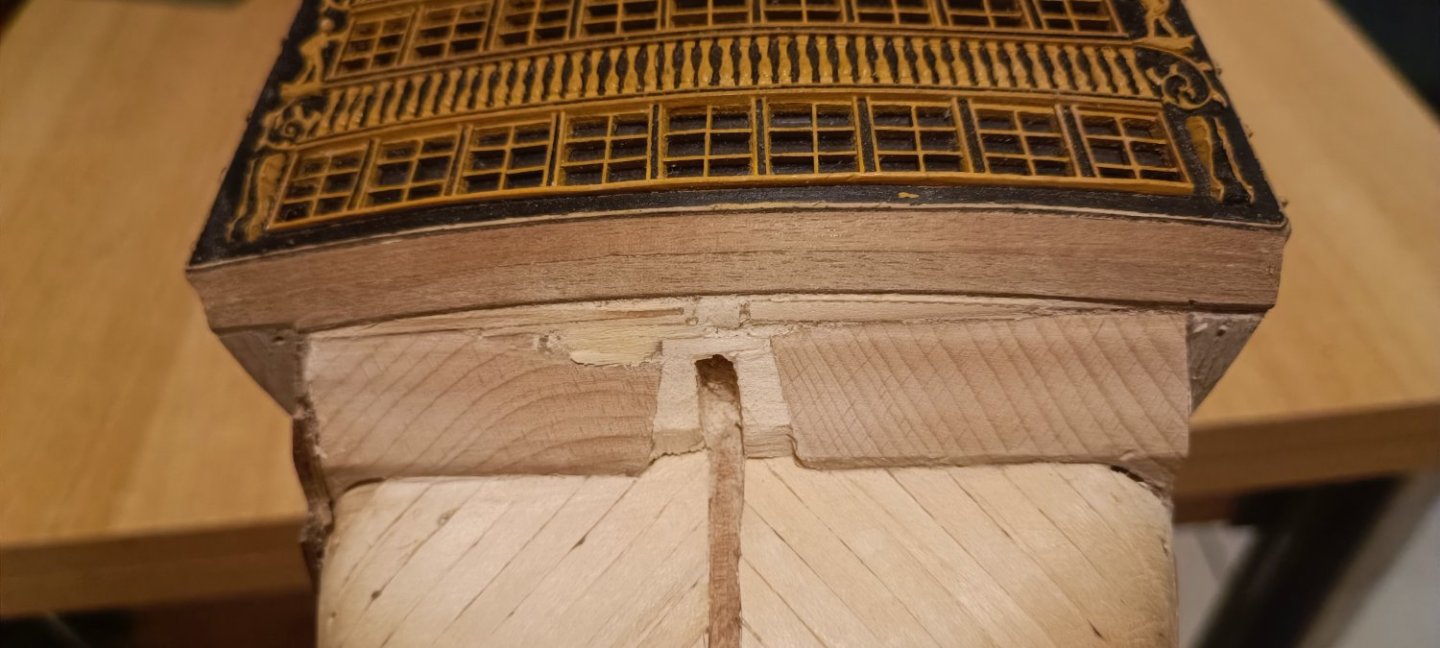
some gunports arent finished, so may look smaller. Stern galleries will need some repairs and definately a repaint (scheduled with hull painting)