


kostas_gr
-
Posts
217 -
Joined
-
Last visited
Content Type
Profiles
Forums
Gallery
Events
Posts posted by kostas_gr
-
-
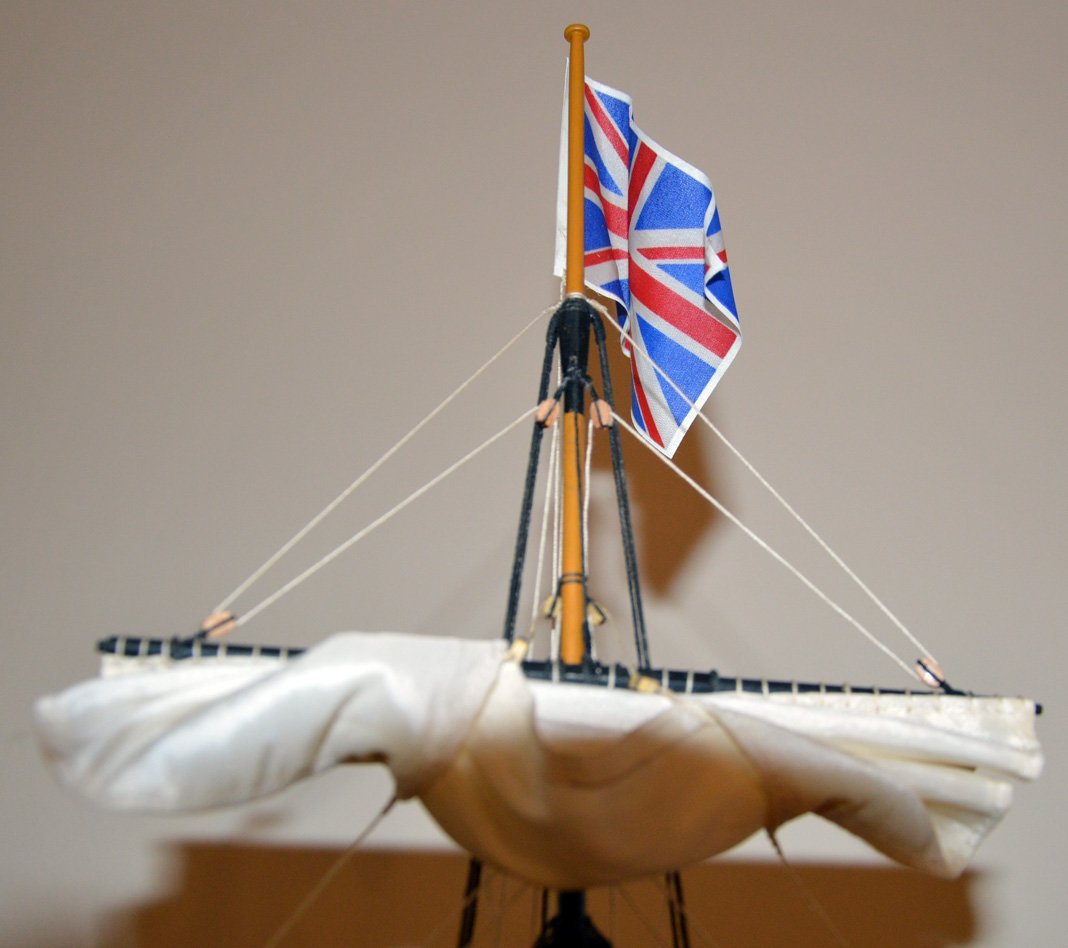
final touch, the flag. I have used the one provided from Corel. I used whote glue to make the folds
- BobG, mort stoll and Ryland Craze
-
 3
3
-
-
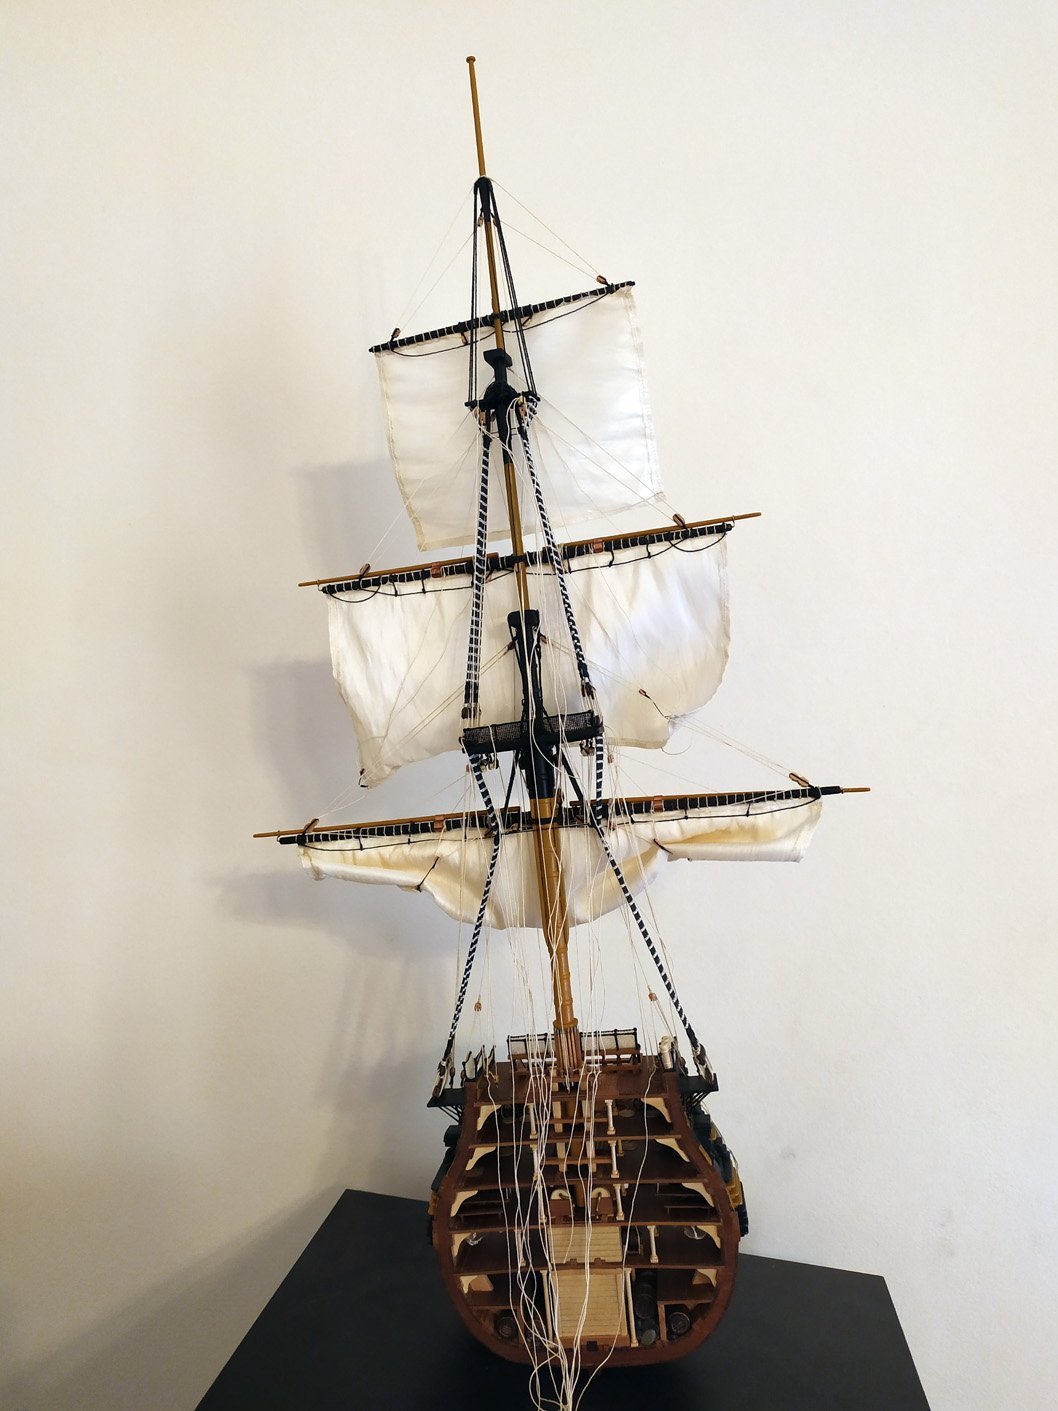
Corel's kit comes out without sails. I thought that sails will look nice on this build.
I believe that rigging makes model to look more pretty.
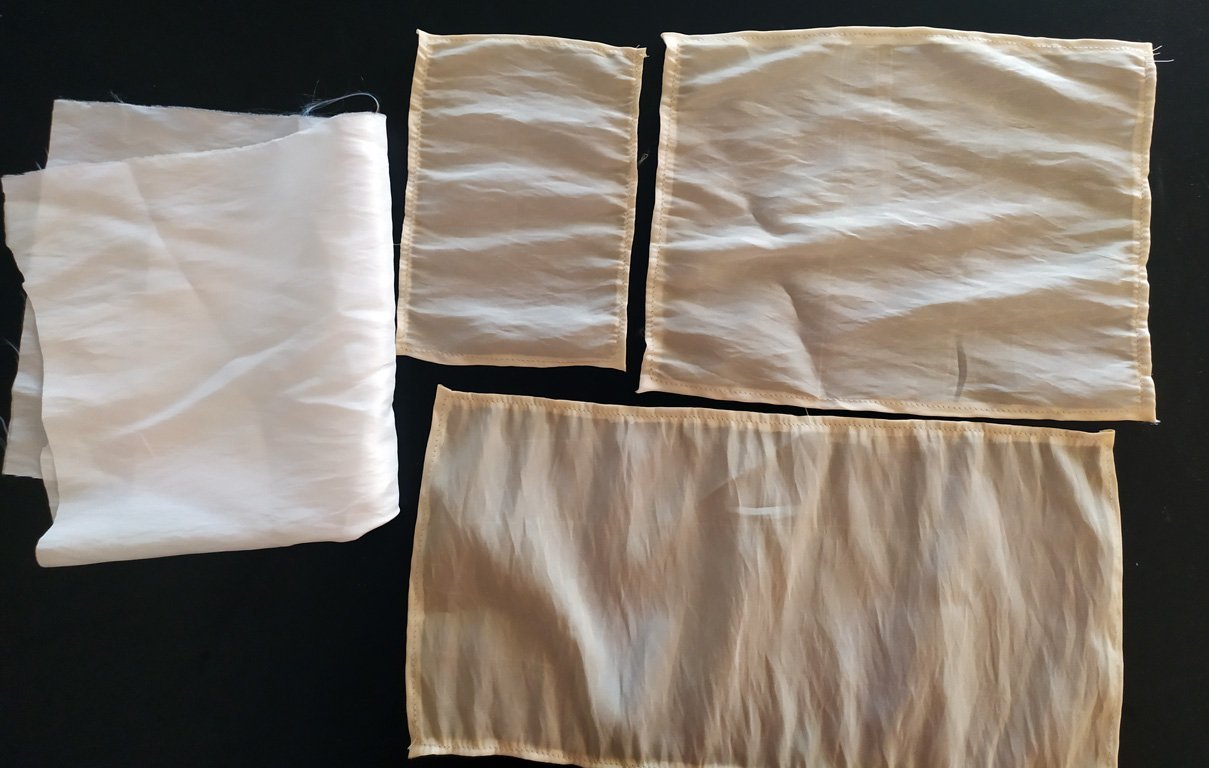
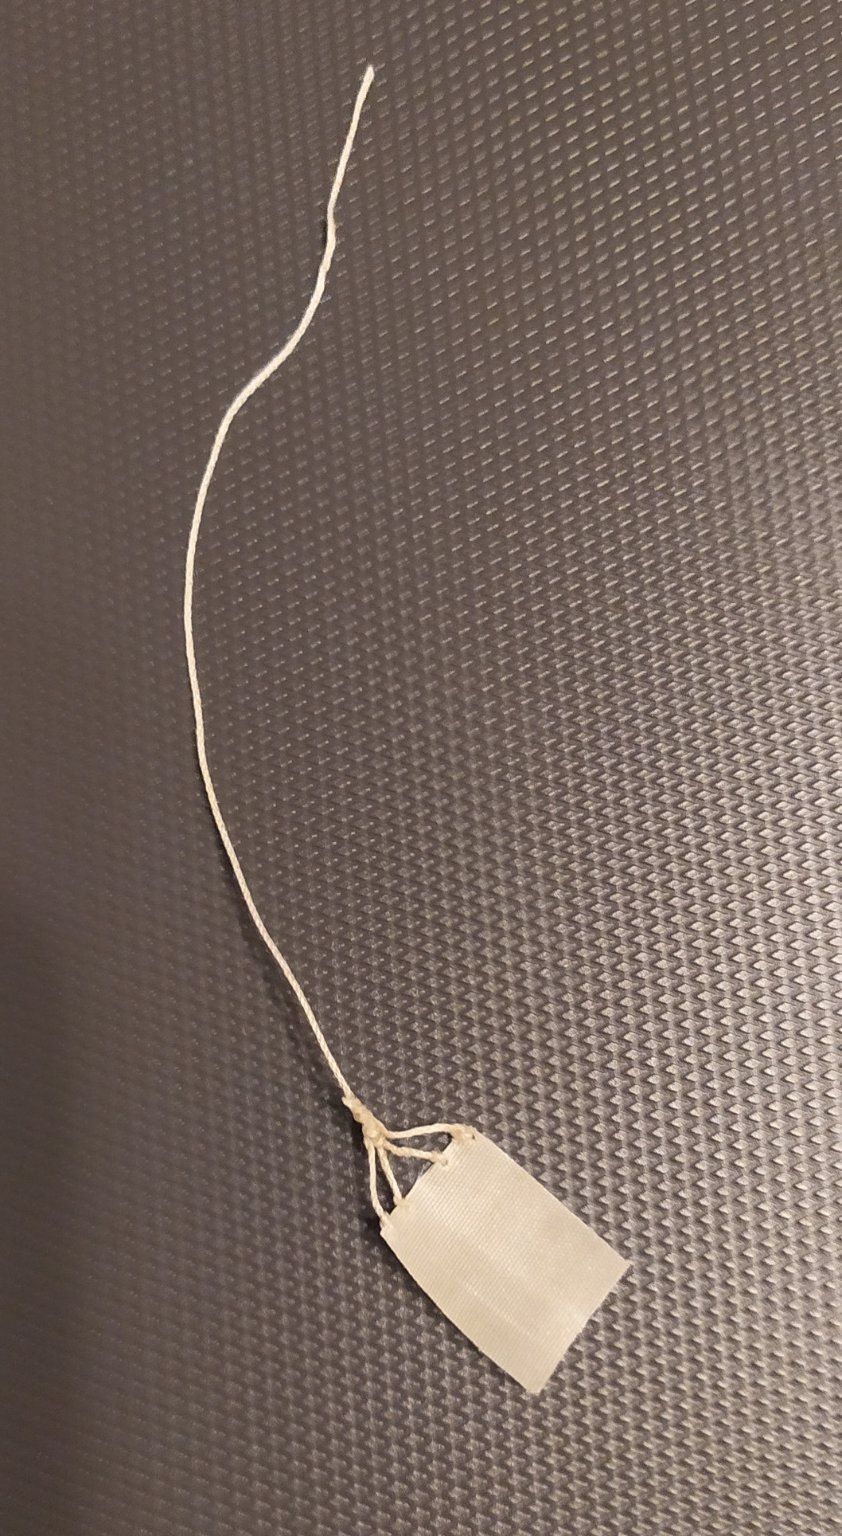
I decided to use silk fibre. First step was to dye the fibre to get darker, I decided to use coffee or tes.
I made several tests with both and finally decided to leave it around 15 minutes into coffee solute. (on the left side is the original fibre)
For the fist sail I had to remaike it 4 times due to several issues I will describe
first try ....while cutting the sail, the edge was unravelling so i have decided to use diluted white glue to make it more stable until I sew on the edges.
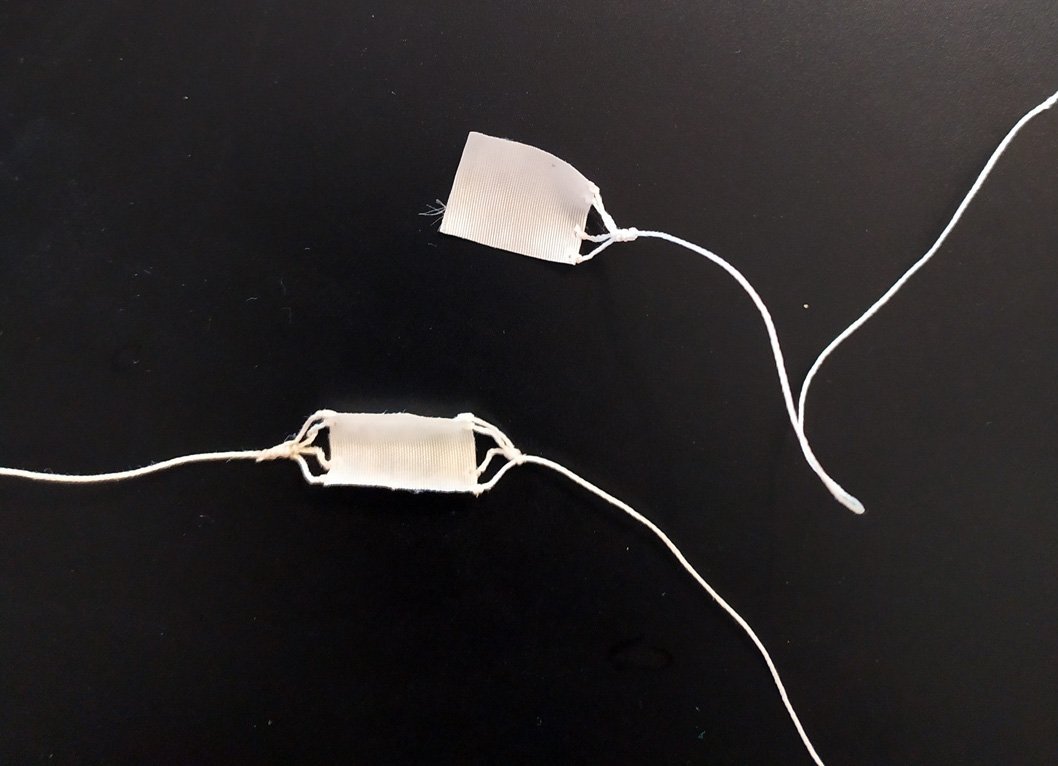
Second try.... (with white glue on the edges) after sewing the side edges the outcome was miserable, it was stiff and almost impossilbe to handle I couldnt manage give a right shape
Third try... I found a thin sewing tape that I have placed on the edges so with normal ironing the tape was melting with a very thin film and kept the edges folded. I was Suprised with the outcome and made sewing very easy. But... unfortunally the length shortened a lot and the sail looked very small on yard.
forth time was a charm, the outcome was overall so I decided to use them. To be honest I didnt have much time or mood to test other fibres, I had a deadline due to the anual IPMS competition I wanted to participate.
-
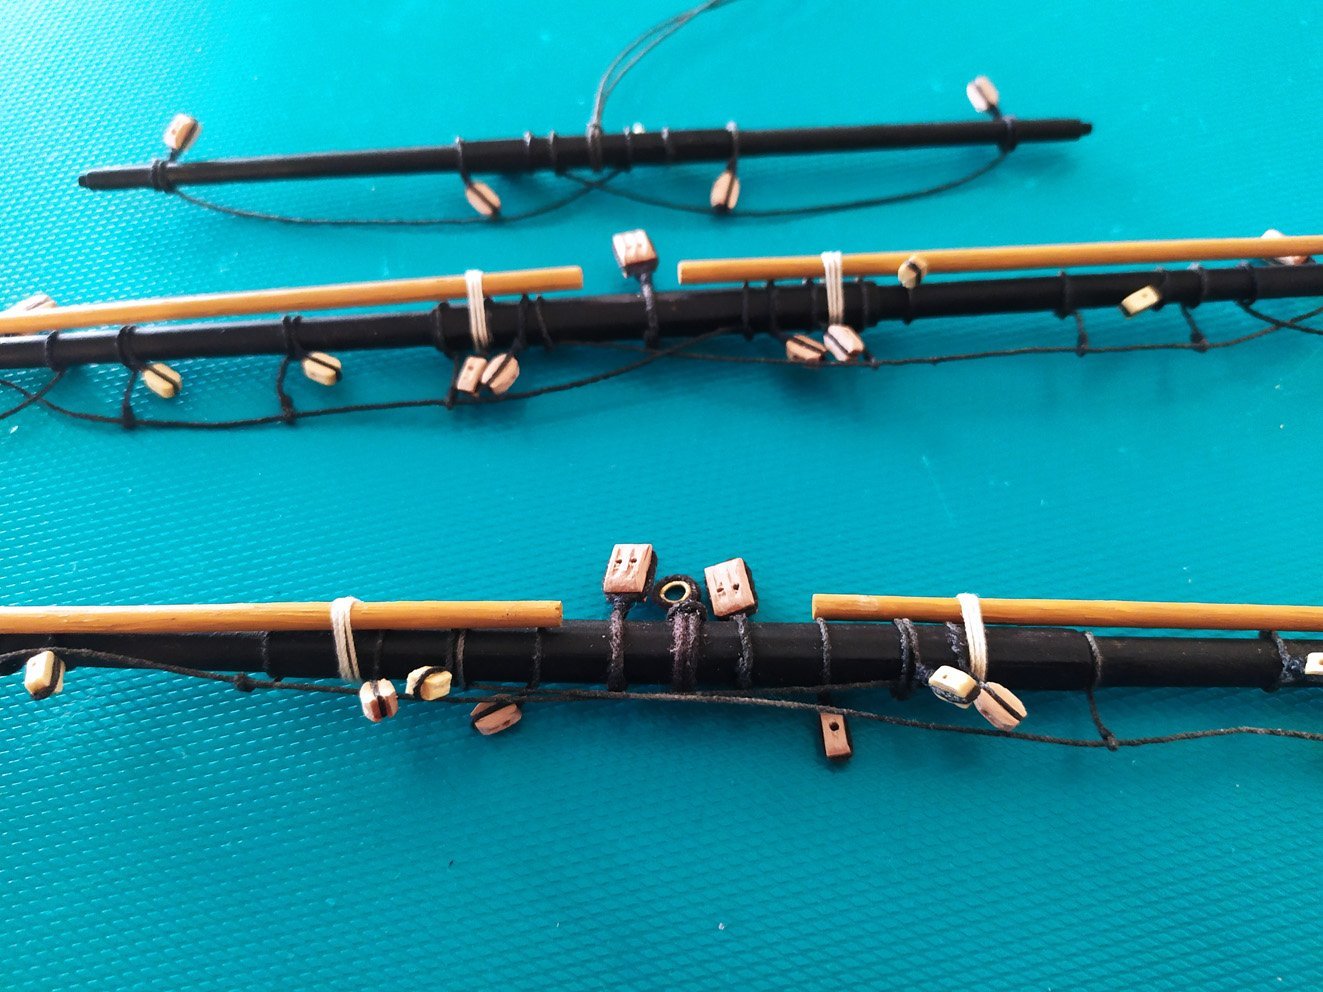
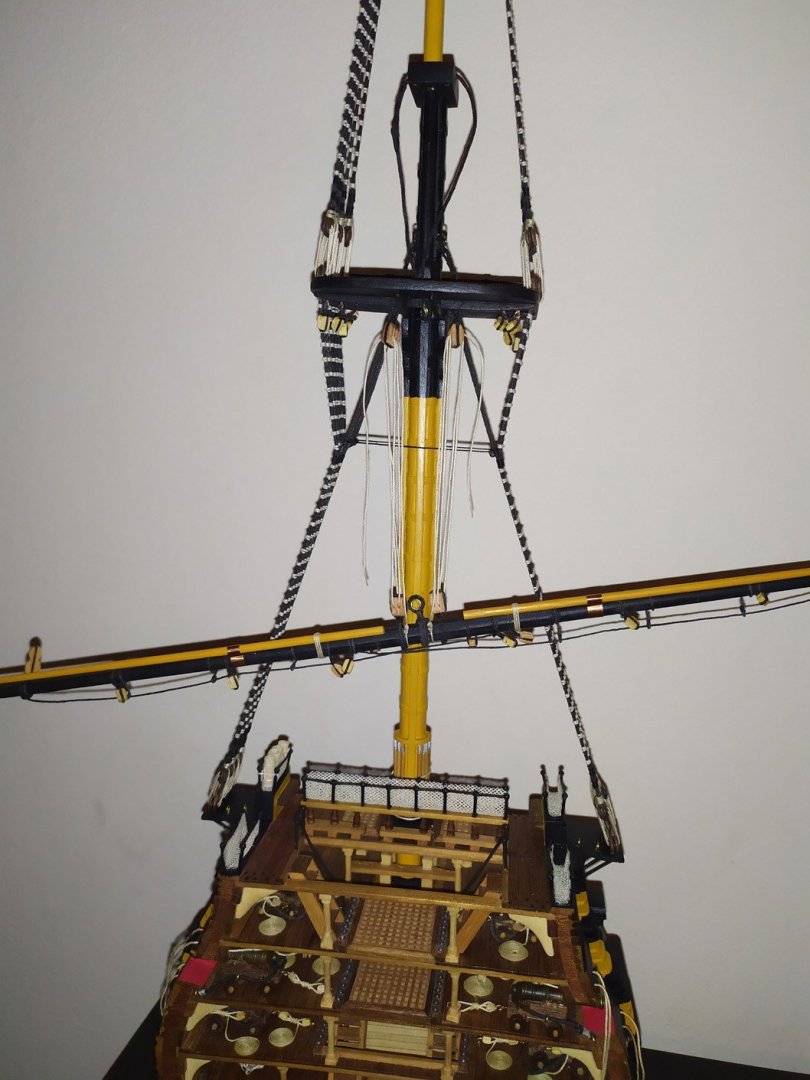
adding blocks on yards
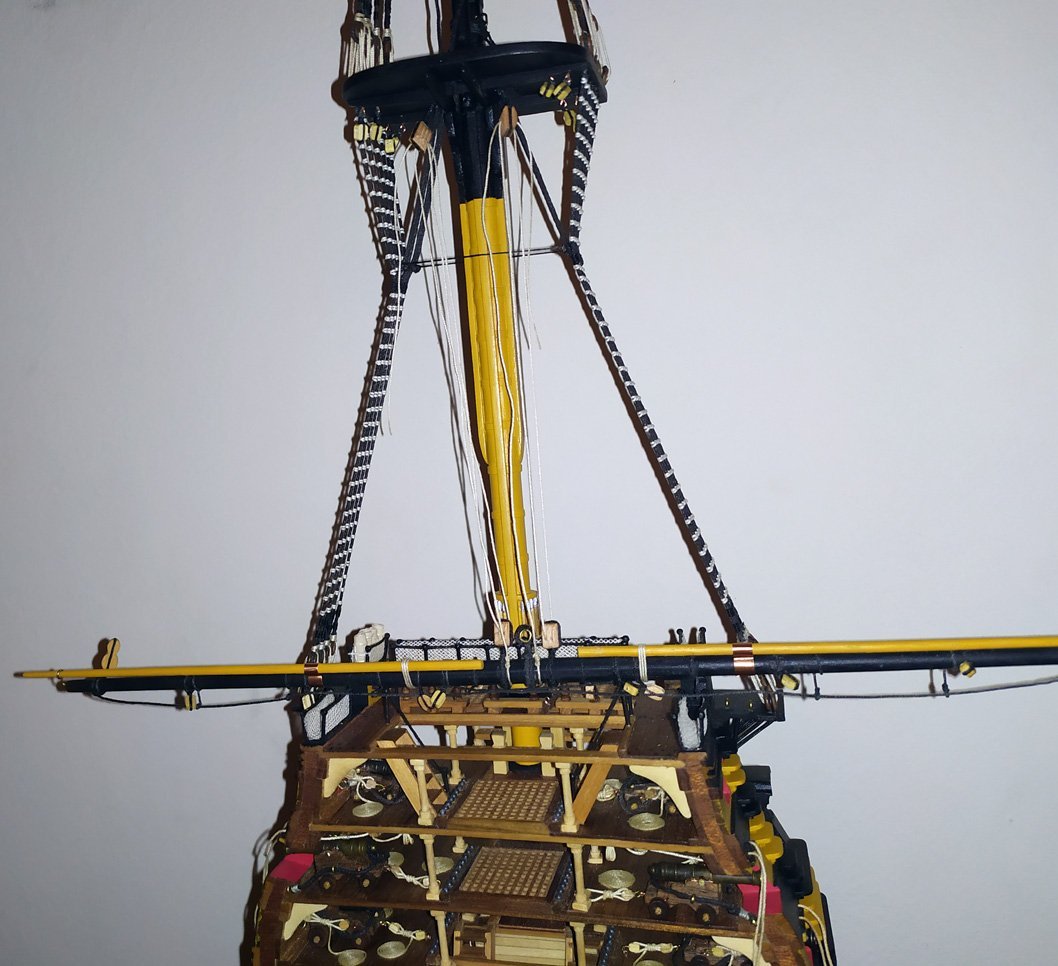
installing them on main mast
- Mirabell61 and BobG
-
2
-
-
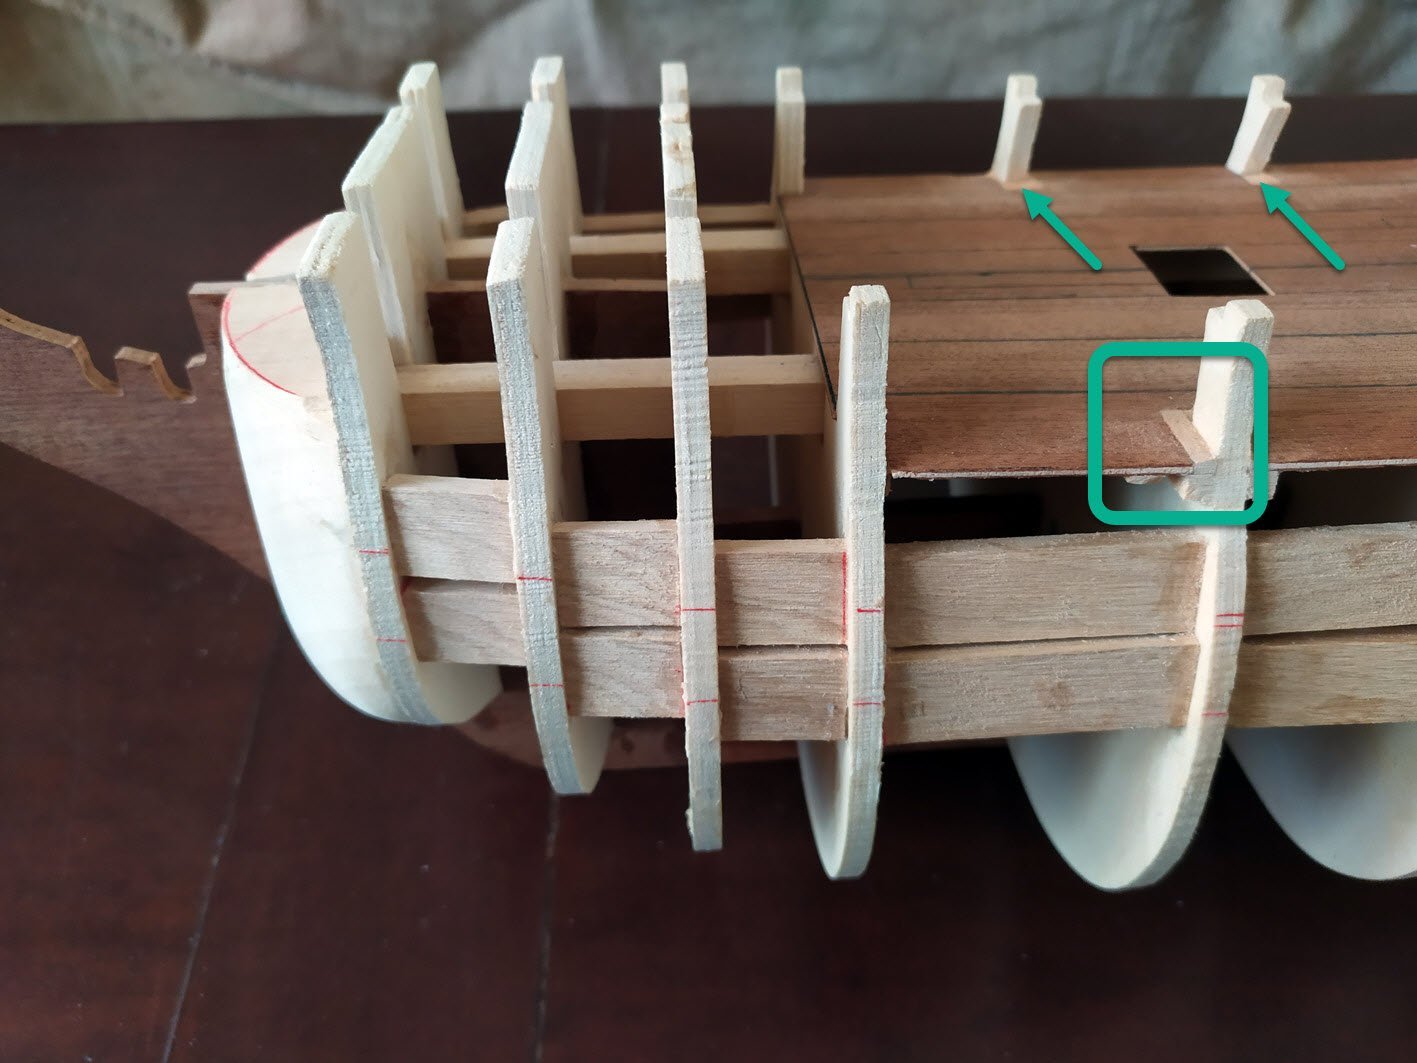
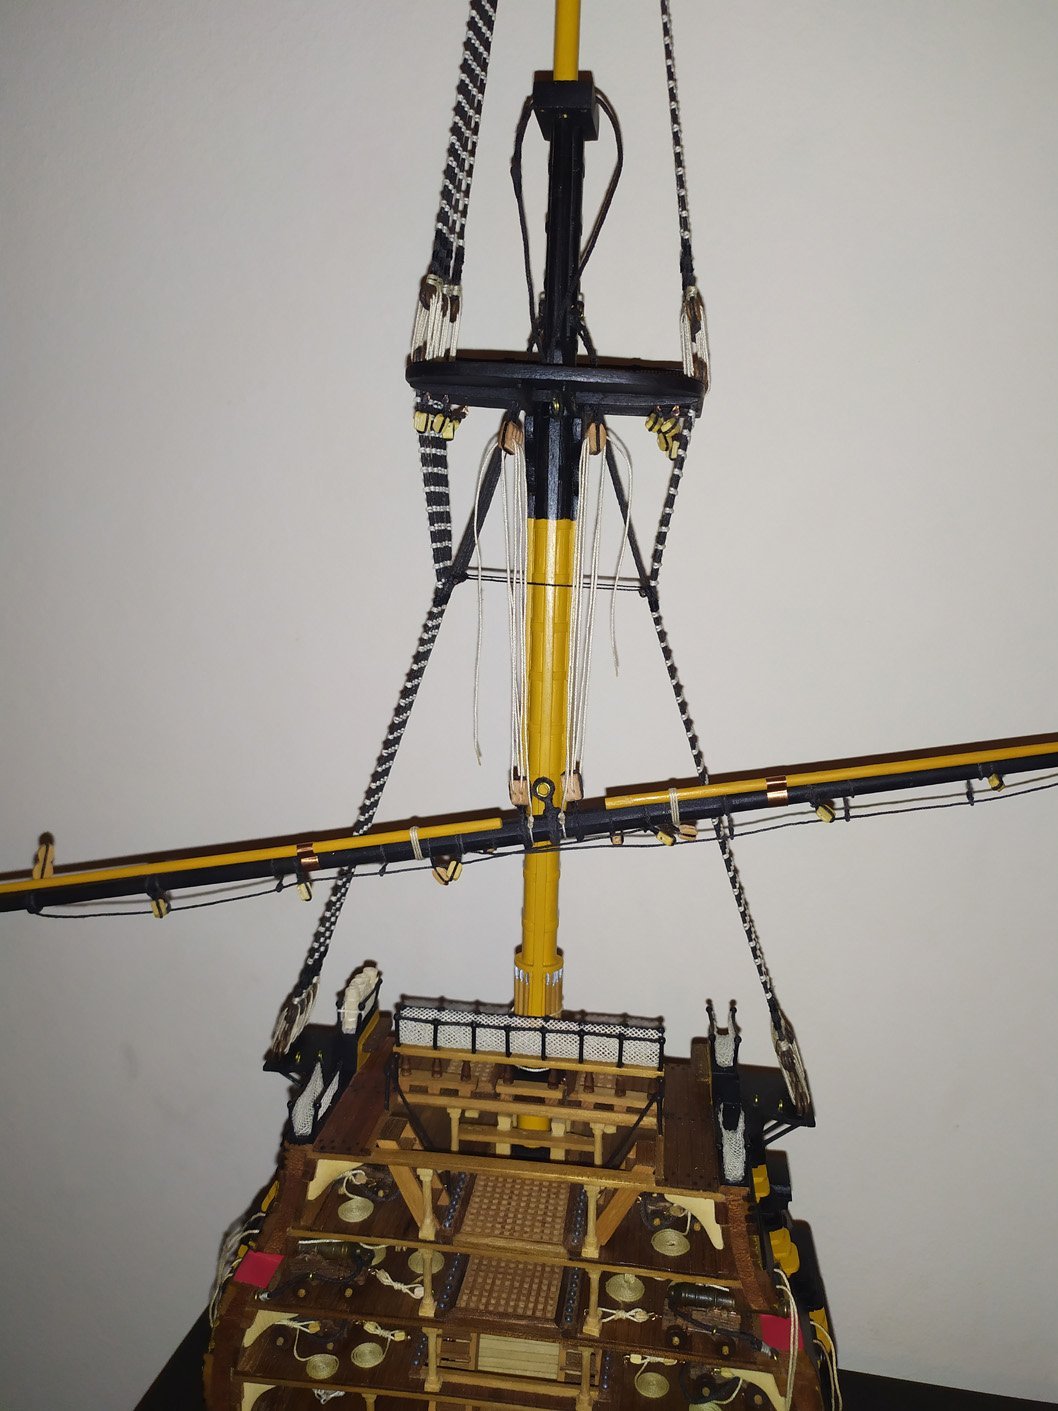
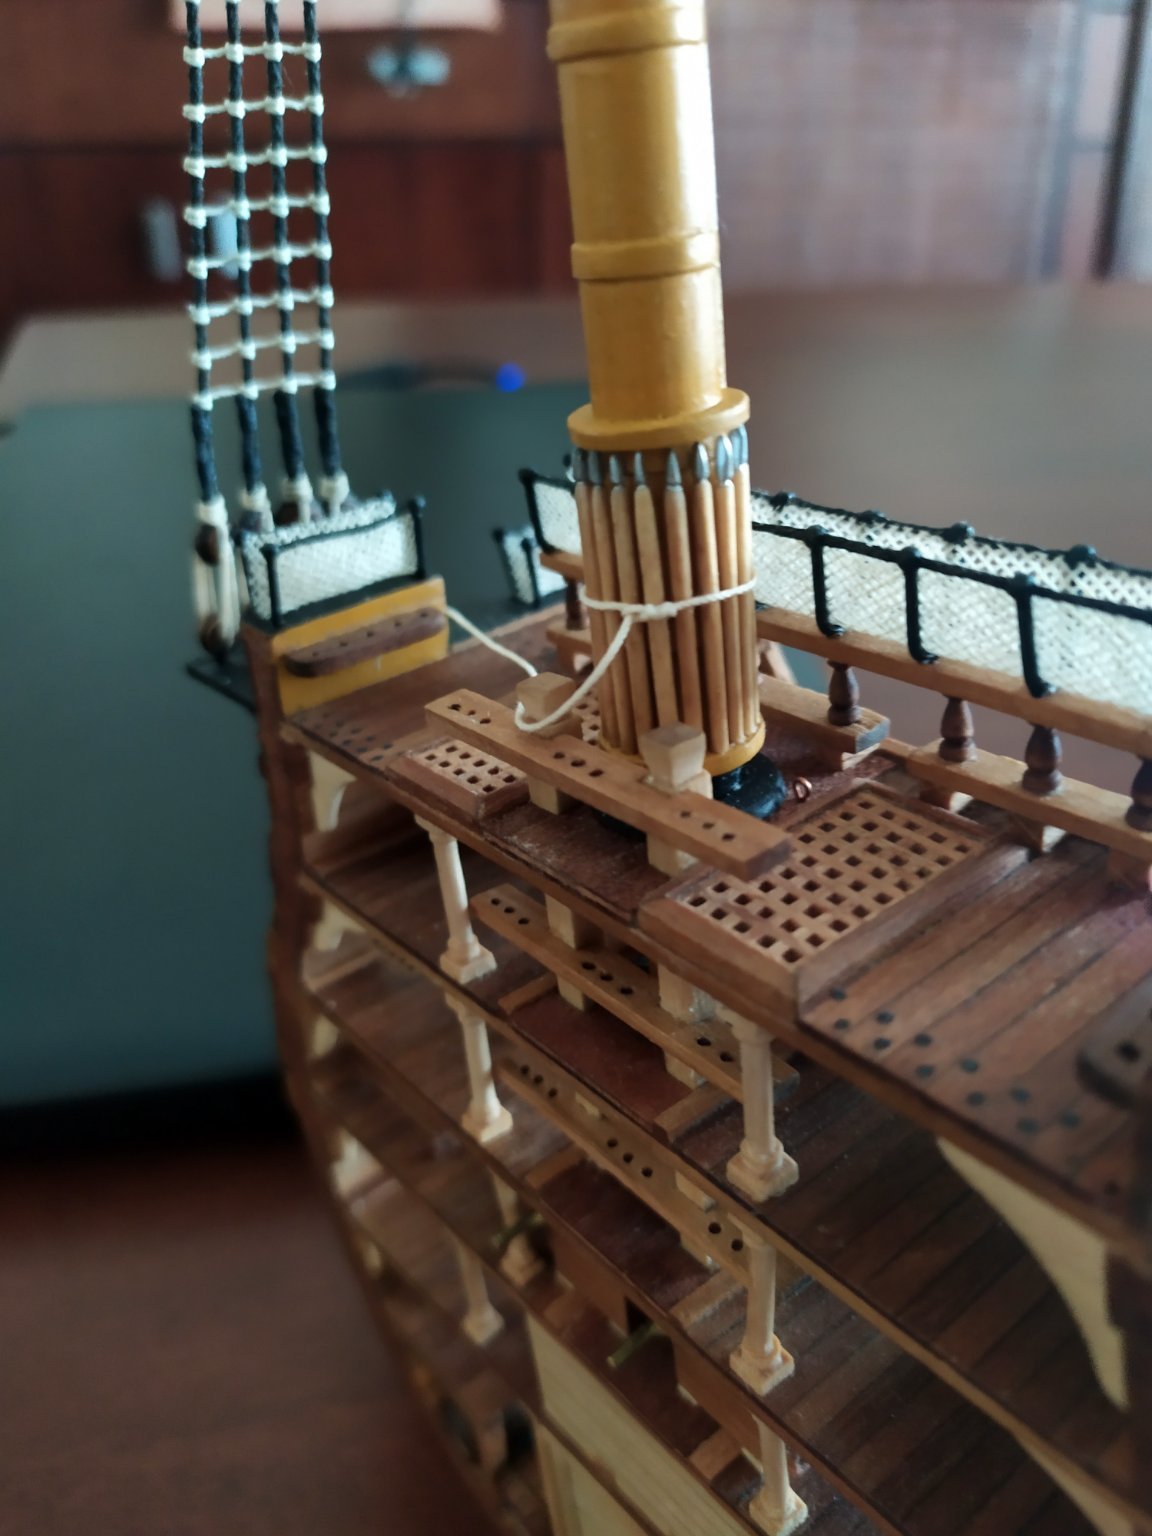
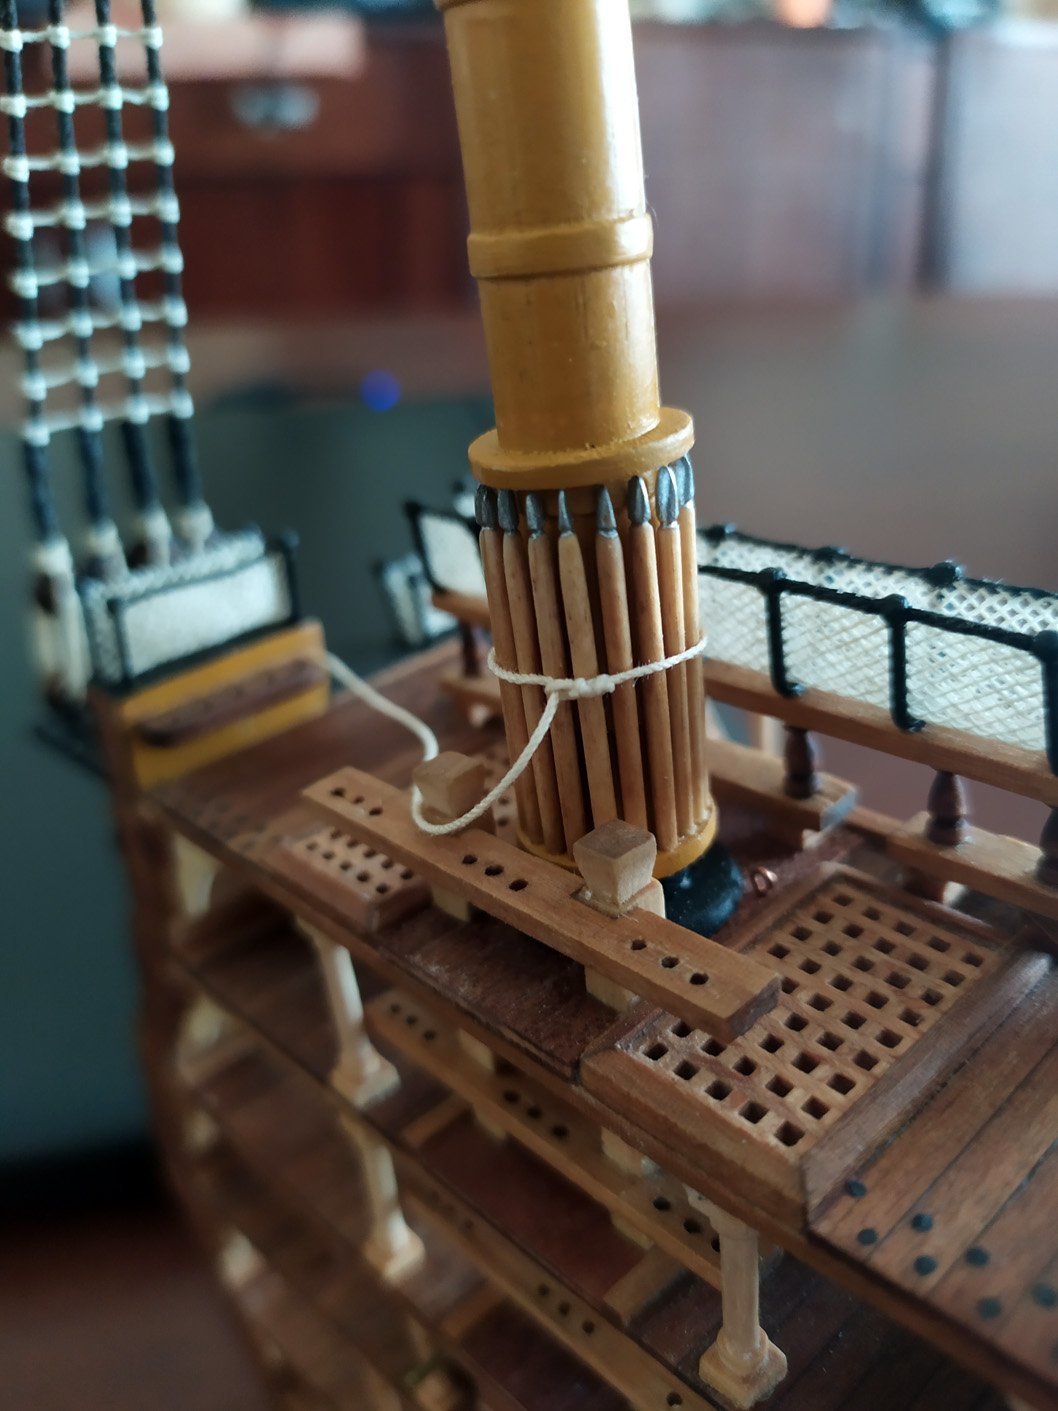
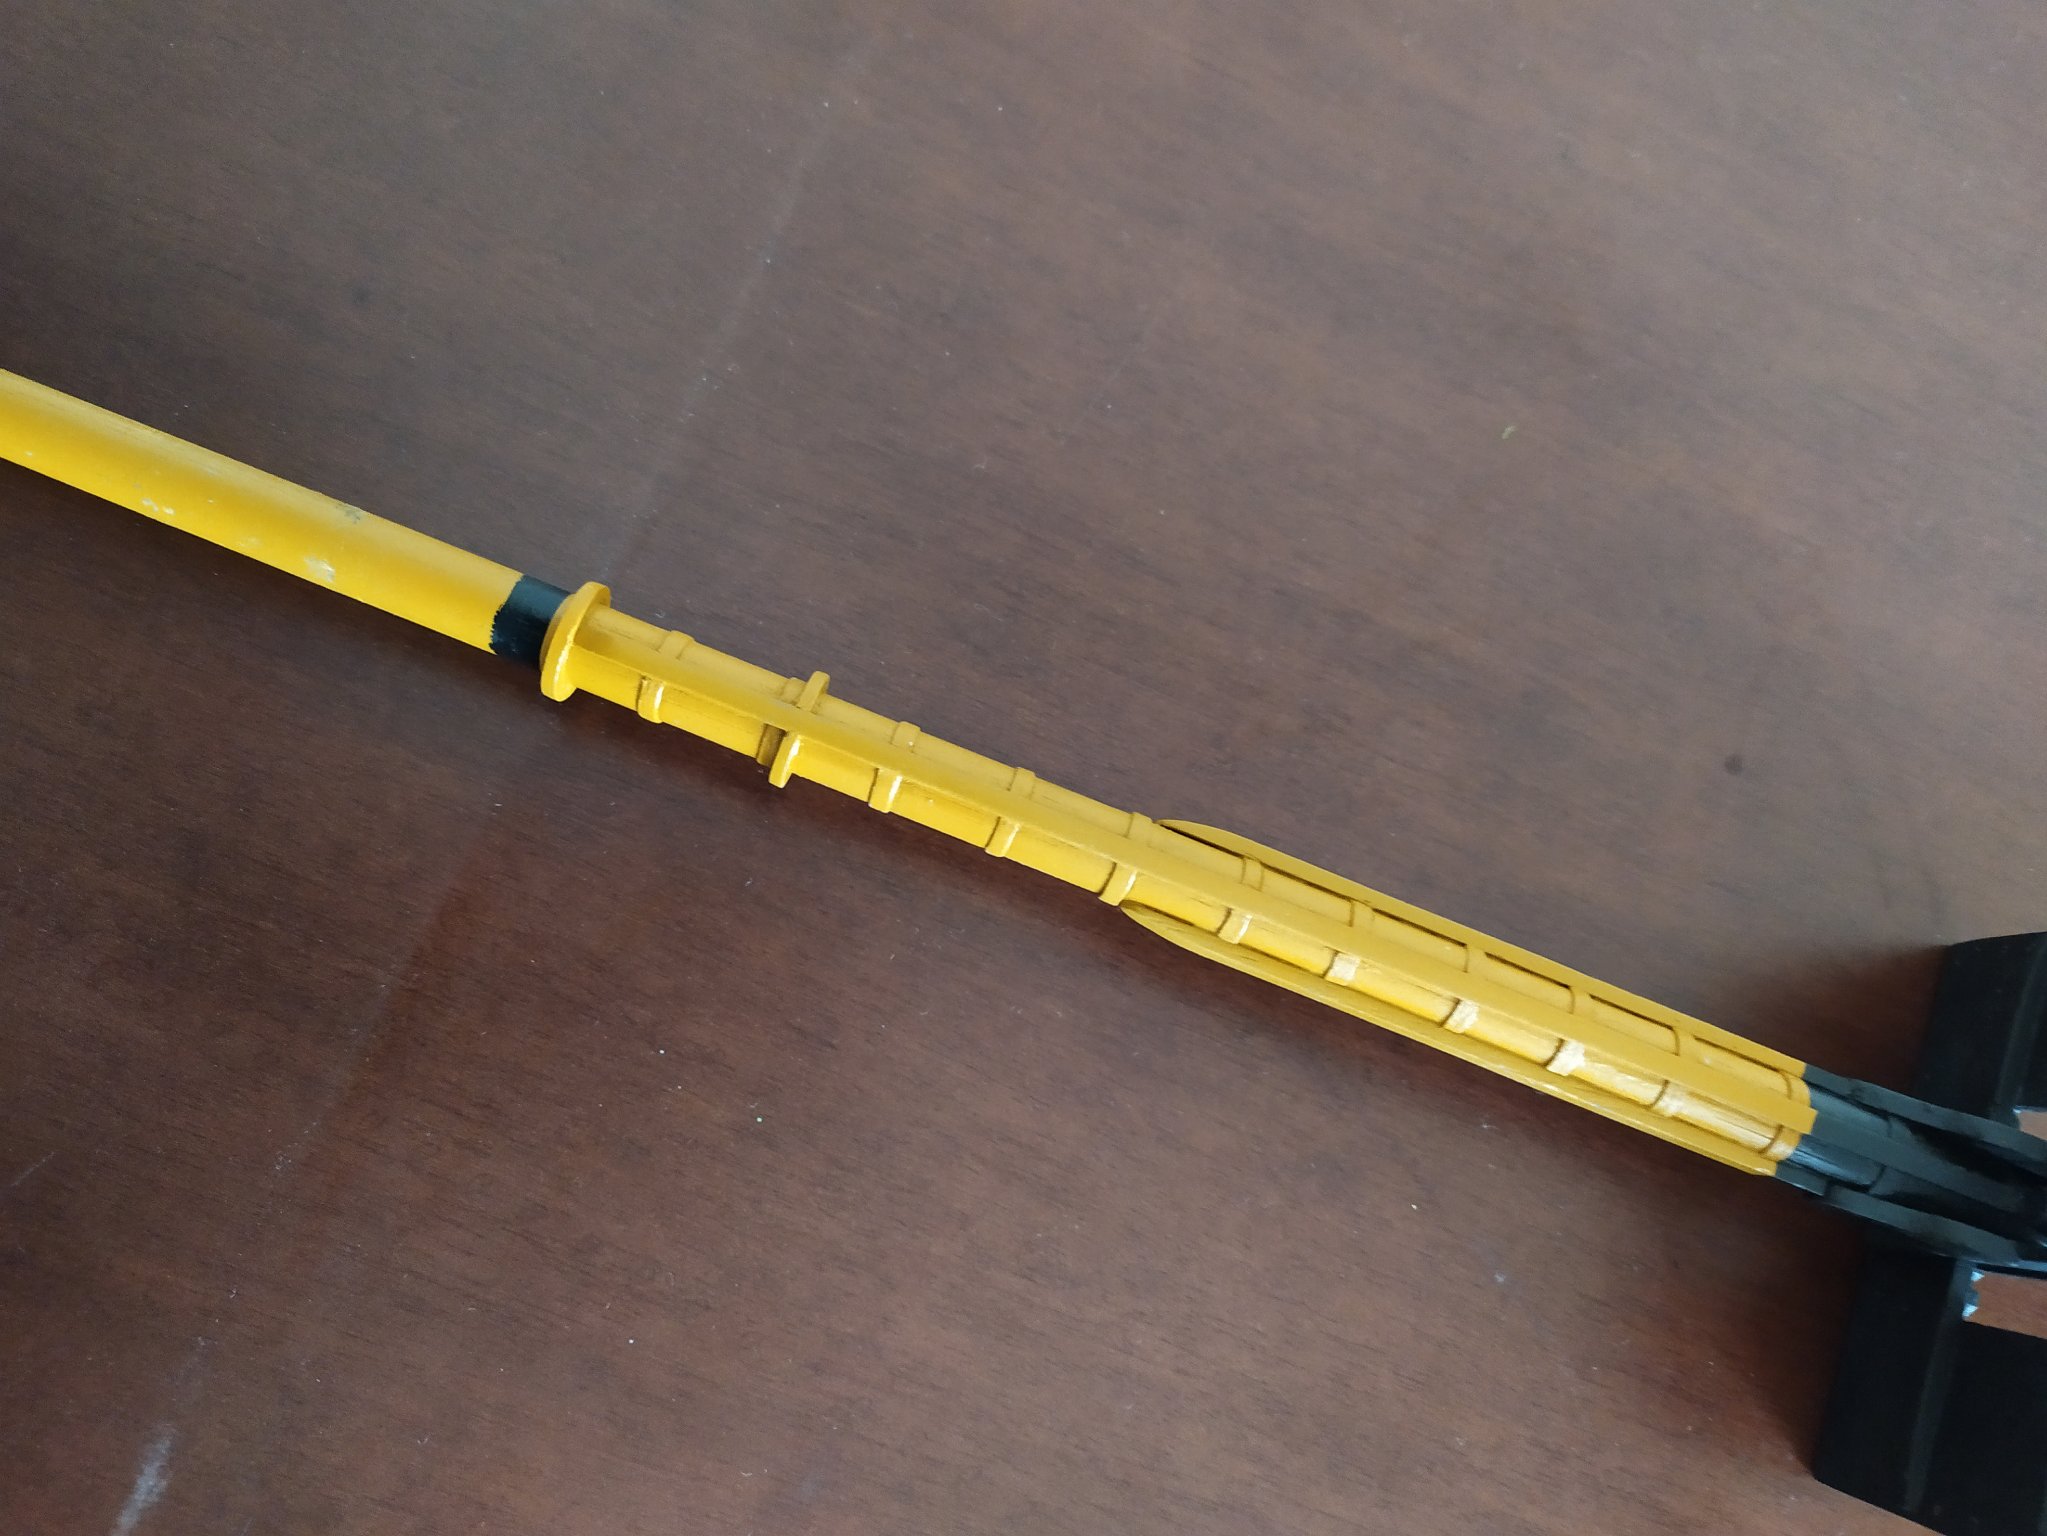
around main mast there are some spears


-
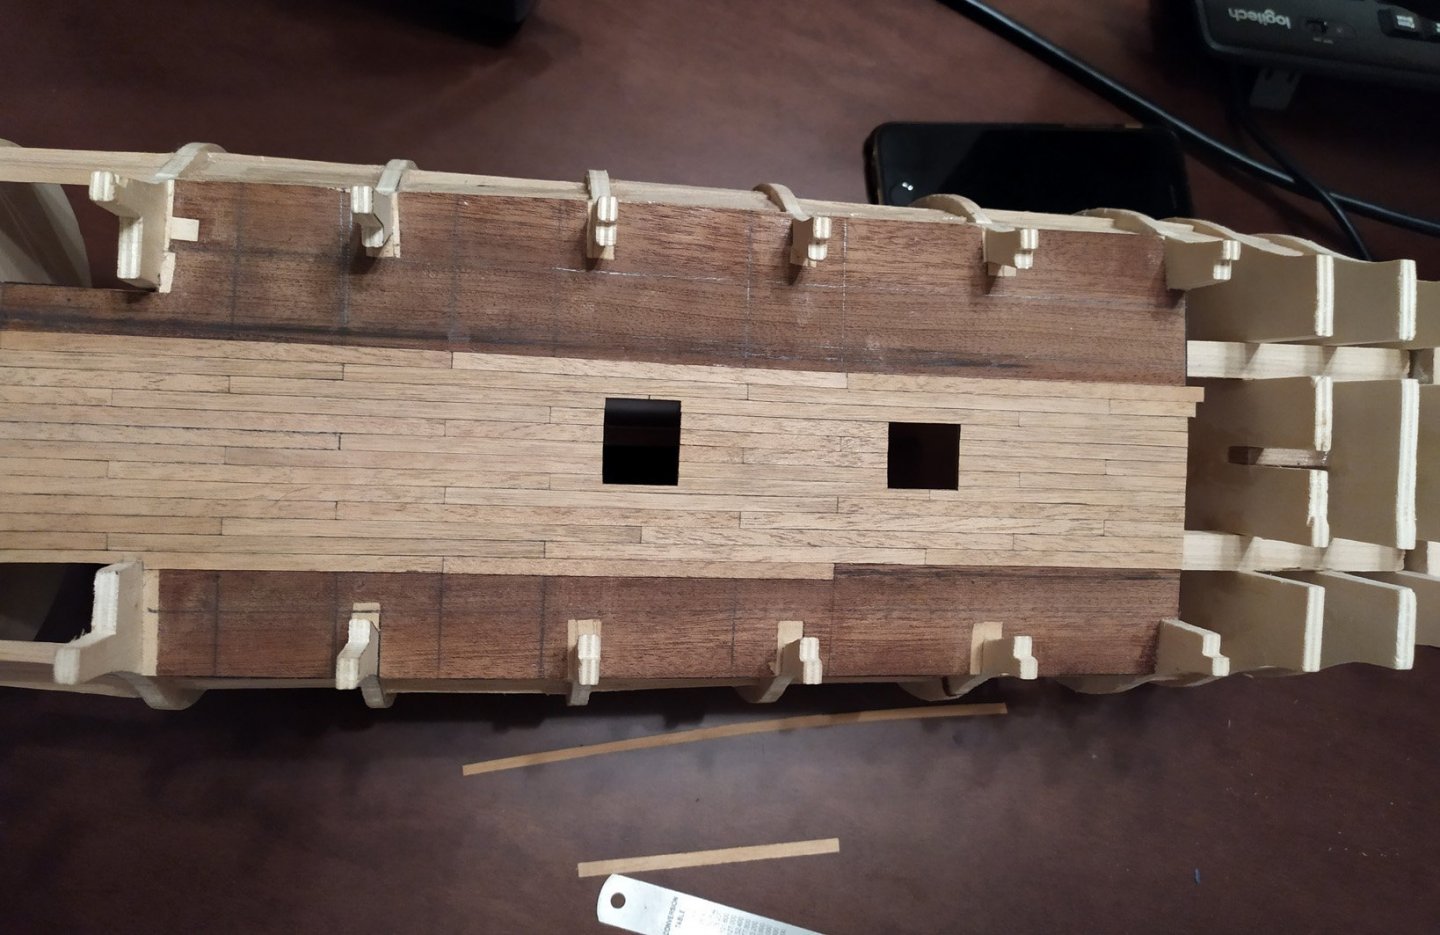
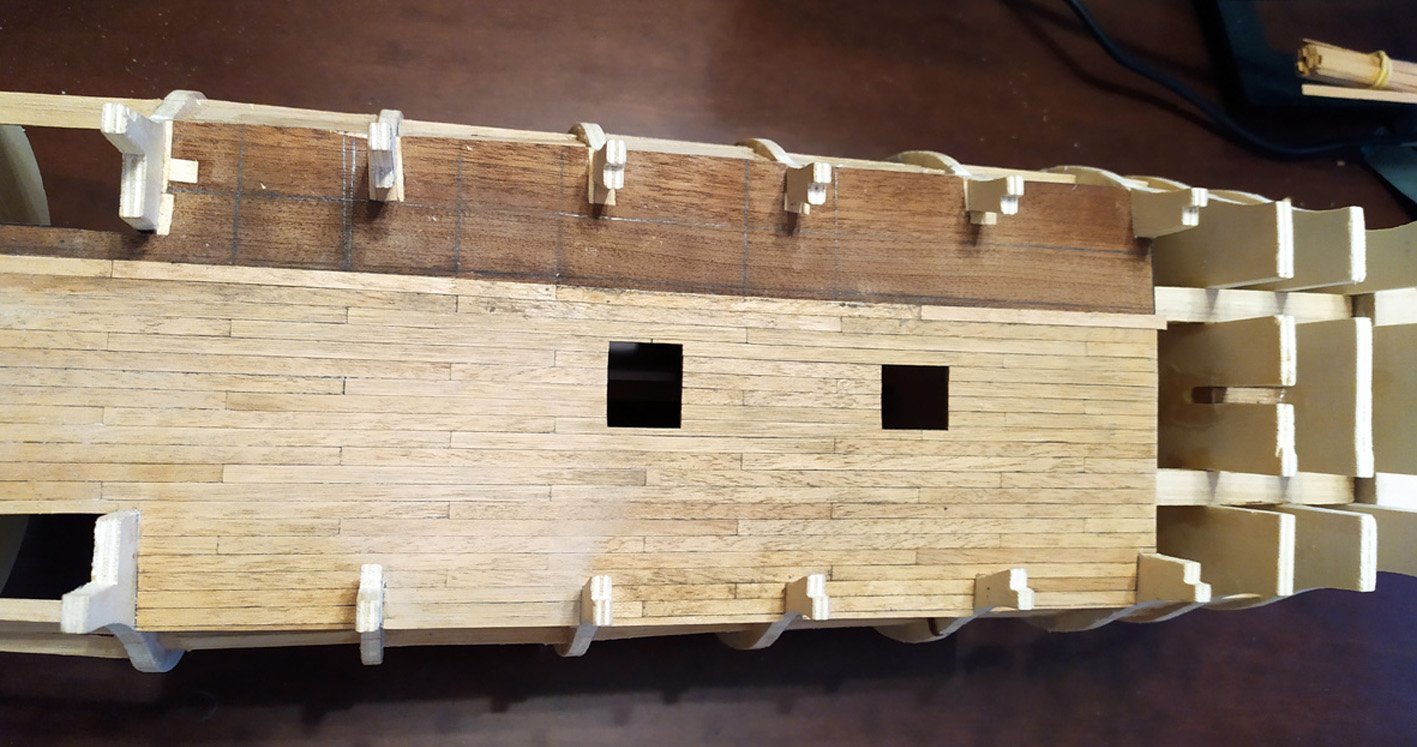
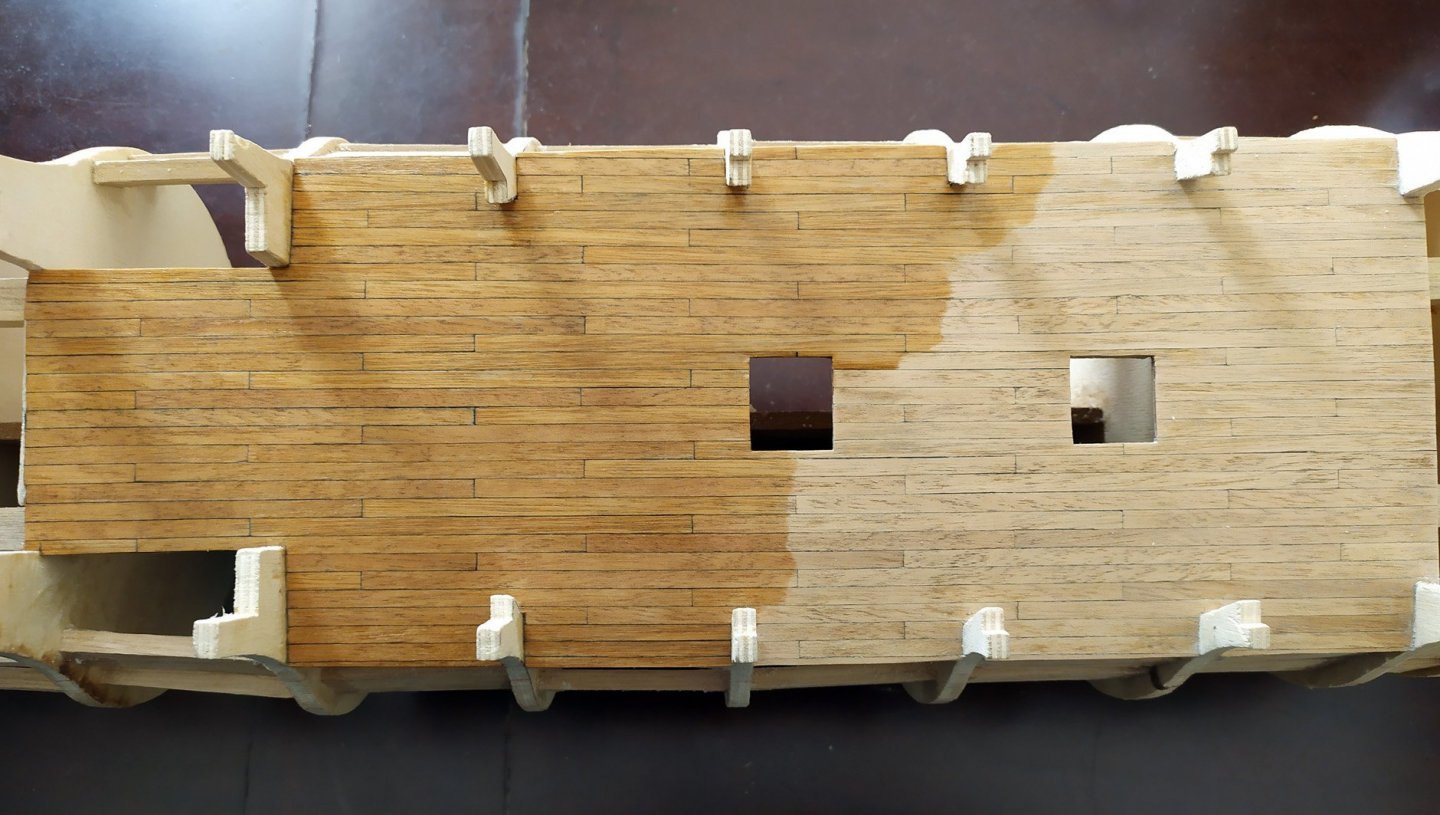
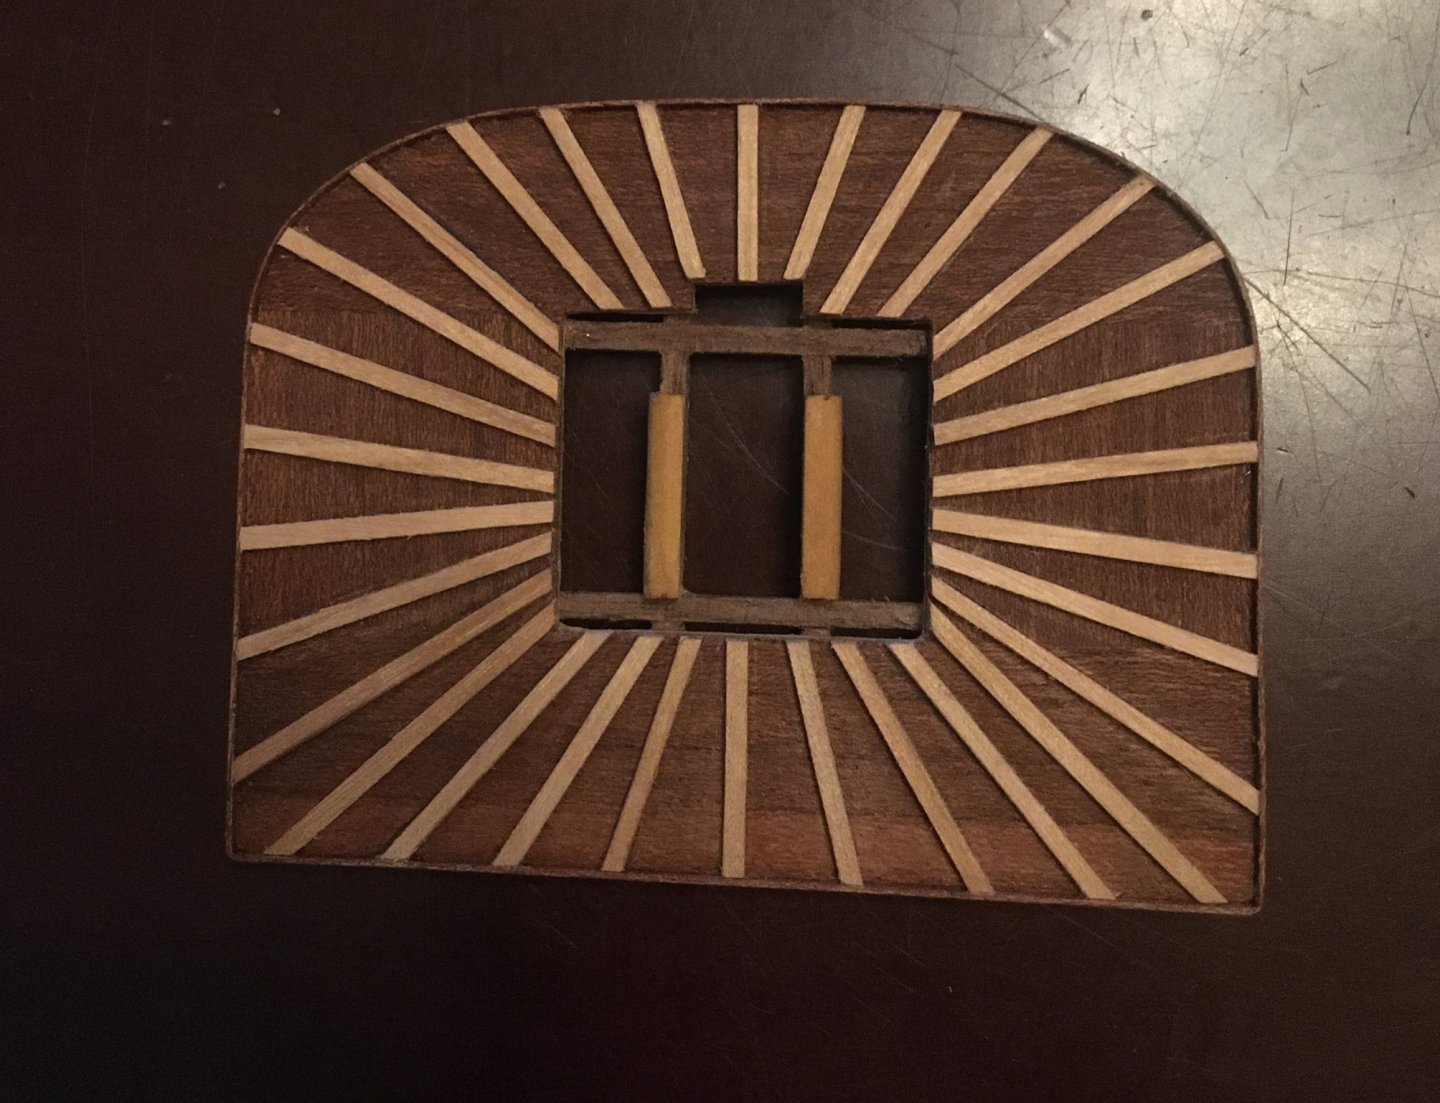
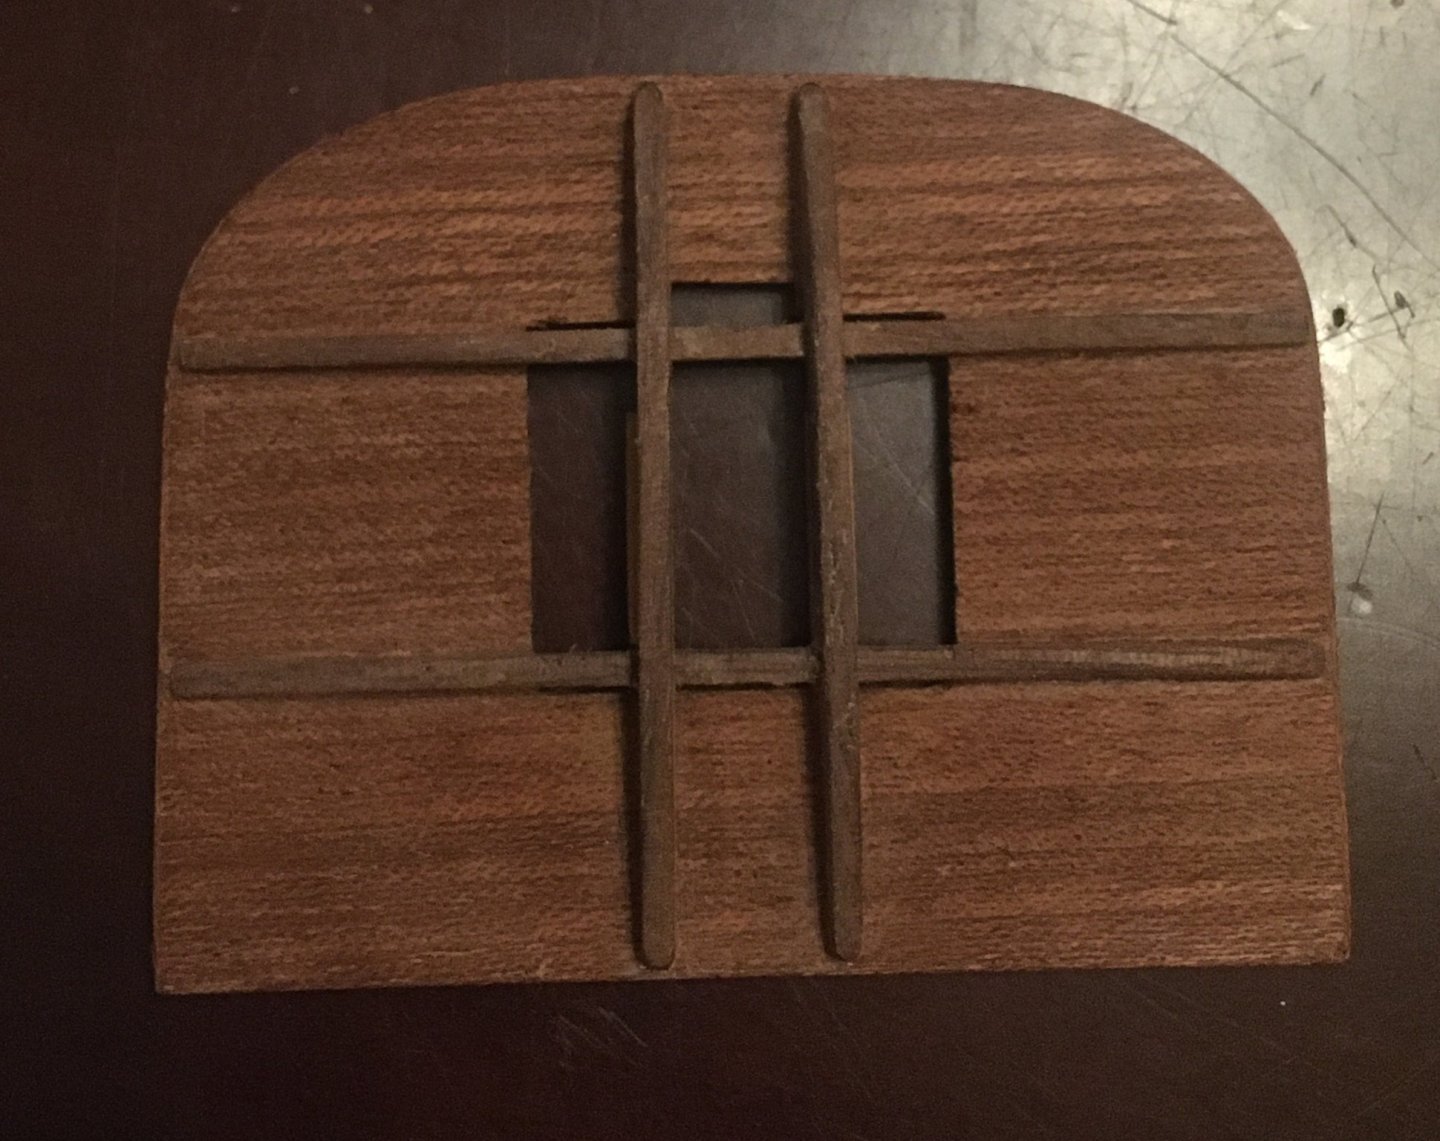
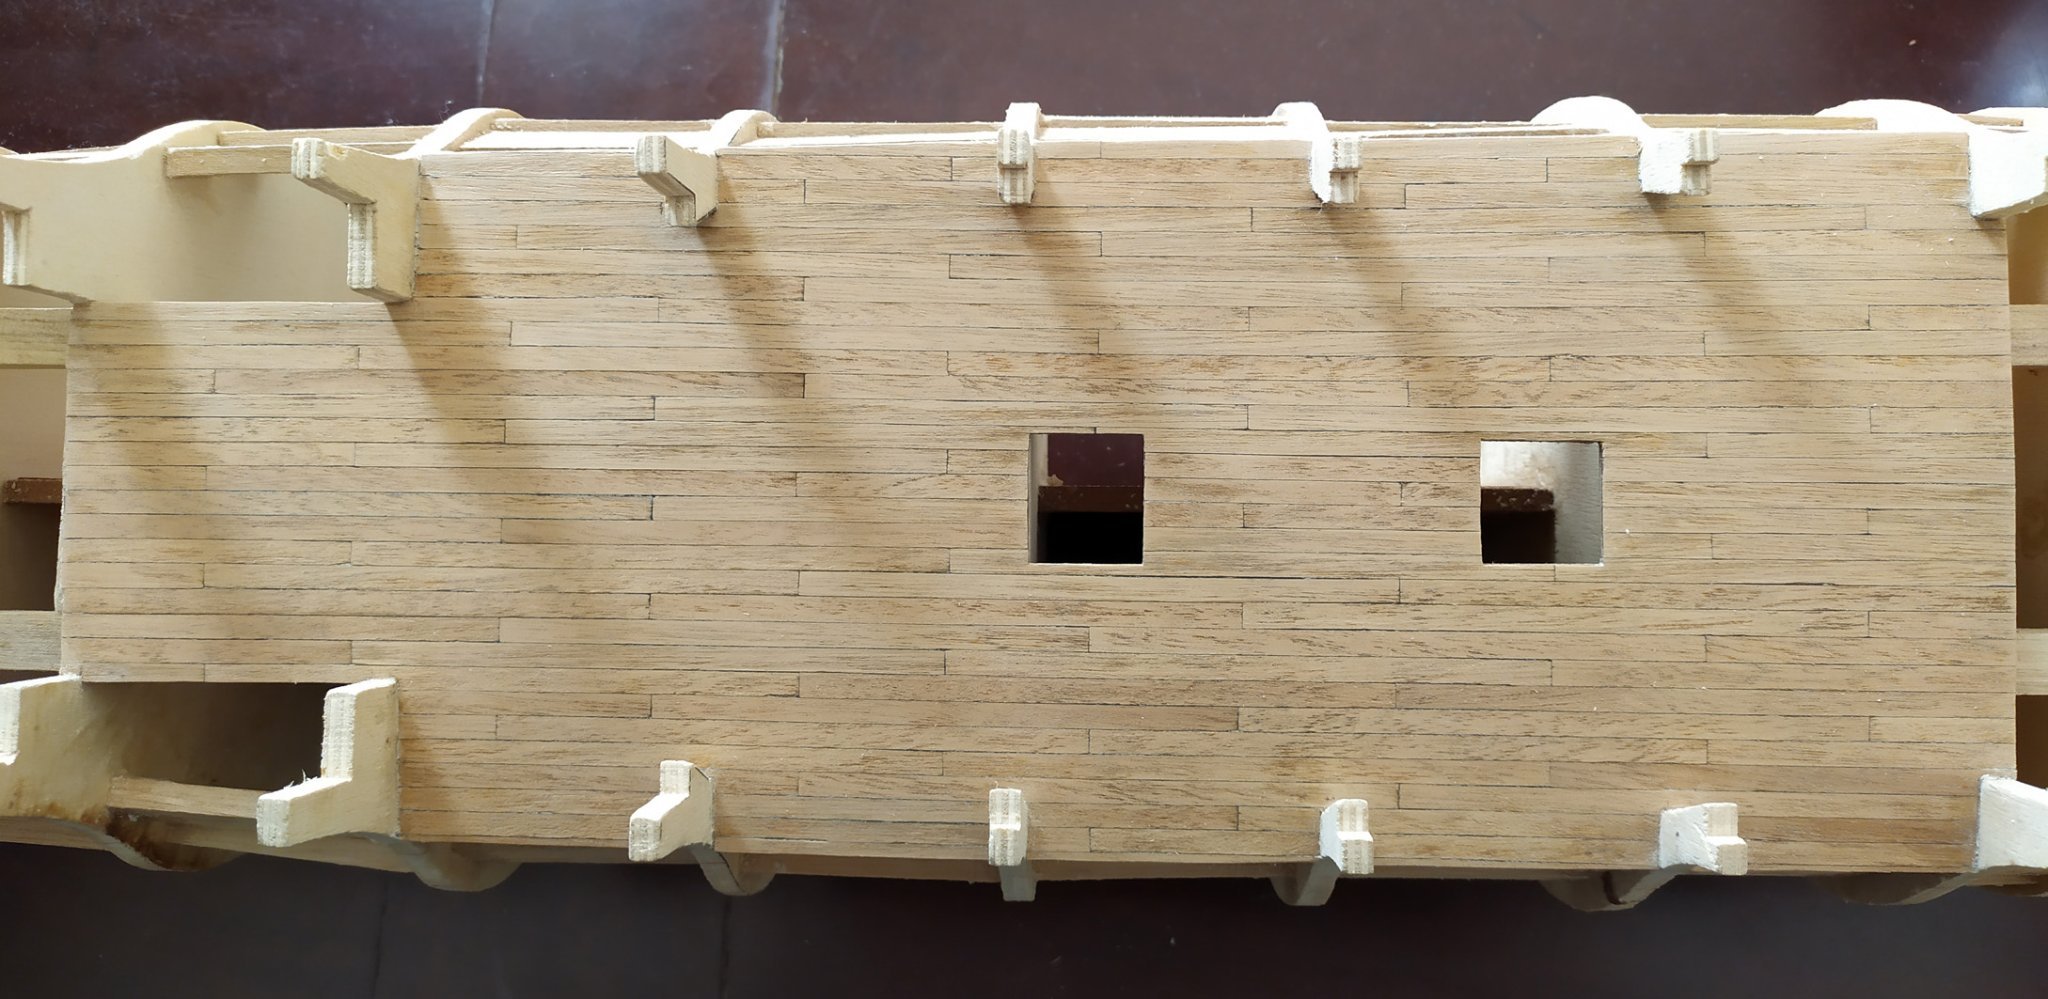
in order to make sure that all planks are aligned, I am drawing a grid and trying to align deck planks
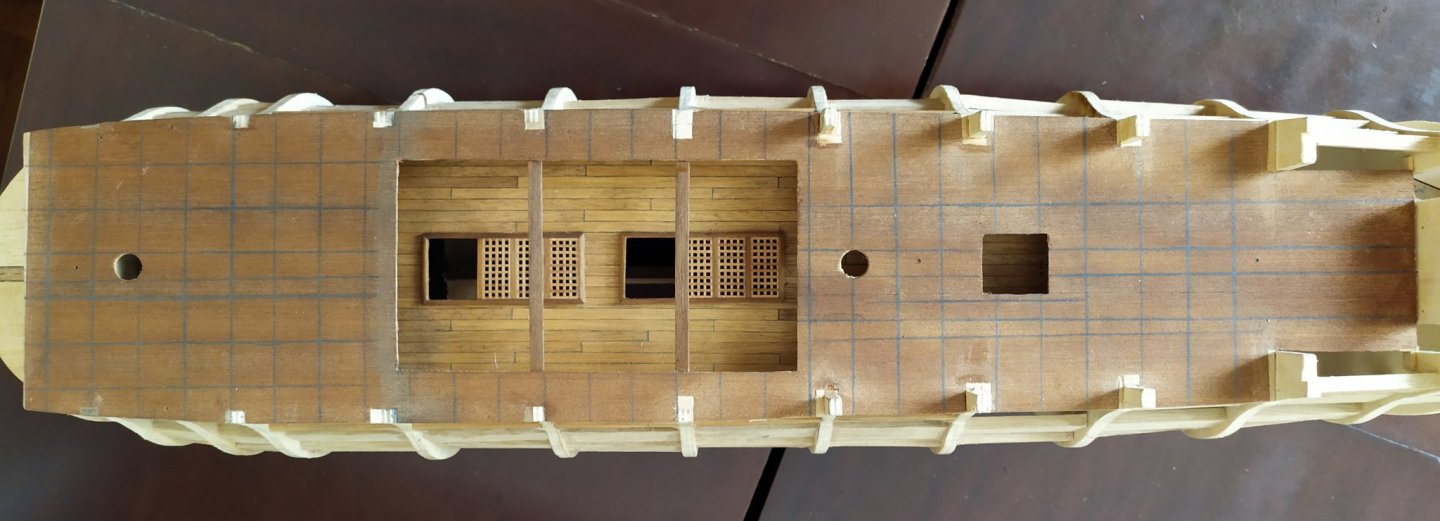
after few hours the deck is comming nicelly
- KARAVOKIRIS, Prowler901, GrandpaPhil and 1 other
-
4
-
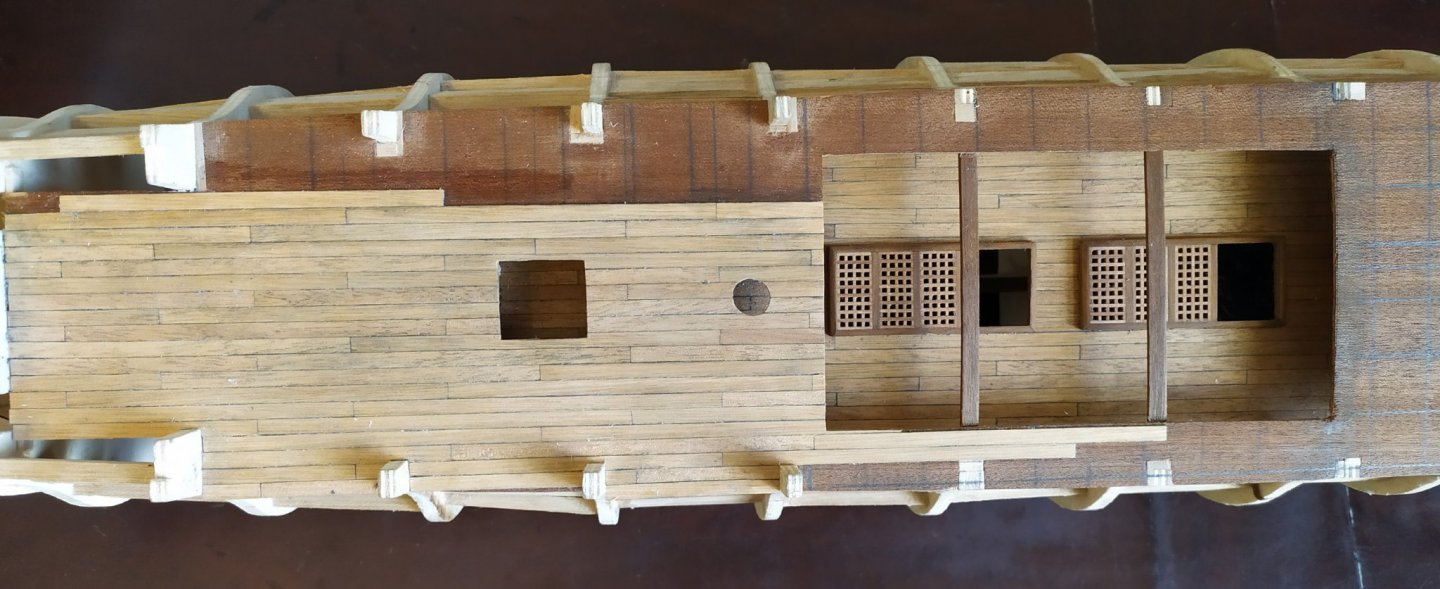
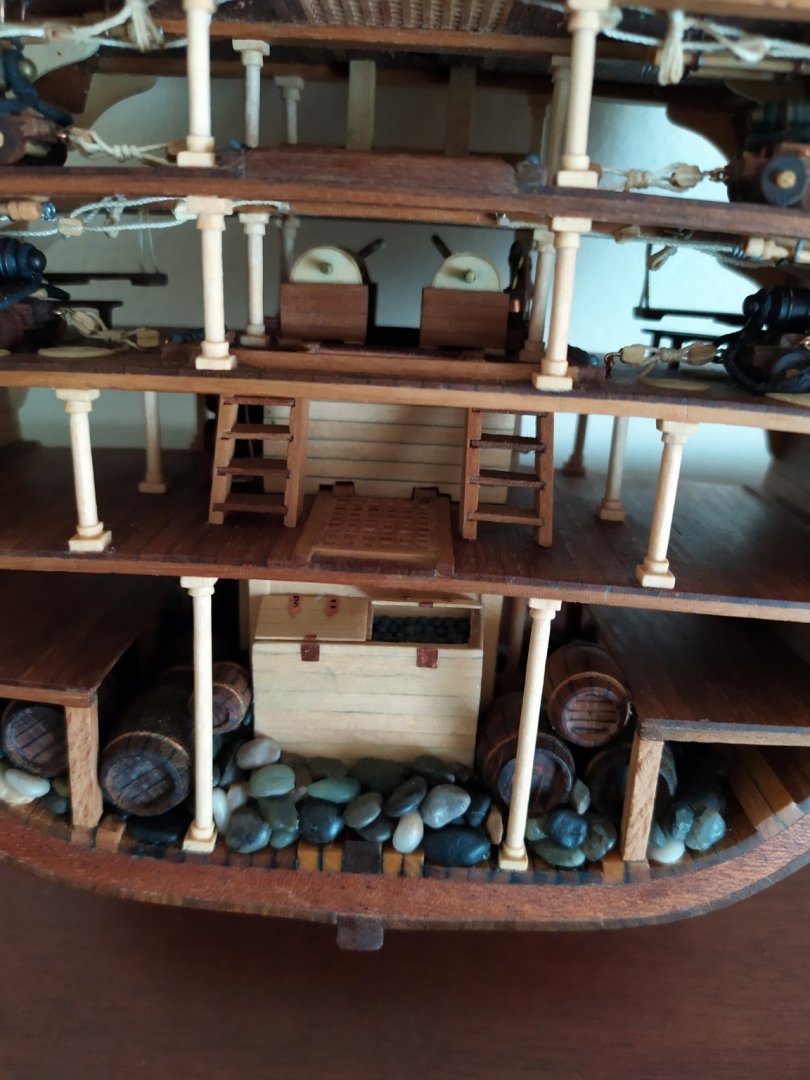
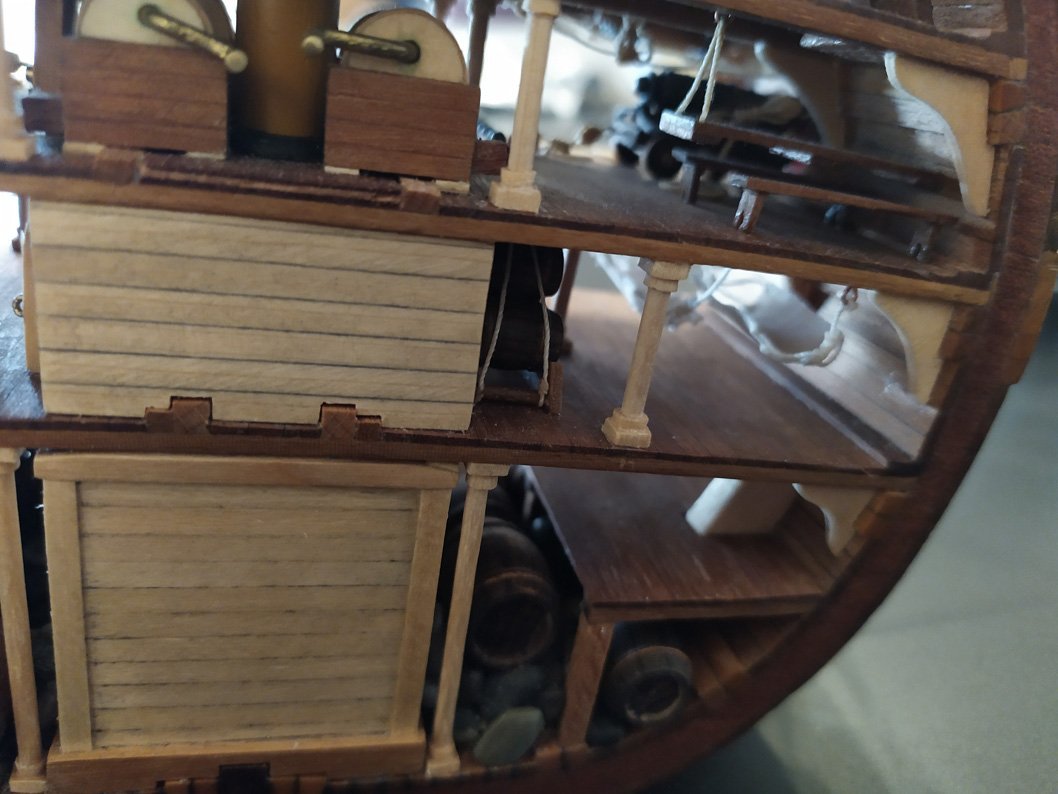
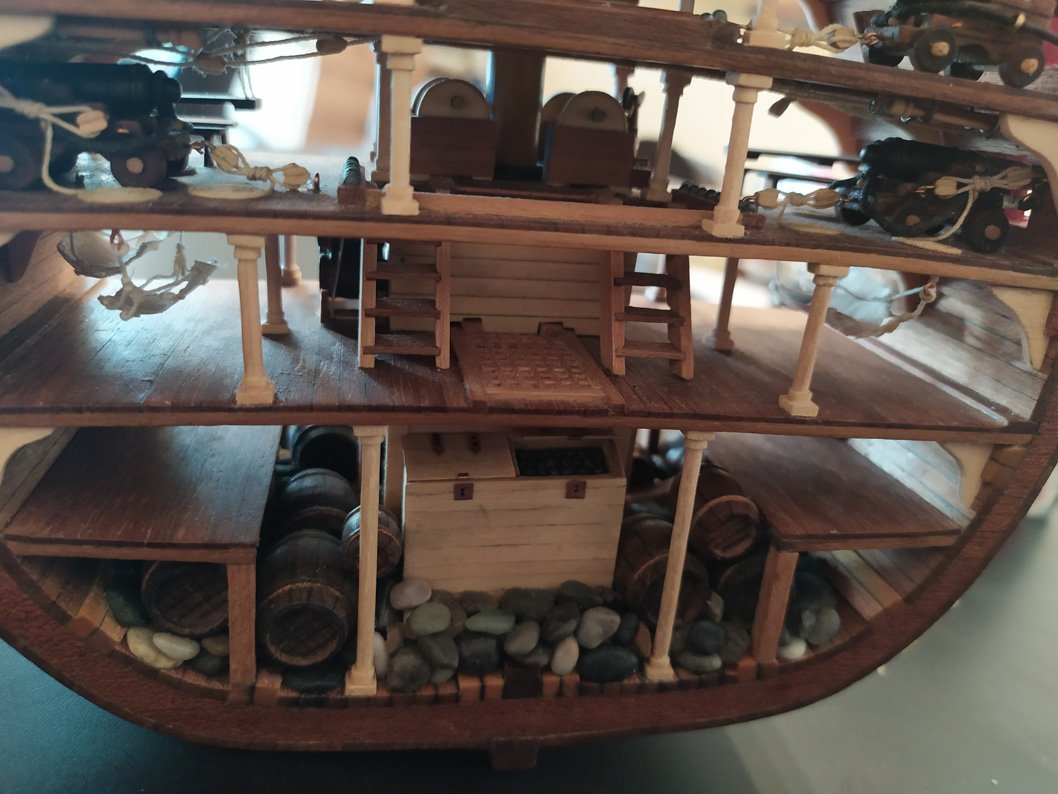
crates are in place, worinkg on upper deck
-
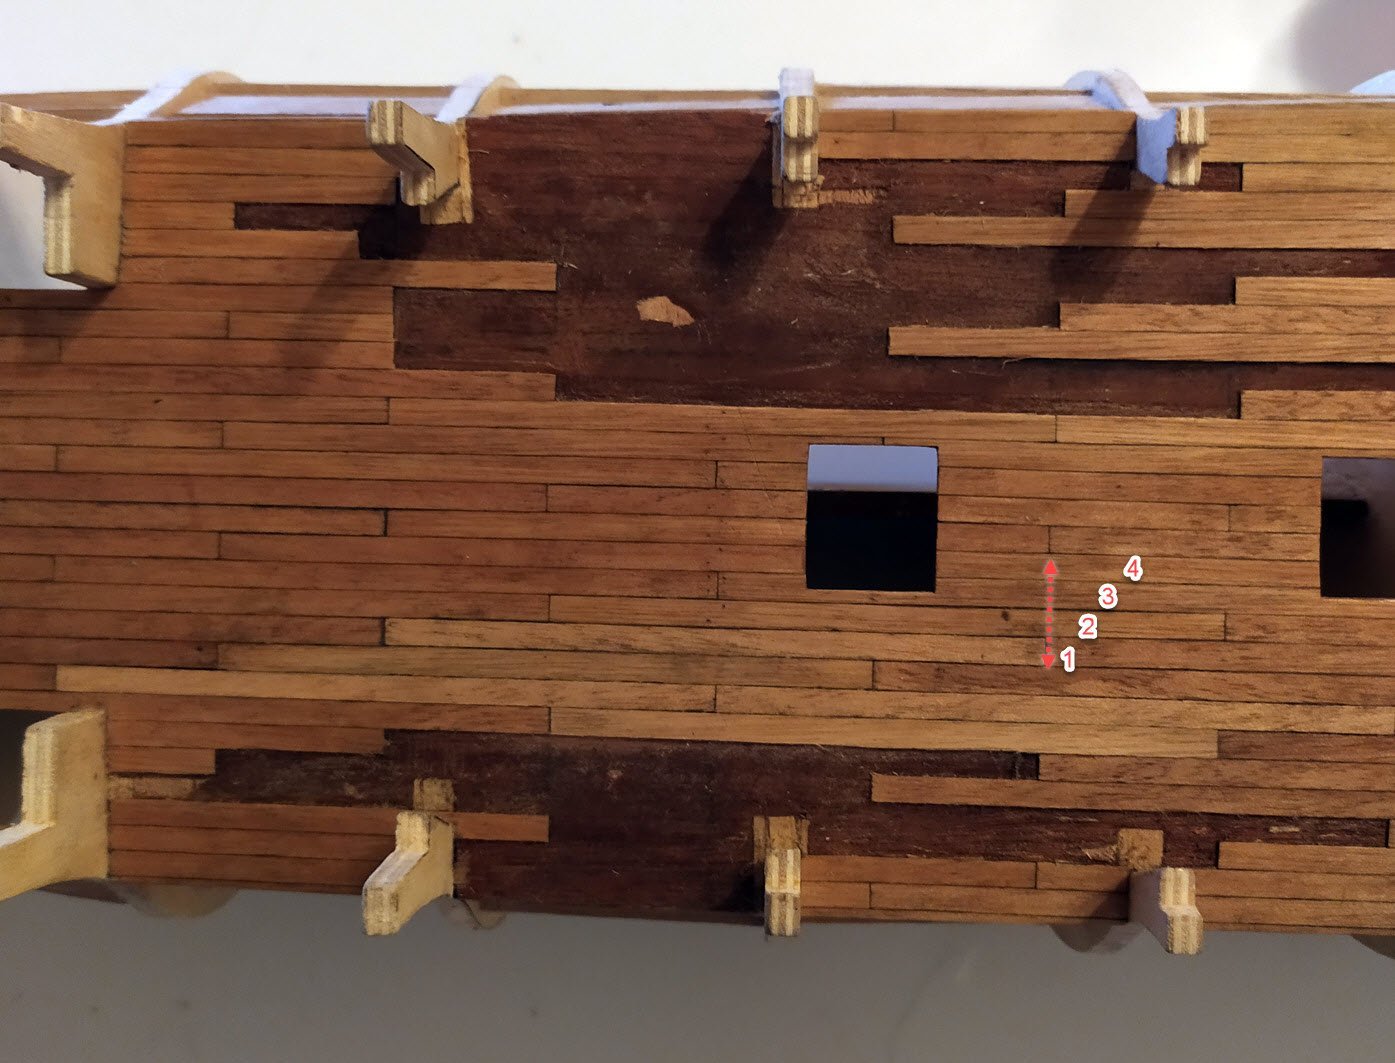
for deck planking I have choosen the "rule of 4", using 10cm planks. But unfortunately I couldnt avoid mistakesand had to redo some planks
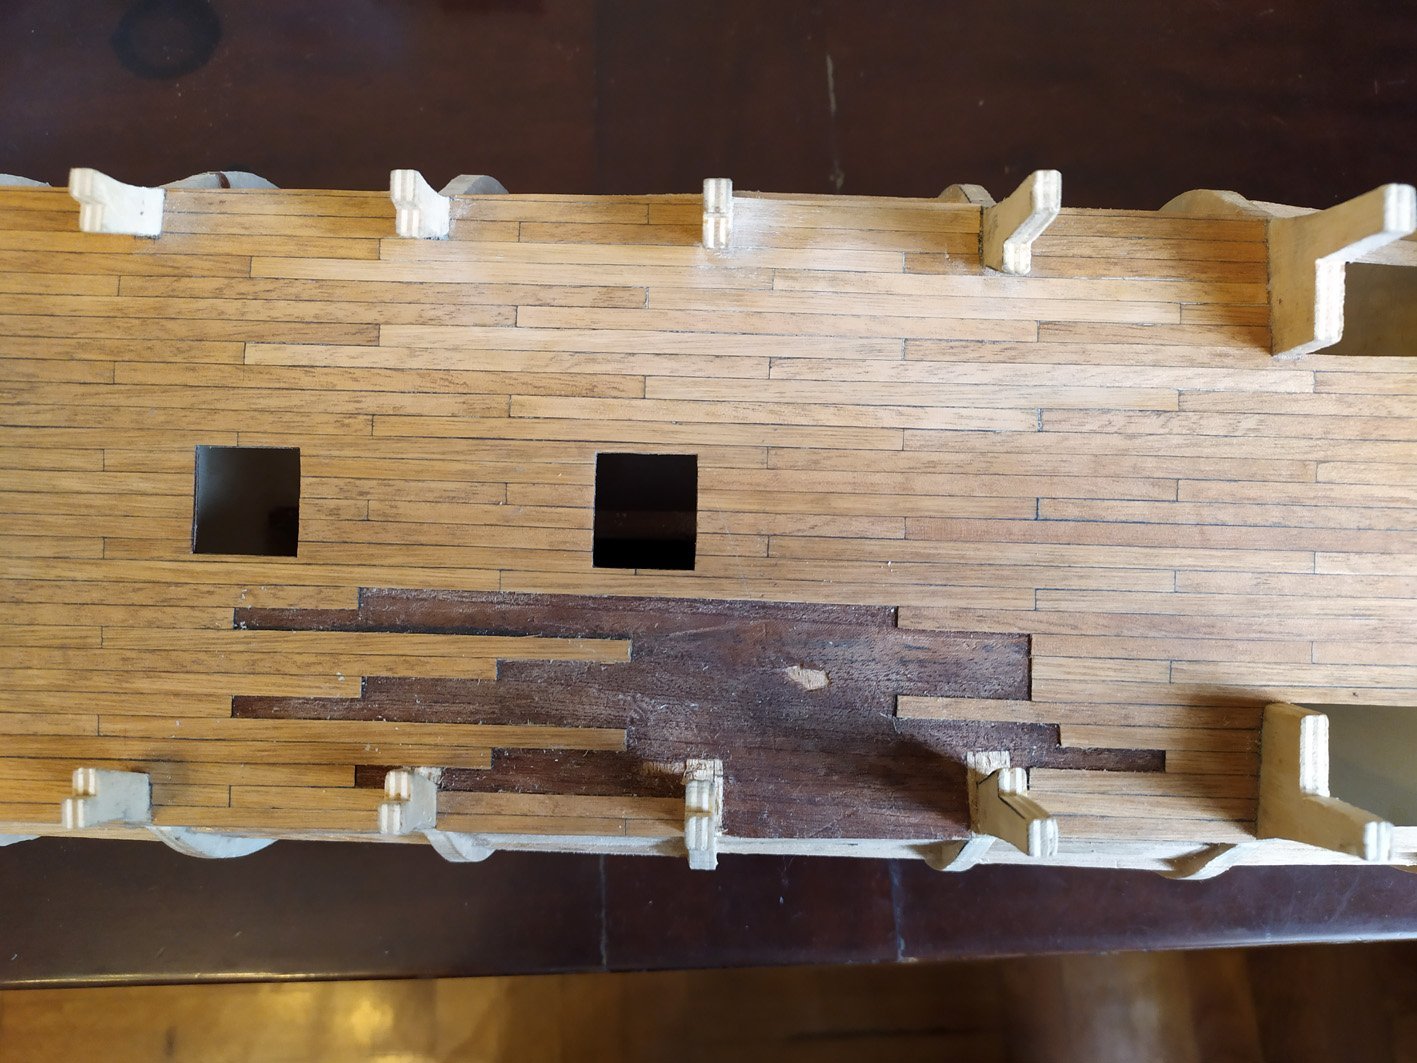
almost done, the new planks are few tones brighter than the old ones, I guess I ll have to wait to see how are they look after oiling
-
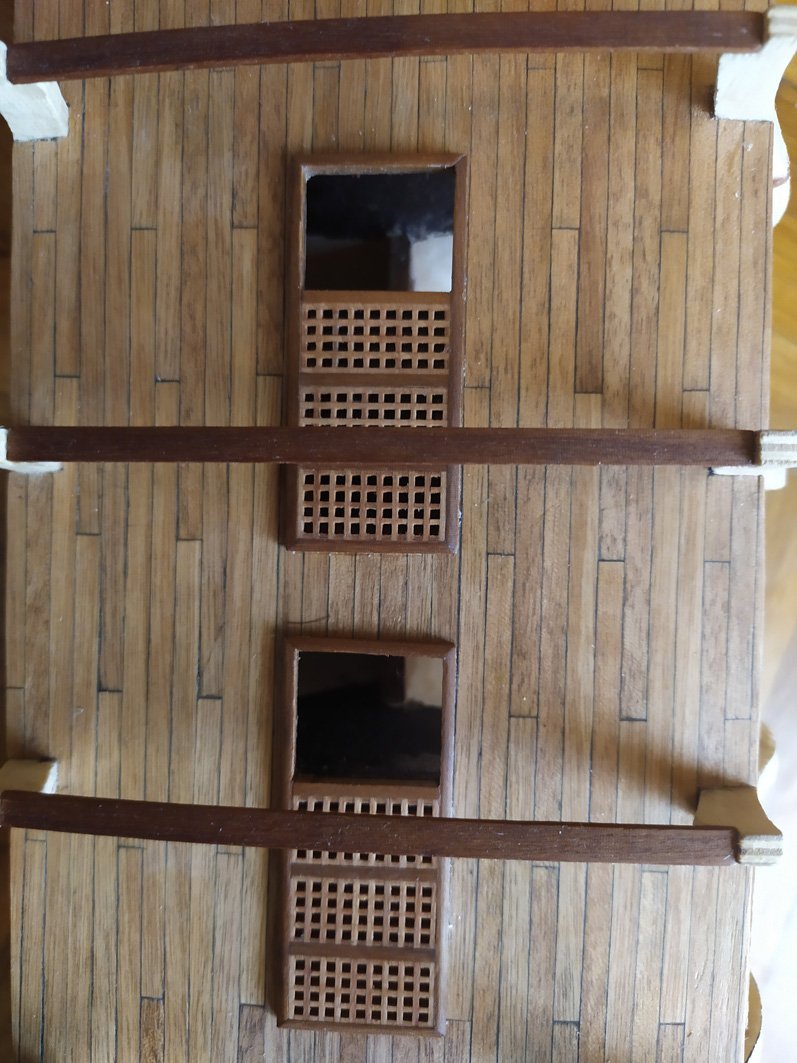
deck planks were cut in 10 cm each and the caulking was made with soft black pencil.
I have marked the deck with parallel squares just to ensure the right positioning of the deck planks. In some occasions I have to make micro adjustments to keep them in a straight line

always planking from center toward sides
Half done

need some sanding, caulking looking good for this scale (1:98) will be darker when oil is applied
with half deck oiled the difference is obvious!!!
-
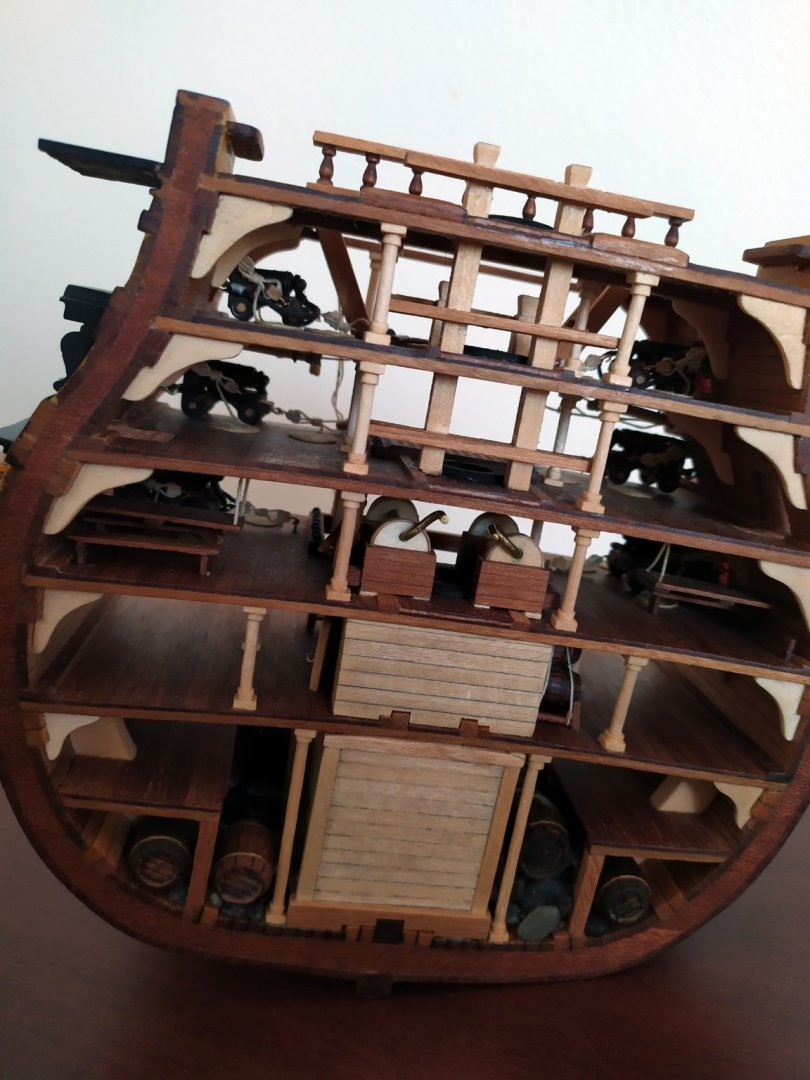
Along with victory cross section, that is almost done, the time has come to start HMS Victory.
Corel's kit is a bit old (at least the one I have) and probably I will have to make a lot of improvements/modifications
while building the hull, I have noticed that many parts did not fit very well, hull beams are looking quite old and dry
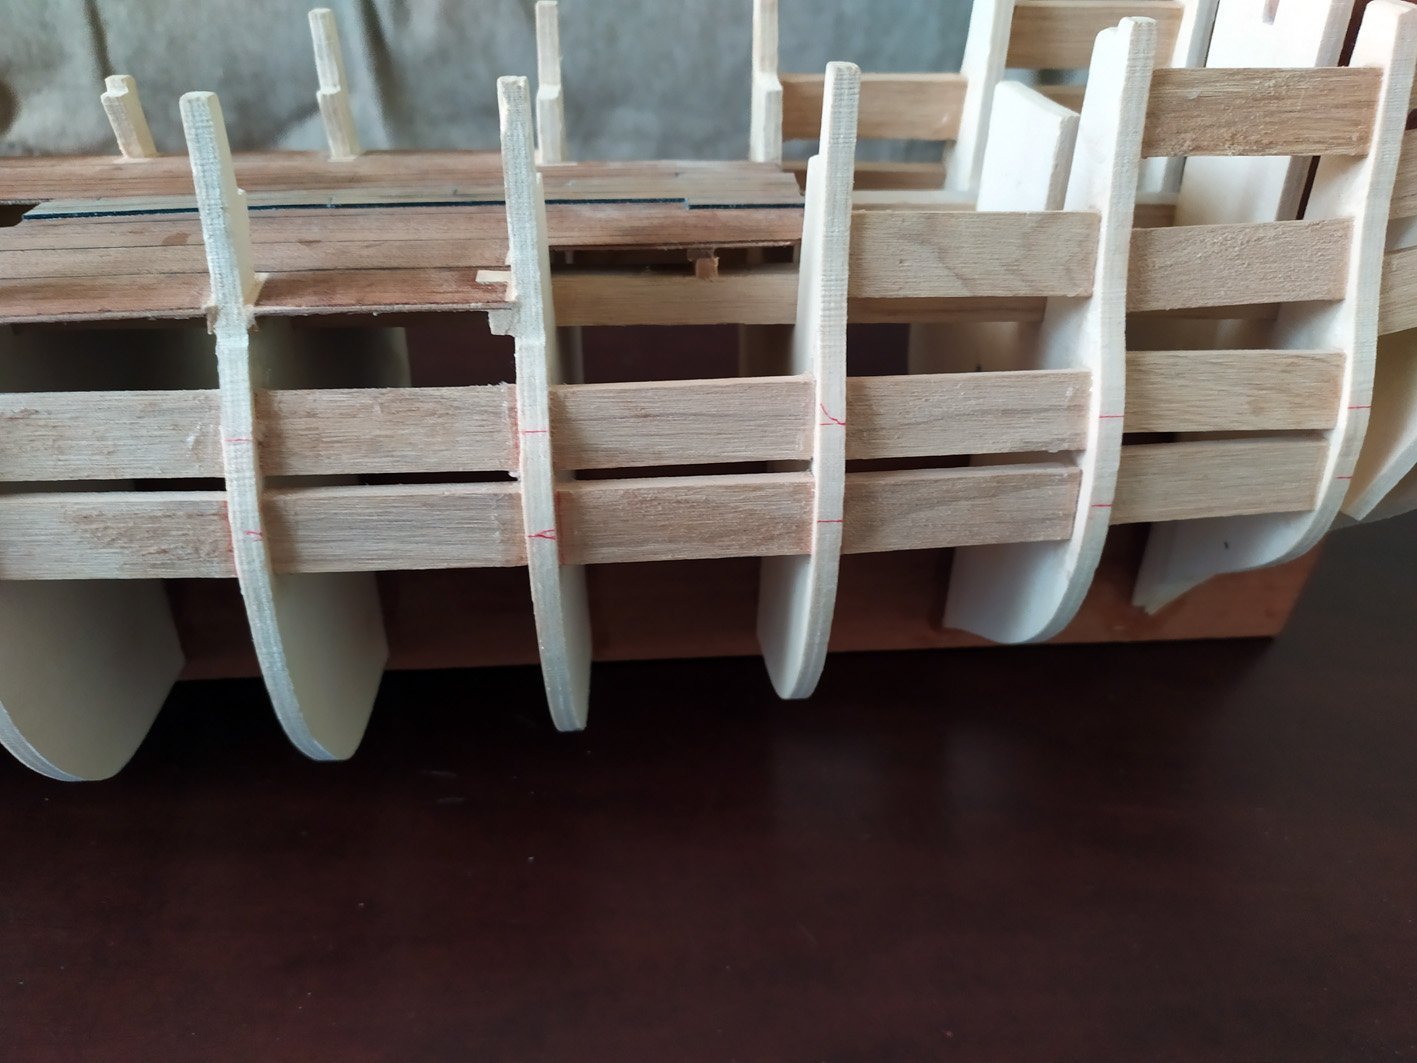
I had to fill the gaps almost in every hull beam
-
-
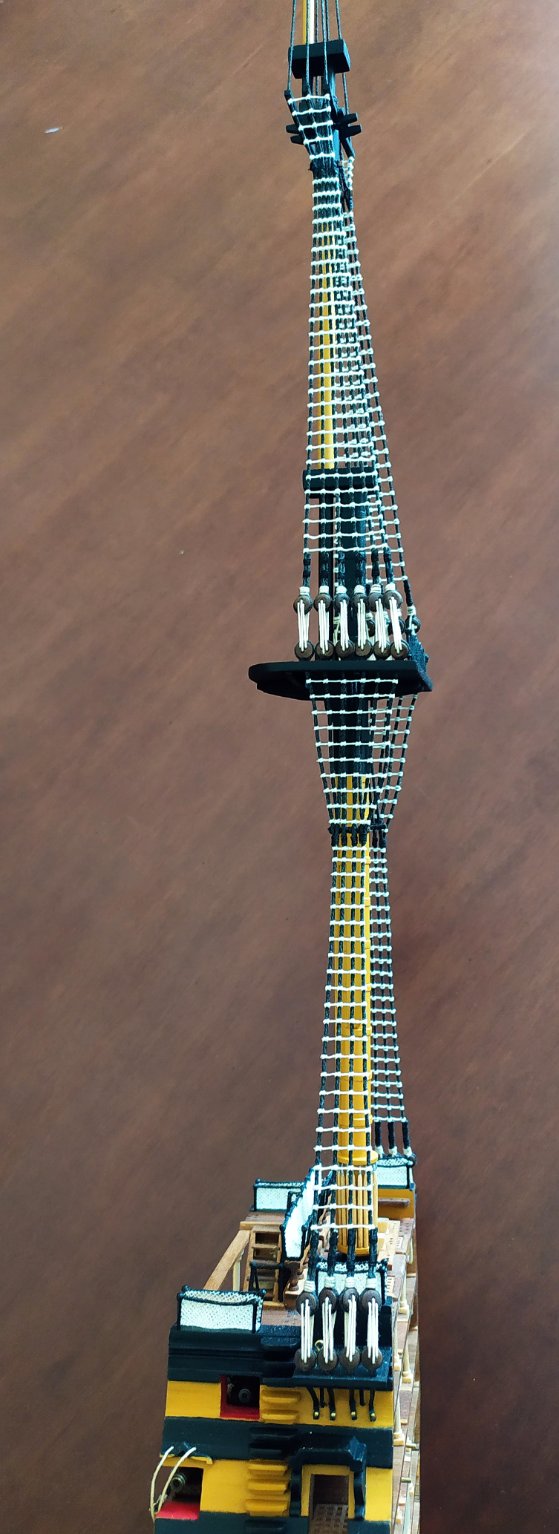
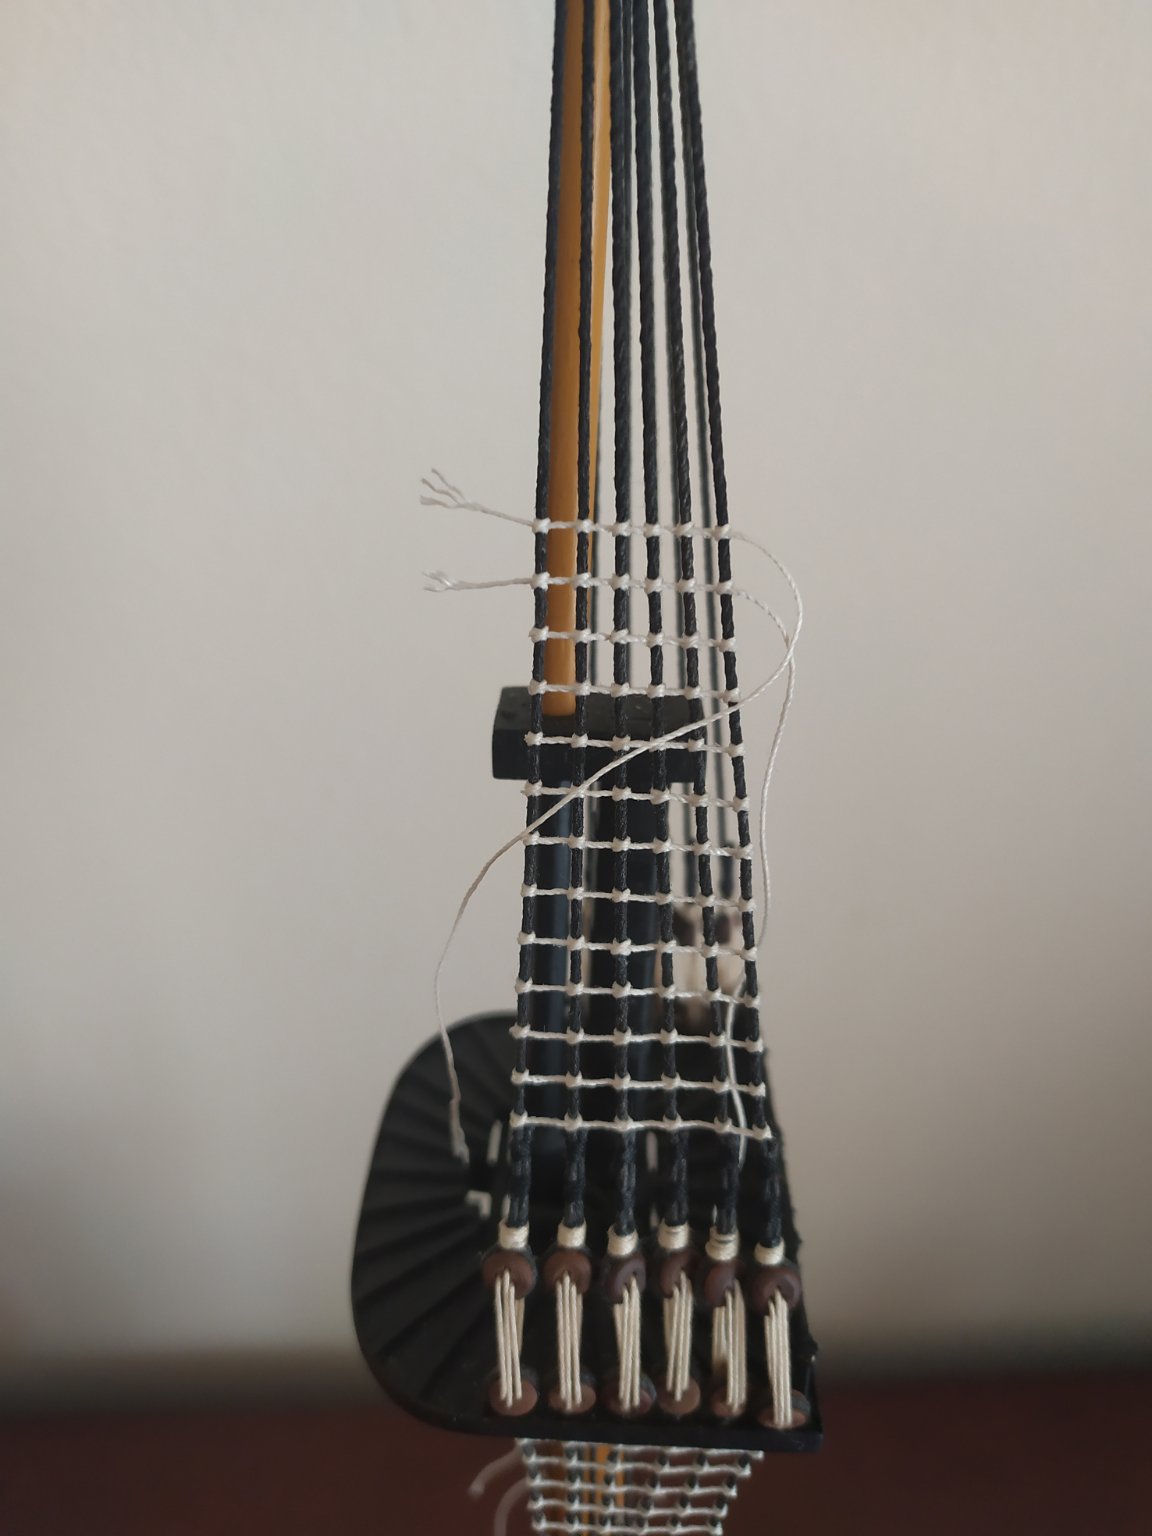
After 664 knots, ratlines are ready

-
-
15 hours ago, Lt. Biggles said:
Bet you are a little bit happy you don’t have to rig the entire ship!! Looks great!
So true!!!
but to be honest I got already Corel HMS Victory waiting to get built....
-
-
-
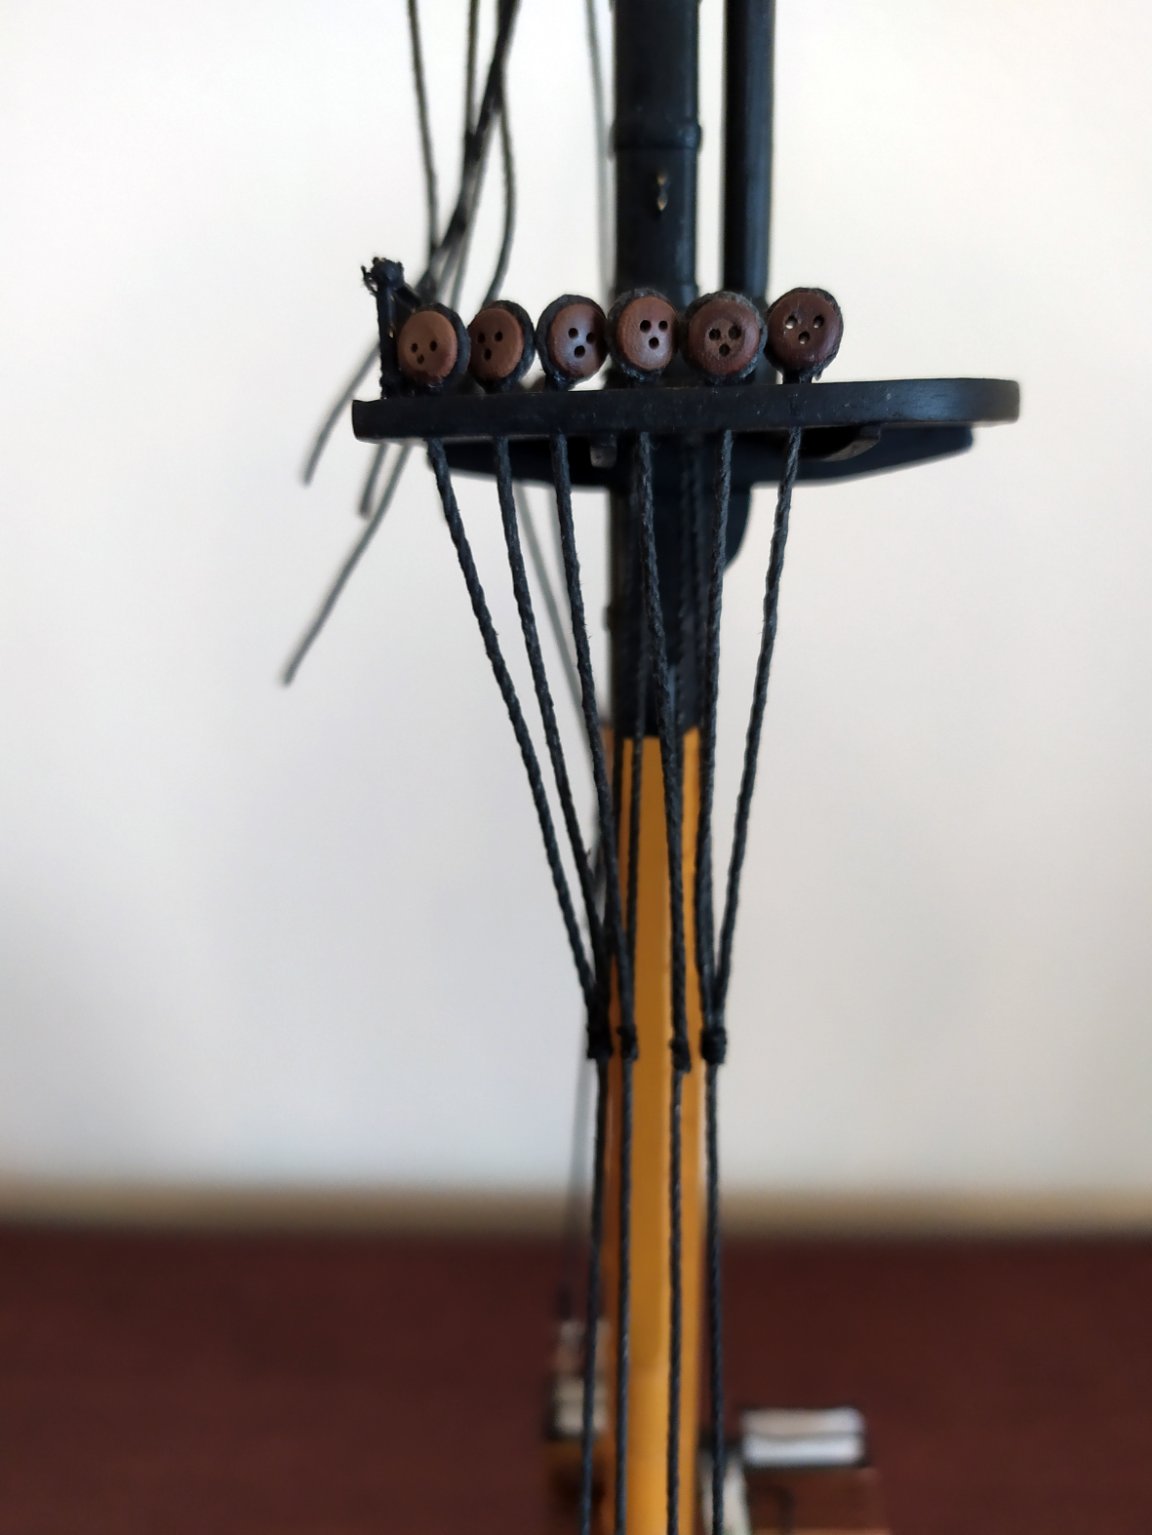
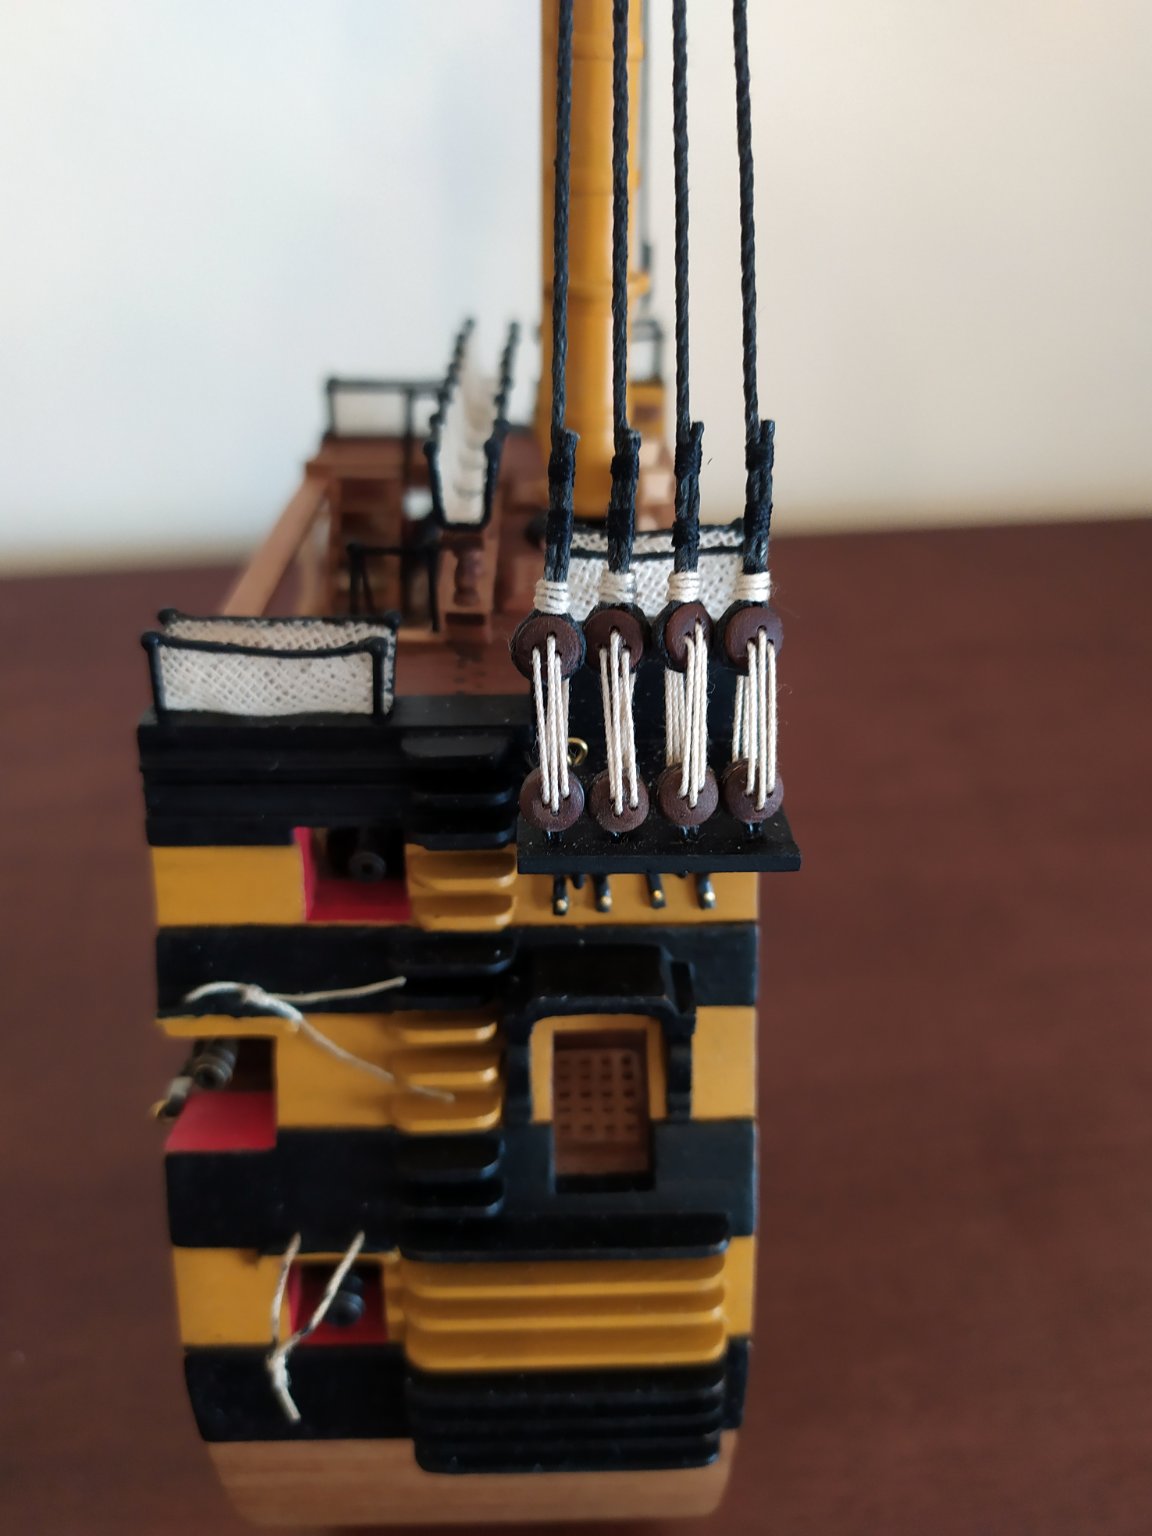
dead eyes attached on hull
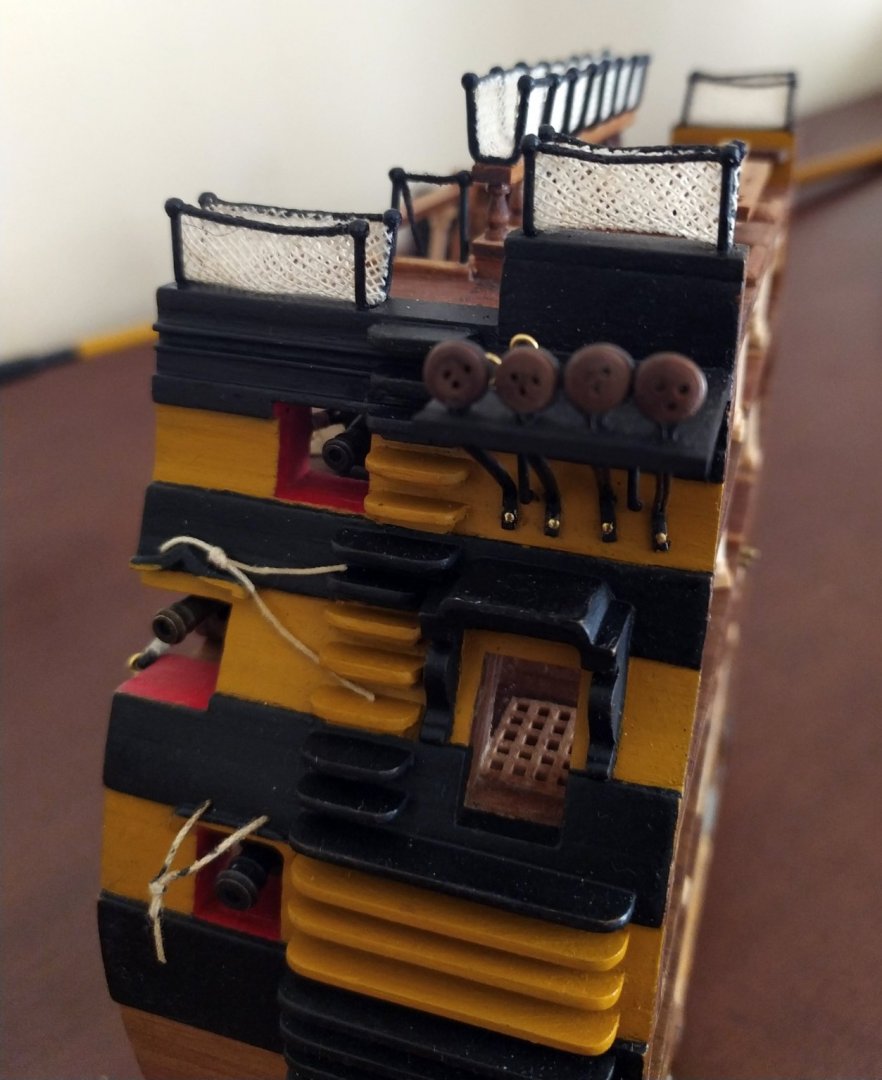
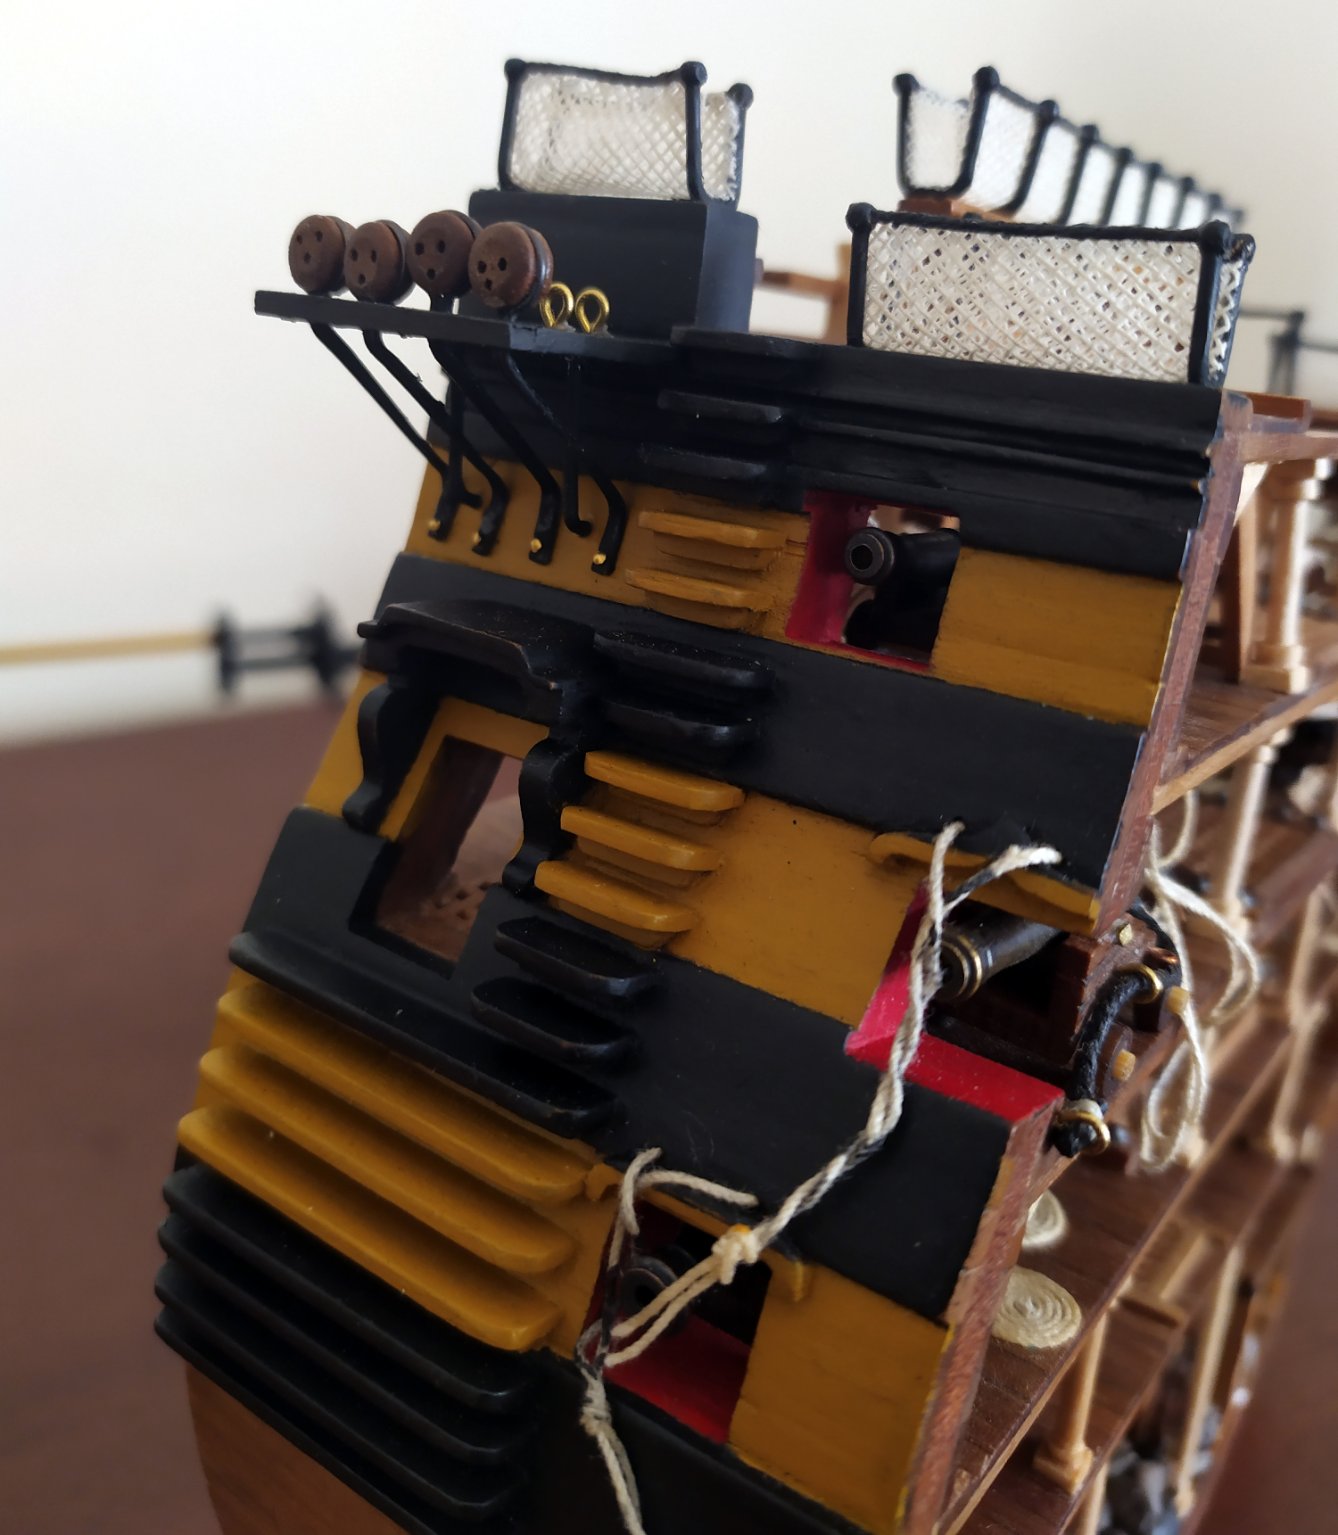
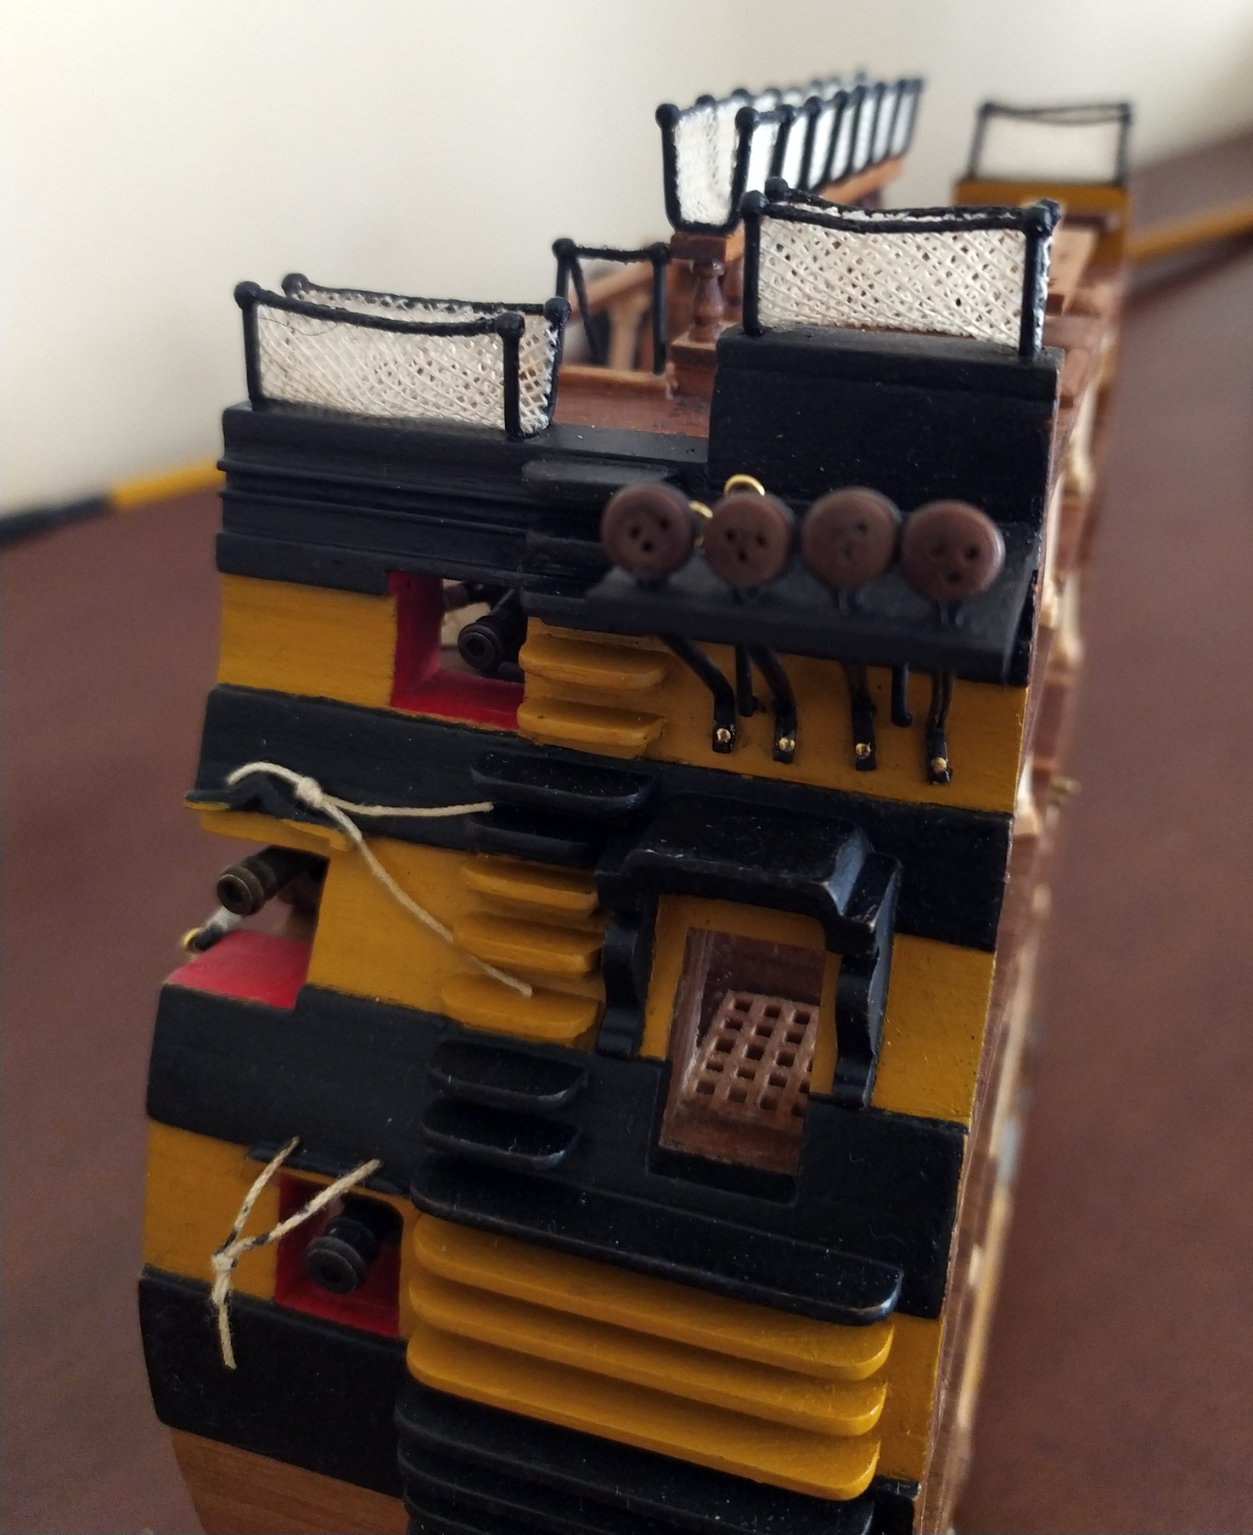
fishnets and stair rails finished

- KARAVOKIRIS, ccoyle and wlell
-
3
-
-
Hull is almost ready, I will keep adding some details while working with main mast and rigging
- Matt D, BLACK VIKING and Osmosis
-
3
-
-
-
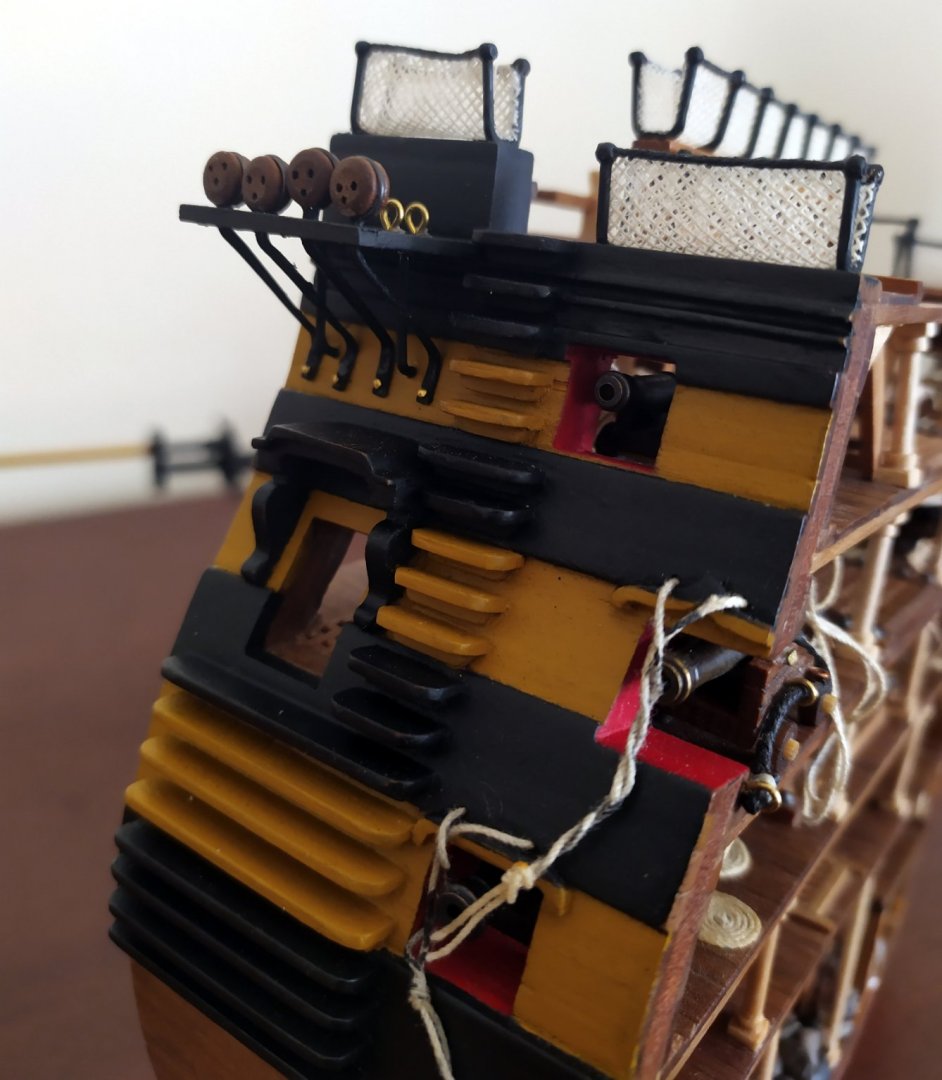
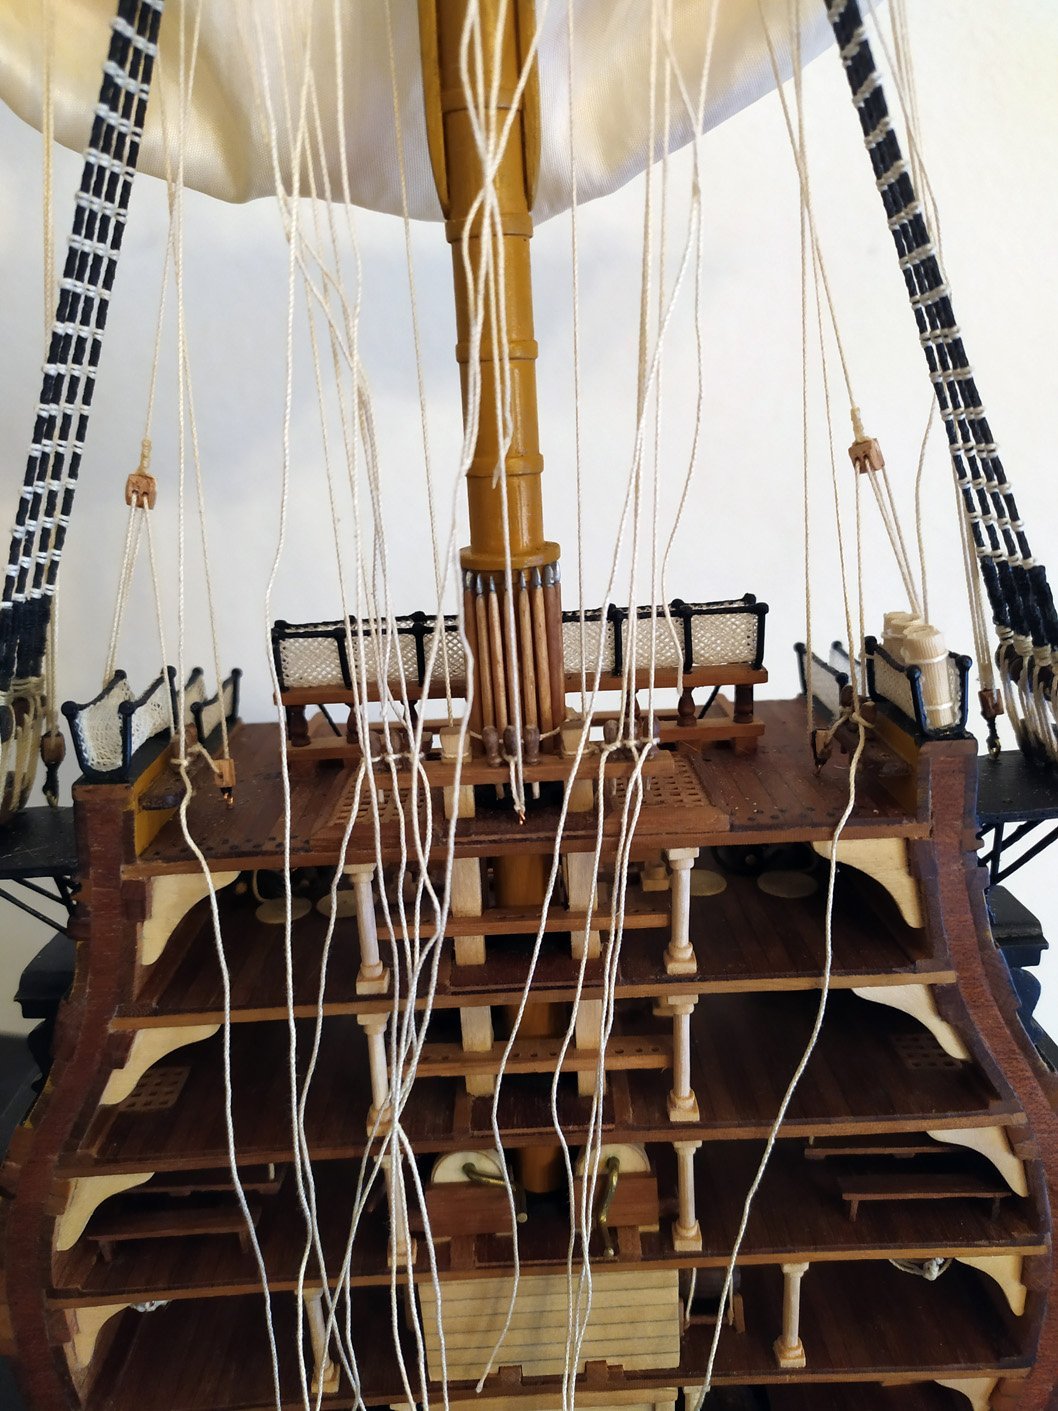
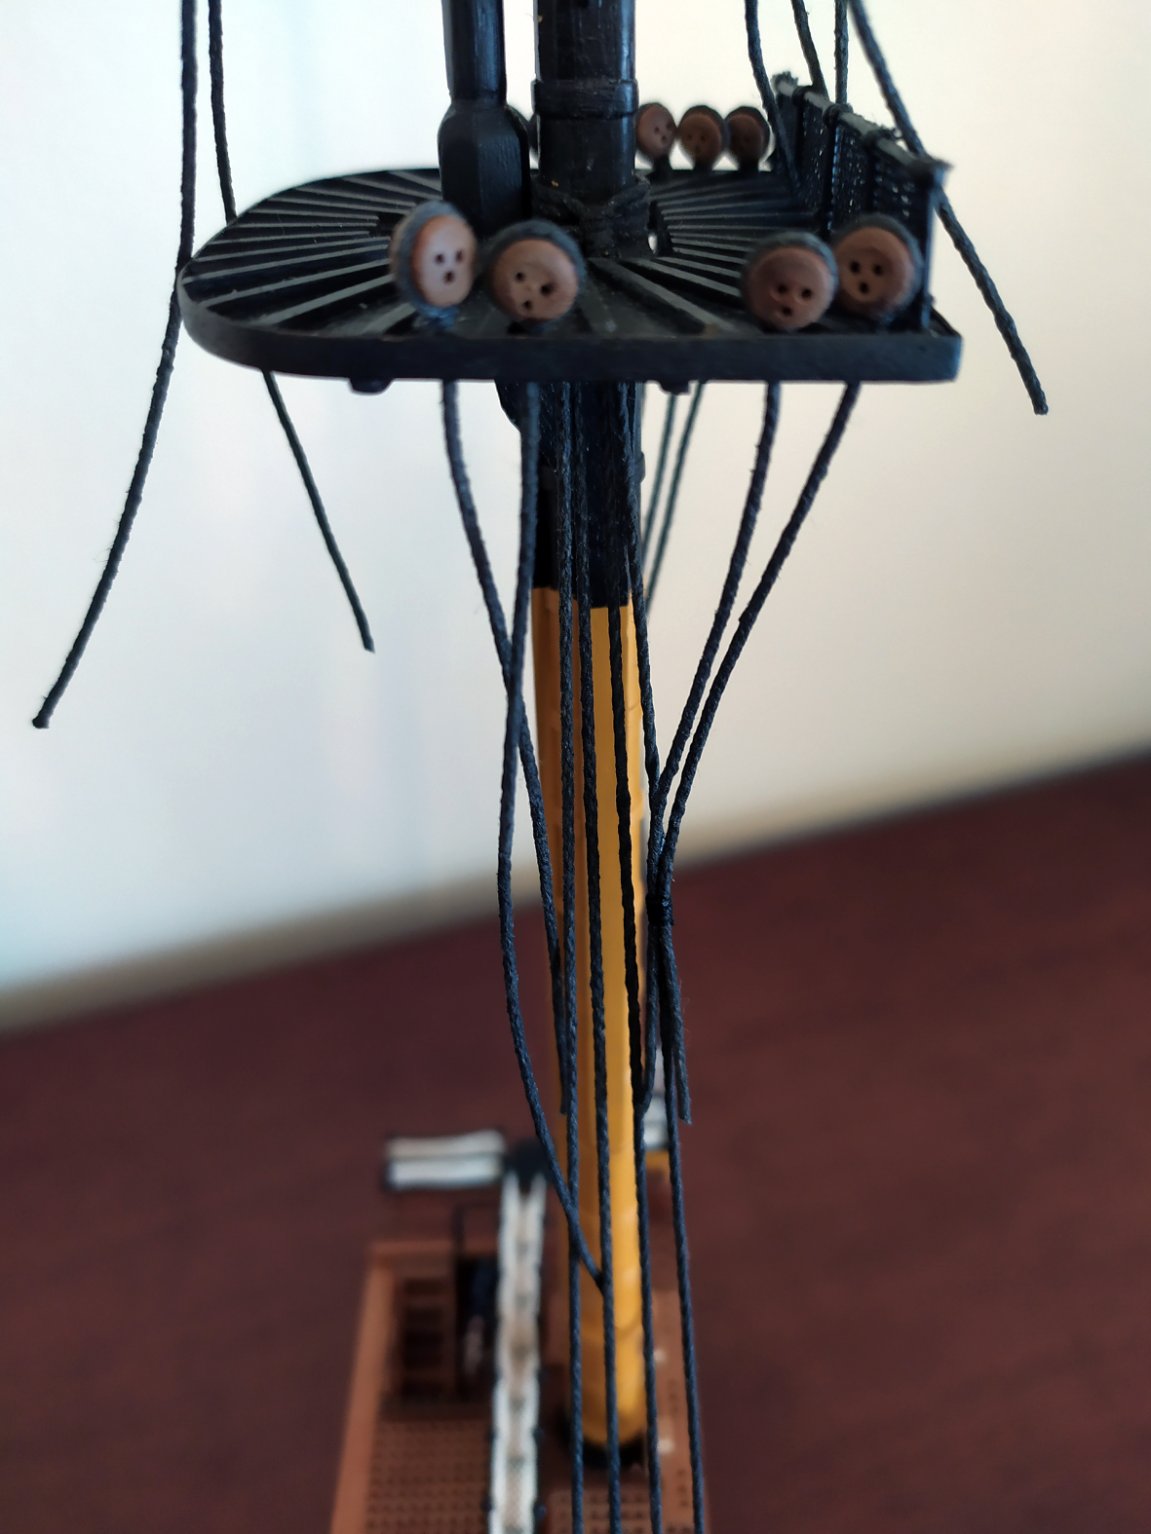
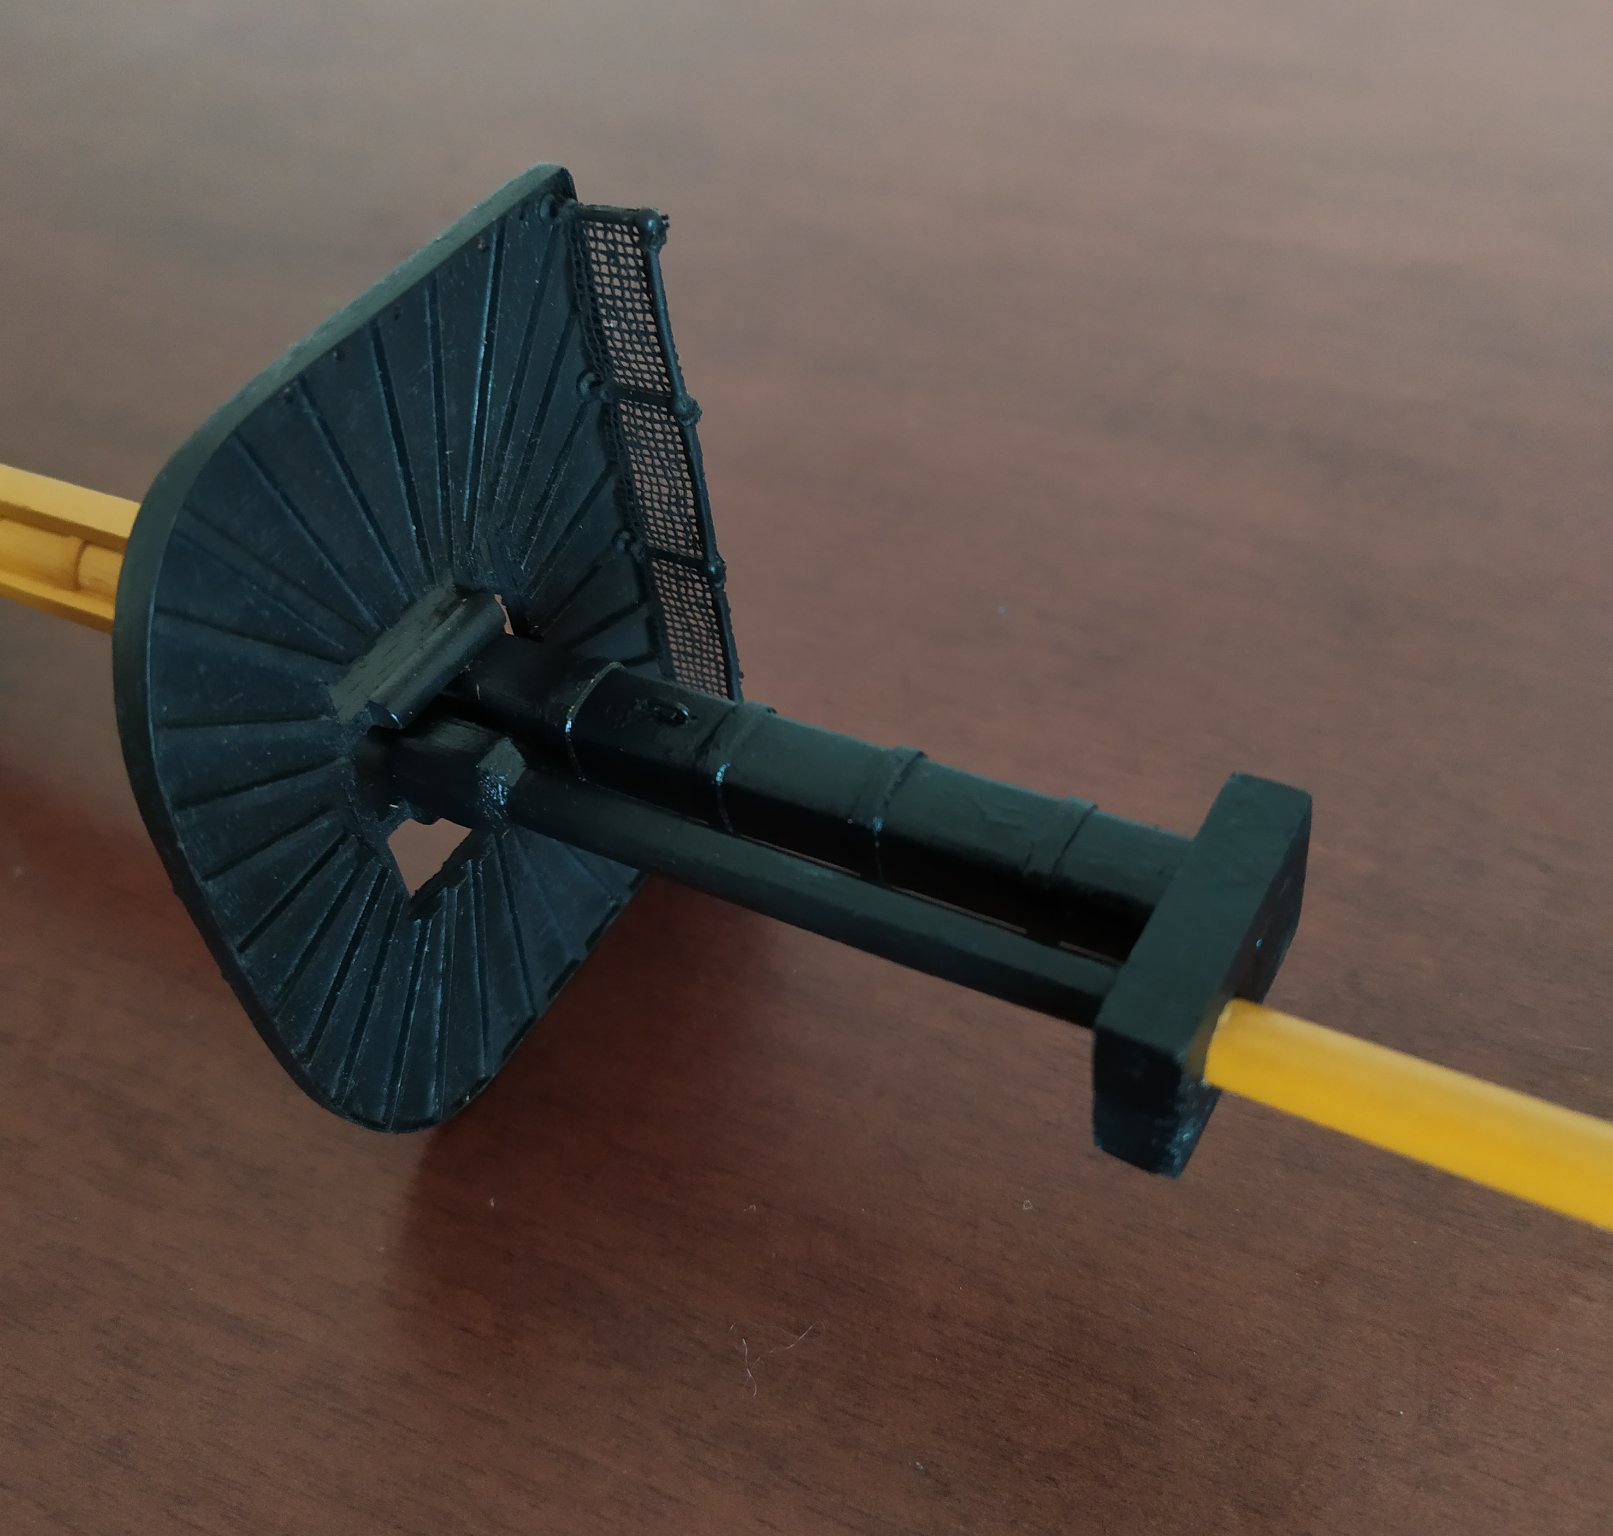
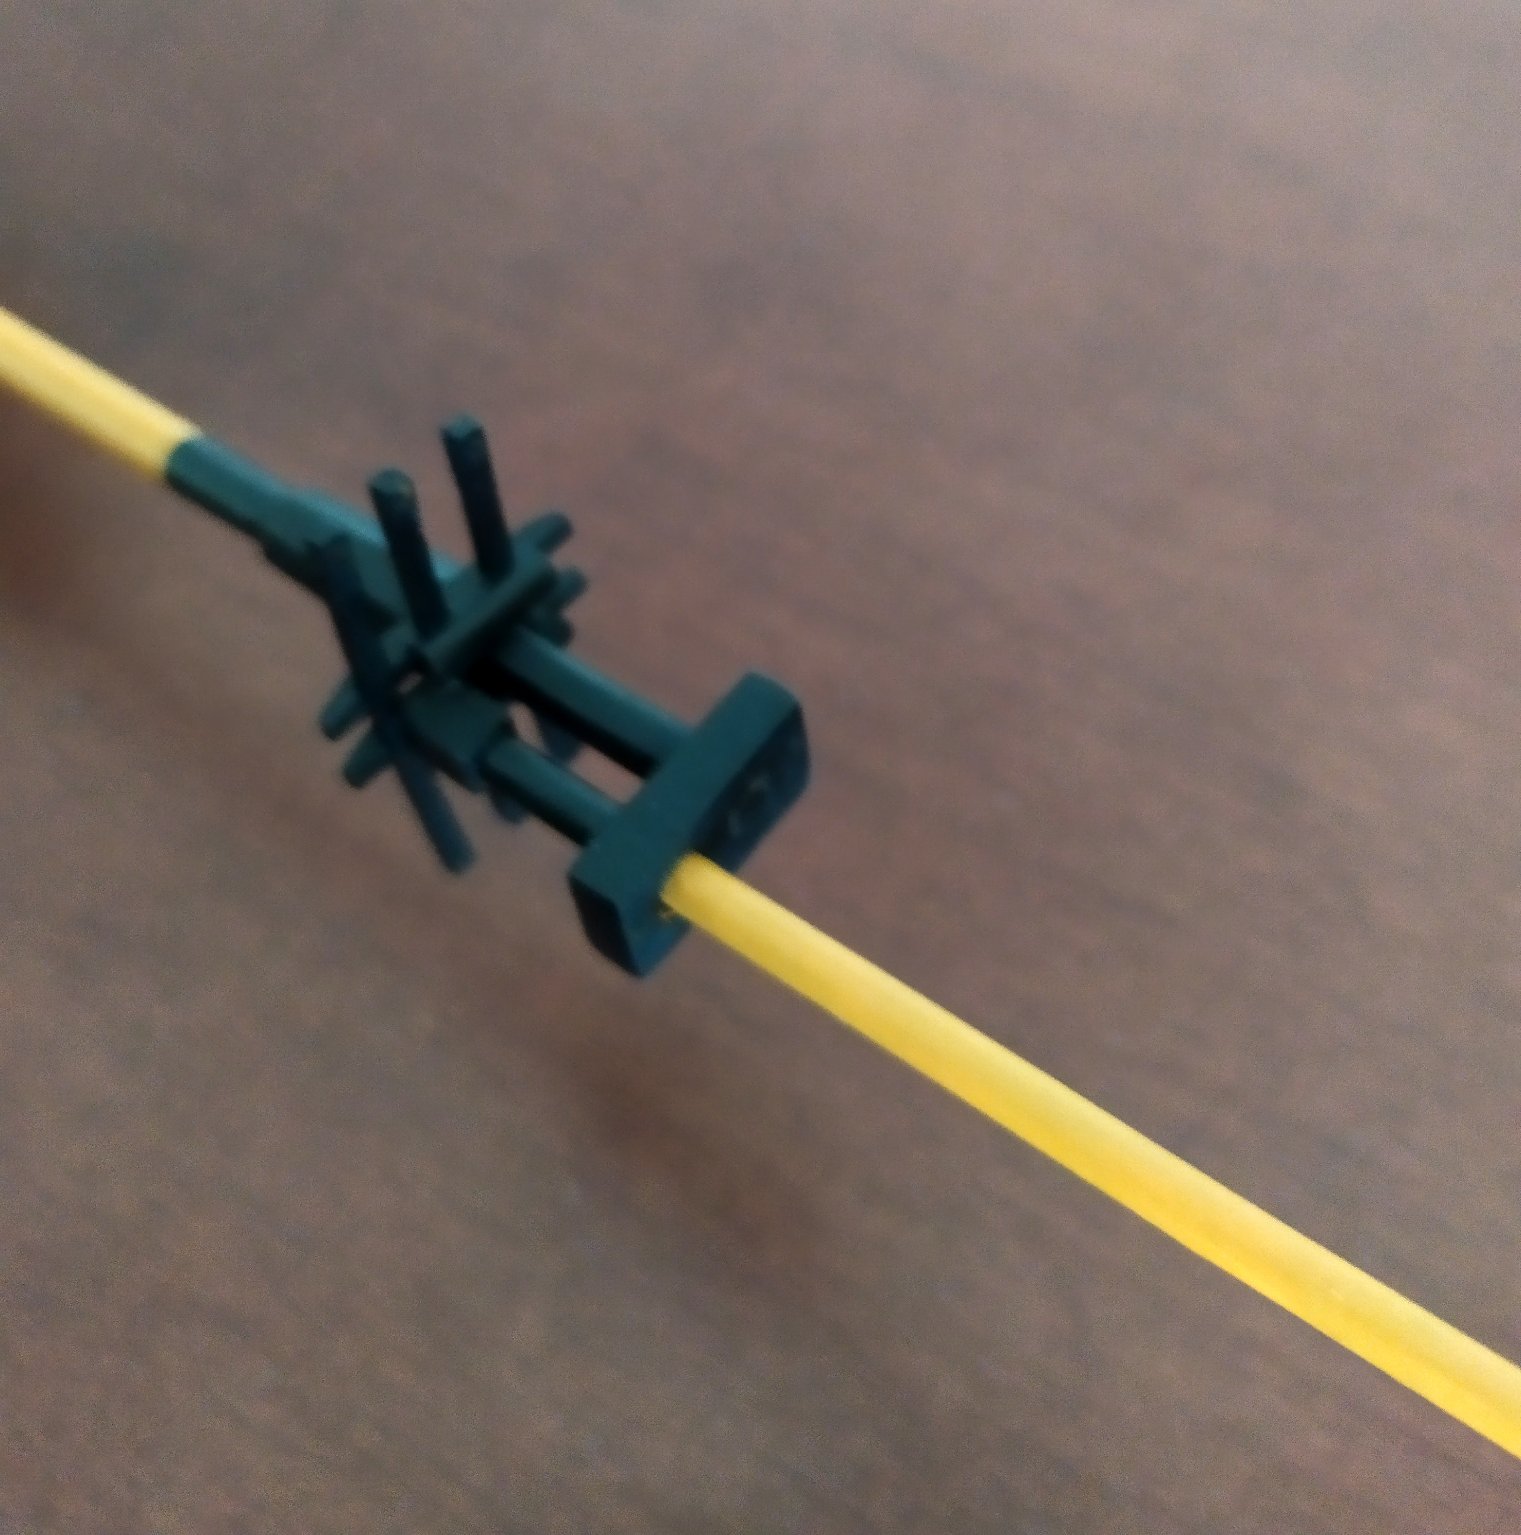
working with crownest, will be painted in black
-
2 hours ago, Lt. Biggles said:
Looks amazing! A great perspective of how big she is!
looks like you picked a very busy slice of the ship to replicate too!
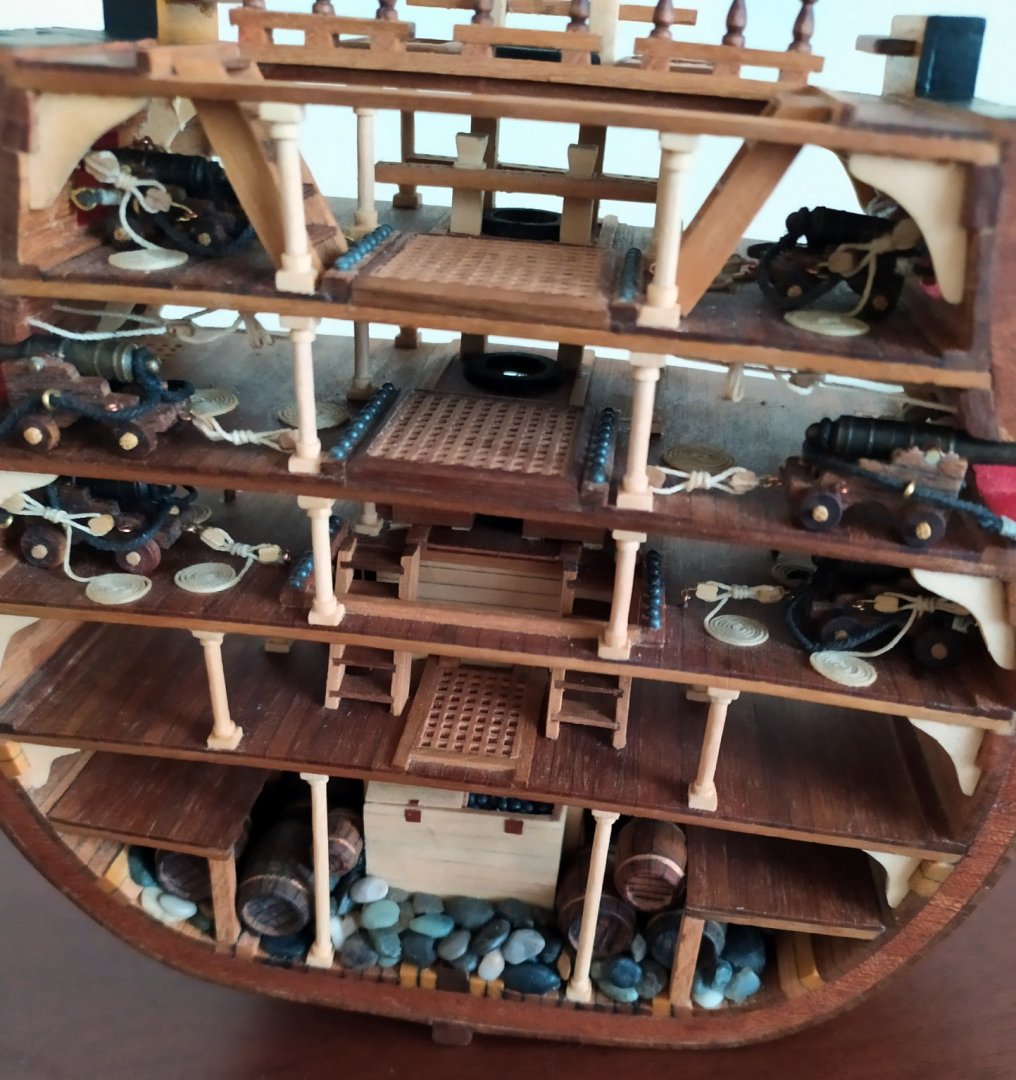
It is Corel's HMS Victory cross section kit 1:98, with modifications and improvements
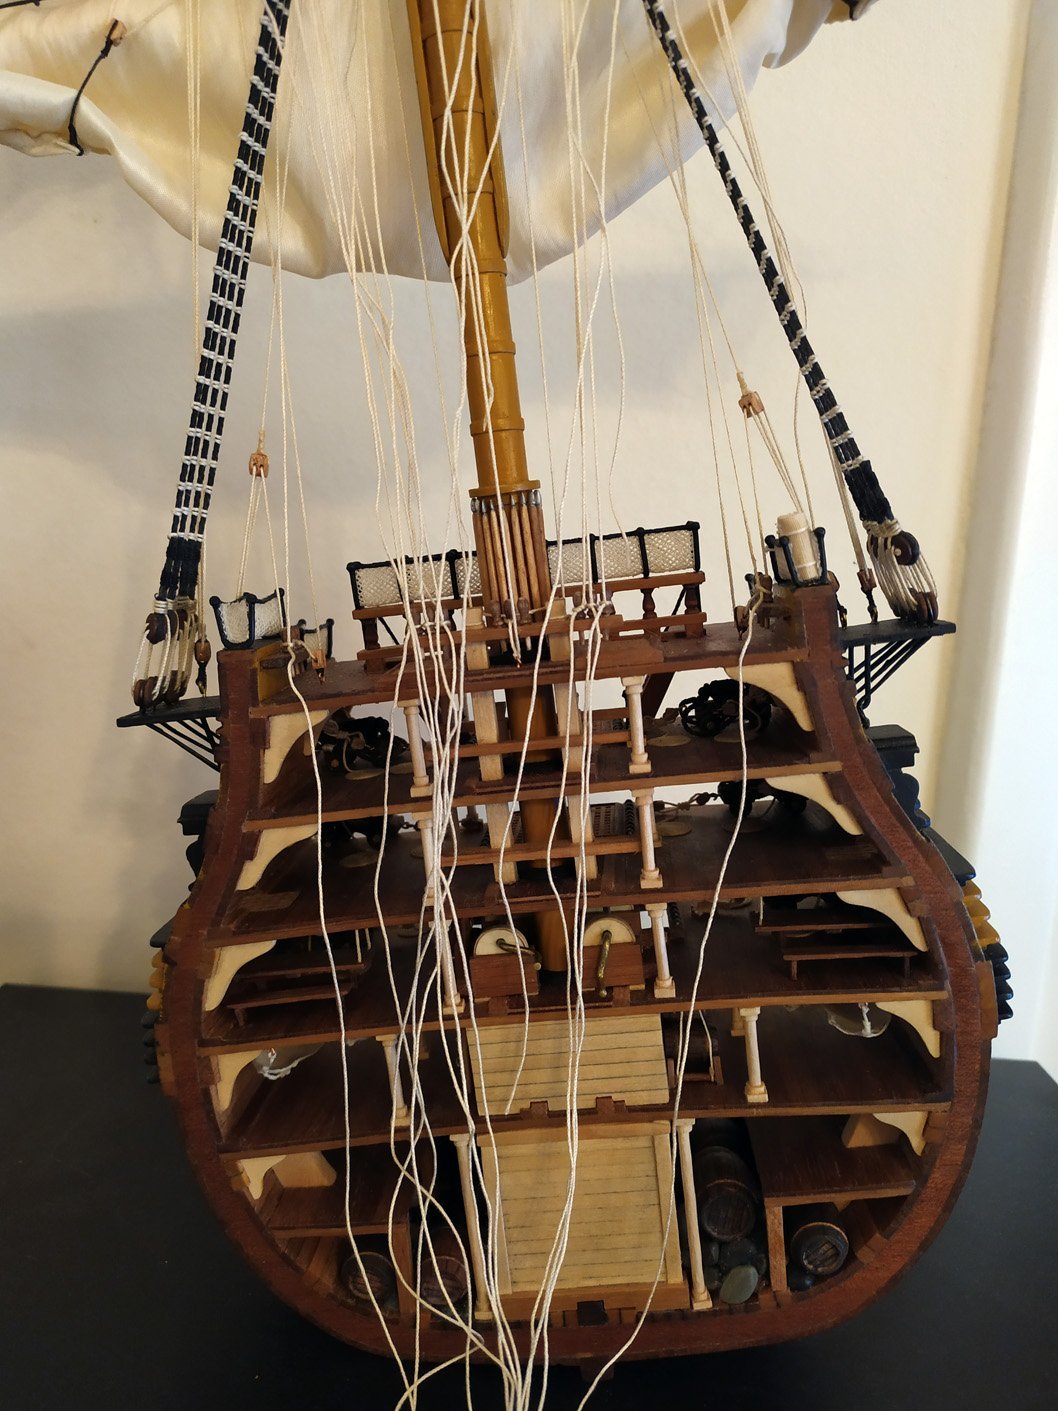


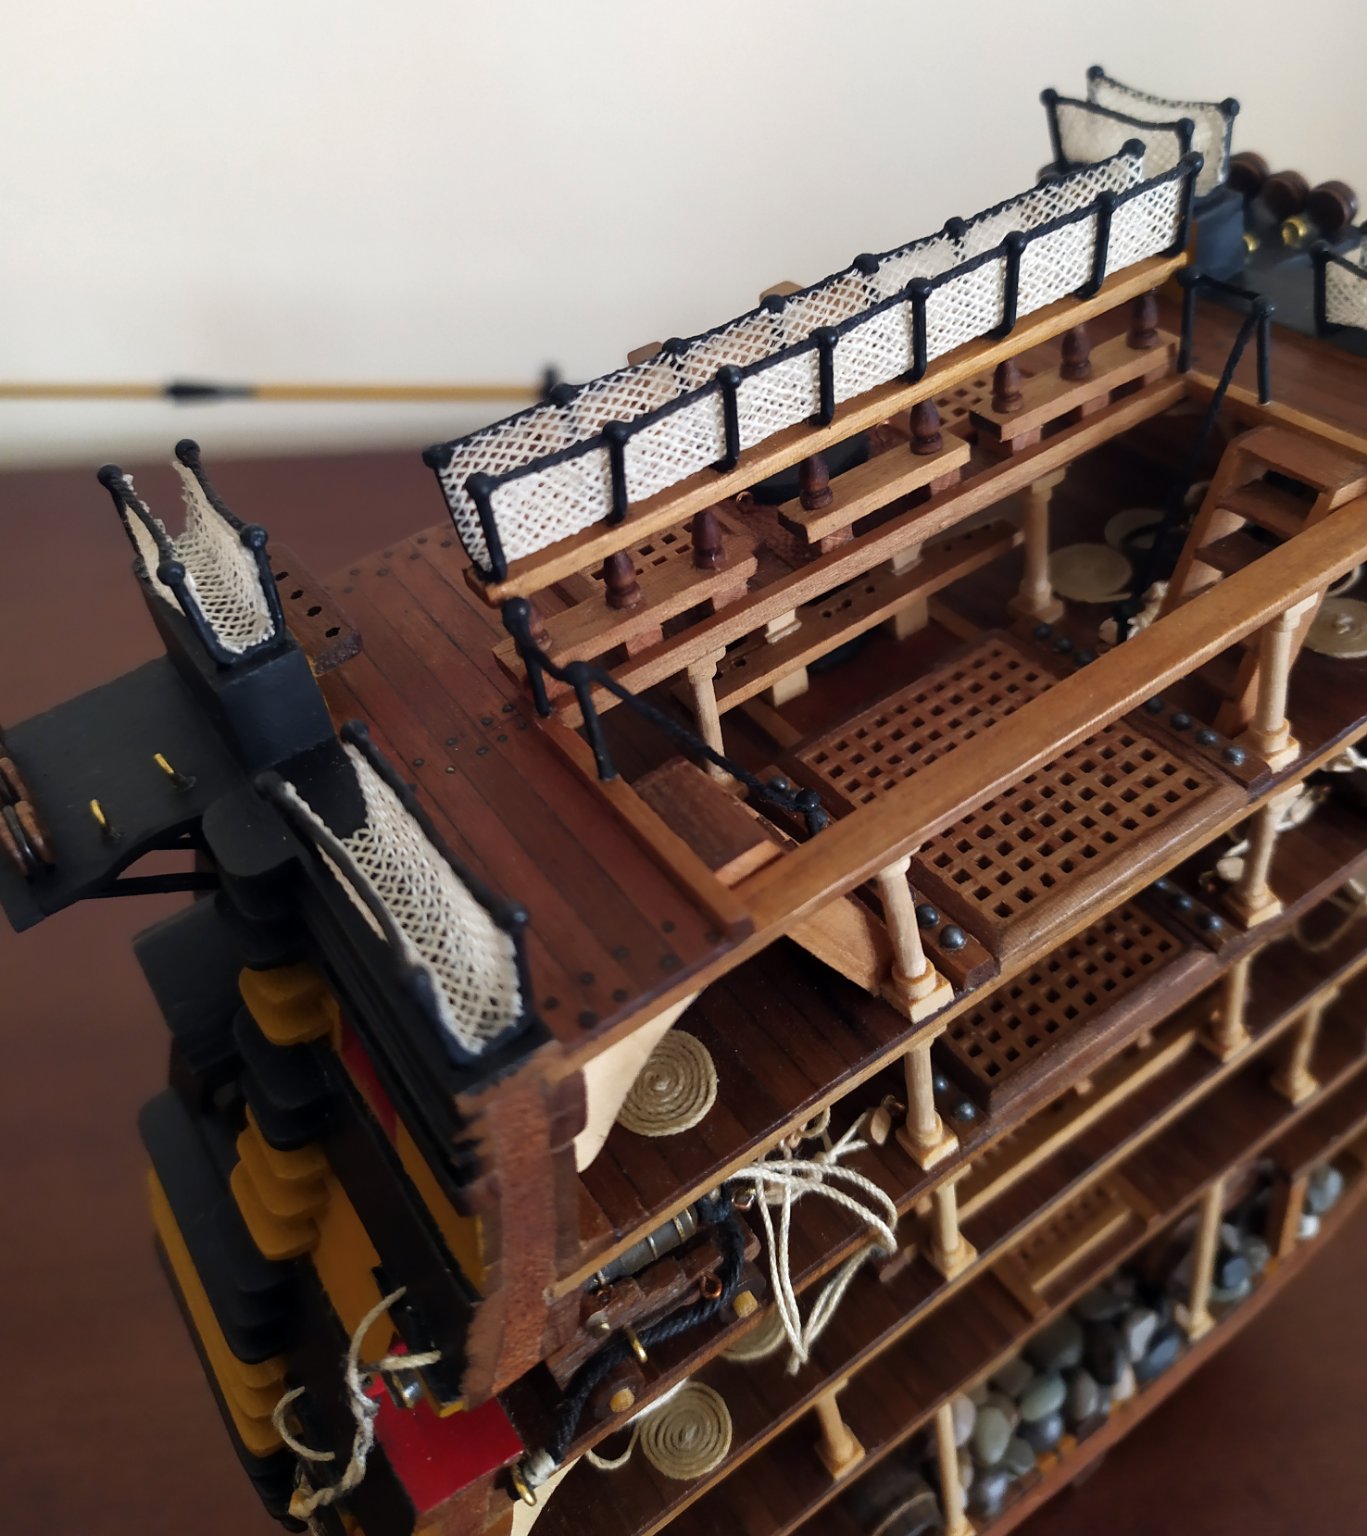


HMS Victory by kostas_gr - FINISHED - Corel - 1:98 Scale - cross-section
in - Kit build logs for subjects built from 1751 - 1800
Posted
thank you Steve, the build is completed I have few photos left to post. I hope you to enjoy the details I have added in the cargohold