


dafi
-
Posts
2,292 -
Joined
-
Last visited
Content Type
Profiles
Forums
Gallery
Events
Posts posted by dafi
-
-
After the slipway I managed to do my second big holiday monster: the rope walk
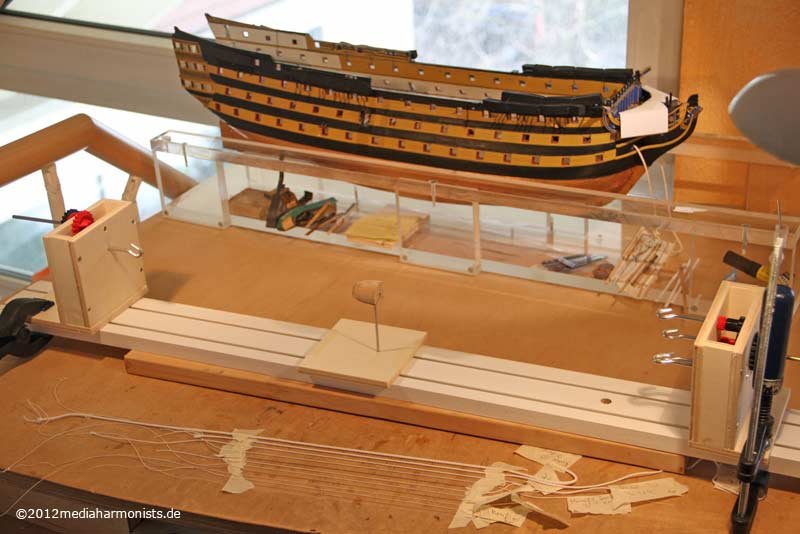 ... simple wooden box, some cogwheel from Fischertechnik out of my dark juvenile past, 4 mm aluminum wire bent to hooks...
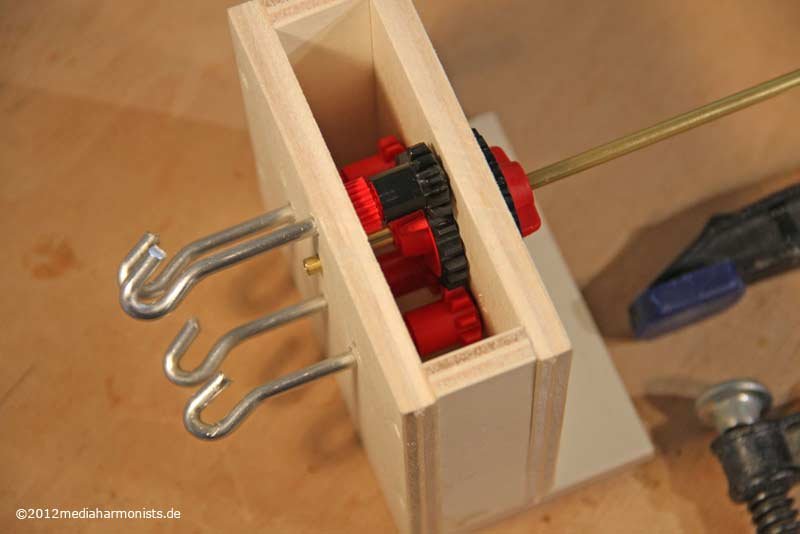 ... the movable counter part and the runner ...
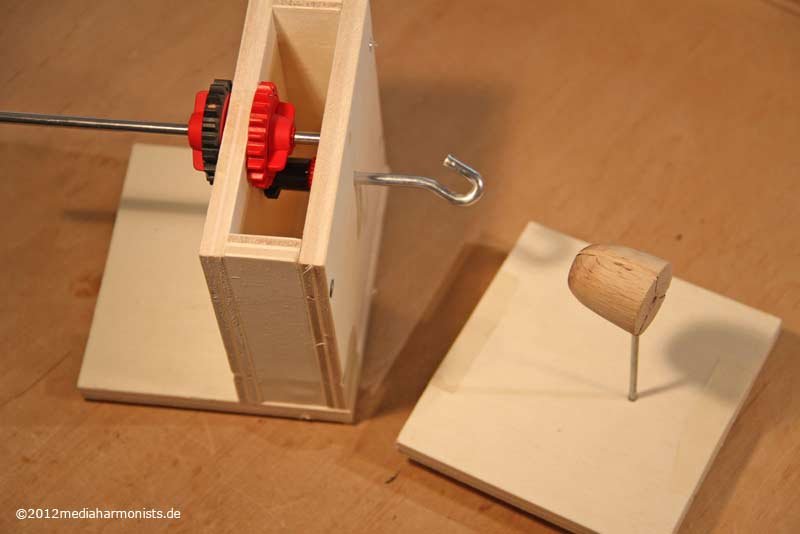 ... some screws as guides for a 2,5 meter curtain rail ...
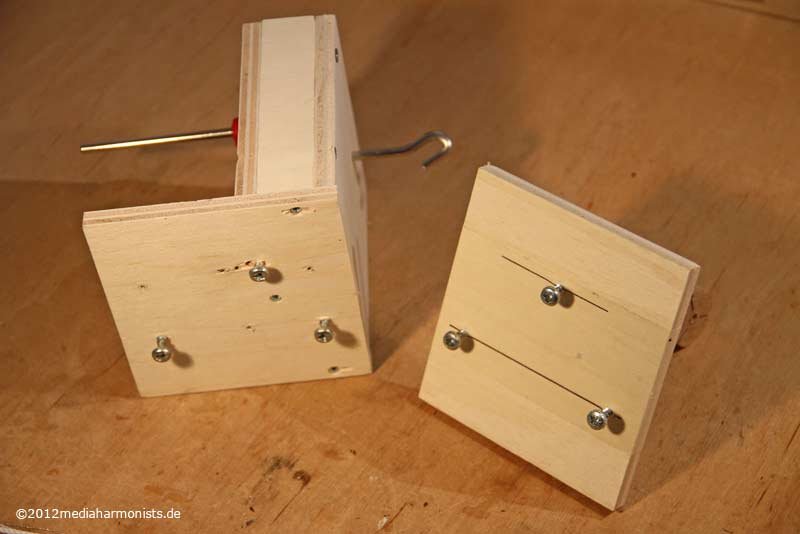 ... and getting a range of crochet thread from the grandma shop in the city.
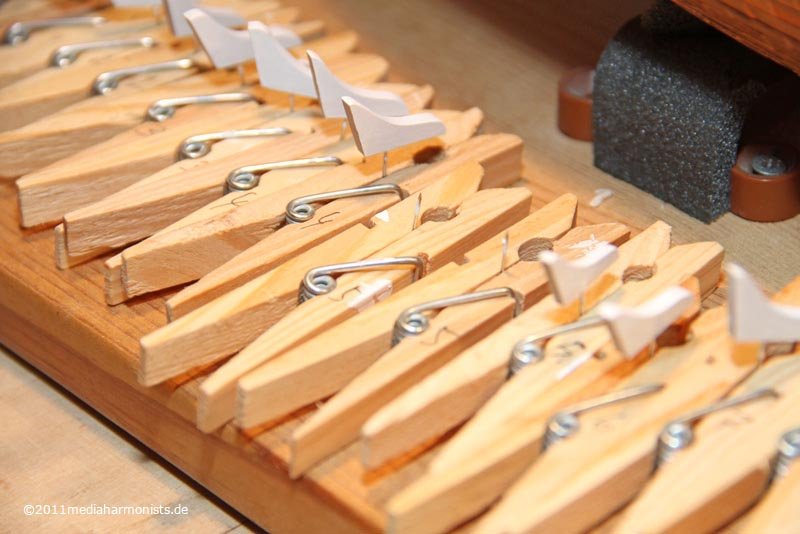
 And these are the results - the three brown ones (nr 2, 5 and 8 from the bottom) are the reference from Krick 0,3, 0,5 and 0,7 mm:
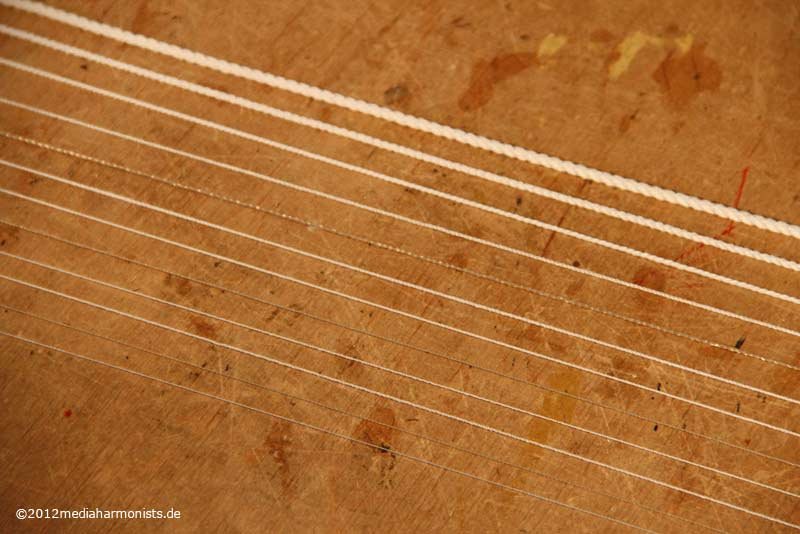 Holy impatience, they are not yet dyed but I could not resist putting them in place to see how they react and look in place ...
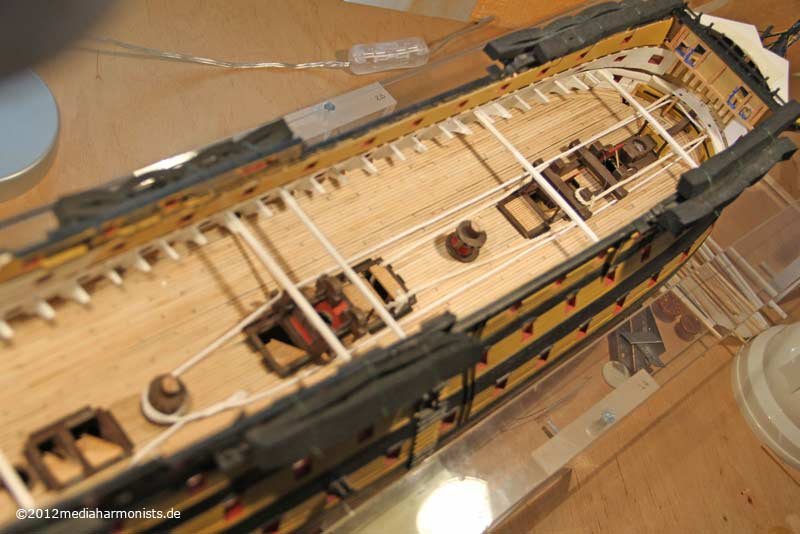 ... and, does not look too bad :-)
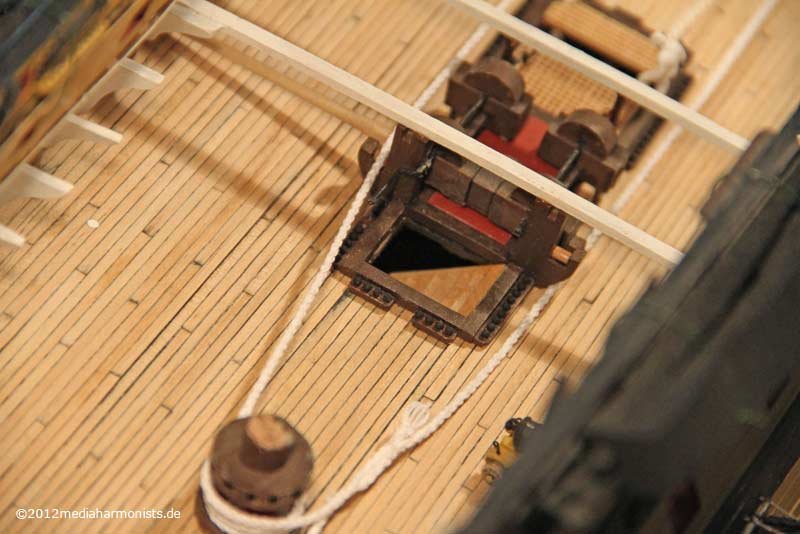
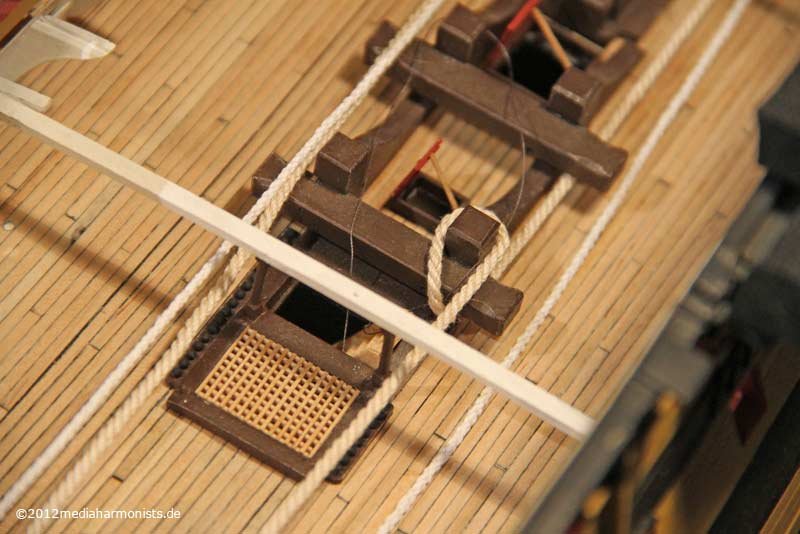 The build was rather easy and simple. But now it will get tricky: Finding the right materials and the right way of using it concerning the right amount of twisting and tension.cogwheel - old stuffCurtain rail - old stuffWood - 1,58 EuroAluminum - 1,50 EuroFeeling - priceless ;-)All the best, Daniel
 -
-
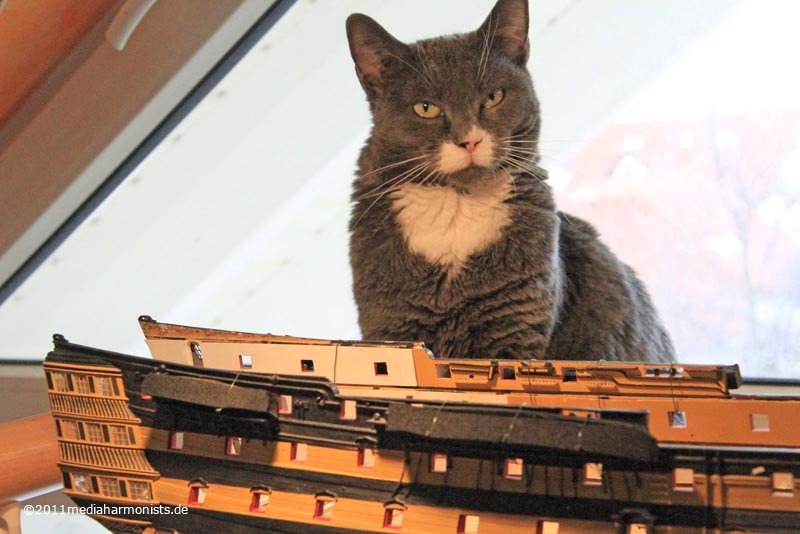
... ok, what the hell is he doing now?
 ...aaaahhh ... transparent bits ...
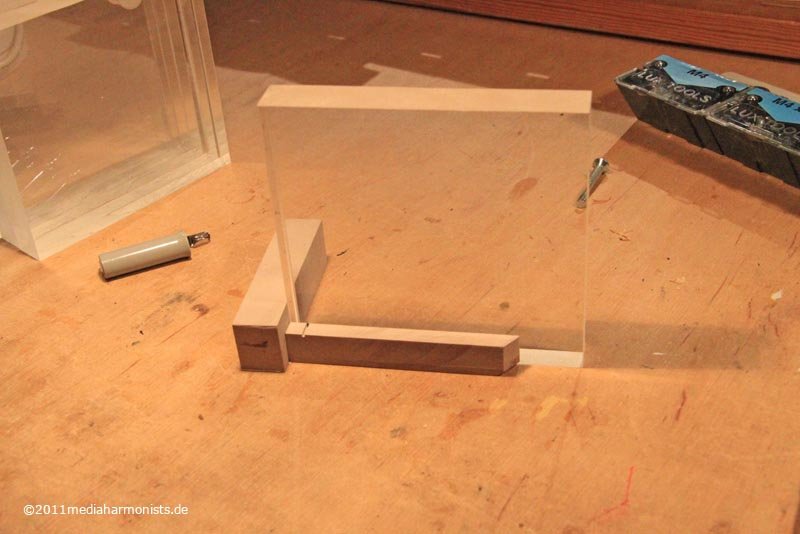 ... oh tricky, putting the drill stand onto a box to extend height and swinging the drill to the backside ...
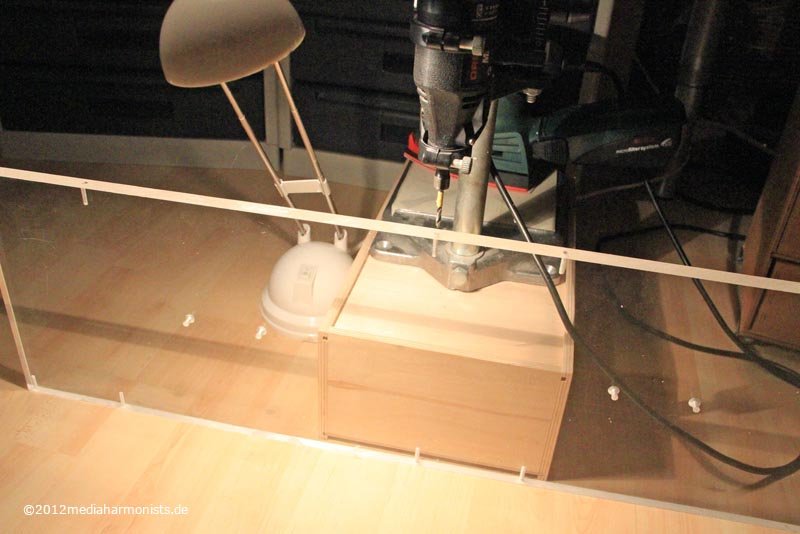 ... clever-clever, but now?!? ...
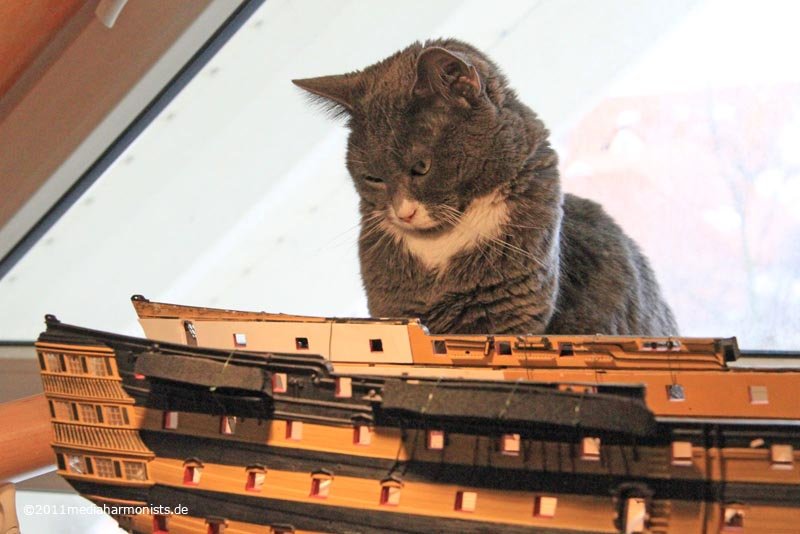 ... acupuncture for the keel?
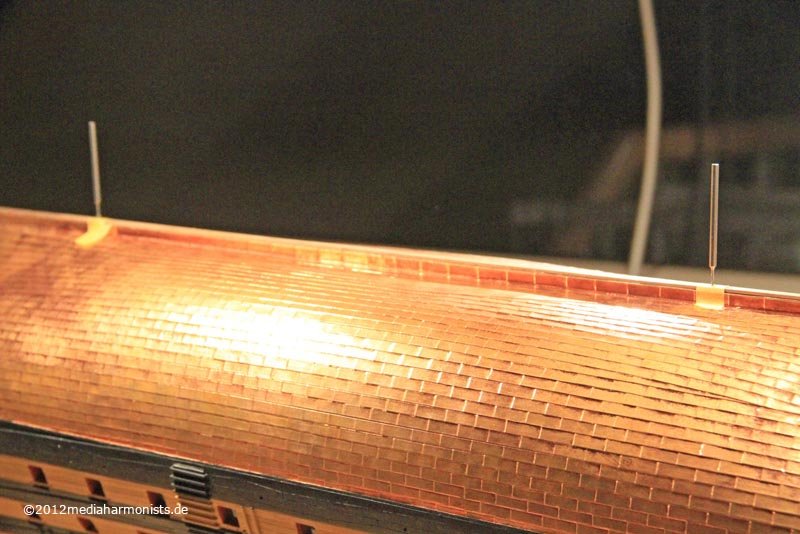 ... do not want to see that.
 Now he is taking a cherry for drilling a 3 mm hole into the 4 mm false keel, clever like that the material won´t rip on the edges. But what for ???
 AAAAAAAhhh, he is preparing a fairytale play: I remember the thing with the glass coffin ...
 ... Snow-Viccy and the 7 dafis ;-)
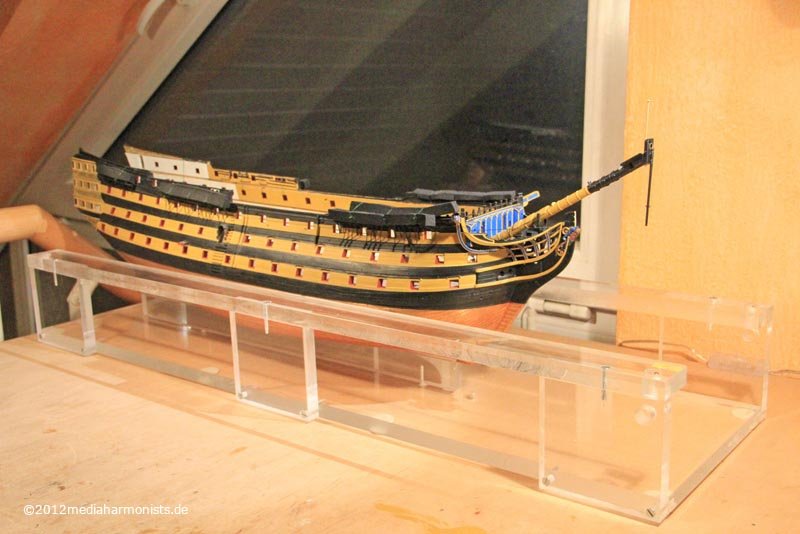 So happy new year and always stay above the waterline :-)
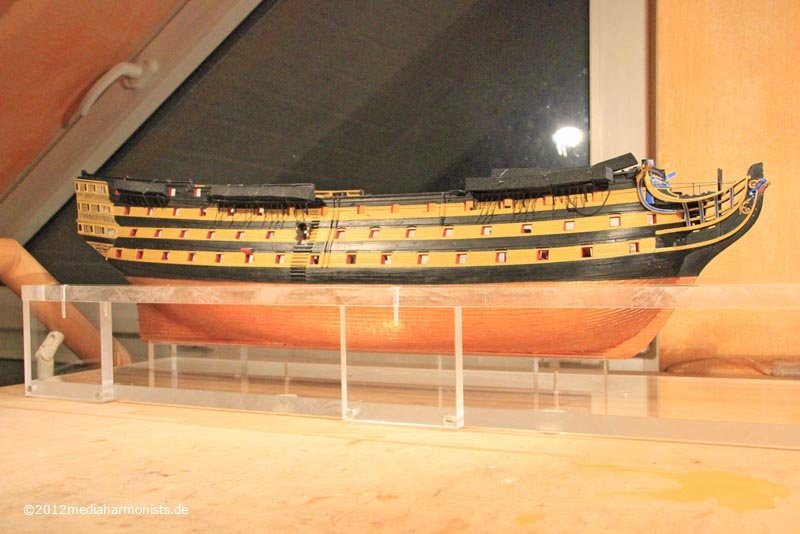 Amicalement, Daniel
 -
... and now something completely different :-)The cannon balls I already presented quite a while ago, they came from here ...
... and the blackening stuff from here:
First one to take the grease off, second the blackening and the oil for dehydration ...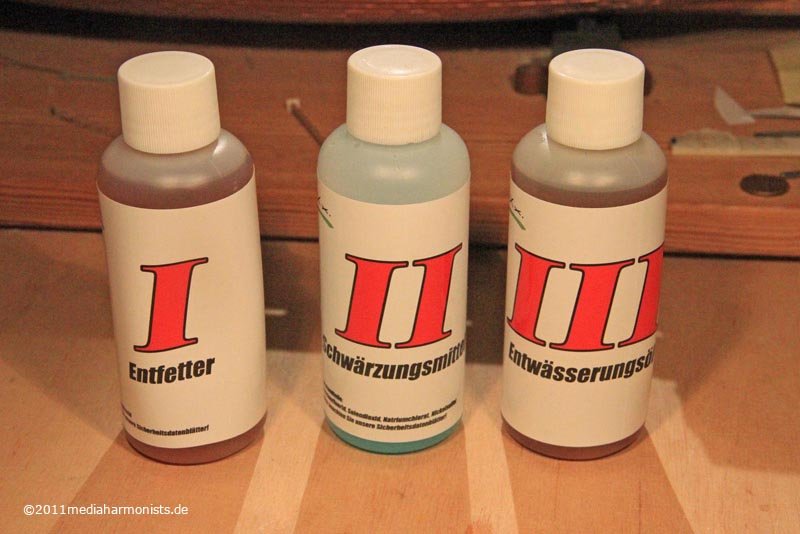 ... first the degreasing ...
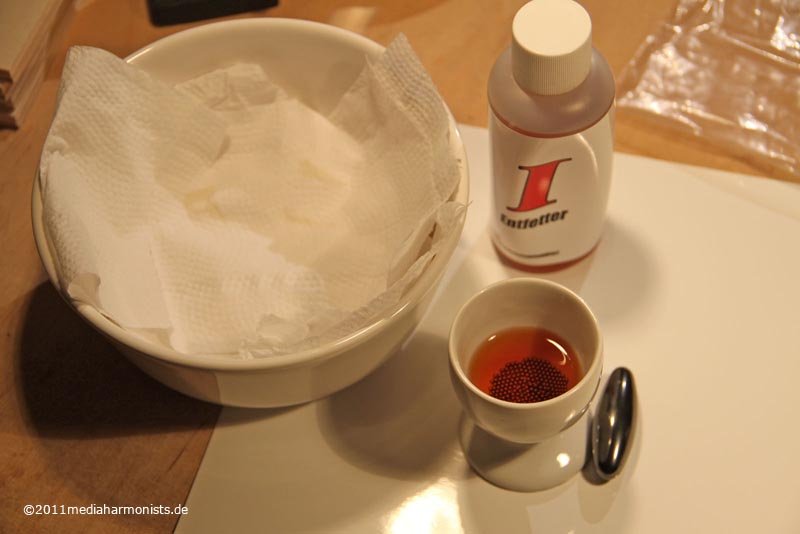 ... used a magnet to take them out ...
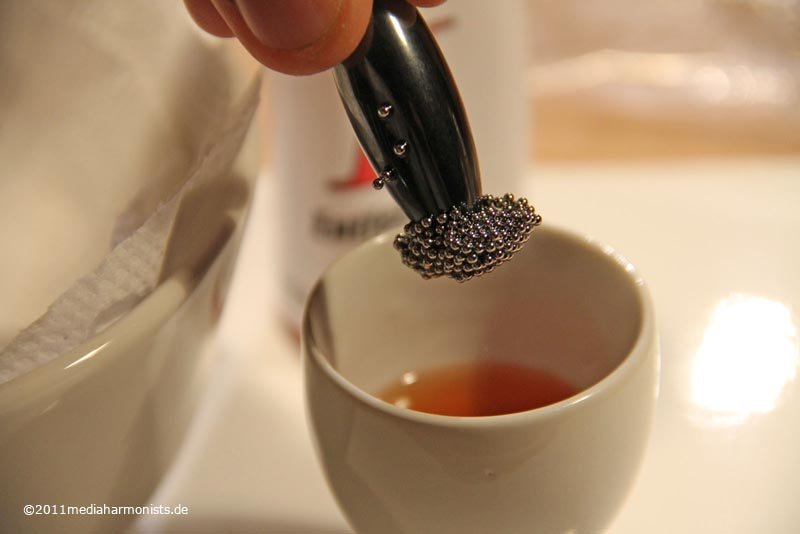 ... well dried ...
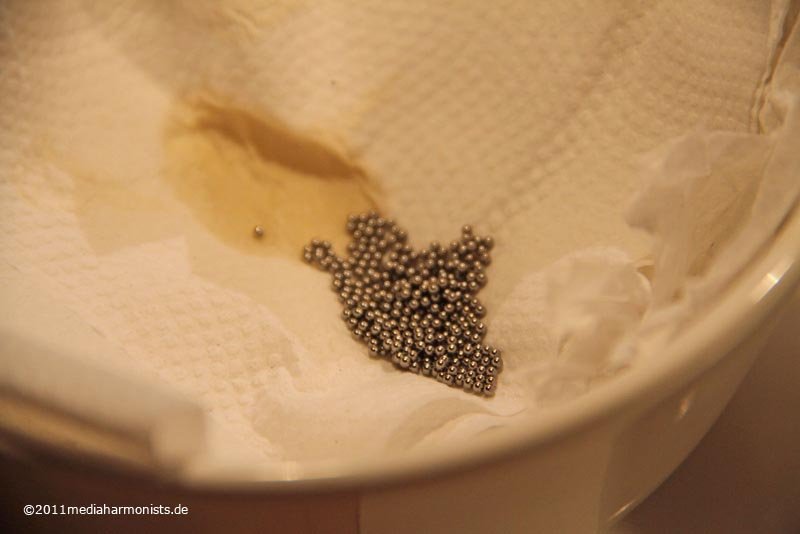 ... and like Roger Rabbit back to the soup, the blue one for blackening ...
 ... luckily used old china as the stains remained :-)
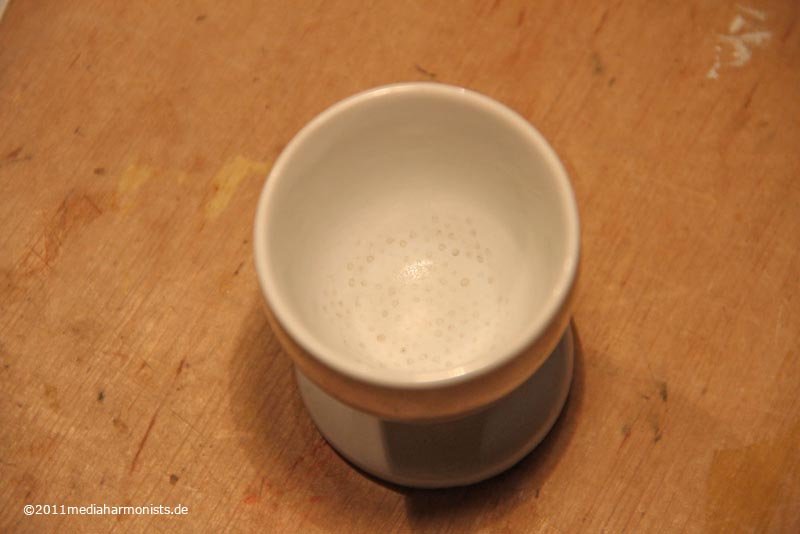 First I wanted to avoid the dehydration oil because of the glueing, but some of the balls turned brown :-(
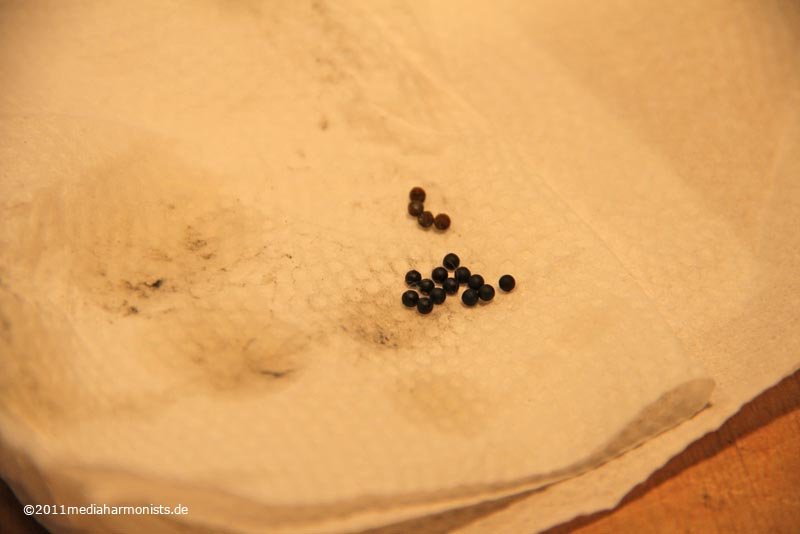 So same procedure as every year James, back to degreasing - the rust come of the balls but not off the china ...
 ... freshely blackned and oiled.Putted UHU Universal into a old syringe and gave nice injections ...
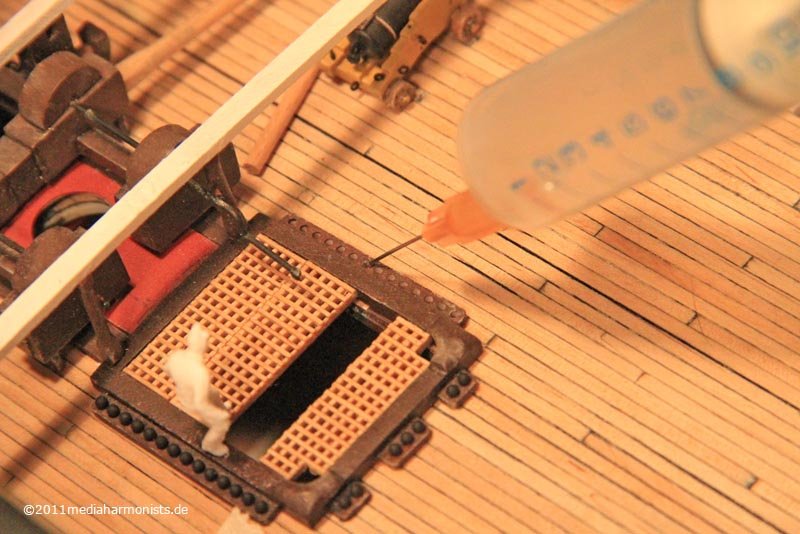 ... uand placed the bullets :-)
 Used lots of glue but still some came off, the oxide is a ideal separation agent ...So then, good luck, Daniel
 -
In a german forum I got a hint for a good source of cannon balls, all sizes:
... and some blackening for stainless steel like this one:
First one to take the grease off, second the blackening and the oil for dehydration ...... first the degreasing ...... used a magnet to take them out ...... well dried ...... and like Roger Rabbit back to the soup, the blue one for blackening ...... luckily used old china as the stains remained :-)First I wanted to avoid the dehydration oil because of the glueing, but some of the balls turned brown :-(So same procedure as every year James, back to degreasing - the rust come of the balls but not off the china ...... freshely blackned and oiled.Putted UHU Universal into a old syringe and gave nice injections ...... uand placed the bullets :-)Used lots of glue but still some came off, the oxide is a ideal separation agent ...So then, good luck, Daniel- aviaamator, mtaylor, shortgrass and 1 other
-
 4
4
-
Still worked on the template and made the middle groove larger for that I also can work the smaller stairs, now making them is real easy fun :-)
 I also was able to use the template for repairing: Cutting off a misglued step, putting the stair back into the template and fix a new step :-)The only tricky thing is the groove in the middle of the large stairs.Even well packed they like to bow up and then vibrate out of the vice.So well placed ...
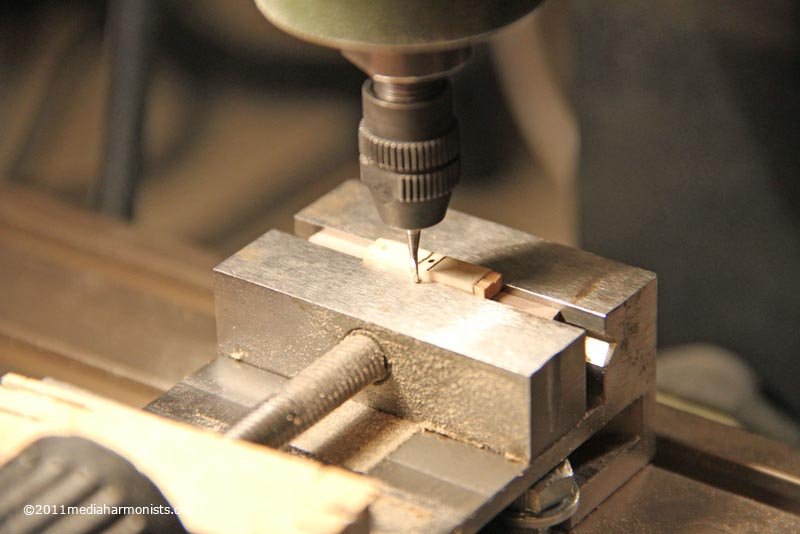 ... and held down by dafis patended steps downholder.
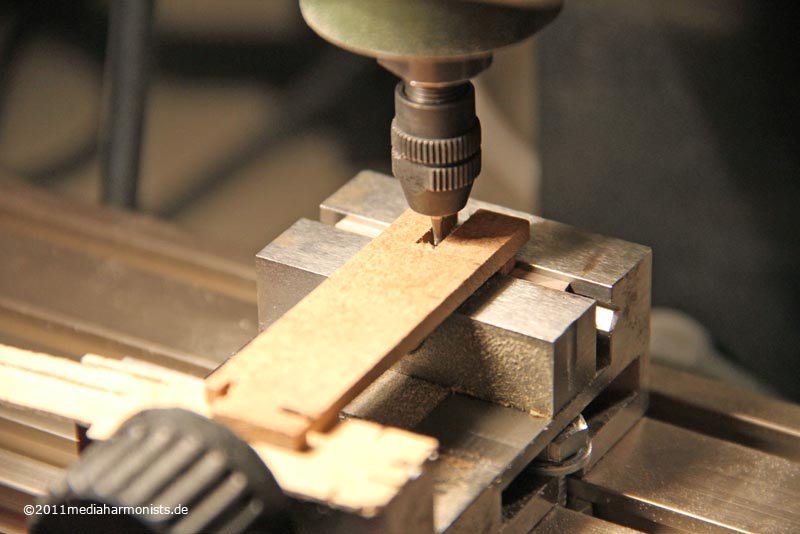 And that´s the bounty of the last days ...
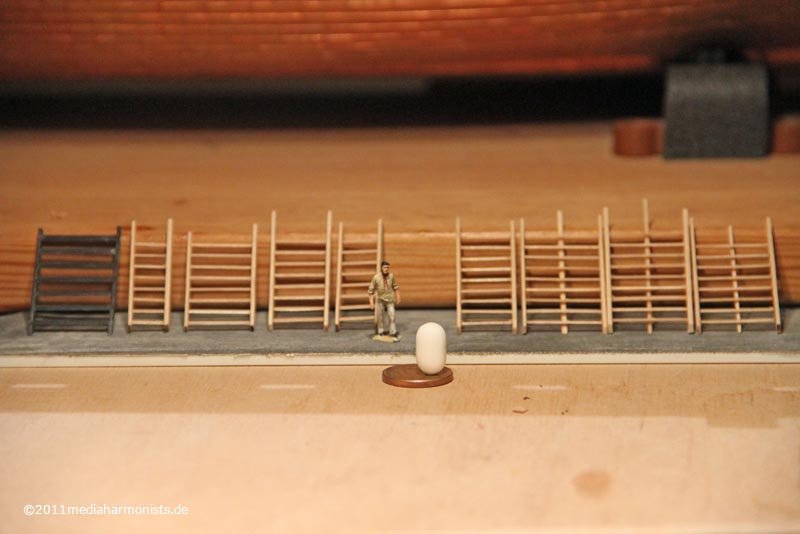 ... cuties in every angle ;-)
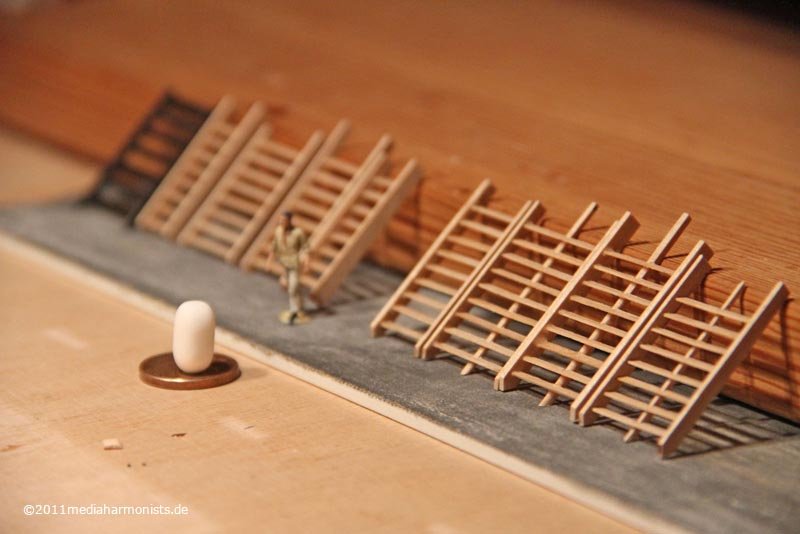 Daniel
- mtaylor, freewheelinguy, maddog33 and 1 other
-
4
-
Usually I like to work without machinery, but that time I had to bring out the heavy material: the Micromiller ...
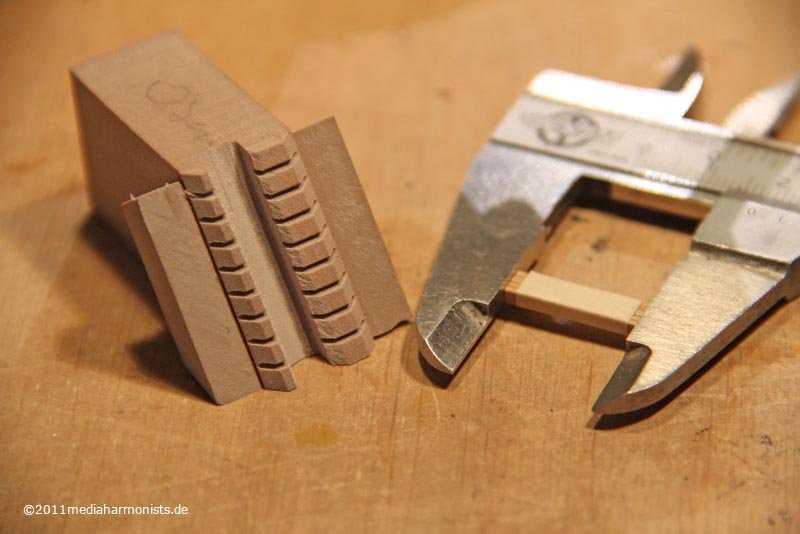
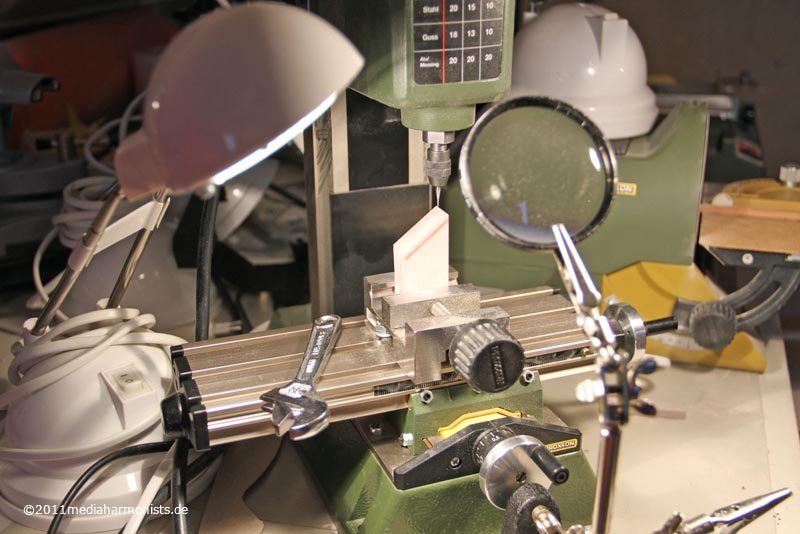 Putting in a block of Ureol, with an prepared angle according to the stairs.Distance of the steps 2,5 mm, as seen in the test before. CAD indicates a step in depth of 1,9 mm.And here we go with a 0,6 er miller for the gauge of the 0,5 mm steps ...
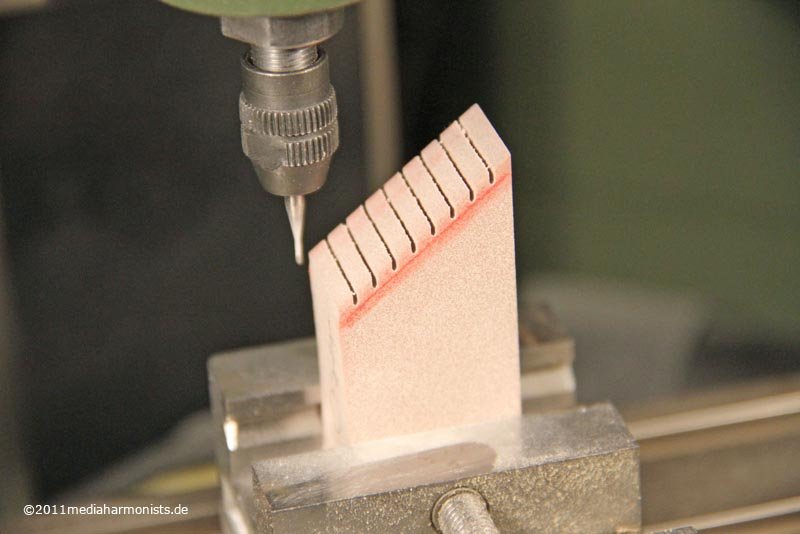 ... and a groove for helping the ejection, and I champfered the edges to avoid problems with increeping glue.
 Then putting the steps in ...
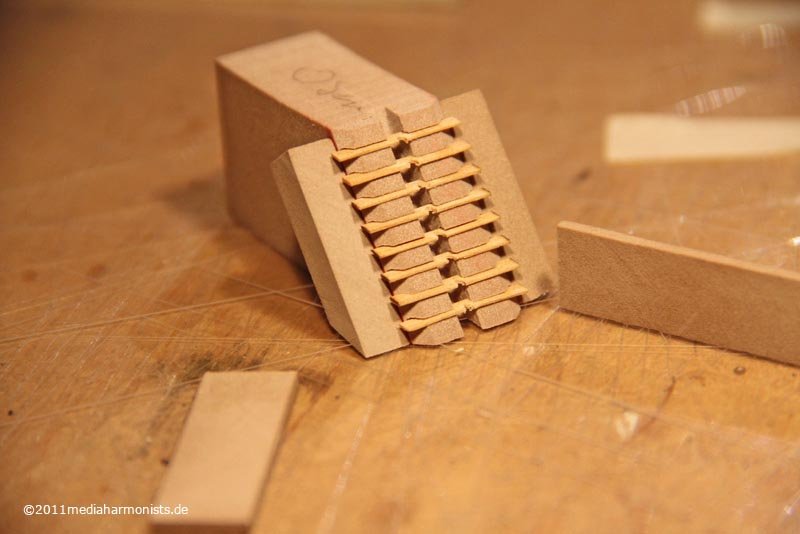 ... adjusting the sides, fixing with tape ...
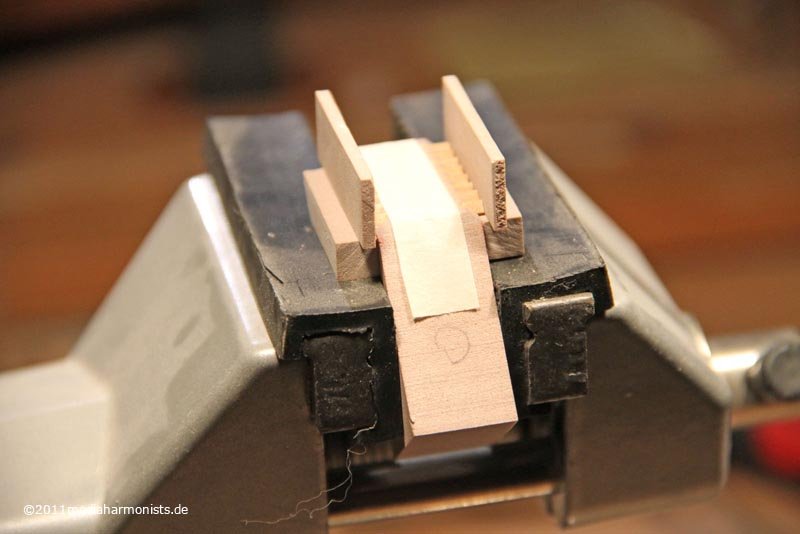 ... putting a stop for the bottom position of the lateral supprt, glueing ...
 ... and another nice shot for the family album :-)
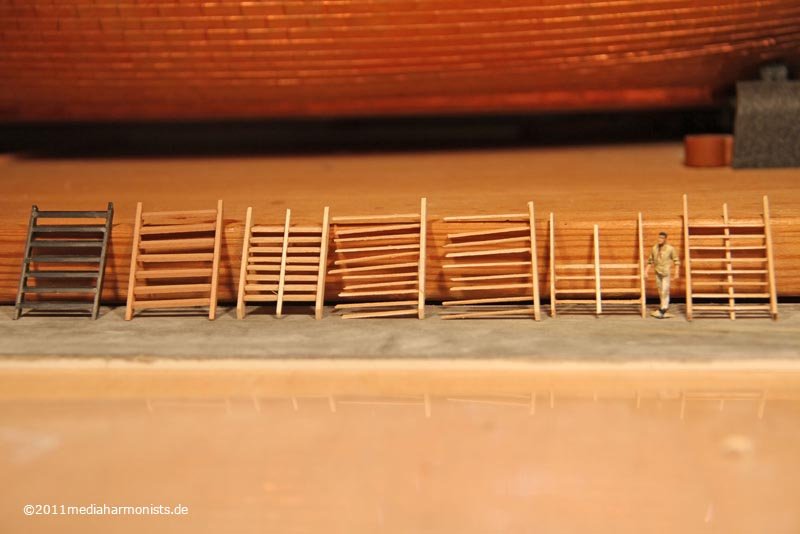 And as it came out pretty enough even a close up ...
 ... on the target area ...
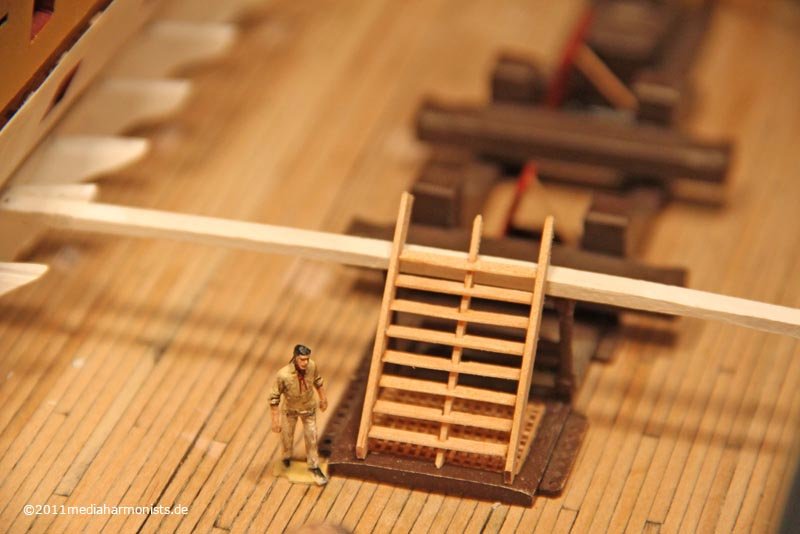 ... and once lifelike :-)
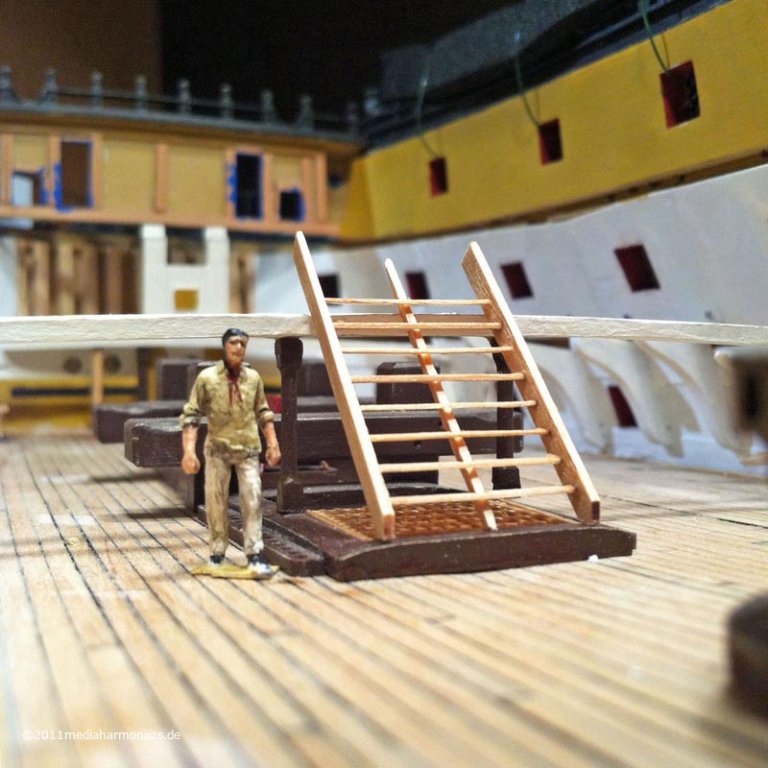 Lieber Gruß, Daniel
- mtaylor and aviaamator
-
2
-
... but I had difficulties with it.Status: Heller, V1 from the very start of the build and the V2 ...
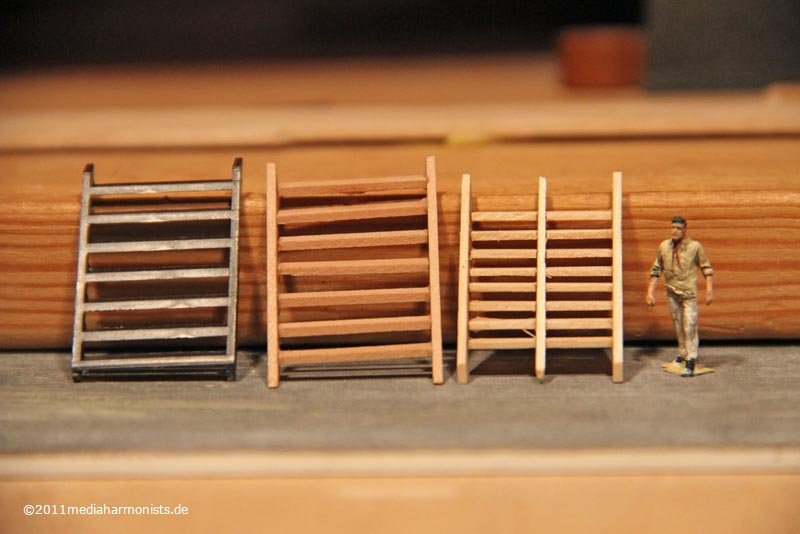 And here the planks of 0,5 mm x 2 mm that I prepared long time ago before I realised that the 6 maters mentioned at Mondfeld are far to small ...
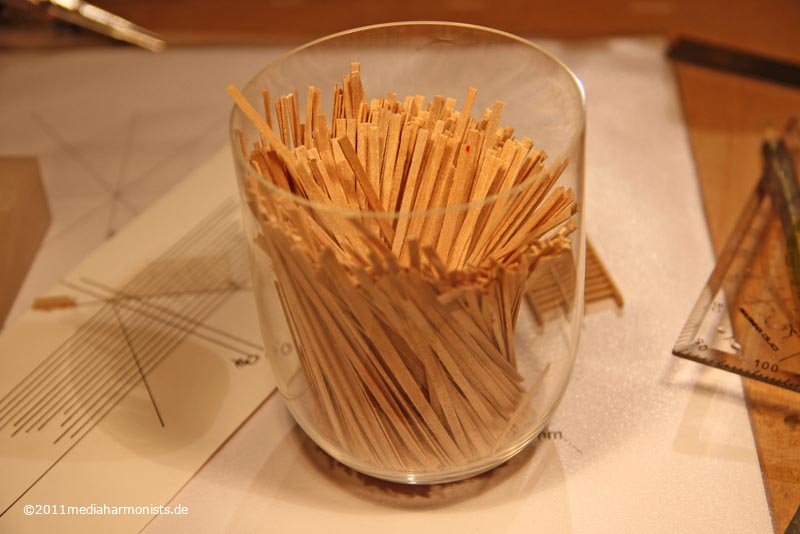 ... and on the right two tests for a right distance of steps: left 2 mm and right 2,5 mm, which looks right :-)
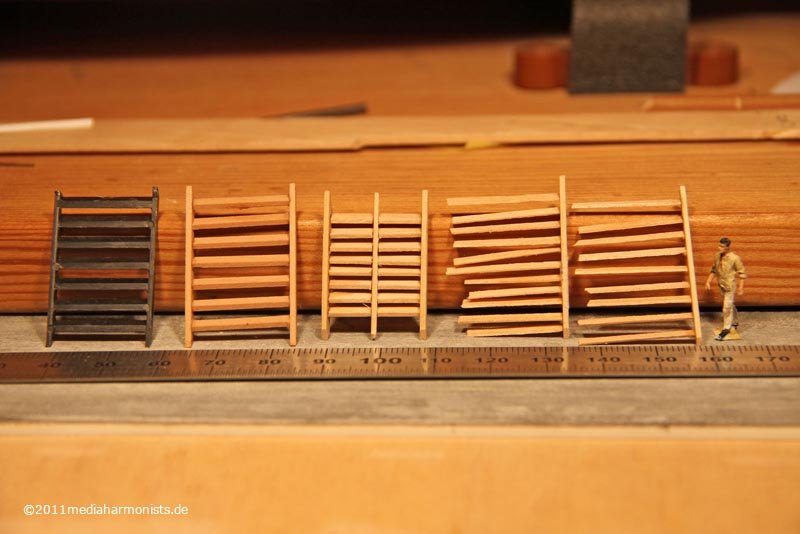 And on the far right a first test with a new assembly technic :-)
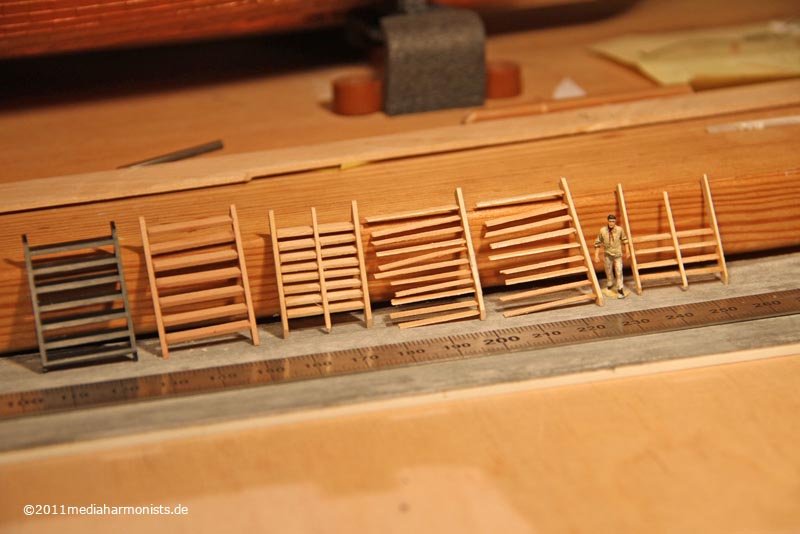 Looks right more soon.Liebe Grüße, Daniel
-
Hallo Phil, me too tried hard with the building of the stairs:As it is difficult to measure inside of the ship, I took a masking tape to take measures, so one can easily get it right after taking it out :-)
 Then glueing the treads onto tape ...
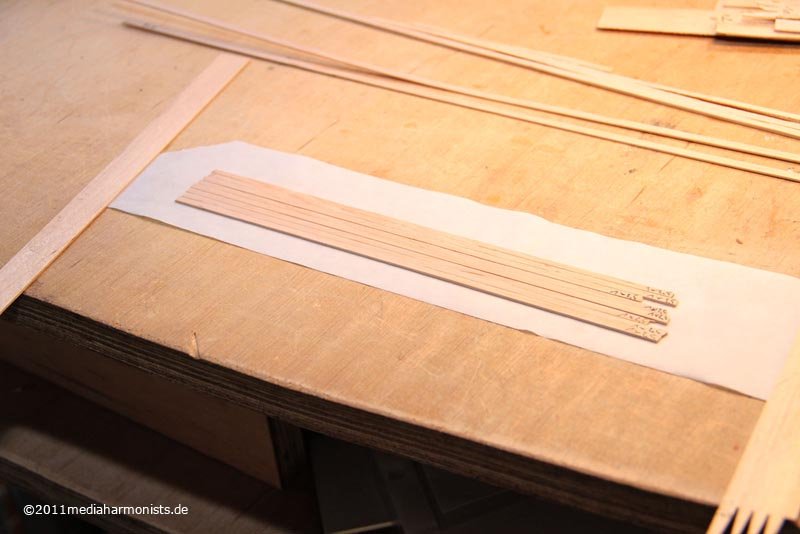 ... to get all of them the right distance. Beside you can see V1 from the early beginning of the build.
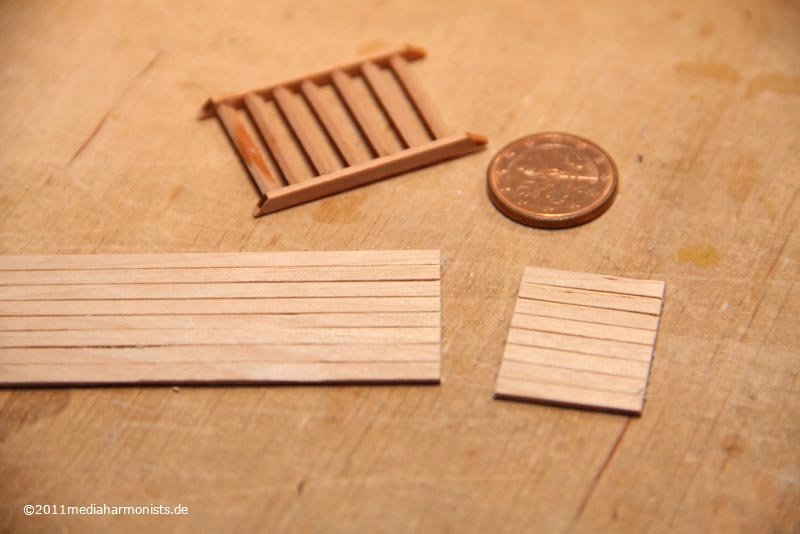 Regrouped vertically for the milling of the groove of the middle rib..
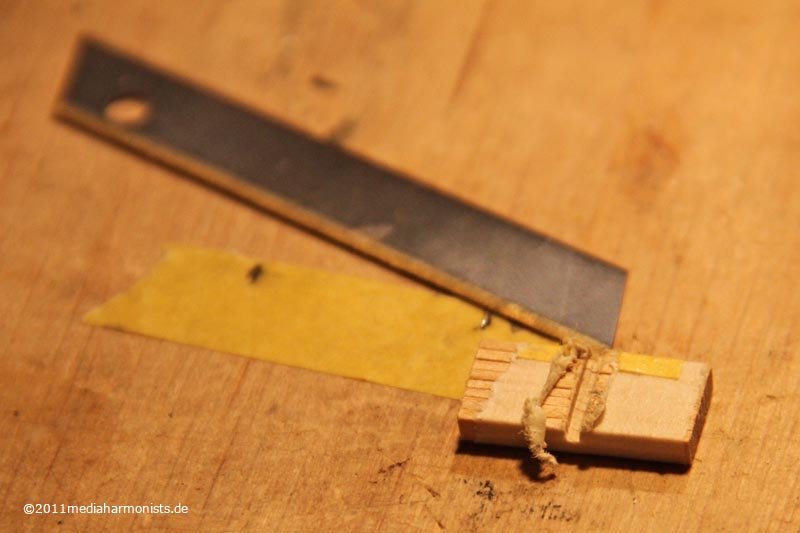 Made some templates for the assembly ...
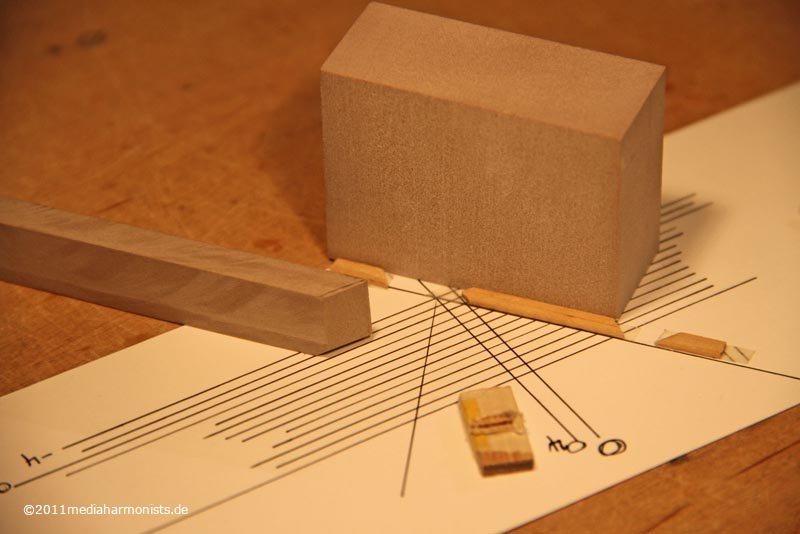 ... glued the treads ...
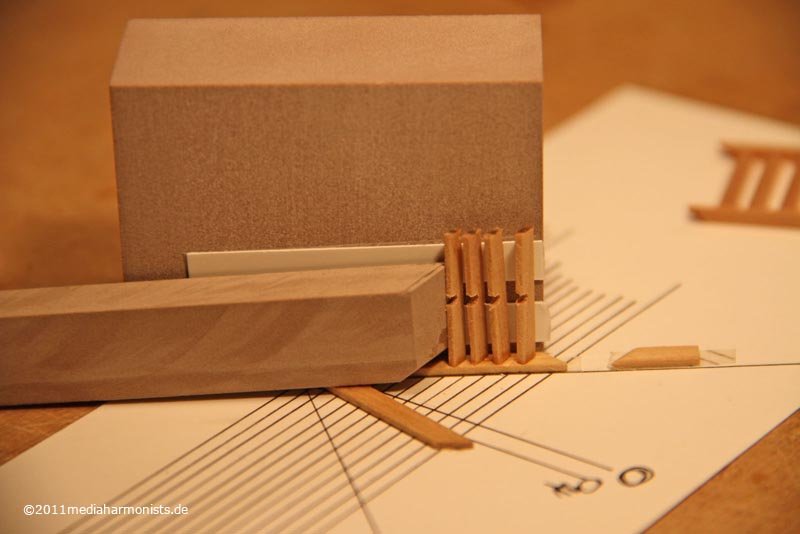 ... and the middle rib.
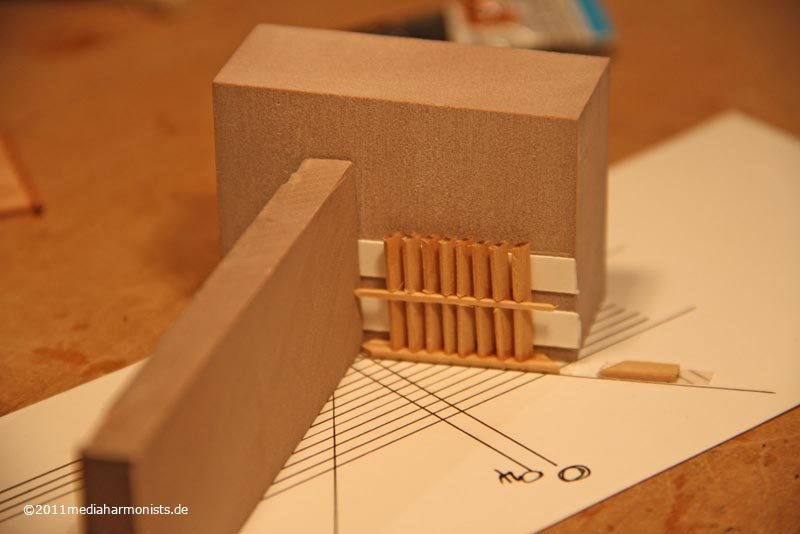 And there he stands my small worker and shaking his head upon the wrong proportioned stairs and sends the carpenter back to work ...
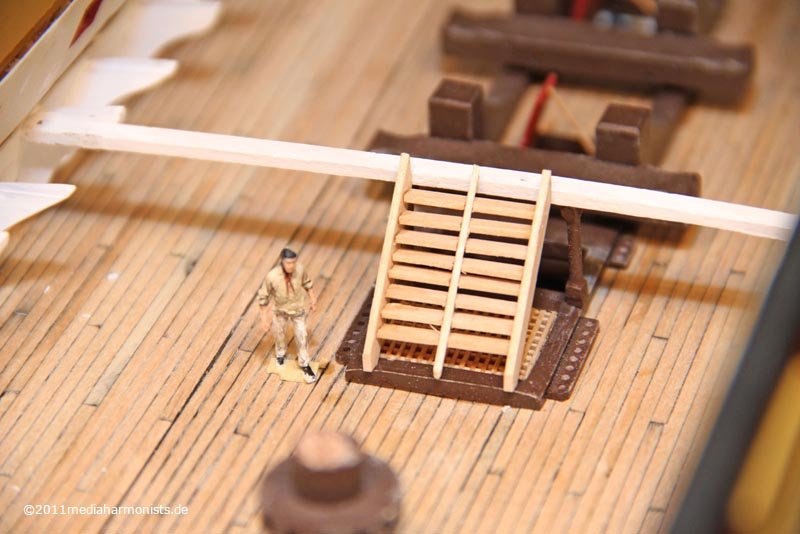 At least, he tried to do his best, but it is a simple way and Reed manages to do great stairs with this technique ...All the Best, dafi
-
Still worked on the template and made the middle groove larger for that I also can work the smaller stairs, now making them is real easy fun :-)I also was able to use the template for repairing: Cutting off a misglued step, putting the stair back into the template and fix a new step :-)The only tricky thing is the groove in the middle of the large stairs.Even well packed they like to bow up and then vibrate out of the vice.So well placed ...... and held down by dafis patended steps downholder.And that´s the bounty of the last days ...... cuties in every angle ;-)So now you may call me MotS, Master of the Stairs ;-)Daniel
-
Usually I like to work without machinery, but that time I had to bring out the heavy material: the Micromiller ...Putting in a block of Ureol, with an prepared angle according to the stairs.Distance of the steps 2,5 mm, as seen in the test before. CAD indicates a step in depth of 1,9 mm.And here we go with a 0,6 er miller for the gauge of the 0,5 mm steps ...... and a groove for helping the ejection, and I champfered the edges to avoid problems with increeping glue.Then putting the steps in ...... adjusting the sides, fixing with tape ...... putting a stop for the bottom position of the lateral supprt, glueing ...... and another nice shot for the family album :-)And as it came out pretty enough even a close up ...... on the target area ...... and once lifelike :-)Lieber Gruß, Daniel
-
So I decided to go differently :-)Status: Heller, V1 from the very start of the build and the V2 ...And here the planks of 0,5 mm x 2 mm that I prepared long time ago before I realised that the 6 maters mentioned at Mondfeld are far to small ...... and on the right two tests for a right distance of steps: left 2 mm and right 2,5 mm, which looks right :-)And on the far right a first test with a new assembly technic :-)Looks right more soon.Liebe Grüße, Daniel
-
Meanwhile I sent my small worker for a small dress up ...
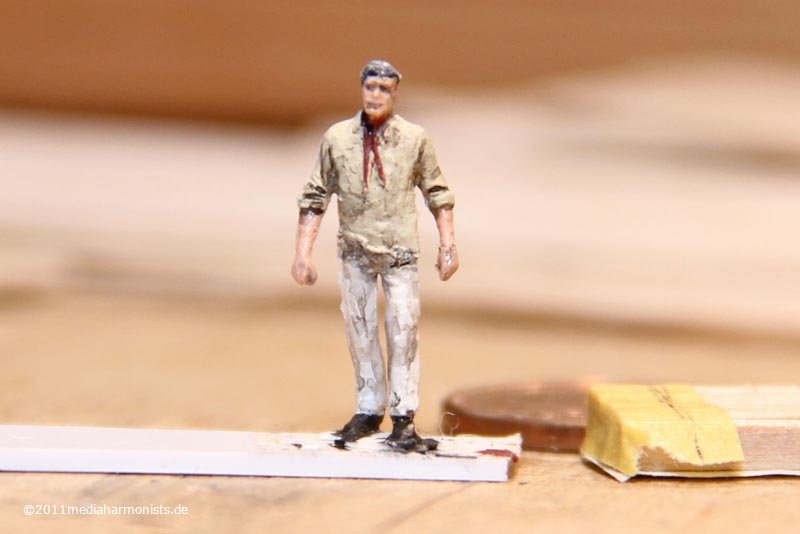
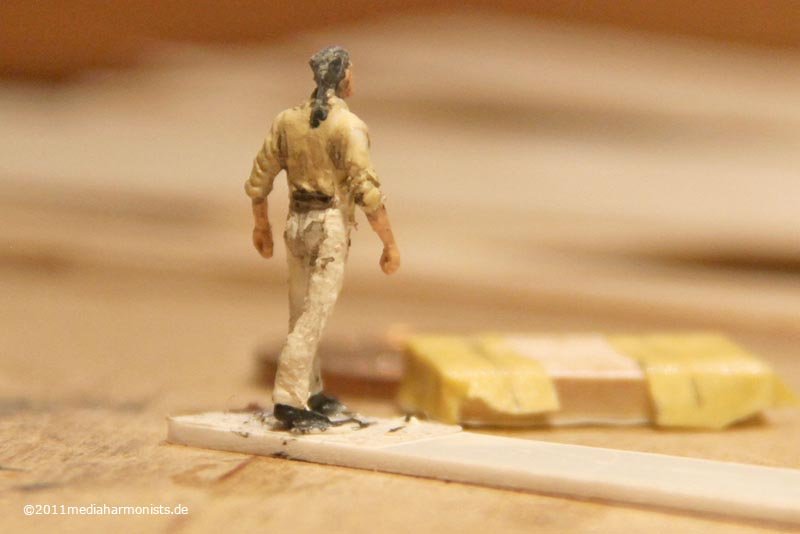 ... and it looks like he had done some hard working lately :-)And tried hard with the building of the stairs:As it is difficult to measure inside of the ship, I took a masking tape to take measures, so one can easily get it right after taking it out :-)Then glueing the treads onto tape ...... to get all of them the right distance. Beside you can see V1 from the early beginning of the build.Regrouped vertically for the milling of the groove of the middle rib..Made some templates for the assembly ...... glued the treads ...... and the middle rib.And there he stands my small worker and shaking his head upon the wrong proportioned stairs and sends the carpenter back to work ...At least, he tried to do his best ...All the Best, dafi
 -
The missing carriges!The old question: First painting still on the sprue or first assembling? I decided to do like Alexander cutting the Gordian knot:First assembling and then painting on the sprue! Sounds easy? It is ;-)
 Flatend the ends of the axis ...
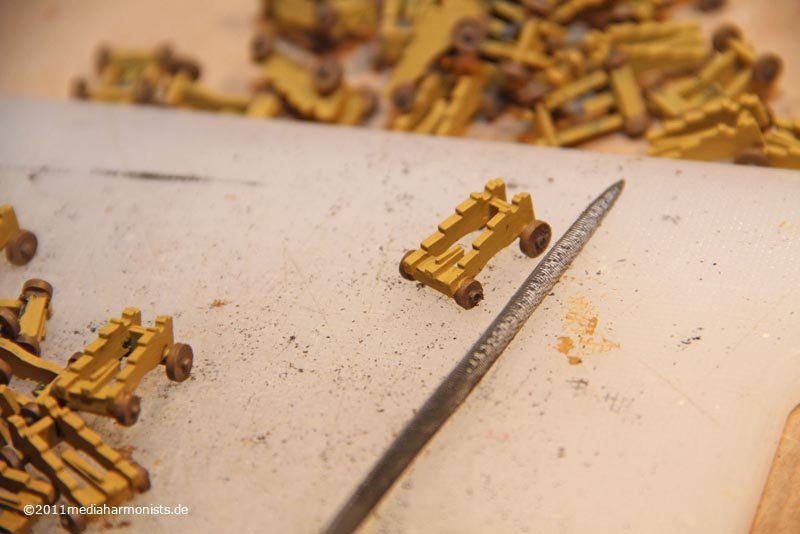 ... used felt to take the scraps away ...
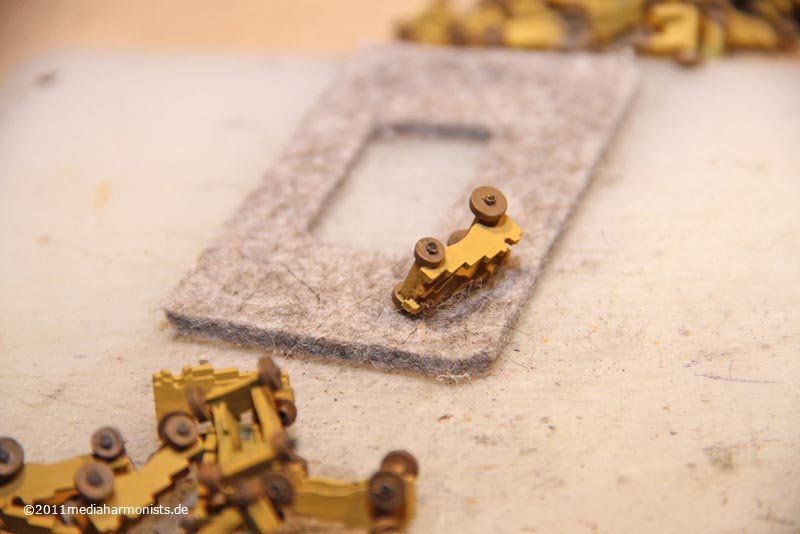 ... and as my files were to big to take the paint off, I used a diamond miller in a drill handle ...
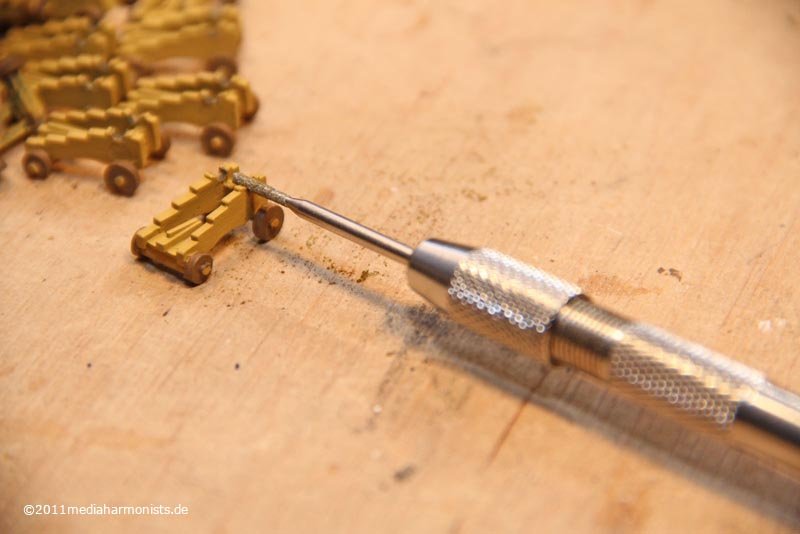 ... and here they stand all proud waiting for a small white drybrush and their barrels :-)
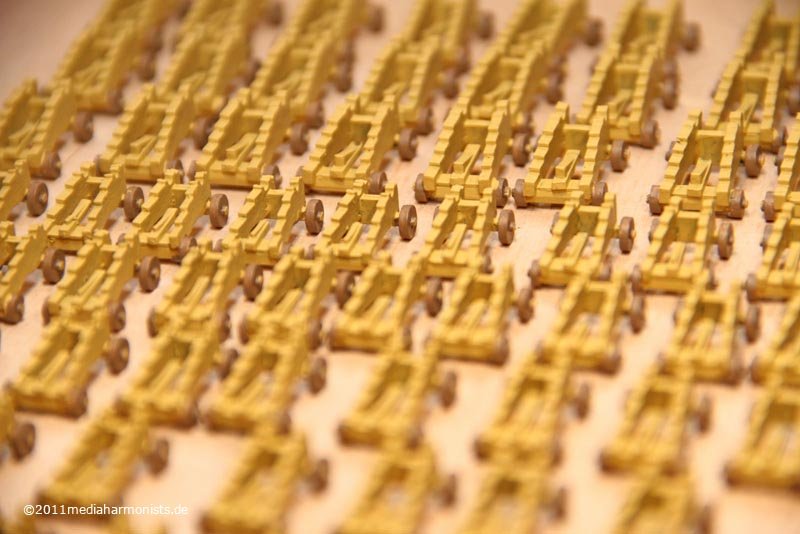 Daniel
 -
Hello Klaus,
nice to see you back here!
Daniel
-
Some pictures from the finished job

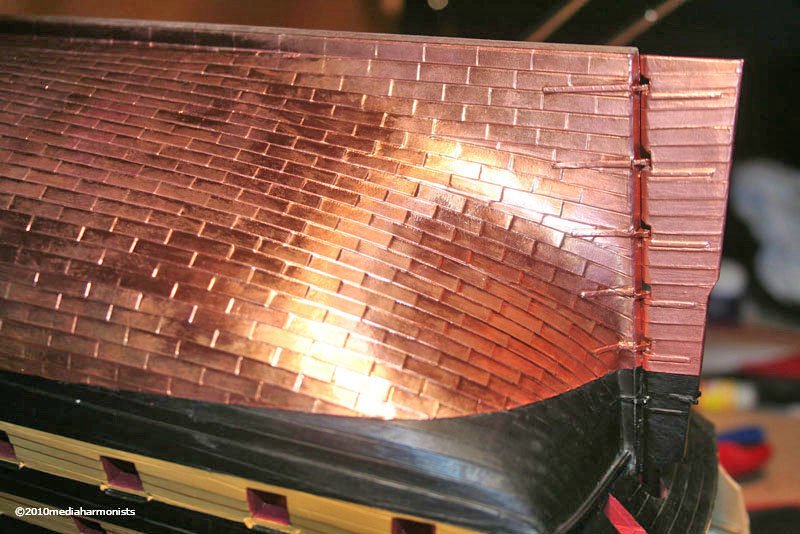 And to finish with the british pattern, the batten on the top edge.
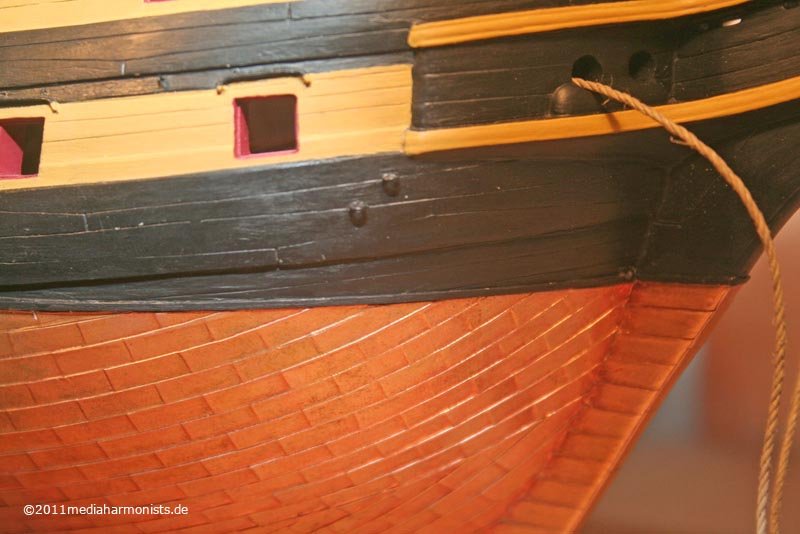
 Have fun, Daniel
- Mirabell61, spider999 and Jdiaz
-
3
-
-
Gary, great to see Alfred again!!!
All the best, Daniel -
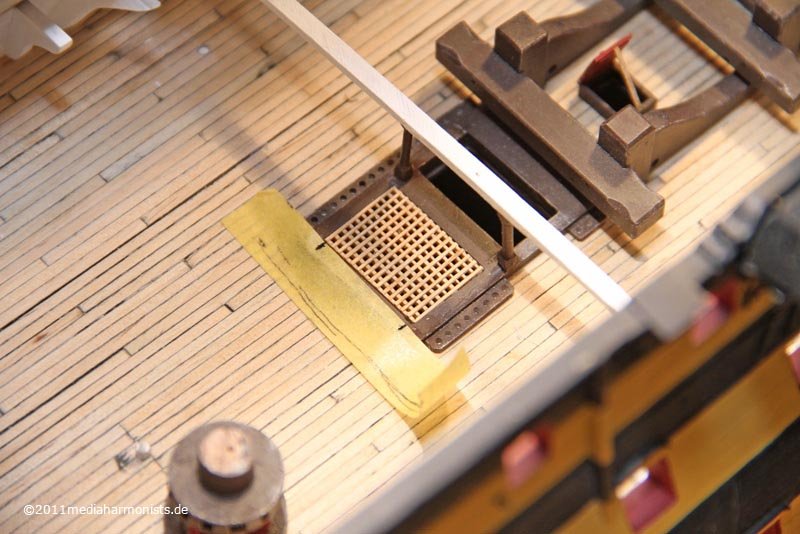
Then at X-Mess, I kept up with this holey ship (got the pun? ;-)After scuppering around with the scuppers I transfered the 1765 sceme onto my 1805 version.
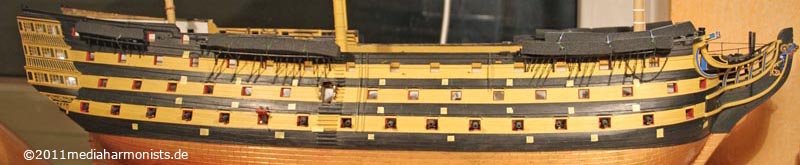 Just added the visible sceme to the last unsure positions and was able to fit the needed 8 ones each deck and side.Here are the test holes for the 6,5" at the manger, 5.5" scuppers of the lower deck and 3.5" of the upper ones, here in scale 1,5 mm 1,2 mm and 0,8 mm.
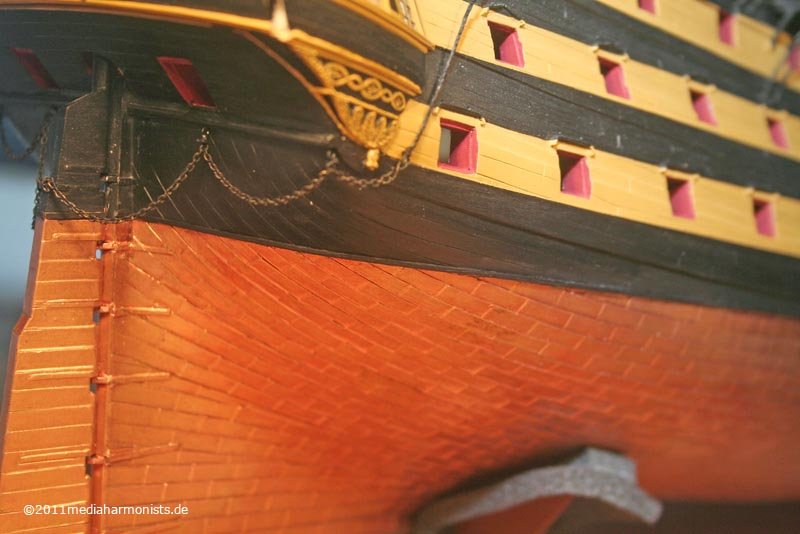
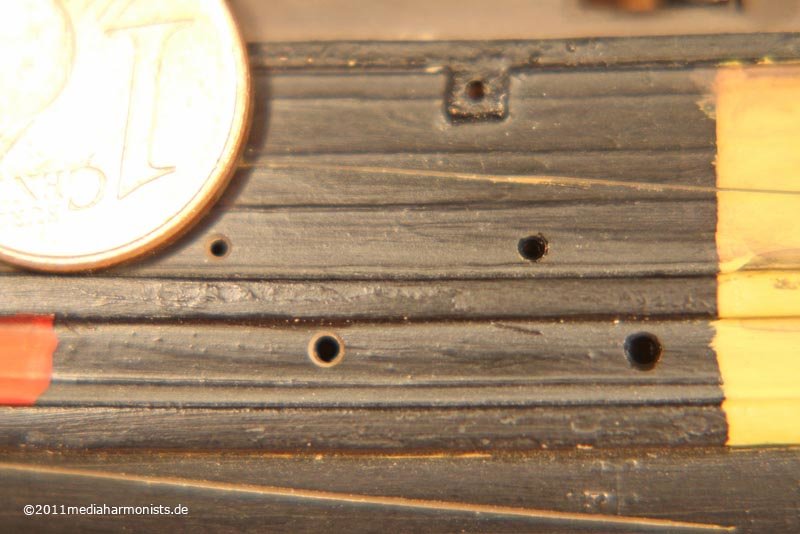 In MSW druxey reminded me that all openings should not be on top of the seams. This explained my question about the double scupper in the manger area that usually have different heights.And now come the holey ship: 54 holes including the two inlets on the bottom for the elm tree pump. First a little wellness programm including some acupuncture, then enlarging stepwise onto the 0,8 mm, 1,2 mm and 1,5 mm ...
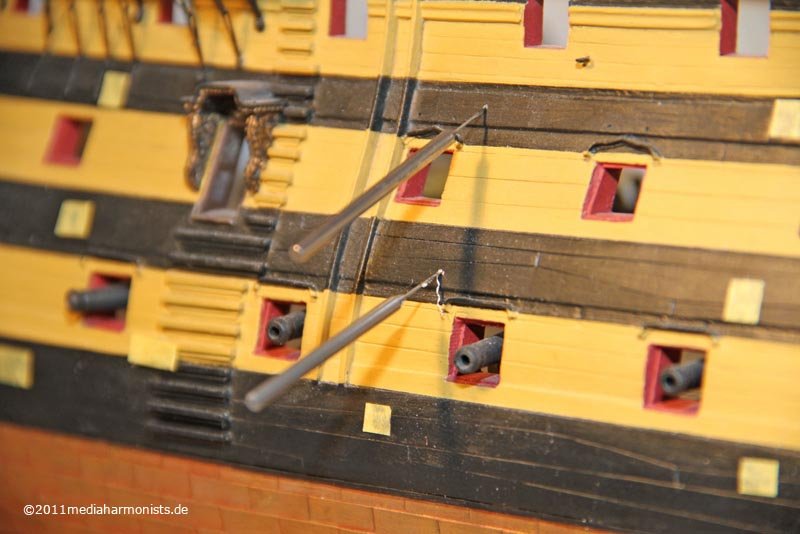 ... sometimes placing wrong and so replacing and sealing the wrong holes with sprue ...
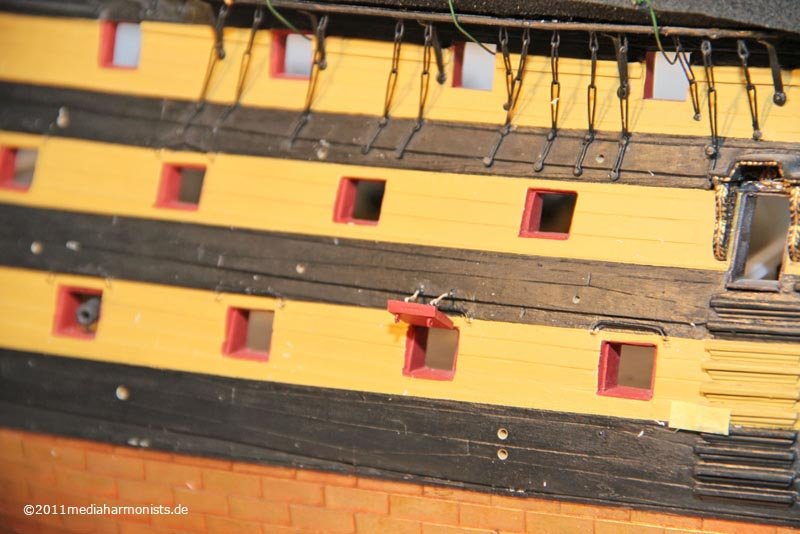 ... and always nicely avoiding the seams.
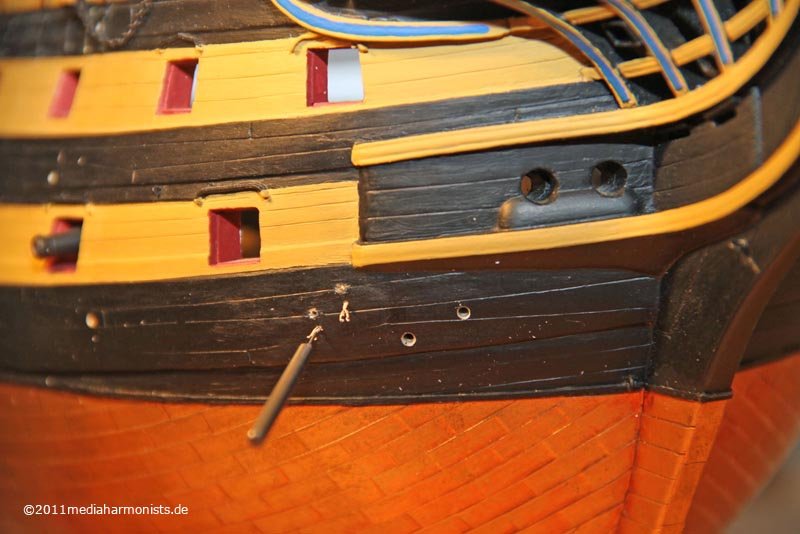 That led me to replace the old eyebolts too that I positioned onto the seams and ...... as by trying to get them out, already having nice tension on the tools, the bolt broke, the ship jumped to the side, the original thin Heller-stand gave way by splitting itself into two parts and with lots of good luck I just caught the ship before it could continue its dive from the gallery to the living room situated some 3 meters below!Take a small breath and to continue ...
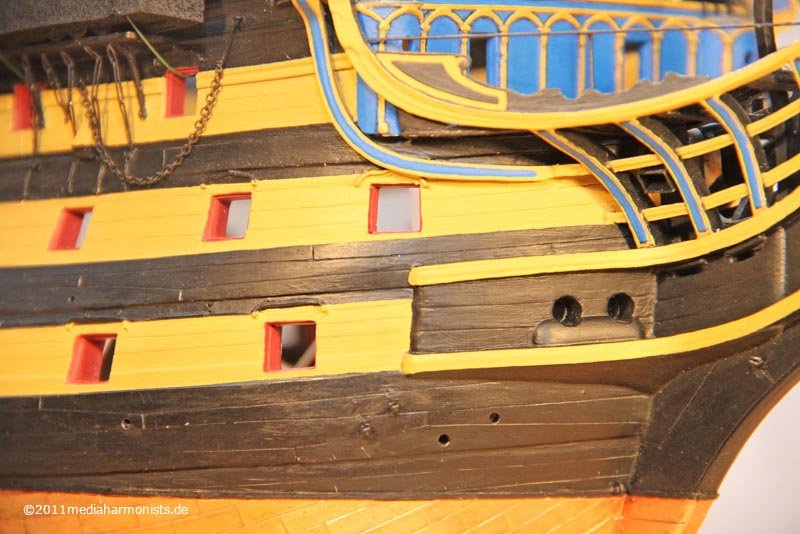 ... all around ...
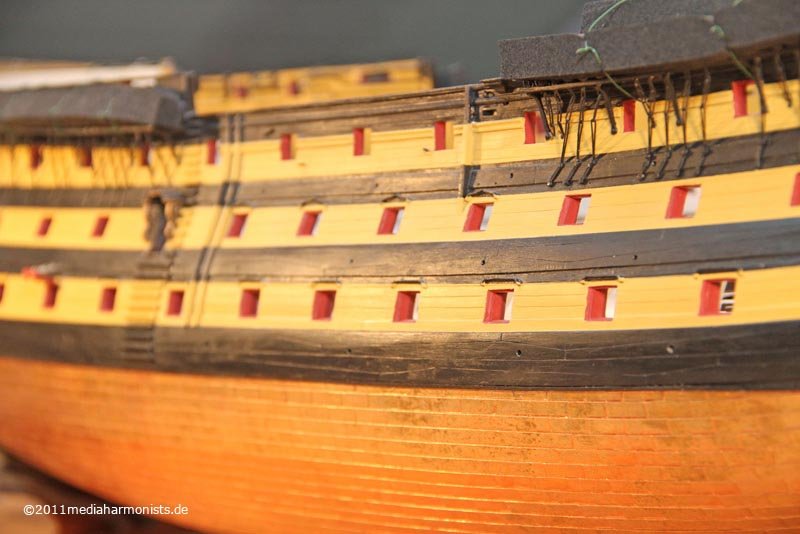 ... and thats what I researched for for more than 18 months ...... but that was my own decision ;-)All the best, Daniel
 -
A bigger research was for the scuppers, as the only ones shown on the Vic today is one on the manger area and the ones for the chain pumps in the middle of the side steps.Arming and fitting gives the number and sizes, but not the positions. It took me months to discover a contemporary model of a three decker showing those: The Vic as build in NMM.(Thanks for Chapman from the Bolitho-Forum) I got the right link:
So I managed to correct the layout a little bit: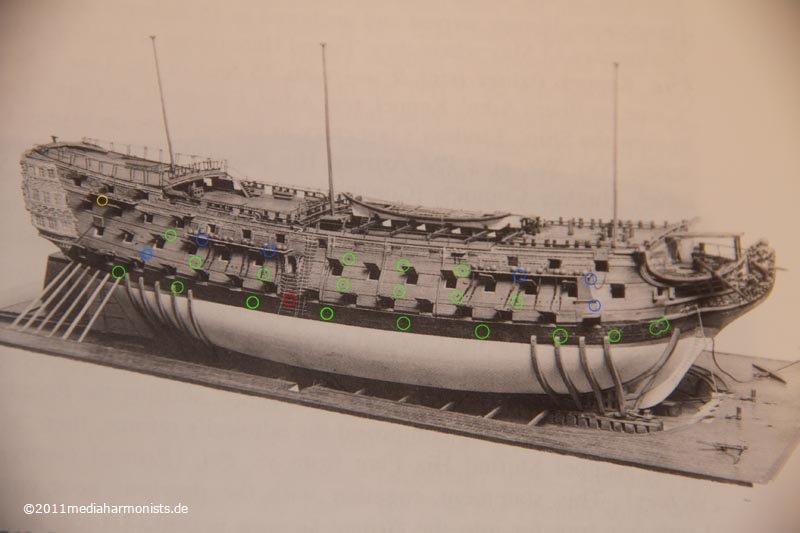 Green the ones that were identified on the model, blue the ones that I added following the logic.Daniel
-
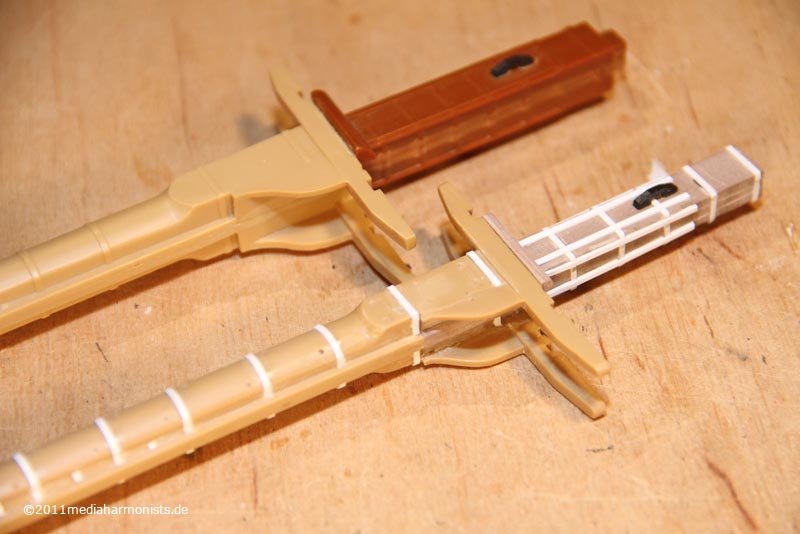
And on we go, the fore :-)First grinding down all the hoops, reengraving all the inner edges, lenghening the rubbing paunch on the bottom ...
 ... but the biggest changes took place in the masttop: It got its taper towards the top ...
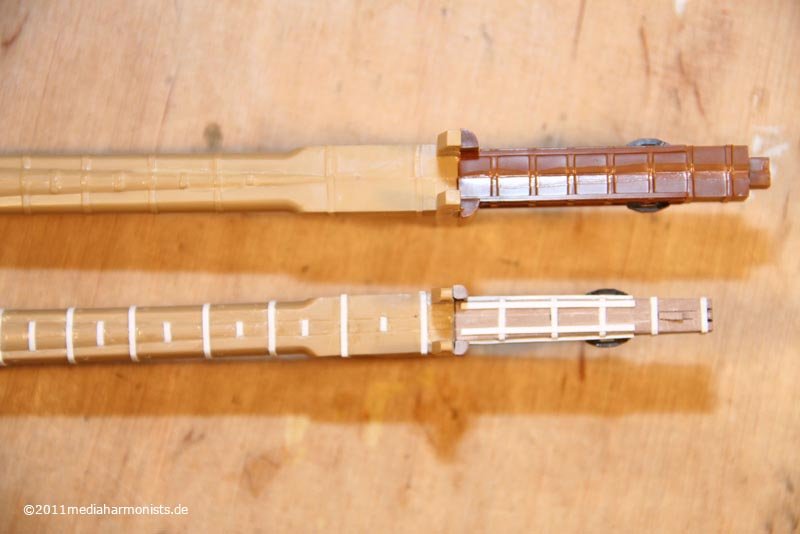 ... the area inbetween the cheeks was rebuild, the assembly splitlines of the top were engraved, the clamp for the yard-sling fixed ...
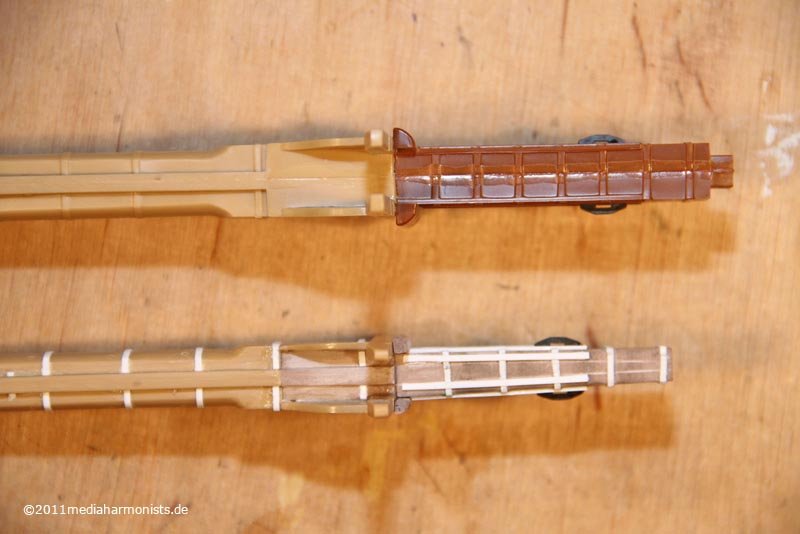 ... rebuild the battens, engraved the cheeks and the holes for the bolts. As reference always pictured with the main mast in its oob state. on the last picture one can see nicely the different angels of the masts on the angle of the trestletrees :-)
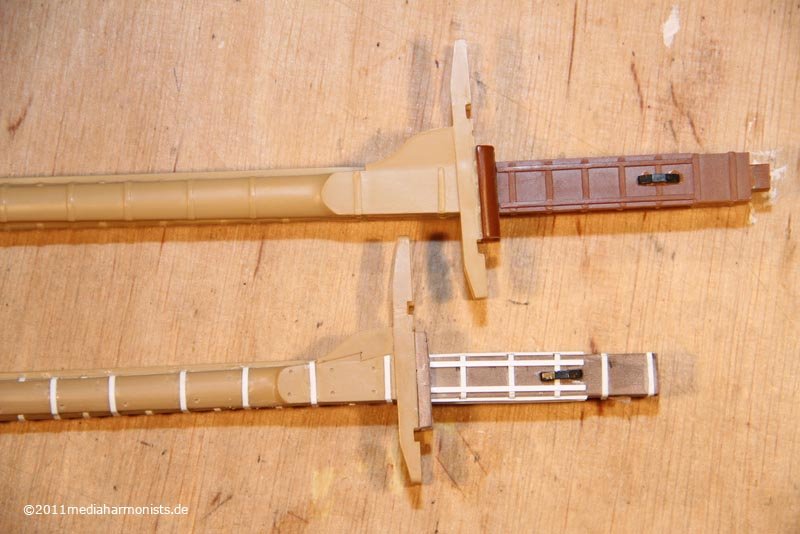 Some more views ...
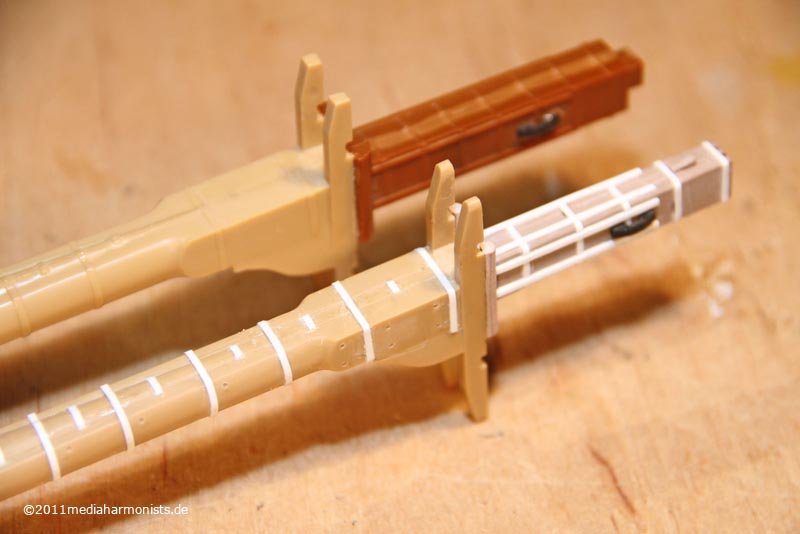


 And the spareparts box is happy about two new entries :-) Here still the dolphin striker: original and imitation.
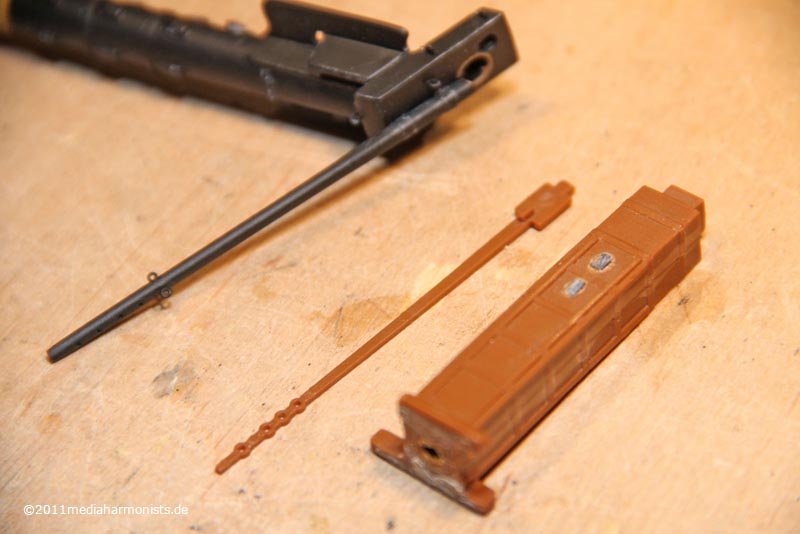 Lieber Gruß, DanielEdit: For the protocol: The two black clamps are really fixed oob ;-)
-
Thank you B.E. for help with the fairlead collar and the gammoning fish. Lee was the right answer. Jim from MSW even recollected that Steel mentioned the fairlead collar in his 1818 publication.So ok, lets go ahead :-)And that is what came out:
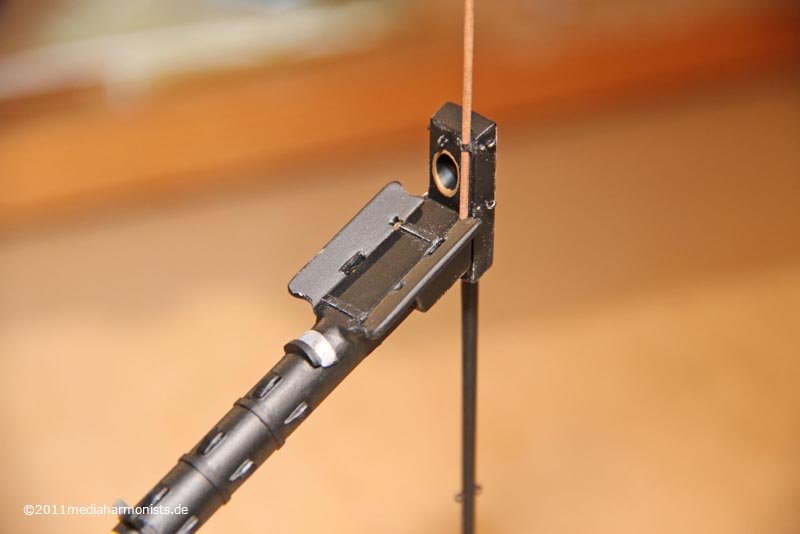 At Lee I found two other nice details: The leather inlay for the hole of the jibboom in the cap and the lead cover of the spritsail sling saddle to avoid it galling the bowsprit.
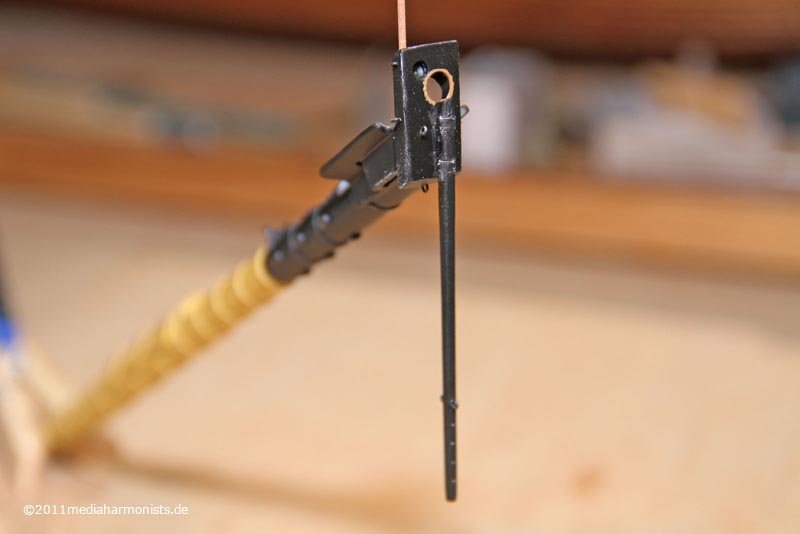 Fixed the dolphin stiker with two hoops ...
 ... and the flag staff in its groove and the fitting.
 The bees finally got their right form and ...
 ... still added some eye bolts.
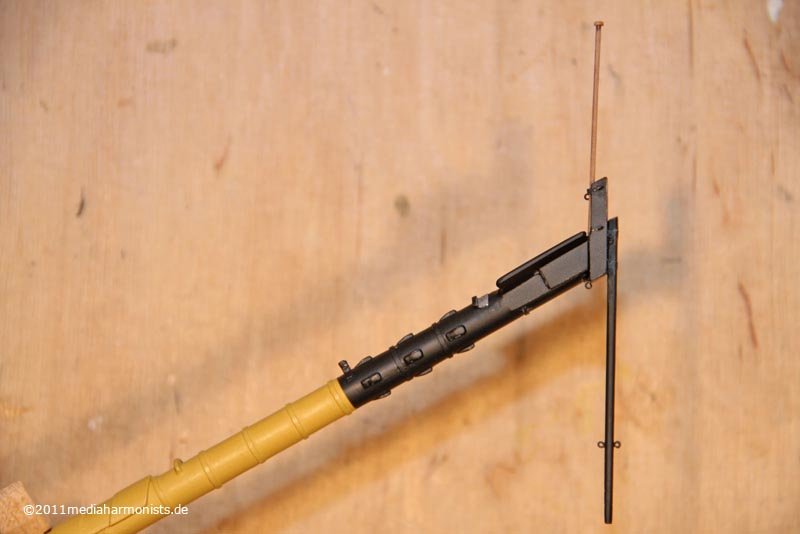 And as I most probably will not need the flag jack staff in the final presentation ...
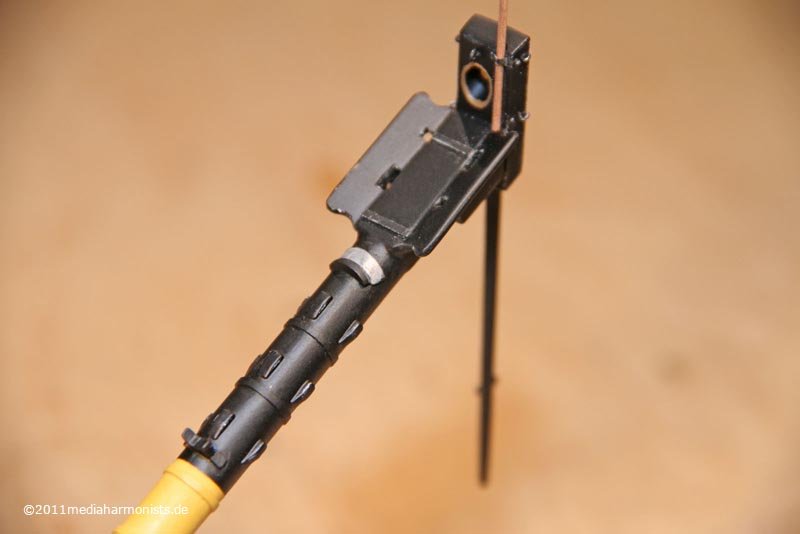 ... it can be taken out :-)
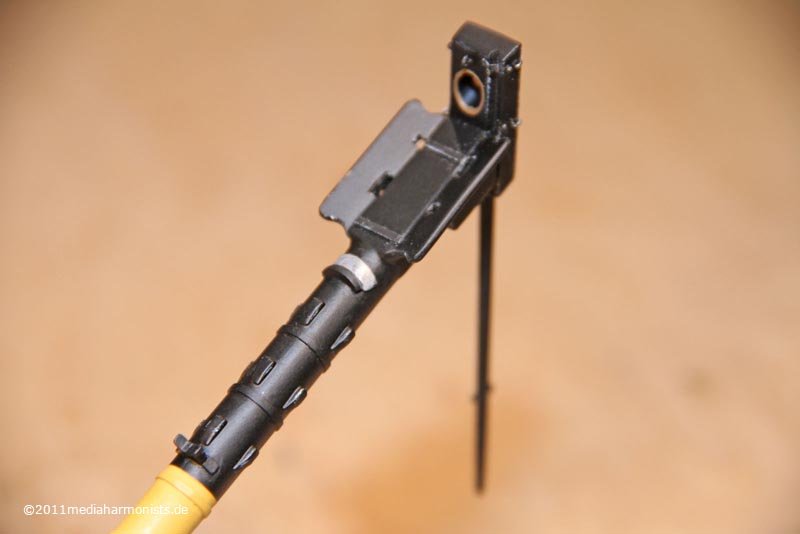 All the best, Daniel
 -
Jo-jo-jo, ...... some more petitesse. This pic was left from the knie operations. To be able to paint them, drill a 0,5 mm hole in the back and press it onto a needle ...
 ... played around with the blocks ...
 ... n° 2 from the left is the 2 mm JB and the right ones are the 3 mm Krick, and, by the way, 190 sailors and sailoresses have made their crosses ...
 ... even without press gang ;-)Ah, and the bowsprit got new hoops ...
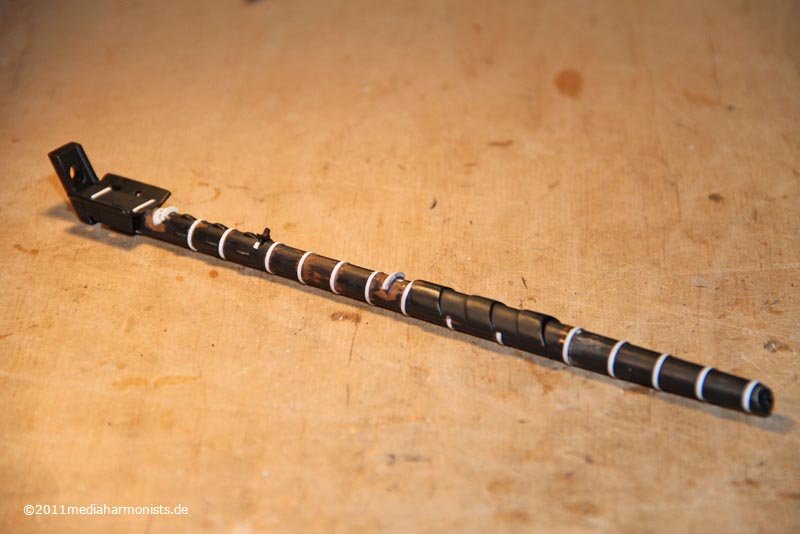 ... following Steel about 10 cm high and 1,5 cm thick ...
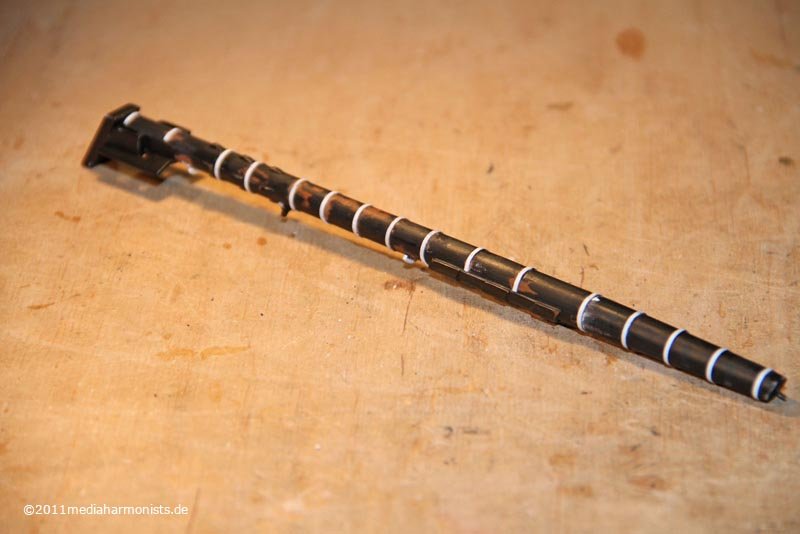 ... and 5 on the bottom, 9 in the middle and two at the bee, like it is meant to be on a first rate.The dolphin stryker had a rebirth in its true size- not as kiki as the Heller original :-)The wooden bit was meant just to be a mockup for a brass one, but proved that stable with its 2 mm square that it got the job permanetly.
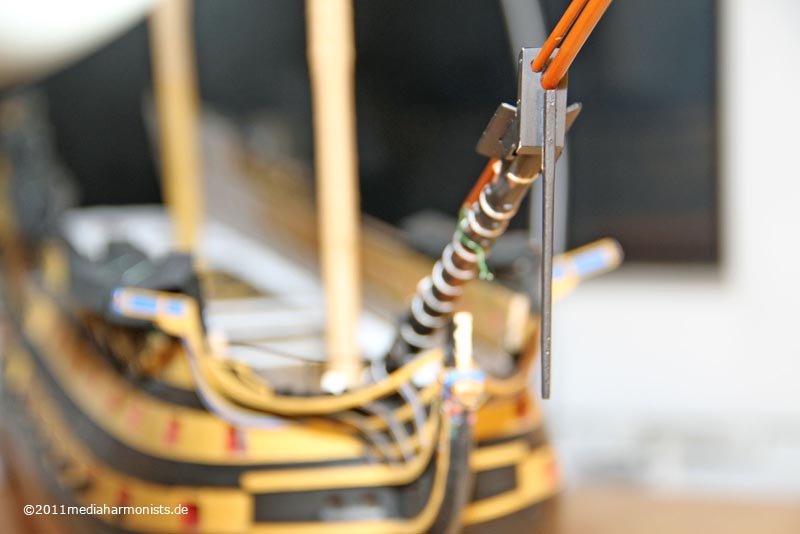 And once more my trouble with the fairlead saddle ...
 Steel shows on the plate and describes it on page 33: "The saddle for the running-rigging is similar to the above [der Sattel der Oberblinde], and nails on the bowsprit just without the gammoning, but not till the bowsprit is rigged. It has several holes bored through fore and aft, through which the rigging is led claer into the bow"As Maurice wrote Lee mentioned it to be used untill 1805, Marquart and Schrage show and discribe it, Longridge shows on his model and on plan n° 7, I finally found it at the McKay-drawings in McGowan ...... but it is not to be found on contemporary models ...
 Could Steel be interpretaited that it was just fixed in the end and therefor is omitted in models?And to put one more on the top: What is about the saddles for the bowsprit gammoning? Haven´t found any prove apart from Vic in P. ...Another anachronism ???All the best, Daniel, oh how life is hard ...
 -
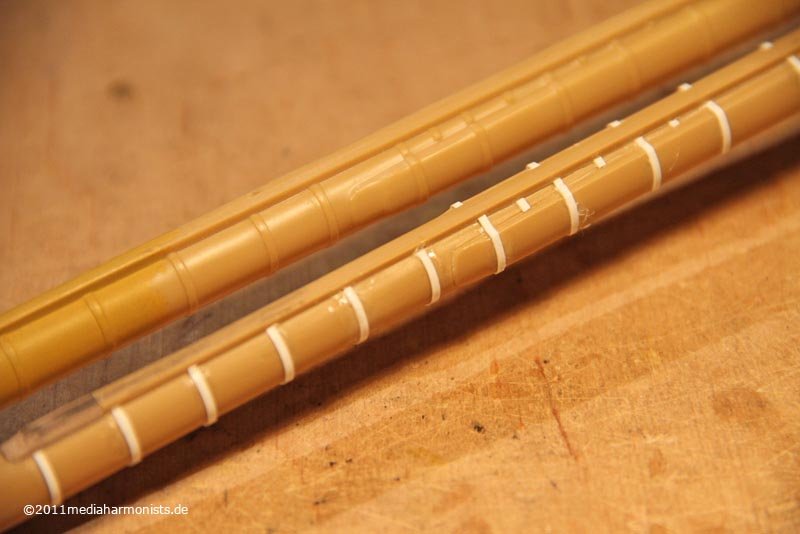
... for that I do not loose the feeling that I work on a SAILING ship I had to do some spars ...Thats the bounty of the last days:Enlarged the bowsprit cap, ...
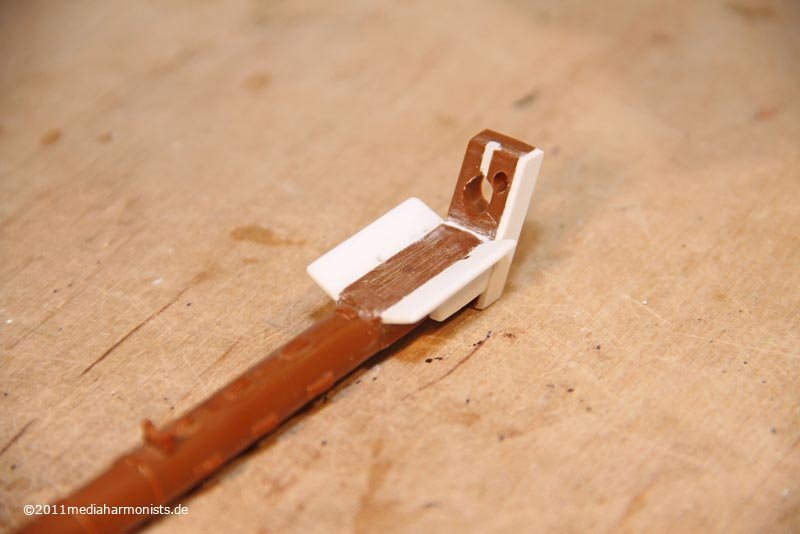 ... took out the not needed grooves.
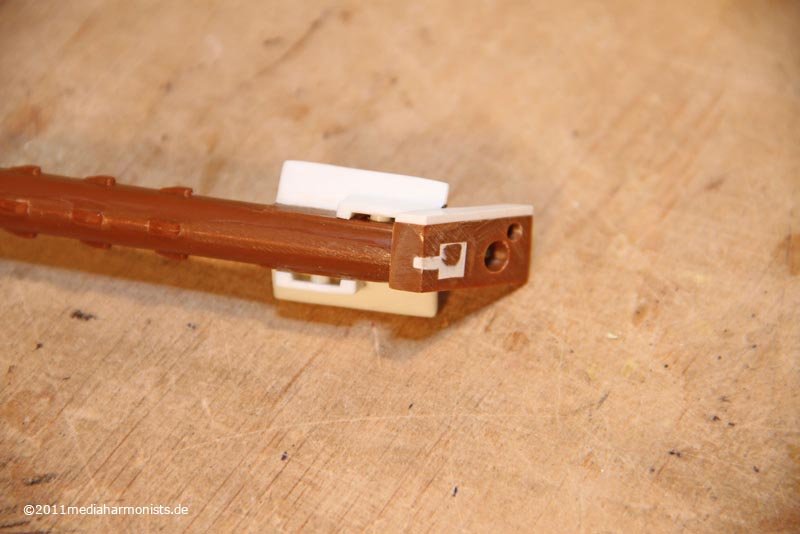 Cut off the original foot and positioned the bowsprit on the partners...
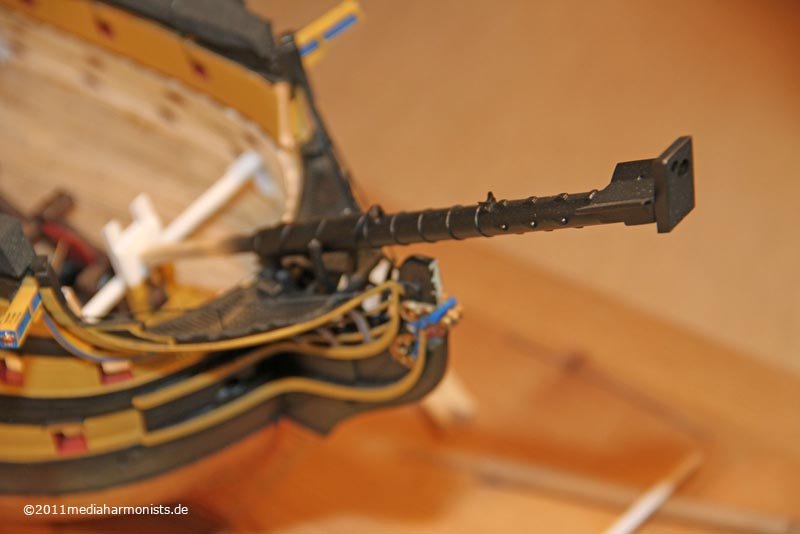 ... adjusted lengh ...
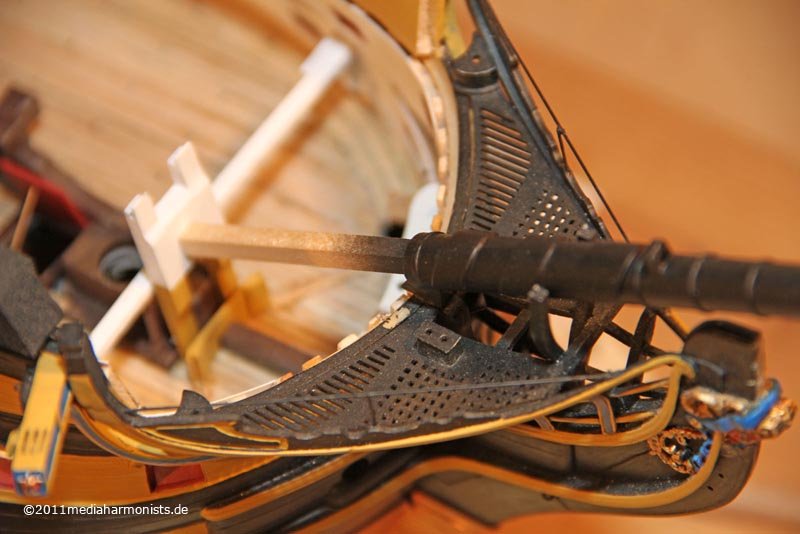 ... fixed it ...
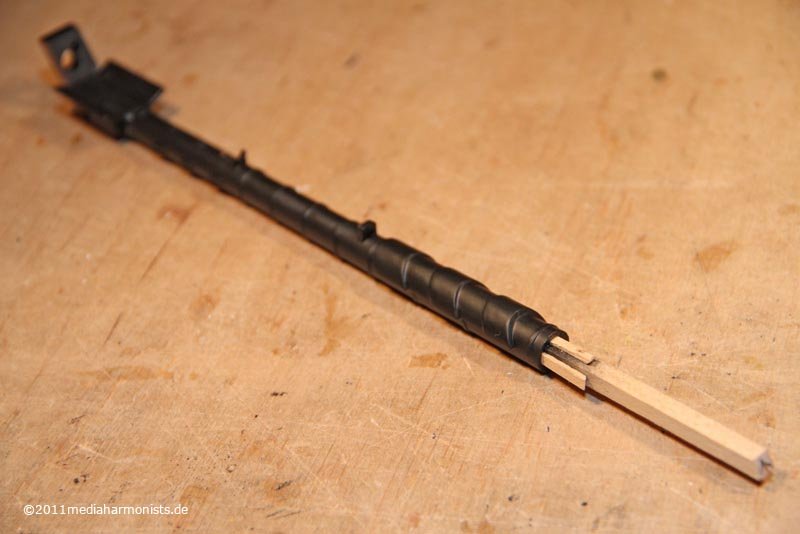 ... filled it up ...
 ... filed an octagon and rounded it.
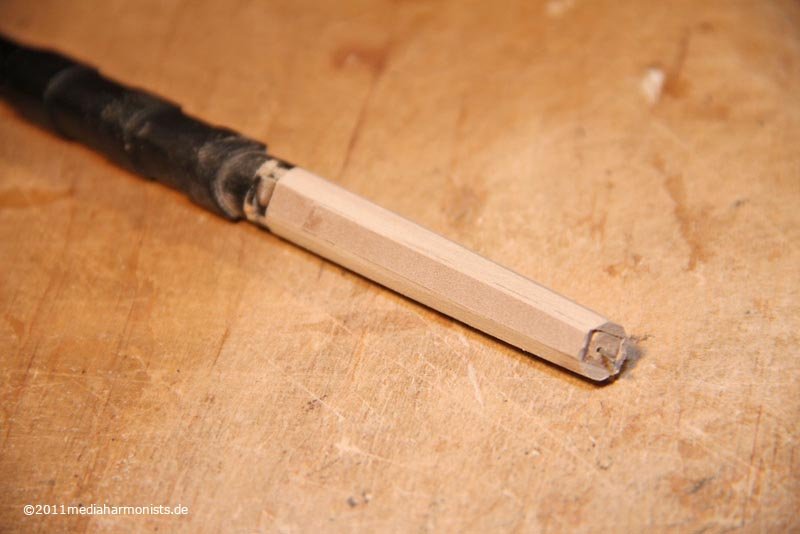 On the backside of the bowsprit cap closed the hole for the jib boom and made a new groove for the Jack.On the bee I enlarged the two existing holes to longholes and drilled two new square ones for emergency stays ...
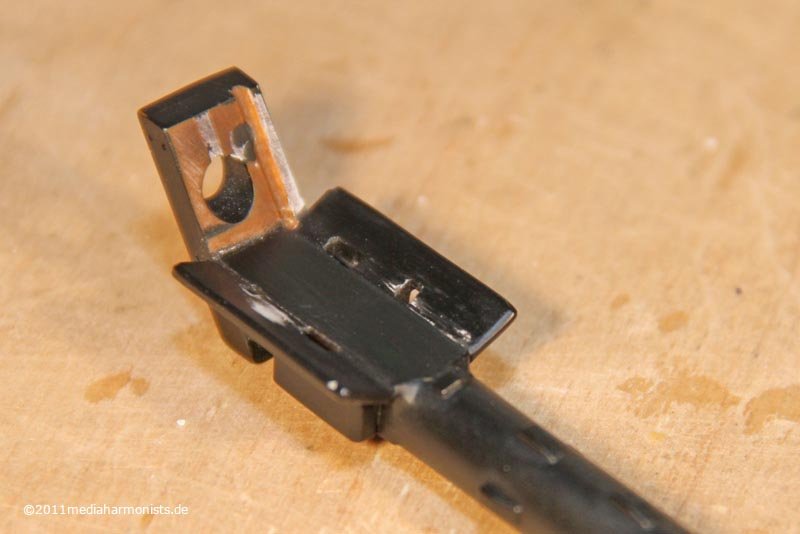 ... and enlarged the jib boom saddle.
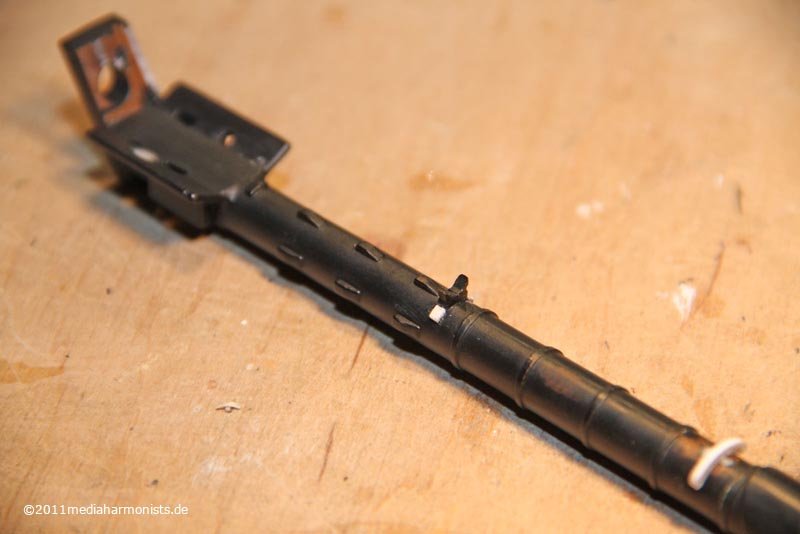 I do not know yet if I will use the fairlead saddles, still investigating if they were used with the mariners walk ...
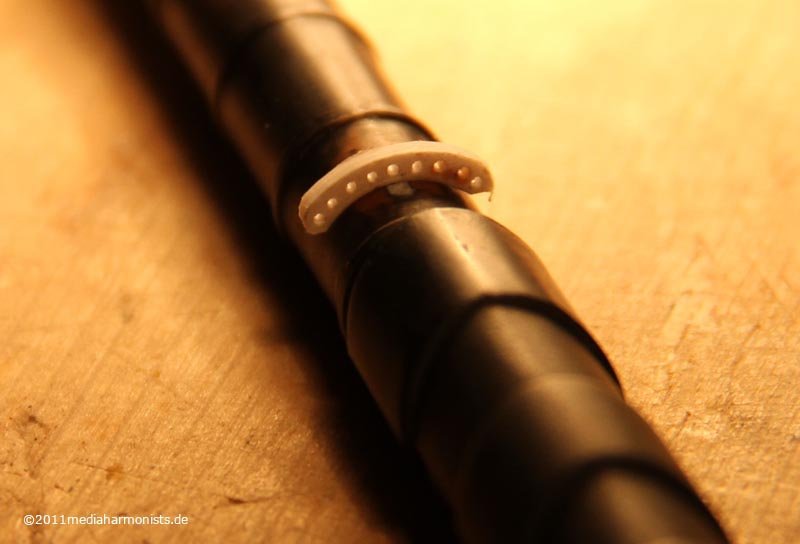 Still a long way to go - as usually - but the start is done, all the best, Daniel
HMS Victory by dafi - Heller - PLASTIC - To Victory and beyond ...
in - Kit build logs for subjects built from 1751 - 1800
Posted