Izzy Madd
-
Posts
382 -
Joined
-
Last visited
Content Type
Profiles
Forums
Gallery
Events
Everything posted by Izzy Madd
-
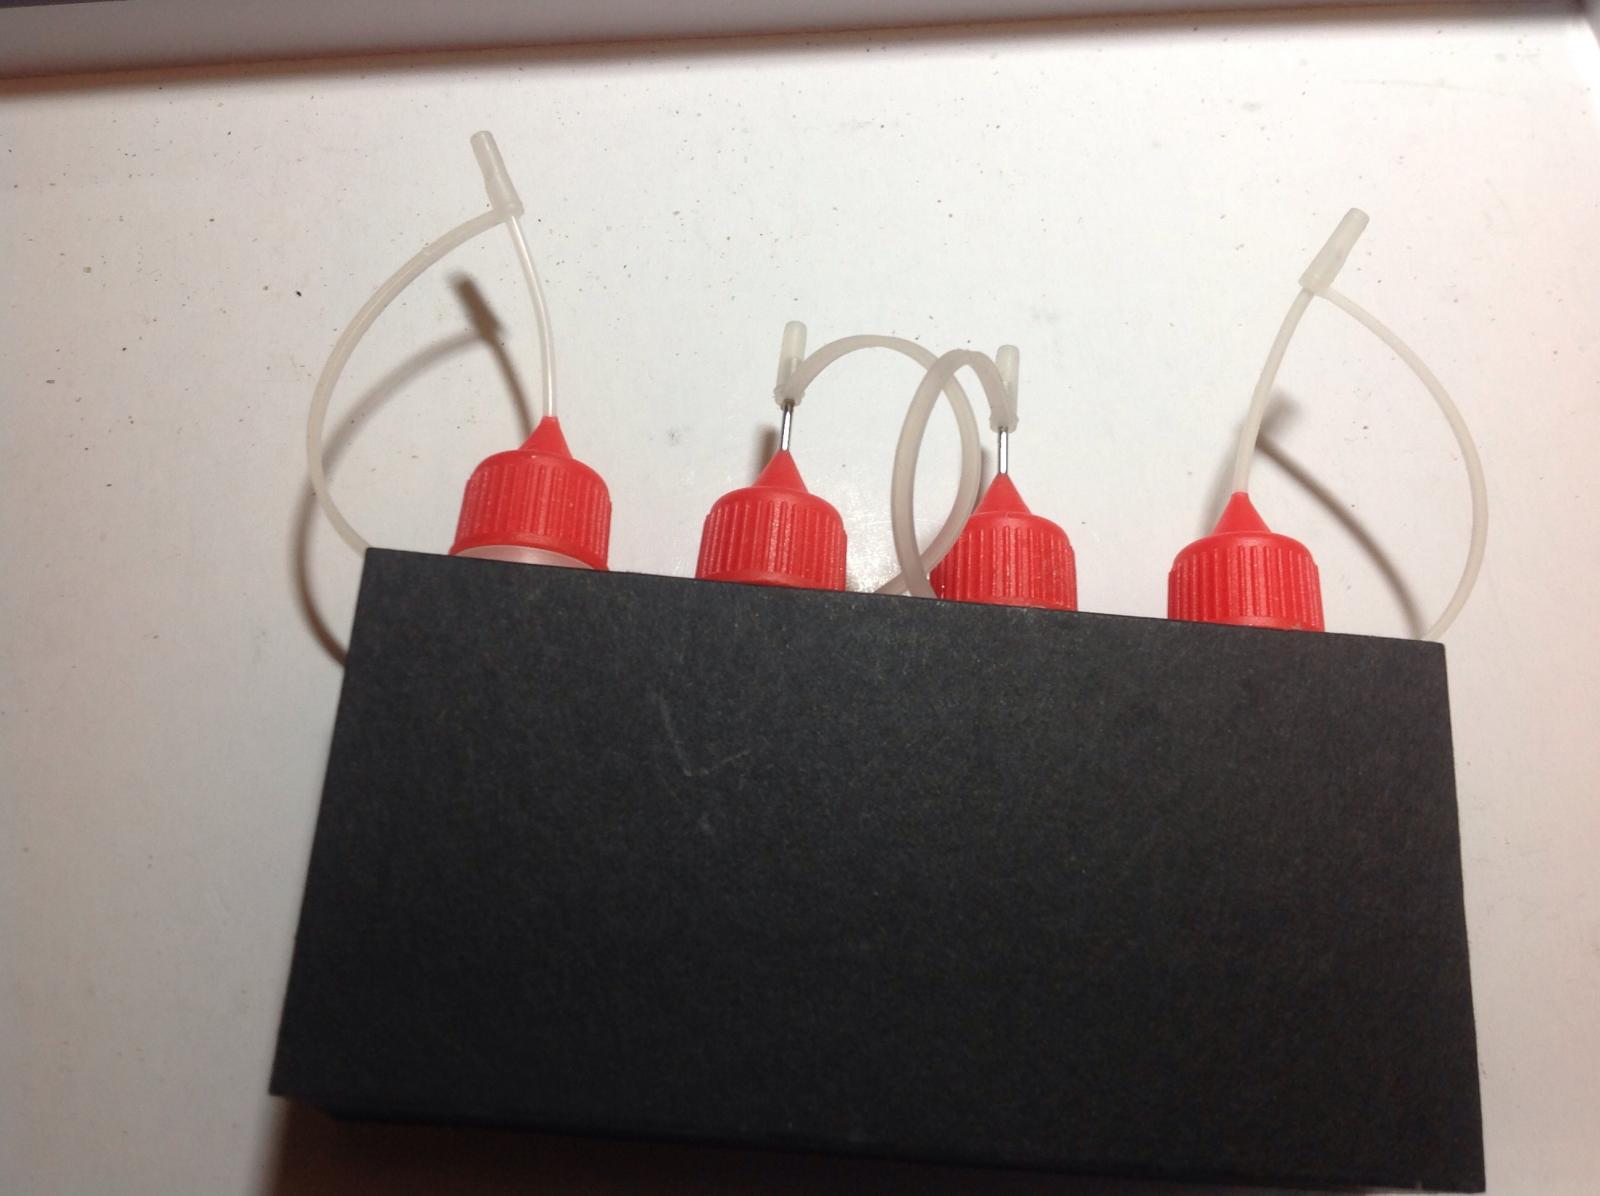
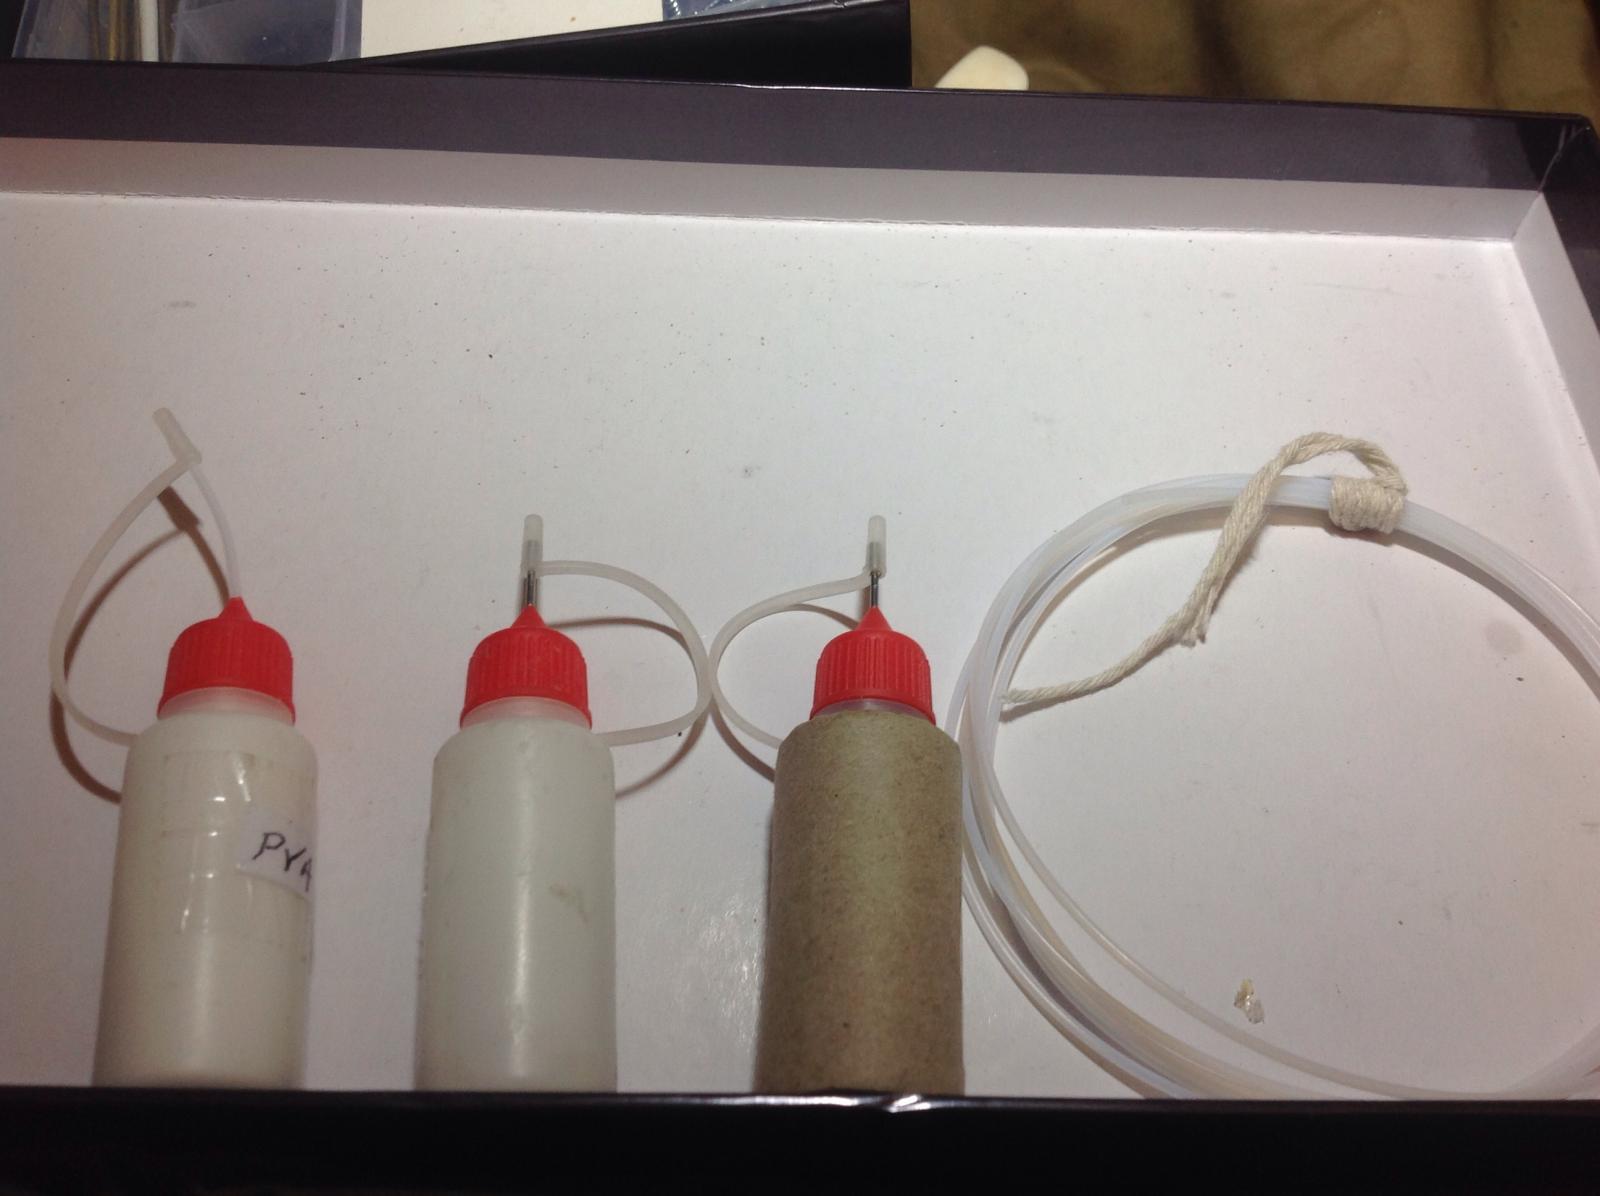
 Hi folks trouble is back. I use the bottom from a plastic soda bottle. Then I have five wells, one for PVA, PVA and water, soapy water, CA and acetone, in one place and they don't fall over. And the sides make good windows at a push. I also use the cap as a well if I only need one glue pot.
- 396 replies
-
- 6
-

-
- Idea
- Bright Idea
- (and 1 more)
-
Hi, As a newbie ish the best advice regarding terms and knowledge for anyone. Is to quote a knife maker. "Don't worry about using the wrong terms, as that will come with time. After all you don't get on an airplane to go on holiday and have to know how to fly. That's the pilots job." And the same with any new subject. If you use the wrong terms or names. Someone will soon correct you and over time you will learn it. So my quote is "Buckle up and enjoy the flight." Because knowledge or not you'll still get there.
-
While I'm on forced go slow on building. In case you might not have noticed it doesn't mean I'm not able to stick my oar in here.


-
To be truthful I think or at least hope I'm a picnic short of a day out..
-
Ahoy fellow squirrels, Whilst I'm annoying half the crew of this global ship I might as well annoy some more. Now don't take this wrong I'm not criticising in any way. Just trying to understand different lines of thought My question is about the phrase "scratch built" Now technically anyone who alters the model from the kit is then scratch building all be it more kit bashing. But it's just degrees. And I would like to know how do you decide if it's kit bashed or scratch built is it percentage. And if so is that by weight or volume... Now my real question is. Surely scratch built is building a model from the plans only. That is I assume a given certainty. That and taxes and death. Only one of which I believe exists. And that's taxes... But, and I salute those with the skills patience and imagination. There are those that will roll out lathes and drills etc. and make every part to scale. And great job they do then there are some who still work to the plans but make some bits fabricate others. And buy the best available that is right but pre made. An example that springs to mind would be belaying pins. Many are just right. Many are foul but some are right. So why make them. And then there are those who fabricate things even if there is a valid item available at a reasonable price. Now the latter are true heroes sourcing things most of us don't even see. And at the other end of the scale the just as good who mix match and make. But apart from down playing the latter with such a lowly title. Which there should be a better title like super scratch or what ever. But from my point of view why. Take the belaying pins. Say you need 100. Why sruggle to find a very clever substitute when there is either a perfectly good version out there or why not make them on a lathe. Both are still scratch built but hard for me to understand why. Other than because. Which I've used myself. But this is above and beyond. And what's the difference between using a gear wheel from a watch or buying one from a model shop or making one on a lathe. It still not from a prepreared kit and so is just as valid. Now before I raise the drawbridge against the pitchfork waving villagers wanting to lynch me. Please explain why choose any of the methods beyond just literally scratch built of wooden parts or turning metal parts. And buying Better bits. Which is basic scratch built. And if anyone's got this far without send death threats well done. And please tell me why?
-
Ahoy there one and all. Now I know I'm more than a loaf short of a picnic. And got more loose screws than a bucket of bolt. But have I imagined it. Or what. As a former cabinetmaker and all round wood butcher. I know that unle you like your wood with splits in it. In exterior conditions where it is likely to get some excess moisture on it. That unles there is no choice you only put ONE fixing in the plank. I THINK I've read the same as regards ships decking. Which lets face it get a tad damp at times. So why is it everyone is imitation at least two fixings. On each plank. As any decent plane jockey will know if you cut the wood the right way you only need one fixing. As all you are doing is stopping the plank from doming. If it's going to cup then you need to keelhaul the wood monkey and get one that know how to do it. ******So where has this double fixings idea come from?****** As the reference I recall was some sort of instructions on how to lay a deck on a full size ship. And I think it may have been a navy manual. And the fact that the size of caulking that is recreated is evidence that the planks were expected to swell by at least 15mm each. Which would mean either fixings fly all over the place or so many split planks there would be more caulking than planking. Even teak which is know for its water repealing properties swells. And with the width of the average ship your looking at a movement width wise of well over 600mm at a conservative estimate.
-
Hi, He's not just letting me have the instructions but a full set of plans which he's doing specially. So I'd say a great chap.
-
Ahoy there, Just a little snippet of info for anyone who wants it. I've just learnt that if you need info about a Billing model. The best contact is not the Danish site as that's now defunct and running on auto. Or the English one But here agesofsail@gmail.com As I've just been after a set of plans and they are sending me a set ASAP. And that's from an email sent last night. Not only useful but fast. Hope this helps someone
-
Is it just me or does anyone else have problems getting acrylic paint to stay on the model. I understand that grease needs to be removed before painting. No problemo. But when it's been drying/curing for over a month and I come to "touch up" parts. And I end up with more missing paint stuck to my fingers than was on the model before I started is taking the wee wee. How are you spposed to hold the blooming thing if the paint stick more to me than the model. Somebody please help. What am I doing wrong. And don't say holding it. Or I'll send the parrot around. And she's not in a good mood since I showed her where to shove her crackers.
-
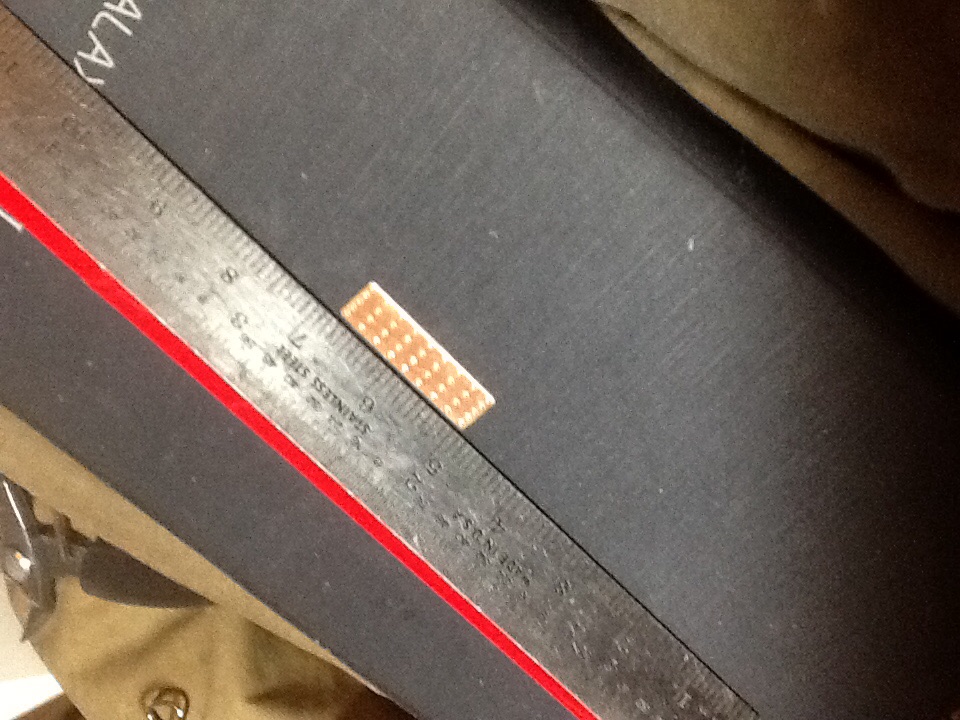
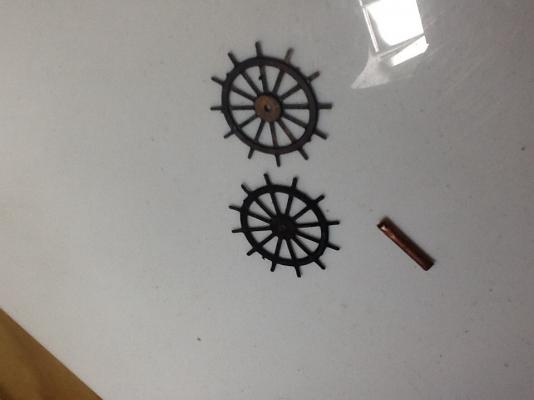
Hi, Thanks Greg the peg A double update as regards blackening. The copper I consider a failure as putting out in the rain would be quicker, here at least. Not so sure in Aussie.:-). But the brass has had a while longer and now the colour is ideal and doesn't rub of on totally uncleaned brass both rubbed down and untouched. As one of the wheels was rubbed down the other straight out of the box. I realise it may take longer than the chemicals sold for the job. But if you've got parts you know you want black. You know it at the start. So start the dip then then when you are ready so are they. And no oil or corrosion in sight. Hope this helps. The odd colouring of the centre of one of the wheels is due to the reflective nature of the surface. And is an iridecant black like the feathers of a magpie.
-
Hi, Thanks Mobbsie, as it happens it's ended 3 and a half hours ago but I'm being taken out for a meal with the family today‽ so I'll still be celebrating. As its the last one before the big 50. You never know my mental age might even get into double figure. but then again perhaps not its too boring being grown up.
-
H.M.S. Victory, Heller, 1/100, Onward and Upwards.
Izzy Madd replied to Izzy Madd's topic in Plastic model kits
I'm afraid I'm on very strict orders to sort out my store before starting anything at a all. But part of the reason is the fact that I managed to get hold of 4kilos of various block. All wood all mixed. But I've now got enough blocks that are decent quality to kit out half the navy. I must admit I am very eager to start as I've managed to get a source of very accurate info from someone associated with NRG. And it's shows some very big differences. Most of which I'm hopeful of incorporating. I'm not allowed to show any of the images but I'll be sure and state when I've used them. I think they may well raise a few eyebrows and create quite a few comment. Izzy -
And if you think that's mad wait til I show you what you can do with aluminium powder, rust and glycerin...
-
Ahoy again. As its been so long since my last post. I thought I'd give you another top tip from the other side of sanity. Are you trying to get that perfect finish on those hull planks or decking. But that woods not palming fair and there are holes and grooves where that horrible grain is. Well worry not. I have the solution and it doesn't involve paint. If you need to fill small grain rips or plucks. So as to get a smooth finish without hiding the grain. You need three things some varnish. Any will do but I find alcohol based works best. Such as sanding sealer. Some thinners to suit your varnish. Now the tricky bit. Sneak past the admiral into the bathroom. You want some pure talc. Yes I did say talc. One of the softest minerals and right there at the bottom of Mohs hardness scale. I find the best is simple brand as its just talc. But you can tell if it's pure talc and not synthetic if it feels greasy between your fingers and leaves a shine on your skin. Also just look at the chuffing label. Right listen up here comes the alchemy bit. First thin your varnish down to about two parts thinner to one varnish. So as its just a little thicker than water. Then start adding the talc. It will go cloudy and if you leave it to sit the talc will sink to the bottom. So keep stirring now and then but you want it so as it just sits on the wood or runs slowly down a vertices surface. Make sure you put it on well and it may take a few coats. But not as many as without. Then leave. And when it has fully set the surface will feel gritty that will go with a fine sanding. But that's where you get the fill. And no it doesn't look white as talc absorbs the varnish and goes clear. If it's true talc. And that shine you get on your skin will add to the finish as it is this lubricant that smooths the surface as you sand. And then finish of with normal finish either wax or varnish. And it will be as smooth as the proverbial behind. IMO
-
Ahoy there one and all. An update on the update I never posted just to update you. If your still following me. HOW.? When I removed most of the brass it had considerable amounts of the dreaded CA over it which I could have left in the Detol for a month but I decided to speed things up a bit. And so threw them all in a load of acetone. For a couple of days. Tenderises it lovely with a bit of gravy... This then had its own unexpected effect. It removed a lot of the blackness. So as they were multi coloured. Back in the Detol they went. I'm pleased to say that they went even blacker but they do need moving around regular as the underside was far less dark where it had been flat on the bottom. As for the copper... I think it's actually brighter. So no it doesn't work for copper. Sorry folks.
-
While I agree CA "can" last it is more likely to fail suddenly and in a warm heated home with the normal humidity it will fail simply because of its age. As it's designed to degrade with liquids so that it would dissolve the same as sutures as it was designed as a field dressing in the 70's being small and light but able to stick wounds together. It was never meant for sticking anything else. And if the parts have any flex in them which all do the constant heating cooling that goes on in homes flexes the joint but the glue doesn't and eventually crumbles. Often all at once as that's when it was used and it's all been degrading together and once one bit goes it cascades.
-
I know I've flown in the face of tradition saying this but I'm surprised so many are hitting the like button. But I hope it's doing some good as it's not the best glue for everything just the things it's meant for.
-
Try wiping the wood with alcohol/acetone as it's usually oils that stop the sticking process at it stick even iron to its self. Just try buy an original glue pot that's still got hide glue in it you need a blow lamp and cold chisel
-
Cutty Sark by Nenad
Izzy Madd replied to NenadM's topic in - Build logs for subjects built 1851 - 1900
Great work. Love the details. If you need any help with adobe illustrate I did 5 years at uni learning Al the suite of apps. As a graphic designer. So I'm more than happy to advise/help in any way.- 4,145 replies
-
- 1
-
-
- cutty sark
- tehnodidakta
- (and 1 more)
-
Heard it seen it and wished I'd never seen CA. and to get as far ten years is lucky. As it crystallises over time and those crystals are bigger than the original joint very much like rust. Also it breaks down on contact with moisture. Such as humidity. Probably because it was designed to. As its only good use is for sticking soldiers back together until they get to the MASH unit. Circa 1970’s and Vietnam. It also has an exothermic reaction so can in some extreme cases melt plastic parts then there is the fogging. Easy to get around but still there. And it runs ever where or soaks right through. Changing the colour and texture completely. And if used for rigging no matter how small an a out used it will wick. So you then have a rigging line where part is hard as steel. Or melted. IMO only use it as a temporary hold before using real glues.
-
Ahoy there, shipmates. Multiple questions tonight. The subject it copper plates. Now I know the HMS Victory takes some 4-4500. But how many does the Cutty Sark take.? Also on plastic models self adhesive works great. But on wooden useless. So does anyone have any suggestions for a glue for copper plates? And no I'm not using CA. I don't want to be picking them up of the floor in a few years. Also I don't really want to be using contact cement as its a nightmare if you touch the wrong place. As its then stuck there and I'd have to wait for the glue to set first. What I want is something like the old poly cement. That can be applied to one surface for about 150mm then stick a row of plates then more glue and so on. So we come to the next bit. Has anyone tried "Zap Goo"? Is it Good, Bad or ugly... And one last one I've got three thousand copper plates. Not enough for one and probably not the other so I'll post an image below but they are 18.5 x 5.5 x 0.11mm between the dimples and 0.30 across the dimples. Does anyone know who's the seller of these? o I can match them up. Thanks

-
Fish glue also called isinglass and animal or hide glue are traditional glues used from the dawn of joinery. Both are easily found on the web. Titbond and franklins do a ready mixed version that's had good reports. Or you can buy it the old way as small pearls and soak in water and heat to no more than 80c. Then you have about thirty seconds to get it on the wood and get it clamped. Before it sets like glass. But it can be loosened and even removed by heat/steam. For a first time user ID stick with the ready made. Use it like PVA. Sticks like epoxy. Basically the same for fish glue. But as always every glue has its purposes. If you have an old fashioned hardware store near you they will be your best bet as they will know what they sell and how to use it. As well as the next best. But 90% of the time hide glue. The rest PVA or PVA and water. And unless it's metal to metal don't use CA. As it crystallises over time and fails. And degrades with moisture such as humidity. And will wick or soak down any porous material ruining it. Or just runs of hard surfaces. It's only good for what it was invented for. Sticking soldiers back together before evak to a MASH unit. In Vietnam. Then it doesn't work long. IMO
-
If you over clamp any joint you'll get what's called a dry joint in joinery. Basically no glue left in the gap. It can be eased by further clamping. But this is just creating suction and wishful thinking. Best is to ensure an even coat old loyalty cards or credit cards are ideal. Then clamp until you get and even amount oozing out. If it's PVA. Let it set until like cottage cheese. Then scrape off. That way it's less likely to smear. Also for PVA and the dreaded CA acetone will clean it up so as to remove the chance of staining. Also in thirty odd years of cabinetmaking I found using a damp cloth as recommended to clean PVA just made the stai bigger. And it was better to cut it of at the rubbery stage. IMO
-
If the shroud line rant tight then the glue I assume you are using. Will cause the lines to loosen even further due to the moisture. That makes them move away from the dampest side. And the glue will set before it dries so any bulge is fixed. If you've only used thinned PVA for the ratlines. I hope. CA crystallises over time. And fails.IMO. Then acetone on a cotton bud/q tip. Should dissolve the glue either way. And then tighten the shroud lines.