

Robert29
-
Posts
375 -
Joined
-
Last visited
Content Type
Profiles
Forums
Gallery
Events
Posts posted by Robert29
-
-
Moving slow. Didn't have much time to spare on Bluenose.
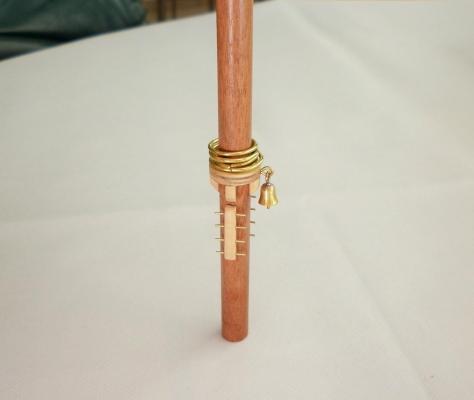
Finished masts. Ready to be mounted.
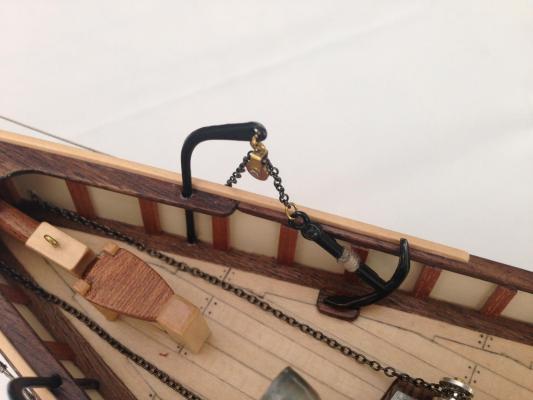
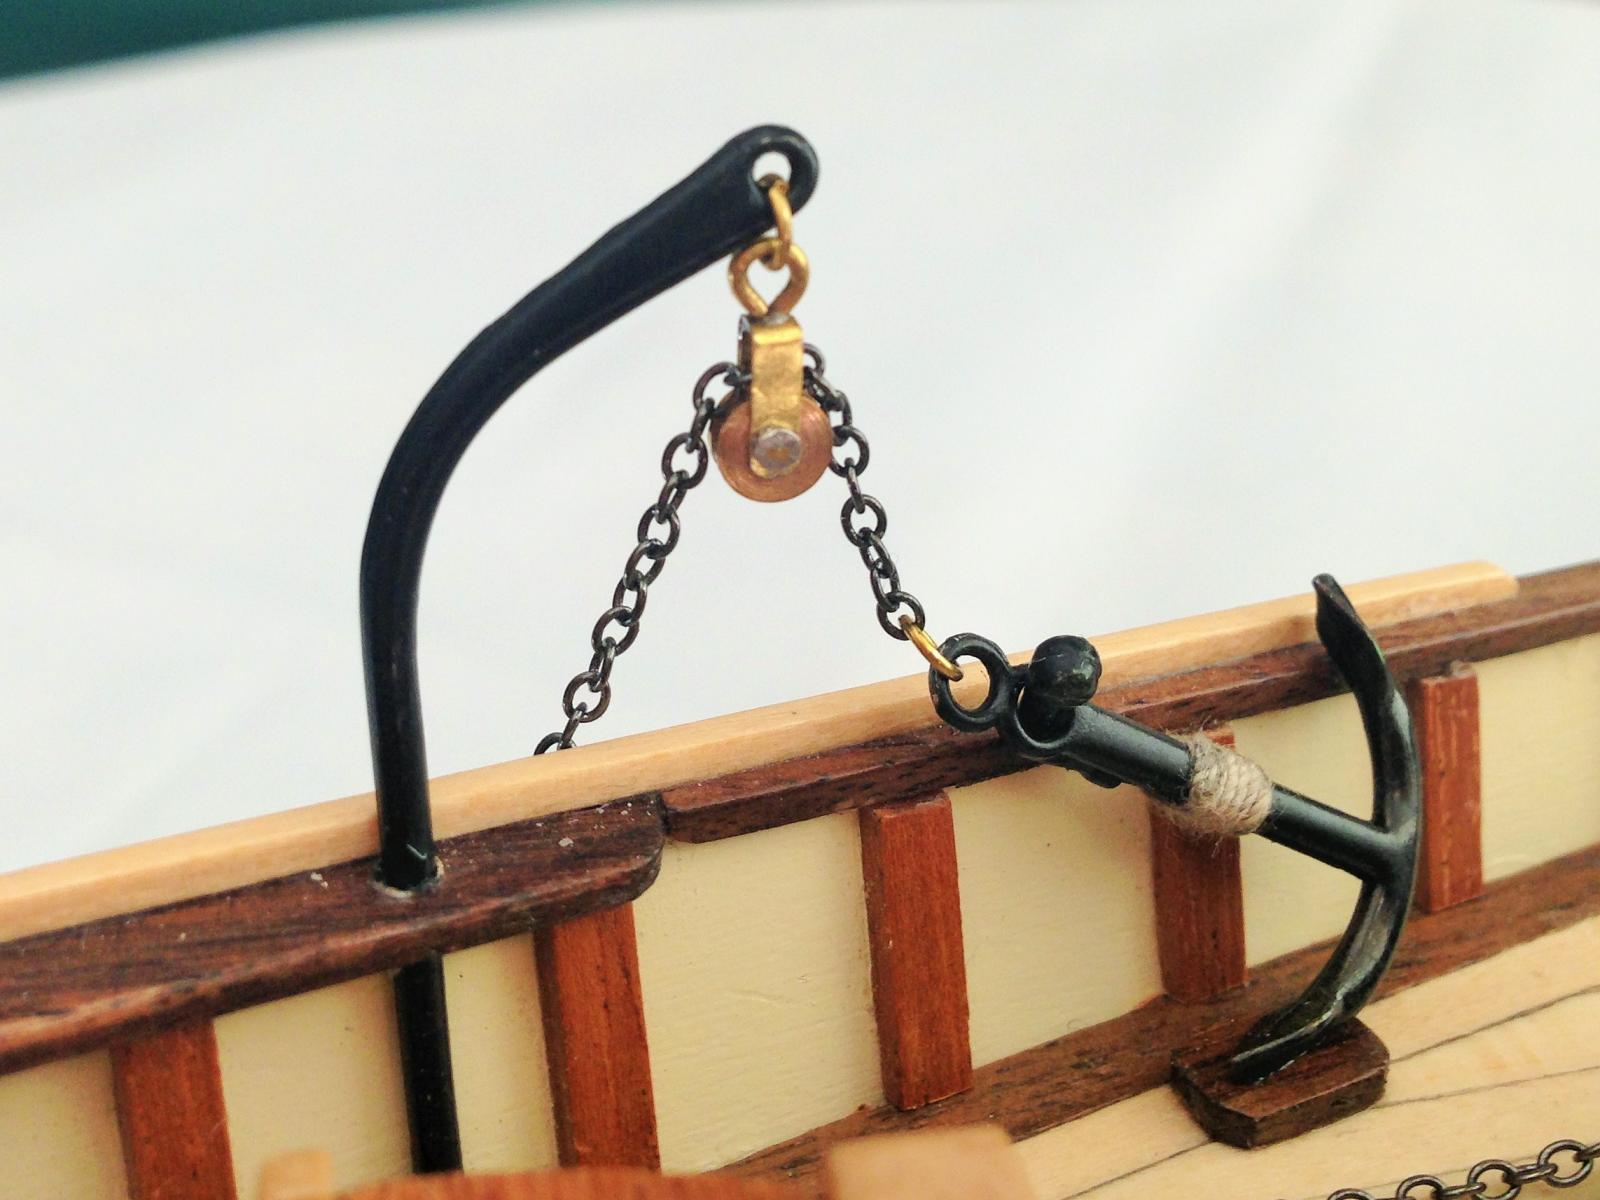
Fixed anchors, davits and cowls onboard.
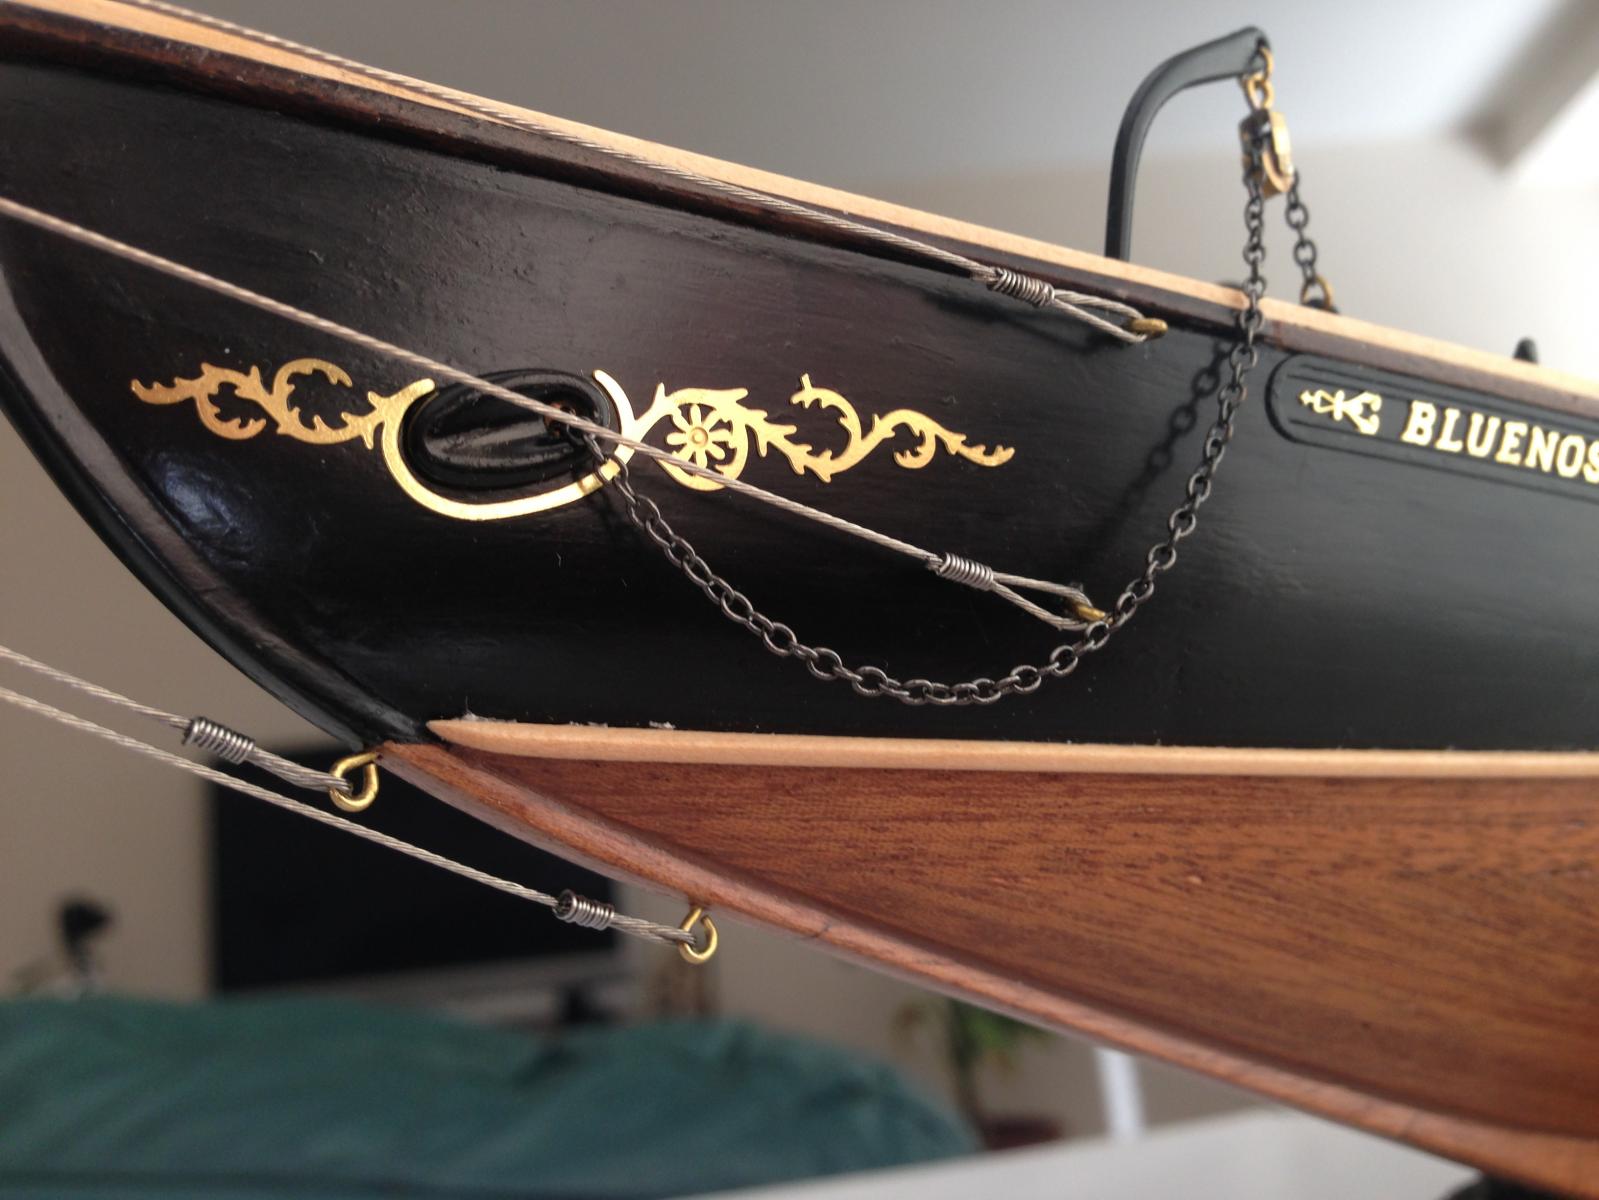
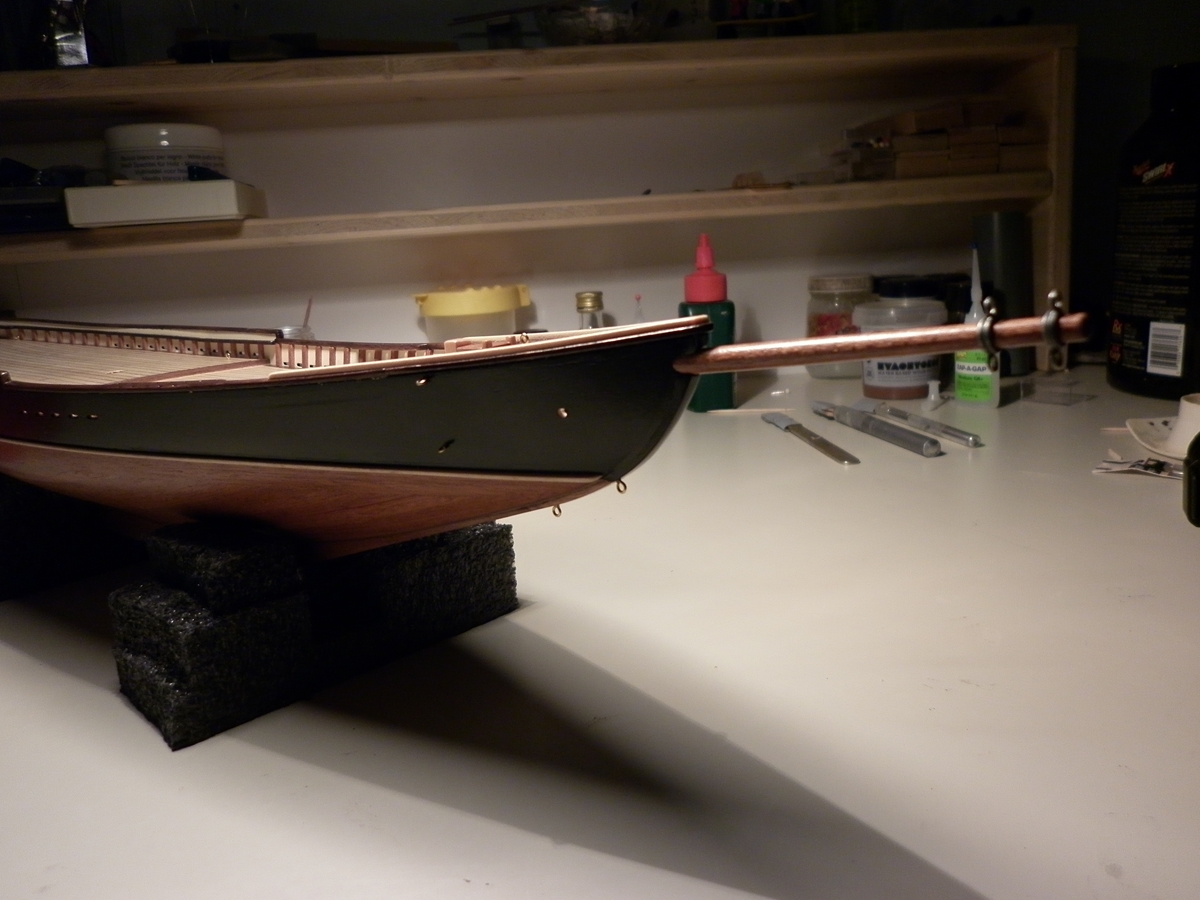
Tighteners secured to the bow and bowsprit.
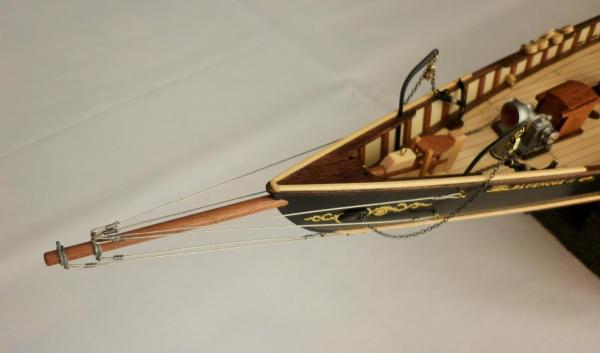
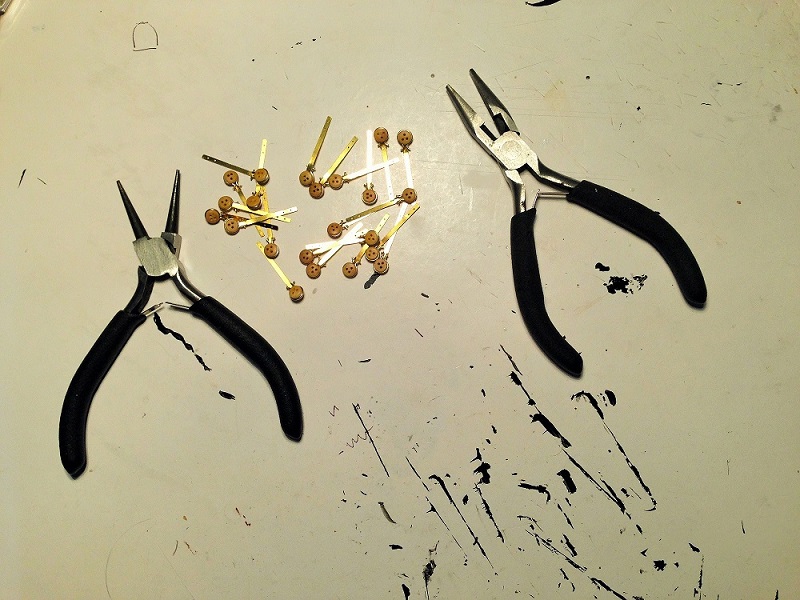
Anchors, davits and pulleys.
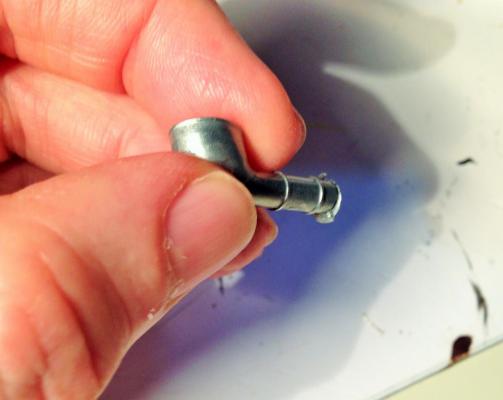
For the pullies I did not just cramp the shaft's ends as shown in the instruction manual. I soldered the ends and finished them with a file. I think they look much better.

Hope to mount the masts this weekend.
Robert
- GuntherMT, Dimitris71 and thomaslambo
-
 3
3
-
This week I did not have much time to work on the Bluenose, but managed some more work.
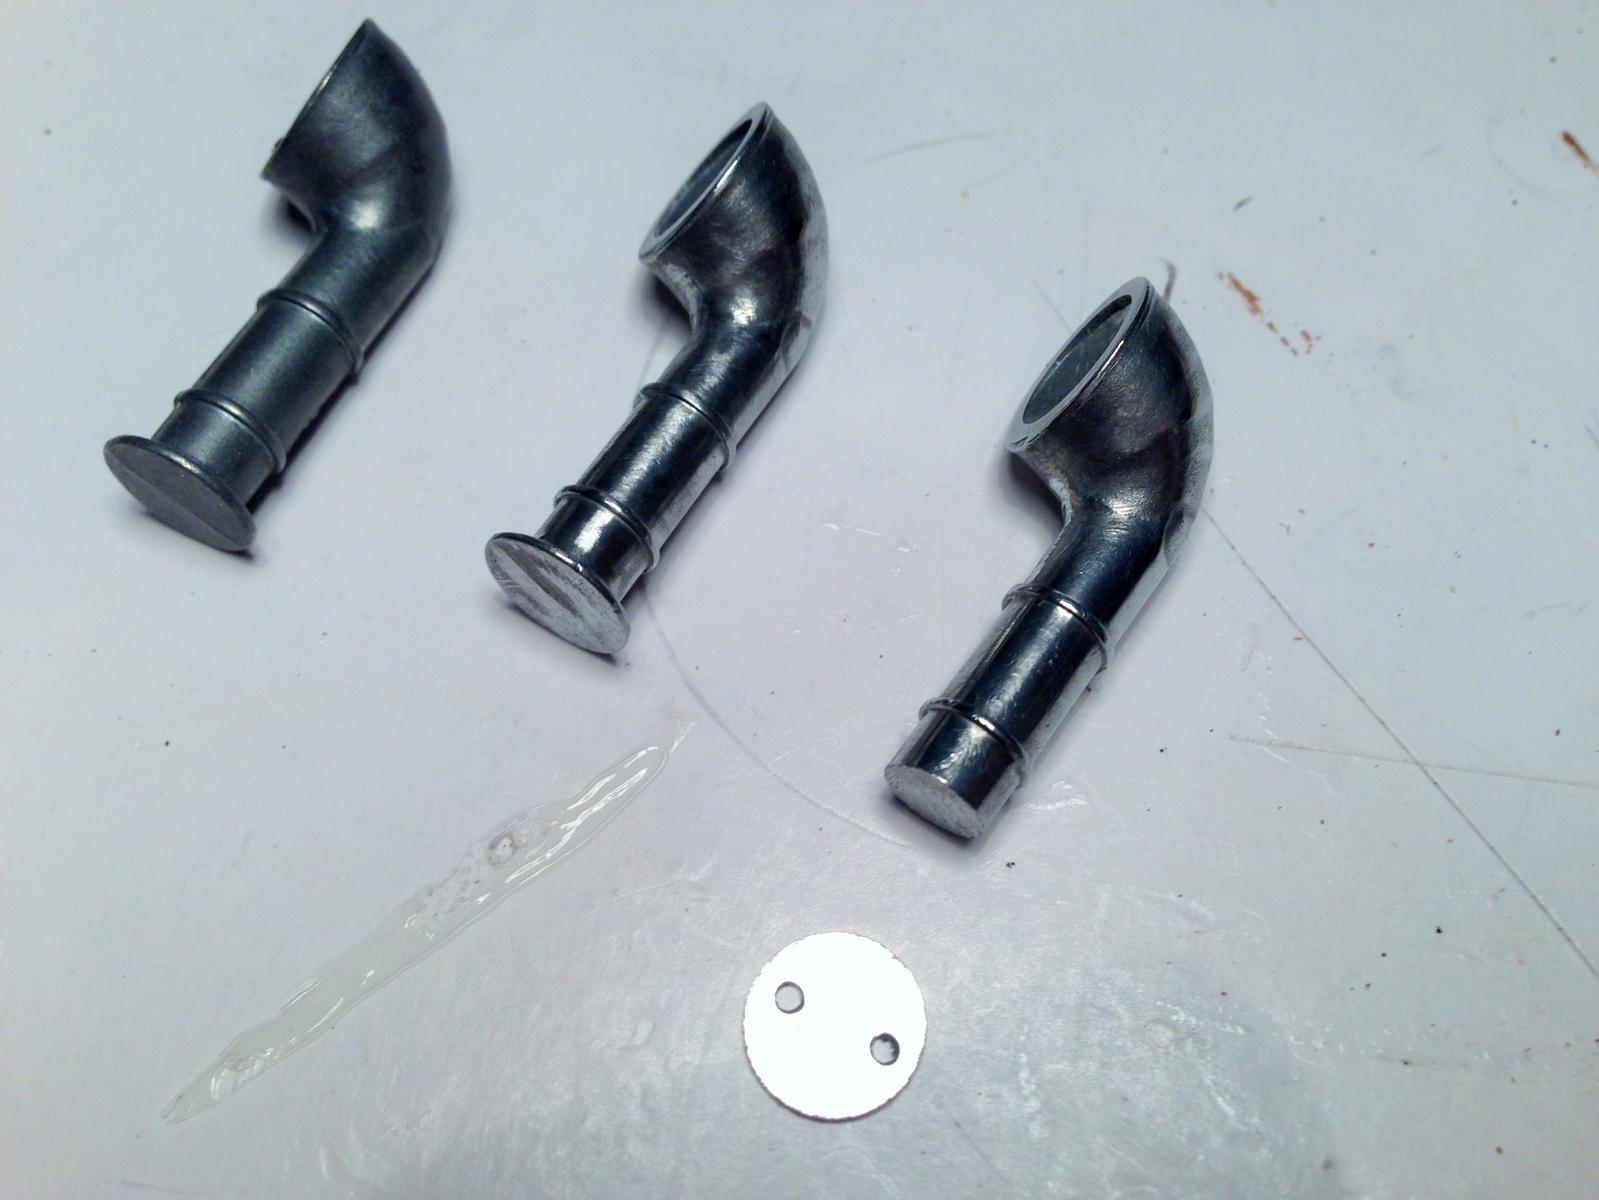
One of the three cowls was damaged.
Filed off base completely, found a circular piece of thin, formed a ring same size of cowl and glued to base of cowl.
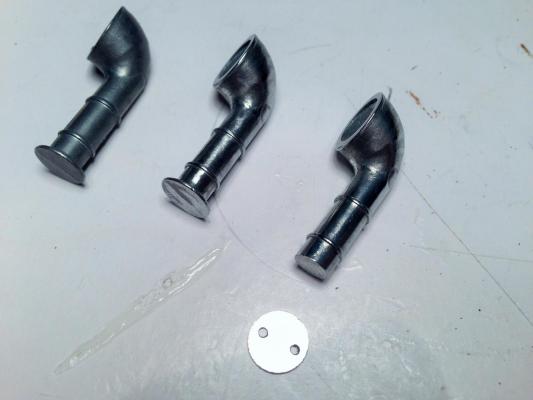
I think they are quite identical. One on the left is the original, one on the right is the fixed one. The outer rim of the base will be painted.
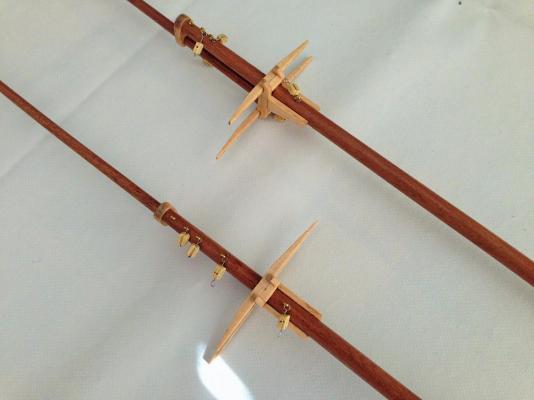
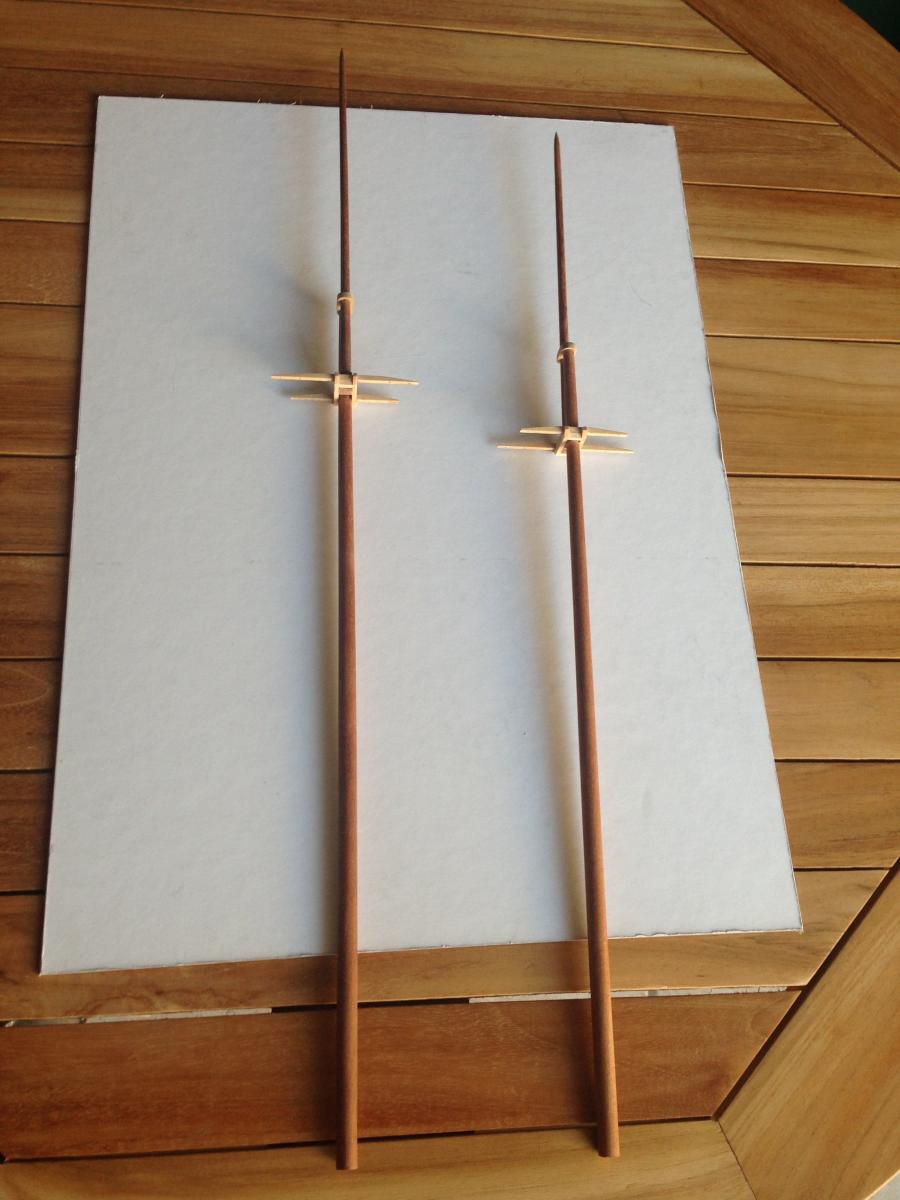
Started working on the masts. The sail came ready sewn with the kit.

Tapered the masts with the drill method, and fixed the base for the top mast, reinforced with a wire dowel.
Erected the crosstrees and mounted the lower and upper masts.

This weekend hopefully I will finish the lower part of the masts.
Robert
- Dimitris71, aydingocer and thomaslambo
-
3
-
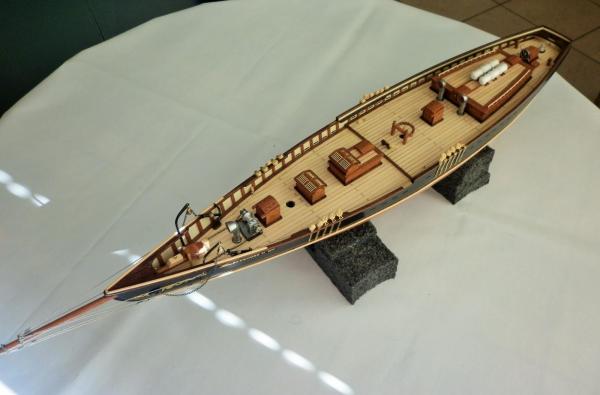
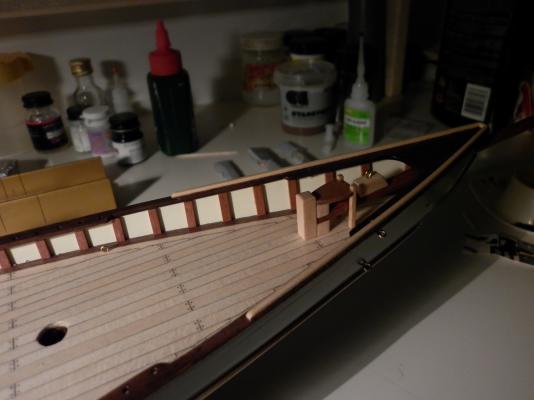
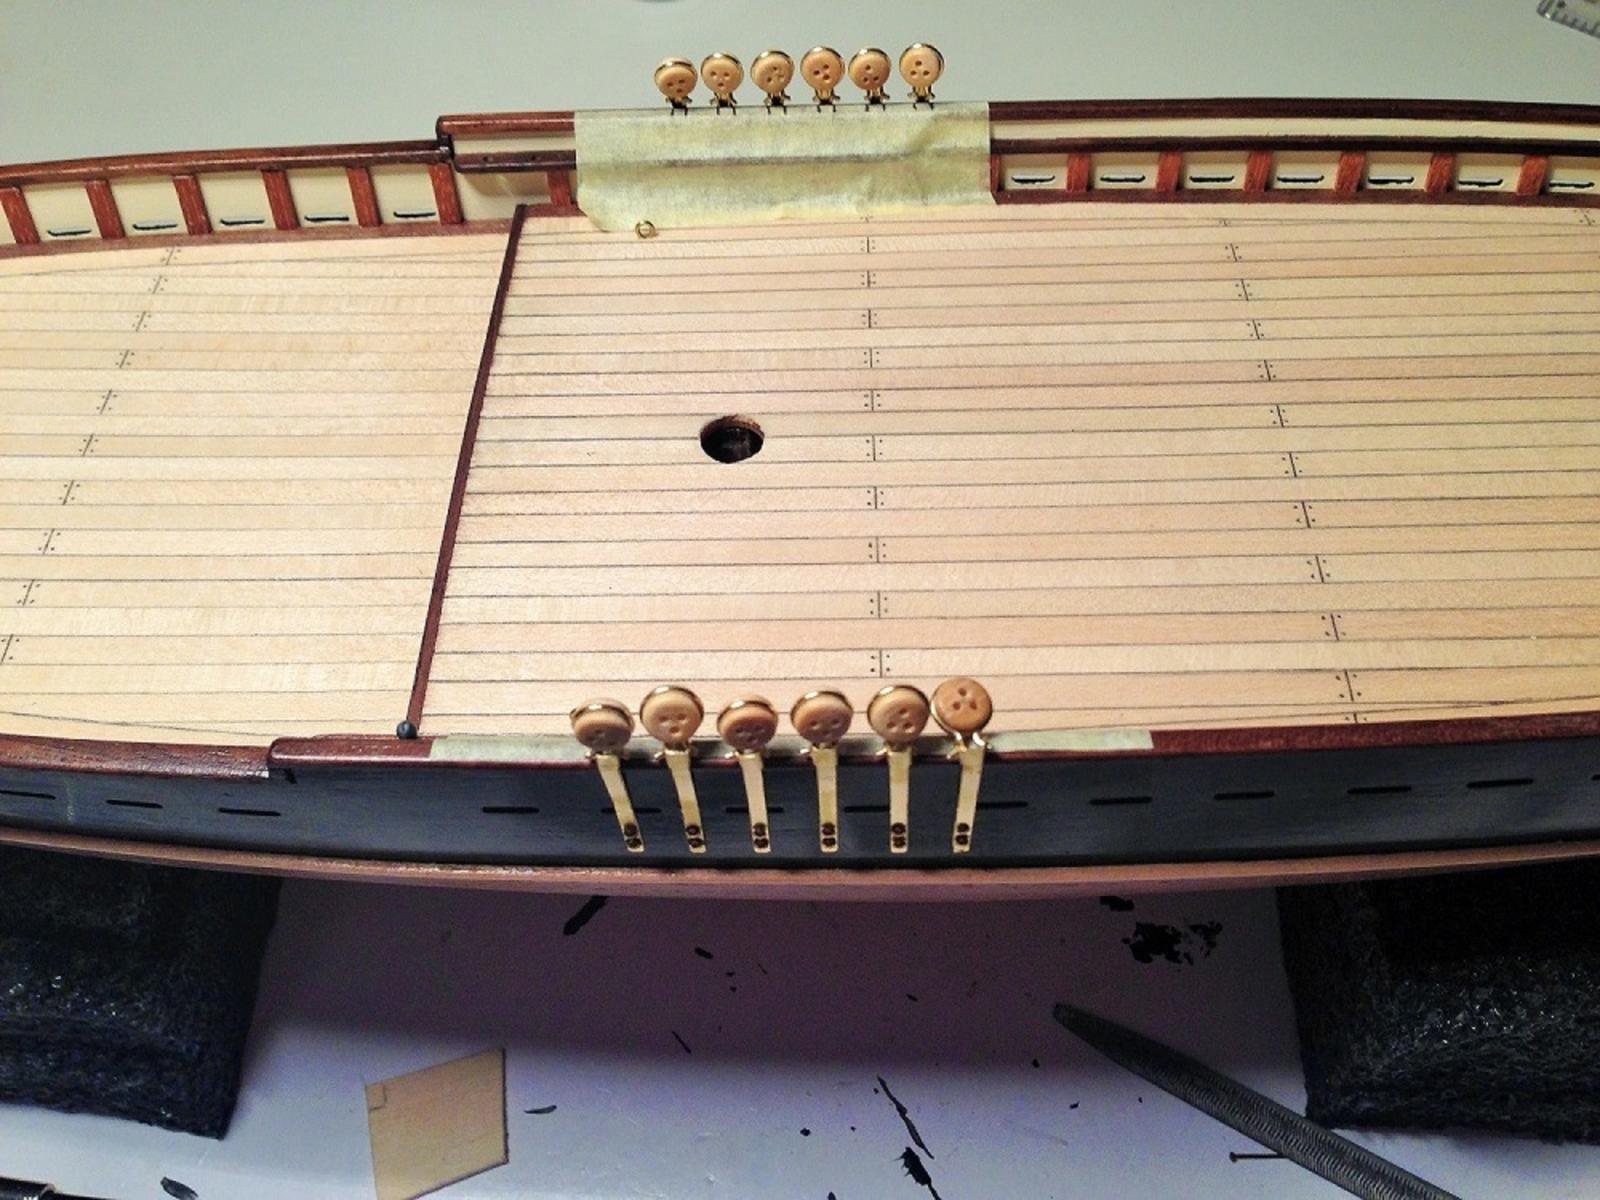
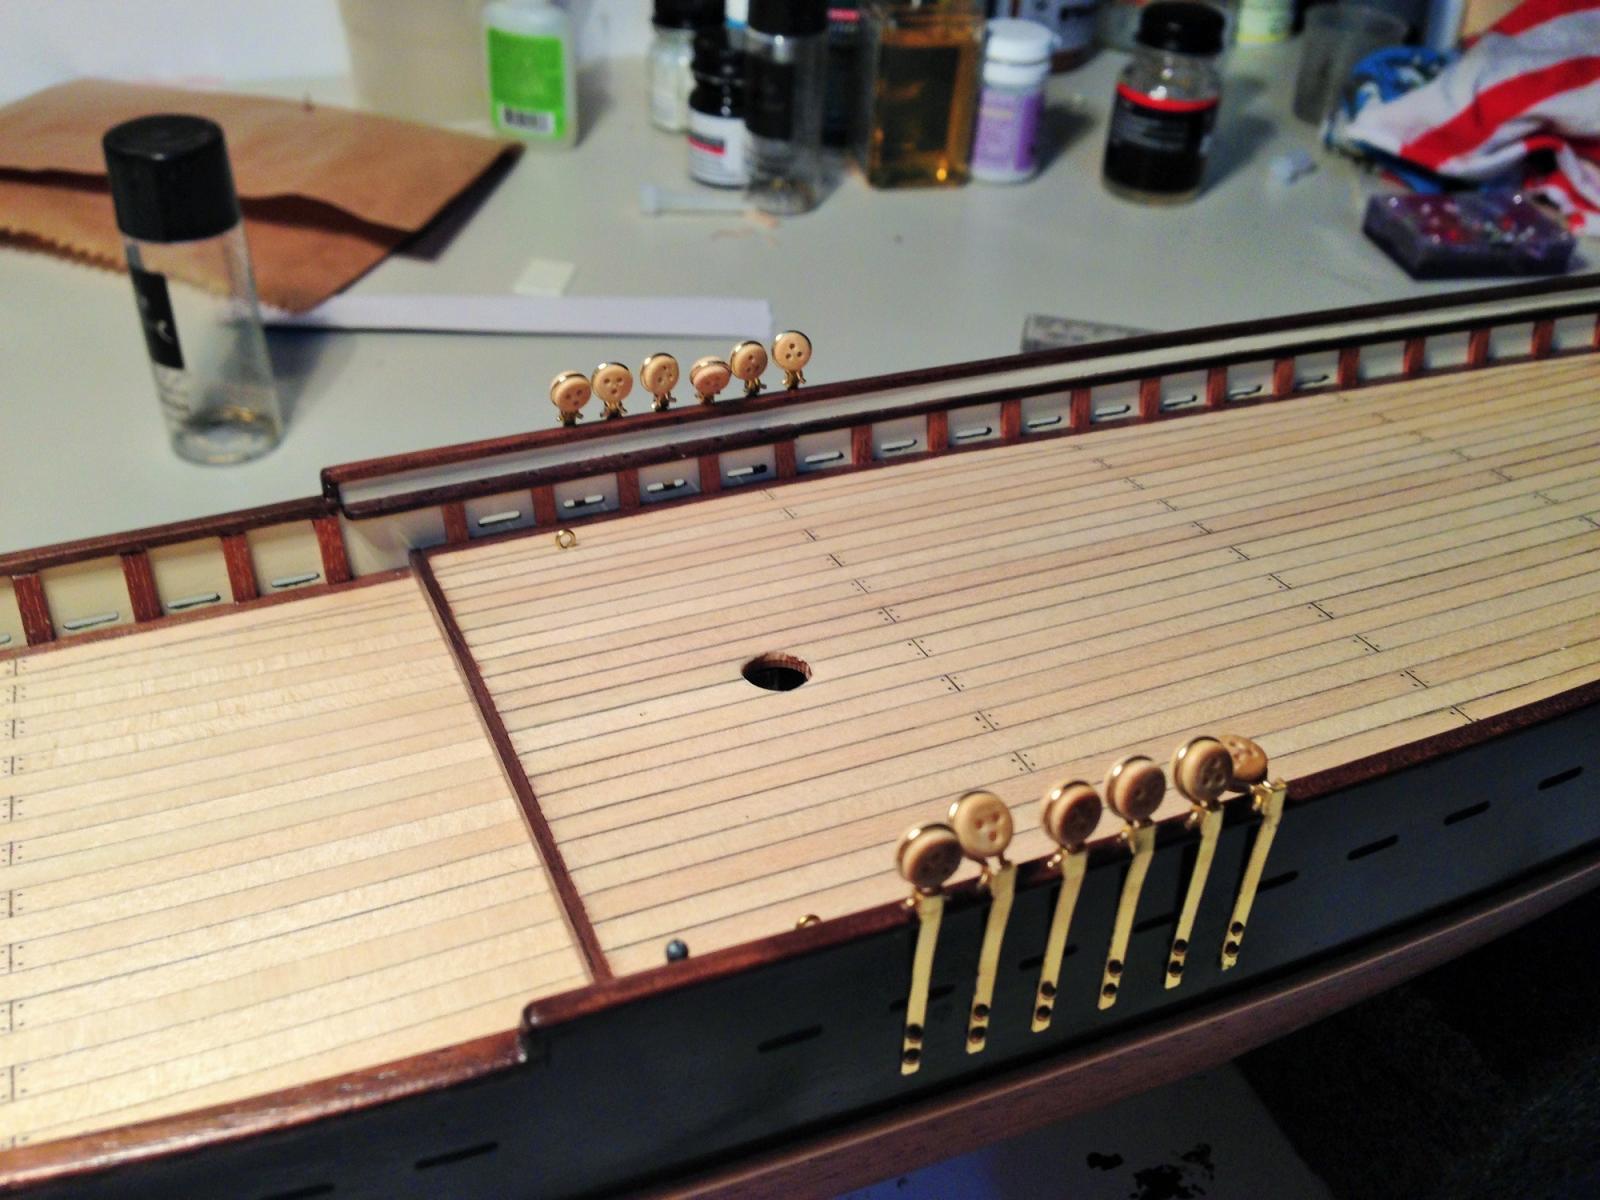
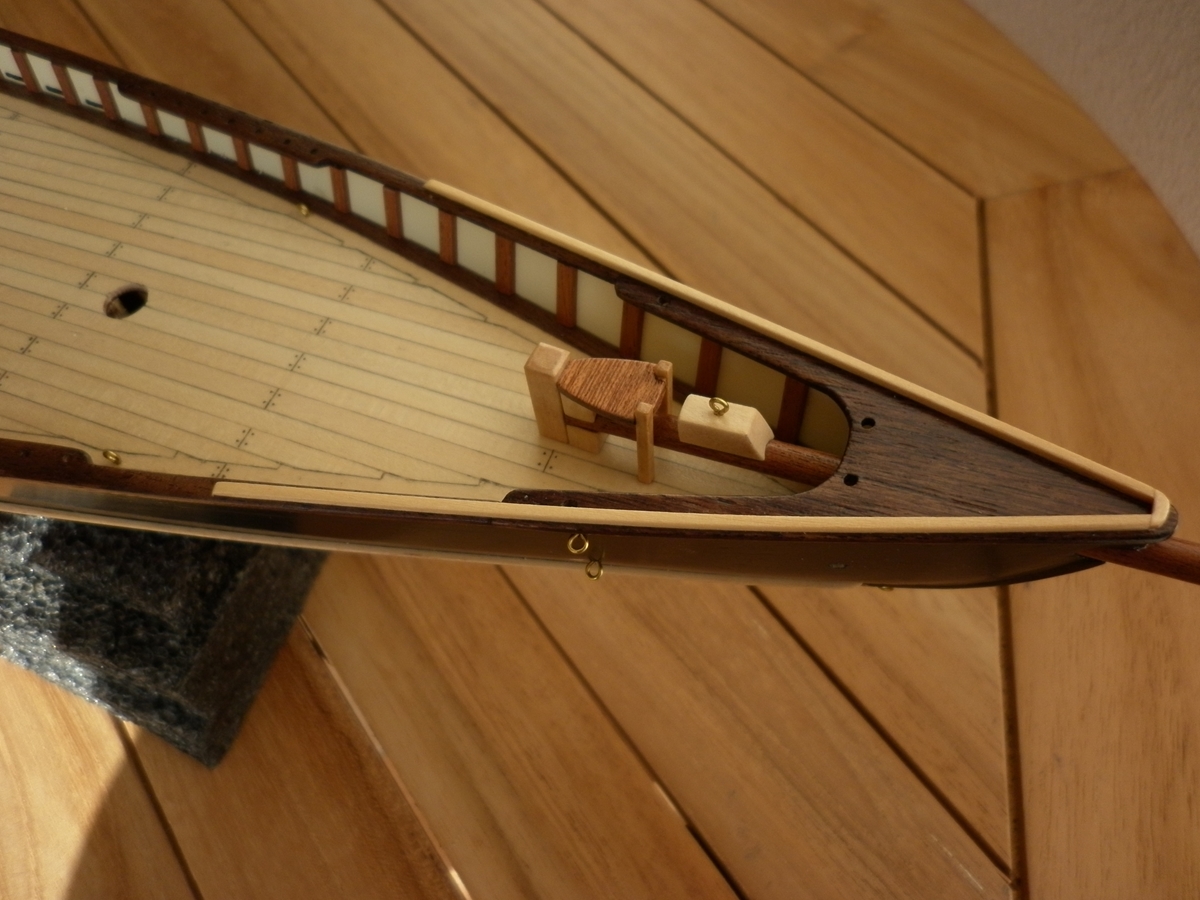
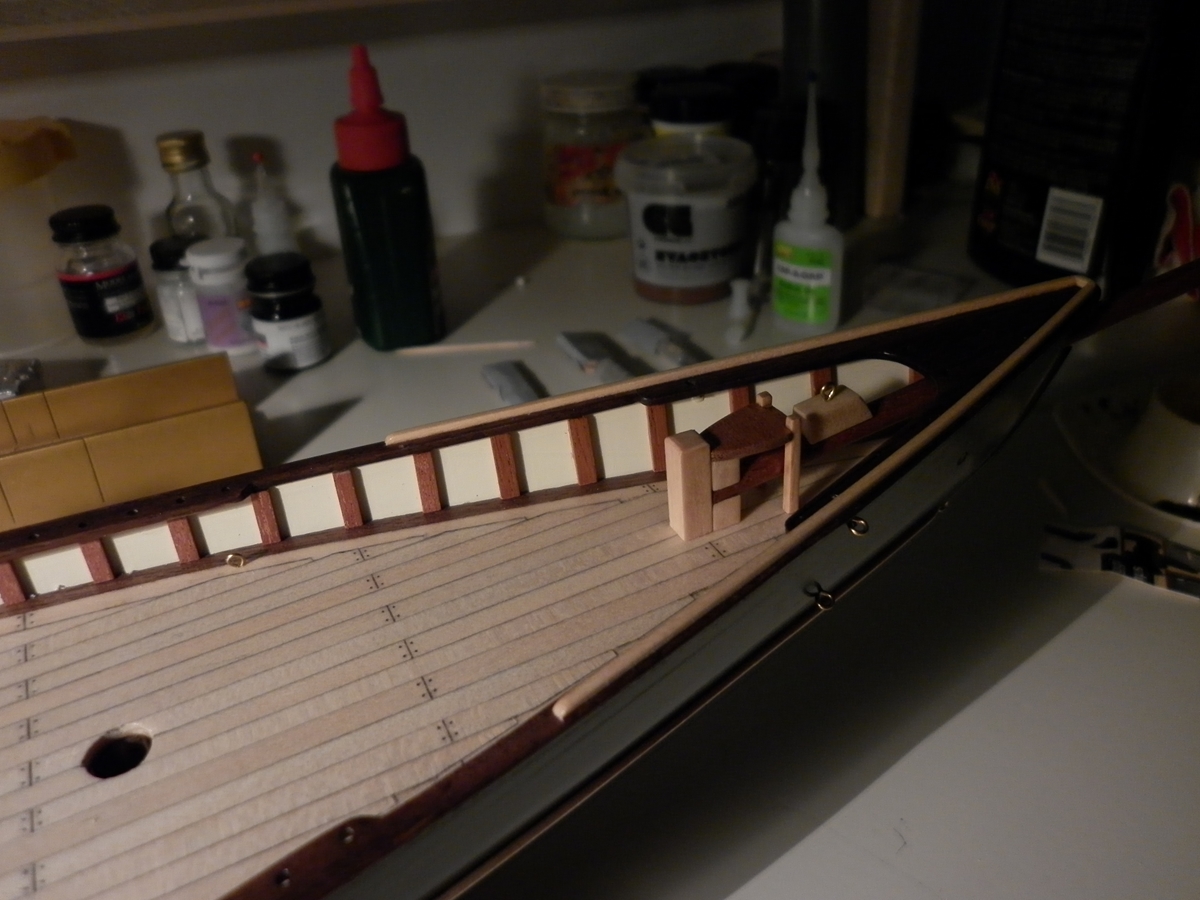
Fitted chain-plates in place.

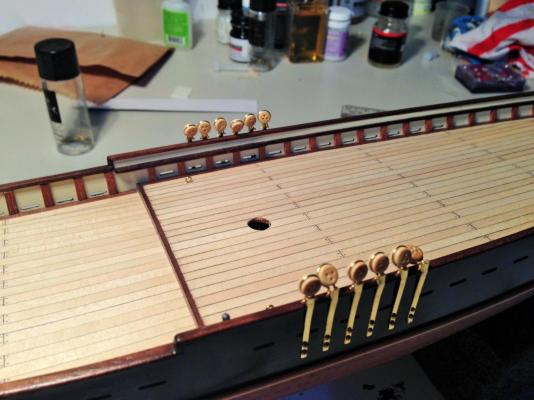

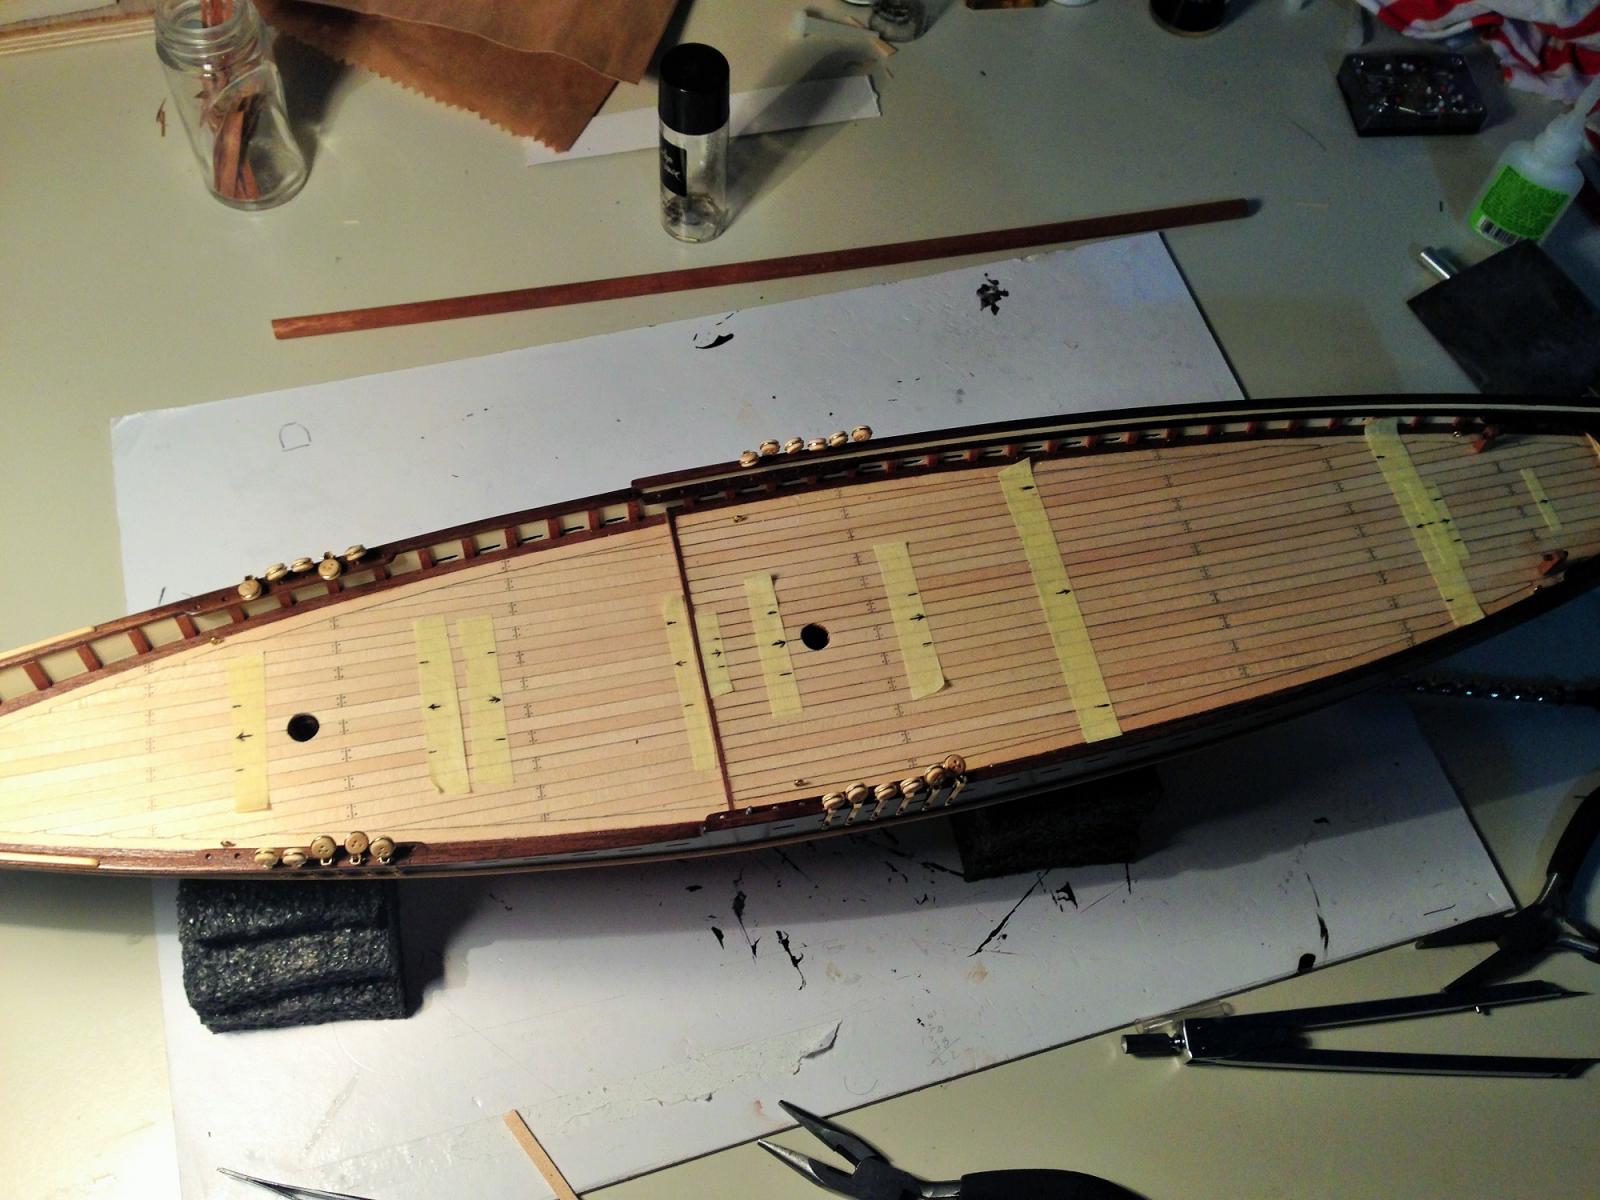
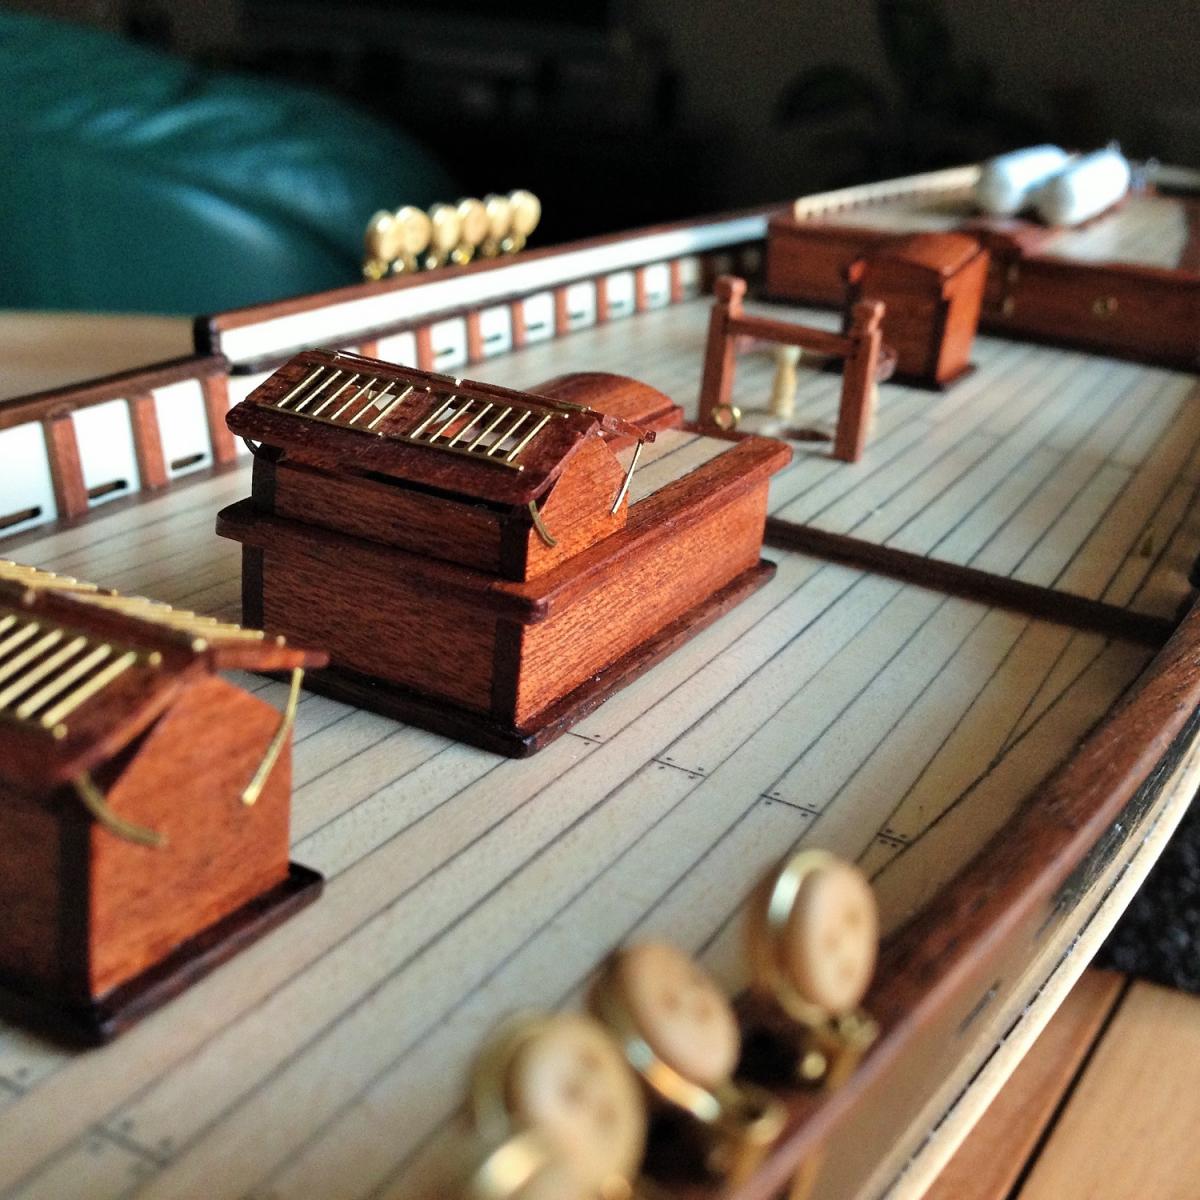
Positioned and glued deck items in place. In the instructions there were a couple of wrong measurements where they should go so I marked all positions with masking tape where every piece should go to avoid surprises after they are glued.

Maybe I an being a bit paranoid that small items will come off when rigging so I fixed with wire dowels.

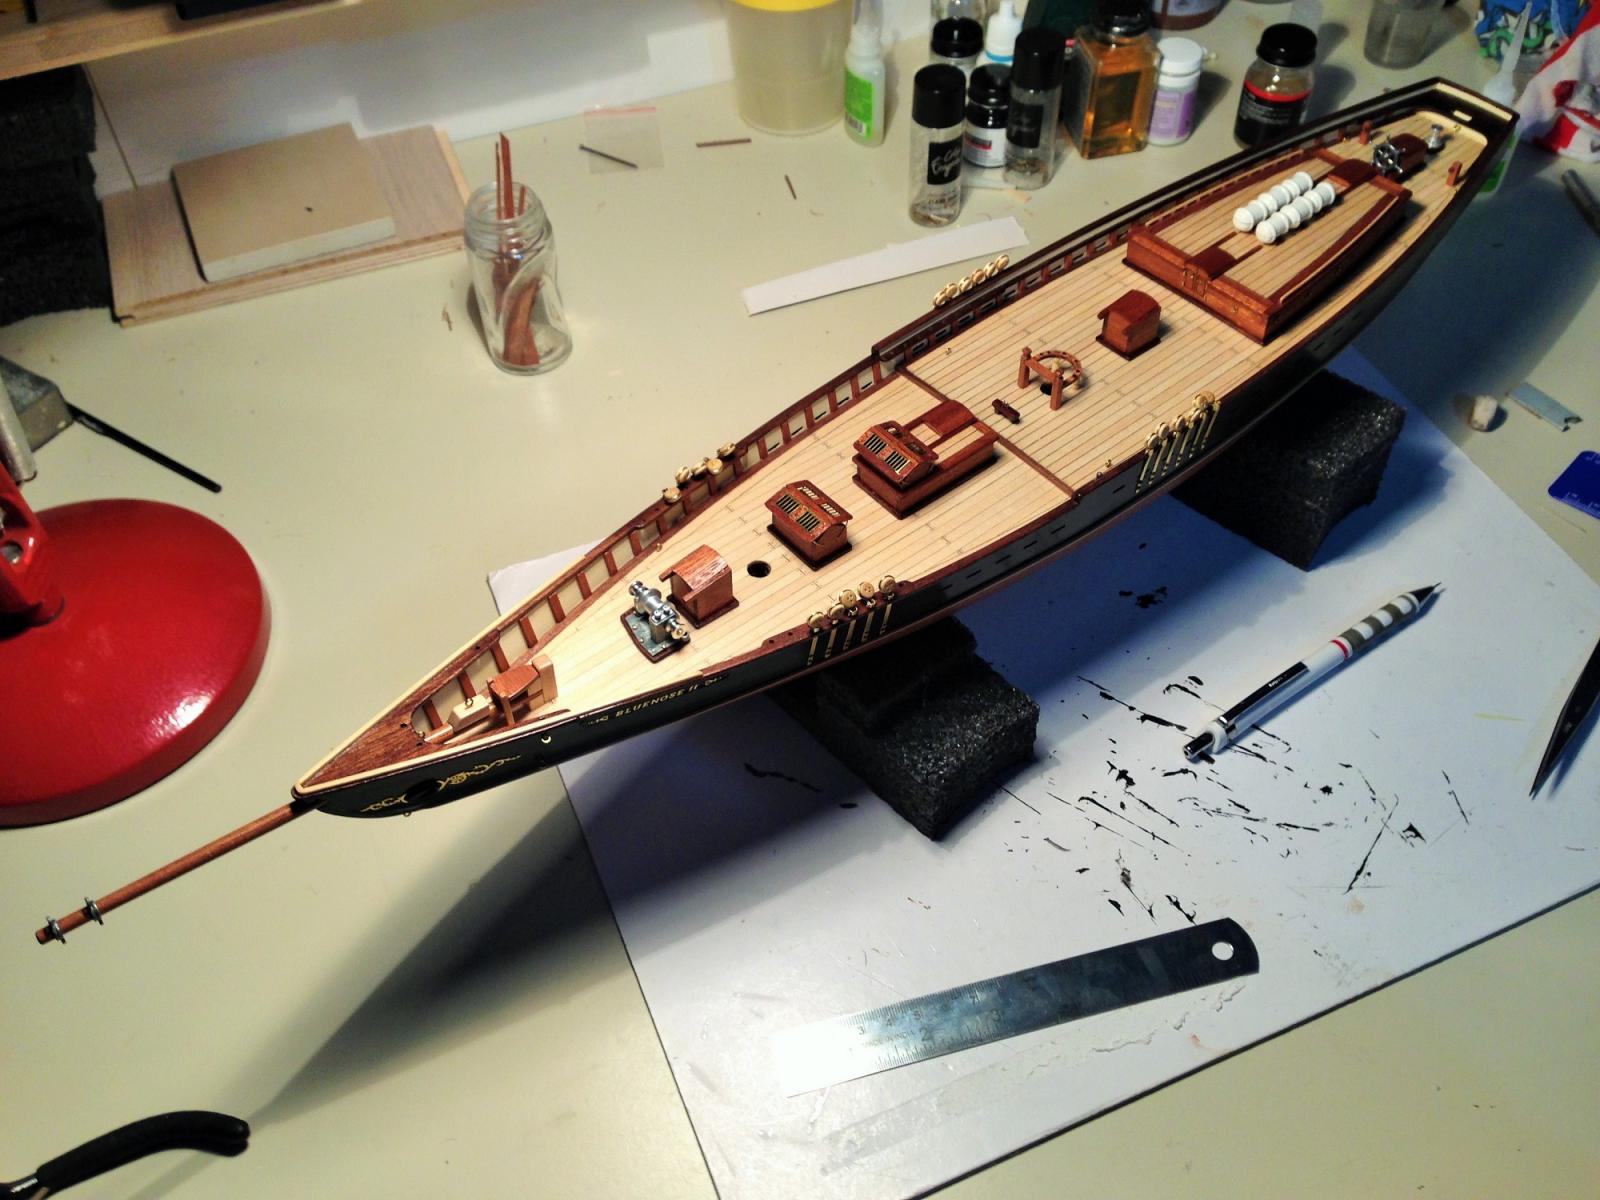
All in place. I did not fit the dories for now because I think they will be a bit in the way when rigging.


Now eager to start the sail masts.
- Mirabell61, GuntherMT, IgorSky and 3 others
-
6
-
Hello Dimitris, just gone through your log. Really nice work. The fibreglass and the paint work is awsome. I sure can learn a few things from you about paintwork.
Robert
- Dimitris71 and IgorSky
-
2
-
Thank you for your encouragement Dimitris.
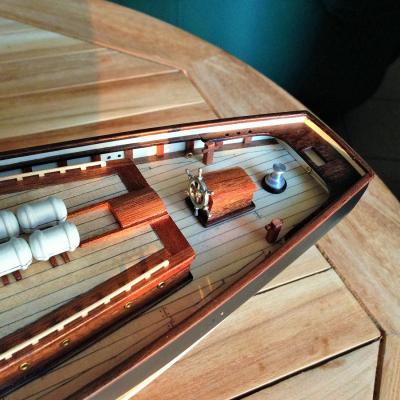
Wheel fitted in place. I am polishing the metal parts first with steel wool, then polish them with a metal polish for cars I had in my garage. It brings out quite a good shine in them. Then I varnish them, hopefully they will not darken again.
Thanks cwboland

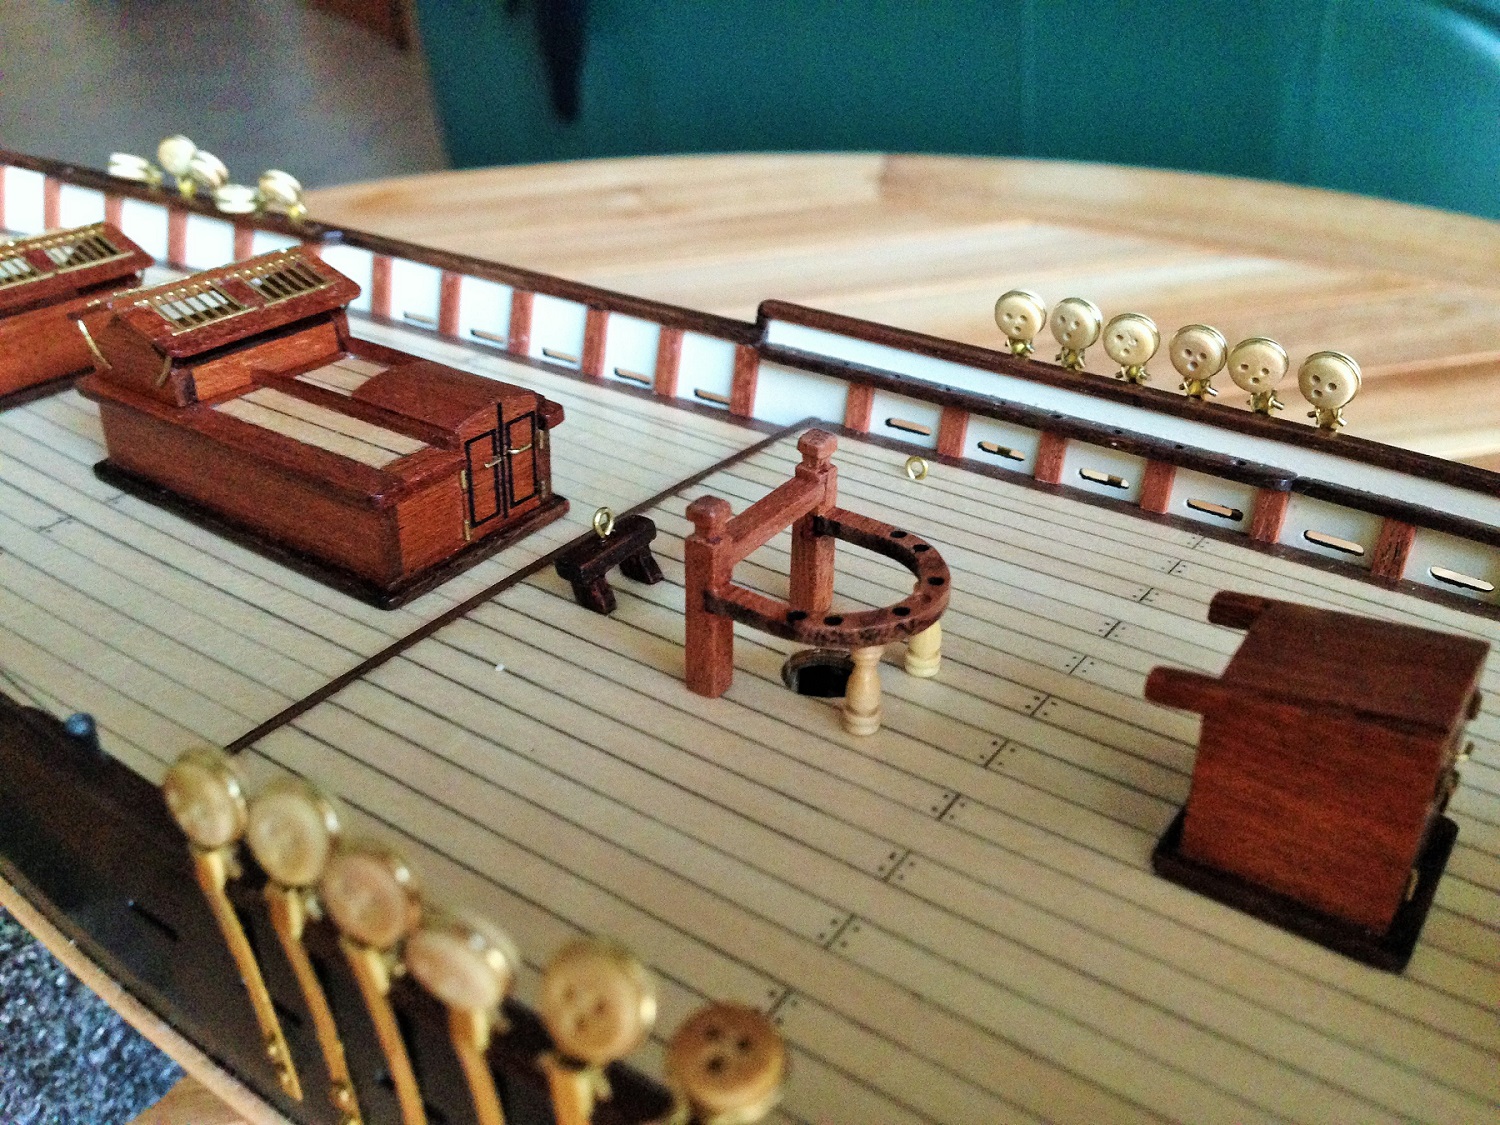
Fortunately I had checked the contents when I bought the kit, and yes you are right, there was almost a whole set missing from the large deadeyes. Also missing was the very small double bollard that goes on the capstan. I had ordered them over the internet from a supplier in UK. They have a vast selection of fittings and very quick service and reasonable postage charges.
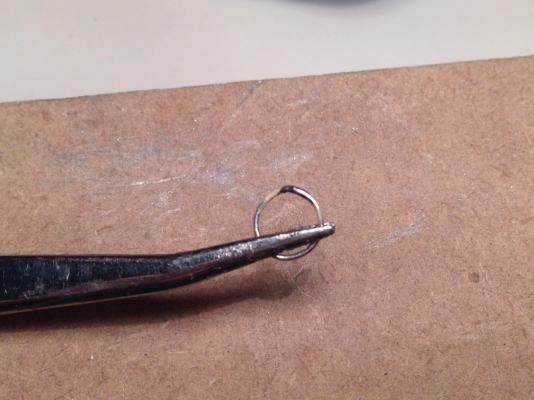
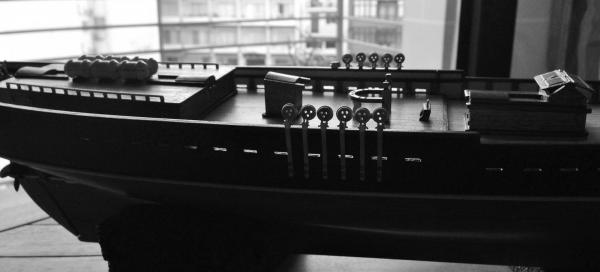
I have started fitting the deadeyes to the chainplates. The rings for the deadeyes are a bit small. When you fit them on the deadeyes, the hooked ends remain too much apart to fit on the chainplate. Had to adjust each and every one of them.
That's all for today, hope I have more for the weekend.
Robert
- thomaslambo, Elia, IgorSky and 2 others
-
5
-
Hello Christine,
Thank you for your comments. I intend to keep it. This is my second build. The other was 'Juan Sebastan Elcano'. I love building them and would not like to part with them. Bluenose is a good kit to learn from. Putting apart a few mistakes in the instructions and a couple of small items missing from the kit, I think its a good starting point to learn on planking, masts and rigging.
Robert
- Dimitris71 and HOJOFAN
-
2
-
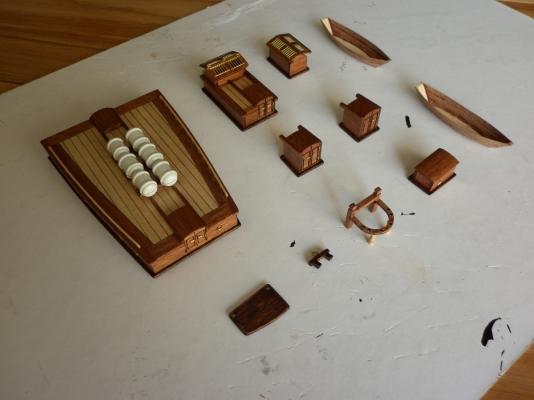
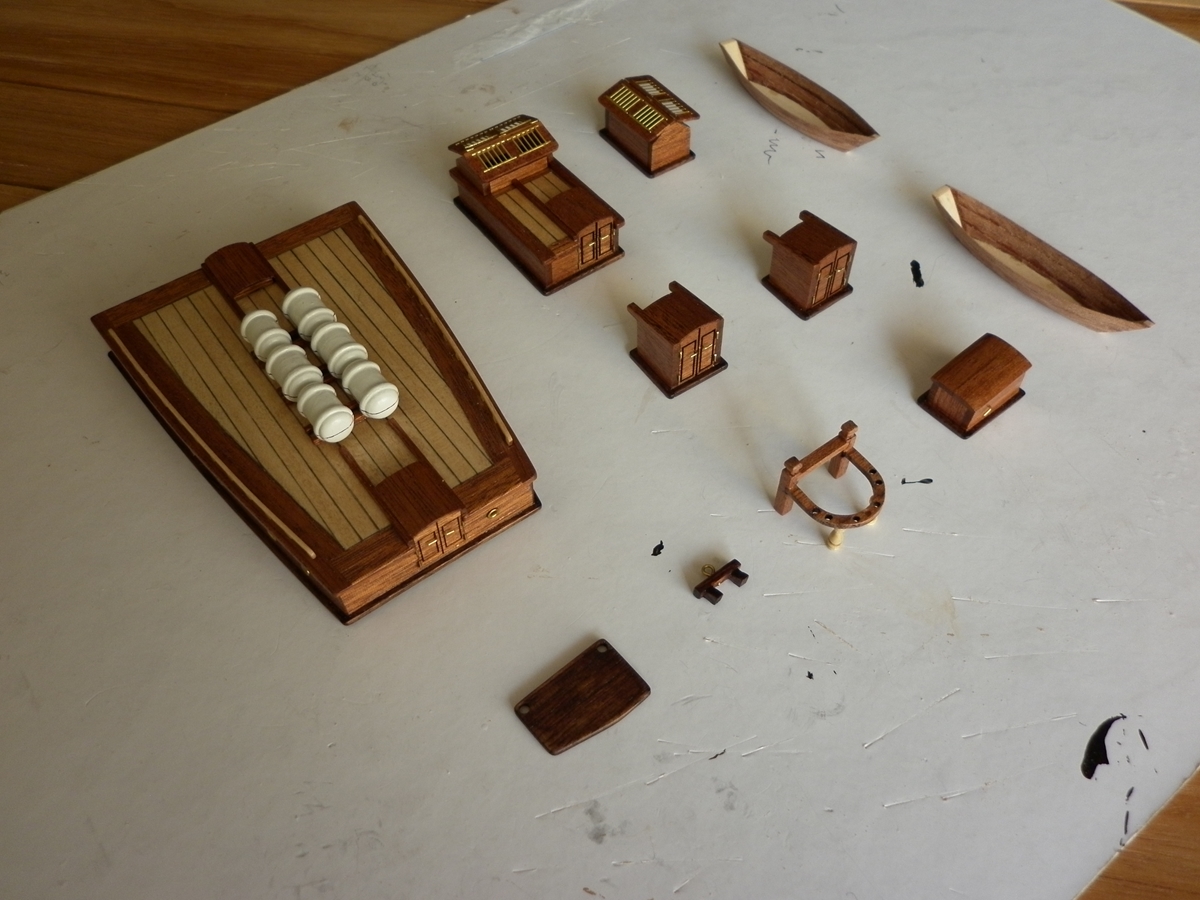
Some more progress

Dories varnished and ready to go on deck
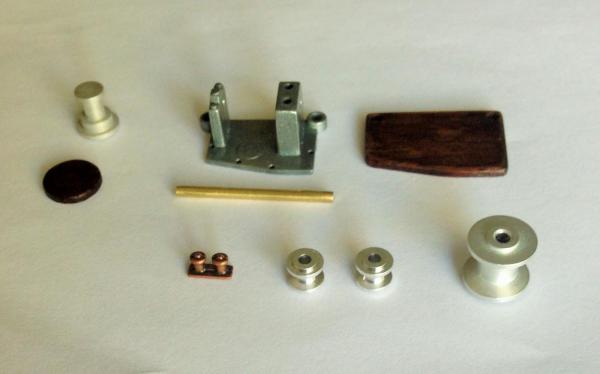
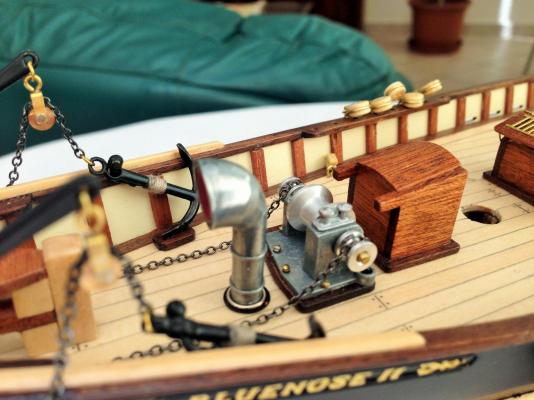
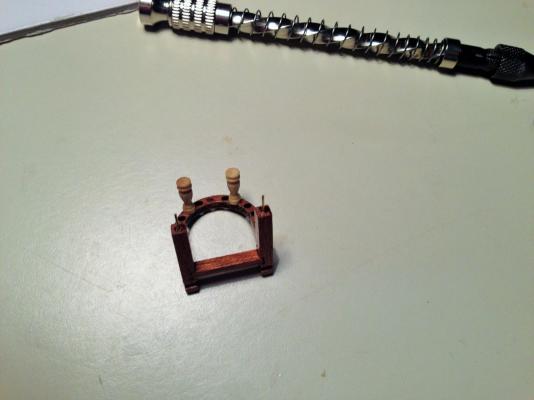
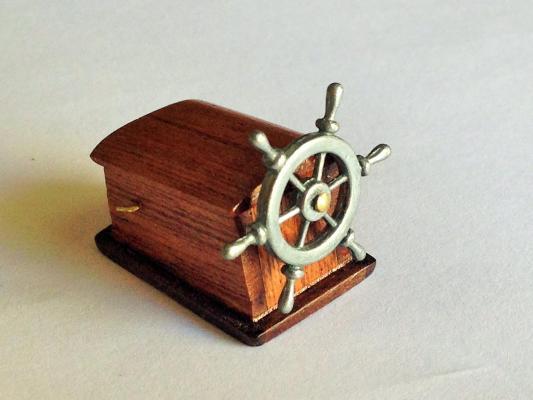
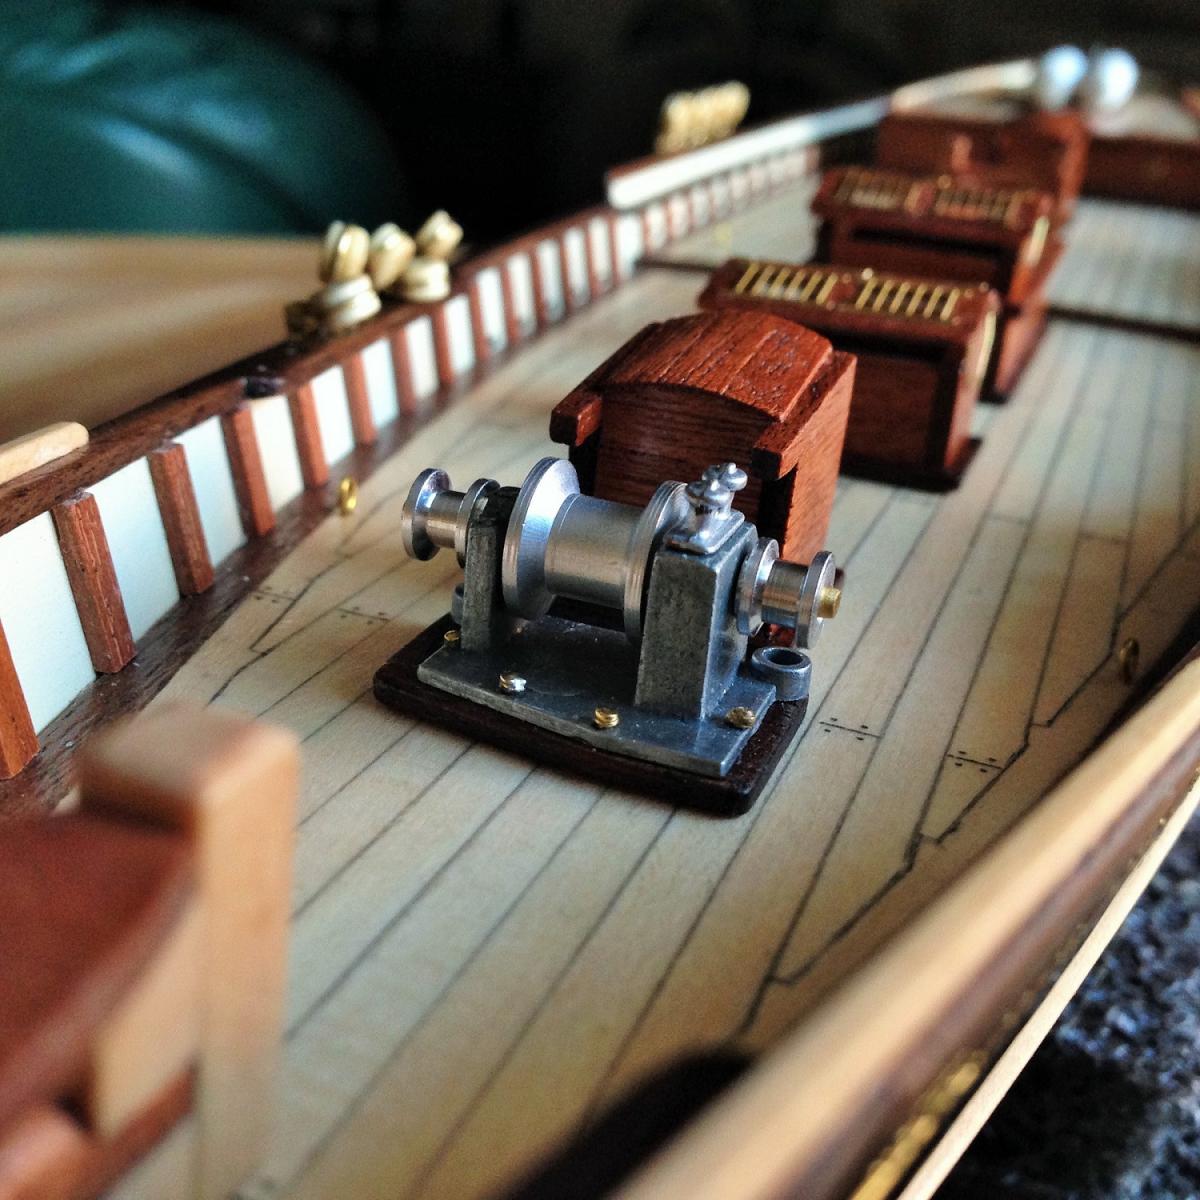
Capstan and stern windlass parts.
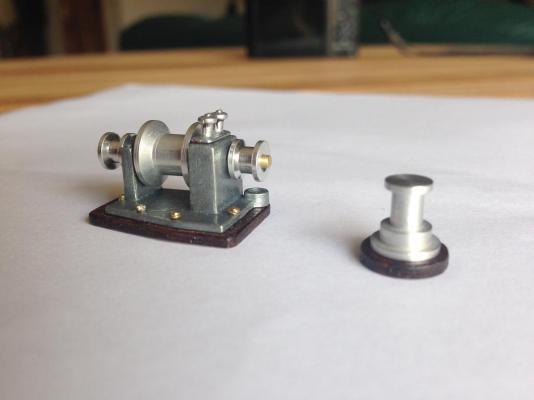
Capstan and windlass built and mounted on base.
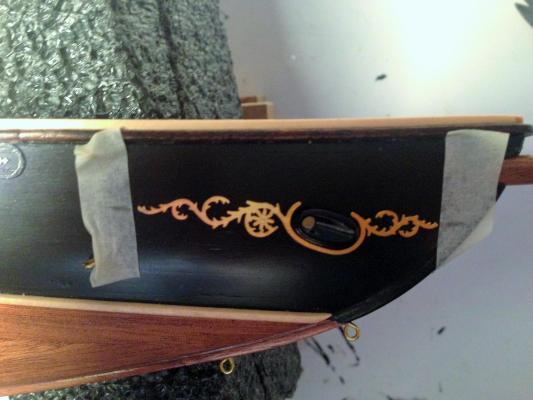
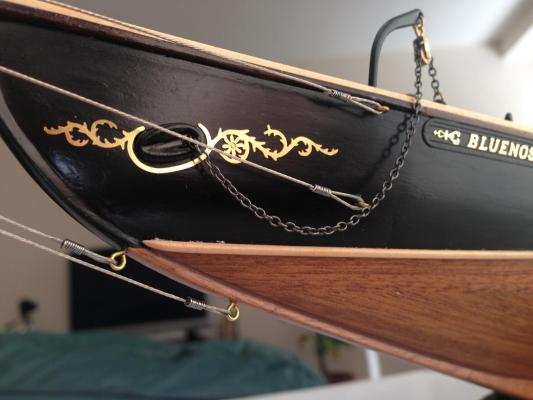
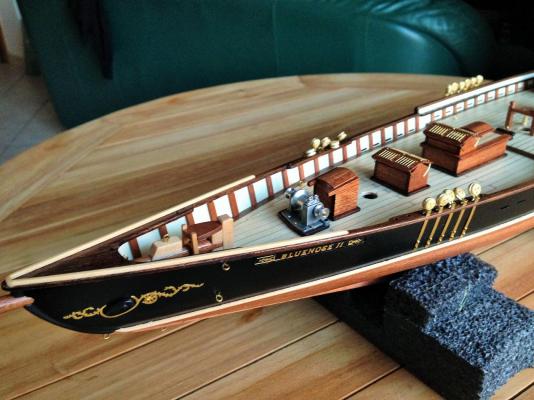
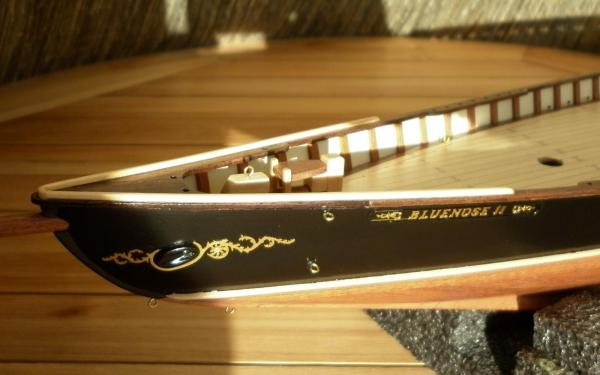
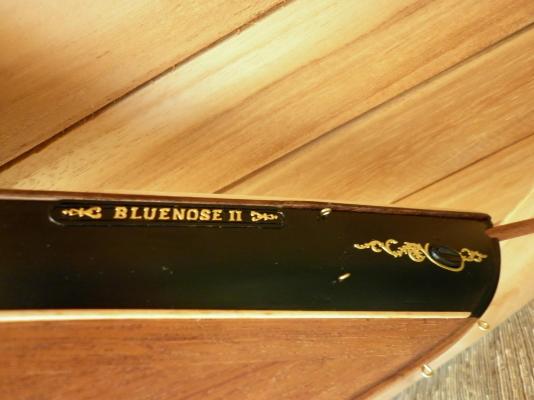
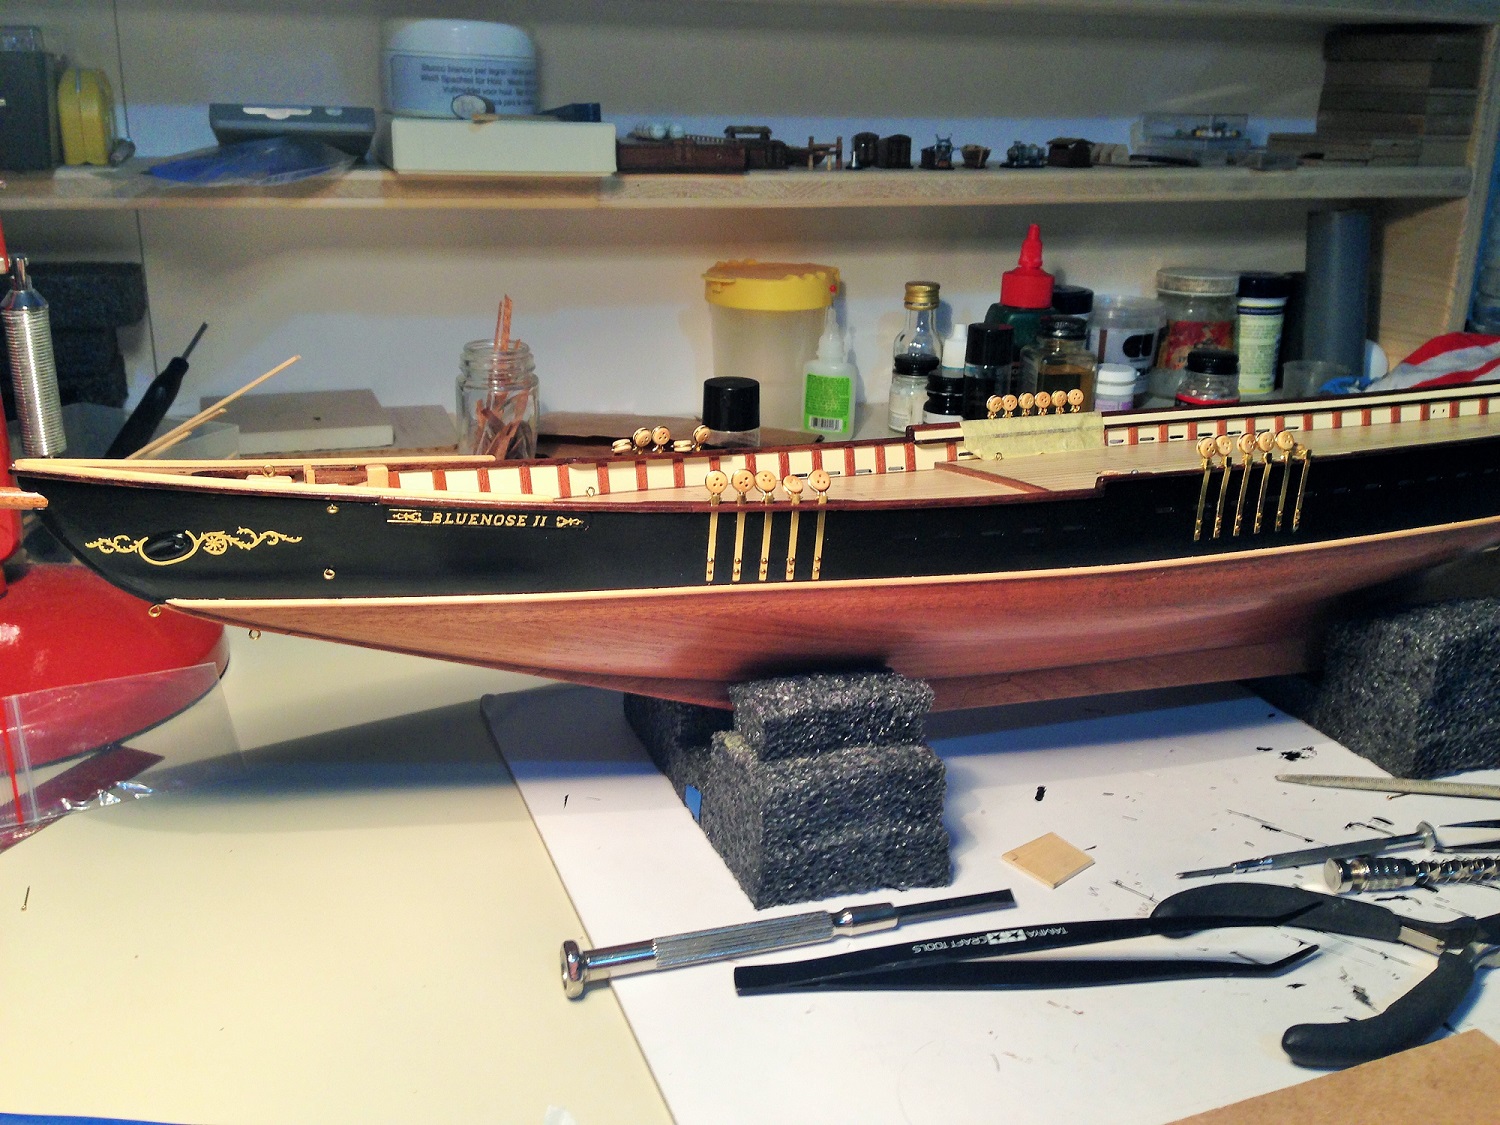
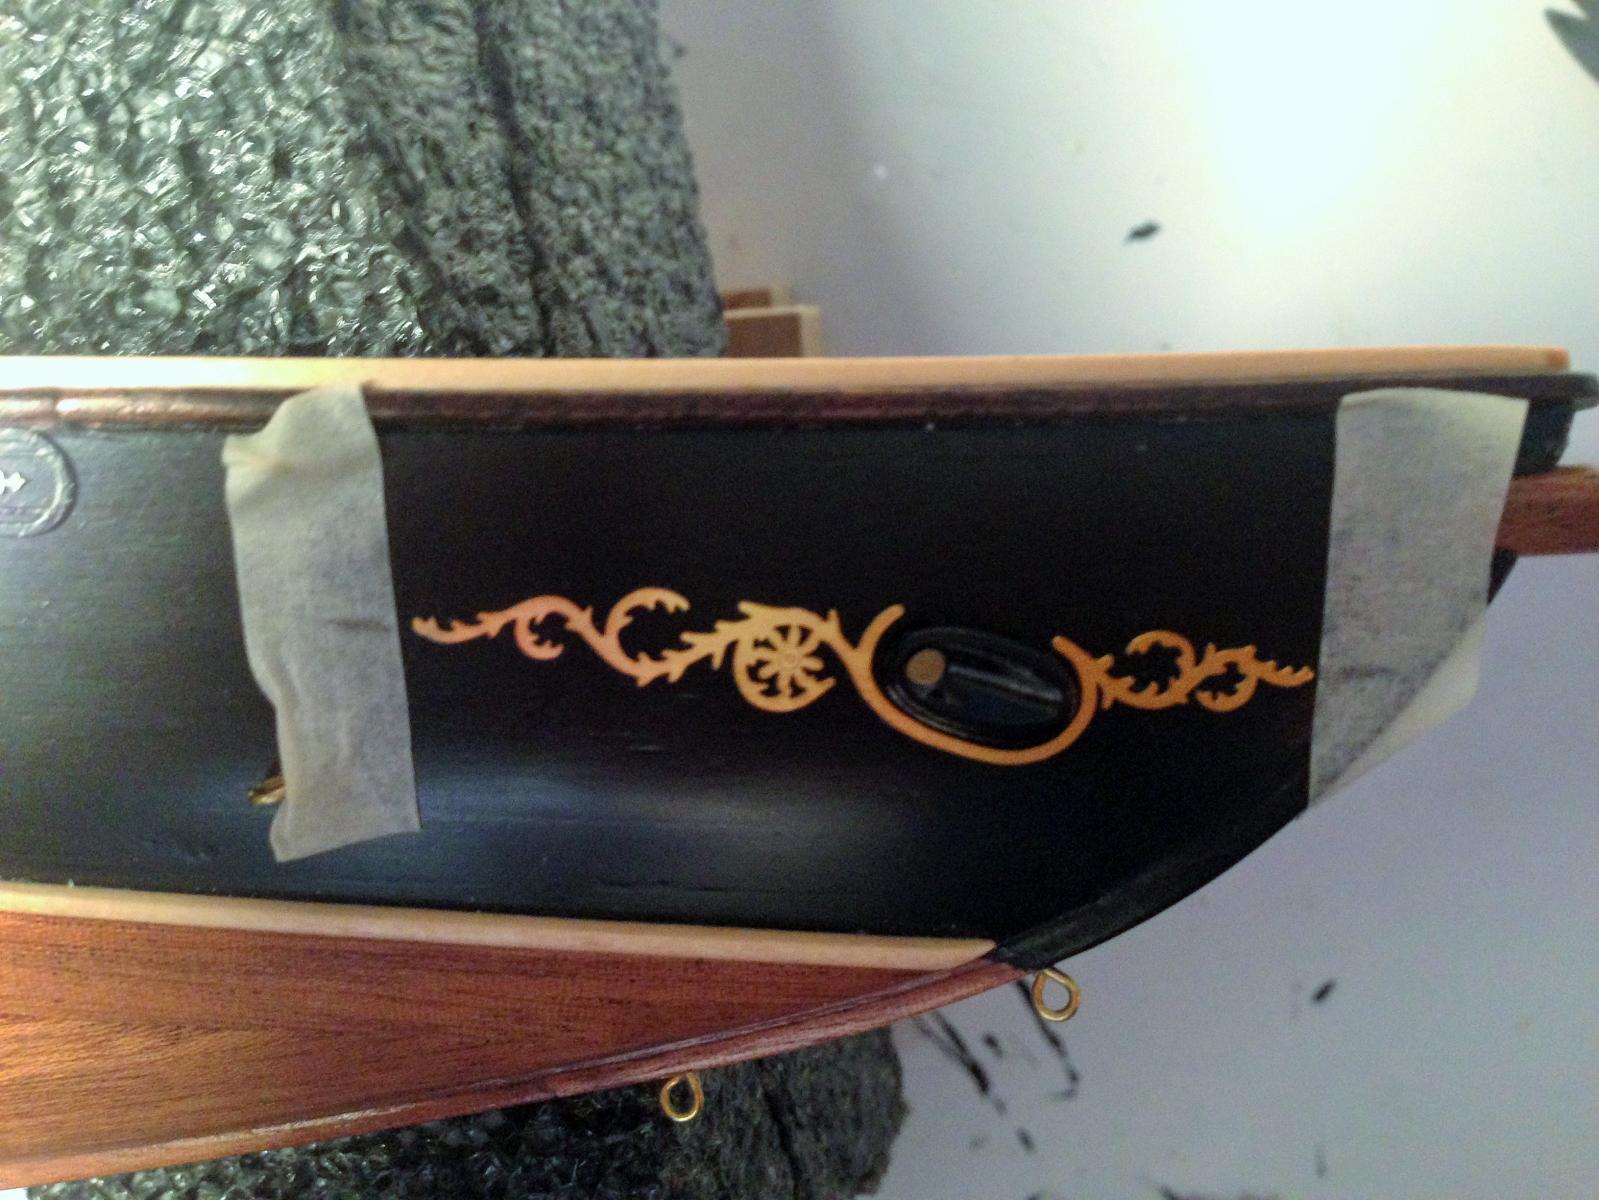
Embellishments and ship's name positioned and glued to hull.

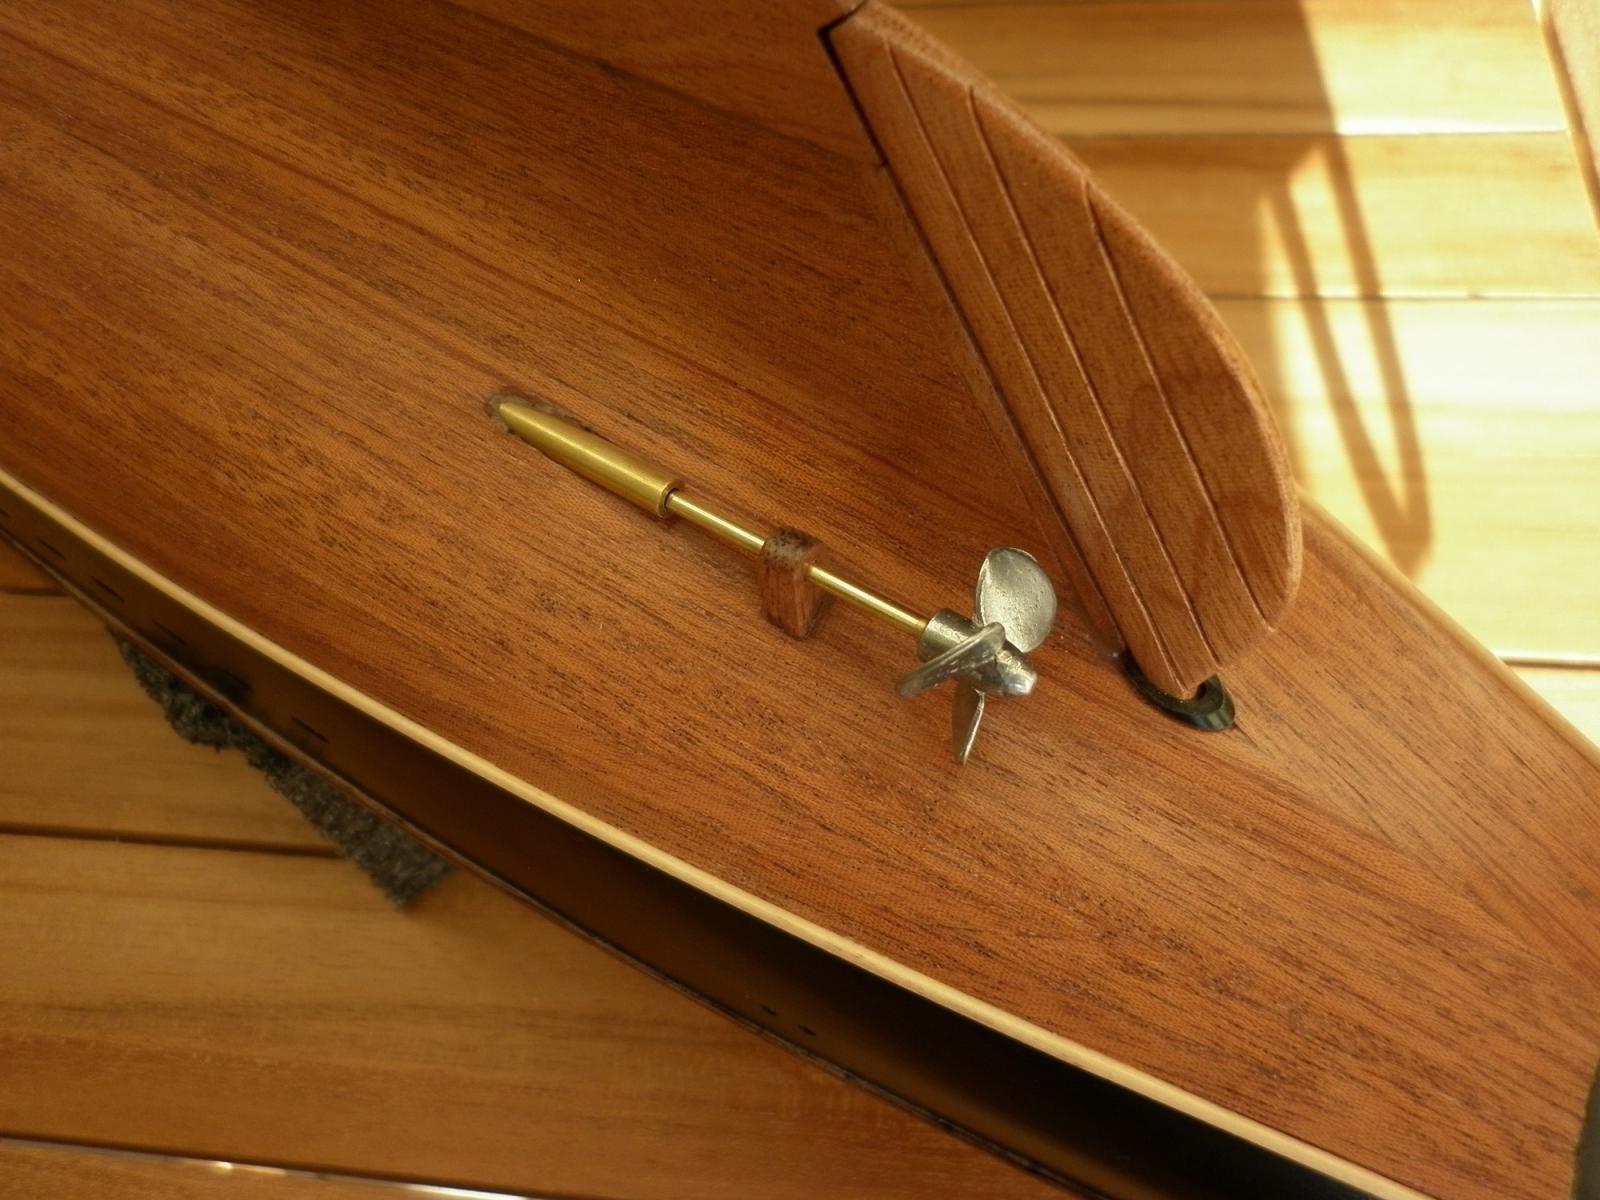
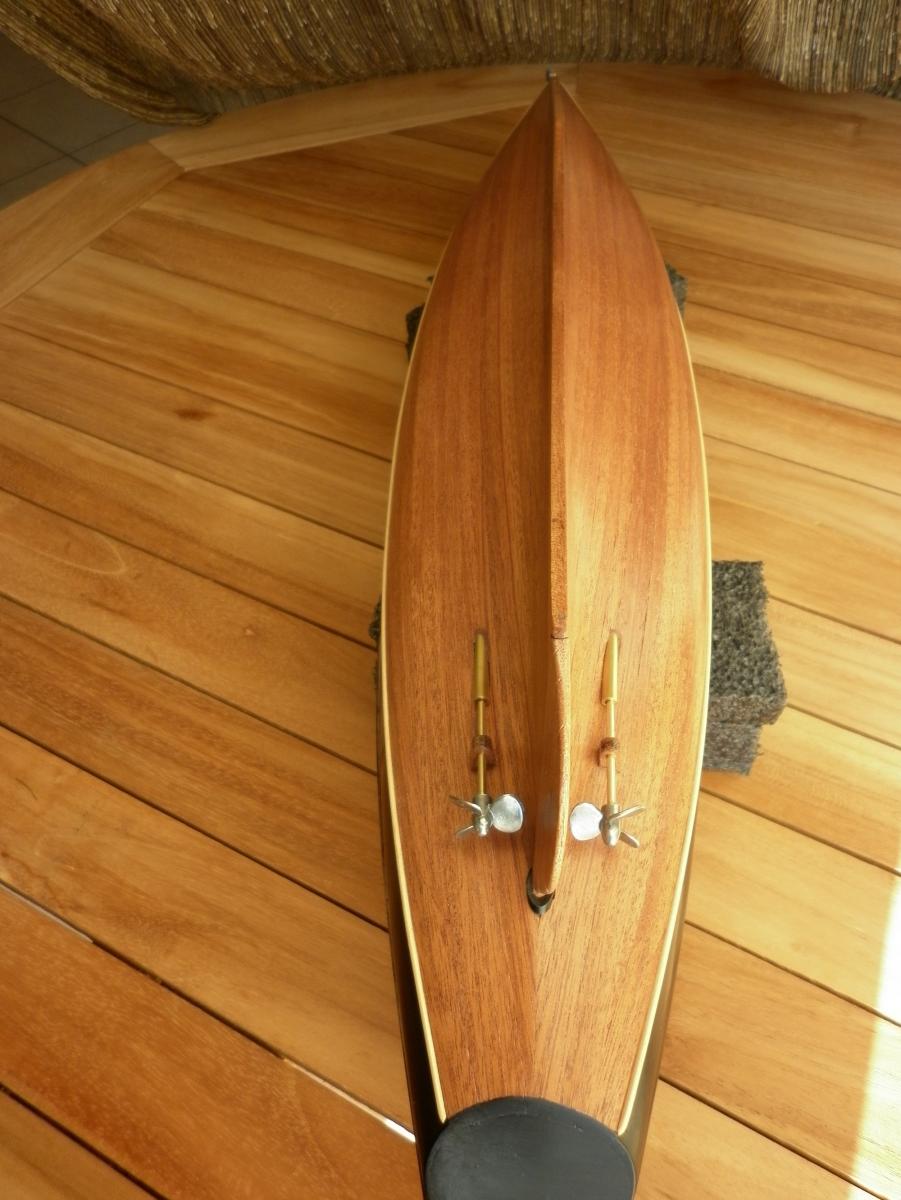
Propellers polished and fixed in position.
I apologies for any wrong names for parts of the ship. I'm still trying to get used to them.
Robert

- Elia, hexnut, thomaslambo and 6 others
-
9
-
Hello Dimitris, very nicely built and finished. Being a beginner myself I think I made the right choice to build the Bluenose II as well. I am learning a lot from it. I will be visiting your post as I go along with mine.
Robert
-
Thank you Nils, I just had a look at some of your finished work. They are fabulous.
Robert
- Dimitris71 and Mirabell61
-
2
-
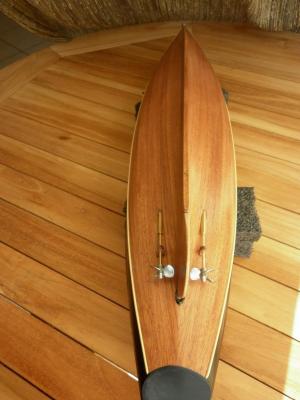
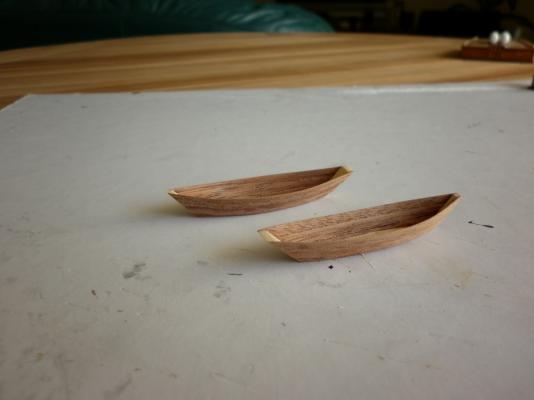
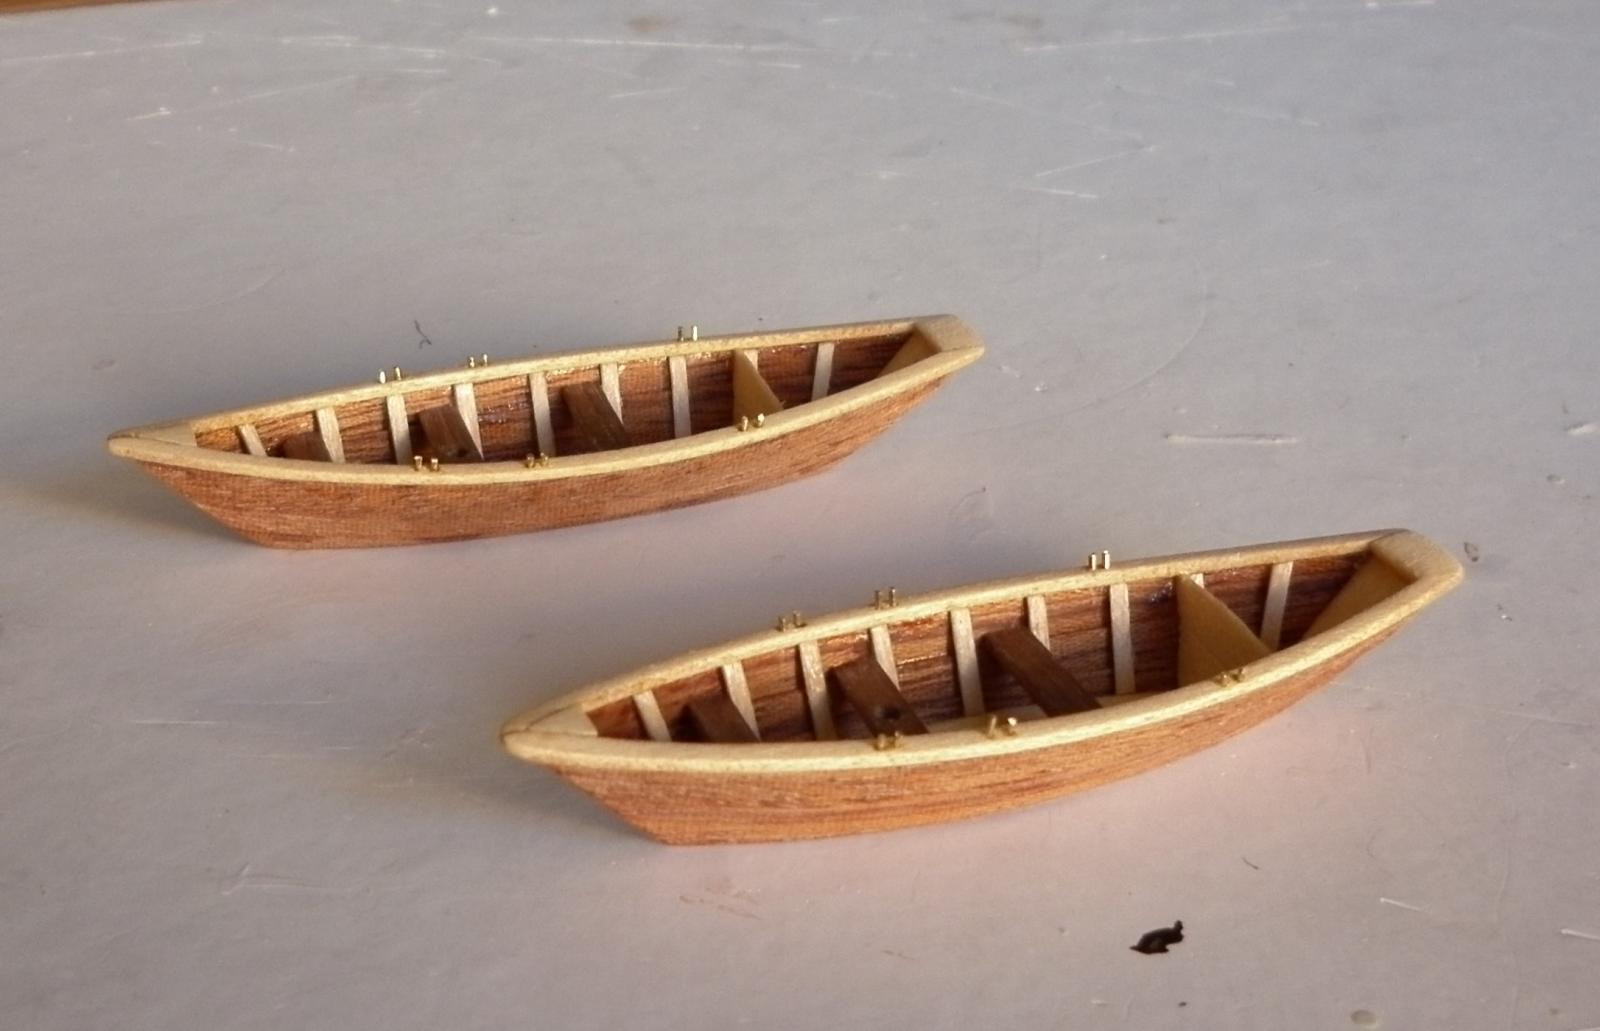
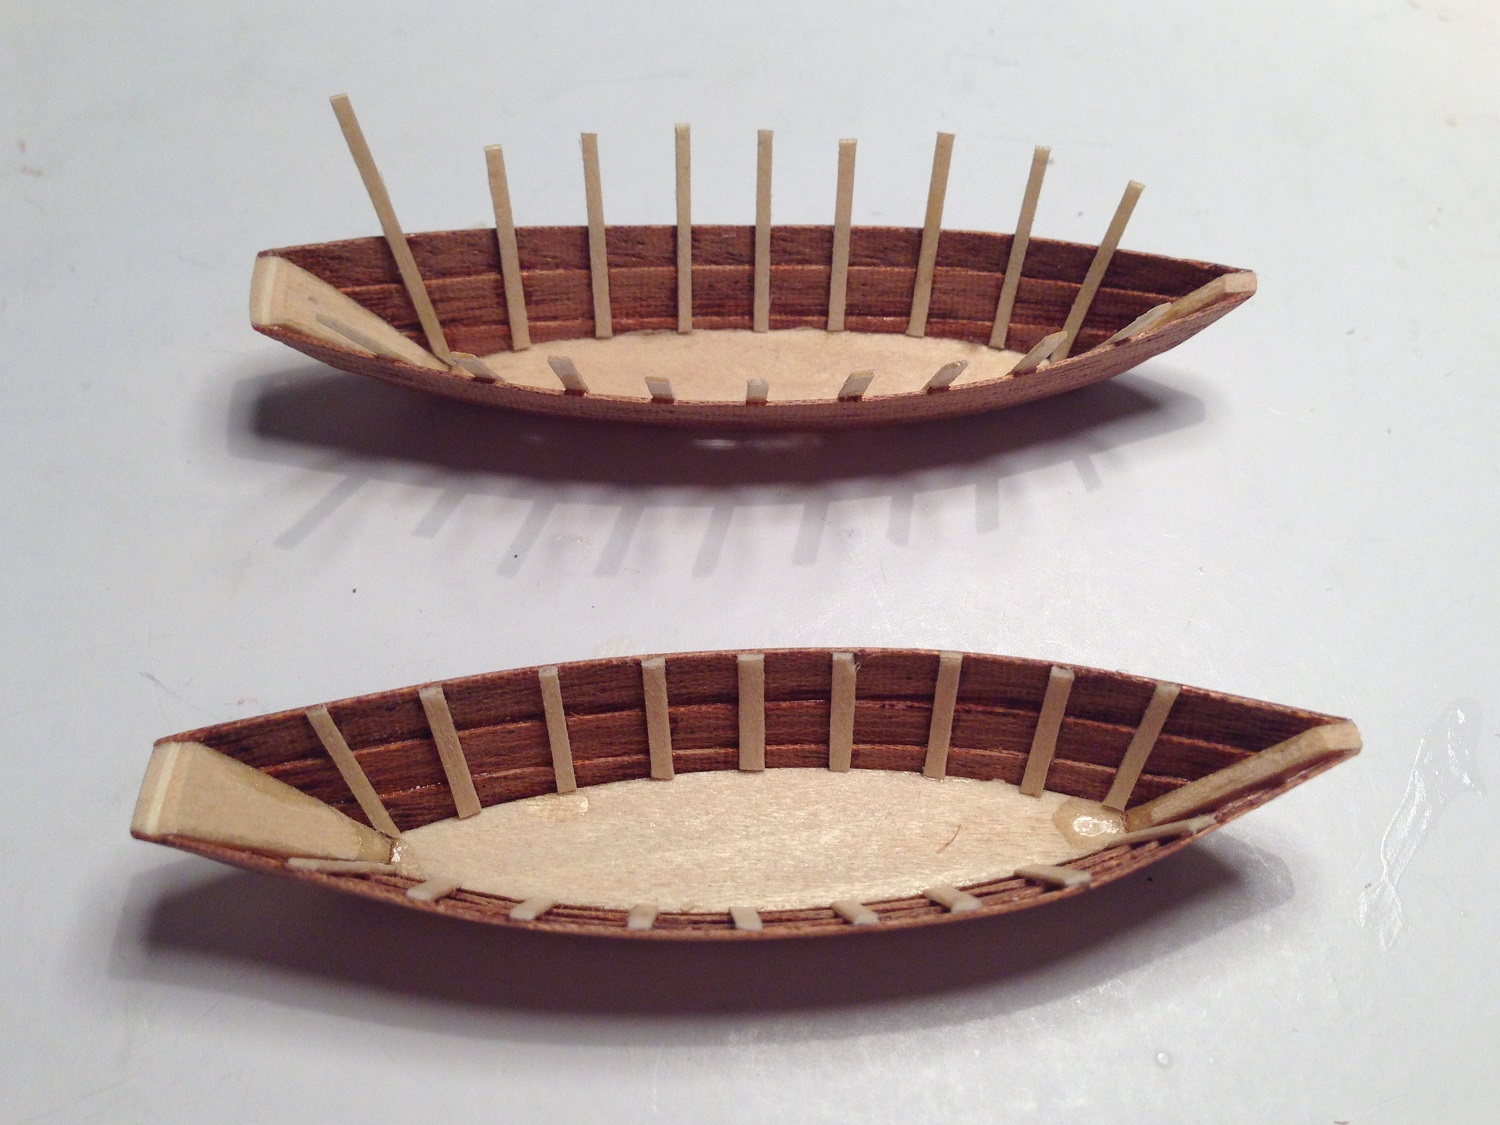
More work on the boats.
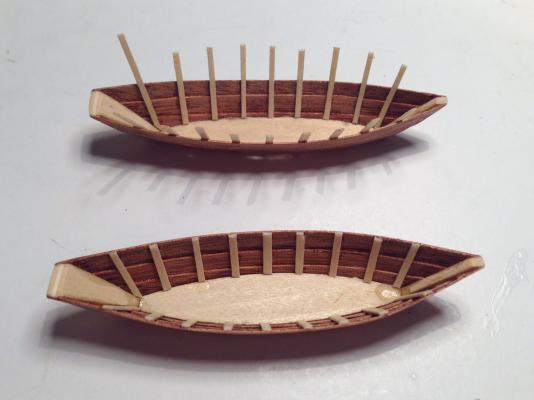
Stanchions cut and fixed to inside of hull, then trimmed.
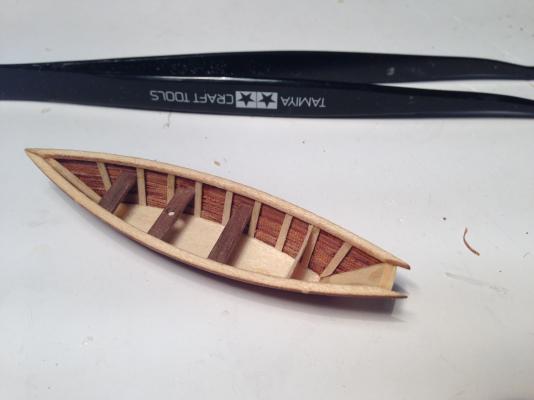
Fitted gunwale covers.
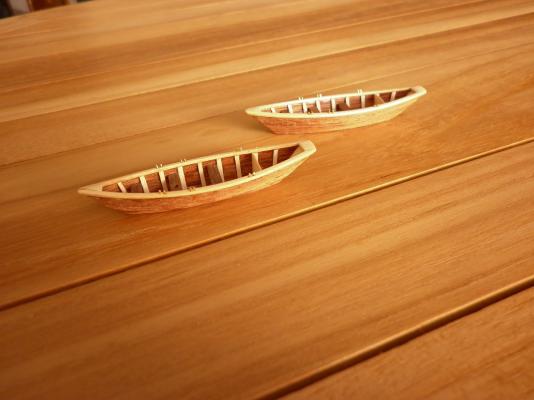
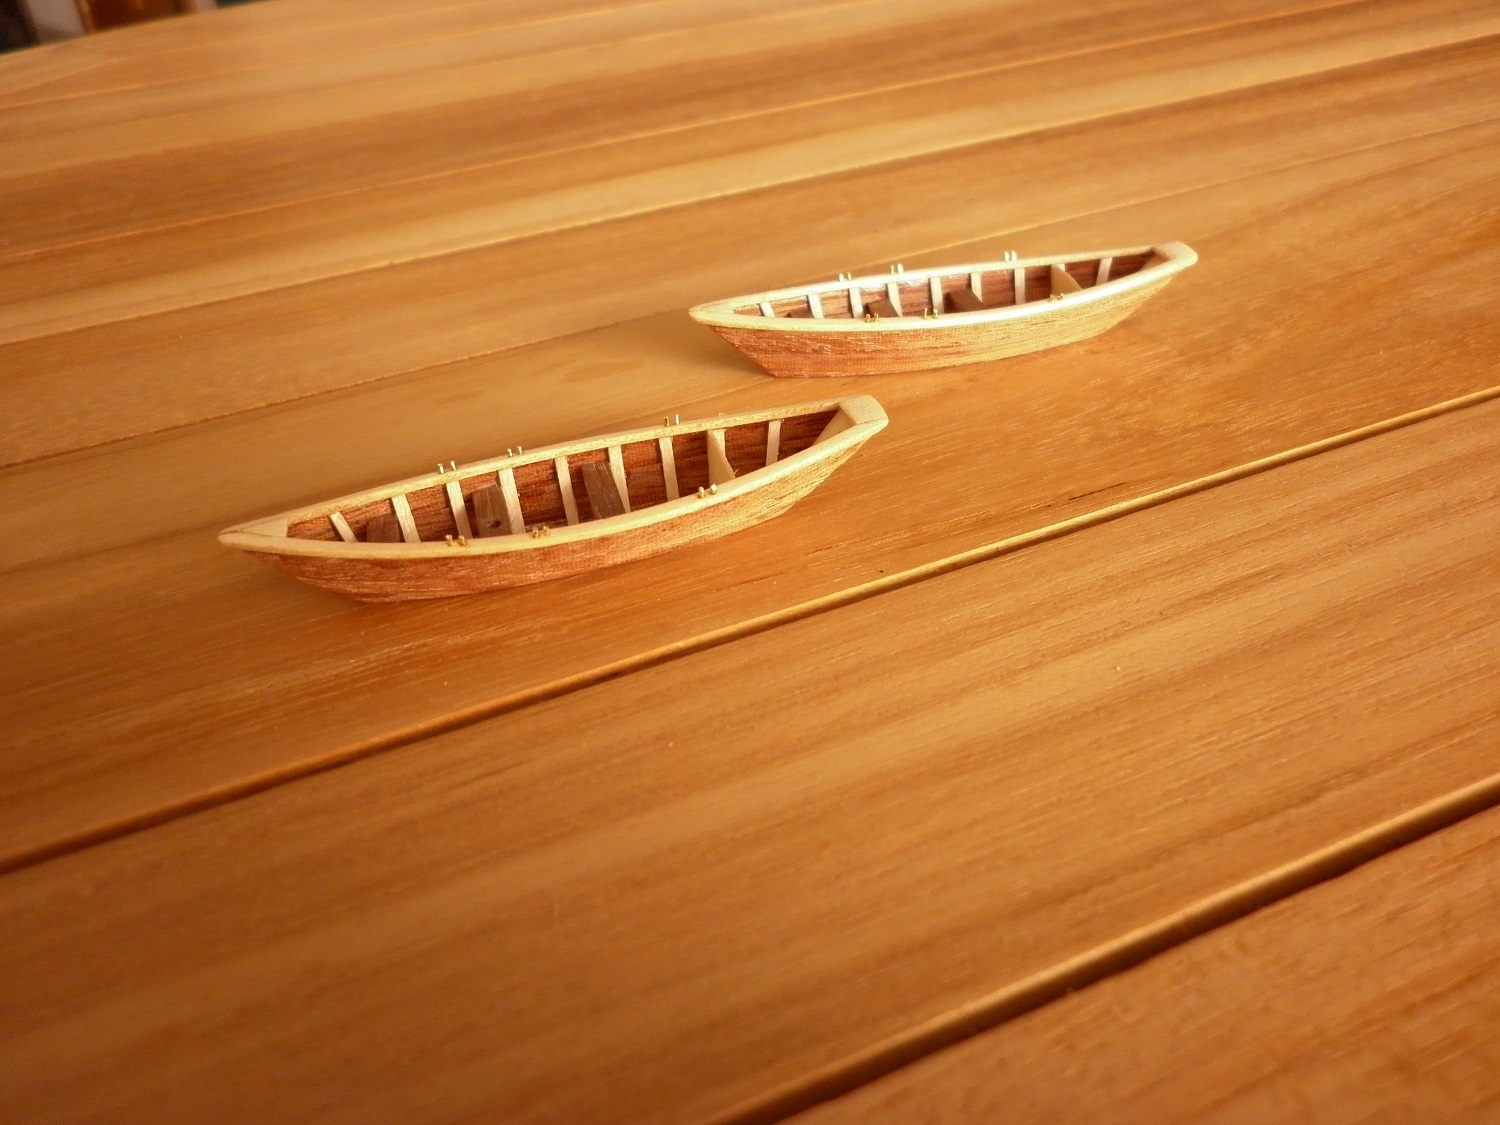
Boat ready for varnish. Oar locks are made from brass thread and fitted in drilled holes on gunwale cover.
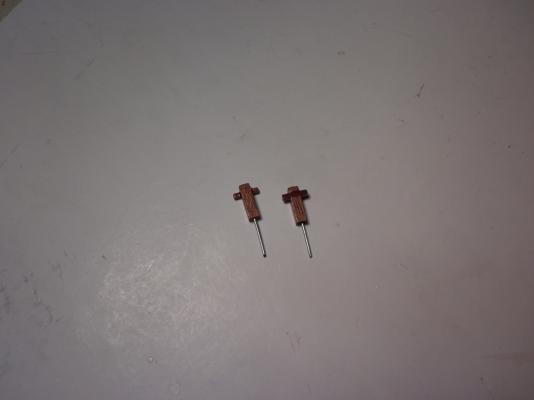
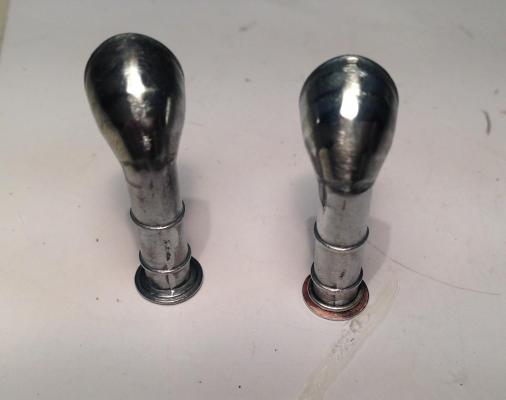
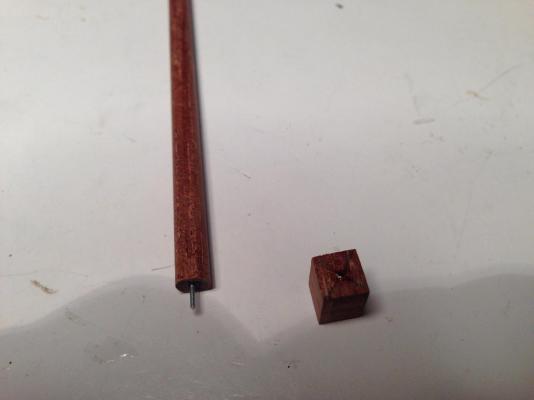
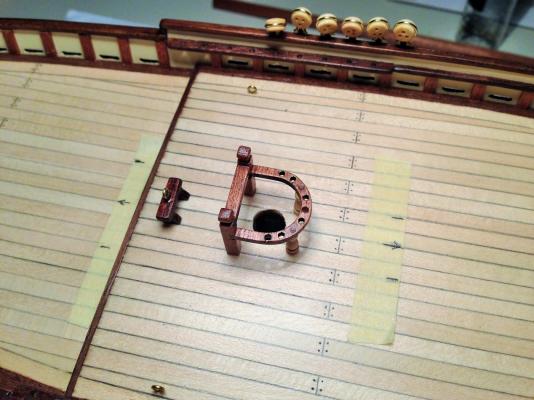
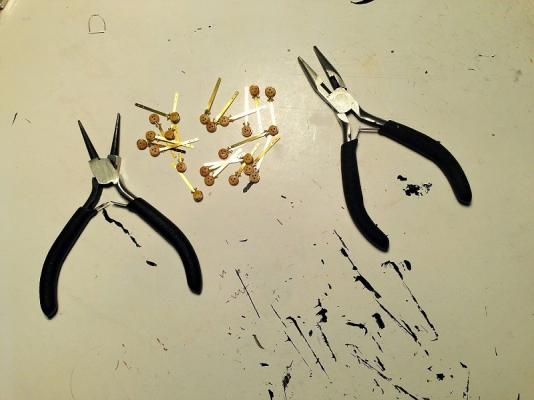
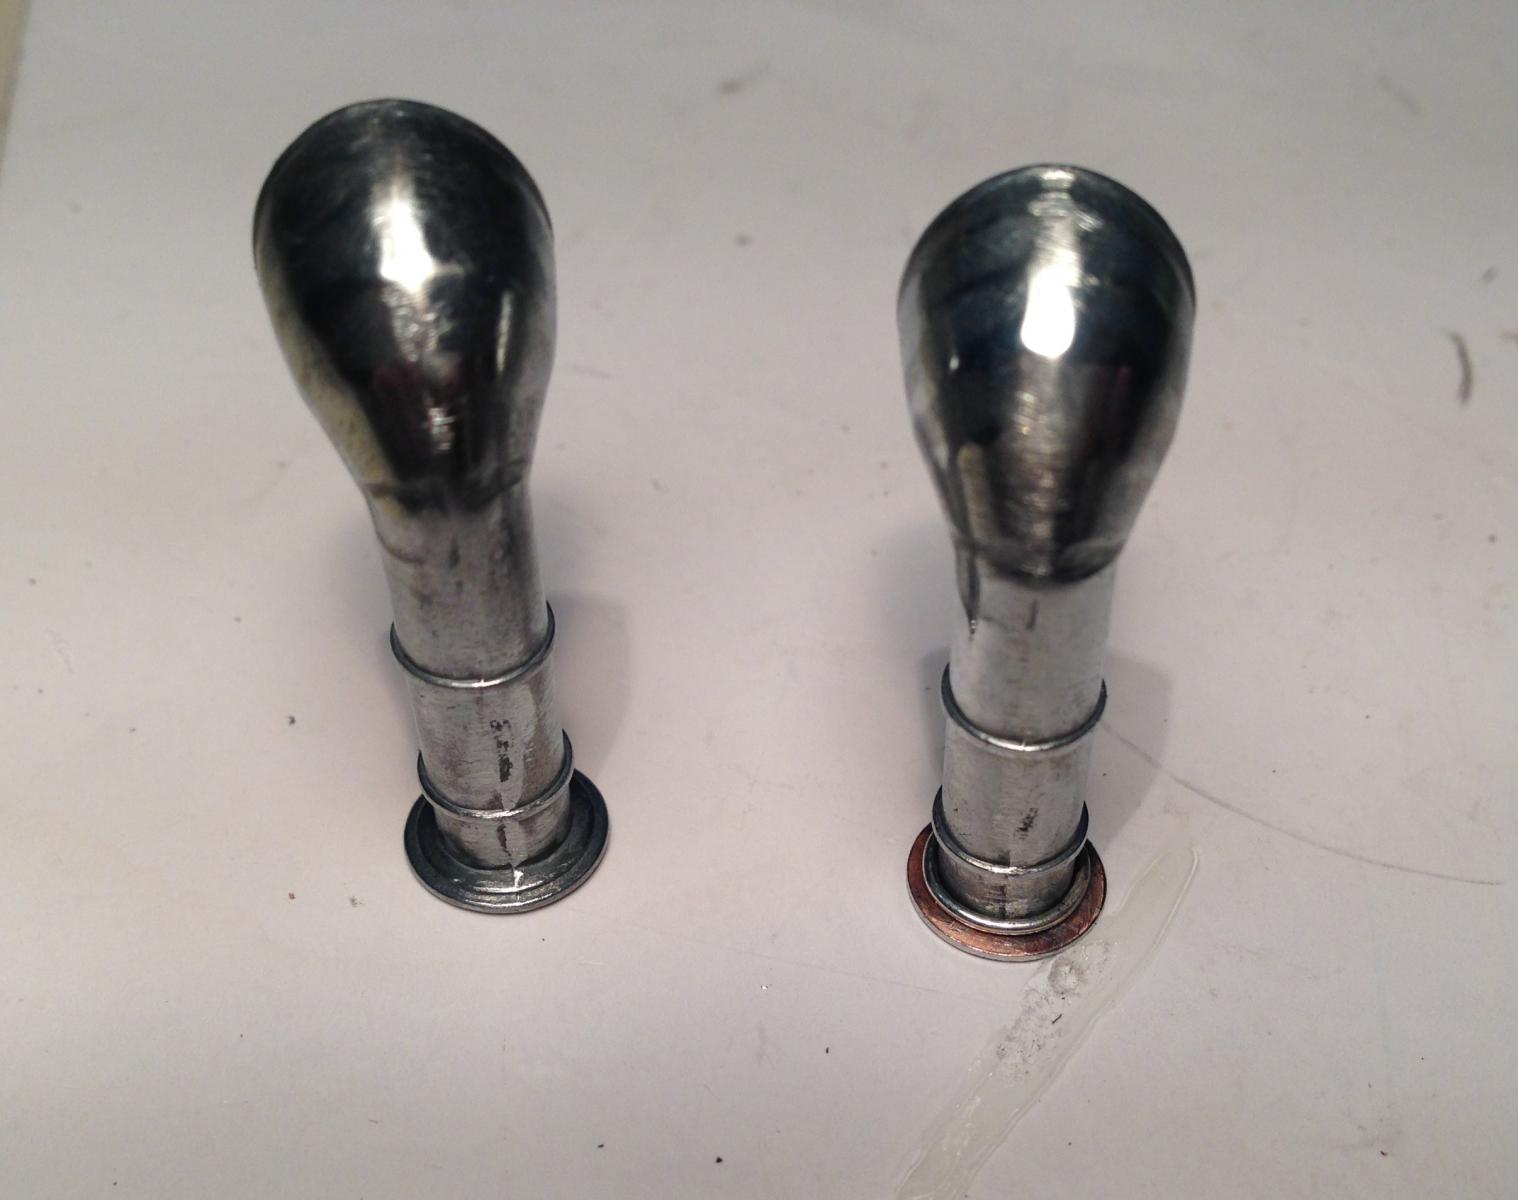
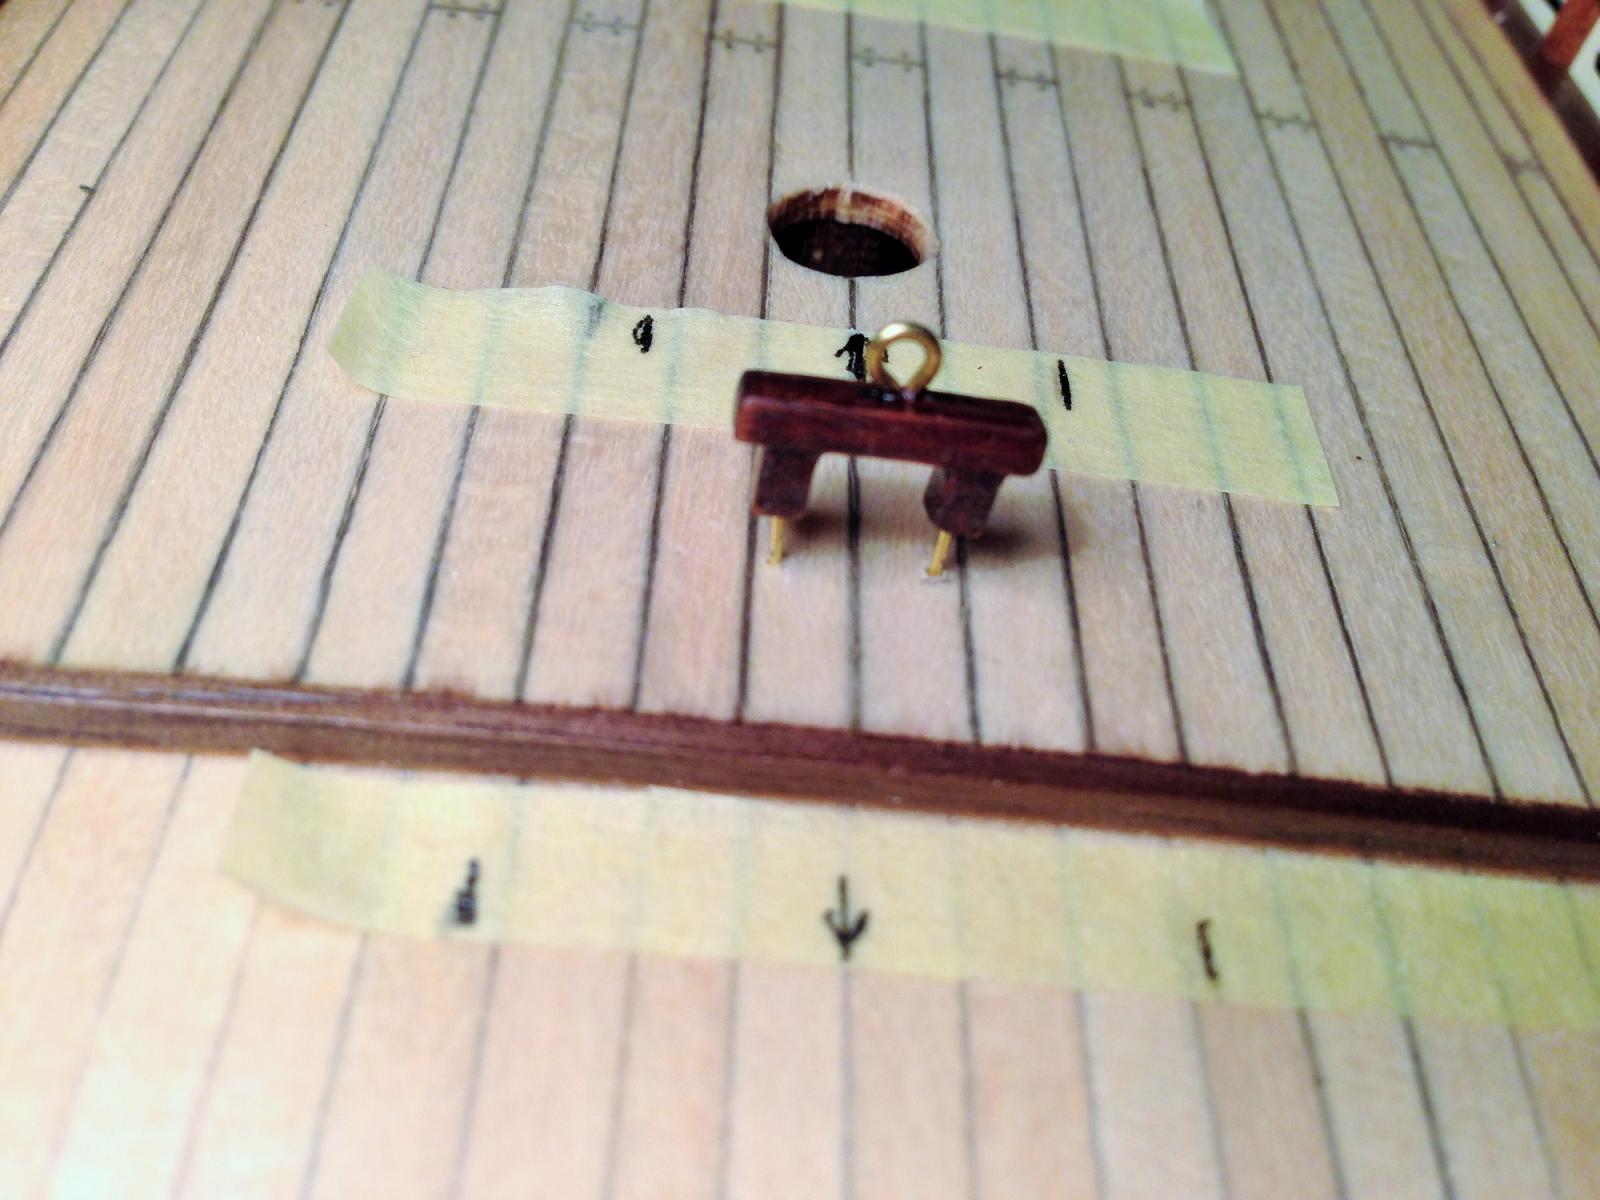
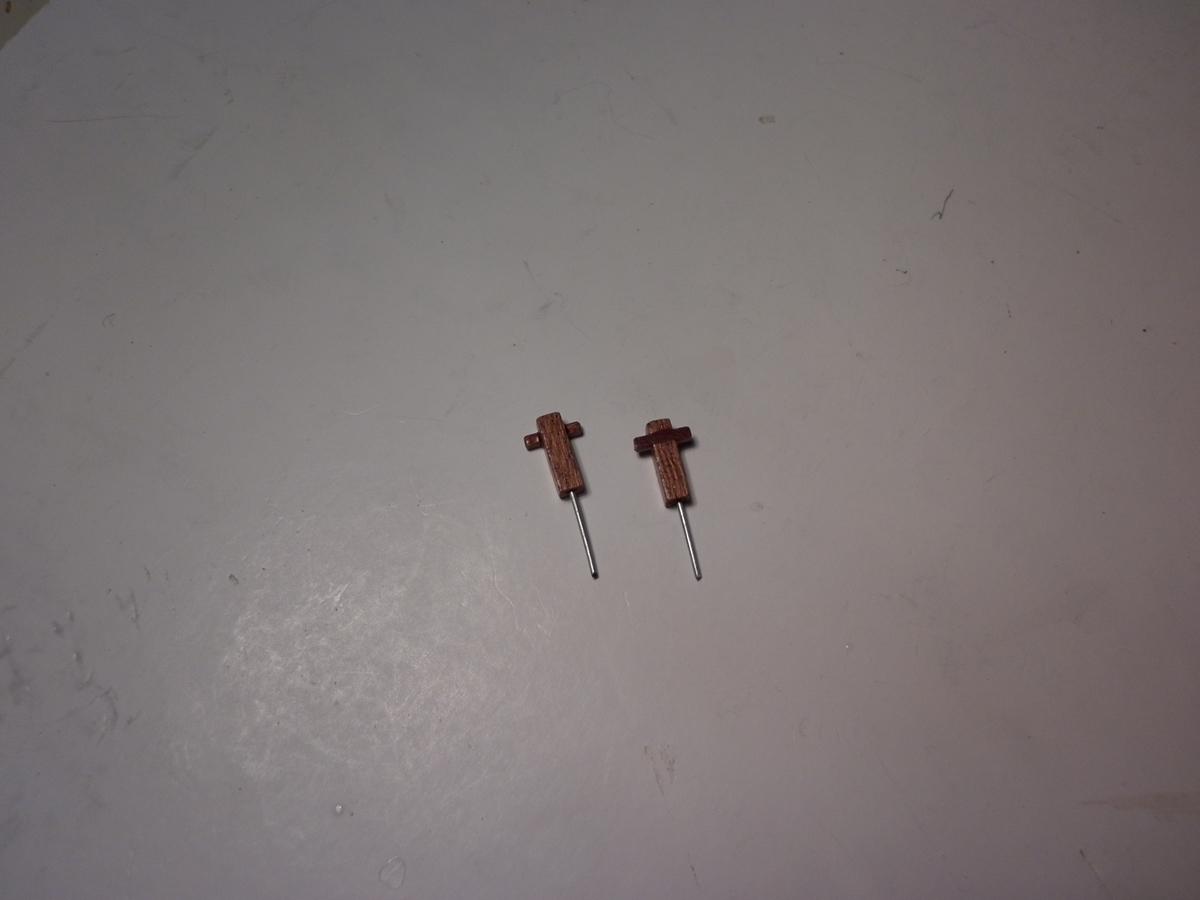
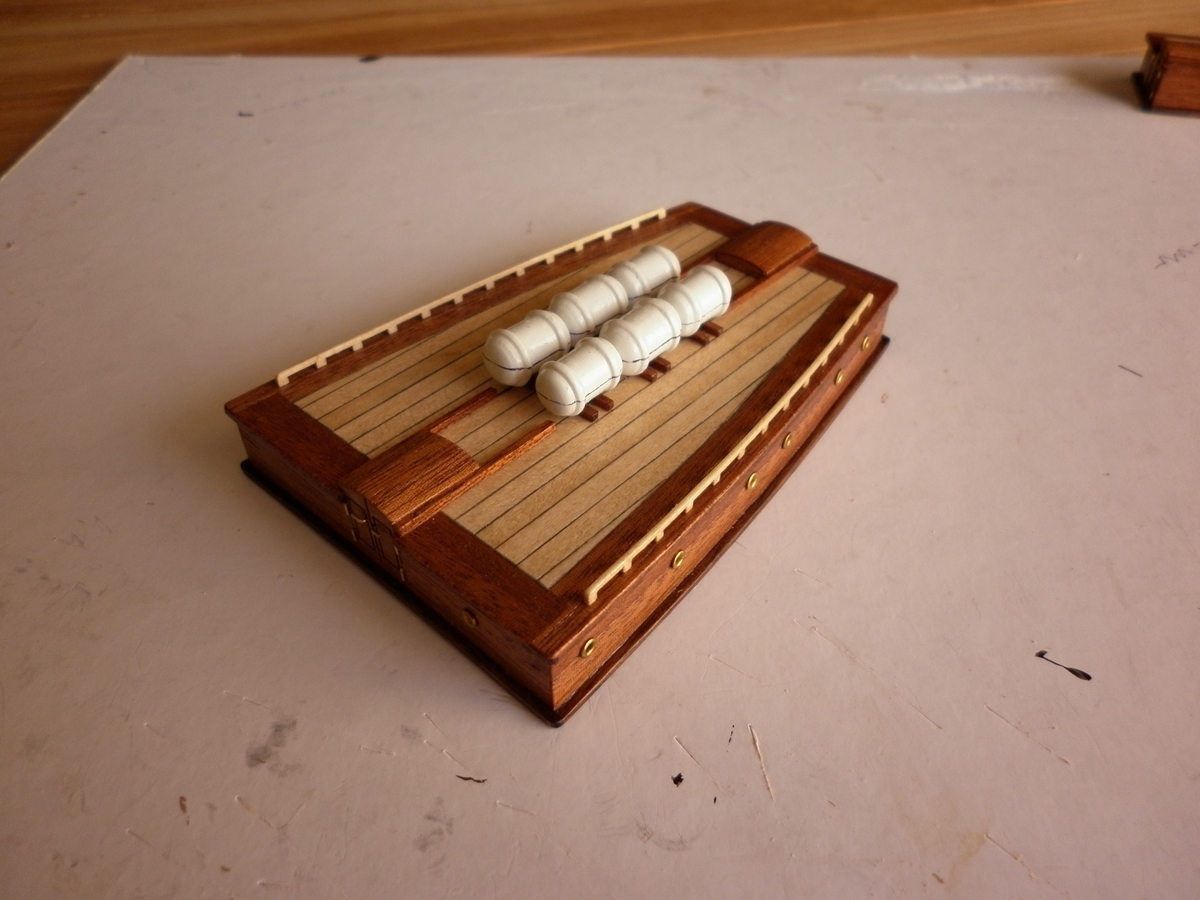
These are the two rope tie-offs to go on deck. On small items like this I find it convenient to drill a small hole at the base and glue a piece of wire. Easy to handle them when painting When fixing on deck trim it down to about 5mm, drill a hole on deck, same wire diameter, and glue it with wire inserted in the hole. Much stronger bond.
- IgorSky, tasmanian, Mirabell61 and 4 others
-
7
-
Great work so far. She does build into a beautiful model when complete. I finished her back in December or January as my first build
Thank you. I'm hoping to get enough experience from it to go for something more challenging. Maybe the HMS Victory.
-
-
Hello Robert, excellent work so far!! Very clean and neat. The same kit was my first build. I enjoyed building it.
Kind Regards
Dimitris
Hello Dimitris,
Thank you for your nice comment. I'm enjoying building it too. Today I watched your build log for it. Nice work too.
Robert
-
Hello All,
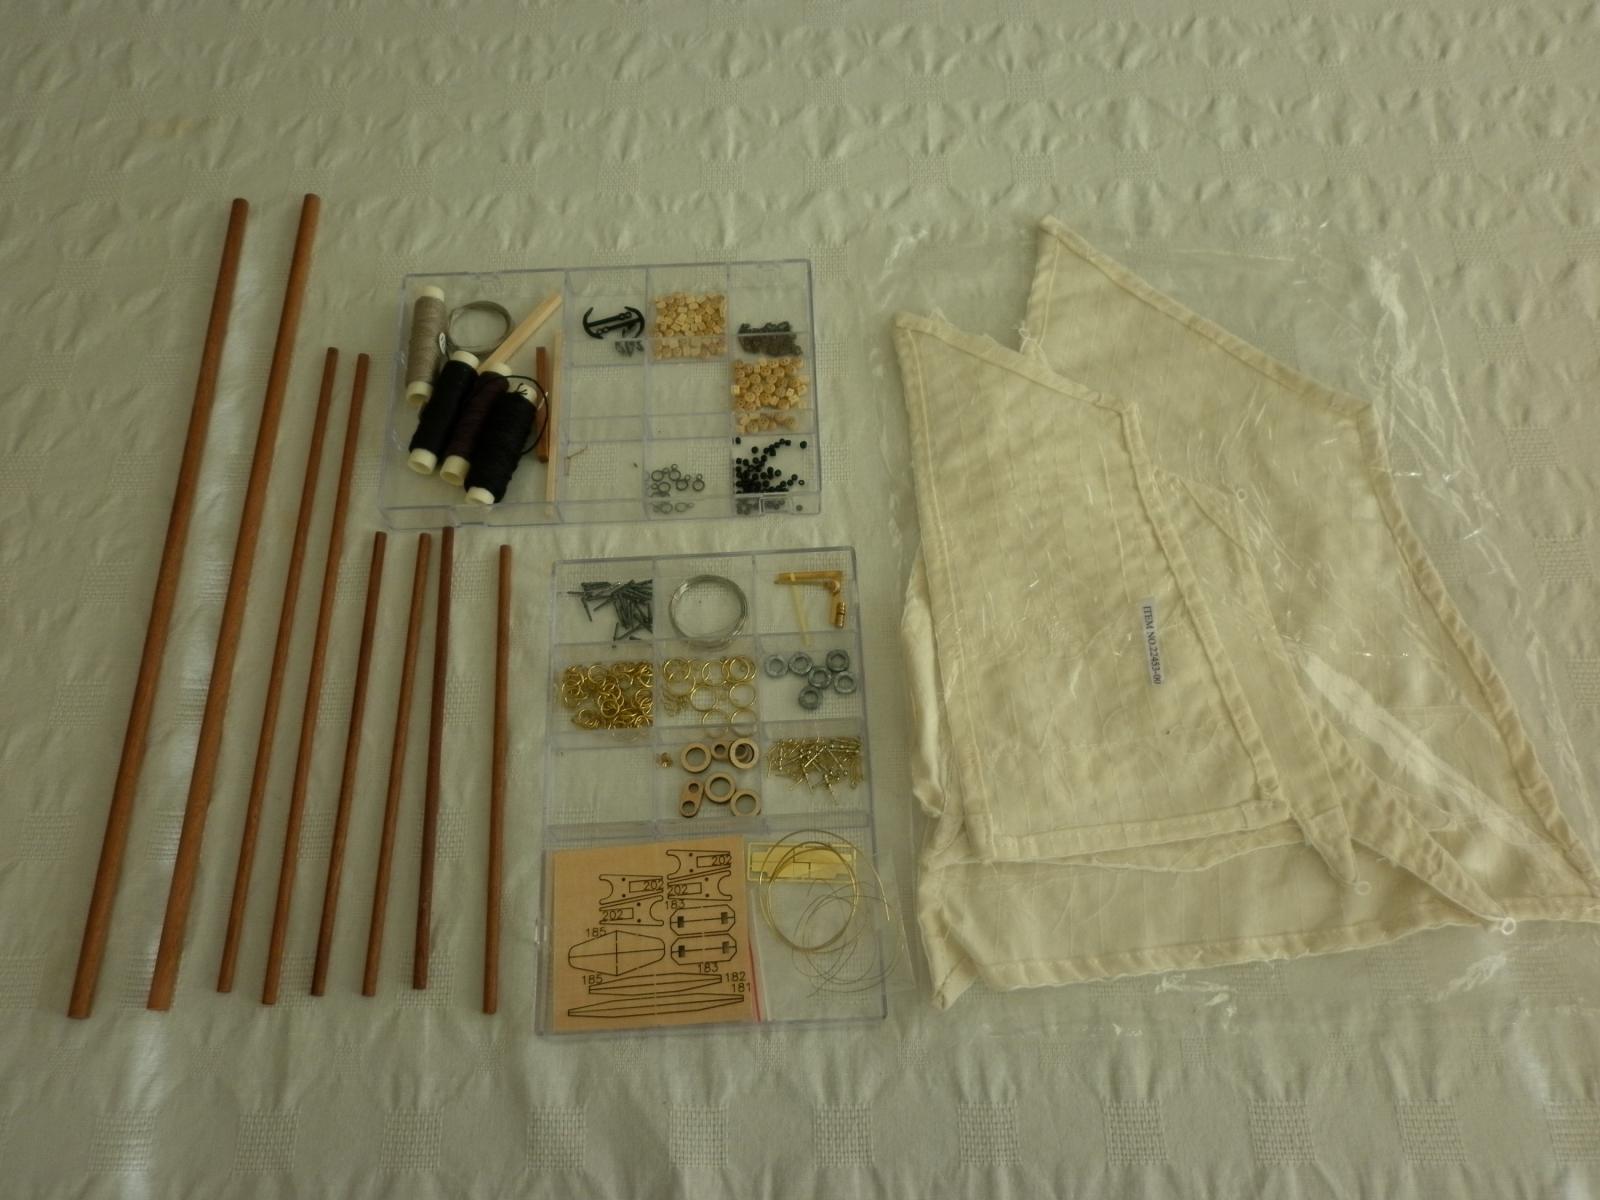
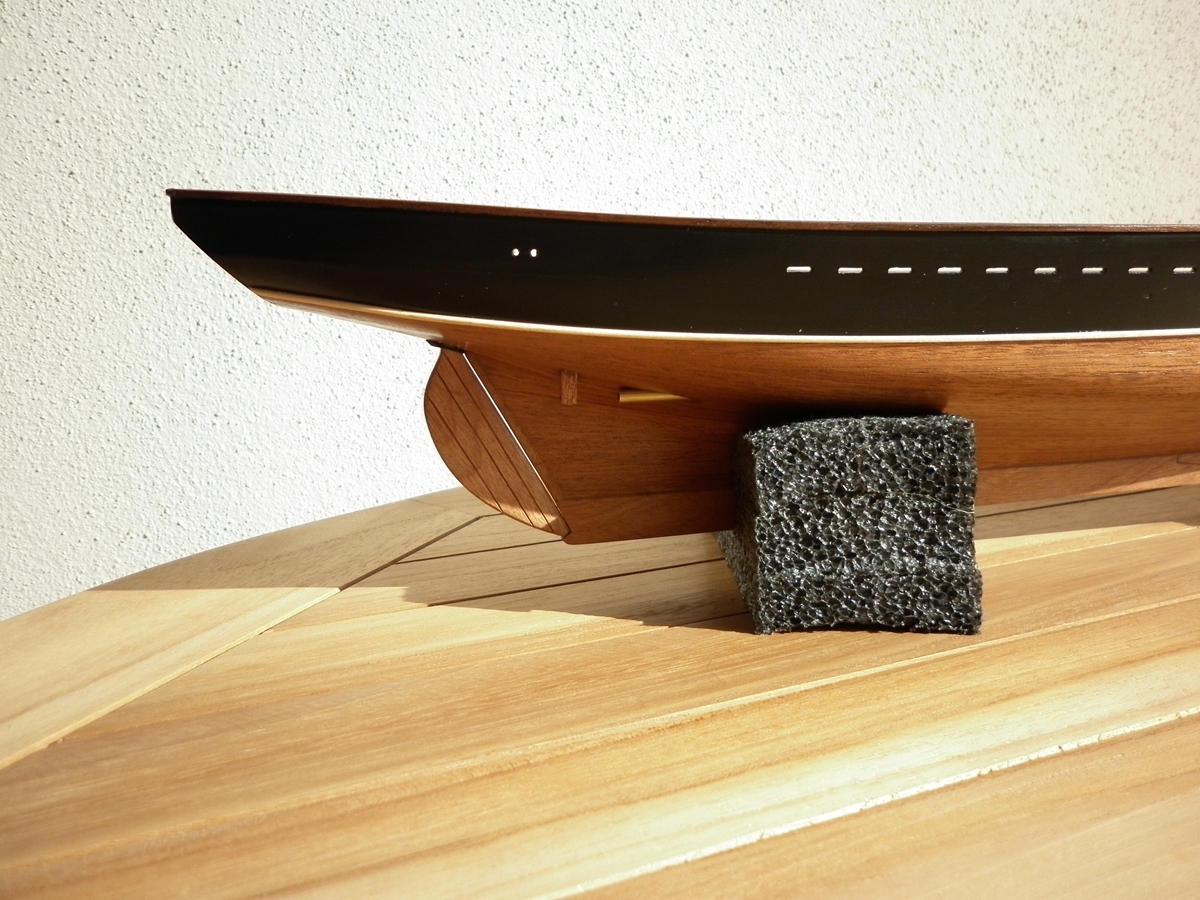
I have just become a member and am already half way through my second build, Bluenose II. I have already built the Juan Sebastian Elcano and now I'm building this kit to gain more experience before I go for a more challenging project, maybe the HMS Victory 1:72 scale. From what I have seen in this forum I am sure I will learn a lot. I haven't kept any photos of my work in progress for the Bluenose so I uploaded a few images showing what I have finished up to now. I will upload more images as I go along and probably put forward a few (maybe a lot) questions. I will appreciate any comments and hints where I can improve.
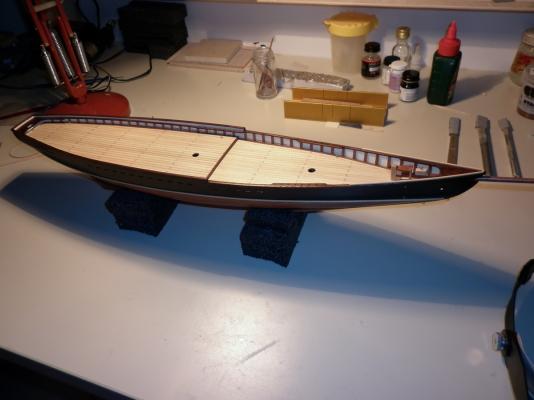

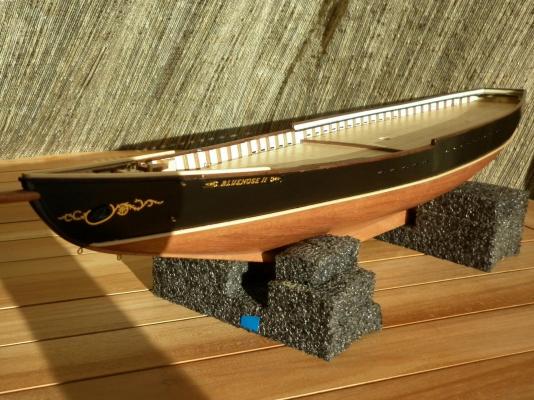
Hull and deck finished, painted and varnished.

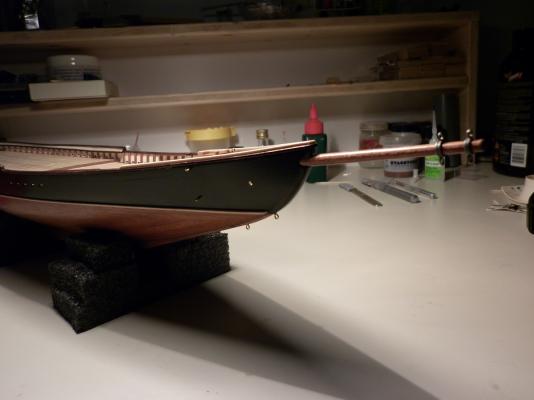
Bowsprit fitted as well.
Have prepared most of the cabins, etc to go on deck.

Stern Cabin
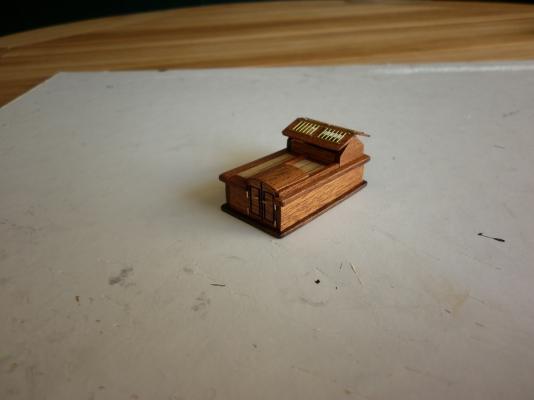
Central mess room
Now finishing the boats to go on deck.
Thanking you for all the support which I'm sure I will receive
Regards
Robert


guide how to install the mast on the deck perfectly straight
in Masting, rigging and sails
Posted
Hello,
This is the method I used on Bluenose II I am currently building. I think it's a matter of what makes you feel comfortable working with. Actually I thought of keeping the masts in place with just the rigging. Then I decided to glue them. But I can't say that keeping them in place with just the rigging is the wrong way. It's got its advantages.
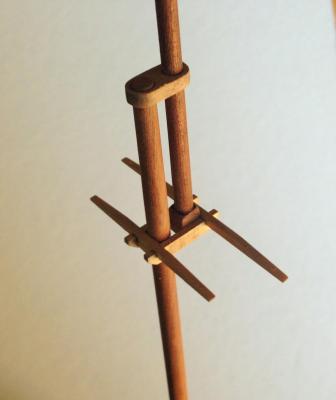
First I glued one mast checking the boat is perfectly horizontal and the mast is perfectly vertical using a spirit level at various points. Then kept the mast in place with string from mast to table. I used carpenter's glue which gives you ample time to adjust its position. When dry I glued the second mast. I used a spacer in between to keep the exact distance all along and again string to keep it in place sideways. They came perfectly lined as can be seen on the second image. When rigging you have to be careful about the tensioning anyway as even with the mast glued, uneven tensioning will still send it out of line.
Sorry about the sideways image. On my pc I rotate it to the right position but when transfer it to this post it keeps going sideways again.
Robert