HOLIDAY DONATION DRIVE - SUPPORT MSW - DO YOUR PART TO KEEP THIS GREAT FORUM GOING! (Only 13 donations so far - C'mon guys!)
×

Tallshiptragic
-
Posts
551 -
Joined
-
Last visited
Content Type
Profiles
Forums
Gallery
Events
Everything posted by Tallshiptragic
-
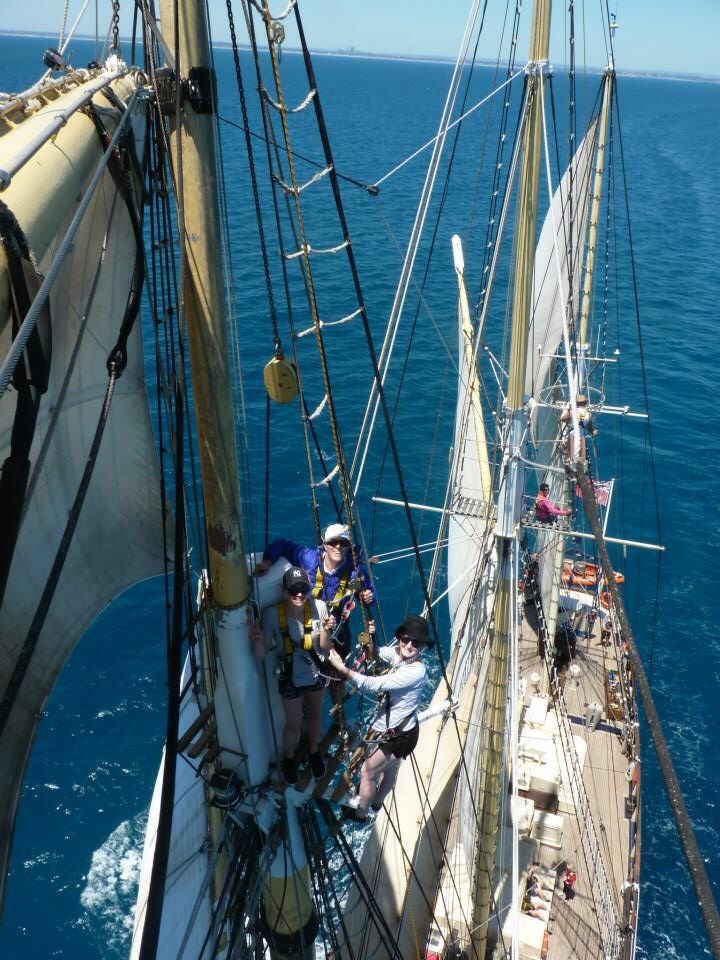
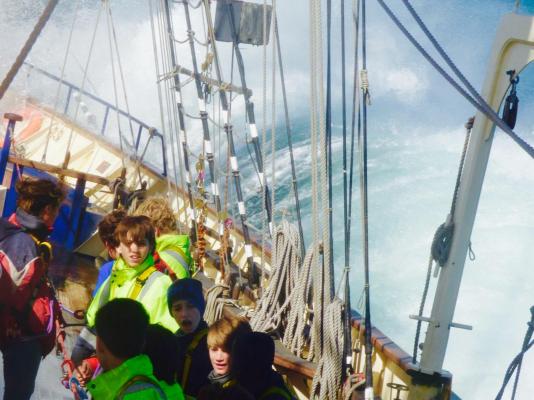
 It's a preventer. I've attached a photo of my ship with the preventer rigged. We rig it in winds over 10knots when at sea. The tackle from the boom to the deck is the preventer. Working as crew and a deck officer on various tall ships, Europa, Leeuwin, Gothenburg,topsail schooners Spirit of Bermuda, columbria etc there is always a preventer stay rigged or attached made up of double block tackles and never a single line. The preventer is also used when tacking a tall ship to spank the mizzen gaff boom across. The only ships I've sailed without these are Duyfken and endeavour as they don't have a boom.
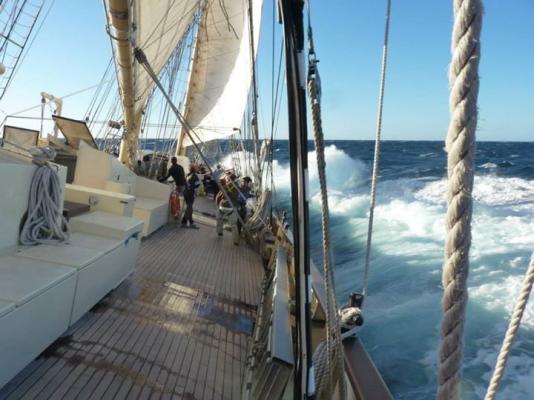
- 15 replies
-
- 2
-

-
- Cutter
- Sherbourne
- (and 2 more)
-
Hi rich I used what David just suggested on my Diana.
-
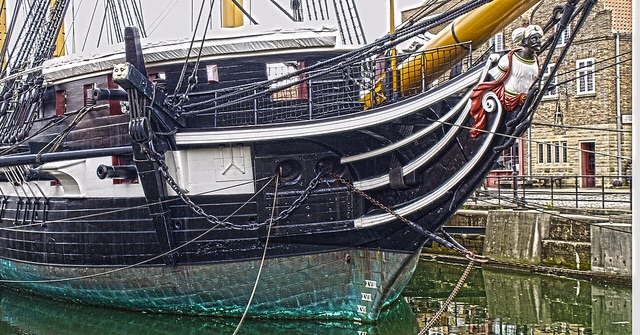
A very thin strip to cover the very top of the plating painted black. I've attached a picture of the has trincomalee where you can see it clearly. I added this to my HMS Diana model also and just finishes it off. Then if there are any small gaps between the plates just touch up with a bit of copper paint.
- 414 replies
-
- 2
-
-
- caldercraft
- victory
- (and 1 more)
-
It does get a little wet up here, with the threat of a cyclone hitting the coral coast, luckily turned into swell and some rain.

-
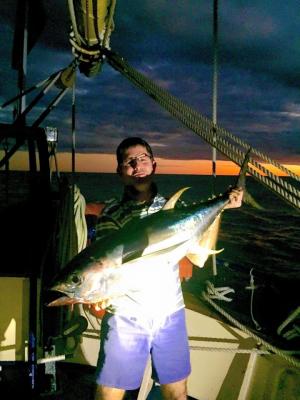
Hi everyone. No updates on the model but we've just dropped the pick on the eastern side of point peron in shark bay so a couple pics of life up here. On and Hans.... I do have a micro motor to make that radar rotate That fish we caught last night, a 15kg yellow fin tuna! Great eating


-
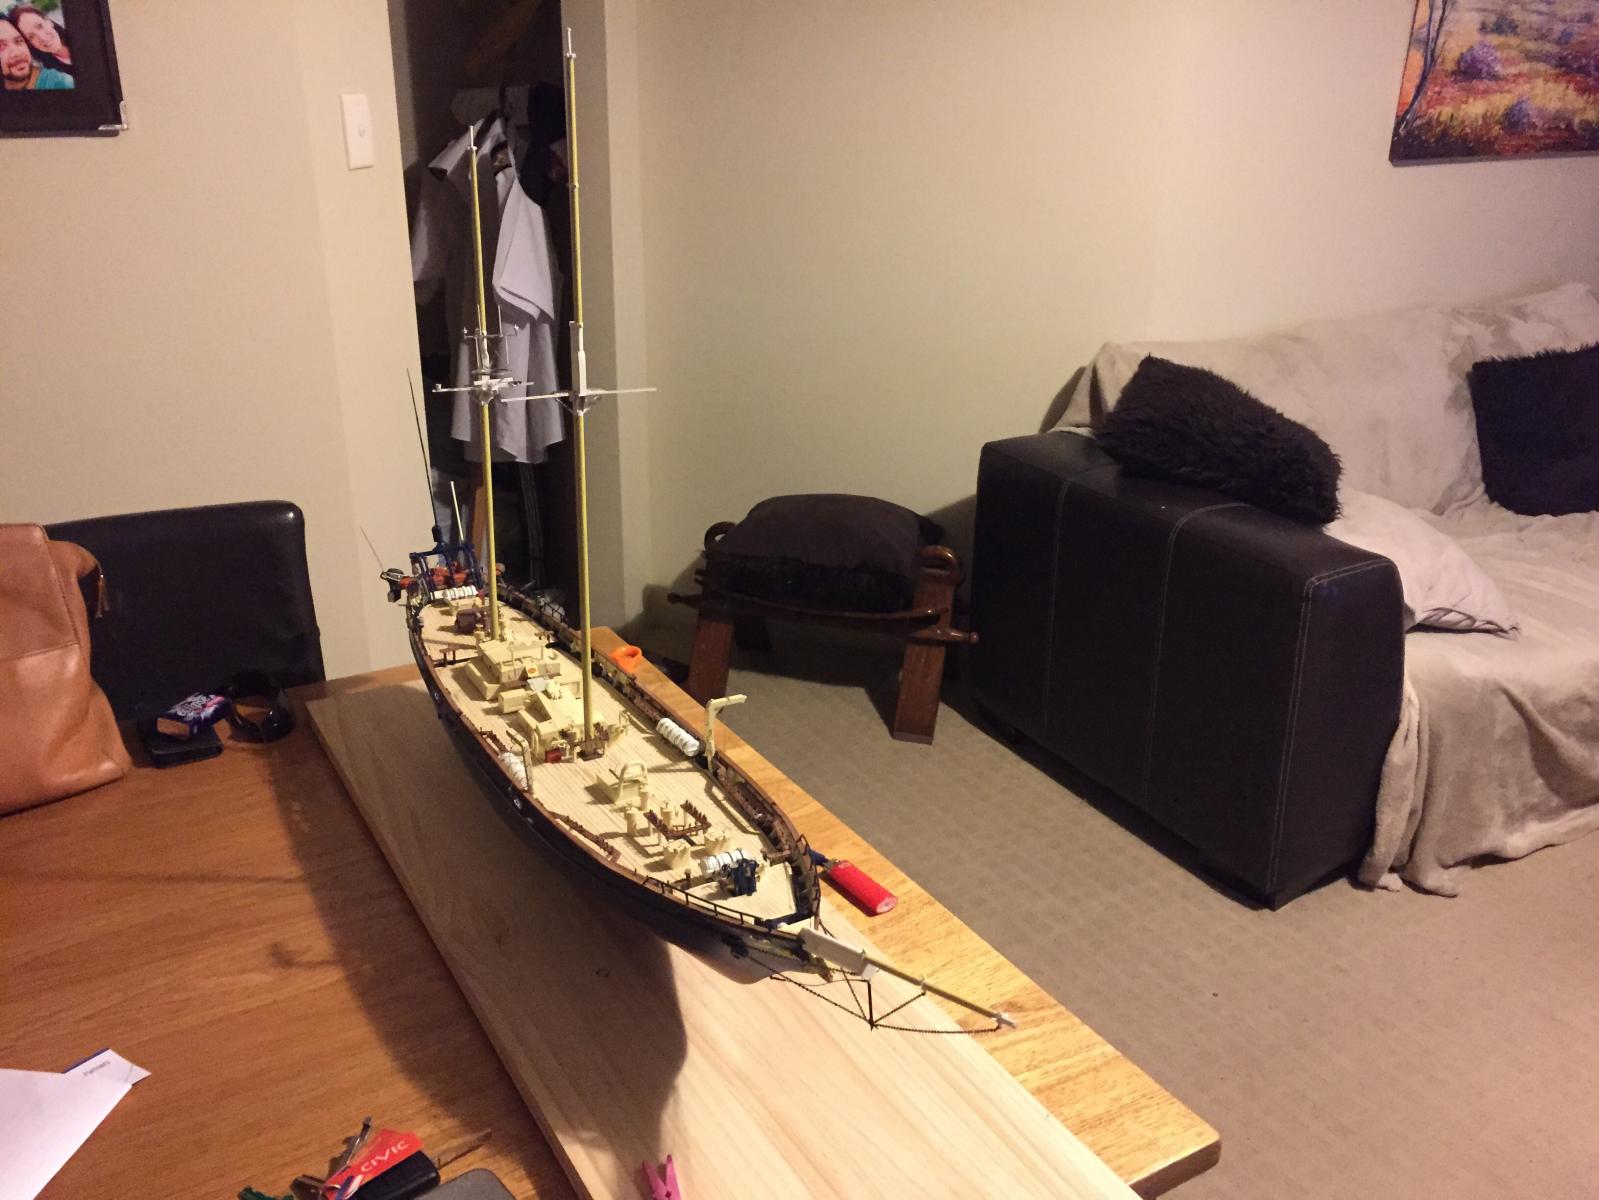
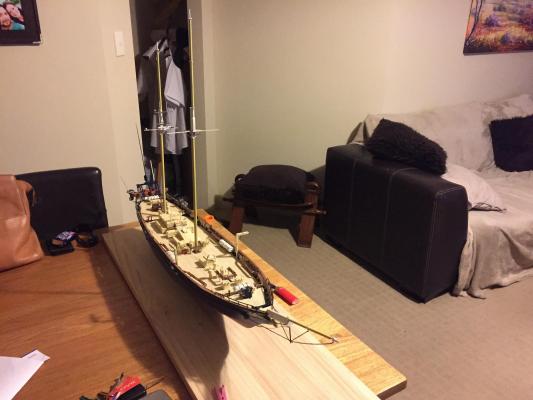
Thanks Bob, I have to say that I really enjoy working with plastruct materials. It works very well for me and comes together very easily. So for a final update on the model for a few weeks, main and mizzen masts painted. Tops and caps painted white while the spars are in Leeuwin yellow - this is the same yellow as the scroll work, hull stripe and figure head.

-
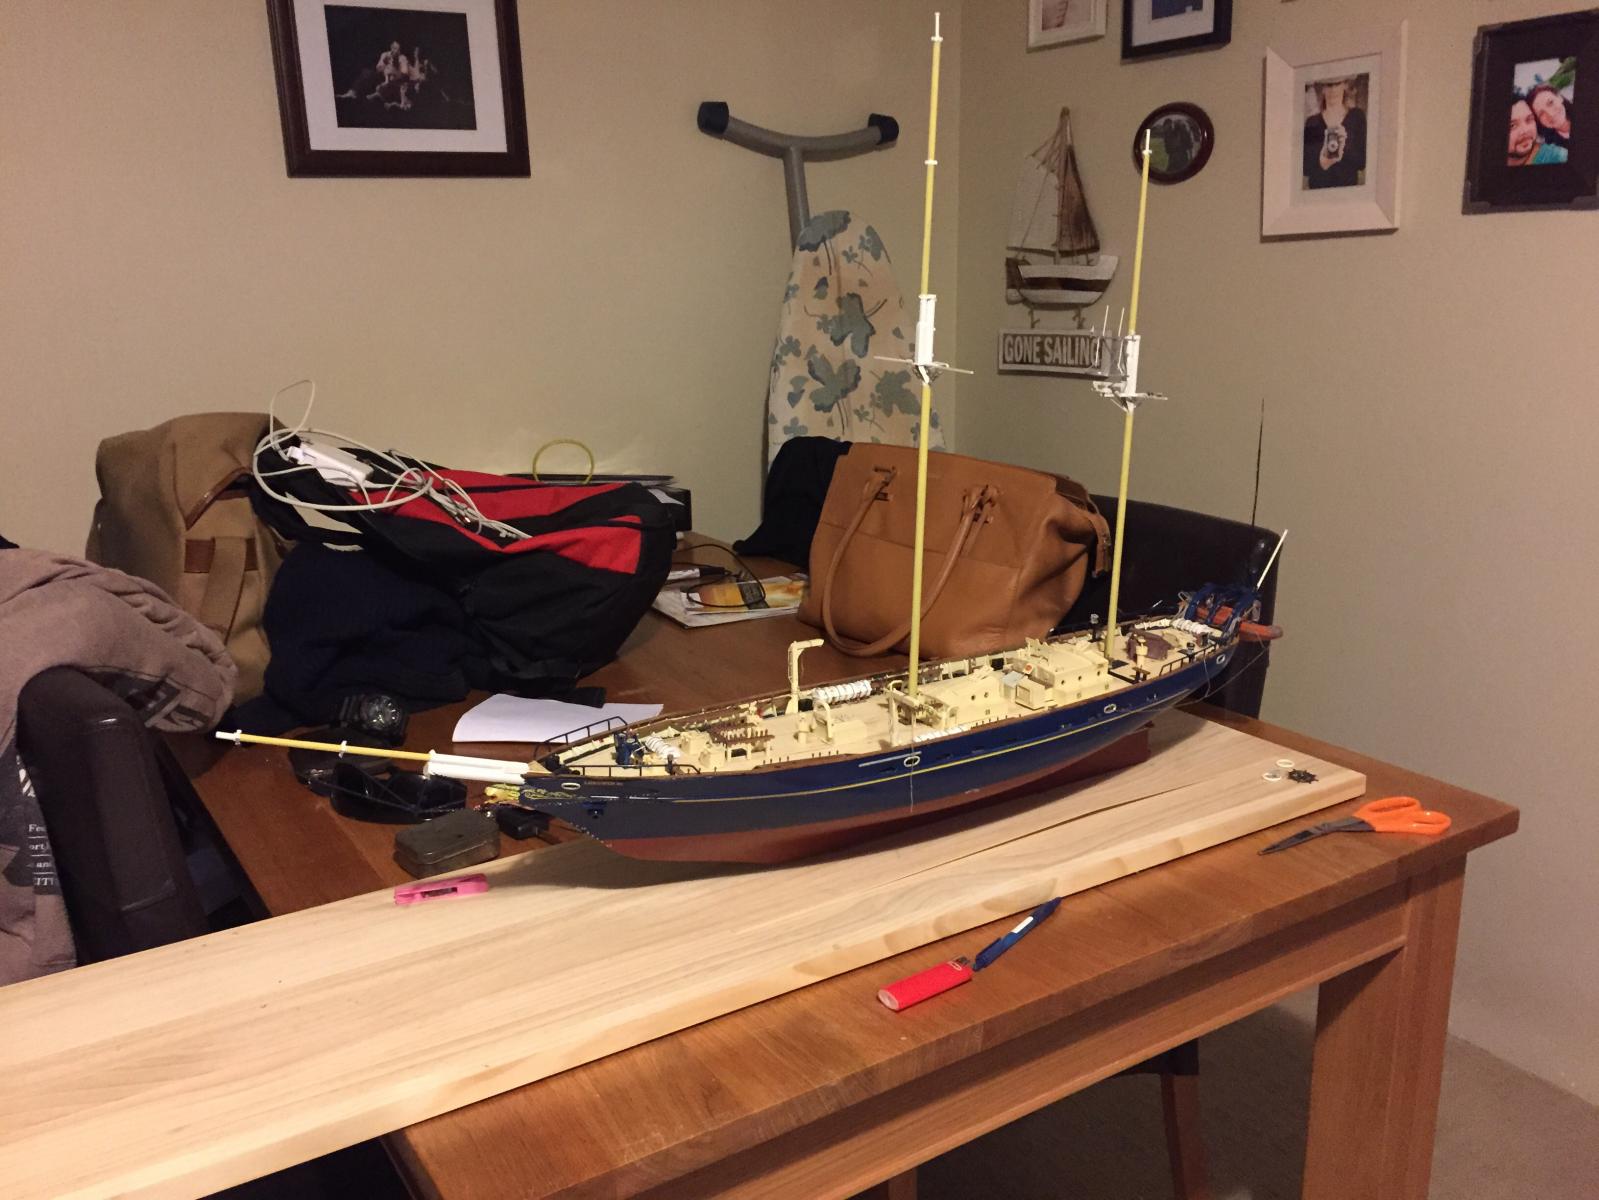
Thanks Patrick and Nils. Perhaps it may Nils once I've added all the wiring though the electrical wiring runs down the stays so I won't add those until they're rigged.
-
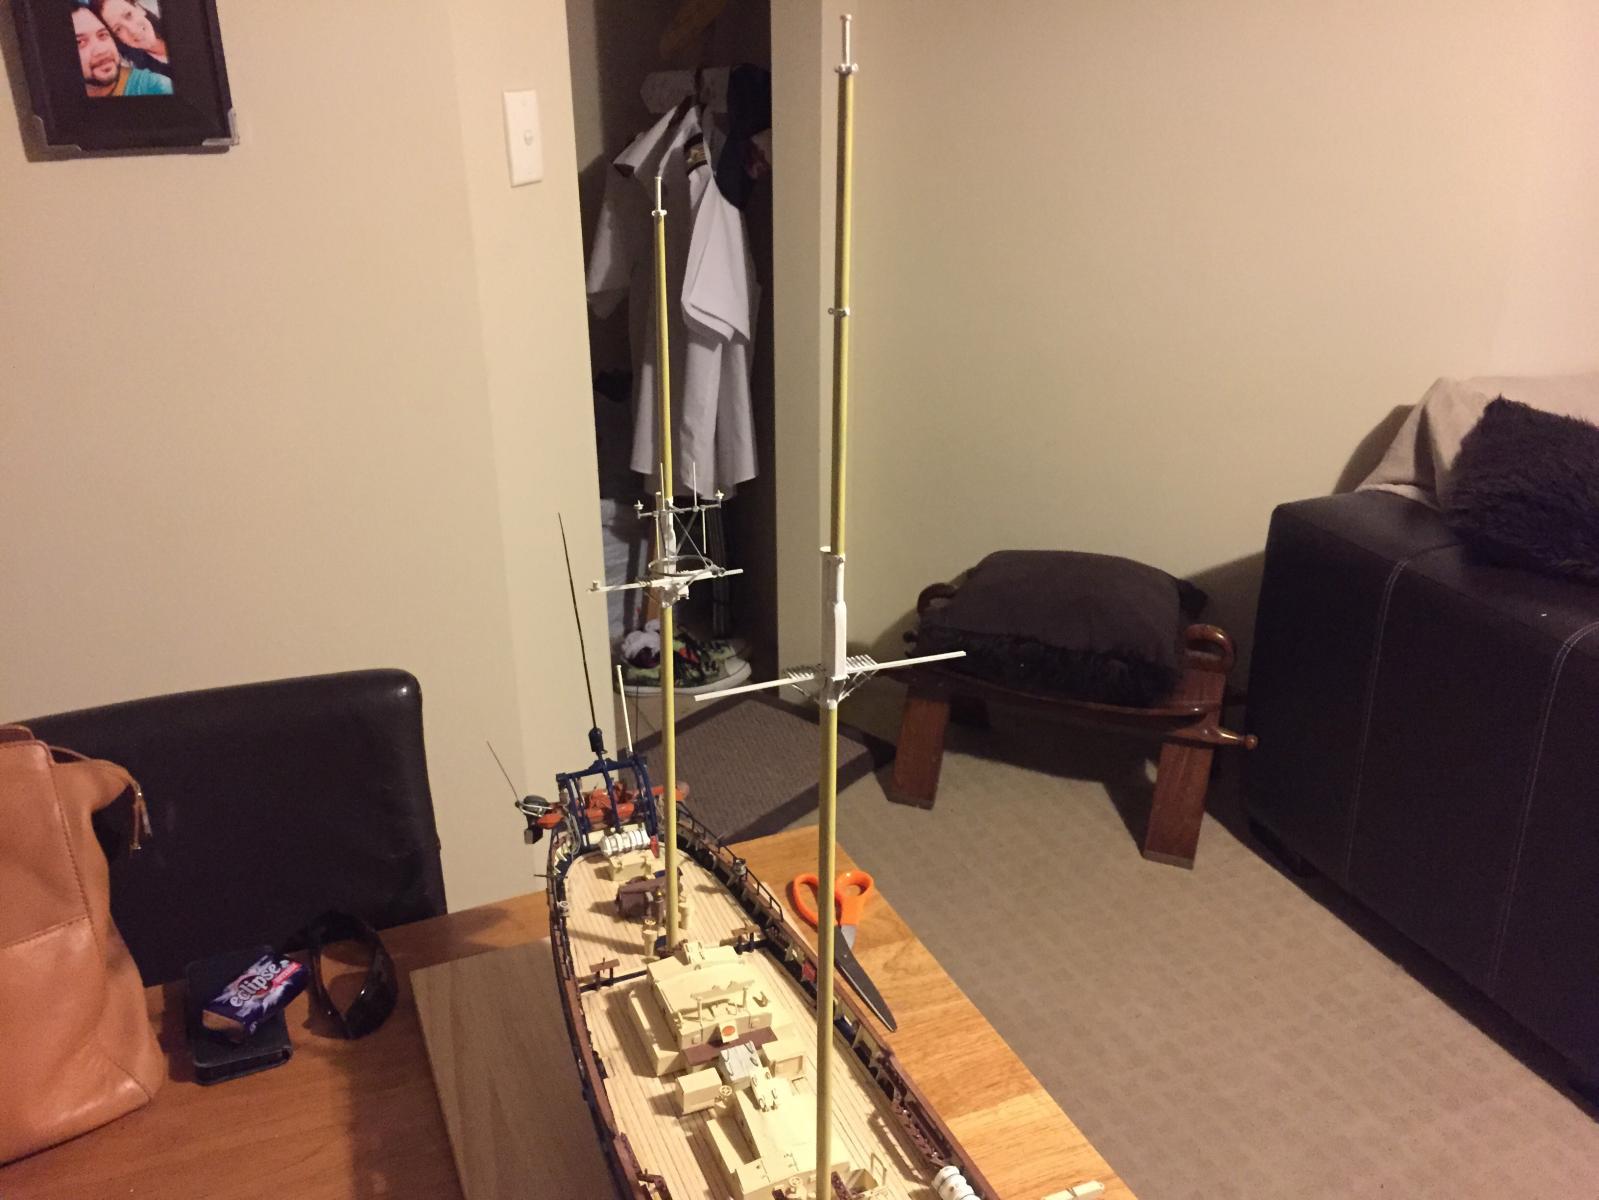
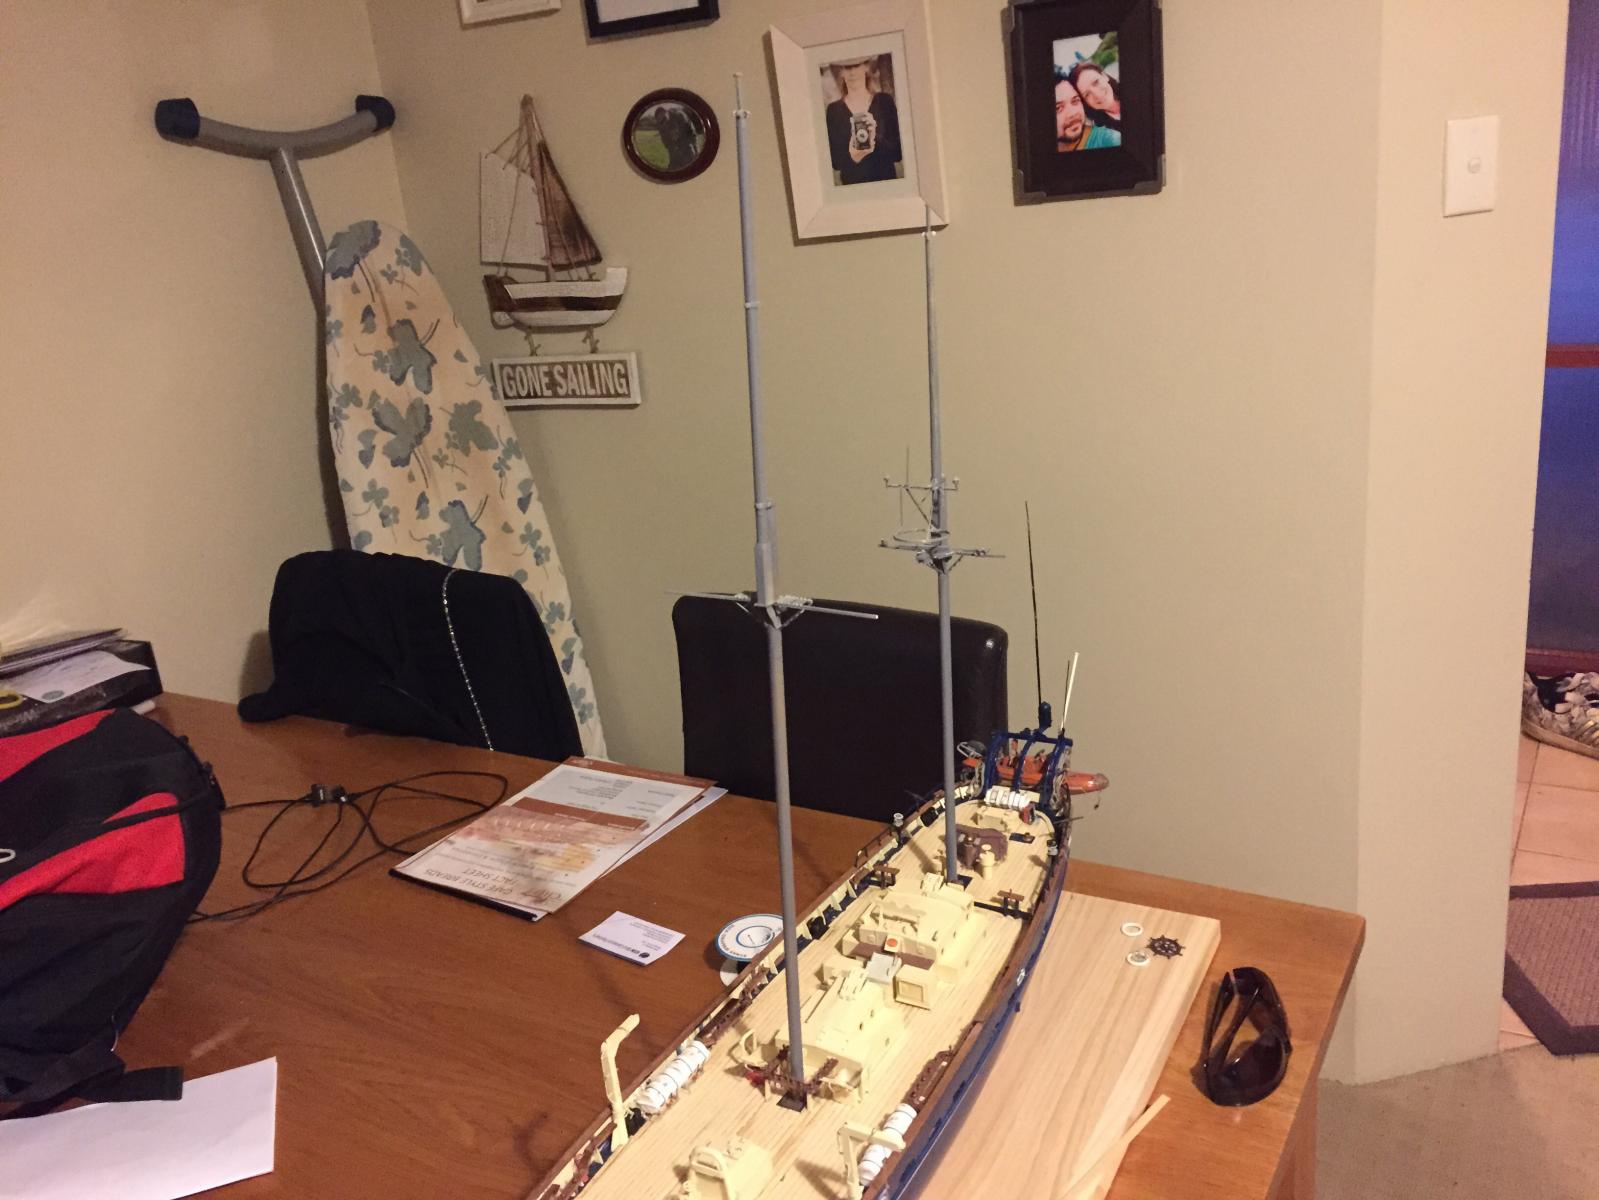
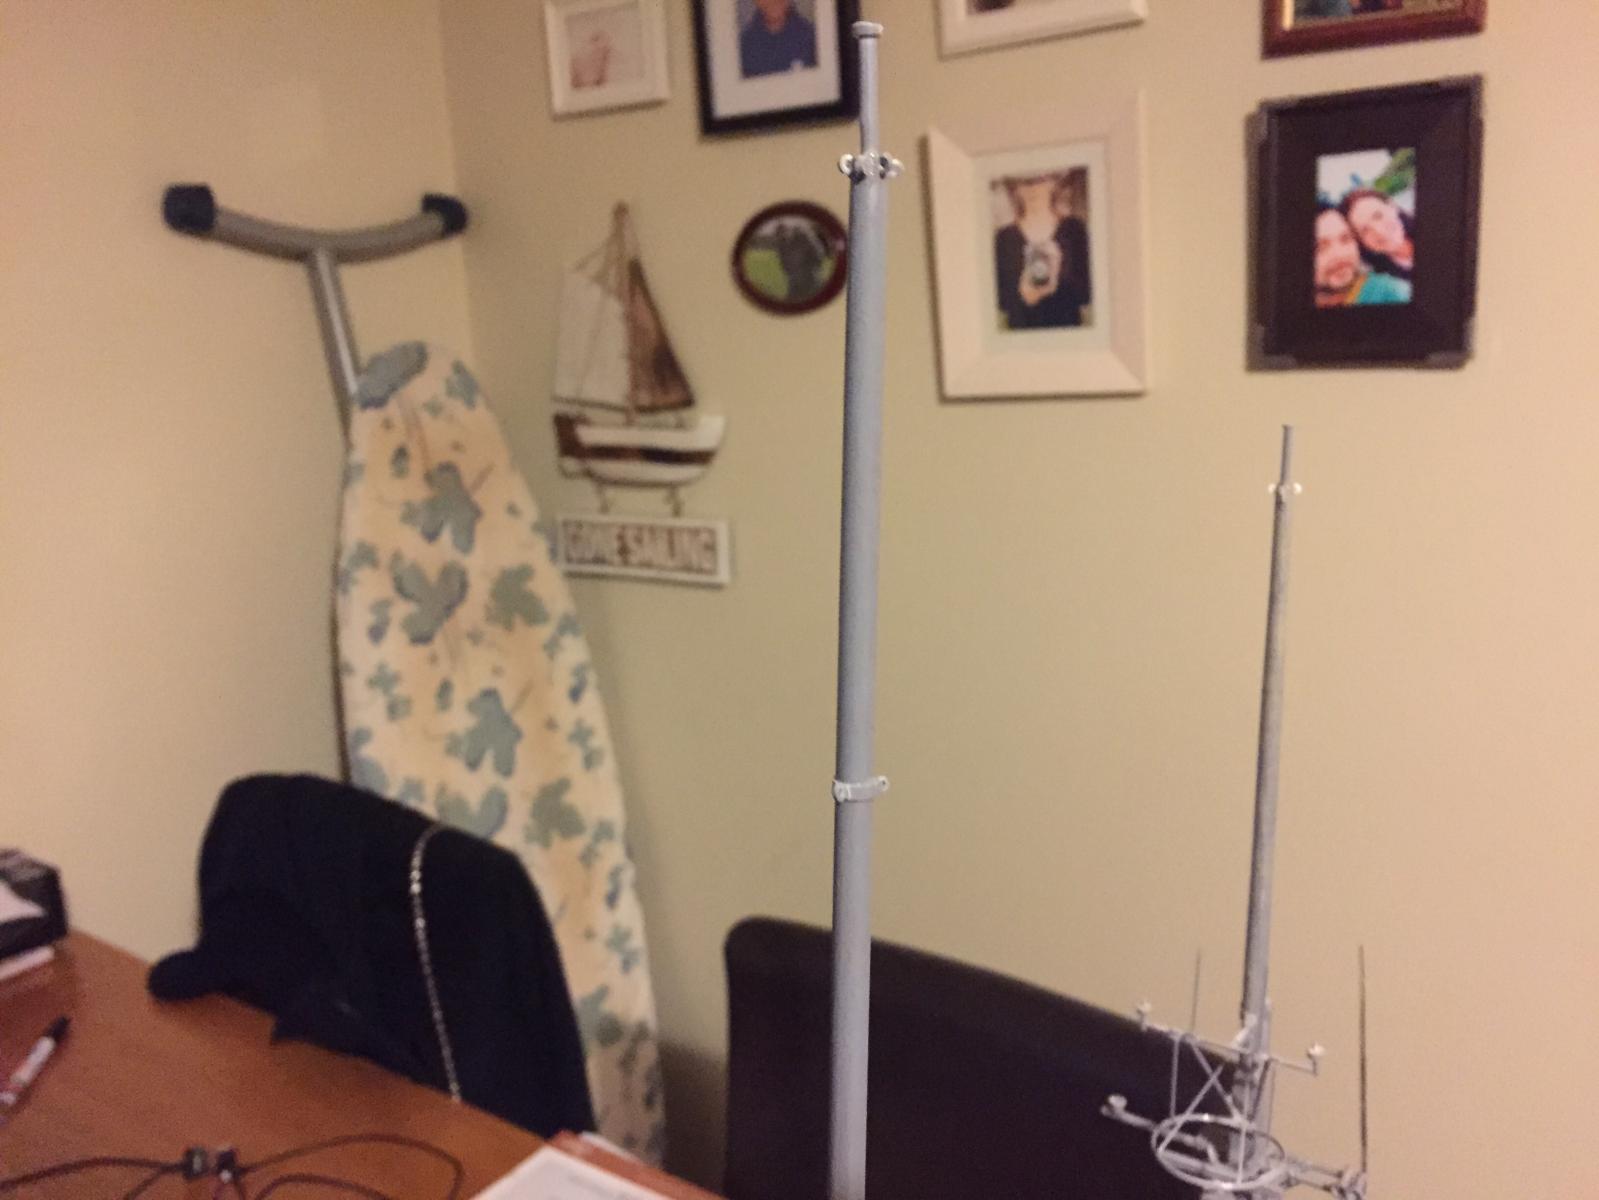
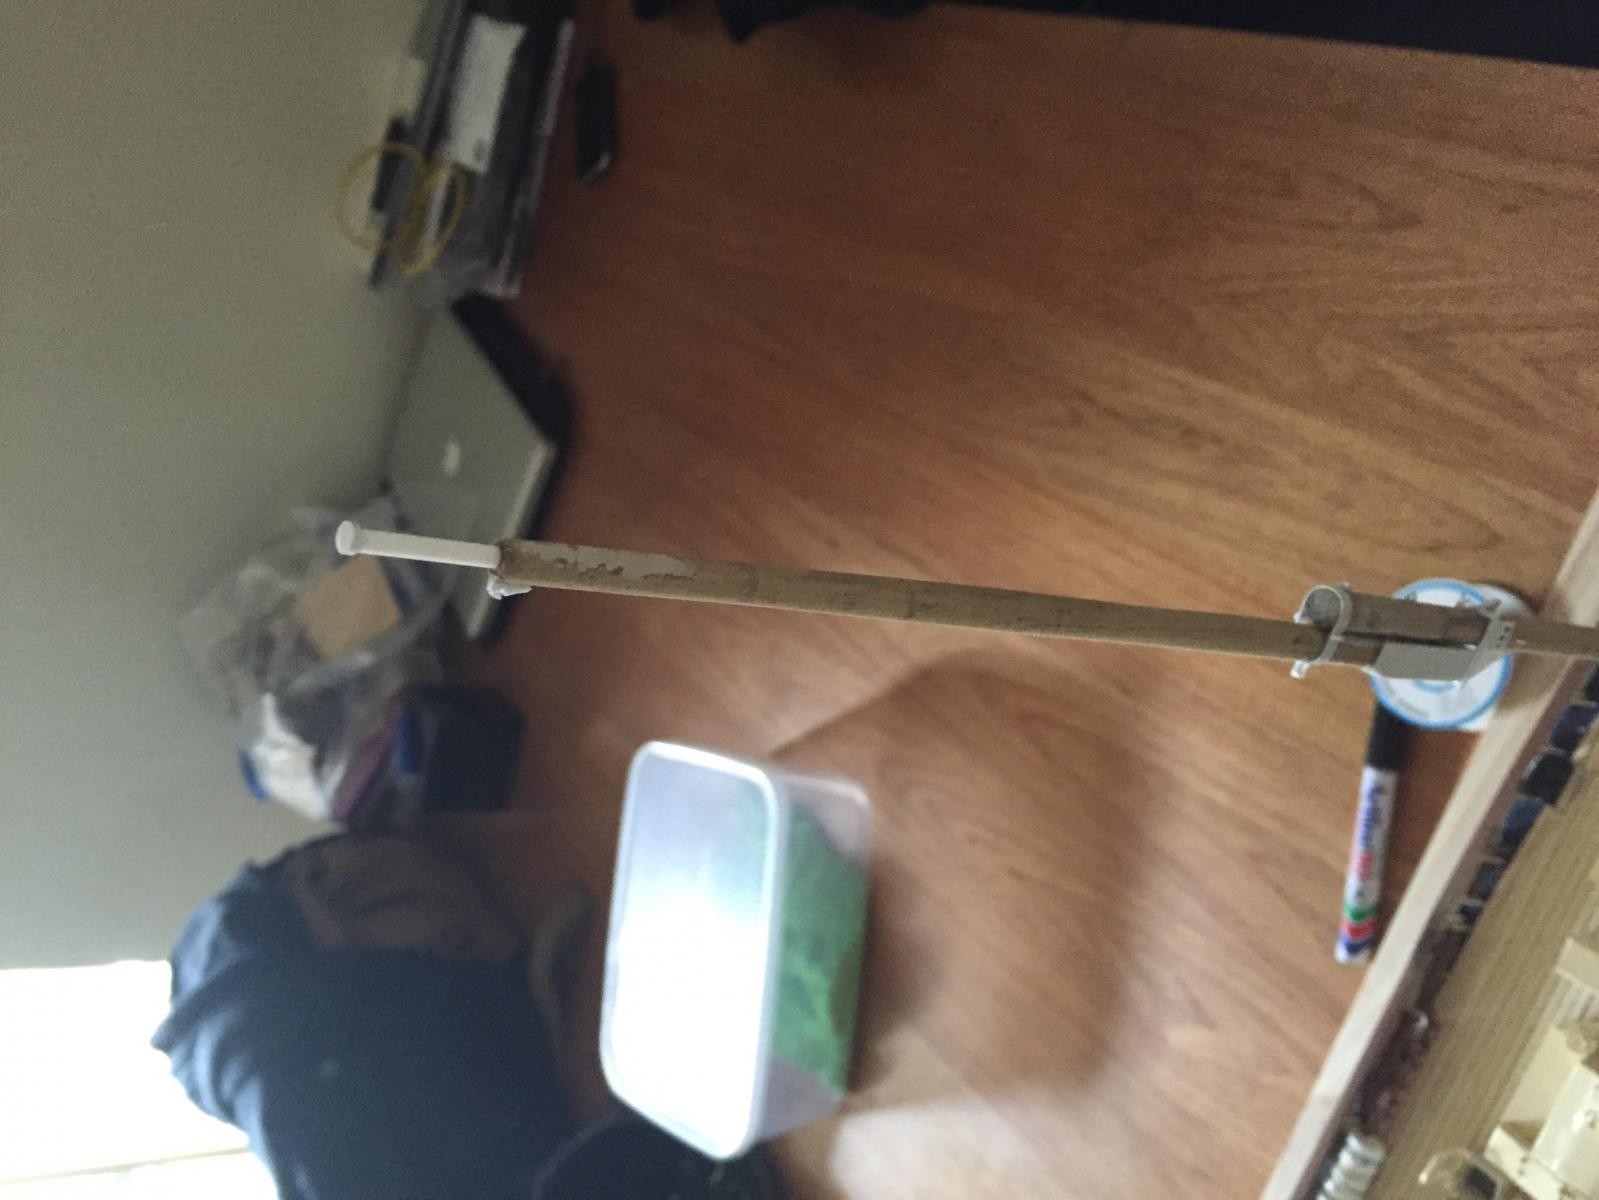
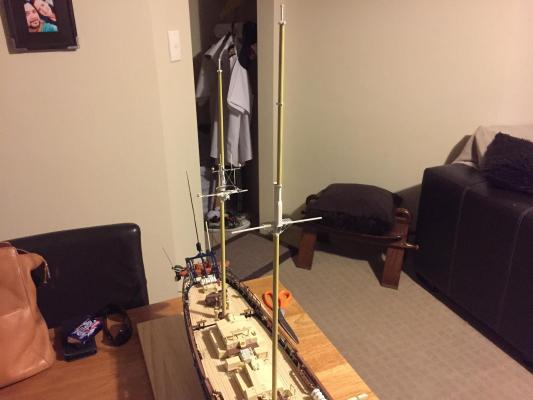
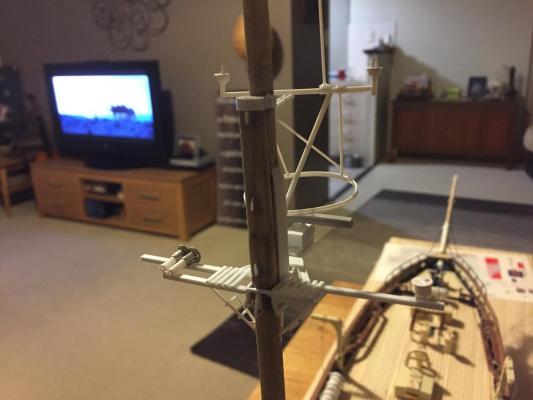
Was home a little earlier than I thought today and as I was home alone, put the main mast together. Minus the radar and aerials and with the addition of a band slightly more than halfway up the topmast, it went together the same as the mizzen. Both mizzen and main now primed and stepped, though not glued in place.

-
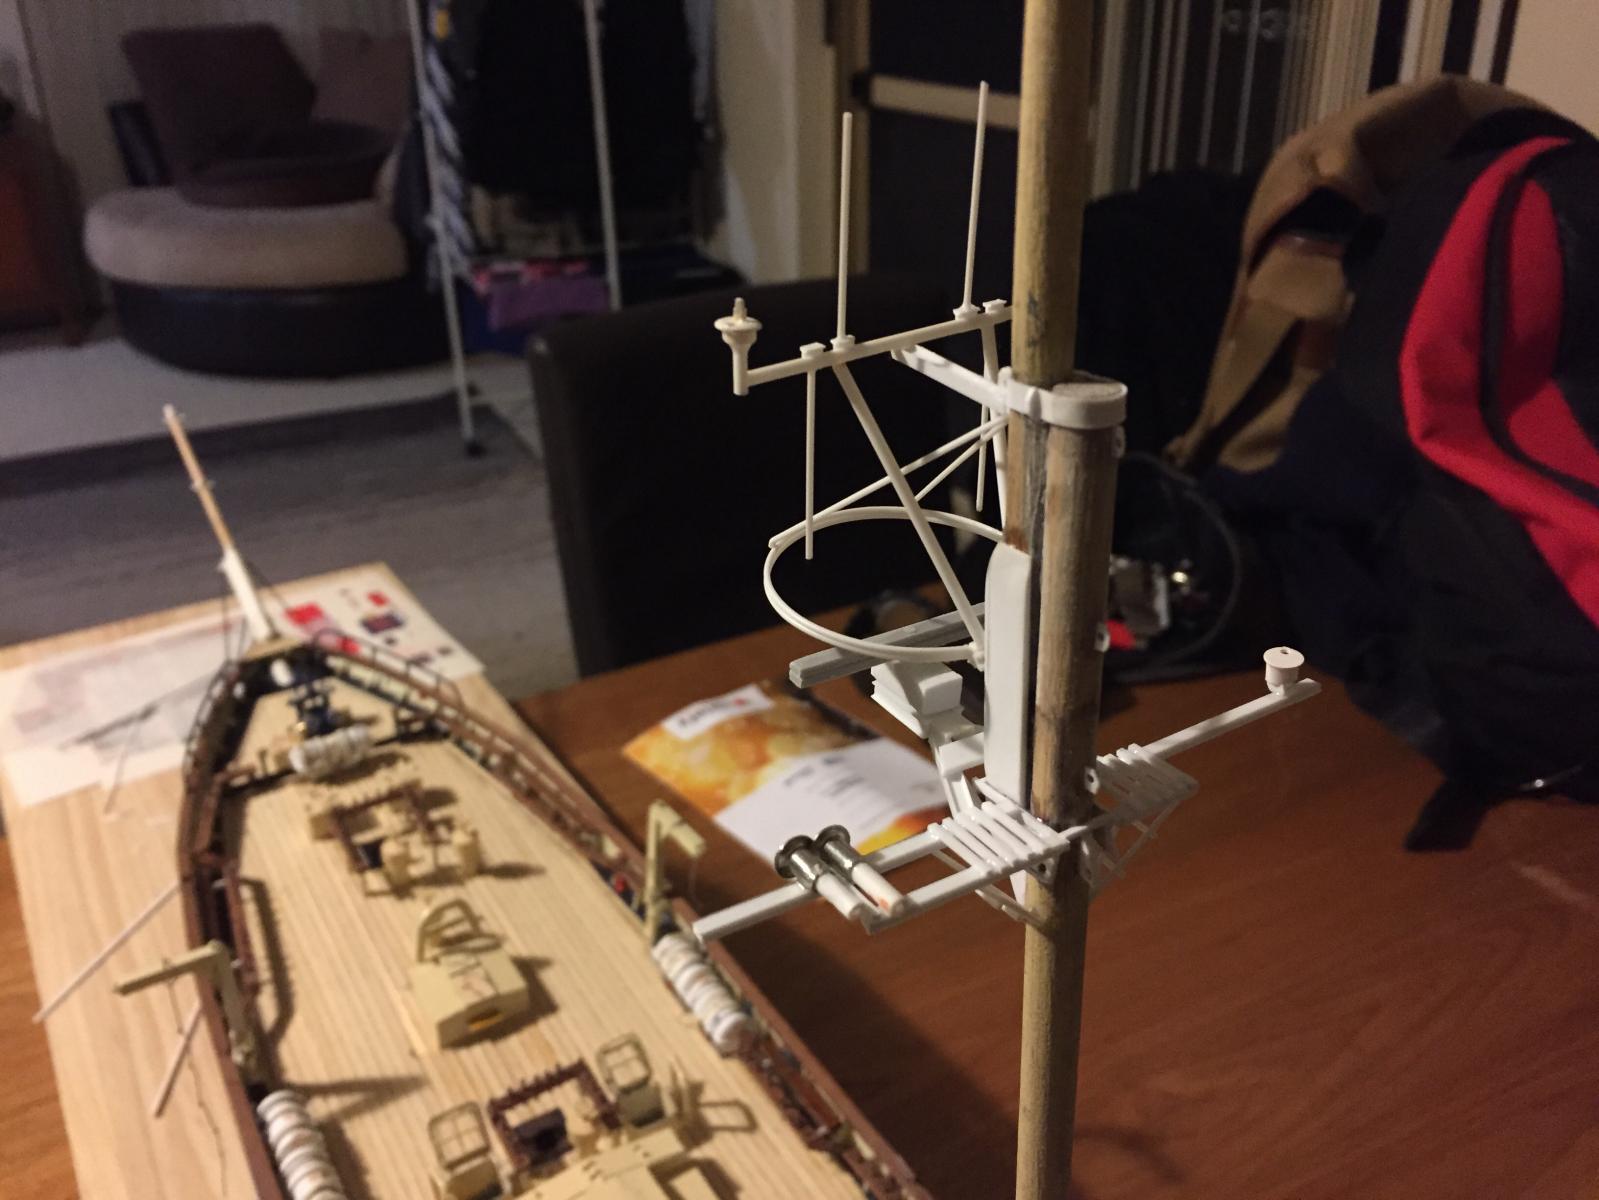
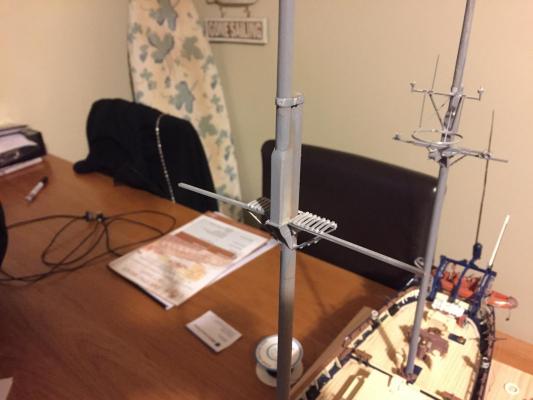
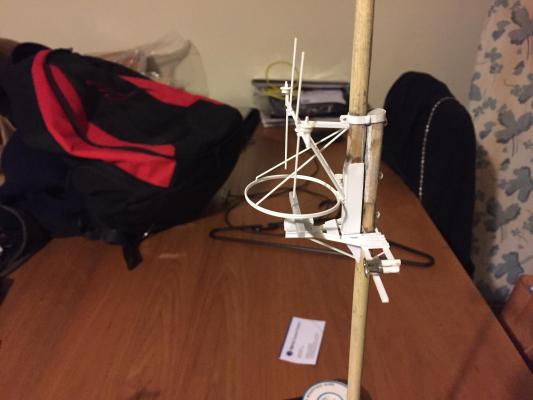
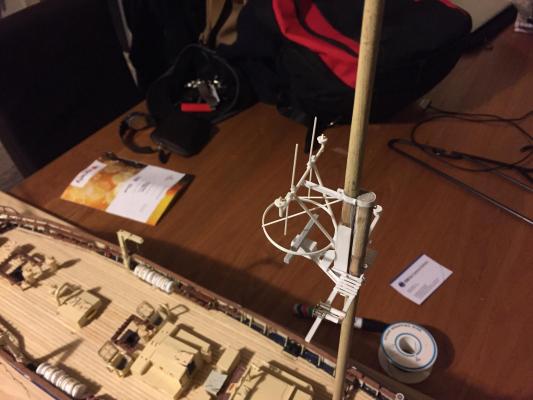
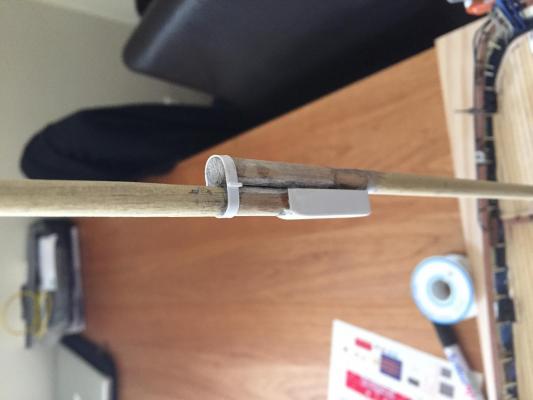
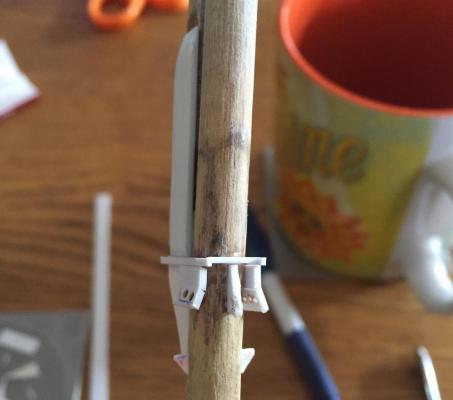
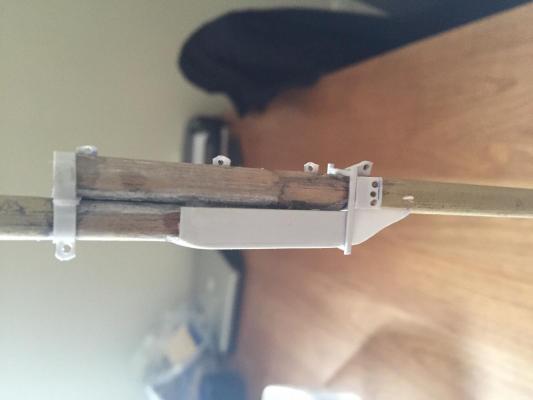
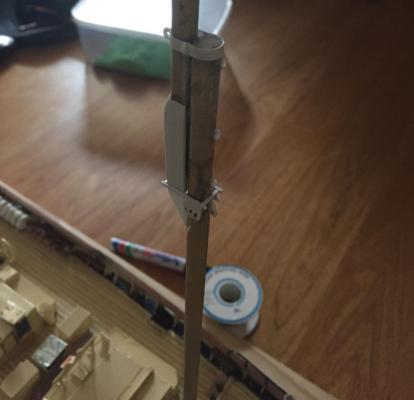
As usual, I couldn't resist. To be honest I started with the mizzen as I wanted to see how the radar and aerial arrangement would come out. Plastic strip, rod and angle beams used throughout. The radar and radar platform are made up of angle bar and strip with rod for the lower brace. The hoop above the radar will have a canvas tarp attached - this is to prevent any of the rigging from damaging the radar. The hoop is two rods glued together and shaped to form the hoop - the real one is the made up of aluminum tube silver welded together for strength. Above this is the bracket and beam which hold the UHF, VHF and sat phone and gps pods.

-
Hahaha, well if it makes you feel any better I've got 2 months worth of stores arriving tomorrow to deal with...
-
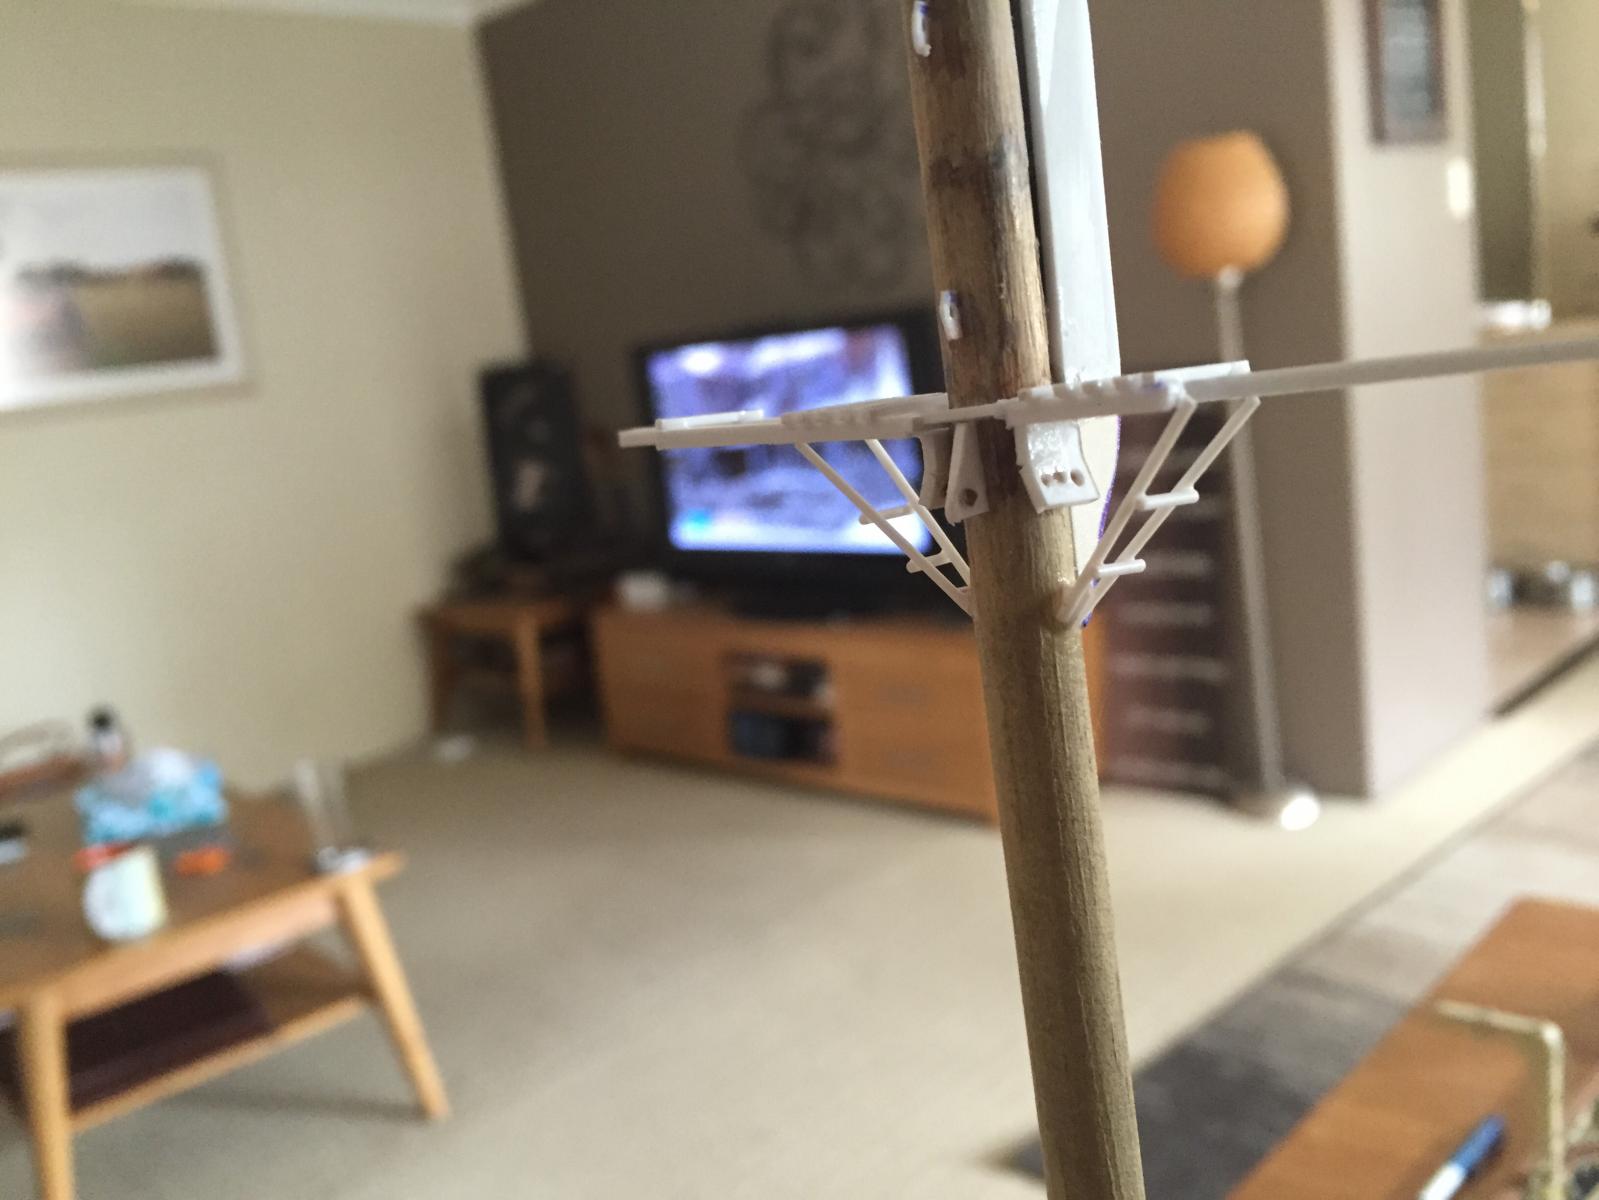
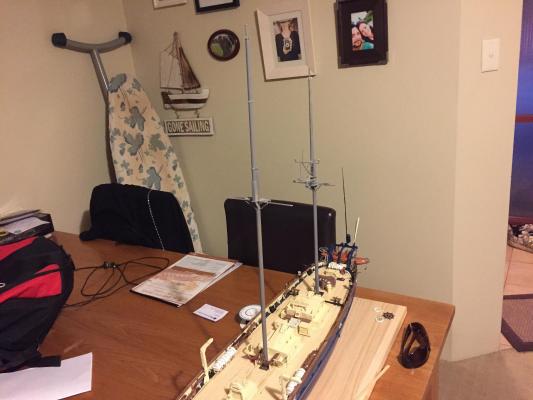
Thanks Pat, yeah they're just breach loading signal guns. We haven't fired them in a long time due to changes in firearm licensing. Though they should be back onboard soon. In the past used for saluting ships and leaving and entering port. I've now attached the mizzen top futtocks and futtock shrouds - again the shrouds are steel bar - the 'ratlines' are seized and tarred for better grip, though the shrouds are just left as steel. The port aft futtock beam is longer than usual as it carries the GPS aerial dome. The ships radar is actually attached forward of the mast top with a frame above holding sat phone and UHF and VHF aerials.

-
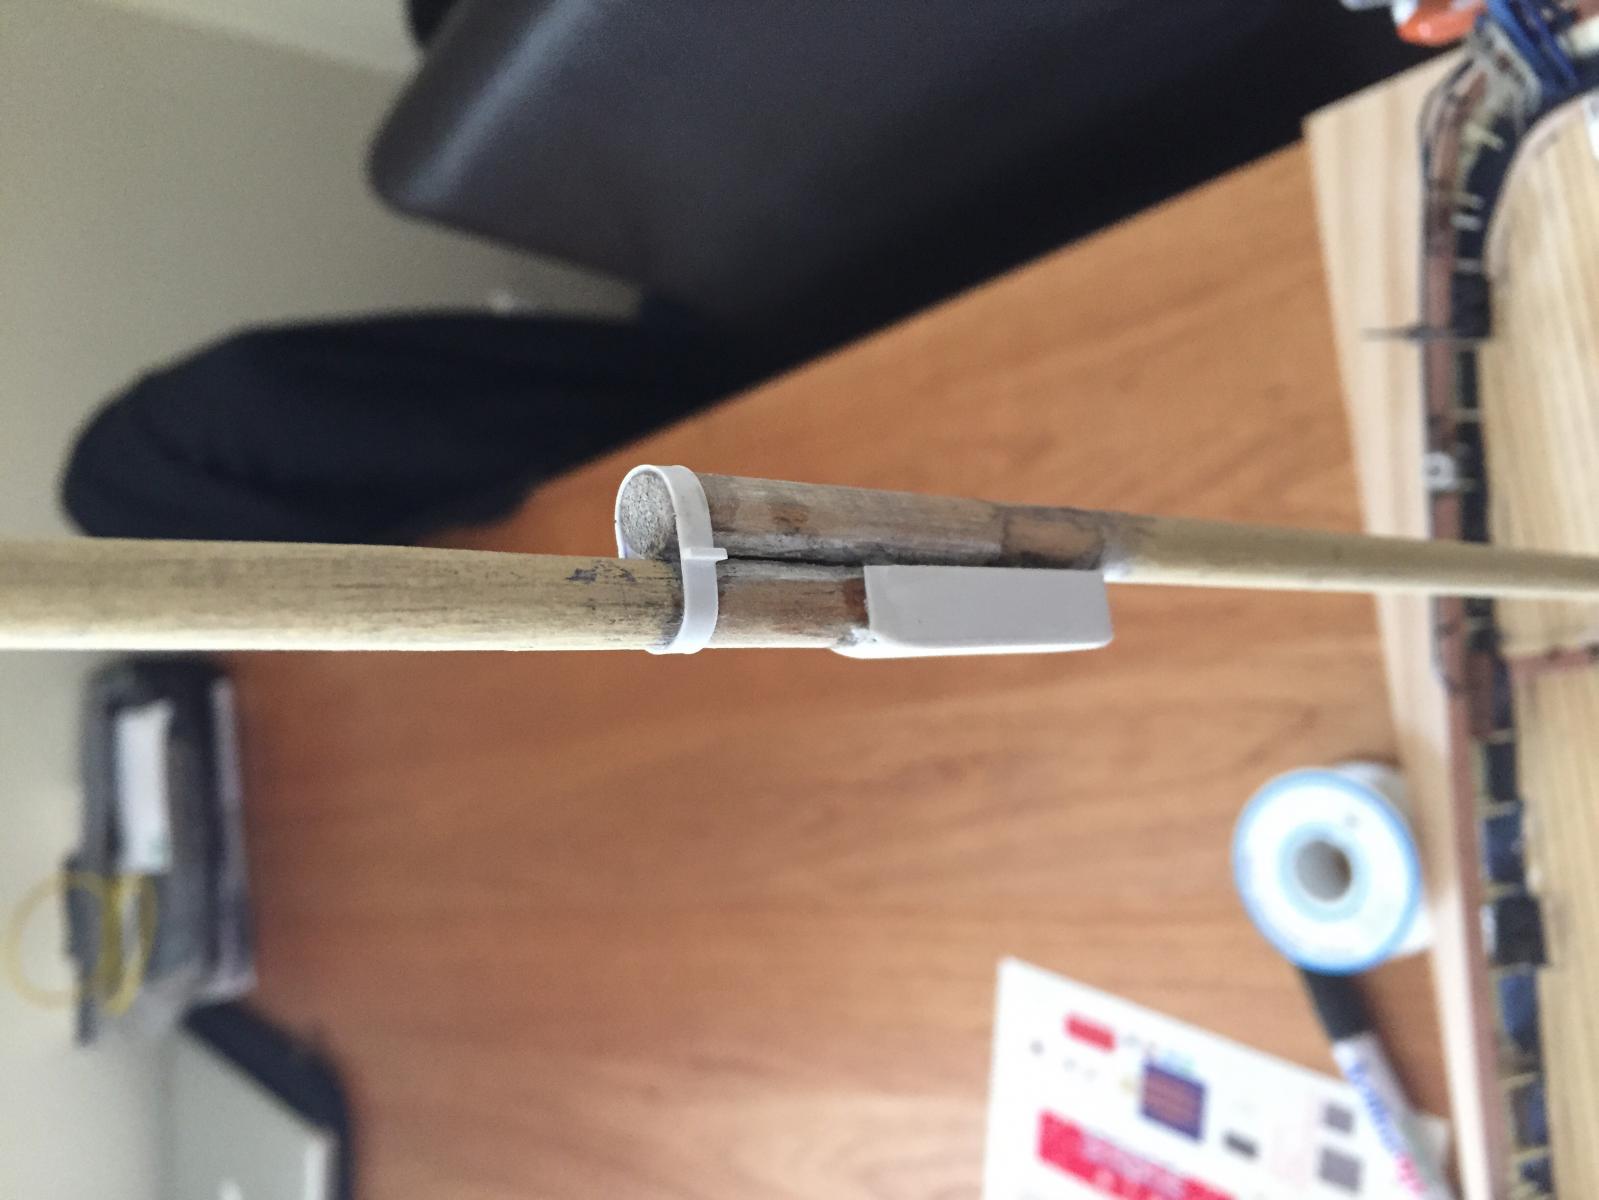
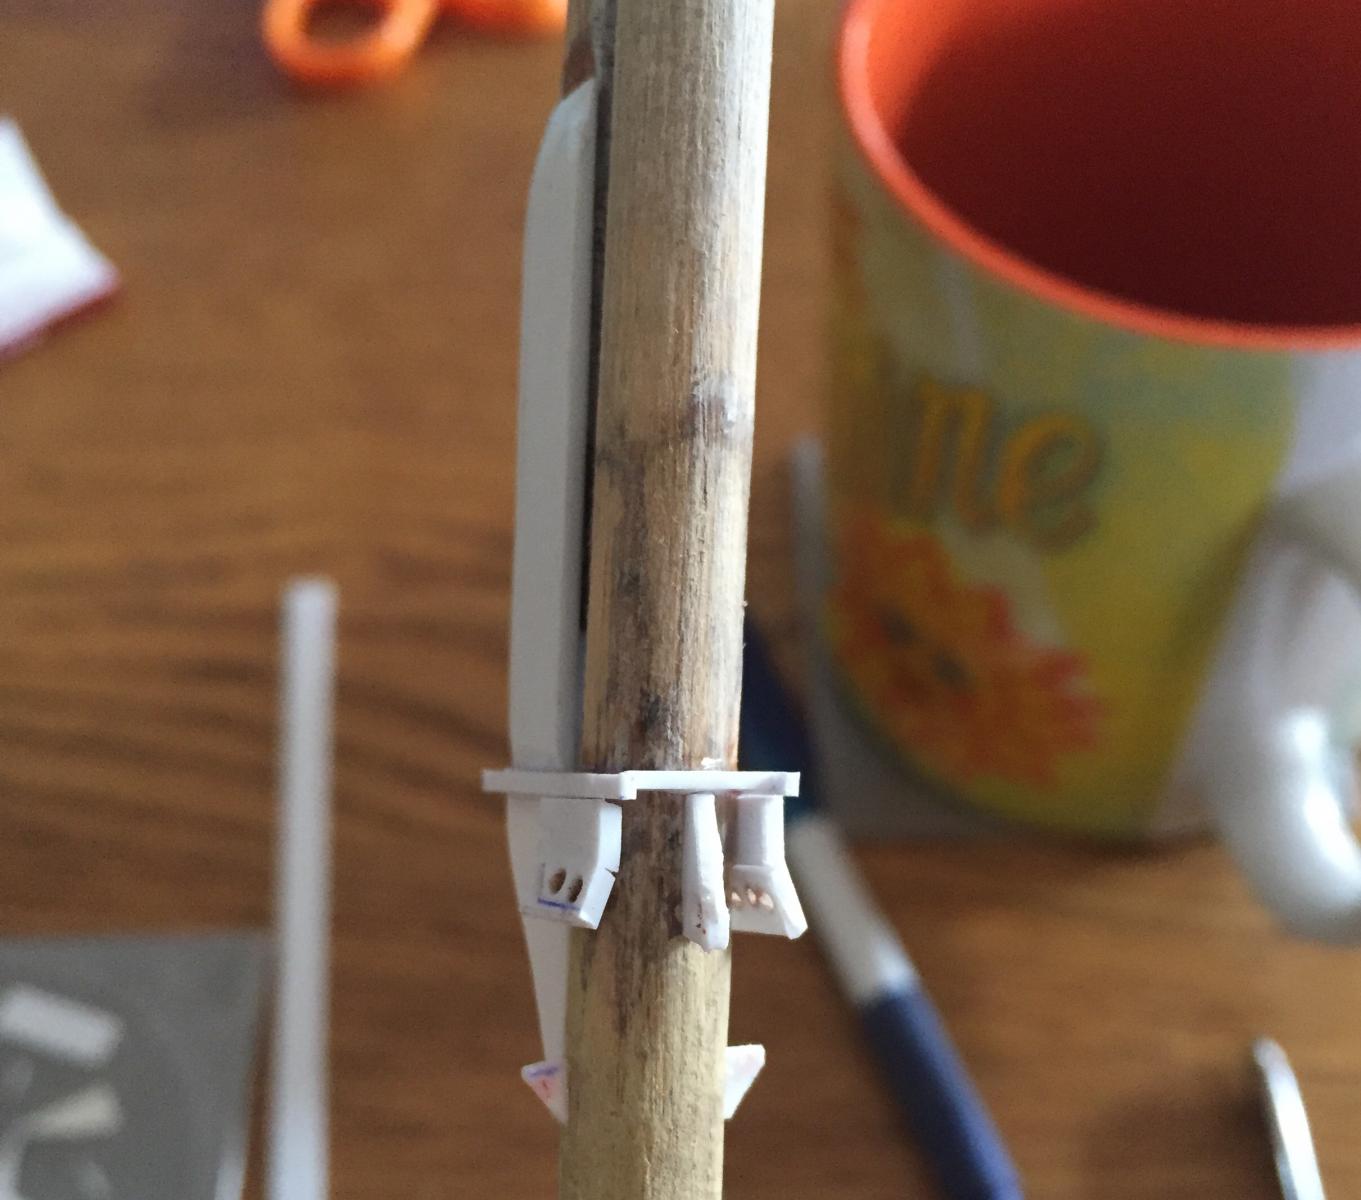
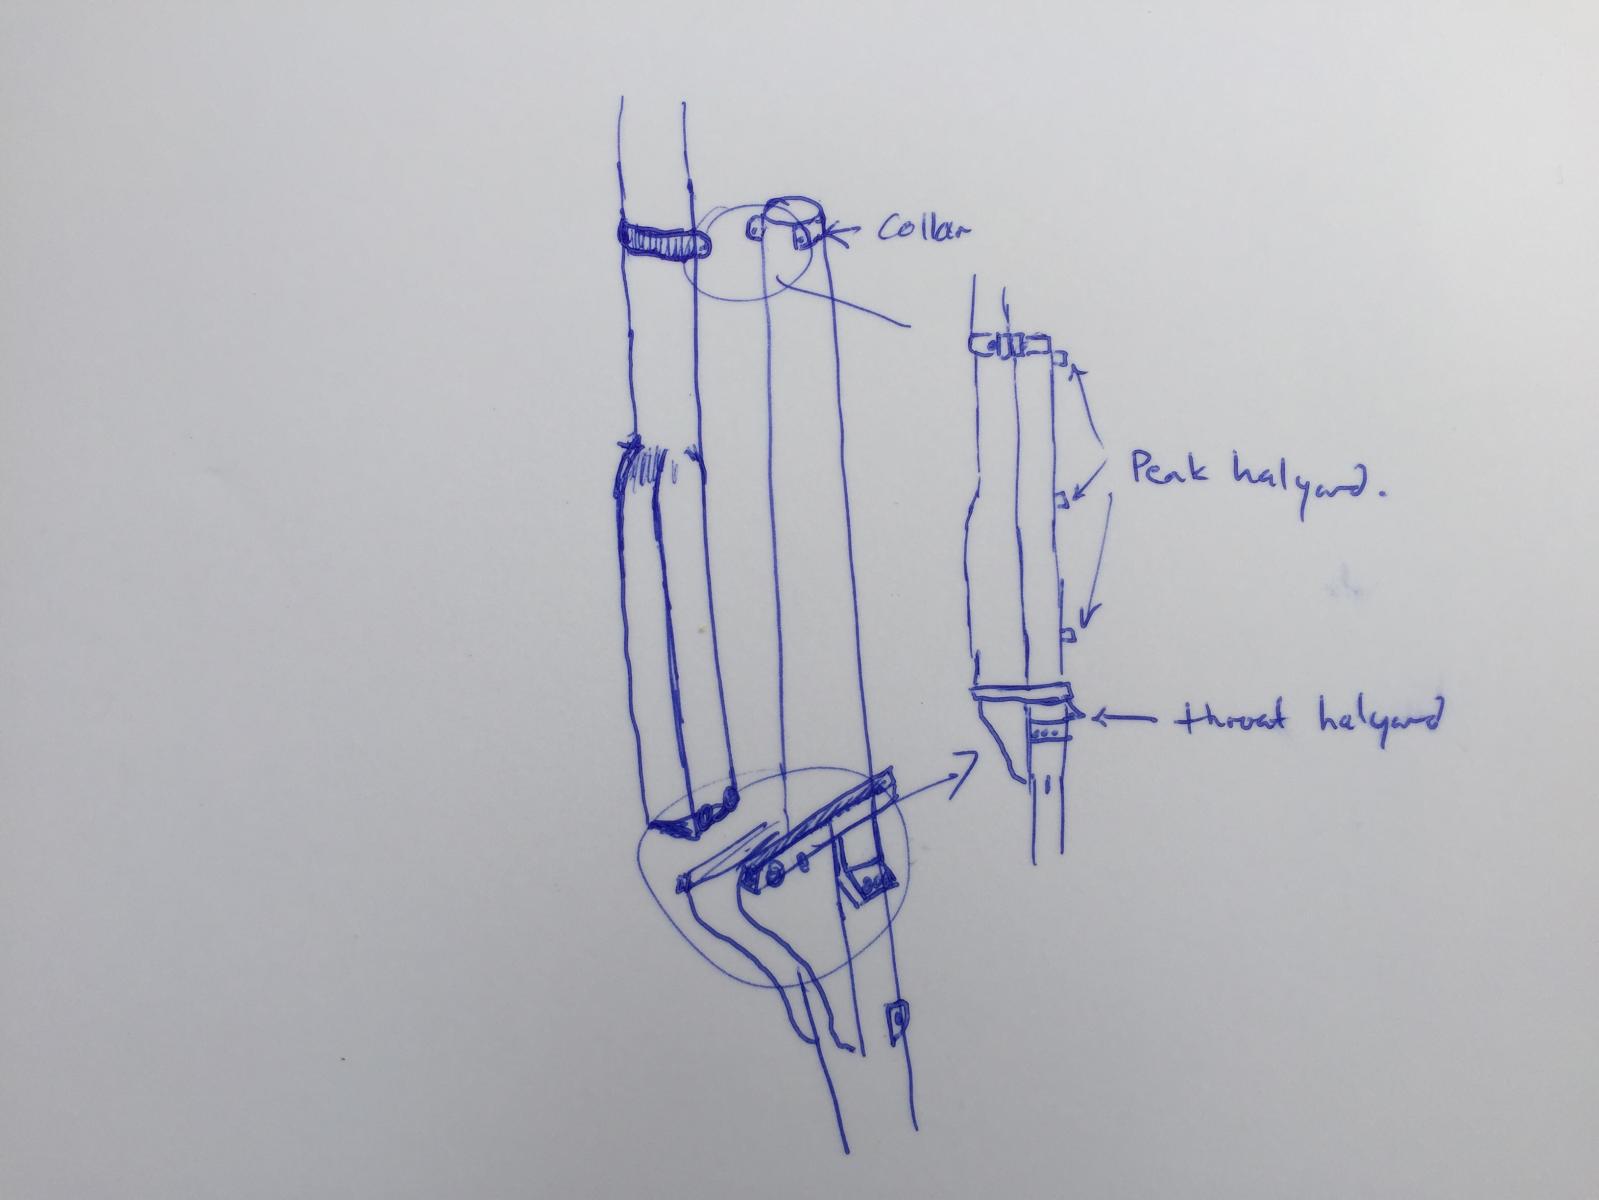
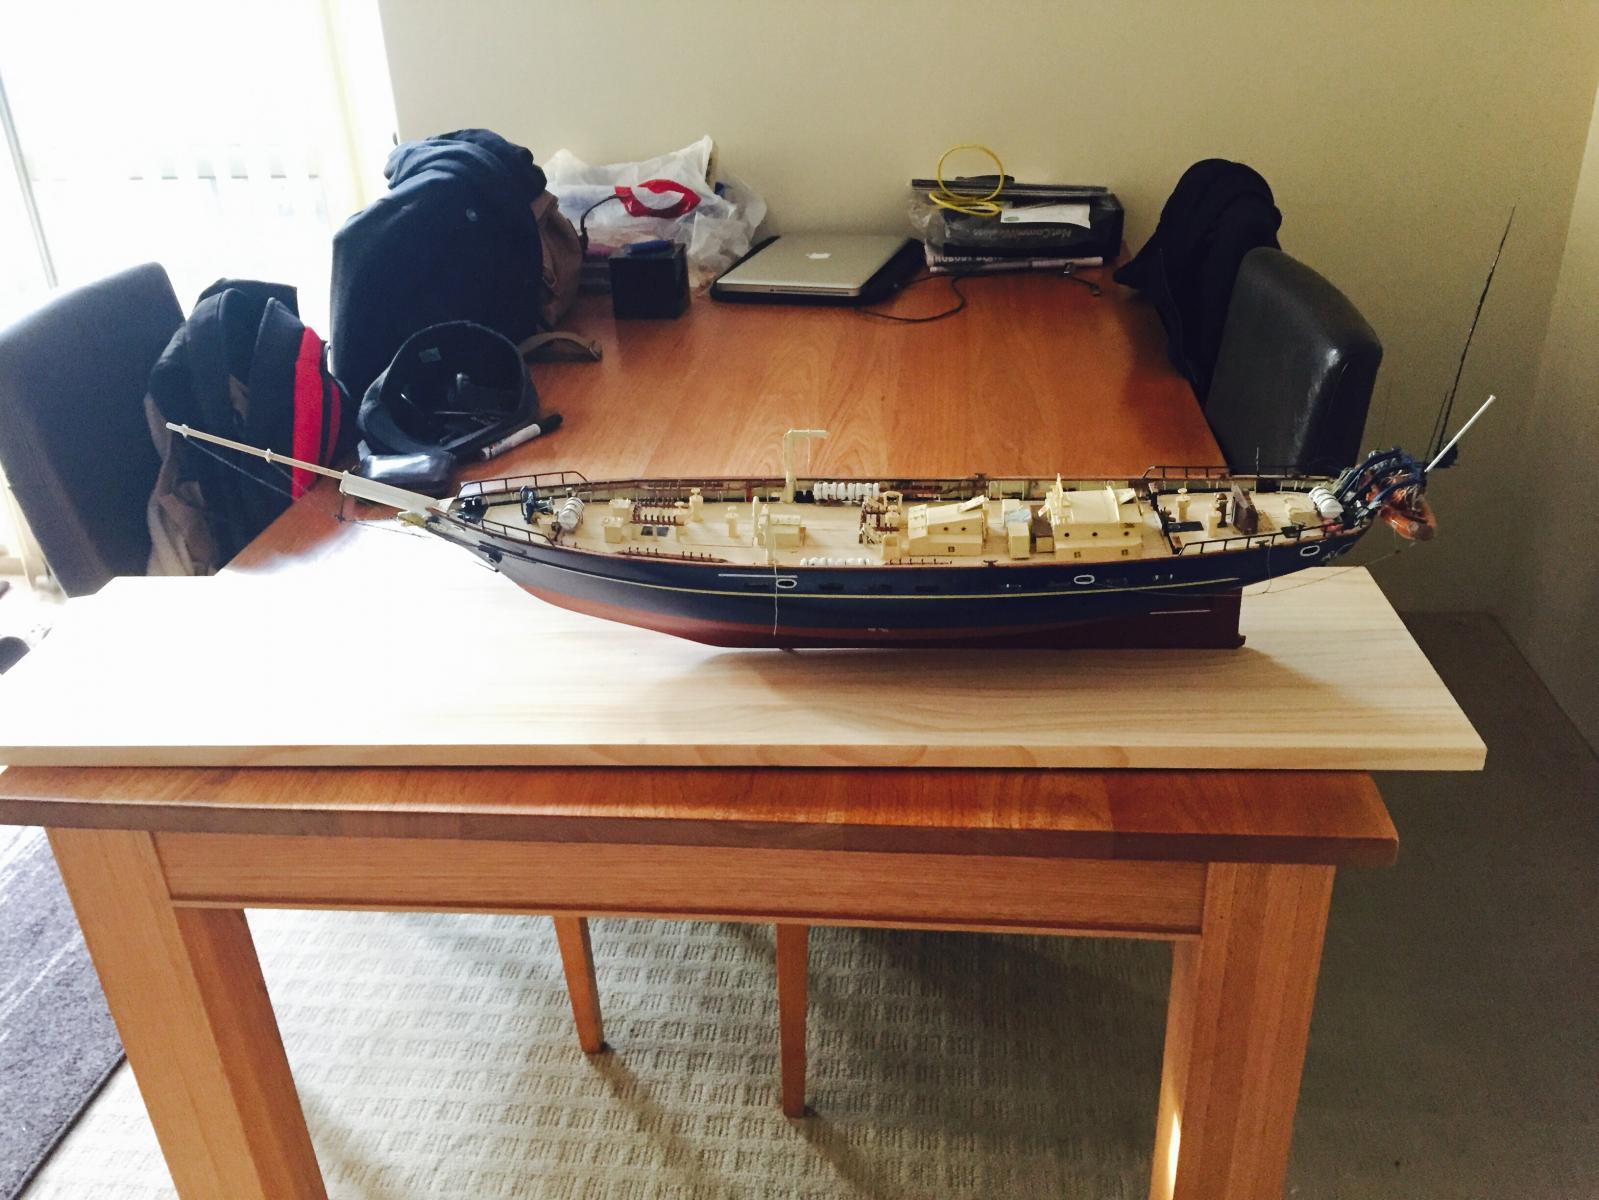
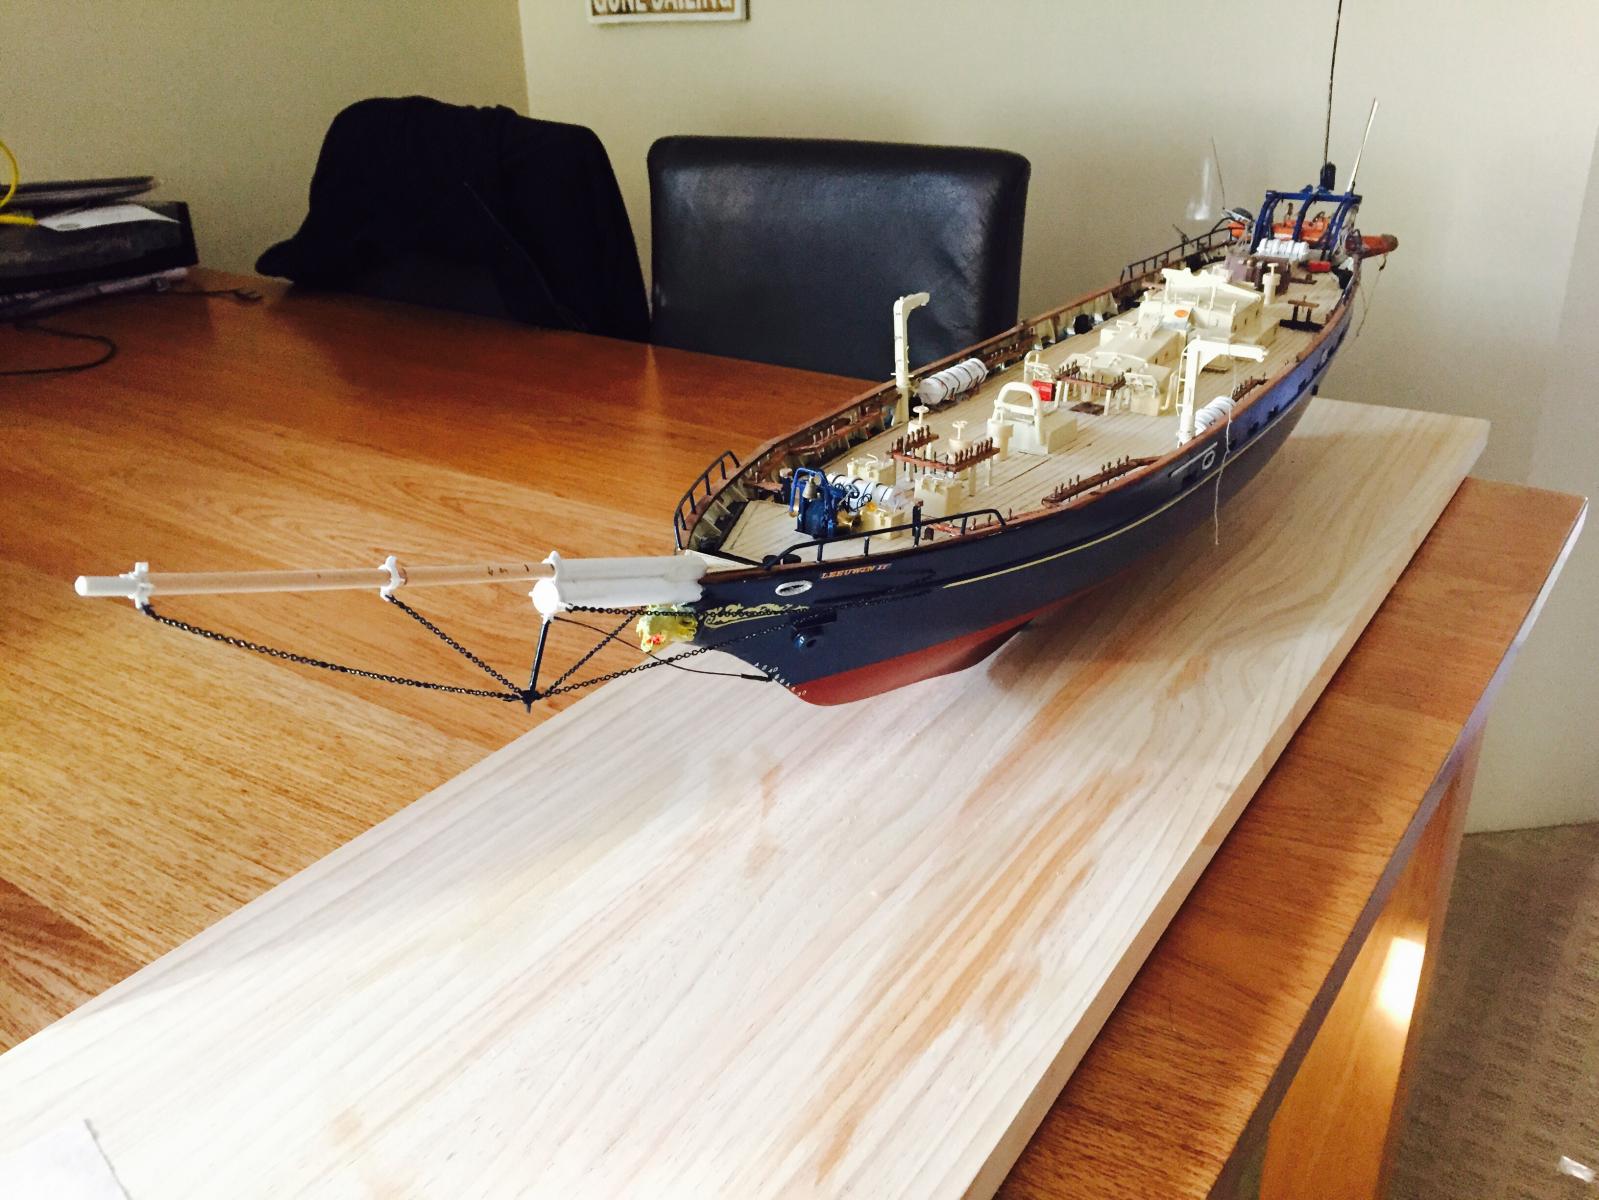
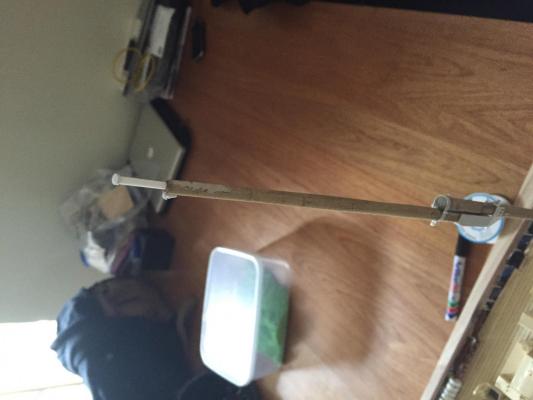
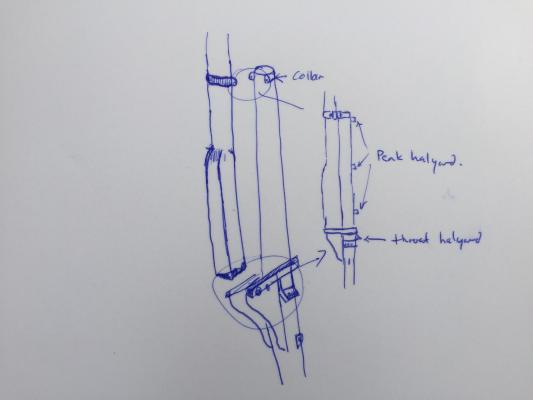
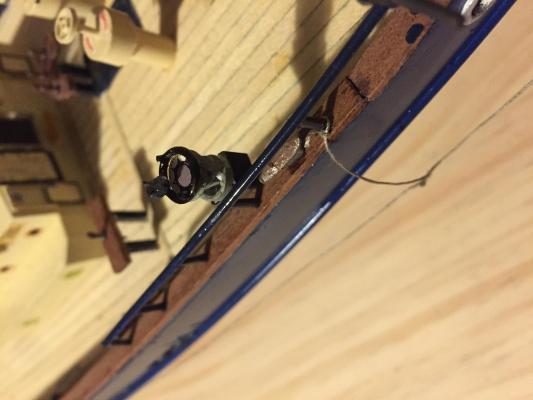
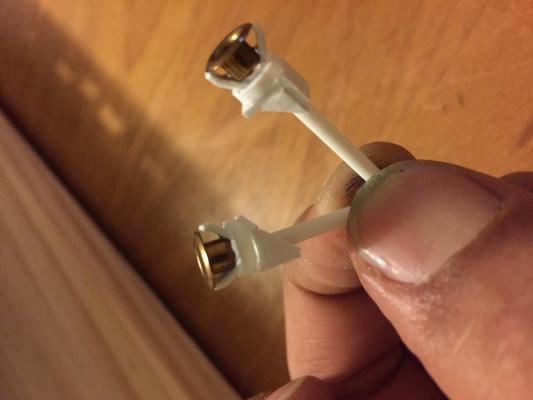
Thanks very much bob, John and Patrick. This is probably the last updates for about three weeks now as we head off on Thursday to Monkey Mia and shark bay. If anyone's heard of Ningaloo reef and the population of whale sharks in WA, well that's where we're headed. Also hopefully a stop at the Abrohlos islands in the way - famous for the Batavia wreck and story plus the wrecks of other numerous Dutch ships. I've done a little bit now before packing this away and tidying up my work space. Started to make up the mizzenmast. On Leeuwin all masts are steel apart from the top masts which are wood. For the mizzen, I've attached the top mast - it sits hard up and flush to the mizzen top with only a slither of a gap. The topmost is attached with a steel collar bolted at the top - one half is attached to the mizzenmast top and the other around the mizzen topmost. The base of the topmast is bolted to the cheeks which are welded to the mizzen mast itself. The main topmast and the fore top gallant masts are fastened in the same fashion. Shrouds don't loop around the mast top as in pre 19th century ships but rather fastened by shackles to a plate just below the futtocks. You'll see a triangle shaped plate below this - the futtock shrouds are all metal bars which attach to this plate and go up to the futtock beams. Also attached are the eyes for the blocks for the throat halyard and peak halyards of the mizzen gaff.

-
Using a sheave on a double block as a becket???
Tallshiptragic replied to Captain Al's topic in Masting, rigging and sails
The standing part of the line should attach to the rope strop around the block - or a 'becket with thimble' if you're looking at modern blocks. Also the only part of a 'tackle' that's made fast to an eyelet on deck would be the standing part of the tackle line. The running part (what you pull on) would usually be belayed to a cleat or pin. -
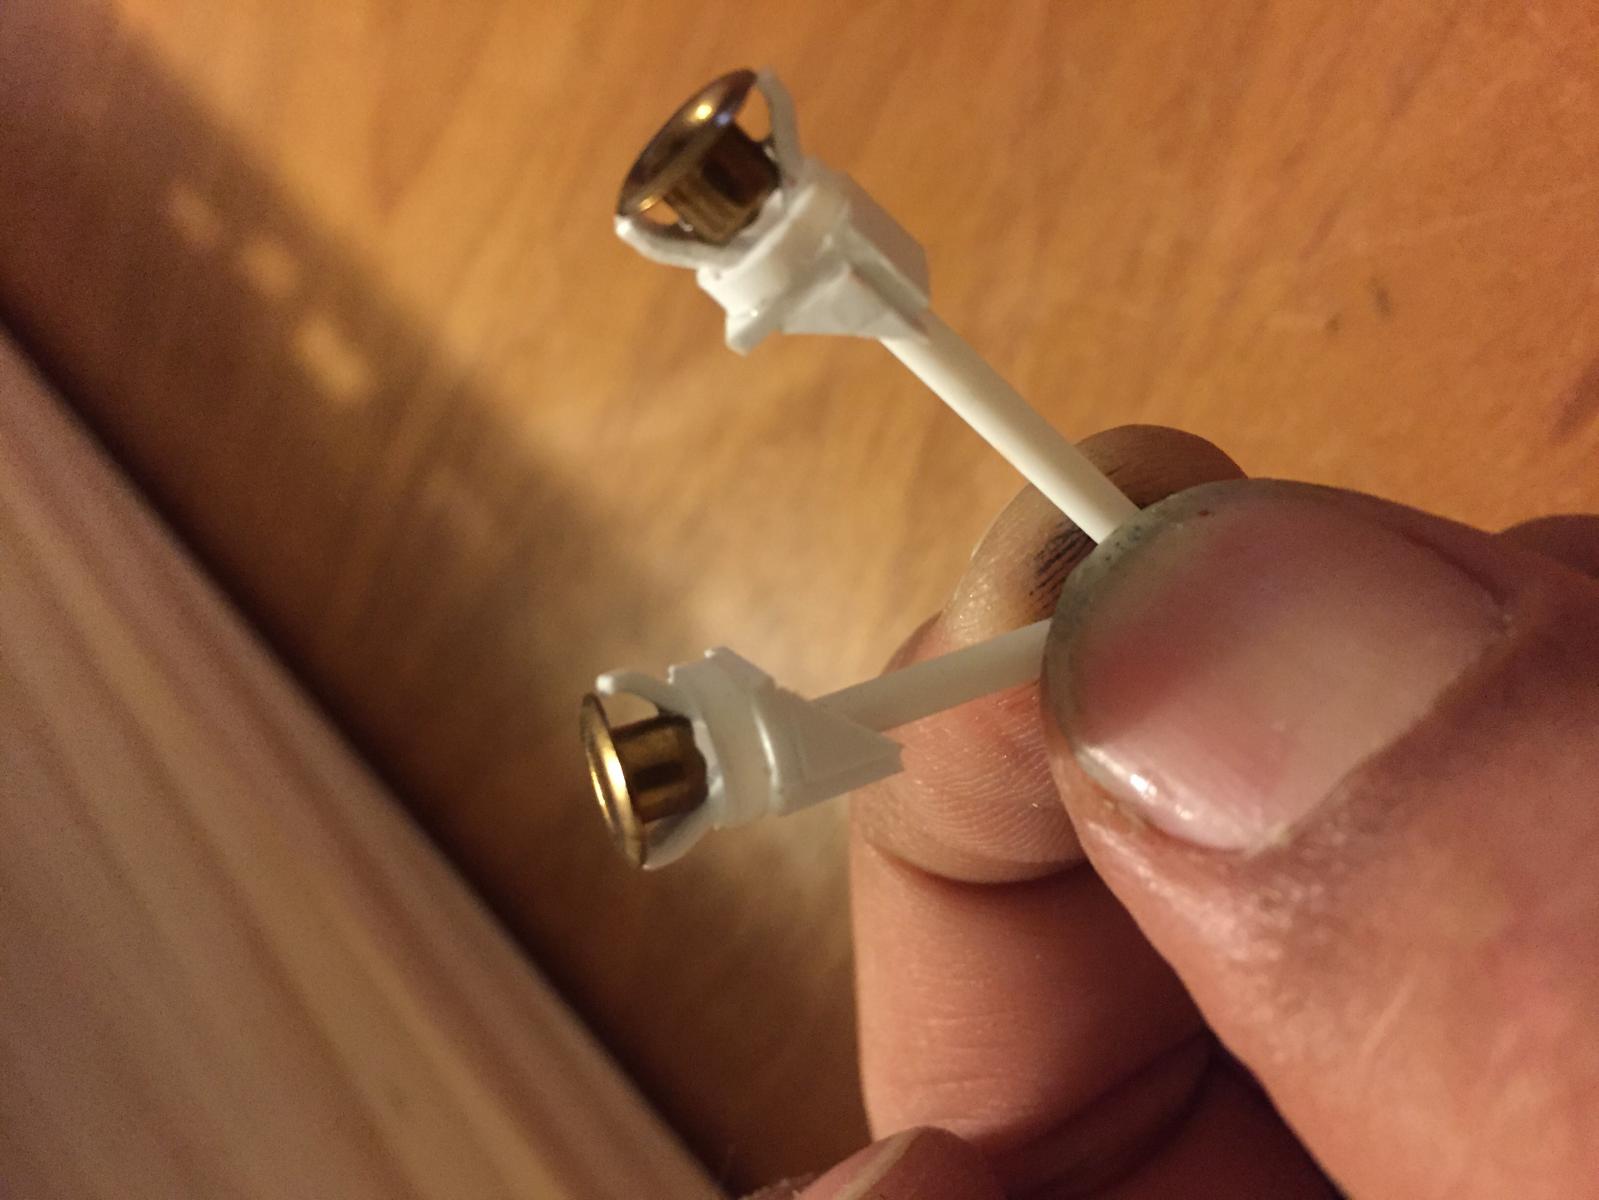
Azimuth and prism made up. I've attached it to the port compass - since the beginning I've always had in my head that the model would be displayed port side on. Don't know why but I just prefer to look at the profile from the port side.

-
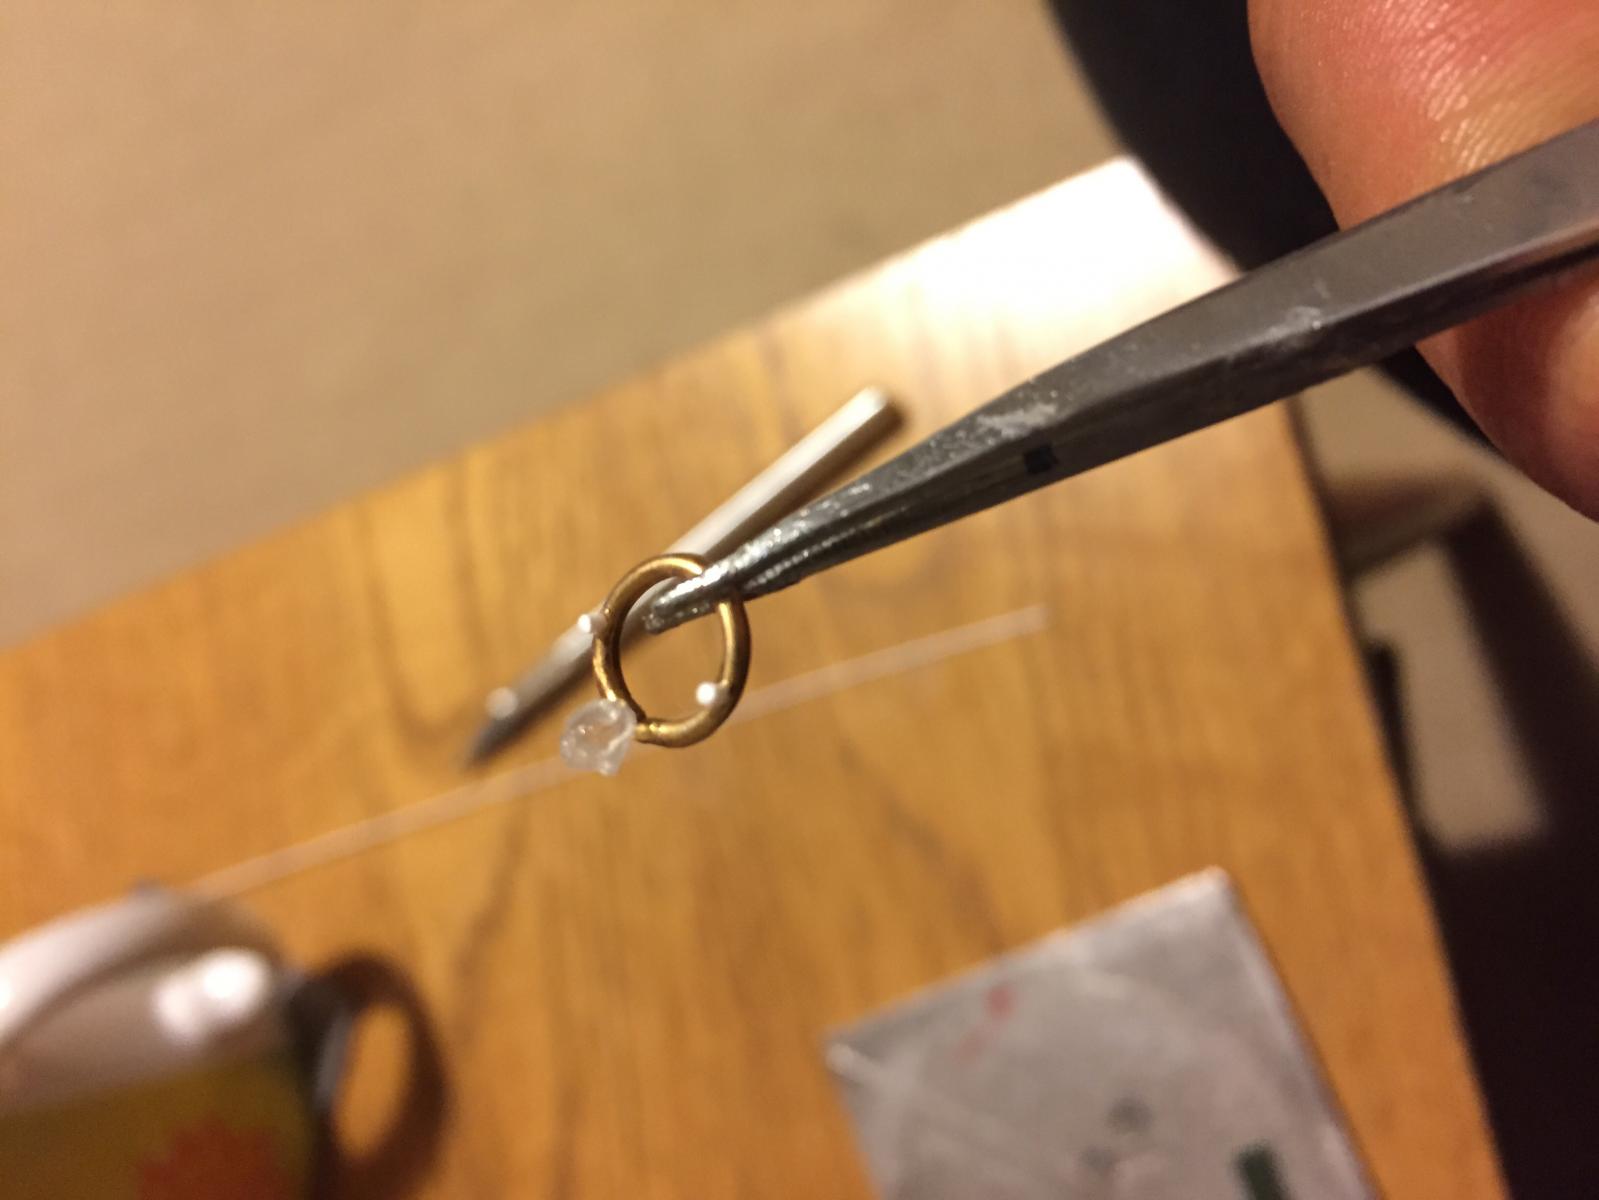
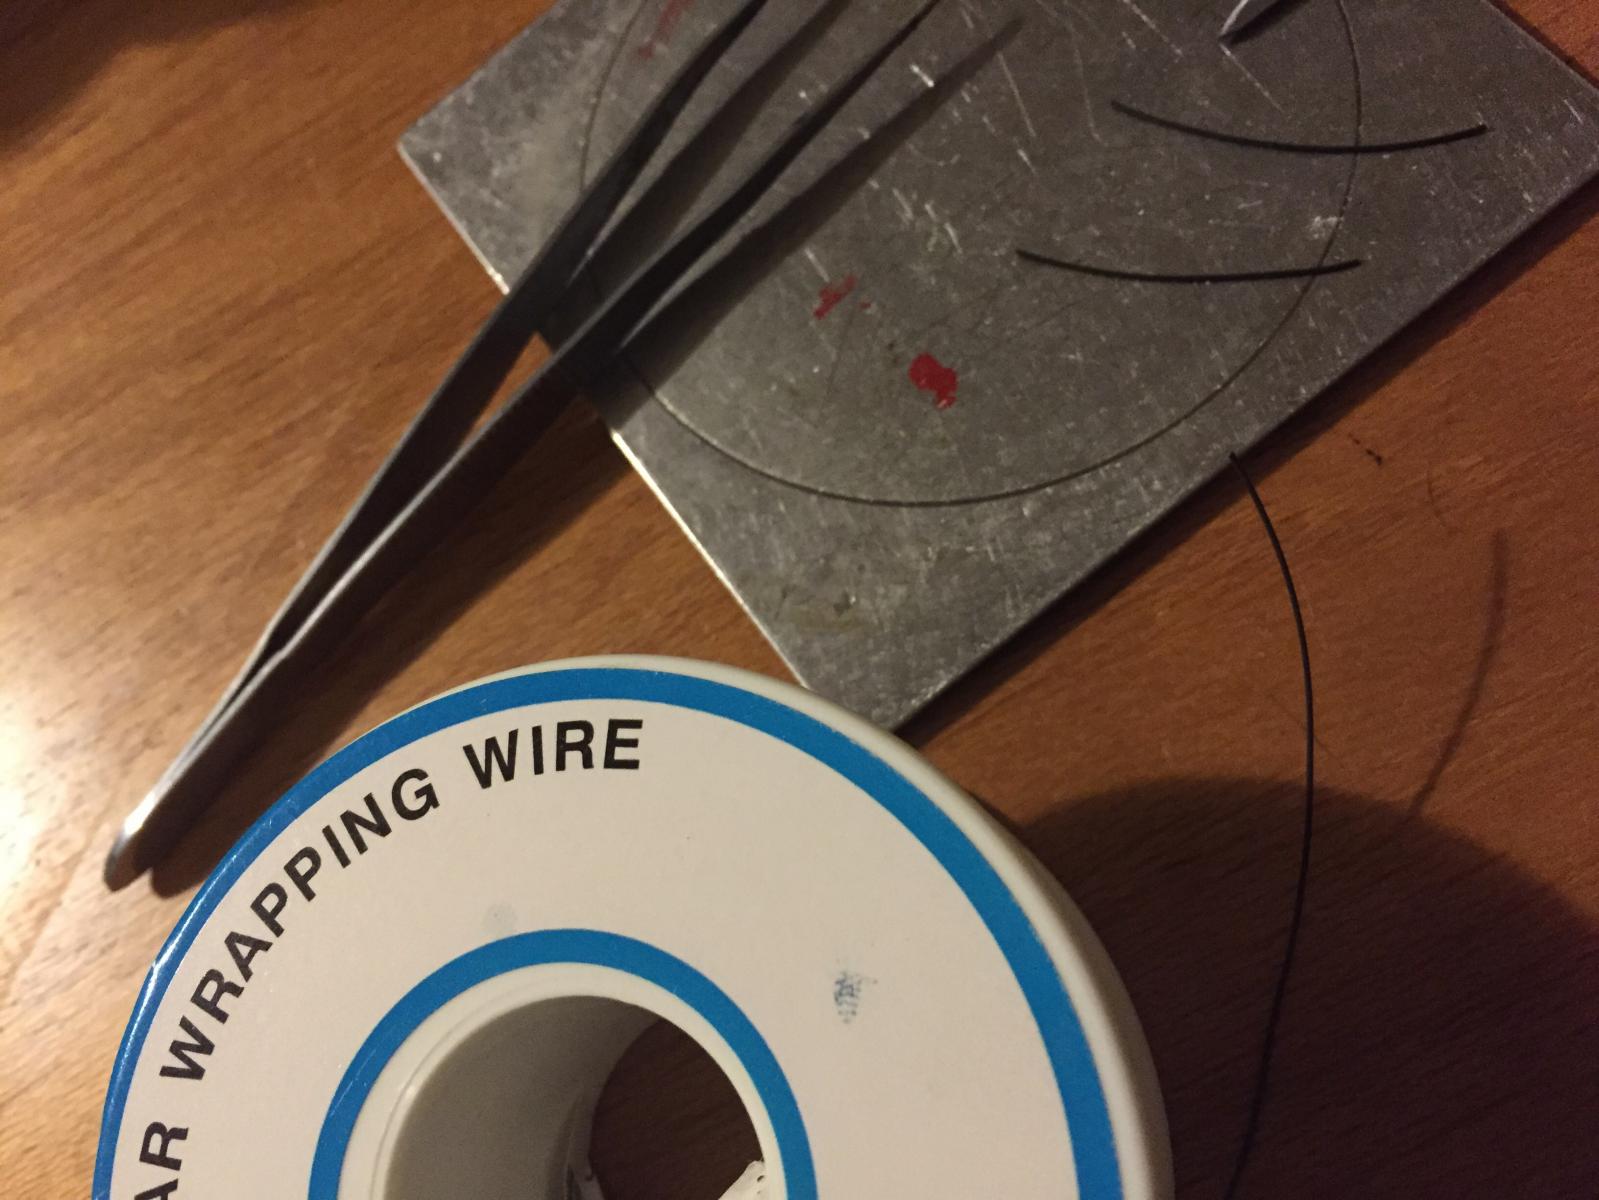
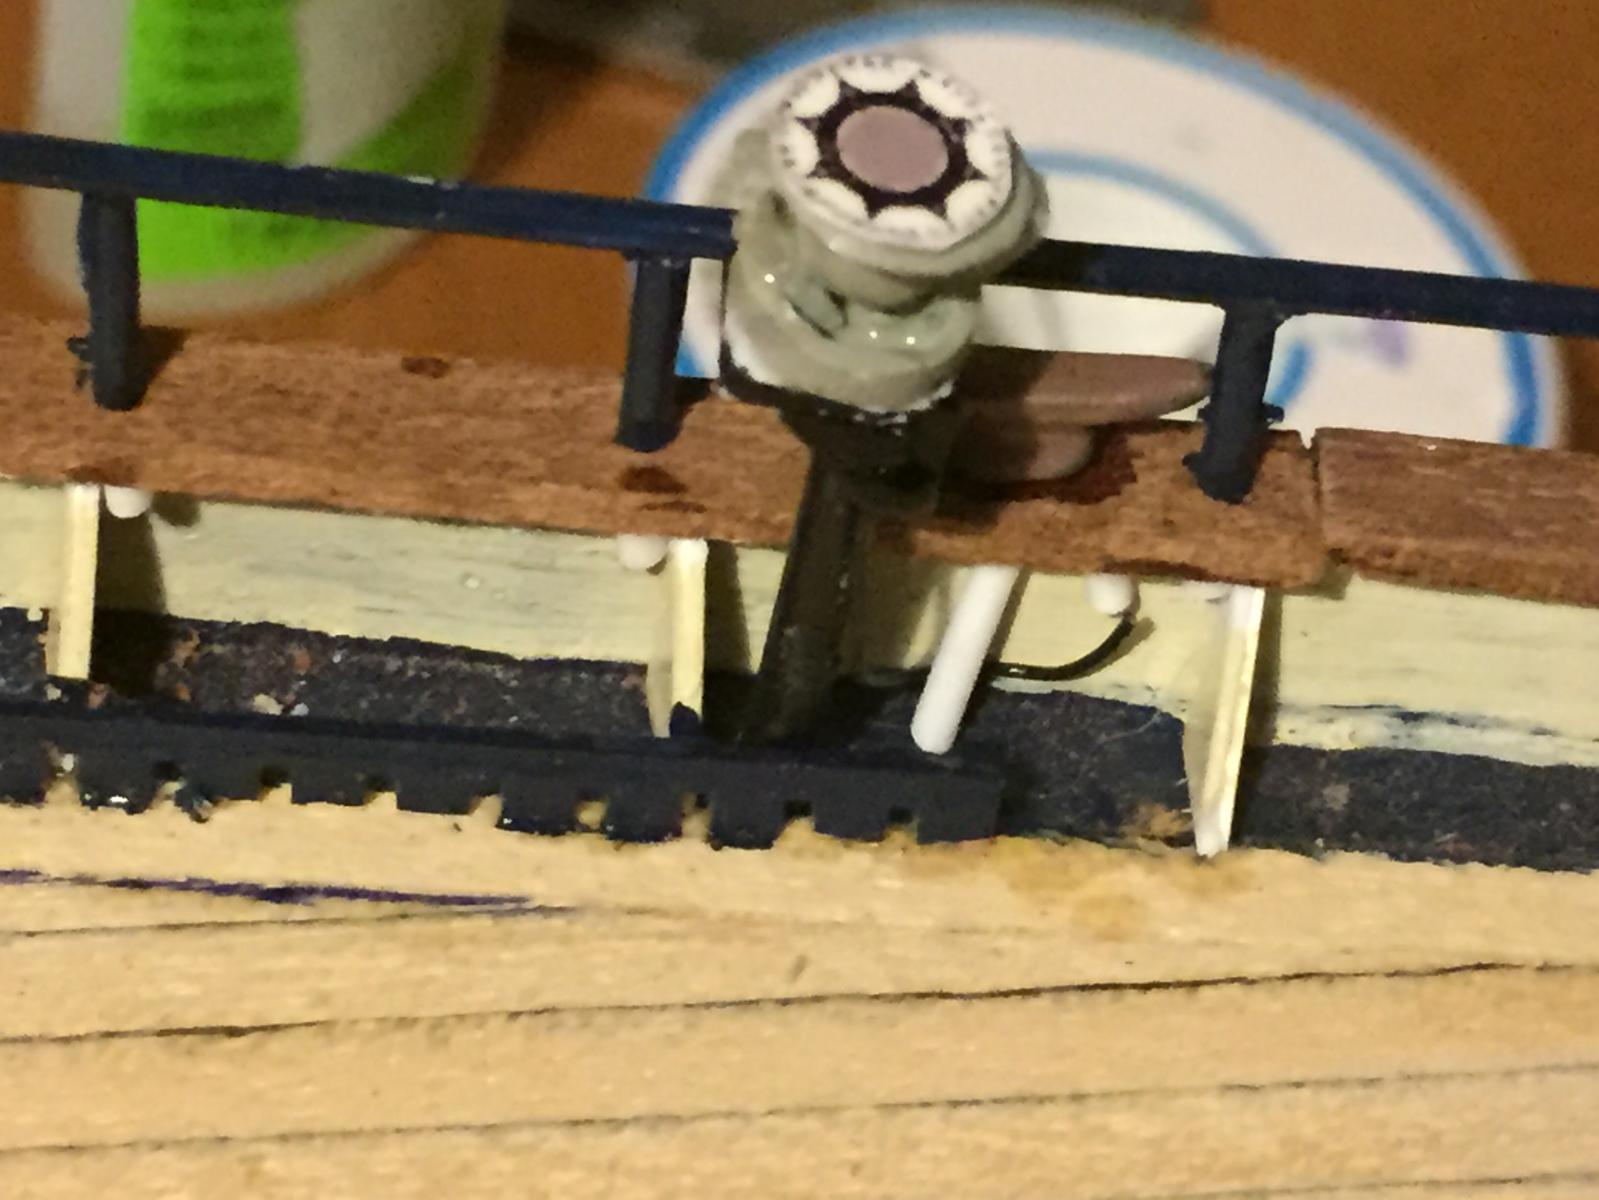
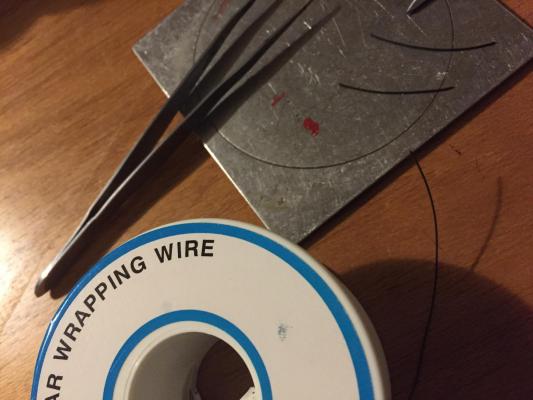
Both quarter gyro compass repeaters made up and attached. Plastic tube, strip and brass make up the main compass with the rose decal - same as on the helm station - also I've used black copper wire for the electrical cable that goes from the base of the compass to the gooseneck directly behind it on the bulwark. We do also have two azimuth with prisms though only use one on the windward compass as we heal over quite a bit. These are removed at anchor or in harbour. I'll make one of these up in due course.

-
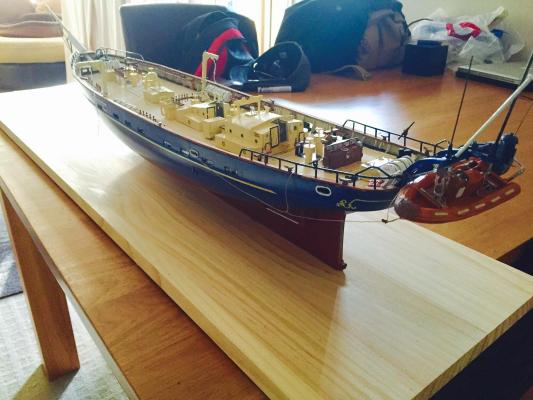
Not that you can see most of the new updates with the overall photos, here are some anyway.


-
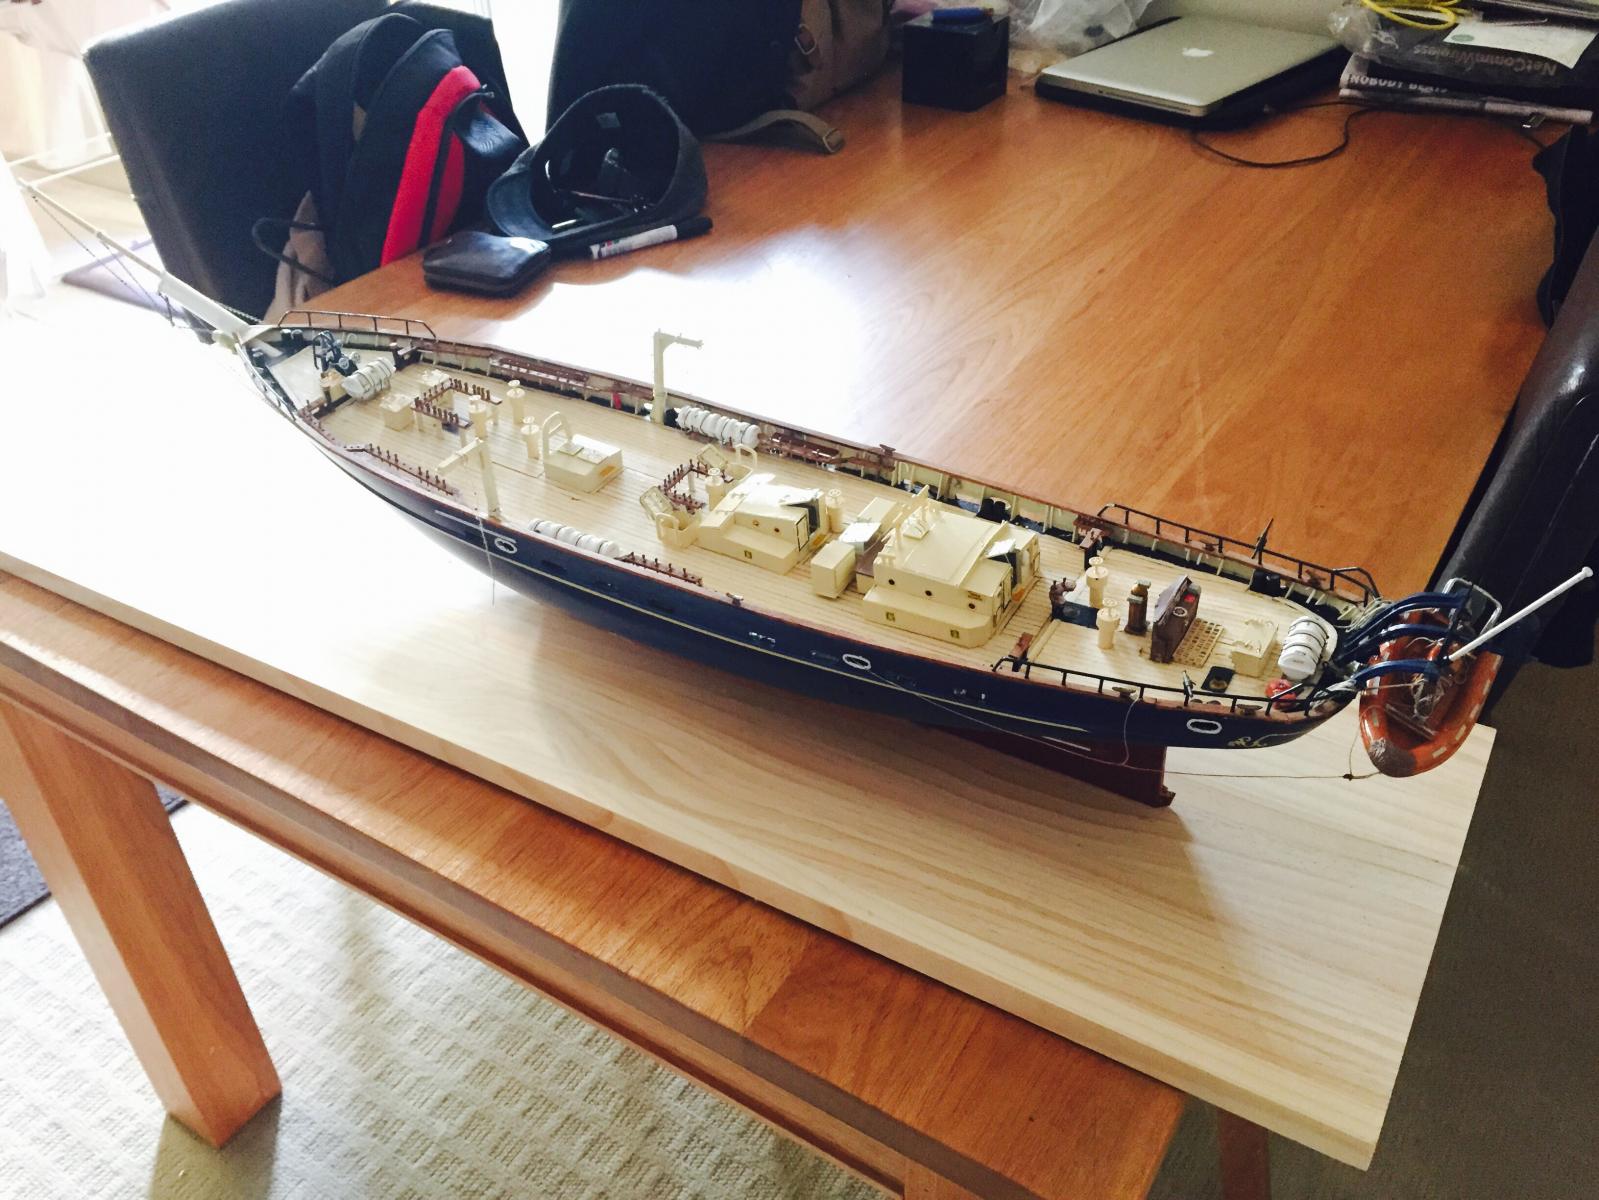
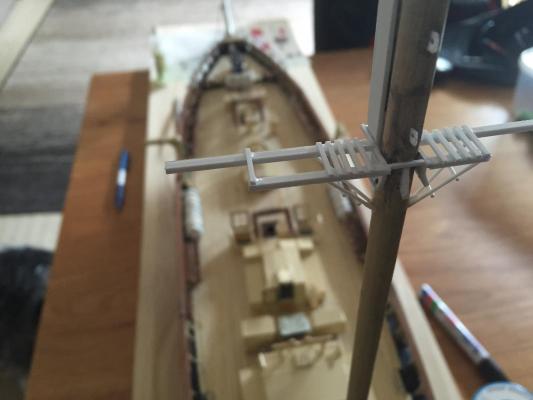
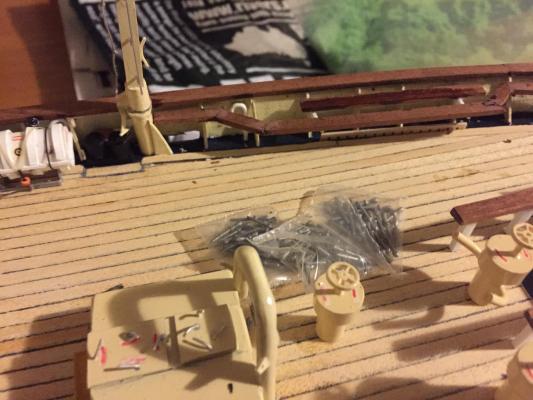
Pins now added to pin rails you will notice some blank pin holes forward. This is because they are spare slots. Currently we don't set either the flying jib or flying staysail and neither of these two sails are rigged. Also the pins for the jib sheets can be moved further back depending on trim and well the bosun.


-
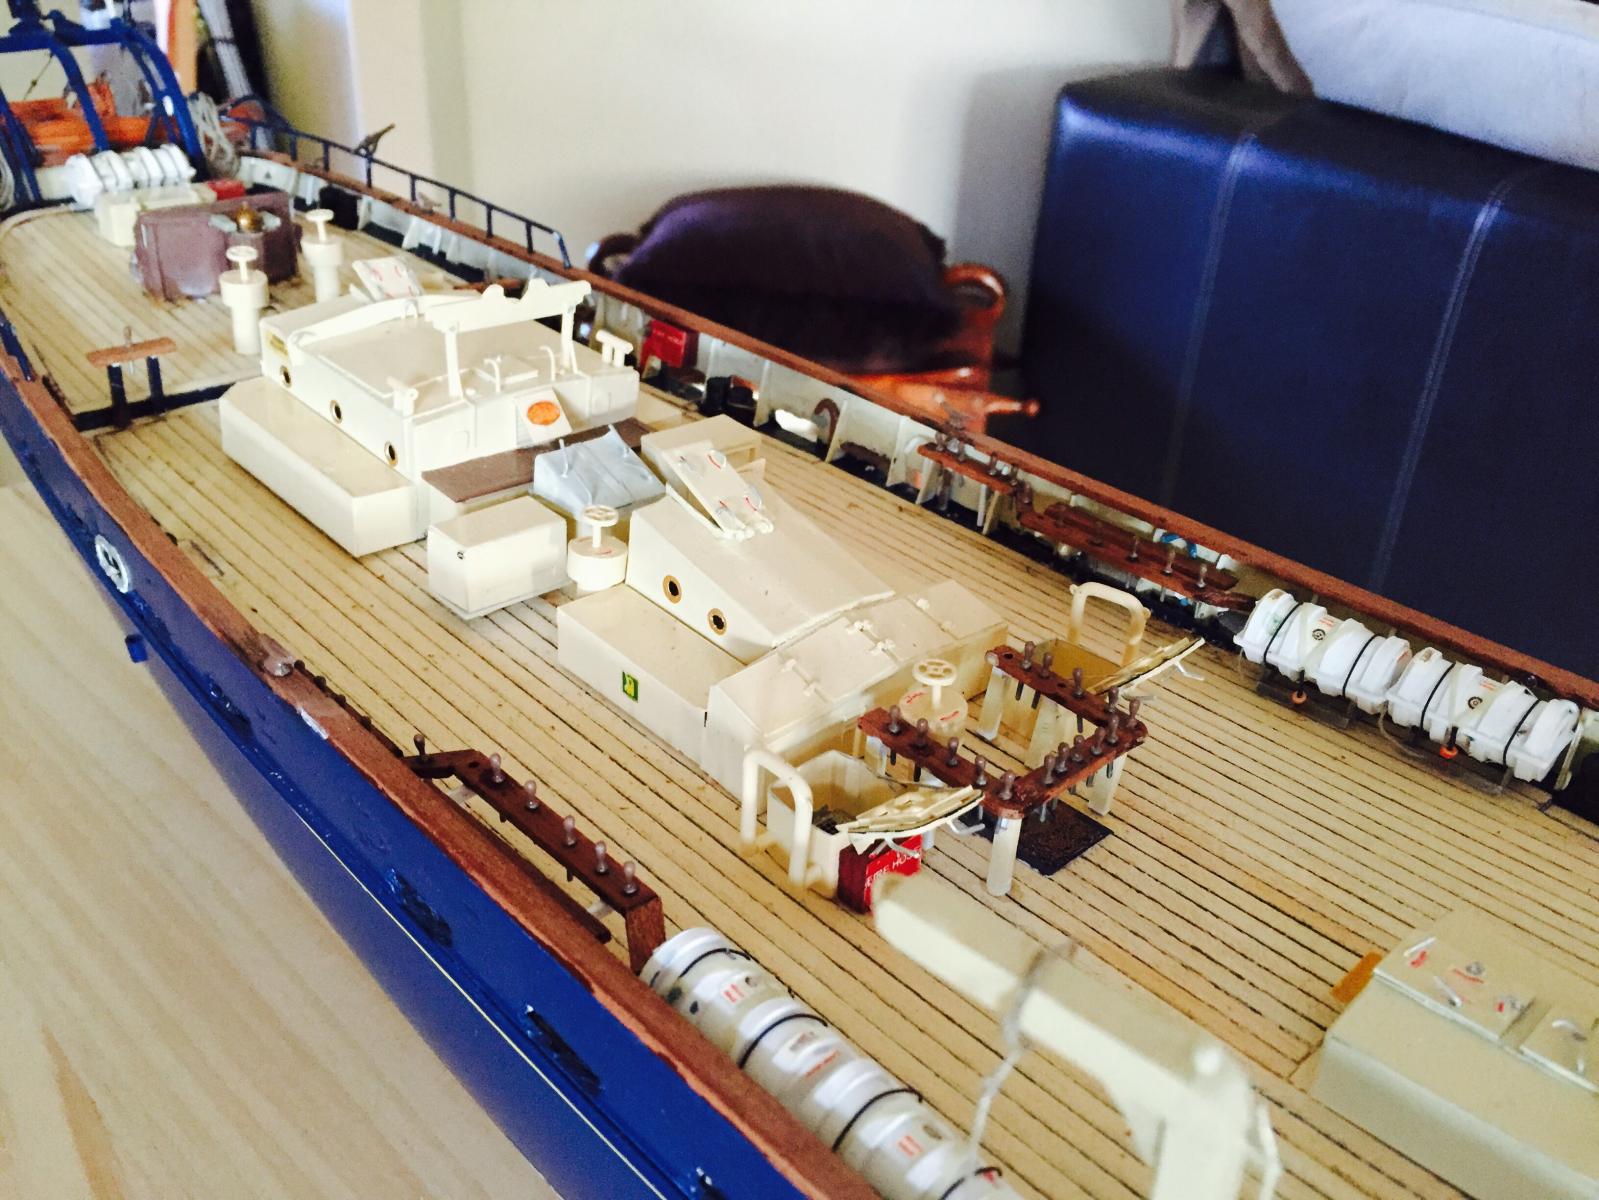
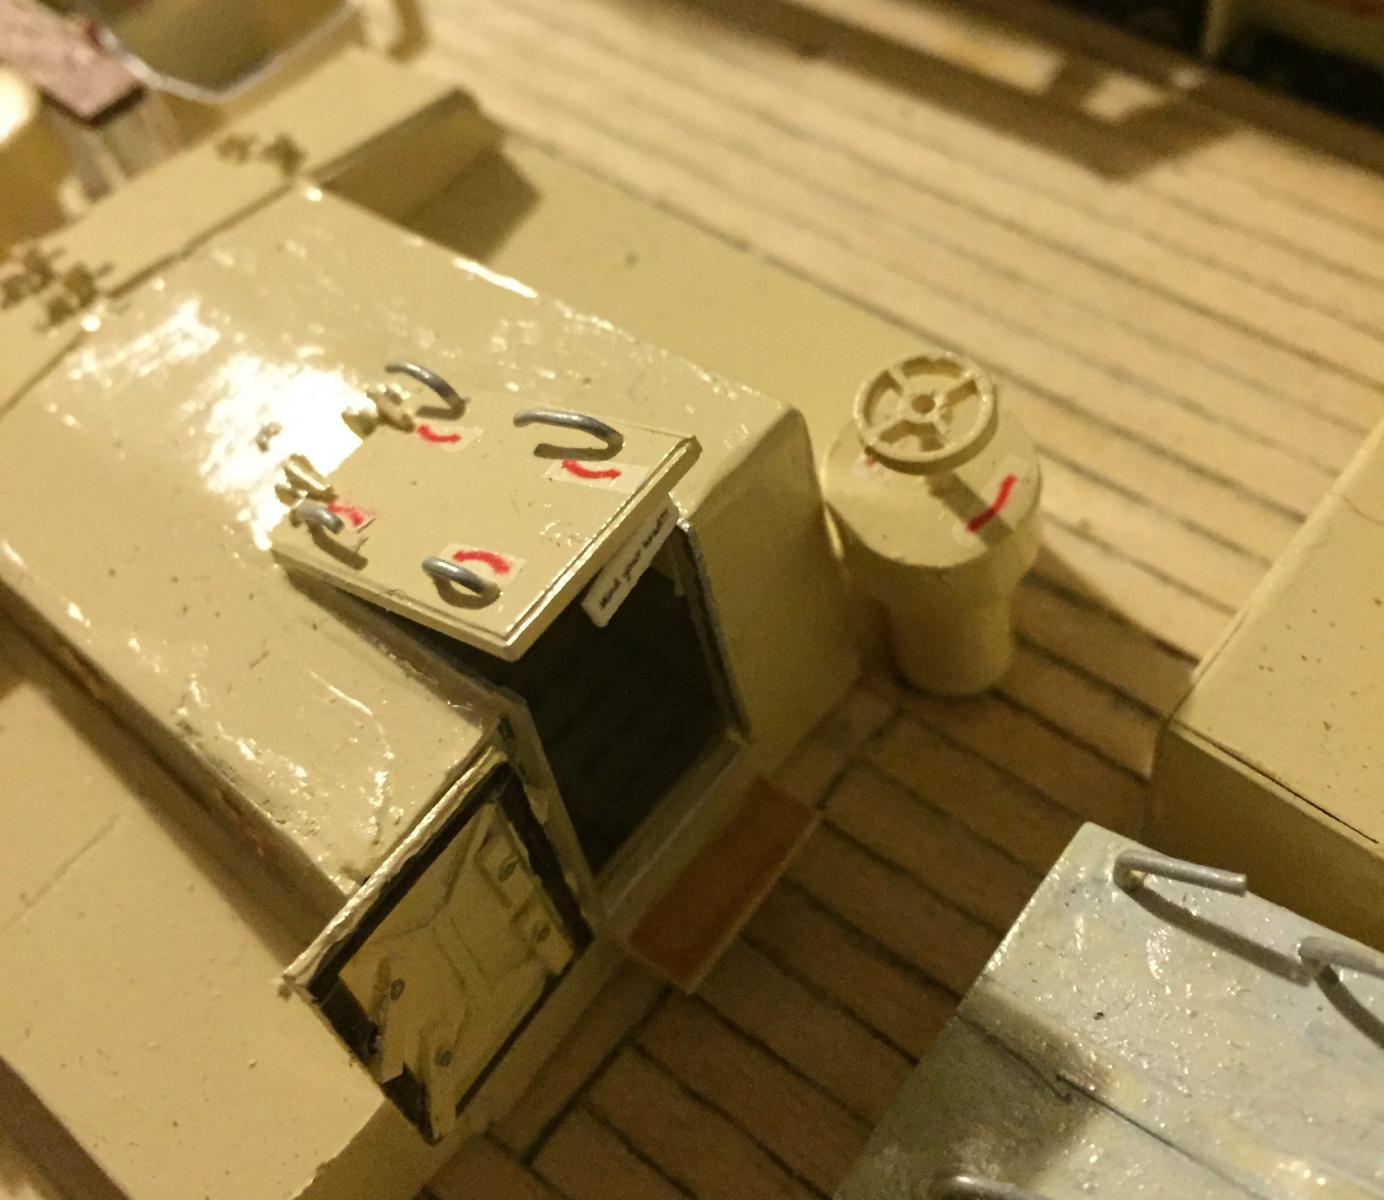
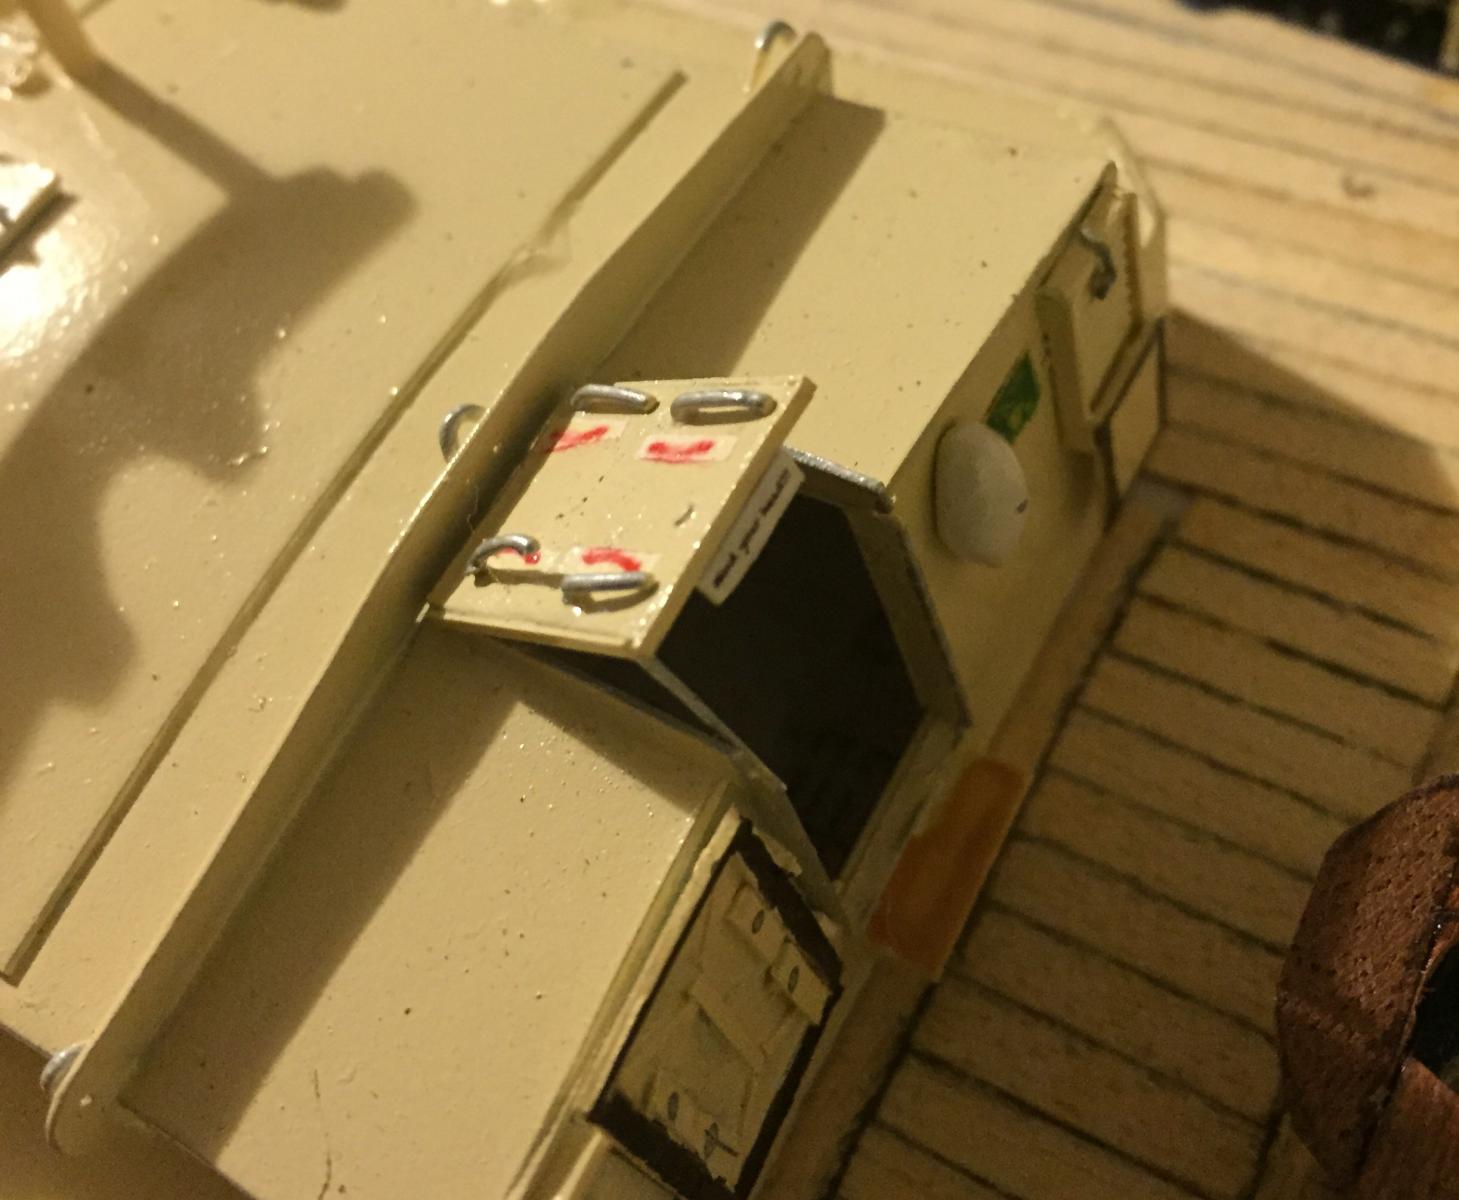
Thanks guys. Just attached a couple more shots of the painted pipe work along the bulwarks. For those not in the know of the colour coding for marine pipe work. Brown is fuel oil (diesel), grey is grey water (sink water and showers), black is black water (sewerage - both treated and in treated) and light blue is fresh water. Also found out, during refit we will be getting a completely new helm station... Damnit haha All new internal components and the station itself. Hopefully it will be to the same design so I won't have to change mine - though I can just date the model to after 2014 refit but if it is different I'll most likely change it. The current one is the original as when built and a little nackered.

-
We've actually attached bright red nylon line which drops down around the sign. Still doesn't work. What's really odd is as you step onto the step your looking straight at the sign as the hatch sits at eye level. Common sense prevails.... Haha Chocolate chips and icing sugar
-
Gripen 1591 by NAZGÛL (Matti)
Tallshiptragic replied to NAZGÛL's topic in - Build logs for subjects built 1501 - 1750
Brilliant matti, will definitely follow with keen interest. -
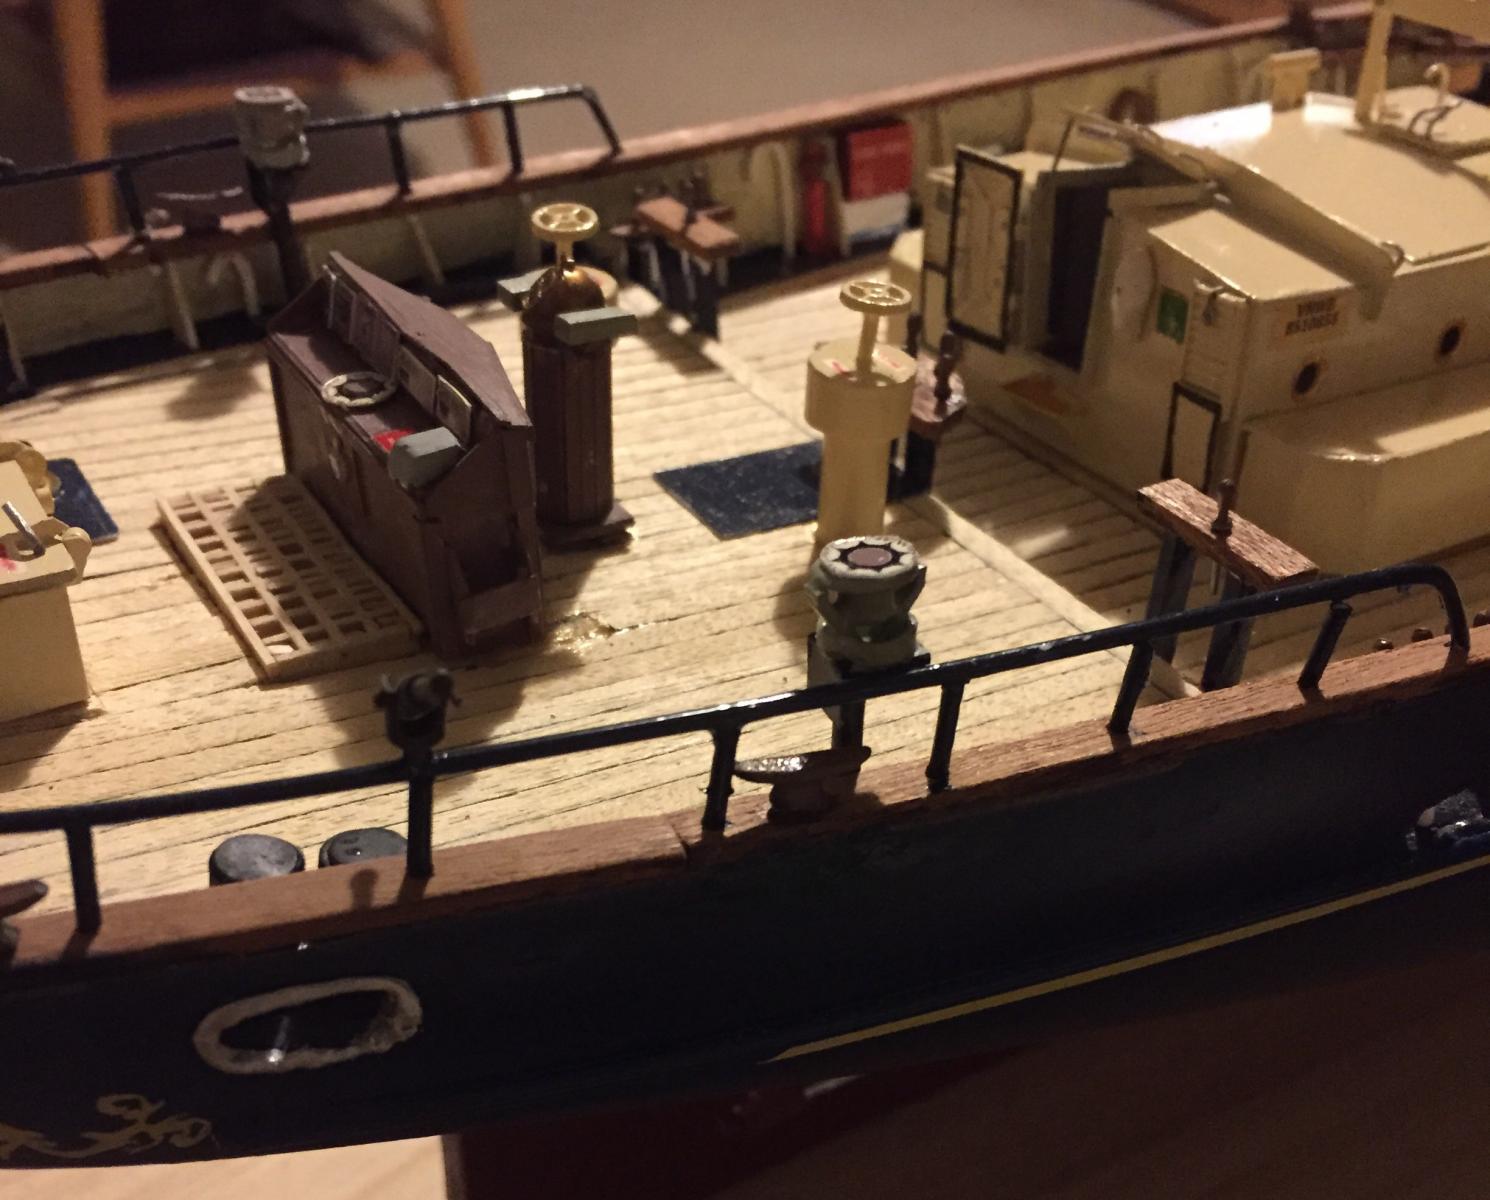
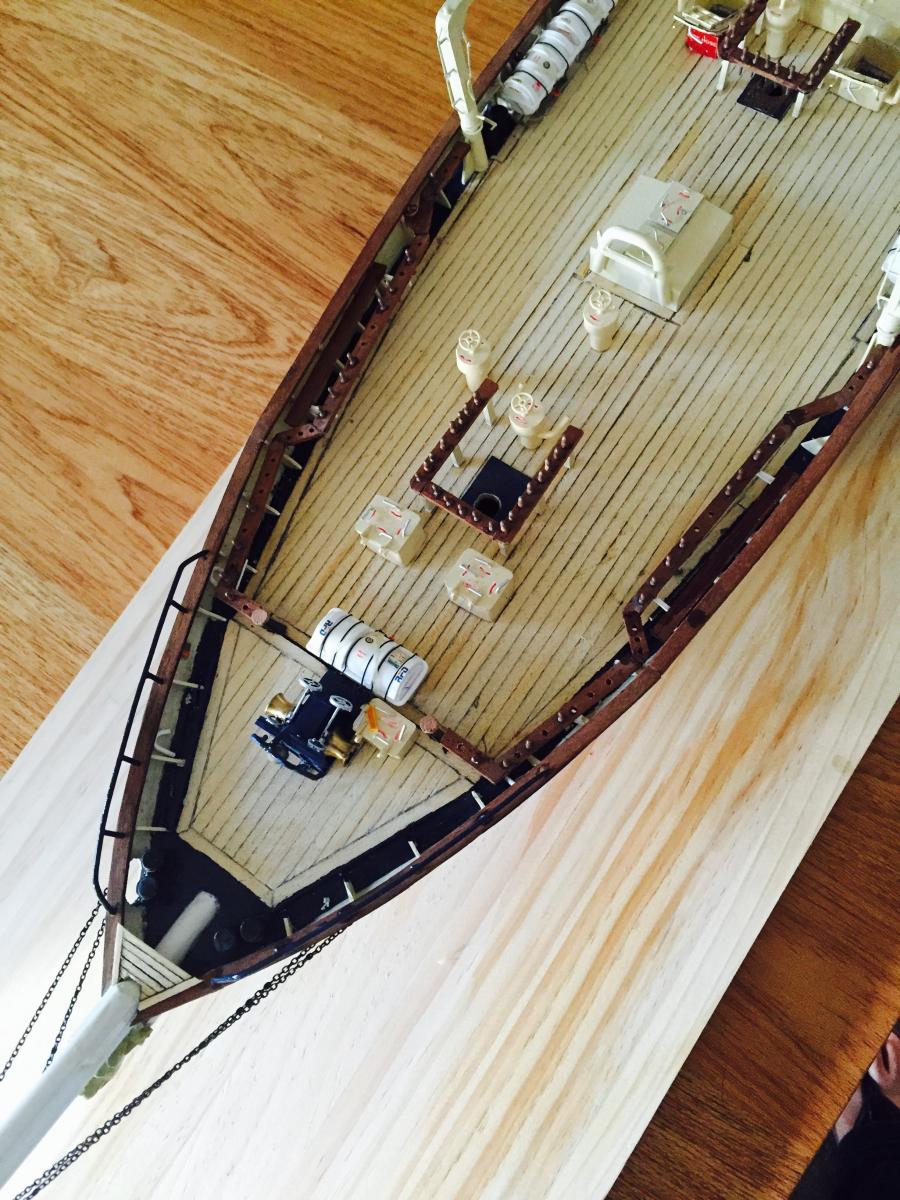
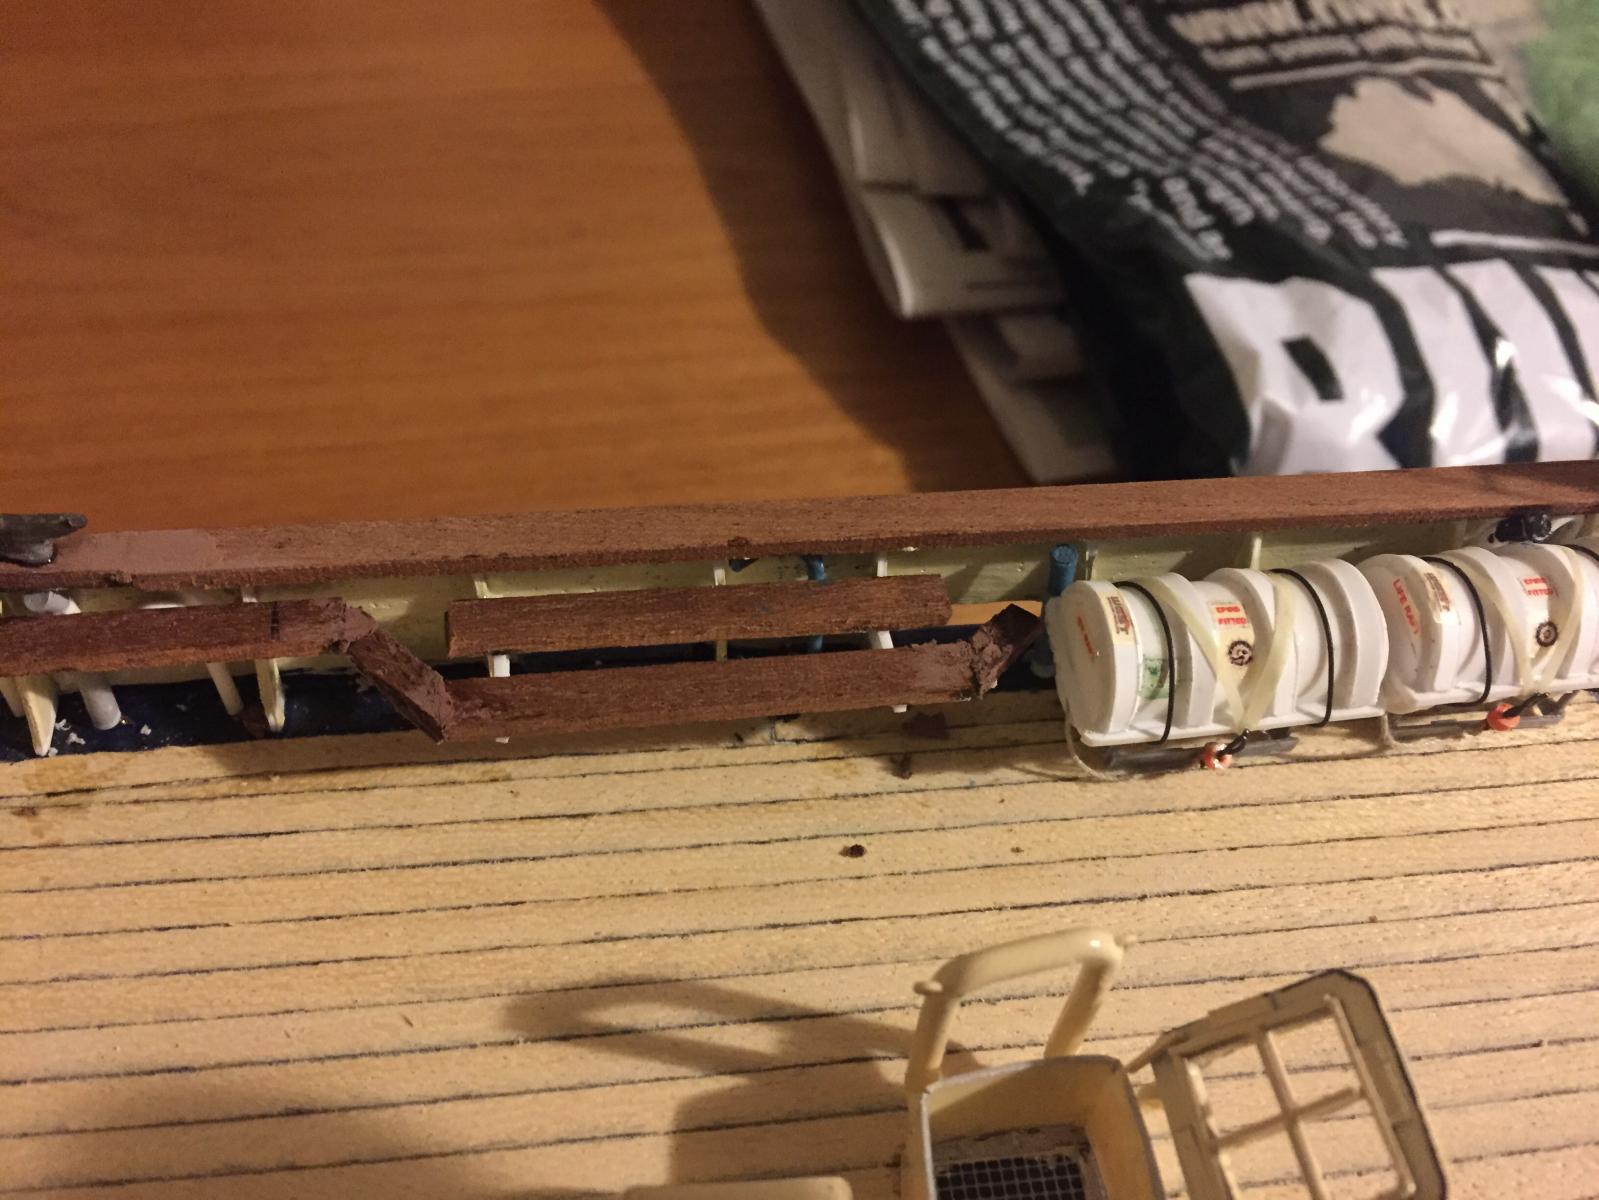
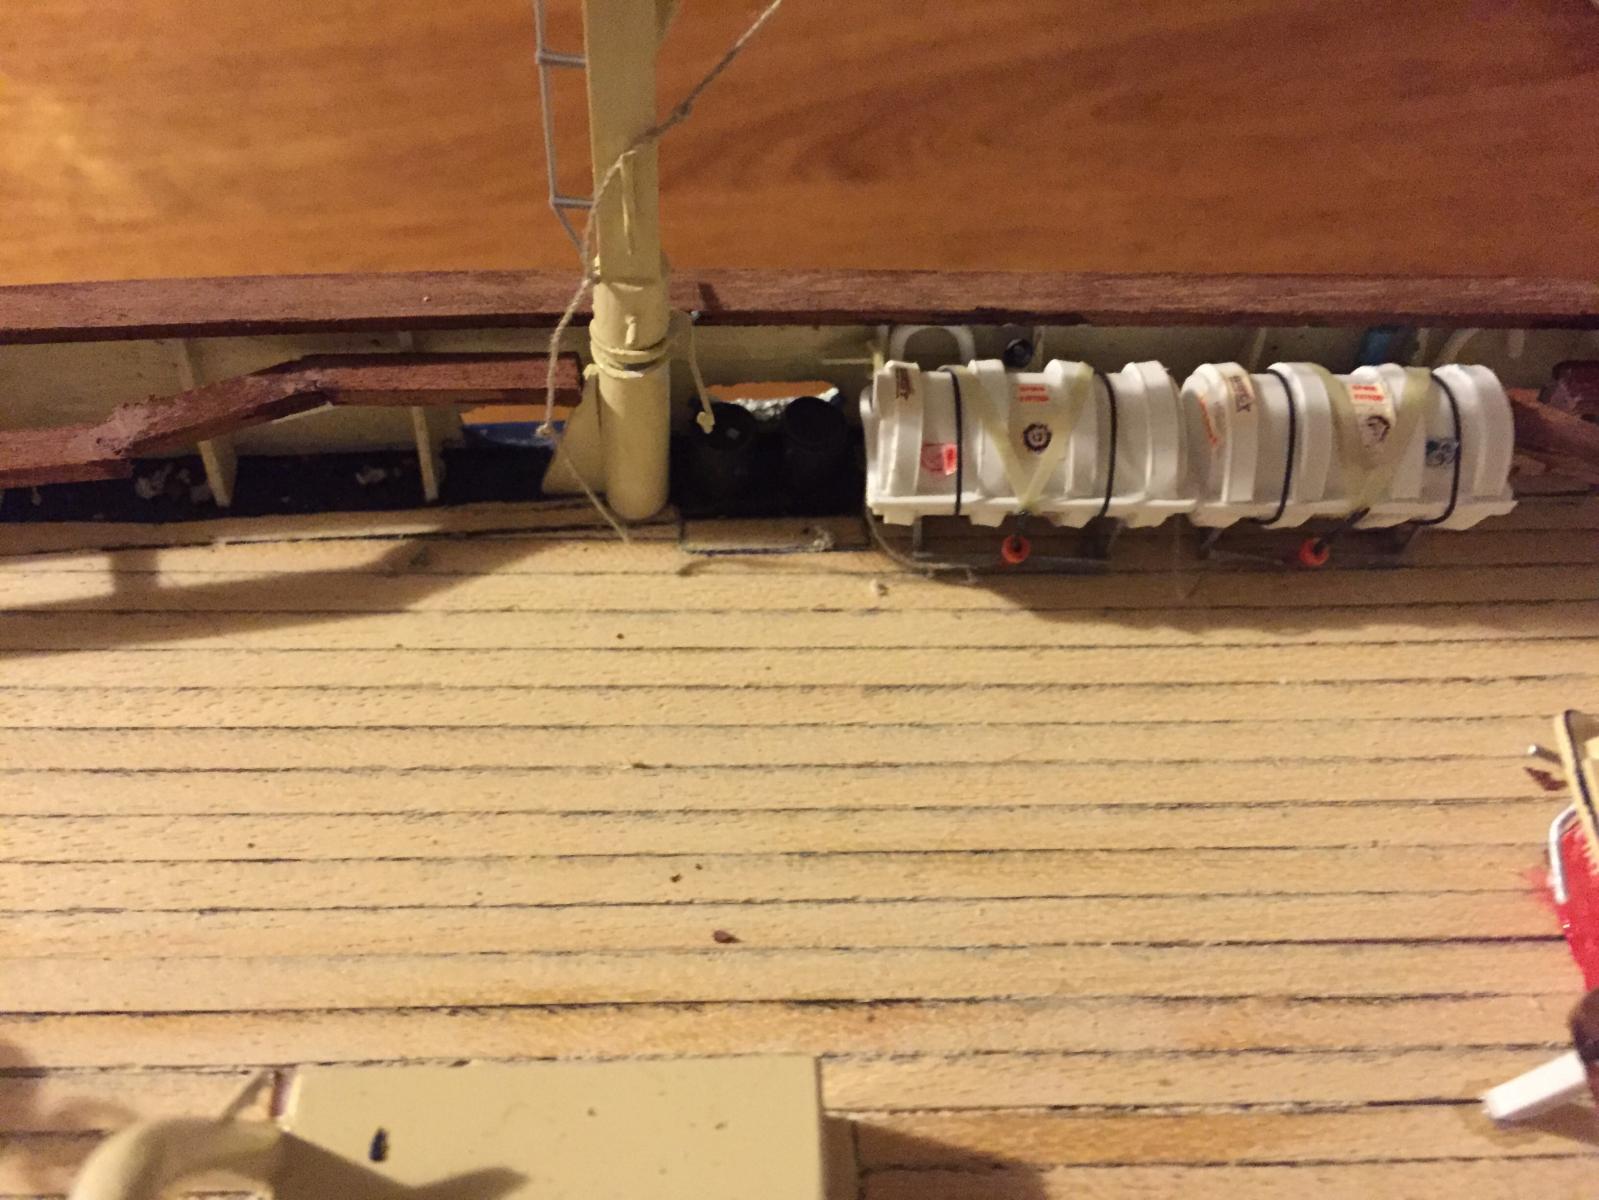
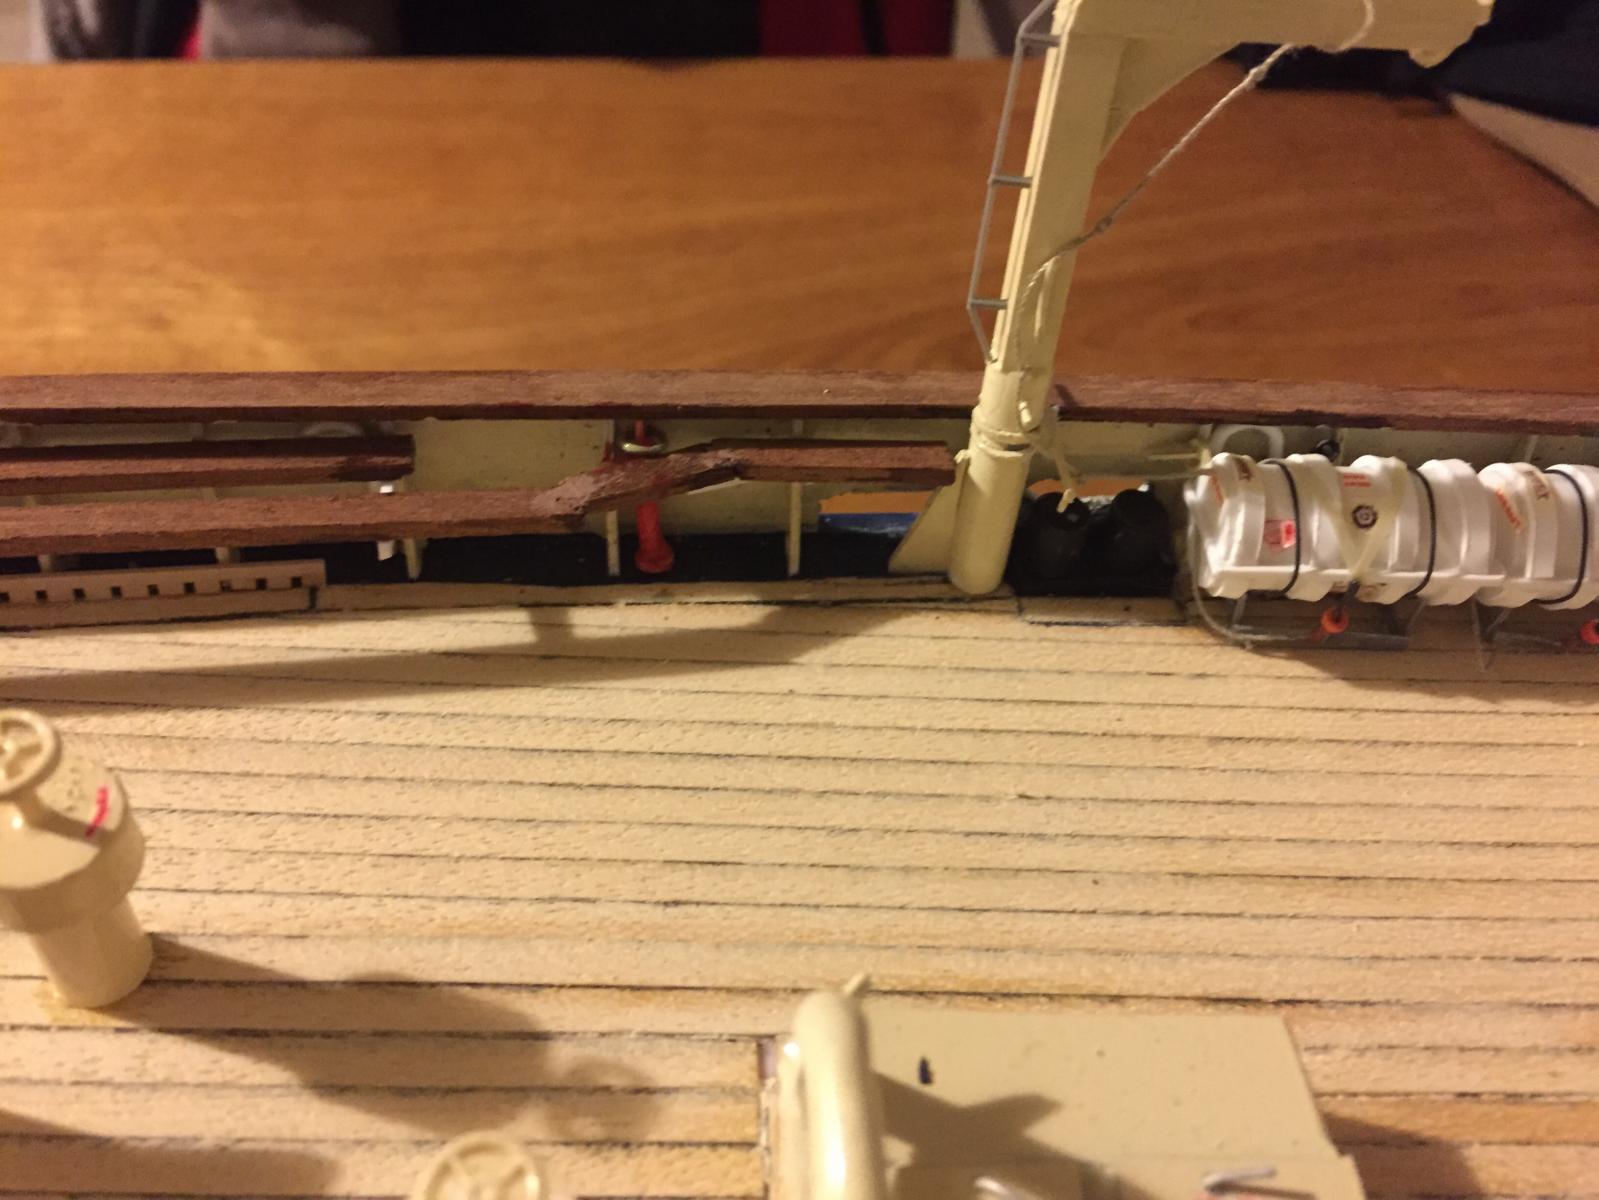
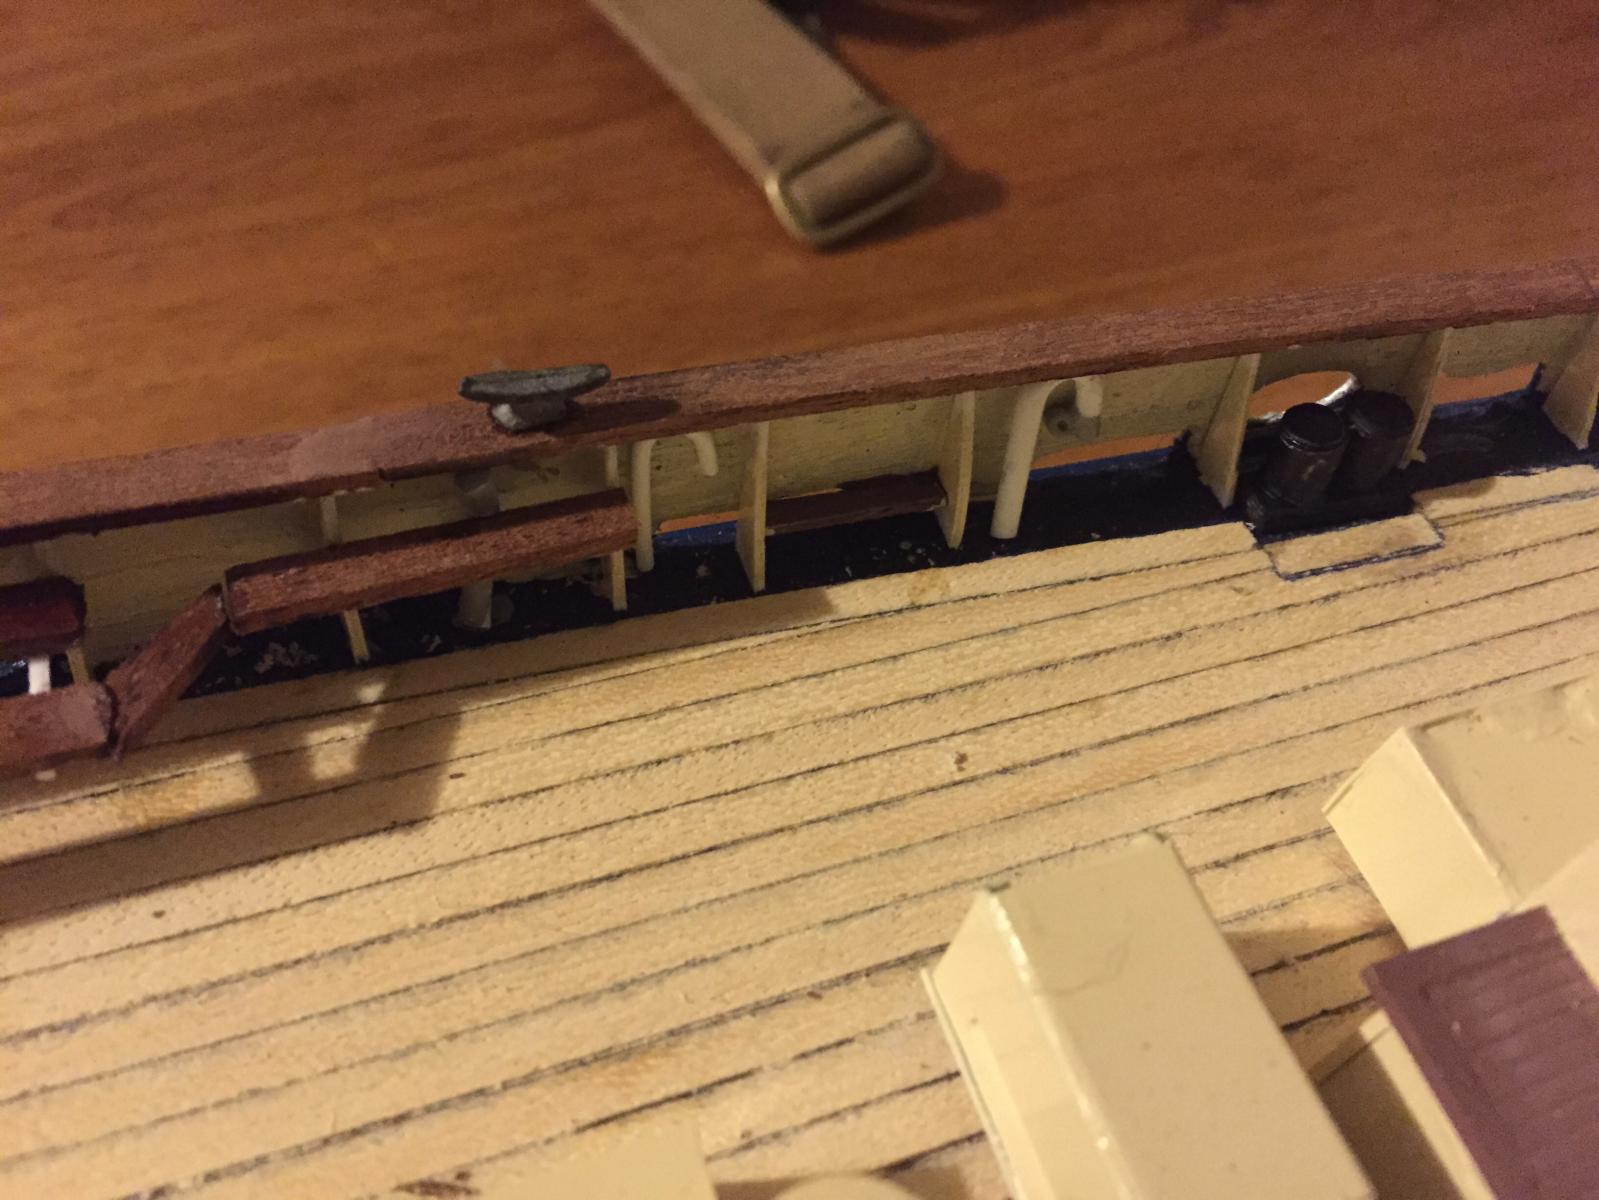
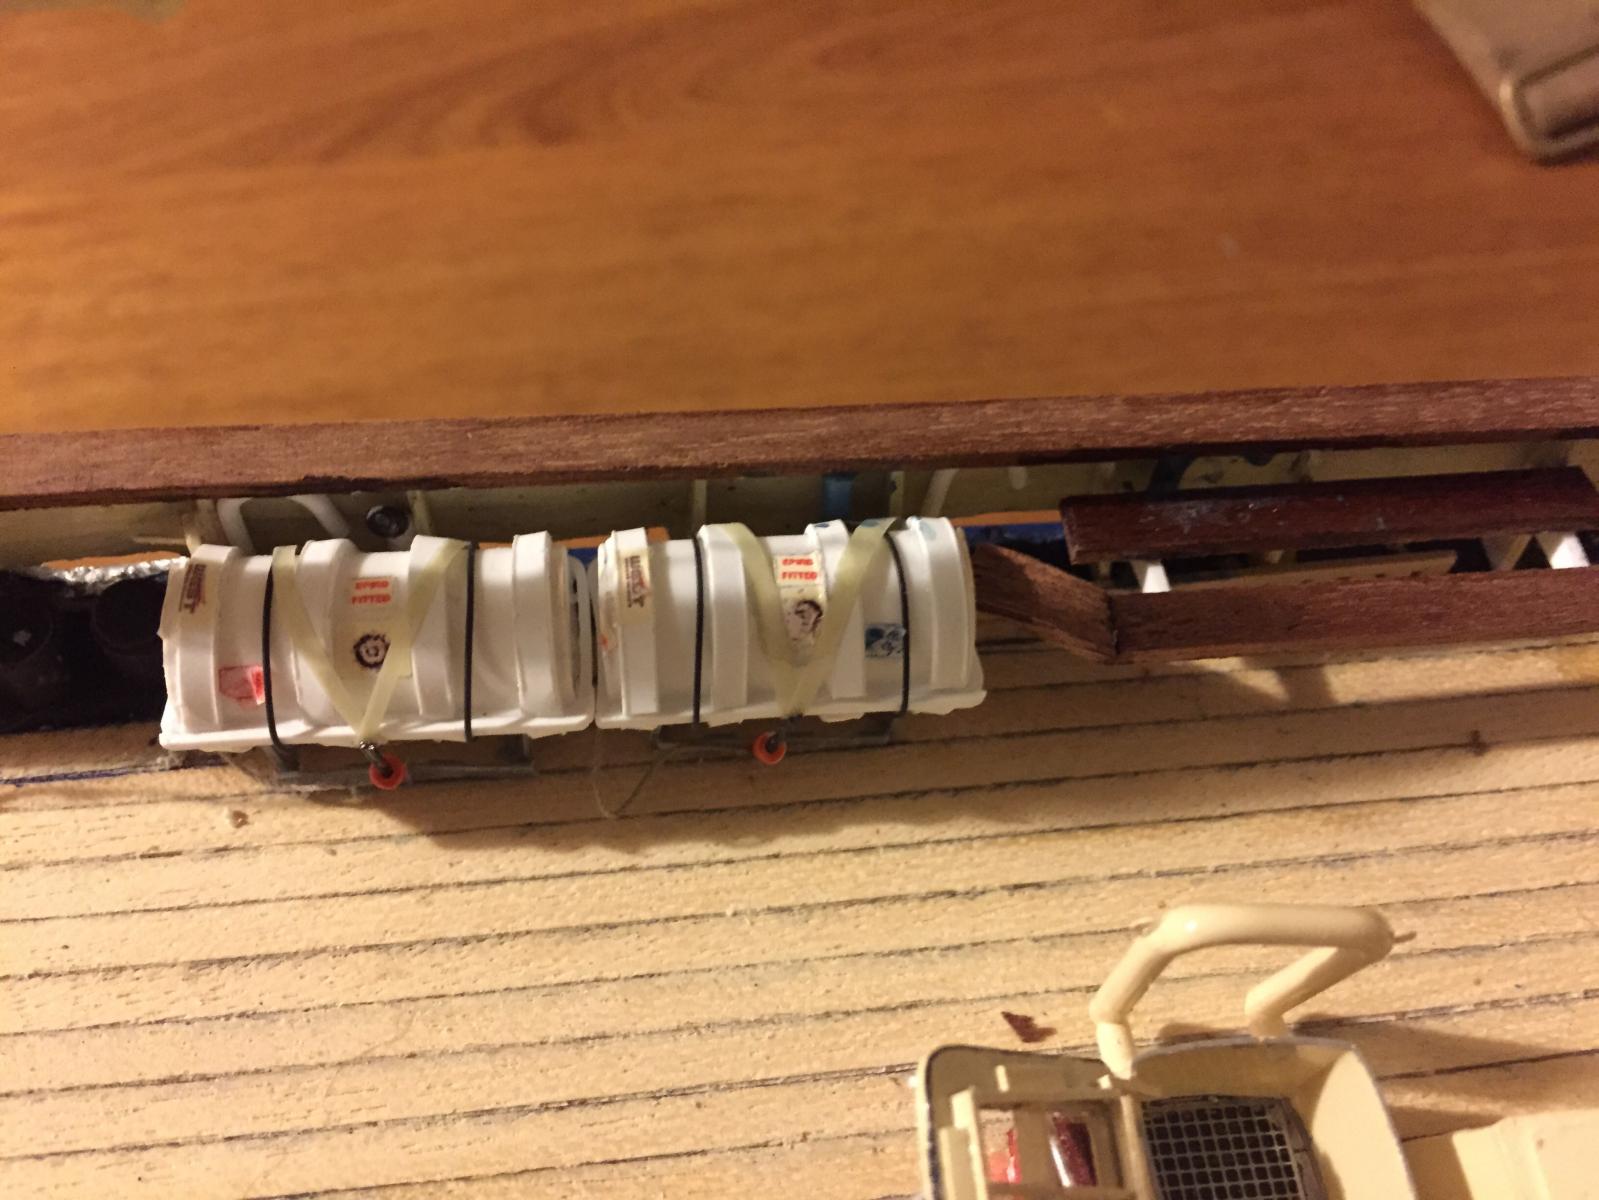
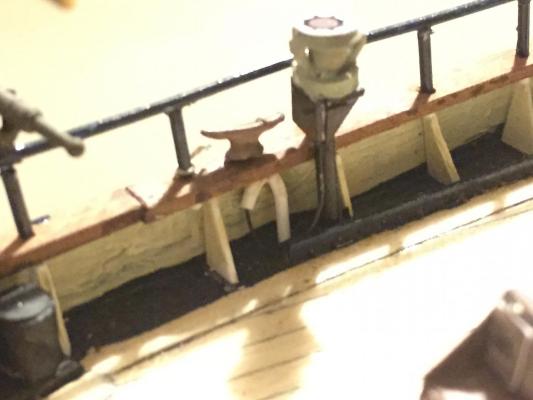
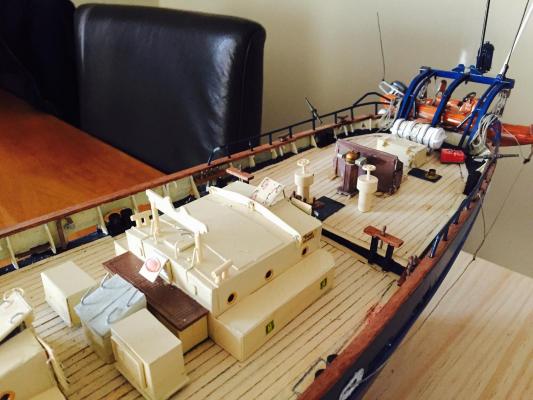
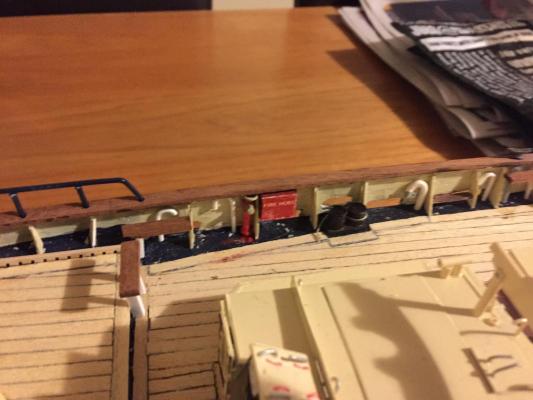
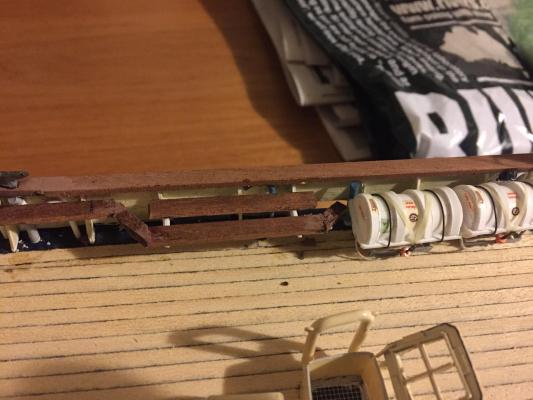
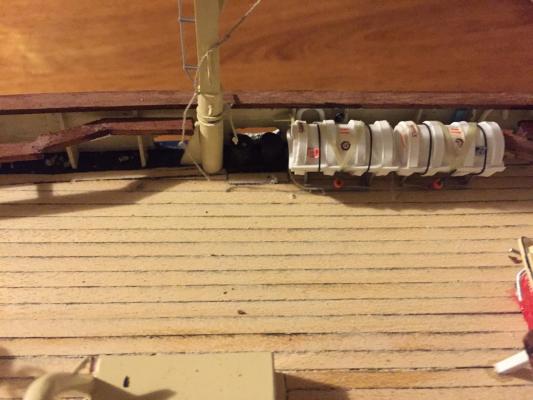
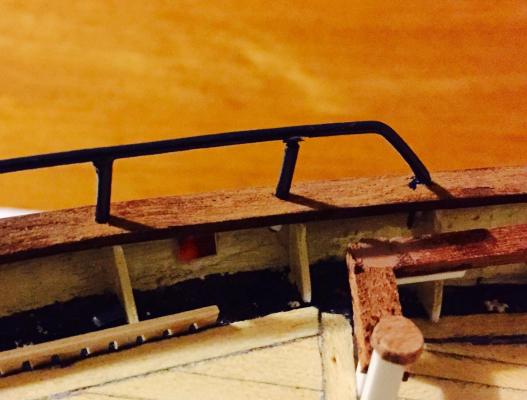
Deck penetrating tubing have now been added to the gunwales. These are the bent over shaped rod which allow electrical cables to psd through a water tight grommet through the deck. I've also added the two fire hydrants, grey water tank goose neck vents, fuel filling points - the grey painted tube, fresh water filling points and release goose neck vent - the blue painted items, and the black water tanks pumping out points - white with black tips.

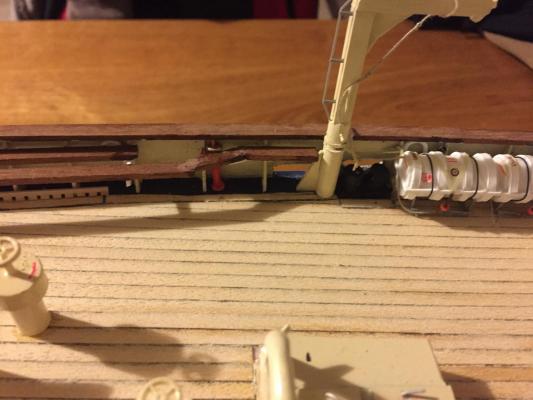


-
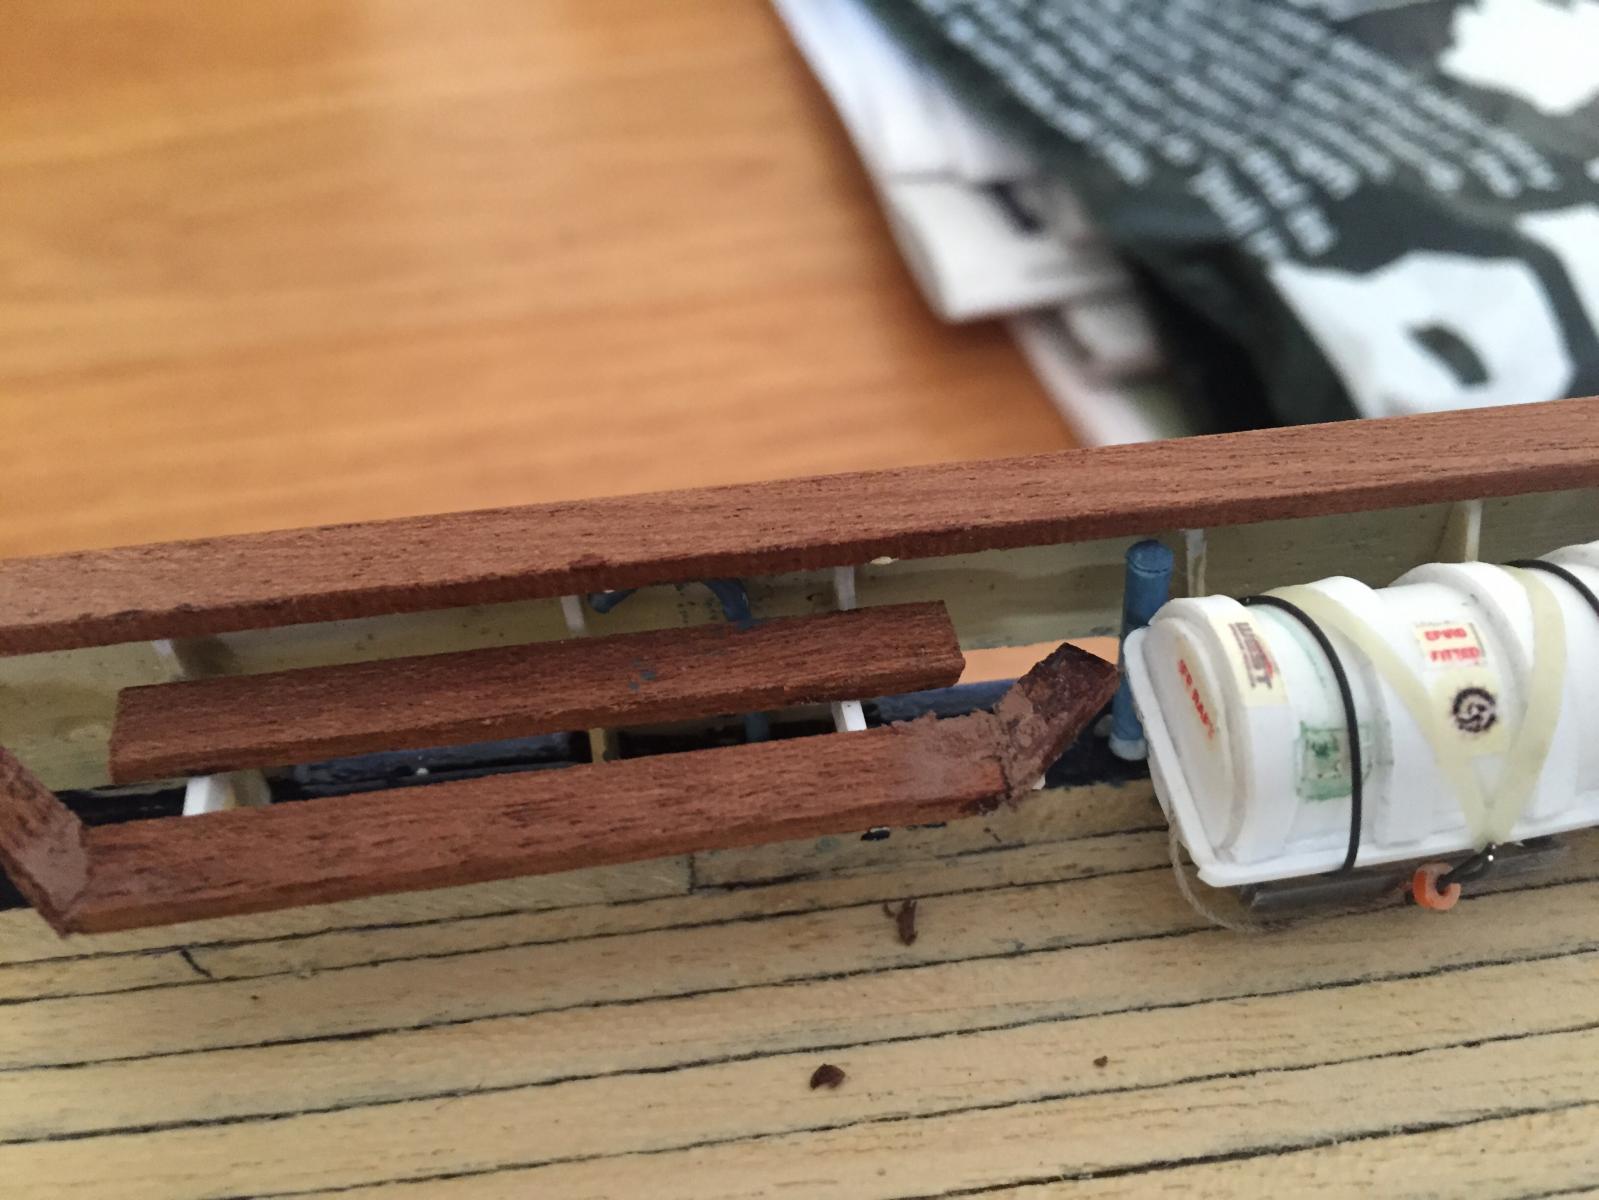
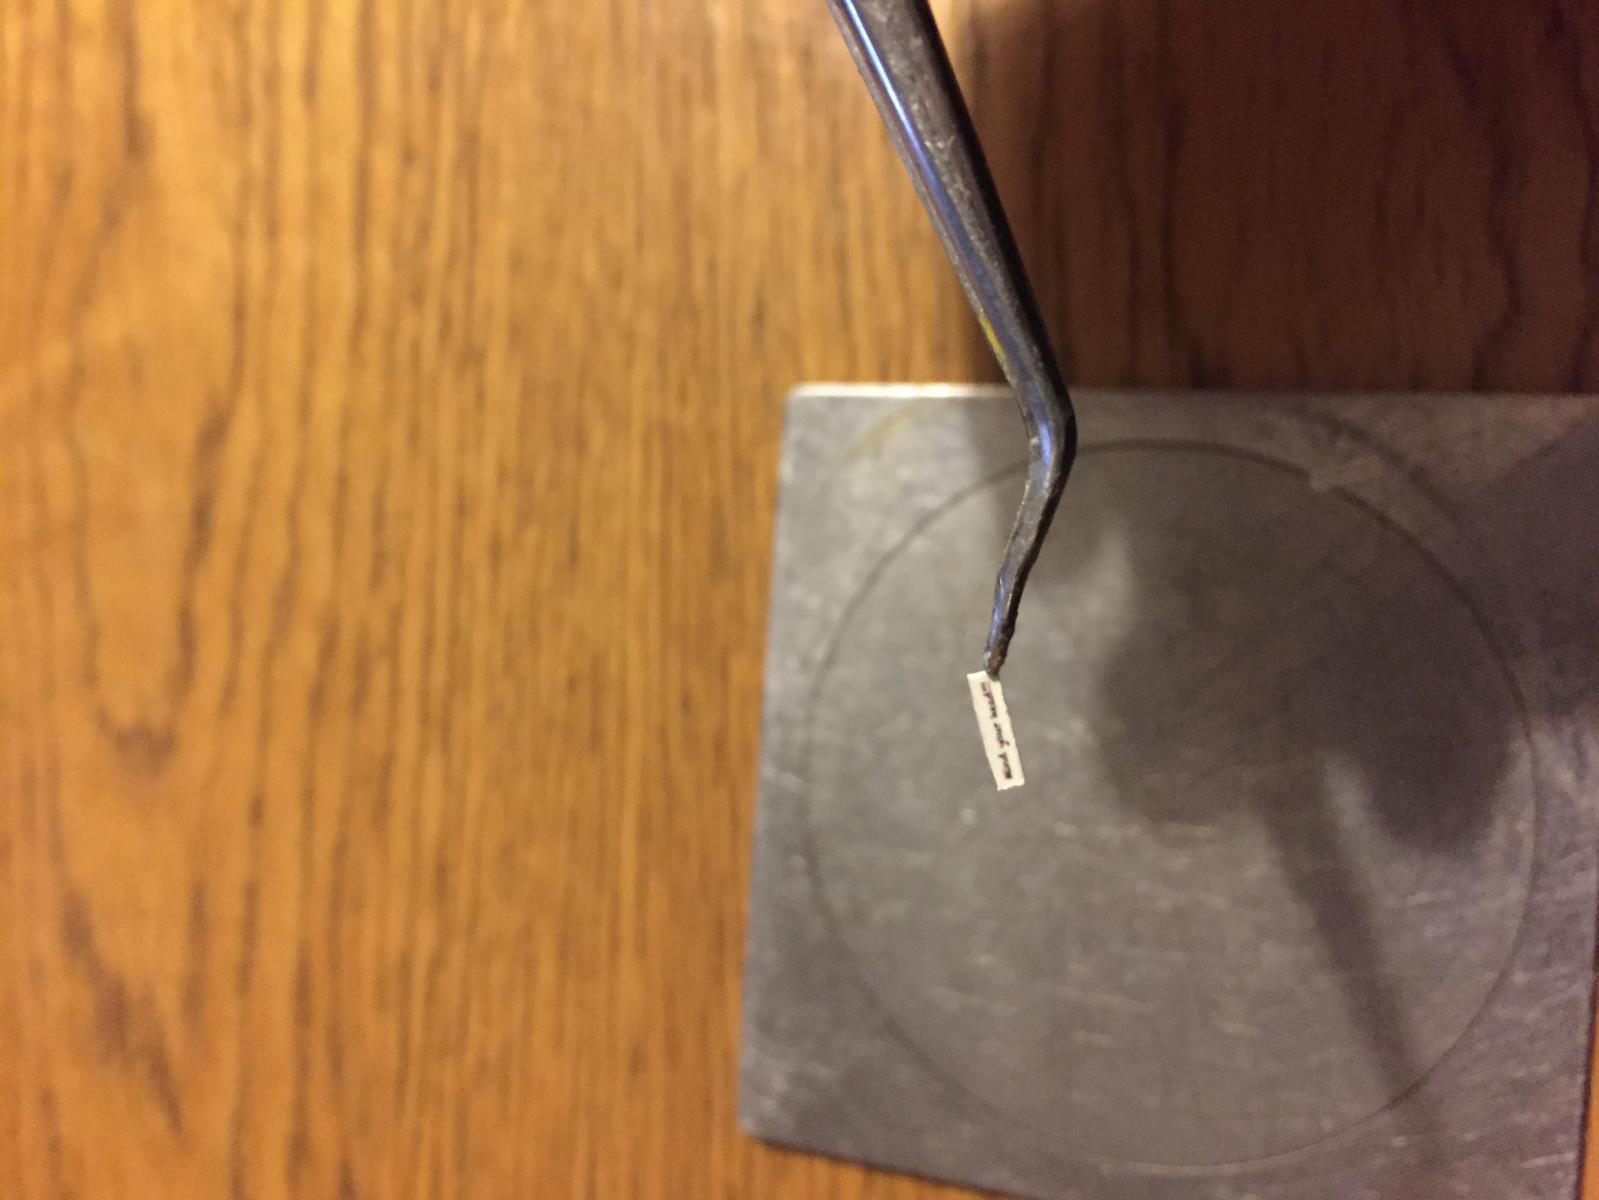
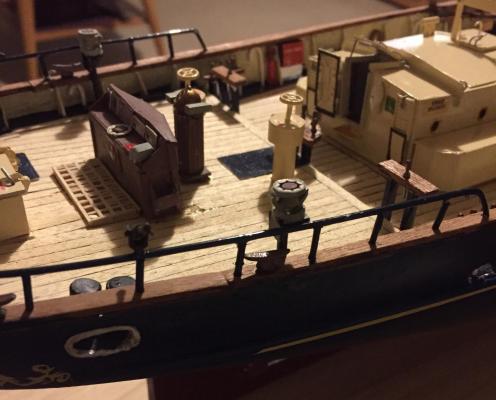
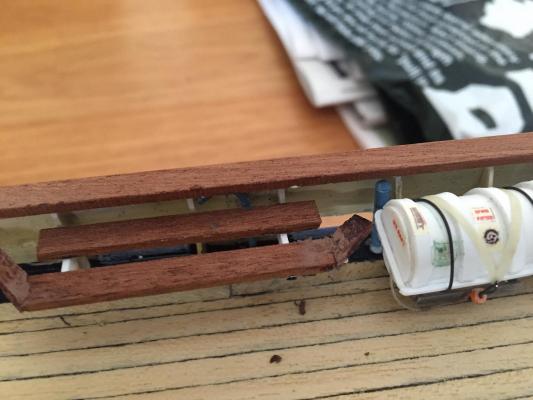
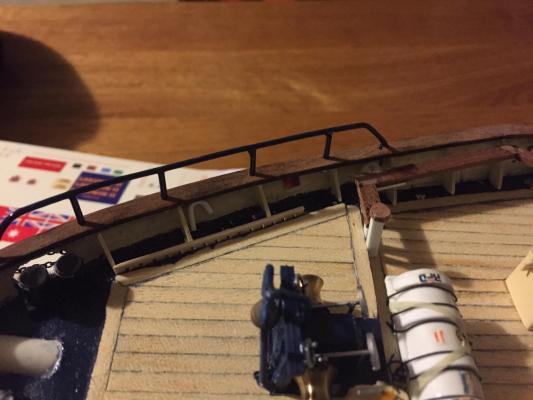
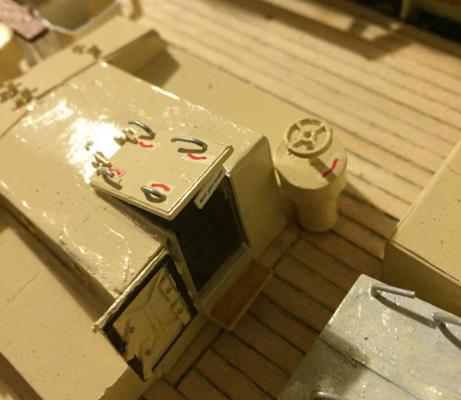
Another little touch before it gets difficult to attach. Tied to the edge of the main companionway hatch and the chart house hatch, we have small 'watch your head!!!' Signs Even with these signs it's still surprising how many people try knocking themselves out.

-
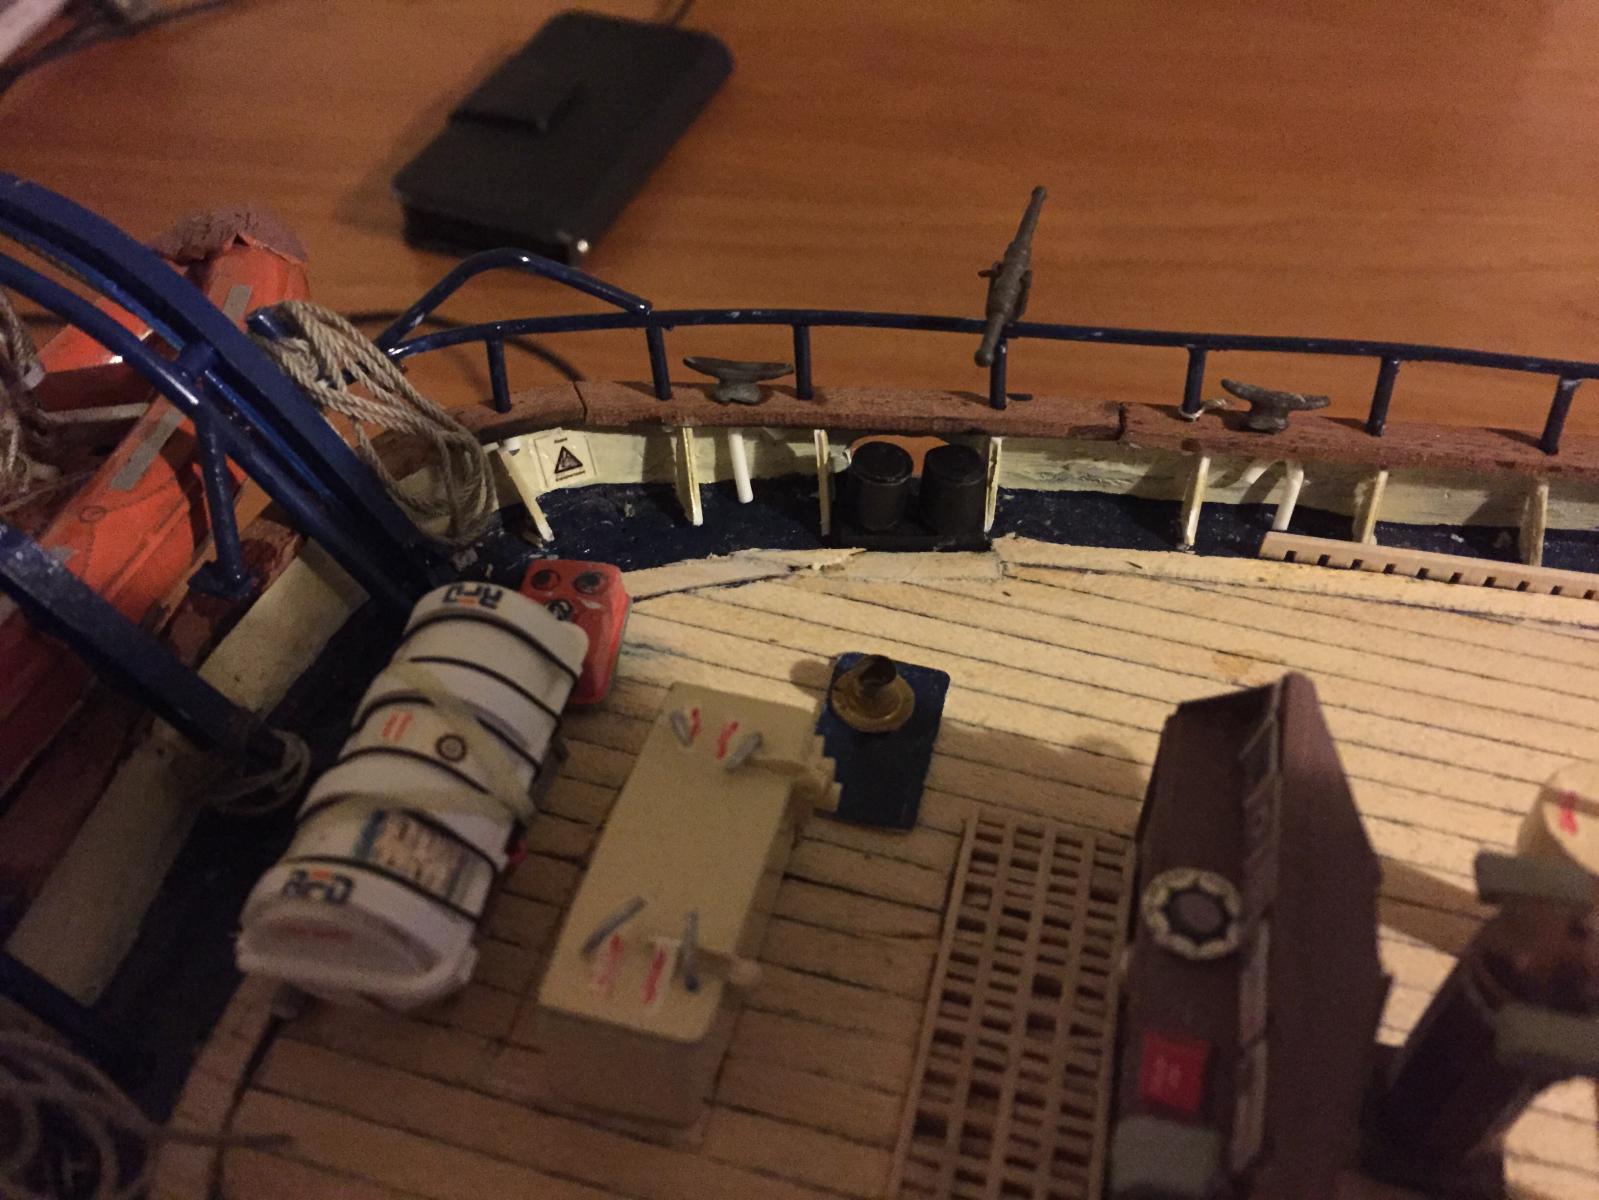
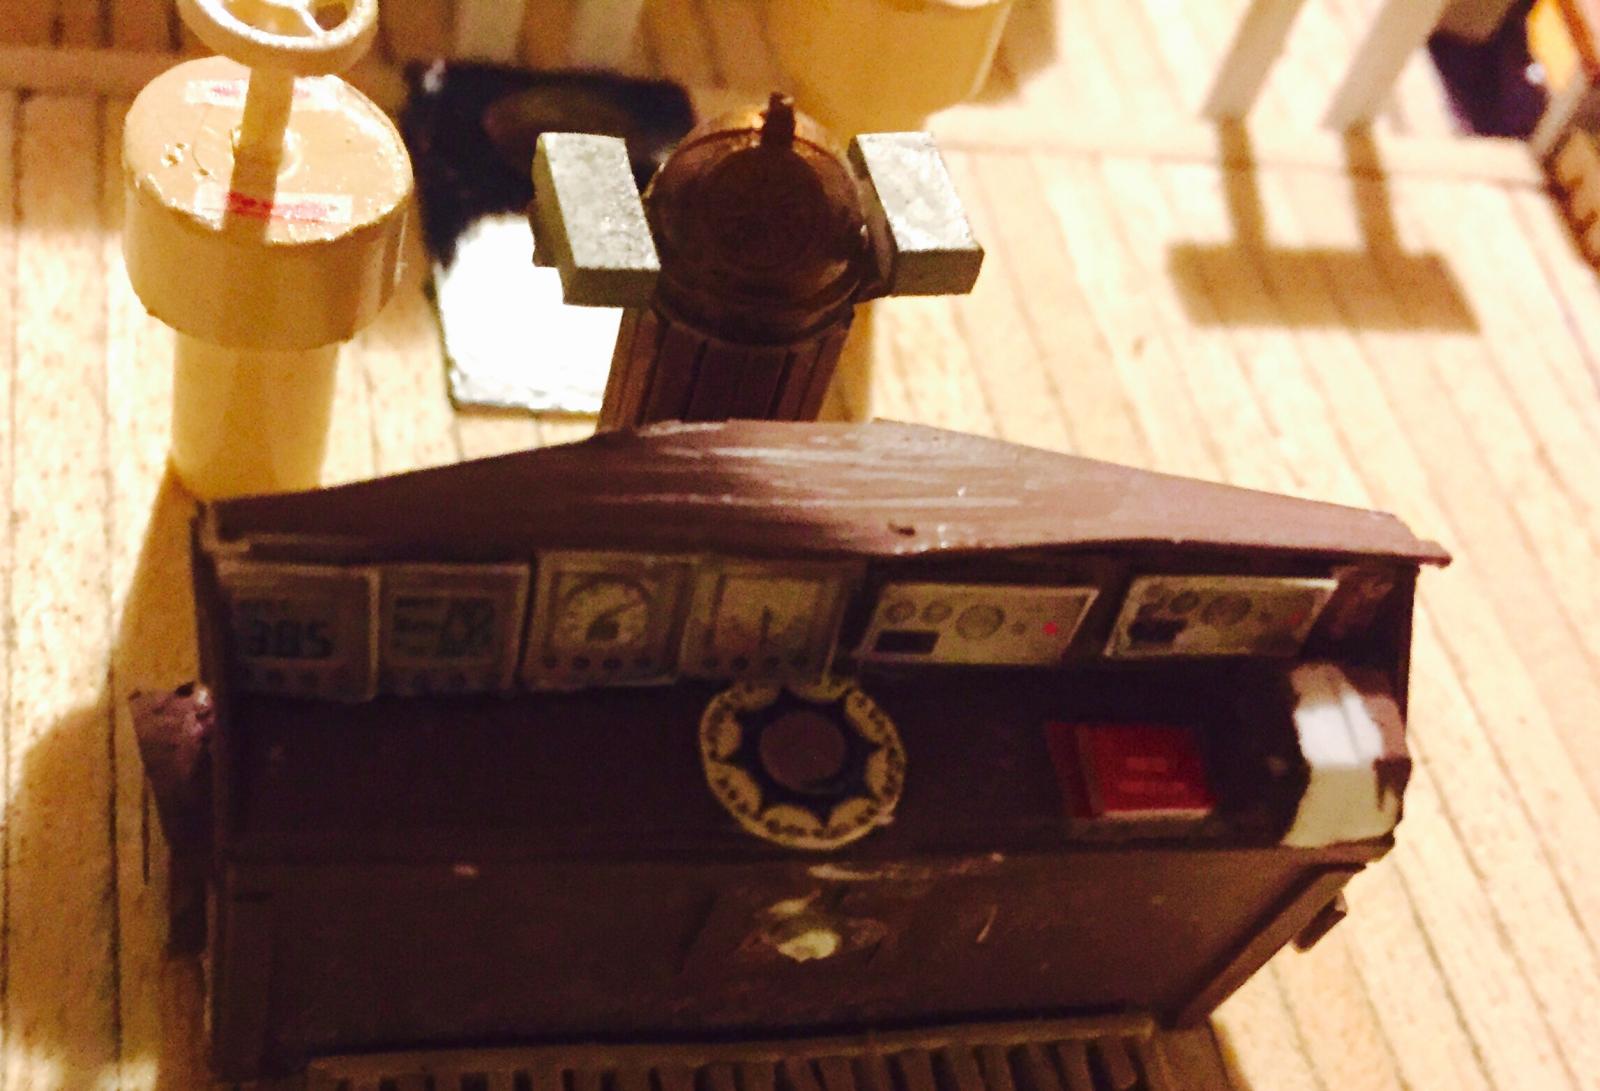
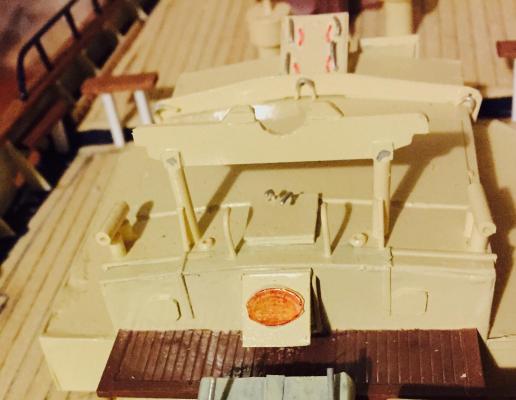
A close up of the helmstation, showing all gauges, compass and the red plaque shows the recommended rpm for engine speed - dead slow, slow, half and full ahead/astern. Also added the ships builders plaque which is on the vent hatch of the chart house and a memorial plaque which is on the starboard fcstle bulwark. The memorial plaque is in honour of one of our original volunteers Norman Shorrocks who would act as a custodian when we were at our home port in Fremantle. He would act as duty officer for the ship when in port to give the permanent crew time at home - currently we use a roster between us for duty when alongside - and was always full of stories and would also do anything for anyone.

-
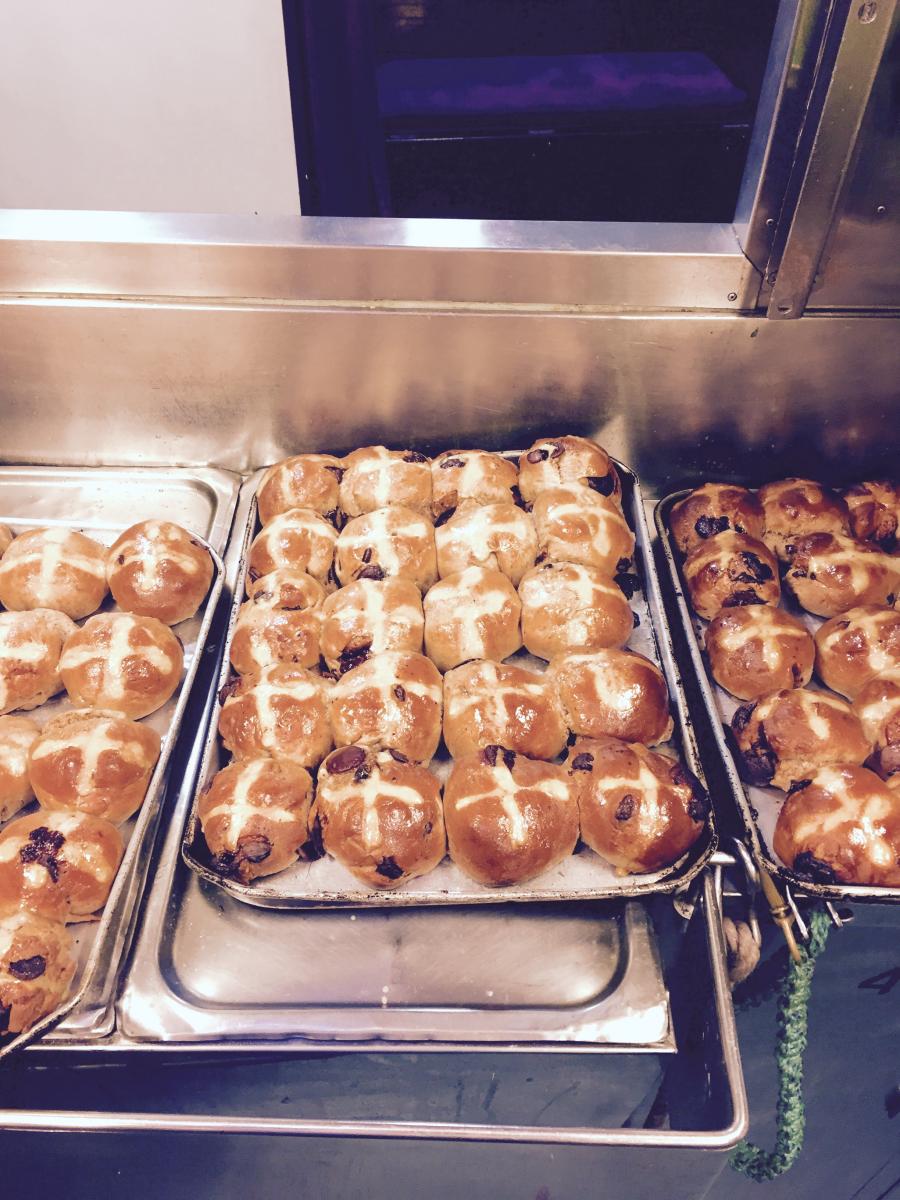
Just for you Hans, chic chip hot cross buns I made onboard for Easter last weekend.