mnewsholme
-
Posts
62 -
Joined
-
Last visited
Content Type
Profiles
Forums
Gallery
Events
Everything posted by mnewsholme
-
Fusion 360 is free for personal use.
-
Sounds like something that would be easy enough to 3d resin print. Do you have a sketch with some dimensions?
-
trafalgar day? surely not yet another Victory!
-
Not much progress from last post I'm afraid. Not had much time due to work commitments and hull planking is least enjoyable bit of build for me. work should calm down a bit soon so can get back to it.
-
figure set looks spot on now,
-
is it just me or do the hands look too big?
-
Guessing could be either another Hms Bounty or Bounty launch given the date of release.
-
I think 3/32 scale equates to 1/128 scale in metric.
-
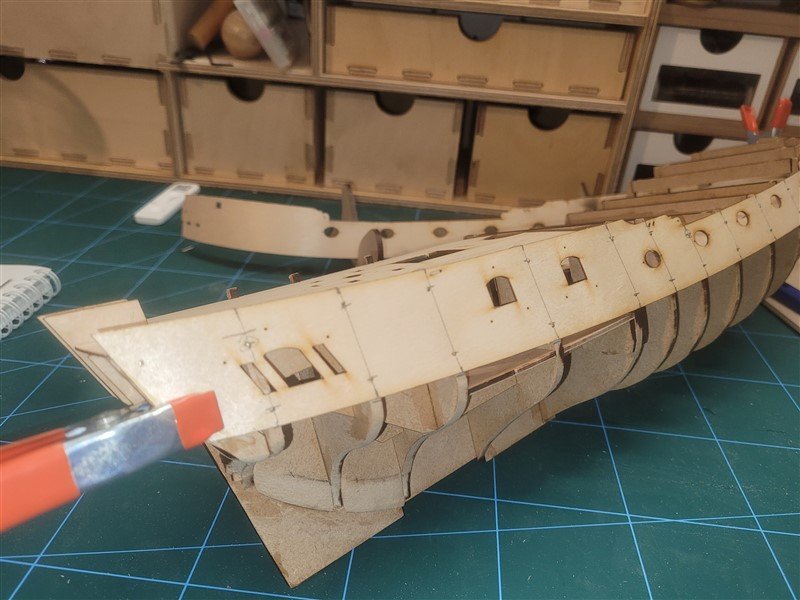
When you start adding frames to the keel check that they seat down fully. I found the keel sat too low in the jig to allow this. I glued a 1mm strip to the jig (NOT to the keel) to raise the keel up slightly to allow frames to seat correctly.
-
the framing diagram shows you which way round the frames go. The little chisel in a circle symbol means you need to bevel the edges of the frames. on the frames closest to bow and stern you will see a line etched on the wood on one side. You file each of the steps at an angle from the unmarked edge on one face down to the etched line on the opposite face. This creates the angle for the planks to flow correctly. Effectively your fairing the frames before you assemble them into the jig. The etched lines on the pieces need to face down from frames at one end ( frames 6-3) and face up for frames at other end frmaes 19-22). From memory a couple of the frames have the L and R labelling transposed., s you need to fit the pieces the opposite way round to get the etched face facing the right way.
-
had a similar experience. I paid the amount stated in initial email by paypal, then didn't hear anything for a couple of weeks. Then got a shipping notification and can now see package moving on tracking. Pretty understandable that communications are a bit disjointed considering situation in Ukraine and incredible that their managing to run a business at all under circumstances.
-
decided to put it on hold. just finishing hull planking on duchess. Once that moves to Rigging phase I'm going to do Cheerful in parallel and really make an effort to learn best methods of lining off and single planking. Just seems a much more manageable size to learn on. Then back to Winnie. I realise Cheerful isnt necessarily easier than Winnie, but due to smaller size I think I'll make progress a bit faster on it and keep interest better. I tend to always have two models on go at same time. One in hull phase and one in detailing/rigging, then when I get frustrated planking I do some rigging for a bit and vice versa. Problem is I have lots of hobbies and tend to bounce between them all quite frequently so progress can be very slow 😞
-
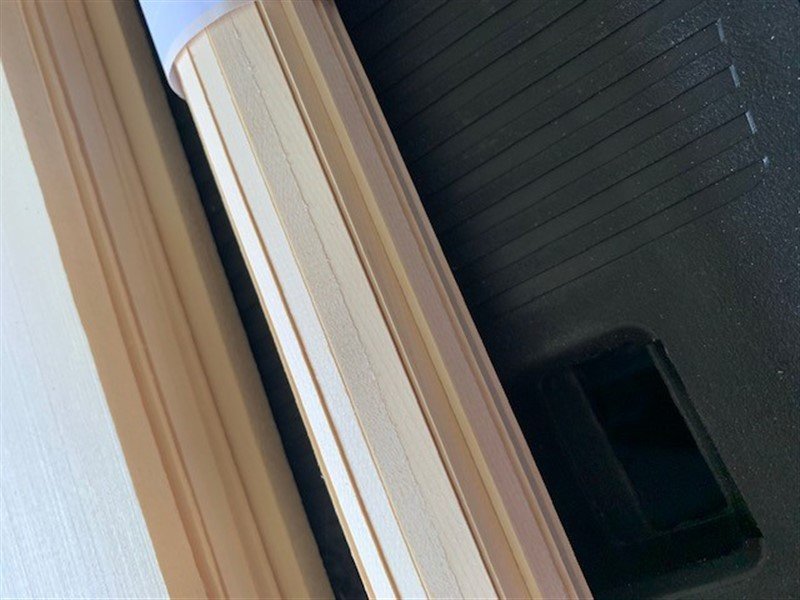
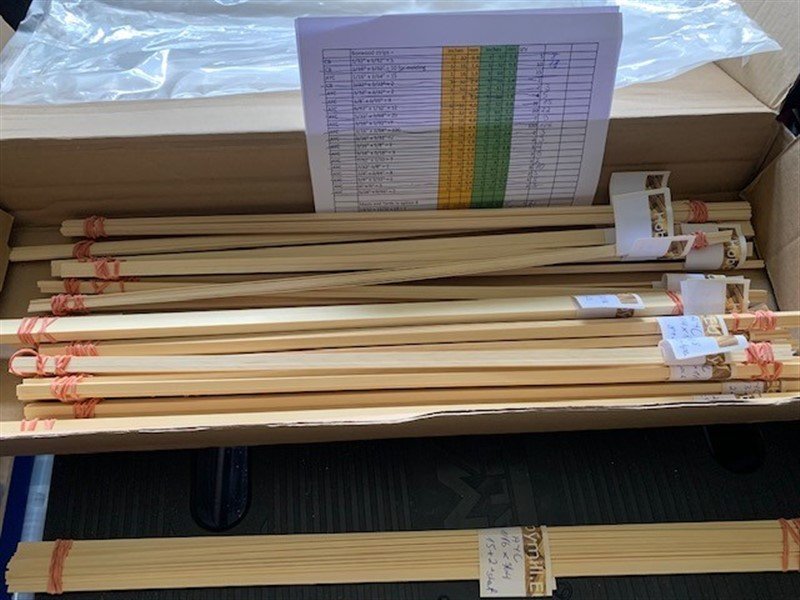
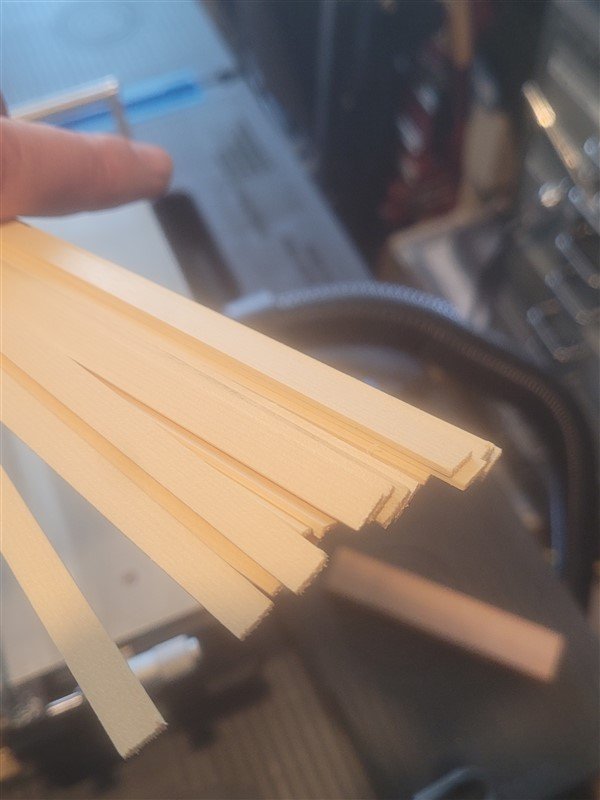
Placed an order with Vahur a couple of weeks ago for wood package for Syren models HMS Cheerful in alaskan yellow cedar. Arrived last week. Very pleased with quality of wood and accuracy of the milling. Vahur also kindly supplied a sample pack of the other woods he can supply which also look to of great quality. Can happily recommend Hobbymill EU for anyone needing wood this side of the pond.


-
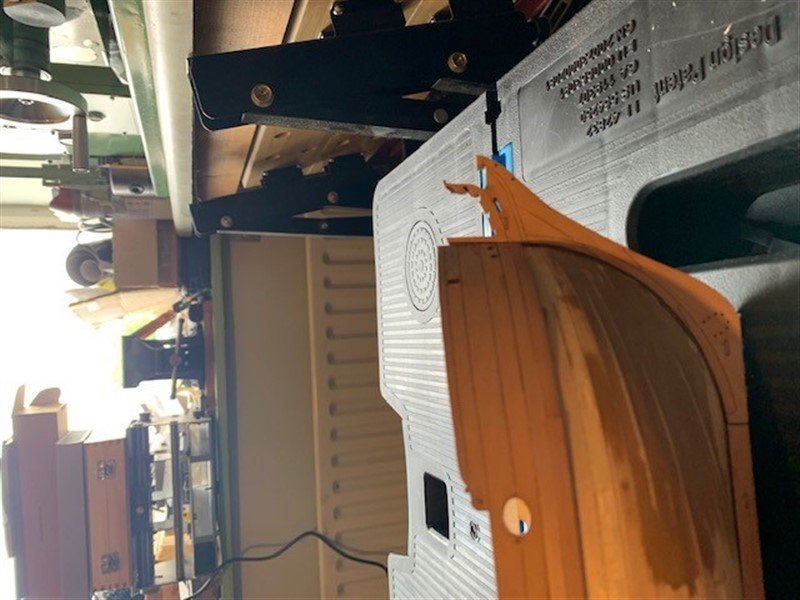
making steady progress with 2nd planking. using shorter lengths of planking, which are more to scale than the the full length strips used for first planking which makes it a lot easier to get a good fit.

-
I've received 3 separate deliveries from Syren in US over last month and not had to pay the dreaded import/VAT fees on any of them. Guess I just got lucky 😉 I remember there was discussion a couple of years ago about suppliers having to pay UK VAT at source as part of costs and they were responsible for paying it to the UK HMRC but not sure if Chuck has implemented that. I remember having to pay import/VAT on Syren imports in the past.
-
Hi Fred Its a Byrnes saw. imported it in 2016 when dollar/pound wasnt too bad. From memory customs fee was around £160. this was for an onvoice of around $800 ($150 of which was the shipping). I got a lot of extras to make best use of the shipping. So impressed with quality that I went back and got both the thickness and disc sanders. The planking stock comes off the saw ready to use. No need to put it through thickness sander as its already smoother and more consistent than stock that comes in kits.
-
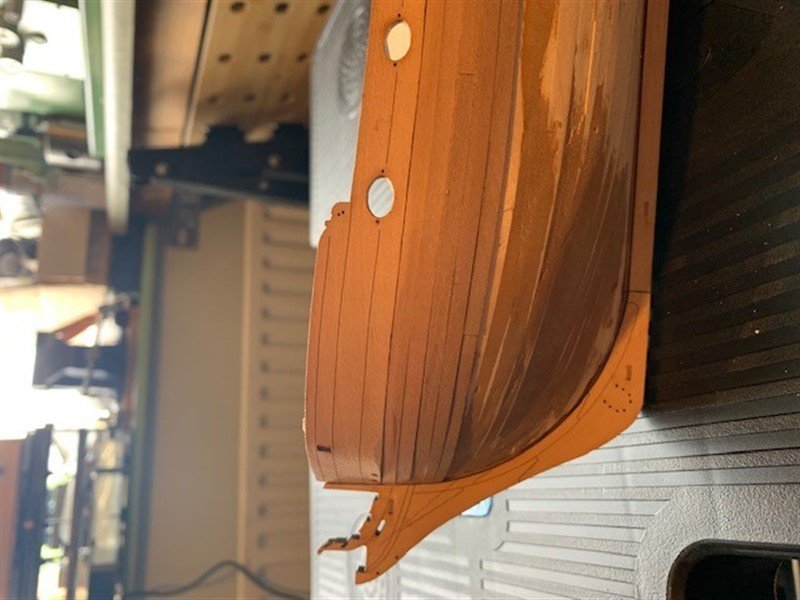
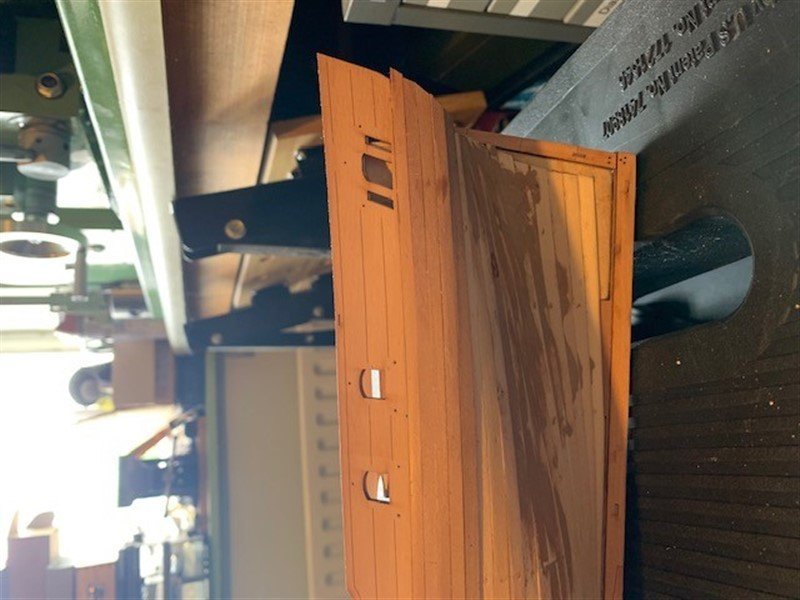
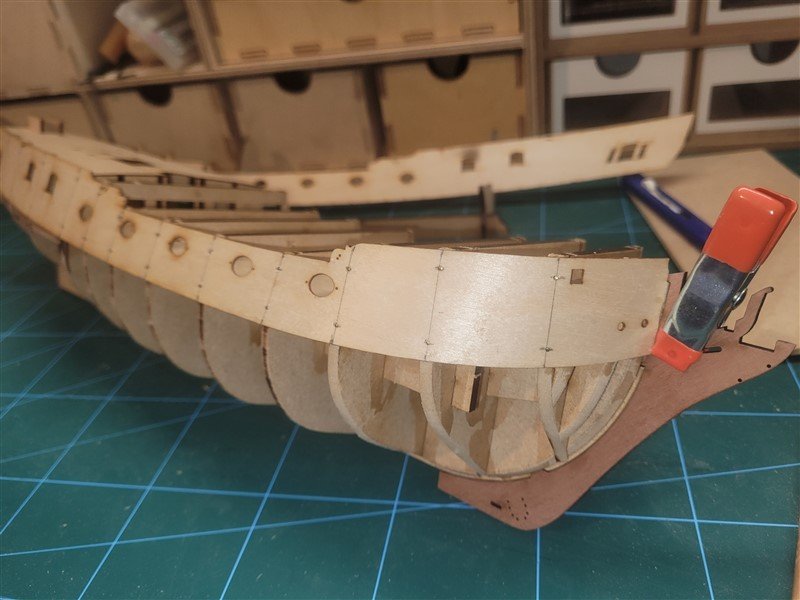
1st planking complete and looking ok with a bit of sanding and filler. I'll try and get some photos later. getting ready to add stern counter and outer side patterns.
-
Very slight bit of progress. got setup and started milling planking stock. Came out pretty well for first go. Have to admit I'm pretty intimidated by scale of this project. Haven't got up nerve to fair the bulkheads yet. I dont think my planking skills are up to a big single planked hull yet. I'm ok on double planked where I can use filler on top of first planking to get shape correct before second planking. But I think before attempting something as big as Winnie I'd be better doing a smaller more manageable single planked hull first. For that reason Im seriously considering officially putting Winnie on hold and doing Cheerful first as its a lot less to line off and learn on.

-
Theme display
mnewsholme replied to Blue Ensign's topic in Using the MSW forum - **NO MODELING CONTENT IN THIS SUB-FORUM**
You can change back to previous look easily. scroll down to bottom of page and select 'dimension' from drop down list when you click on theme. -
yes gonna try a drop plank or two for sure.
-
Making slow progress on first planking. Realise I havent tapered planks coming up from keel enough at bow end so I'm going to run out of space, But can make it work as it will be covered by 2nd planking anyway. Just need to remember to taper more on the 2nd planking.
-
first attempt with rope rocket
mnewsholme replied to mnewsholme's topic in Masting, rigging and sails
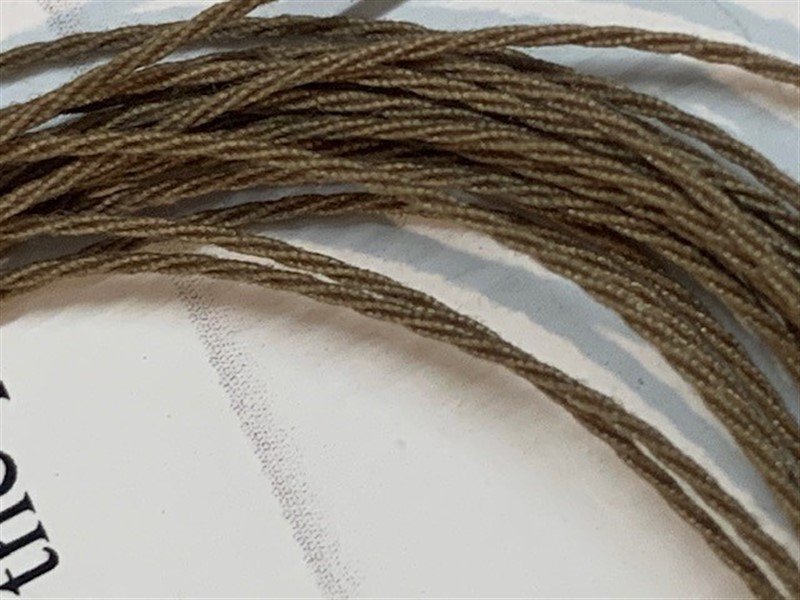
attempt 2. 3 strands mara 30 696. Wound it much tighter this time Was a bit surprised how tension I could put into the thread without it snapping. Think I could have put a bit more in too but think angle on this looks about right, certainly an improvement on first attempt. Need to a macro lens for this type of photo too.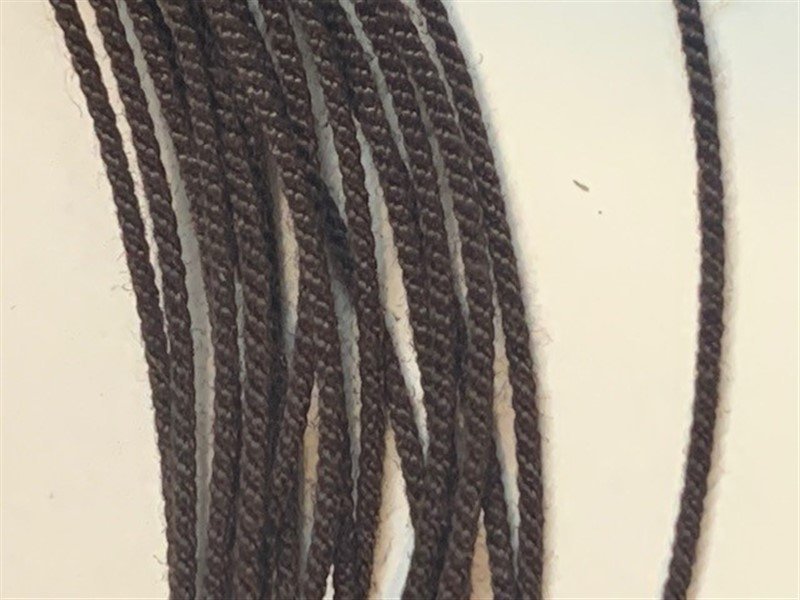
- 14 replies
-
- 15
-

-
first attempt with rope rocket
mnewsholme replied to mnewsholme's topic in Masting, rigging and sails
Thanks Chuck Will give it another go tomorrow and crank up the twisting. Suspected I hadn't gone far enough so good to have the confirmation. -
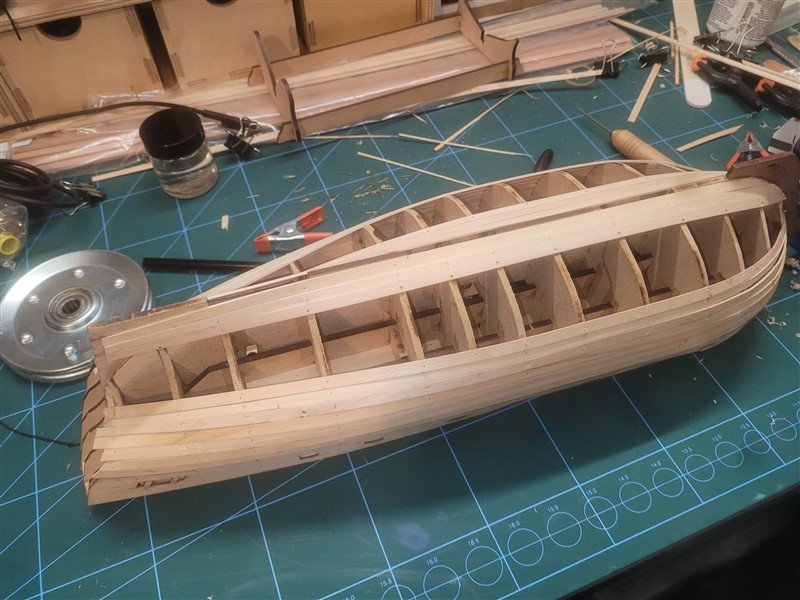
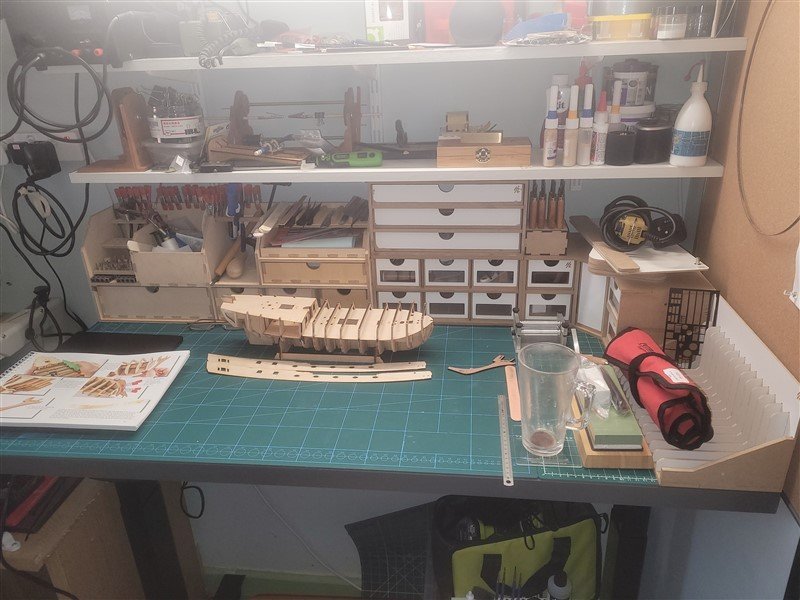
long time since this blog got an update but have made some progress. Stalled for a while as I remodelled workspace a bit changing to a height adjustable desk and improving the storage. Then added the ply bulkhead formers which went on ok and lined up pretty well. Now slowly working down the first planking. Need more practise at Chucks plank bending techniques which I'm struggling with a bit at the moment.

-
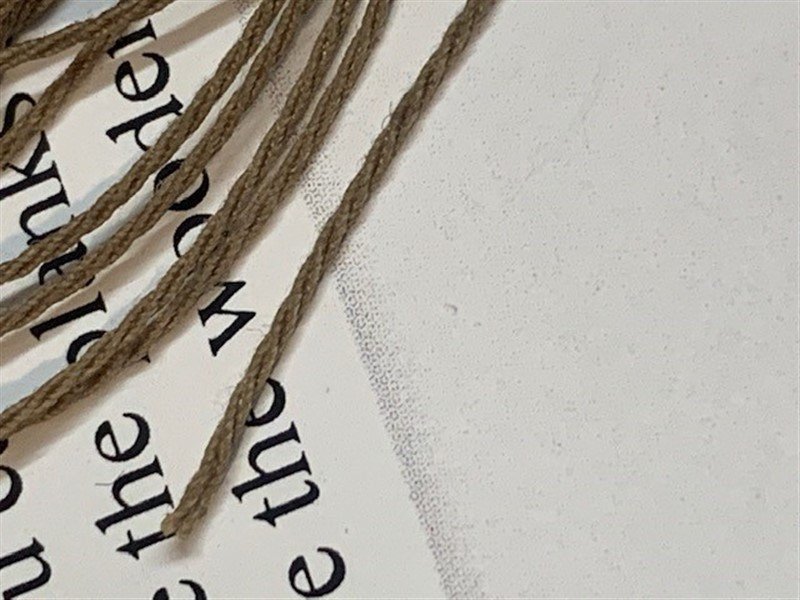
made a first attempt at making my own rope using rope rocket. I think I need to wind it a lot tighter at both stages? actually looks better in real life than in the closeups. using 3 strands of mara 70 2899 color. Question for those that have used rope rocket. Theres a pin that you put in the tailstock to prevent it rotating whilst you do first stage using headstock. You then remove this while you lay the rope up using the tailstock. Whilst laying up should the headstock be left free to rotate or immobilised somehow (no hole for a pin). I cant see whats happening at headstock end in videos showing rope being laid up and not sure which option is correct.