HOLIDAY DONATION DRIVE - SUPPORT MSW - DO YOUR PART TO KEEP THIS GREAT FORUM GOING! (Only 13 donations so far - C'mon guys!)
×

CDW
-
Posts
7,742 -
Joined
-
Last visited
Content Type
Profiles
Forums
Gallery
Events
Everything posted by CDW
-
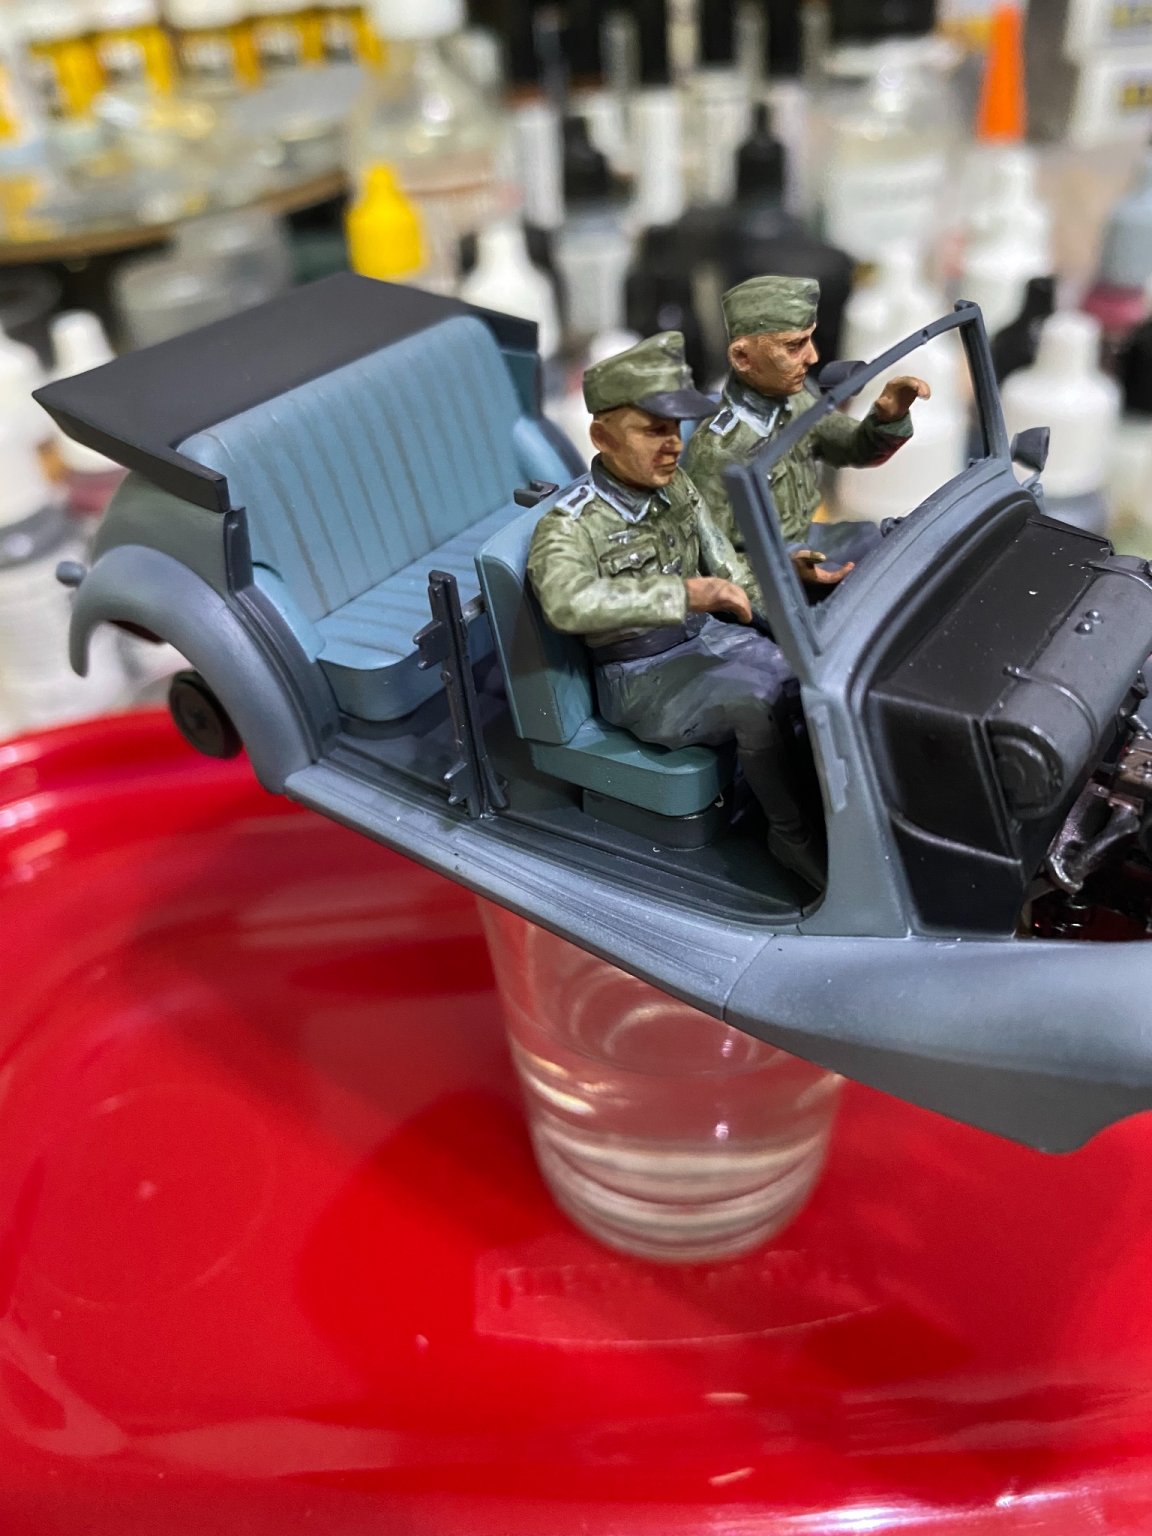
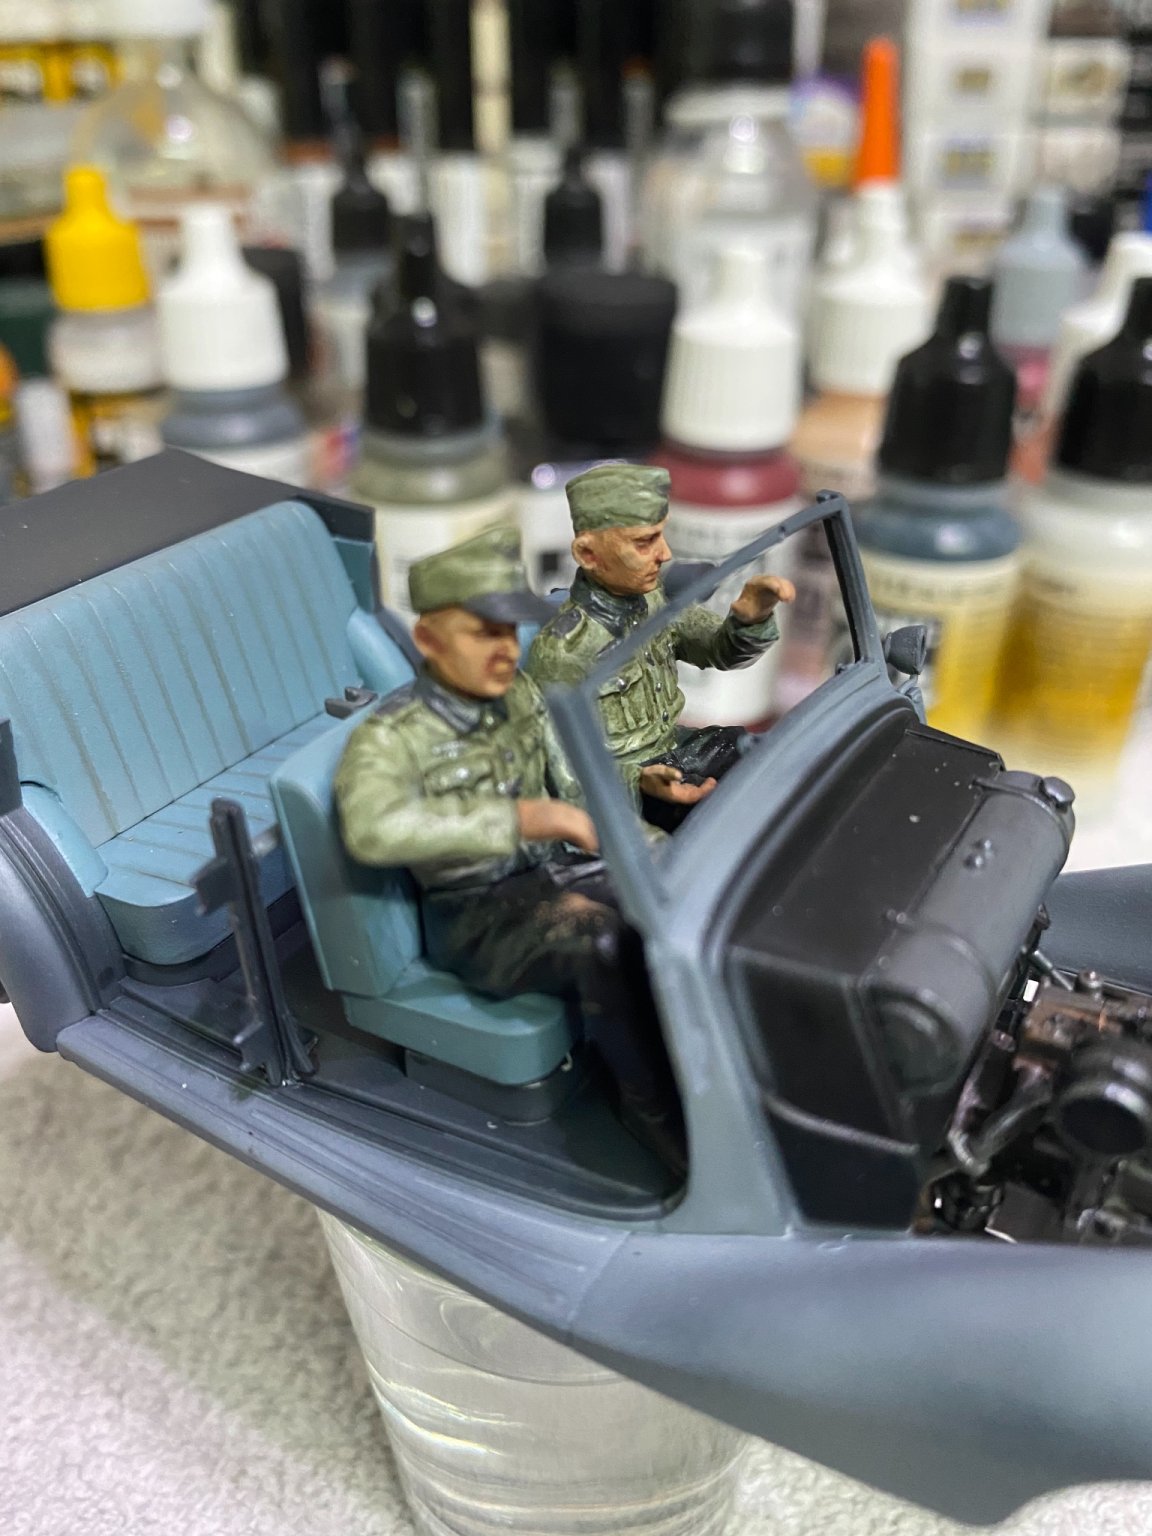
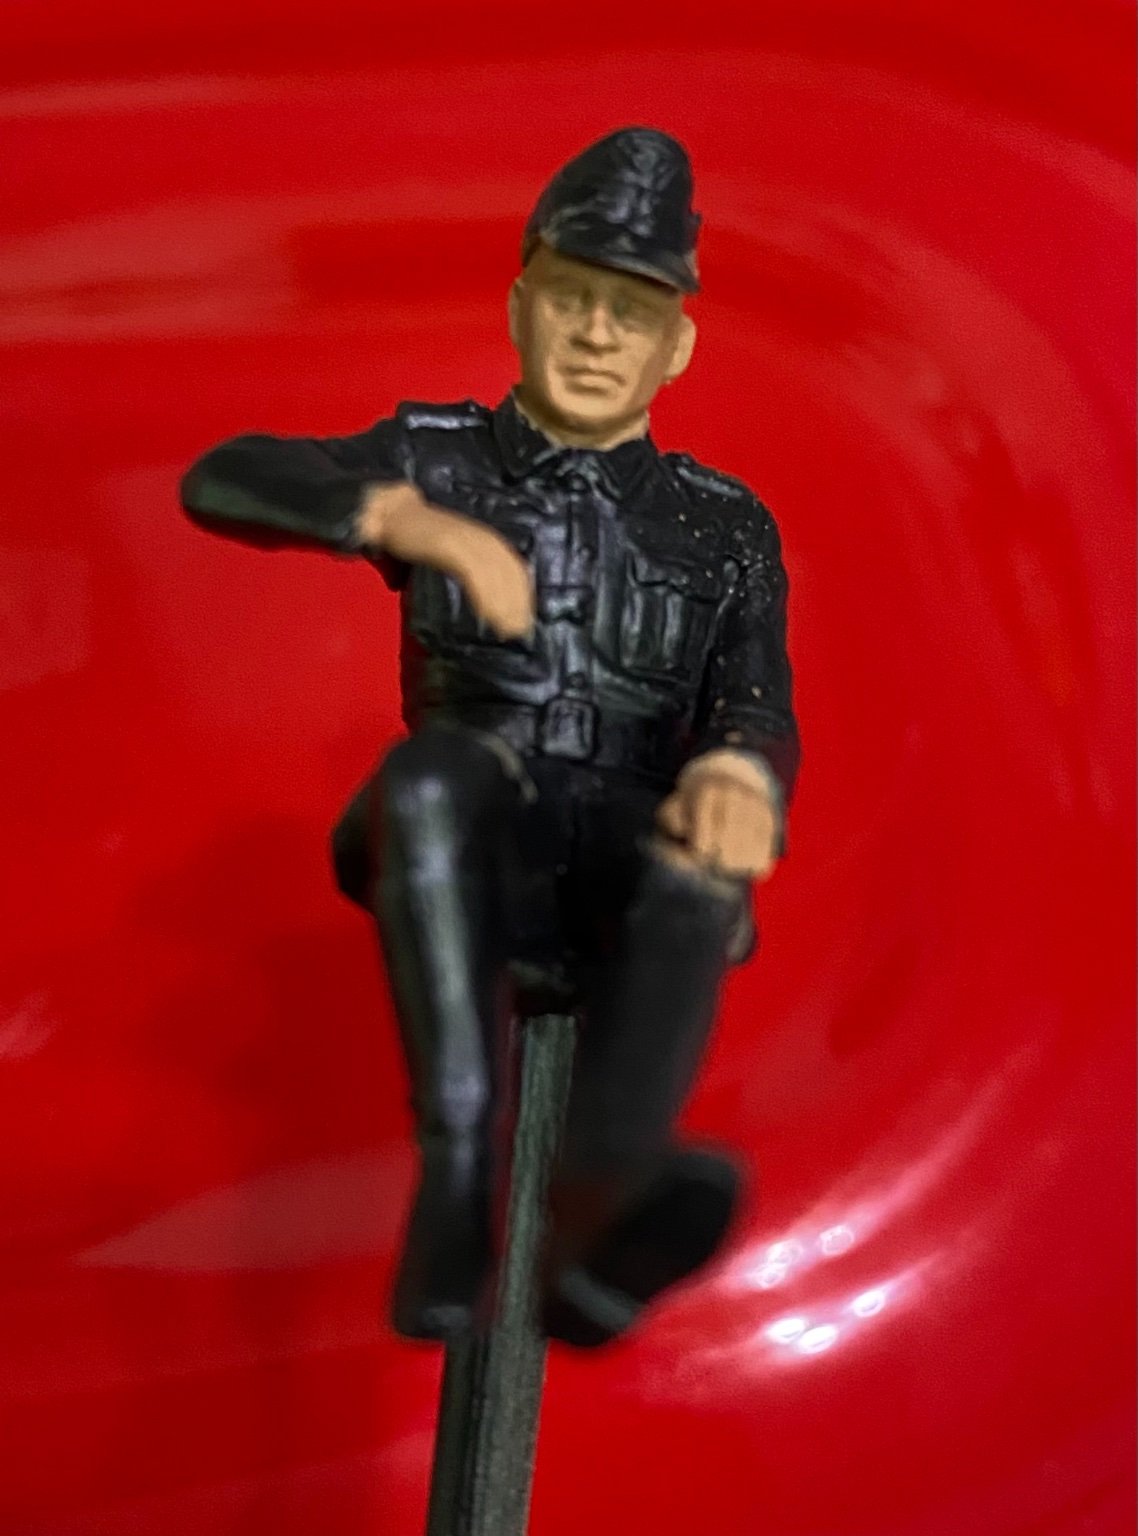
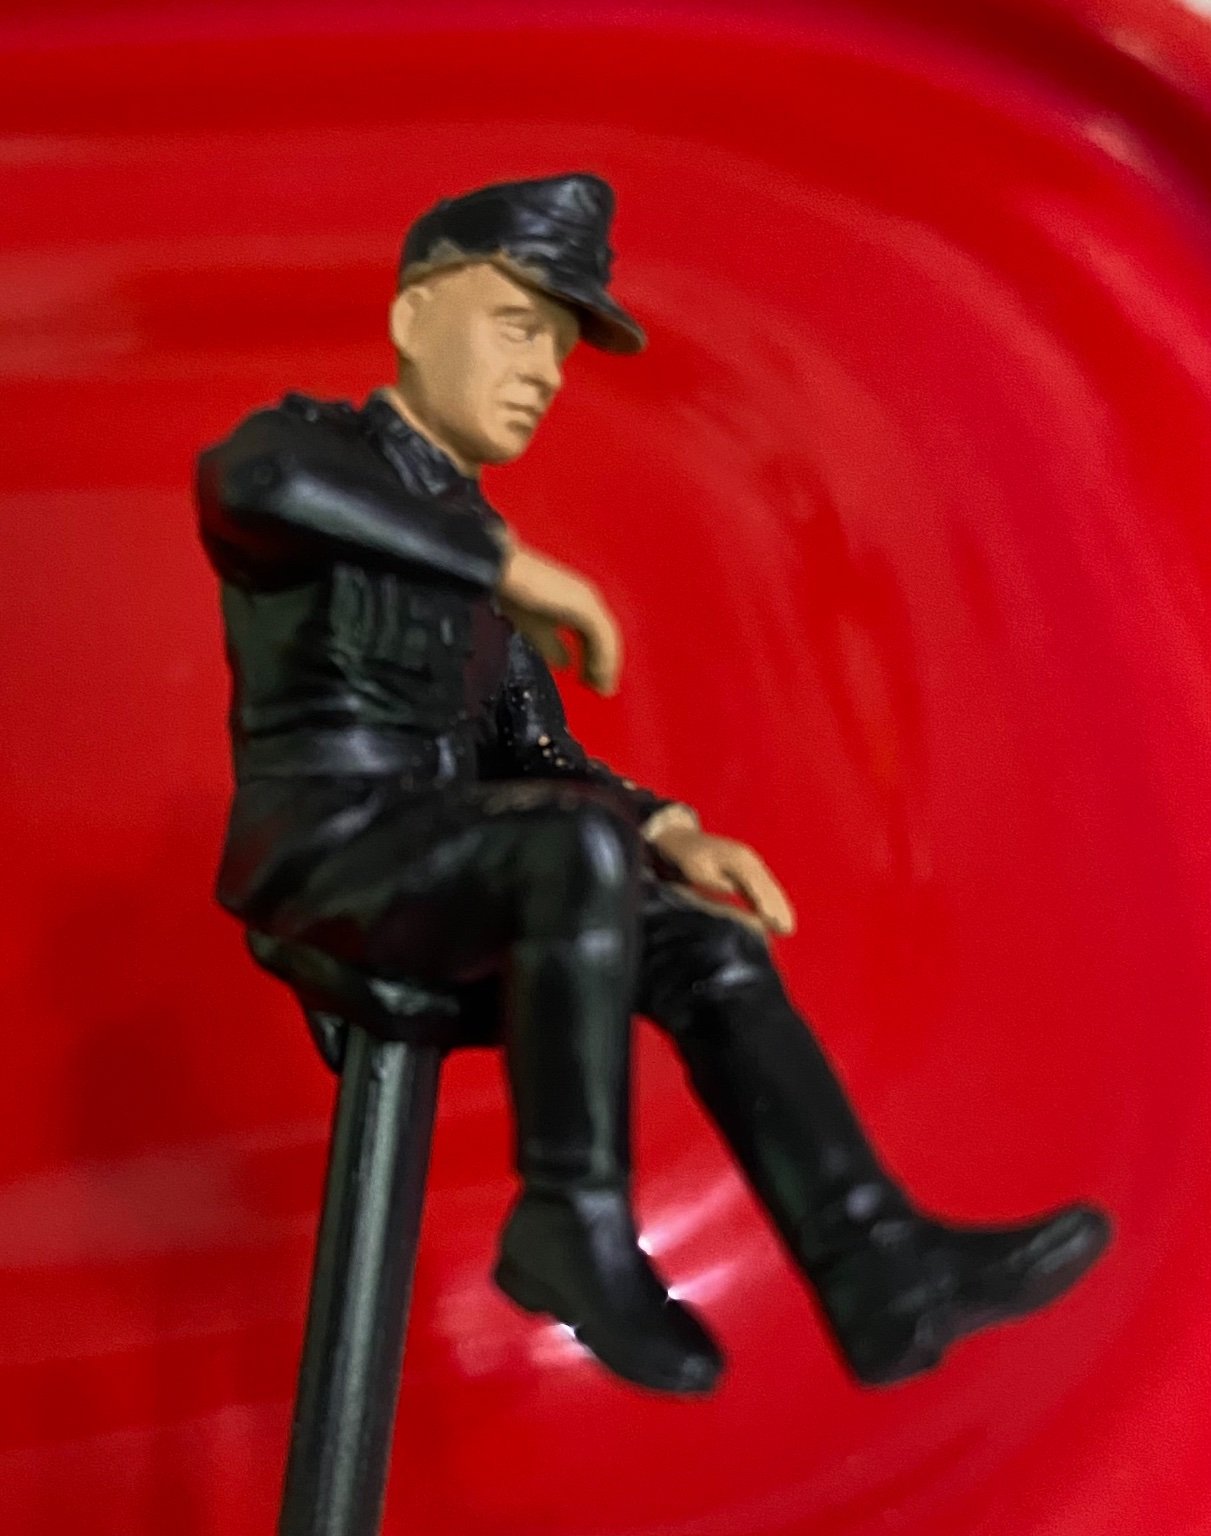
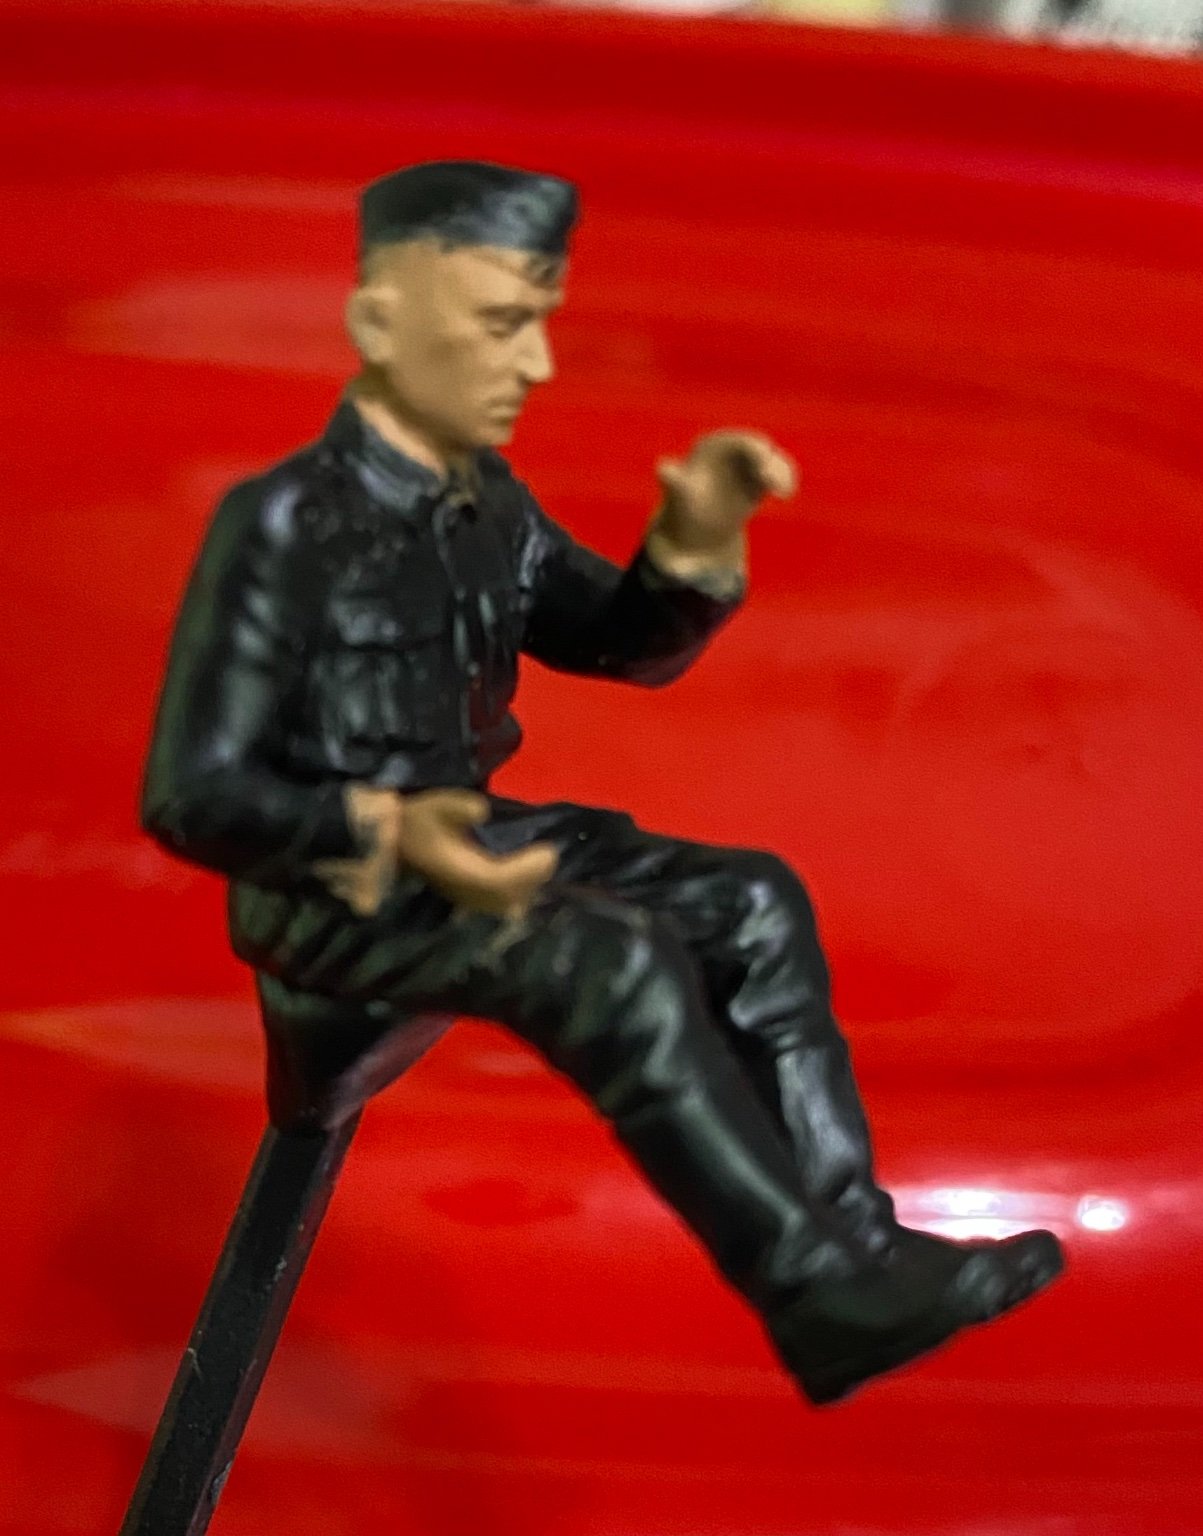
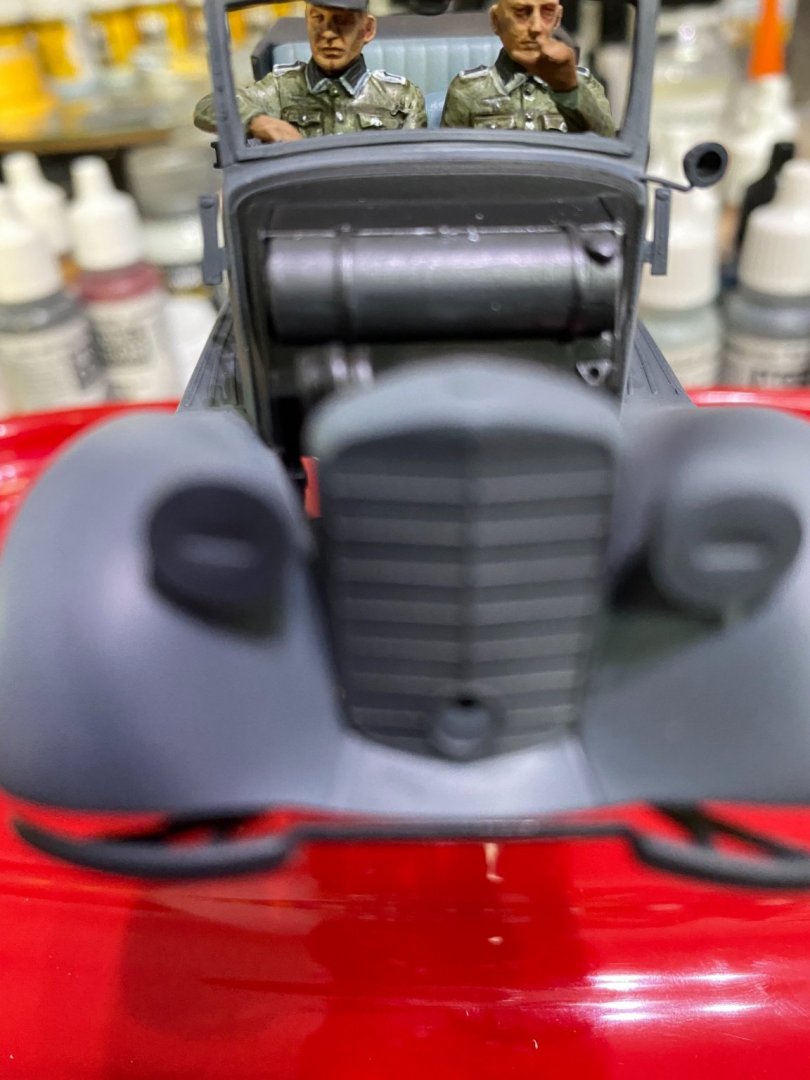
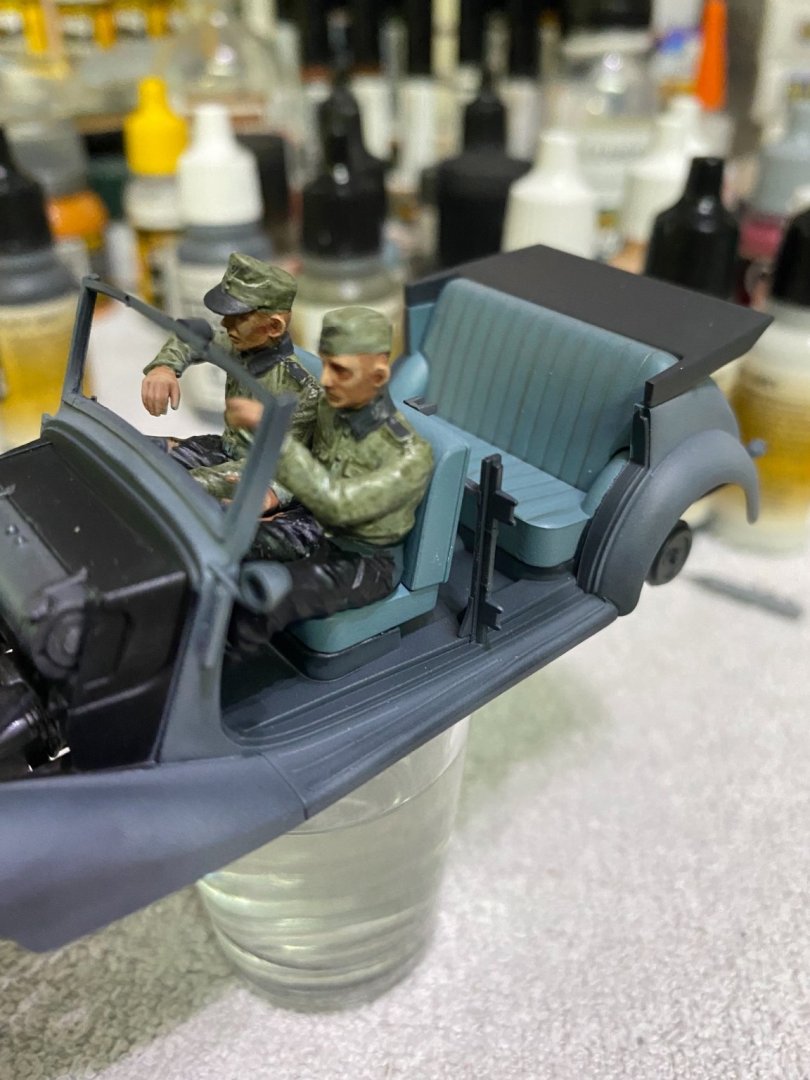
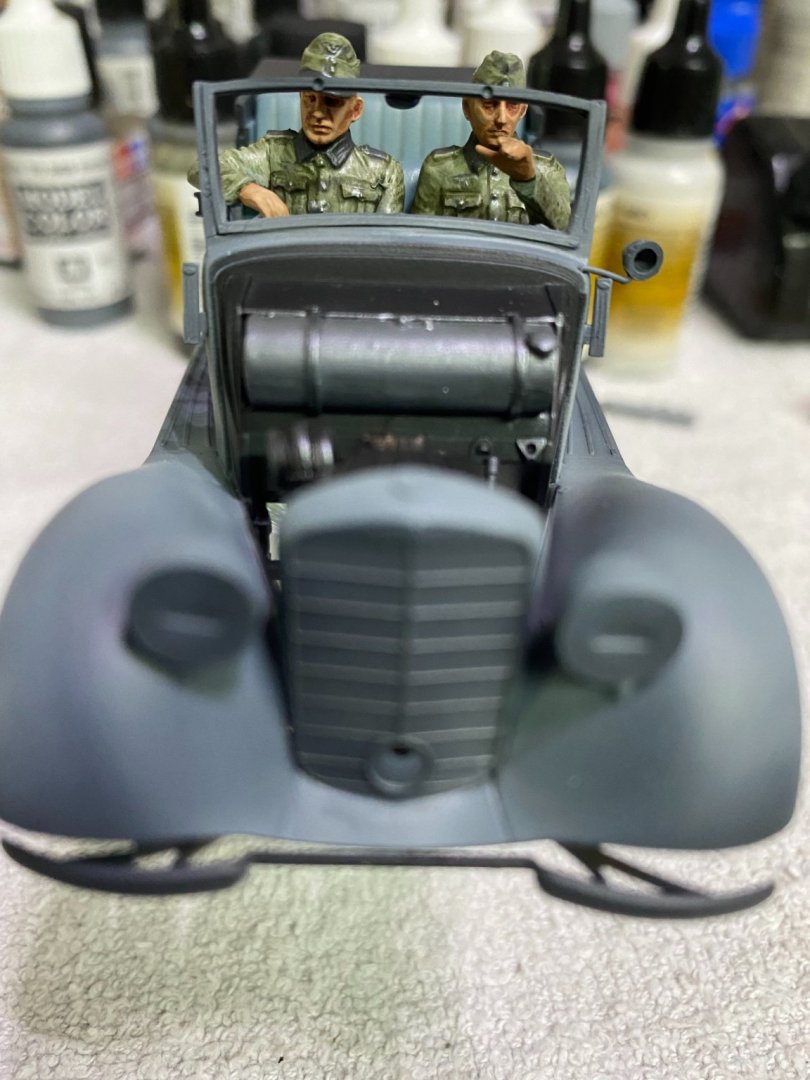
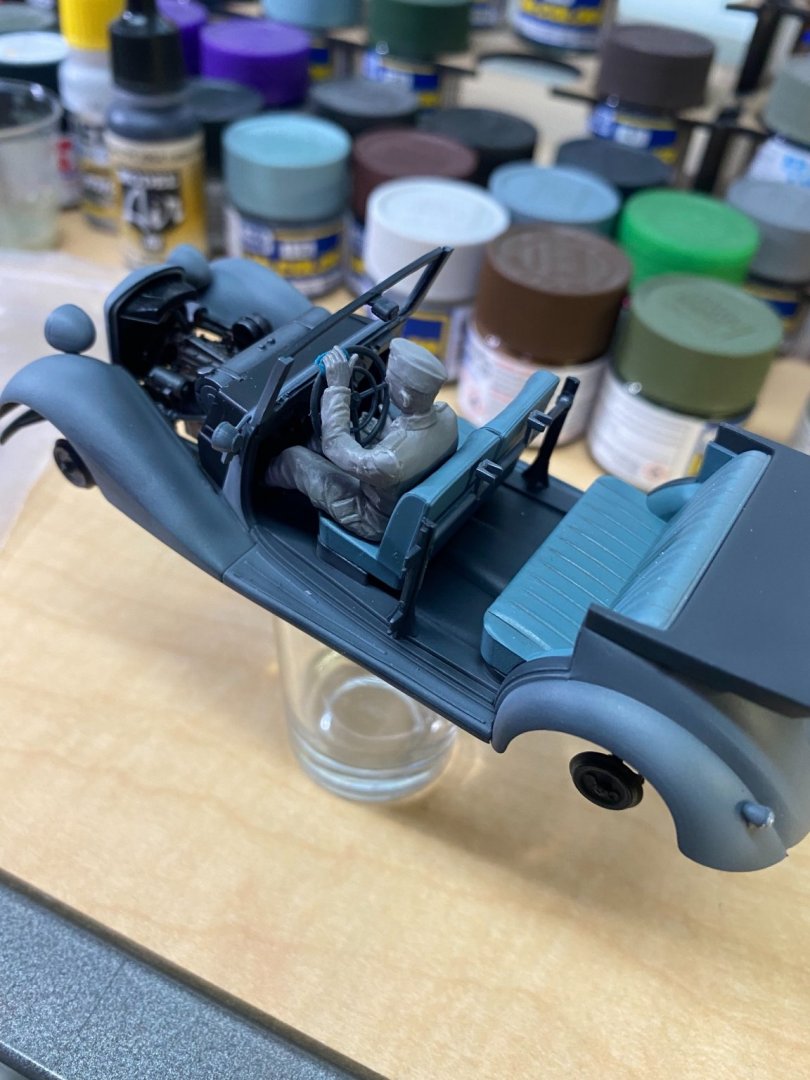
 It was interesting to learn from that video the Sable hairs actually have specific features that nature built in that enables them to "hold" more paint. It's amazing to me the brush design is almost 200 years old and was originally ordered by the Queen. Quite a history. This all lead me to another video that goes deep into the subject of paint pigments and how rare/expensive some of them have been and sometimes still are. Certain brown pigments were once obtained by grinding up Egyptian mummies. Yellow pigment from cow **** when fed a specific diet (not even kidding). Blue pigment from very hard to acquire crystals from Afghanistan. Just to make sure I stay at least slightly on topic 😄, here are the driver and front seat passenger photos after painting their lower bodies. Front doors are all buttoned up. Now for the back seat passengers...
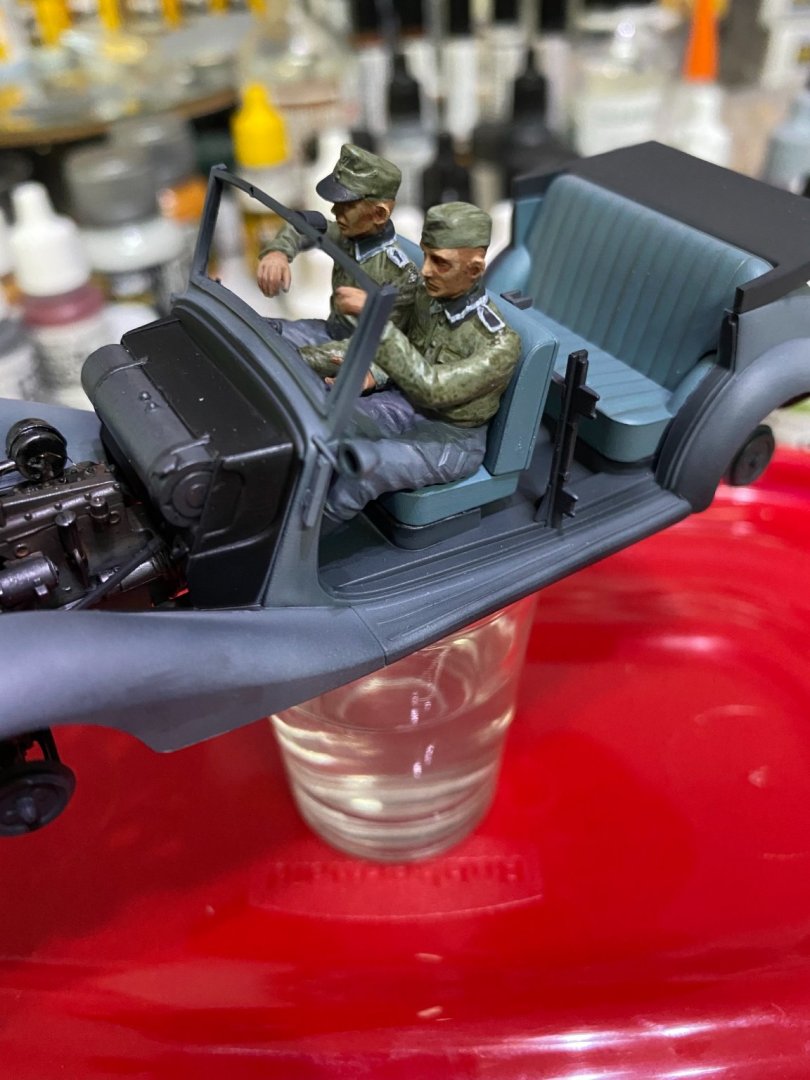


- 143 replies
-
- 15
-

-

-
She's a beauty Alan. You are really coming on strong with your modeling skills! Keep up the good work, I always enjoy following your build threads. The $1 foam boards with $1 battery powered LED lights found at the Dollar Tree makes great photo boxes, cheap. Quick and easy. Last time, I wanted to find a light blue pastel foam board but could only get the white ones. Now I have a black one and a white one, but still want the light pastel blue, even if I have to paste on pastel blue paper over the foam.
-
Thanks! I'll buy a tin of the cleaner/preserver next chance I get. It would be a shame to abuse a brand new set of brushes. Hey, we are all friends here discussing our models, tools, and sometimes other interesting tidbits. It's all good to me. 🙂
-
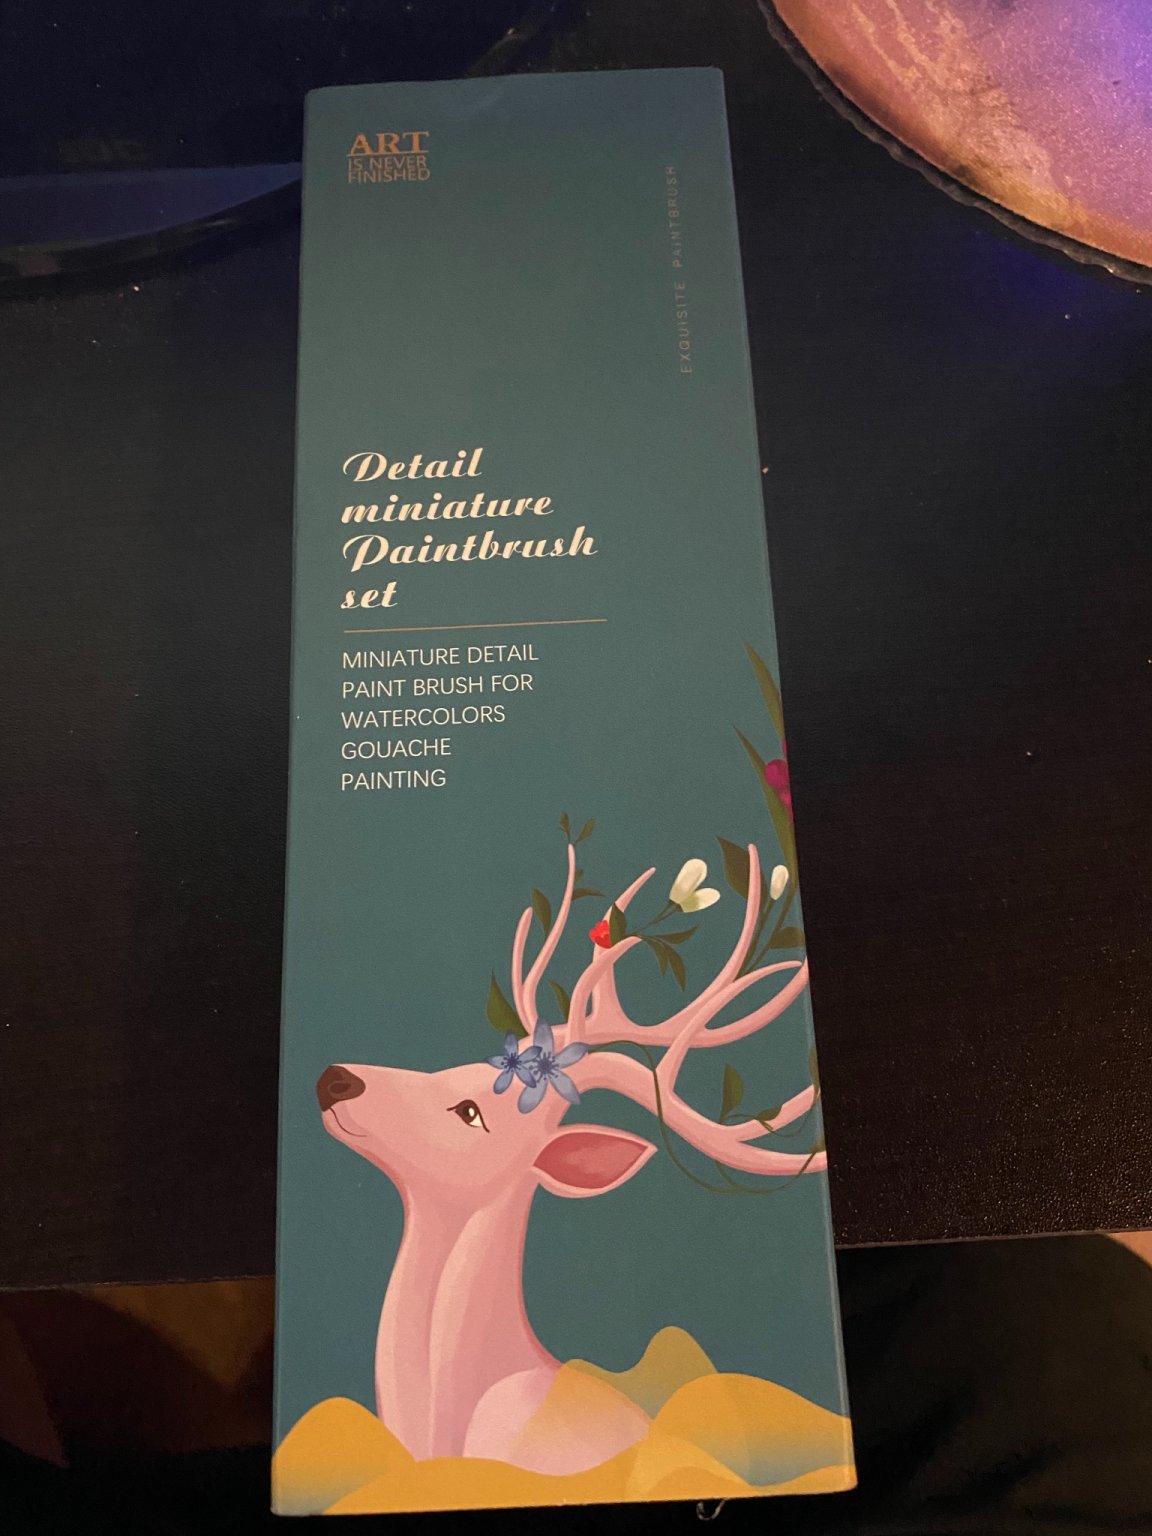
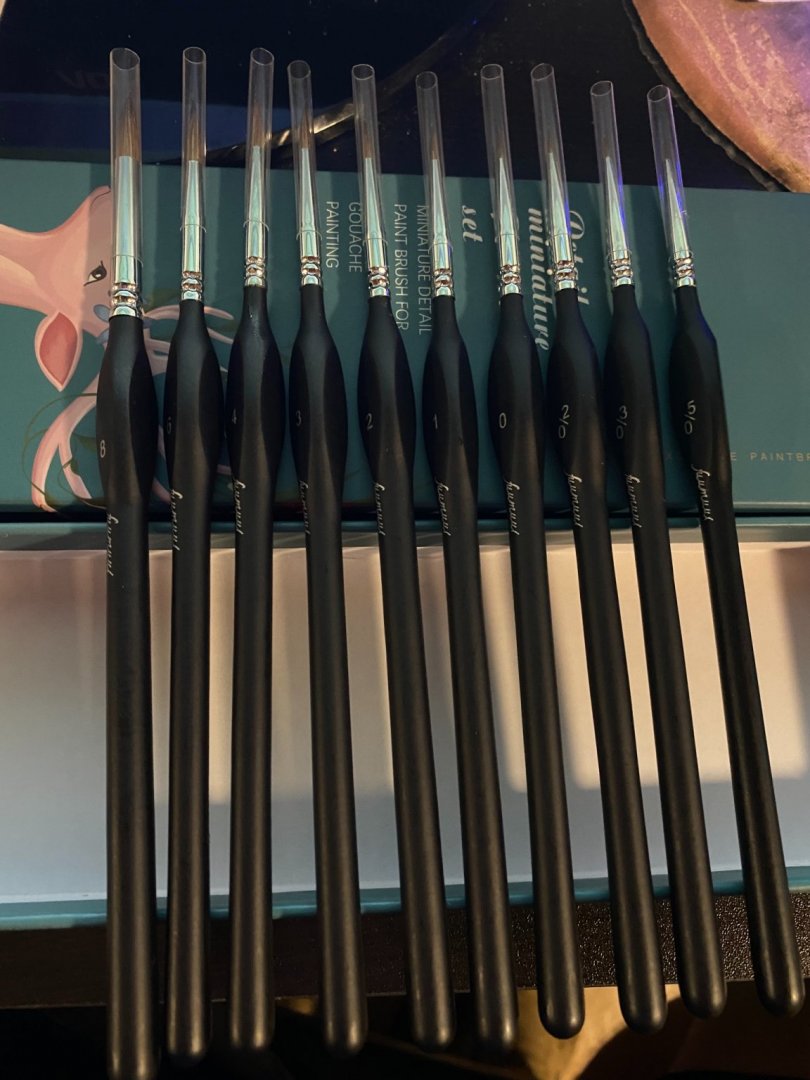
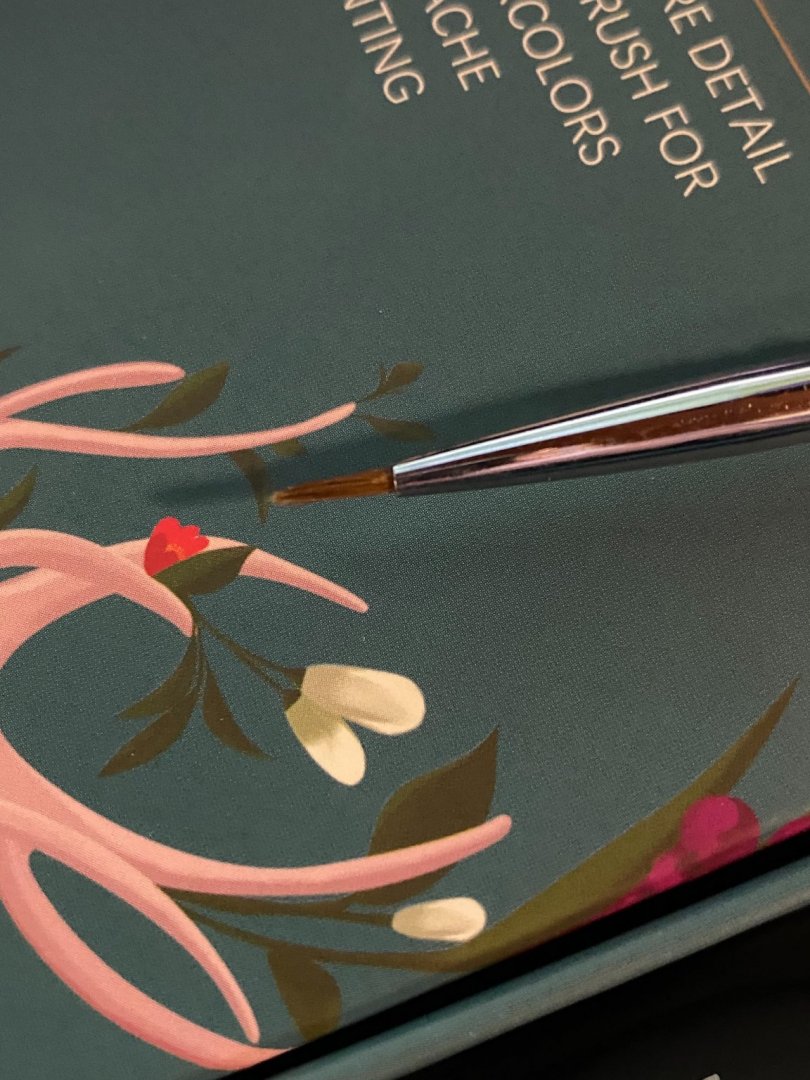
Here’s the set of 10 brushes. Look nice to me. A close up photo of the 2/0 brush.

-
I use plain old water or paint thinner for cleaning my brushes when brushing on acrylics. I've thought about buying a tin of that brush cleaner/conditioner than comes in a flat, round container, but I'm not certain of the benefits of it. I've never owned a set of quality model paint brushes before. Maybe I need to use something that helps keep them in shape? On another note, there's a good Youtube video that shows why Kolinsky sable brushes are highly desirable (and expensive). They are hand made. The video shows how they are made. This makes me wonder if we are really getting genuine Kolinsky sable brushes for the low price we're paying. I doubt it after watching this video. As long as they are decent, I'll be happy. Will let you know later today after they arrive. They are out for delivery.
- 143 replies
-
- 10
-
-
-
Yes, the price has kept me from jumping on it as well as the fact the virus has caused unwanted delays in almost everything production-wise, particularly in the things we would typically not hesitate from buying in countries off shore. There was an item I had bought here, made in the USA on pre-order. A year went by and because of the virus, delivery on it was going to be later but uncertain. I cancelled the order. On a brighter note, I bought a set of 8 10 nice Kolinsky sable brushes at a very good price on Amazon this week. Less than $20.
-
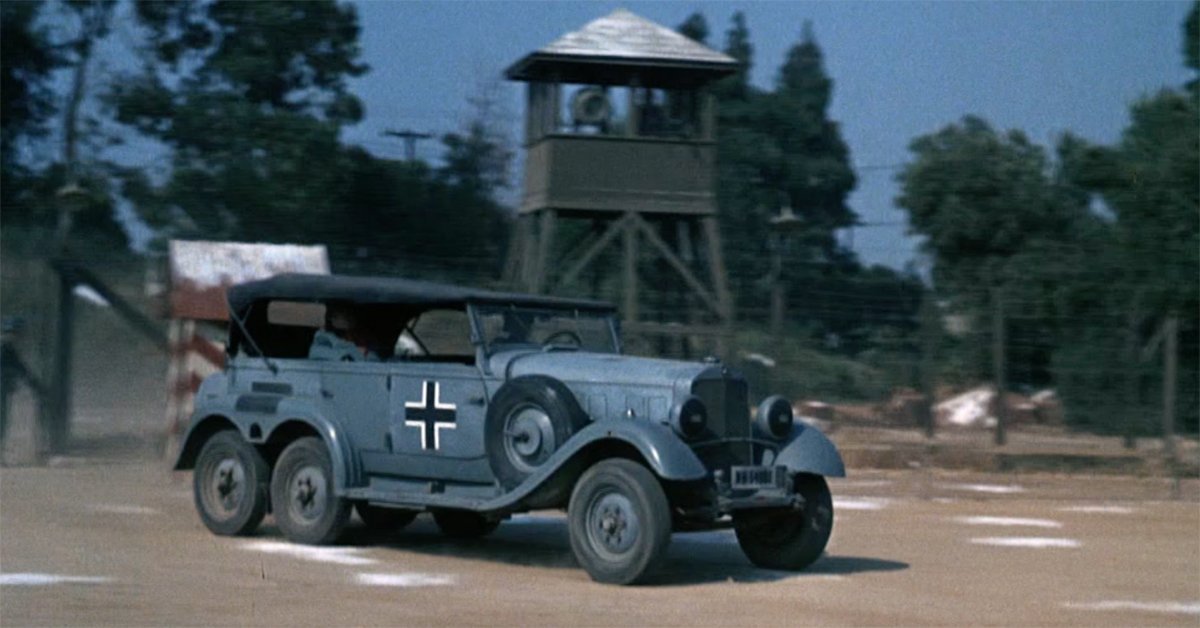
Thanks for sharing that info about Hogan's Heroes, EG. Never heard about any of this before now.
-
Check this one out:
-
Thanks EG. Let me encourage you to give it a try if you haven't. It's rather fun and relaxing. There are tons of tutorials on various (actually scads) methods for the painting. I do recommend making or buying a cheap wet palette for keeping your acrylic paint wet. A drop or two will last days or even weeks on the wet palette, plus you want the paint somewhat watery to get the desired results with the acrylic paints. Have you or anyone else ever seen the Artis Opus series D dry brush set? If not, you have to go up on Youtube and look it up. What can be done with dry brushing acrylic paints with their brushes is nothing short of amazing, and I do not say this lightly.
-
I’m as slow as the seven year itch painting these figures, but having fun while entertaining myself doing it. Something new. Only worked on the upper bodies so far. Still need pin stripes on the collars and little details like that. Got two passengers for the back seat, one is a Fraulein. 😁 Don’t worry moderators, it won’t even be PG-13. All clean stuff.


- 143 replies
-
- 13
-
-
-
Last year I ordered a couple of kits from Russia that took over three months to arrive. Hung up somewhere in Europe from what I've been told. Makes me leery ordering from Russia now.
-
She looks great Alan! When you order from Asia, try to order from vendors in Hong Kong or Taiwan. For some reason, their shipping is much quicker and more reliable. There are some vendors in mainline China that do a good job as well, but it seems to be more hit-or-miss when it's from the mainland. Not sure why, it just is what it is. I learned the hard way.
-
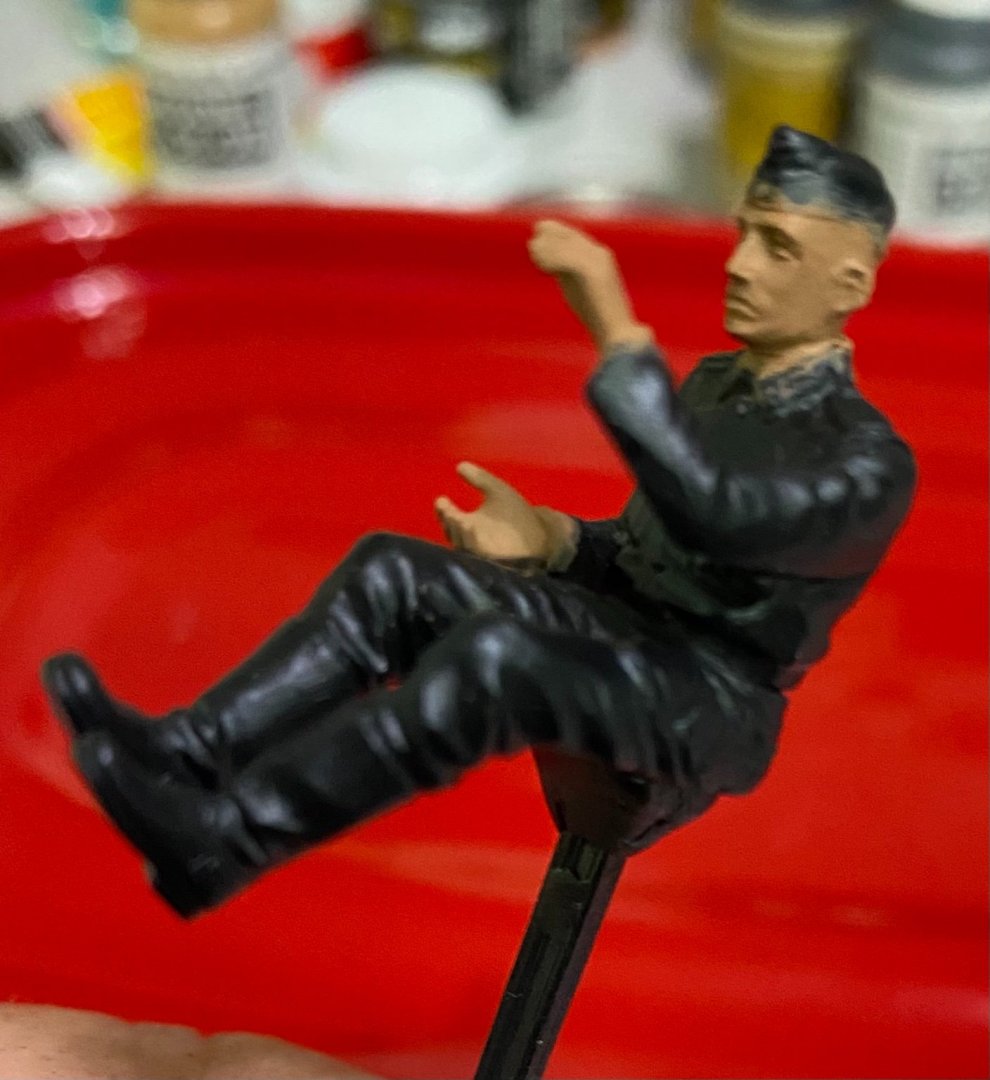
Using Vallejo acrylic paints, started by spraying on black primer. The first face and flesh color applied by brush is brown sand. This will be followed by many multiple thin coats of various flesh shades to achieve a desired outcome. For this exercise, I made a “wet palette” to keep the paint thin and wet. Vallejo and others subscribe to many thin coat applications to prevent any ‘clumpiness’ in the finished paint.


- 143 replies
-
- 10
-
-
Everything looks brilliant. You are really doing this ship some justice, Mike. Love seeing your updates.
-
Probably so but since I never use the figures…
-
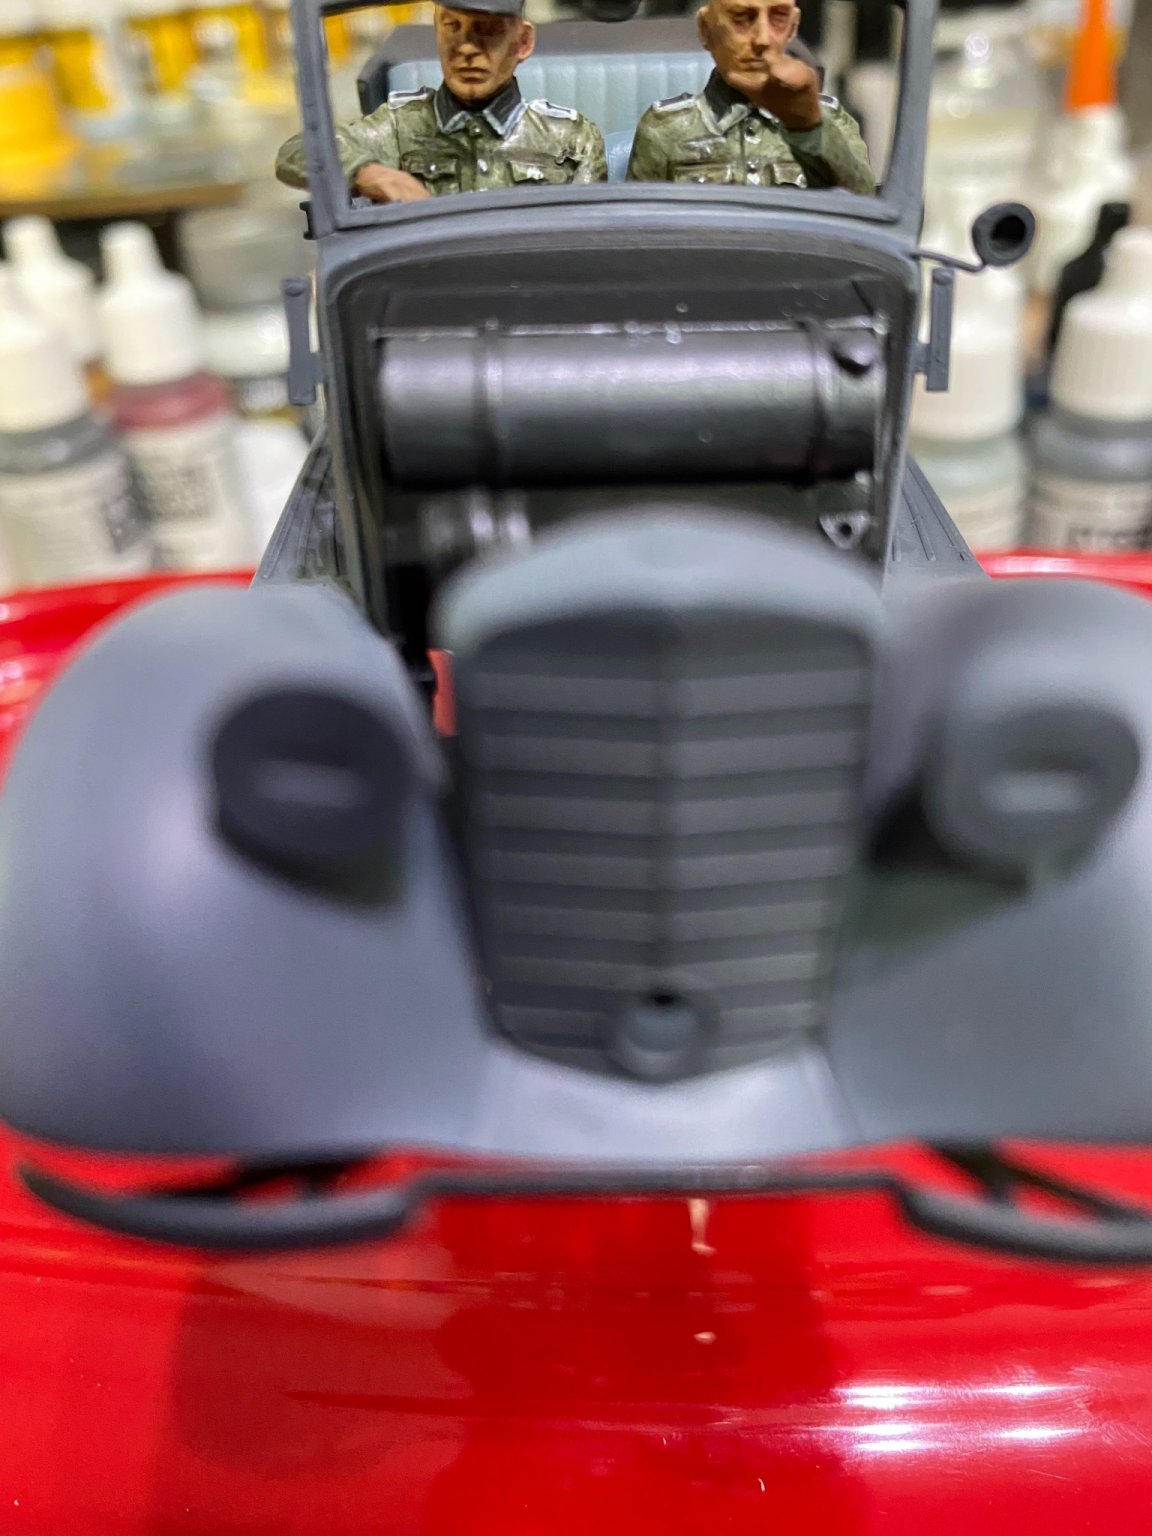
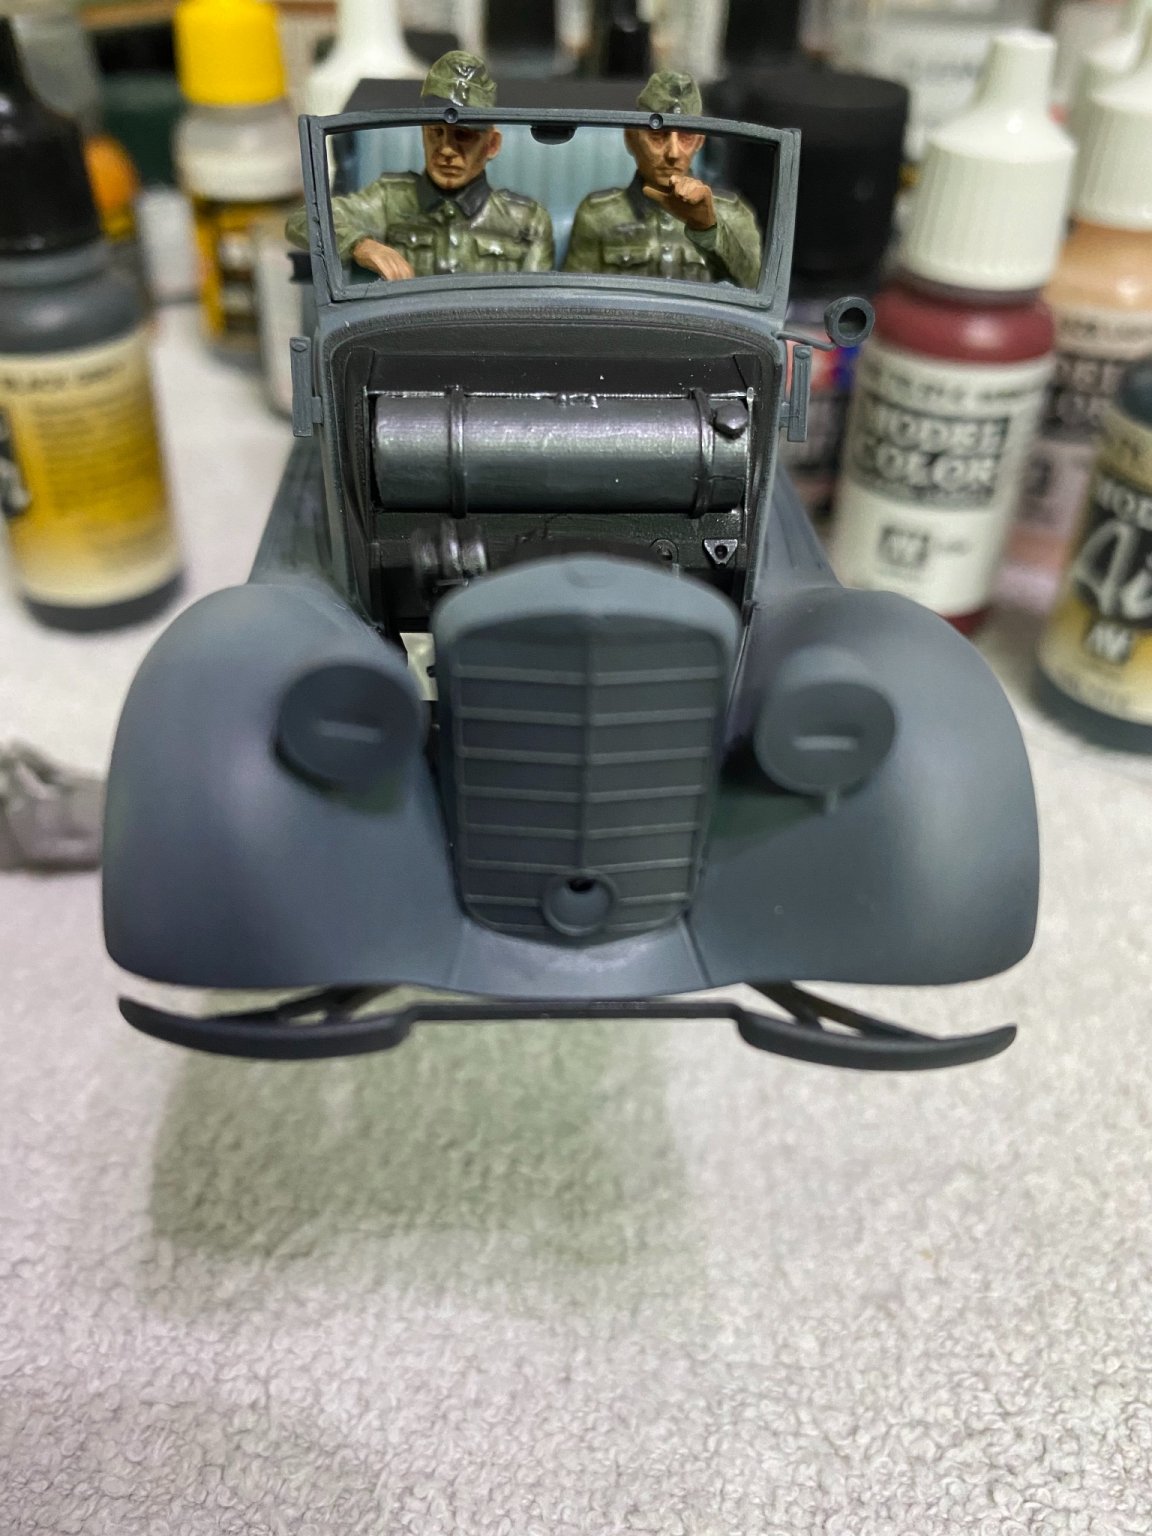
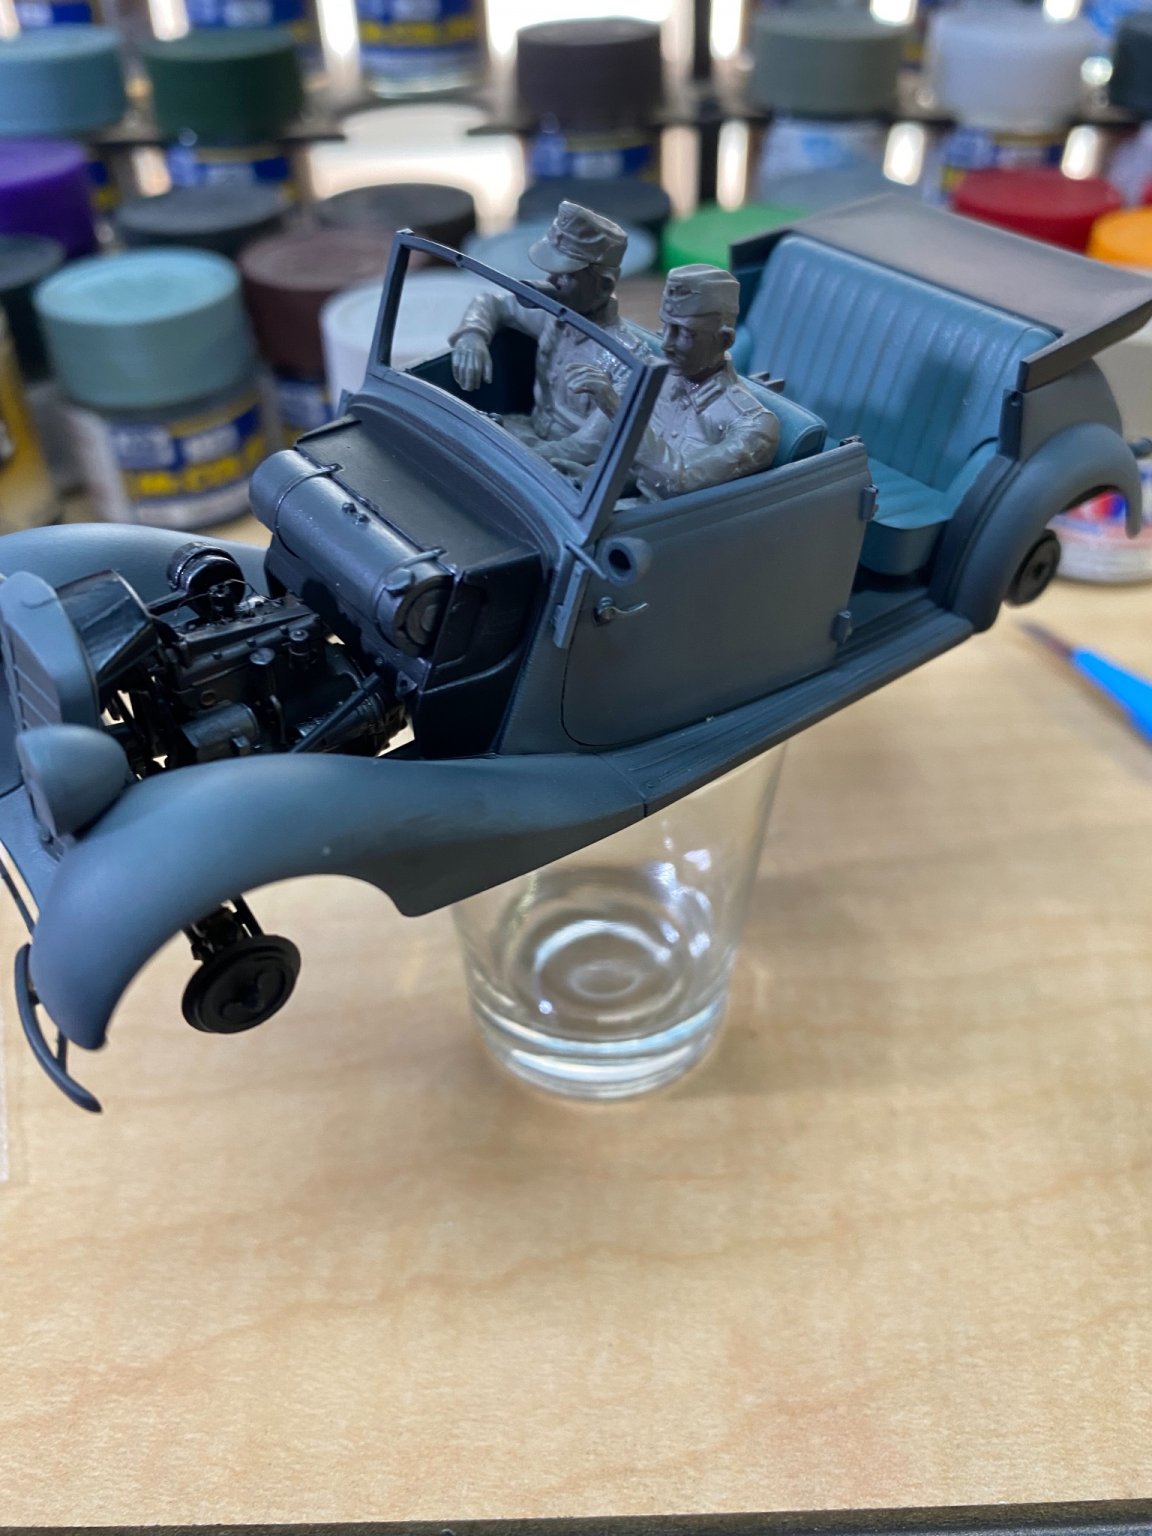
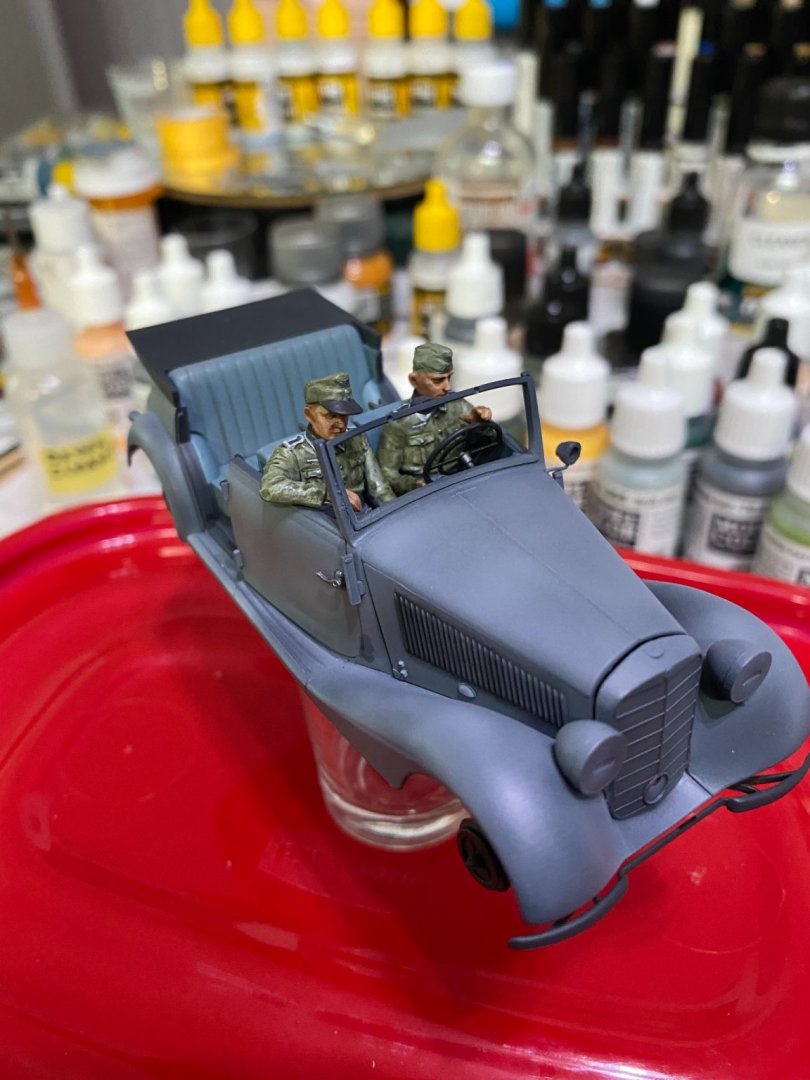
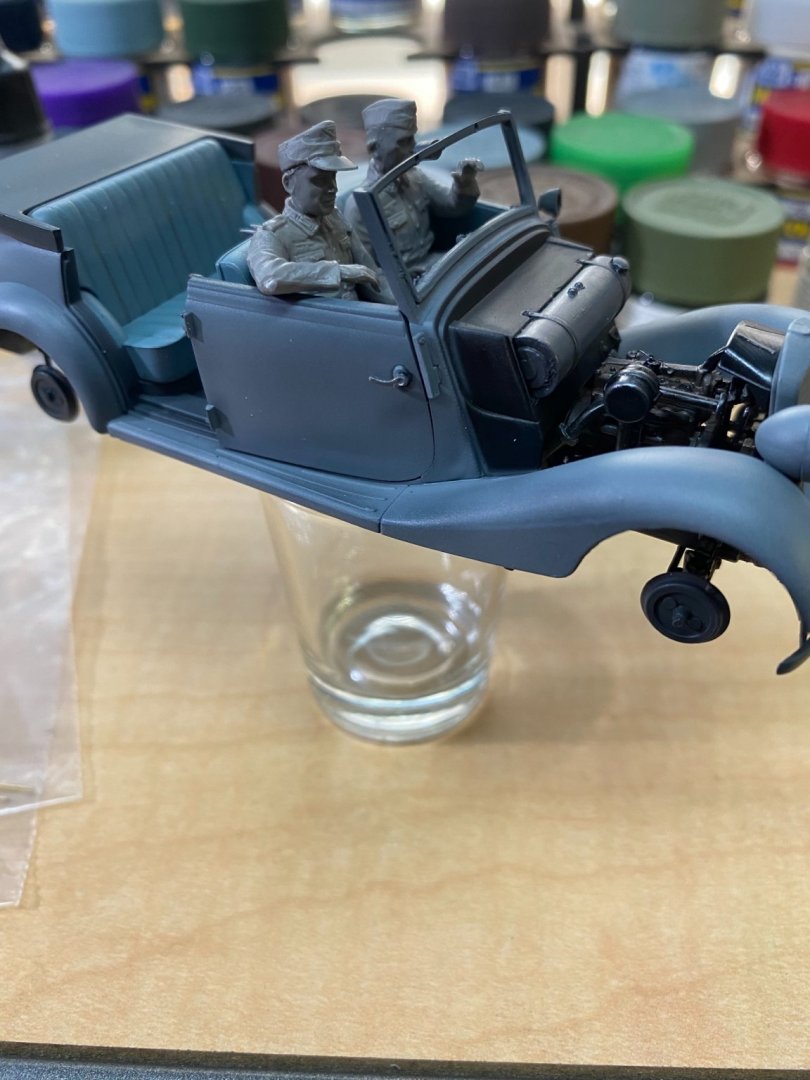
Test fit, test fit, and test fit again. Had to remove both inner door latch handles in order to get the doors to close. It”s a tight fit for two men in the front seat!


- 143 replies
-
- 14
-
-
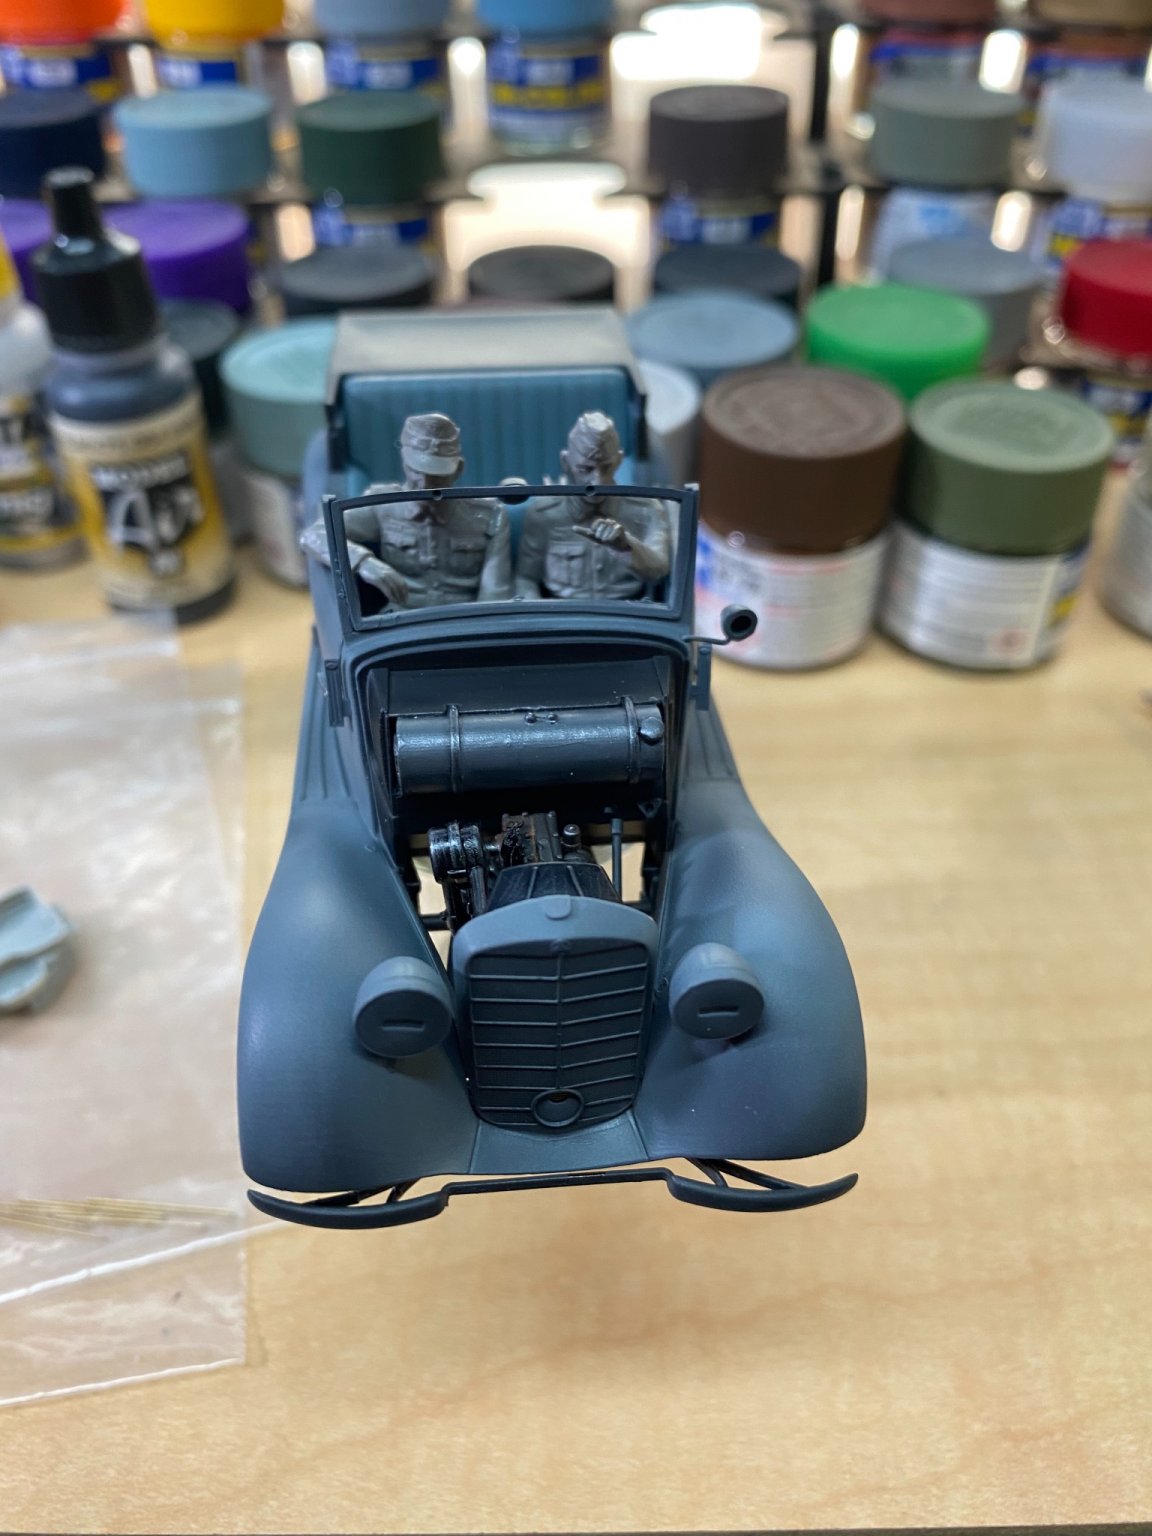
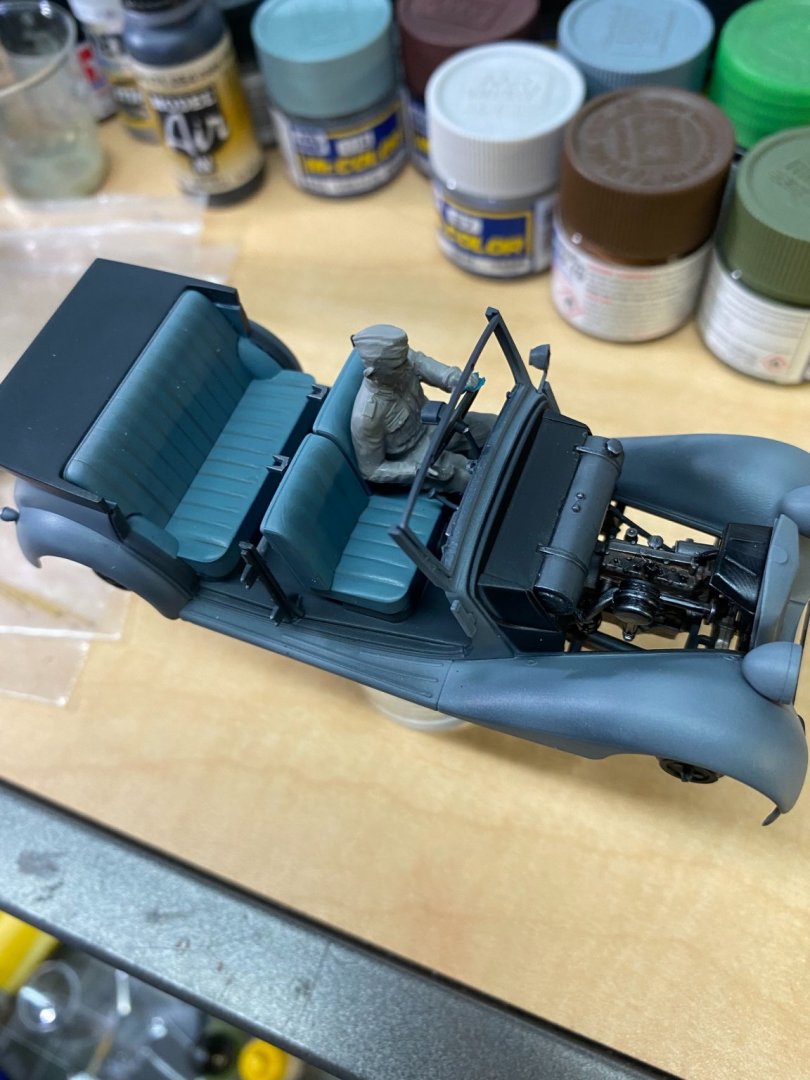
It’s just a dry fit. Makes no sense to paint unless you know it fits, first. I wasn’t sure it the arms and Hans would be in the proper position to hold the steering wheel.
-
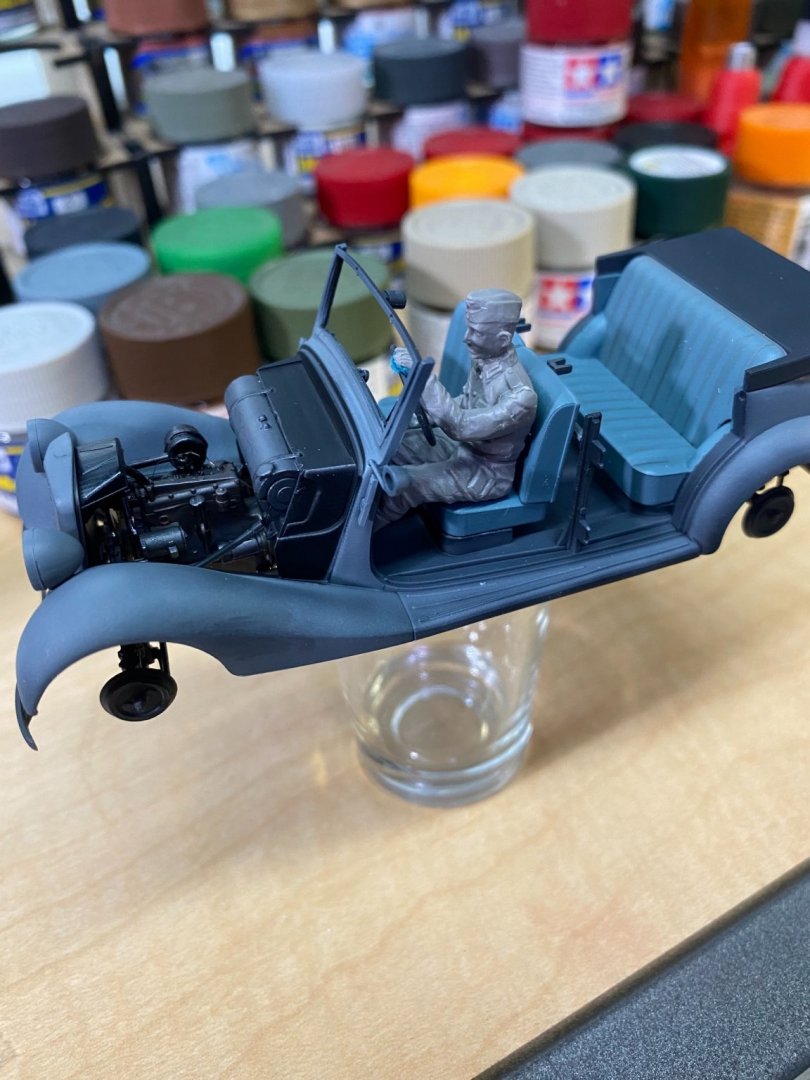
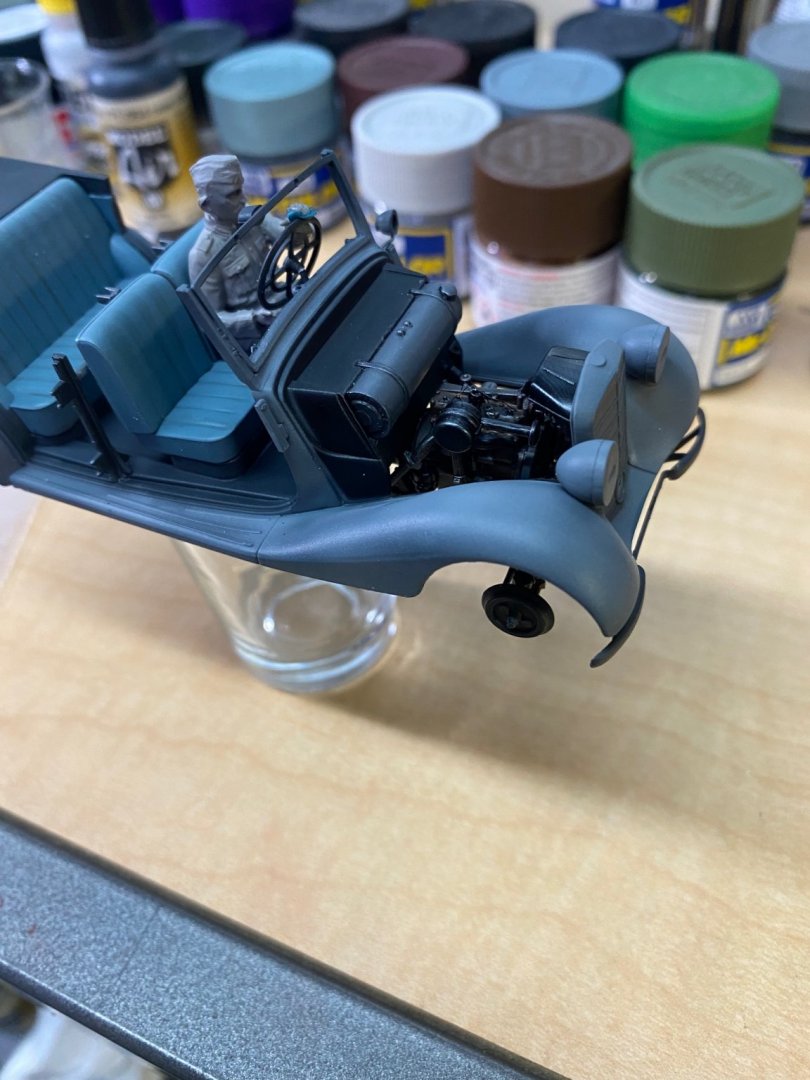
Once adding the figures, makes me realize how small the car is.
-
Thanks Edward. I'm not a figure painter but will give it my best shot. Been watching some techniques that I'll try out here for the first time, so will just have to see how it goes.
-
I had not considered how tricky it might be to get the figures fitted into the model. Had to break away the clutch and brake pedals, then break away the steering wheel and column. A rough dry fit indicates I can get it to work. After painting the figure, will need glue the wheel into his hands then deal with the steering column. The clutch and brake pedals cannot stay, not enough space and you couldn’t see them anyway. The remaining figures should fit much more easily. Nothing in the way.
- 143 replies
-
- 10
-
-
Indeed it does. Great job on these figures OC.