HOLIDAY DONATION DRIVE - SUPPORT MSW - DO YOUR PART TO KEEP THIS GREAT FORUM GOING! (Only 13 donations so far - C'mon guys!)
×

CDW
-
Posts
7,742 -
Joined
-
Last visited
Content Type
Profiles
Forums
Gallery
Events
Everything posted by CDW
-
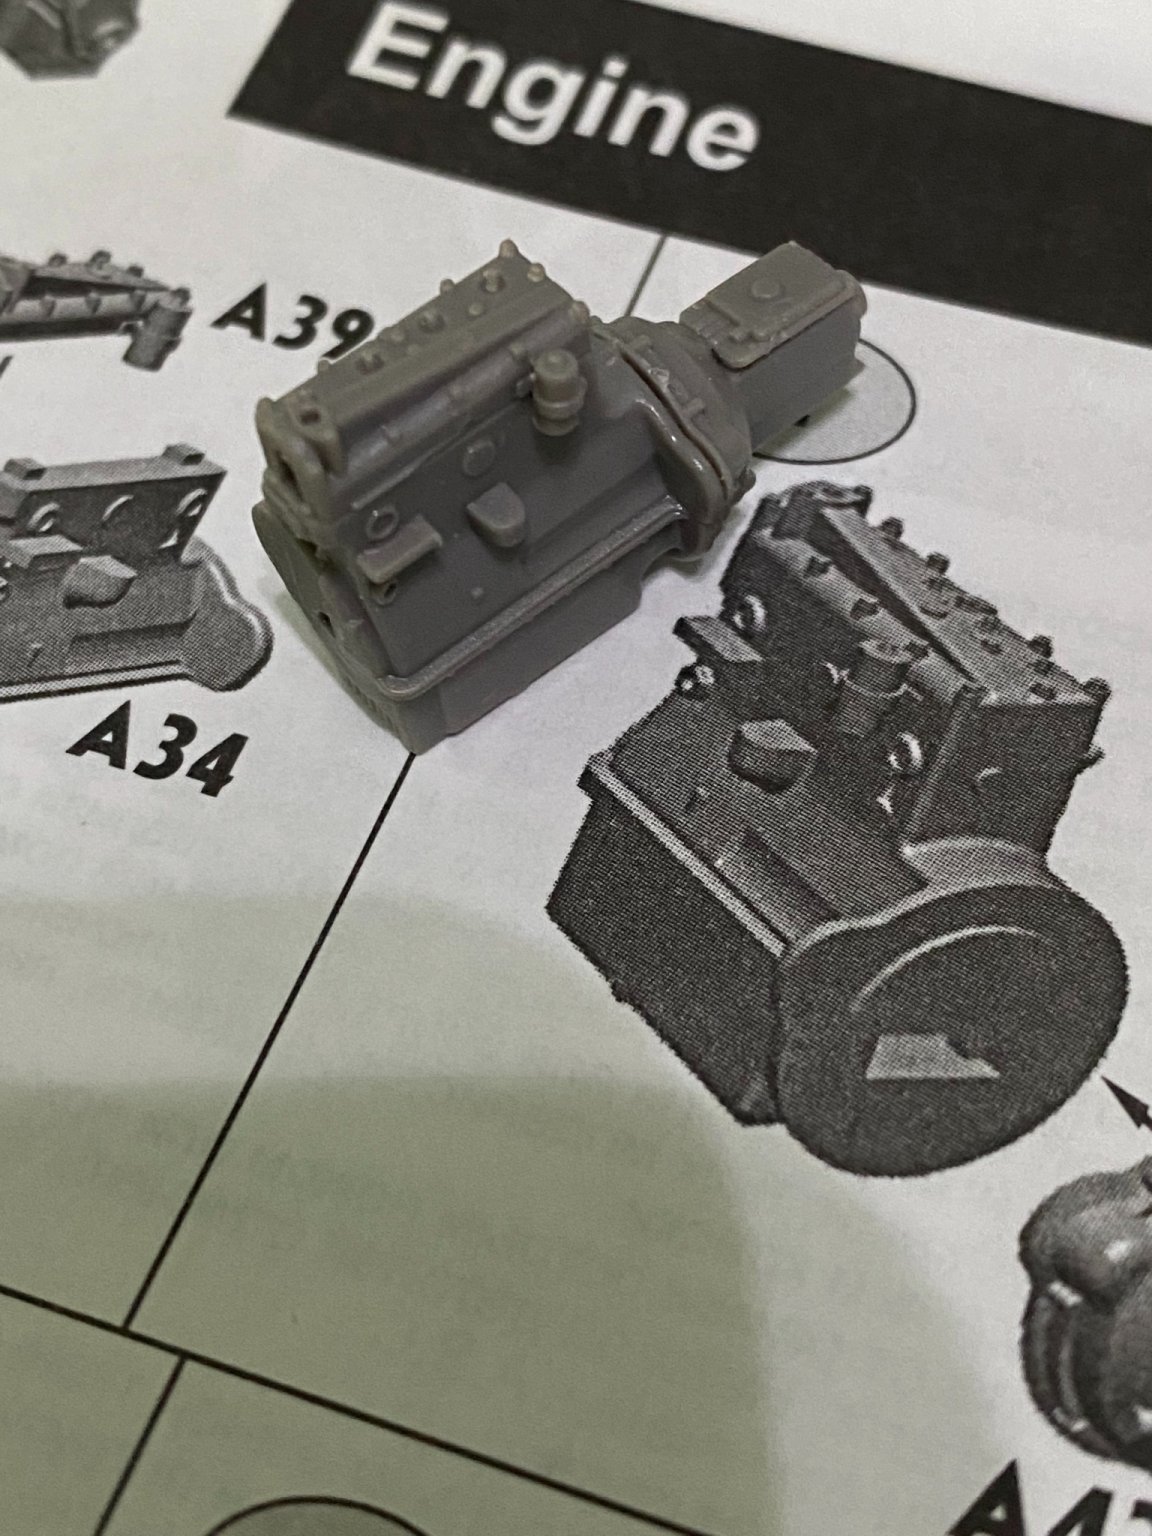
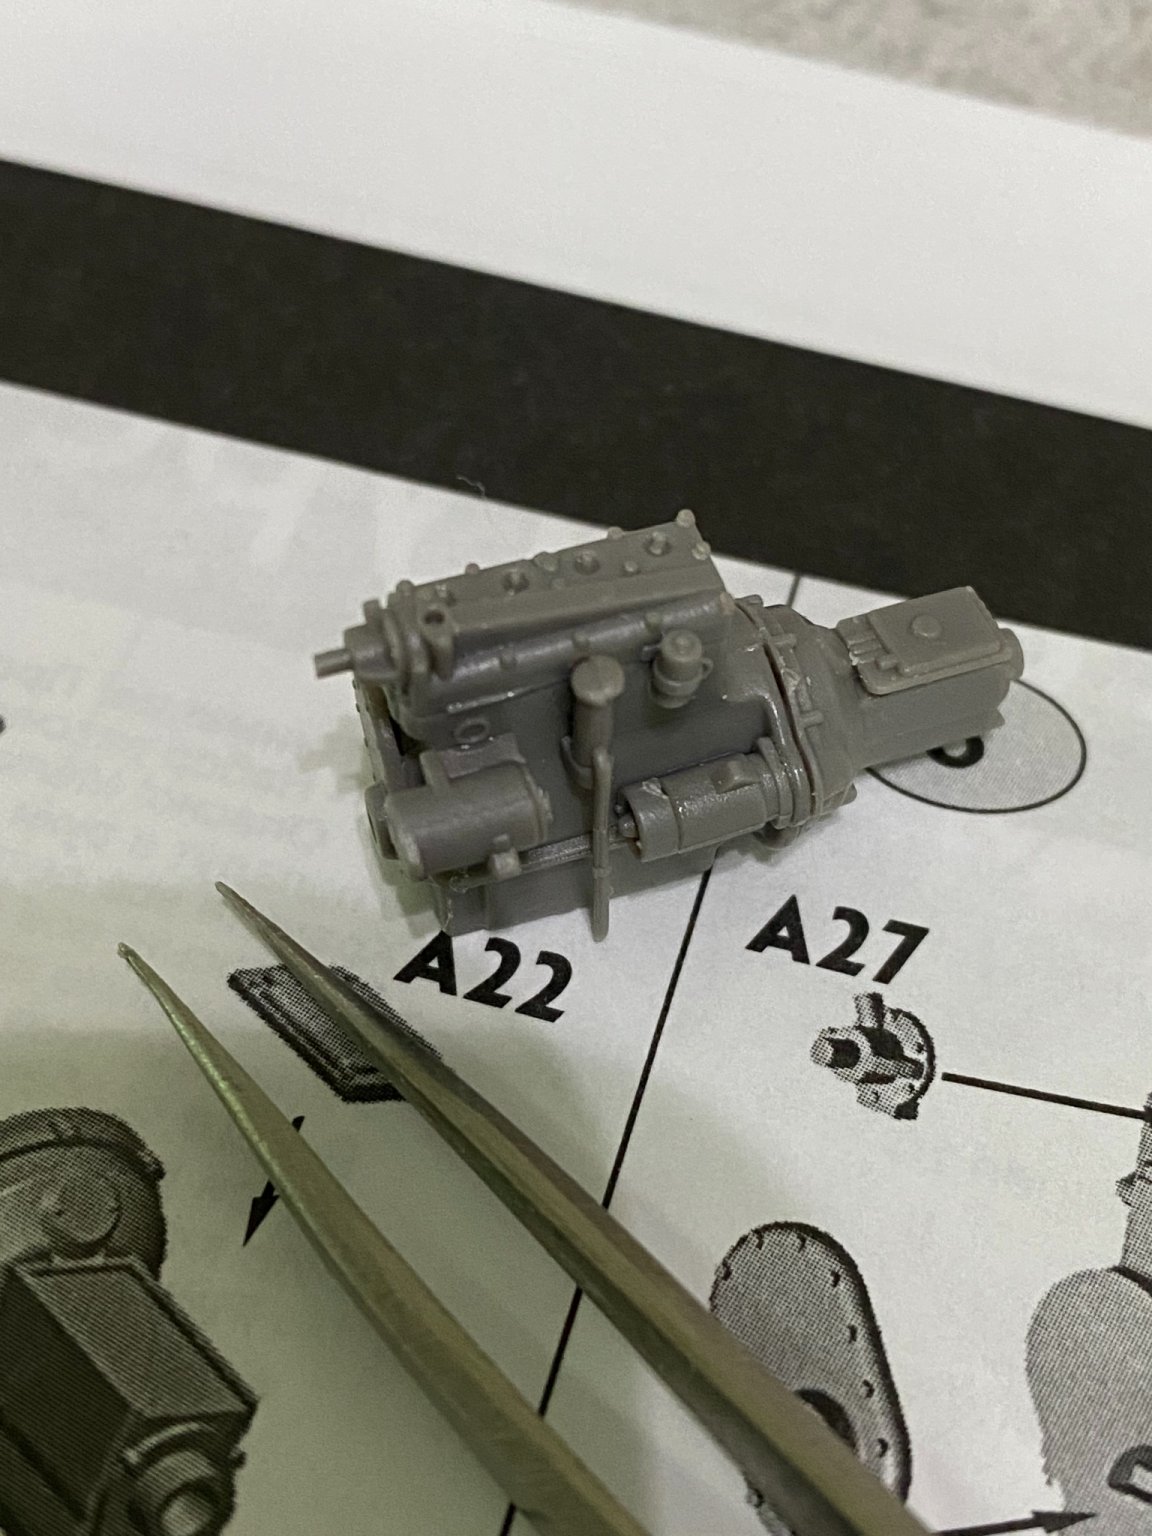
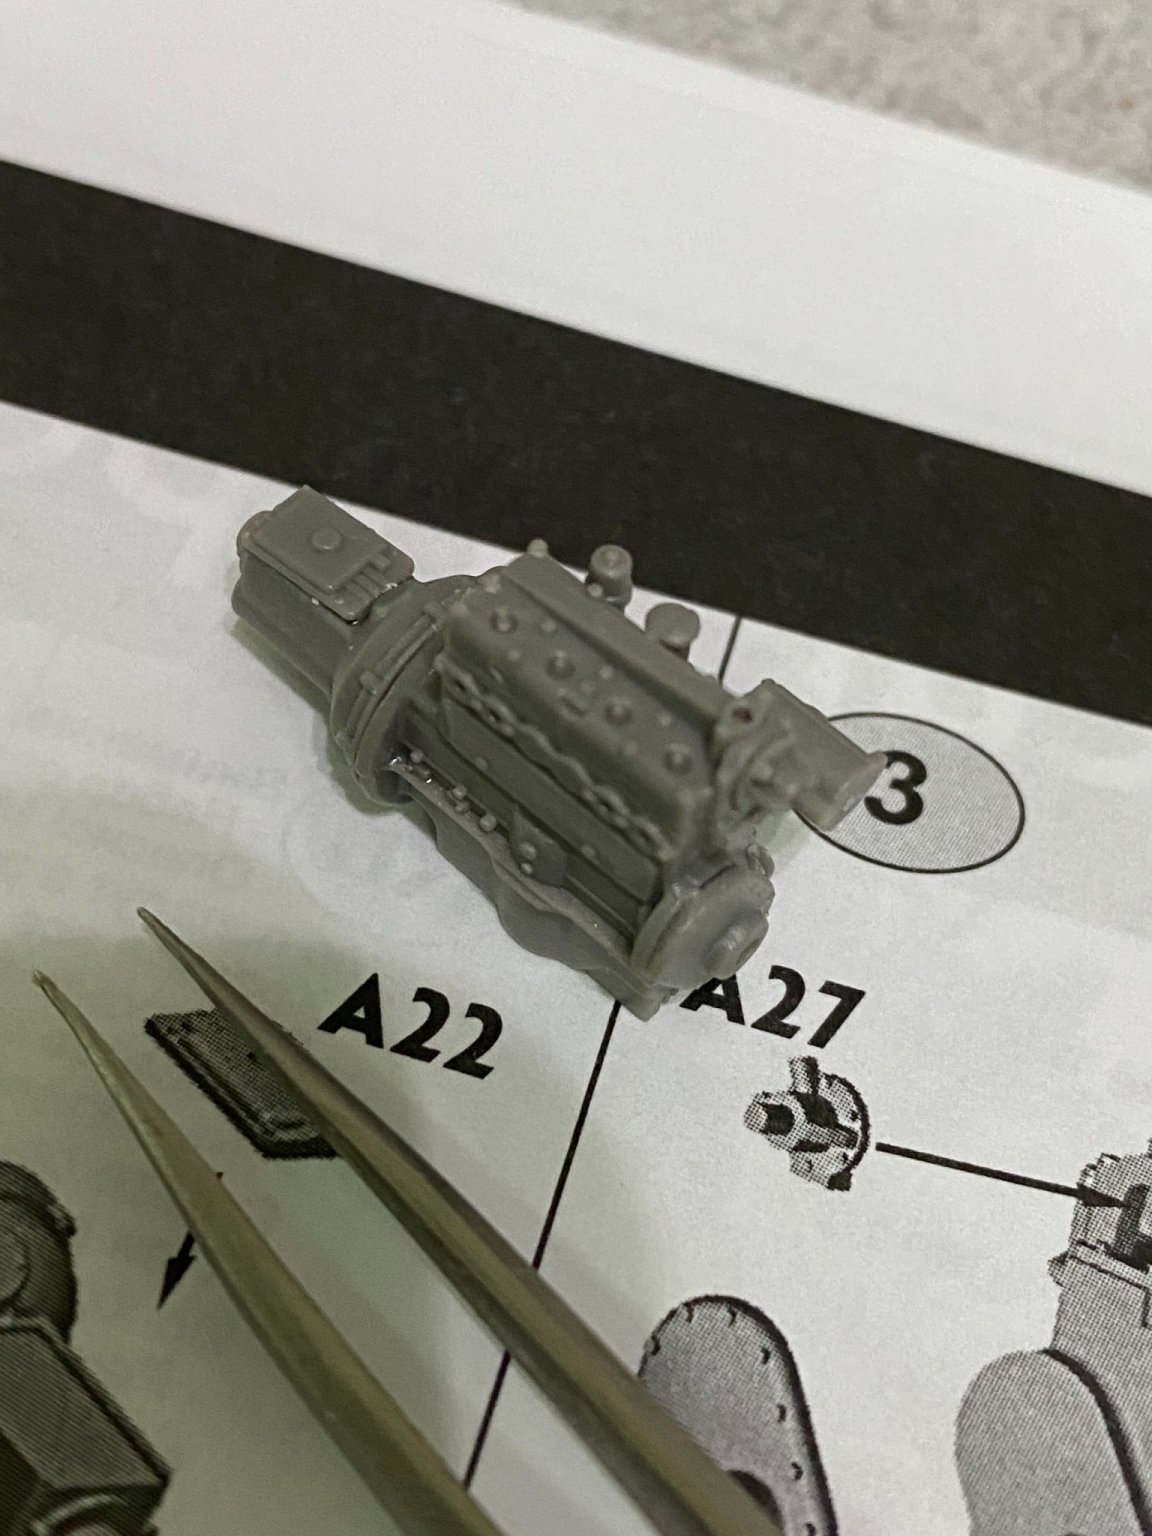
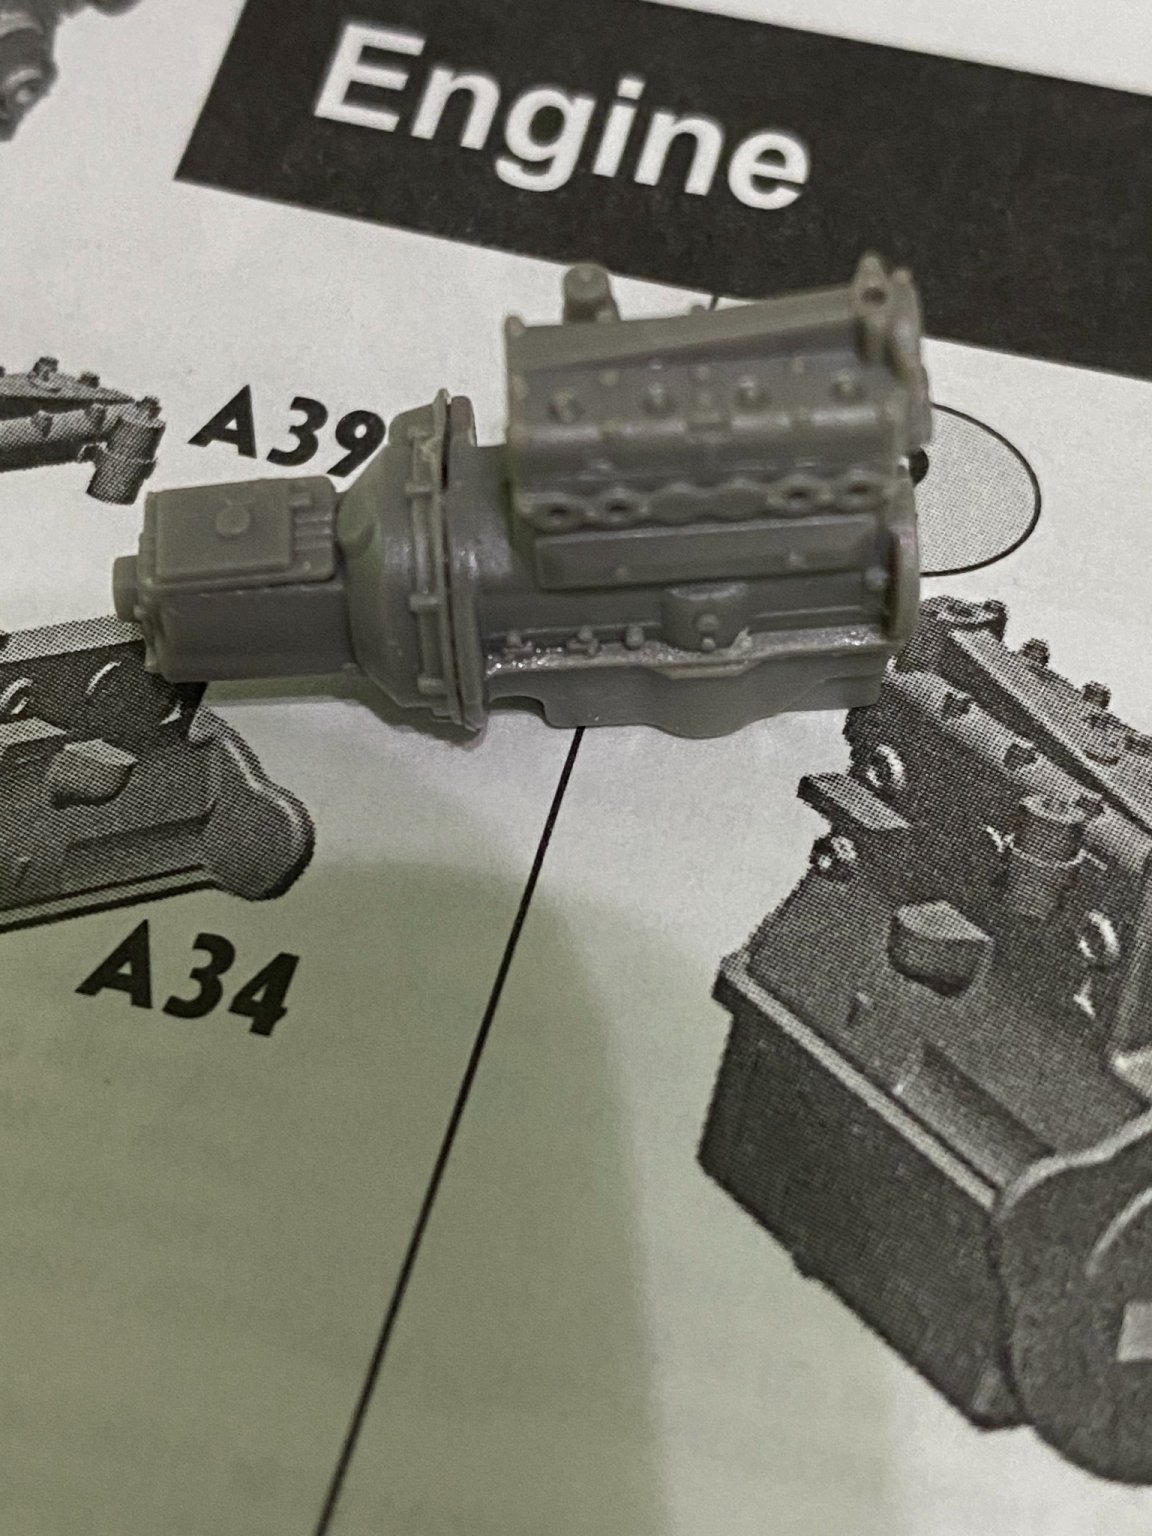
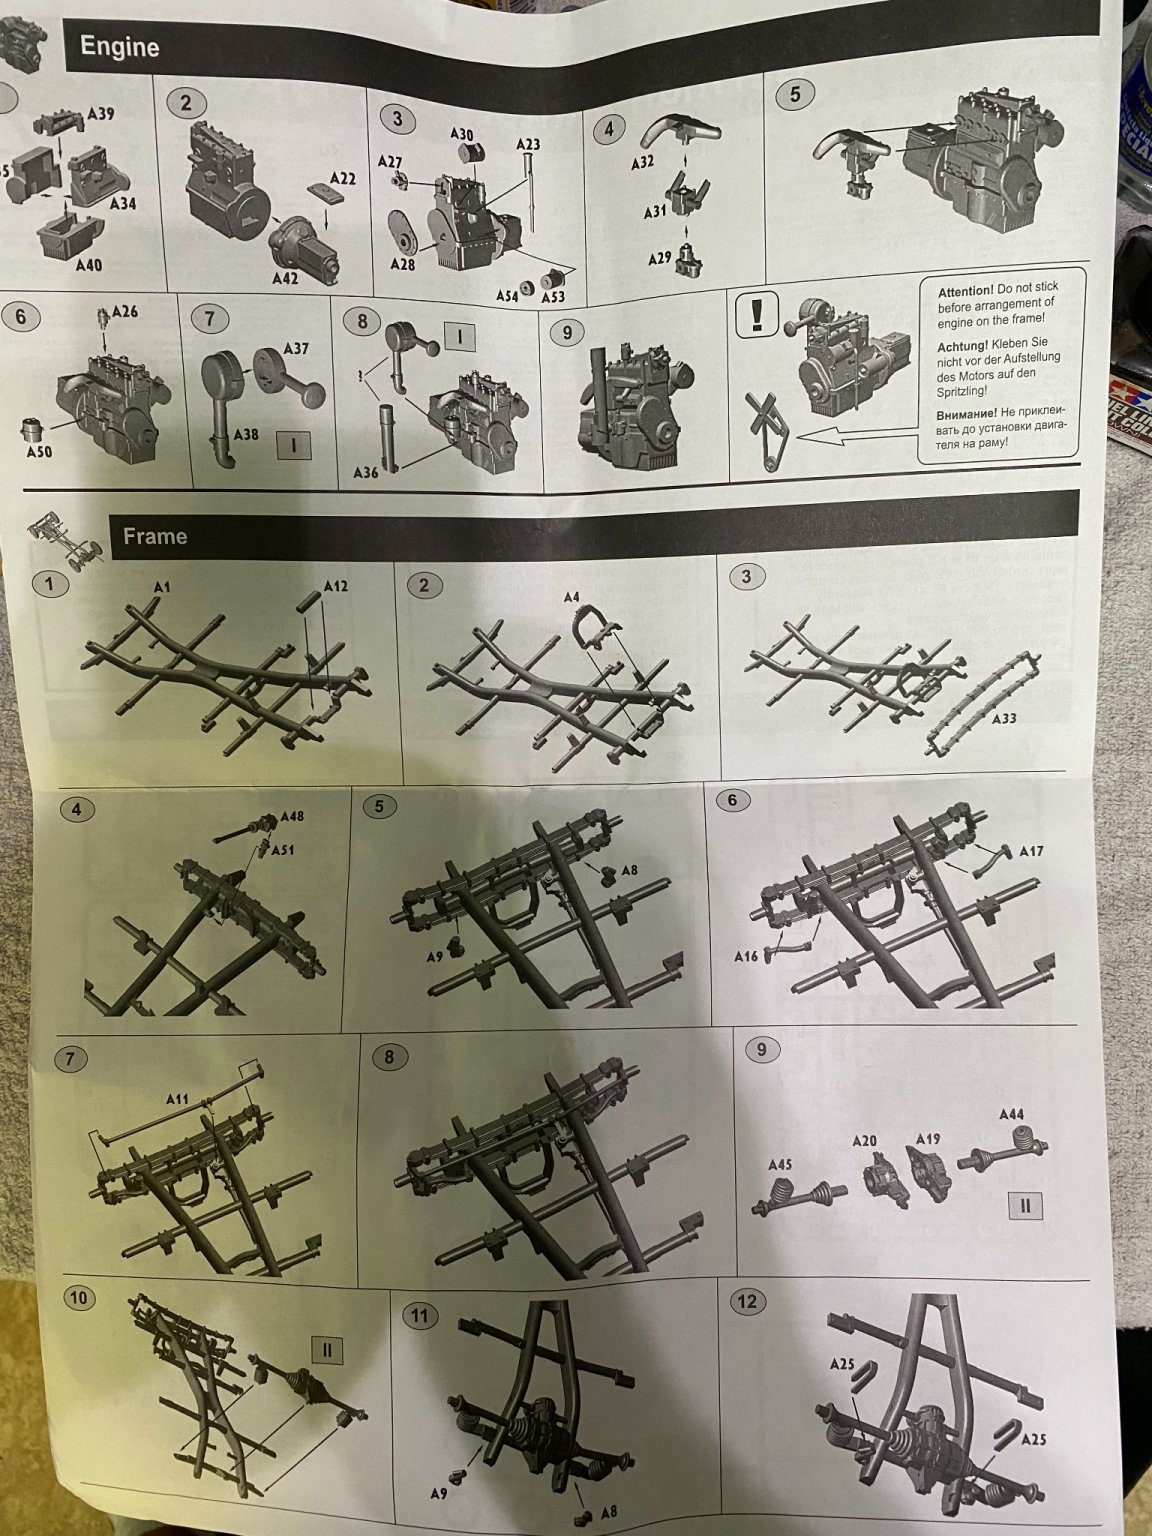
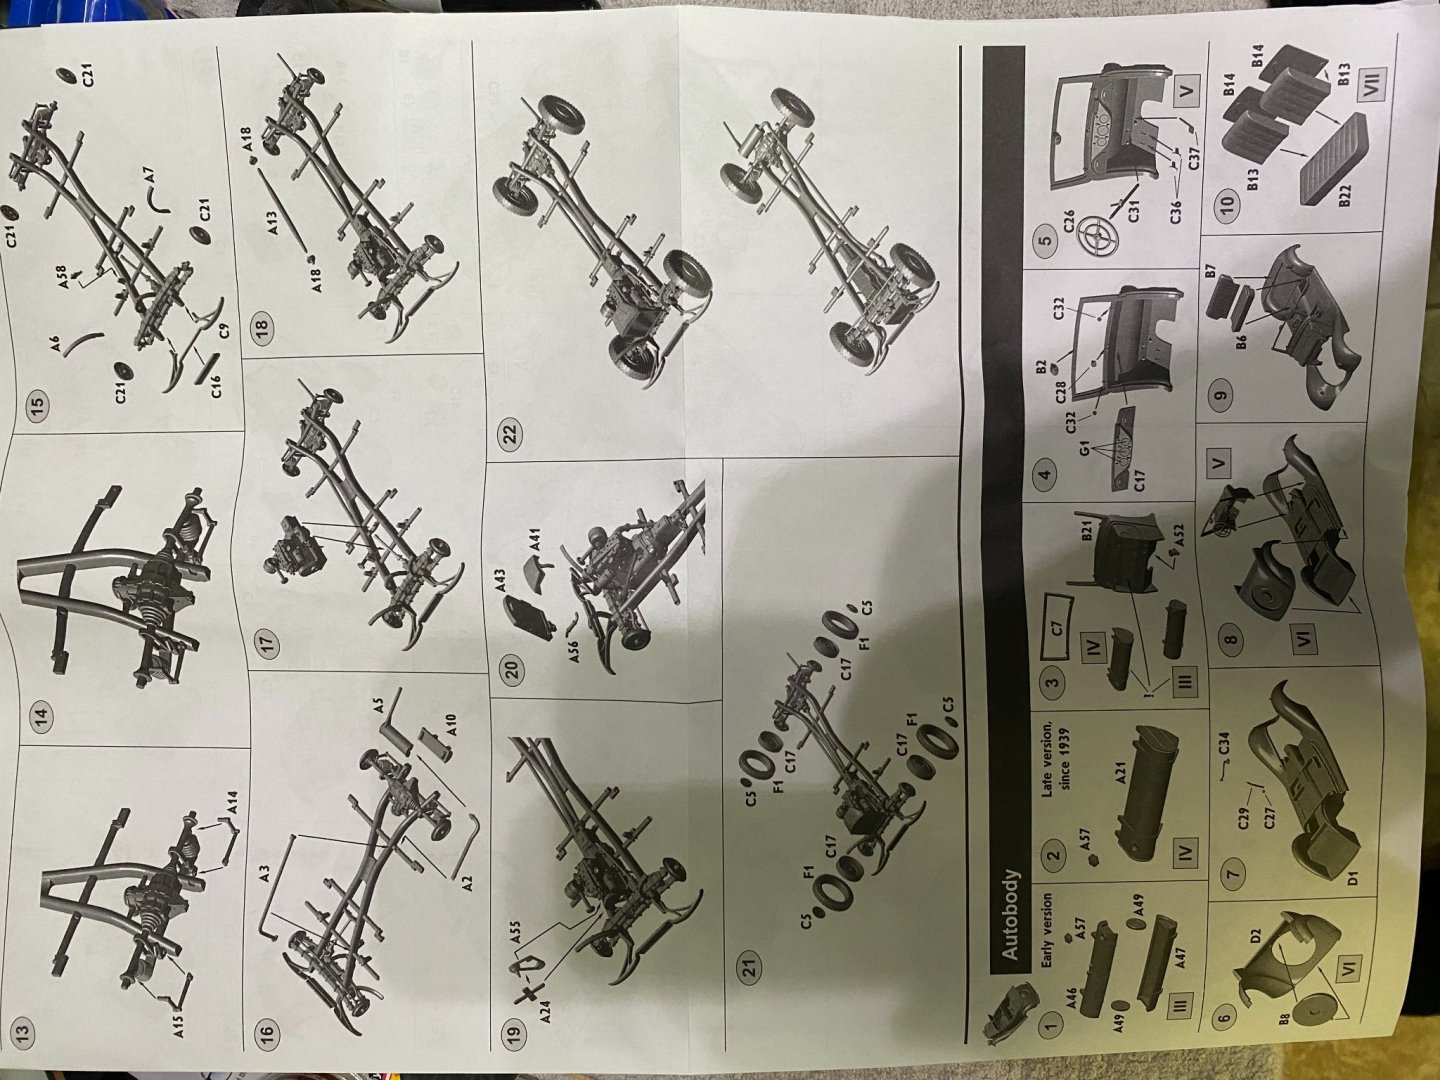
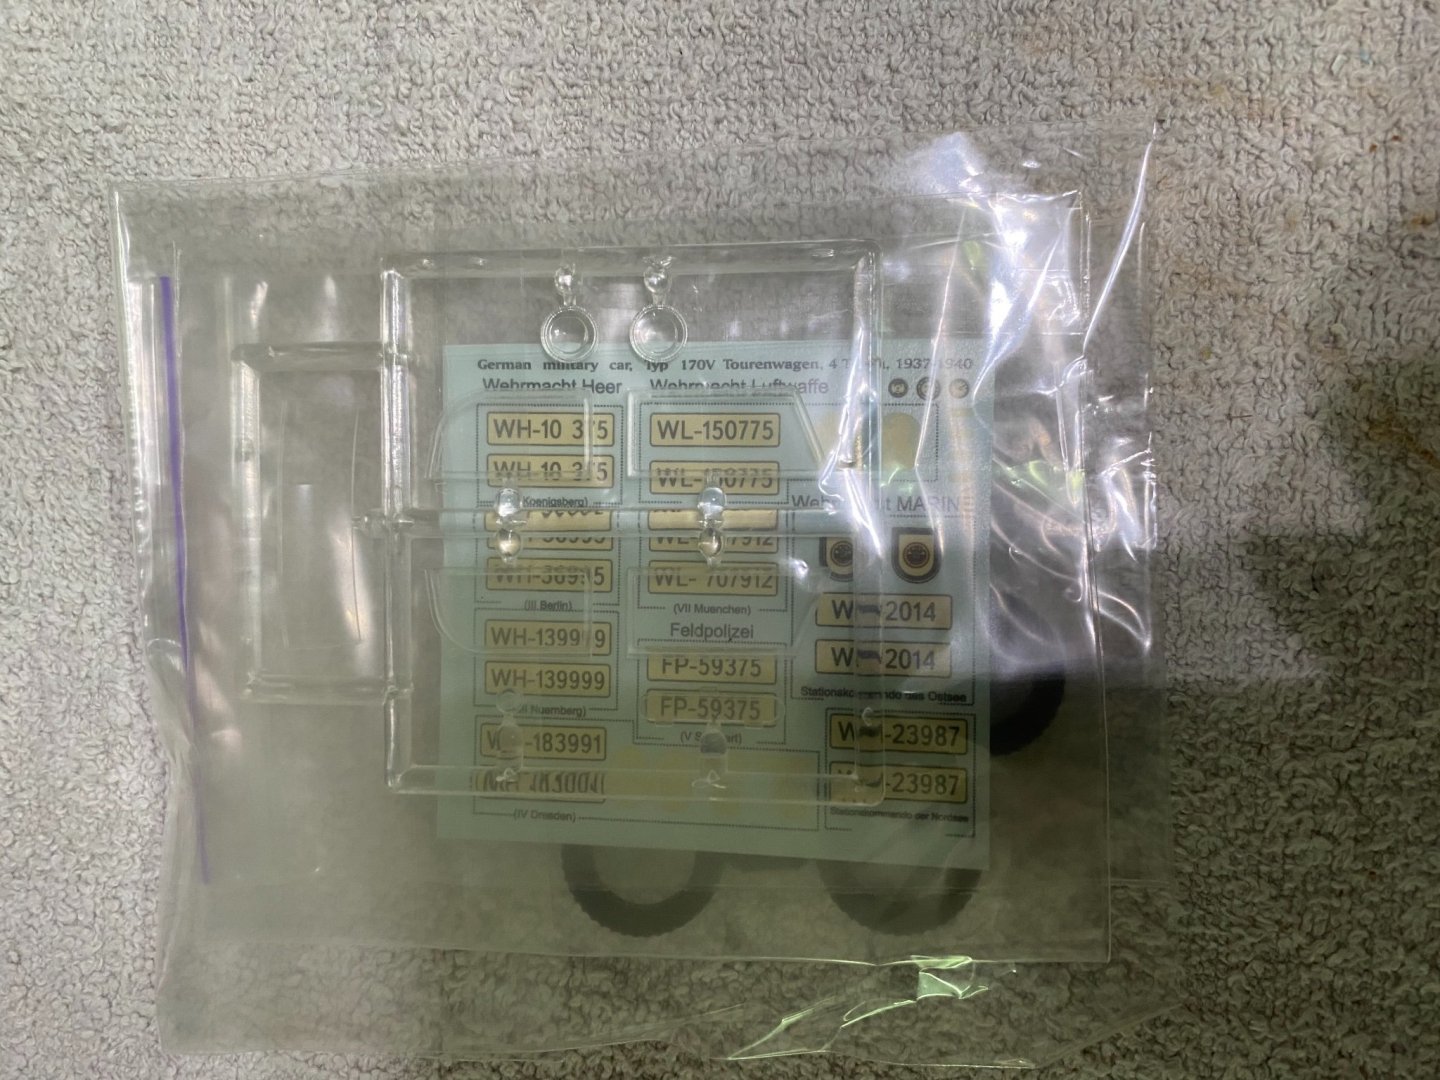
 While I wait on a parts order for Prinz Eugen, going to begin construction of the Tourenwagen.
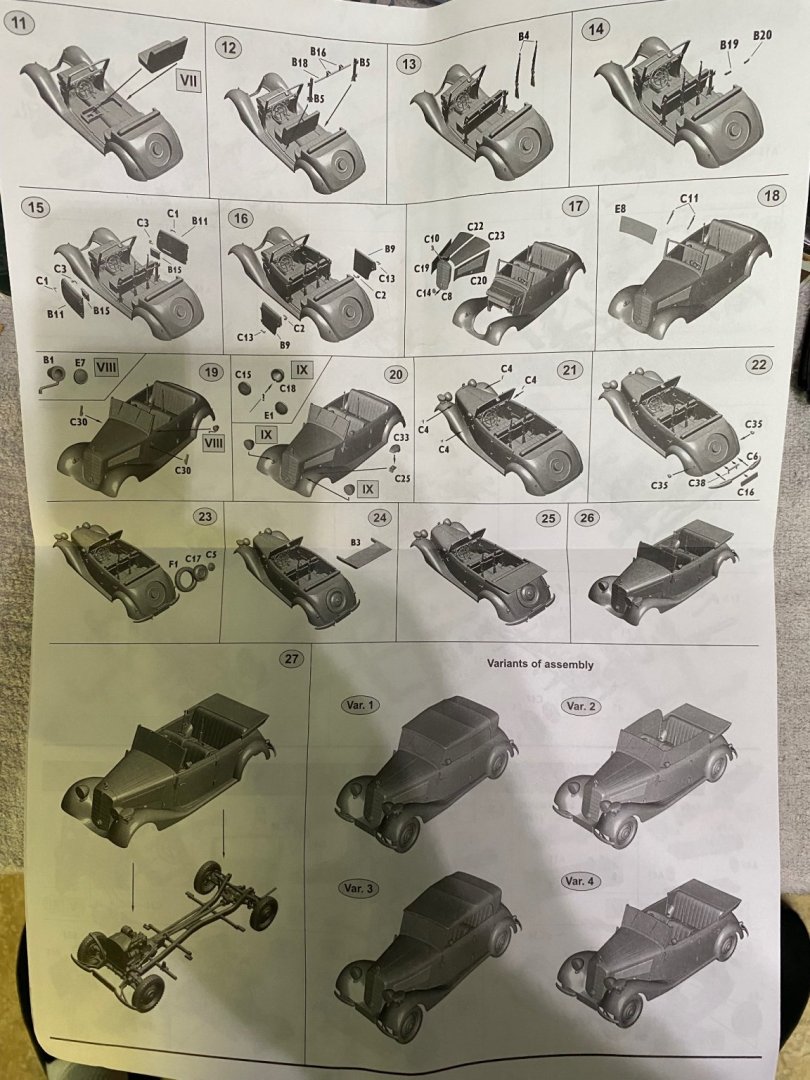


-
I'll be postponing further construction posts on Prinz Eugen until I receive the detail items I've ordered which should arrive in a few weeks.
- 174 replies
-
- 6
-

-

-
- prinz eugen
- trumpeter
- (and 2 more)
-
Thanks for the comments and for looking in, Mike. After getting started on this model, I decided to order a wood deck application 1/700 Wooden Deck+Chain fr Trumpeter 05766 German Heavy Cruiser Prinz Eugen 1942 | eBay and a set of Peddinghaus decals Peddinghaus 1/700 Prinz Eugen Heavy Cruiser Markings with Camouflage Norway 3470 | eBay. I think these sets will enhance the model and have wanted to try out the Peddinghaus decals for a while now. They first caught my interest when I saw them for the Scharnhorst. If I like them, I have some other ship models I may order them to fit.
- 174 replies
-
- 7
-
-
- prinz eugen
- trumpeter
- (and 2 more)
-
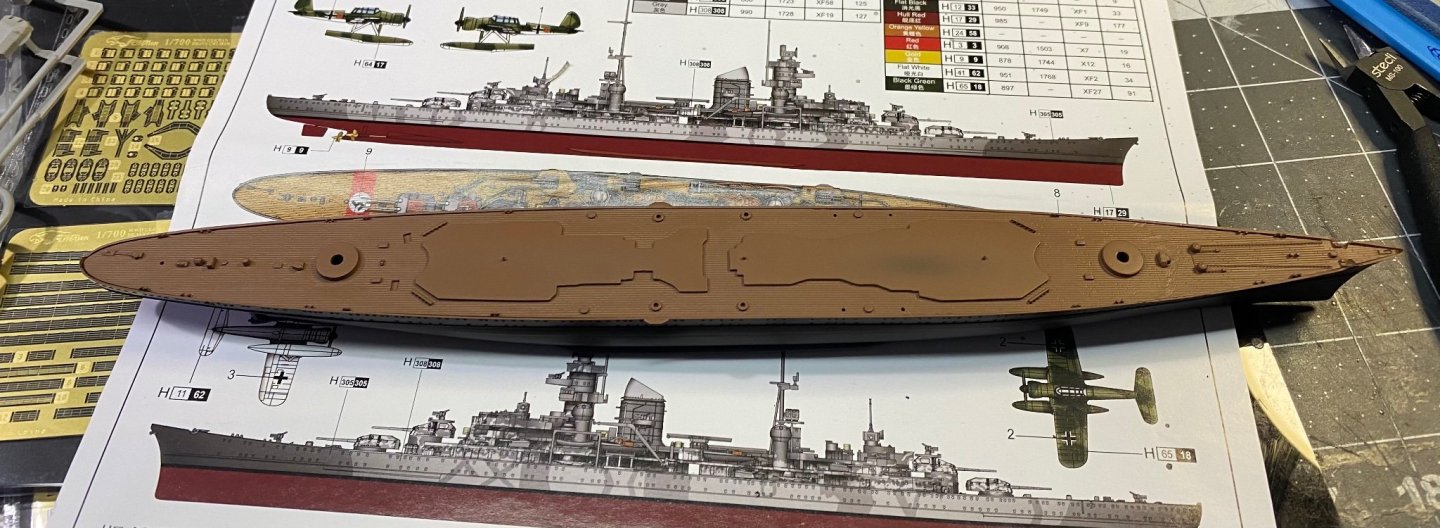
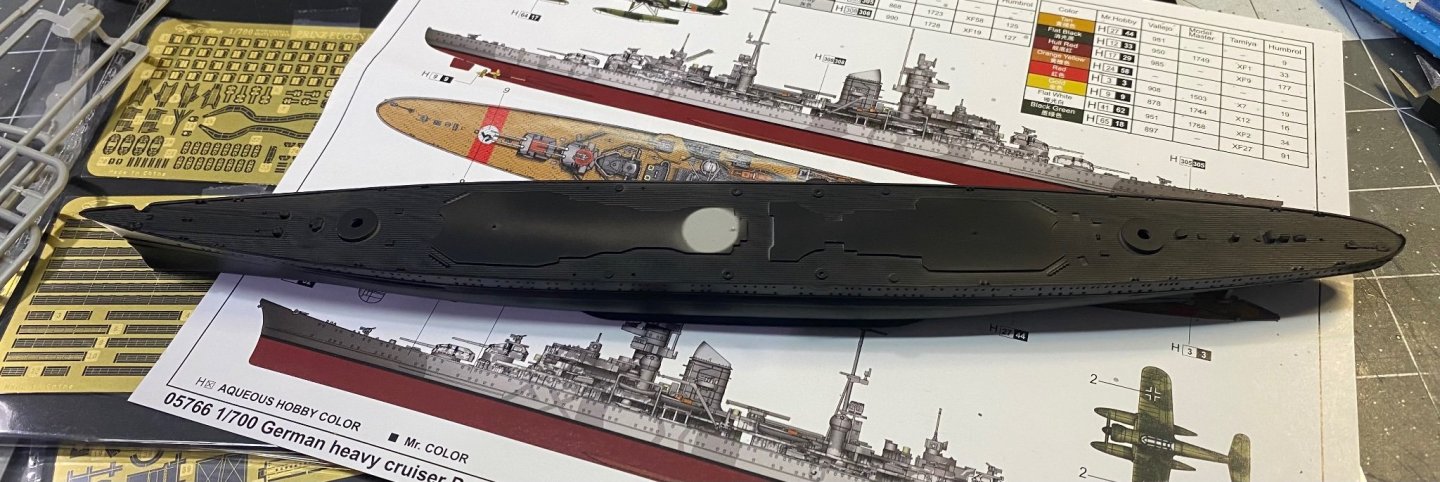
Thanks OC The gray color on the hull is the main gray color for the entire ship, with camo markings in darker shades of gray. For reference, the gray color used here is Mr Hobby 308.
- 174 replies
-
- 5
-
-
- prinz eugen
- trumpeter
- (and 2 more)
-
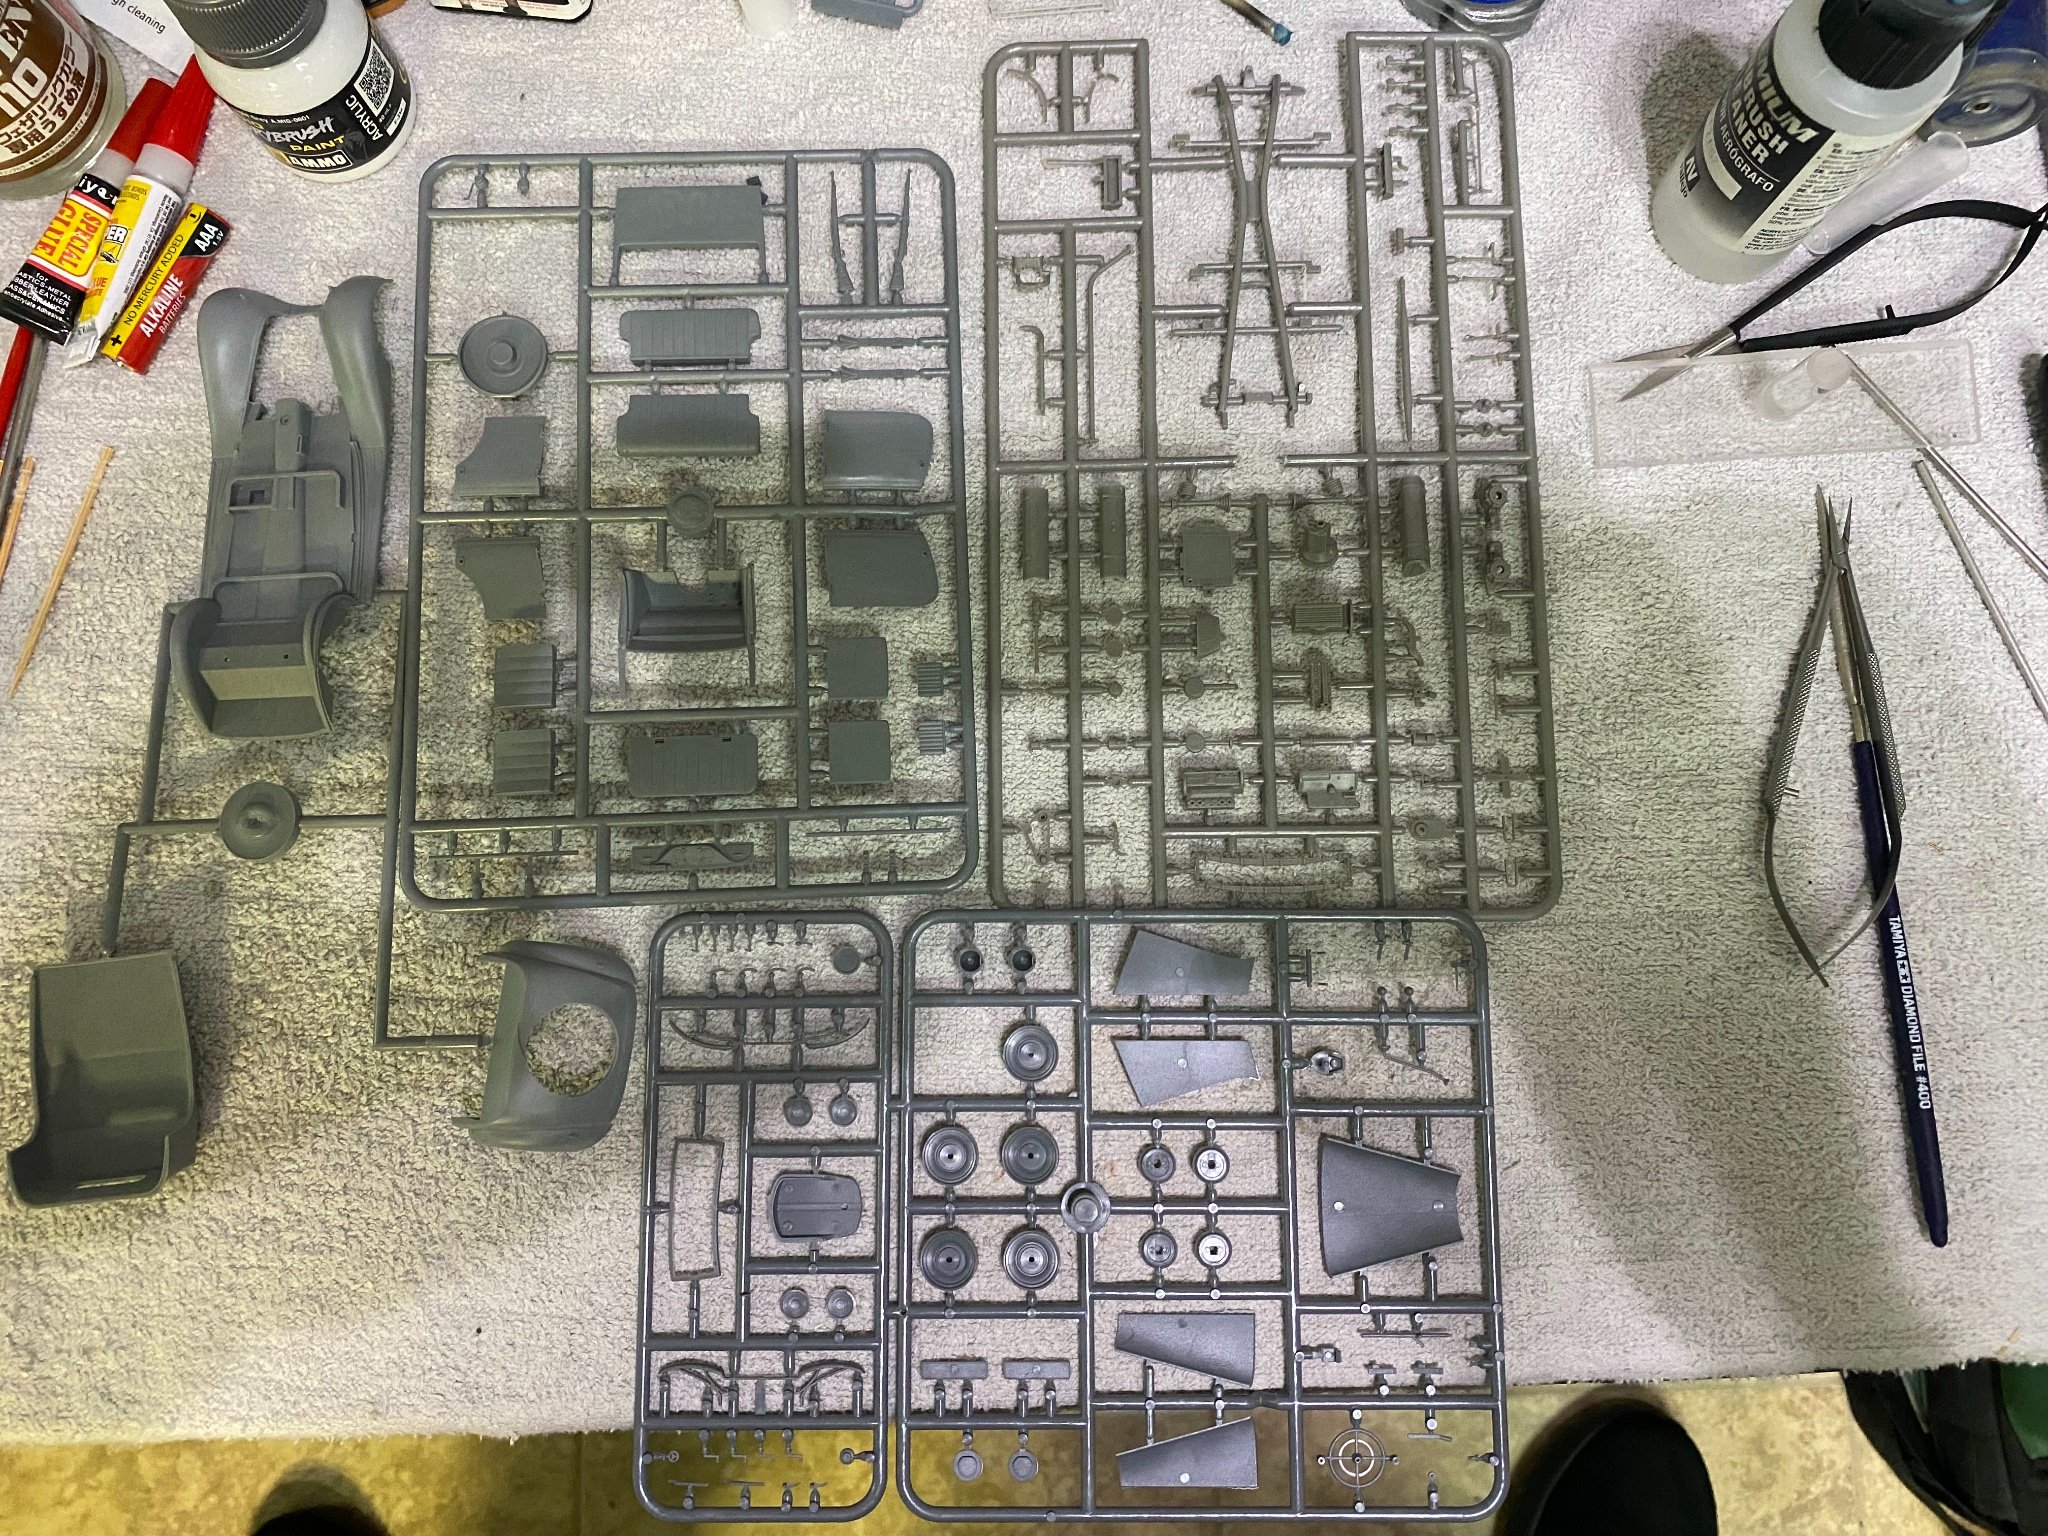
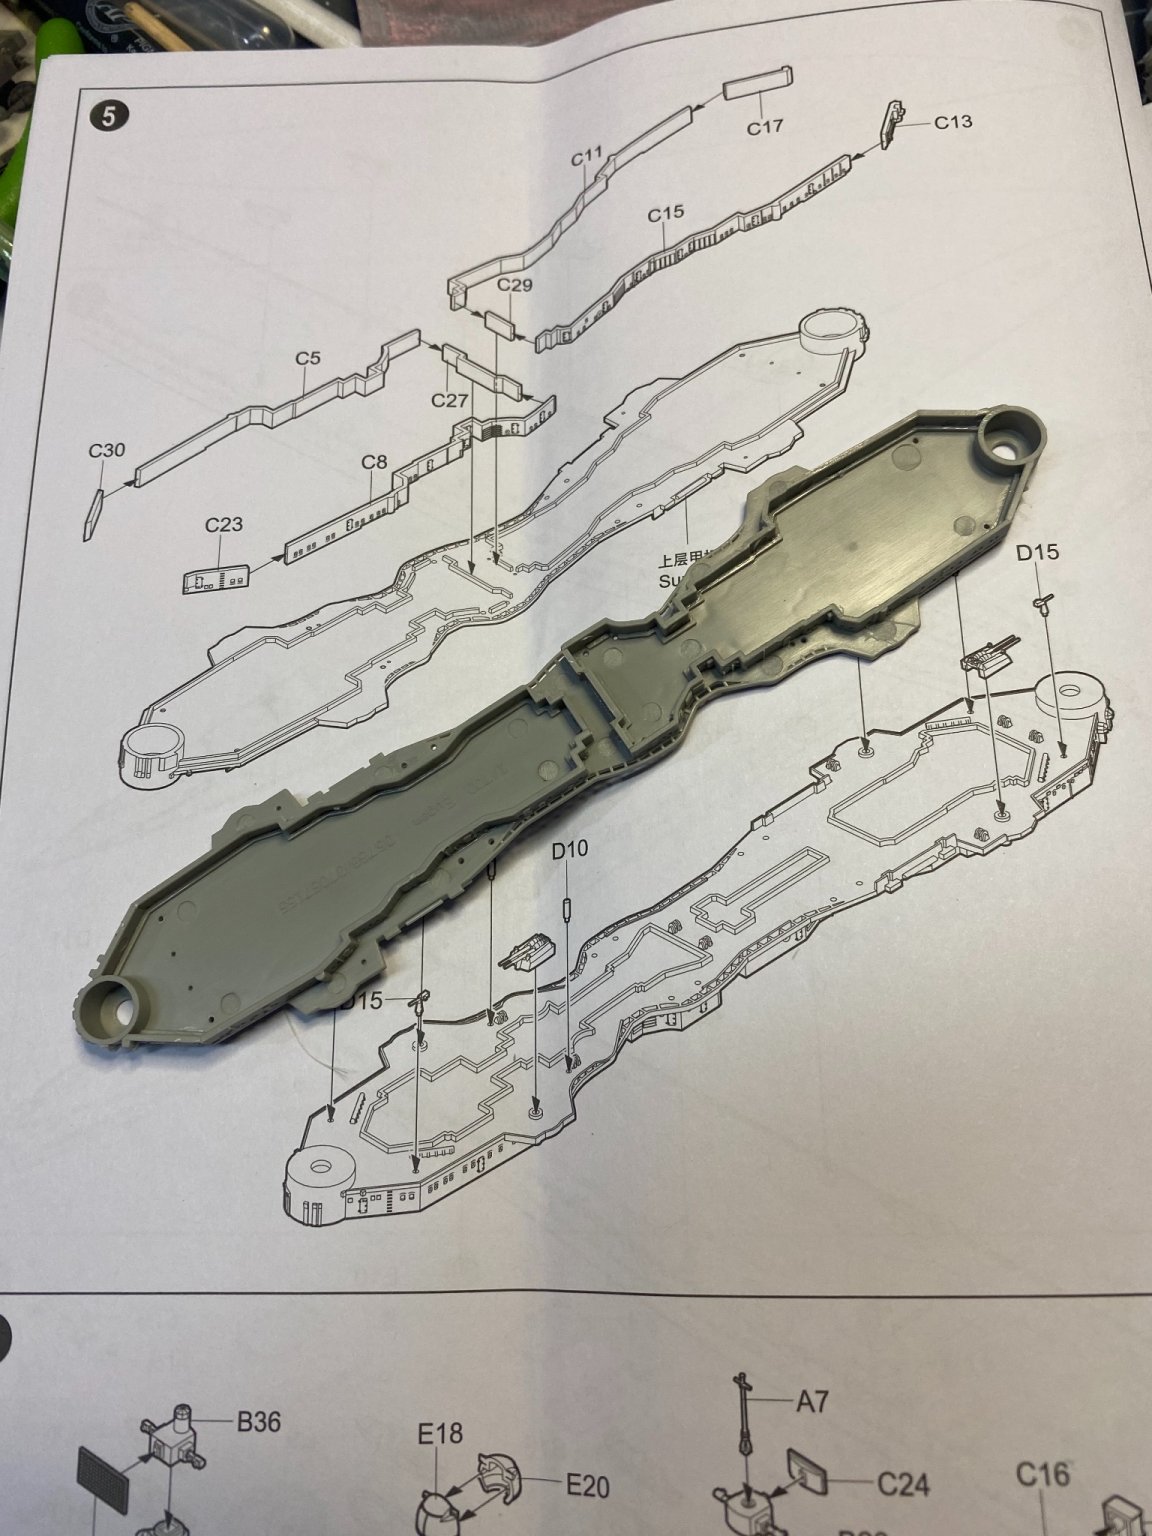
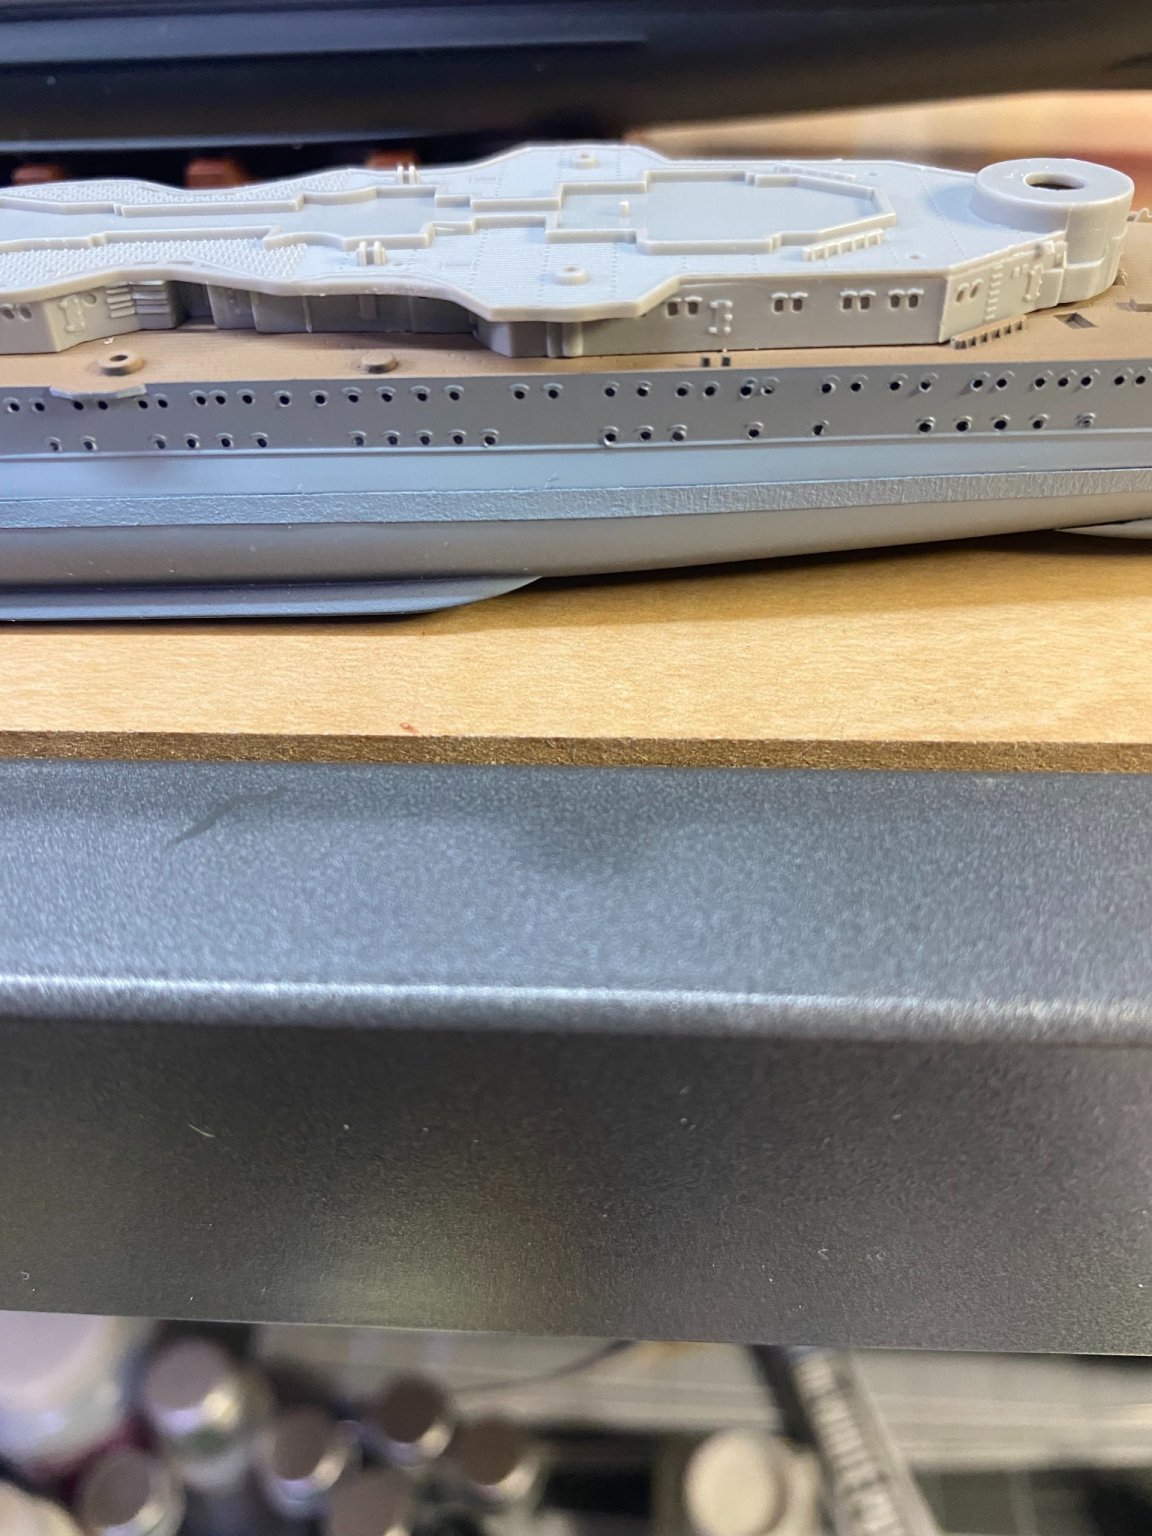
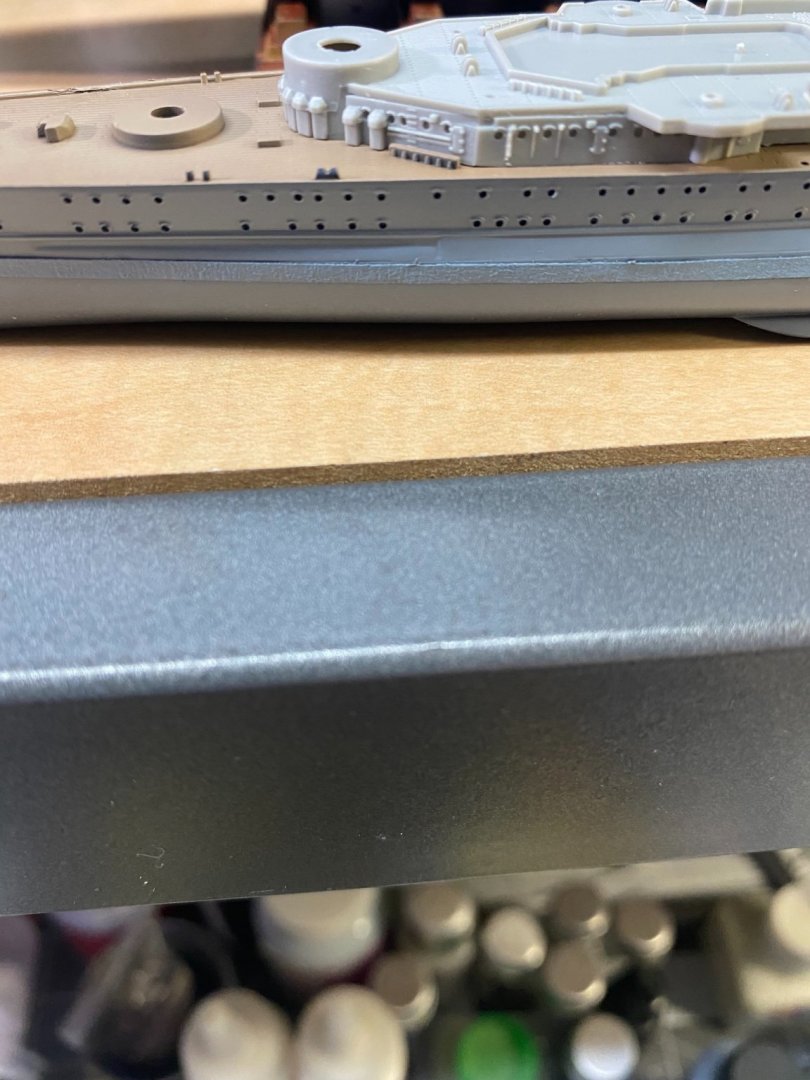
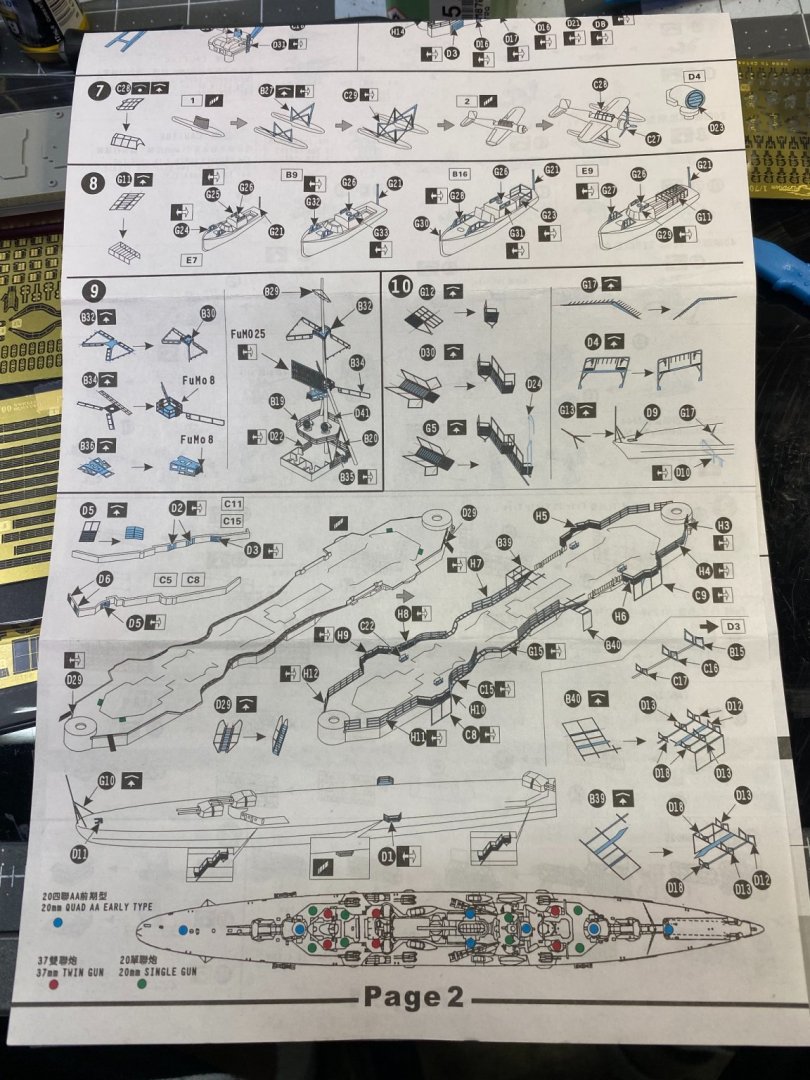
Trumpeter did a decent job on the level of detail included in the kit. Here, the main superstructure and deck is a multi piece affair. The fit to the main deck is very good.

- 174 replies
-
- 9
-
-
- prinz eugen
- trumpeter
- (and 2 more)
-
Hope your wife makes a complete and speedy recovery. Take good care of her, hobbies can wait.
-
Lou I think the windex and hot water might be the ticket. I’ll give that a try next time I spray acrylic.
- 174 replies
-
- 6
-
-
- prinz eugen
- trumpeter
- (and 2 more)
-
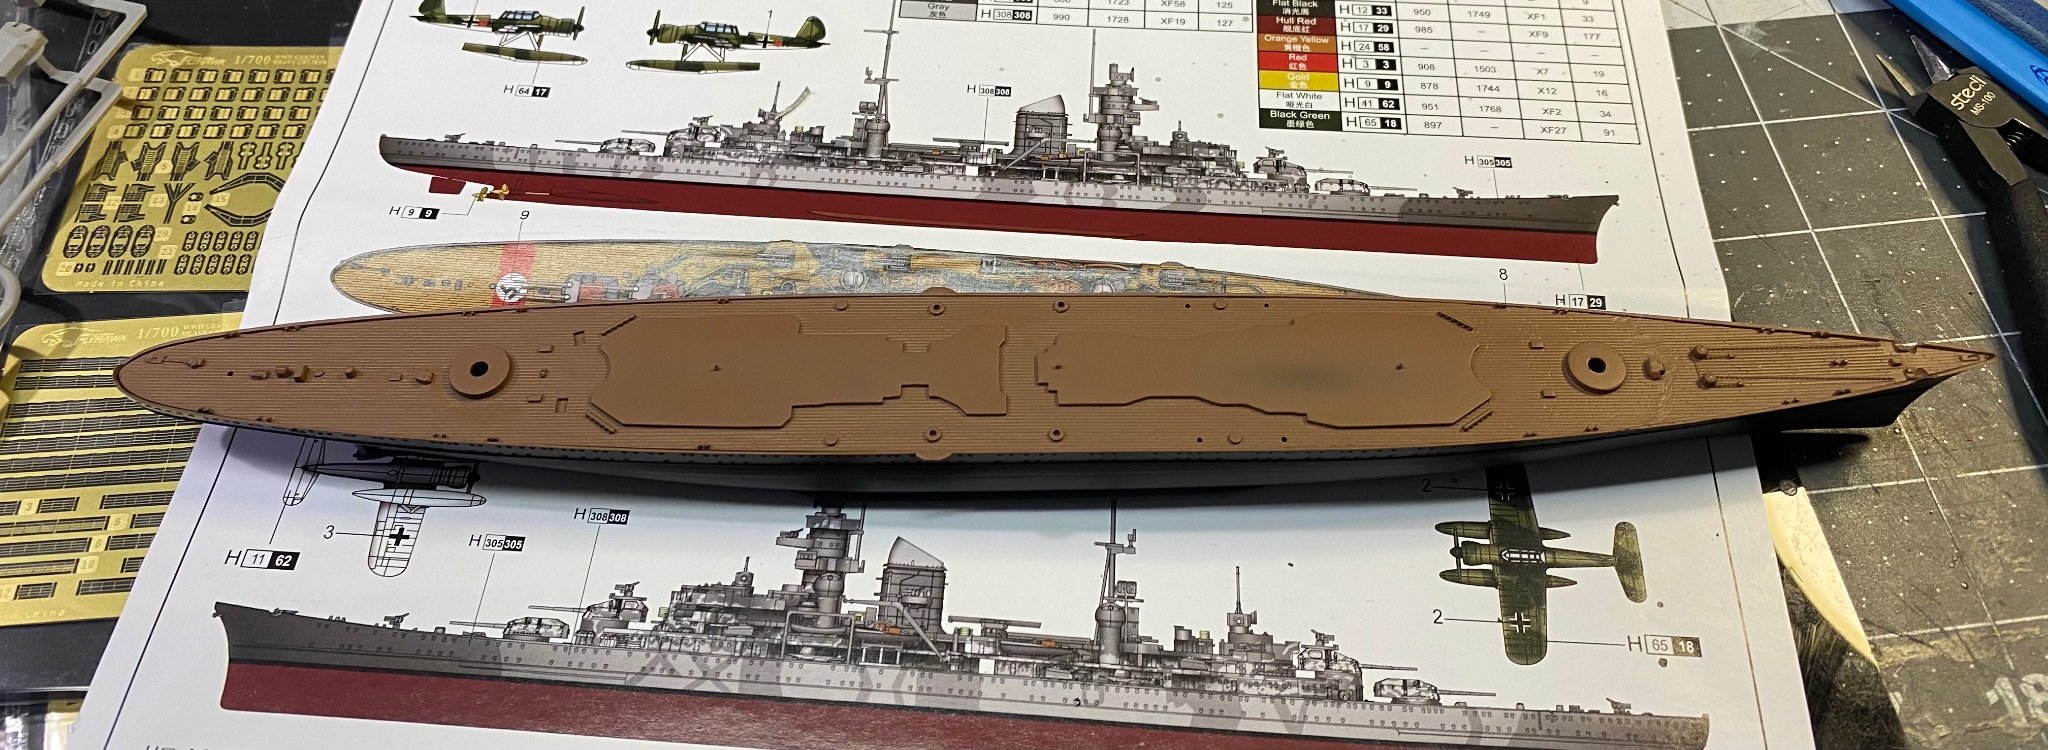
Painted the deck with Mr Color wood brown. Will lighten it up a bit with reduced light tan.
- 174 replies
-
- 6
-
-
- prinz eugen
- trumpeter
- (and 2 more)
-
I use a separate airbrush to spray acrylics and keep another for lacquers only. I think what happened was my acrylics airbrush got a buildup of paint inside and it ended up choking off the whole thing when I went to spray the primer this morning. Had to do a thorough, deep cleaning of it after all was said and done. What I've noticed is that the acrylic primer does not clean up well without a deep cleaning (complete disassembly and cleaning/reassembly). I've tried several different airbrush cleaning solutions for acrylics including the Ammo one, and none of them do a good job of cutting loose the paint after each spraying session. I have not tried Windex as a cleaner for this paint, but that would be my next trial if I continue trying to work with the Ammo primer. The downside to the Mr Surfacer is that it's a lacquer and has a strong smell. OC, you won't be able to use Mr Surfacer satisfactorily in your apartment because of the smell. With your Vallejo primer, just make sure to thoroughly clean your airbrush after each spraying session. The lacquer based paints are much easier to clean up as well as keeping the airbrush clean.
- 174 replies
-
- 7
-
-
- prinz eugen
- trumpeter
- (and 2 more)
-
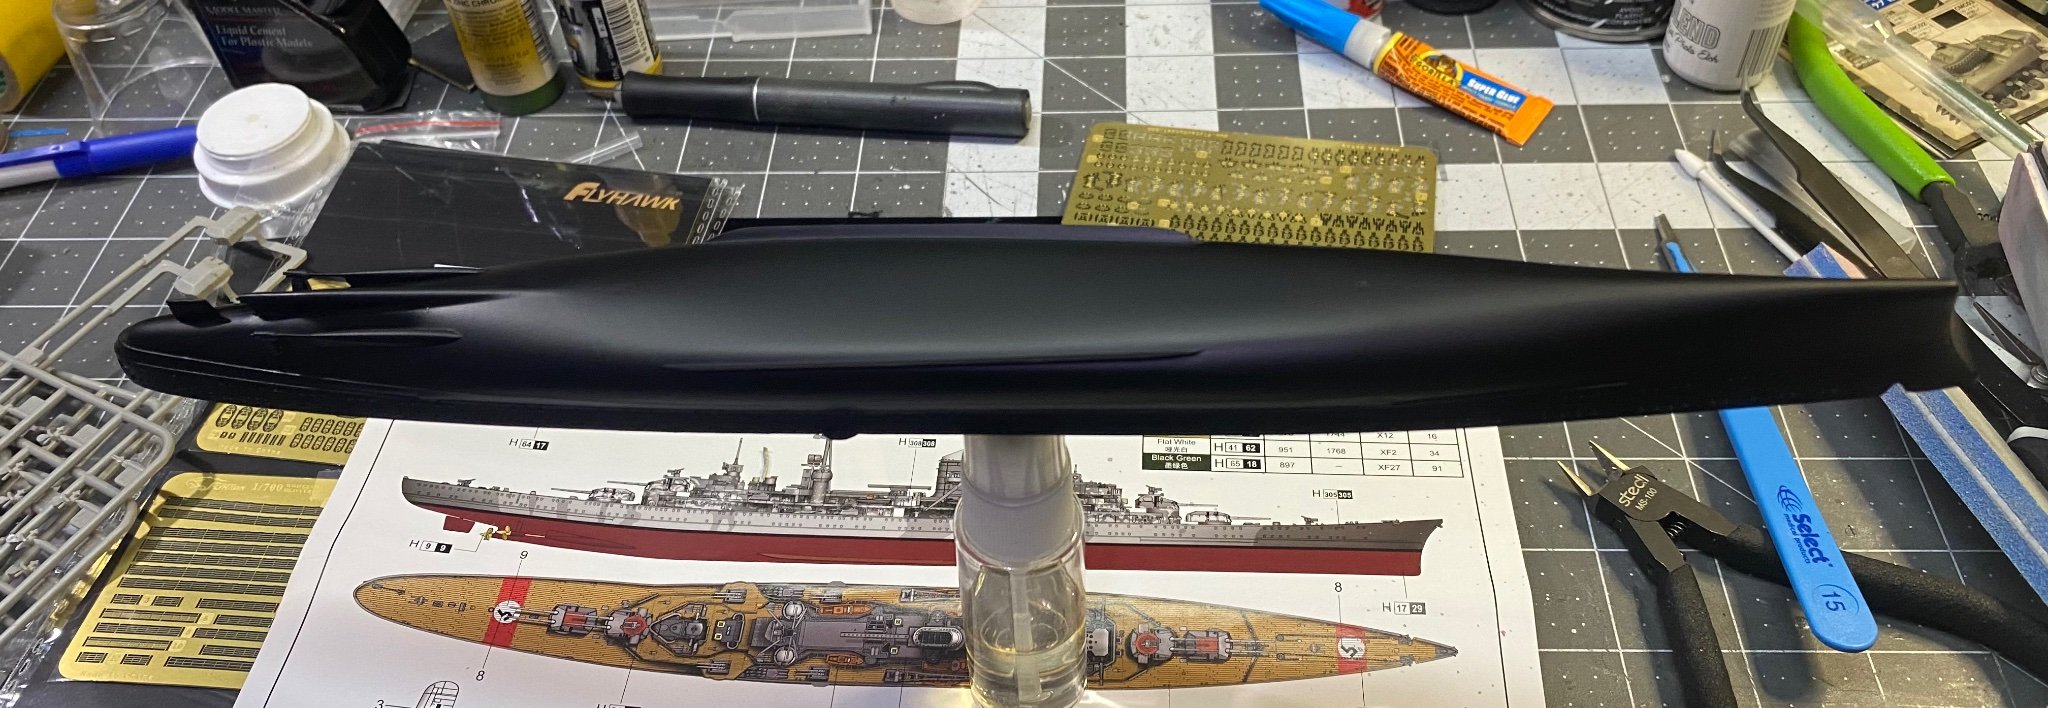
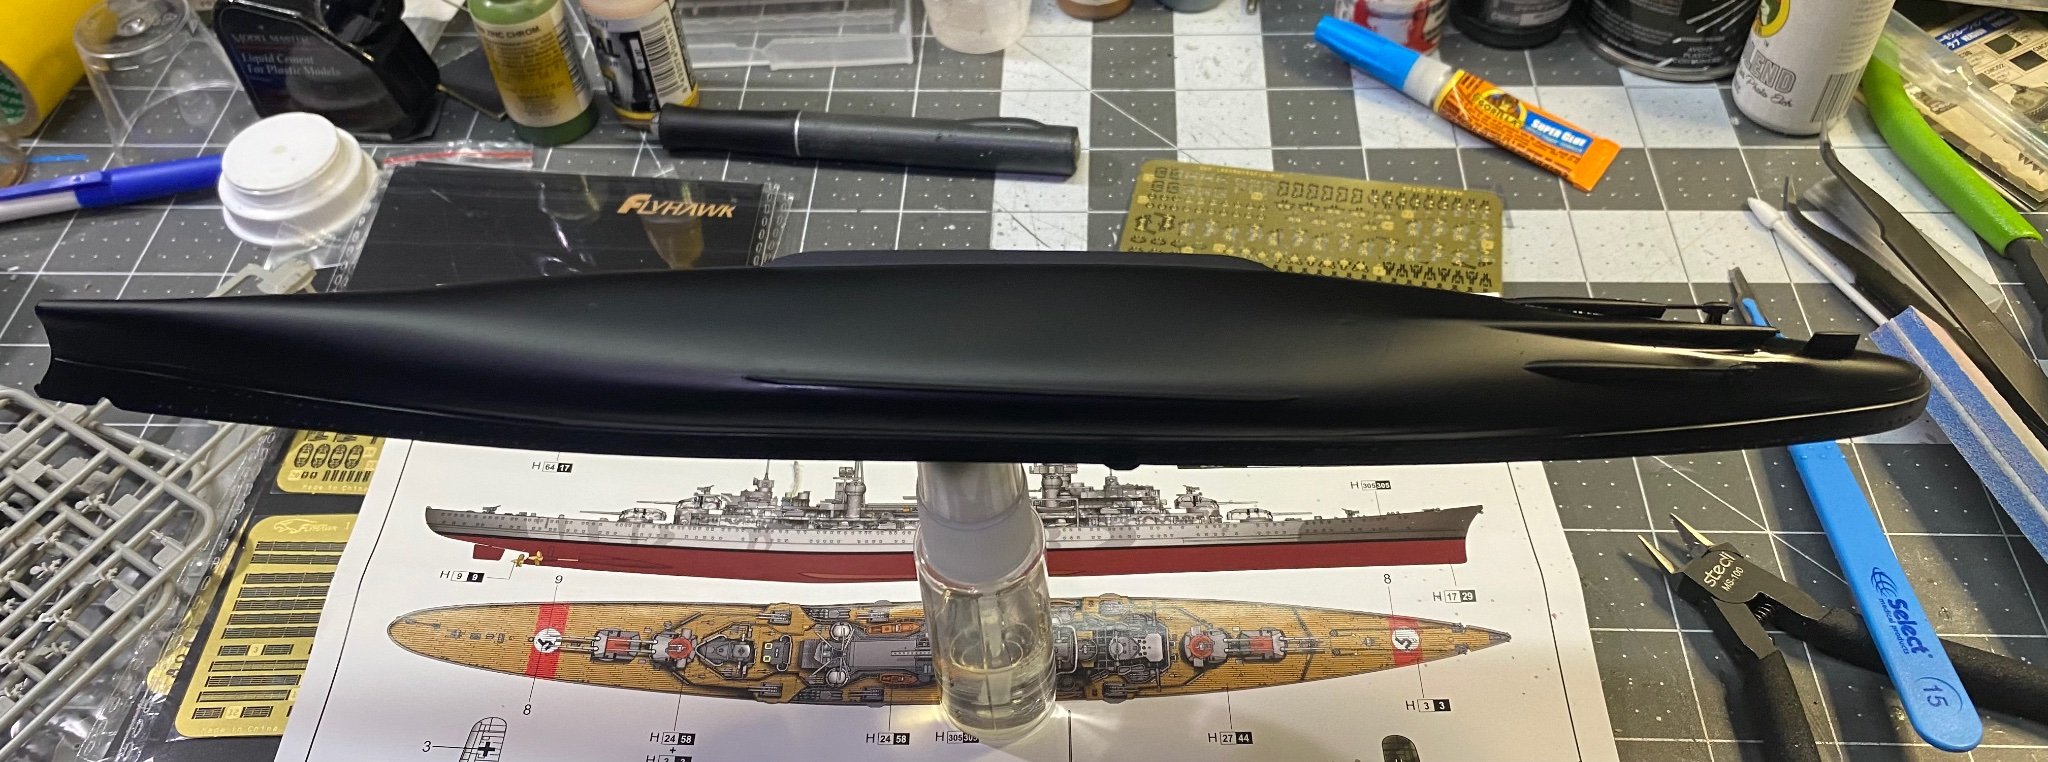
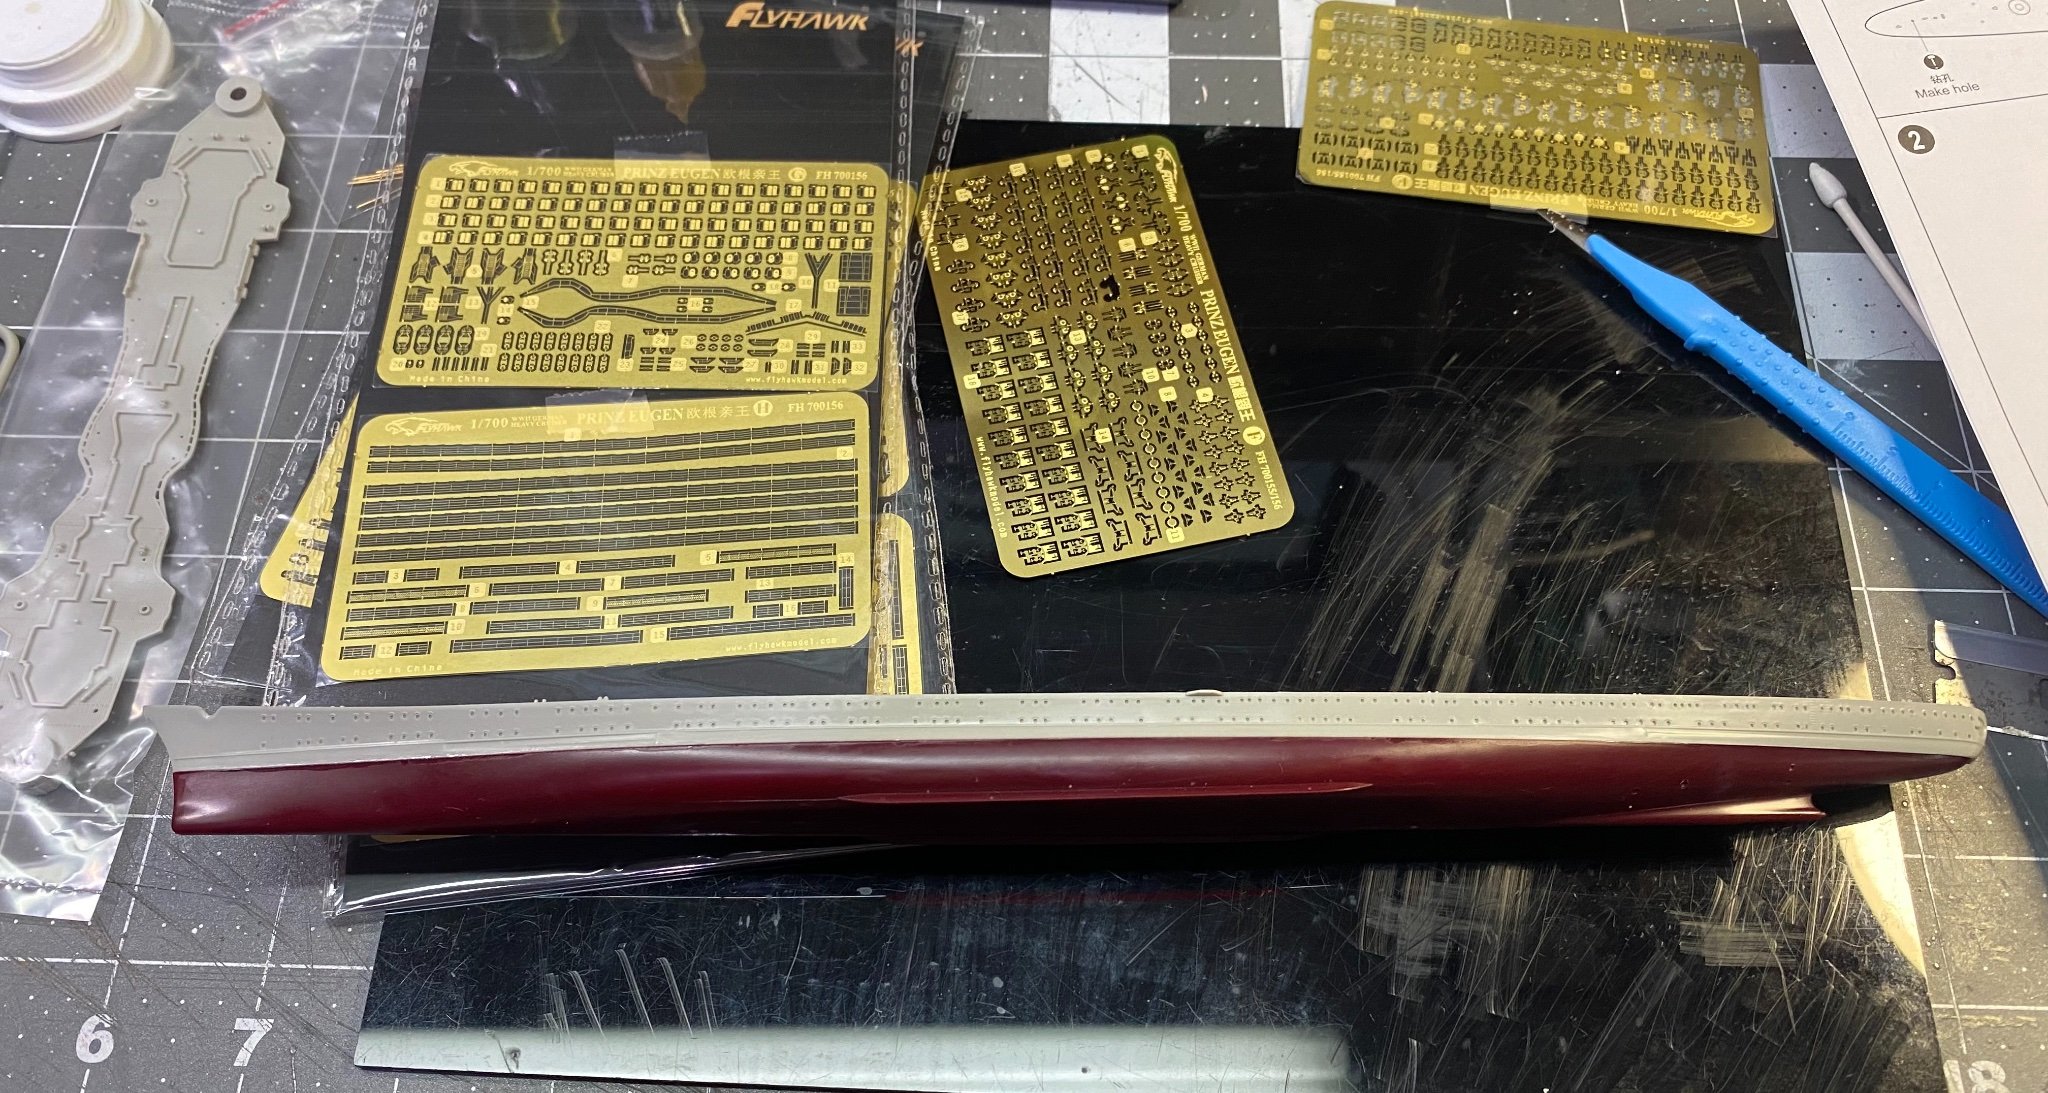
Gave the entire hull and deck a coat of black primer to get started. After first spraying on Mig Ammo One Shot primer and getting terrible results, I soaked the whole thing in my strip tank to remove the paint. Once it was cleaned of paint and dried out, laid down my old standby primer, Mr Surfacer 1500 and got the usual, beautiful results. Not sure why the Ammo paint went awry this morning, but it did. Mr Surfacer is very reliable and predictable. Sorry to say but most of the acrylic primers out there are awful for reliable results.


- 174 replies
-
- 7
-
-
- prinz eugen
- trumpeter
- (and 2 more)
-
I agree that Flyhawk is certainly the finest molded plastic kits in 1:700 scale I have ever seen. Are there others? Possibly, but I have not seen them.
-
The "hike" in price is because your local dealer takes on all the risk and cost of the shipping from Asia. When a kit box gets damaged in shipping, like the one you received, your local dealer cannot sell it without selling it for a loss. When one buys it directly from Asia, one just needs to understand the risk involved. Returning a damaged item to China is cost prohibitive. The cost of postage alone is very expensive.
-
There's at least one who does, did not check for others. HMS Hood 1941 Deluxe edition | Starling Models (starling-models.co.uk) Here's another: Dorking Models | Home
-
There was a quantum leap in technology in a short span of time during the era of this old ship. She's a primitive old gal with a lot of character.
-
That's when you wait for your local shops to get them instead of ordering from Asis on Ebay. Local shops didn't have them here in the USA when you ordered yours either. I waited until they had them here and ordered local which turns out to be a week or two faster than ordering directly from Asia.
-
This is one of the reasons I pay a premium price and buy from a dealer in my own country. Could have paid a few dollars less by ordering it direct from Asia, but far too often this is the end result. There are a few dealers in Asia I trust and order from them directly, but many just don't ship with adequate packaging. On the other hand, even when packed well, the Samsonite Gorilla sometimes gets ahold of your package and it's all over but the cryin'.
-
I sure am proud to see how you hung in there and worked out the little details, Alan. It takes patience to arrive at a desired outcome and you did it! Not a simple task by any means. I still believe my next foray into 3D printing will include an upgrade with an automated leveling system.
- 460 replies
-
- 6
-
-
- Finished
- Flower-class
- (and 1 more)
-
This is the color call outs provided by Trumpeter. I plan to paint it as described in the call out. A set of paint masks would be nice. I’ll probably copy resize and print the diagram to make my own masks.

- 174 replies
-
- 7
-
-
- prinz eugen
- trumpeter
- (and 2 more)
-
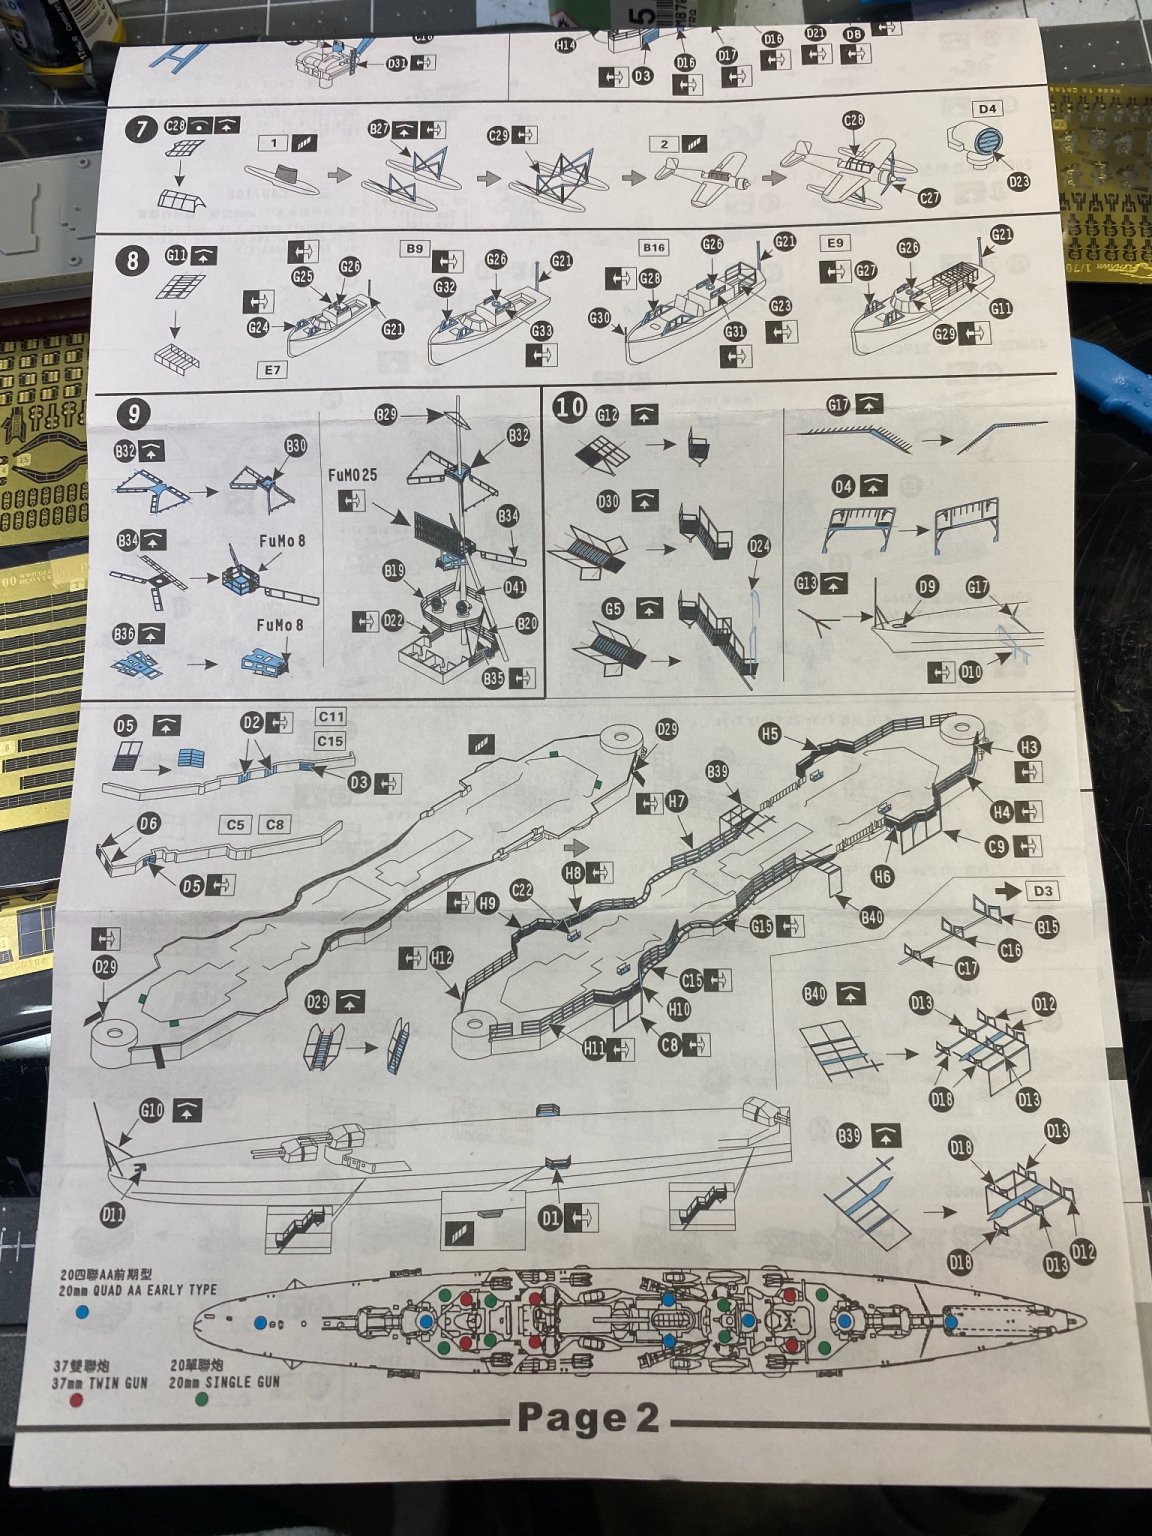
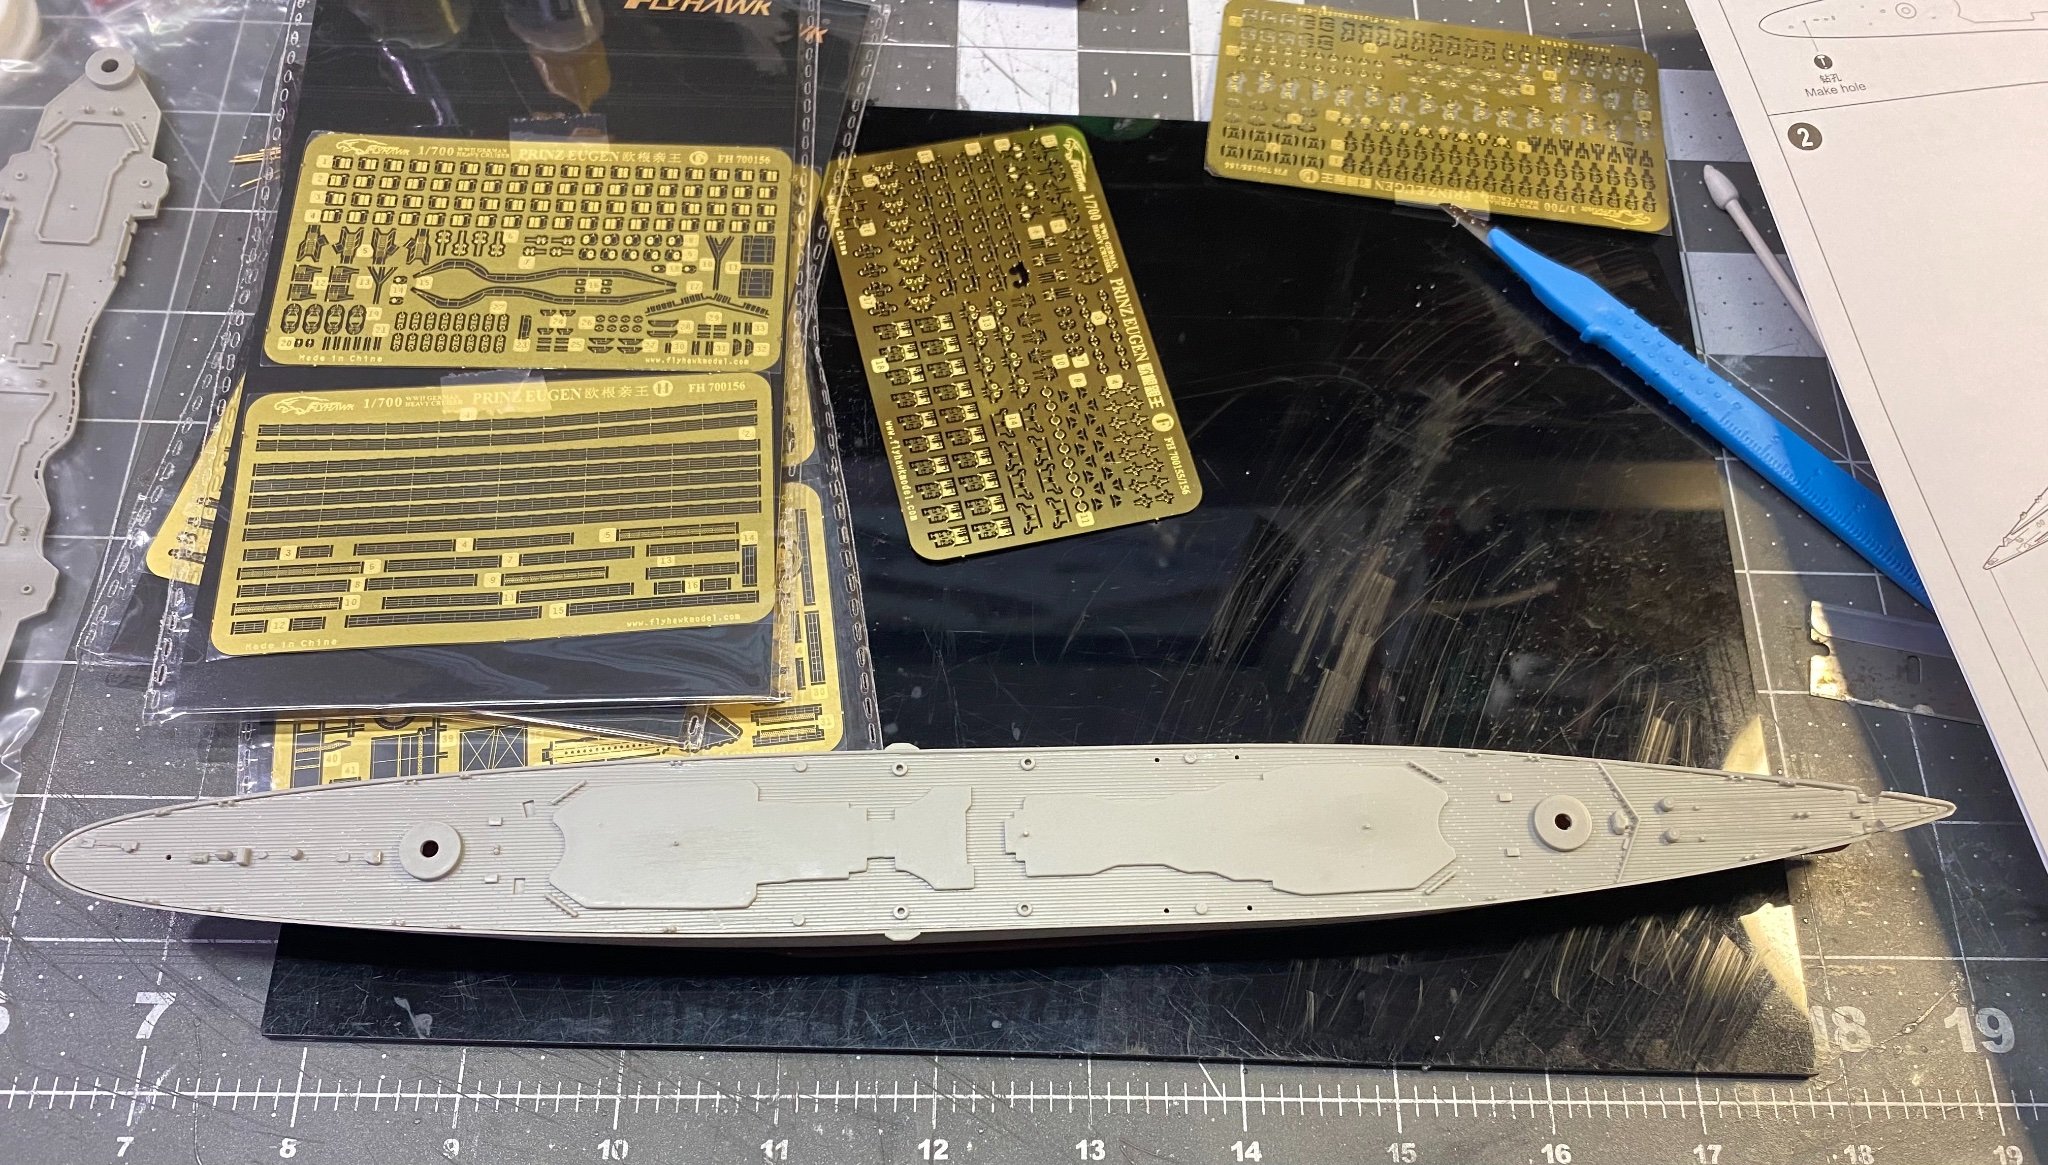
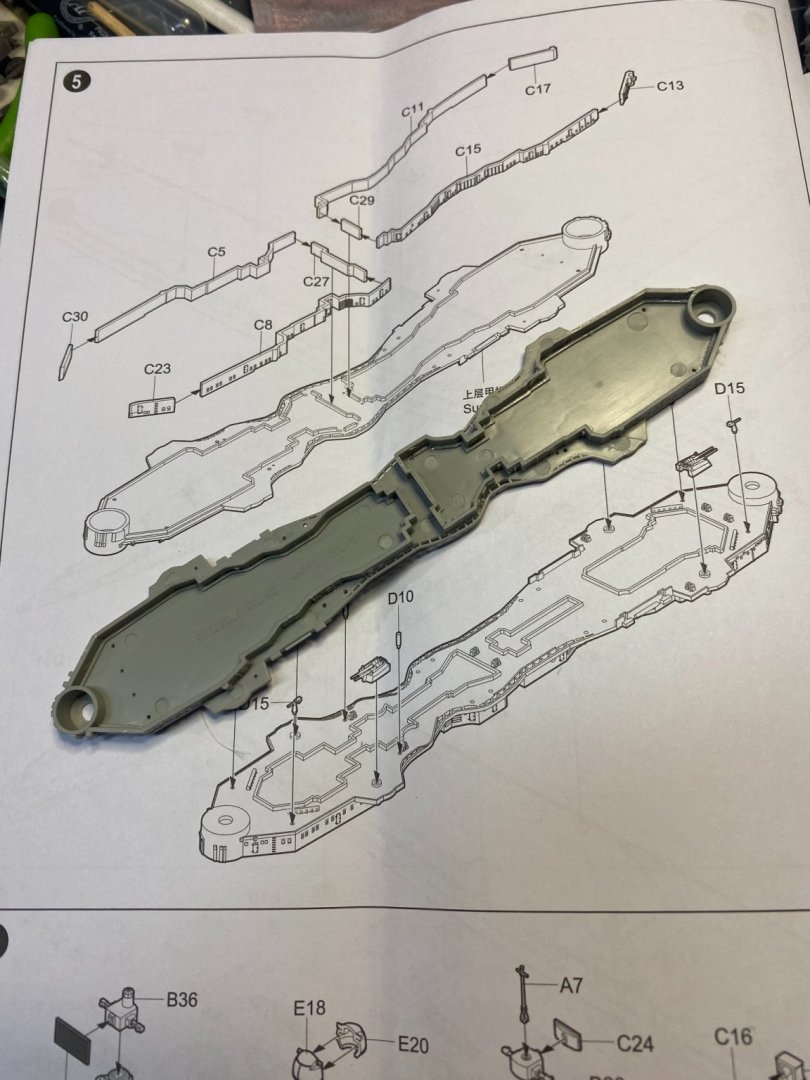
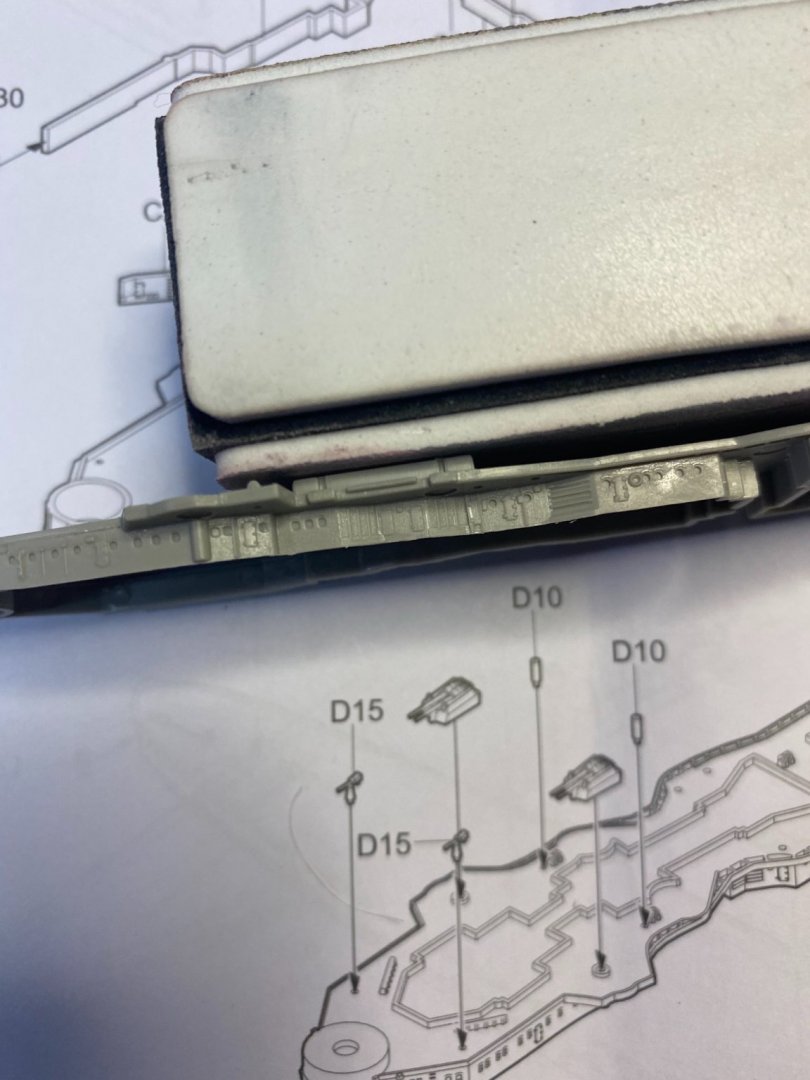
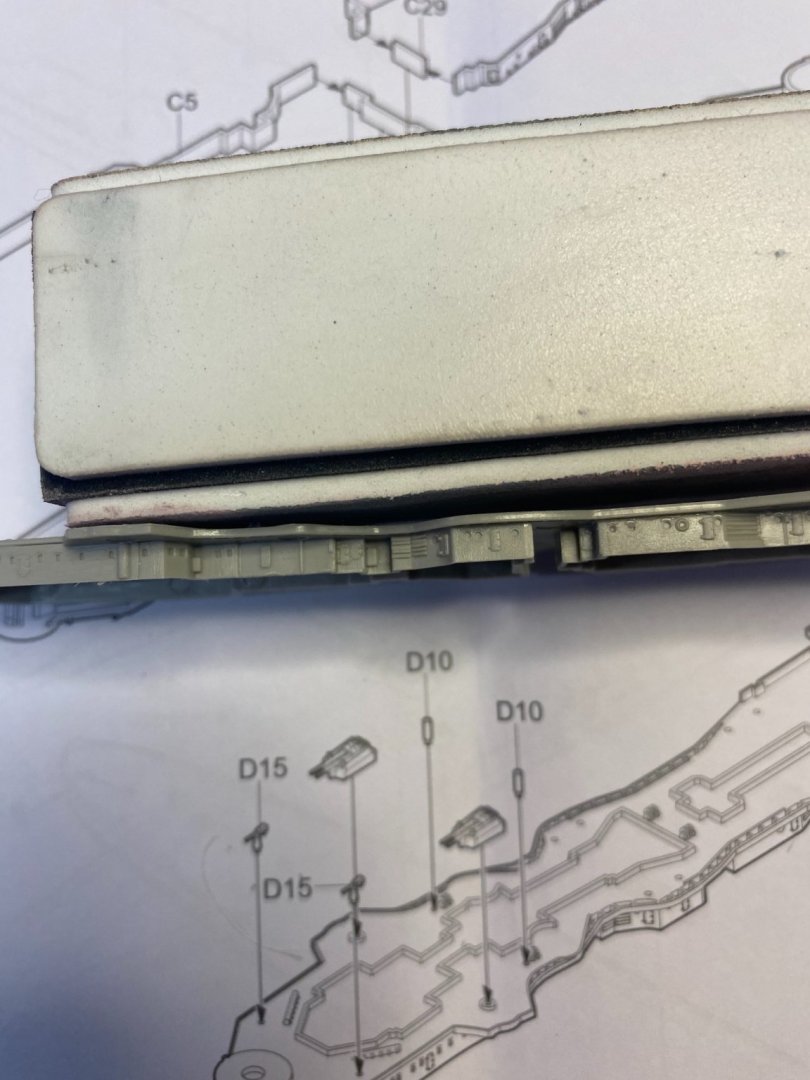
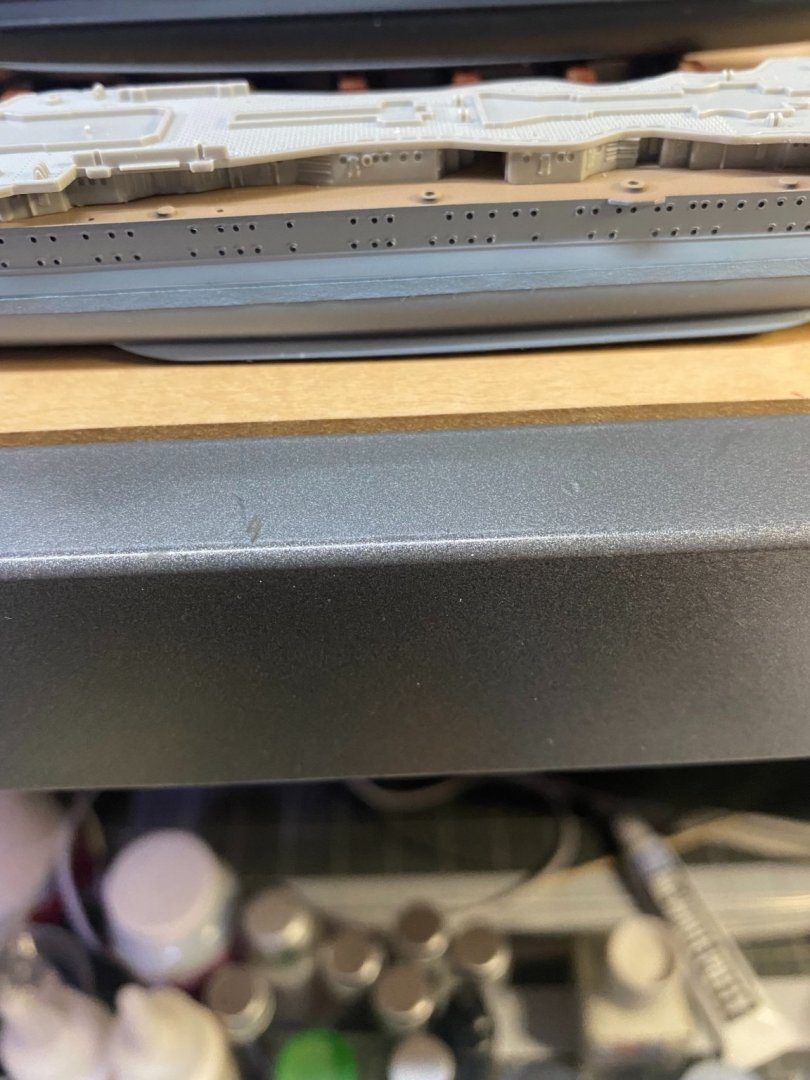
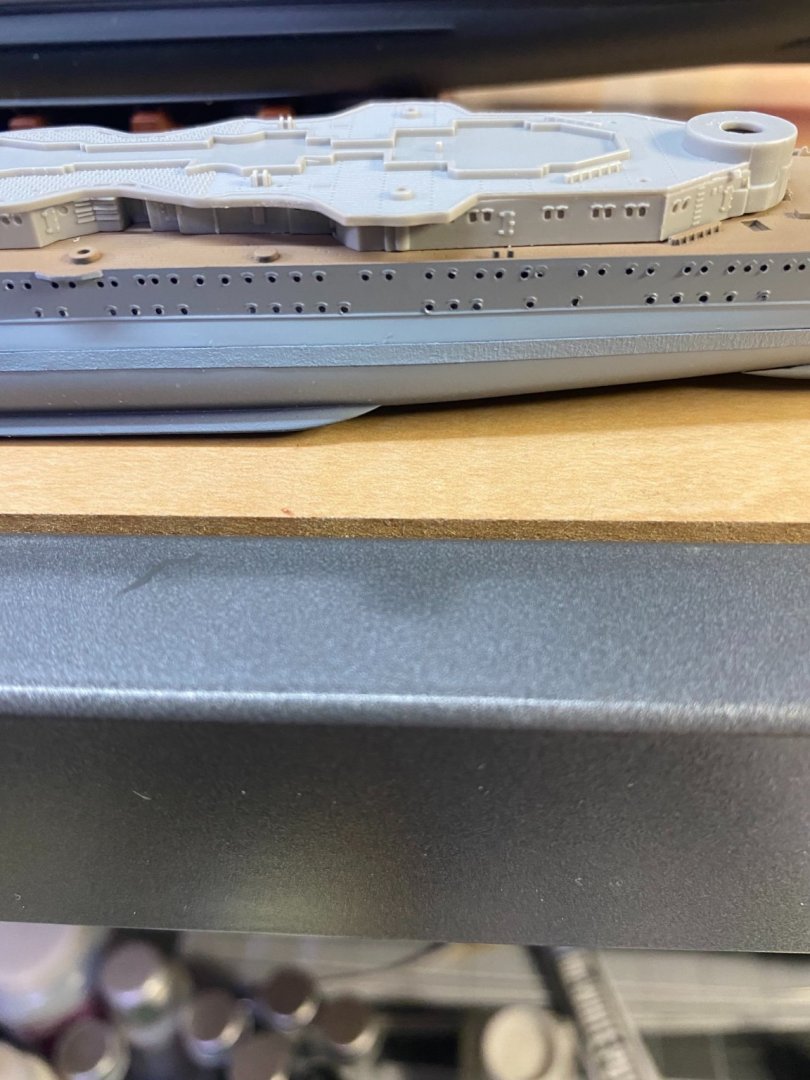
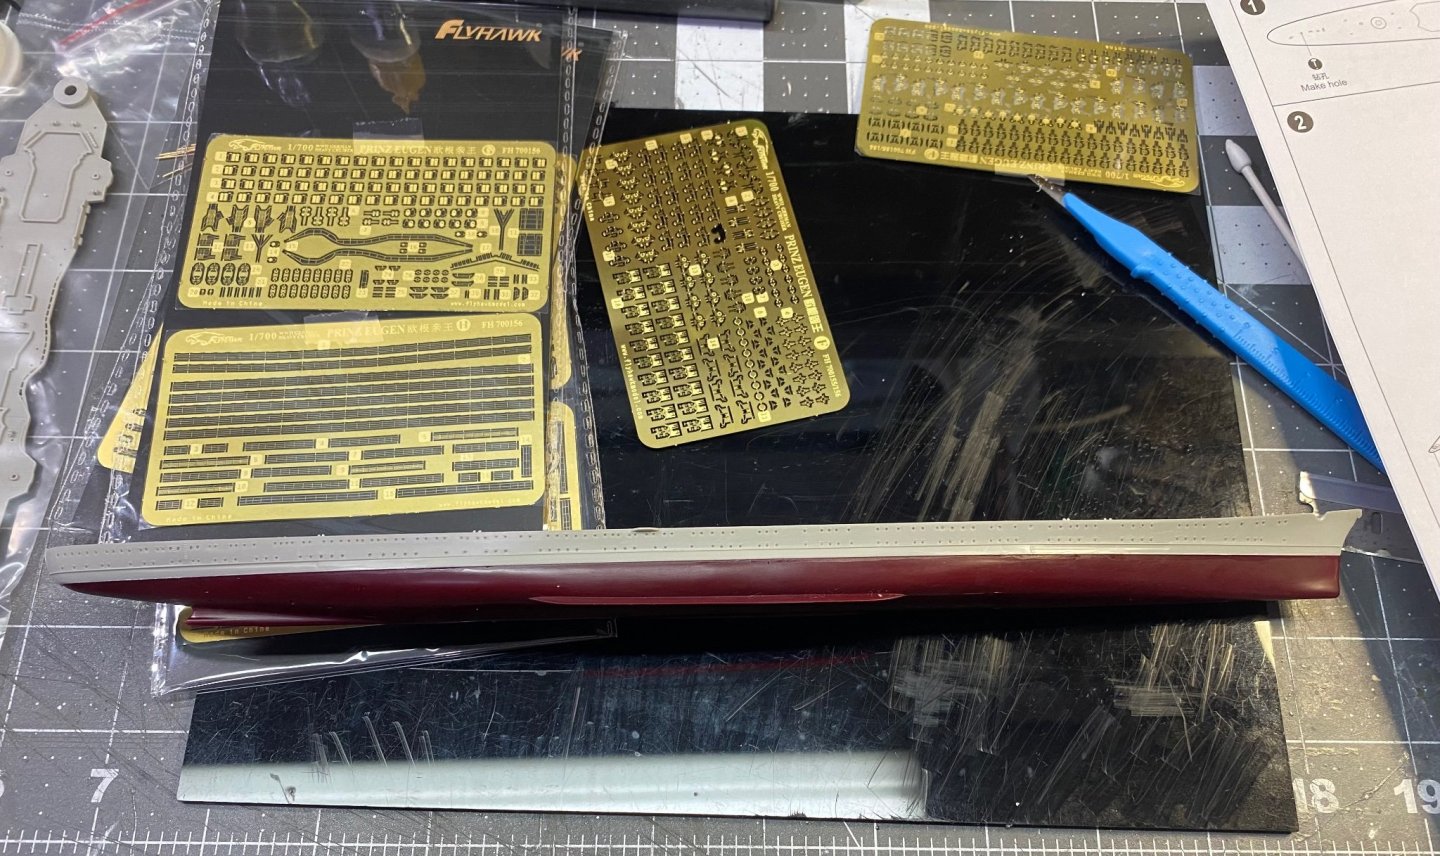
Will start this build working the hull and main deck first. Hull halves are separated by top and bottom pieces, the main deck being one large piece. The parts fit together well and only a light sanding on the hull will be needed at the join line before I start primer and paint coats. I like the deck fit. while there’s a lot of photo etch included with the Flyhawk update set, attention to deck pieces is very light. I was hoping the photo etch would replace the plastic molded break water but **it’s not included. **Correction: The breakwater is included in the photo etch. See part G17 in the first photo. 🙂


- 174 replies
-
- 8
-
-
- prinz eugen
- trumpeter
- (and 2 more)