HOLIDAY DONATION DRIVE - SUPPORT MSW - DO YOUR PART TO KEEP THIS GREAT FORUM GOING! (Only 13 donations so far - C'mon guys!)
×

CDW
-
Posts
7,742 -
Joined
-
Last visited
Content Type
Profiles
Forums
Gallery
Events
Everything posted by CDW
-
 She looks like one could climb aboard and go to sea...just like the real thing. Stunning model, Yves.
- 321 replies
-
- 6
-

-
- Finished
- Flower-class
- (and 1 more)
-
Great build of the Phantom, EG! Love it! F-4's flew out of MacDill AFB here in my hometown and I always got a kick seeing them flying formation overhead.
-
I don't know where you grew up, but nobody told the pilots flying to Avon Park bombing range in Florida about that law. I heard sonic booms all the time in the 60's.
-
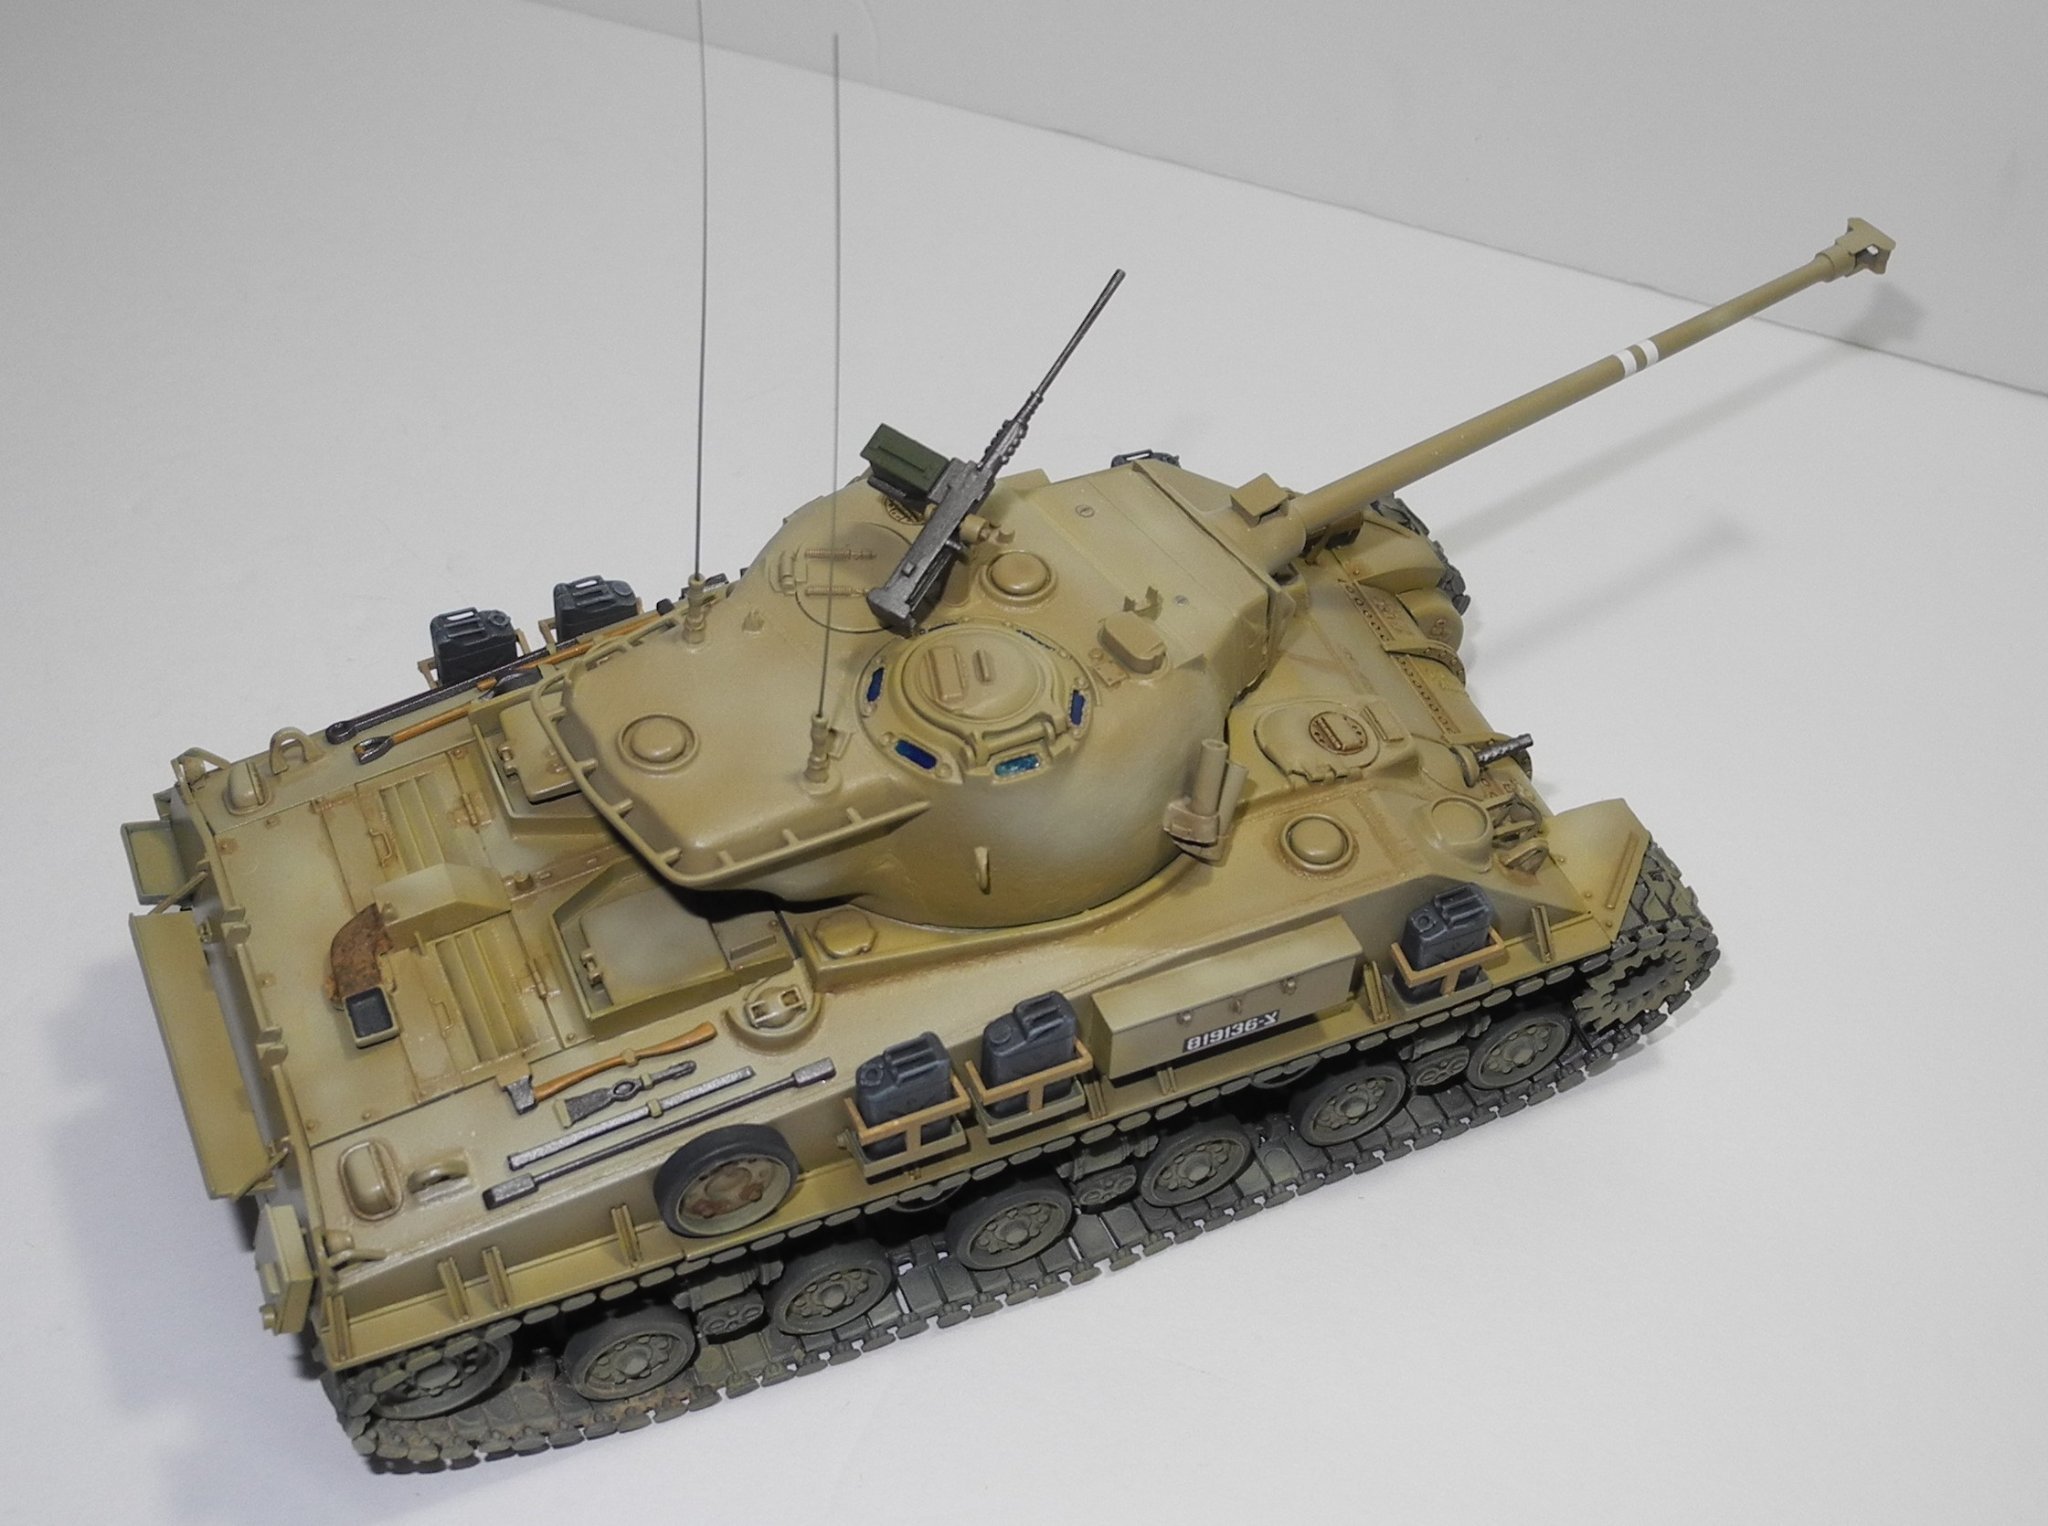
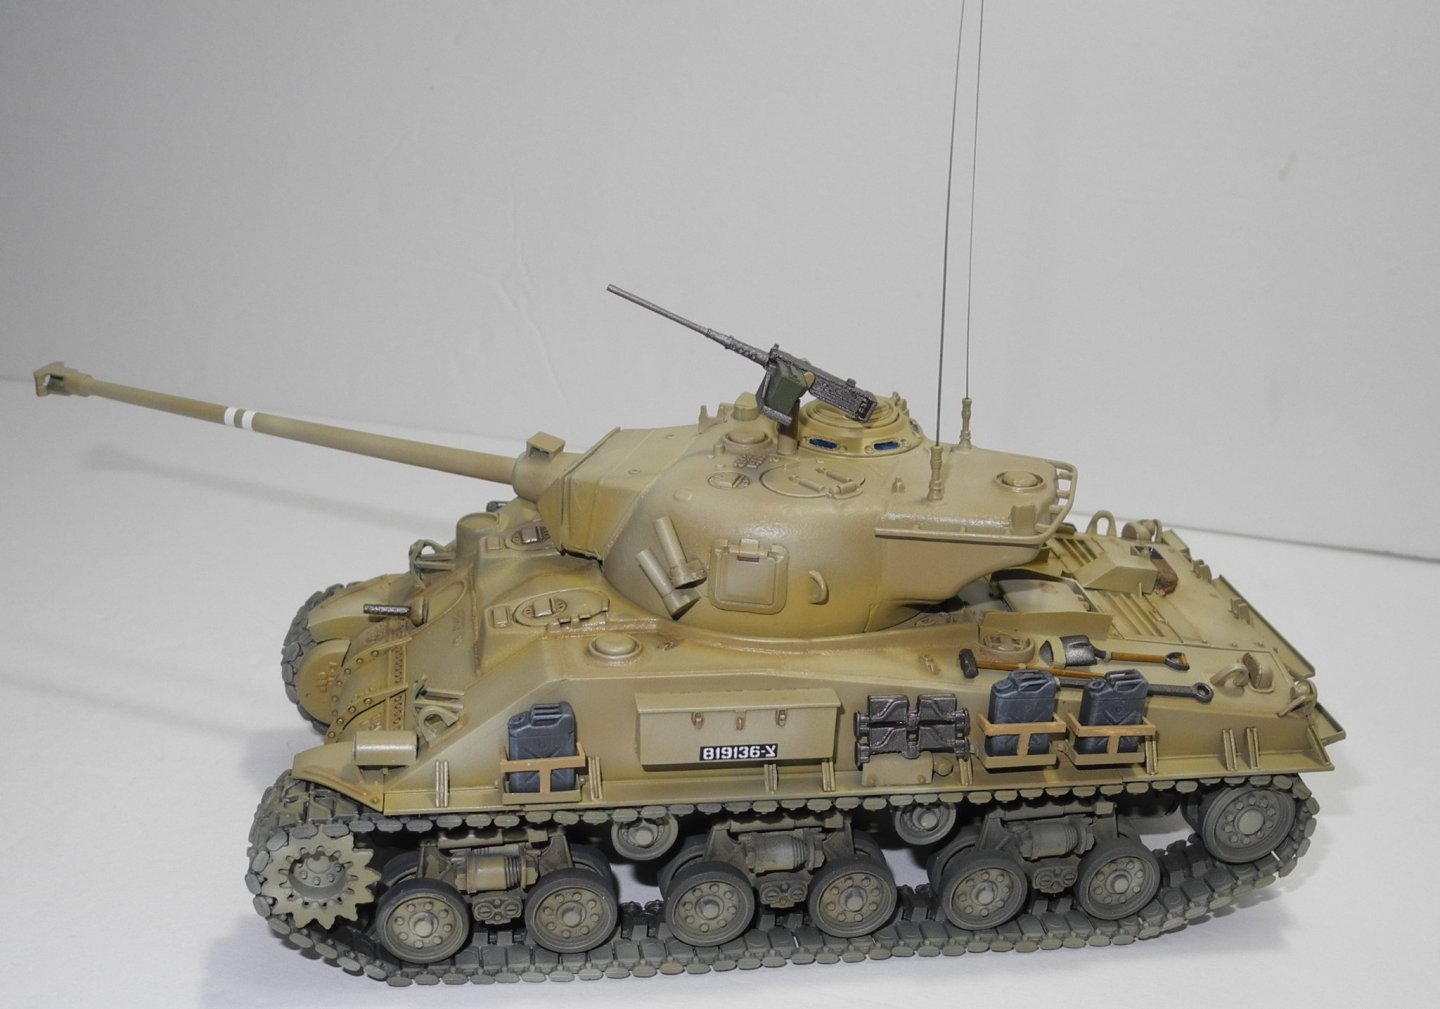
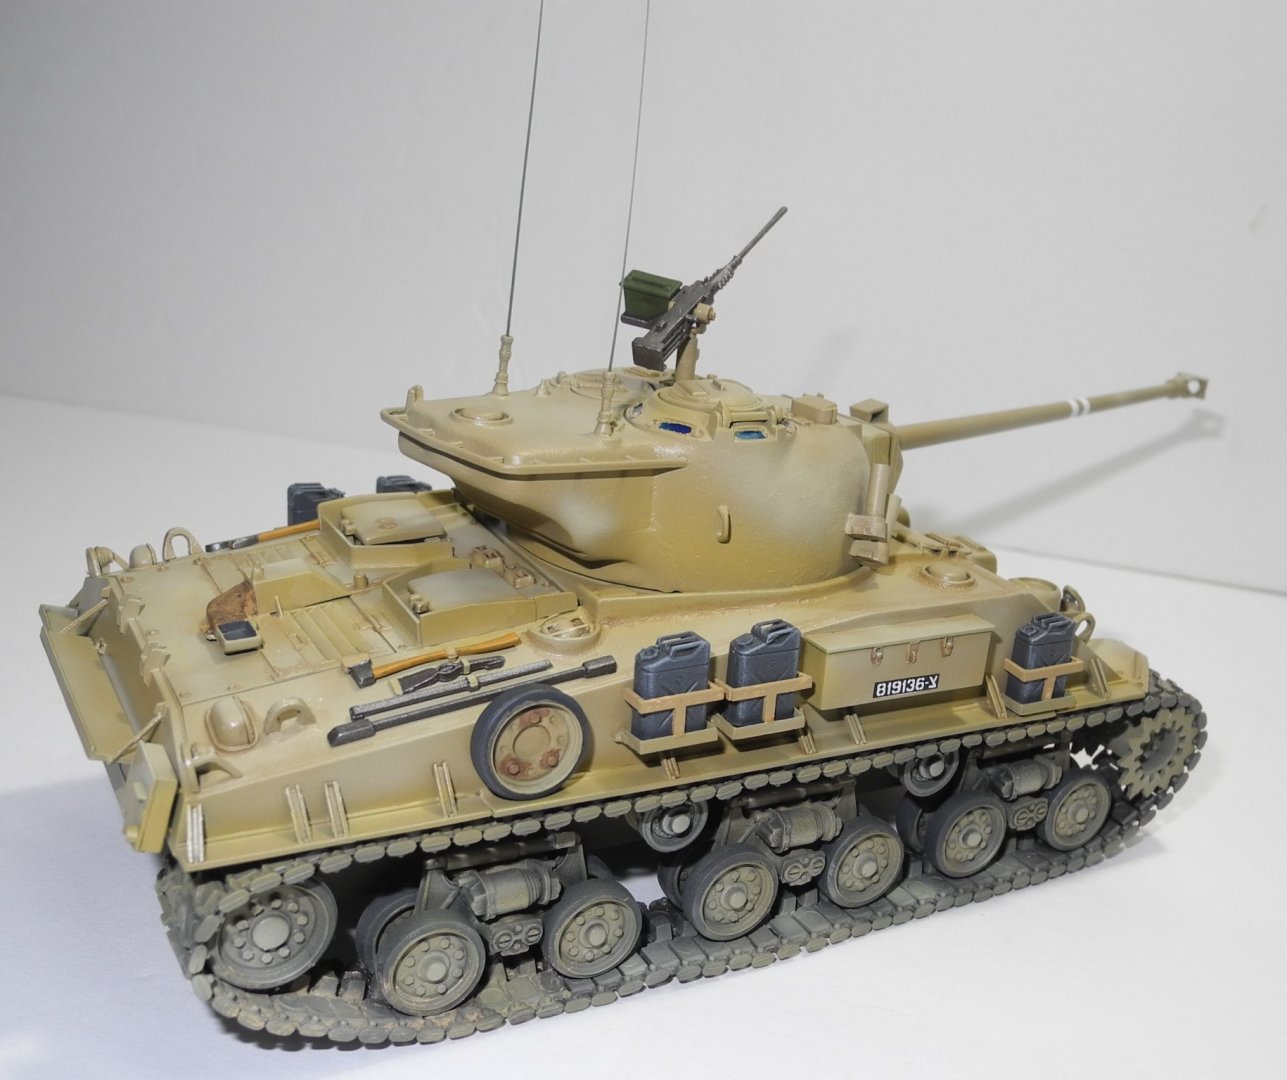
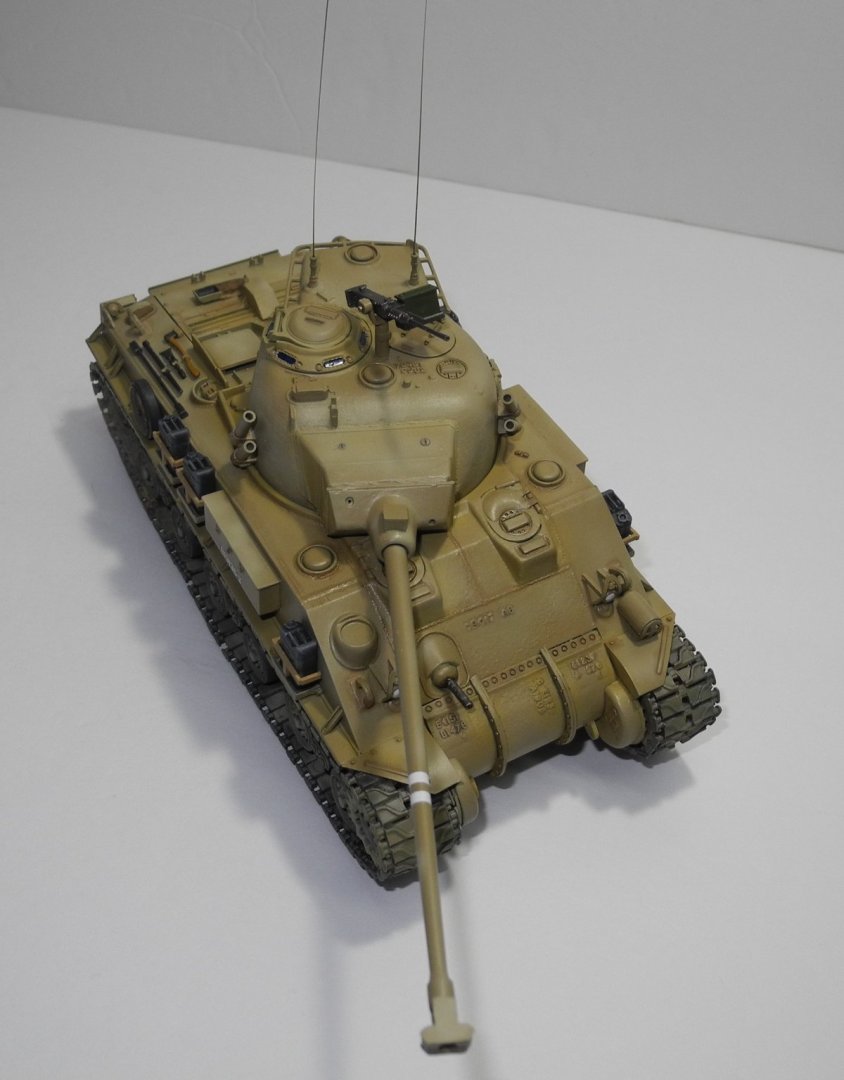
Mr Color has a few modulation sets that box four varying shades of paint, dark to light, in one set. One is for gray German vehicles (the one I'm using), one set for green Japanese aircraft, one set for sand-desert colored vehicles, and one set for Japanese navy. So the idea is to lay down the darkest color first, then gradually lighten it with the next three lighter shades. This gives a 3D effect and shadows. It's easy enough to do the same thing by adding a varying percentage of lighter color to a dark base color of any paint brand, but I particularly like the Mr Color lacquer paints. They behave well out of the airbrush, plus I can thin them down quite a bit without getting runs in the paint. Gives me better paint flow control than I can get with acrylics. Here is a Israeli tank I did with the desert yellow modulation set:


- 143 replies
-
- 14
-
-

-
There are a lot of diorama possibilities in my shop. Got to practice.


-
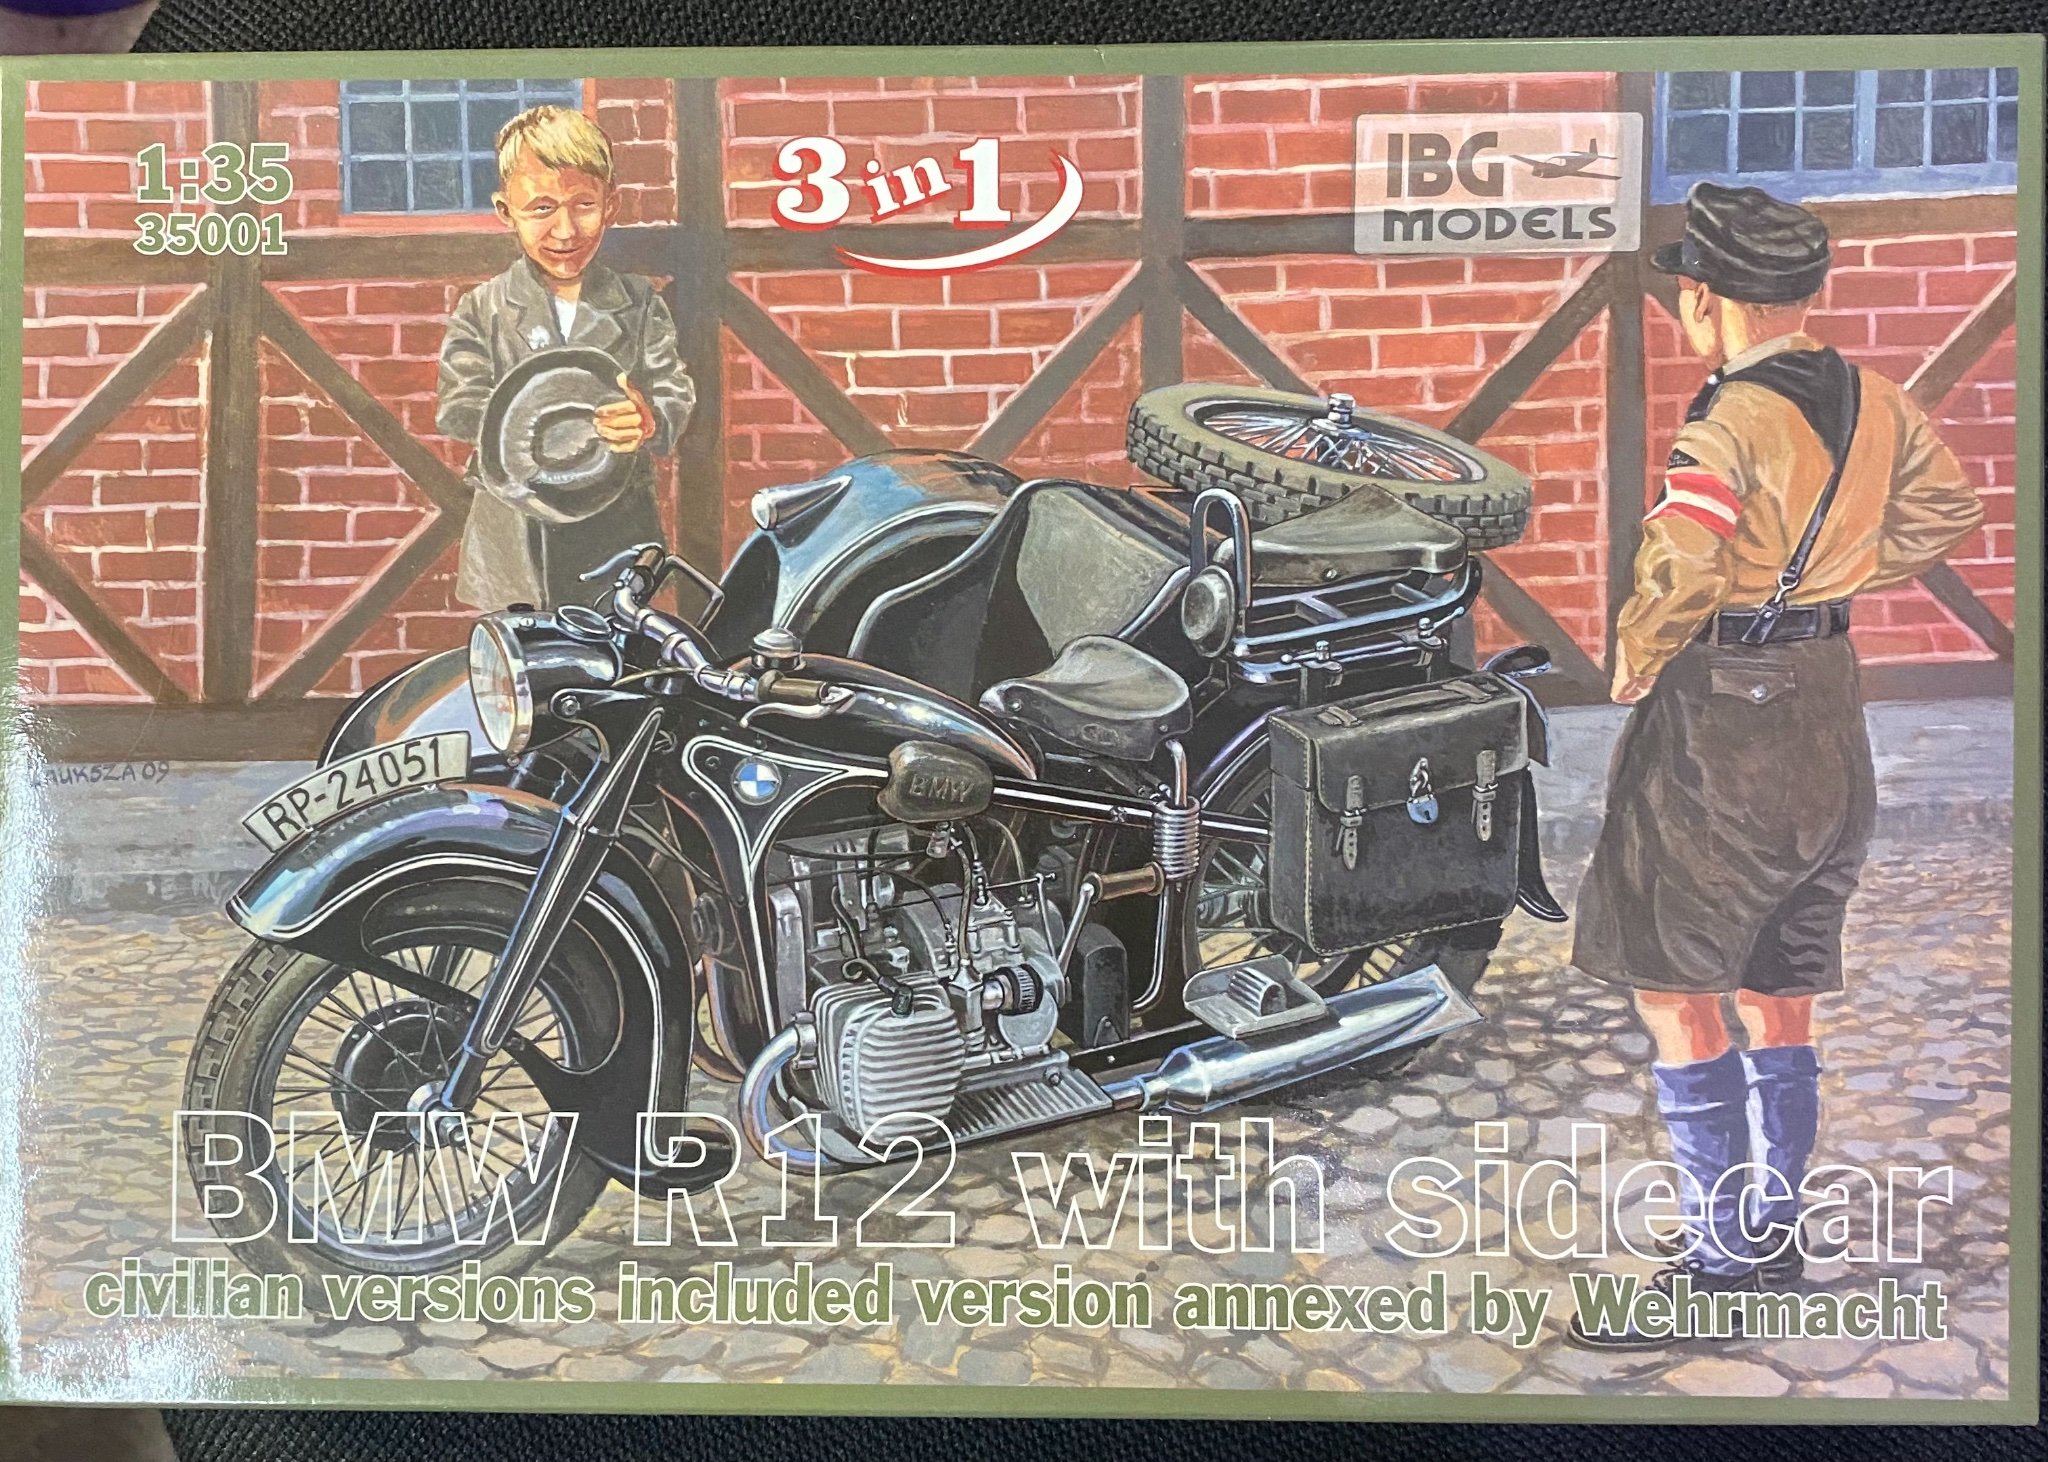
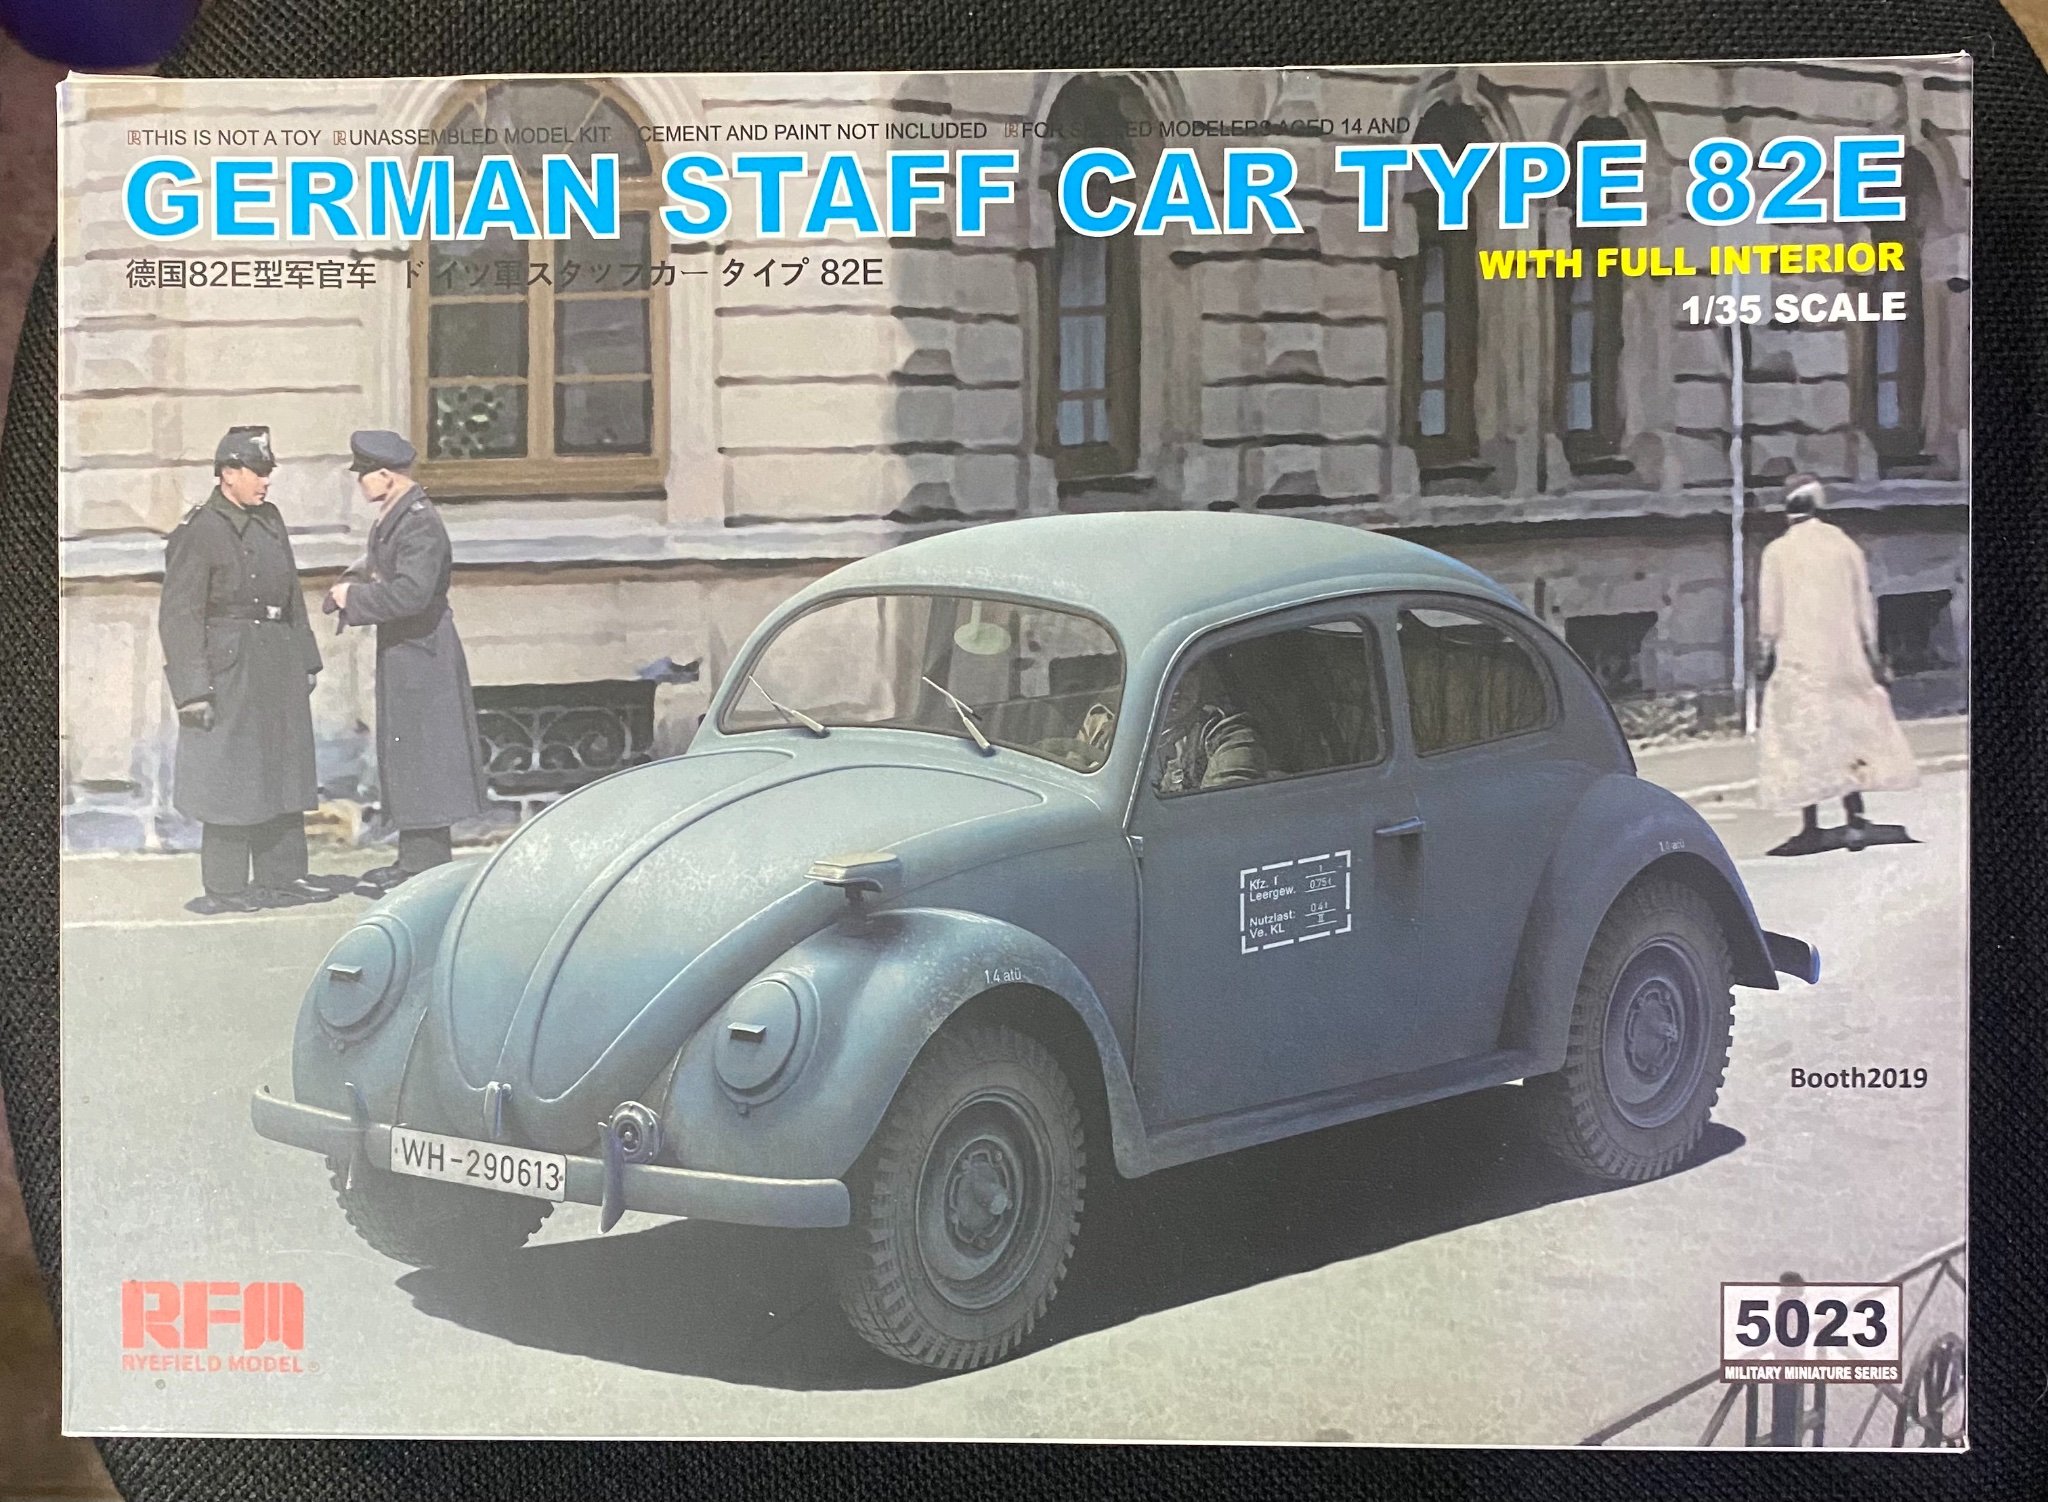
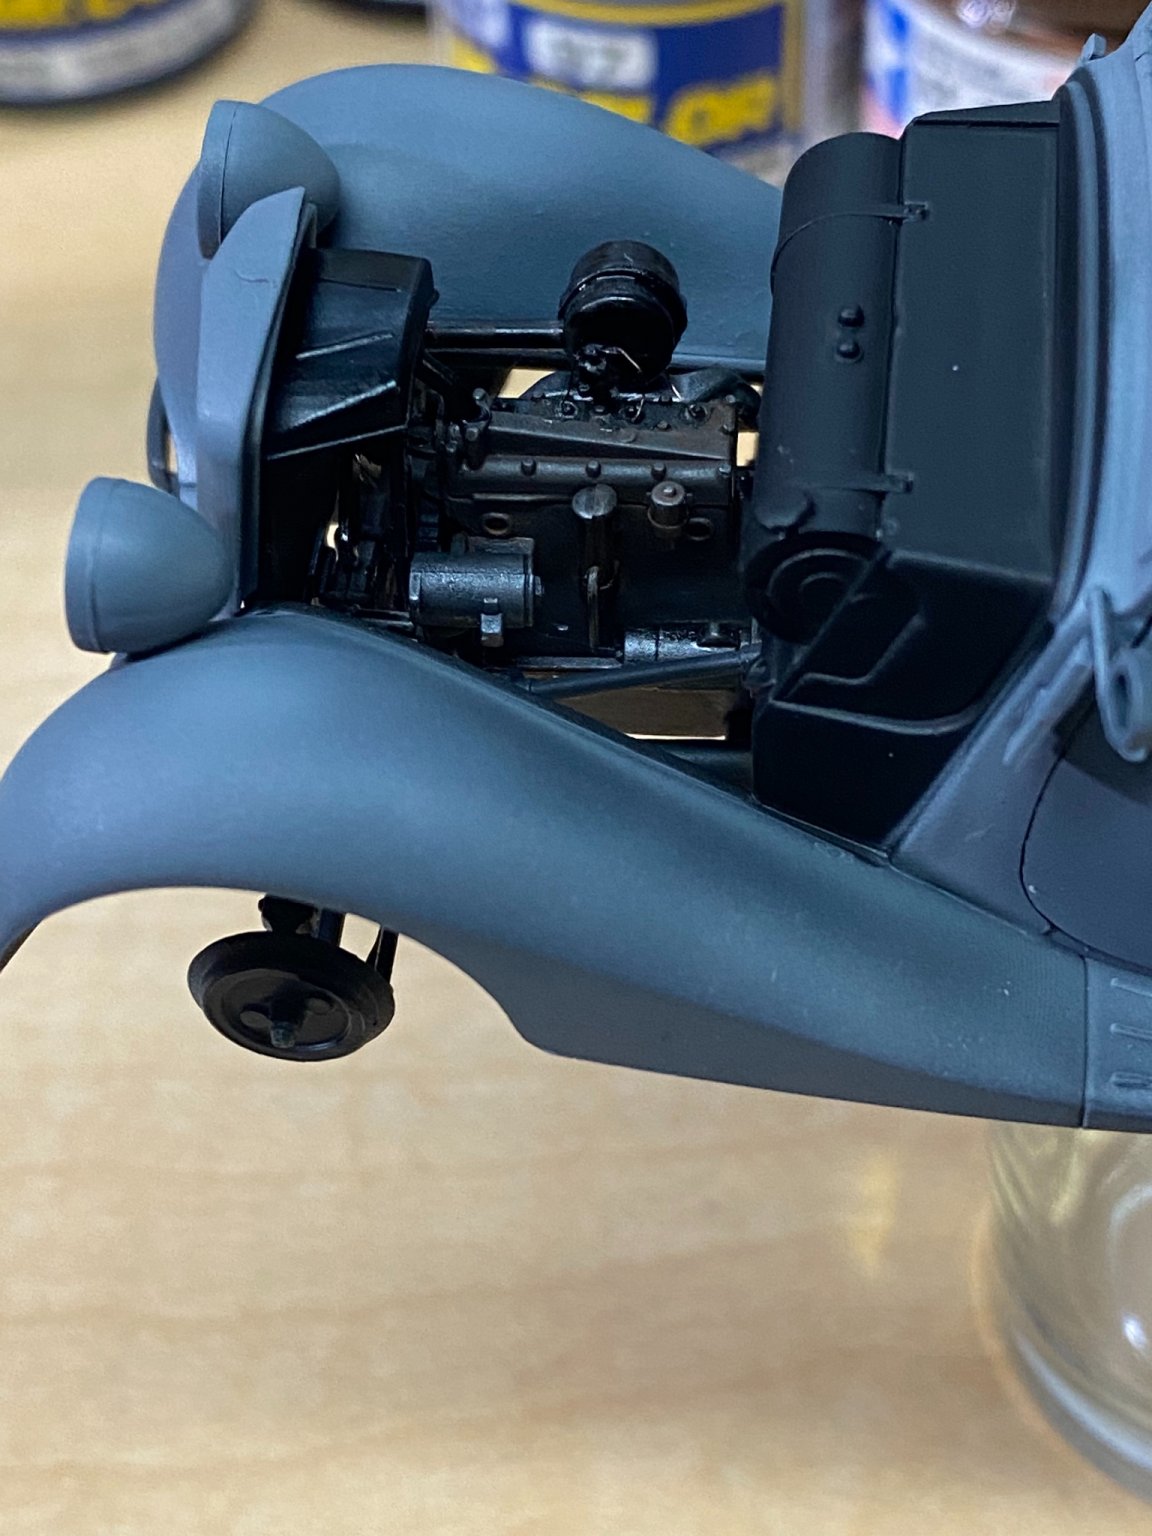
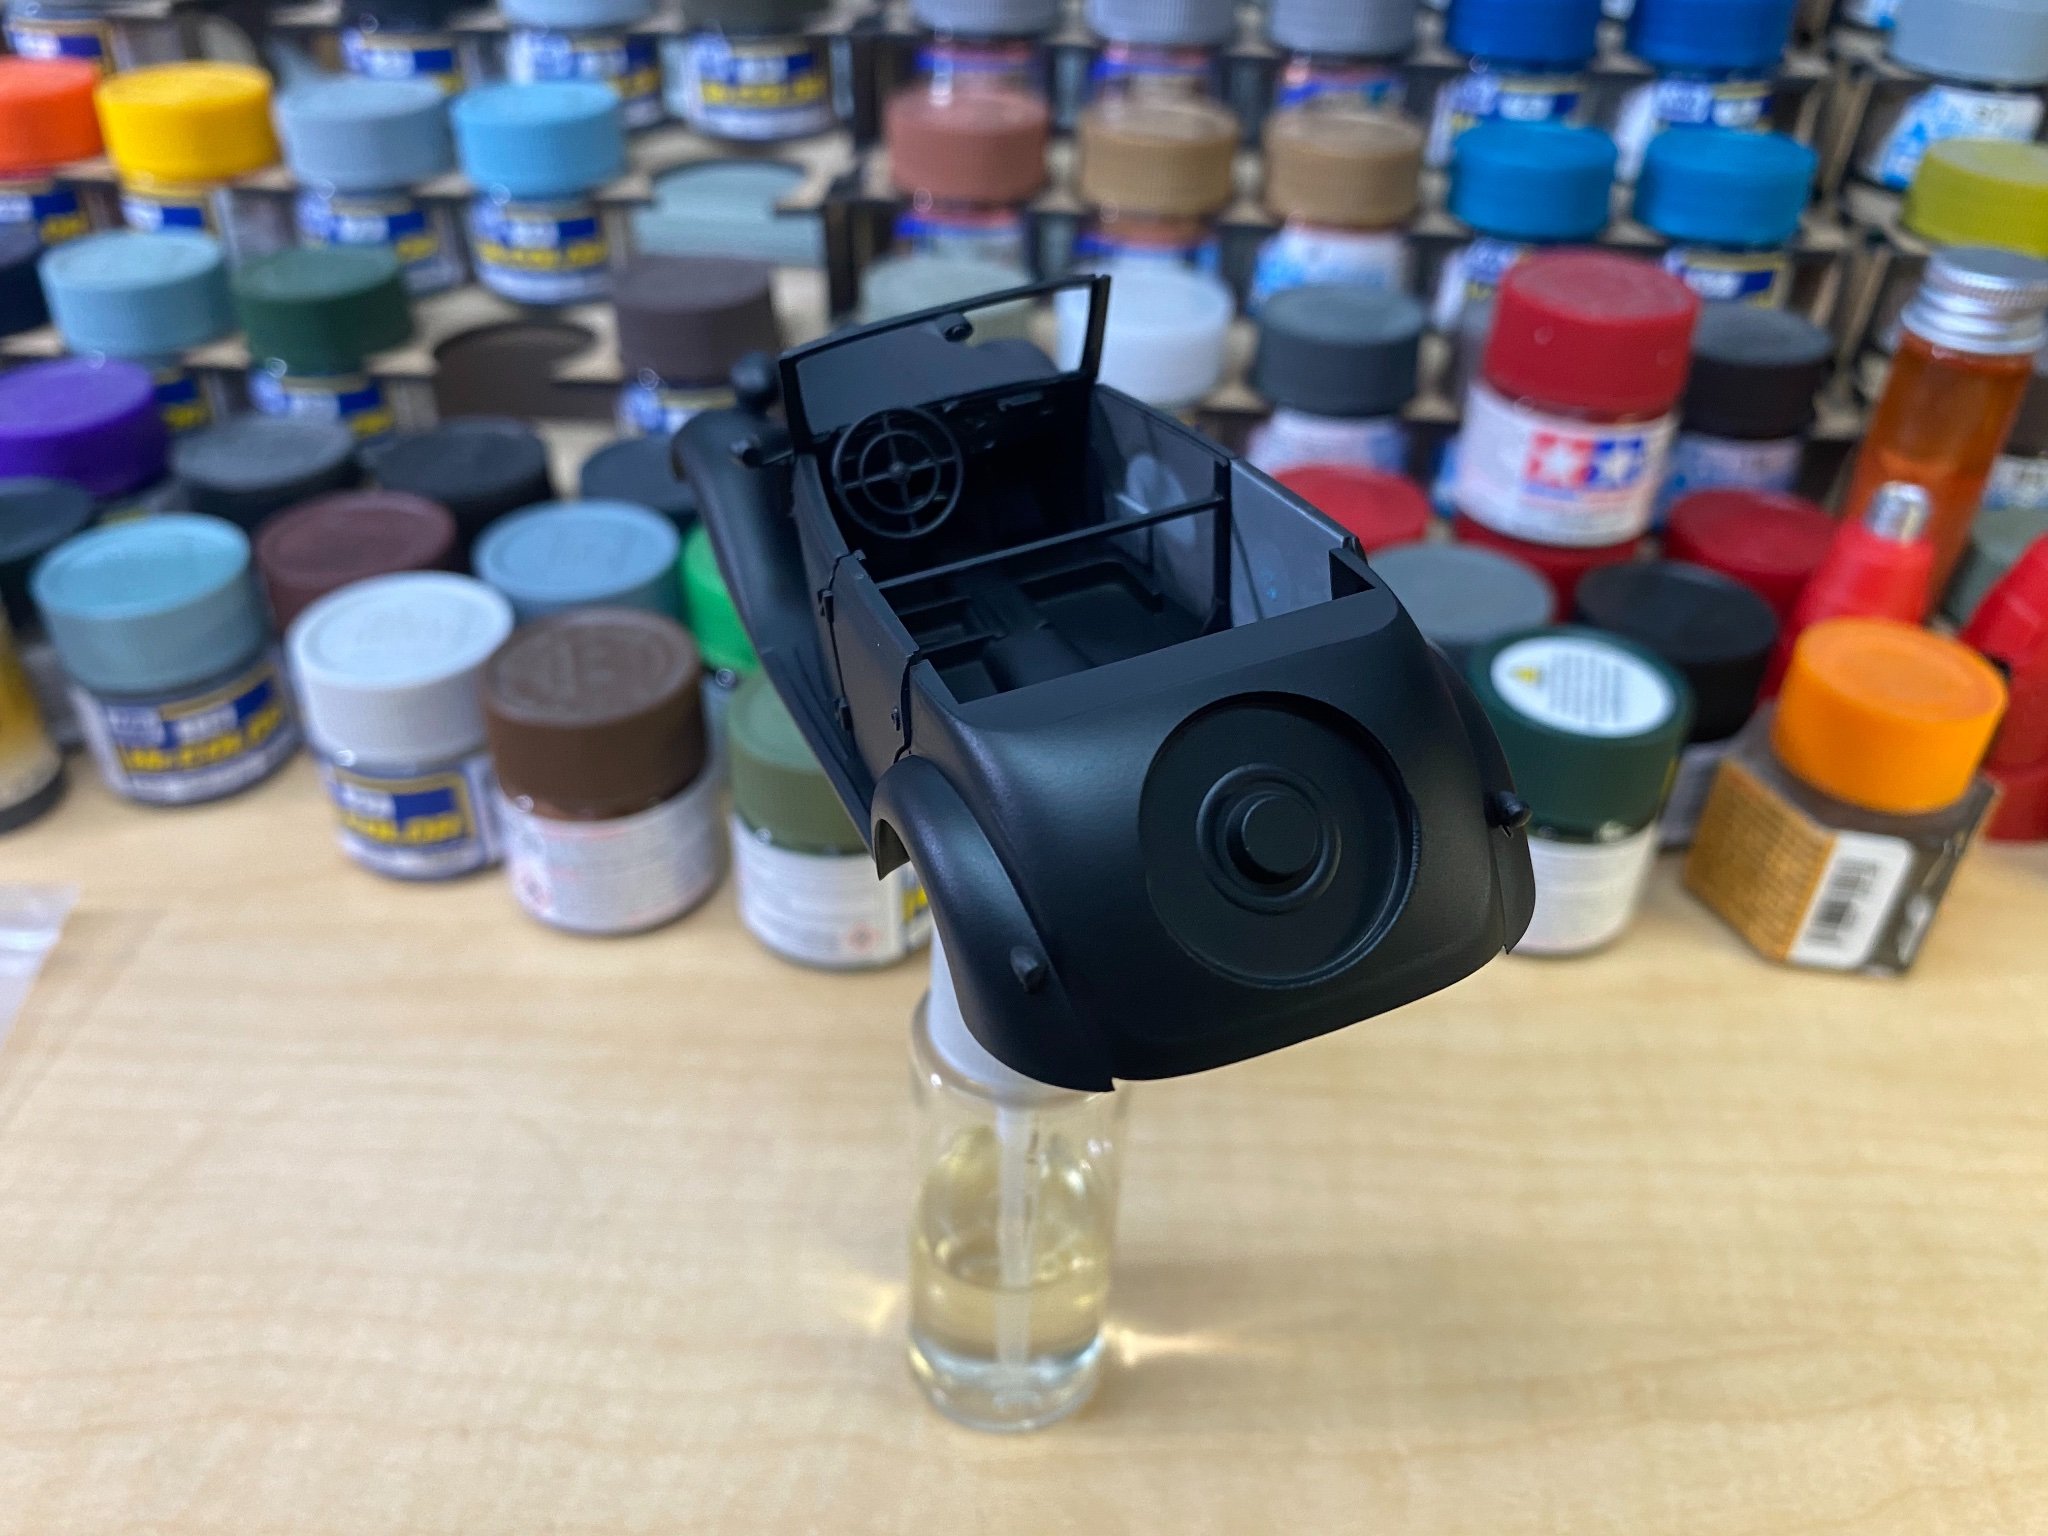
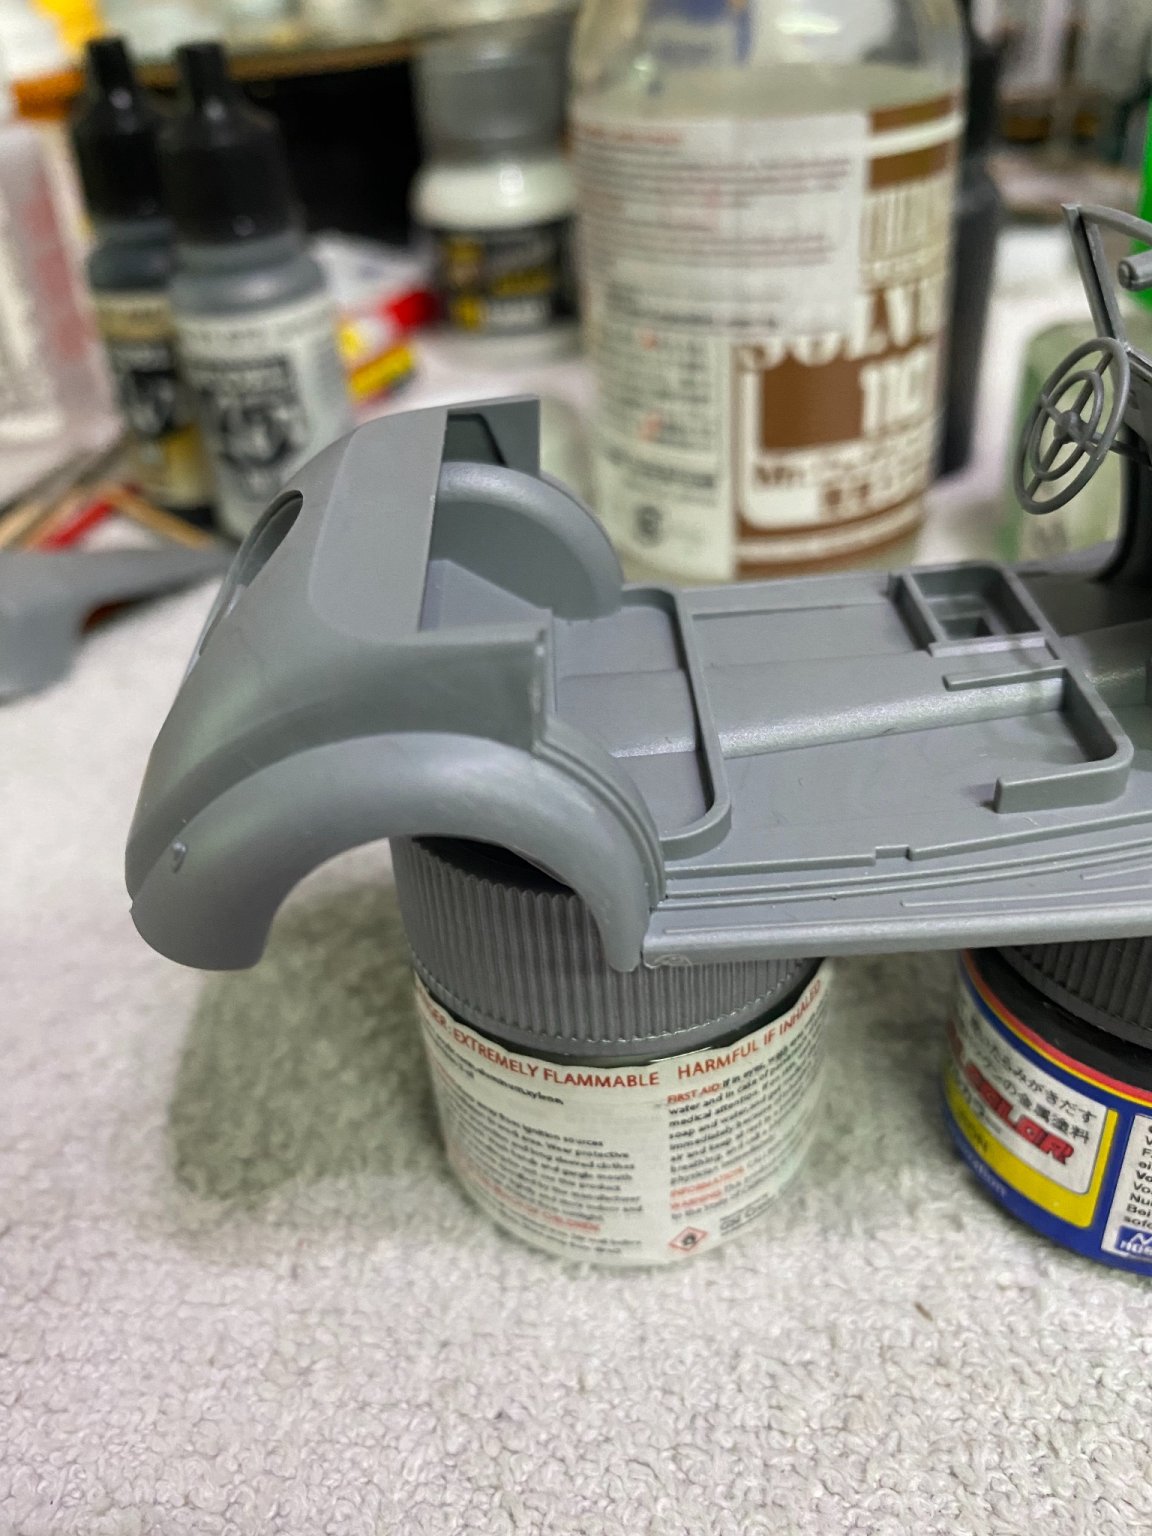
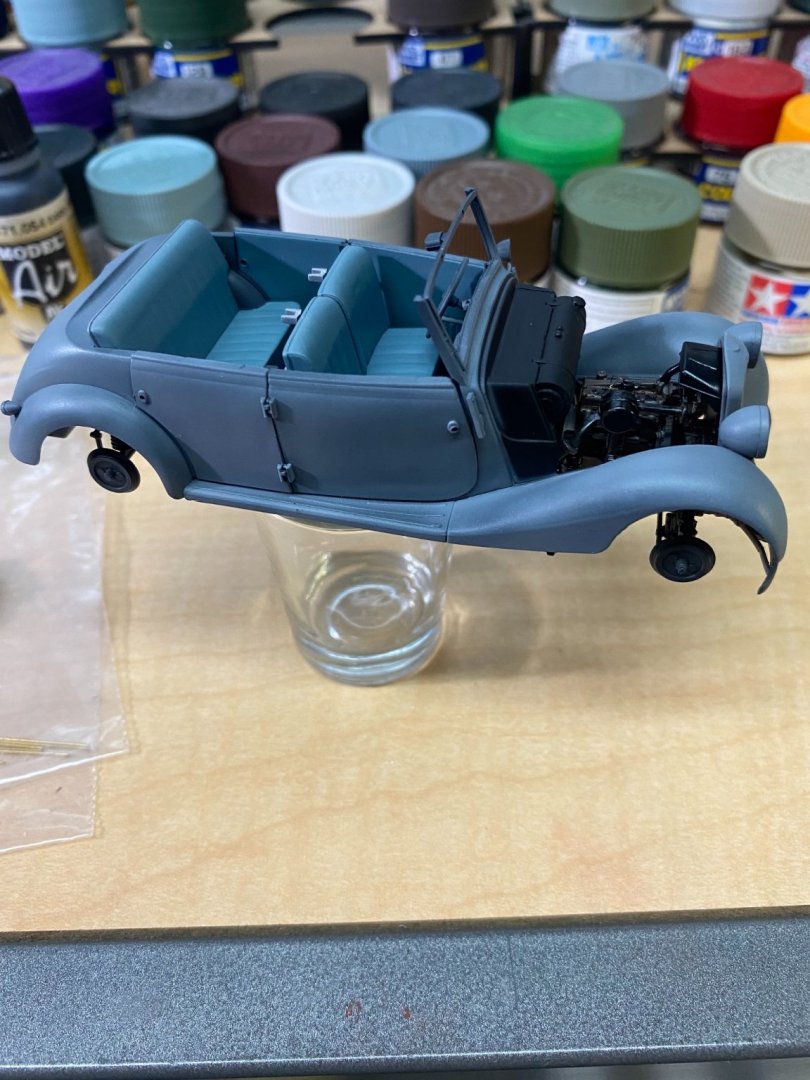
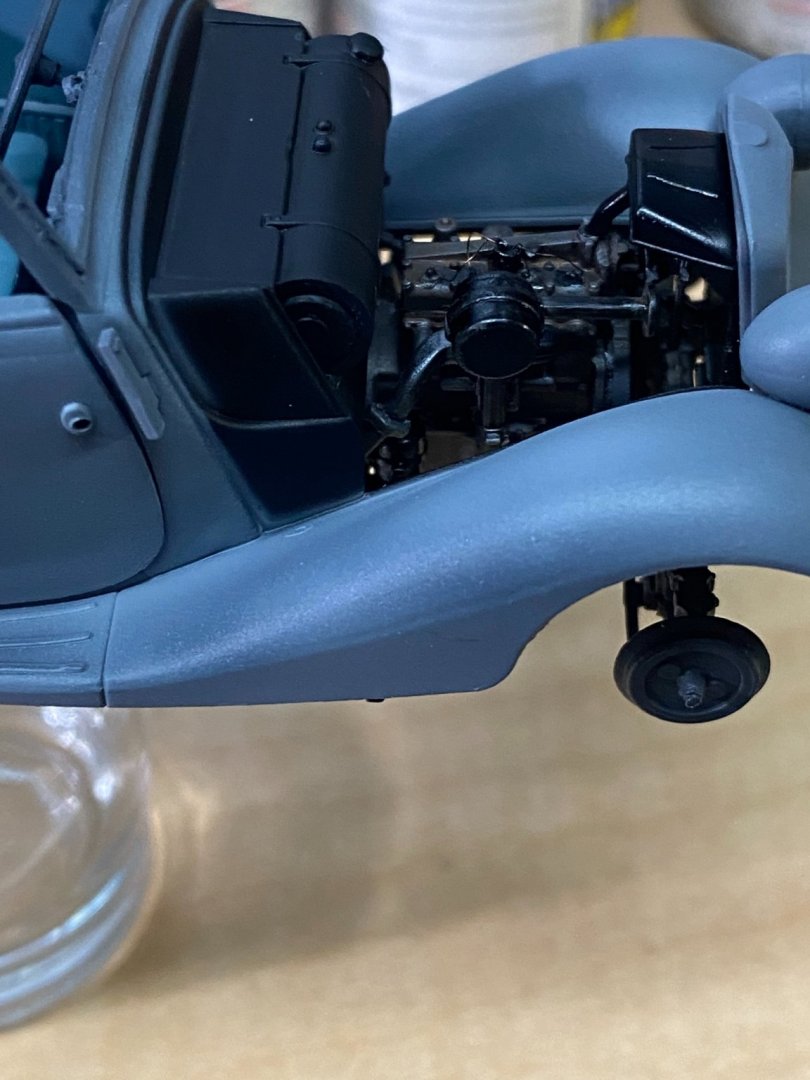
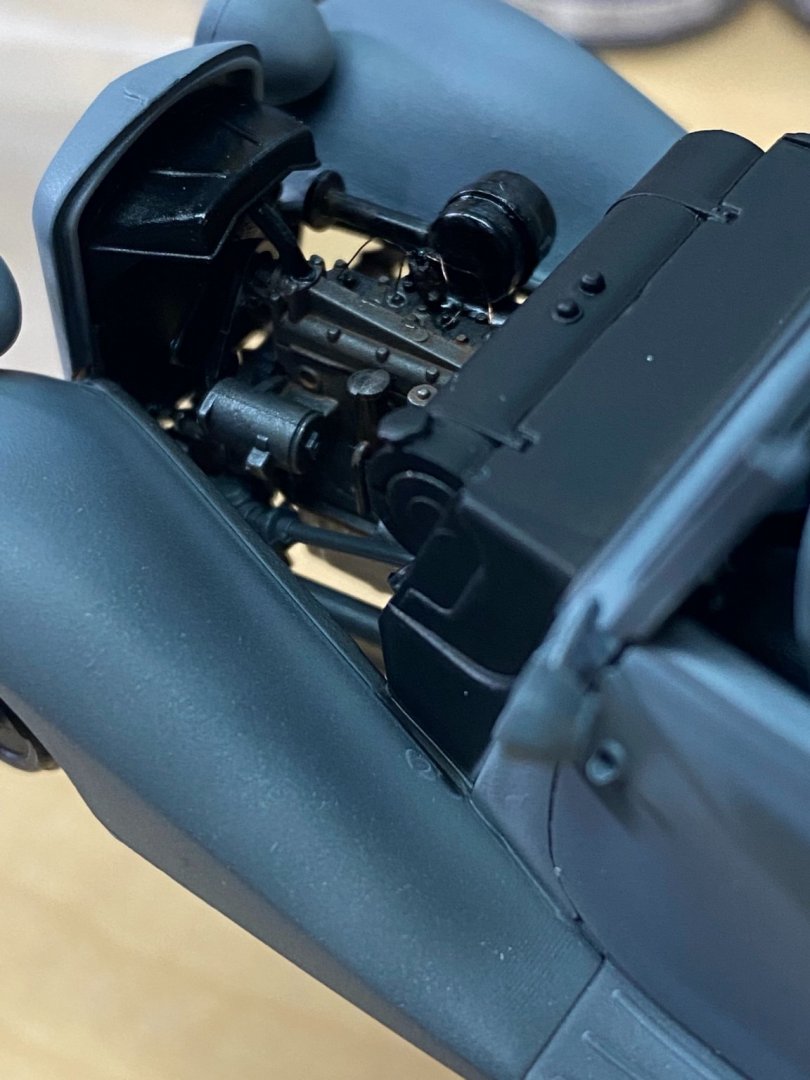
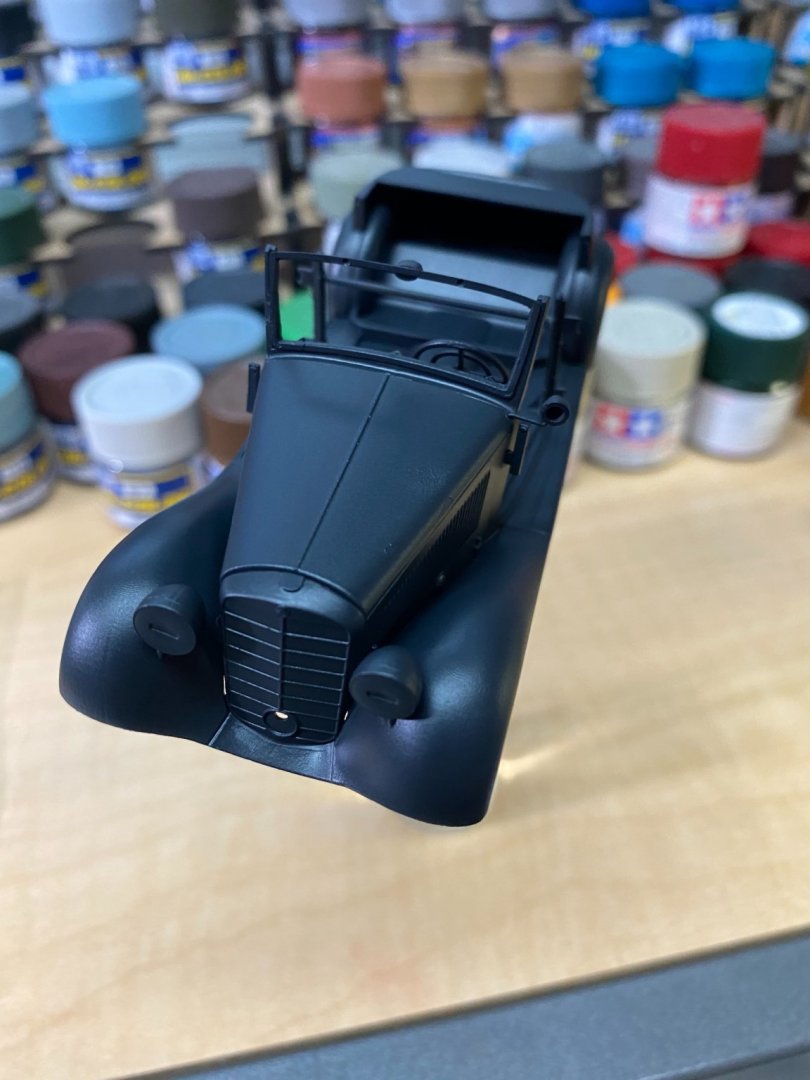
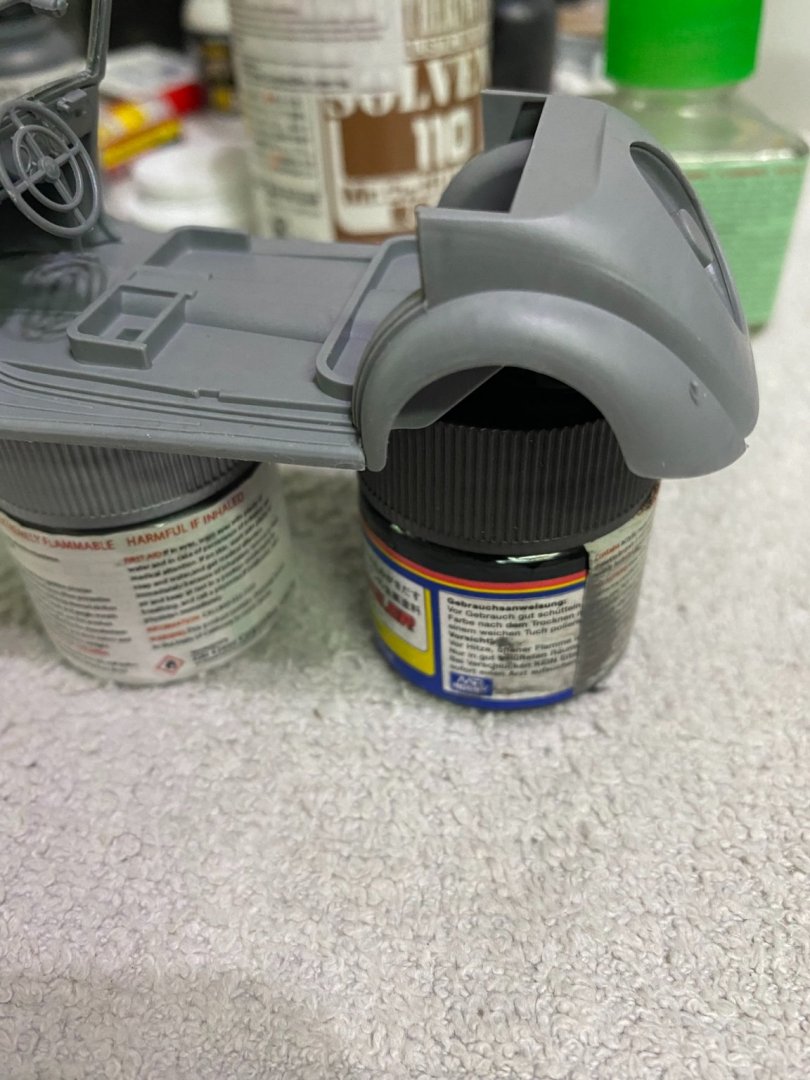
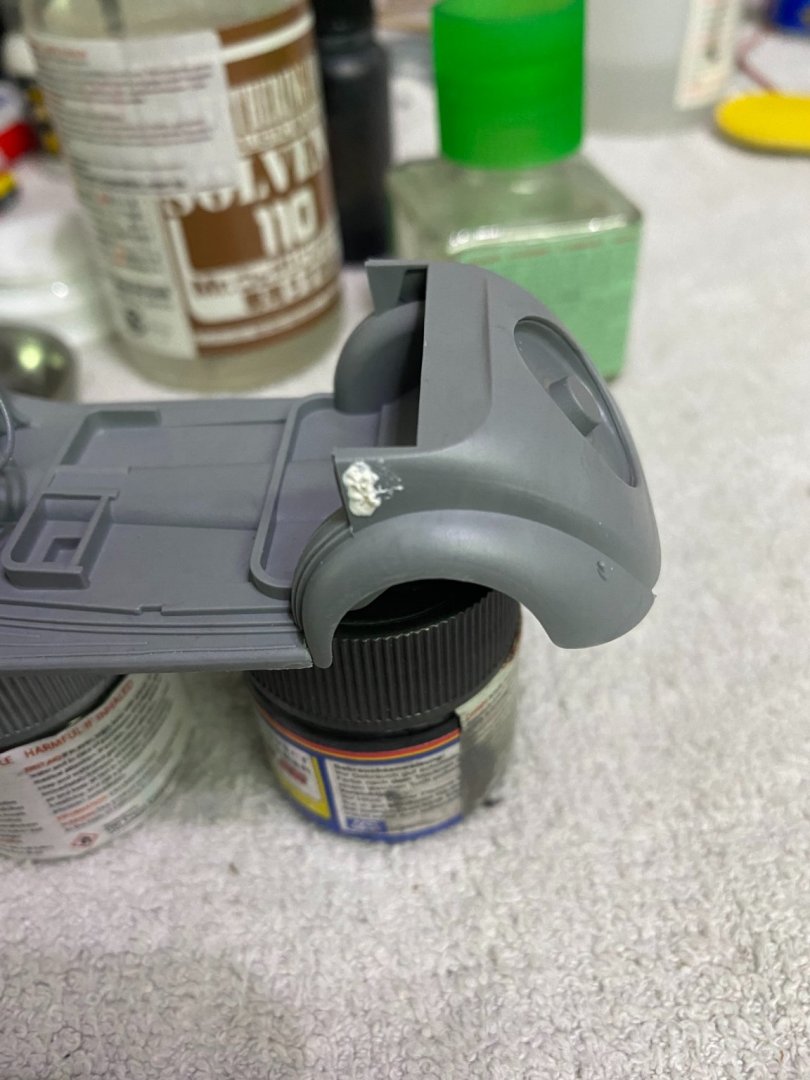
You get two complete hoods in this kit. One is molded for the closed position, and the other for a folded or open position. I plan to display it closed, but am tempted to build and paint the folded open hood just for kicks. I like the engine bay detail and of course none of it can be seen with it displayed with a closed hood.

- 143 replies
-
- 11
-
-
Nice recovery you made on the deck. Those wood decks are notorious for wicking the paint underneath your paint masks. I learned that the hard way on a 1:350 USS Essex aircraft carrier I was building when I masked and painted the deck numbers. The deck sucked the paint underneath the mask.
-
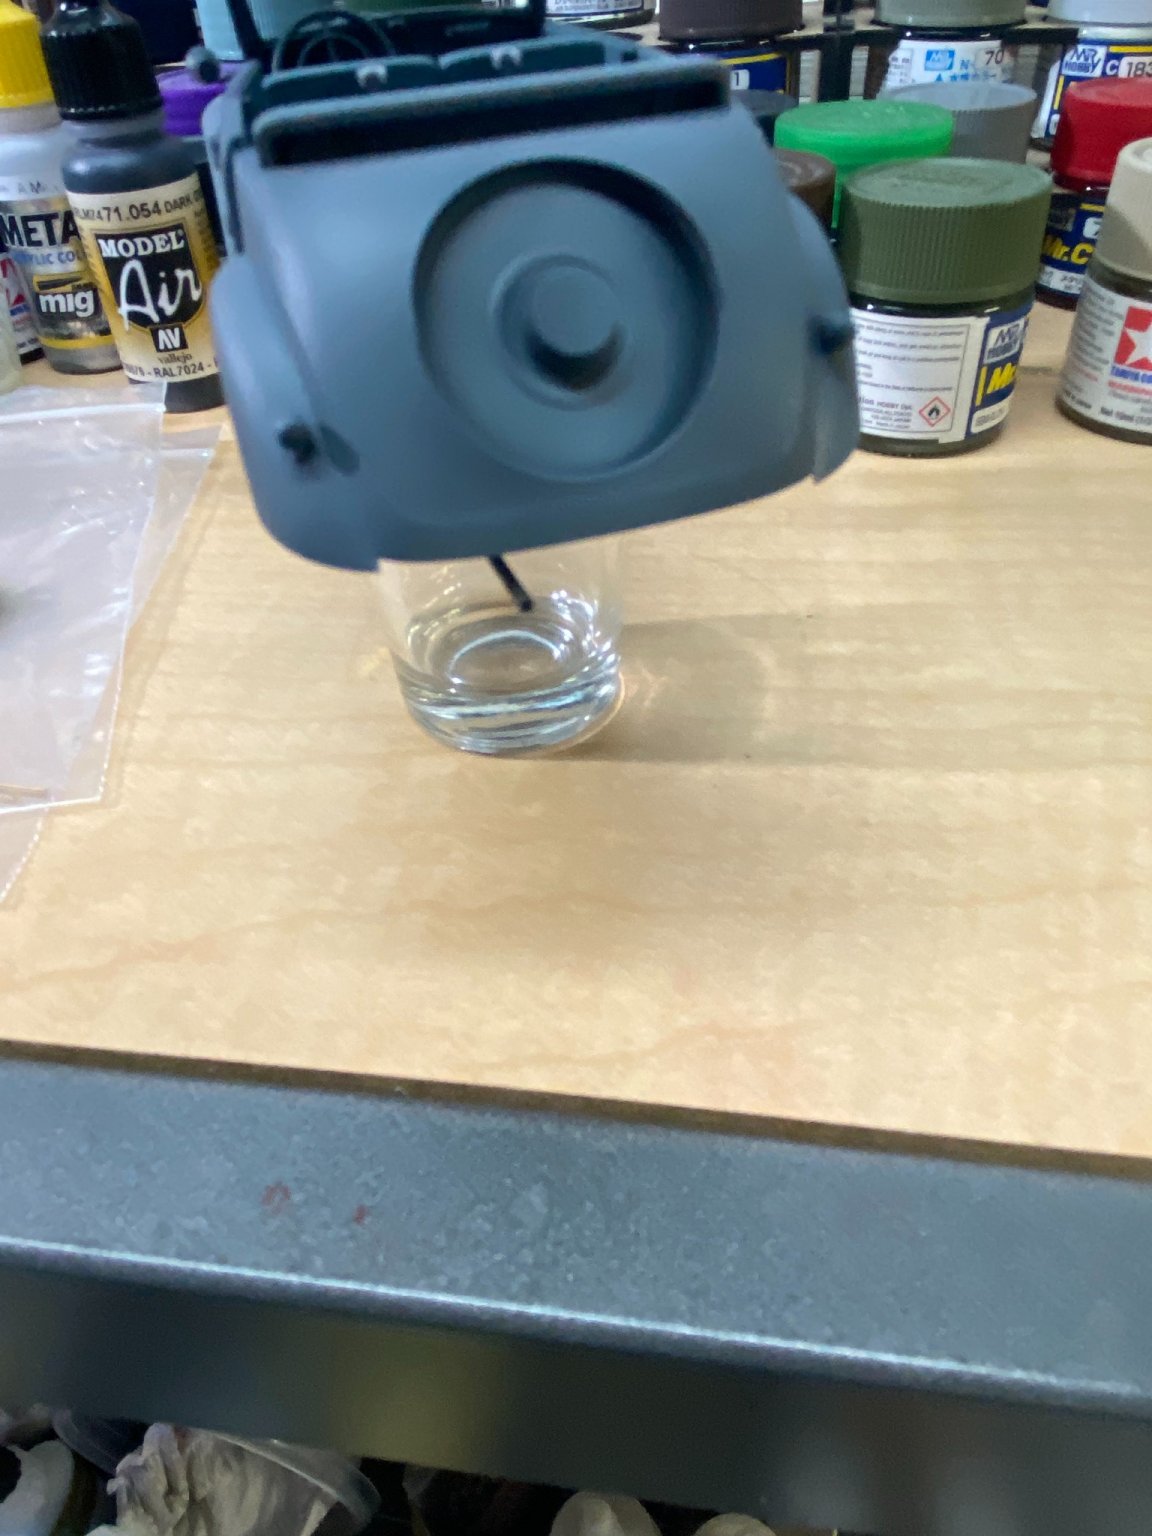
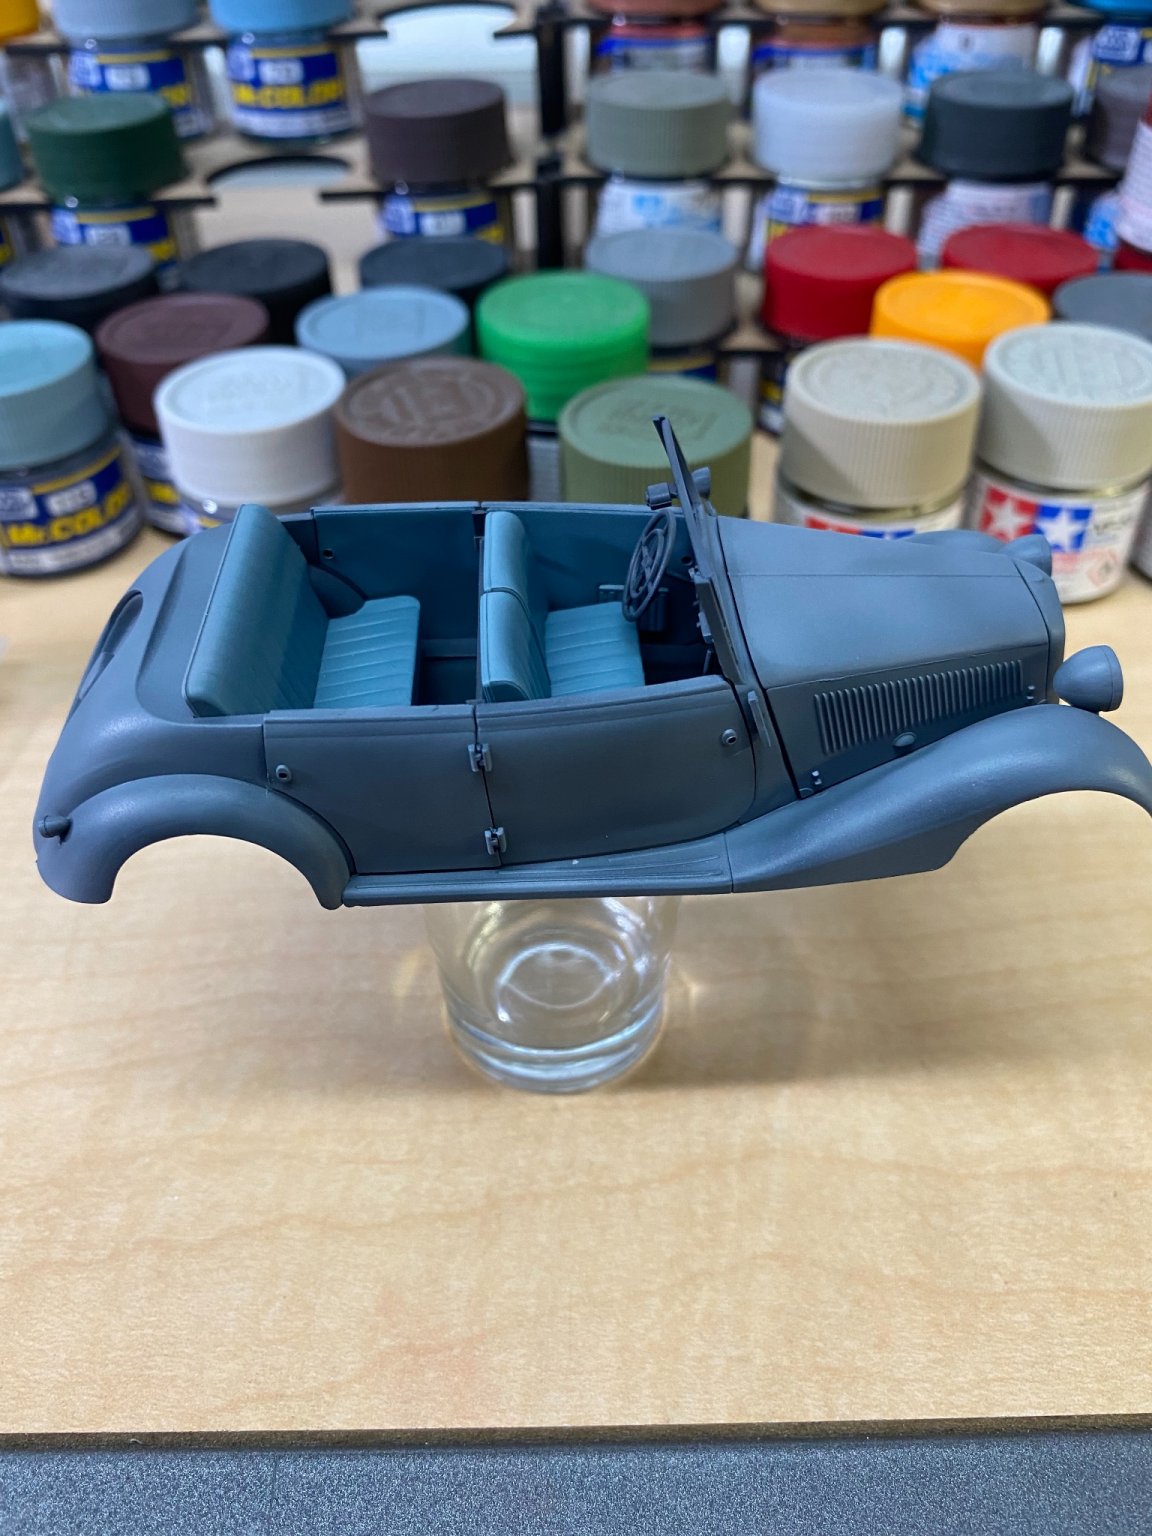
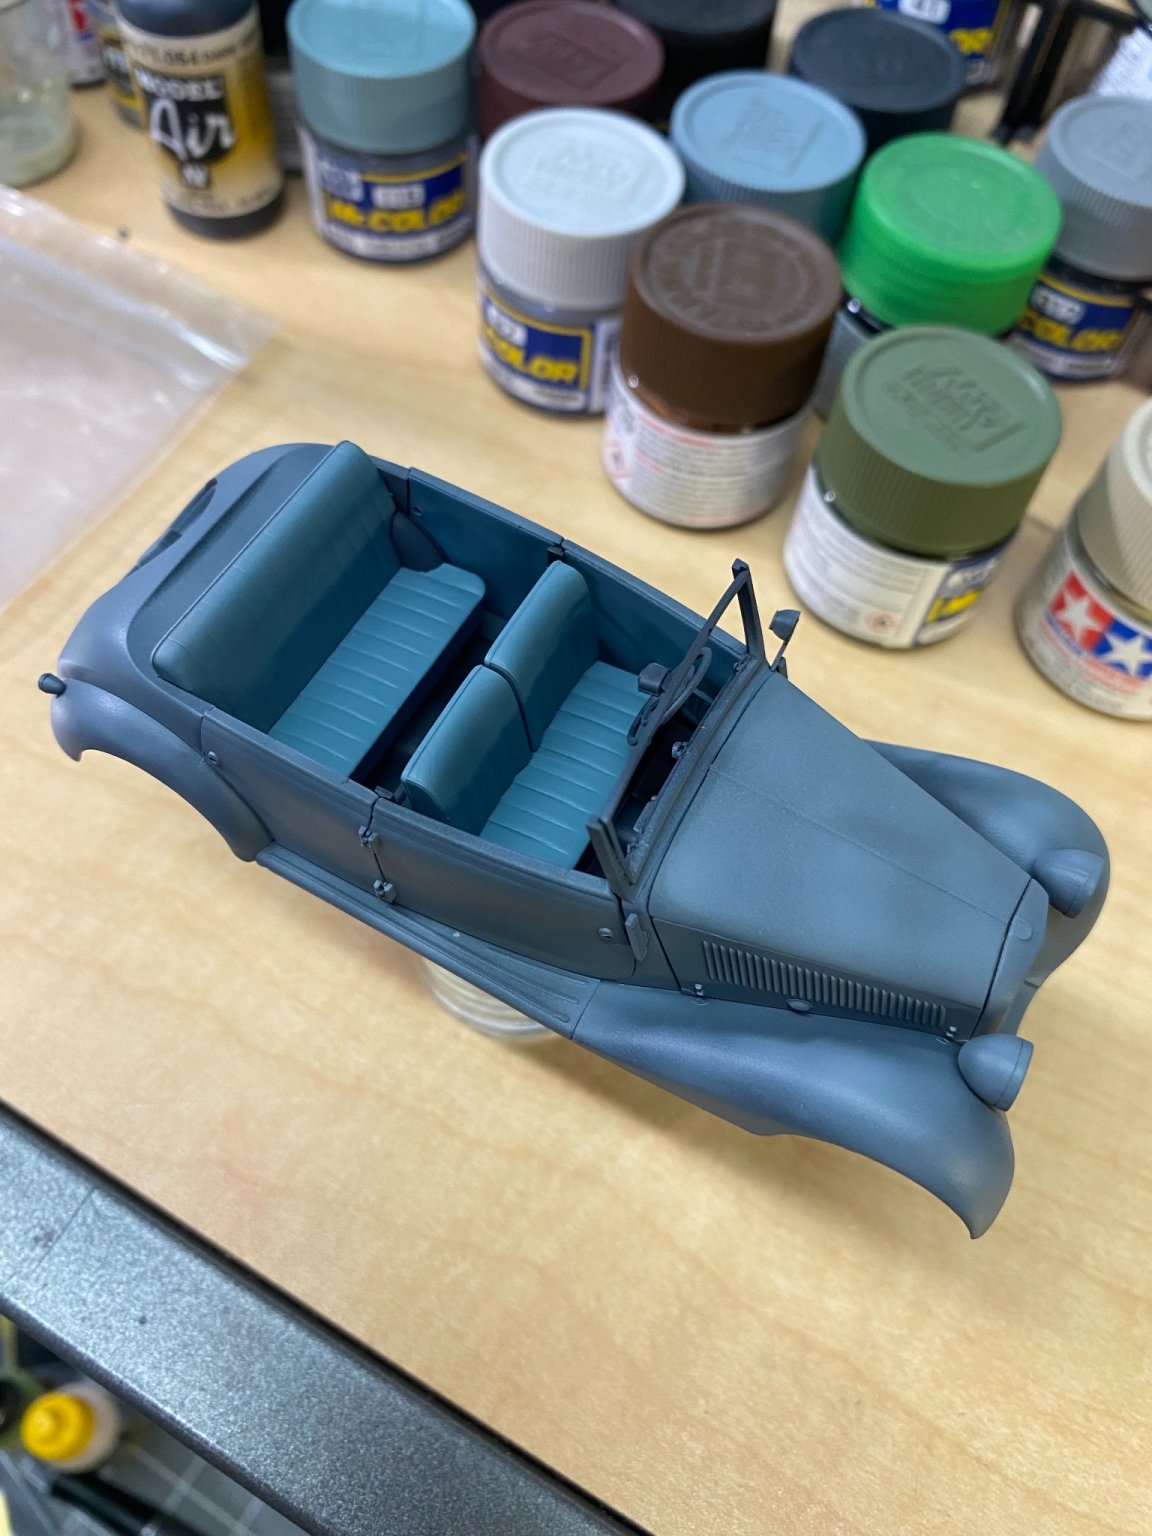
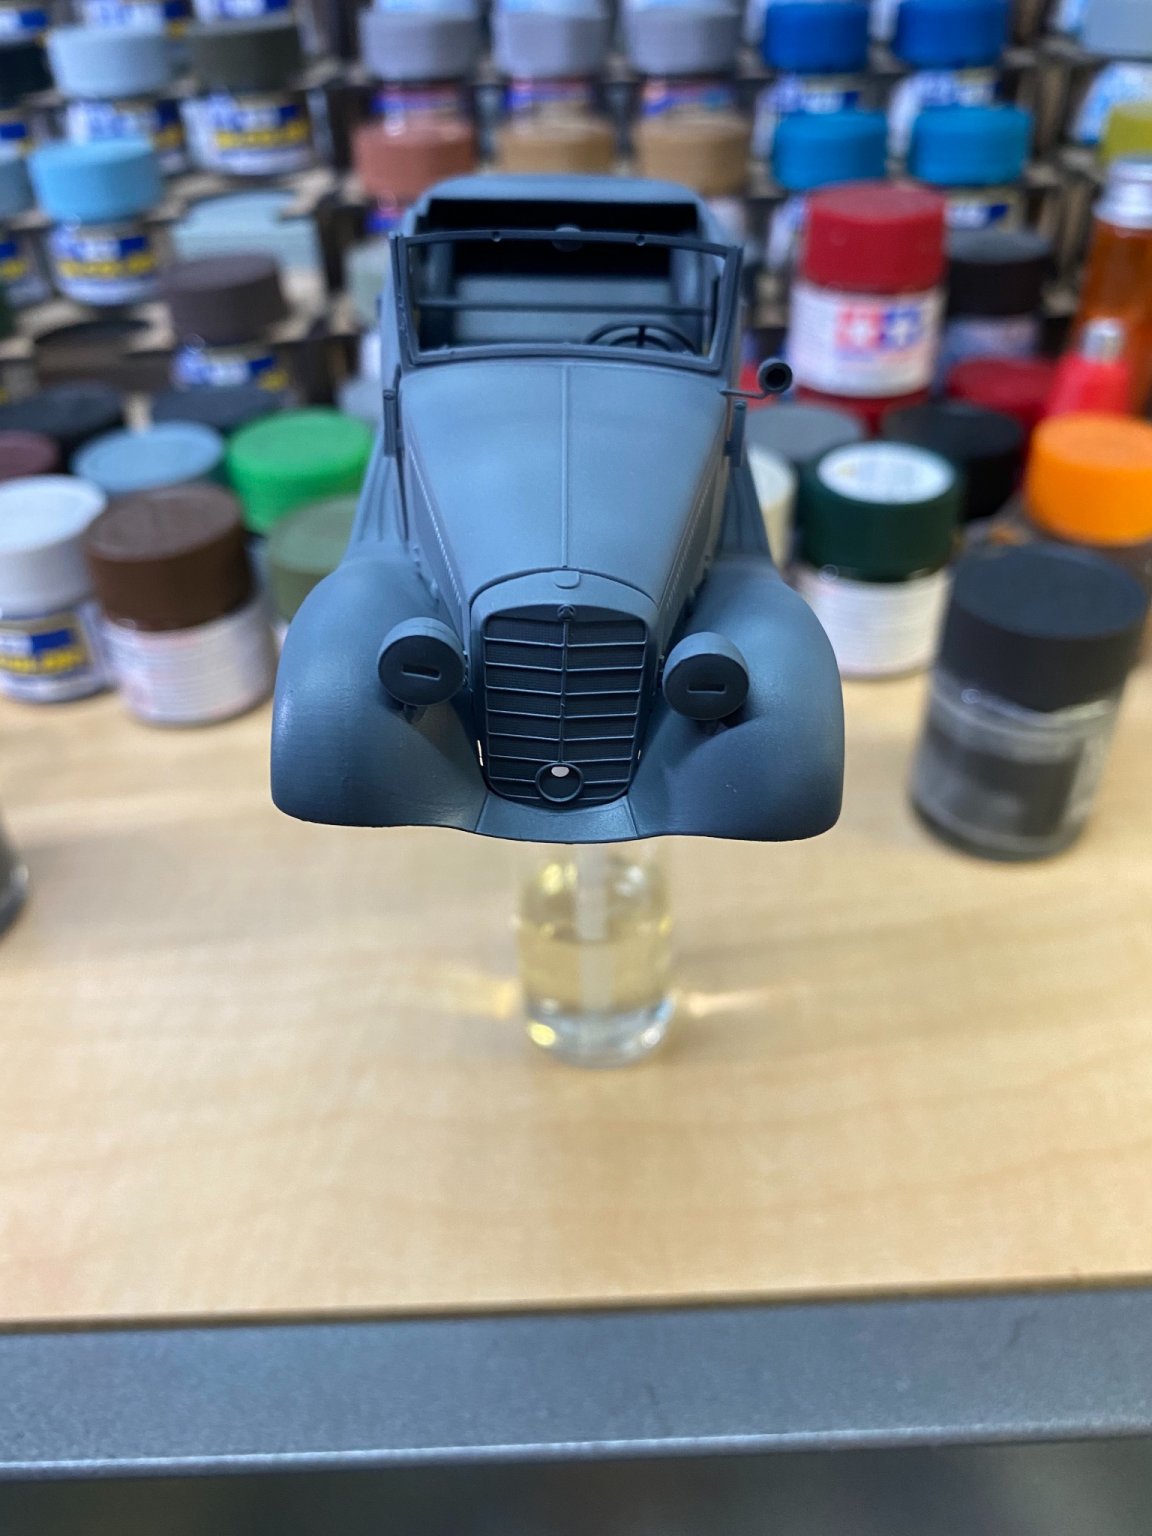
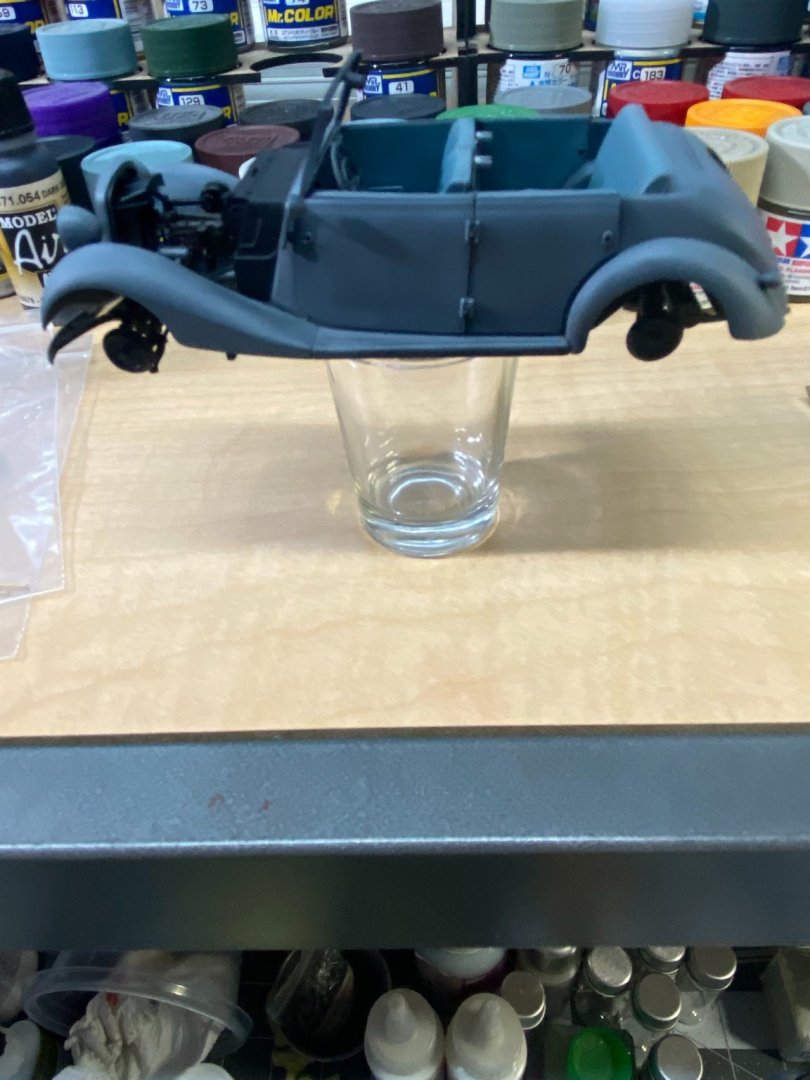
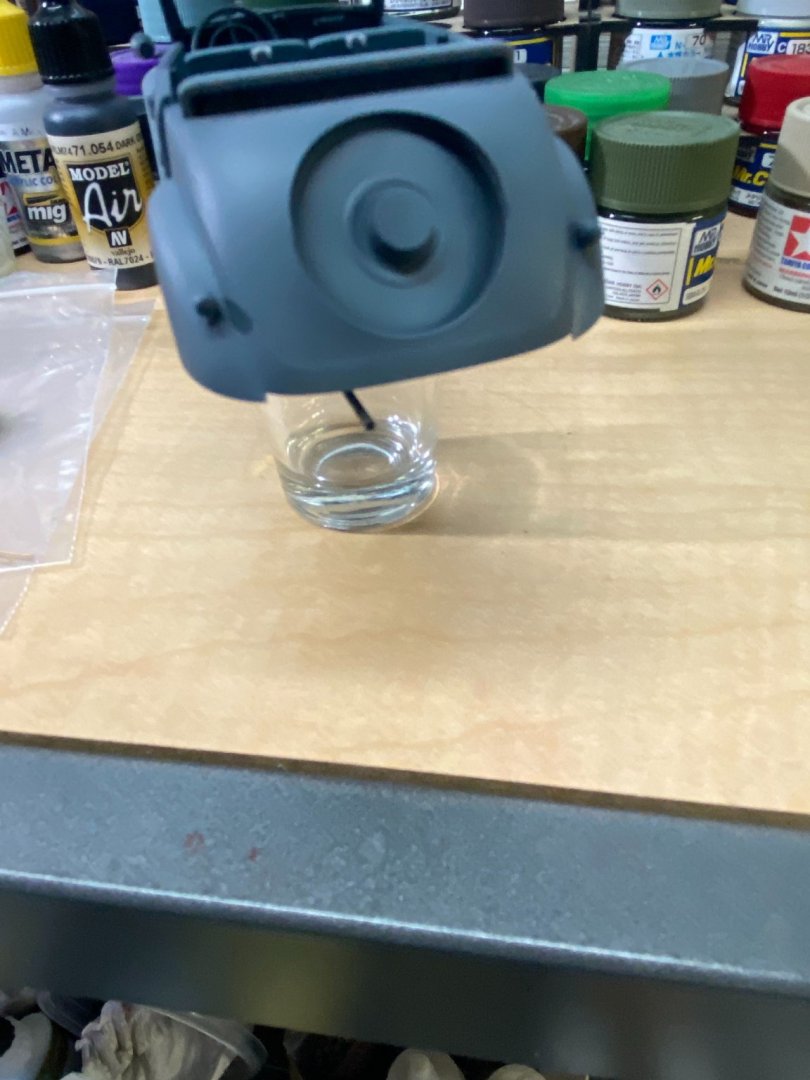
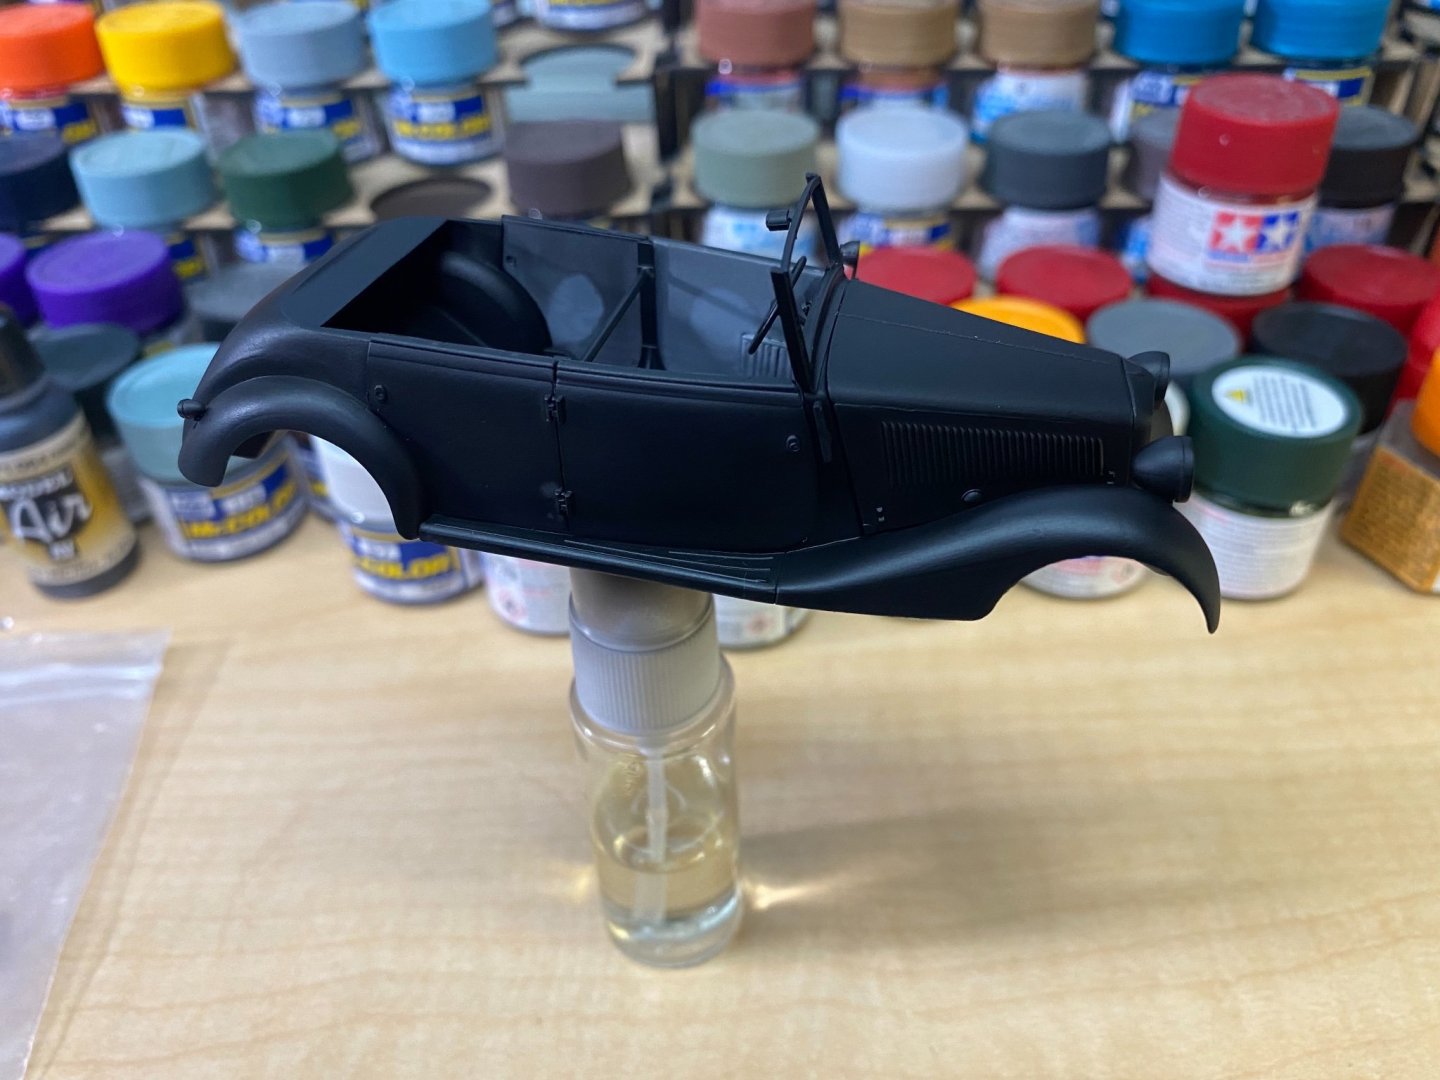
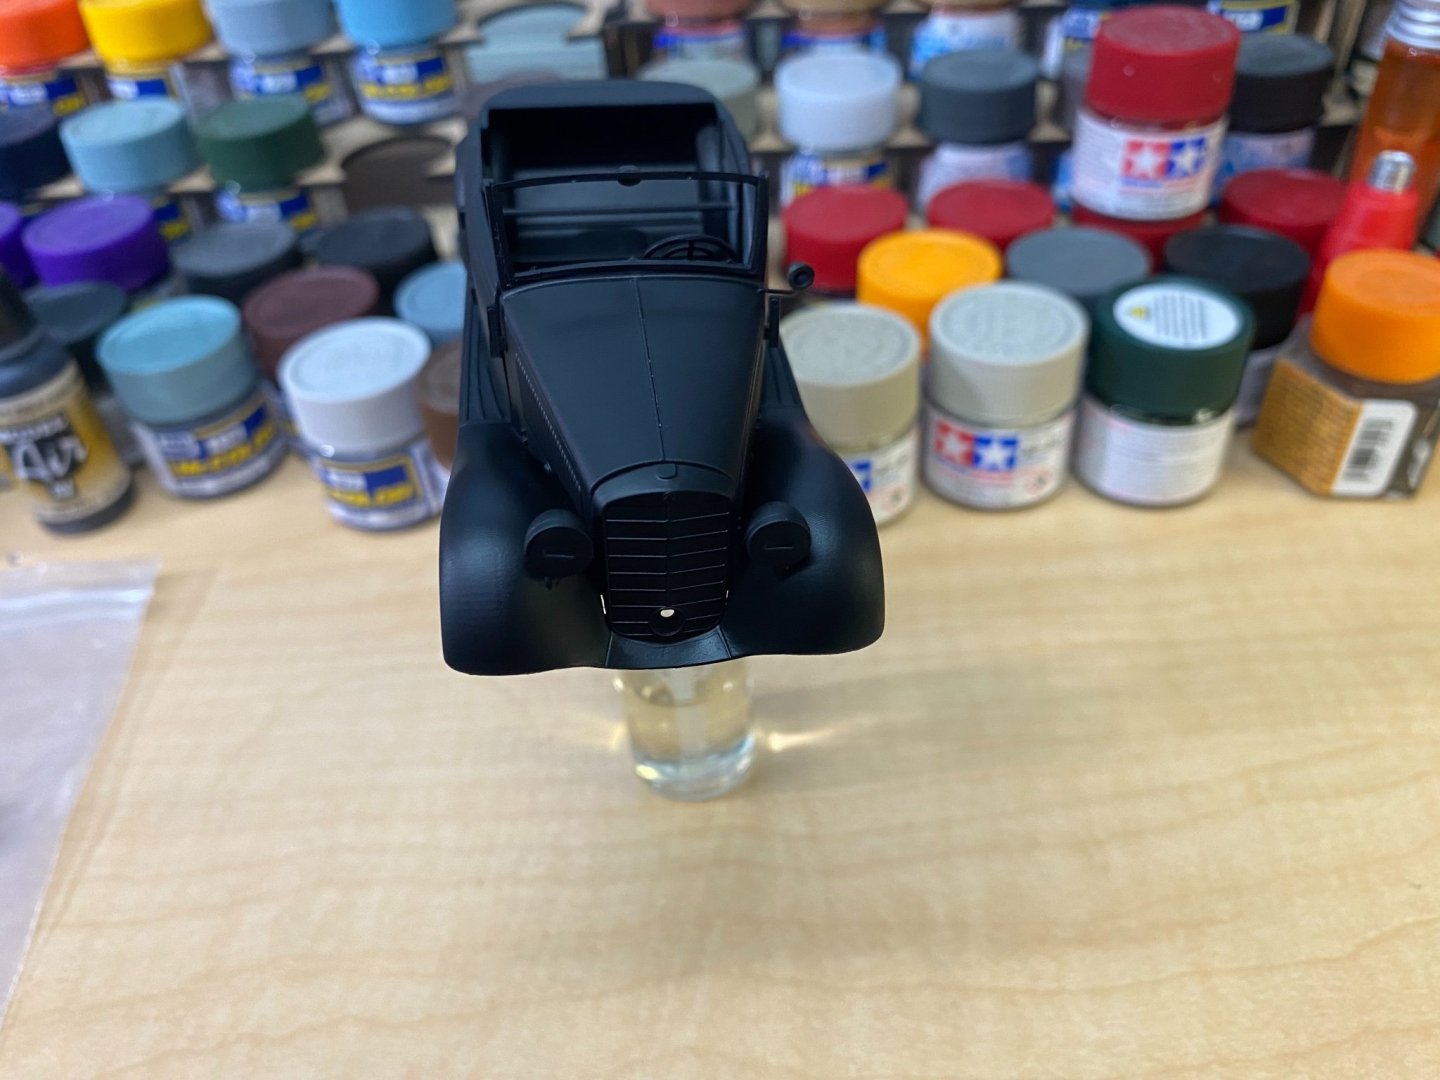
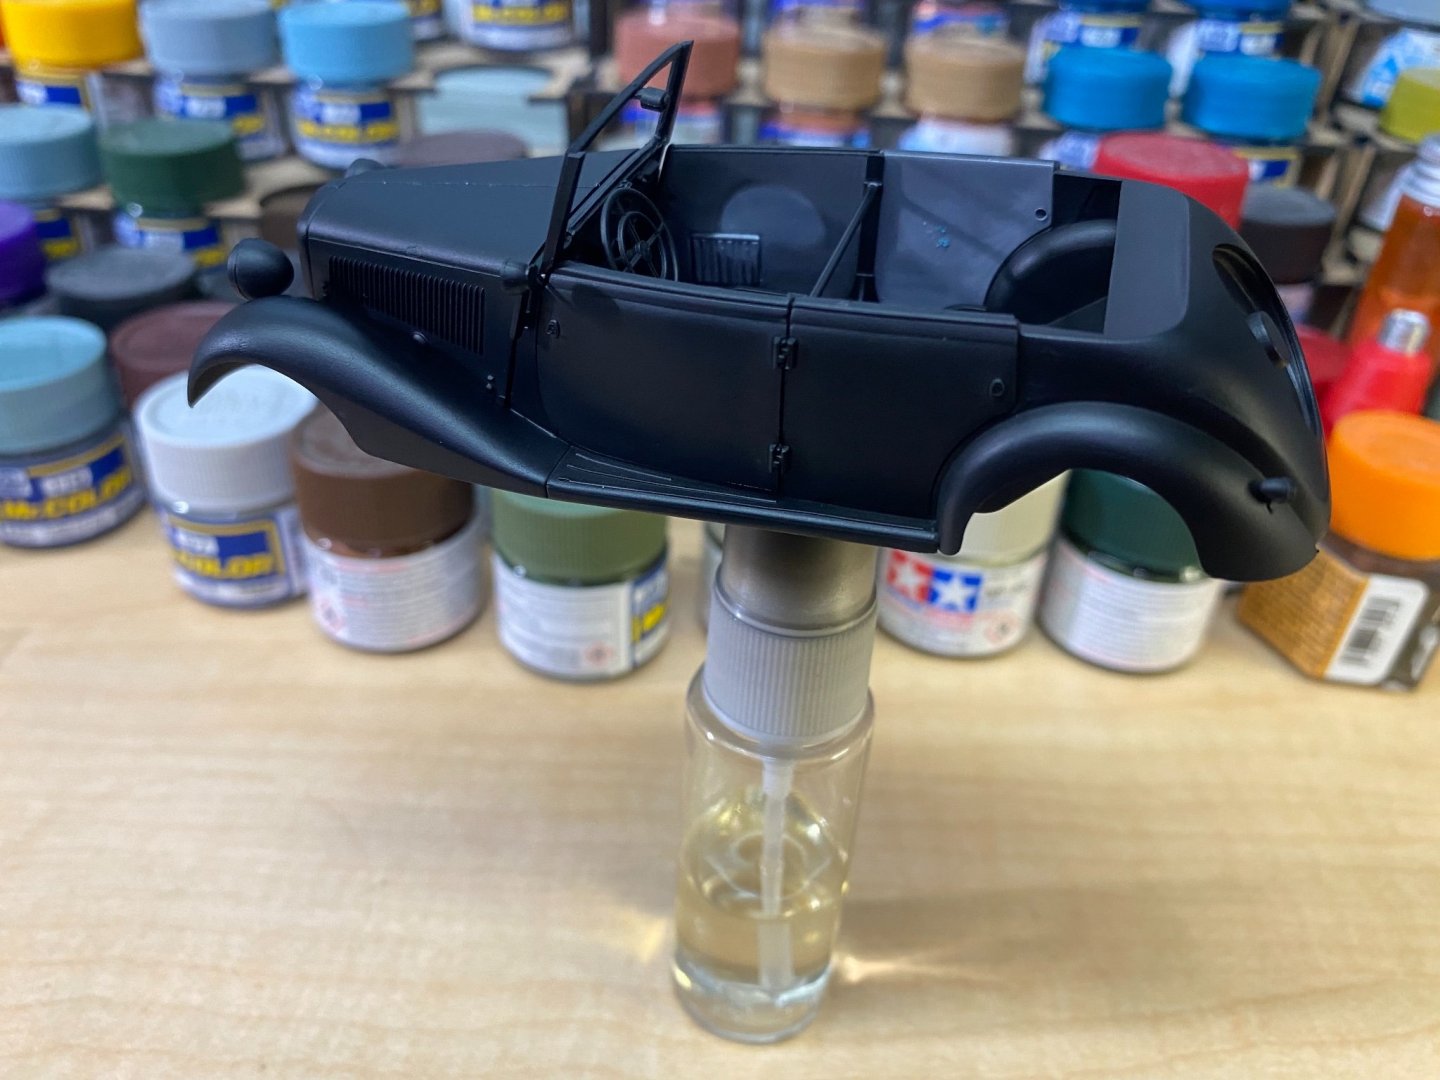
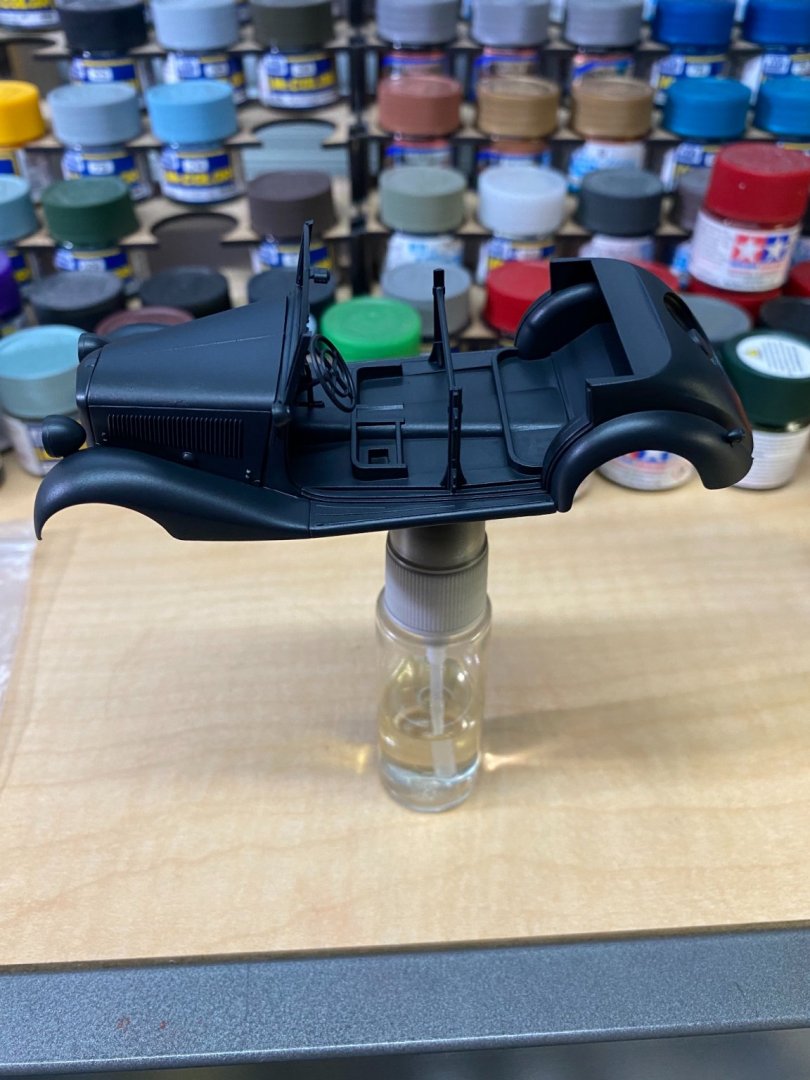
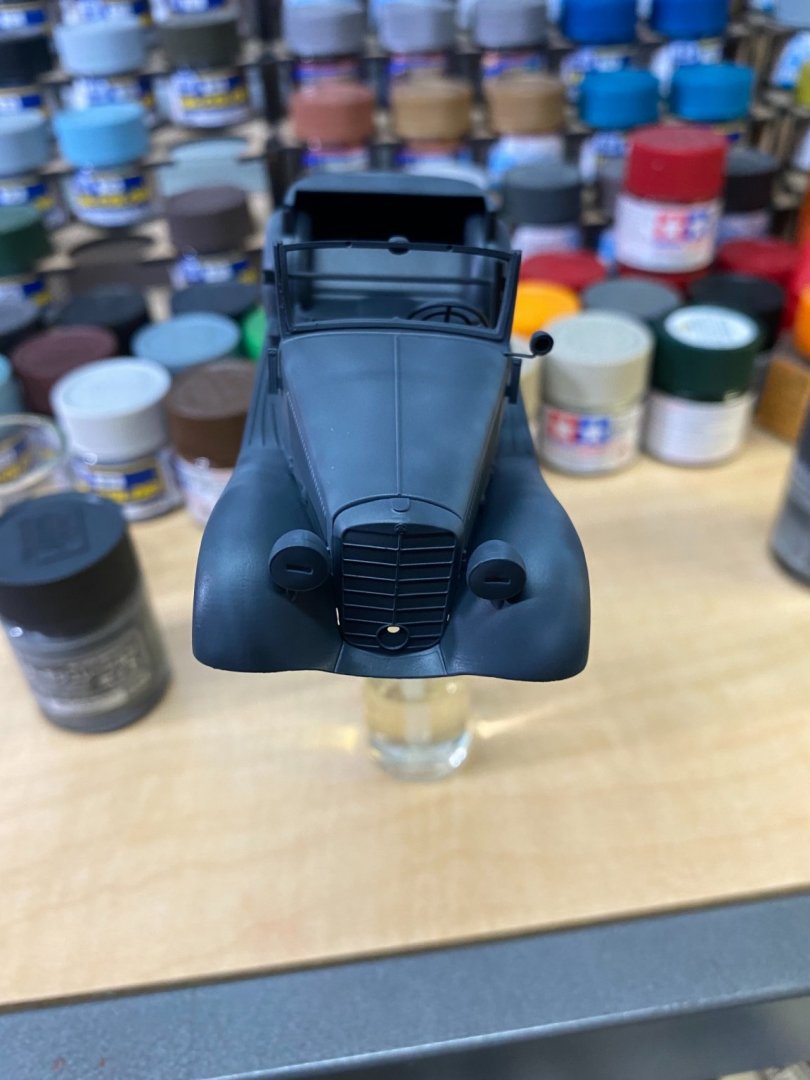
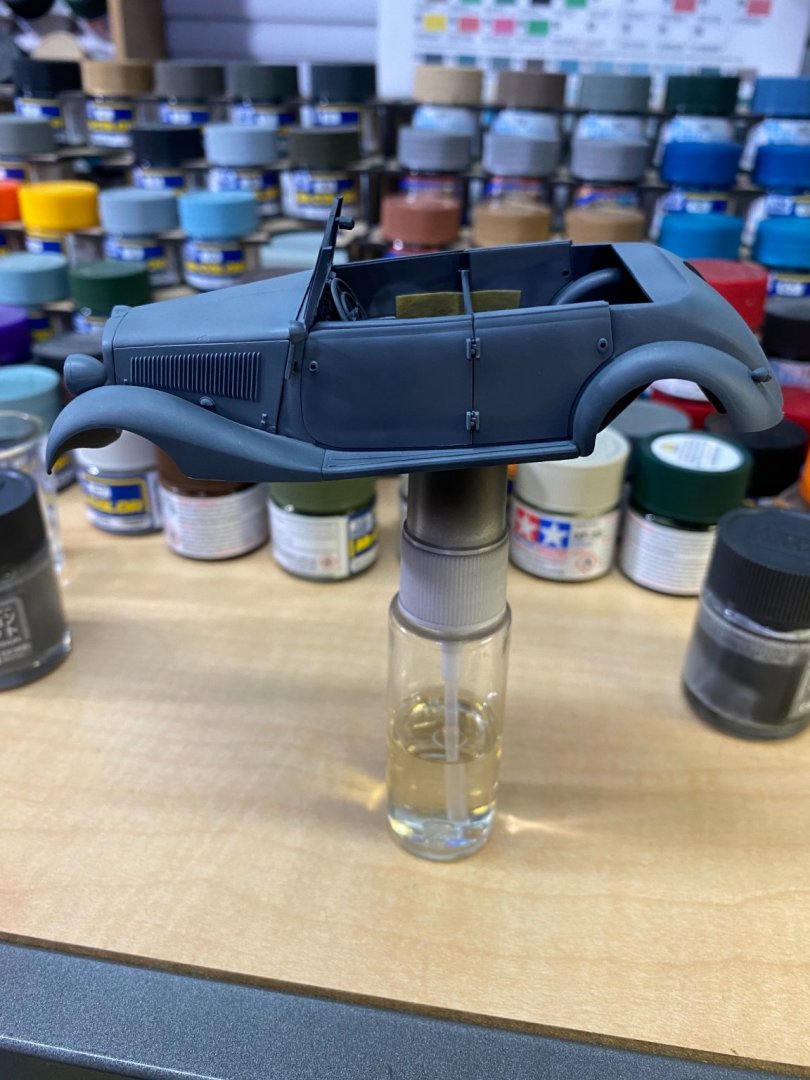
Laid down some German gray paint tonight in four stages, modulation. First stage second stage third stage fourth stage will finish it off with some grime and a little rust here and there. Next will work on the interior.


- 143 replies
-
- 12
-
-
Sounds about right. Here in the USA, I use a pounds per square inch (PSI) scale rather than bars, but the conversion is 1.5 bars = approximately 22 PSI. The thicker your paint, the more pressure you will need to push it out of the brush. When you are doing large work and need high paint volume, you turn the pressure up. When you are doing fine work, you thin the paint and turn the pressure down a bit. It's something you will have to experiment with to get the hang of it. Vallejo Air paints are supposed to be ready to spray through your airbrush straight from the bottle, but sometimes I may need to add a drop or two of thinner to get it to behave properly through my airbrush. I set my pressure at the compressor around 24 PSI, then I use a second air valve to regulate my pressure down at the airbrush. With this valve, I adjust it by feel, not by a gauge since I already know the pressure is 24 PSI on the high end, I just adjust it down according to my particular need, testing it on a piece of paper or scrap plastic first before spraying my model. Look on youtube. There are a ton of good videos on how to use the airbrush as well as how to thin the various paints.
-
Looks great OC. You made a good choice for your 1st airbrush. You will gets years of fun with it. In your spare time, practice spraying the airbrush on card or paper to get a better feel for everything you can do with it. As you pull back on the trigger, you increase the amount of paint coming out of it. Pull back little and you can paint very fine lines. Pull back more and the line width will increase. With practice, you will become comfortable with how much is enough for the particular task.
-
Thanks for the sacrifice to help clear this up. 😀
-
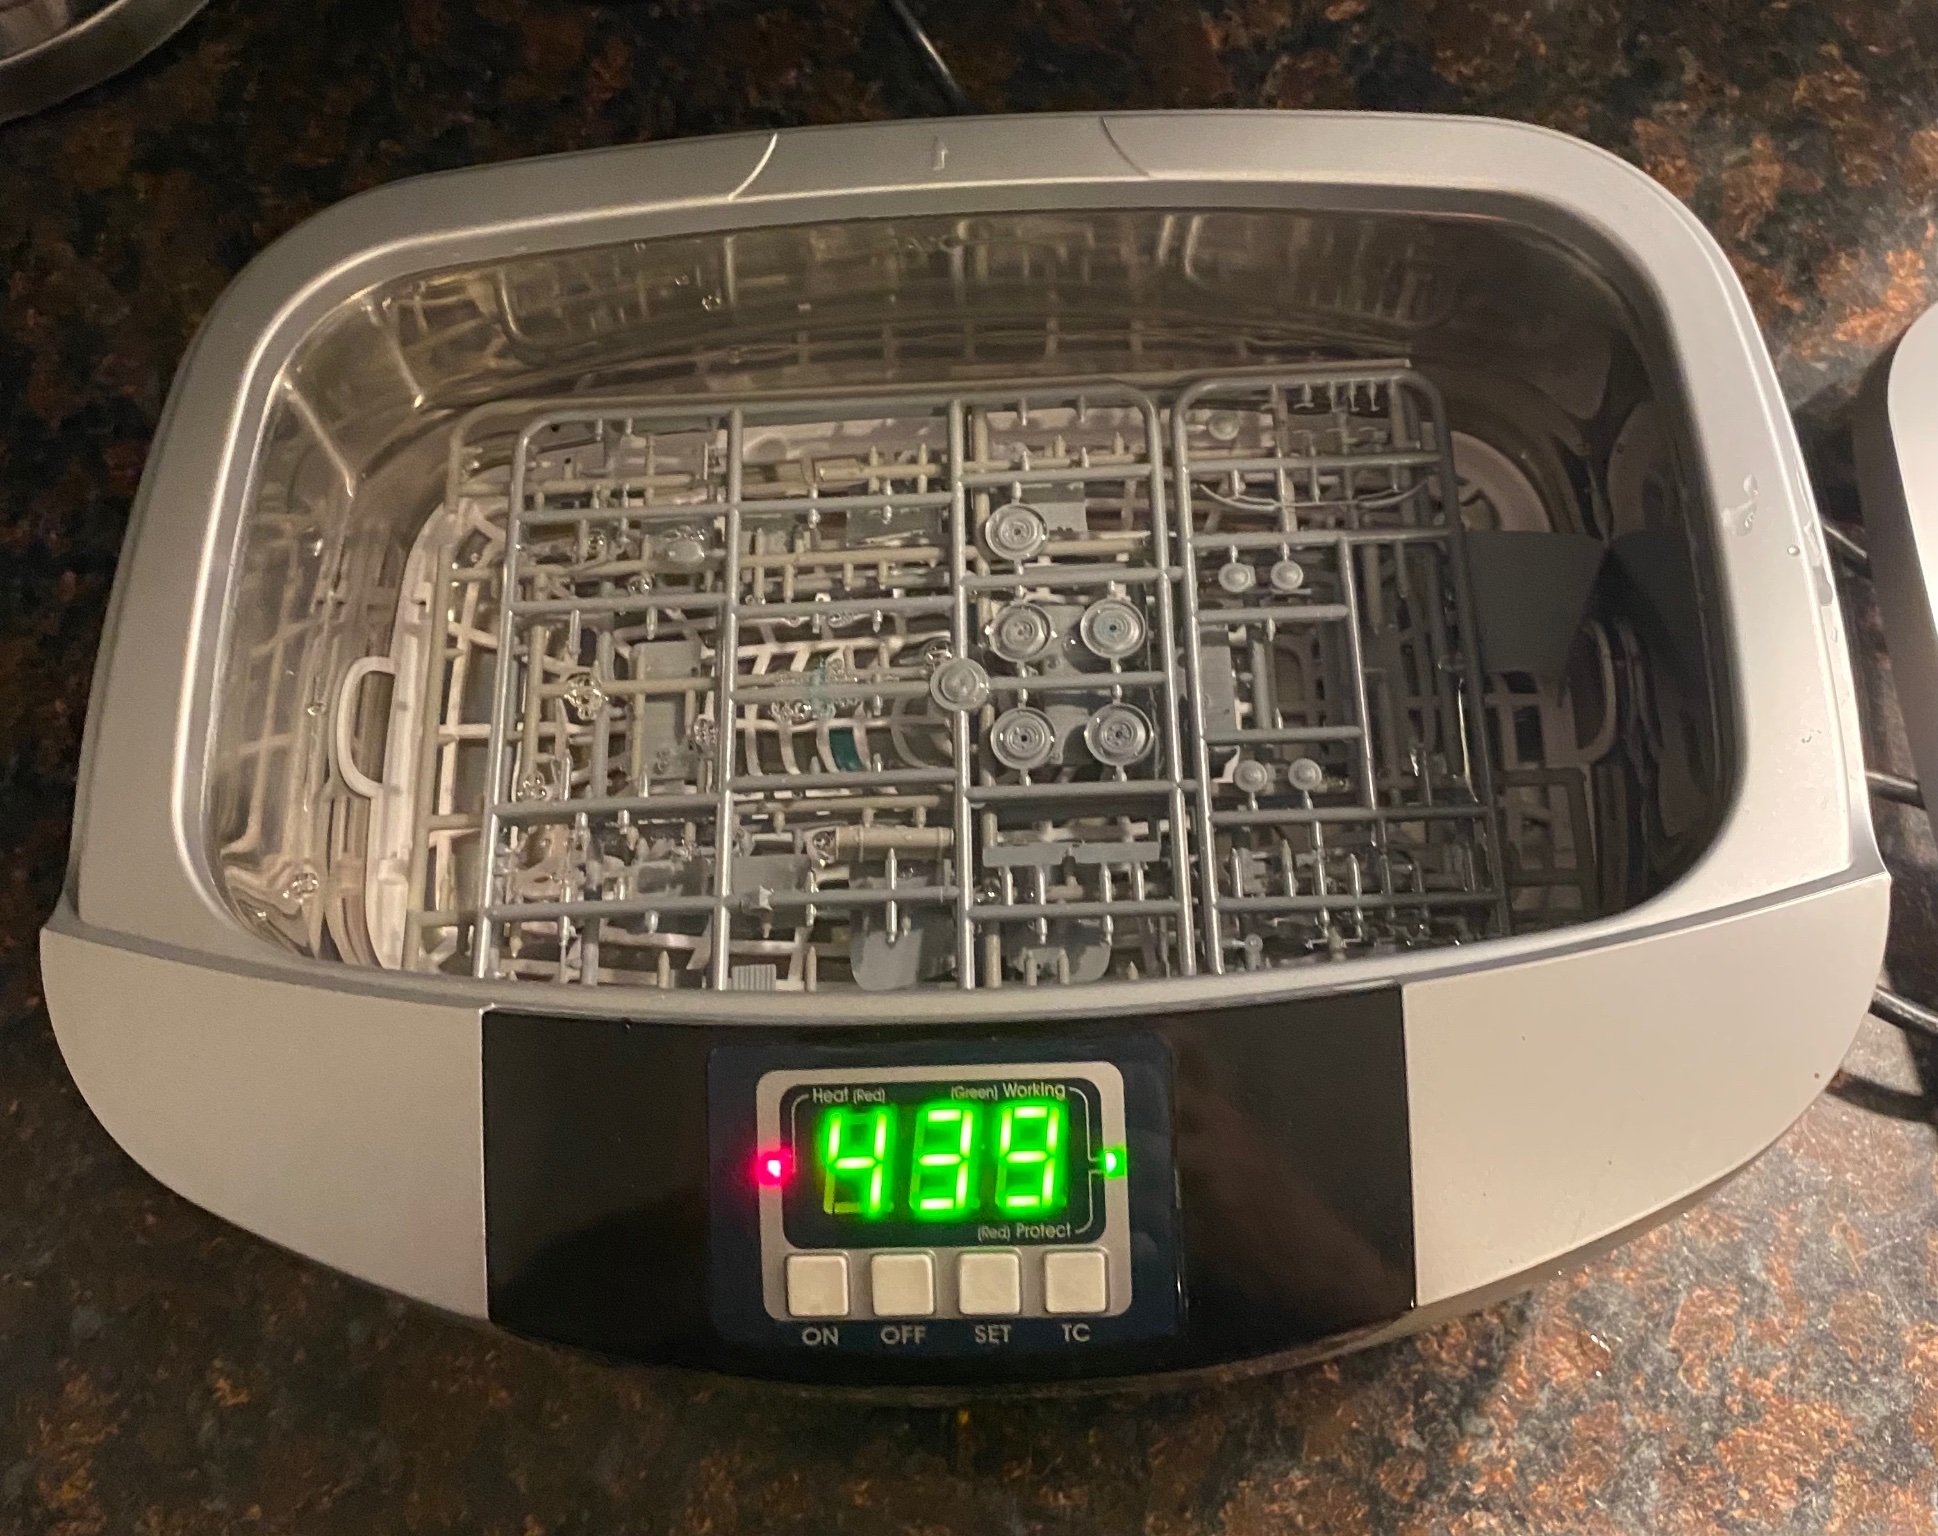
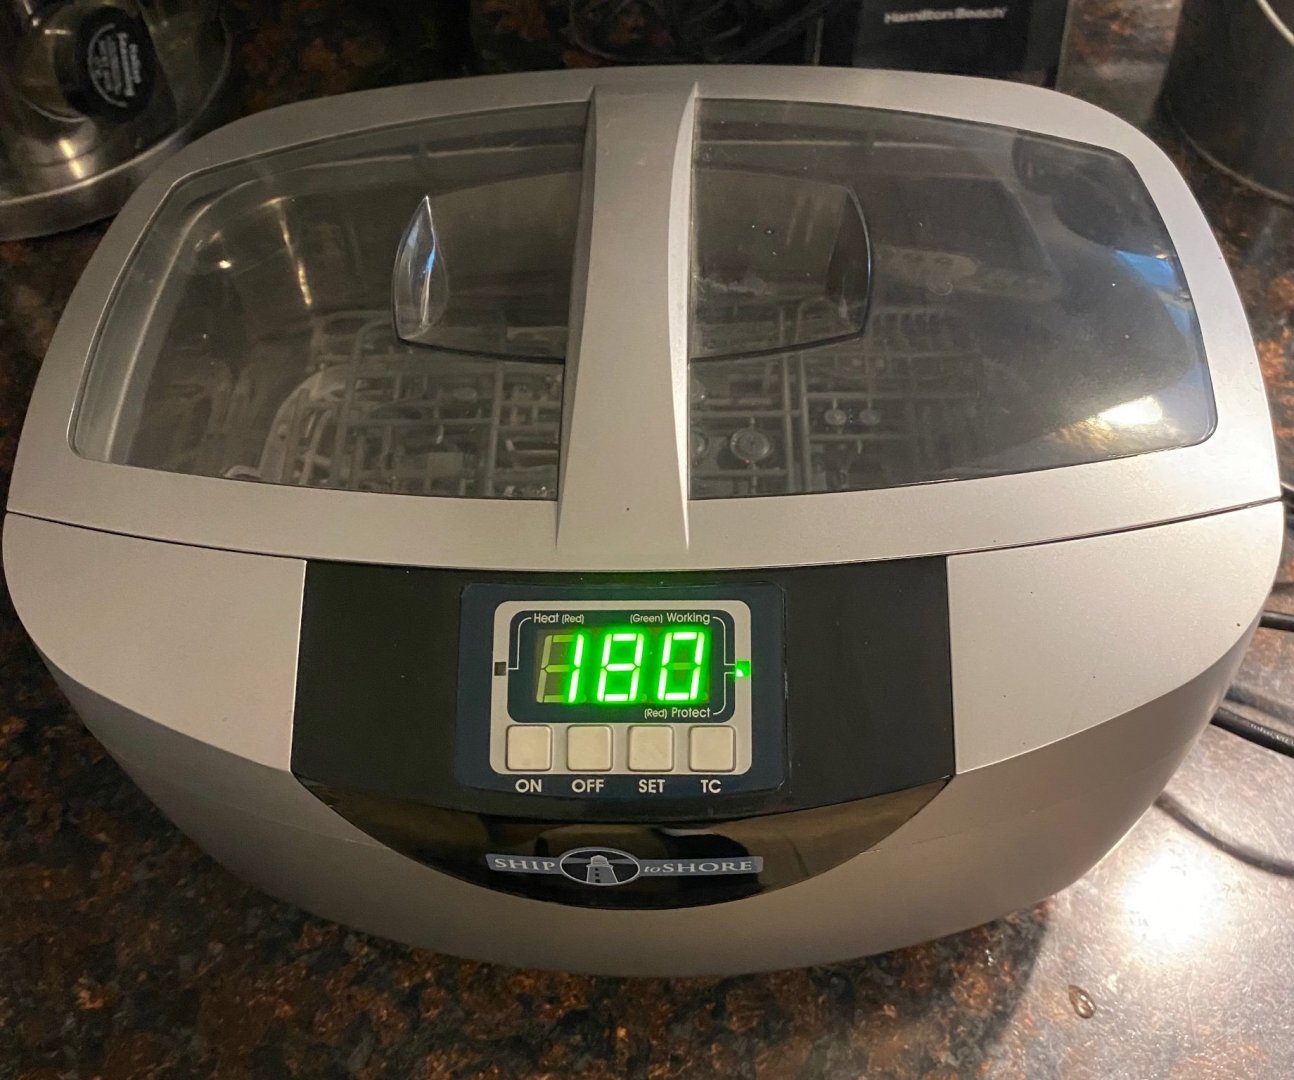
A few years ago I bought this 2.5 liter ultrasonic cleaner. You just drop your plastic part trees or photo etch sheets in there, pour in enough water to cover the parts, add a couple of drops of dish washing liquid, then set your timer and turn it on while the washer does it’s thing. This one heats the water, too. Does a great job prepping photo etch for paint.

- 143 replies
-
- 10
-
-
-
That's a fleet of built models! Do you have any plan on how much time you will spend doing restoration on each model? You could potentially sink a lot of time into restoration but it should be rewarding and fun. Looking forward to seeing your progress.
-
I know I should make it a habit to wash the kit plastic trees in a mild solution of water with dishwashing liquid before beginning each build, but I don't. This time it almost reached out and bit me hard because this kit plastic had traces of mold release agent which in turn caused the primer paint to fish-eye. It's been a long time since I had a kit where that has happened, but this one is a prime example of why it's a good habit to pre wash and dry the plastic first. Just putting this up here as a public service announcement. 🙂
-
Alan While building the Scharnhorst 1940 version, I ran into the exact same problem you did with the secondary gun deck and the railings. Once everything had been glued in place, it left too little room to work the photo etch around those compound and reverse curves. Luckily, I also have the Scharnhorst 1943 version, so I borrowed the secondary gun deck from that kit then bent my railings to match it, then transferred the railings to the 1940 version. And yes, the ship had torpedo tubes that the instructions do not locate. I have a Scharnhorst reference that shows where the tubes are located. I can scan a page of it and email it to you if you need it. Let me know via PM. PS: next time, try painting your photo etch pieces while they are still attached to the frames/sprues, whatever they are called. When you cut them away and bend them, you will lose some of the paint to cracking or peeling, but it's easier to touch it up with a brush than it is to blue tack them in place to paint them. They are so delicate, the blue tack can deform the parts badly as you probably found out as well as the residue problem.
-
Popped it in the dehydrator for 30 minutes at 113 degrees F and completely dried the acrylic putty then sanded it down. When finished, layer down a coat of Mr Surfacer 1500 primer. It’s now ready for painting.


- 143 replies
-
- 12
-
-
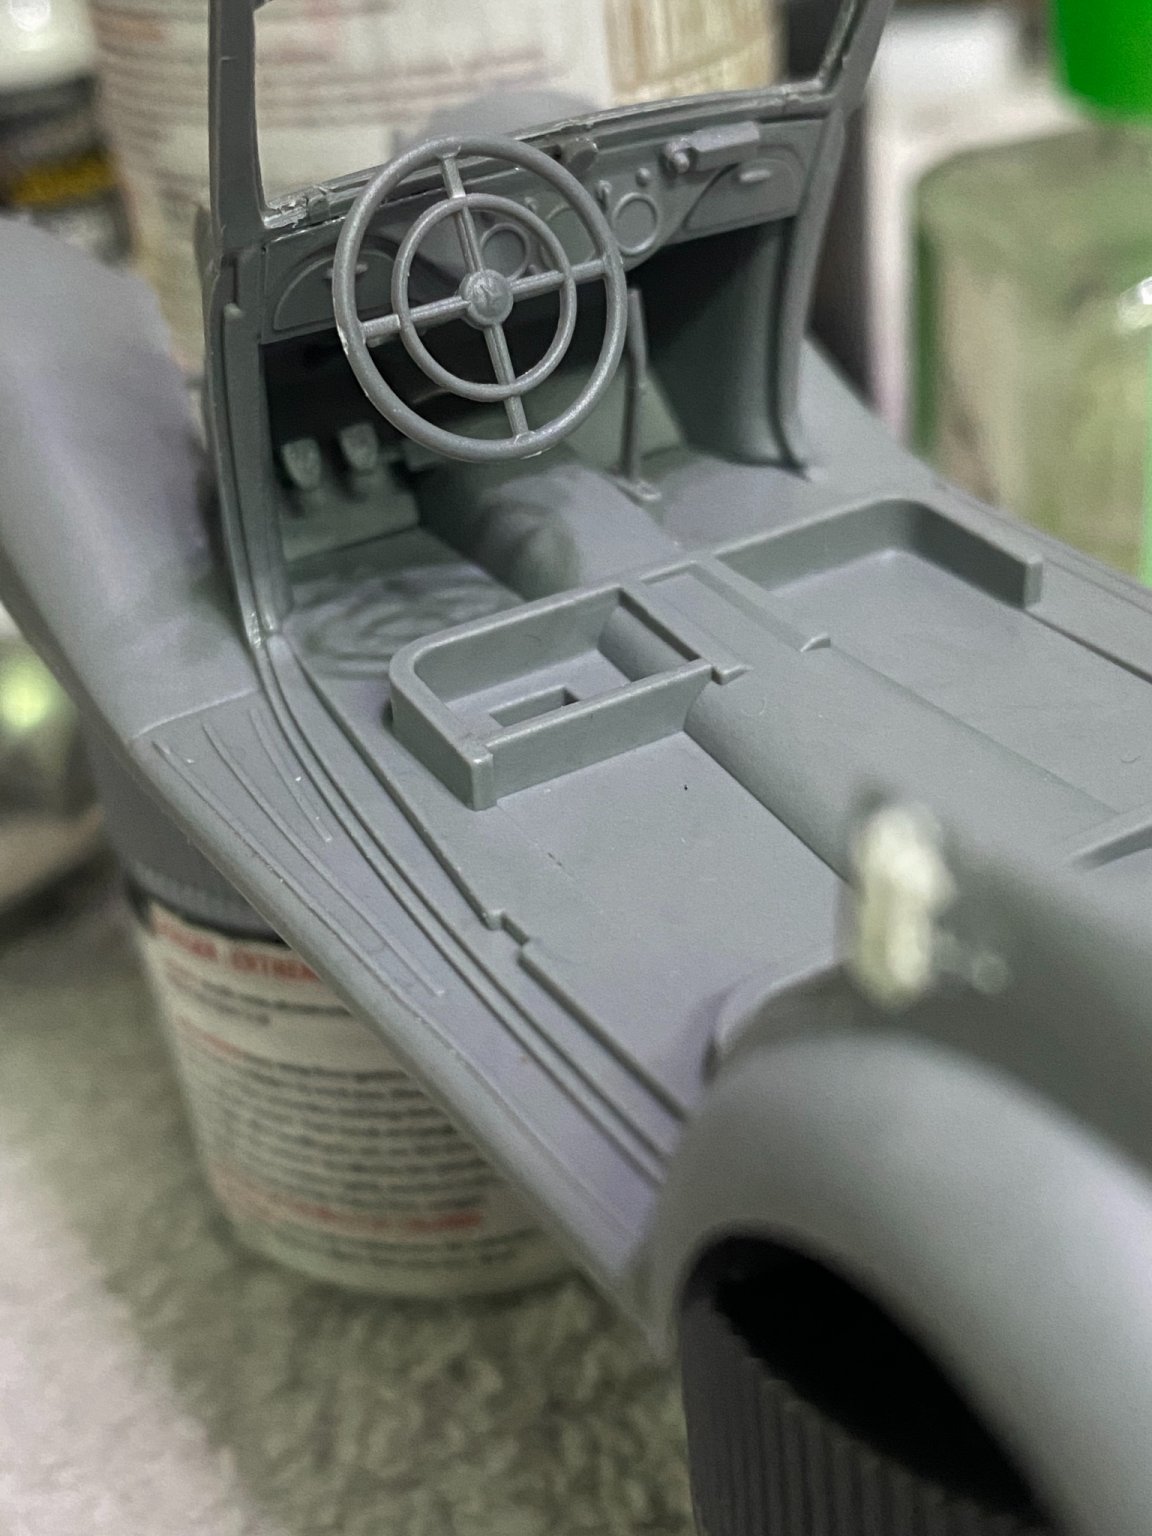
For some reason, I thought German cars had the driver’s seated on the right. Is right hand driver seating only in the UK?
-
By all means. OC’s work is fabulous!
-
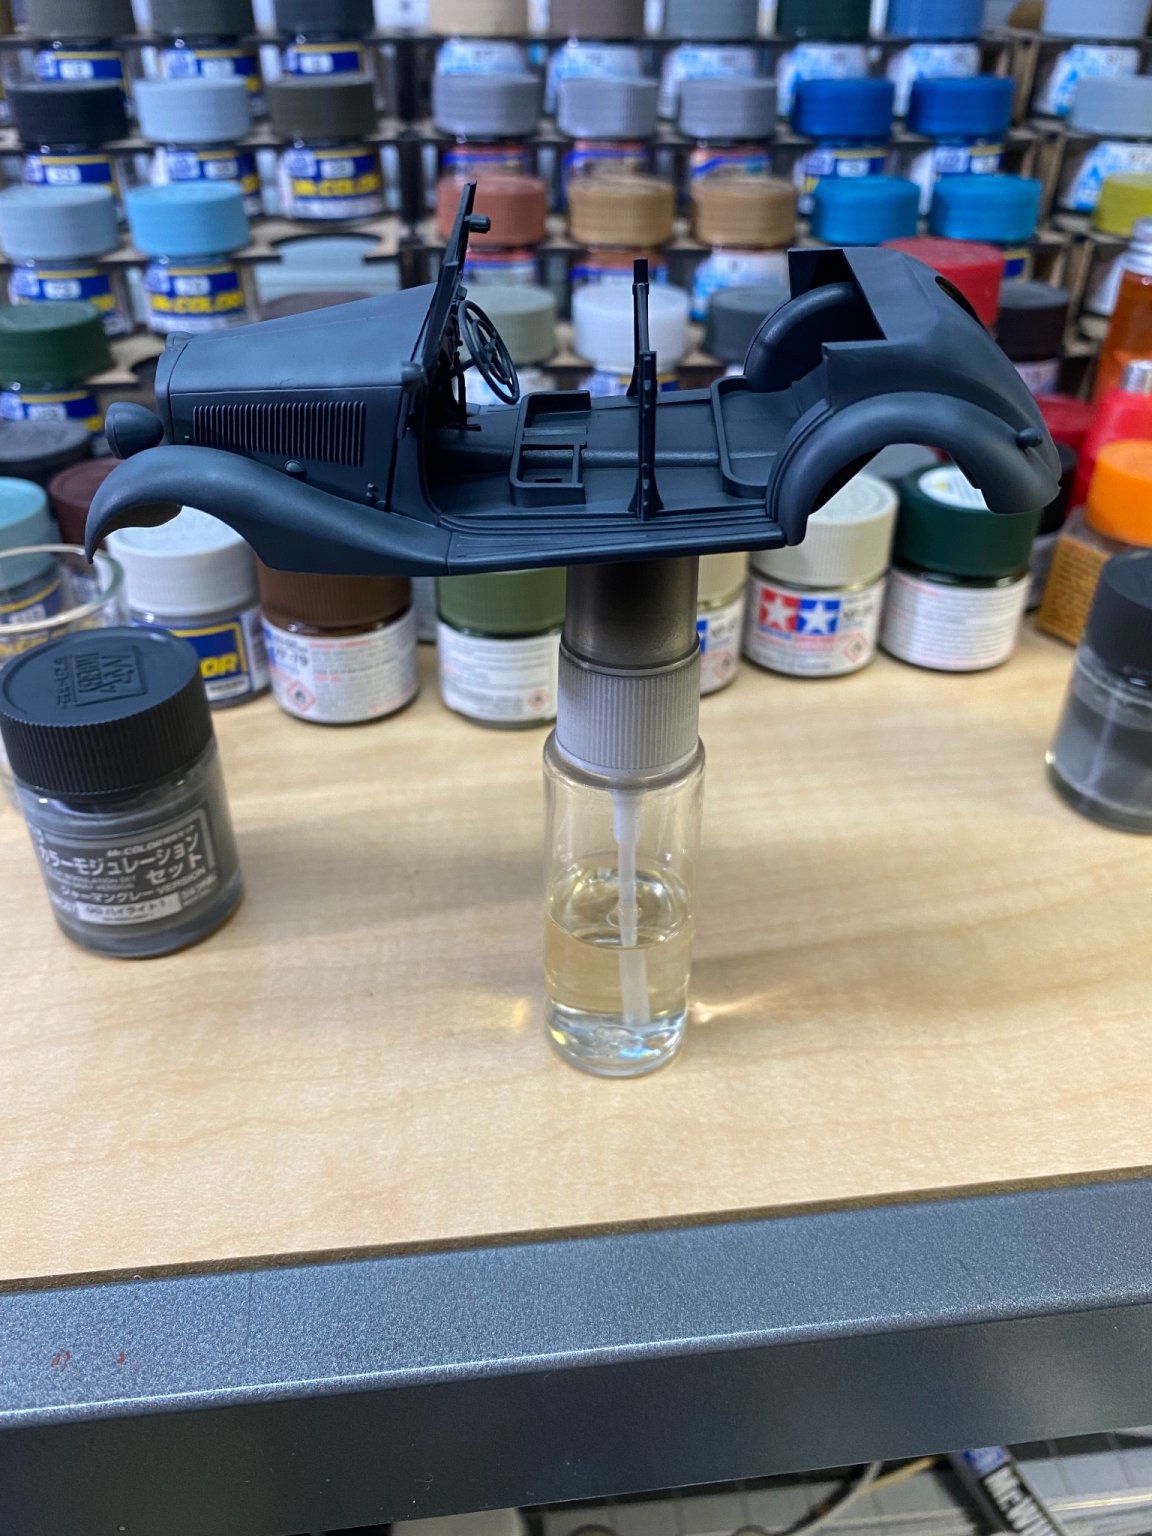
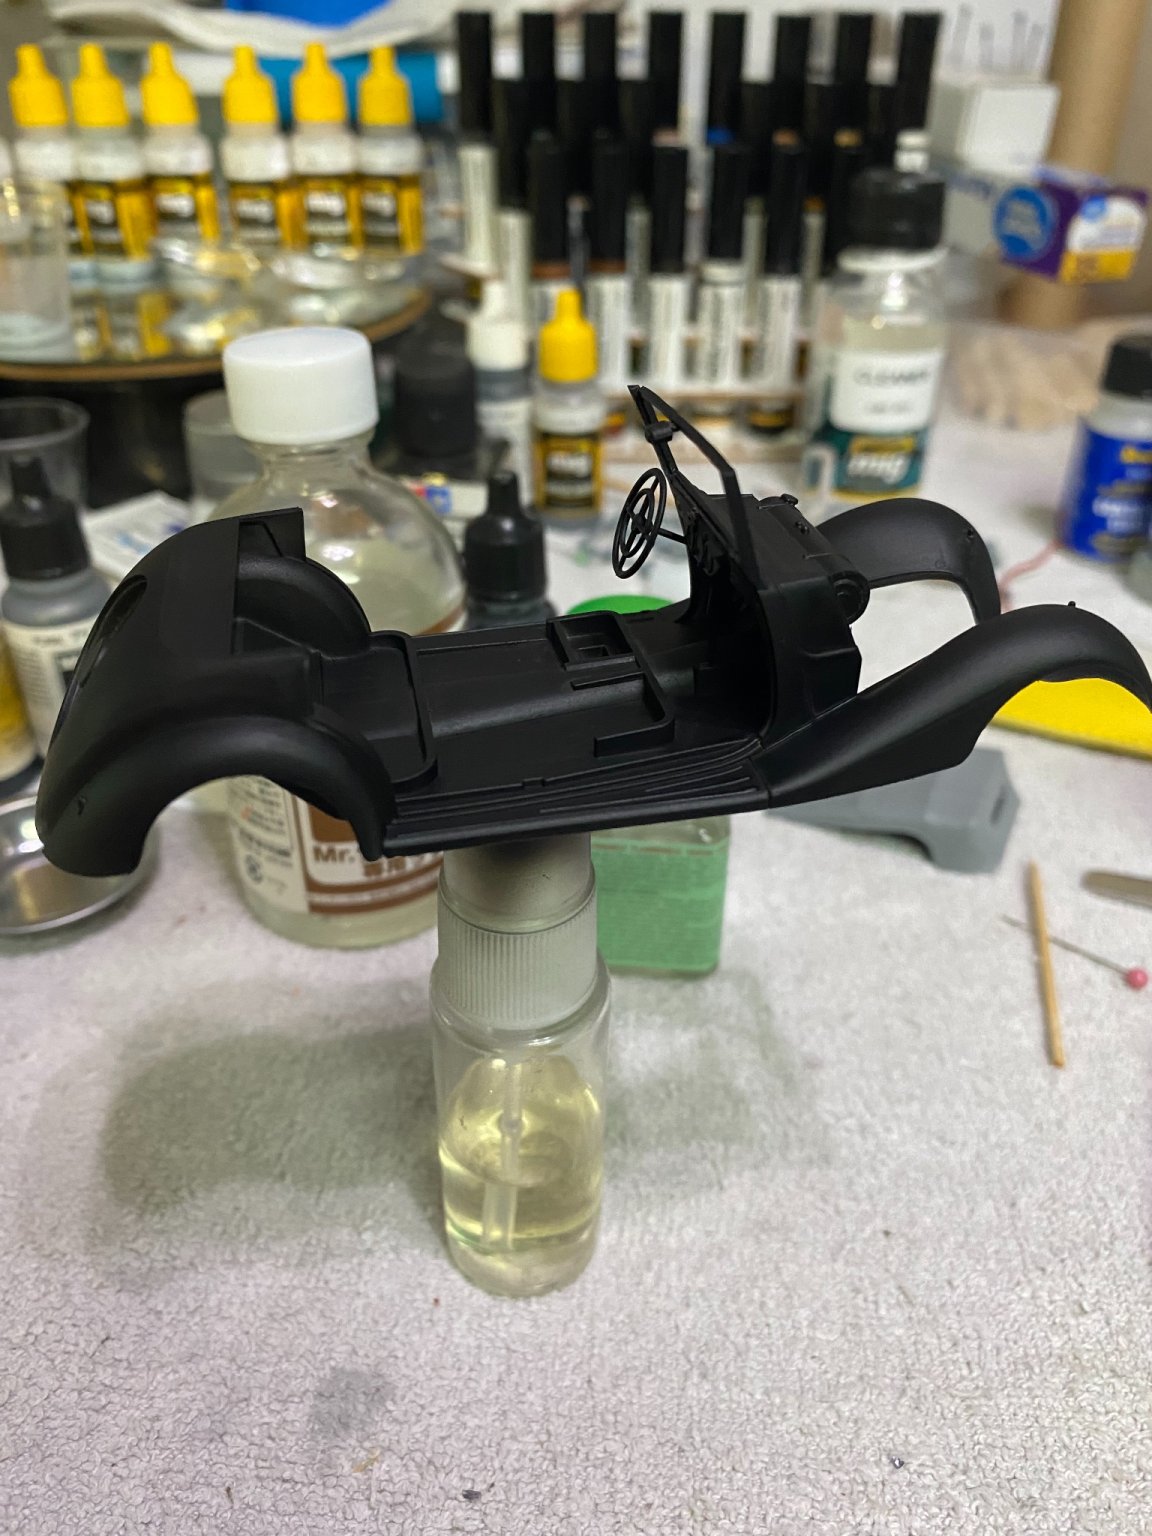
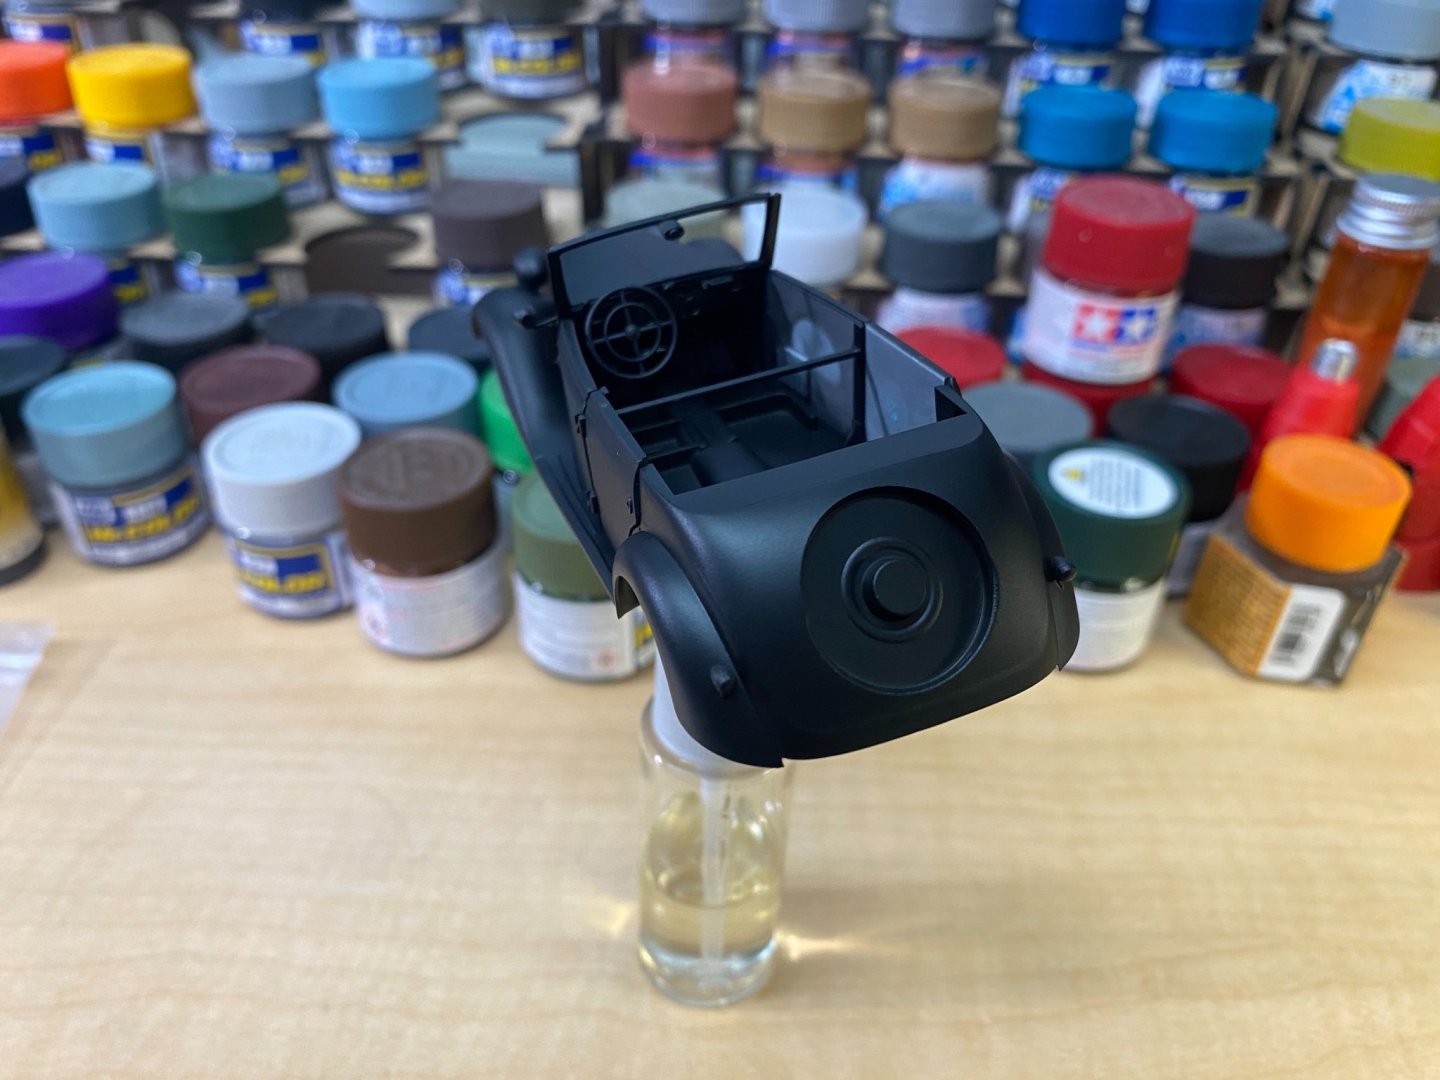
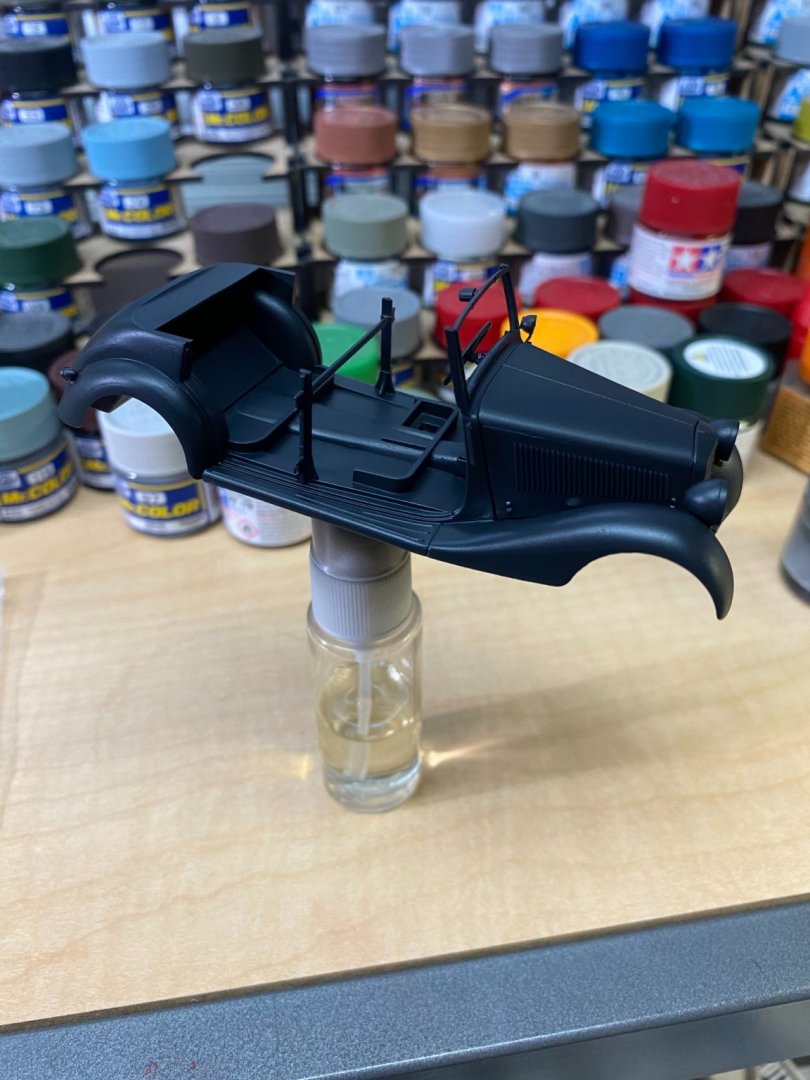
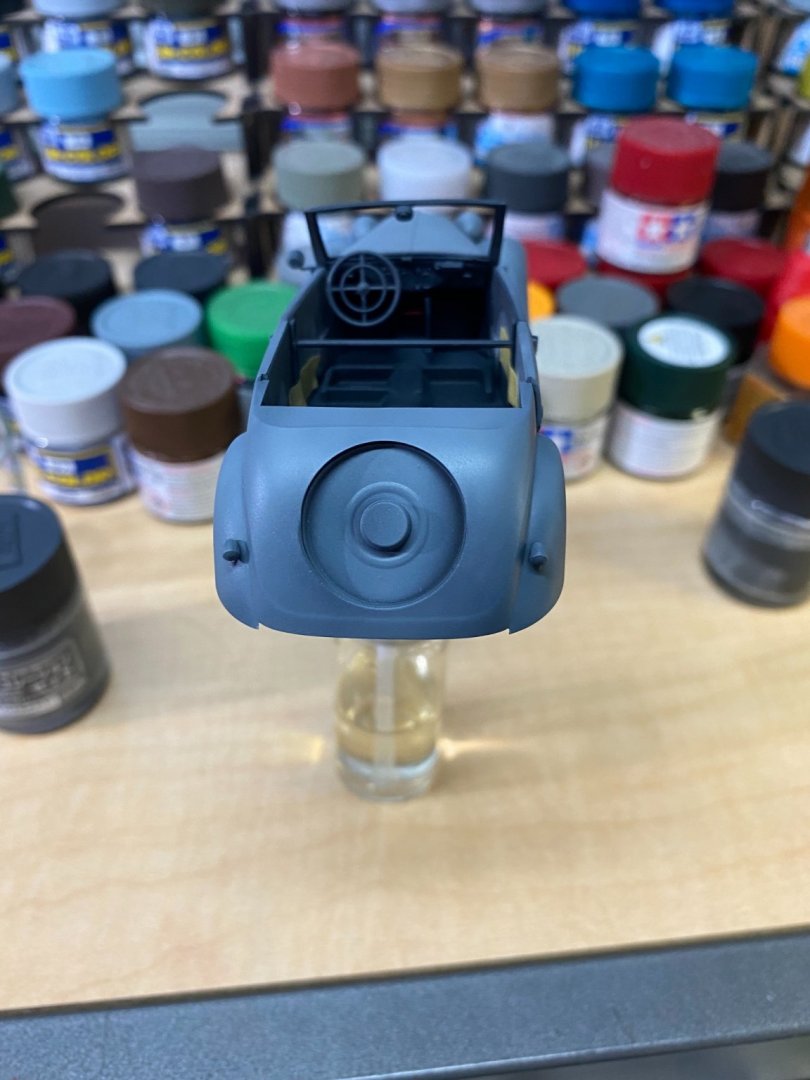
The well detailed interior is detailed with separate brake, clutch, and accelerator pedals, parking brake lever, and a gear shifter that will be added after painting.

- 143 replies
-
- 10
-
-
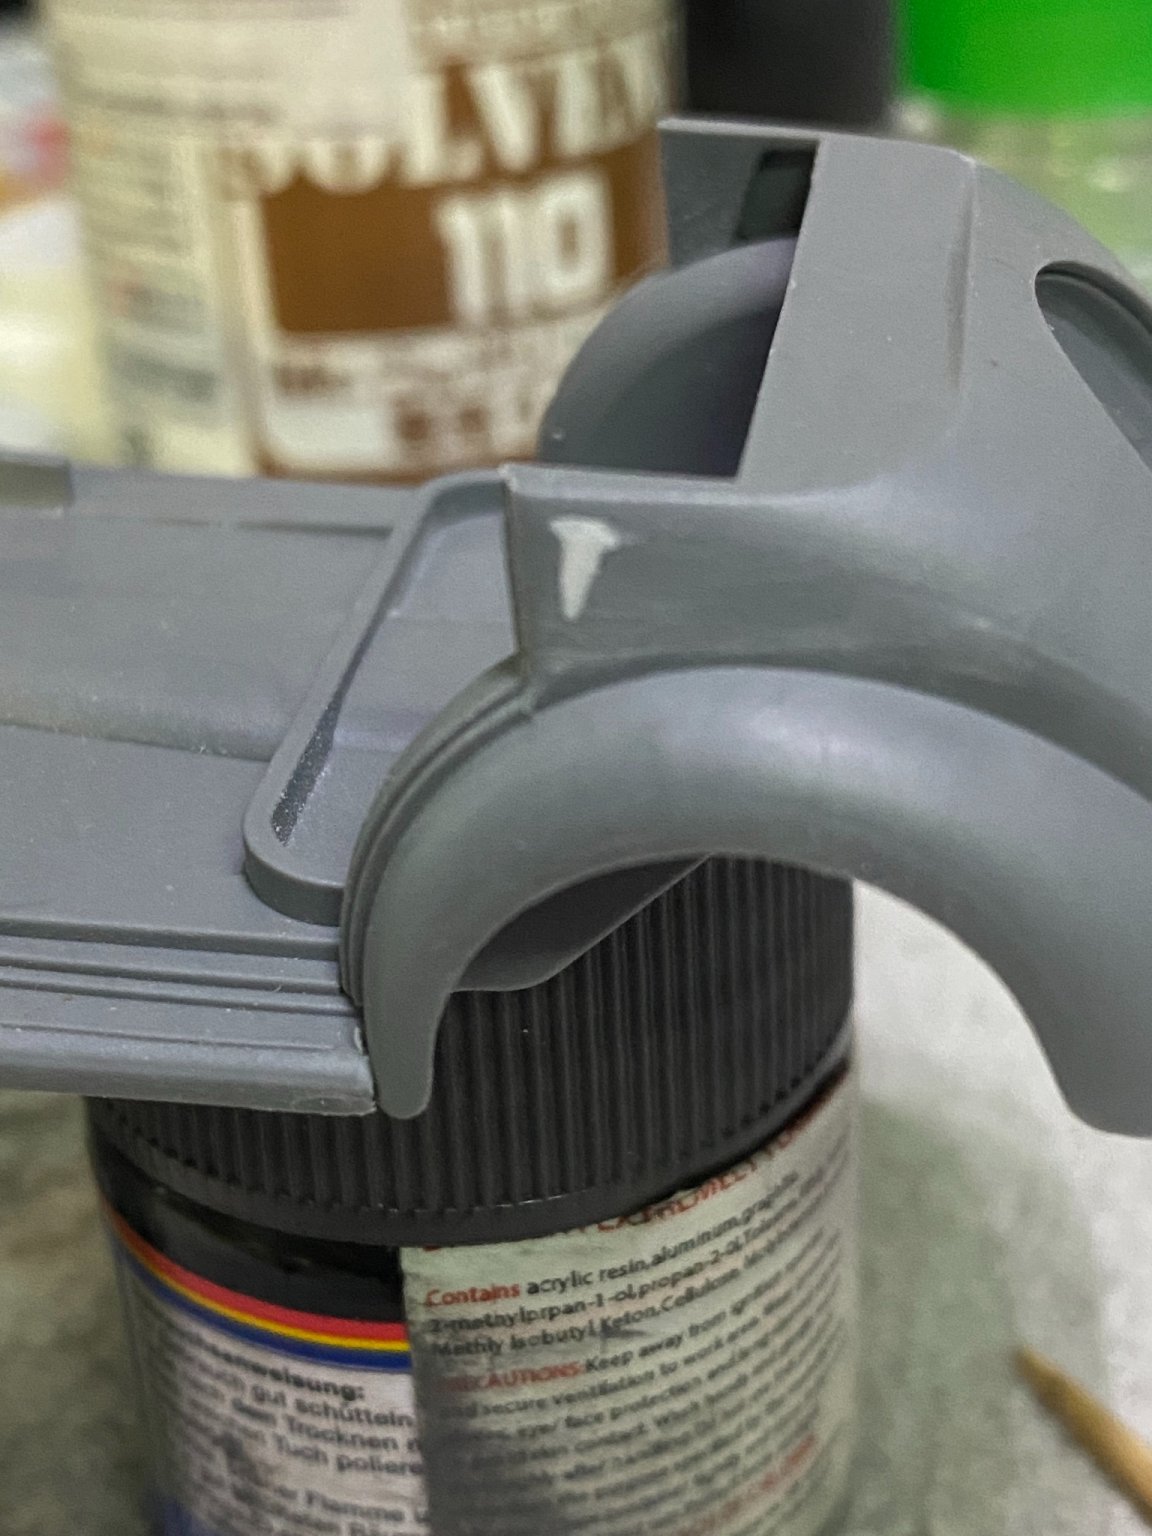
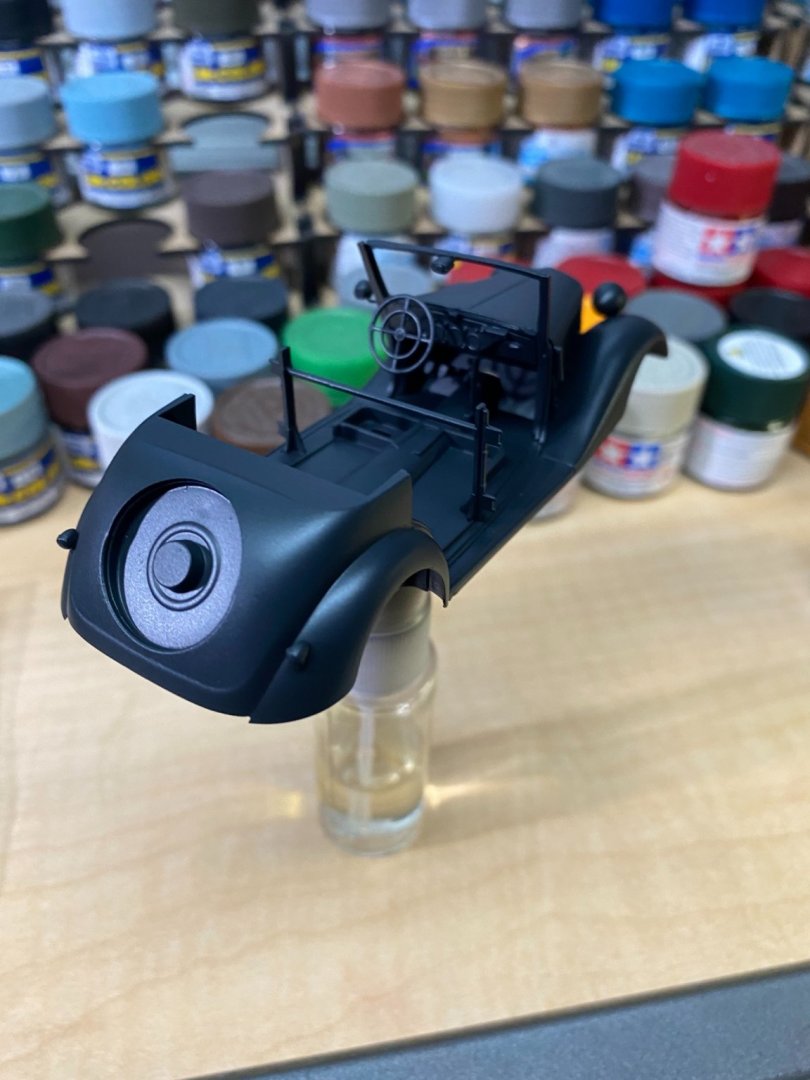
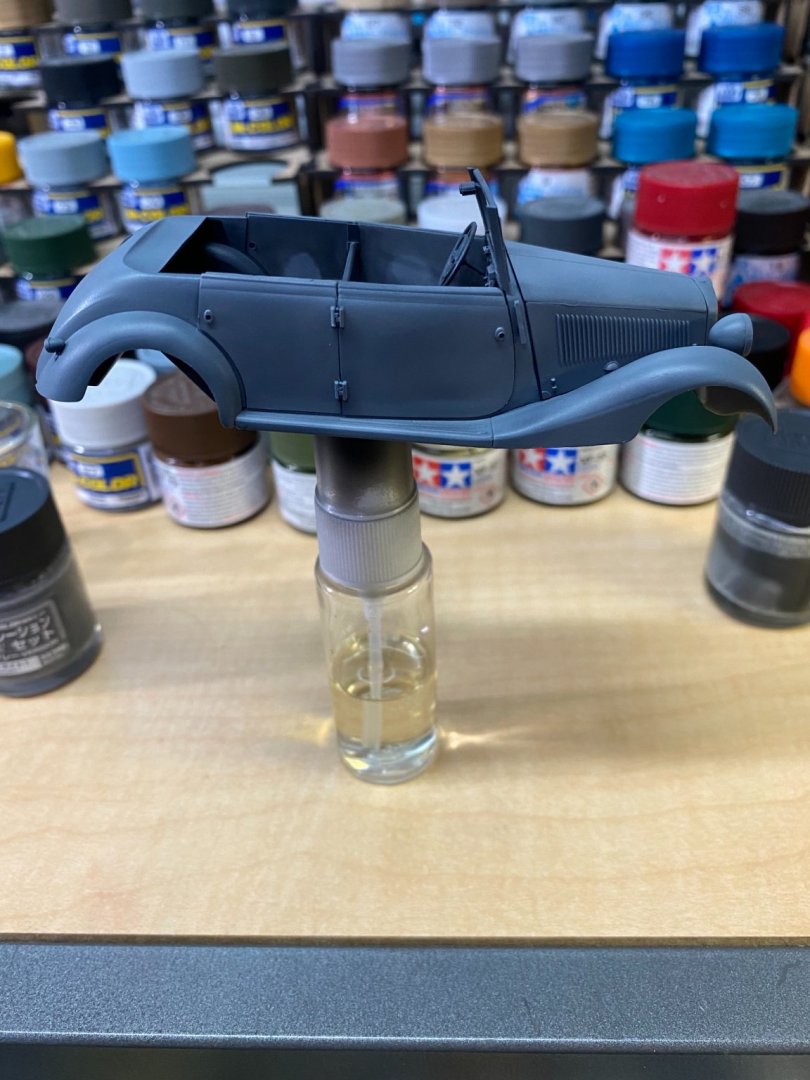
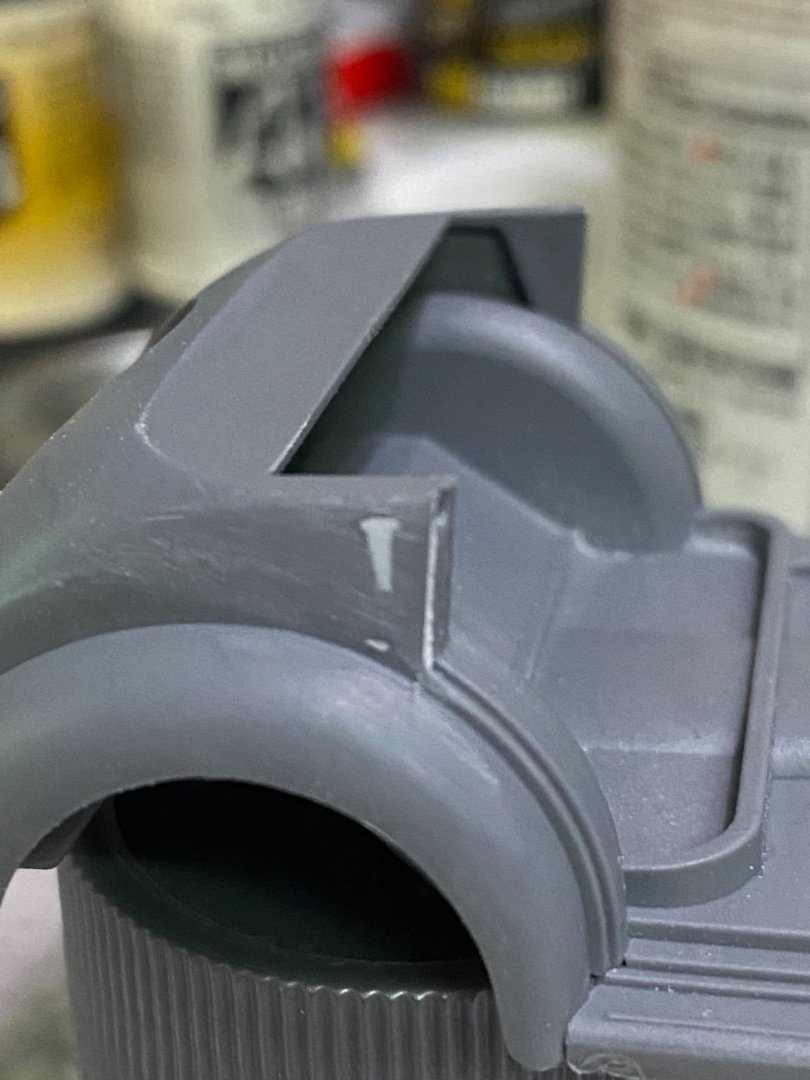
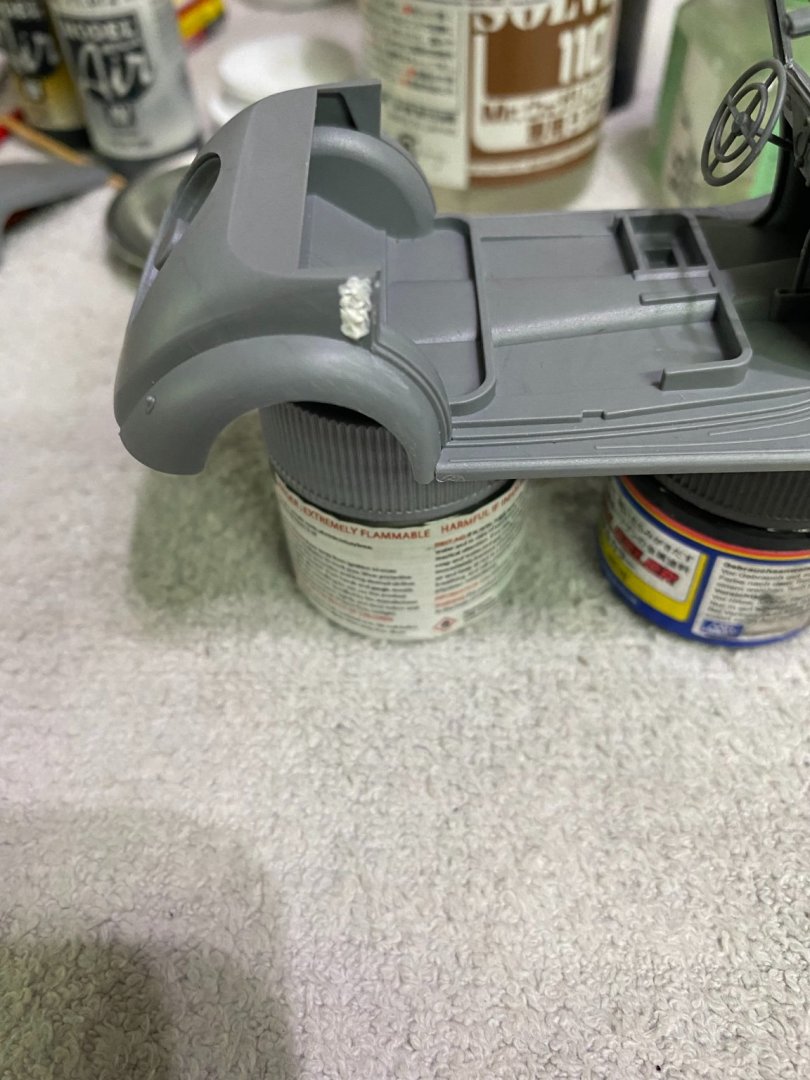
Both sides of the car body have a slight sink mark where the rear doors meet the body. A dab of putty should solve the problem in short order.

-
Thanks for the comments Alan. Im not one of the expert figure painters, but have watched a lot of tutorials and am looking forward to trying out the tips and tricks. Make no promises but will give it a shot. 😄
-
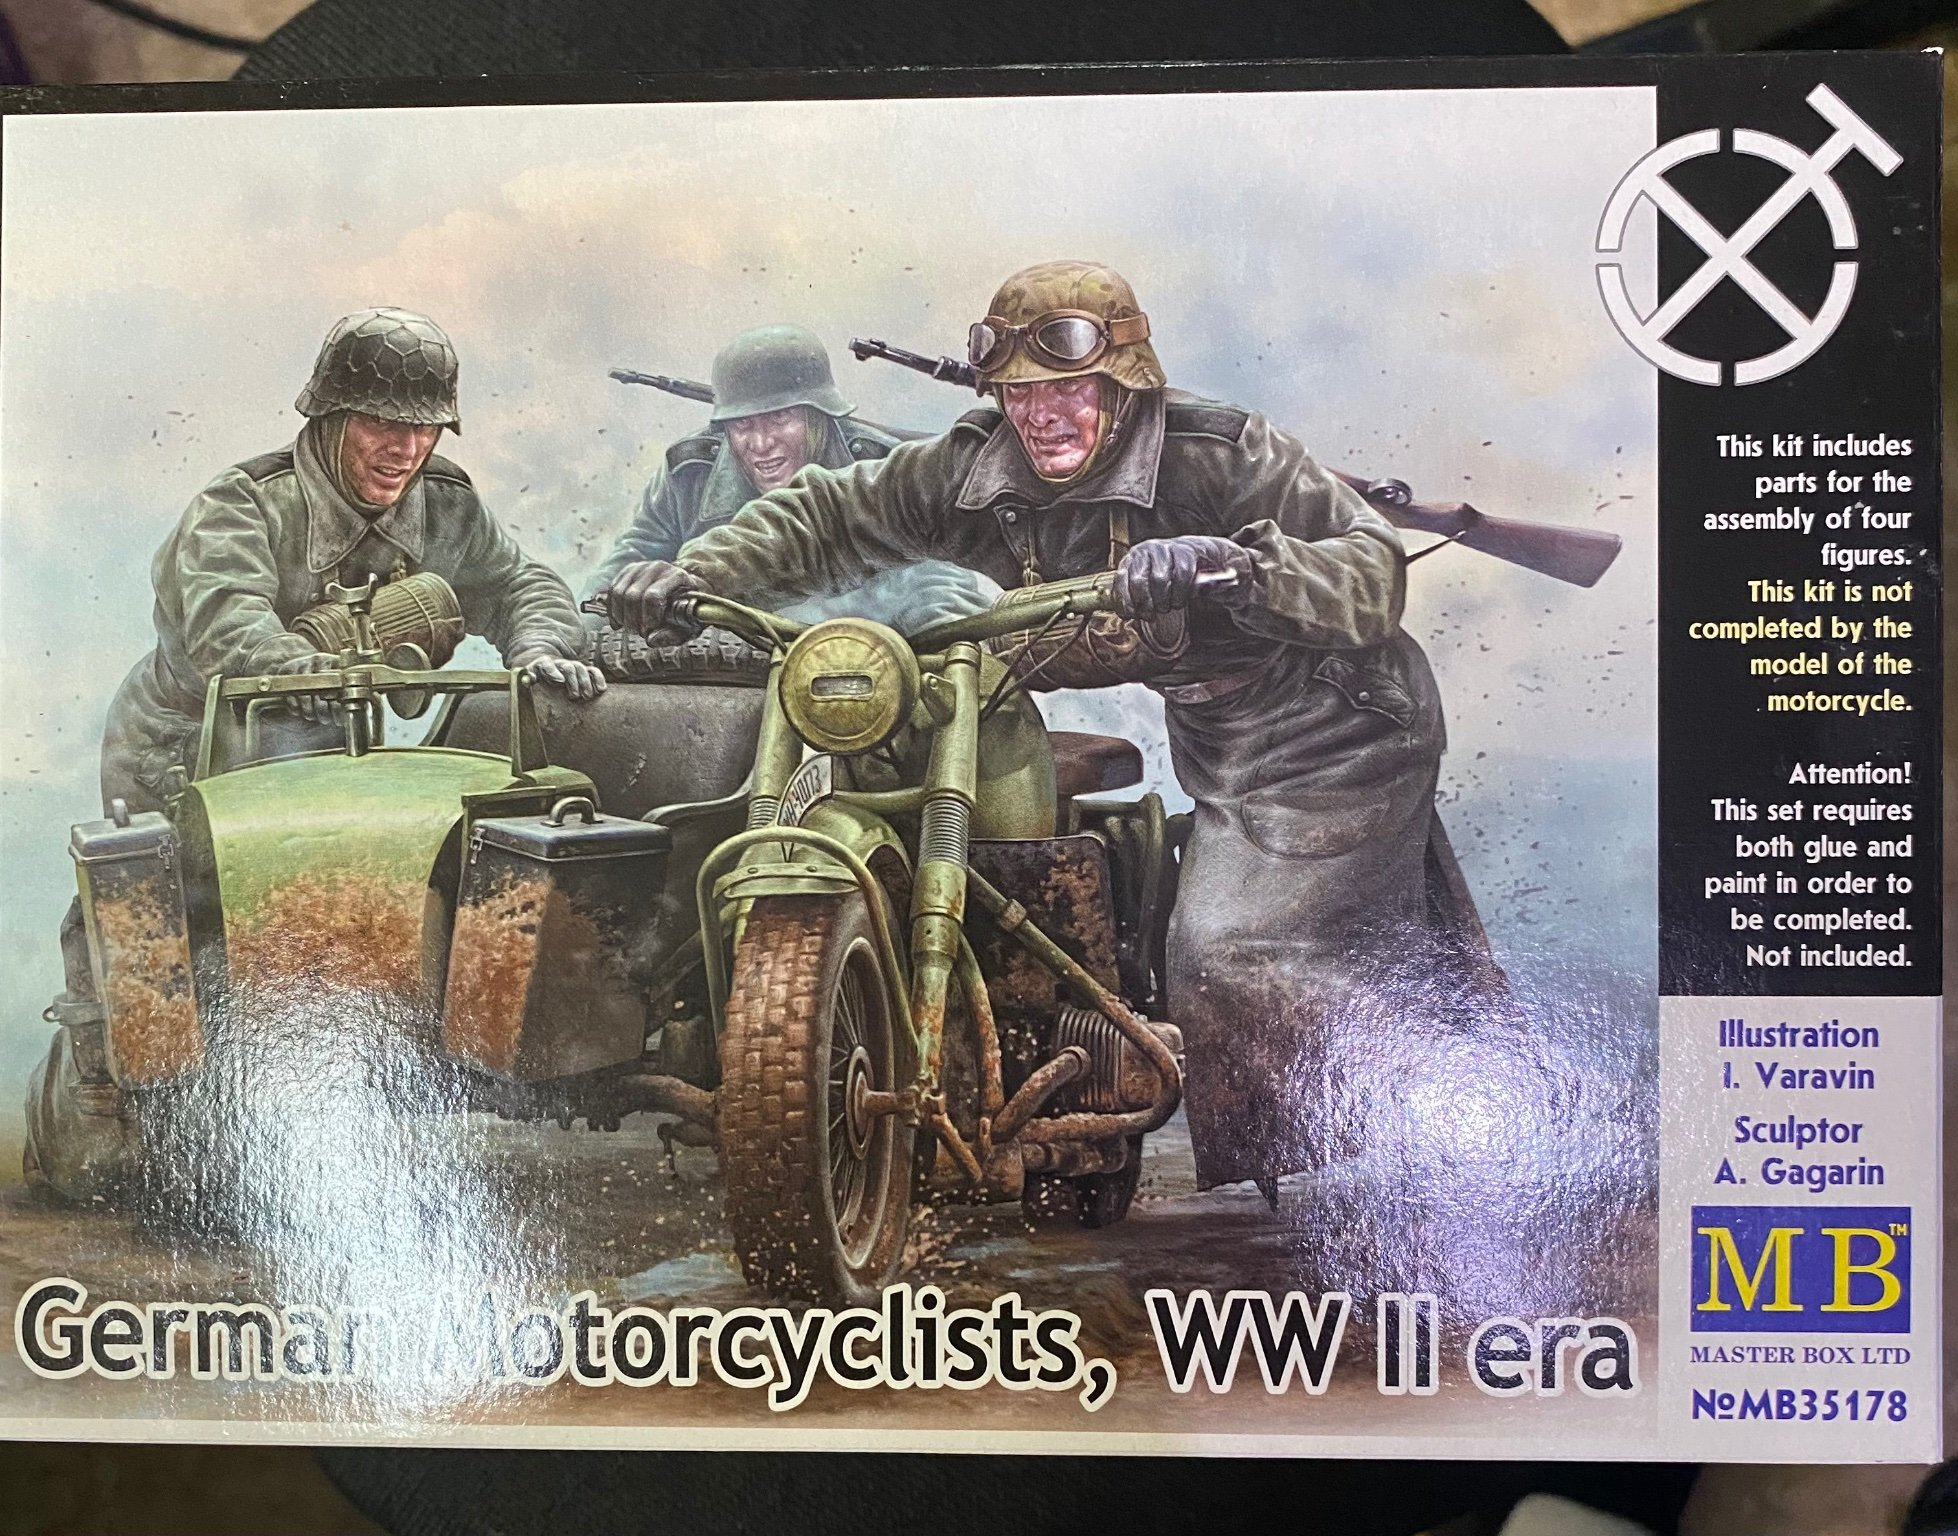
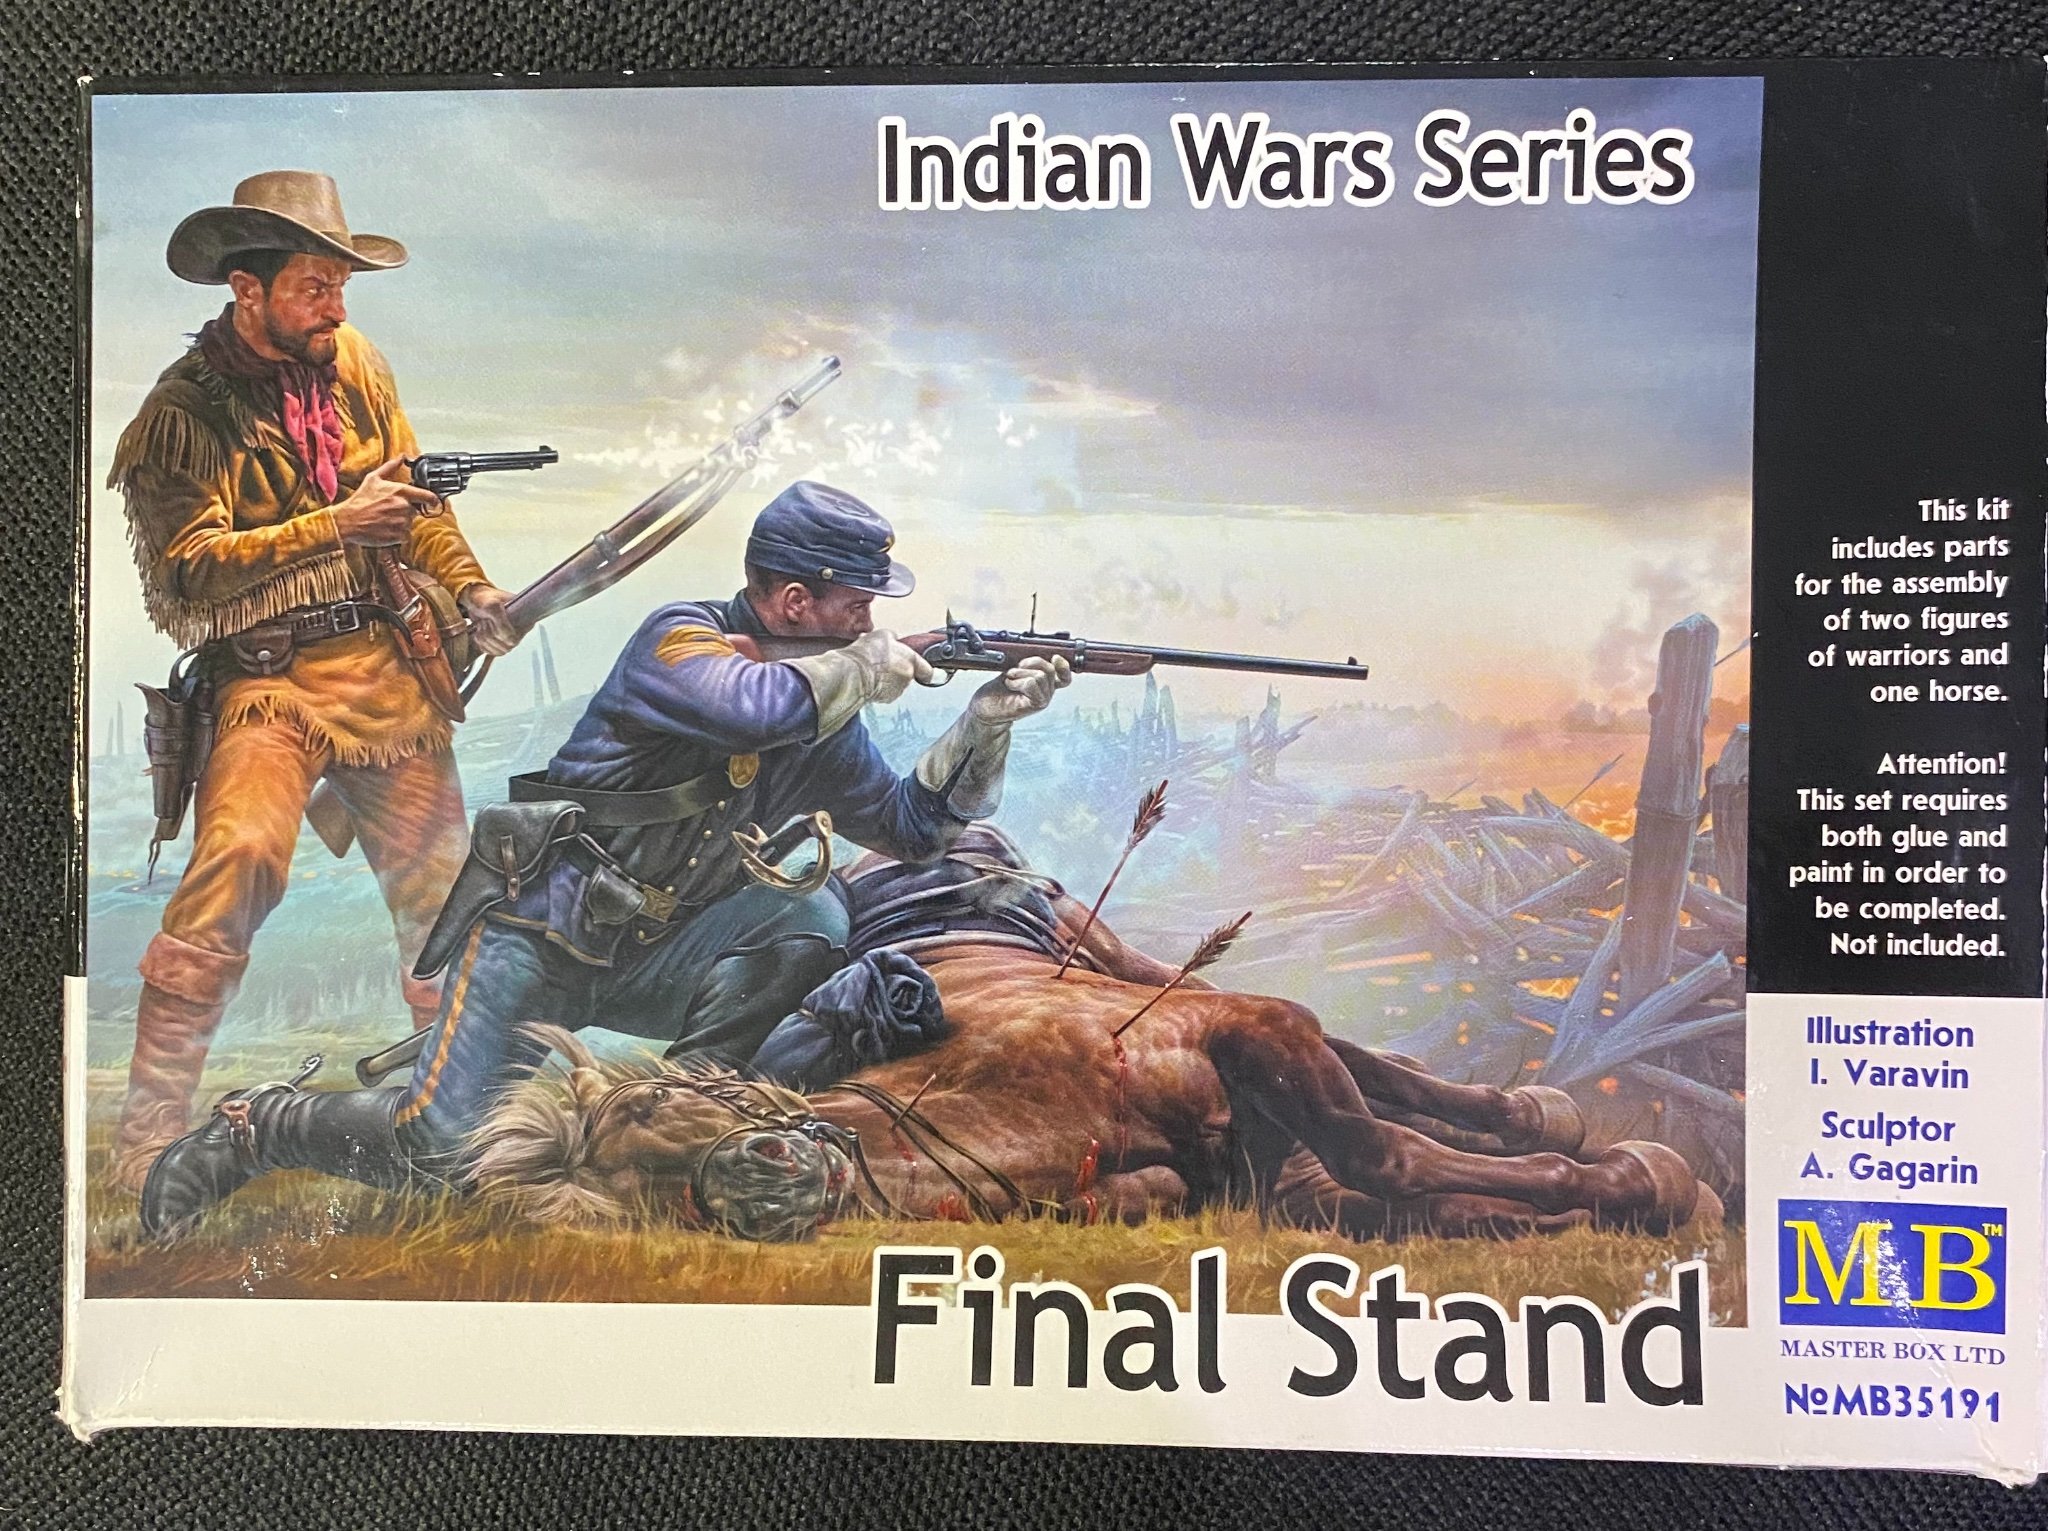
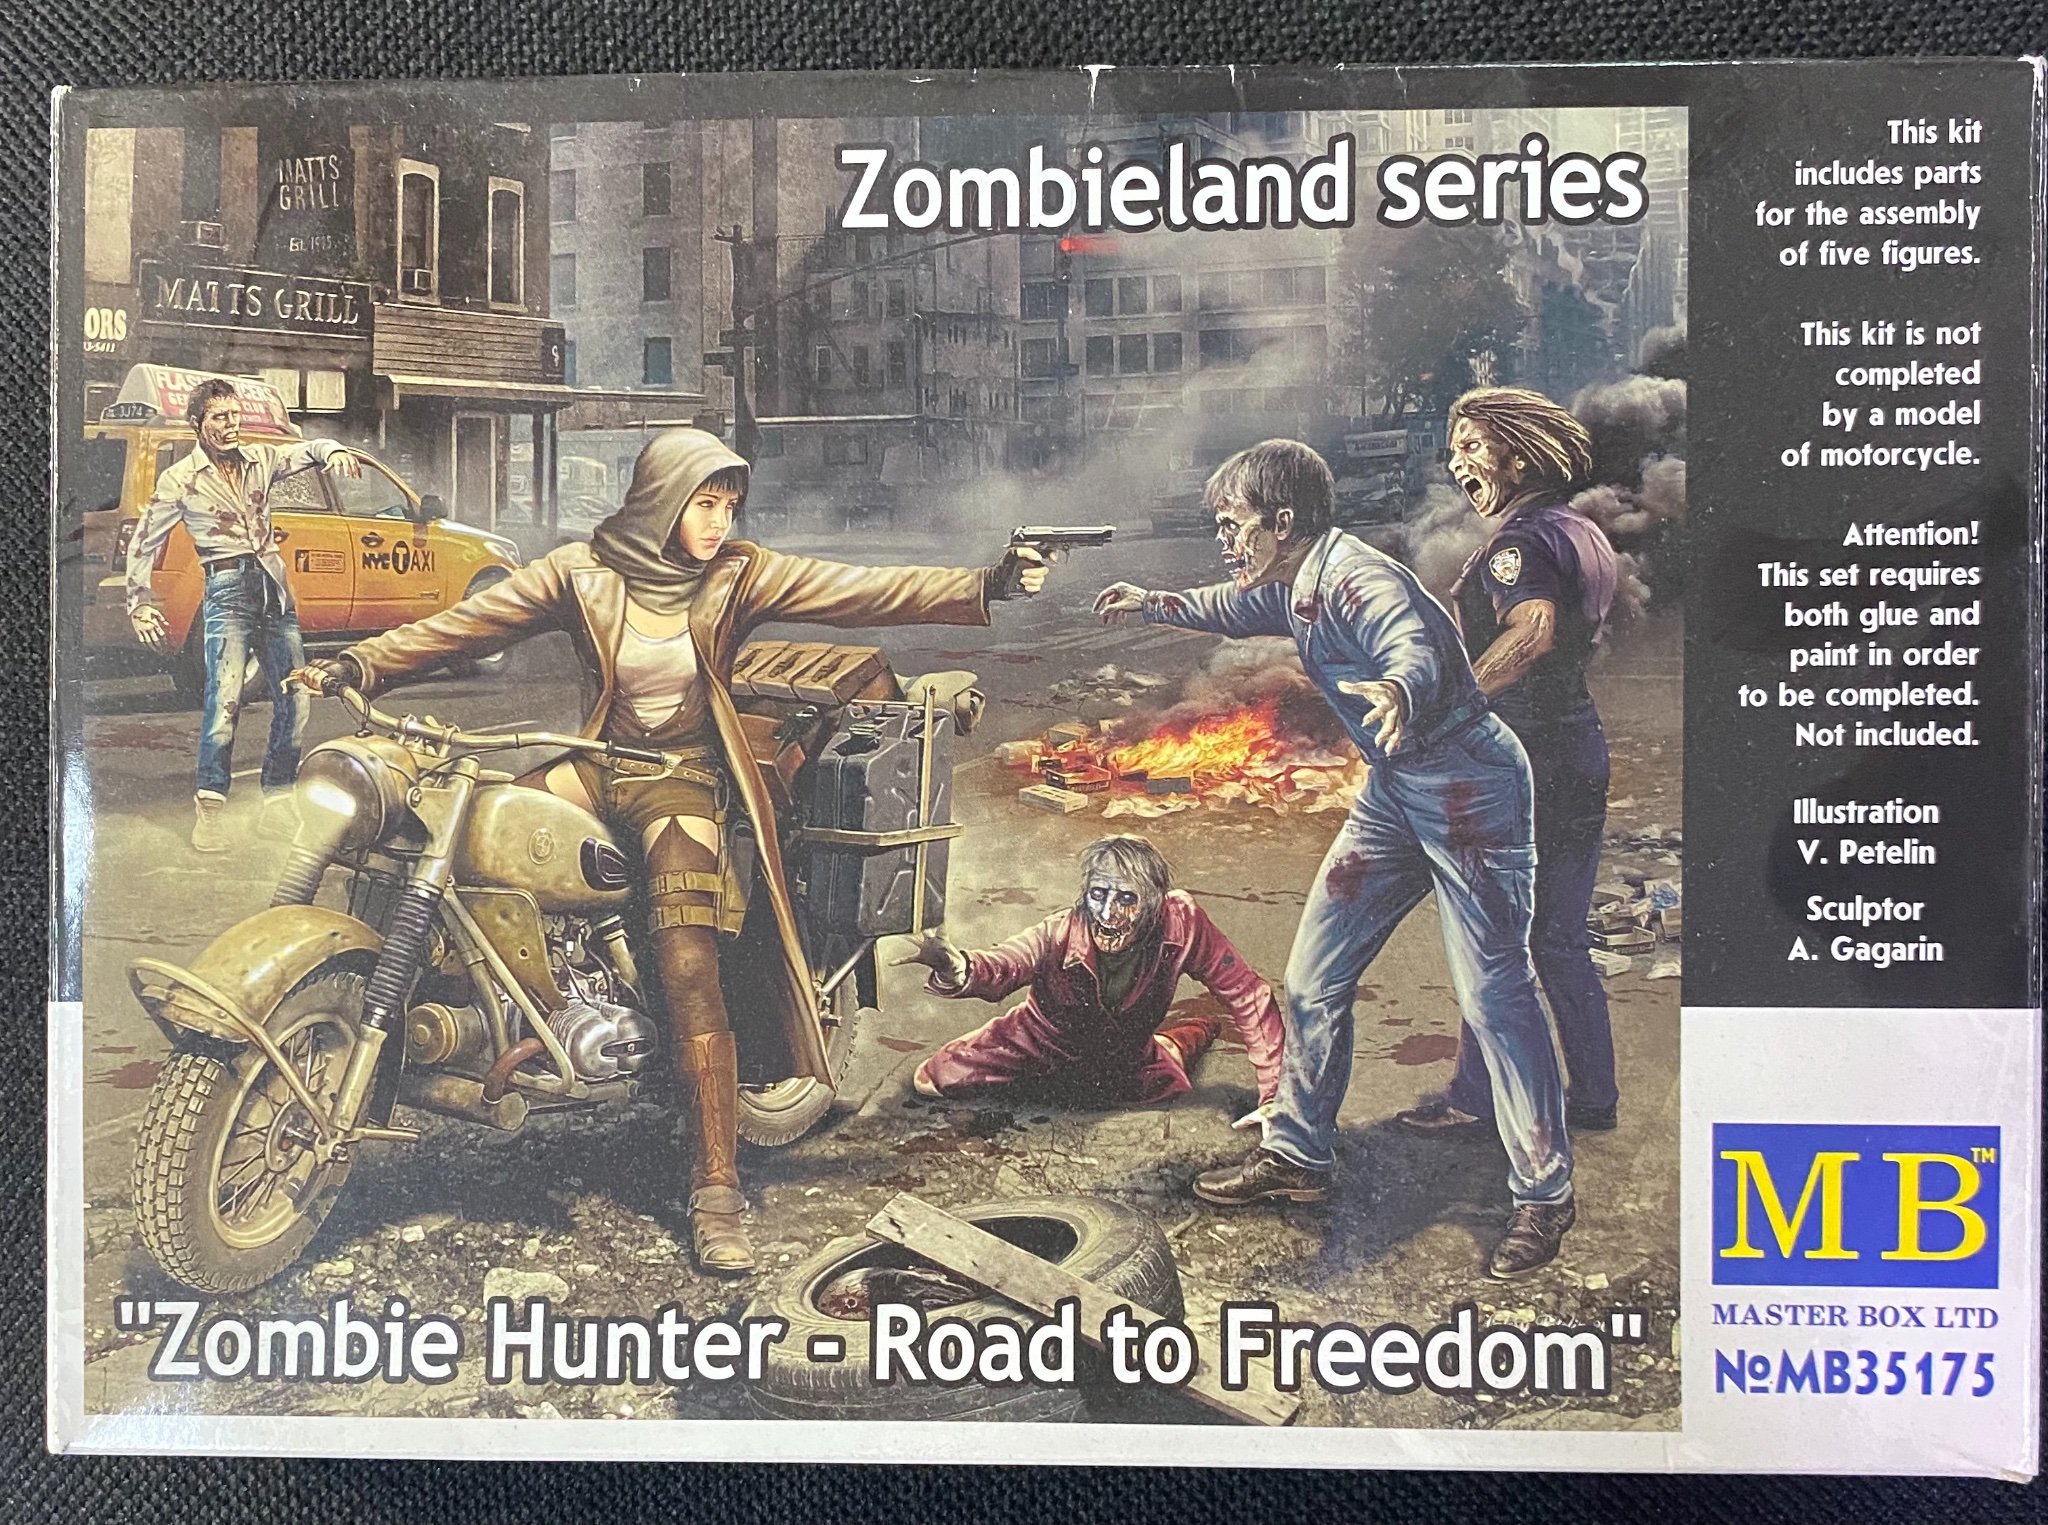
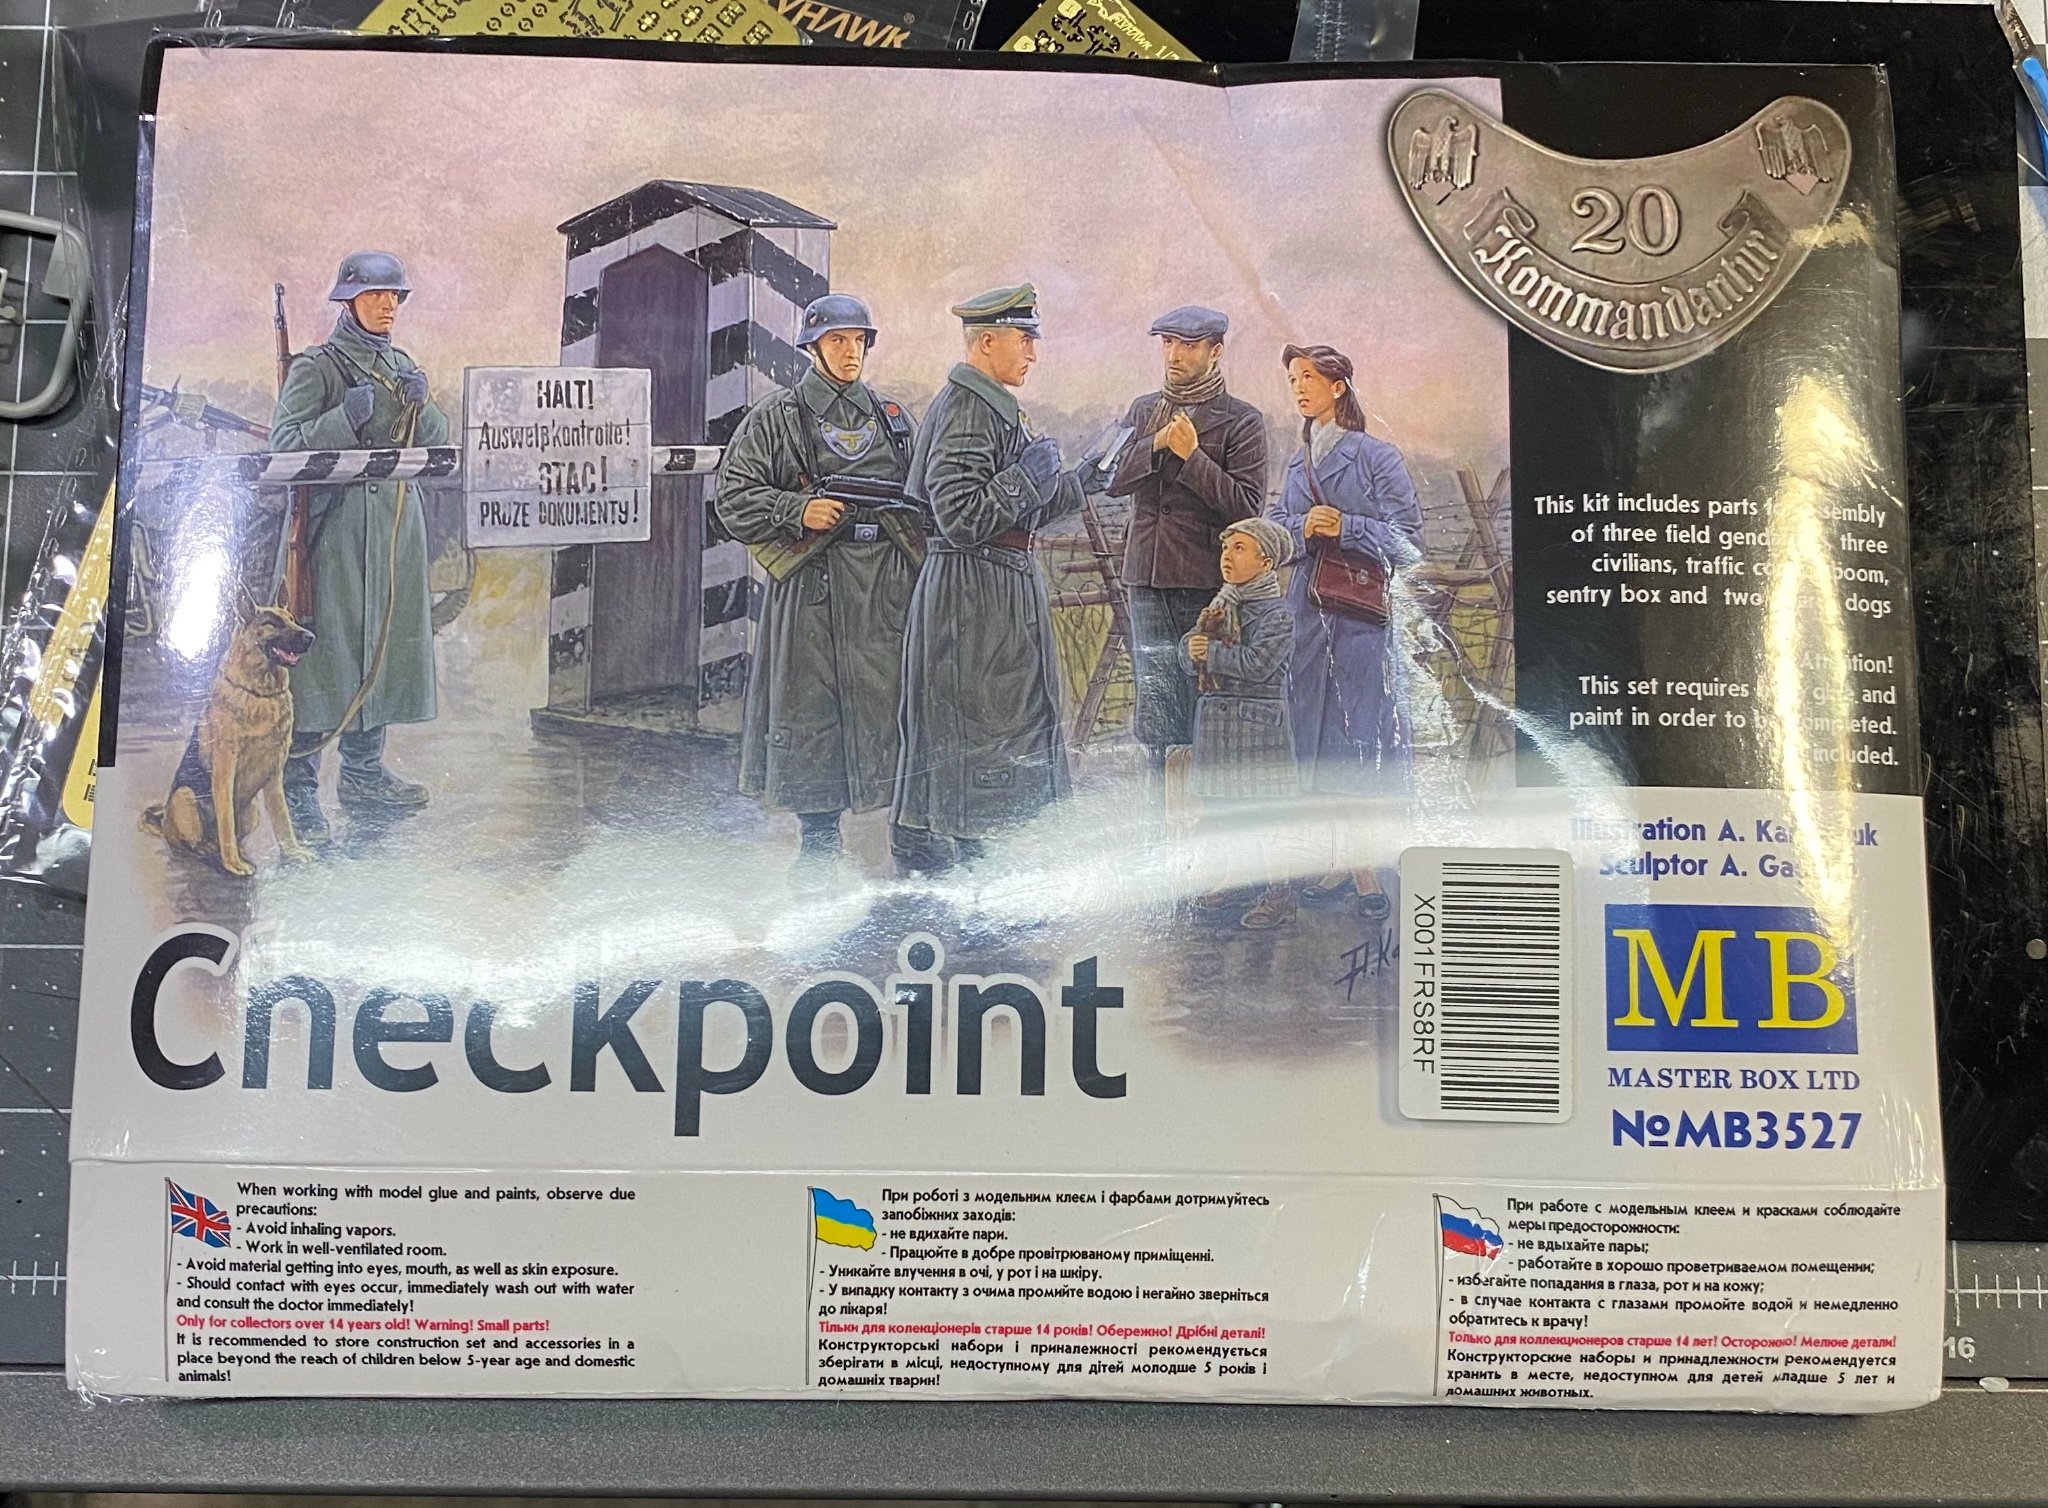
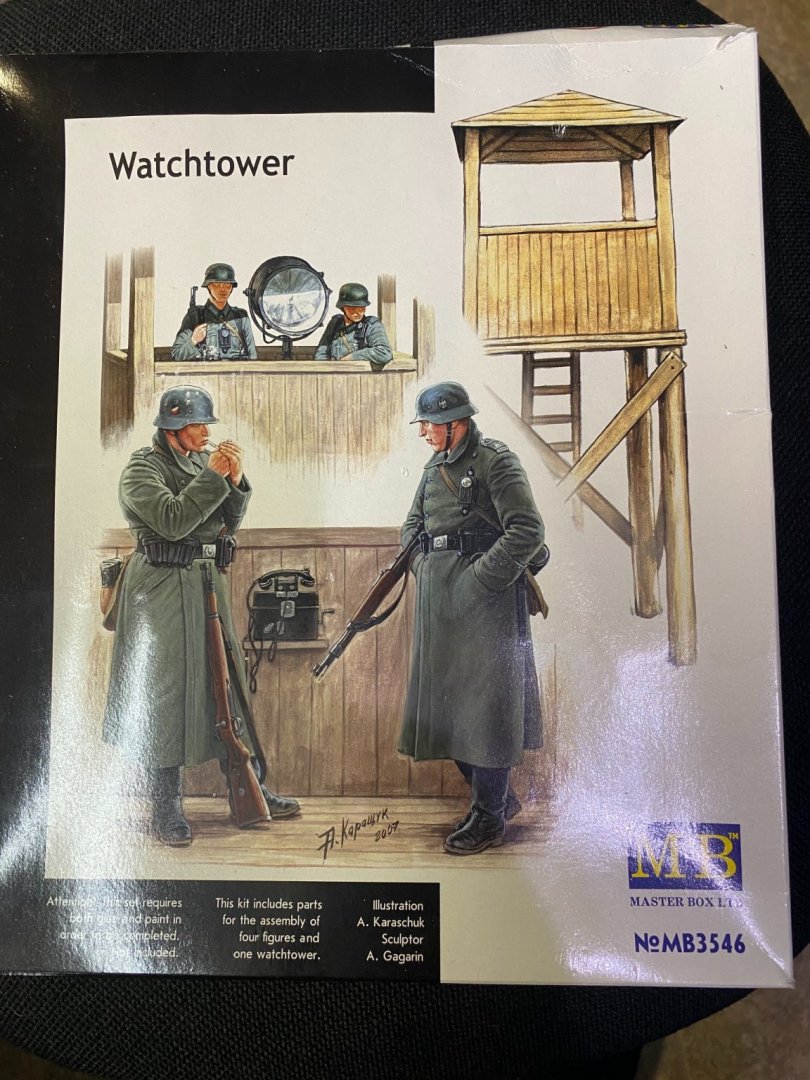
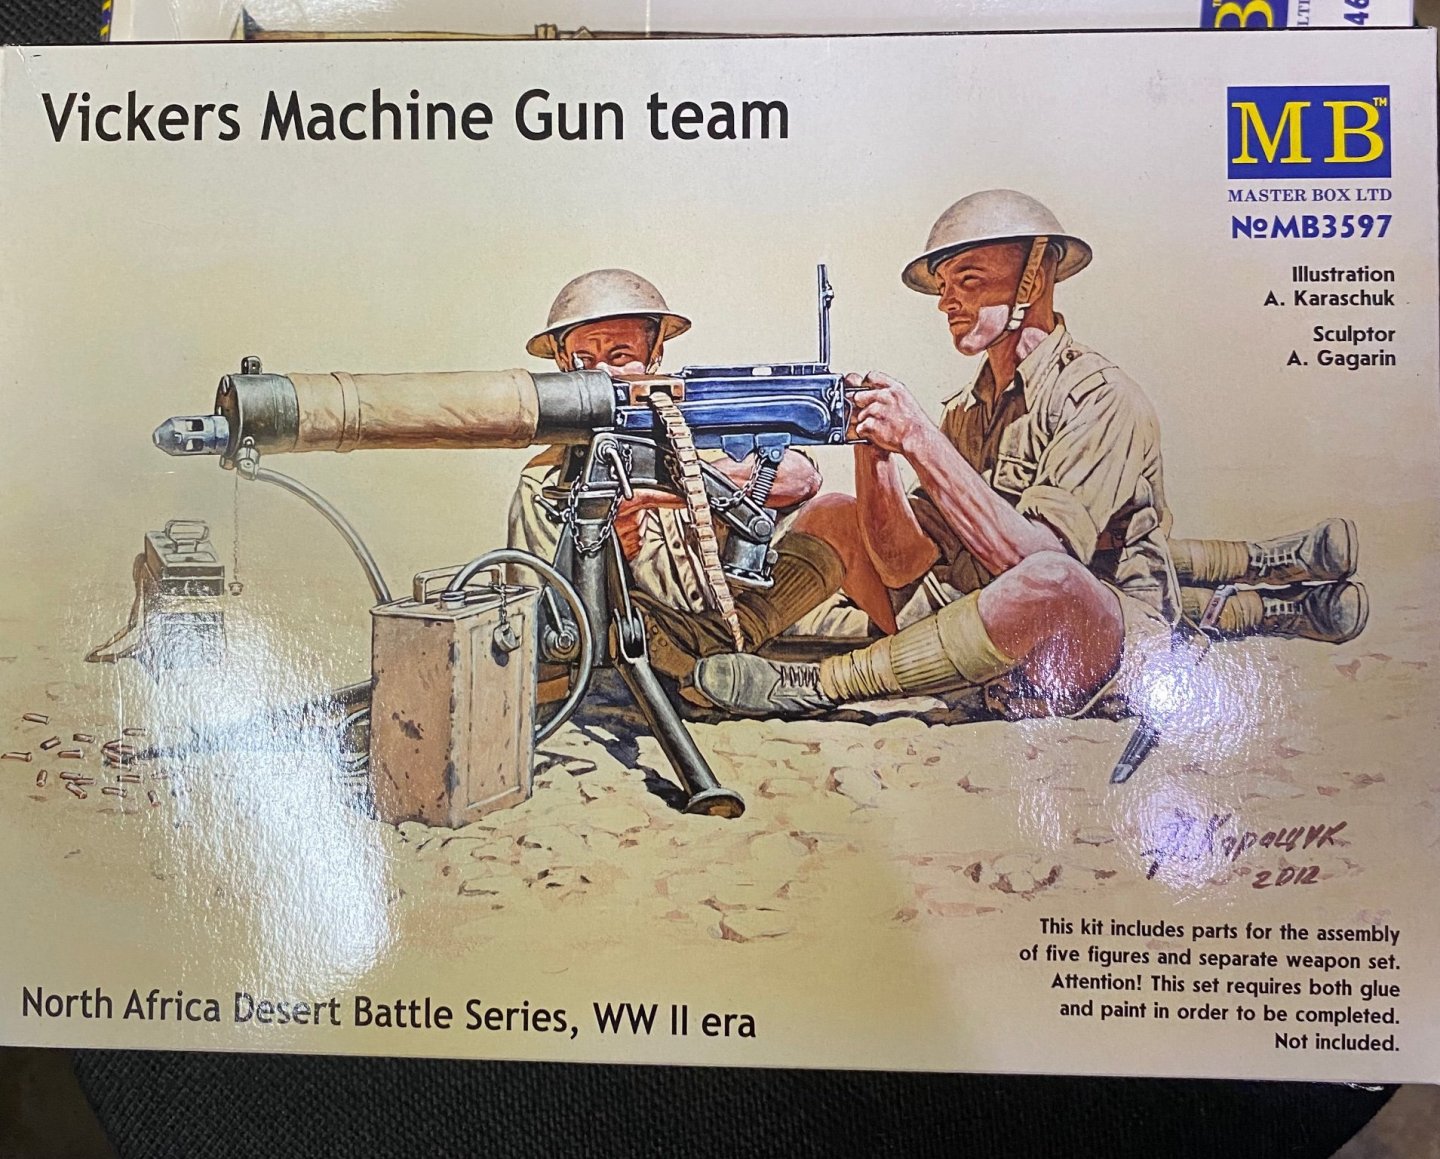
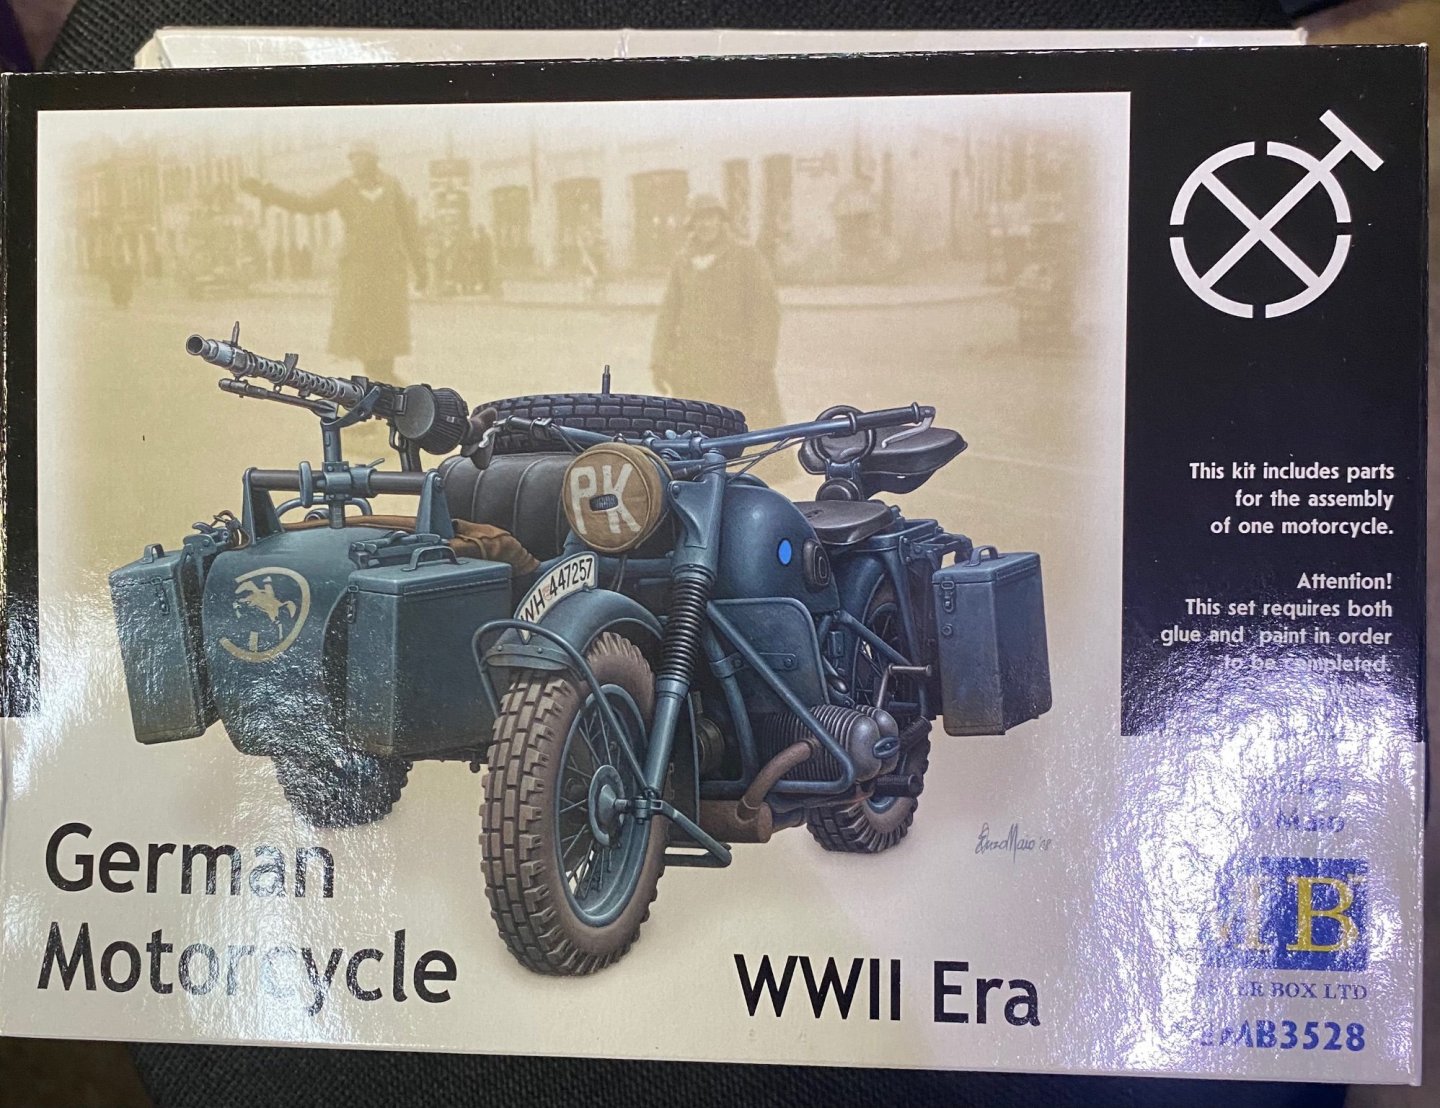
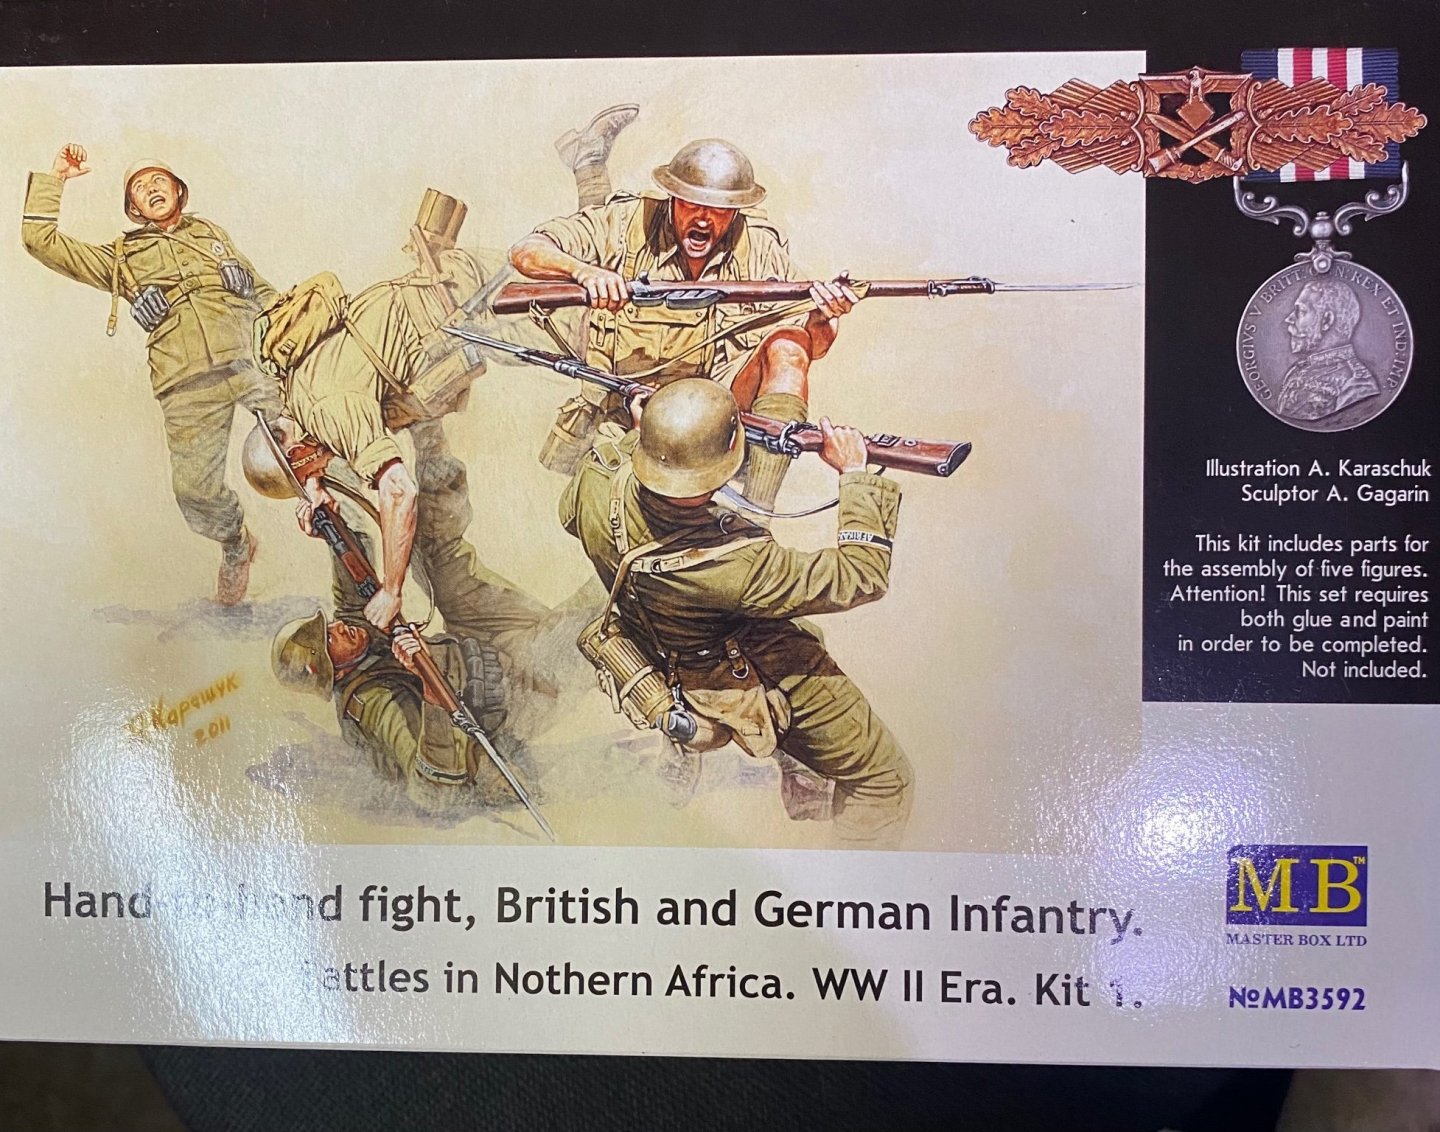
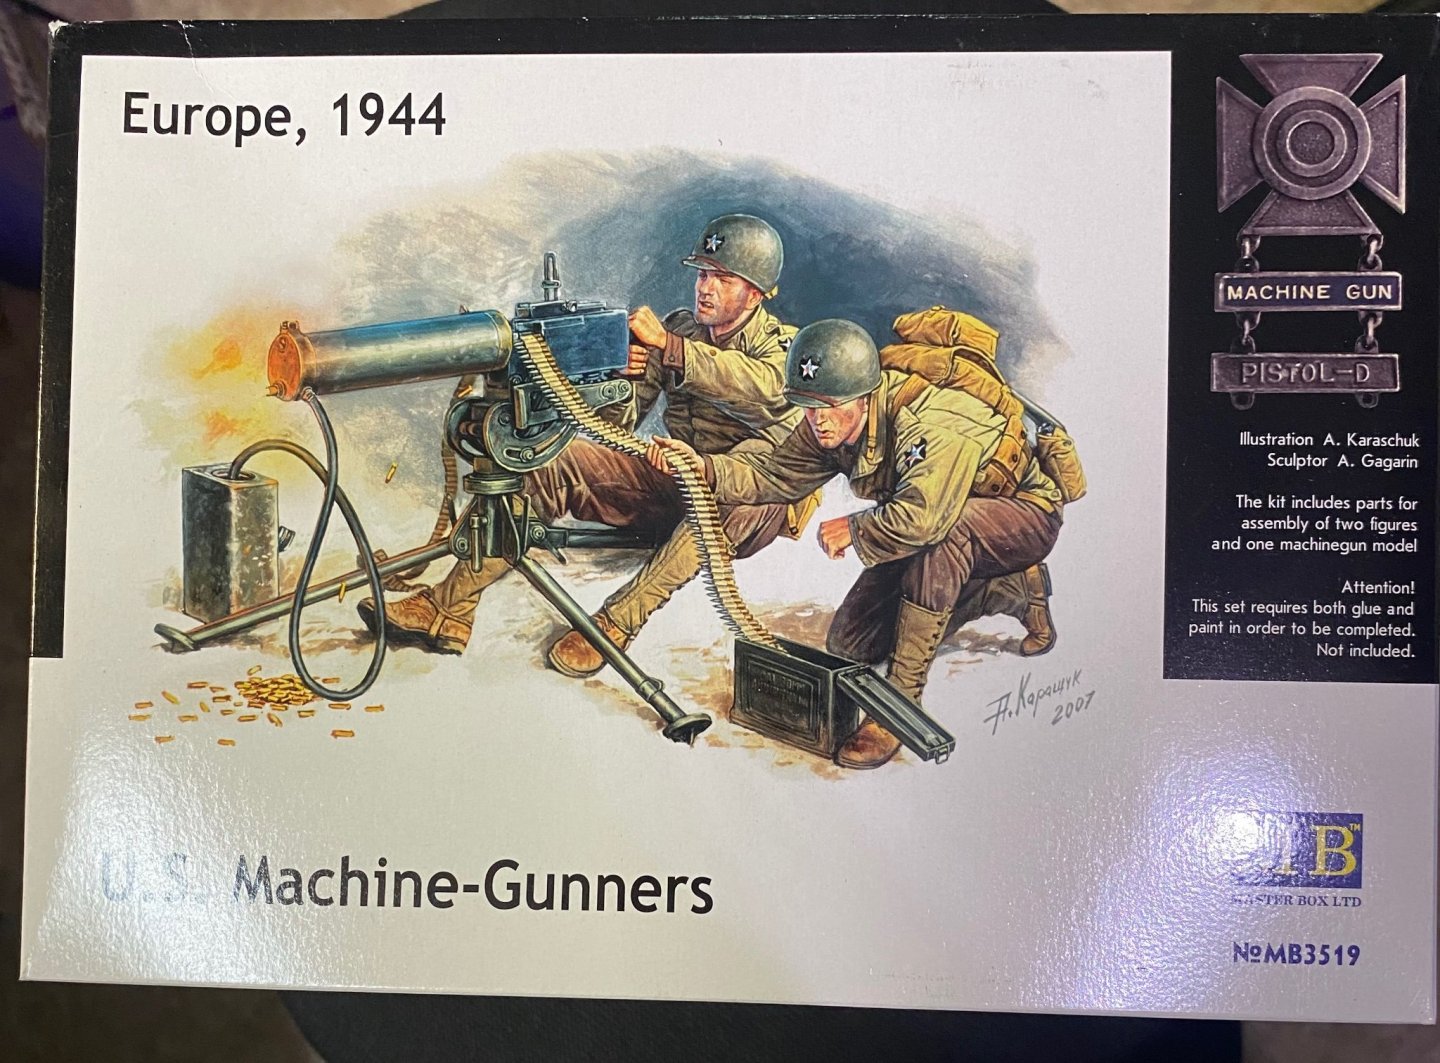
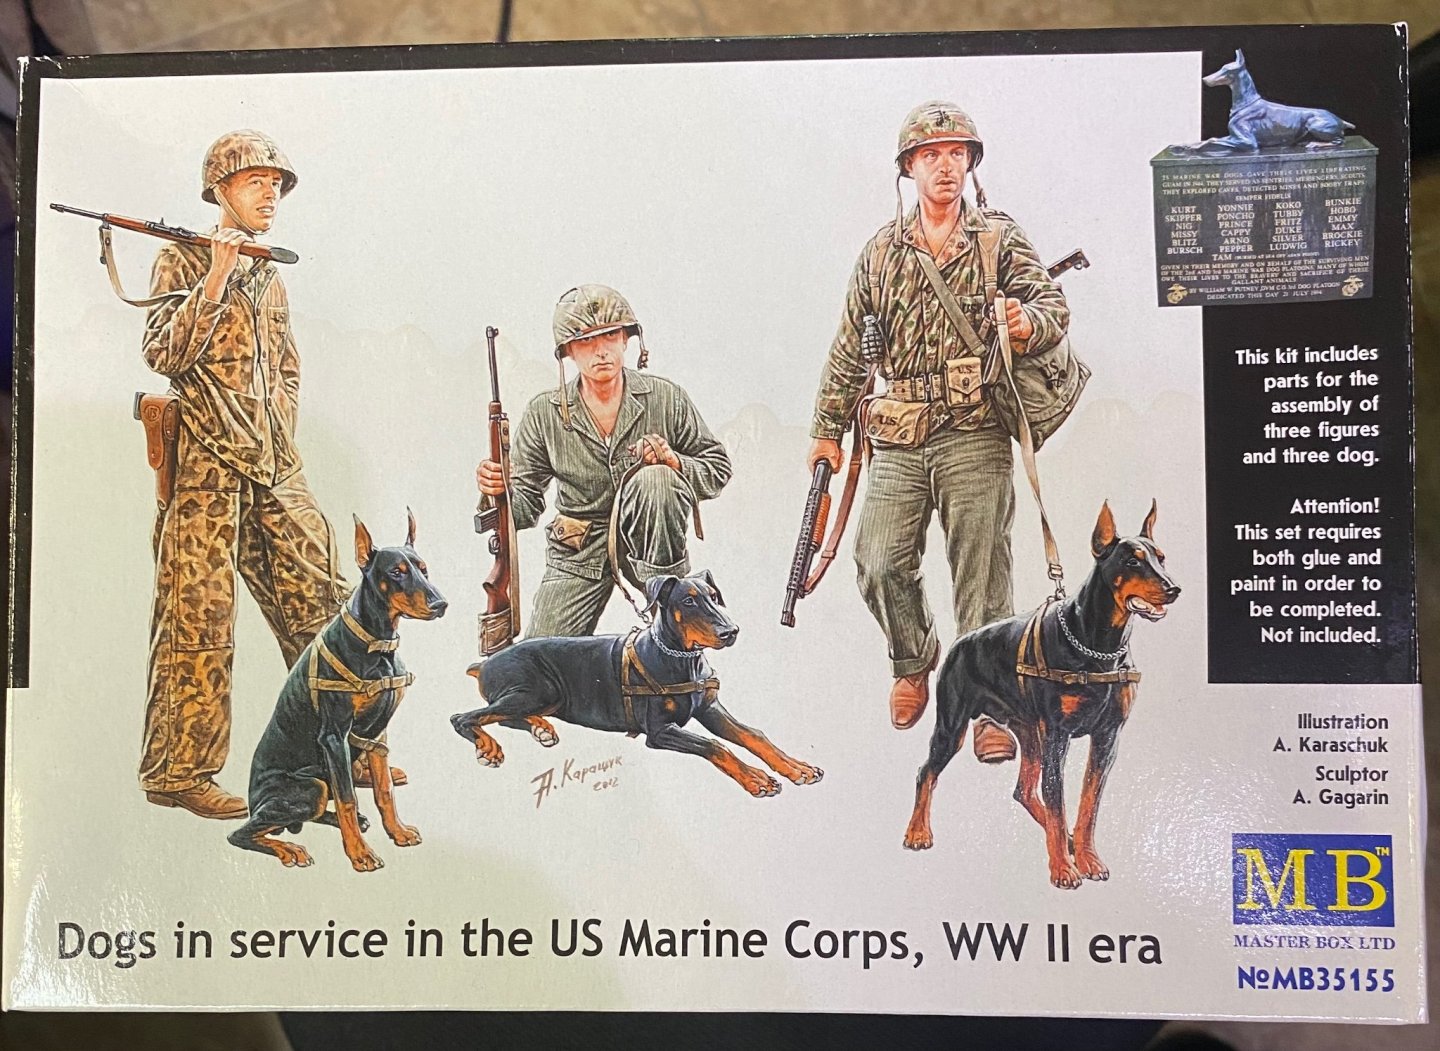
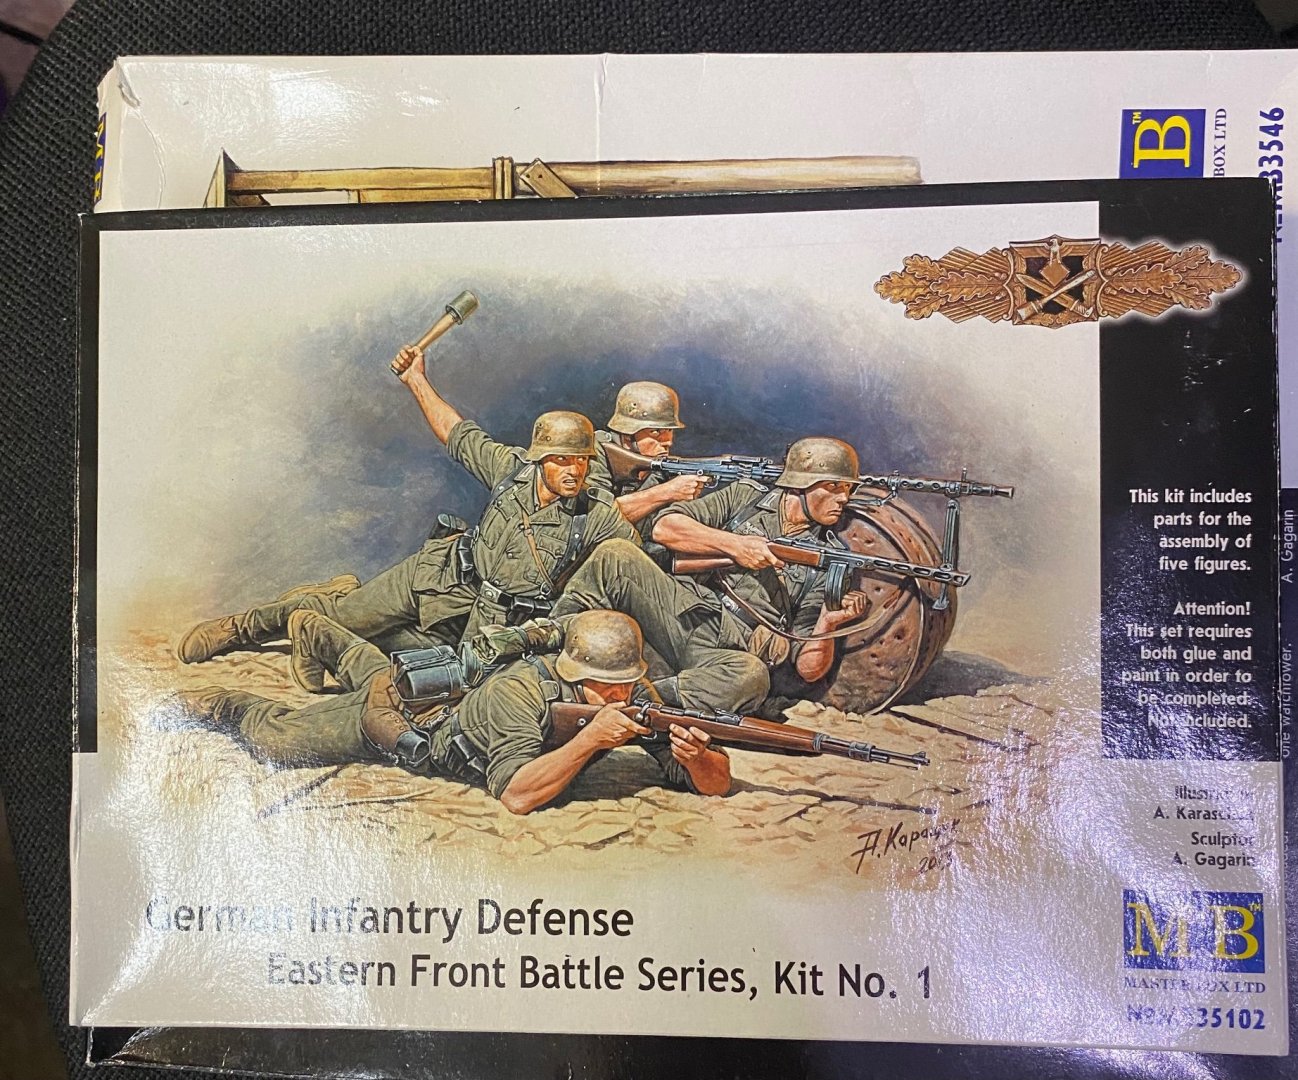
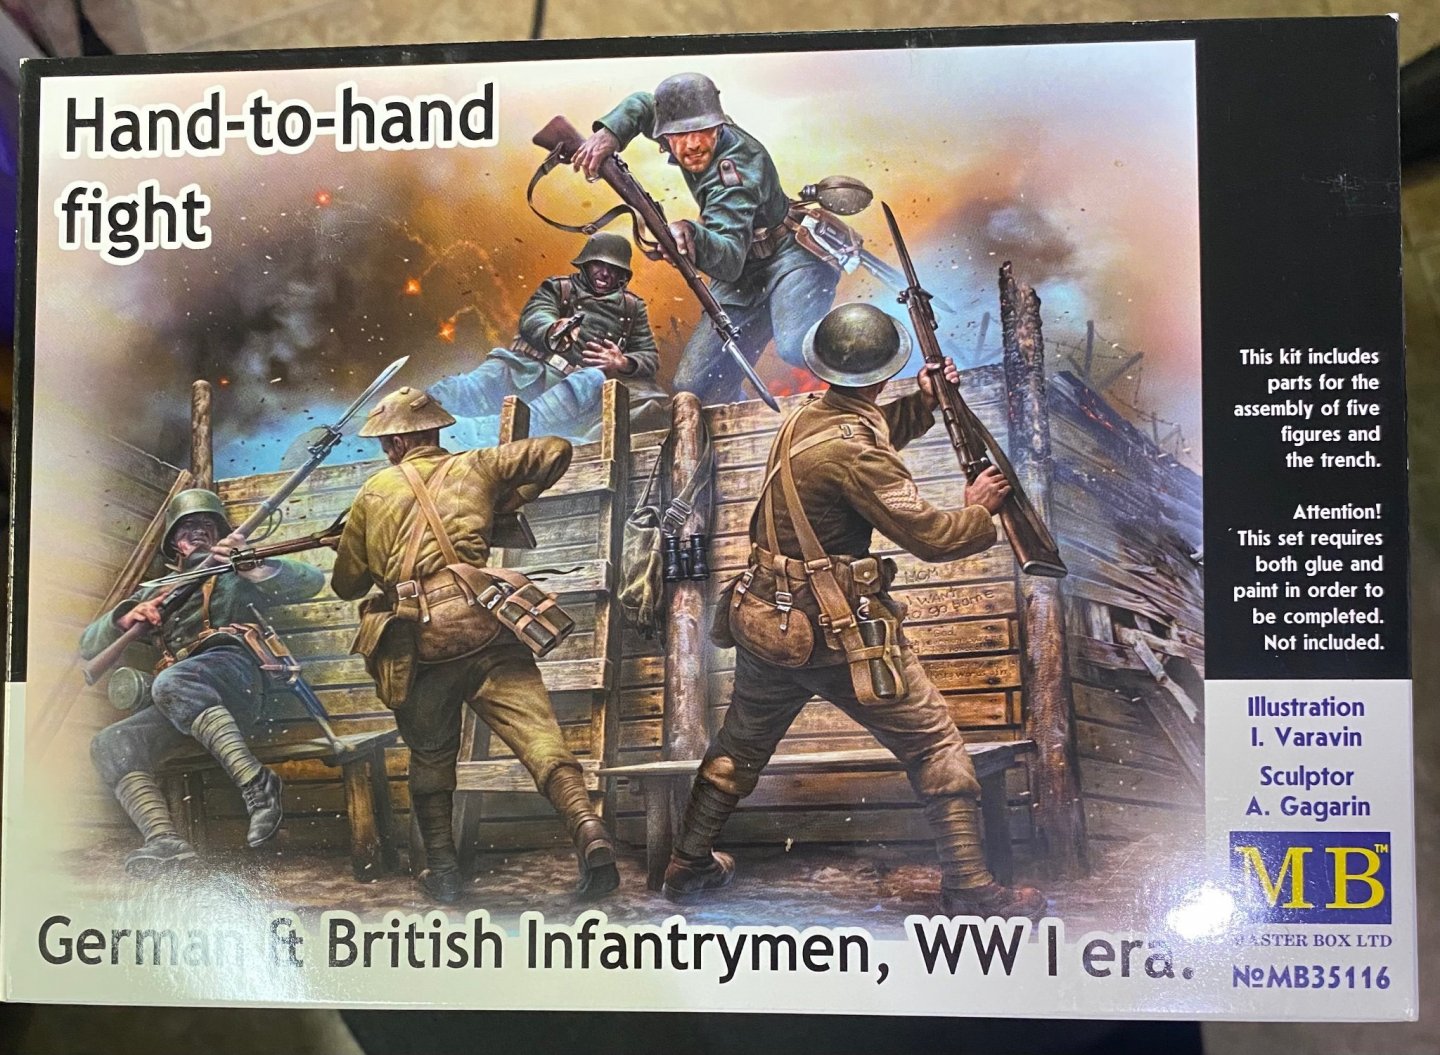
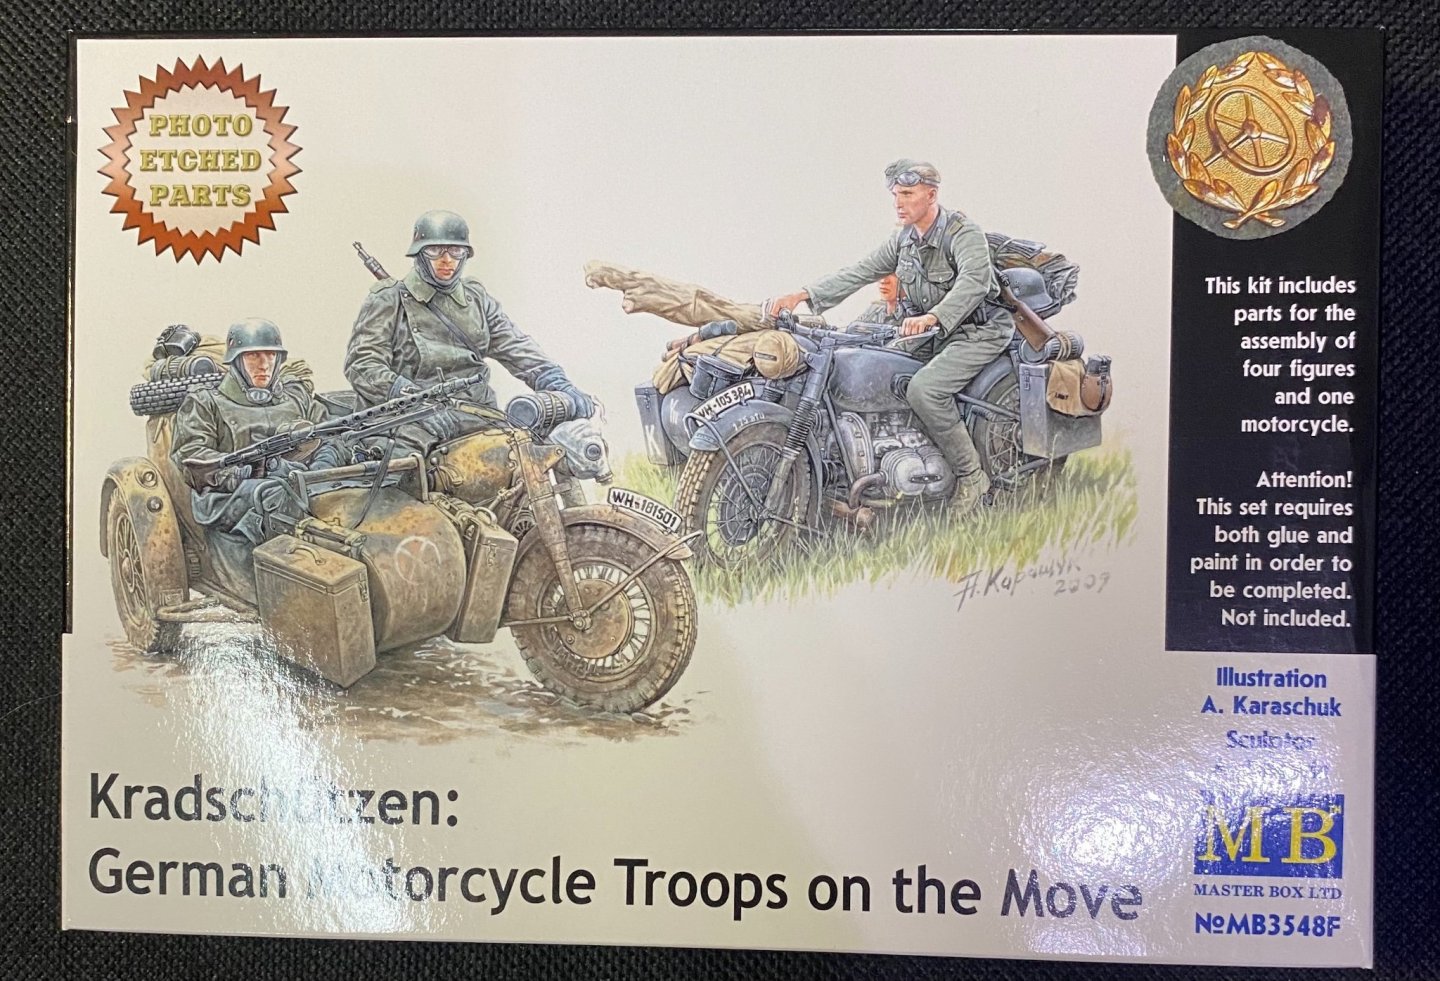
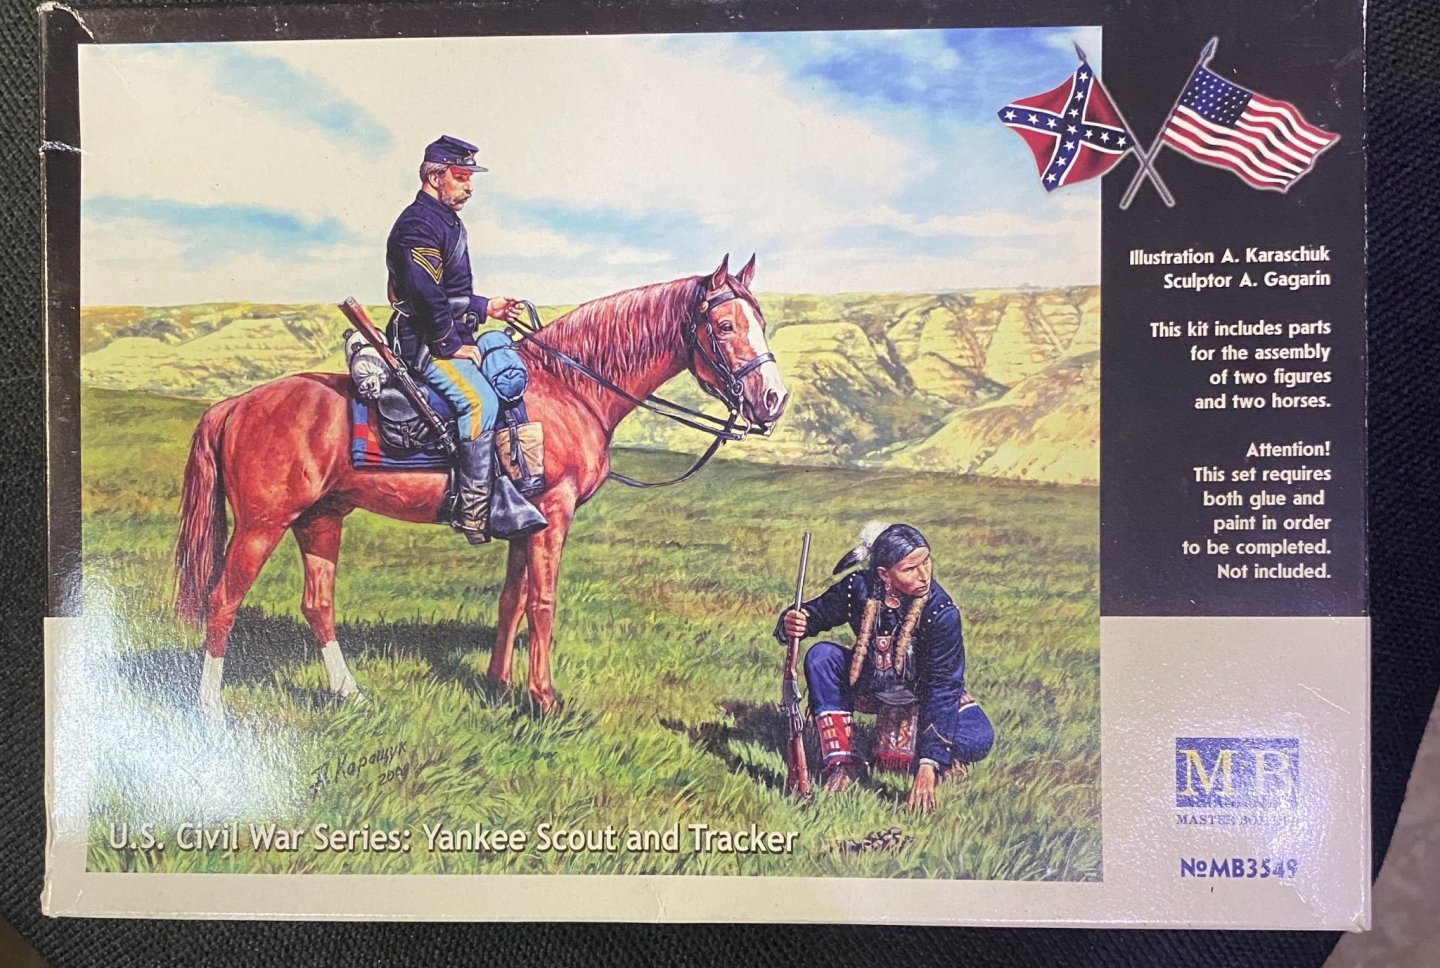
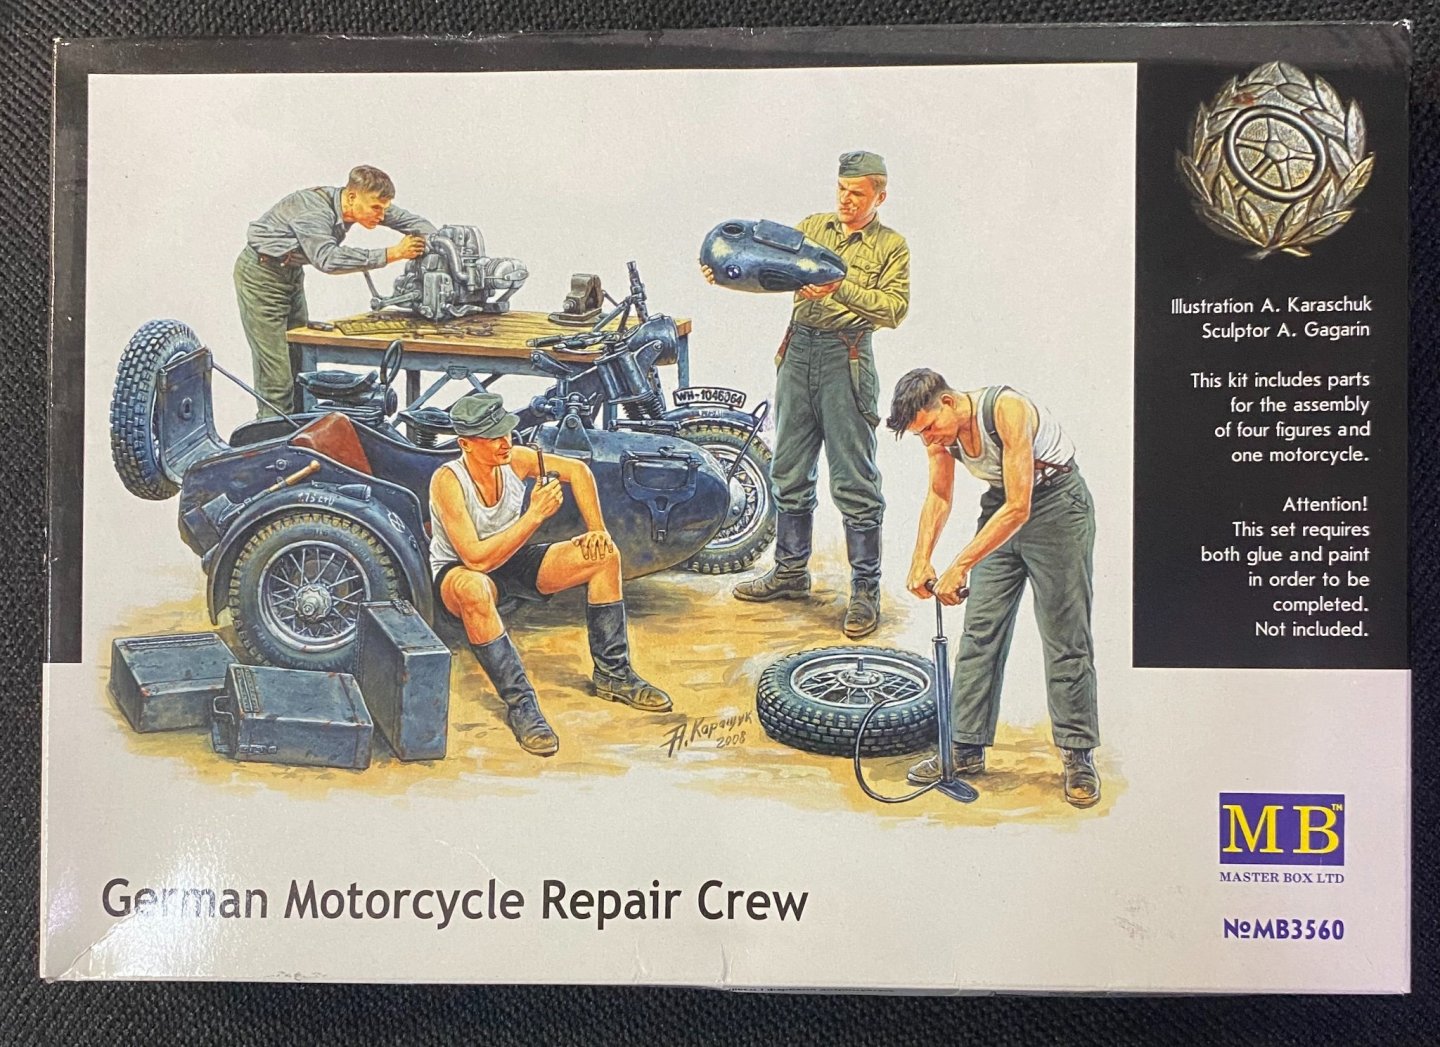
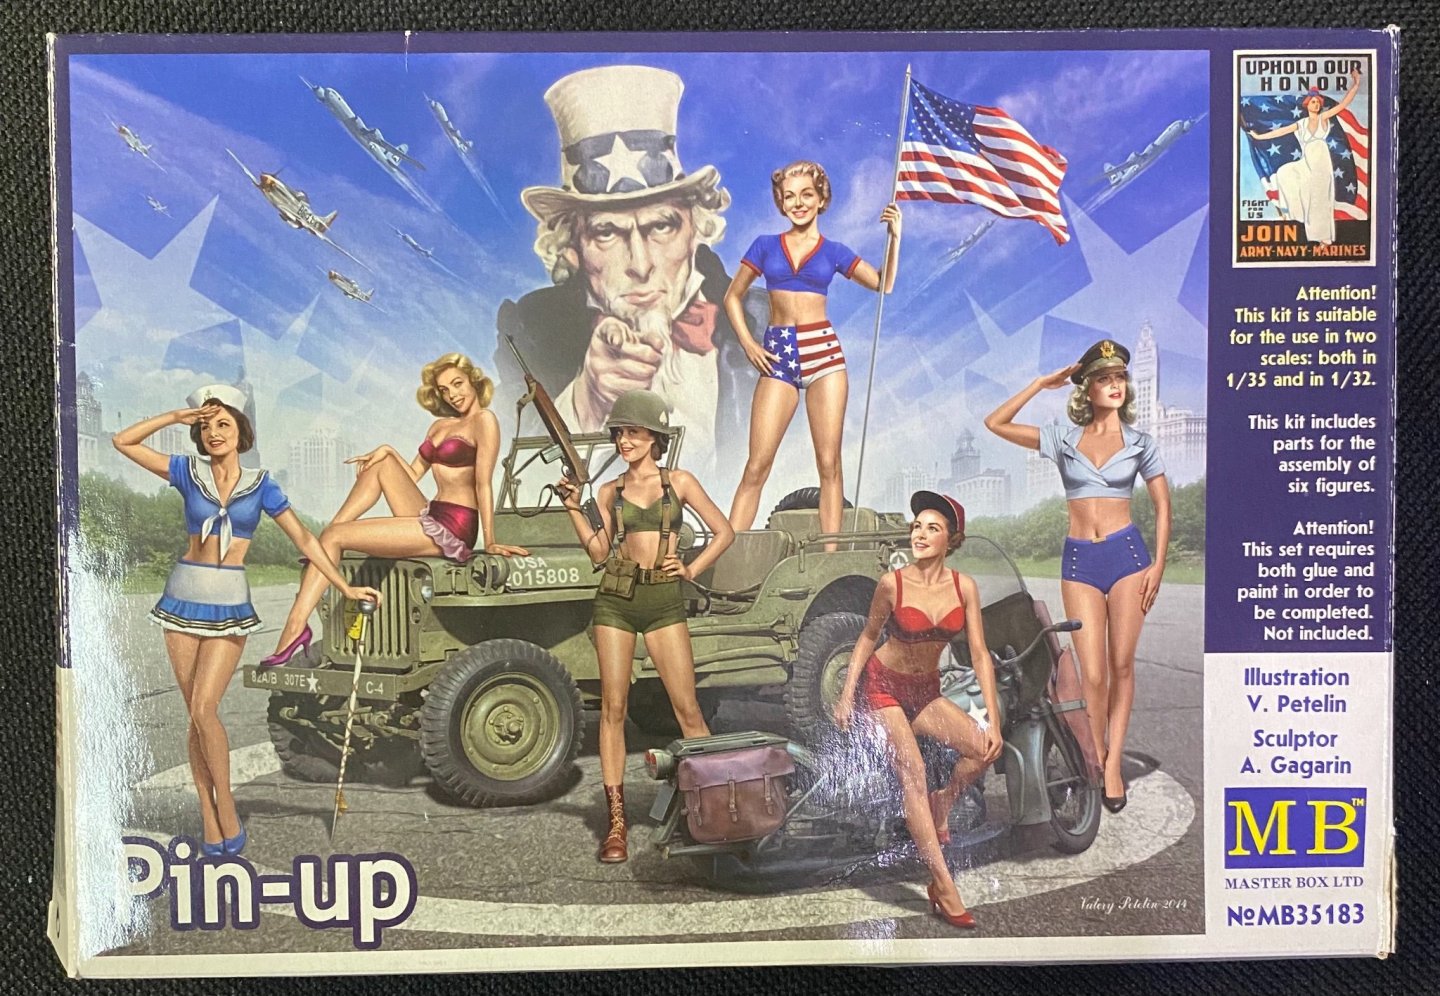
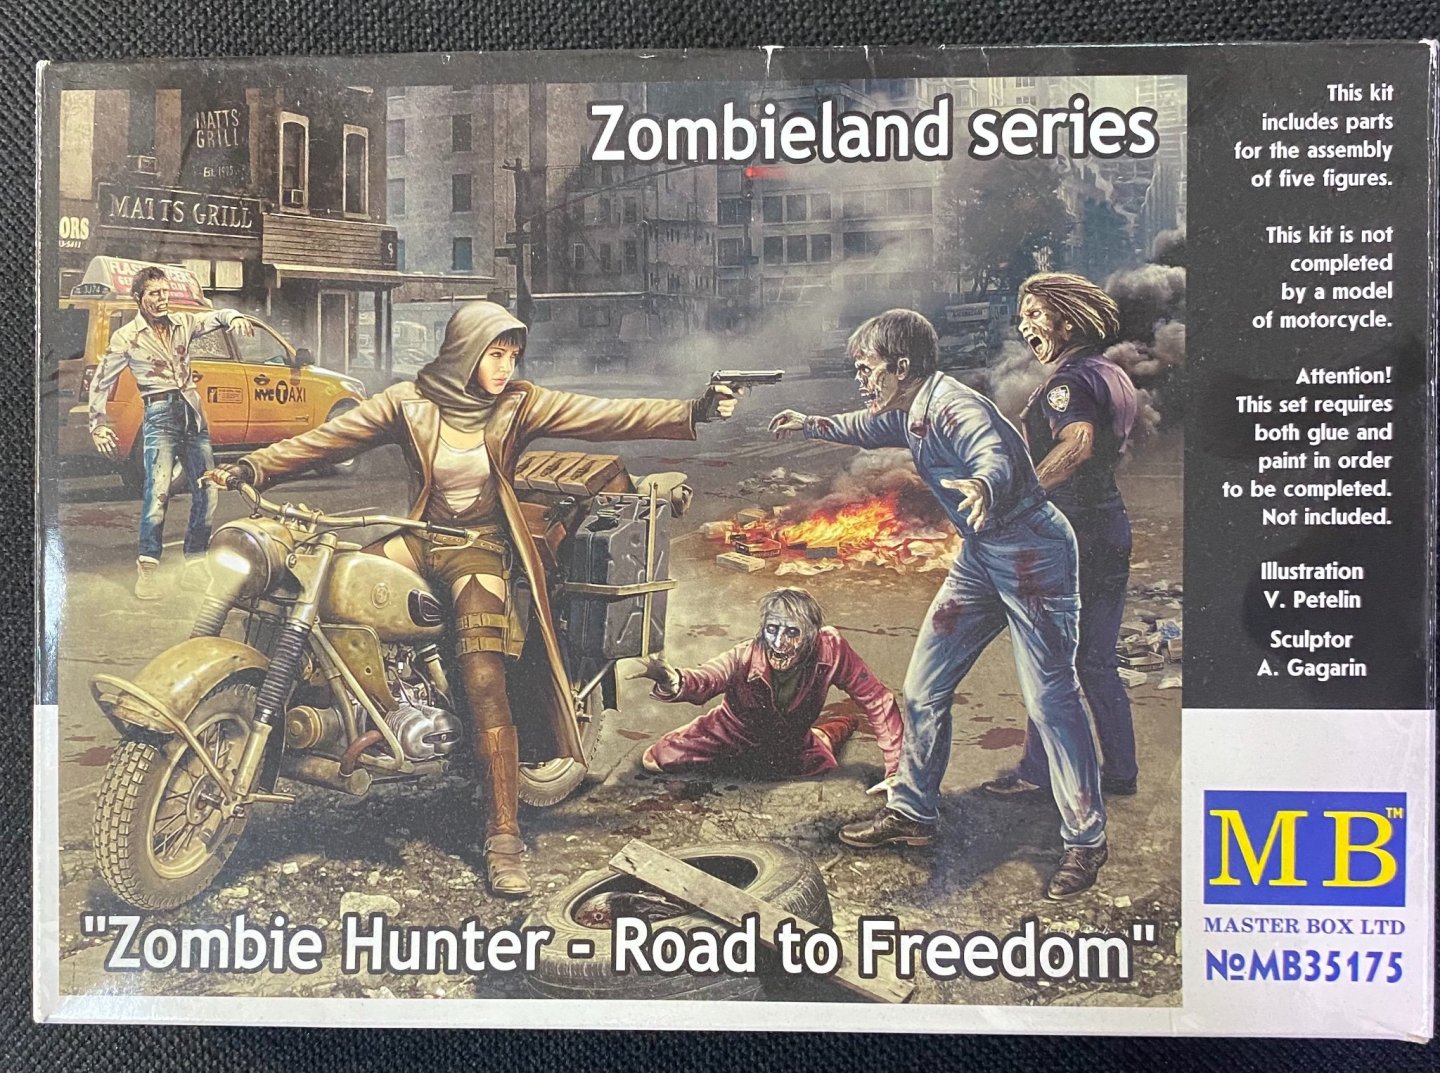
In some fashion that has not yet been fully determined, will use the sets of figures pictured in this thread (see some of the earlier posts) to complete the vignette (or diorama if you will 😃). I’ll have plenty of time to decide as the figures will take a while to complete. Figure painting is not my forte. I know very little about it and have attempted it even less. Will follow some tutorials in the process and see how it shapes up. Always love learning new things.

- 143 replies
-
- 10
-