-
Posts
7,725 -
Joined
-
Last visited
Content Type
Profiles
Forums
Gallery
Events
Everything posted by CDW
-
No resin, everything is plastic, machined brass, photo etch brass, or stainless steel photo etch.
- 225 replies
-
- I Love Kit
- Hood
-
(and 2 more)
Tagged with:
-
Now that’s a great idea! Thanks for sharing it with me as I will put it to use.
- 225 replies
-
- I Love Kit
- Hood
-
(and 2 more)
Tagged with:
-
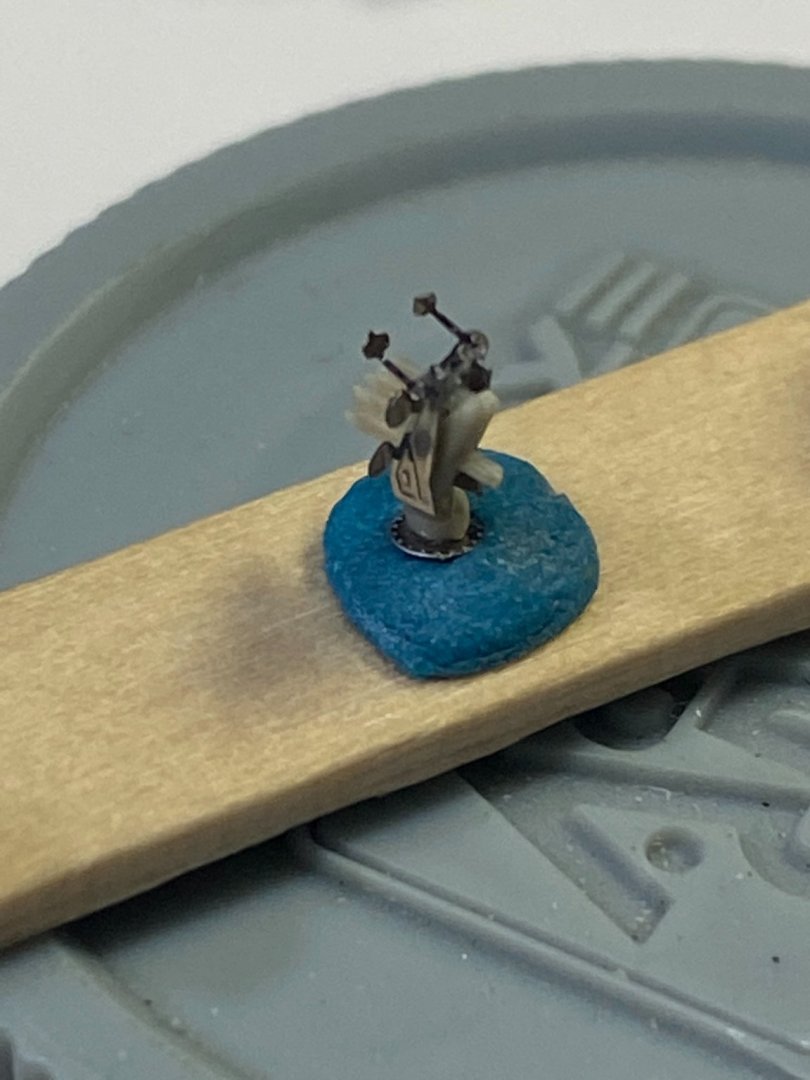
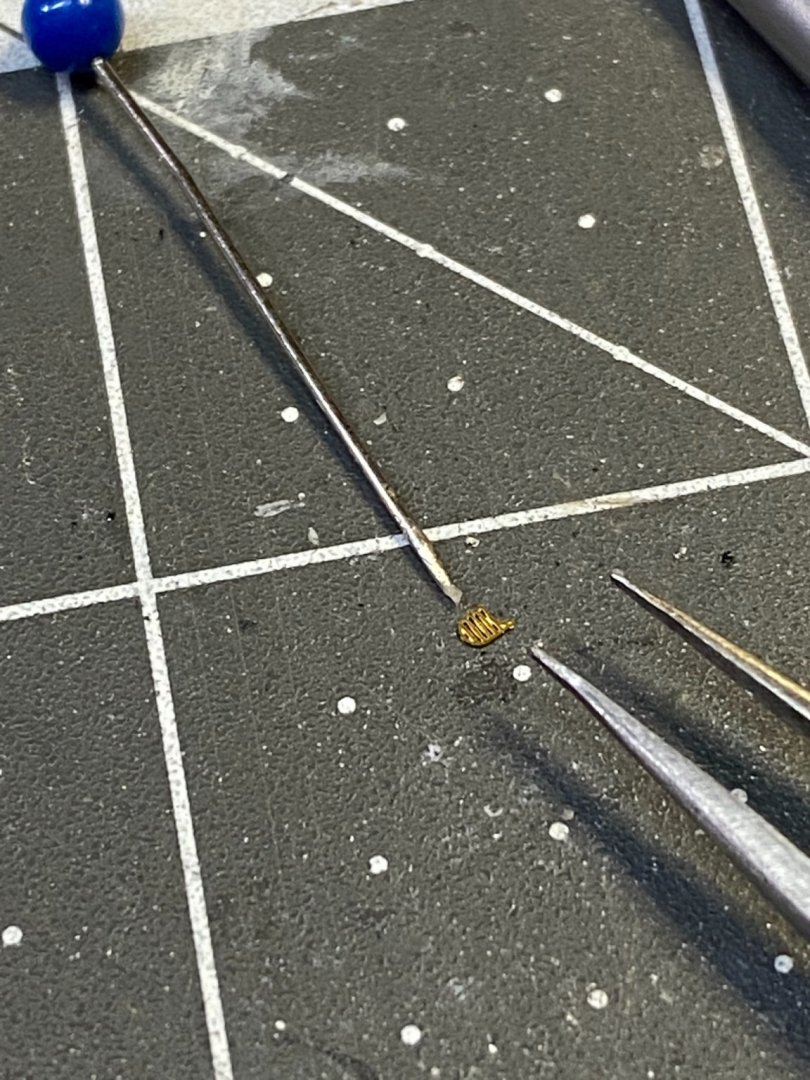
I found it! After recharging my flashlight battery over night, I looked again this morning and found it. Hoorah! laying next to a small pin, you can appreciate how small this is, about half the diameter of the pin.
- 225 replies
-
- I Love Kit
- Hood
-
(and 2 more)
Tagged with:
-
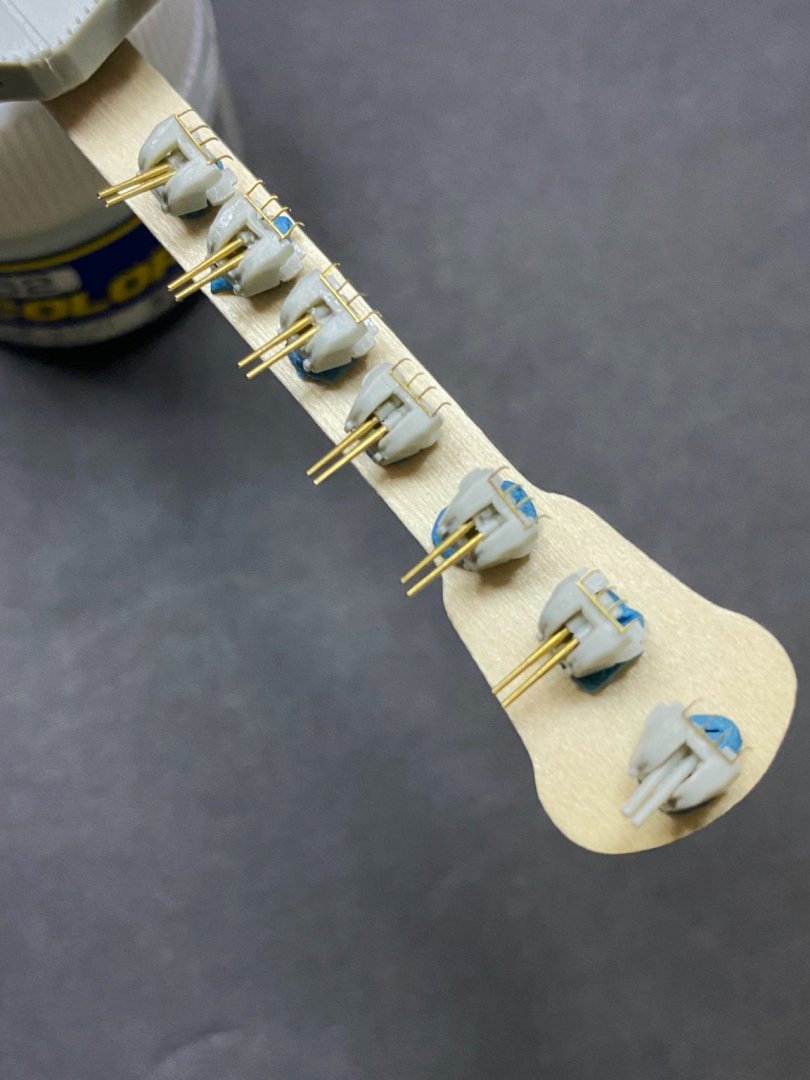
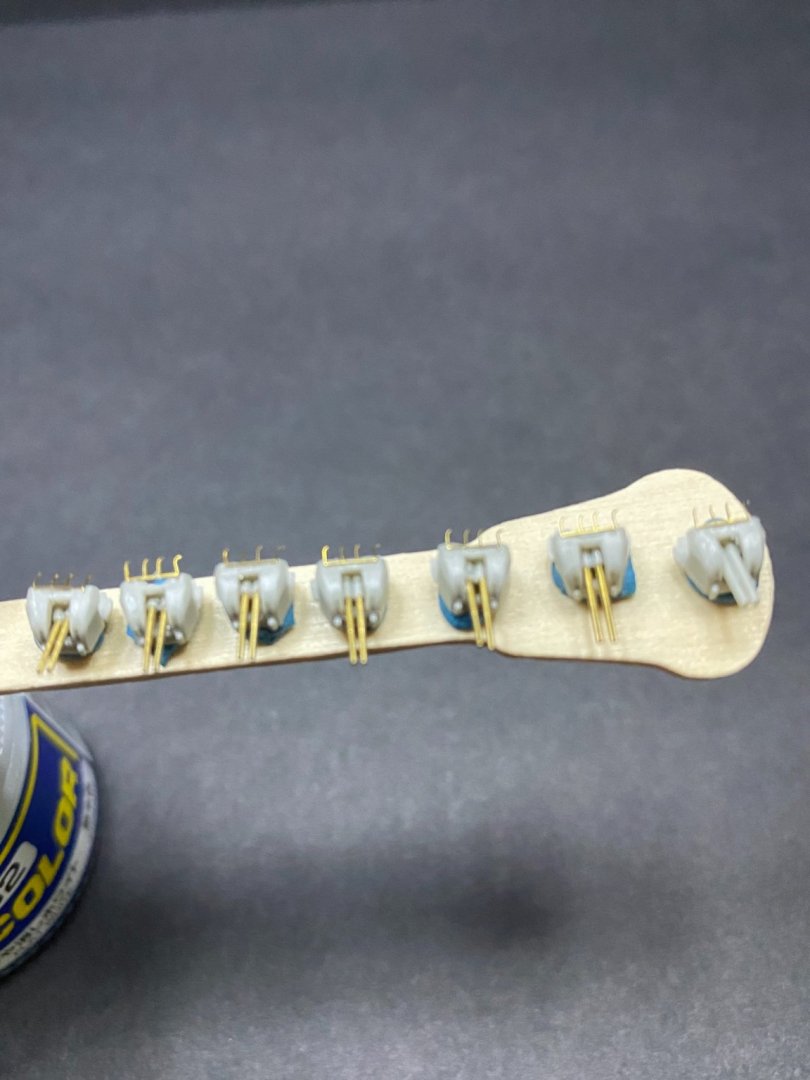
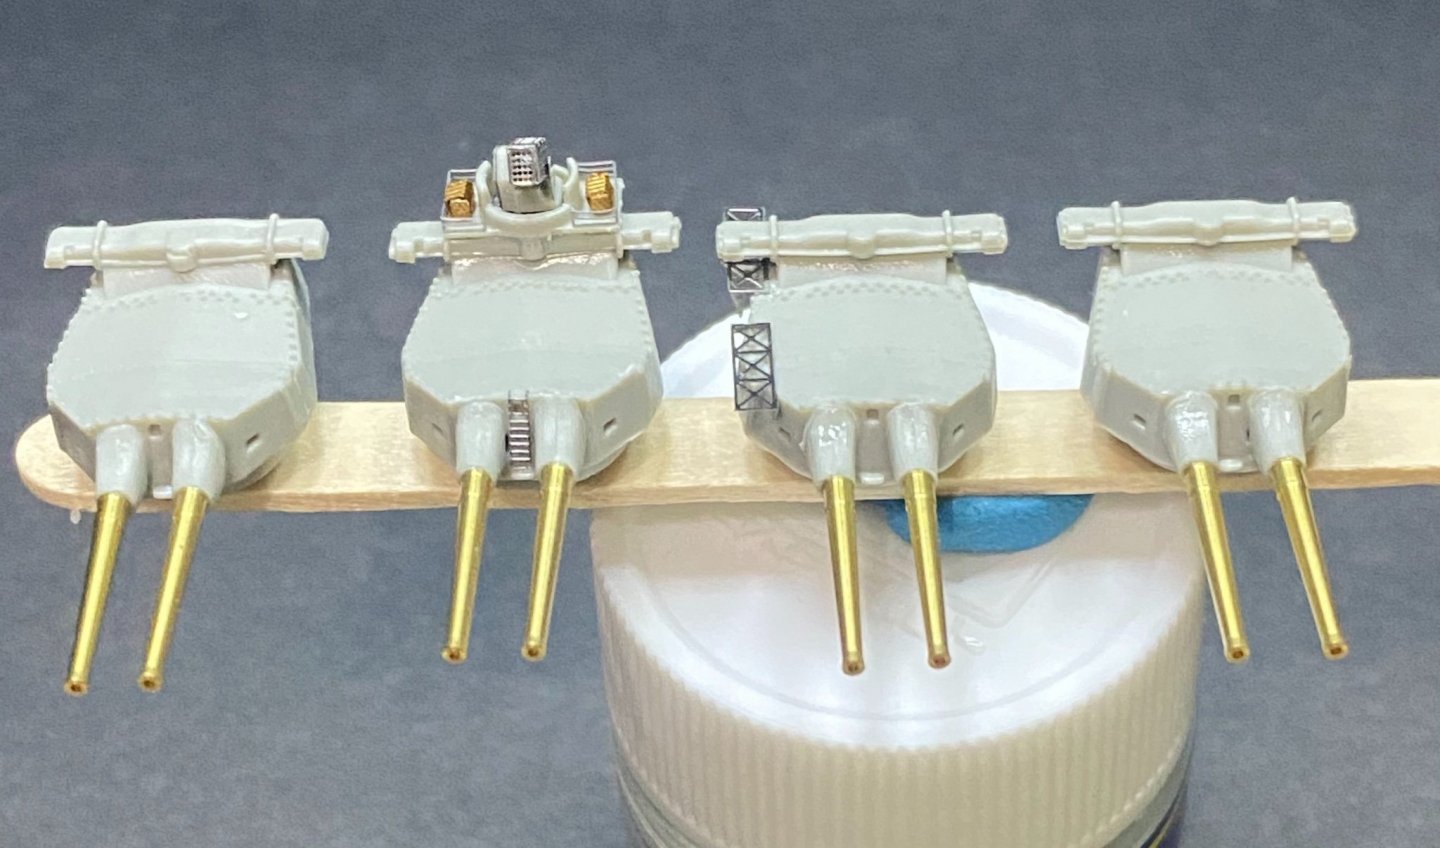
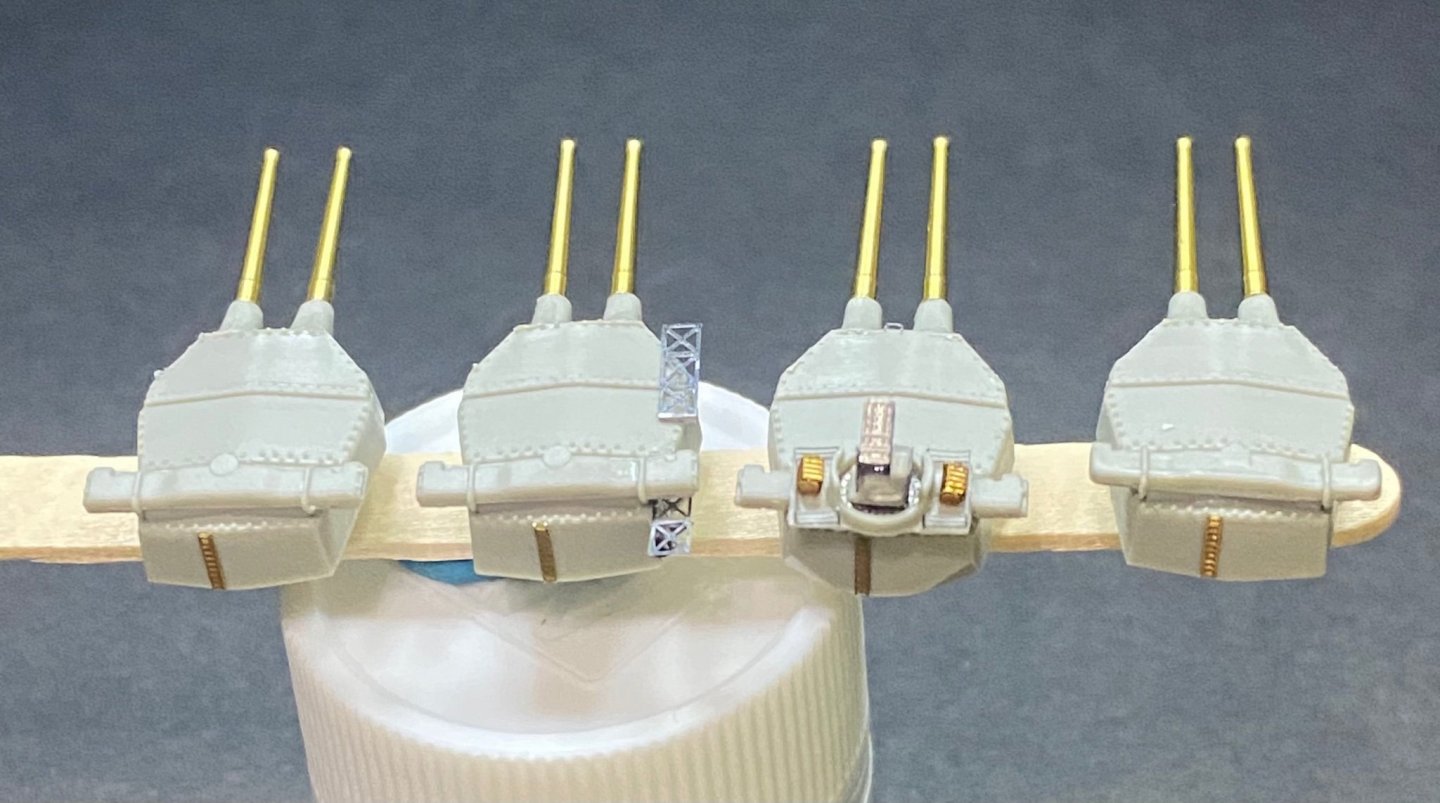
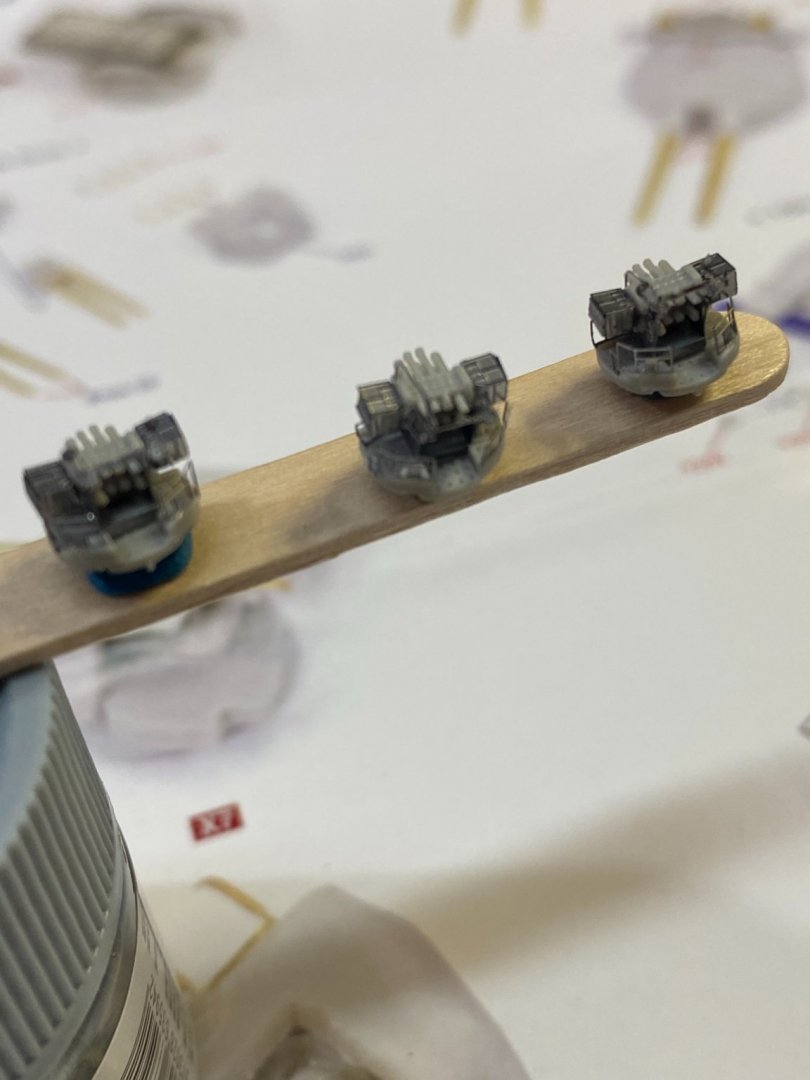
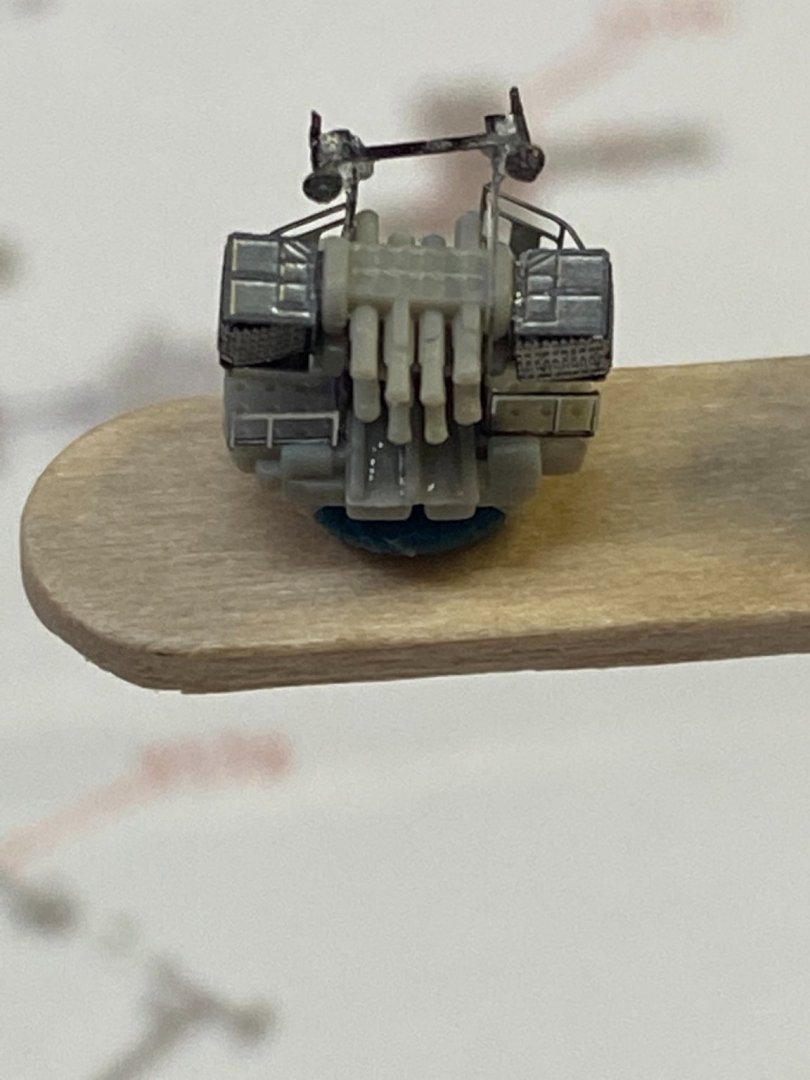
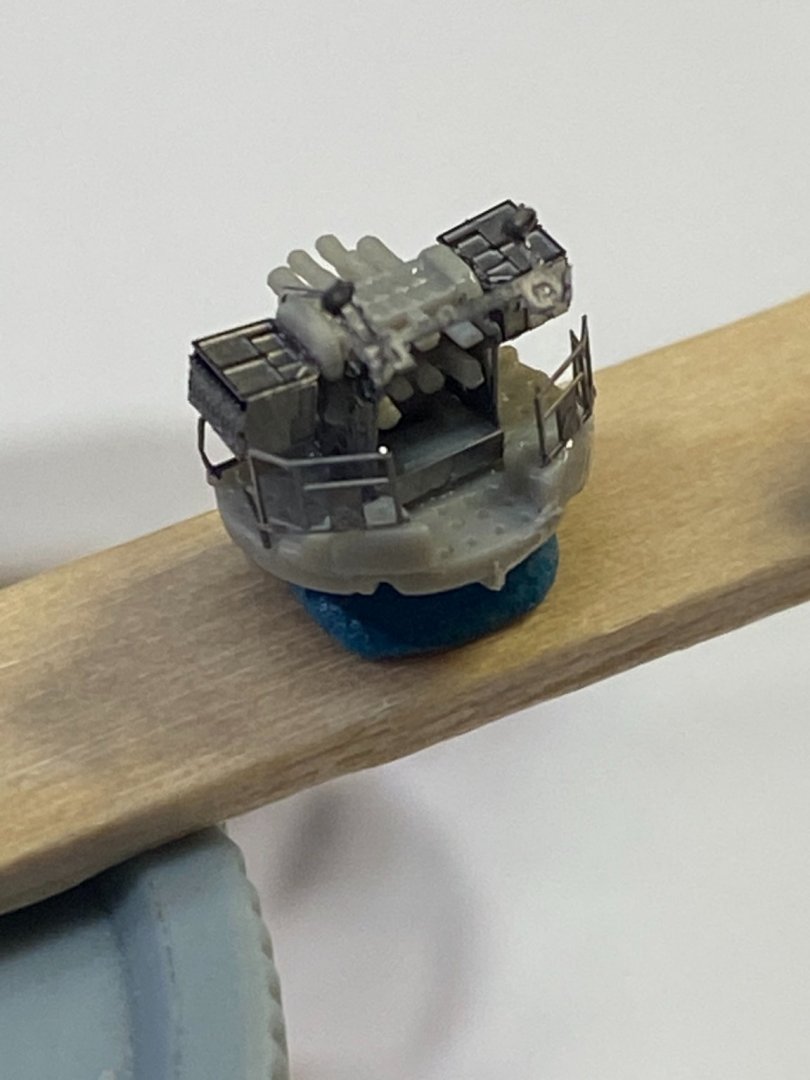
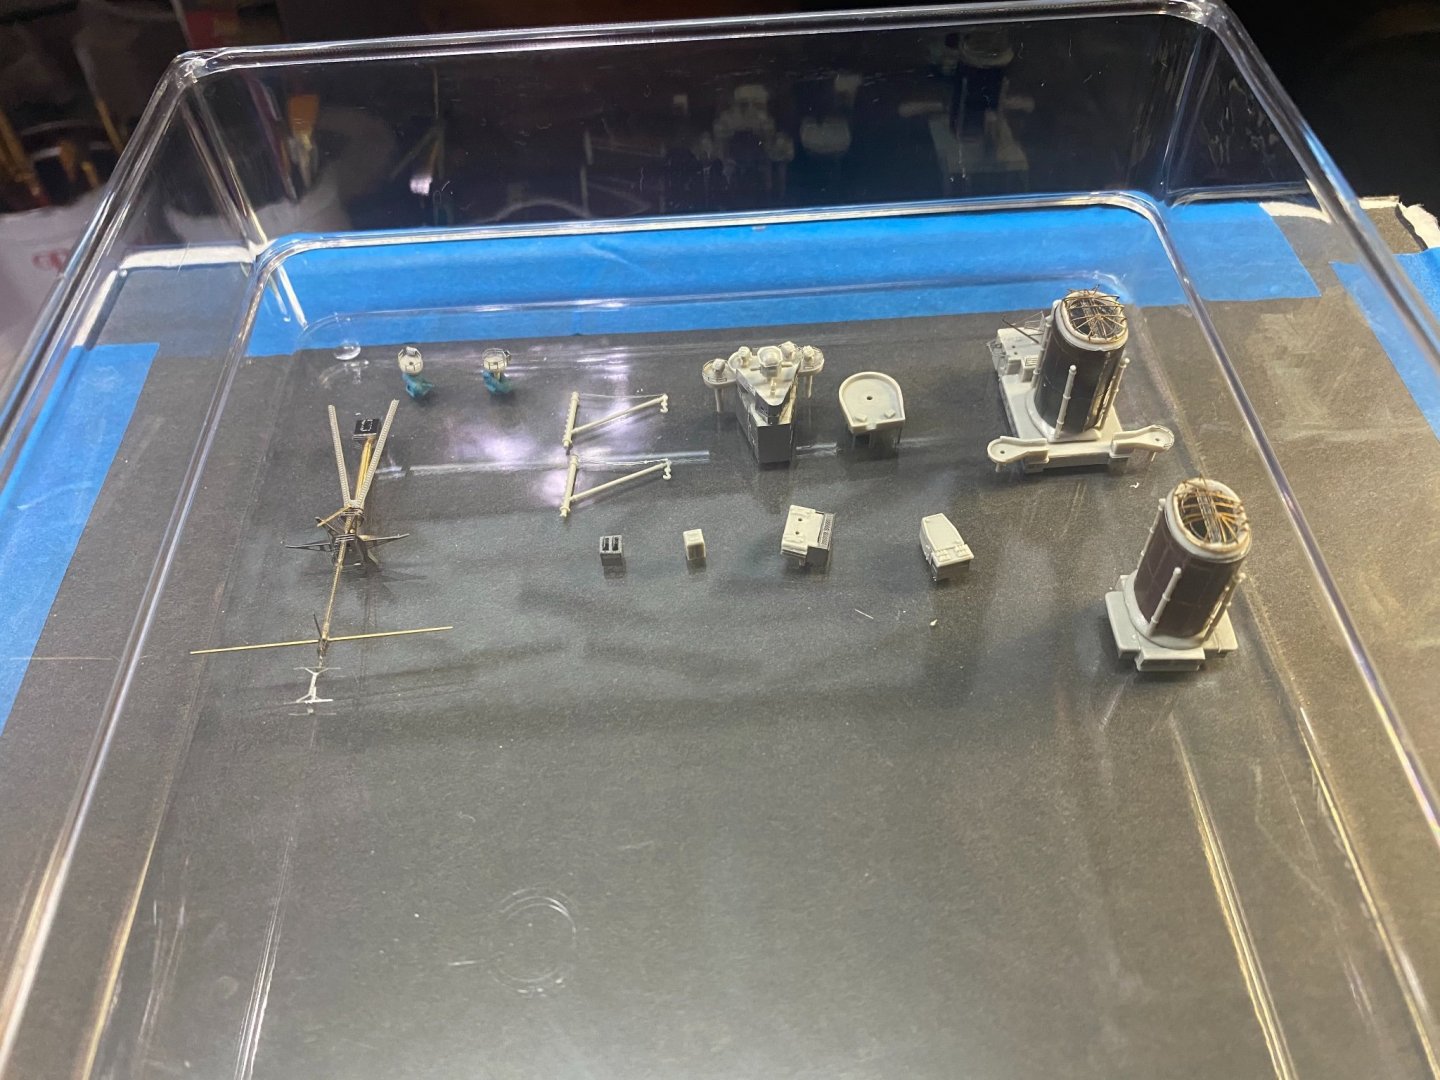
The 4 inch secondary guns. The oddball on the far right is the casualty of a lost gun barrel, hence was forced to use the stock kit ones where I drilled out the barrel ends to make them somewhat more presentable. Who knows, maybe I’ll get lucky and find the missing barrel later. Next up are more superstructure assemblies.
- 225 replies
-
- I Love Kit
- Hood
-
(and 2 more)
Tagged with:
-
- 225 replies
-
- I Love Kit
- Hood
-
(and 2 more)
Tagged with:
-
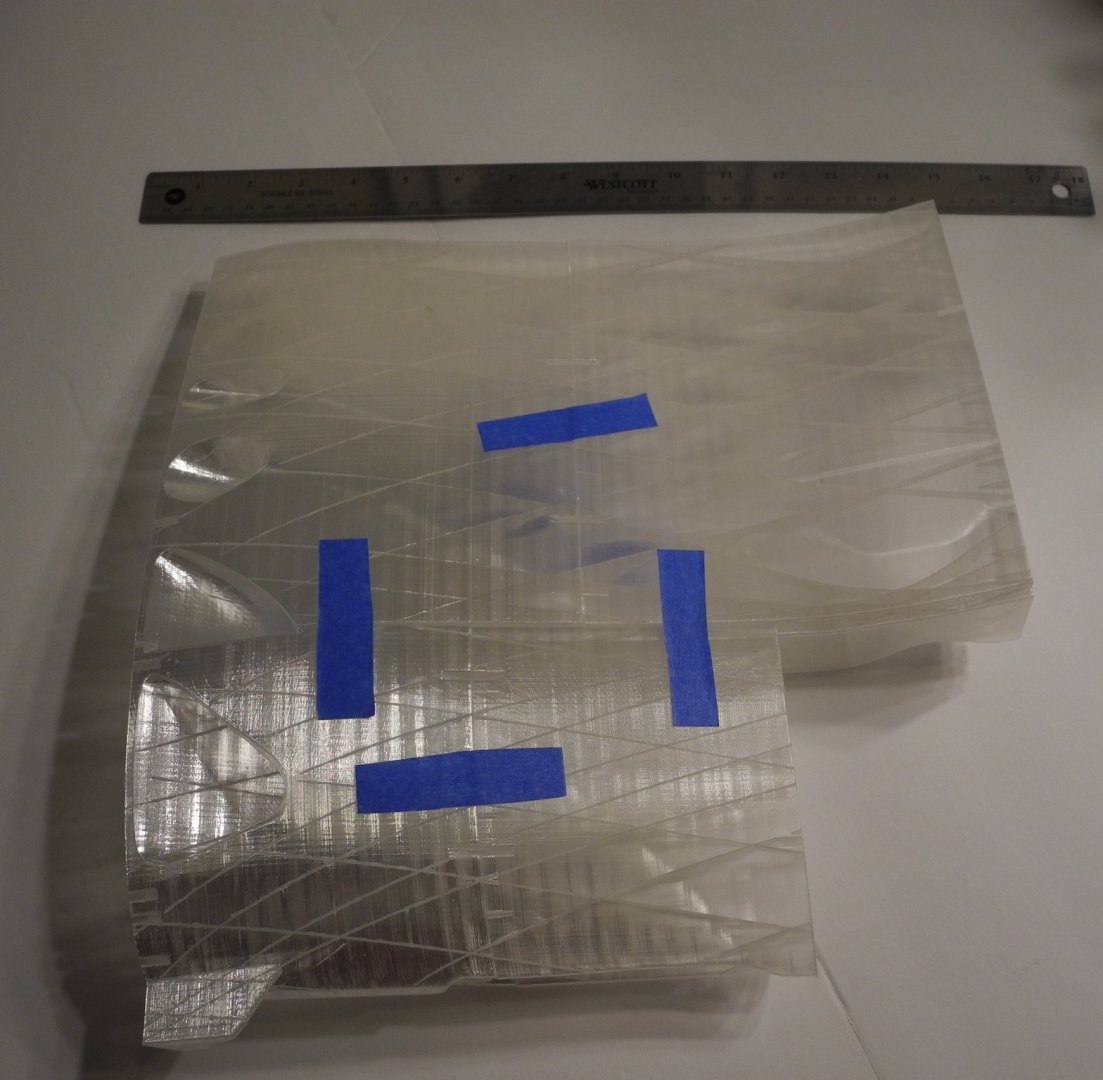
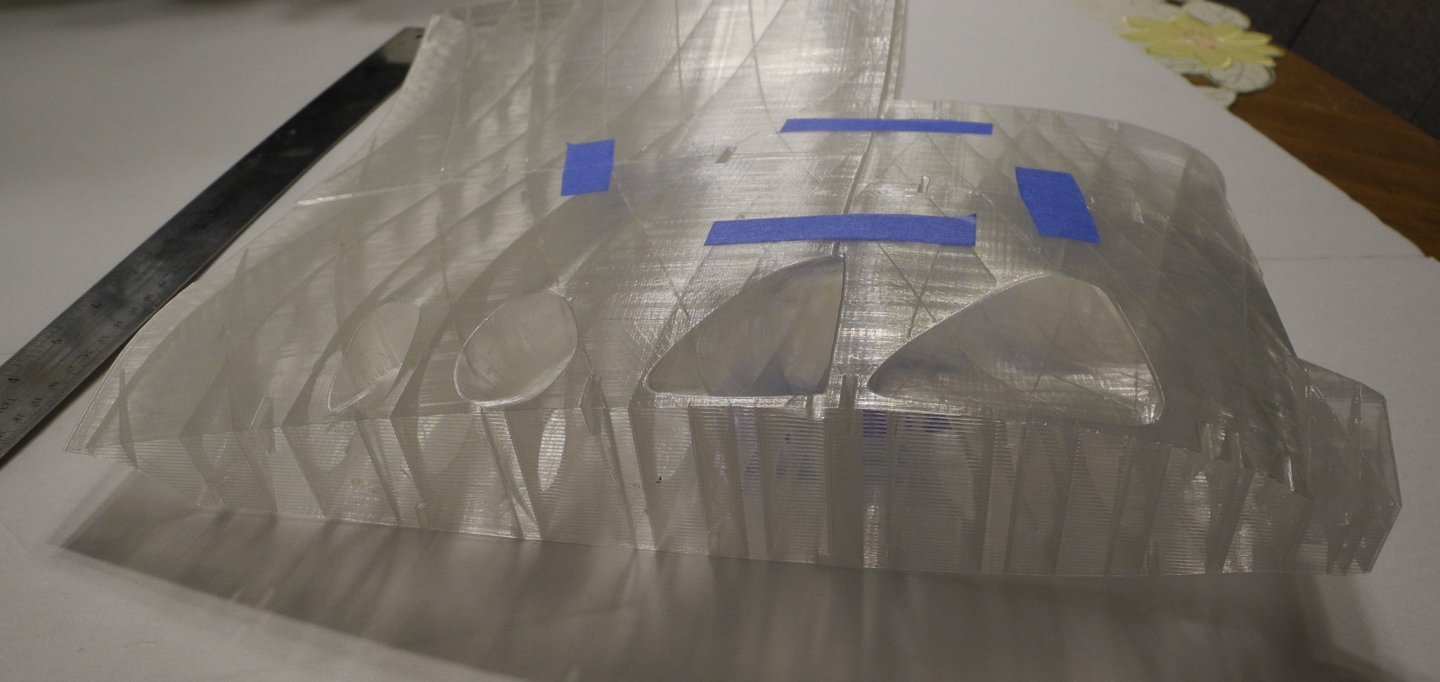
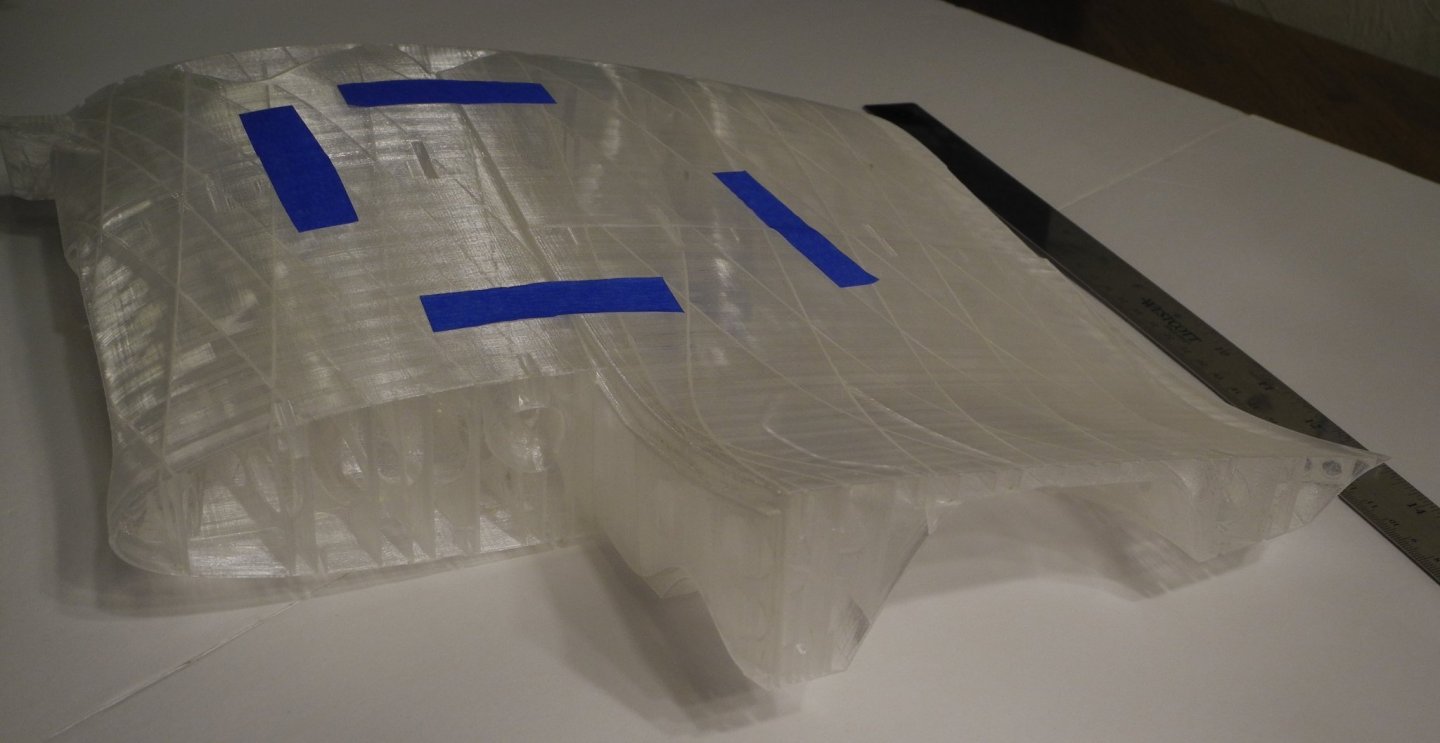
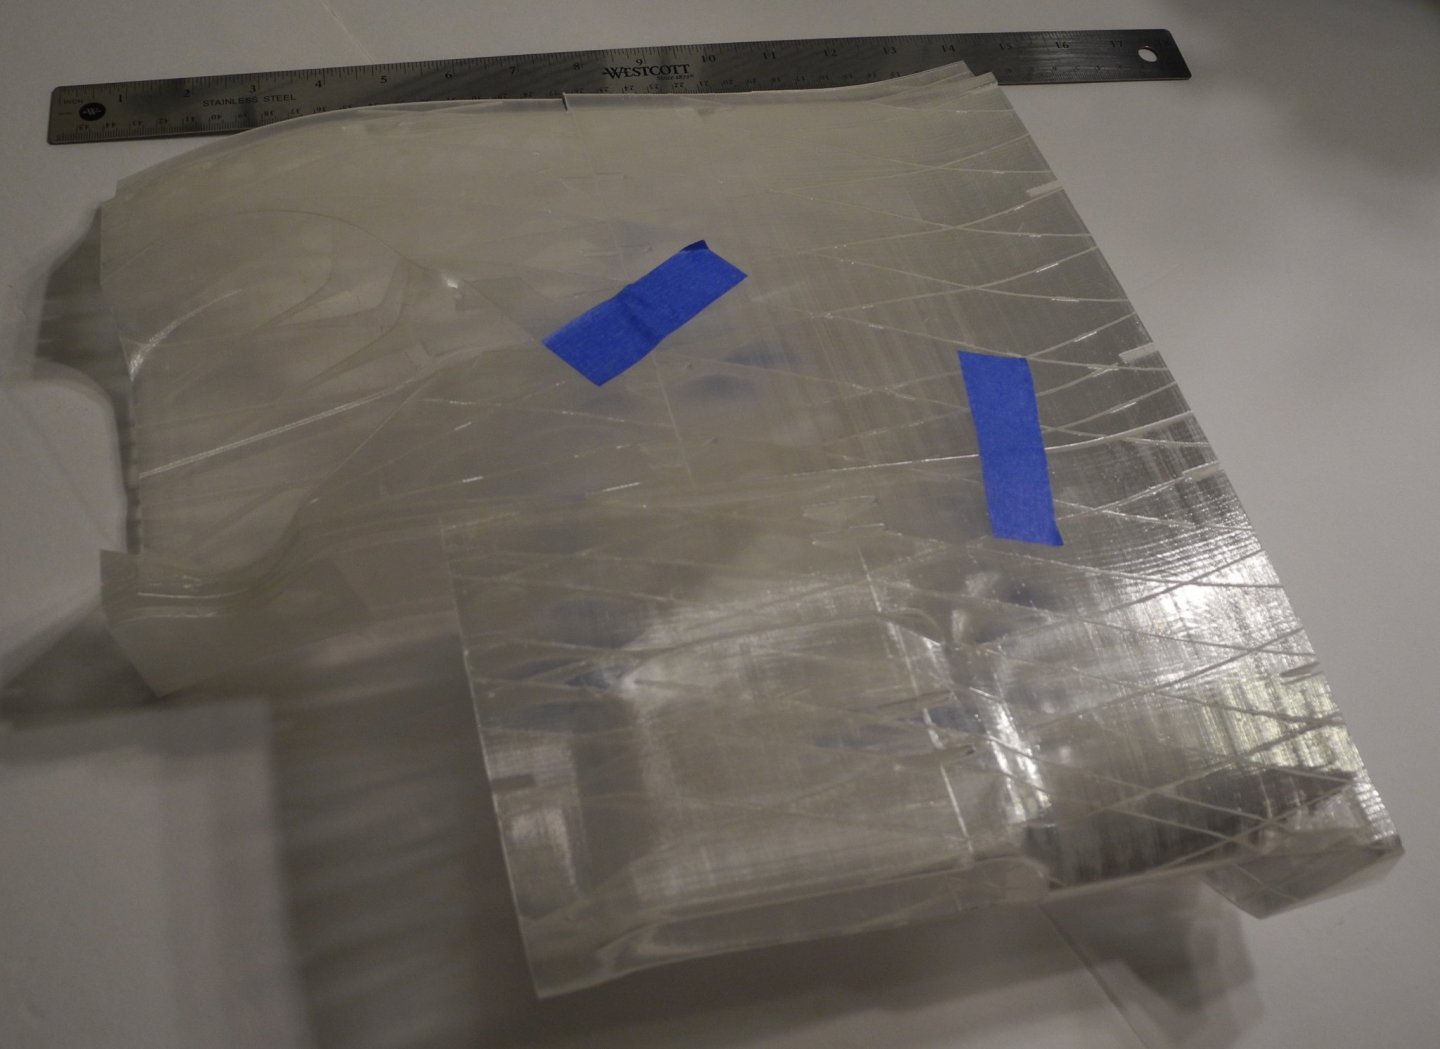
It's surprising how much filament the plane takes. In addition, it must be a heat/UV resistant type, non standard. Because RC aircraft are flown outdoors, the filament must be UV resistant whereas standard filament is not. Heat from sunlight will cause the filament to get soft and sag, distorting the model. I still have some spools of it packed away but I cannot recall the name of the type I used. My worst nightmare was when the filament somehow got hung up in the spool near the very end of a long print. It was something like a 30 hours long print. When that happens, it ruins the entire part and the whole print must be redone. All that work goes down the drain. Vought F4U Corsair – 3DLabPrint
- 321 replies
-
- Finished
- Flower-class
-
(and 1 more)
Tagged with:
-
Your parts are coming out nice. With some adjustments in your software parameters, you can probably get a smoother finish that will not require any sanding. While it's been too long ago to remember exactly the adjustments made, by altering the speed of print, temperature, and maybe a couple of other parameters, I learned to get a very smooth finish several years ago. If I started again, would have to relearn everything. 🙂
- 321 replies
-
- Finished
- Flower-class
-
(and 1 more)
Tagged with:
-
Where are you buying your filament? Here in my hometown of Tampa, there is a 3D product warehouse where filament, resin, 3D printers, and all sorts of related supplies and equipment are sold. They also offer 3D printing services. I saw one room set up with a large number of 3D printers all doing their thing. Just for the heck of it, I may check to see what they would charge to print my Corsair. Probably its not cheap.
- 321 replies
-
- Finished
- Flower-class
-
(and 1 more)
Tagged with:
-
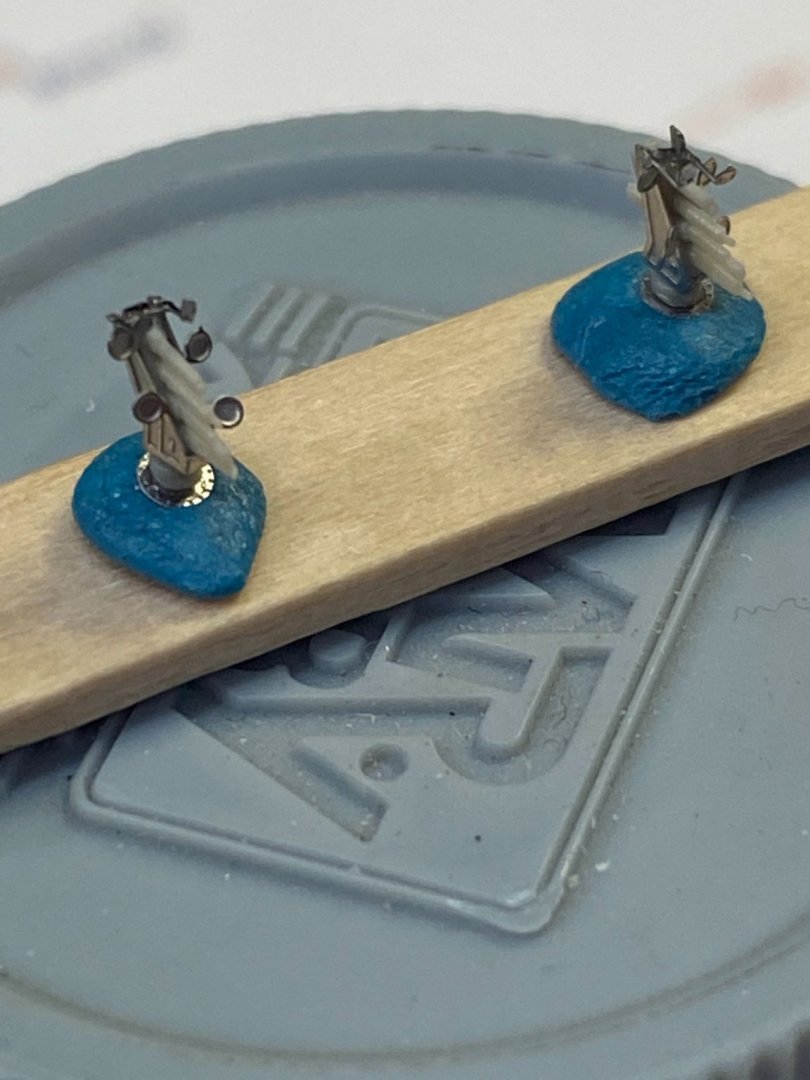
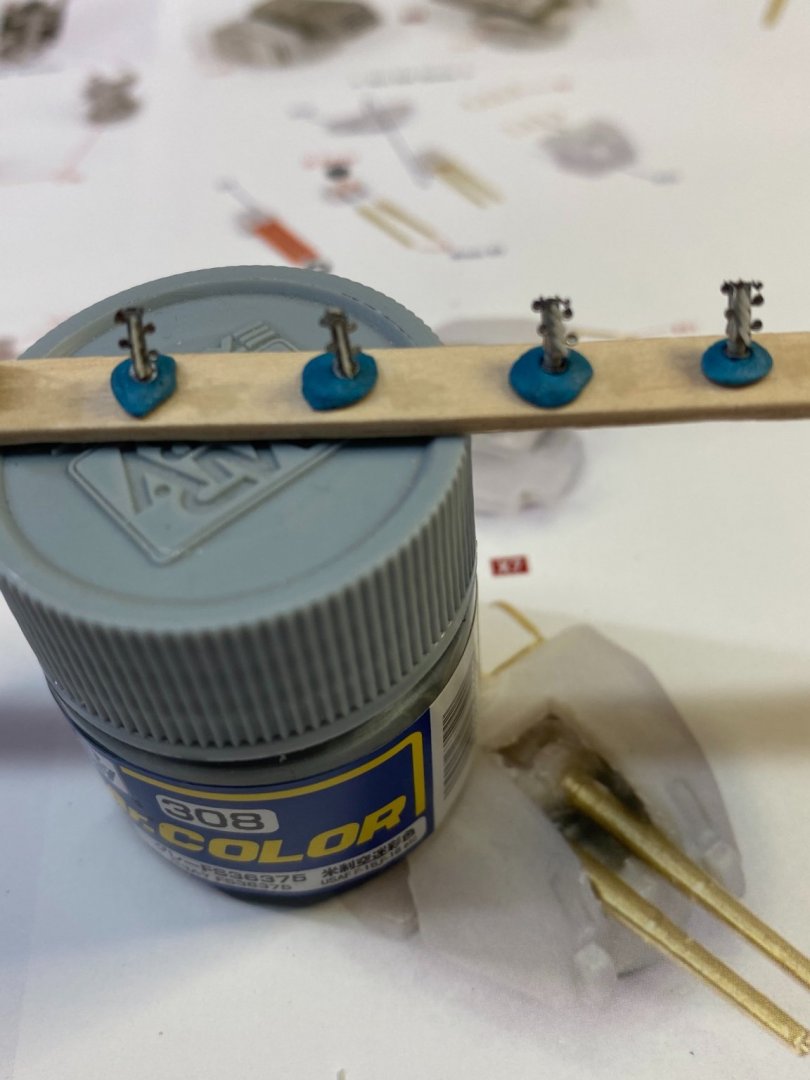
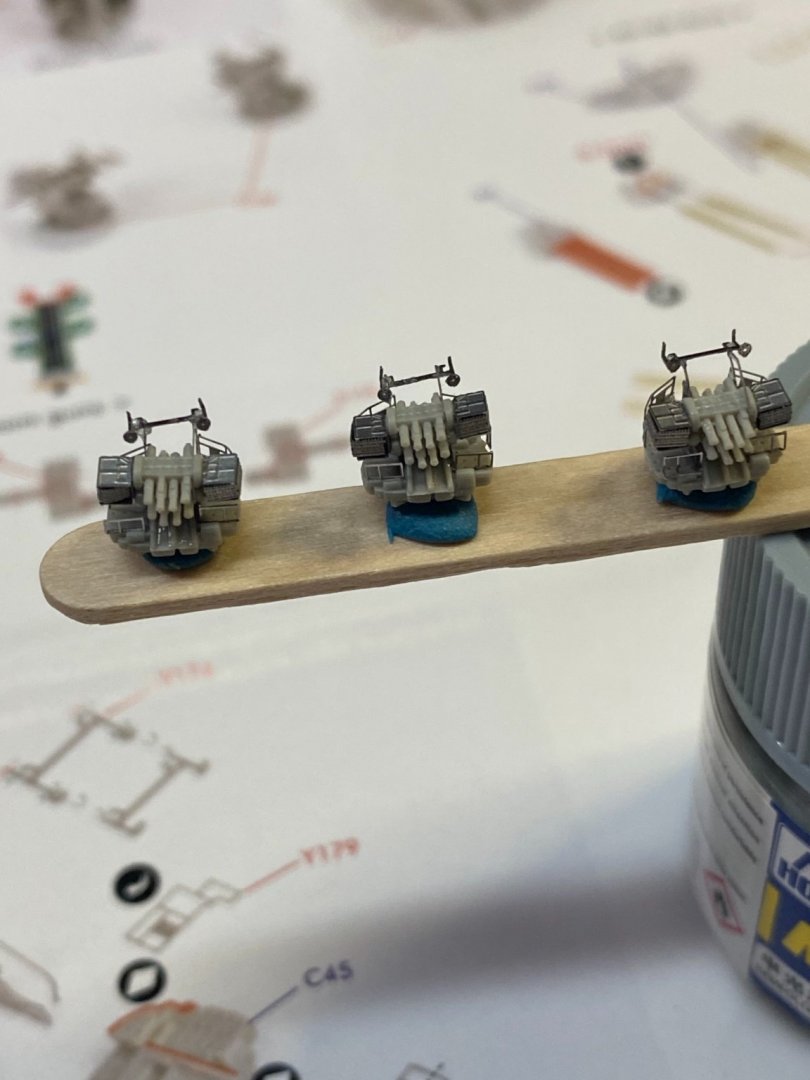
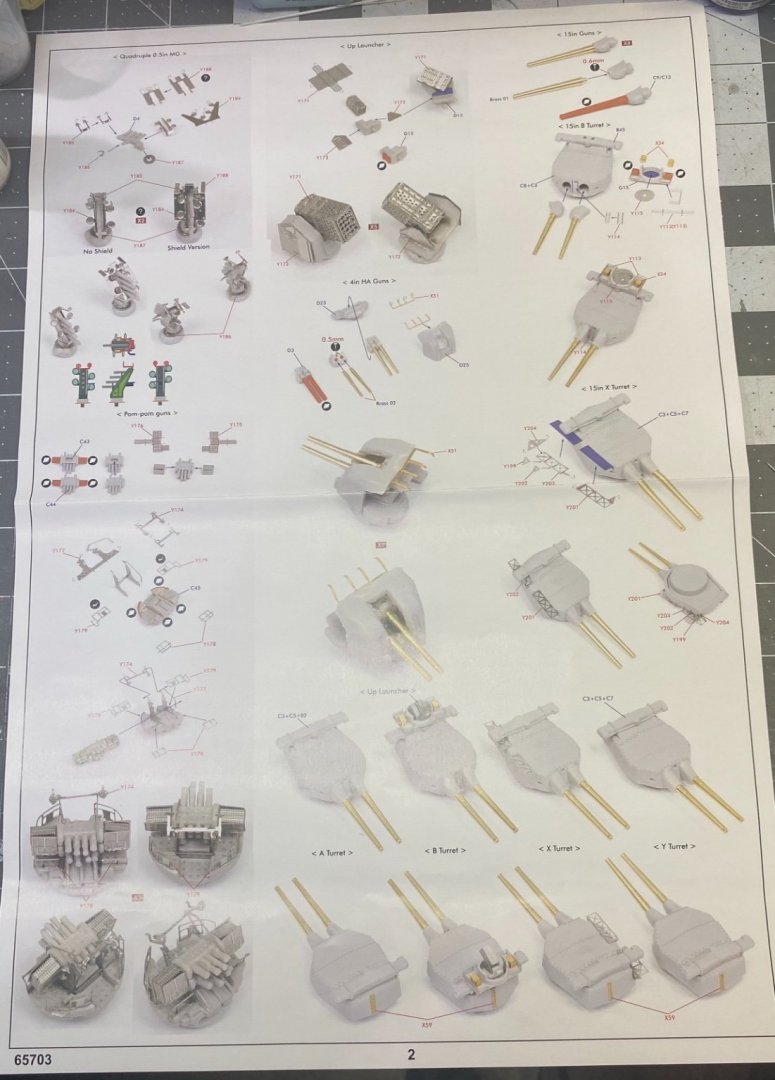
Decided to take on the smallest, most fiddly guns first, the quad .5 inch guns and the PomPom guns. Another test of patience.
- 225 replies
-
- I Love Kit
- Hood
-
(and 2 more)
Tagged with:
-
Great project Yves! My best wishes for your success. A few years ago, I got into the printing of a six foot wingspan F4U Corsair R/C model aircraft kit that I purchased to plans/code for online. After about 25% through completion, I learned that the software I was using needed to be upgraded as the airframe shapes were so complex, my software could not handle it. At that point I became distracted and boxed everything away, never got back around to finishing the project. Amazing technology and lots to learn. It's a steep learning curve really IMHO. Notice with my project, the entire inner airframe is printed inside the outer skin.
- 321 replies
-
- Finished
- Flower-class
-
(and 1 more)
Tagged with:
-
- 225 replies
-
- I Love Kit
- Hood
-
(and 2 more)
Tagged with:
-
- 225 replies
-
- I Love Kit
- Hood
-
(and 2 more)
Tagged with:
-
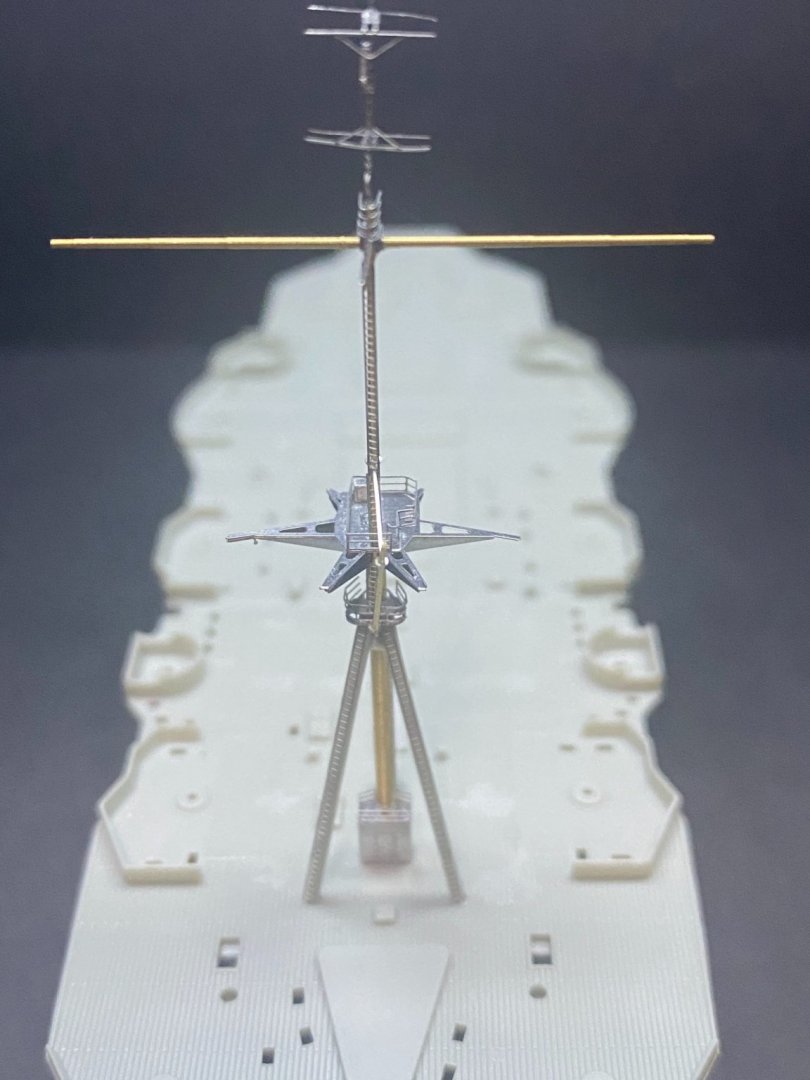
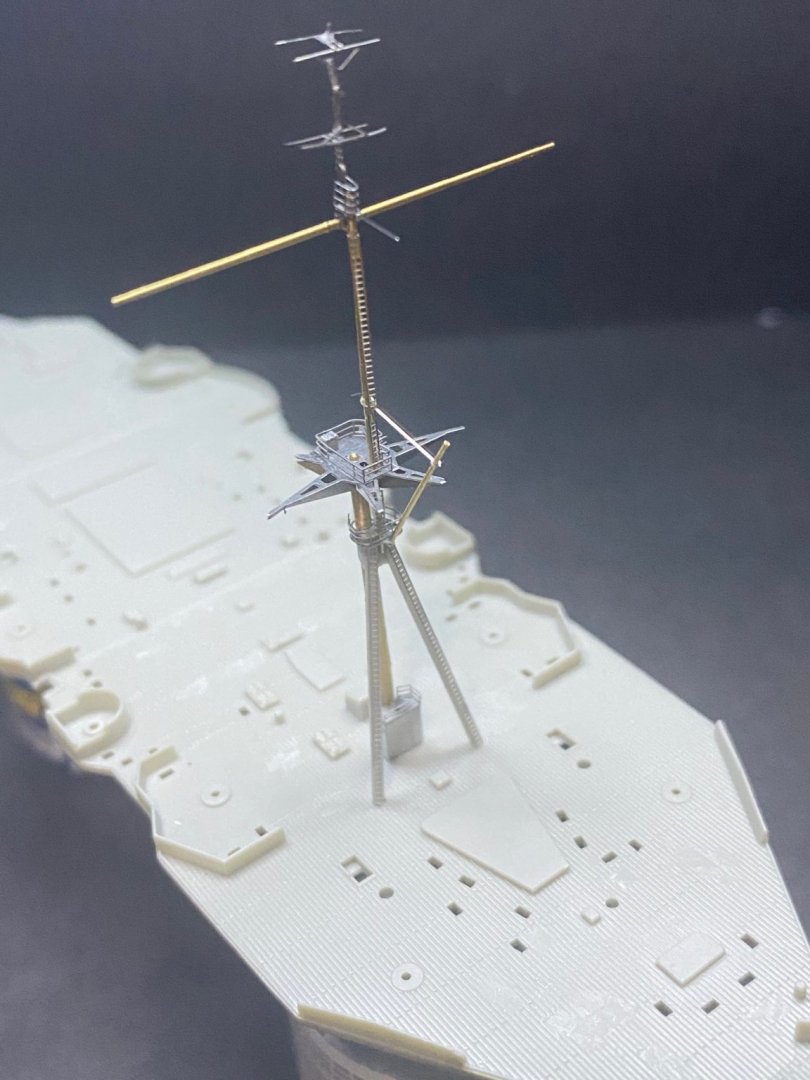
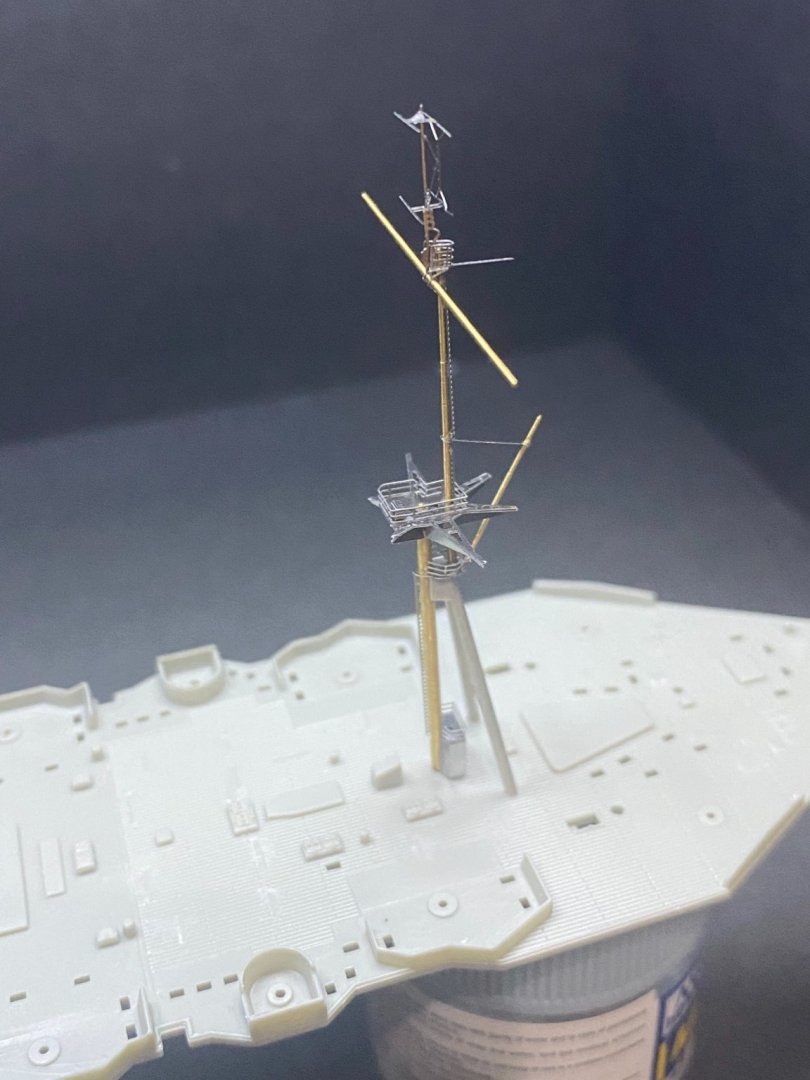
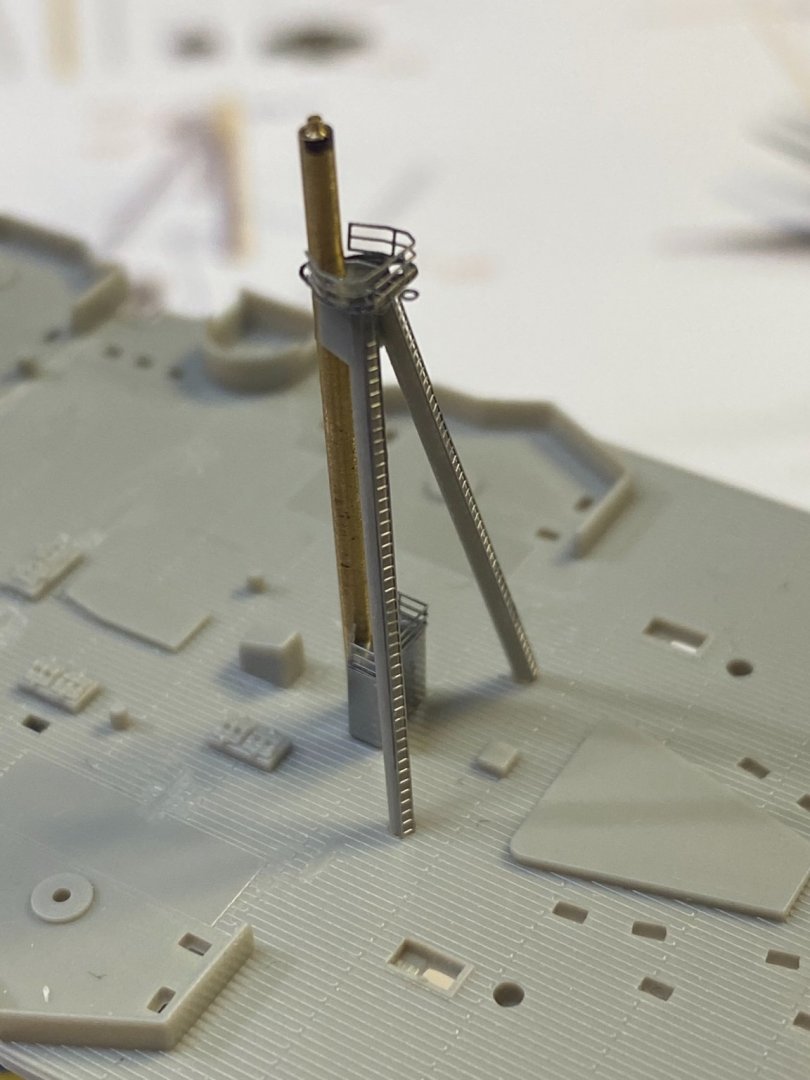
The finished main mast. Will need to take care not to damage mast before final assembly of kit, very fragile.
- 225 replies
-
- I Love Kit
- Hood
-
(and 2 more)
Tagged with:
-
Nice! Hard to believe how realistic the 3D printed chain looks. Technology is something we could not have even dreamed of 10 or 20 years ago.
-
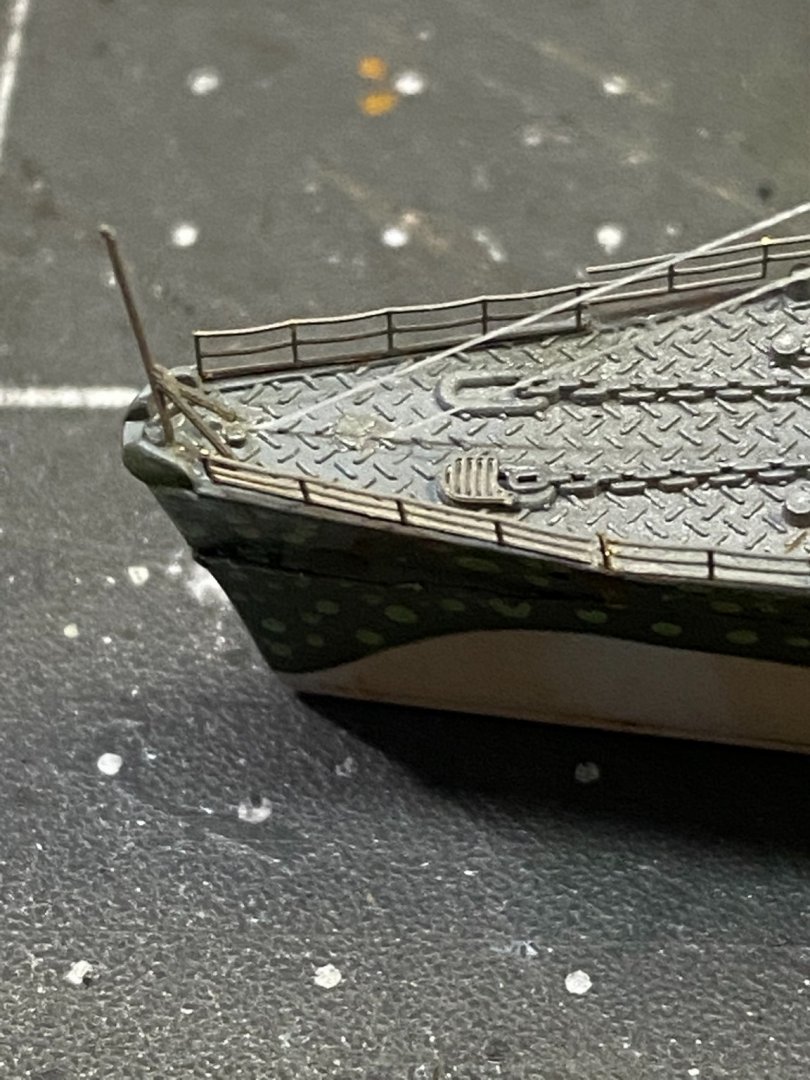
I started this IJN Mikasa several years ago and never finished it. Need to get back on it to call it done.
-
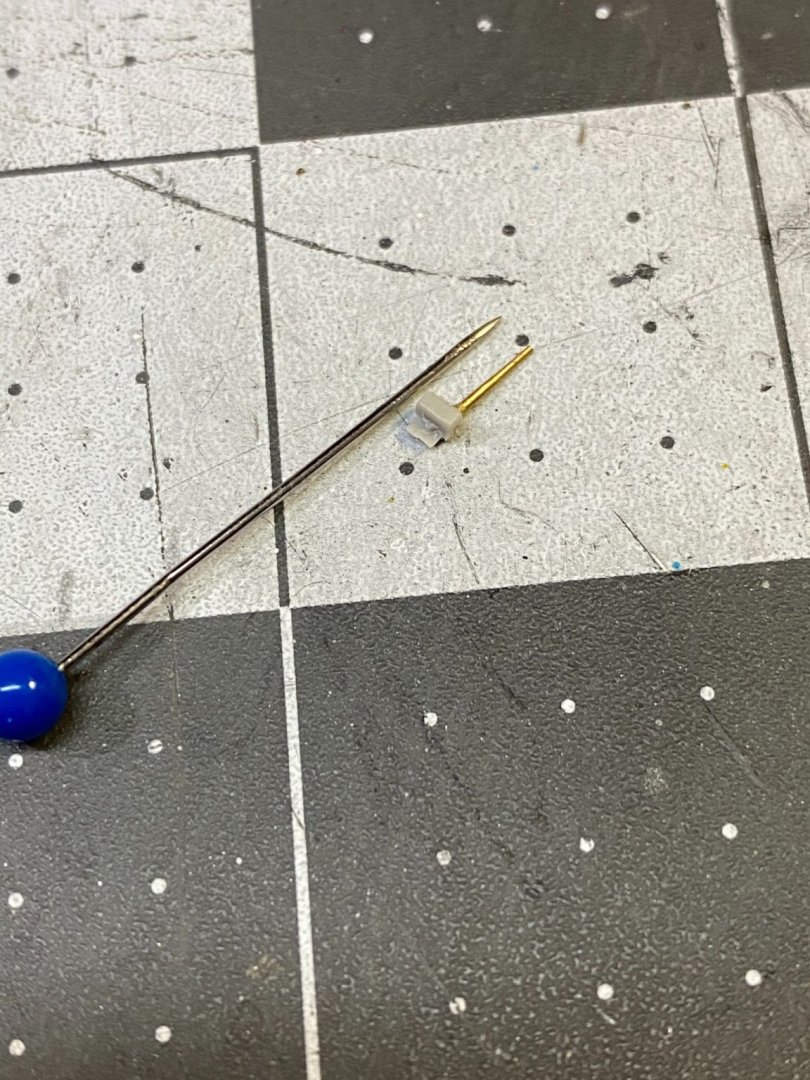
During the course of completing my model, a very small part was lost while I was spraying paint with my airbrush. Today while working on my HMS Hood model, I looked down on my workbench , lo and behold there was my lost part. Never thought that would ever be found.
- 127 replies
-
- Akitsushima
- Pit Road
-
(and 2 more)
Tagged with:
-
When I first thought about doing a card model, someone suggested Rocket Glue to me and I bought some. Unfortunately it's just sat on my shelf as I never started a card model. Have you tried that brand? This I found to be an excellent glue for clear canopies when I was building and flying RC models. Does not fog and dries clear. Super strong bond, but I have never tried it on paper. It's water based, and I do believe it should work with paper. I have never tried this particular dealer, I just came across it in a random internet search. It's on the shelf at my local hobby shop. ZAP Formula 560 Canopy Glue – Strictly R/C Hobbies (strictlyrchobbies.com)
-
Your diorama is coming along beautifully Alan. I had missed your post that showed the acrylic case you built. Very nice indeed. Does TAP plastics also sell the little corner clamps? I'll have to search them out as I need a source for clear acrylic. Thanks for sharing that.
-
It's been released? Wow, I am slipping. All this home renovation business has totally interfered with my hobby the past few weeks. 🙂
-
Thanks Mike. The week leading up to the storm event was much worse for rainfall than the actual storm itself.
- 225 replies
-
- I Love Kit
- Hood
-
(and 2 more)
Tagged with:
-
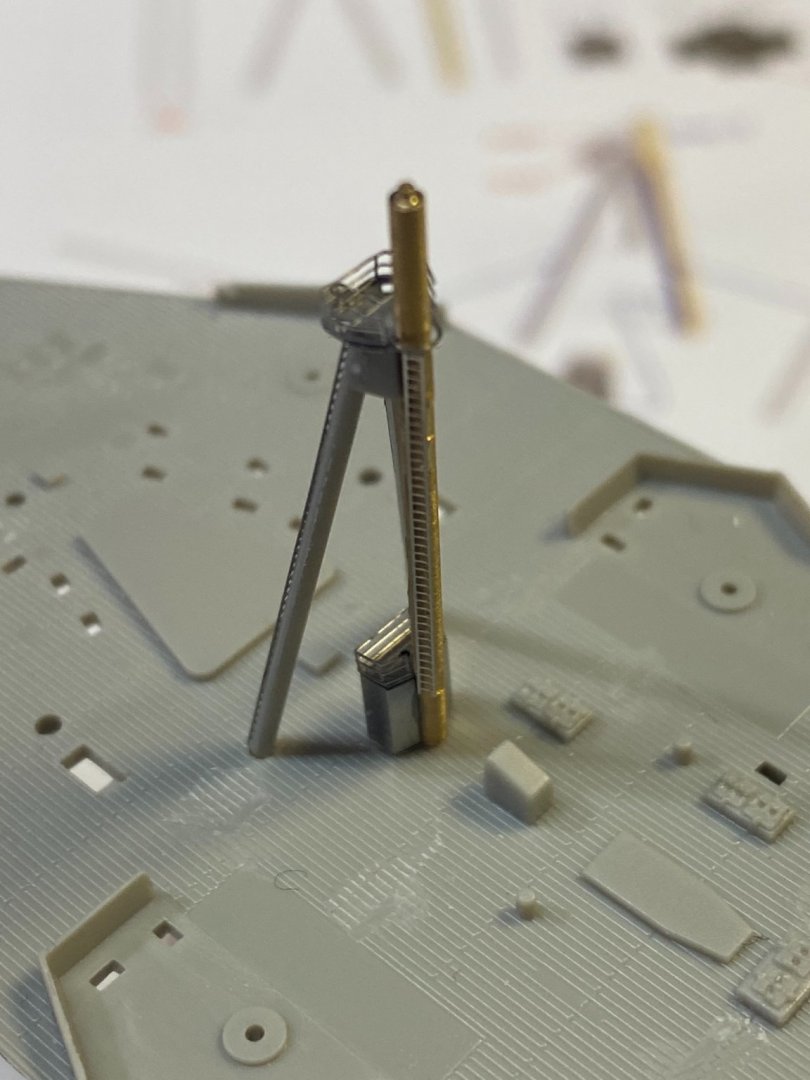
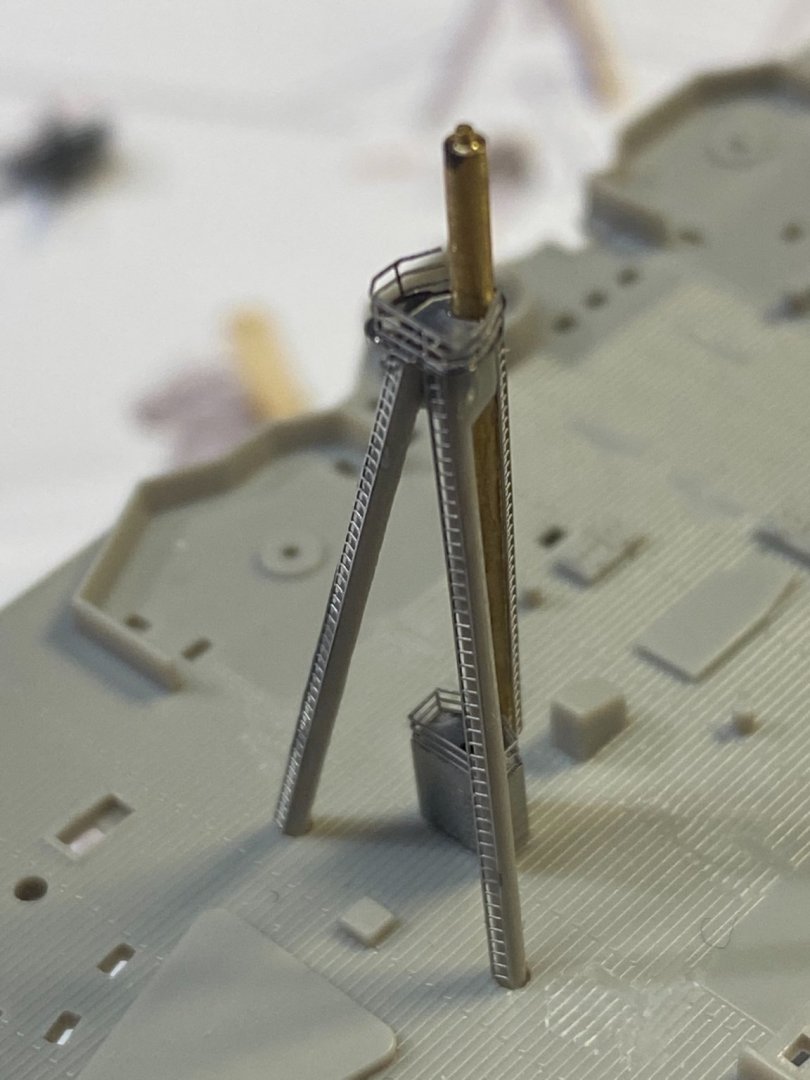
Bottom half of main mast. It’s important to temporarily align the mast legs in their appropriate deck locations as it’s glued together.
- 225 replies
-
- I Love Kit
- Hood
-
(and 2 more)
Tagged with:
-
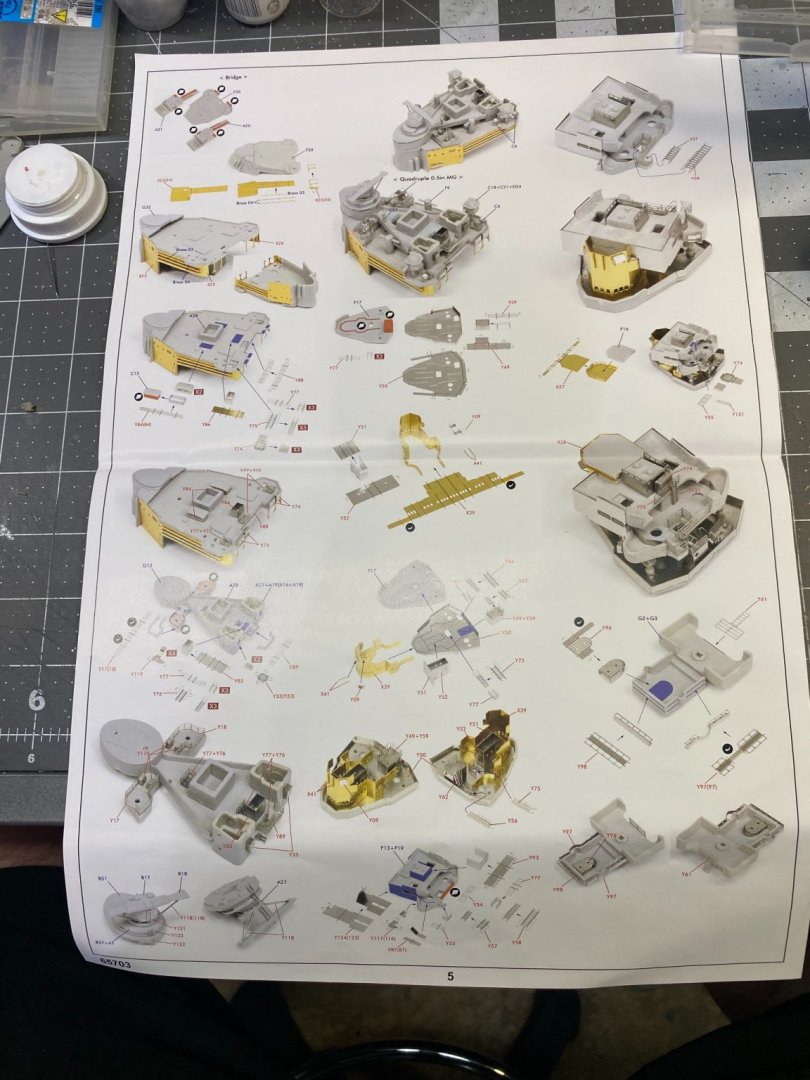
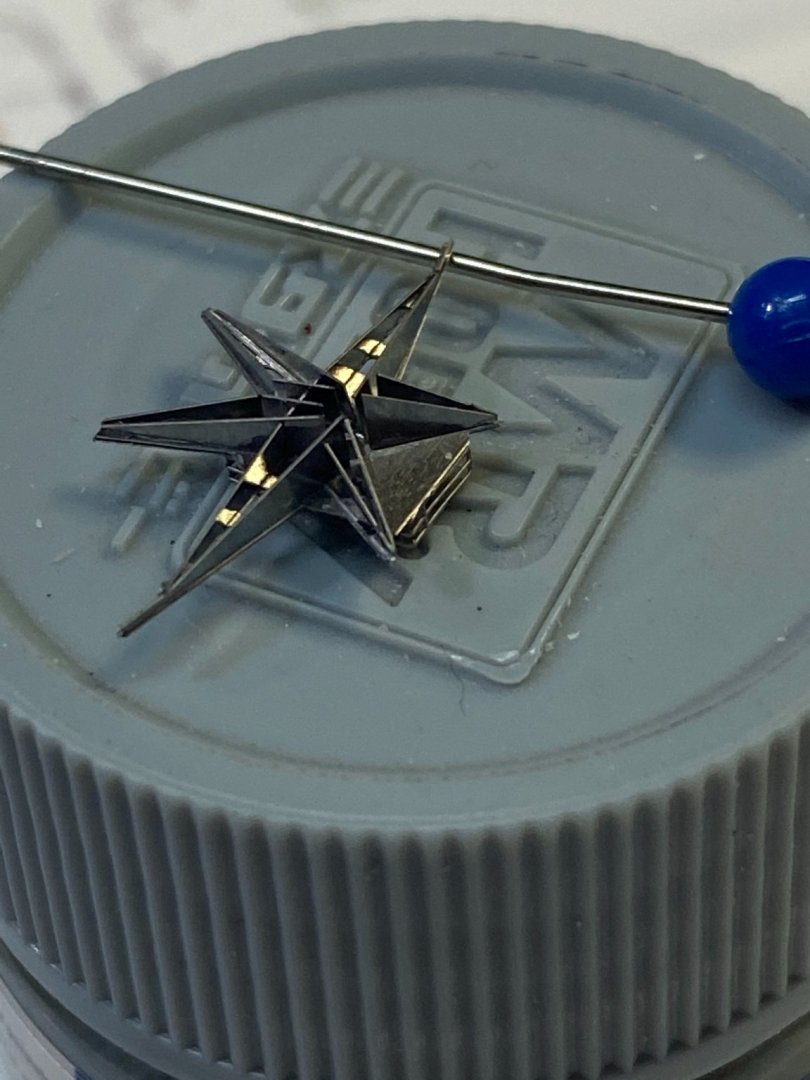
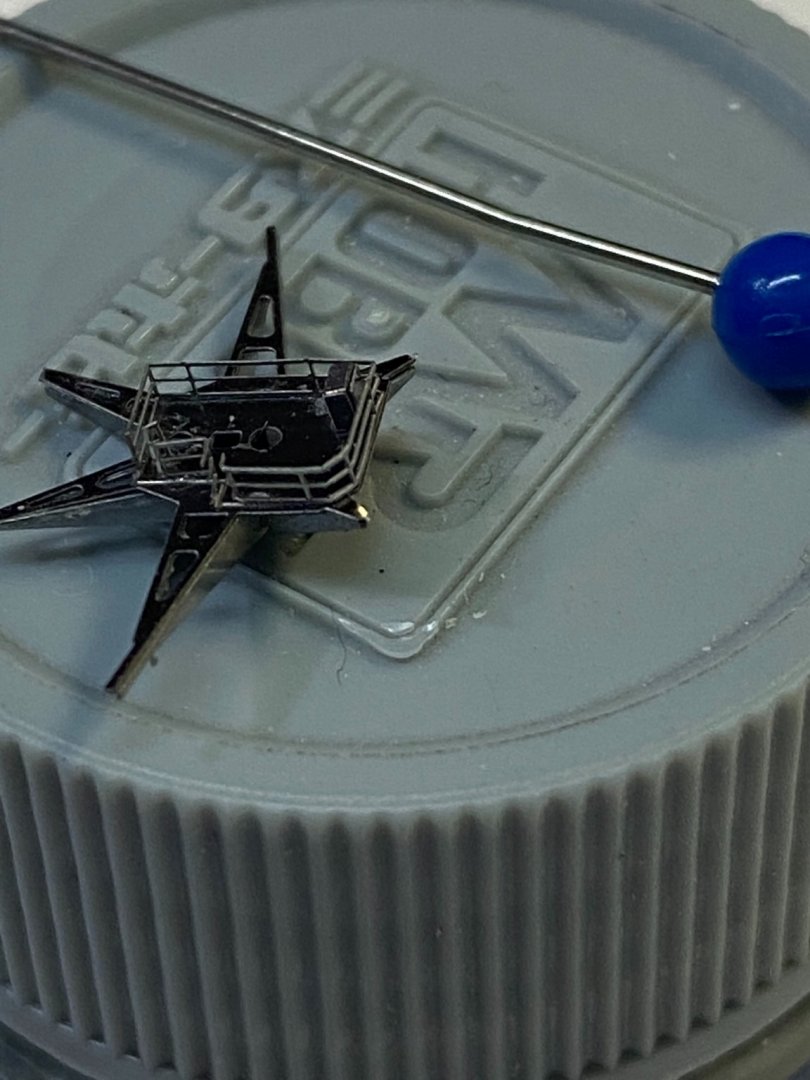
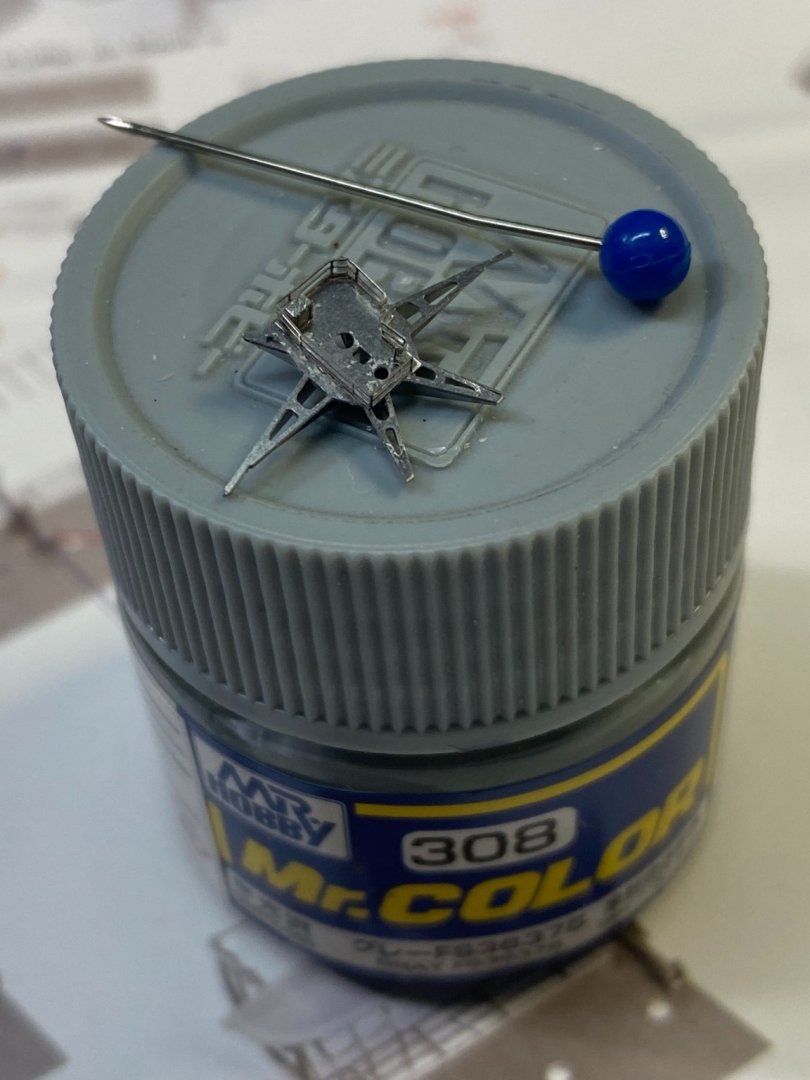
The main mast platform provided a nice exercise in patience, eye strain, and photo etch folding. There is a lot more of this sort of exercise with this kit. The photo etch sheets add hundreds and hundreds of parts to deal with but they all add up to enhance the basic Trumpeter kit.
- 225 replies
-
- I Love Kit
- Hood
-
(and 2 more)
Tagged with:
About us
Modelshipworld - Advancing Ship Modeling through Research
SSL Secured
Your security is important for us so this Website is SSL-Secured
NRG Mailing Address
Nautical Research Guild
237 South Lincoln Street
Westmont IL, 60559-1917
Model Ship World ® and the MSW logo are Registered Trademarks, and belong to the Nautical Research Guild (United States Patent and Trademark Office: No. 6,929,264 & No. 6,929,274, registered Dec. 20, 2022)
Helpful Links
About the NRG
If you enjoy building ship models that are historically accurate as well as beautiful, then The Nautical Research Guild (NRG) is just right for you.
The Guild is a non-profit educational organization whose mission is to “Advance Ship Modeling Through Research”. We provide support to our members in their efforts to raise the quality of their model ships.
The Nautical Research Guild has published our world-renowned quarterly magazine, The Nautical Research Journal, since 1955. The pages of the Journal are full of articles by accomplished ship modelers who show you how they create those exquisite details on their models, and by maritime historians who show you the correct details to build. The Journal is available in both print and digital editions. Go to the NRG web site (www.thenrg.org) to download a complimentary digital copy of the Journal. The NRG also publishes plan sets, books and compilations of back issues of the Journal and the former Ships in Scale and Model Ship Builder magazines.

.jpg.7e80607770d9078b2f0b470e8c9c33ac.jpg)


