CDW
-
Posts
7,755 -
Joined
-
Last visited
Content Type
Profiles
Forums
Gallery
Events
Everything posted by CDW
-
 And that's what I'm trying to get out of, not into. I've had enough hot weather at home, don't want to fly 1,400 miles north for more of the same. With a couple of exceptions, the weather was beautiful while we were in NH, particularly at night with the windows open. Felt so good. 🙂
 -
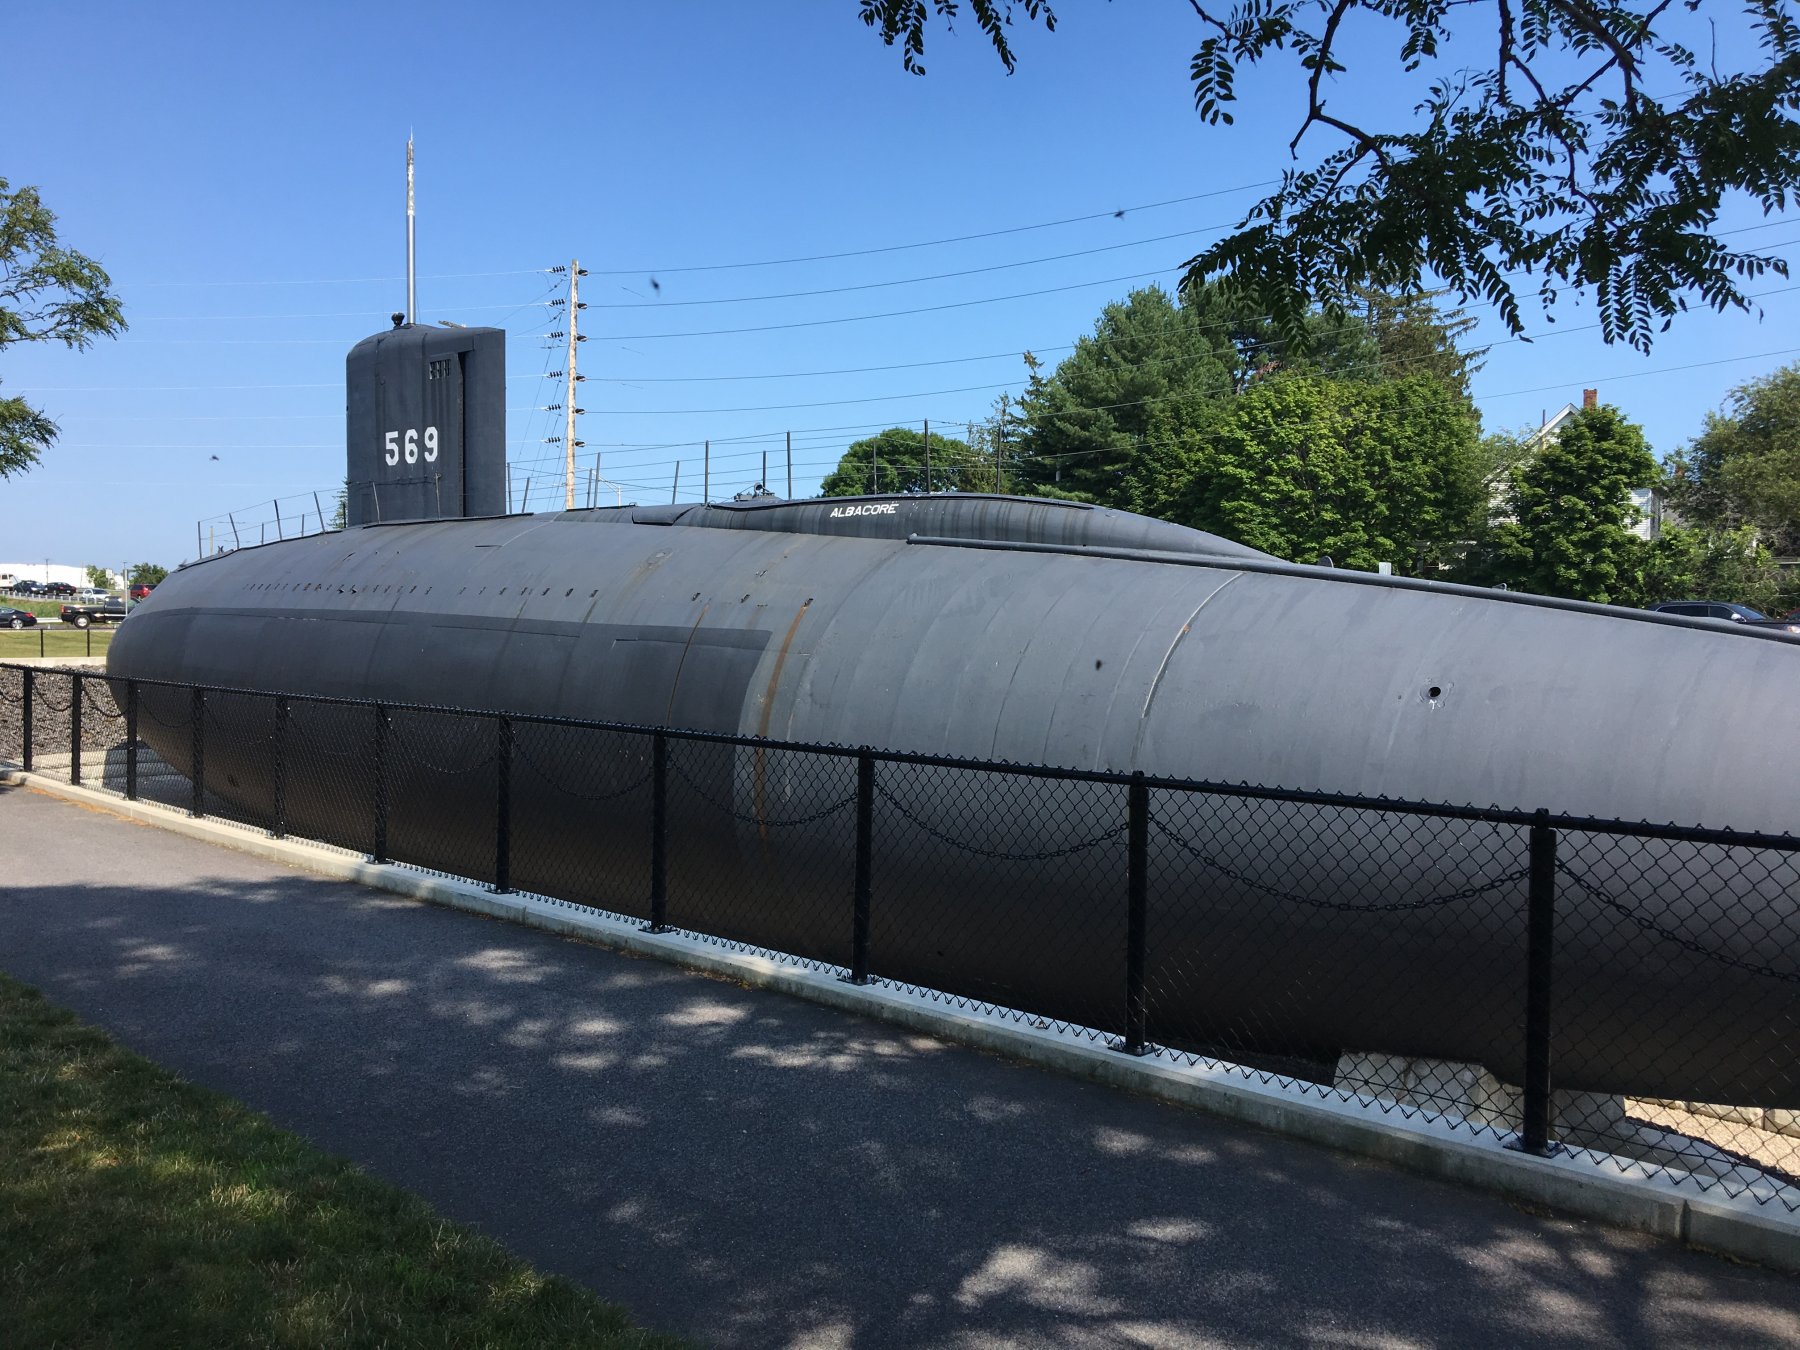
The next time I go to New Hampshire, will make sure to make time to visit the USS Constitution in Boston. We flew home out of Boston on Tuesday, but it was well over 90 degrees and I had no interest in making the visit on that day in the heat. Got my fill of that on the Albacore visit and that was a cooler day.
-
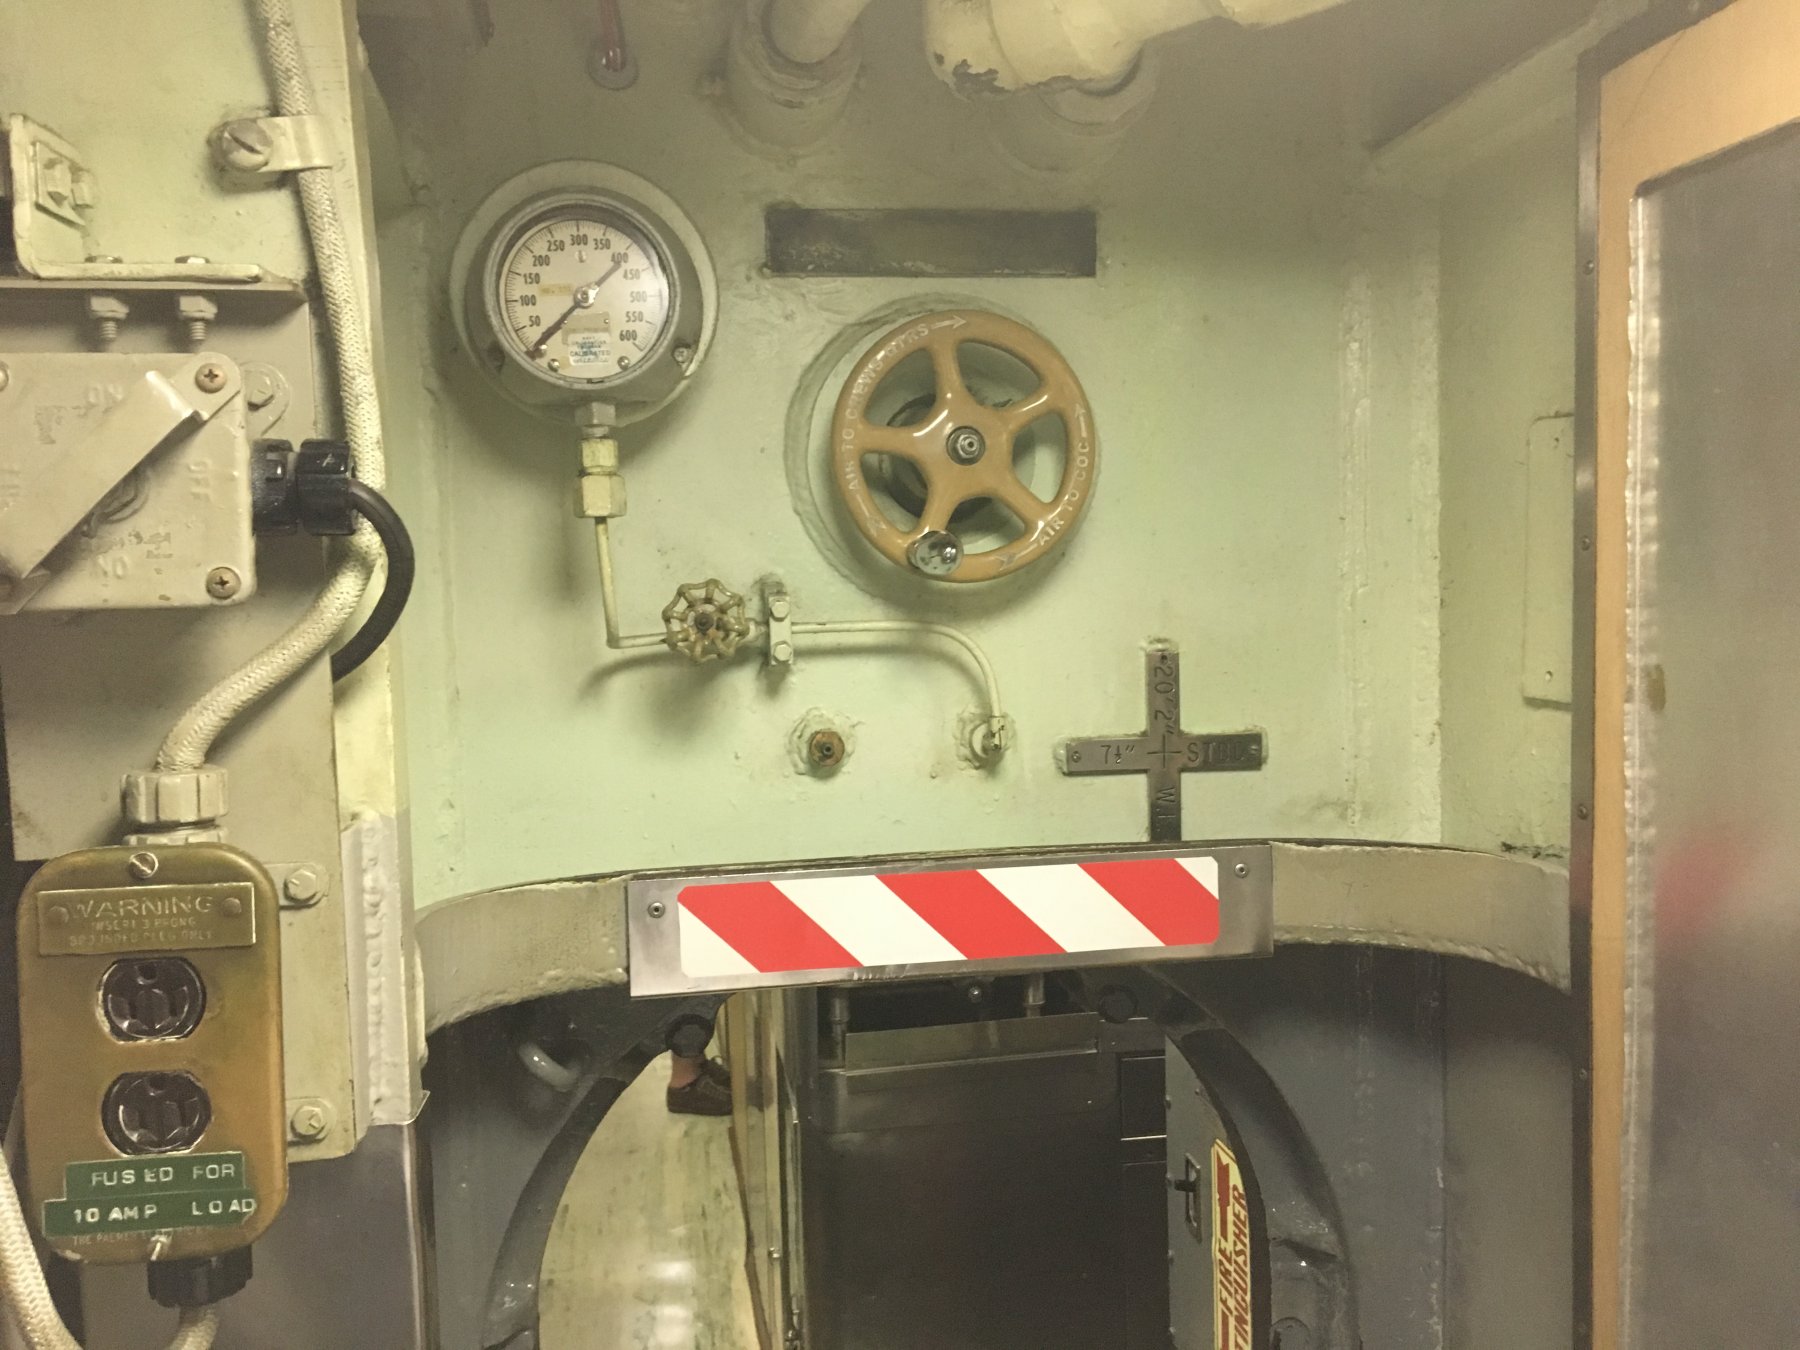
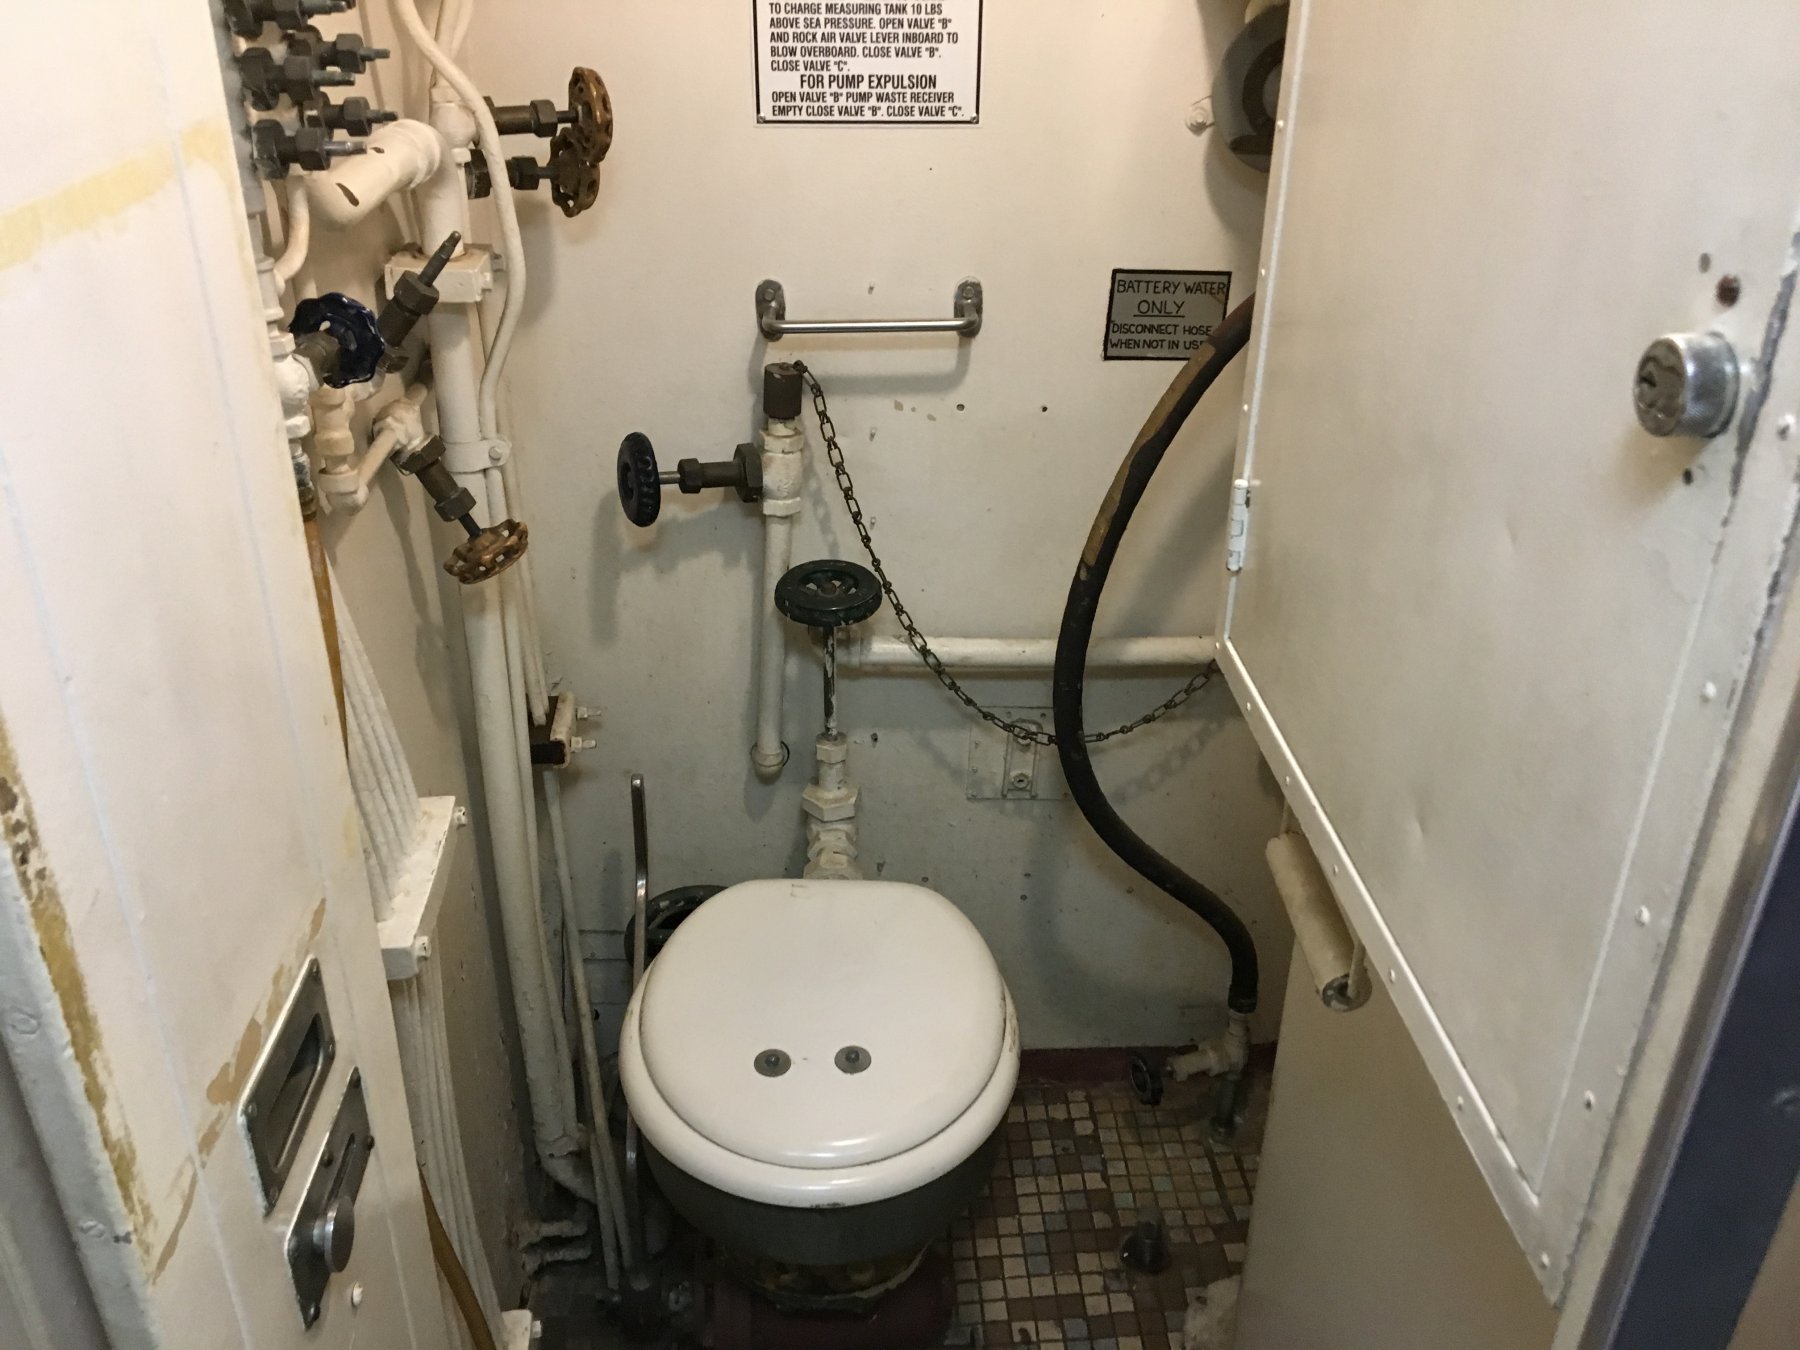
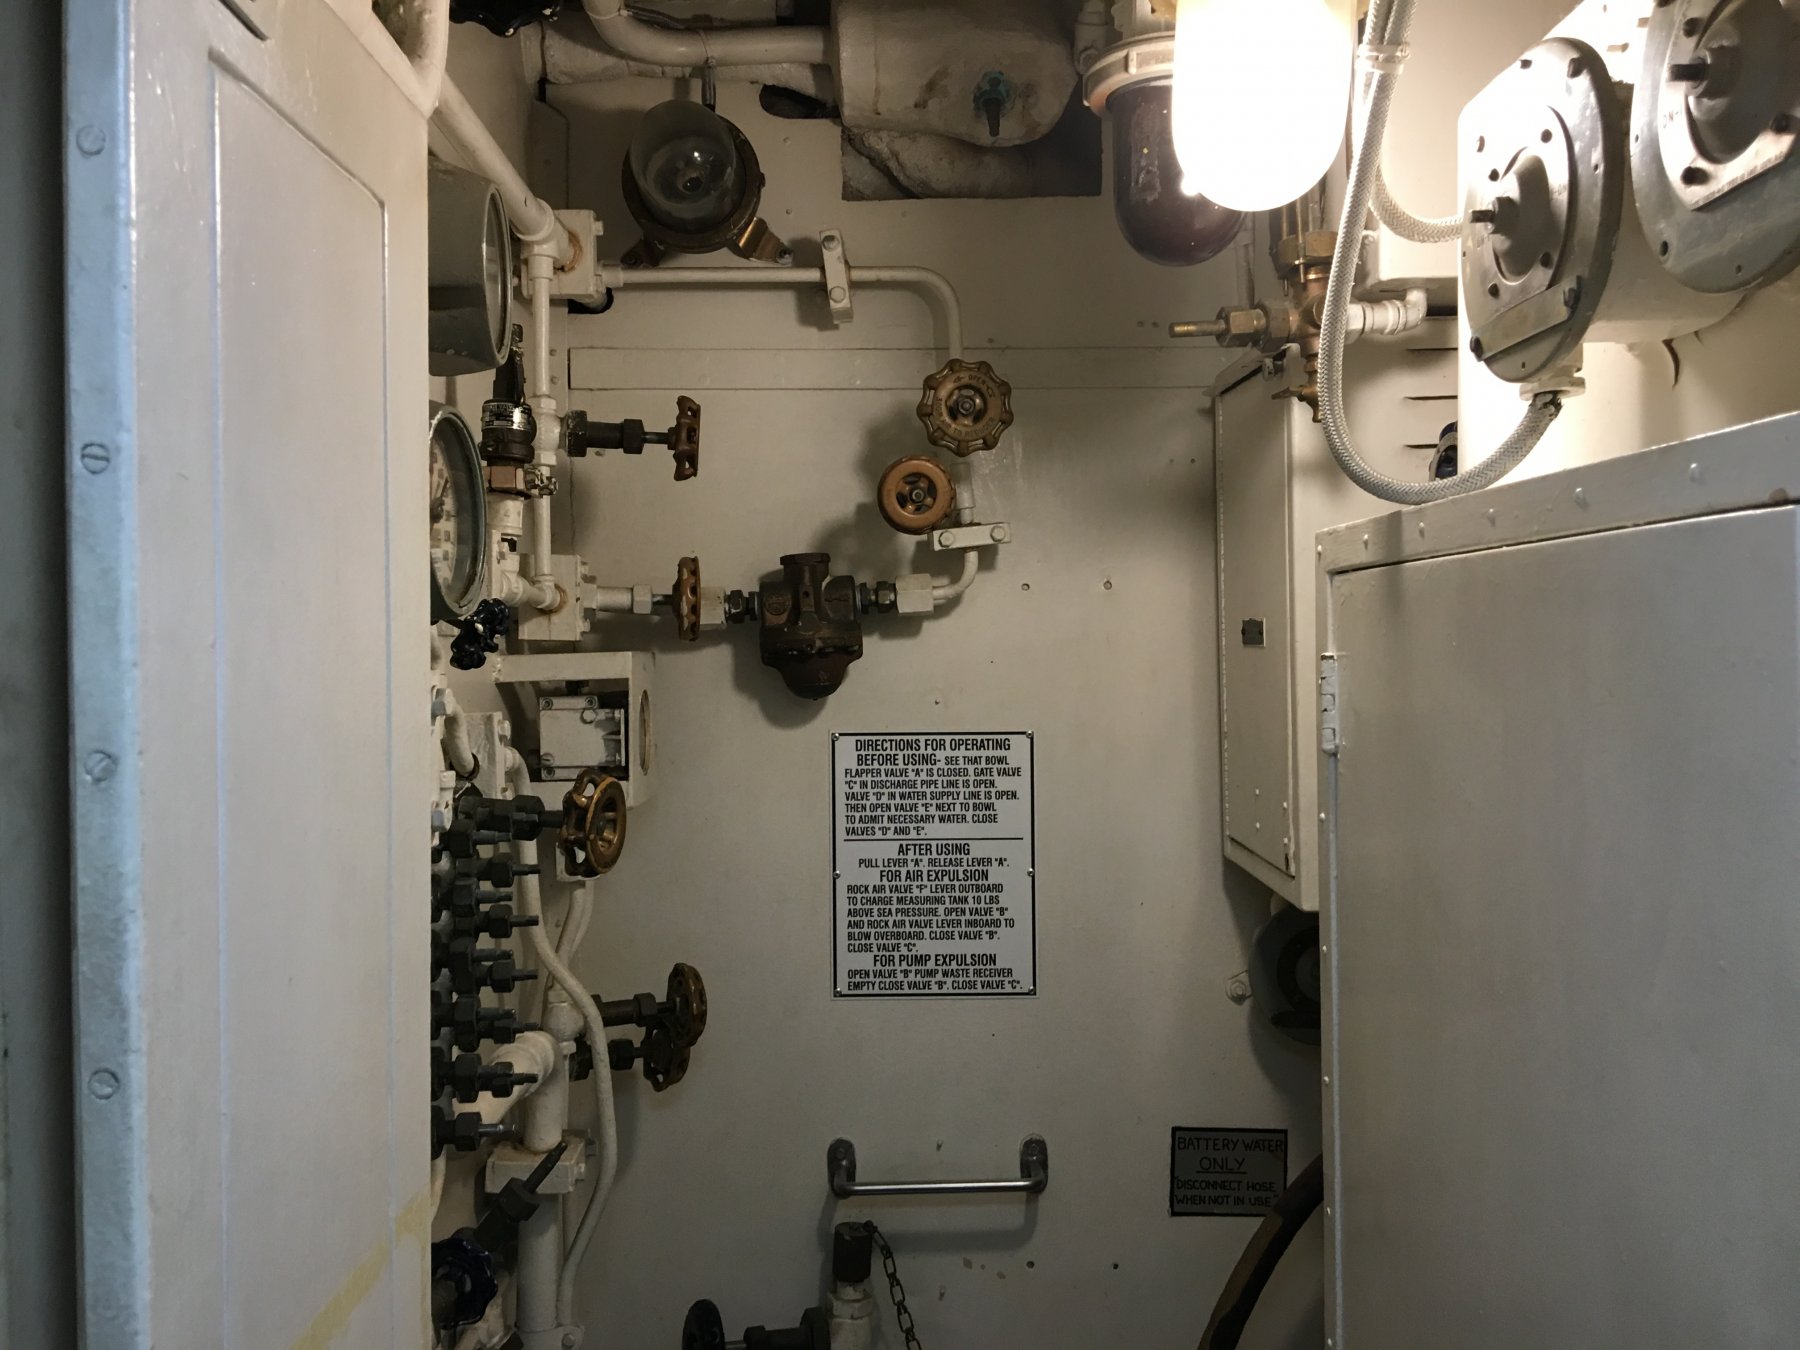
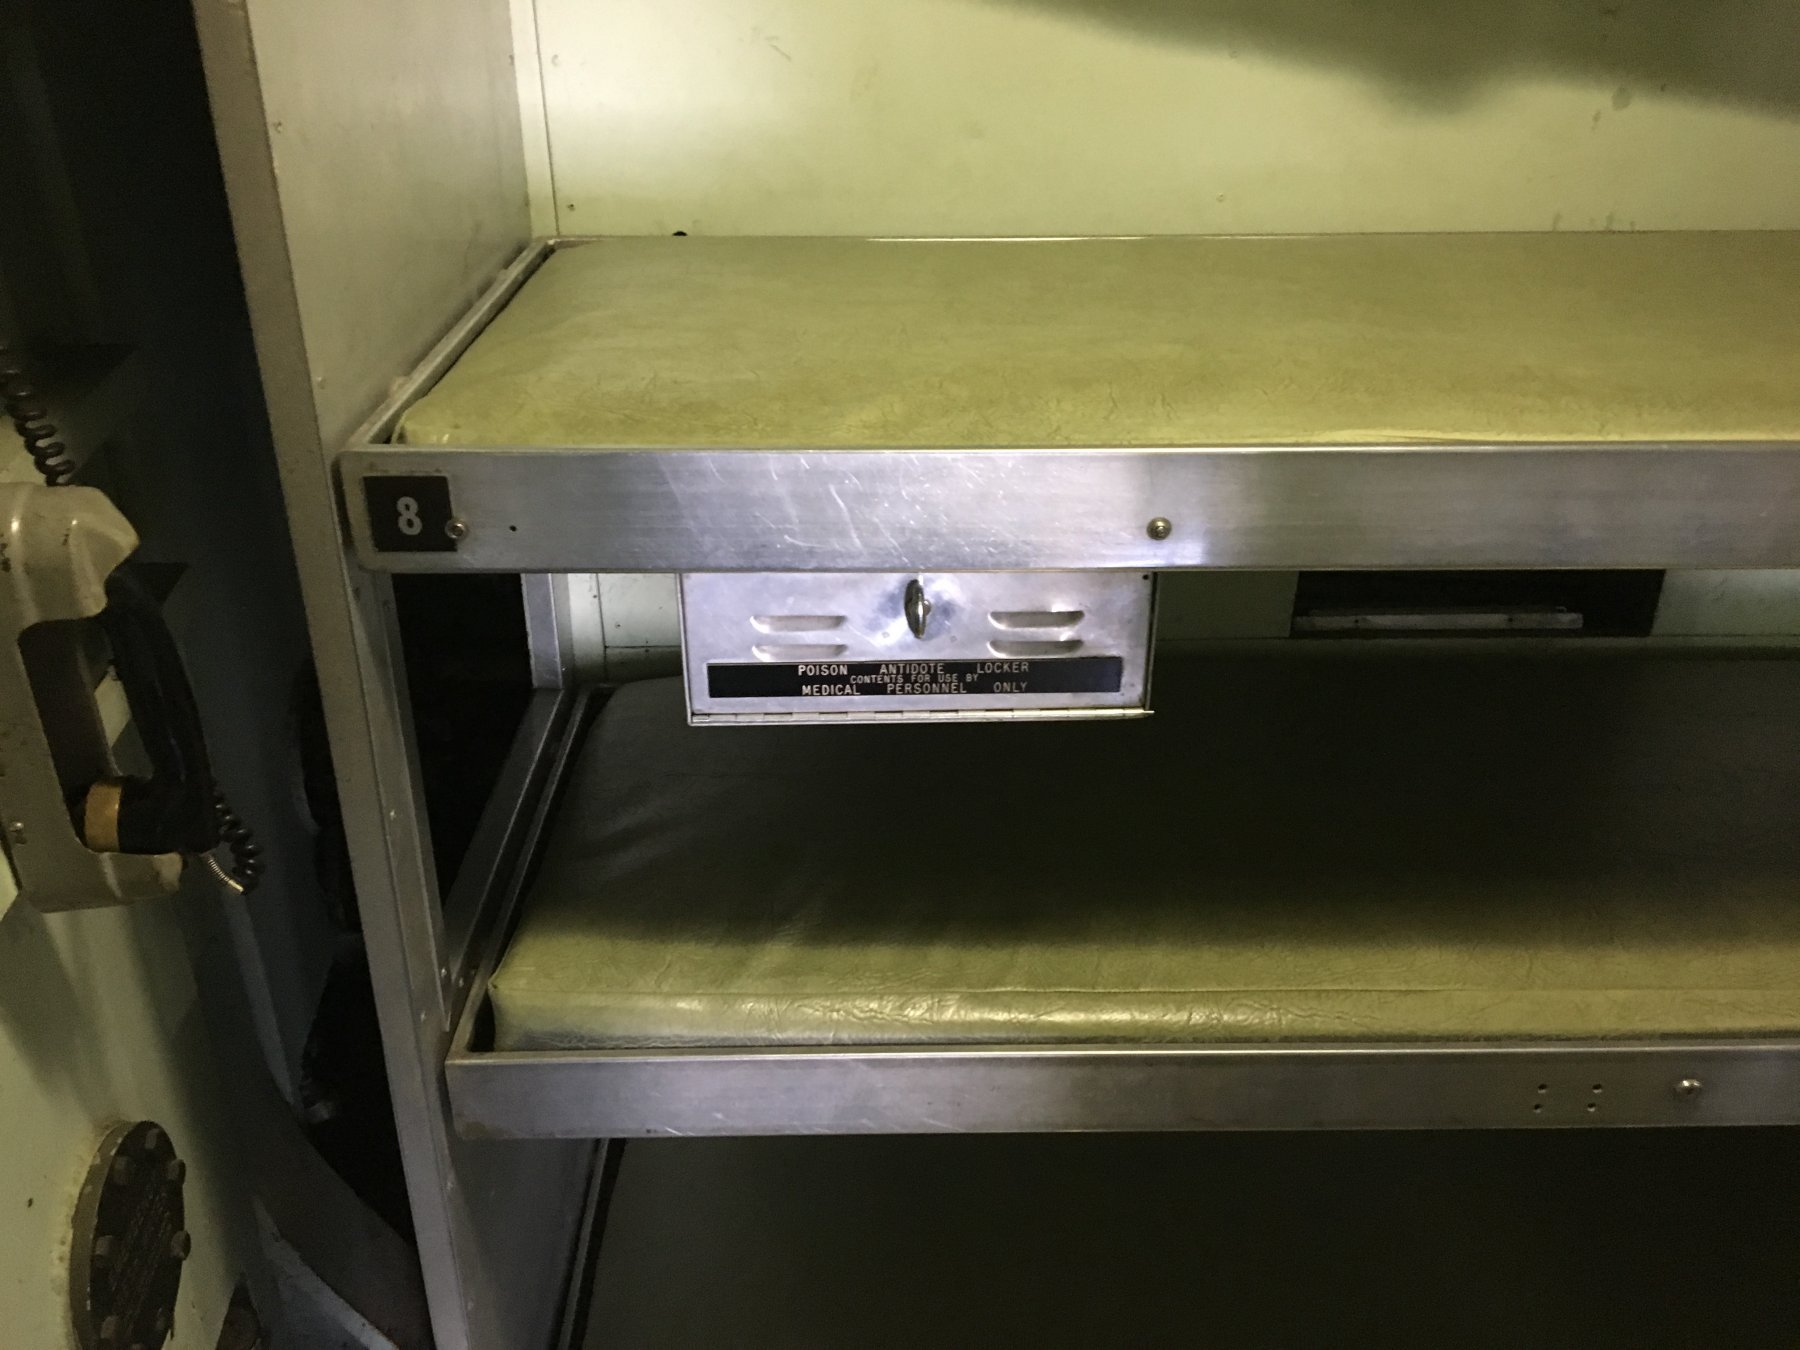
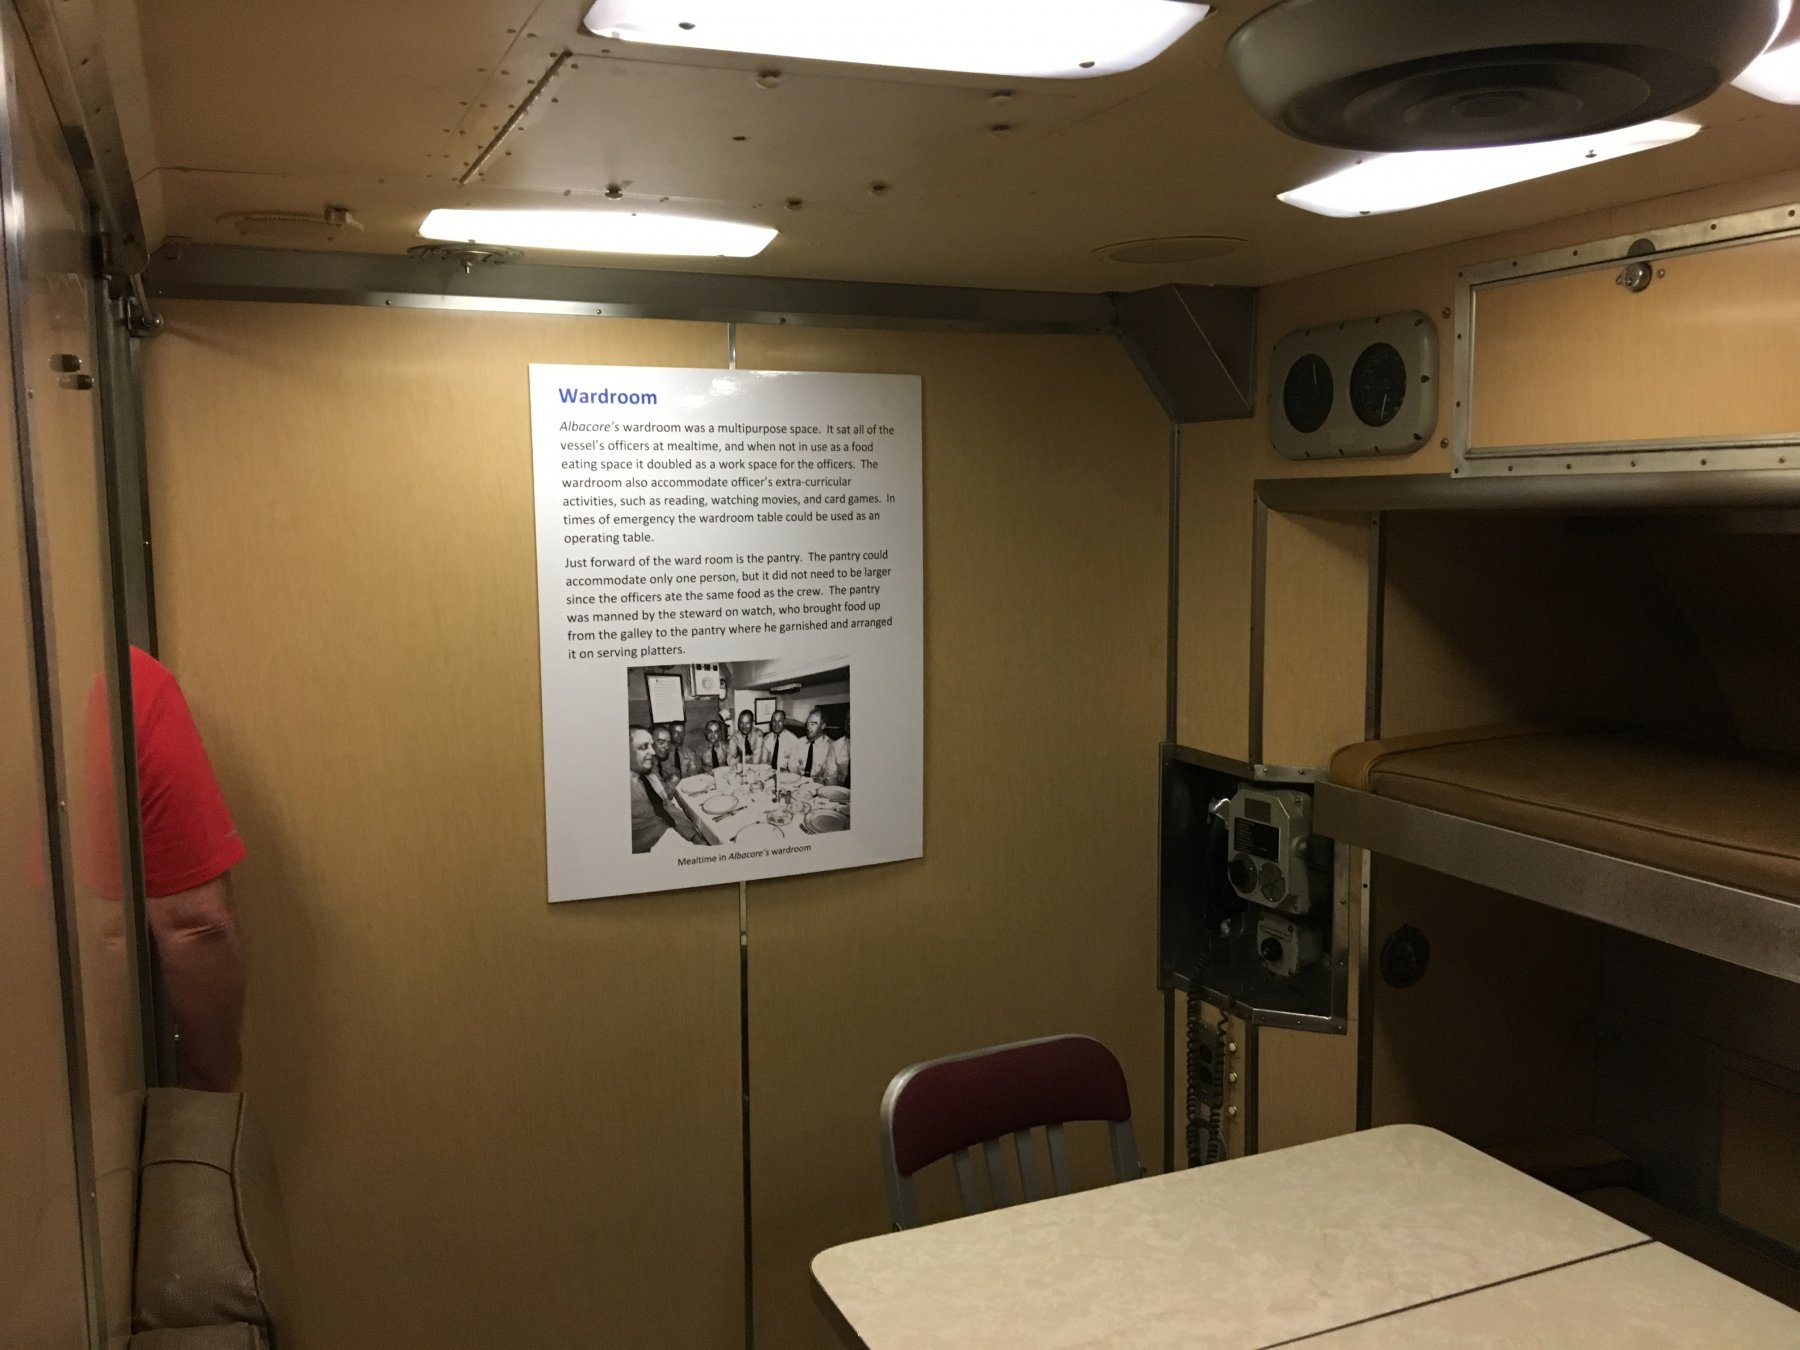
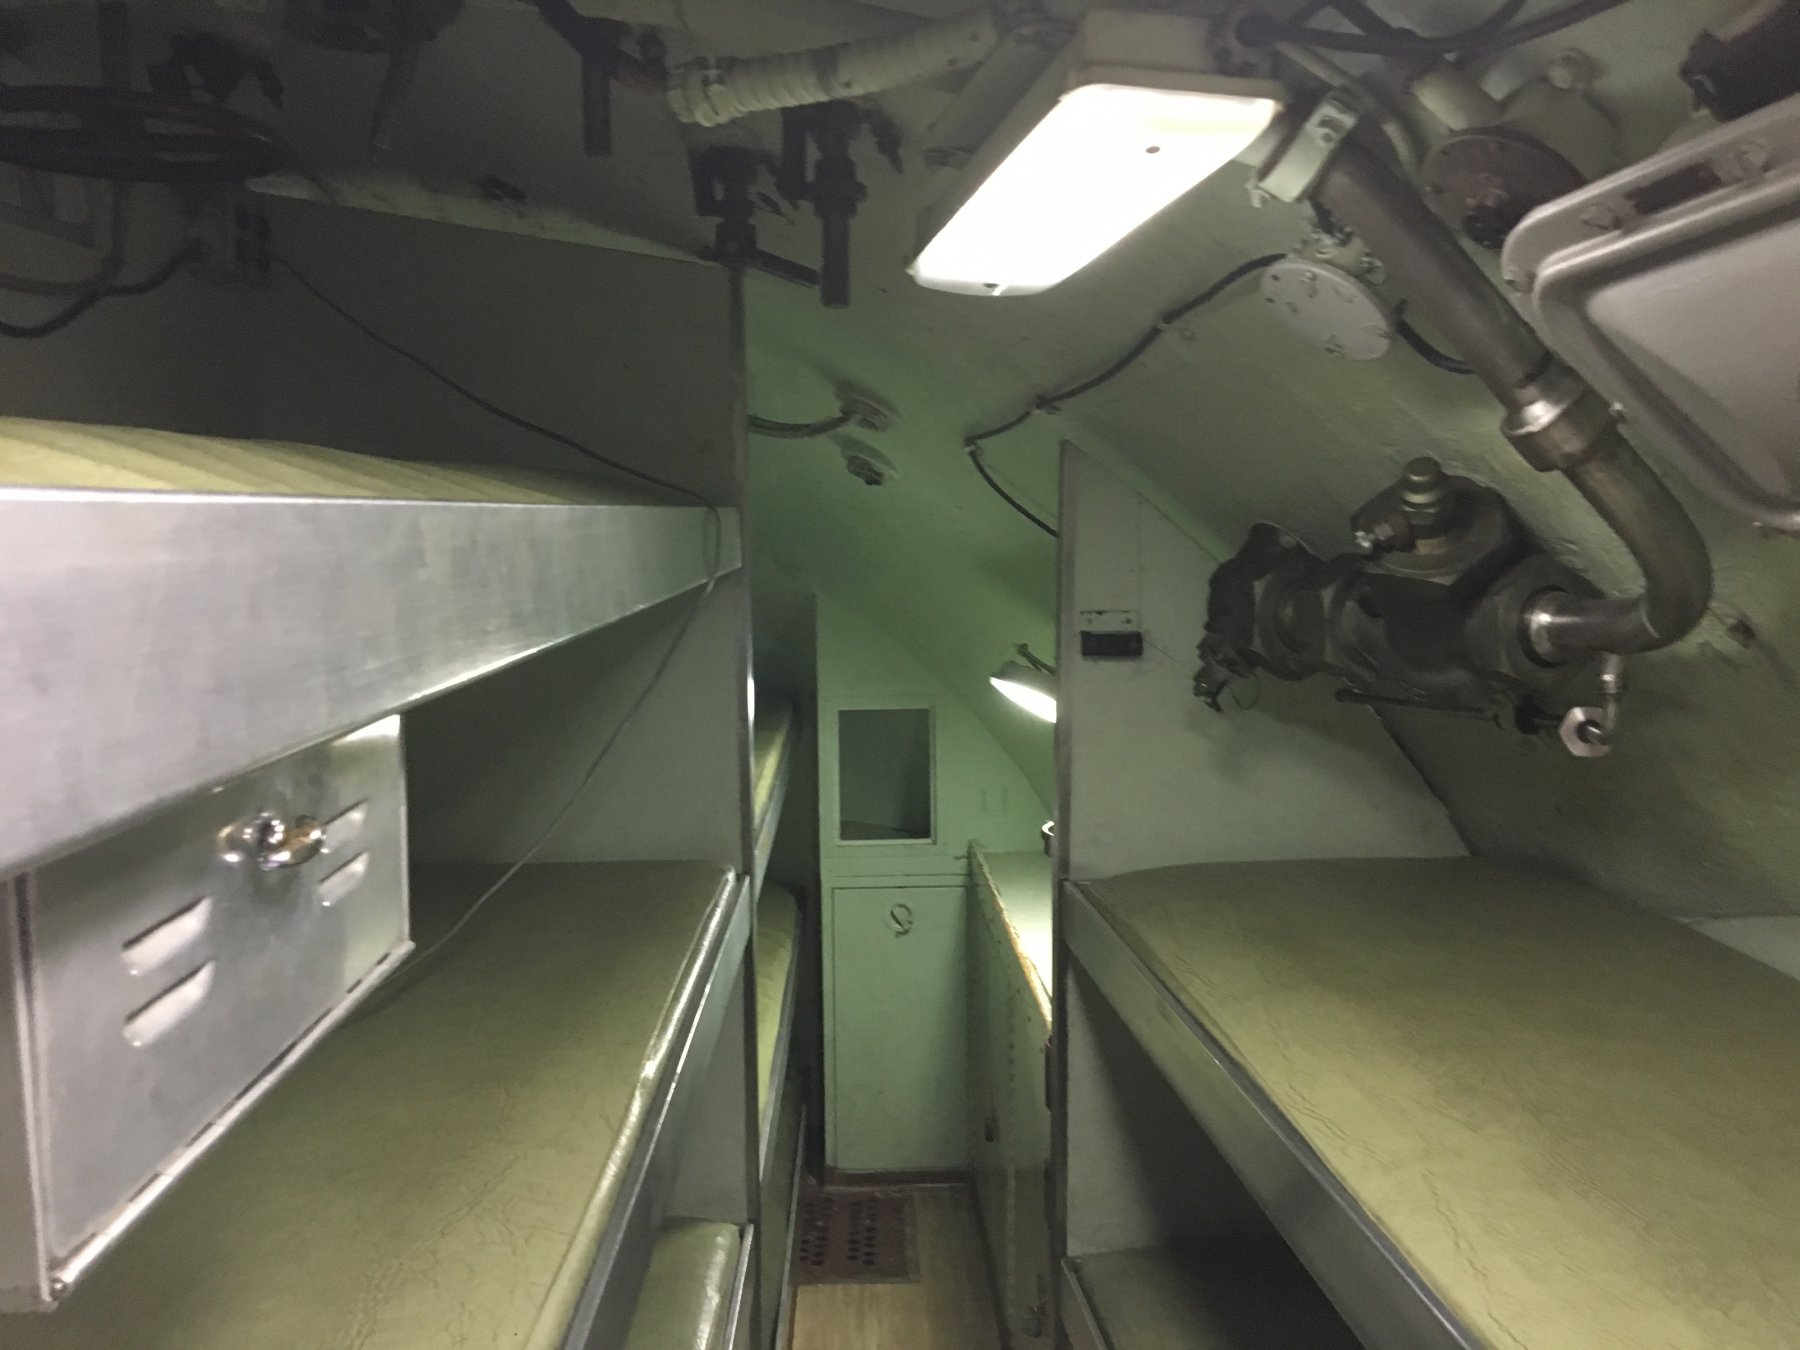
I wished I had remembered to ask the curator what the poison antidote was all about. Anyone have any idea? The officer's area was spacious compared to the enlisted men's bunks, but still very cramped.


-
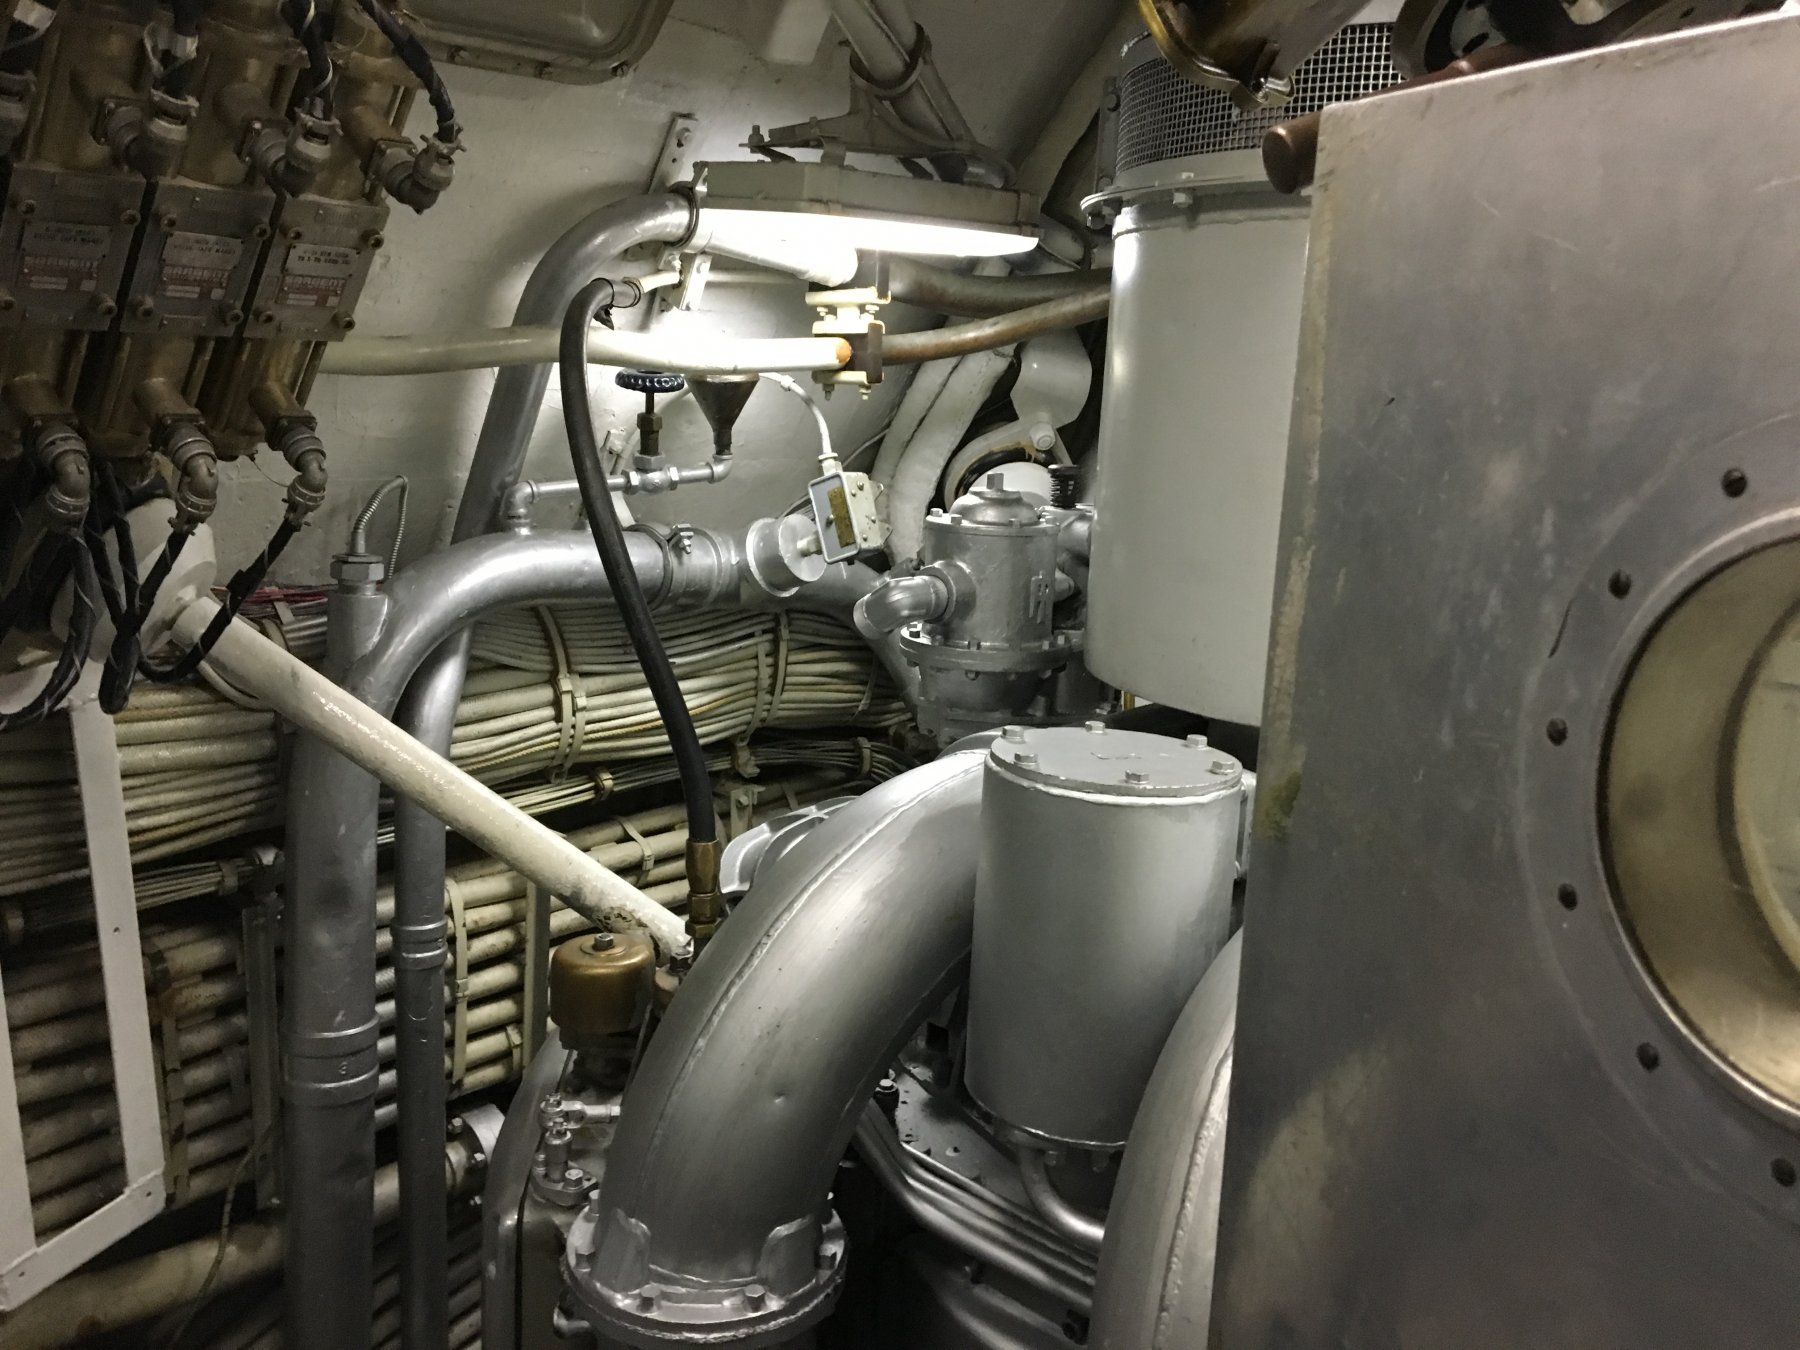
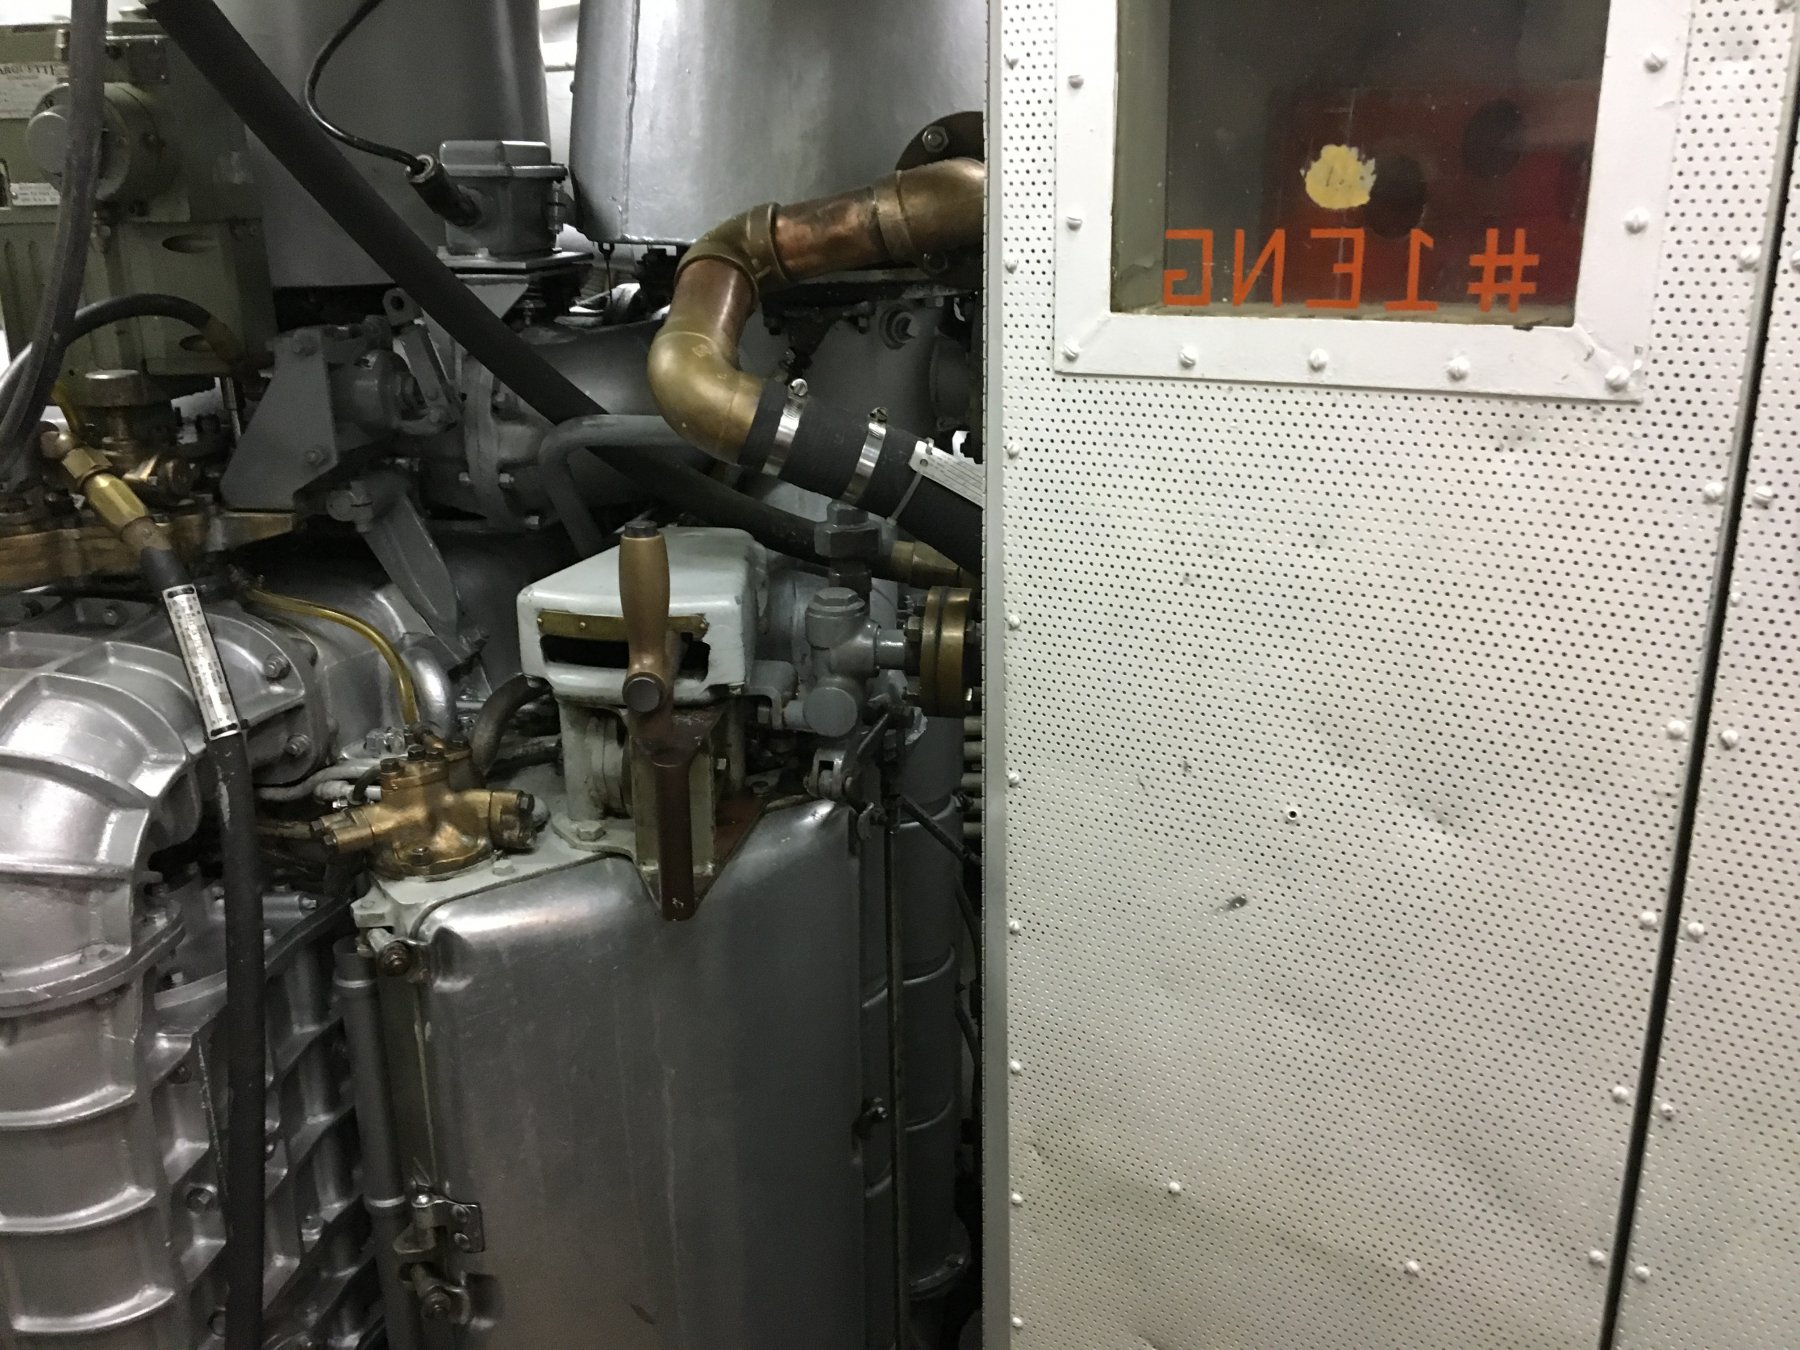
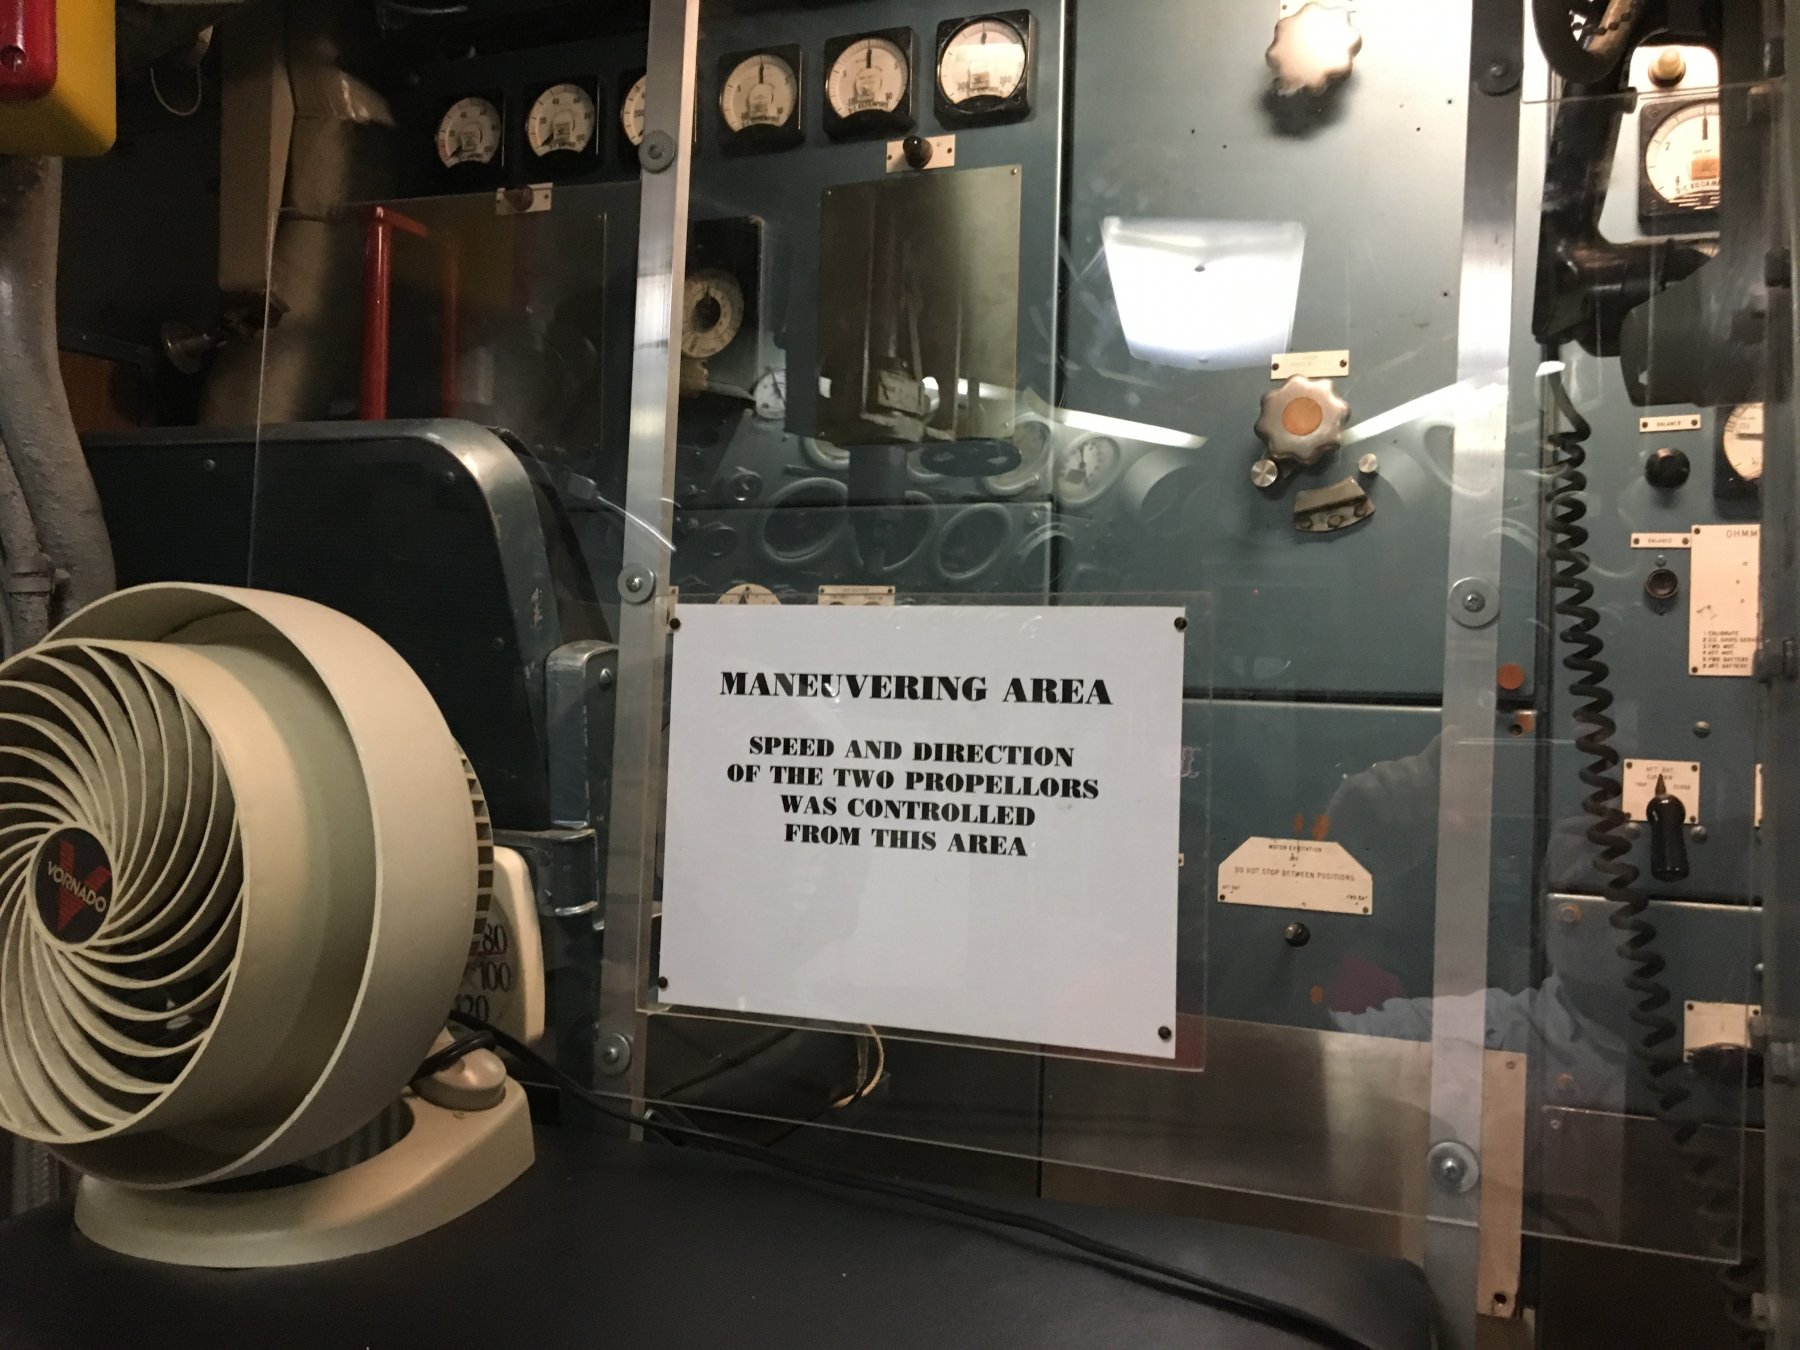
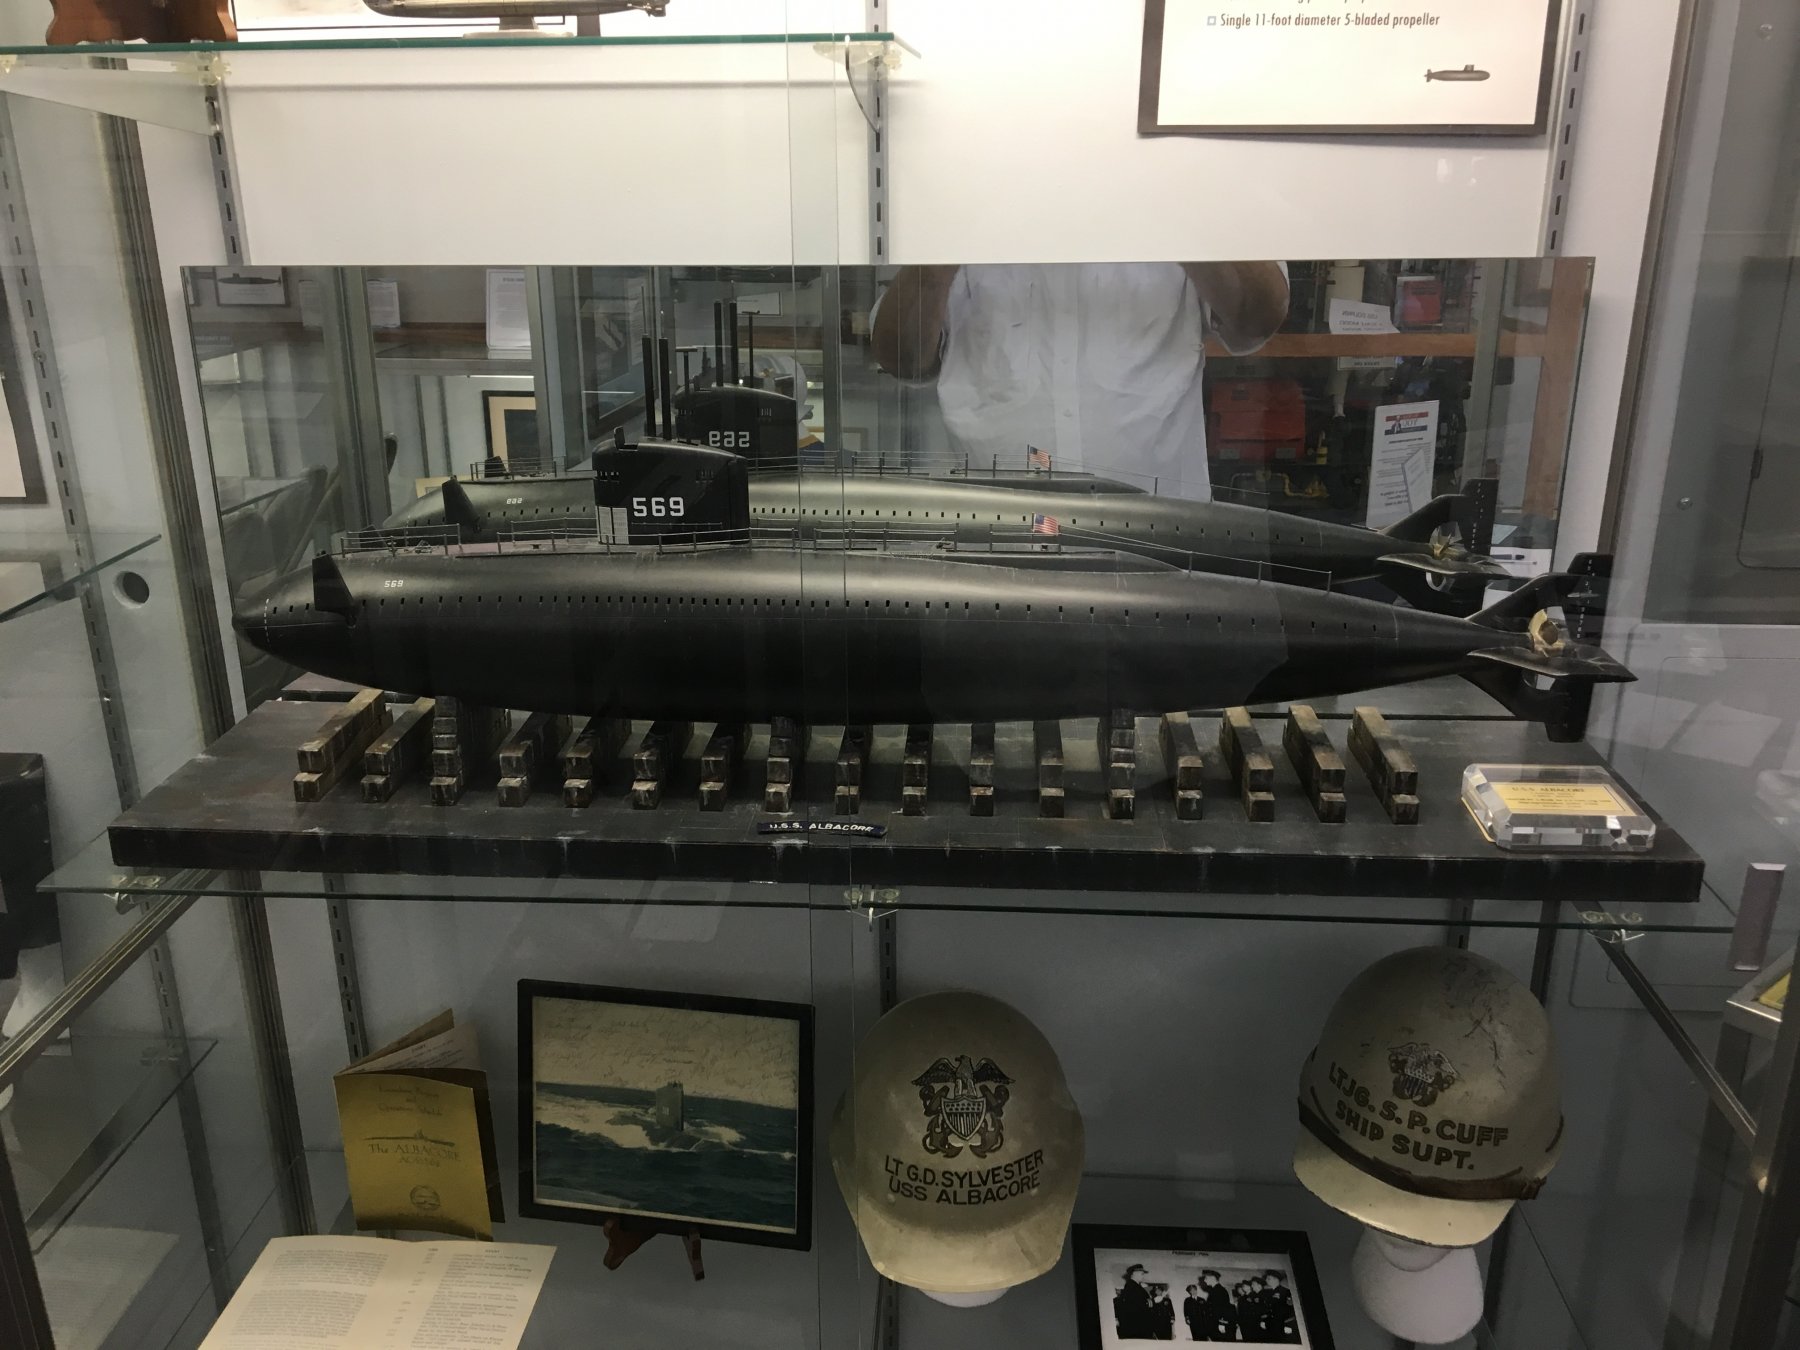
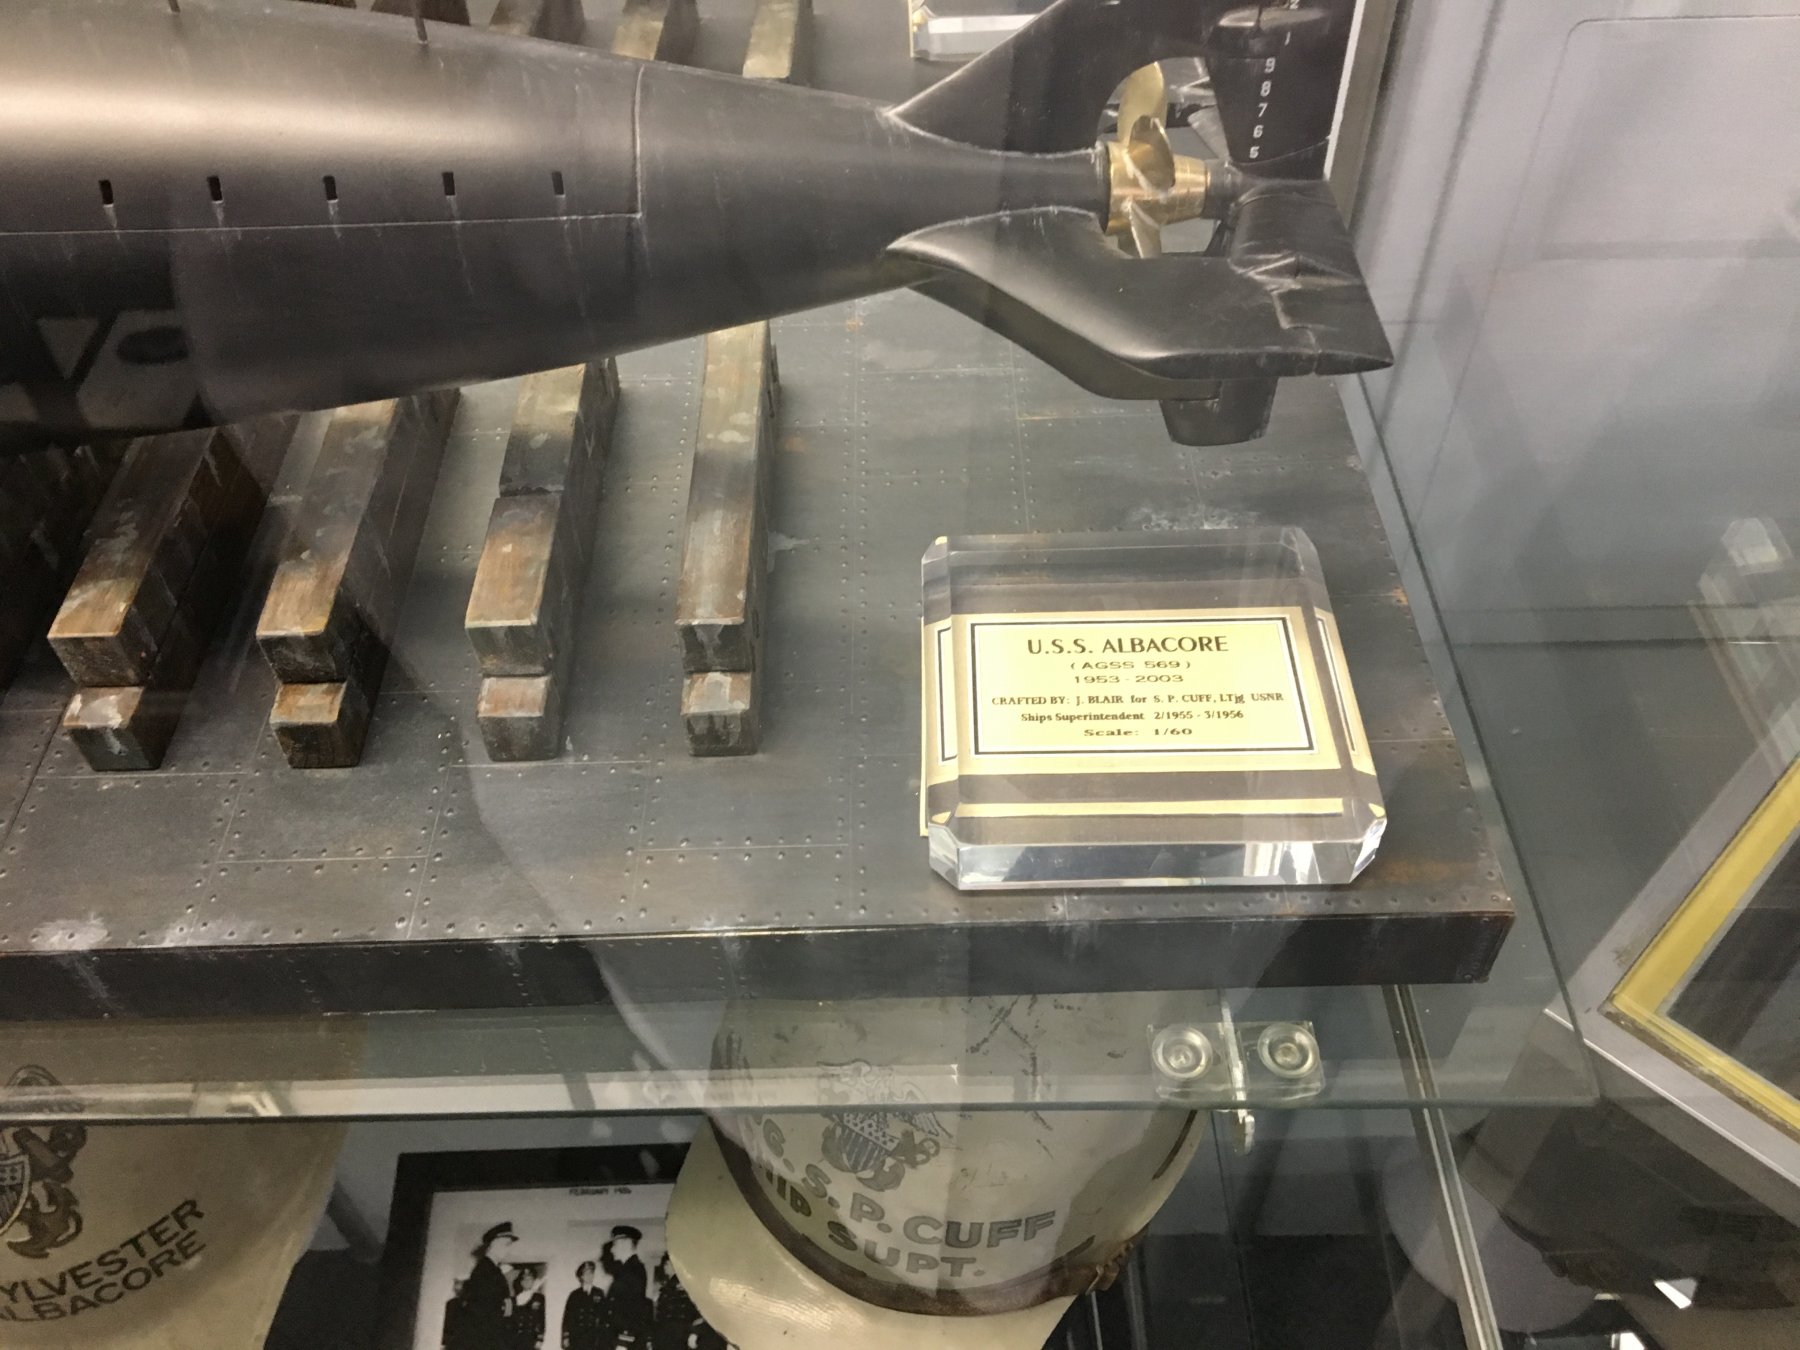
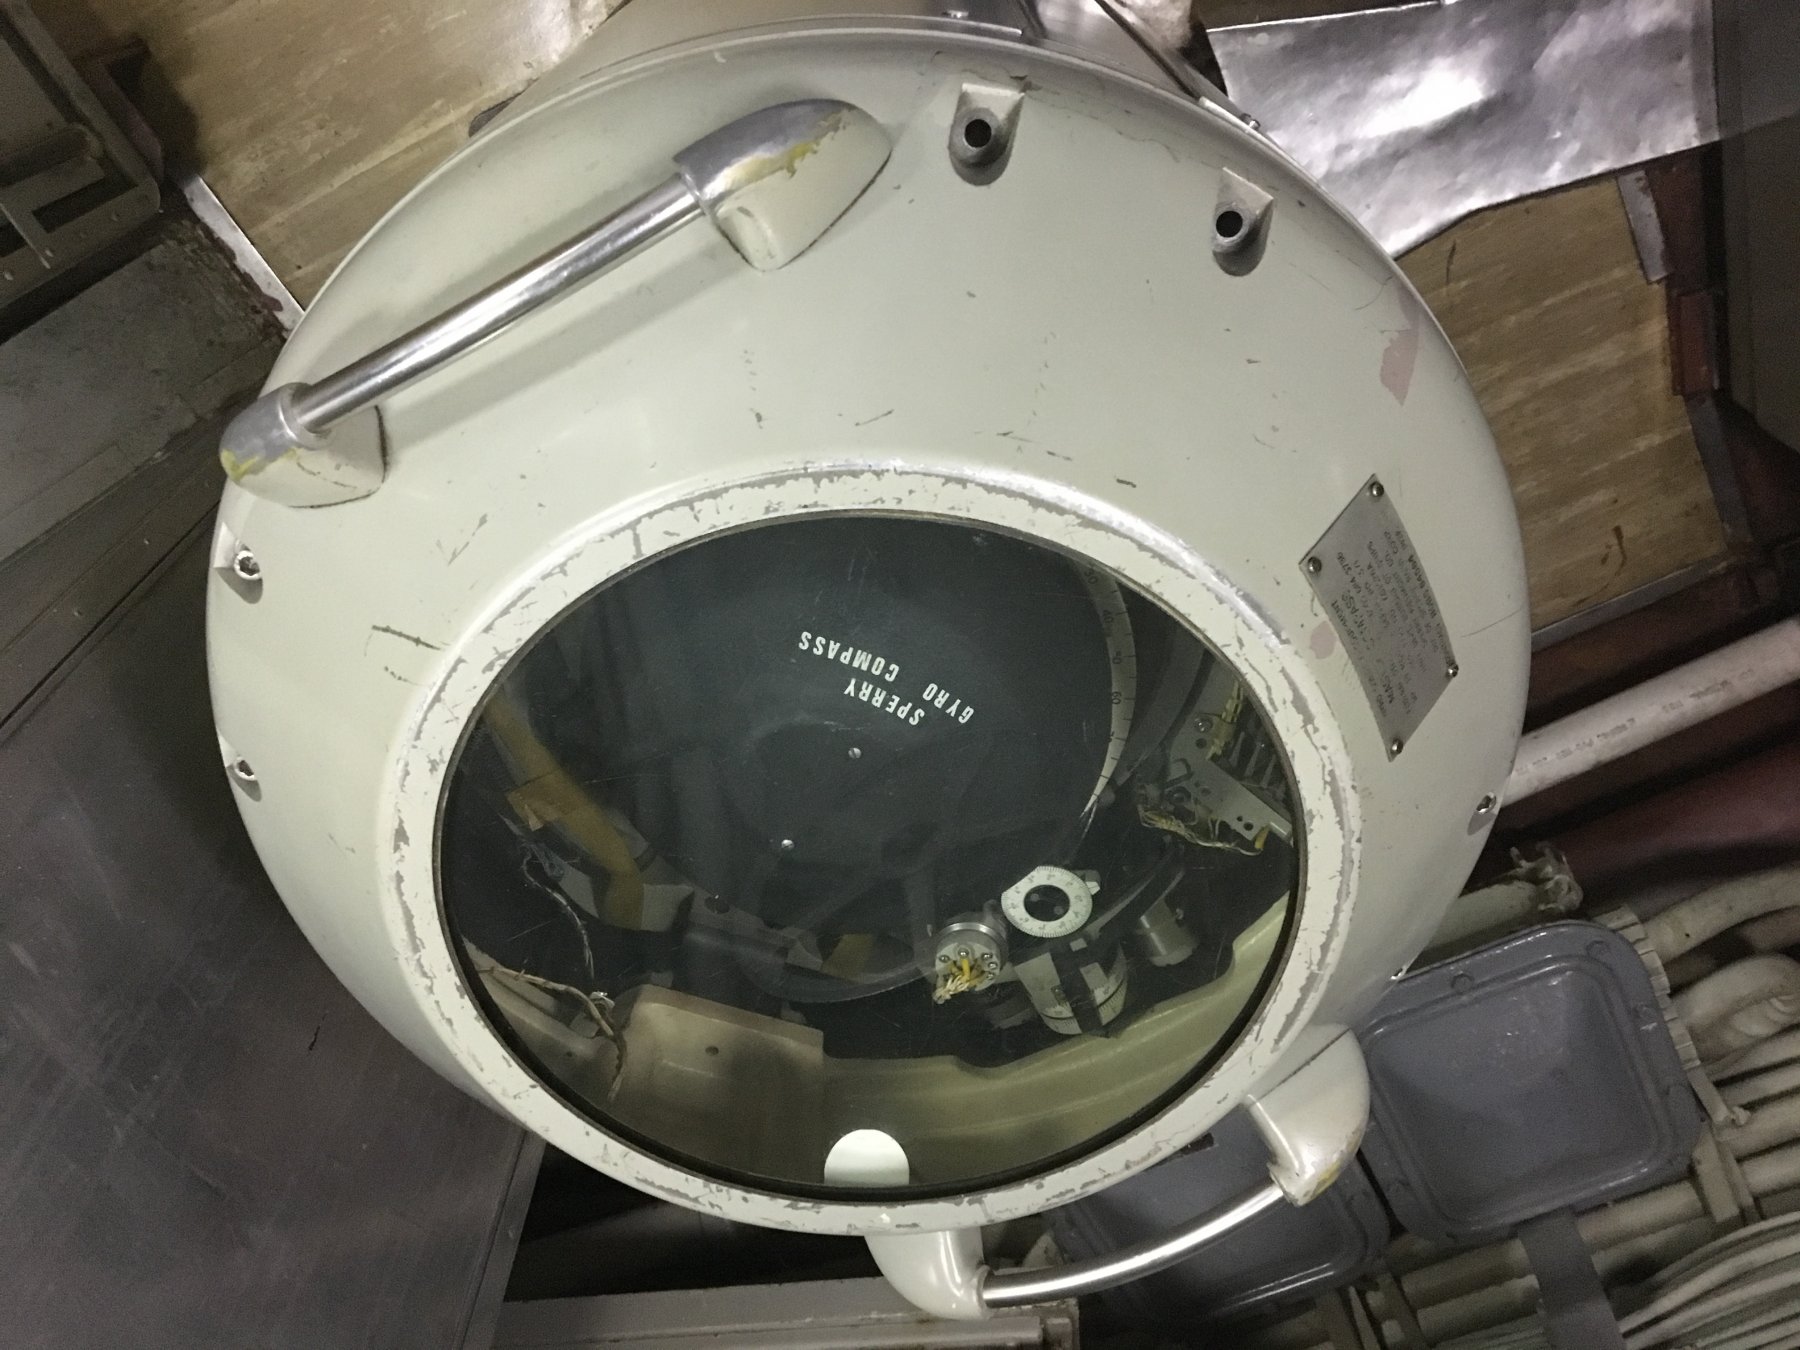
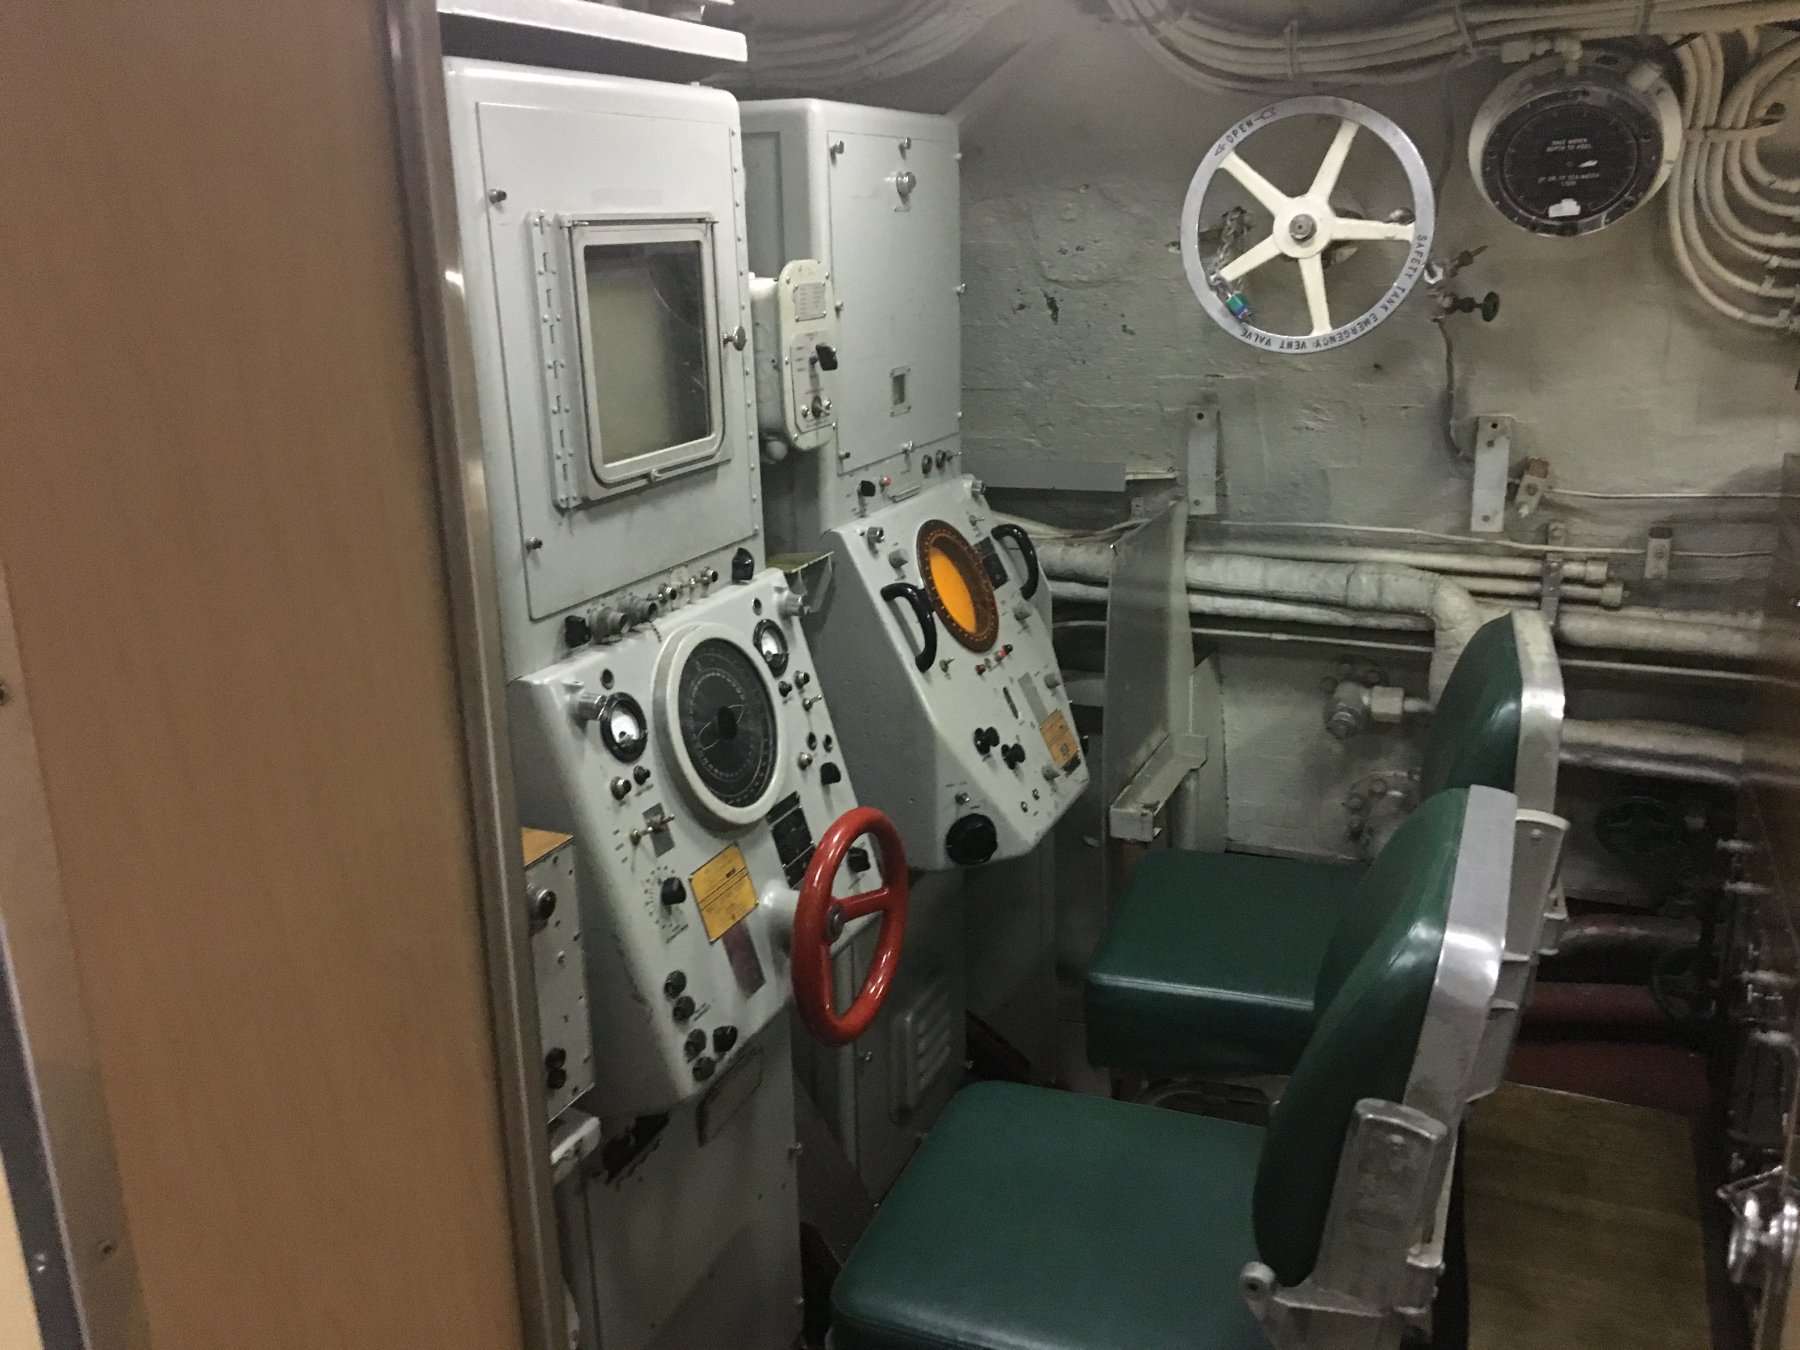
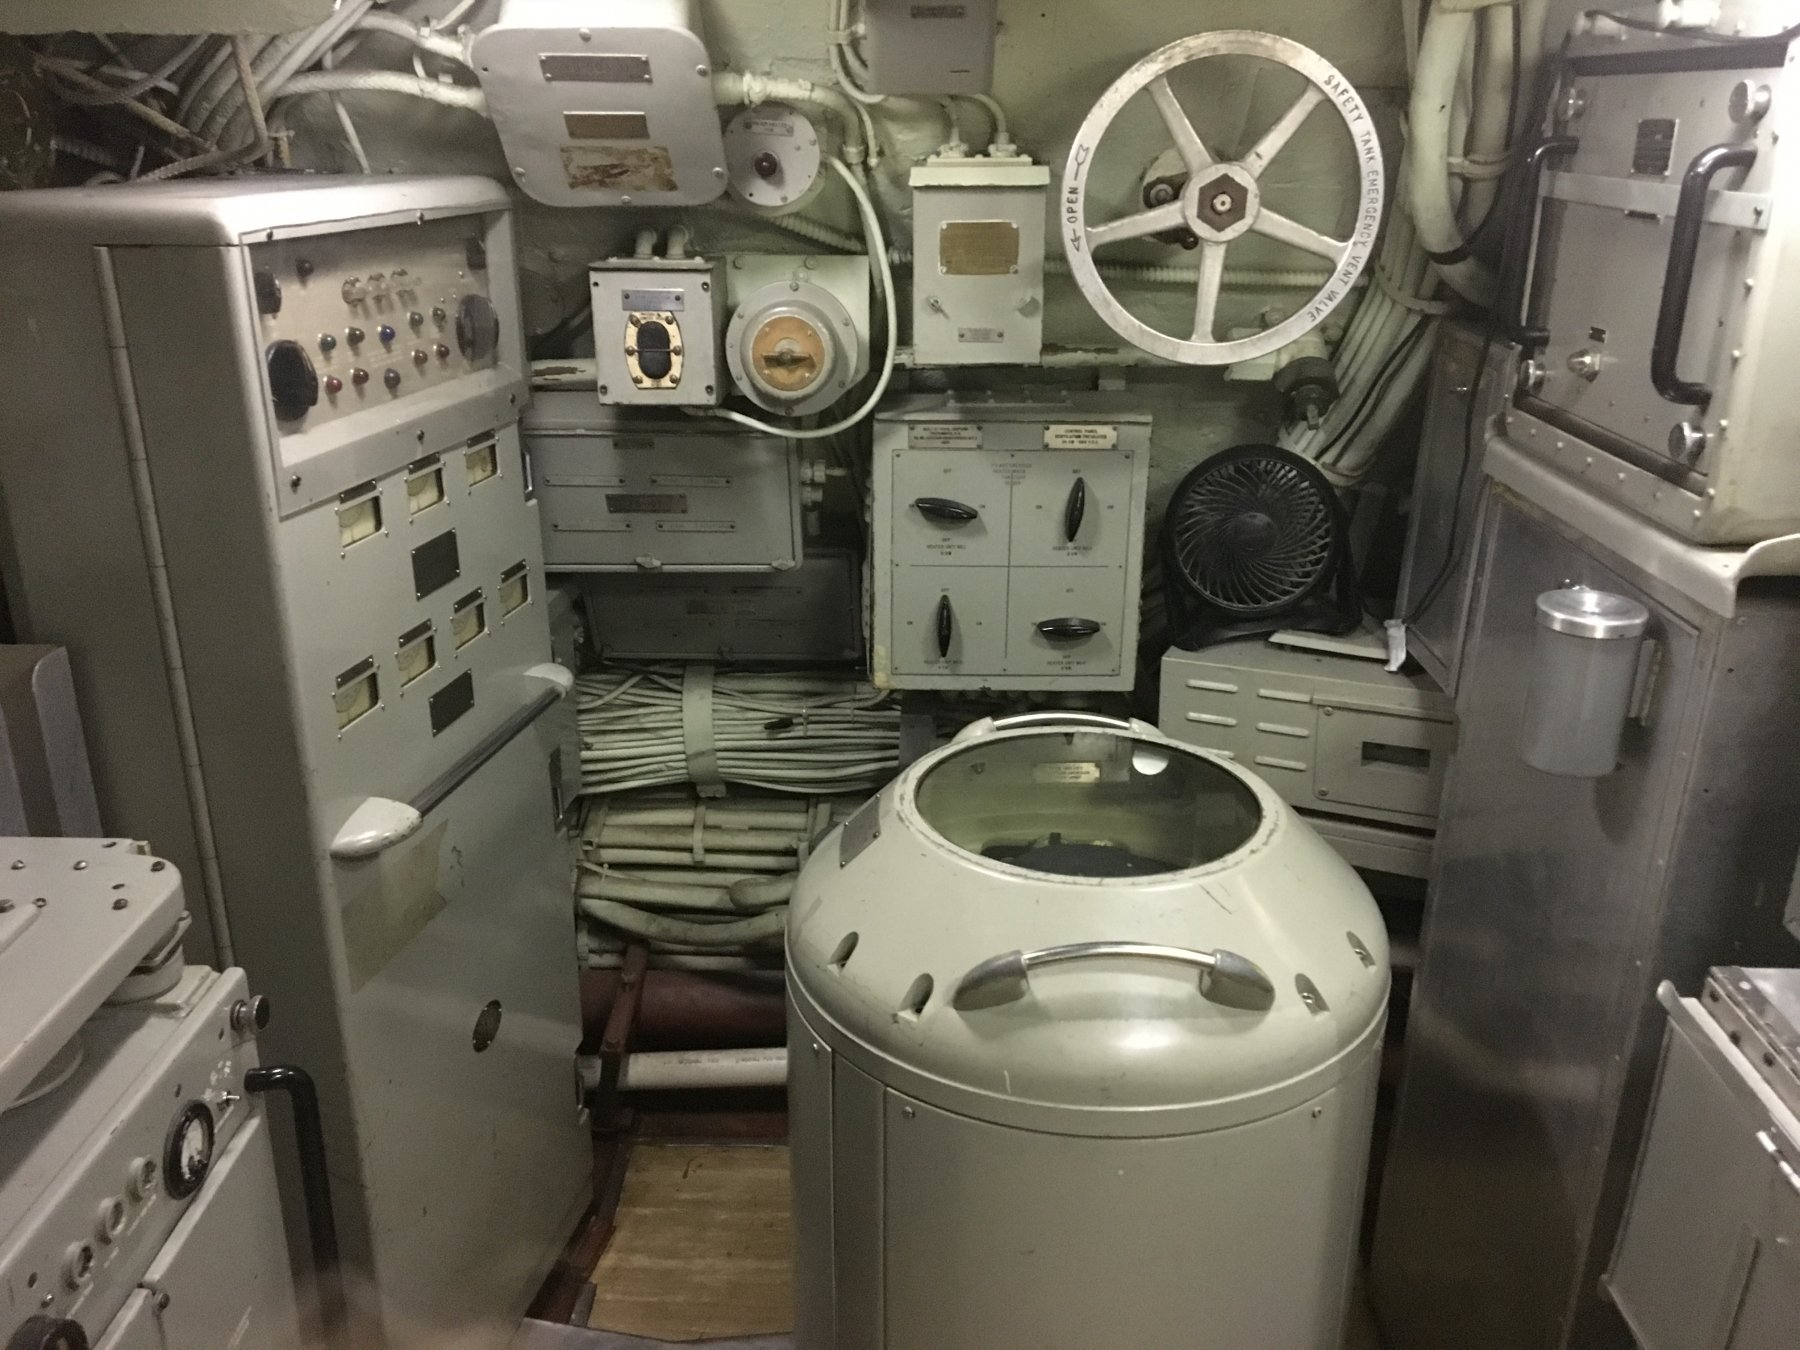
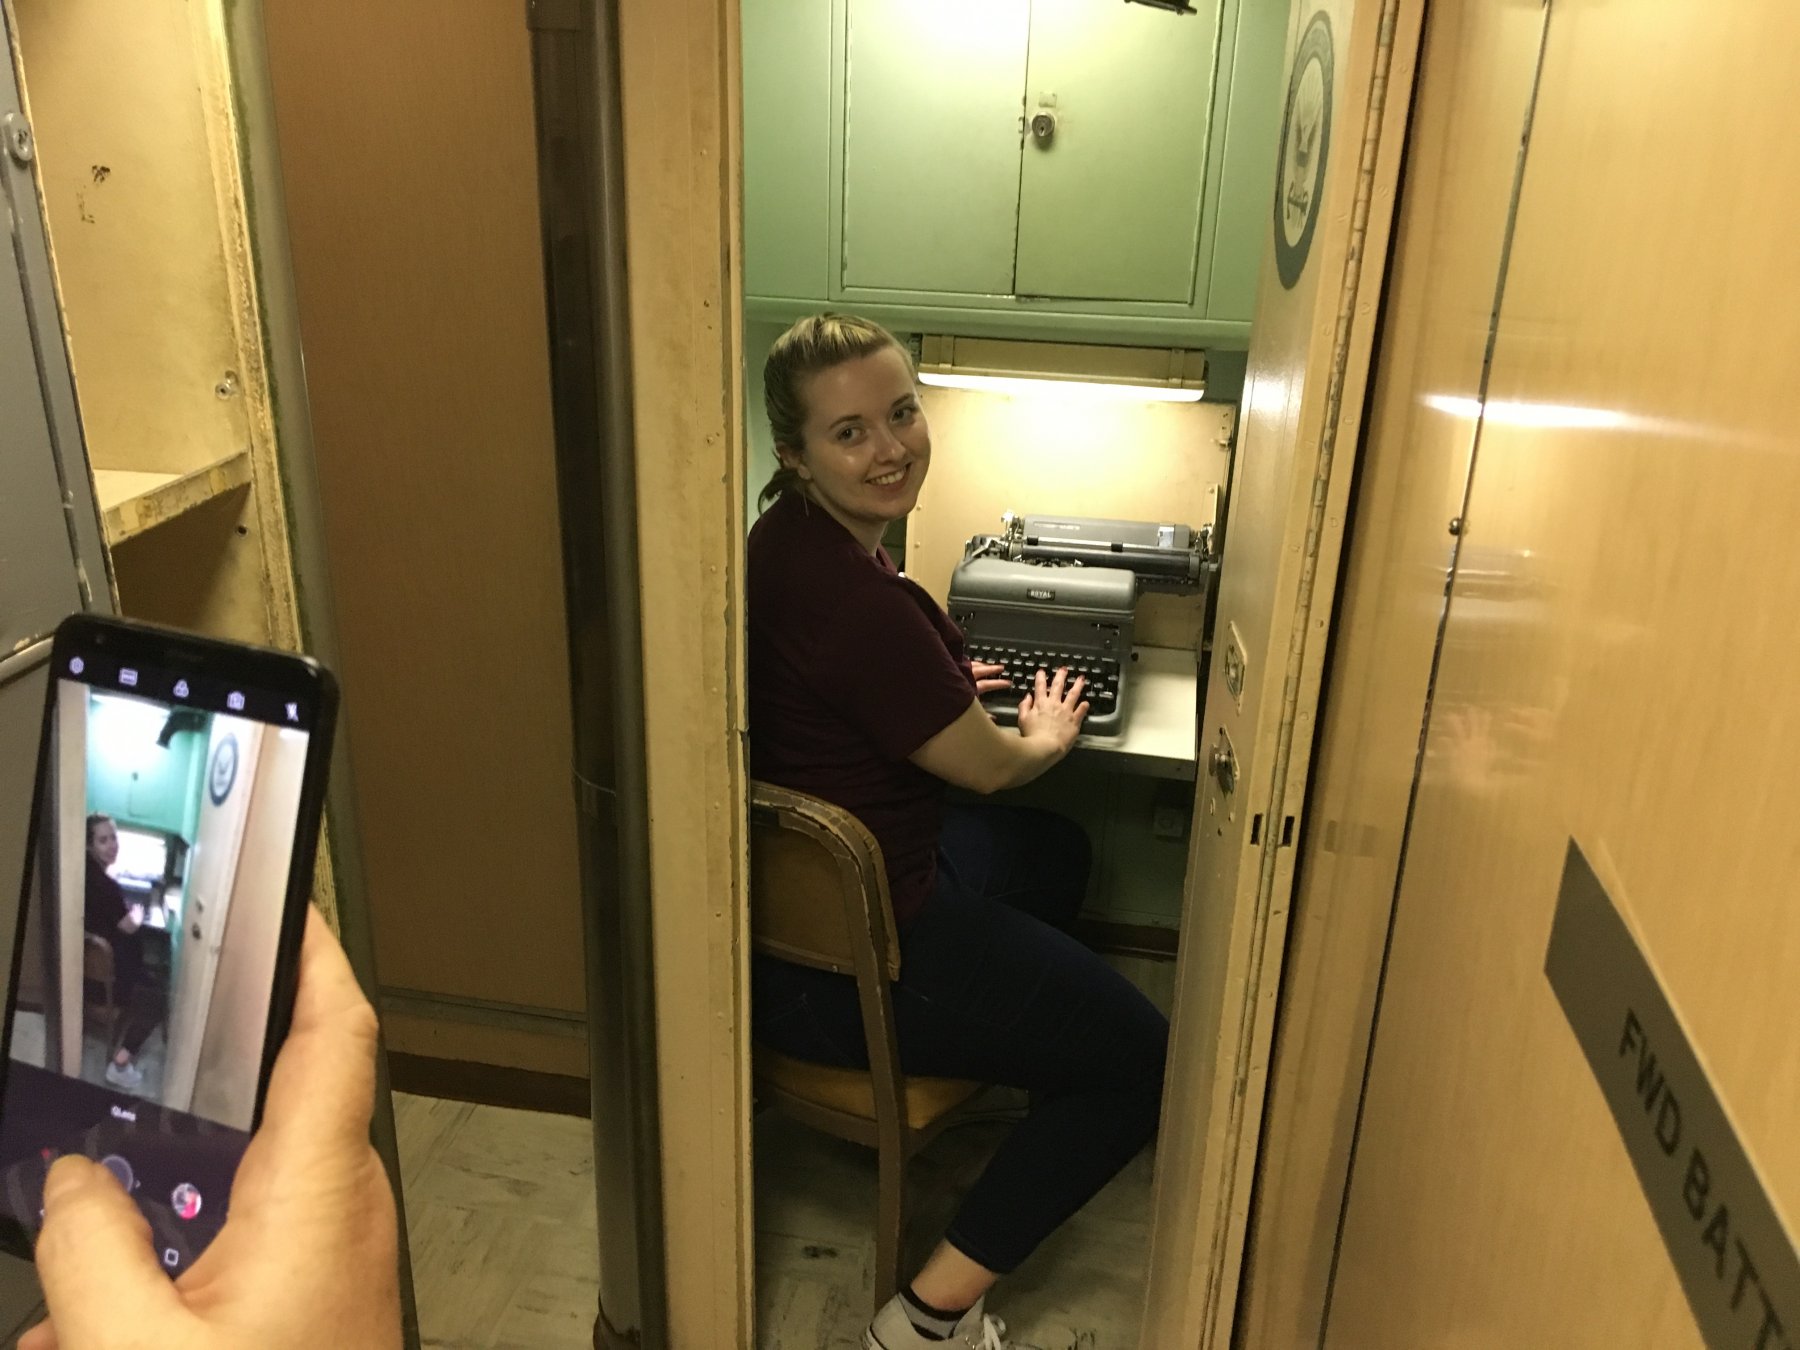
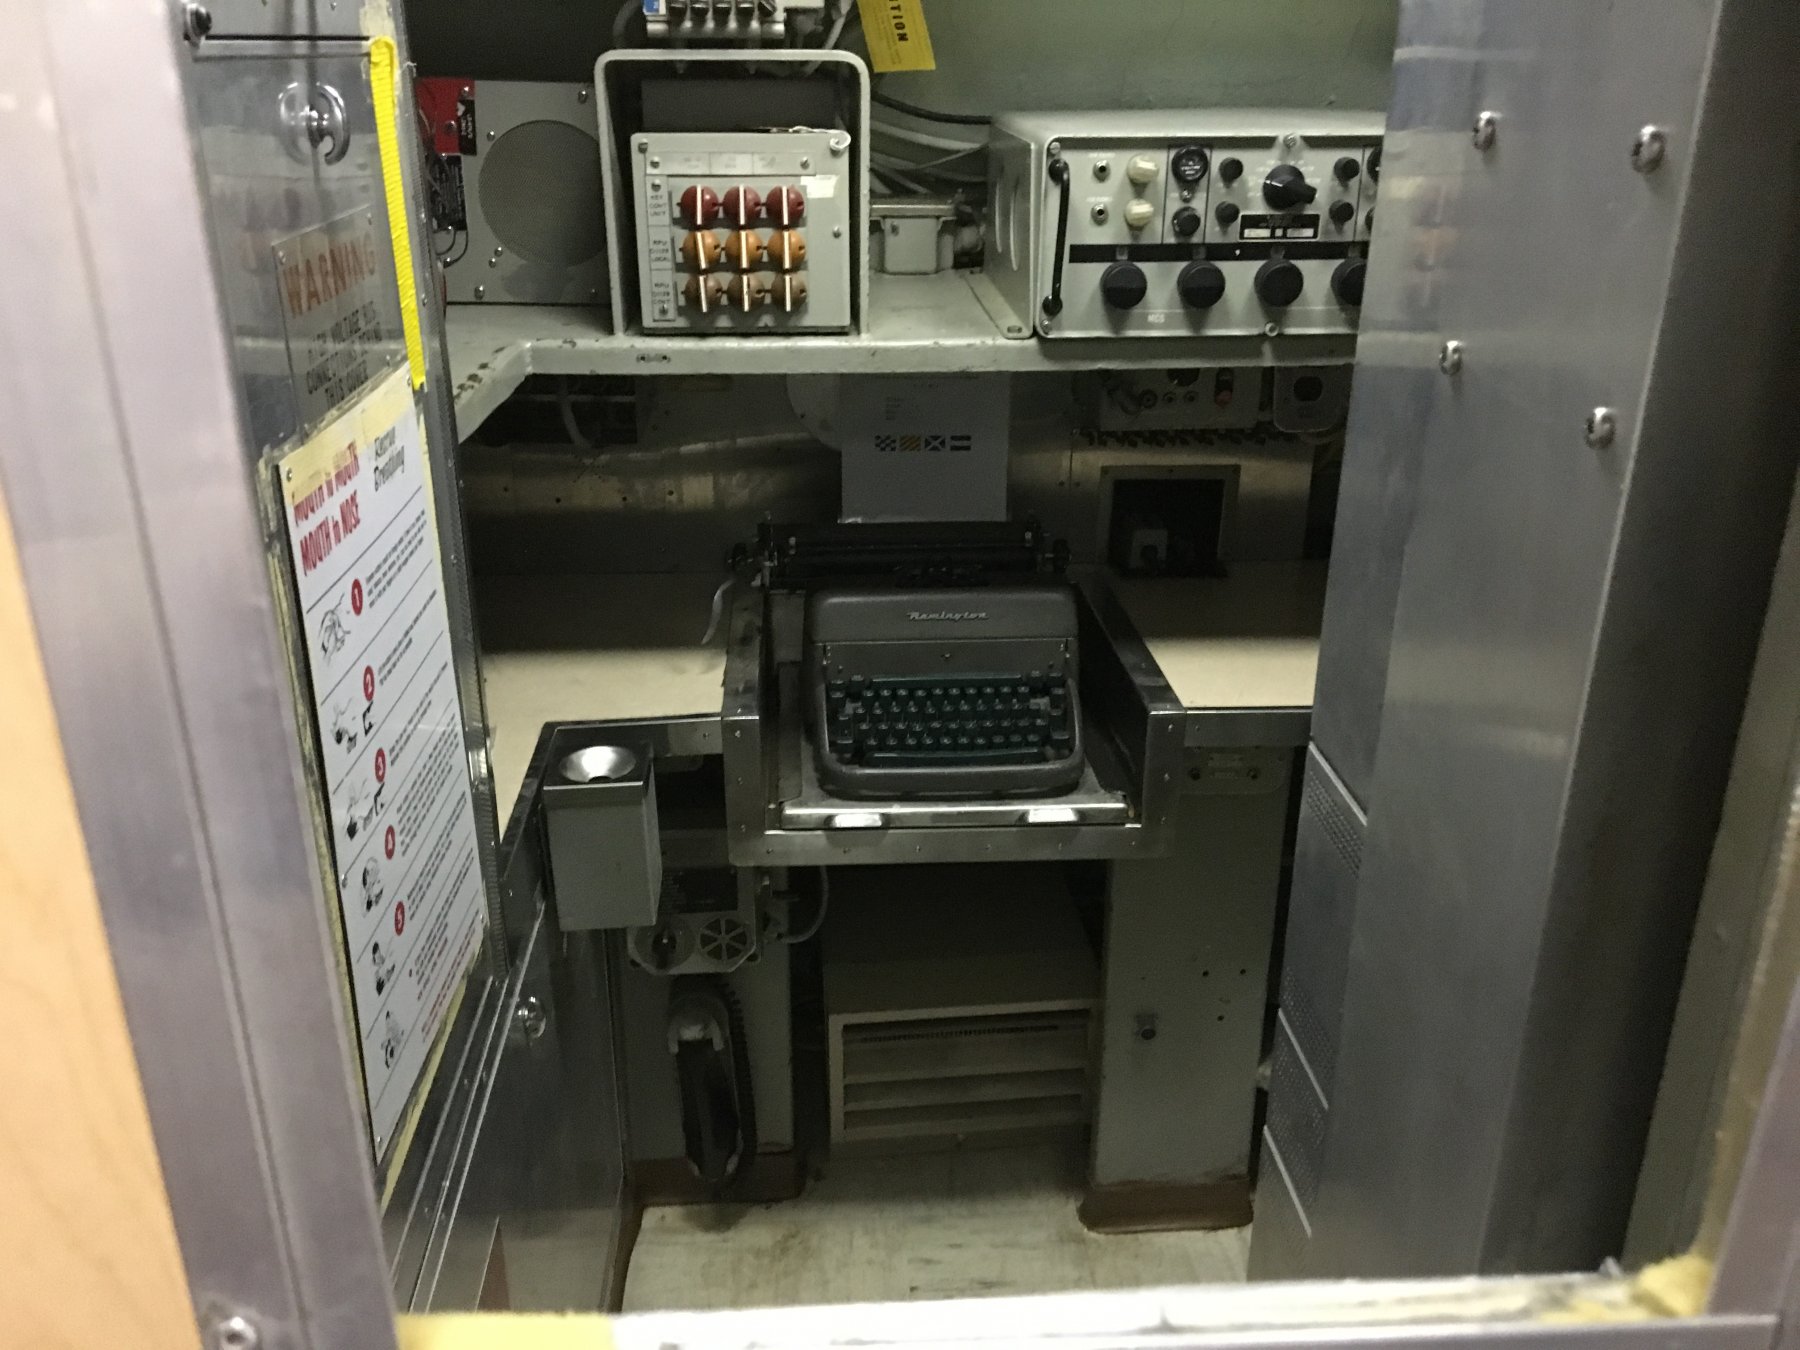
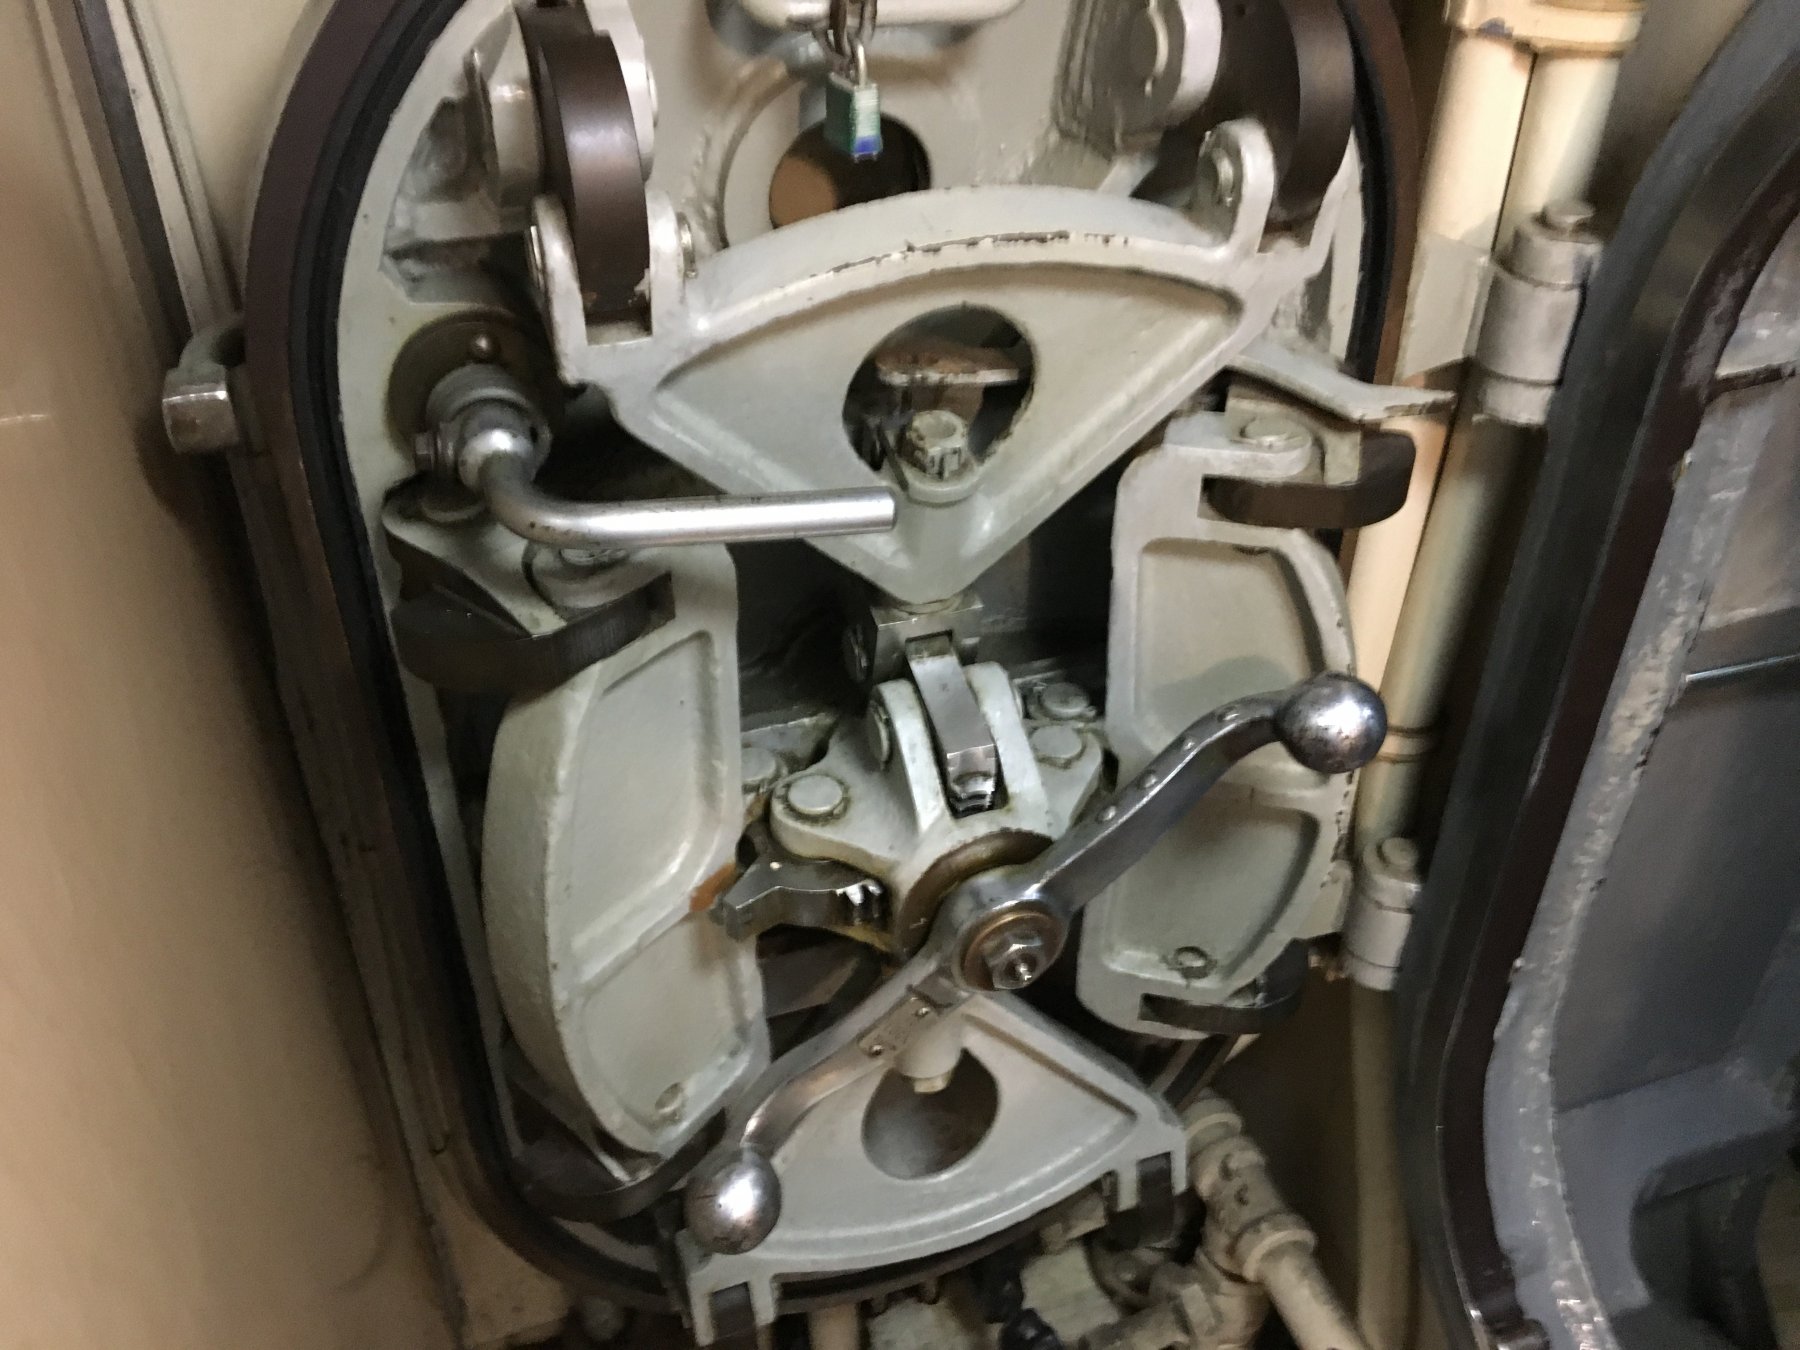
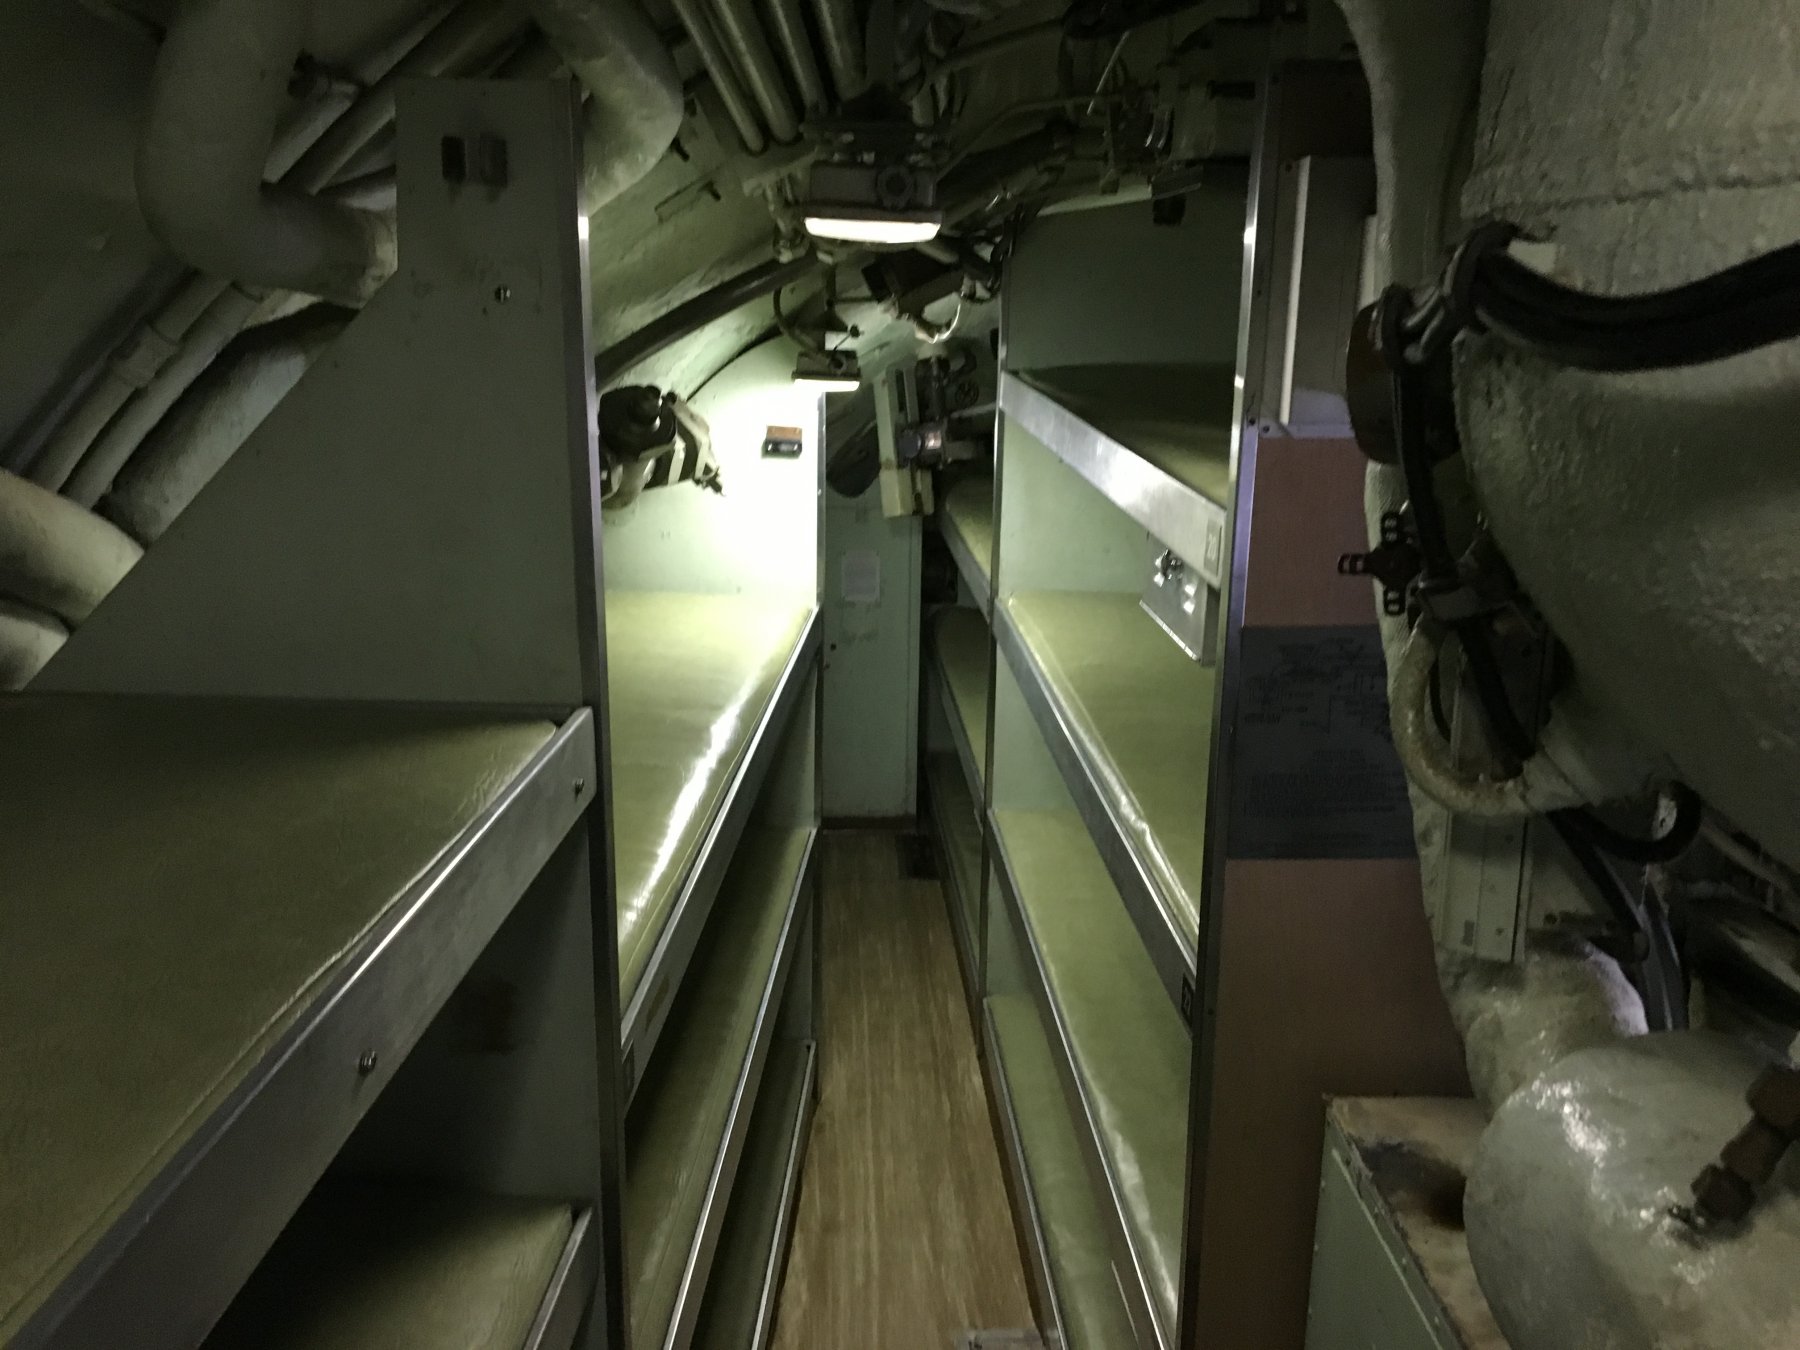
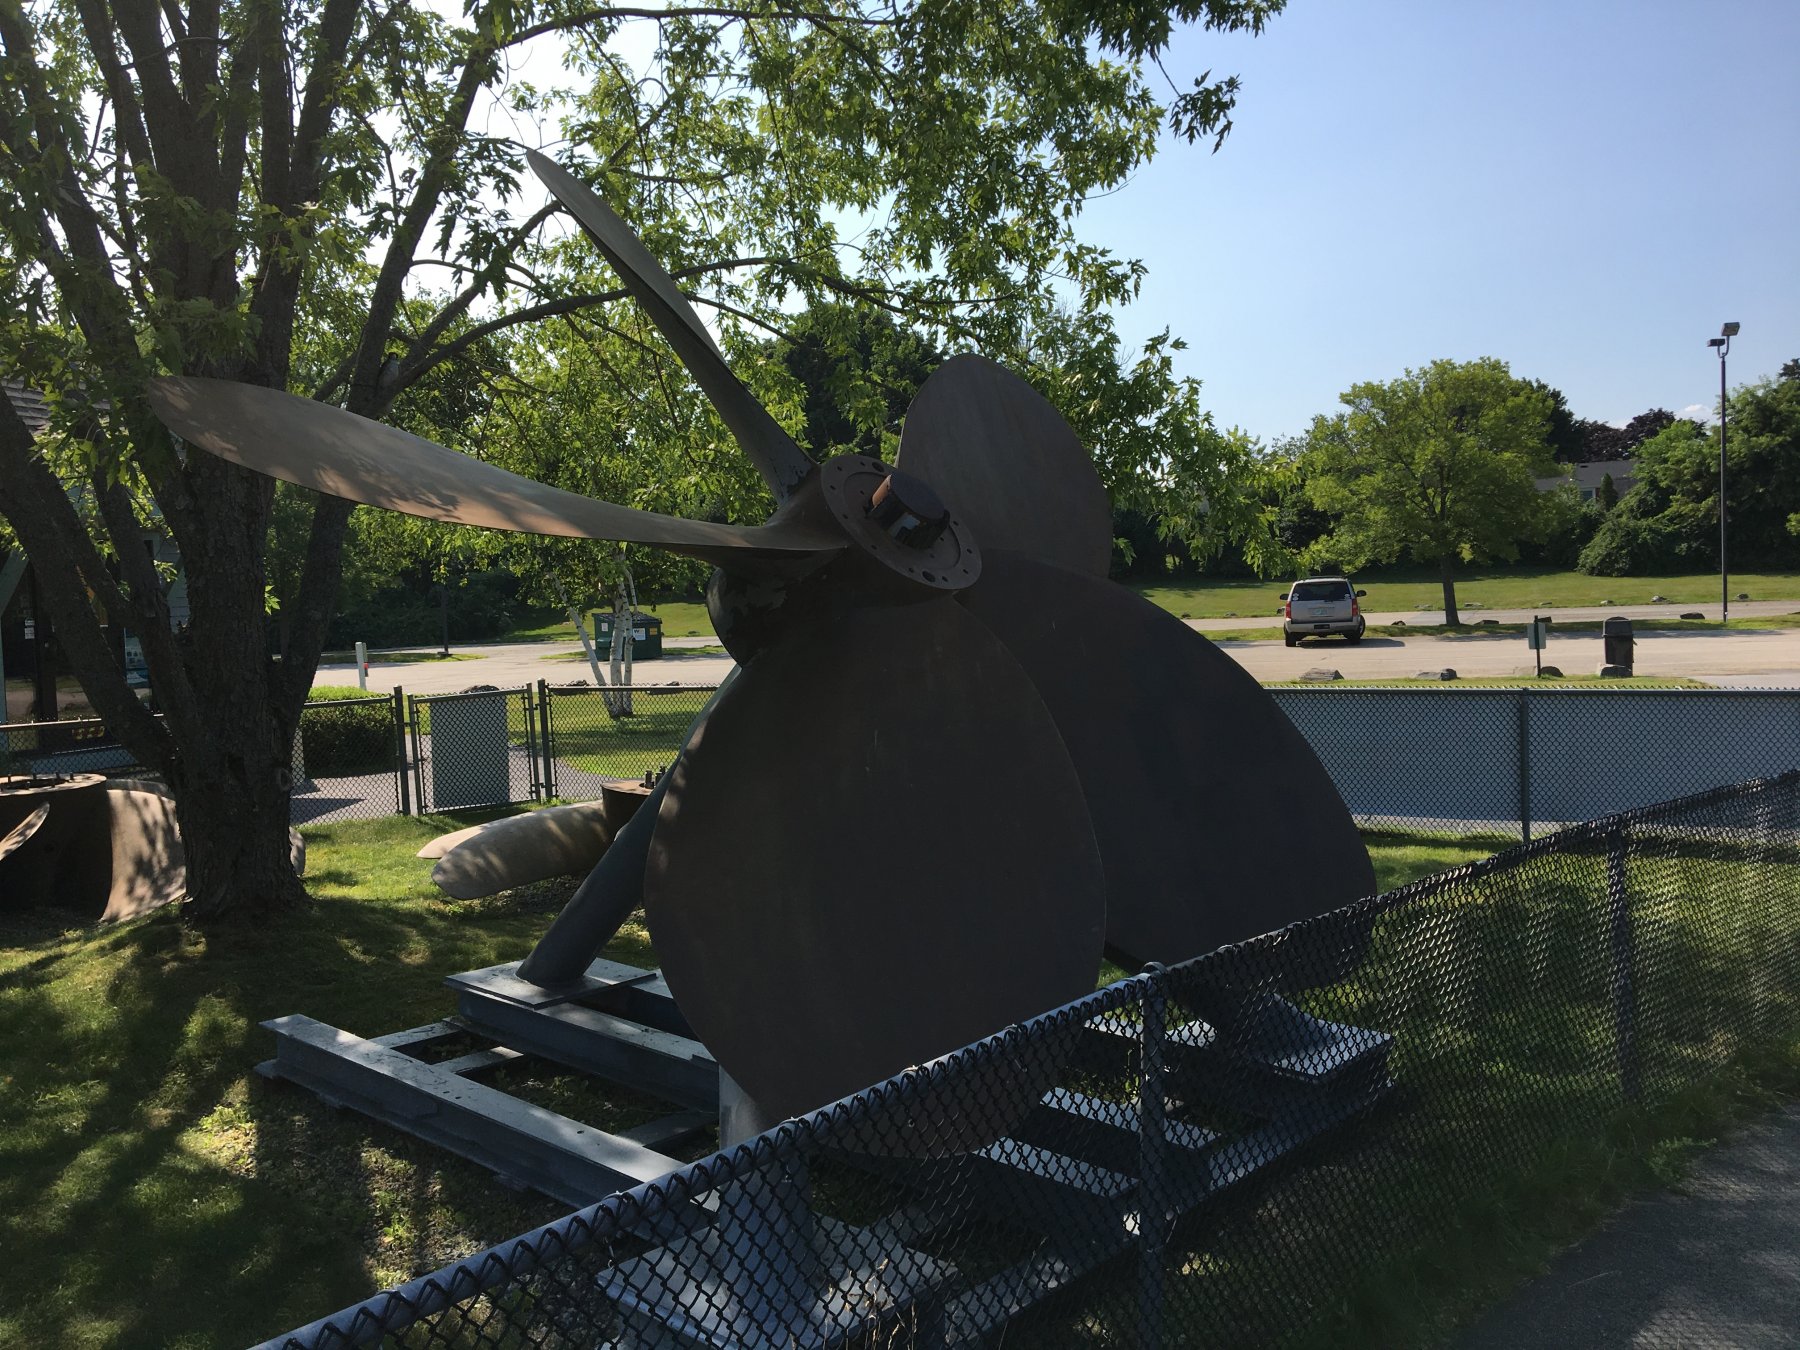
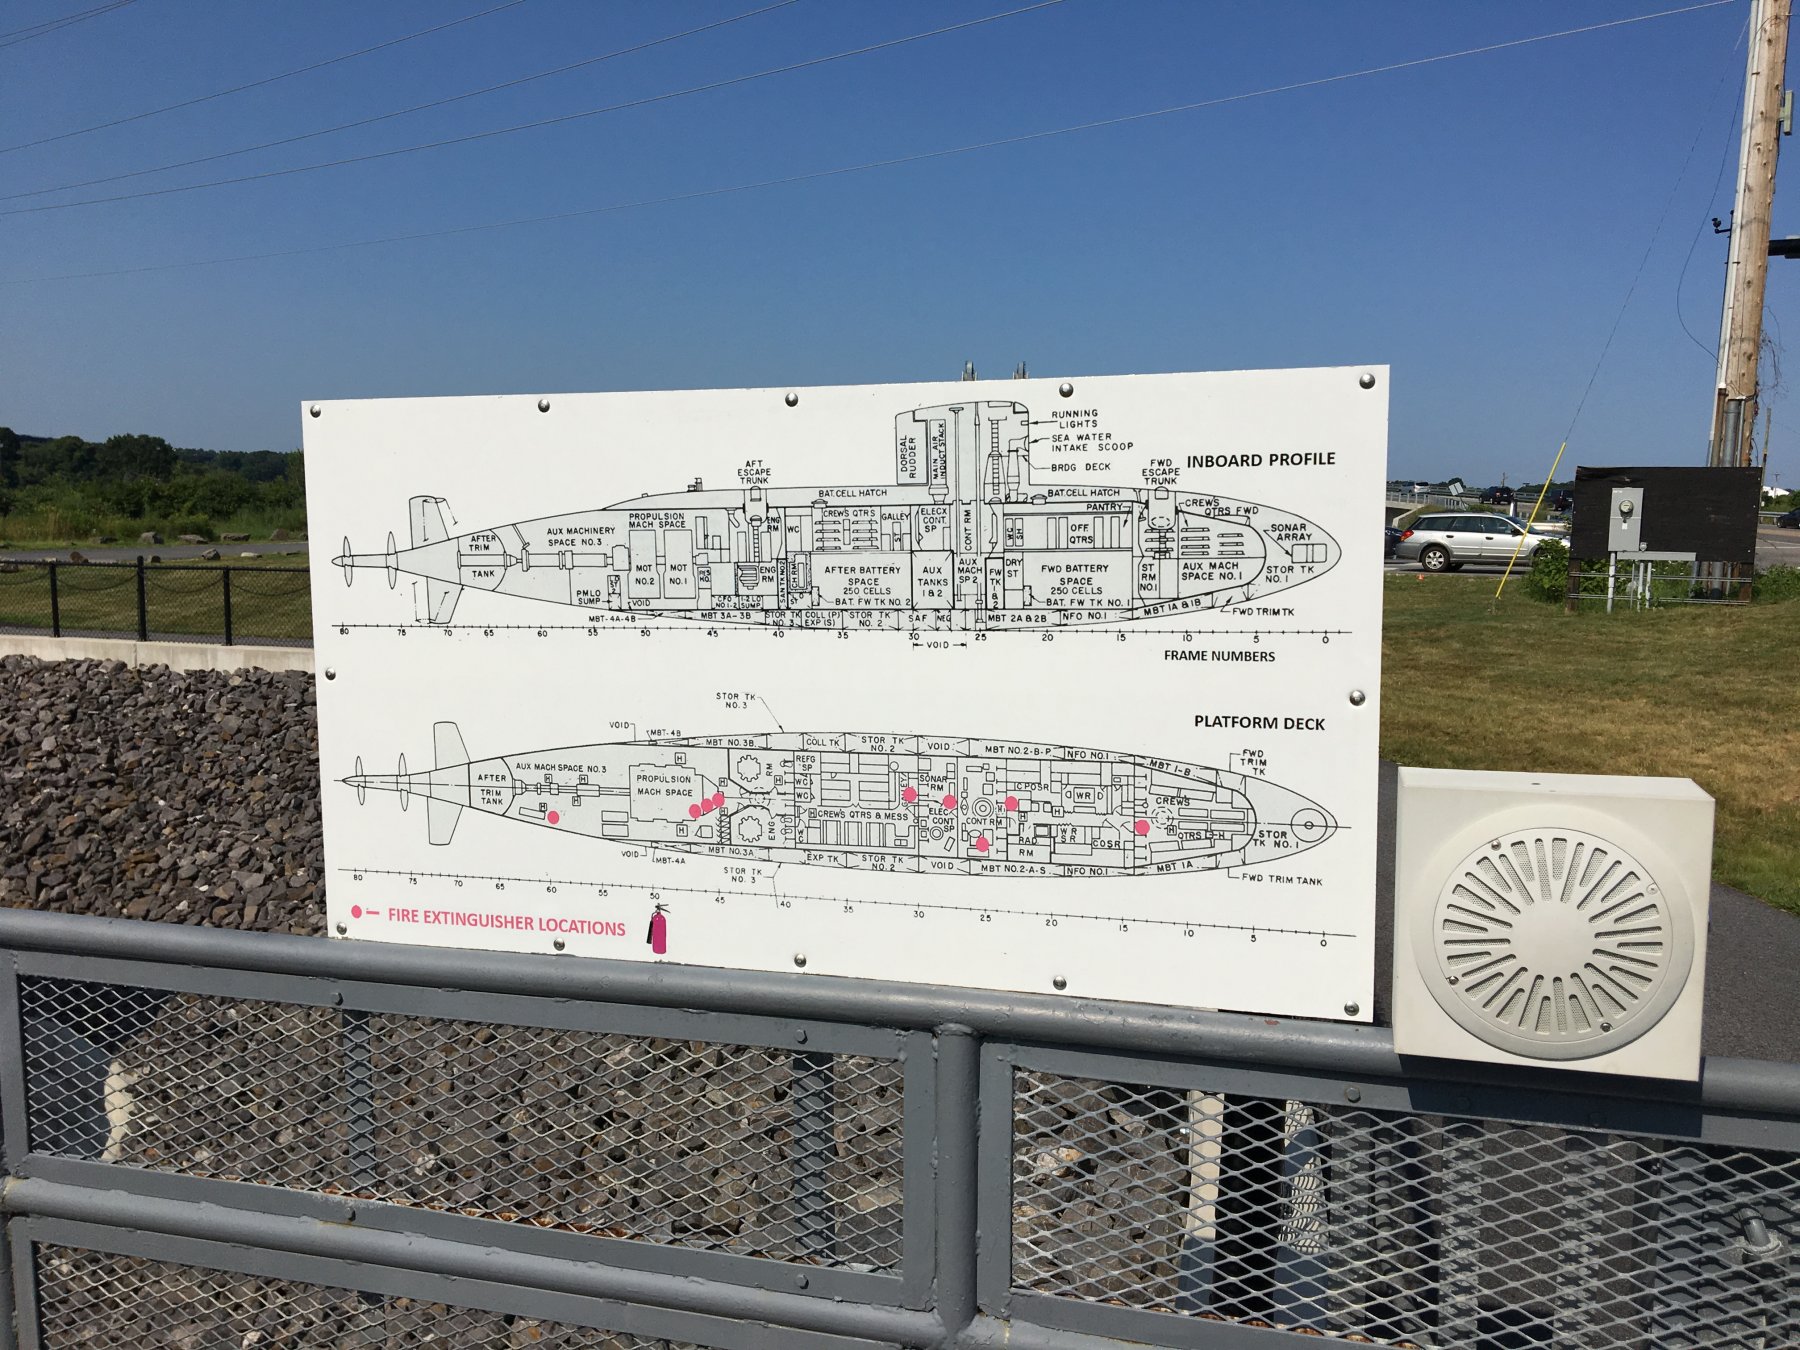
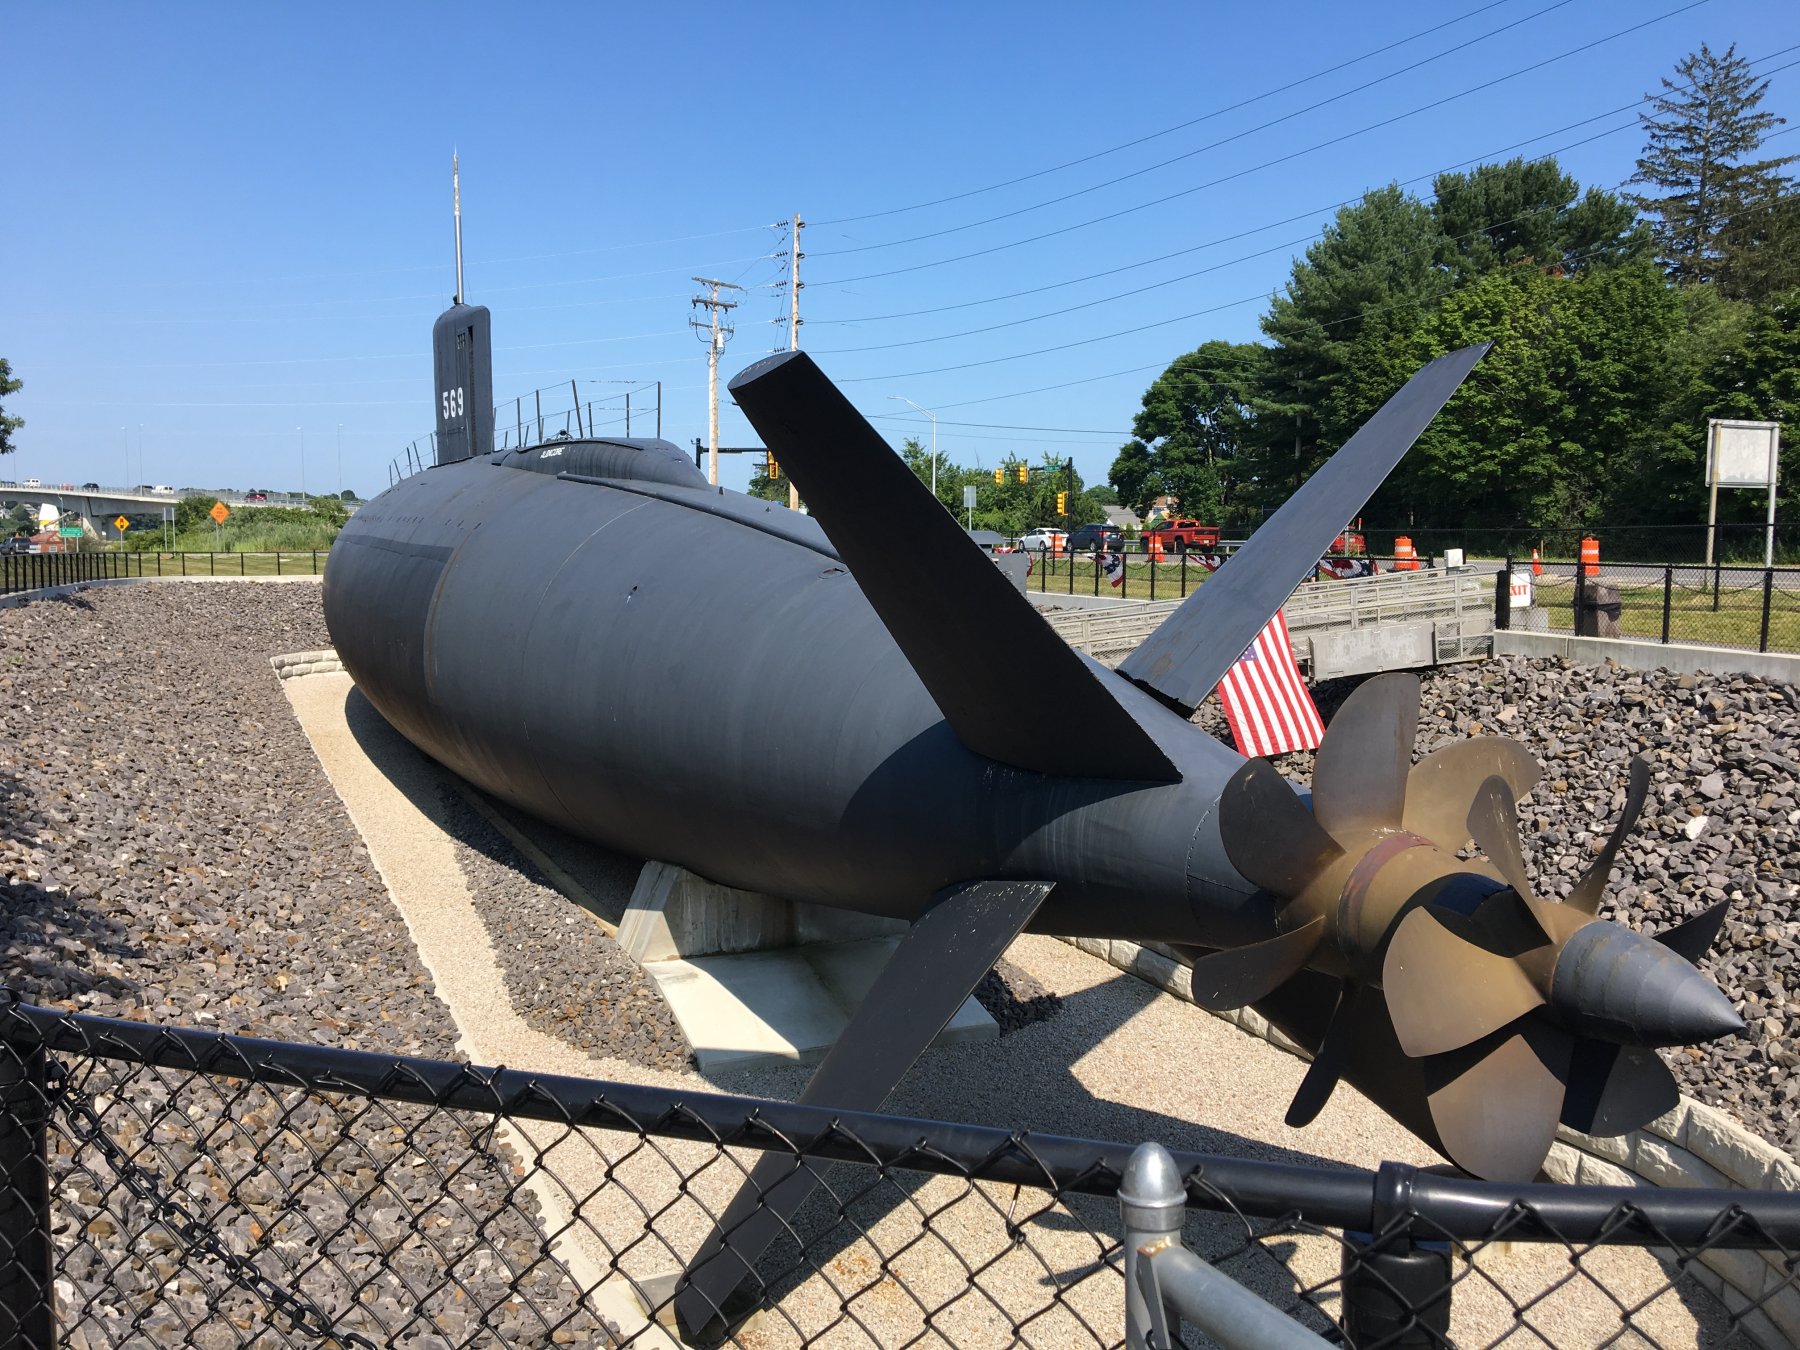
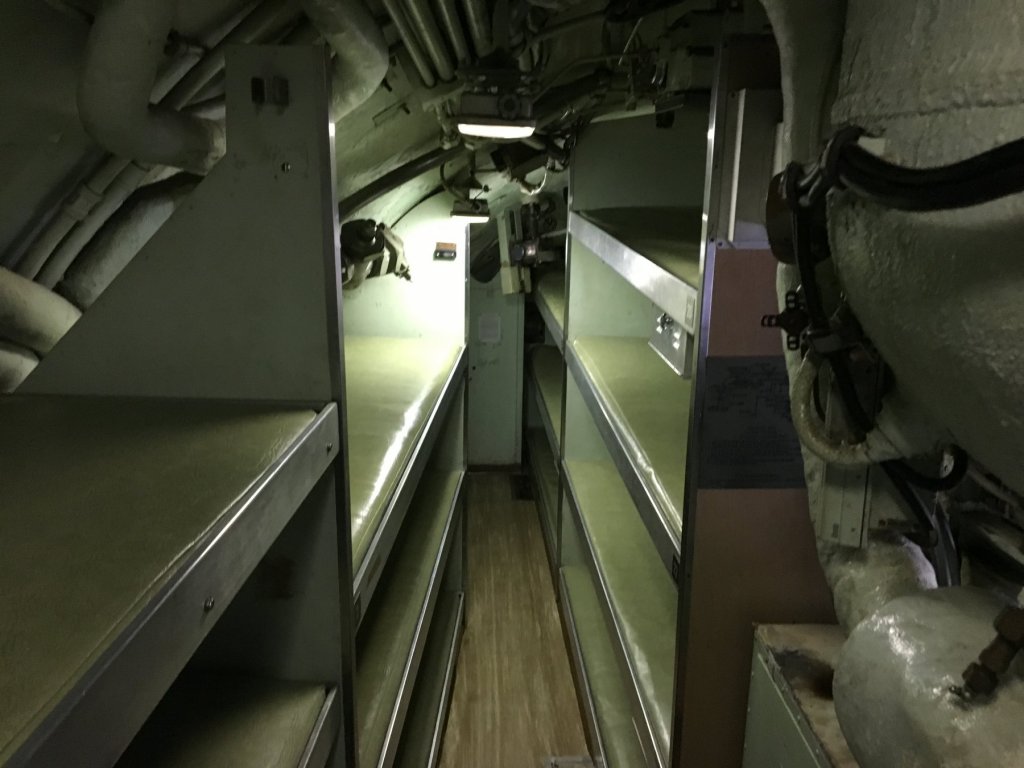
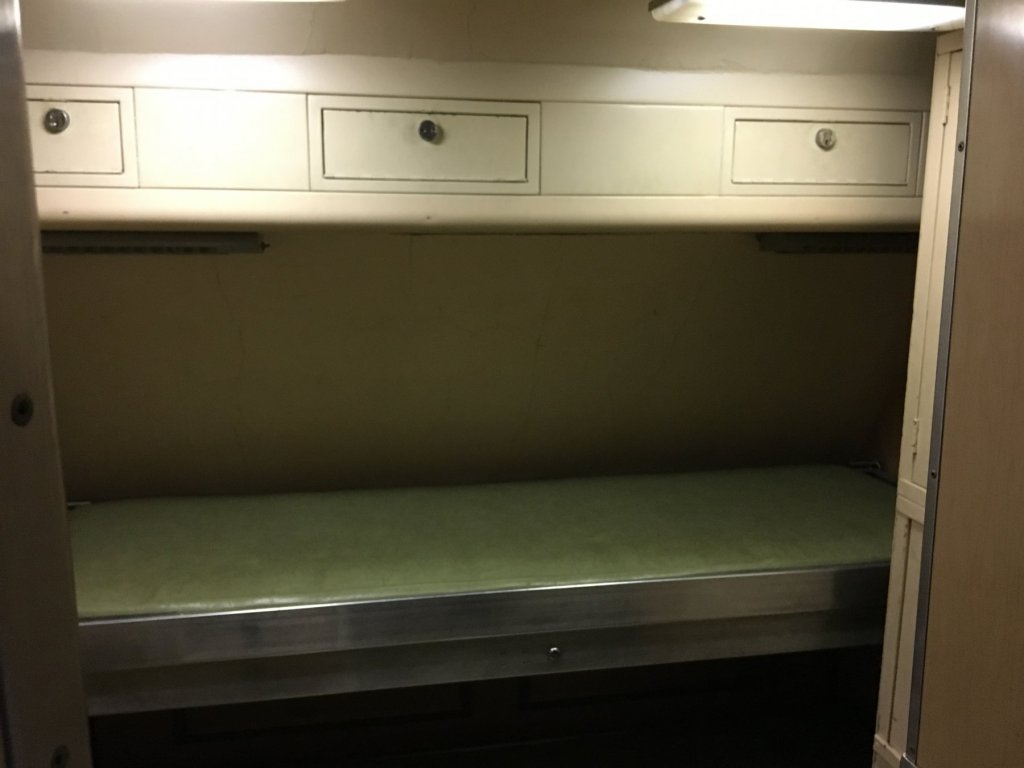
Okay Lou...here are some interior photos of the Albacore. To begin, there is a display of various propellers at the start of the exhibit. A placard explains that the Albacore was built as a test bed for various things, the propellers being chief among the tests performed. The propellers are ones that were used on the sub during the 2 decades of it's service life. The placard in the 2nd photo shows the various components/sections inside the sub. The tour starts from the front and works it's way to the rear of the sub. The 3rd photo shows how incredibly small the bunk spaces are for the crewmen. Believe it or not, the curator claims the Navy does not prefer short or skinny sailors for sub duty, rather they prefer tall and stout crewmen. In the 4th photo, the Admiral begins to slide through one of the bulkhead doors. As you can imagine, I can only fit through that door by turning sideways and squatting way down to slide through. Tricky to say the least and very uncomfortable. IMG_0338.MOV


-
I'll be sure to put Newfound Lake on our "must see" list. Any state whose motto is "Live Free or Die" is at the top of my favorites list. A beautiful state, indeed.
-
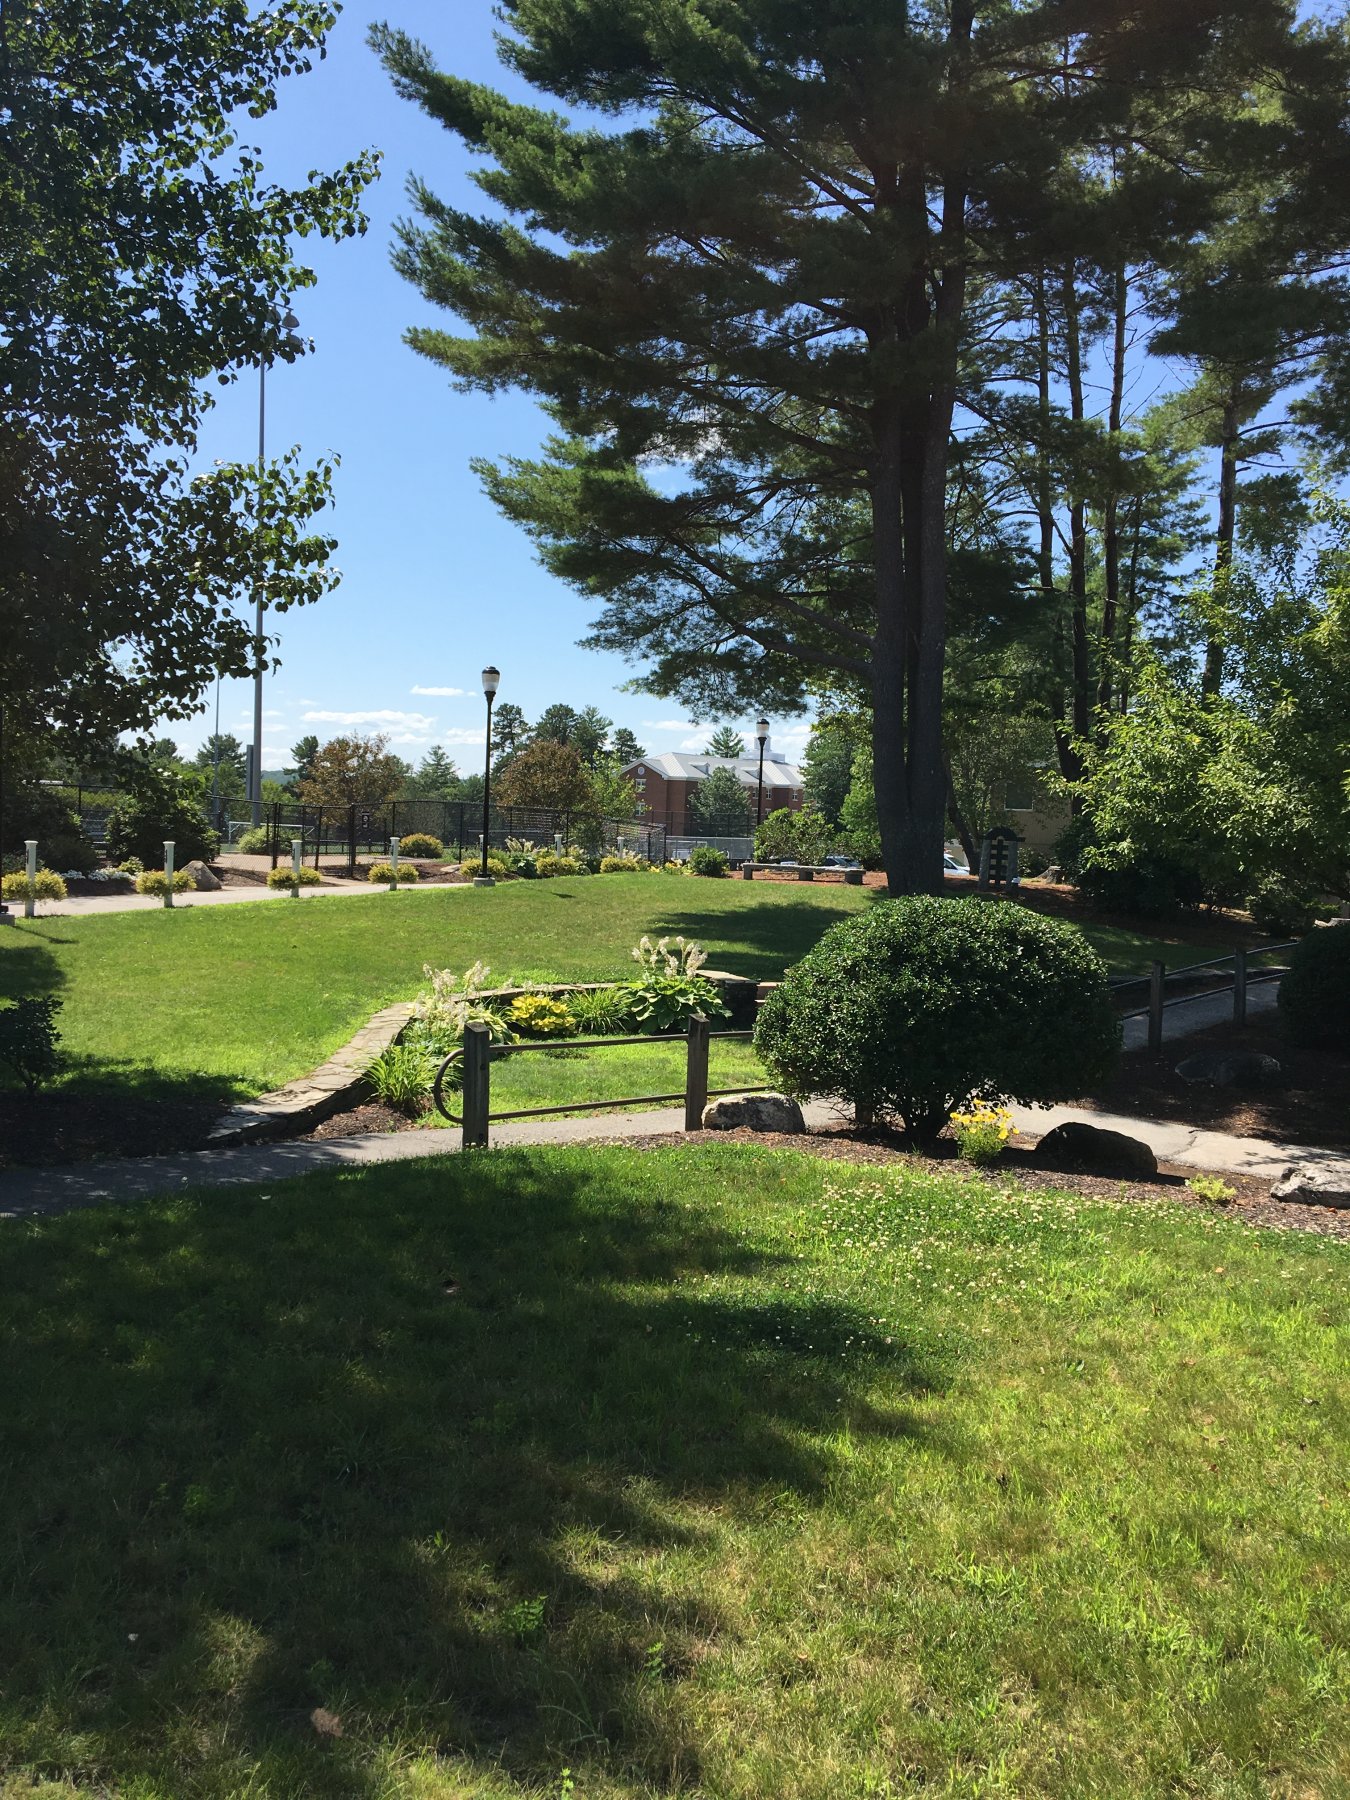
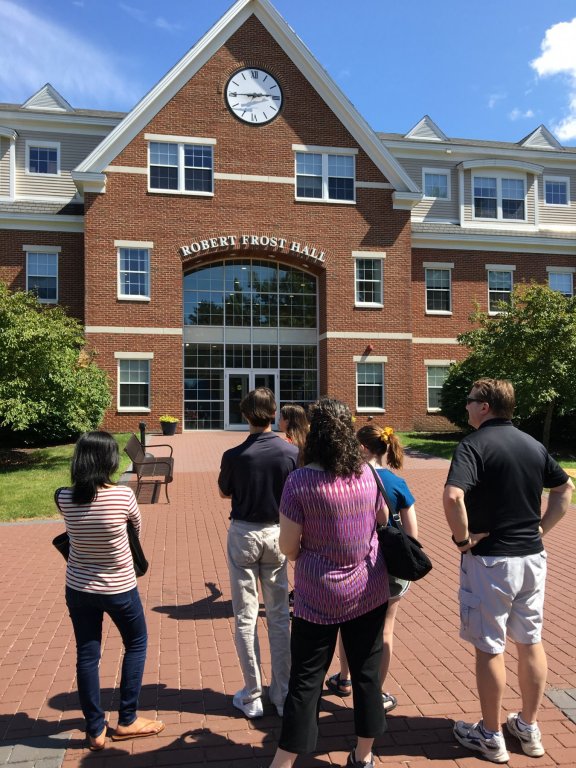
If I told you we were busy while we visited NH, it would be an understatement. Our kids had something scheduled for us every day that lasted from the time we got up each morning until it was time to go to bed. The people, the food, the sites to see were amazing. You have lots of reasons to be very proud of your state. Our kids live about 5 minutes from the SNHU administrative buildings where our oldest daughter works, and the campus is just across the interstate. Unfortunately, it's a bit further to drive around to the exit and circle back to it (campus) but was impressed with the neatness of it and all the technology offered there.

-
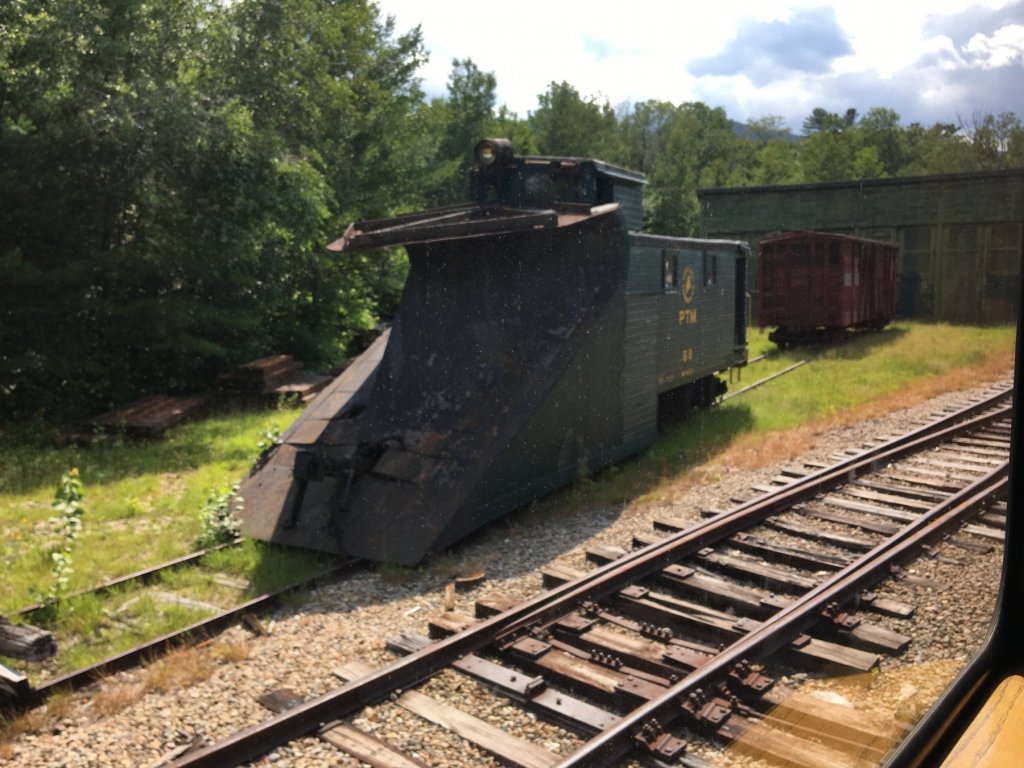
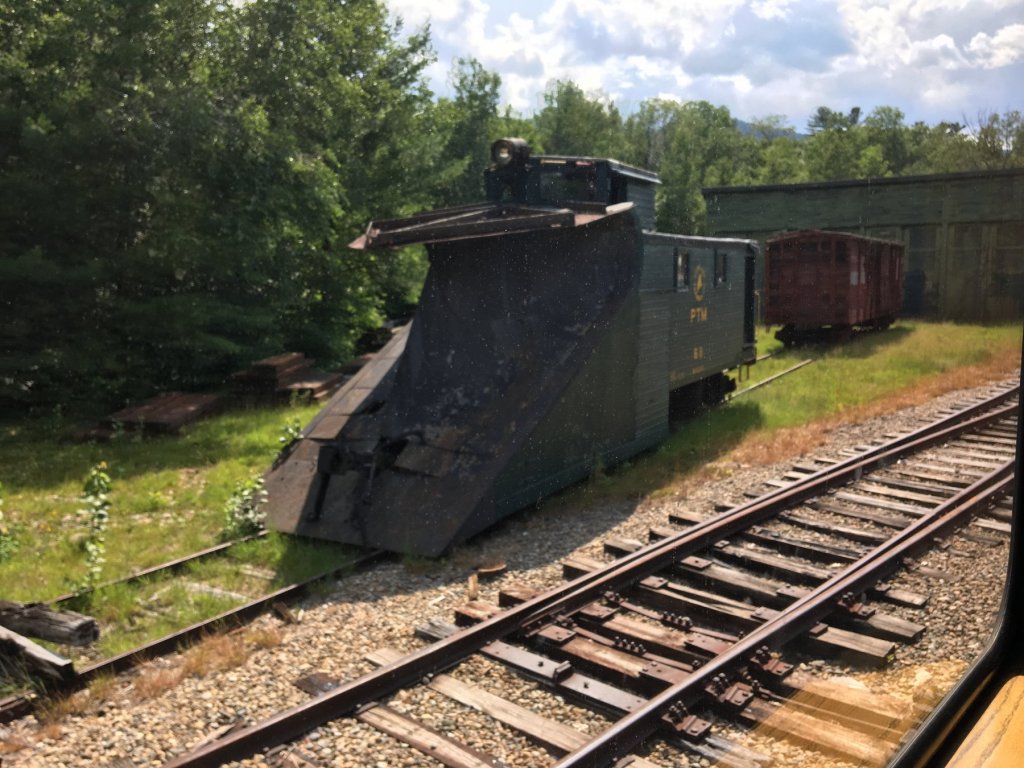
I got a couple of pictures of an old snow plow railroad car. Not sure if that's the correct terminology, but you know what I mean.
-
It was very uncomfortable in the sub. Hot, stuffy, and crowded. Will post some inside photos after I get home.
-
Love that plane. Your model really did justice to “the last gunfighter”.
-
Yes Jack. That’s the lake. I could hardly recall the name of it, much less spell it correctly. You are THE MAN. 😳
-
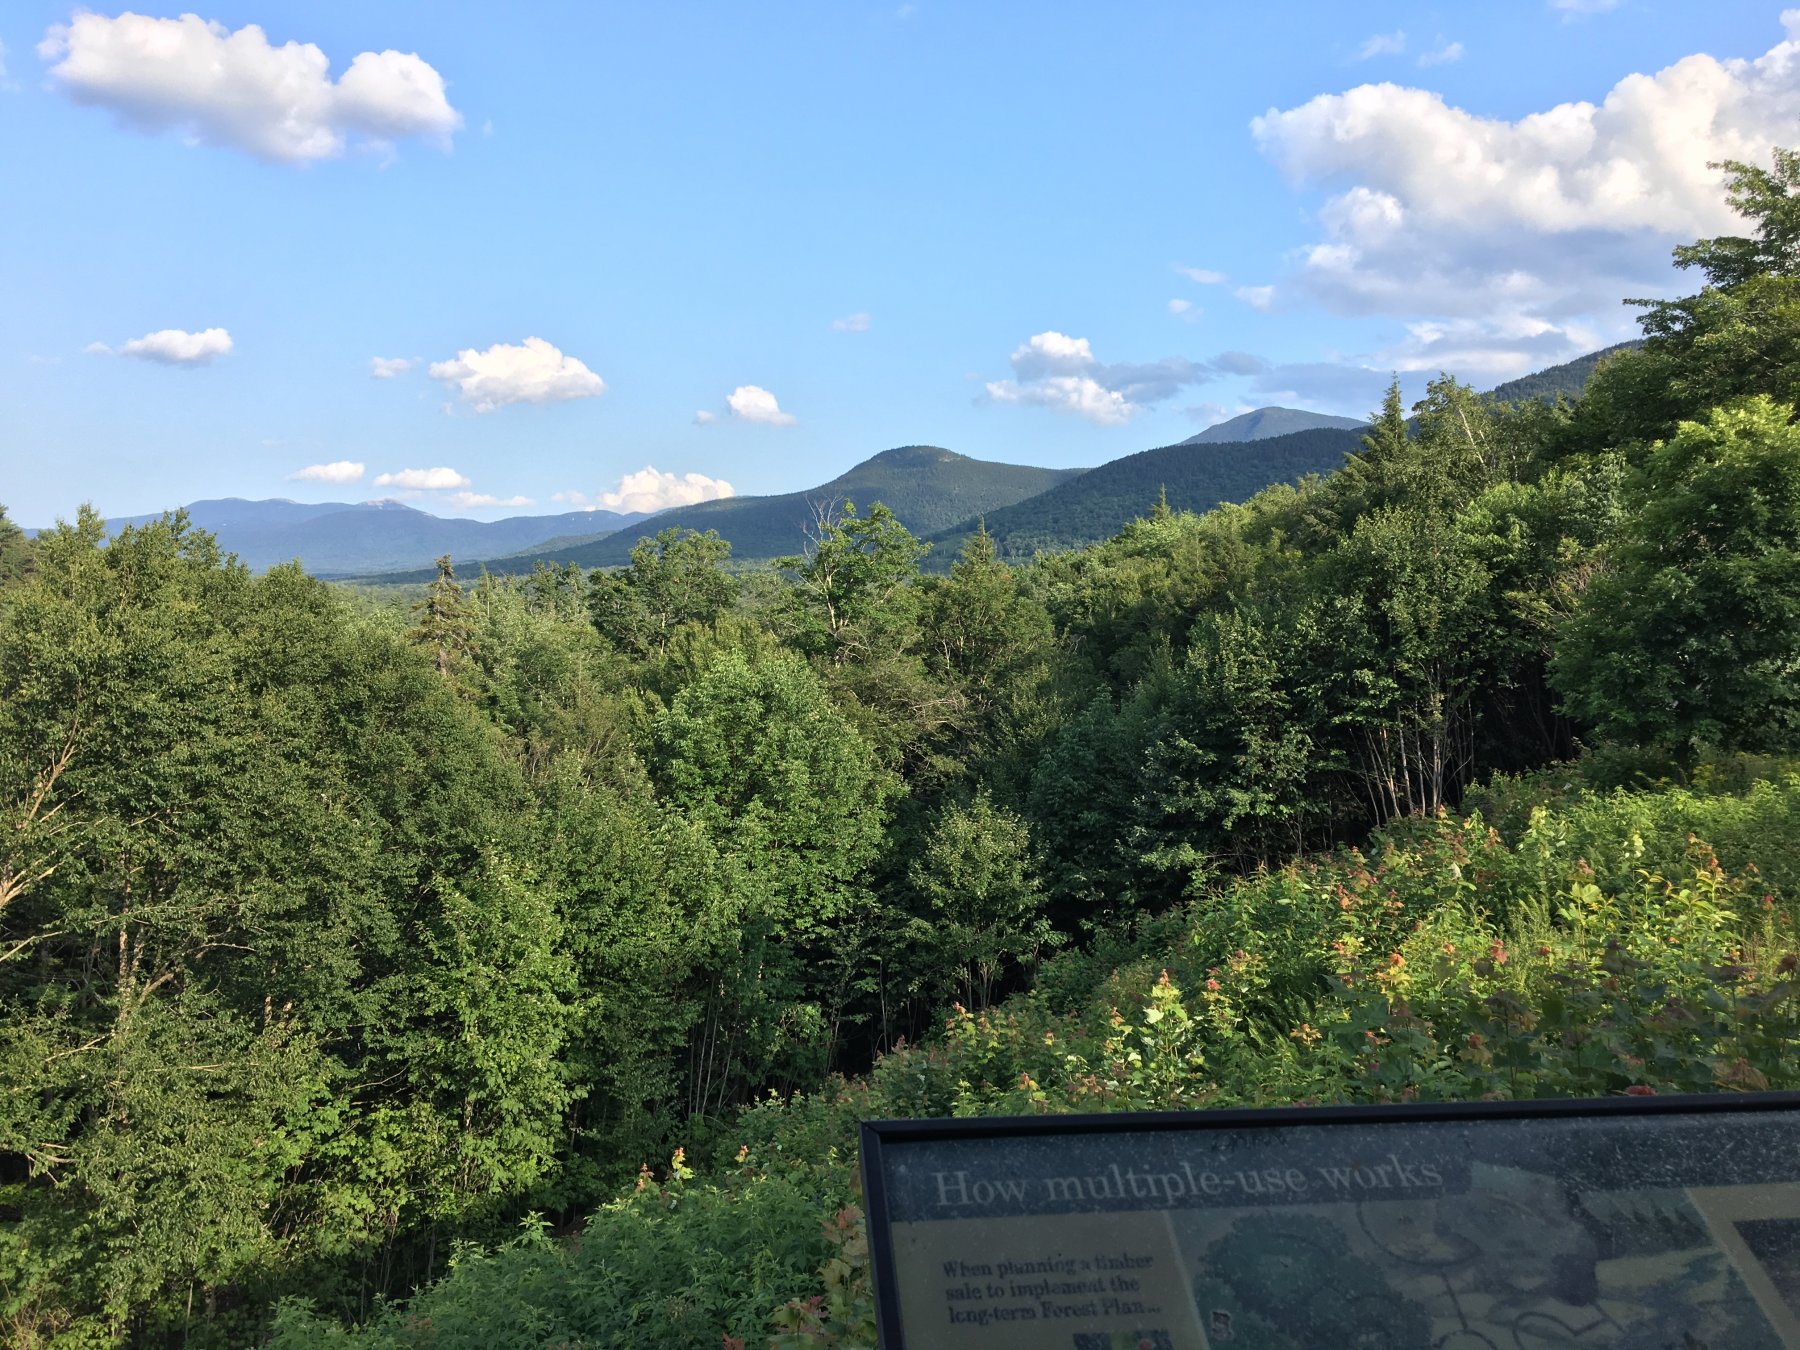
We wanted to visit the observatory atop Mount Washington but have run out of time. Will have to do it on our next visit. It’s the highest peak in the eastern USA. It’s also the site where the highest wind speed has been recorded, 231 mph. Hope I’m not there when that record gets broken. We fly out for home tomorrow.
-
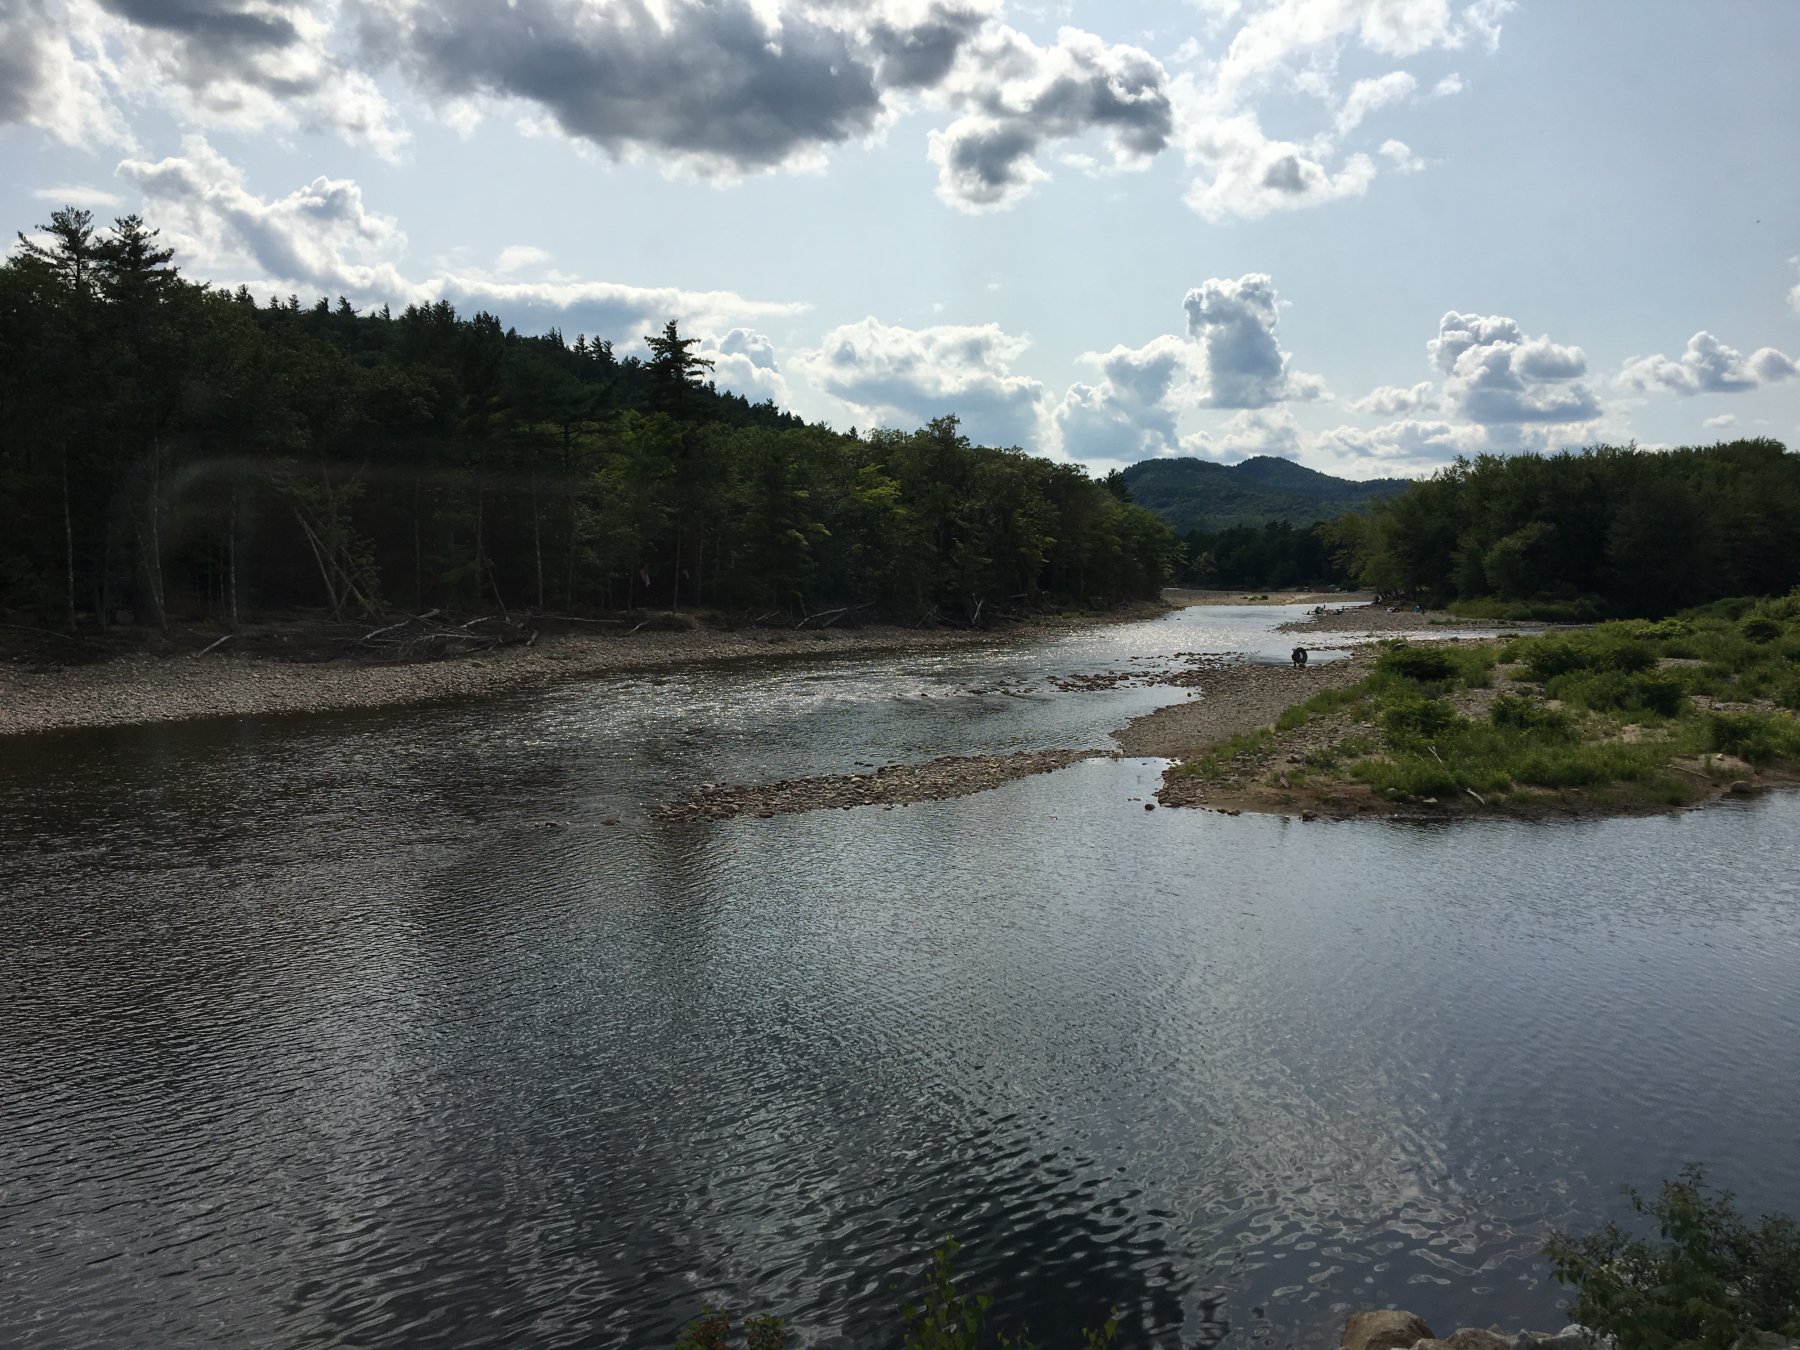
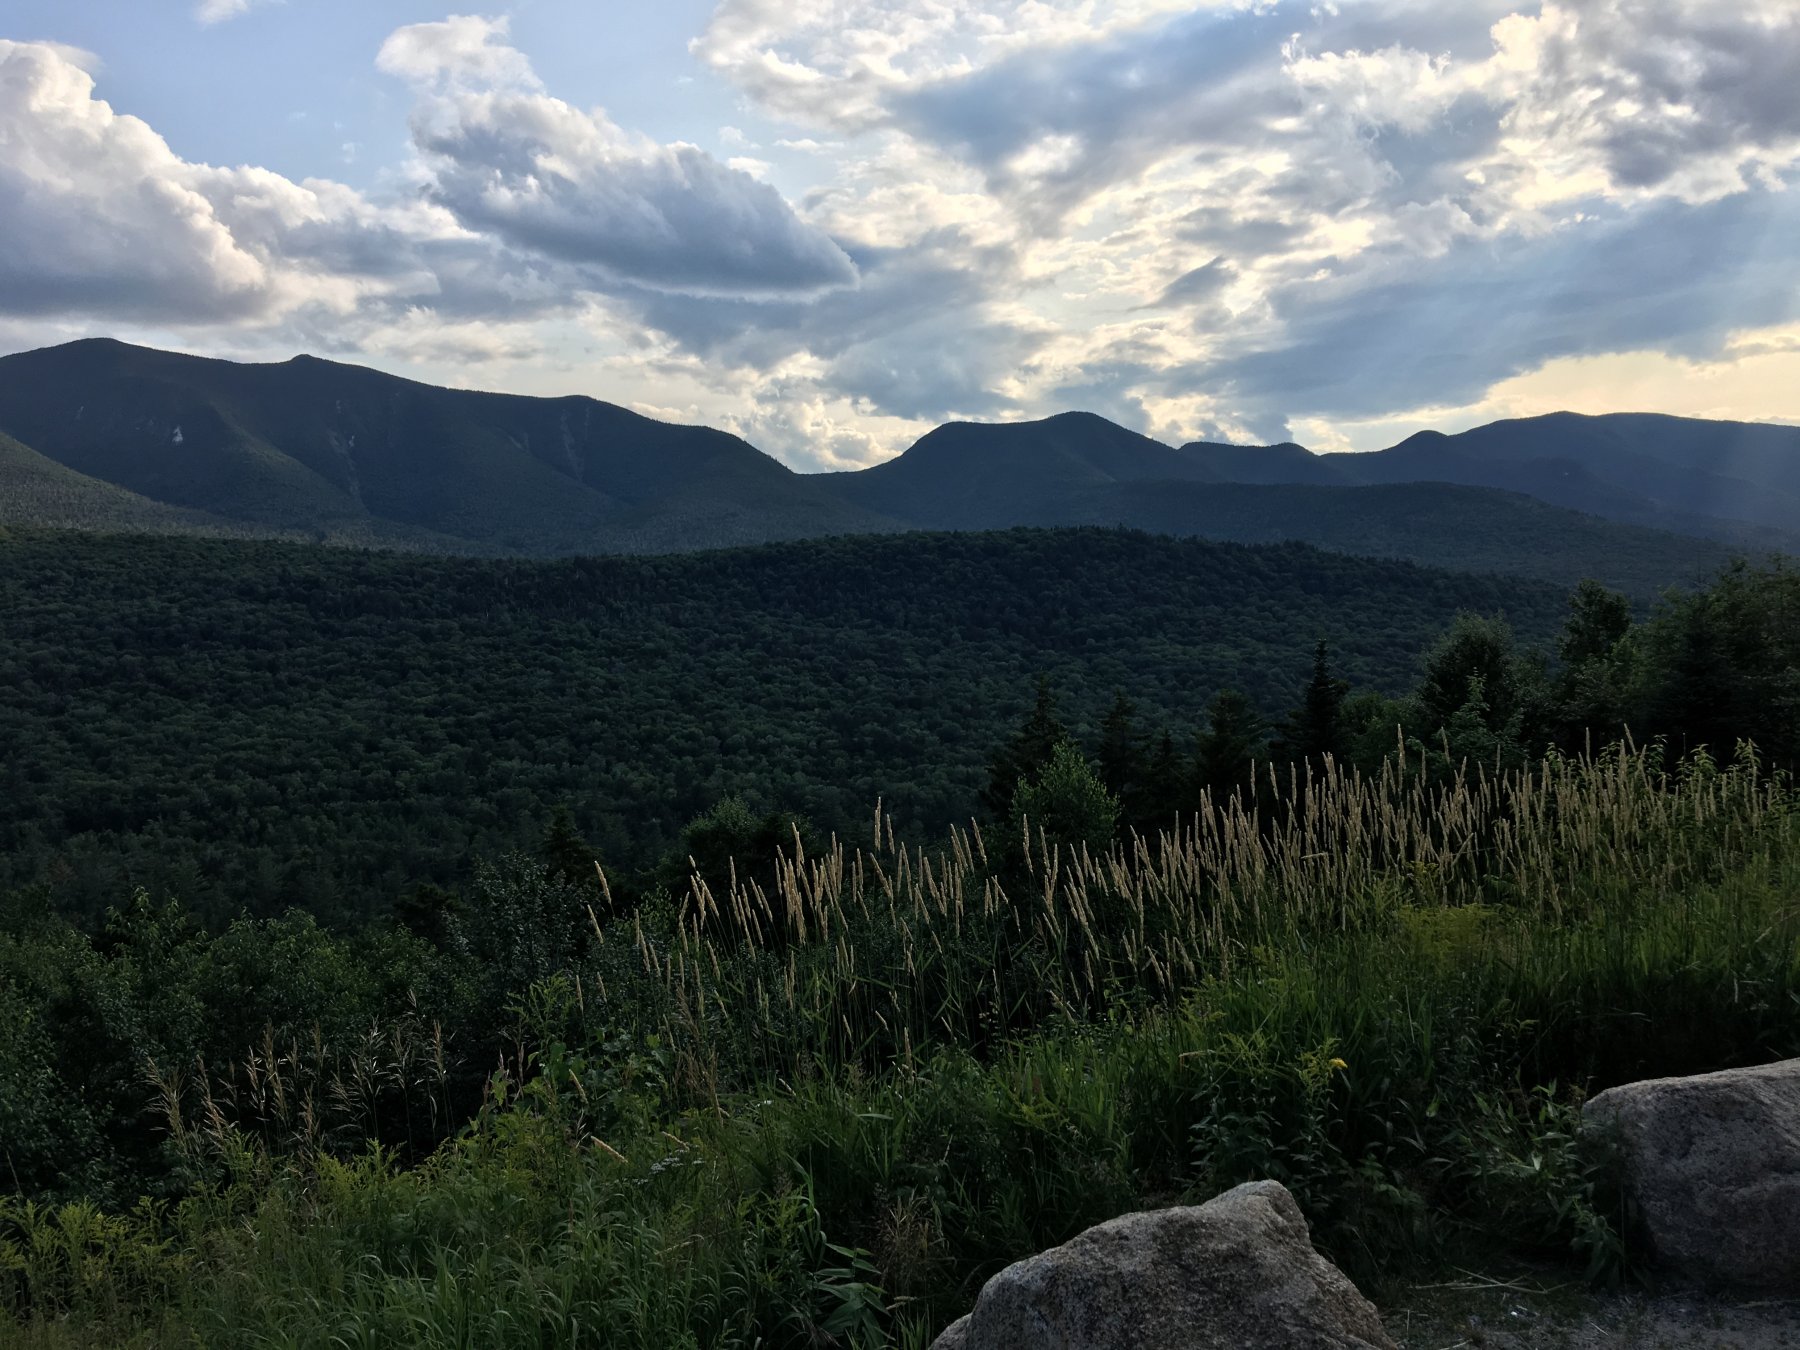
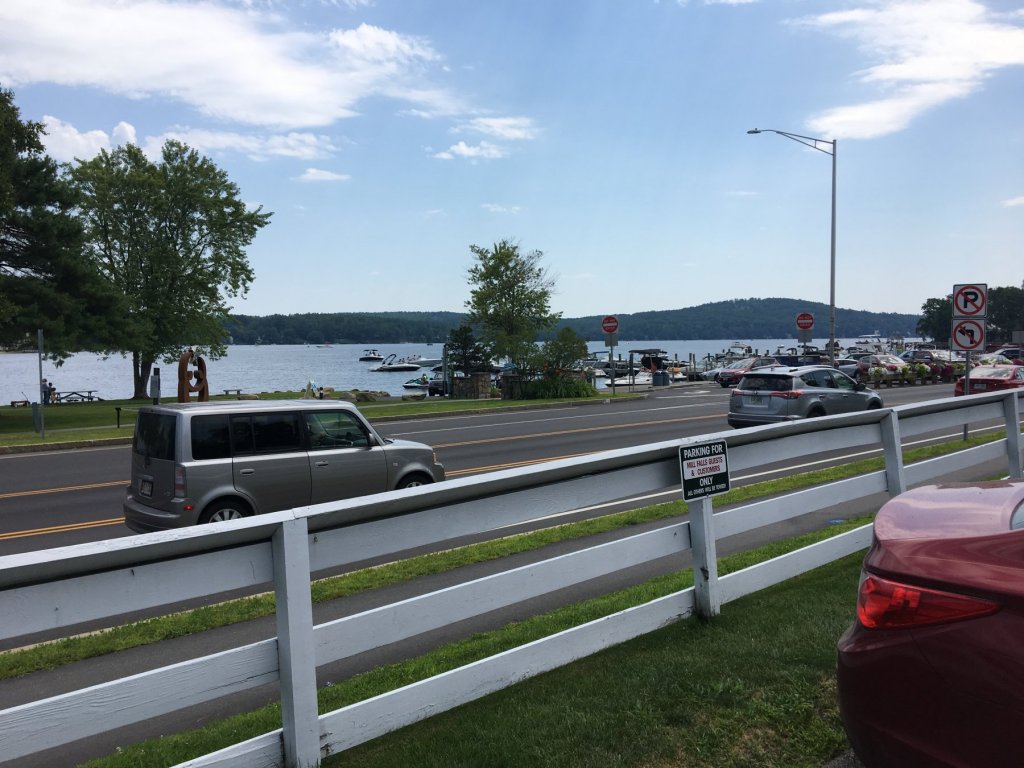
I thought this lake in the mountains was amazing. Over 200 feet deep and more than 300 miles of coast along its banks.
-
Left to right is our oldest daughter, our baby daughter, then the Admiral. The baby got accepted at SNHU, by the way. She landed two scholarships and a grant.
-
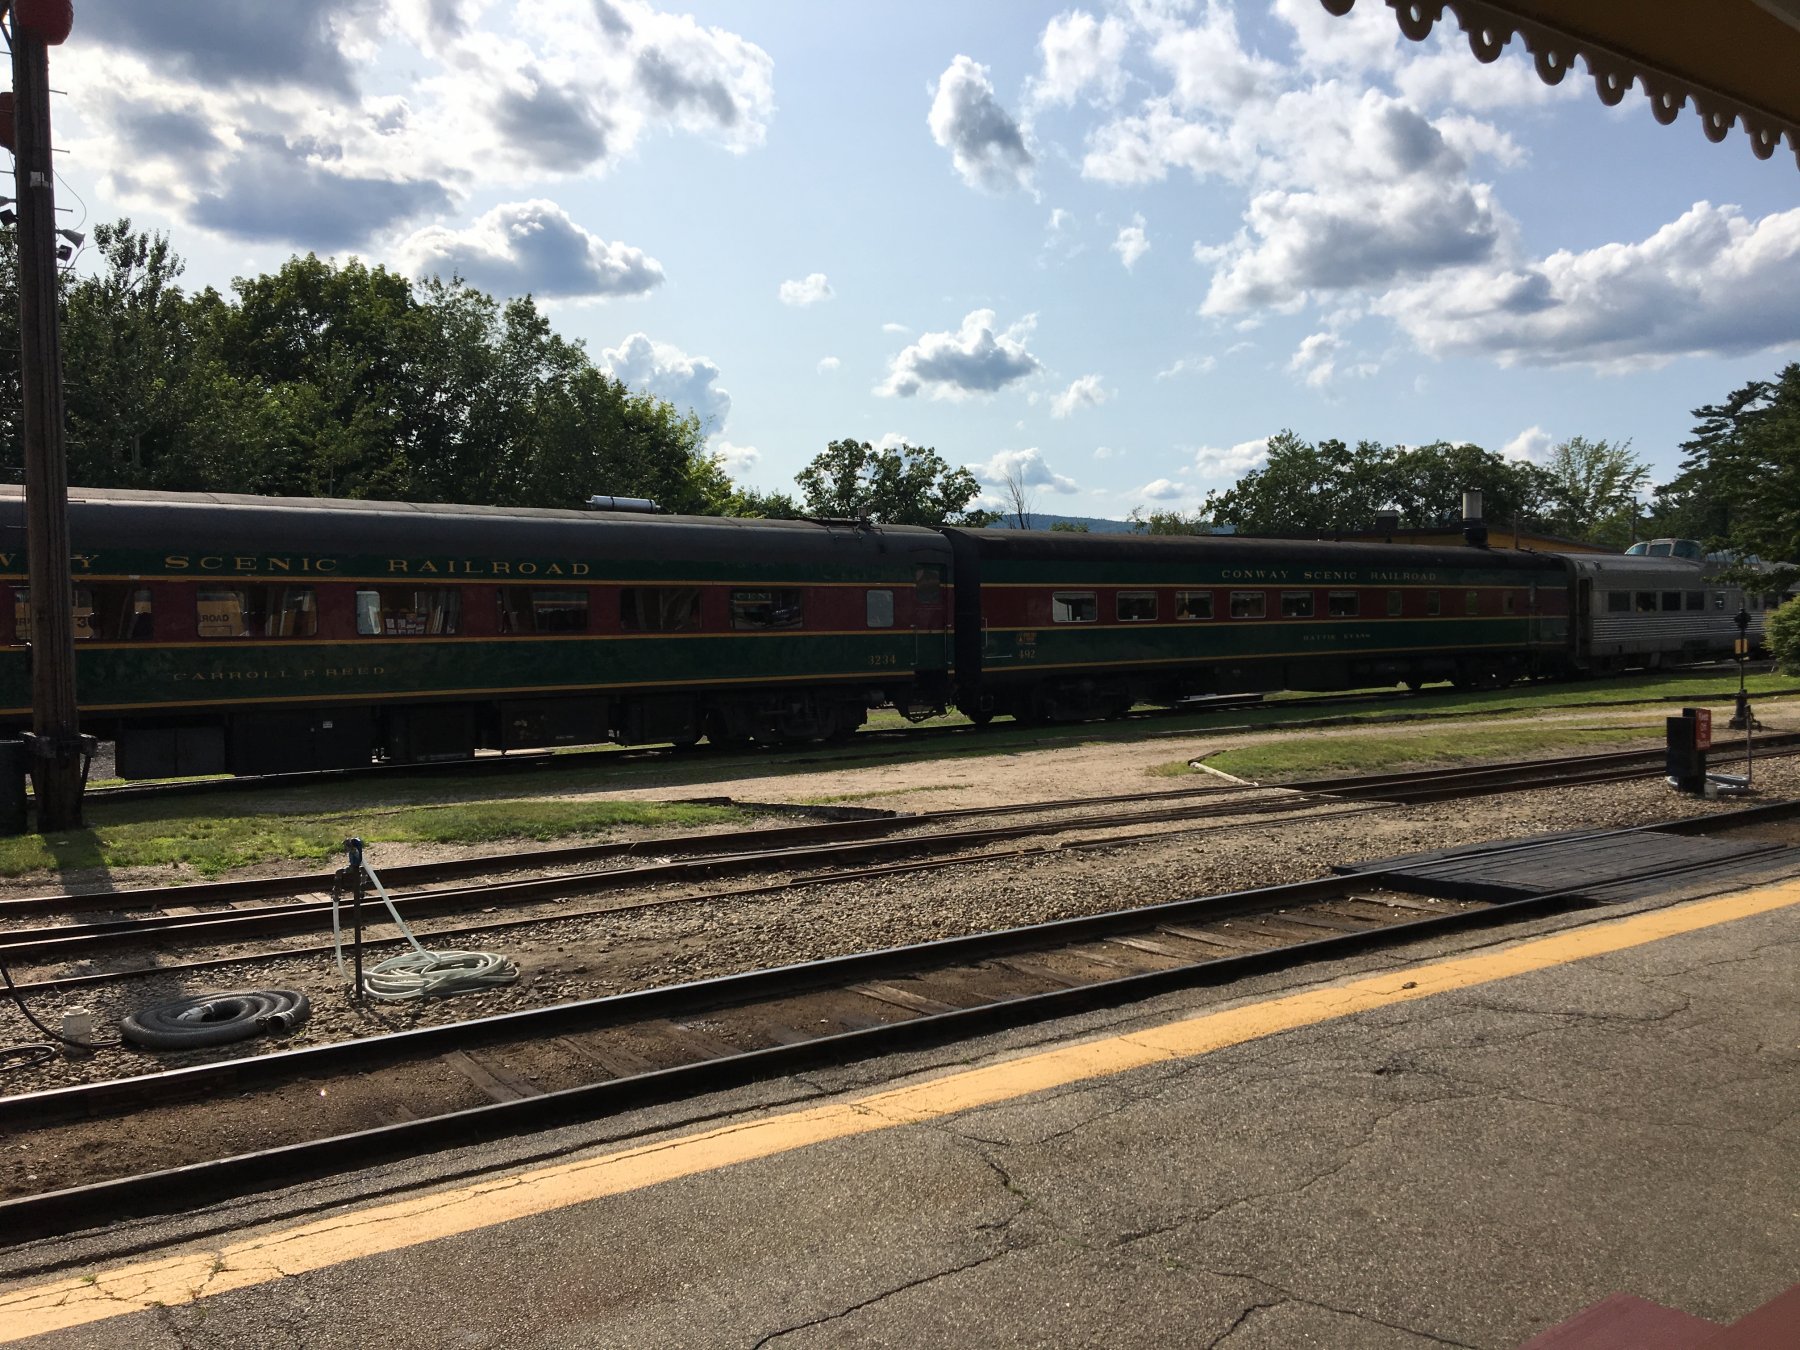
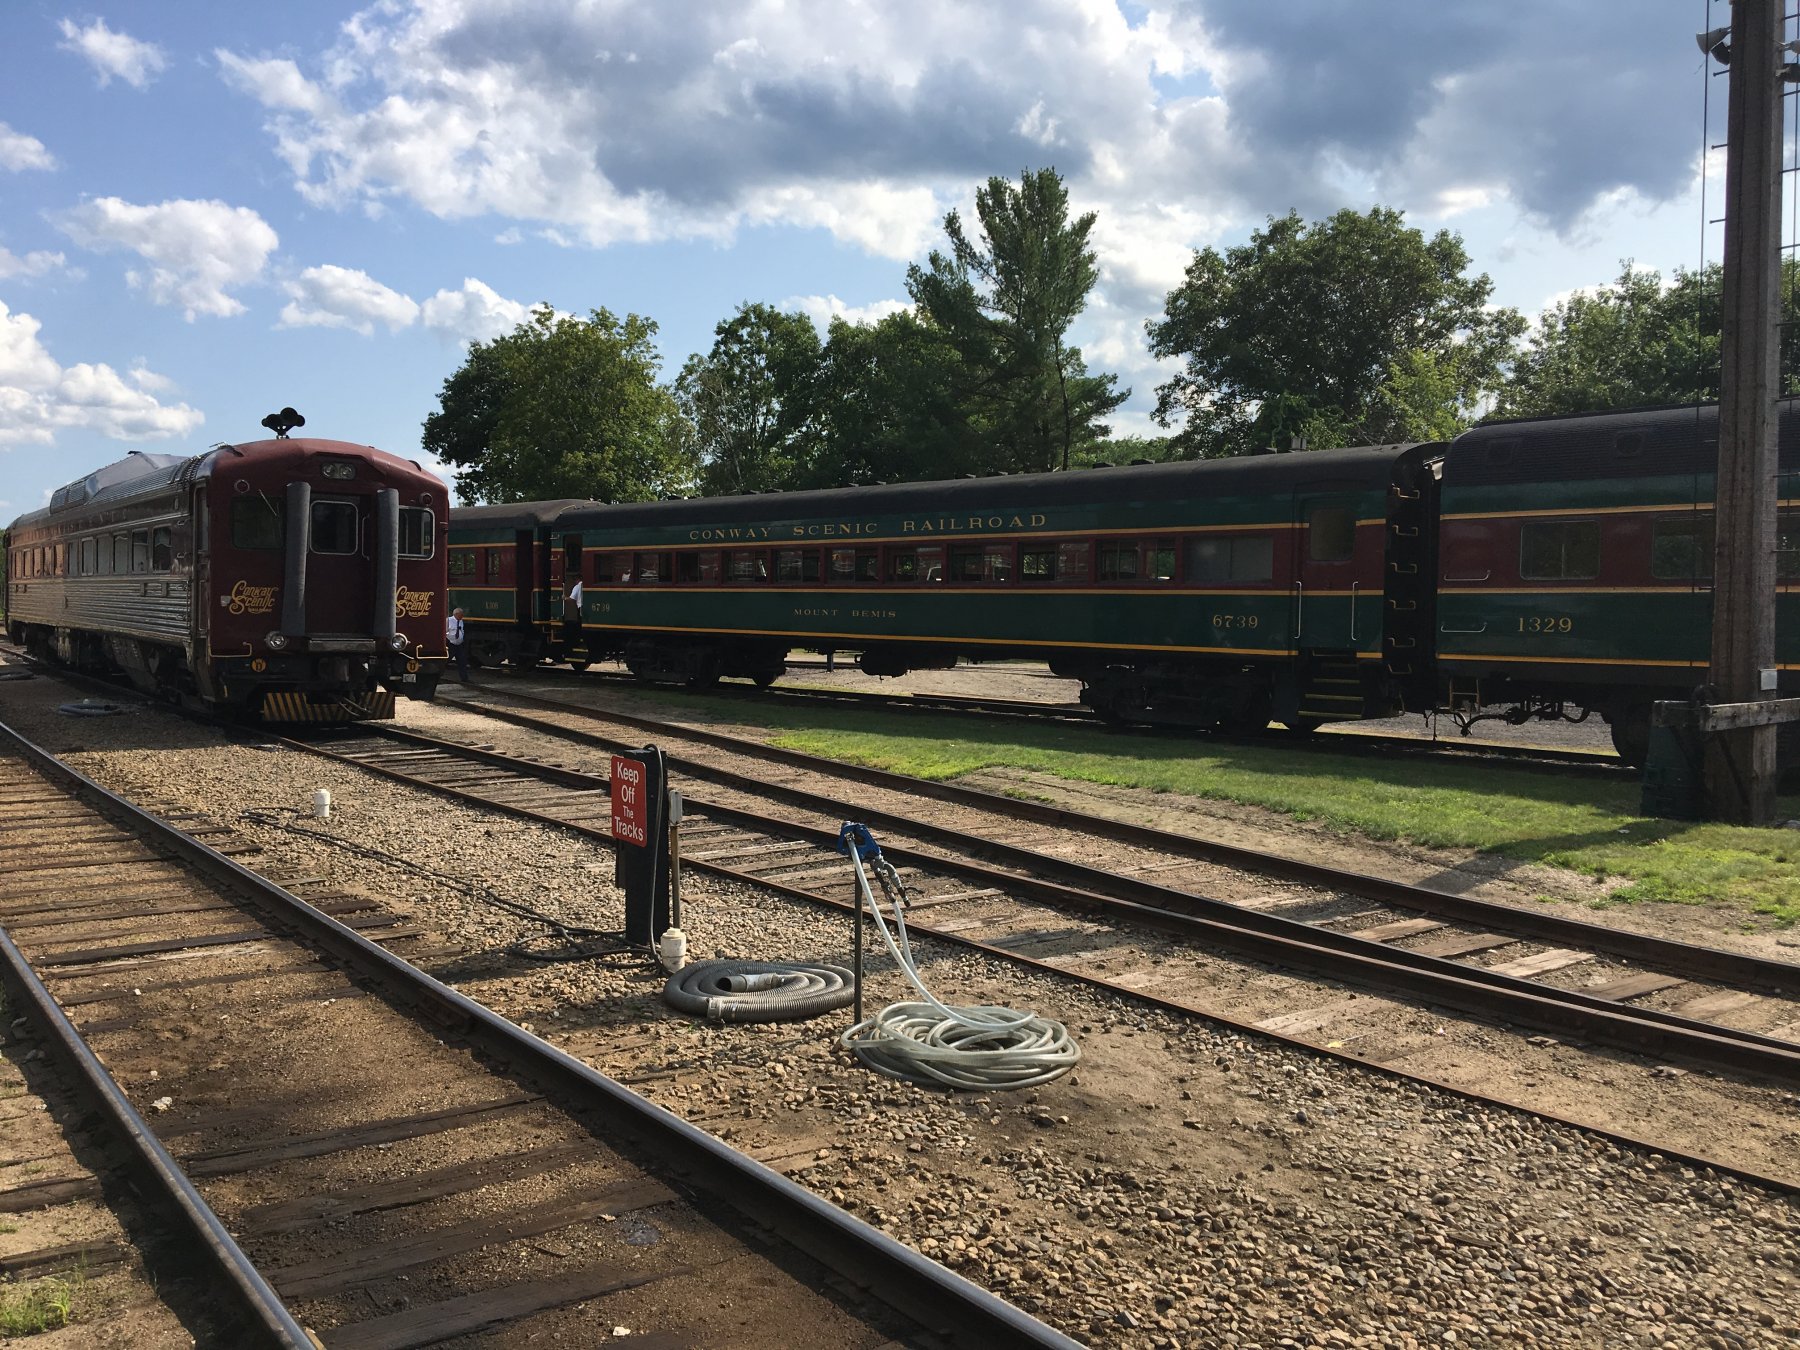
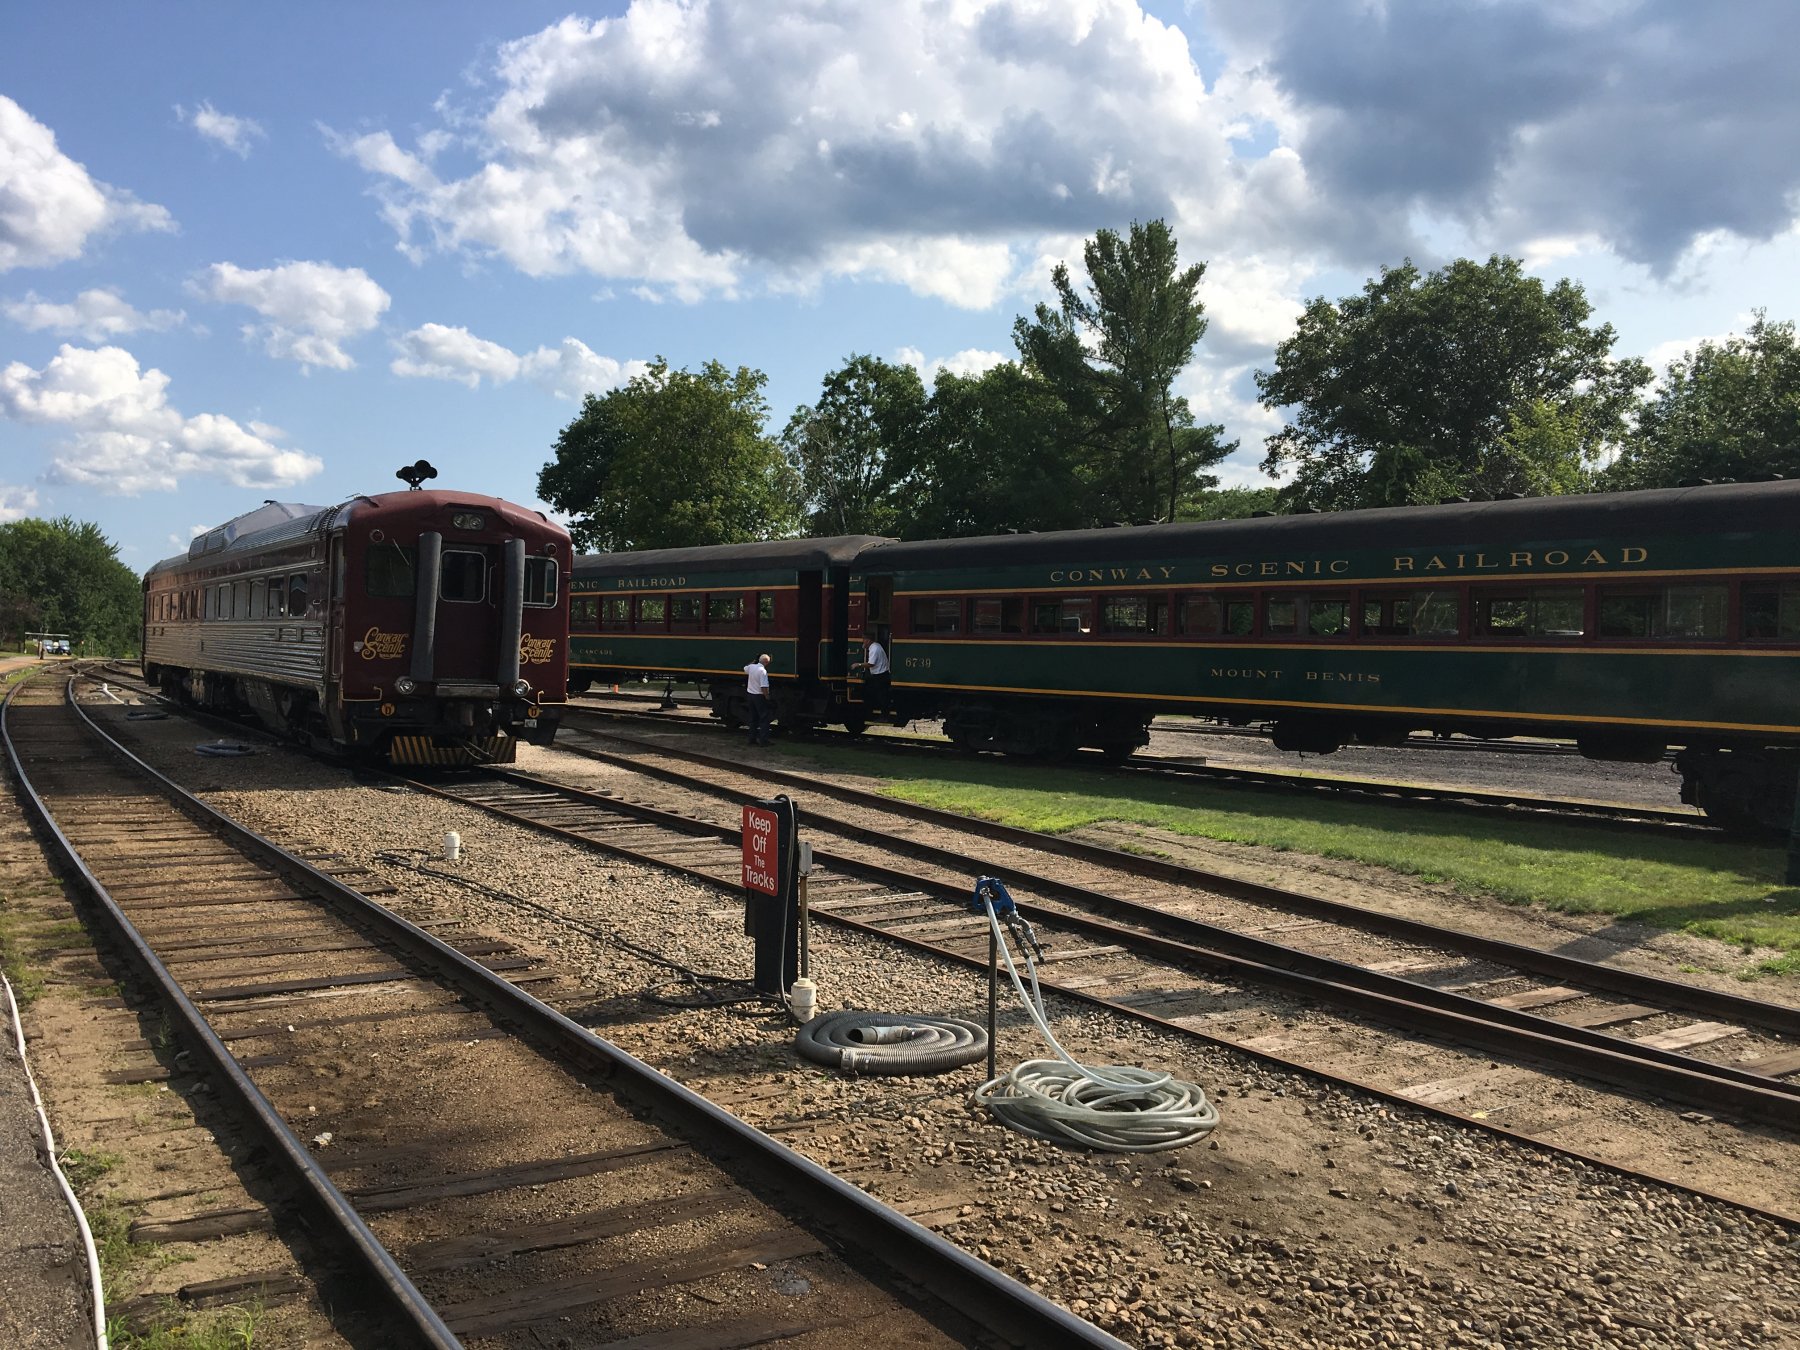
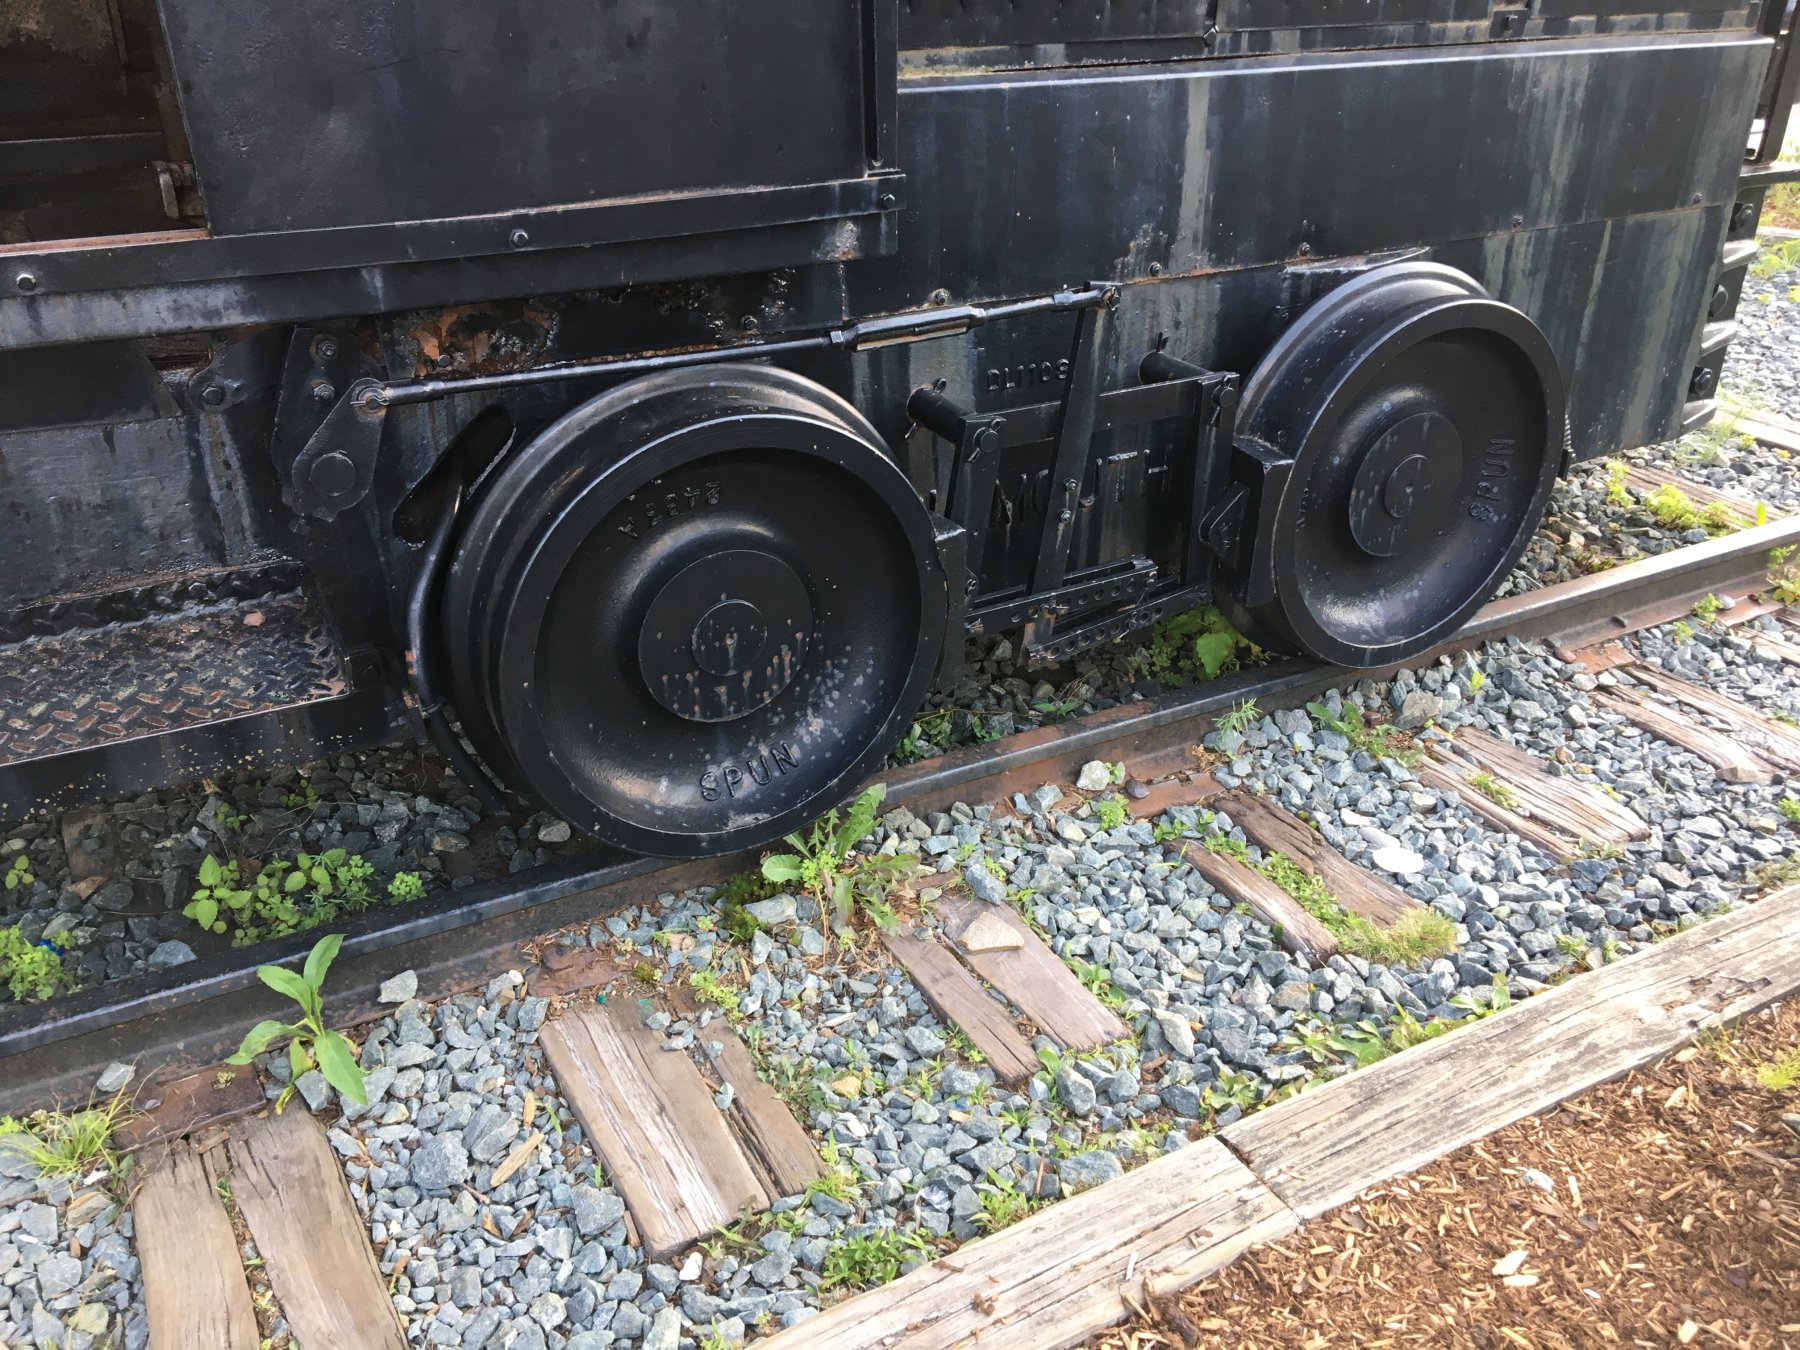
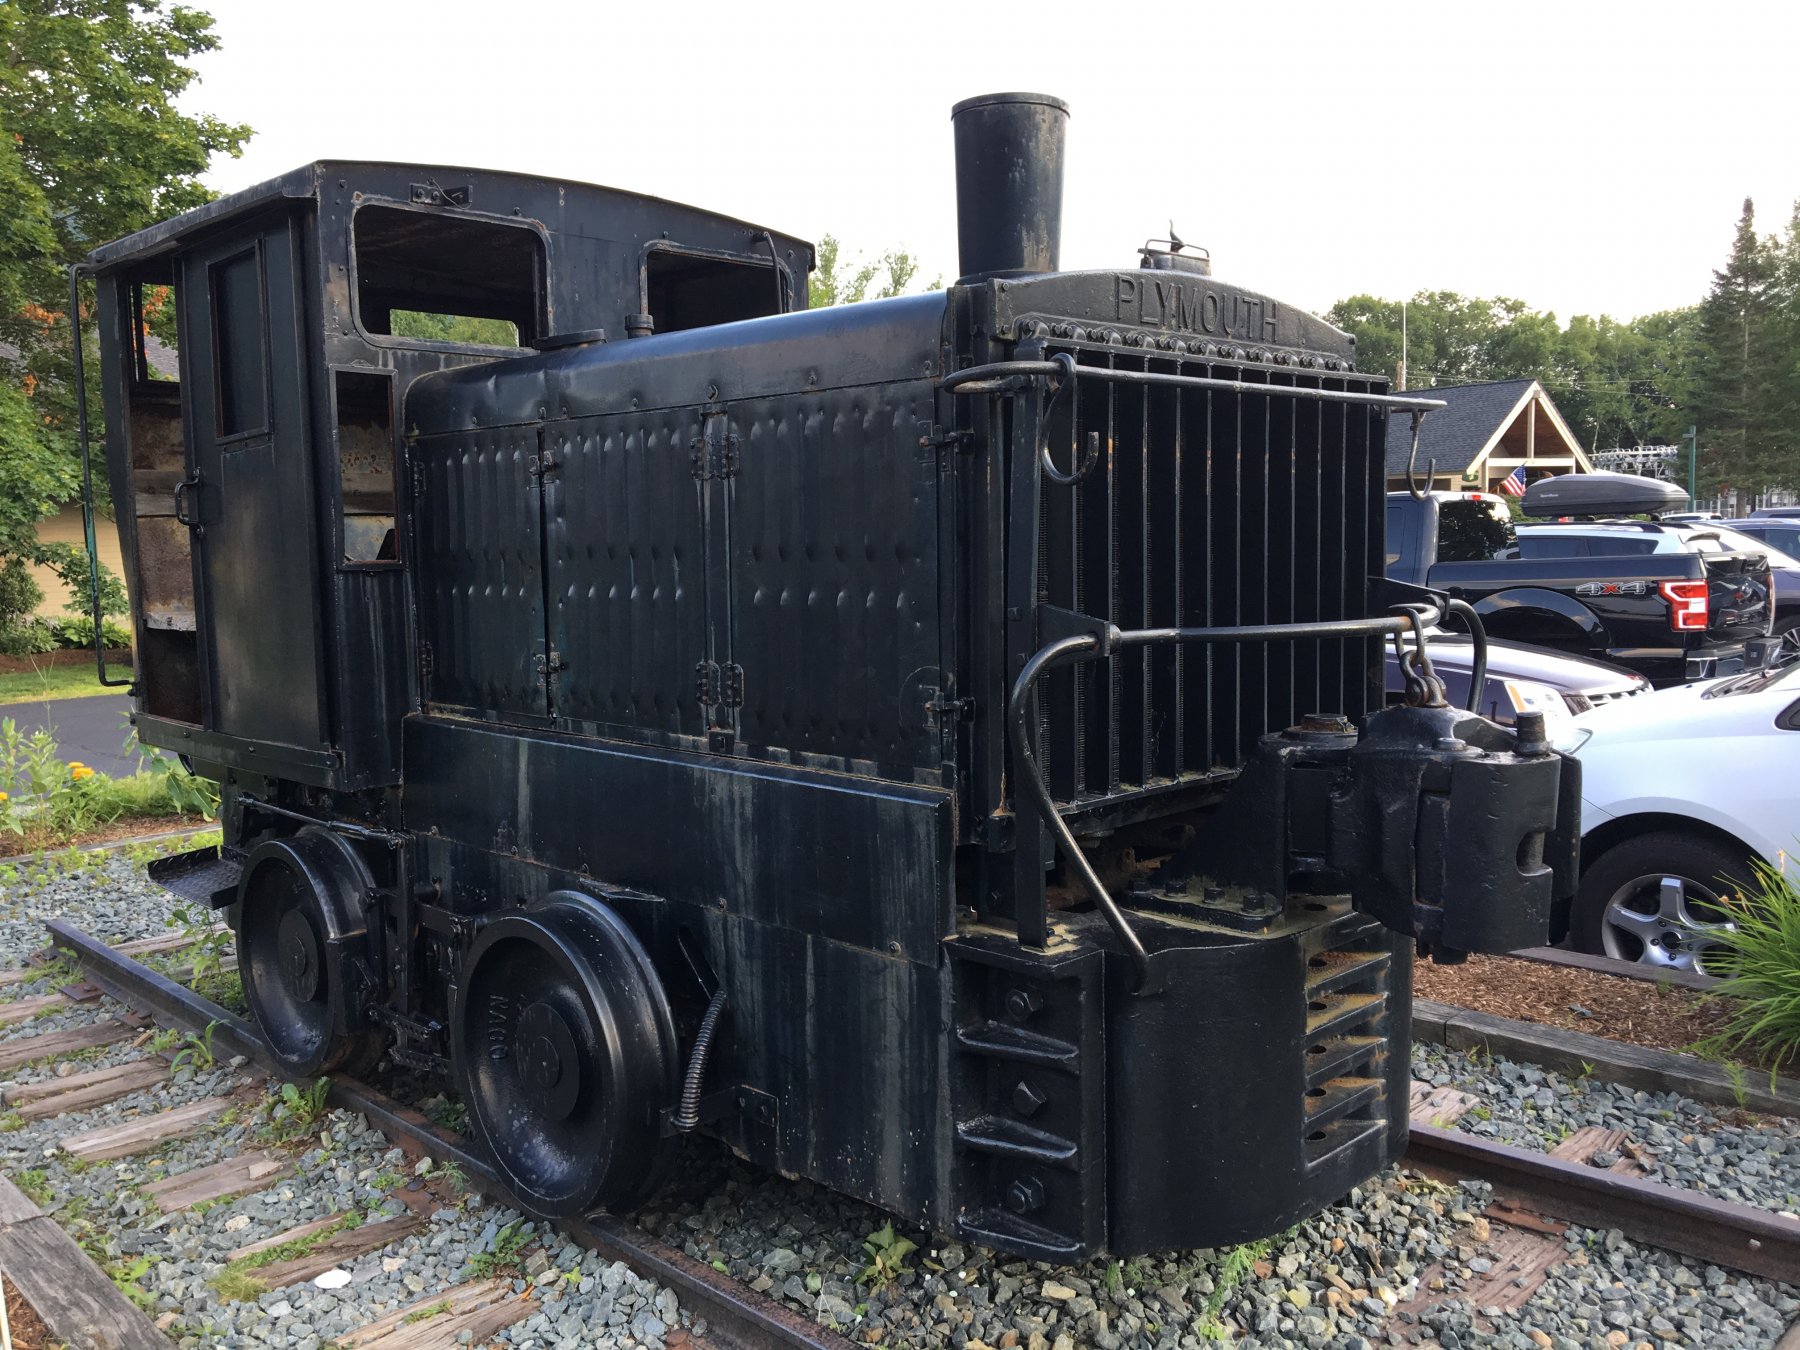
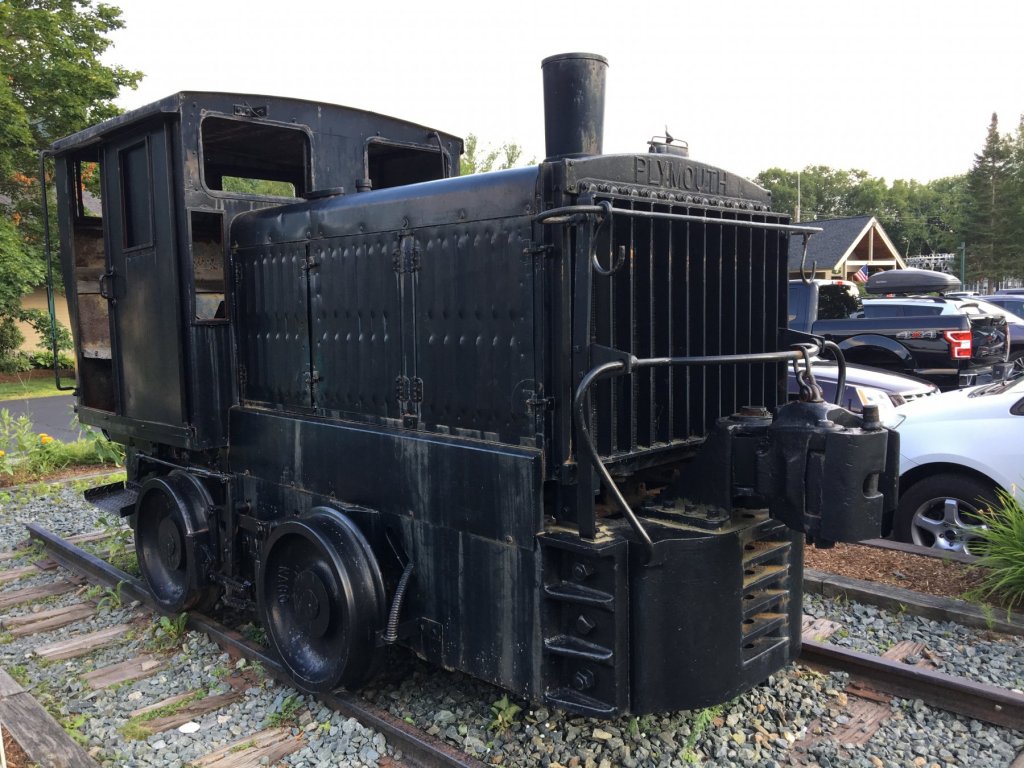
It has a radiator on the front but could not see an engine under that front cover. In the cab, there is something that looks like a boiler. We took a six hour train ride through the mountains. It was a highlight of this trip. Lots more pics when we get home. This phone is awkward for internet.
-
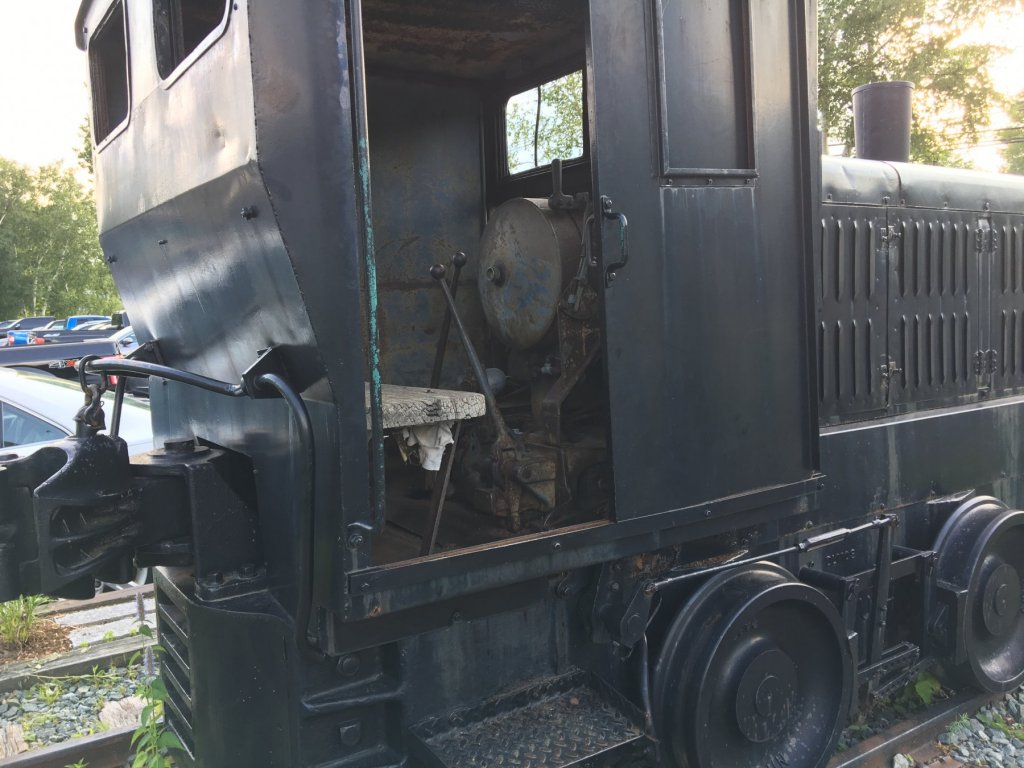
More to see tomorrow, lots more. Have taken well over 400 pics. Train pics galore. This little engine looked interesting. In the White Mountains, not sure but guessing a logging engine of some kind? A Plymouth.


-
Thanks dude. I'm flying out of here in a few more hours...got my bags all packed and thinking about whether there's something I have forgotten to take. I pack light anyway. My wife and daughter are another story...they pack like...everything. It will cost me when we check in our baggage. 😵
-
a serious lapse of good judgement 😄 wonder what the hell he was thinking?
- 345 replies
-
- 5
-

-
- graf zeppelin
- trumpeter
- (and 2 more)
-
I would be surprised if the Infini set did not come with pieces to help replace those anchor chains. And yes, you can find replacement chain. You'll need to carefully cut away the molded on chain using an XActo chisel blade or something similar.