CDW
-
Posts
7,755 -
Joined
-
Last visited
Content Type
Profiles
Forums
Gallery
Events
Everything posted by CDW
-
 Currently, the 1988 version is what I have for the Alabama. I had the 2006 version also, but gave it to a friend. My Kearsarge is of that early, 1960 vintage. I just saw that kit in my stash (giant pile in reality) and will carefully fish it out and photograph it. The box is in shreds almost.
 -
Now that I begin to realize how beautiful the old General really was, it makes me madder and madder them danged old Yanks stole her...Rebel Yell!!! The South will rise again! 😄
-
In every modeler's (particularly plastic modelers) tool stash, you need a set of sandpaper similar to these: https://www.scalehobbyist.com/catagories/Paint_and_Construction/waterproof-finishing-kit-ultra-fine/FLX00000110/product.php?s=4-3&t=2-2&u=2-2 You need to have an assortment of "grit" papers that far exceeds that of Home Improvement store variety. The finer grit paper, 600 and finer, are exceptionally well suited for polishing up a rough primer finish. On most of my models, primer coats are always polished with sandpaper, usually 1000 grit or finer, before applying color coats. It's just a standard practice. You can also use Tamiya sanding sponges which come in the similar fine grit, but the idea is not to attack, but polish.
-
In the future, you might want to try Tamiya's bottled lacquer primer, reduced down with their lacquer thinner, through your airbrush. It's the same excellent primer found in their rattle cans, but it sells for less than $4 per bottle, so it's very economical. Besides that, it's just about the best primer I have found, period. It comes in either white or gray. Being it's a lacquer, it's safe under any type of paint you may decide to use on top of it as a top coat. And what you said about Tamiya top coats being so very reliable, I agree 100%. Can't find a nicer acrylic to use than Tamiya IMHO. If you search the net, you can find the mix ratio's for just about any color you want to mix for Tamiya paints. But you're right, it would be a lot more convenient if they carried a broader range of pre mixed colors.
-
Hang in there OC. We are all pulling for you. Sometimes, just when it seems like we're going through our darkest hours, good things happen that chases the blues away. Here's a little something to give you a good laugh...
-
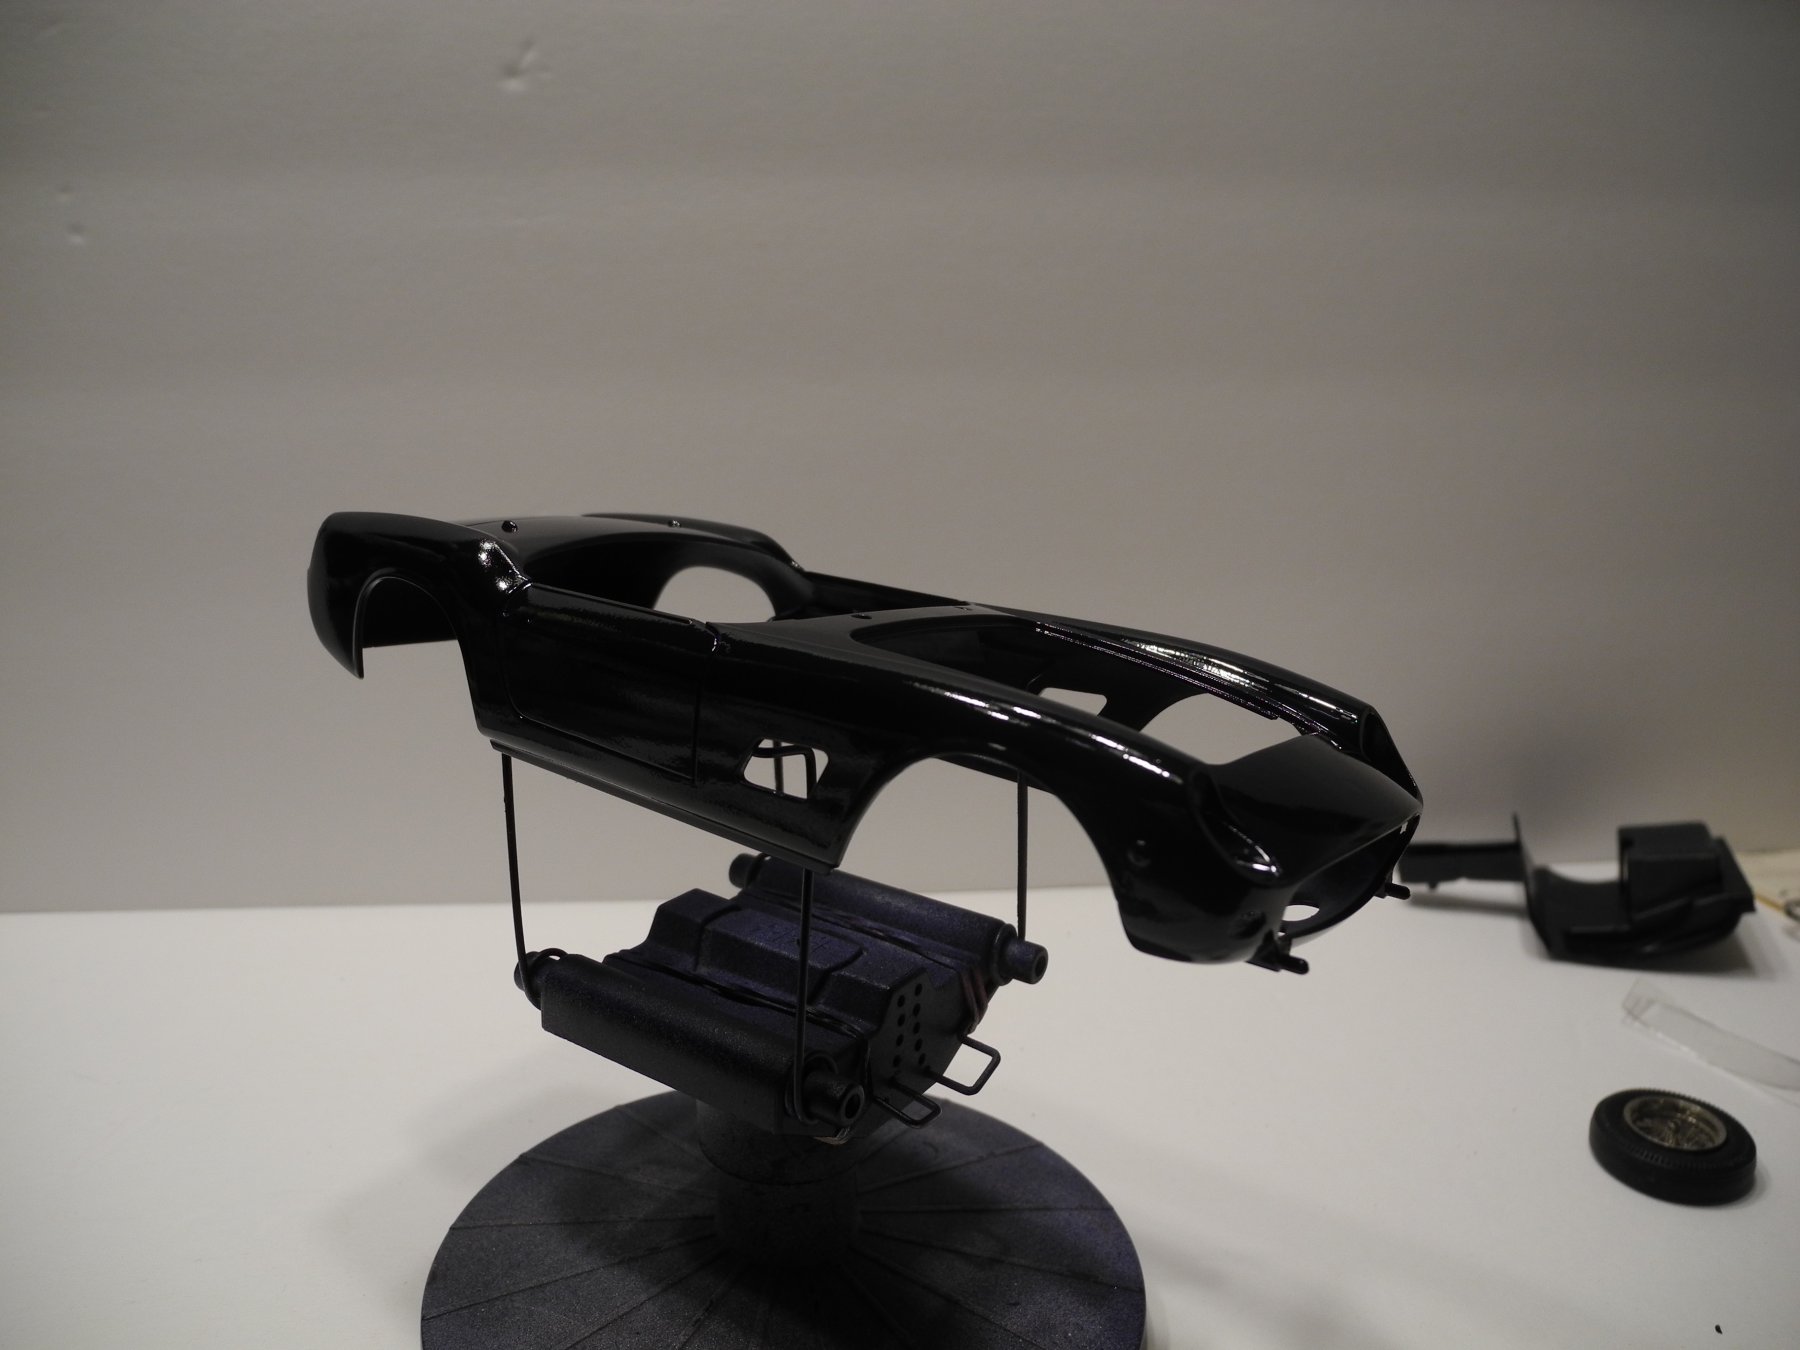
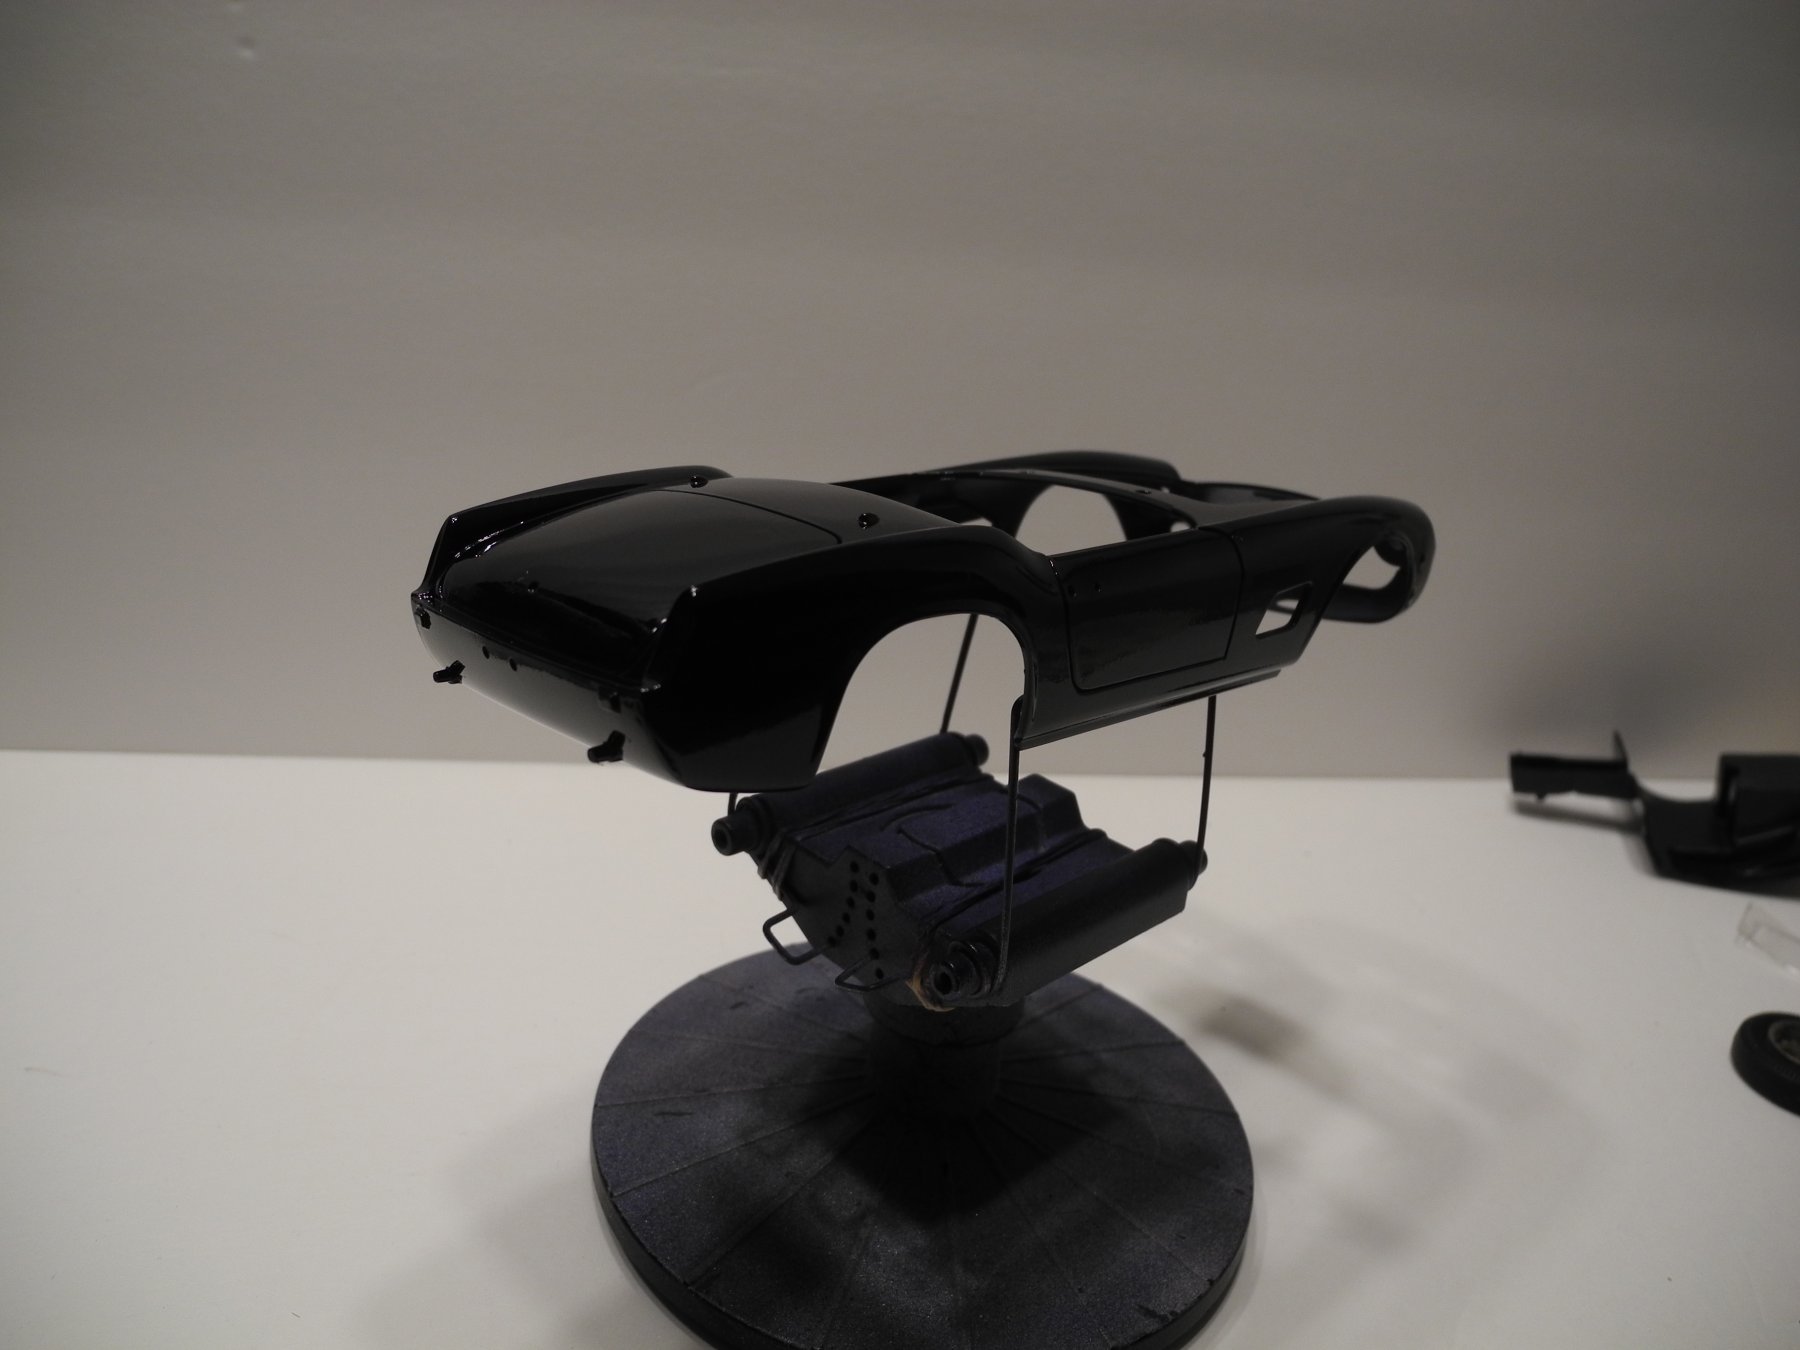
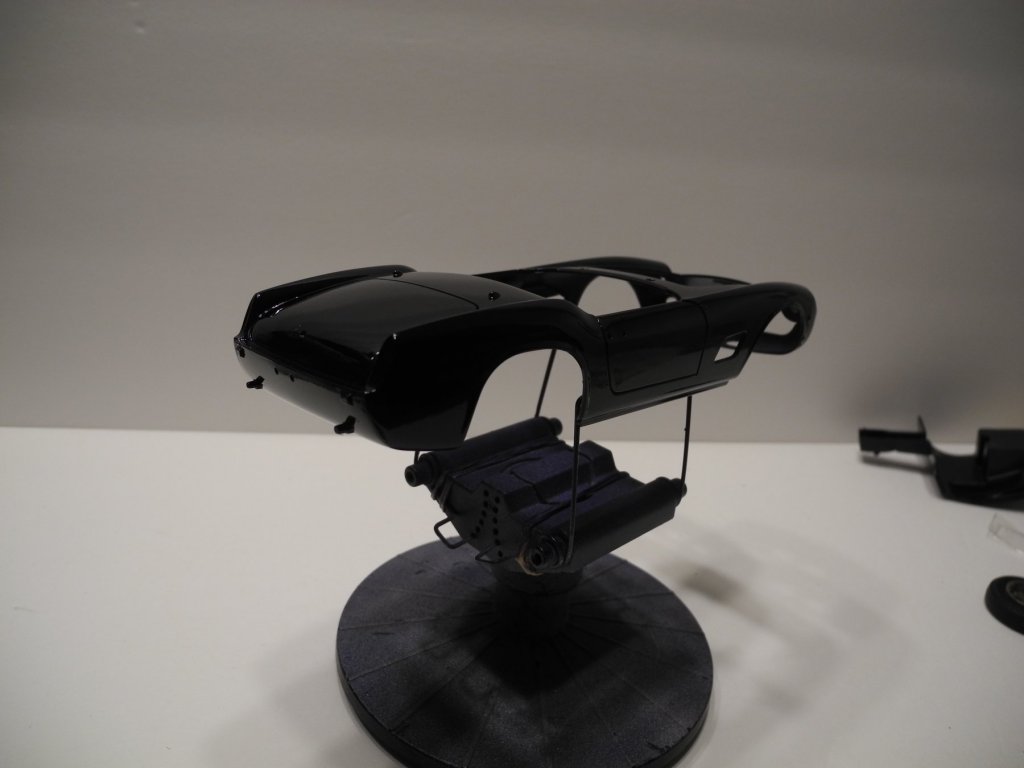
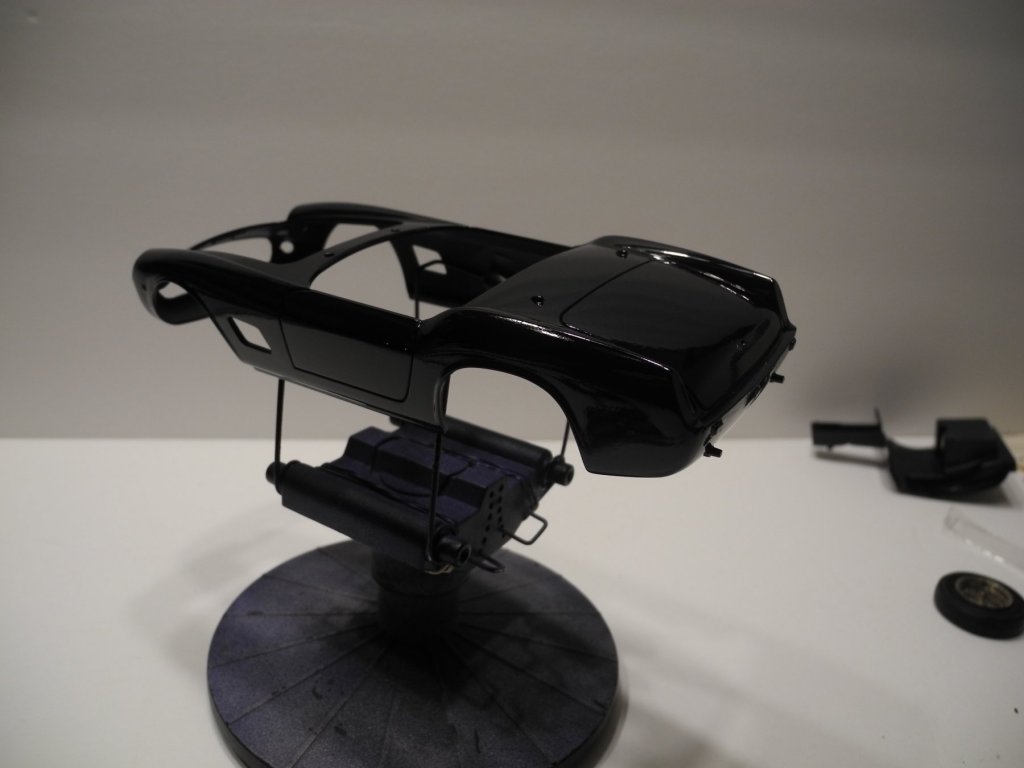
Thanks Denis. The nuance of dark blue vs black is something my camera and lighting just can't pick up. You can see by eye it's a dark blue, but with the camera, it just looks black.
-
Using some scrap pieces of PE, I'll bet you can quickly make a couple of replacement posts for those. Lots of times, there are "sprue" pieces left over that are the correct/close to correct width you need. And on the bright side, can you imagine having to do all this photo etch from scratch? There are actually unicorn modelers who do this. I should add...what you've done tonight looks great!
-
I'm always sad to see hobby businesses close, but you seem to be doing this closing for all the right reasons. Enjoy and cherish the moments you have to spend with your children, they are irreplaceable. You can always start another business at another more opportune time if you wish.
-
You are going to be forced to sand this a little. I don't know any way around it. Get some scrap styrene plastic and play around with your air pressure and paint viscosity to find the sweet spot. This definitely was drying from your airbrush before it hit the model.
-
Generally, a rough finish as you described is a result of the paint drying too fast just as you said, or also can happen when holding the airbrush too far away from the surface being painted. I hate using new paints on a good model. Always test on a practice piece first. I've learned this lesson the hard way.
-
If I'm using AK paints, I use Mr. Color leveling thinner 400 and it works fine. Never used Mission Models paints before. What reducer did you use? I don't know a thing about Badger Stynorez primer, never even heard of it before now.
-
??? Is this condition a result of the AK products you used. What exactly did you apply to the hull to leave it so rough?
-
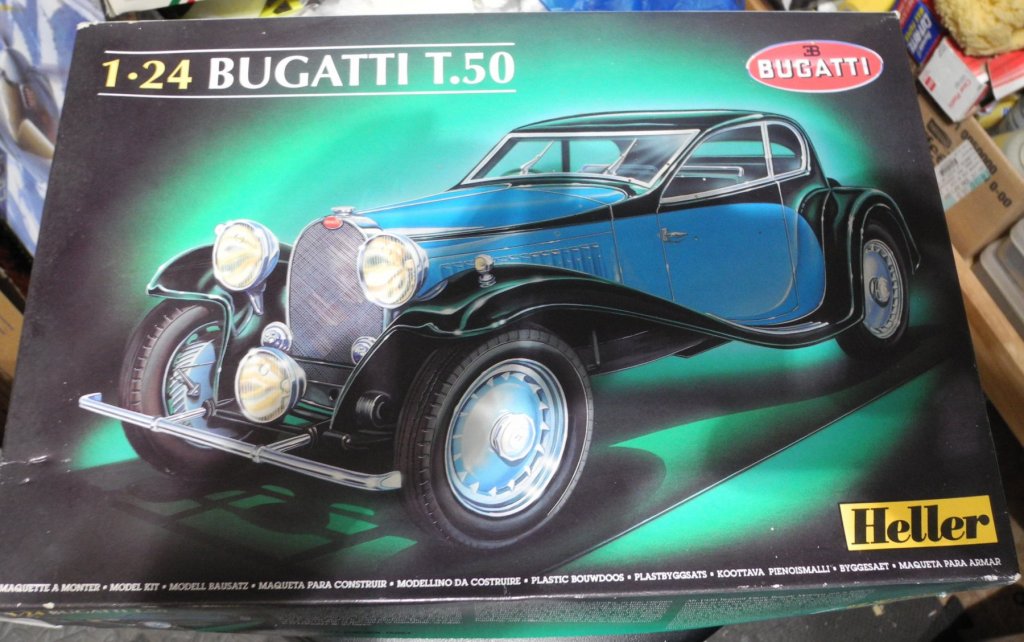
Bugatti T.50 by CDW - Heller - 1:24 Scale - PLASTIC
CDW replied to CDW's topic in Non-ship/categorised builds
Thanks for the link, Jo. Would have loved to have been there to see that model show in person. (Seeing Notre Dame all burned like that is so sad.) -
Concurrently with my Ferrari GT California Spyder build, I'll be building this 1:24 Bugatti T.50. If you follow this thread, don't plan to watch a classic build of one of the early, most exotic cars ever built. Instead, I want to customize it and build something unusual. Like maybe a low slung, street rod Bugatti. Will be playing it by ear. No definite direction to go with this one yet, but I have something in mind. Double-trouble.
-
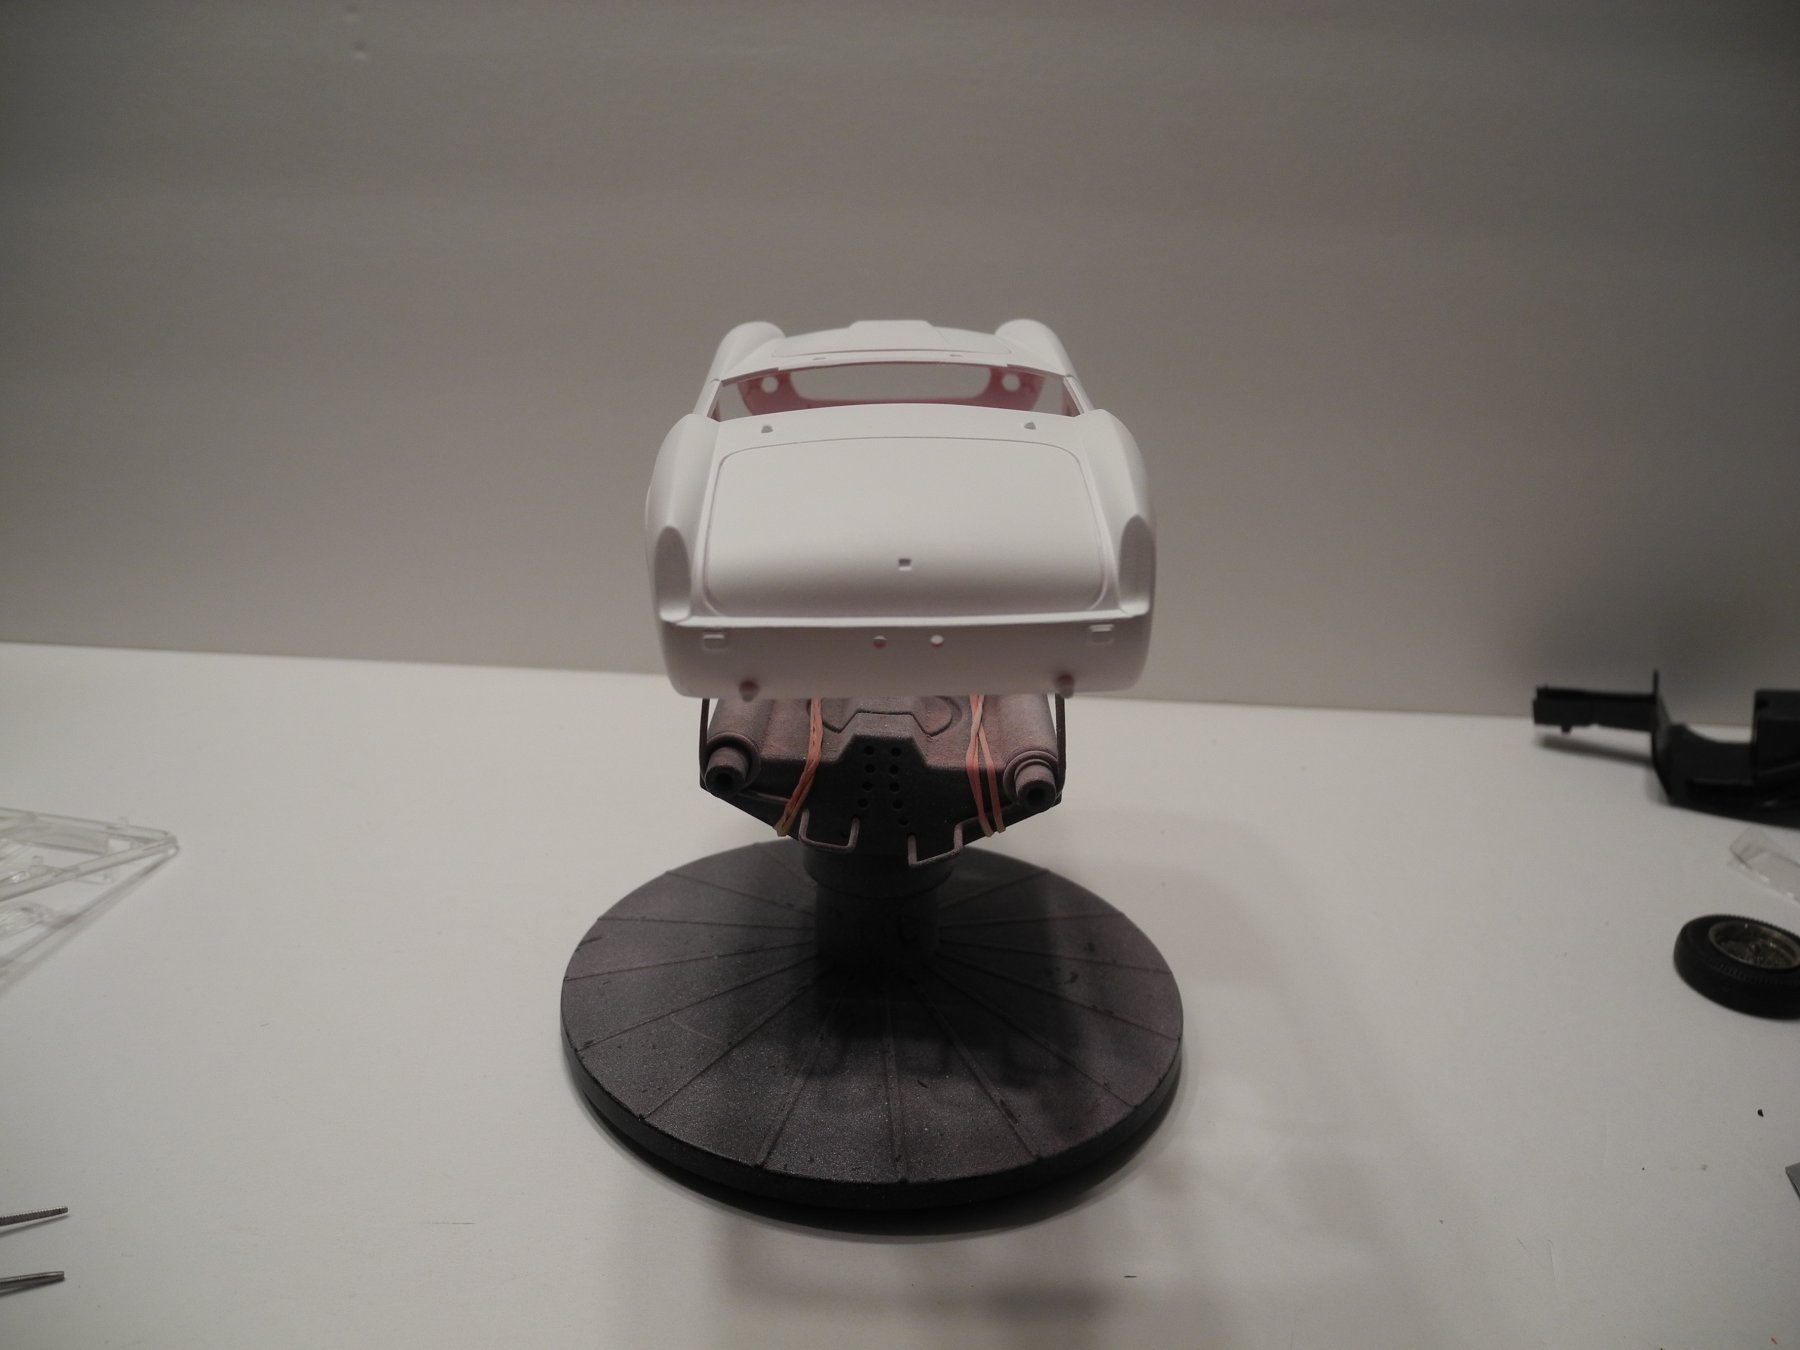
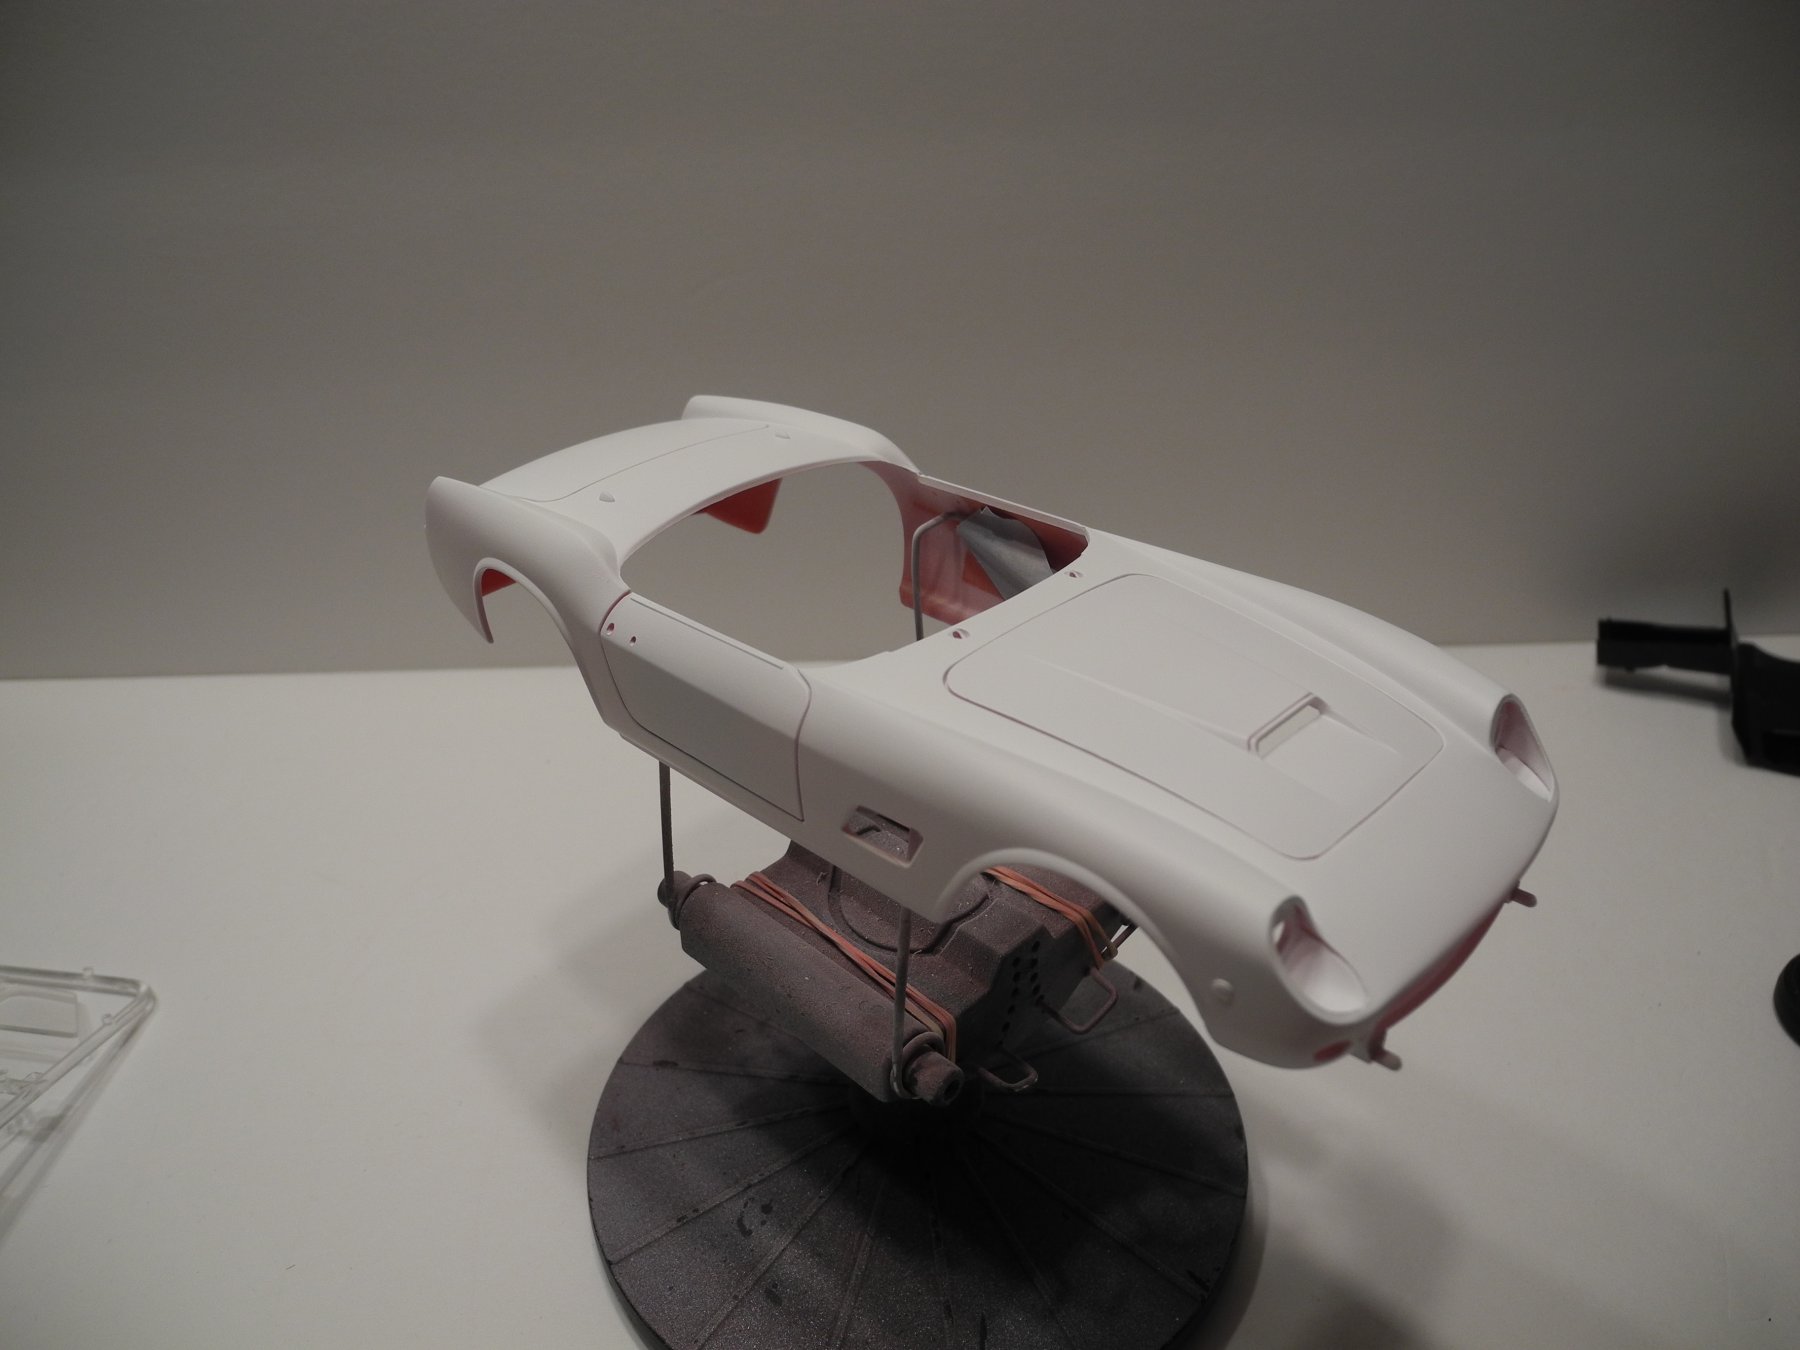
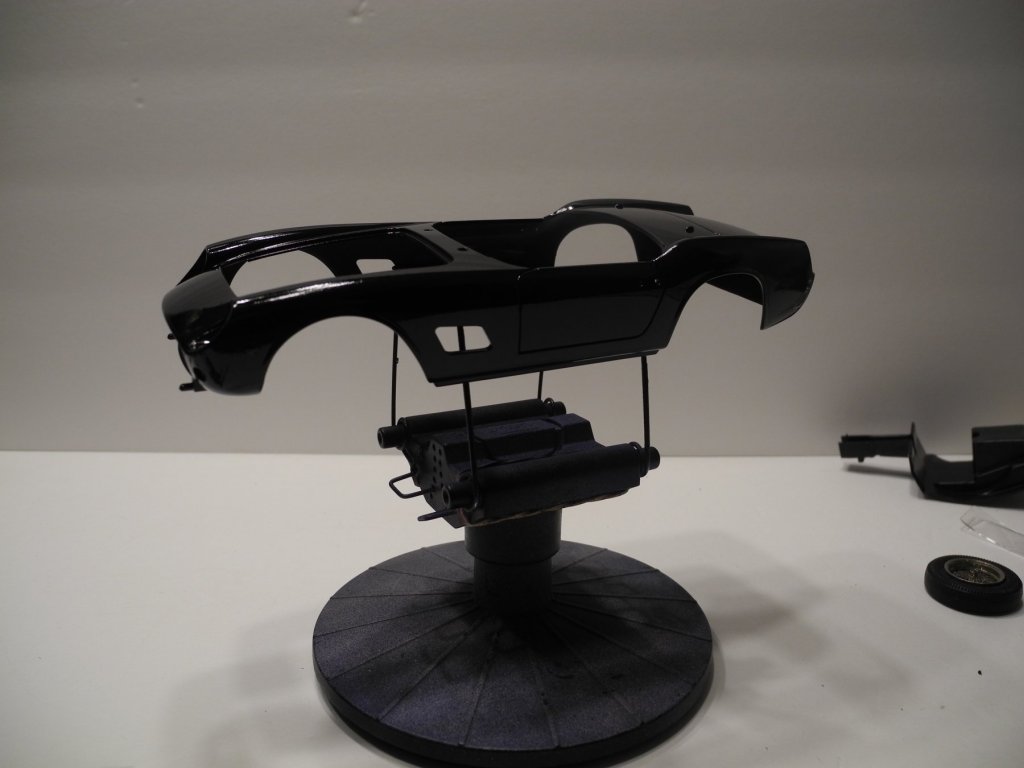
Happy Father's Day to all the Dads at MSW. Hope you had a great one! Once my primer was finished, I got on the rest of the top coats. The base is 3 coats of a deep, dark blue lacquer. On top of that are 2 coats of urethane clear with a hardener. I believe once the model has all it's chrome attached and is assembled, it will really pop with this color. The photos almost make it look black, very glossy.

-
That's quite a haul you got there, Dad. Happy Father's Day! PS: I've got that exact same La Couronne kit.
-
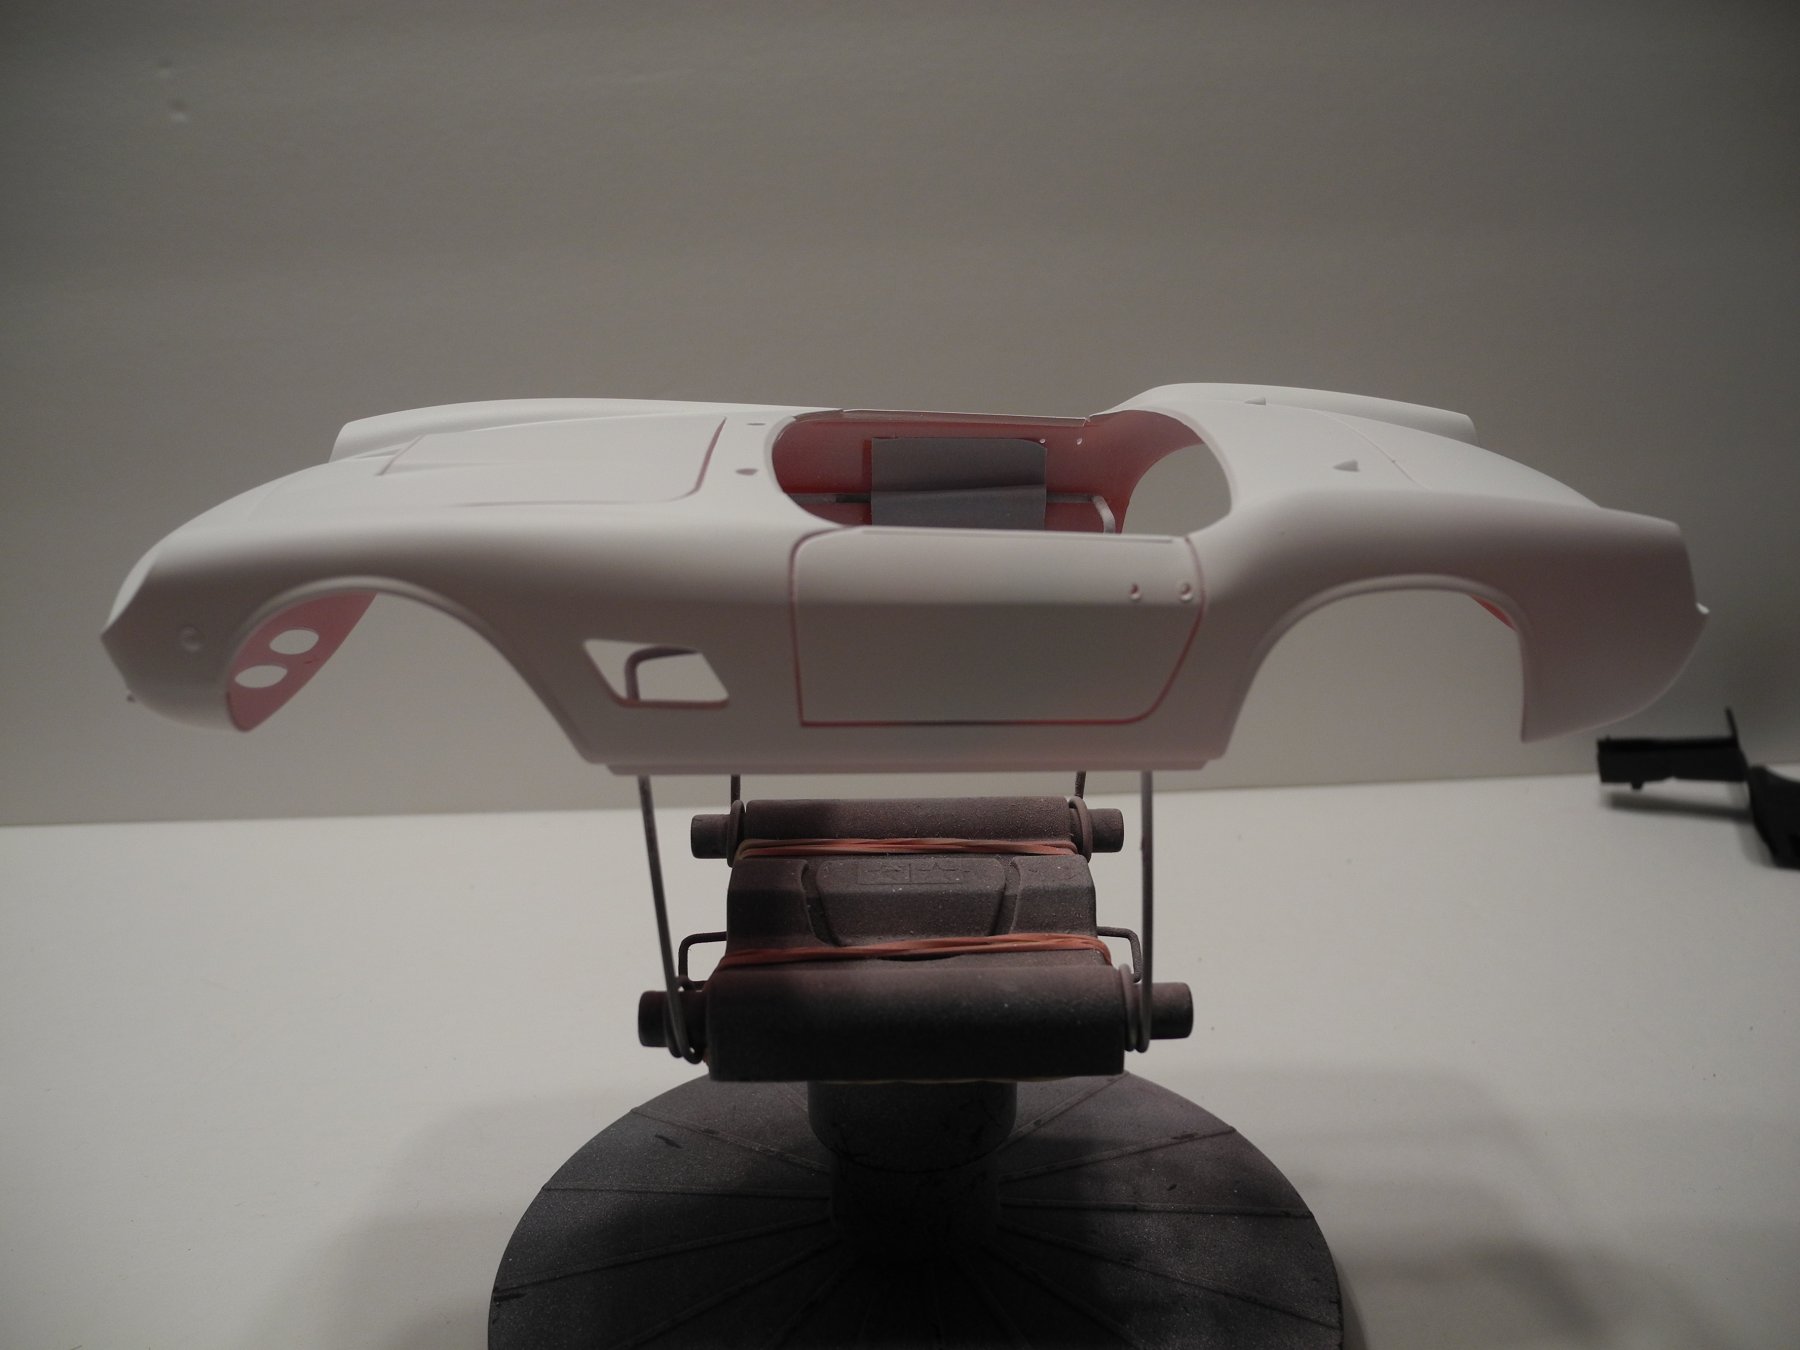
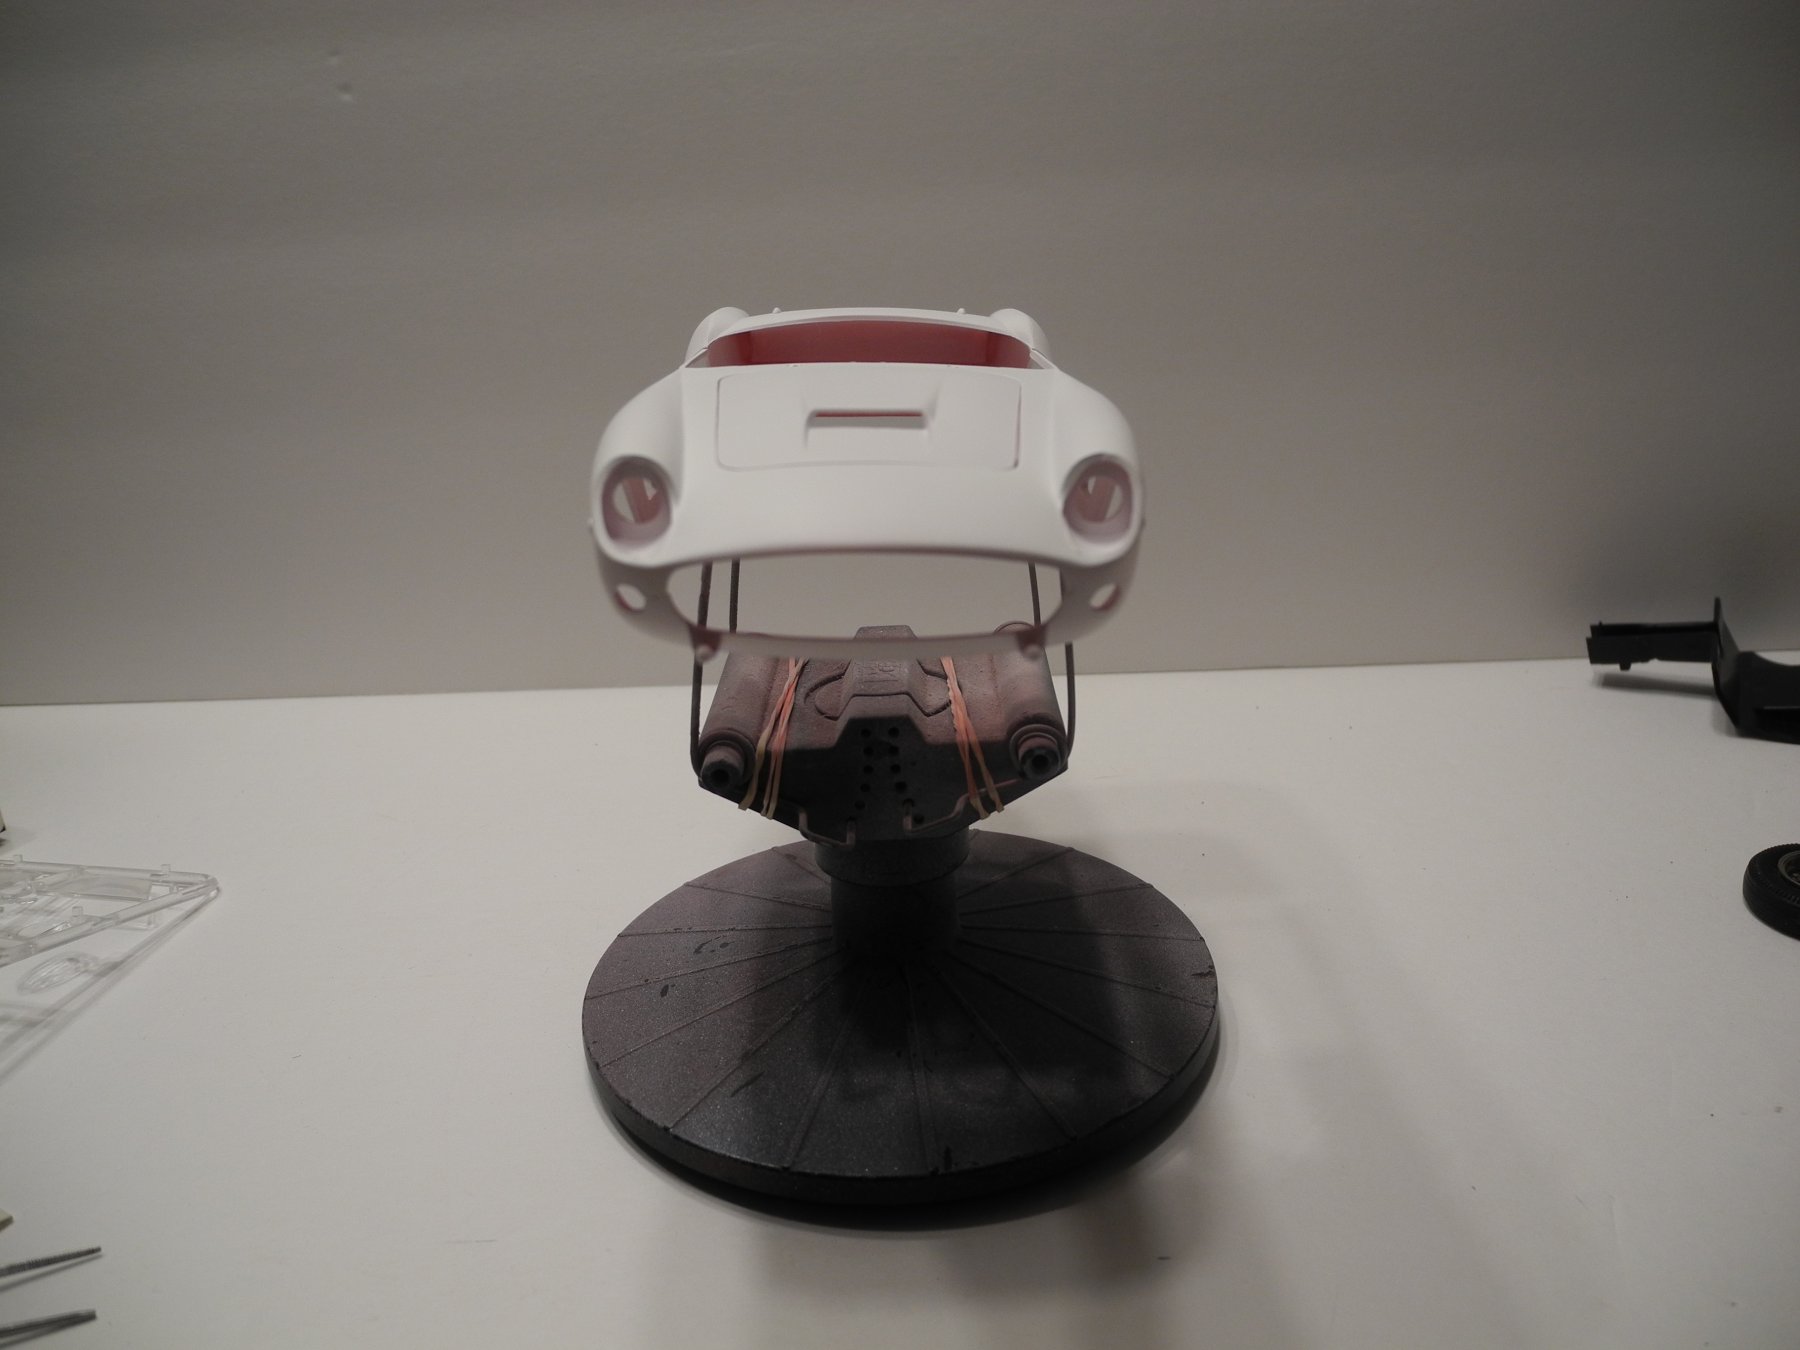
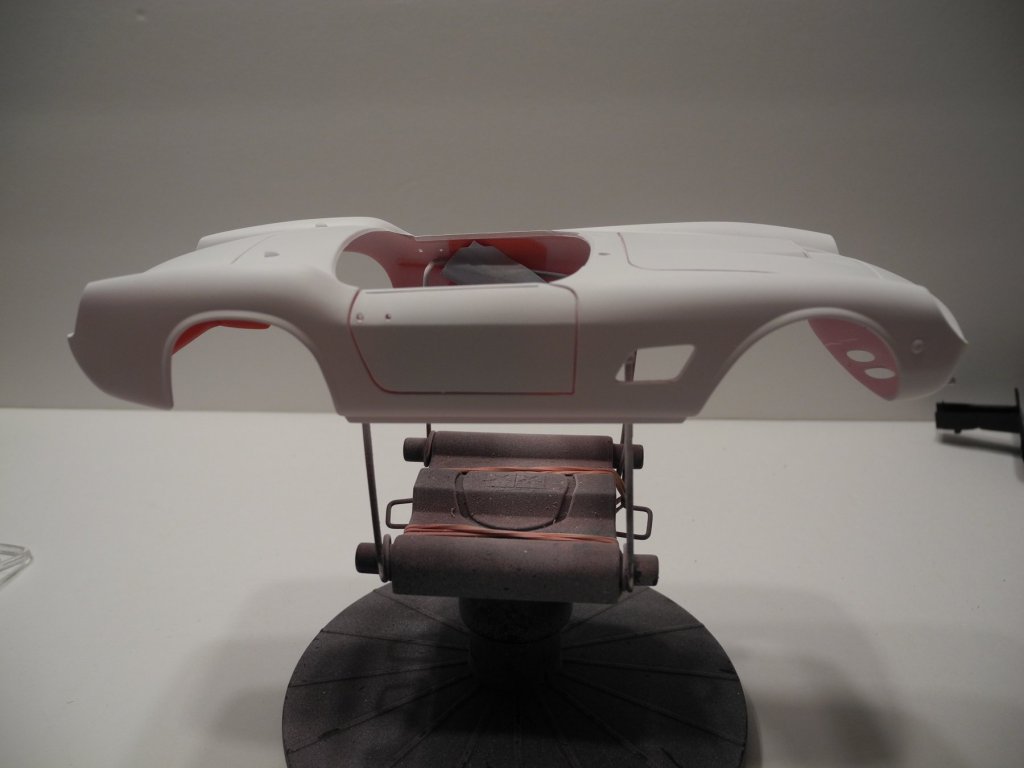
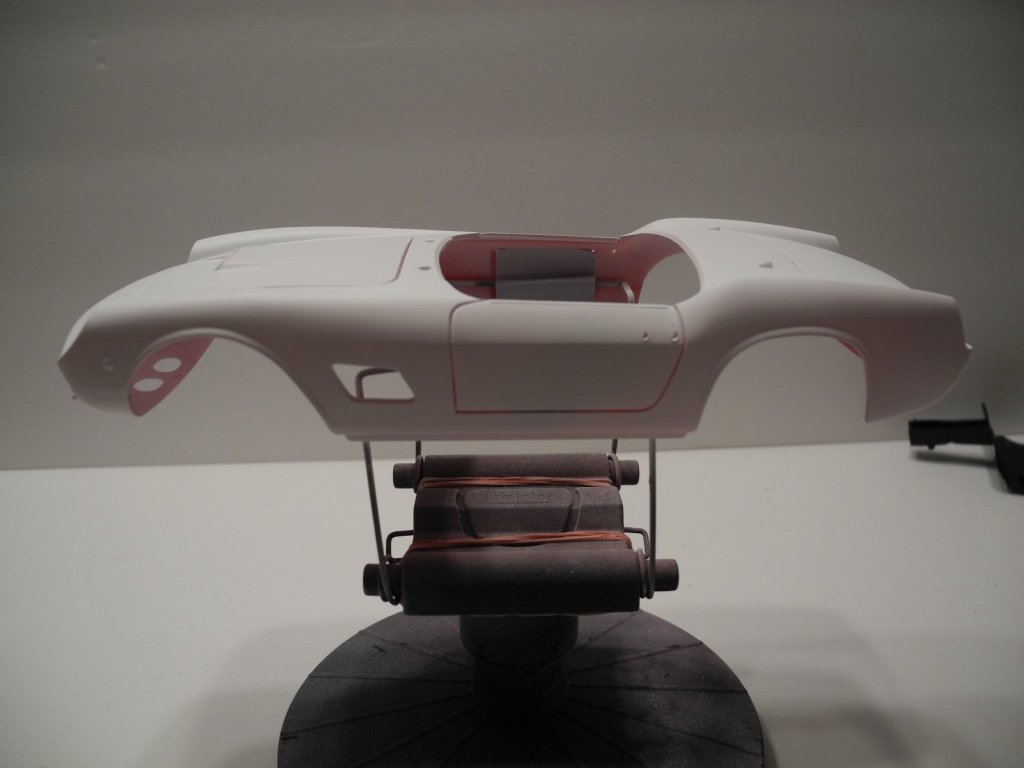
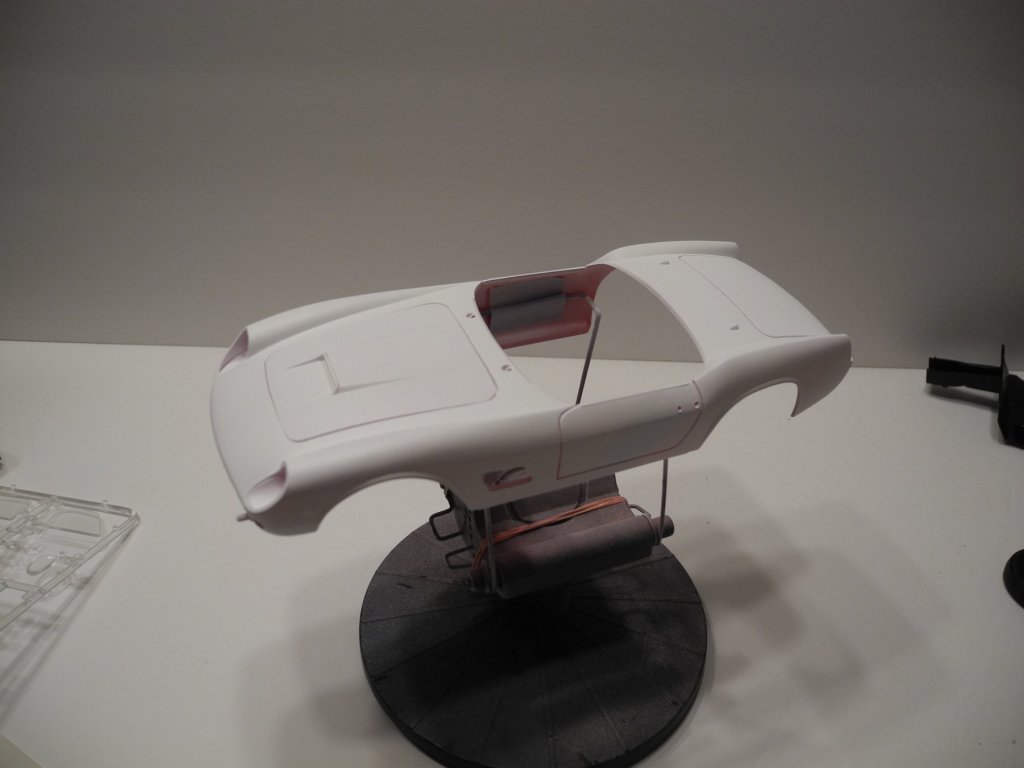
She's beginning to shape up under 2 coats of white primer. Going to give her a good rub down with some 1500 grit paper, then see if she needs a 3rd coat before the color coats start. I guess in the meantime, I'd better start checking to make sure all the various body hardware will fit without any filing or sanding issues on the body as well. Those places on the nose where the signal lights attach look a little dubious to me, but it may be all well and fine. Can't take anything for granted on these 30+ year old models. They just didn't have a complete measure of accuracy or technology to produce the more perfect kits we have grown accustomed to today.


-
Have a extra $100.00 to spend......
CDW replied to CPDDET's topic in Modeling tools and Workshop Equipment
It looks very interesting, but I have never used one and cannot say how useful it might be in the long haul. Vossy (Chris) also provided a very thoughtful list of day-to-day ship modeling tools. He is spot on about the need for various size and types of clamps. You can get a lot of ideas for useful tools that won't break the bank by follow the build threads here at MSW. -
Have a extra $100.00 to spend......
CDW replied to CPDDET's topic in Modeling tools and Workshop Equipment
If you plan to build plank on frame ship models, a plank bender is going to be very useful. https://www.ebay.com/itm/Electric-Plank-Bender-for-Hobby-Model-Ships-by-Model-Shipways-MS7205/253473190370?hash=item3b042df1e2:g:f6QAAOSwJ8pan5Dn -
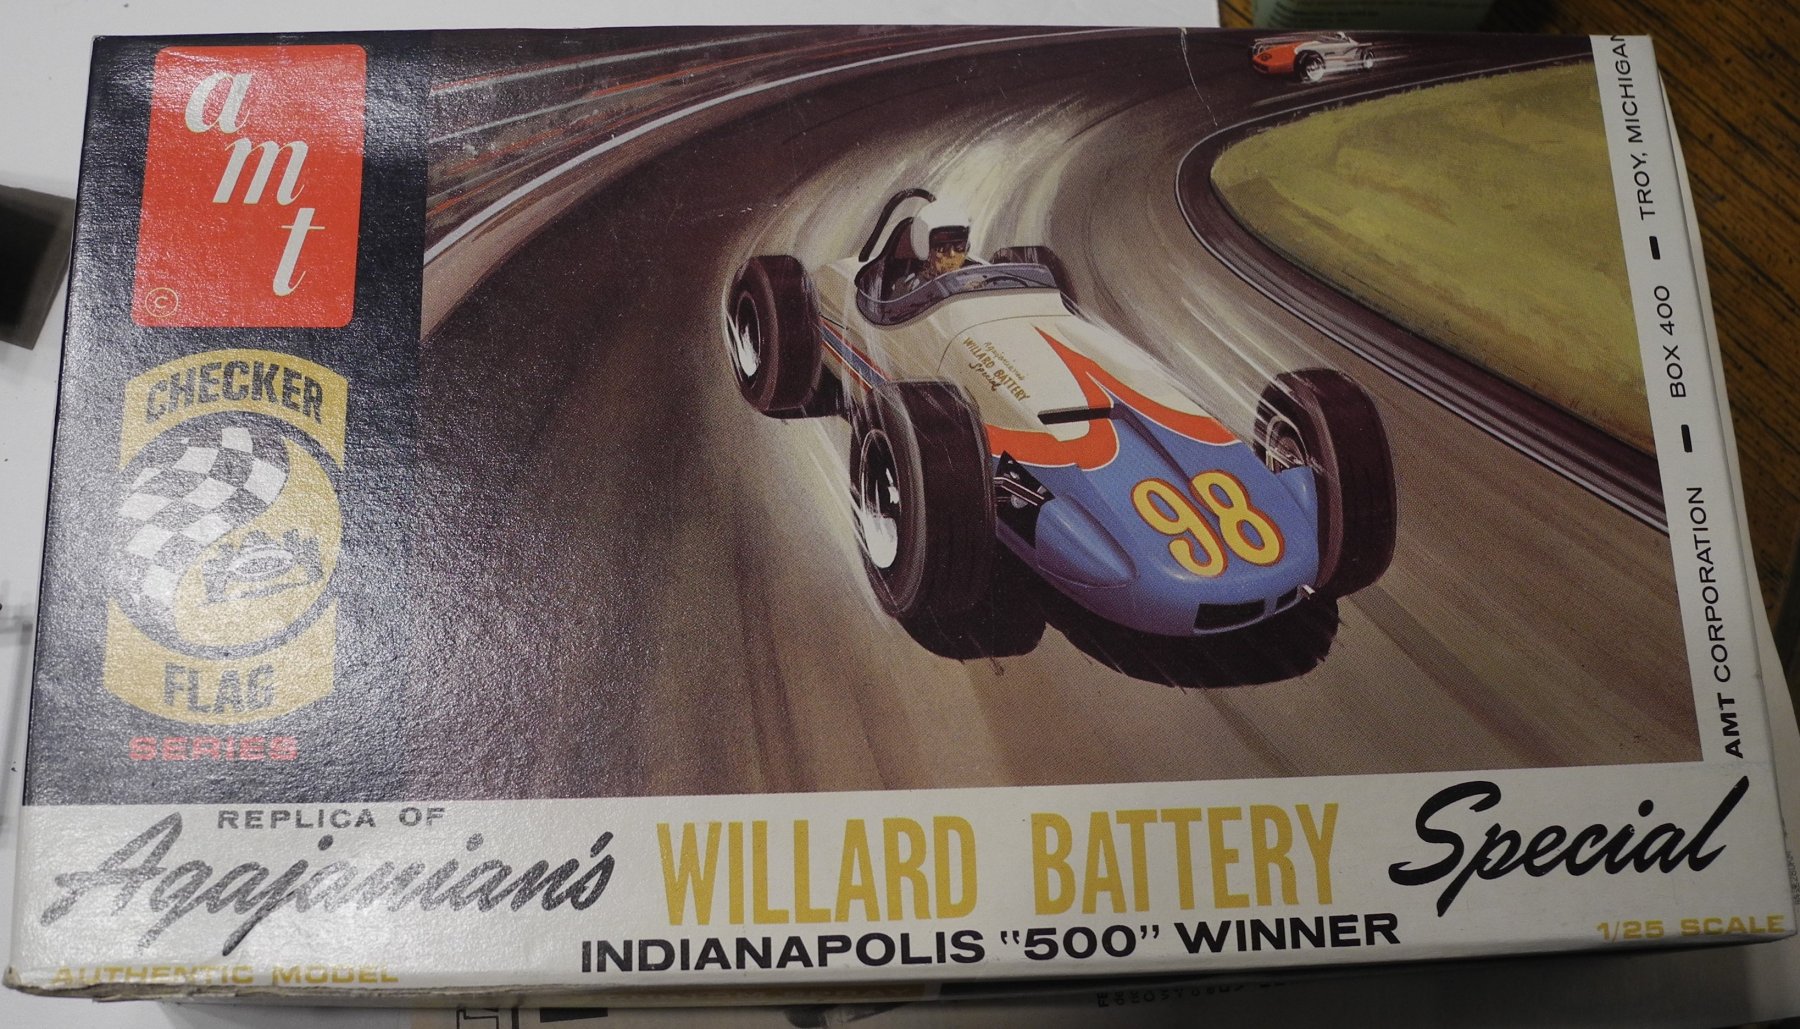
All three of the cars you mentioned in the 2nd paragraph were boxed and sold by Testors. Remember the Indy cars, the Willard Battery Special and the Jim Clark Lotus? I have both waiting in the wings for a future build. Some decent after market decals for them, too.

-
Originally, a company named ICM did a run of several versions of the Ford GT's. Then MPC picked them up when ICM went under, then Testors boxed them too. ICM also did a very well detailed model of a '48 Ford that was way ahead of it's time in engineering and complexity. I've built all of those kits in the past. They were fiddly and not easy to build straight. Back in those days, I didn't even own an XActo knife, so it was not so smooth sailing for me. 😄
-
Indeed, some of the Porsche kits that Testors marketed were Fujimi's. I can't recall exactly which ones were and were not Fujimi, if I saw the box art I would remember/know. With Testors, it was a mixed bag. Some of their offerings were great (Fujimi) and some were not. They sold Italeri products in their box under their label as well. This California Spyder I am building right now is an example of that. My kit is in an Italeri box, but you could also find the exact same kit in a Testors box as well.