CDW
-
Posts
7,755 -
Joined
-
Last visited
Content Type
Profiles
Forums
Gallery
Events
Everything posted by CDW
-
 Brother, you done GOOD! I only recently realized how good cell phone photos can be. Maybe in some cases even better than cameras that cost quite a bit. Your photos look great to me, I like them a lot.
 -
Phantom Henry J Gasser by jct - FINISHED - 1/24 scale - PLASTIC
CDW replied to jct's topic in Non-ship/categorised builds
Every 4th of July my dad would take us to Daytona for the Firecracker 400. Saw all the great drivers and iconic cars of the 60's and early 70's. My dad was a huge race fan for just about any racing venue...horse races, car races, motorcycle races. Have great memories of those things. In the 60's, my dad and older brothers chipped in together and bought a racing go kart. A Dart Kart. It had twin Westbend racing engines. That thing was crazy fast and dangerous, too. My brother darn near killed himself in that thing. -
Phantom Henry J Gasser by jct - FINISHED - 1/24 scale - PLASTIC
CDW replied to jct's topic in Non-ship/categorised builds
Denis hit the jackpot with that Sox and Martin super stock kit. That's a very fine kit in my opinion. Looks great when finished. I think I have one of those, unbuilt in my garage. Now it will bug me until I go search. -
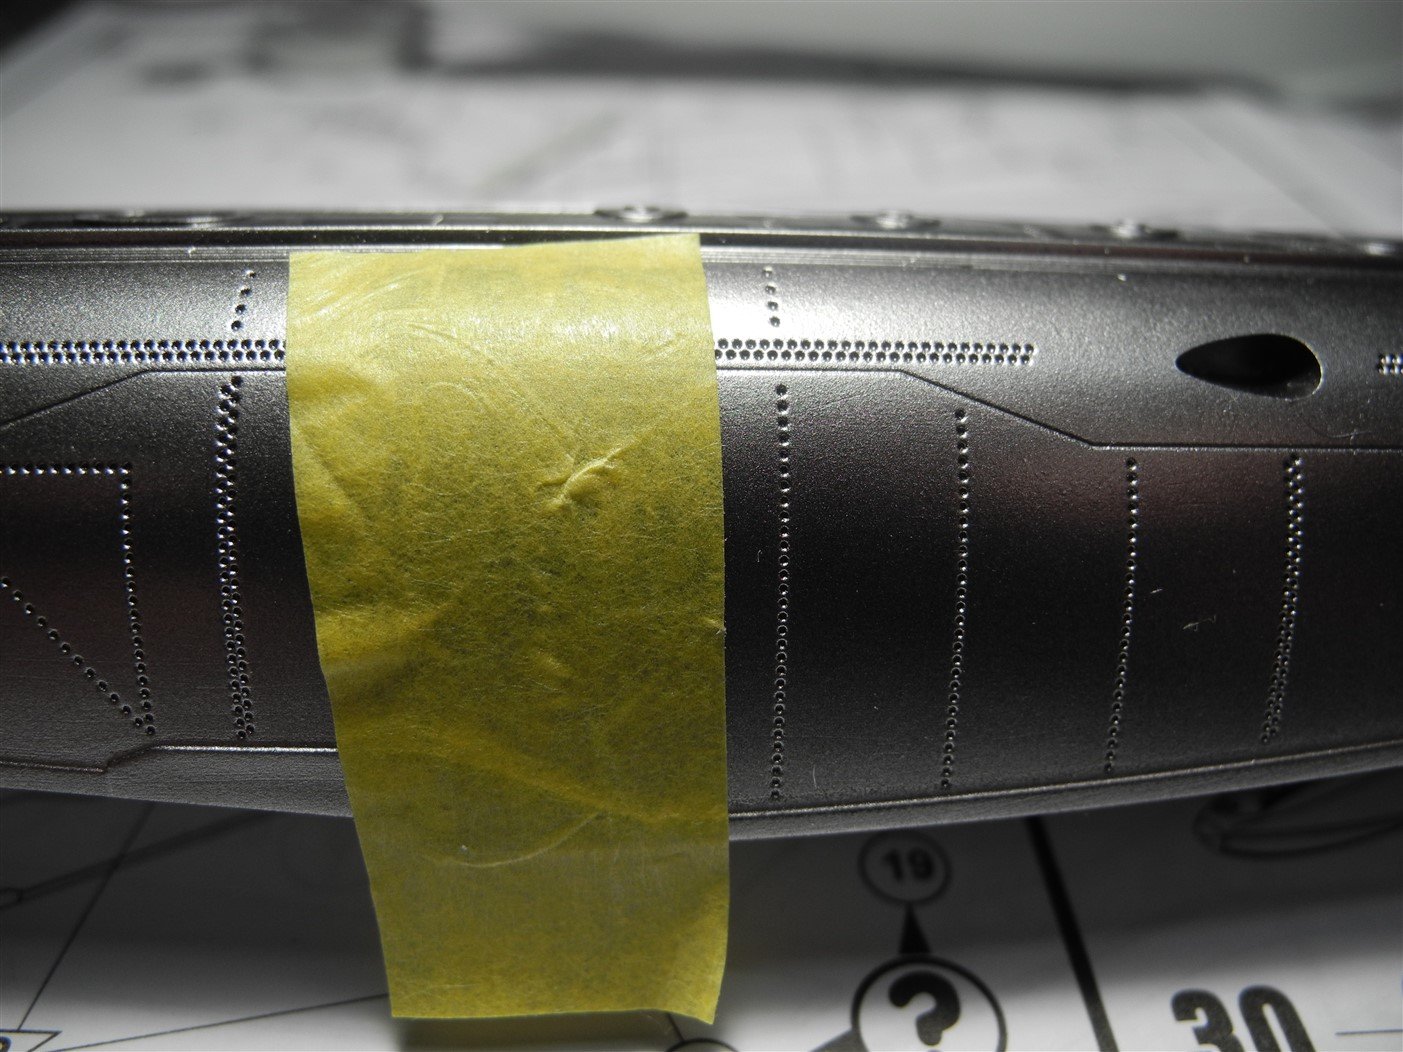
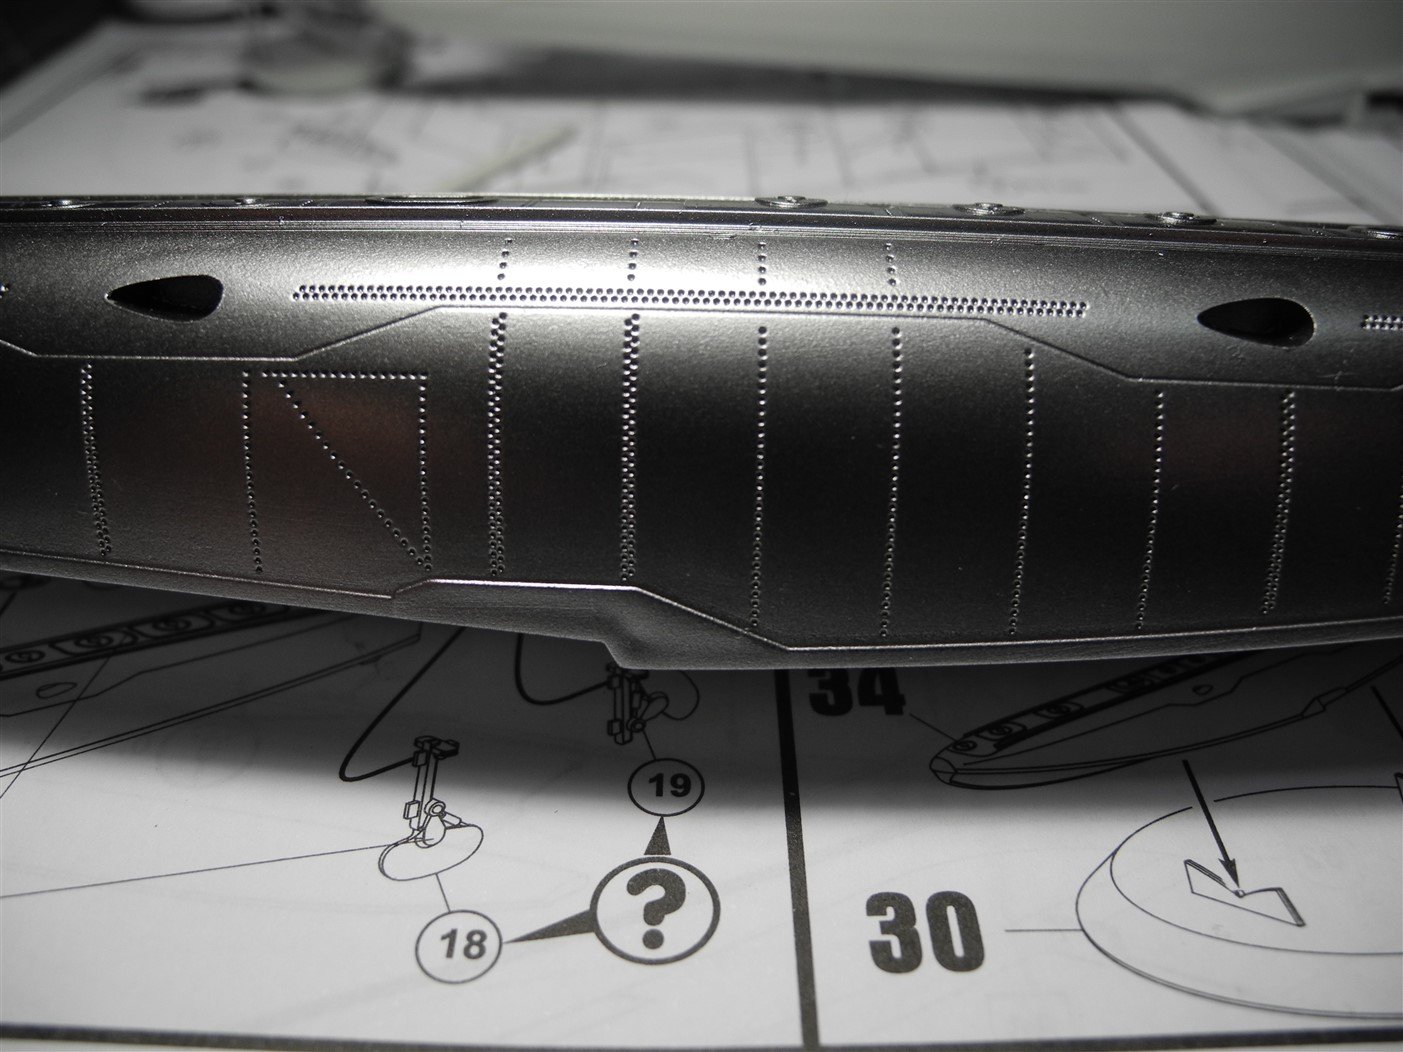
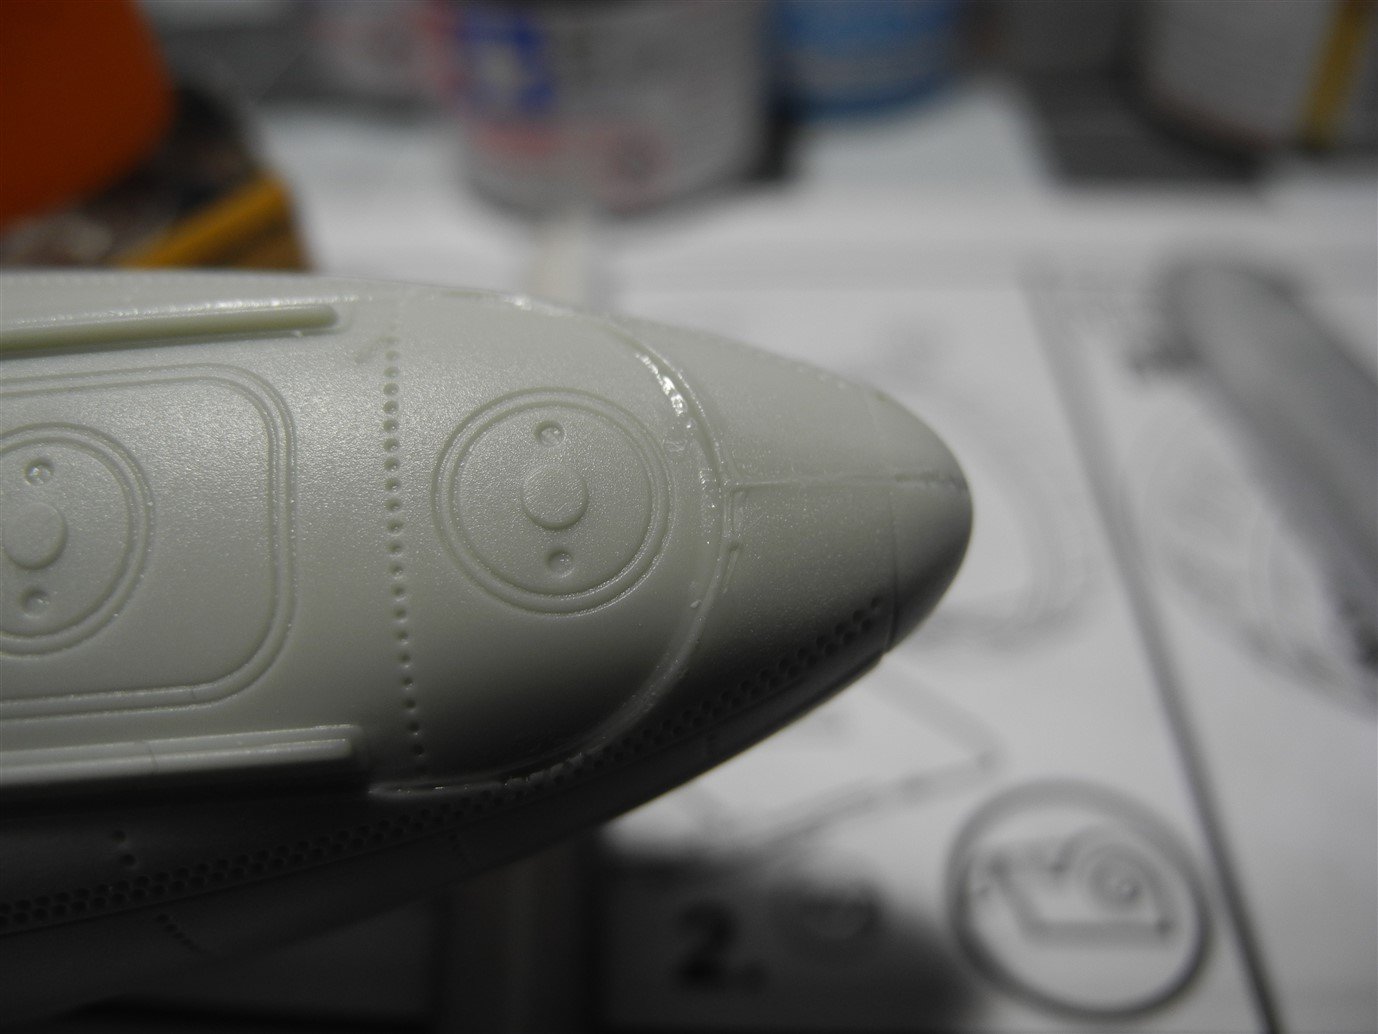
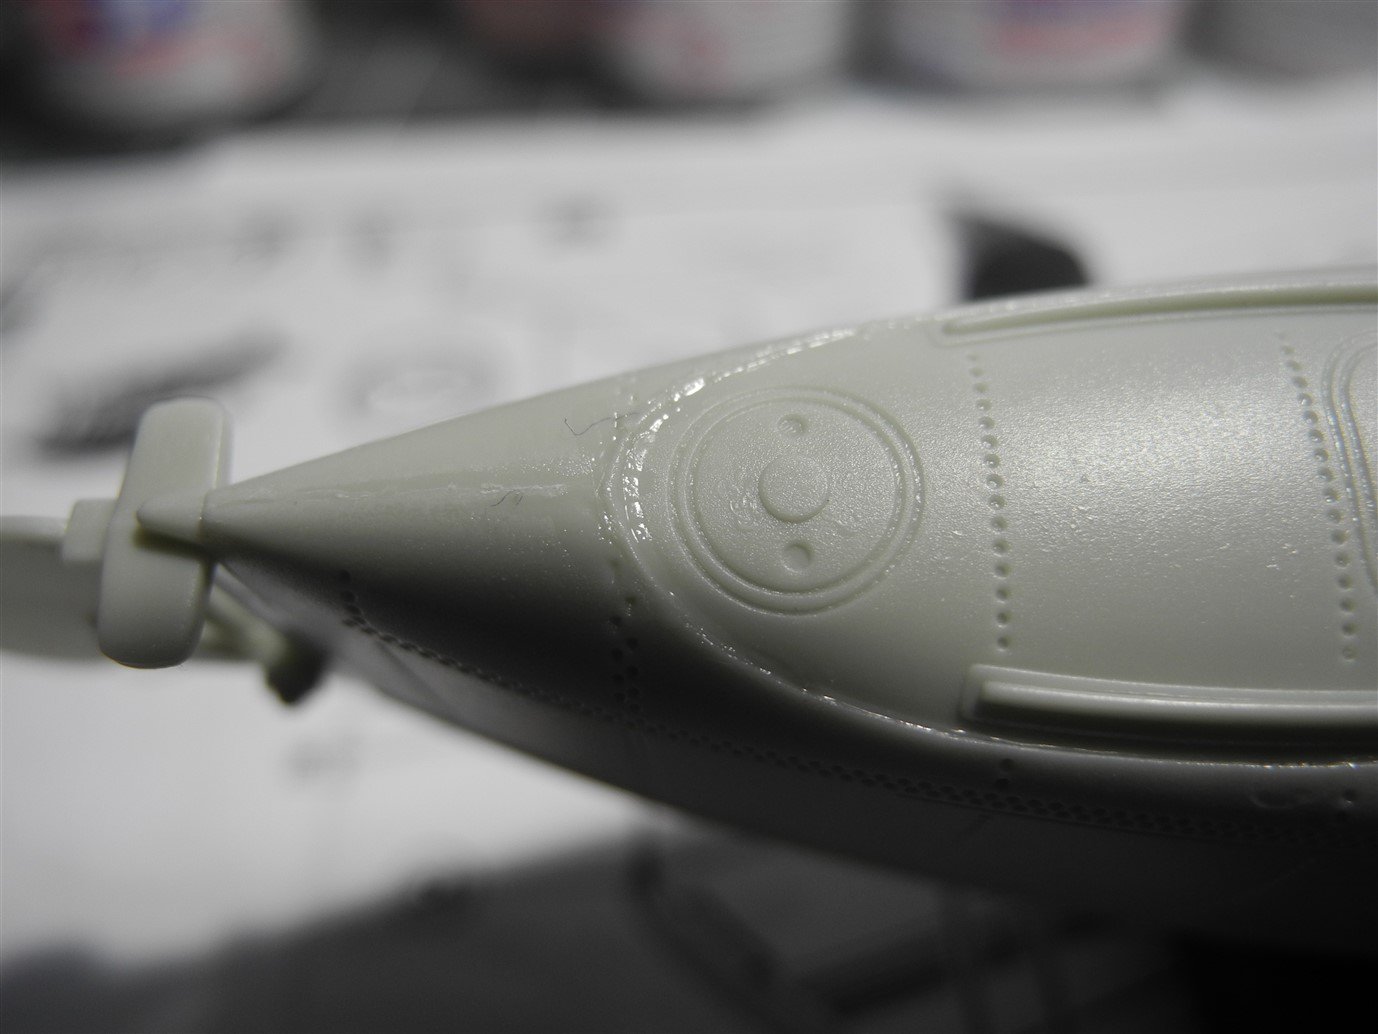
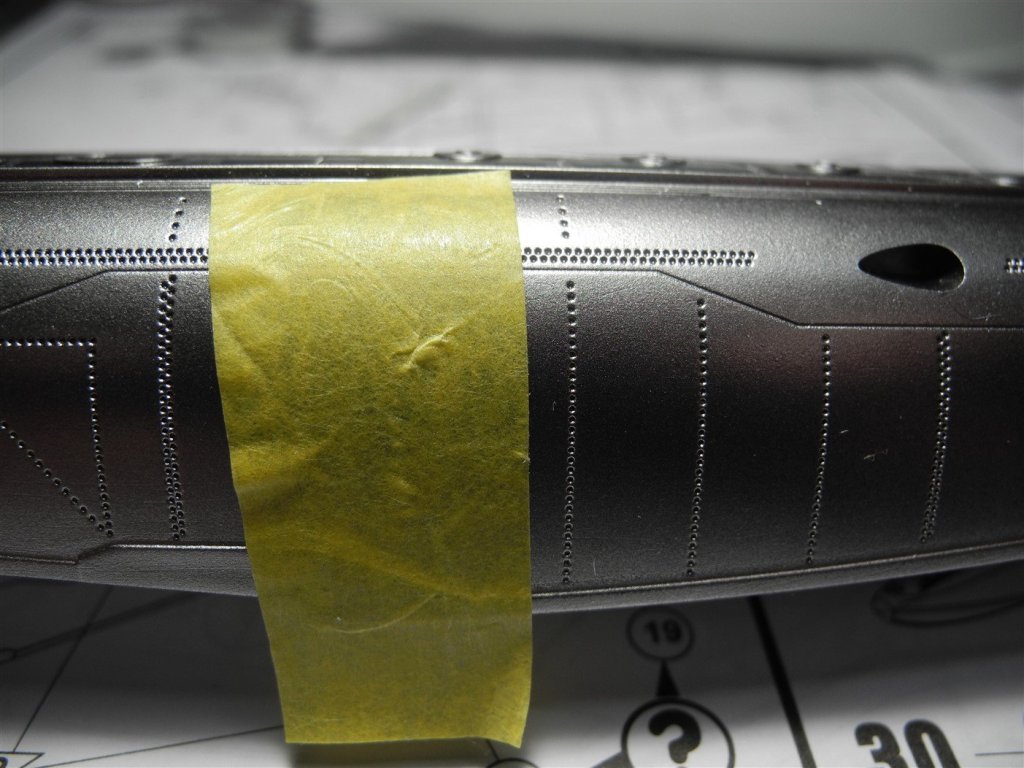
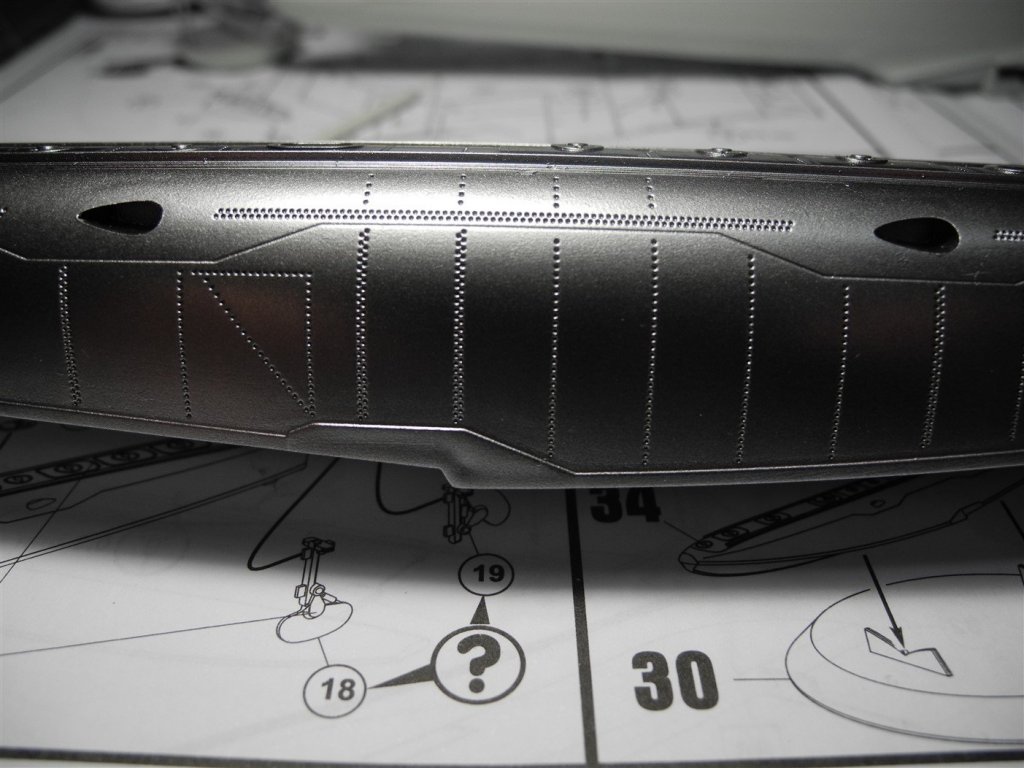
Here are close up photos of the repaired areas after painting with aluminum. As you know, shiny aluminum color will show up any and every scratch like a magnifying glass. Here there are none. Looks more like a welded seam instead. Also, another benefit of the Xtreme Metal paints...they do not discolor or peel like other metallic paints like Metalizer or Alclad paints will do when masking tape is applied then removed. Really a tough durable finish unlike it's brethren paints.

-
You are exactly right Denis. Let the liquid cement do the work...and DON"T get your fingerprints into it.
-
Both things are happening Mark. The glue softens the stretched sprue and then it can be gently pushed into the gap. By using the thin liquid cement, the plastic sprue sorta' melts into the gap. I use the back side of a small pair of tweezers to push the softened sprue into the gap. After it's all in place, I give it all another pass with liquid glue.
-
I agree whole heartedly. It's a lot of fun seeing the Black Pearl come alive with detail like this. You'll have one-of-a-kind when you're done with her.
-
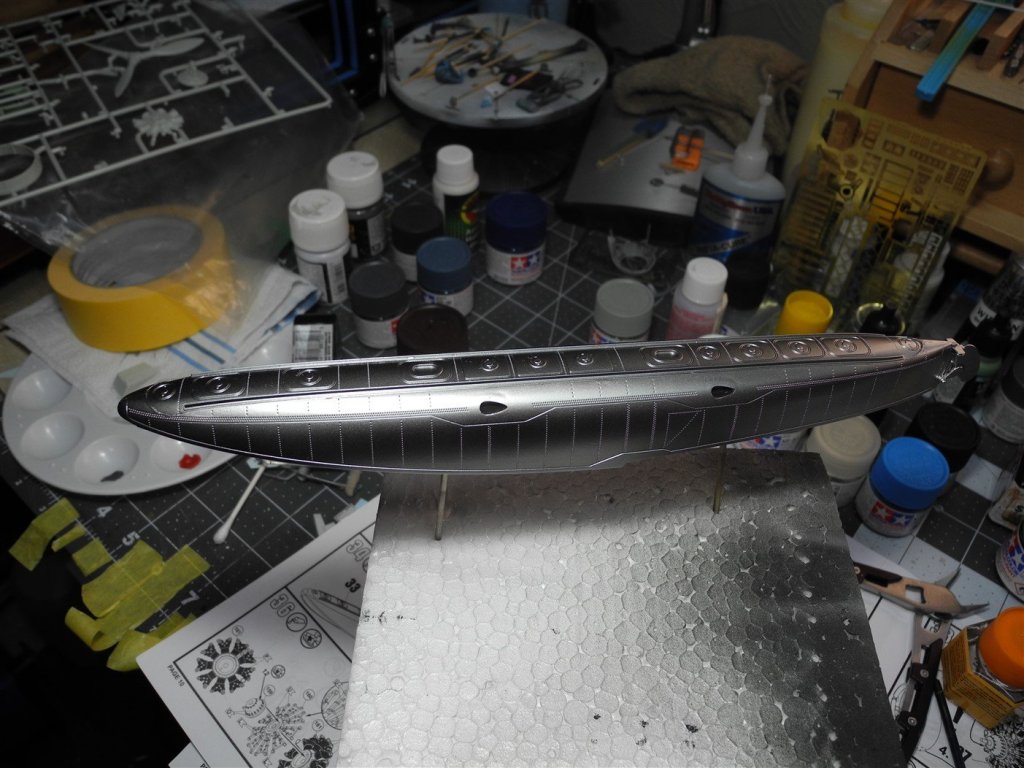
I forgot to mention...after the base coat of Tamiya gloss black goes down and paint is thoroughly dry, I give it a light polishing/wet sanding with 6000 wet or dry paper before the Xtreme Metal color goes on to ensure a more perfect finish.
-
Thanks OC. It's just another modeler's tool to add to the tool bag.
-
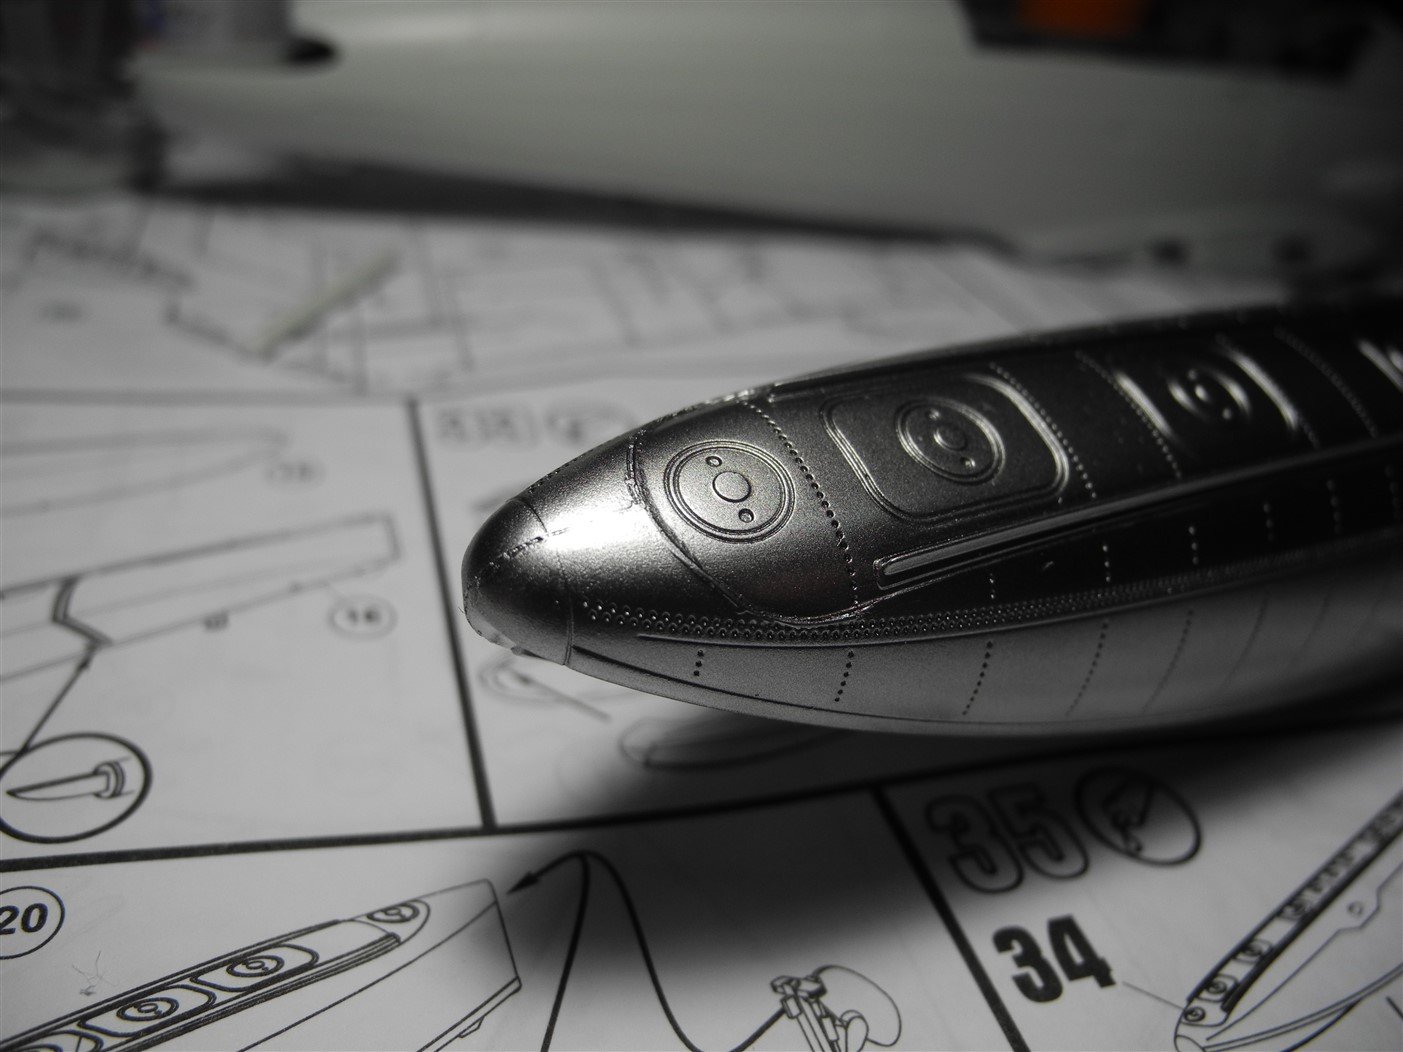
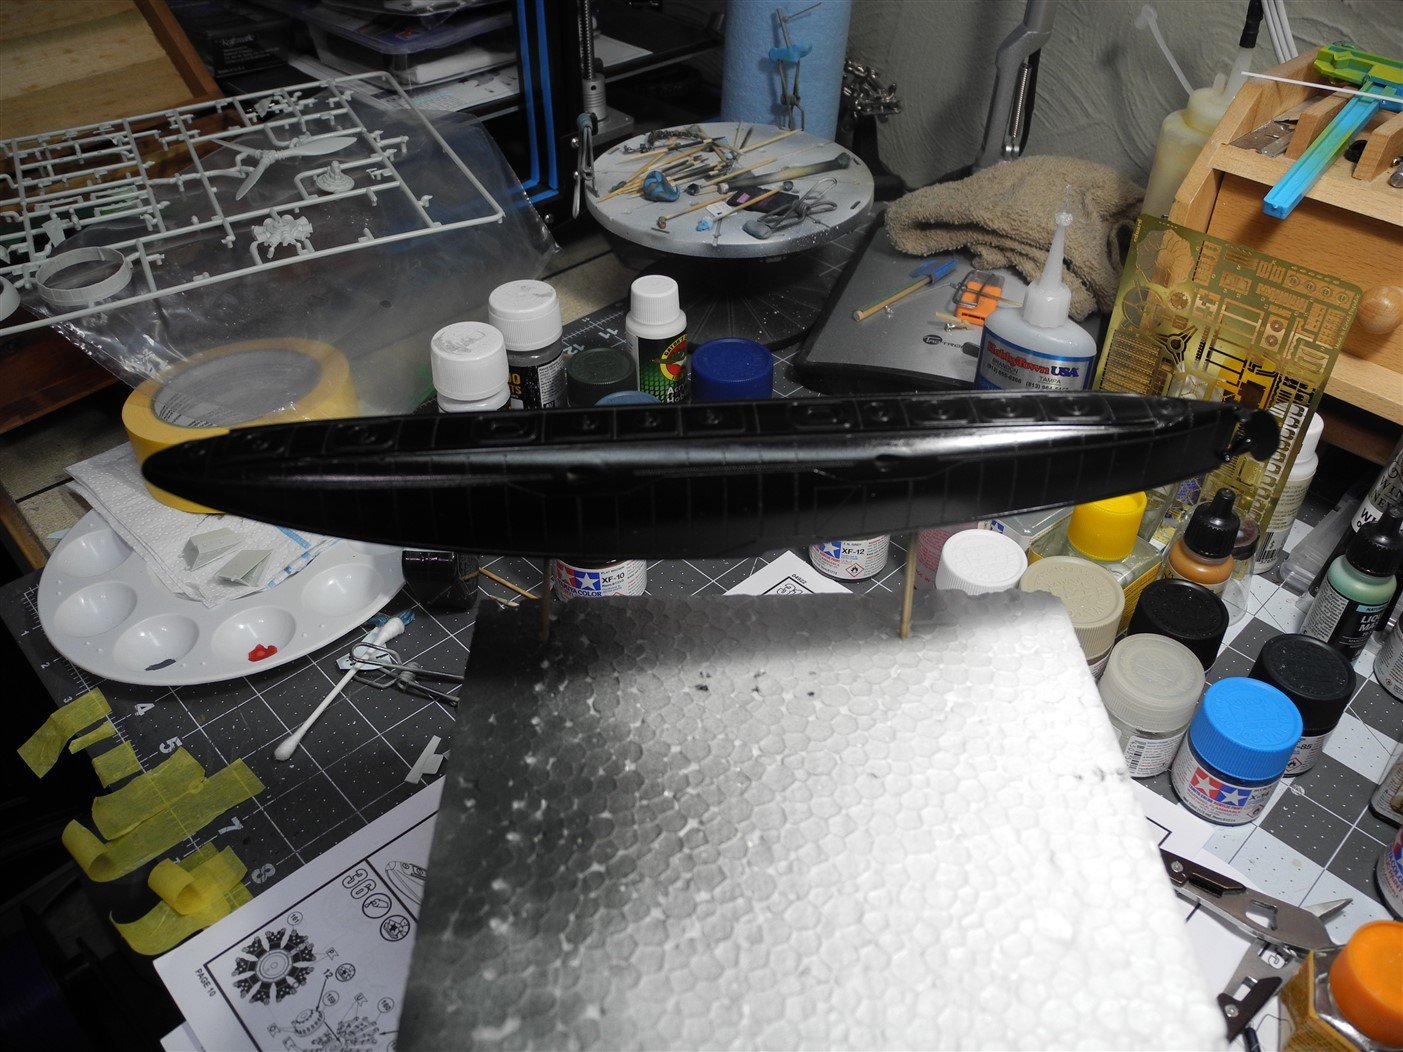
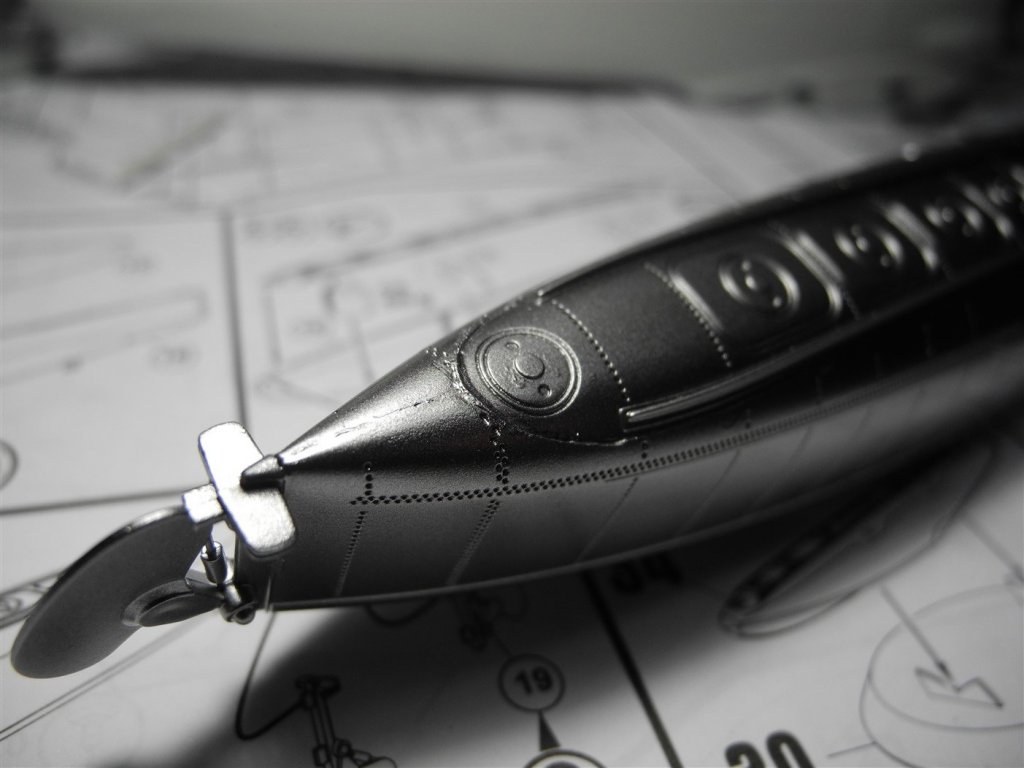
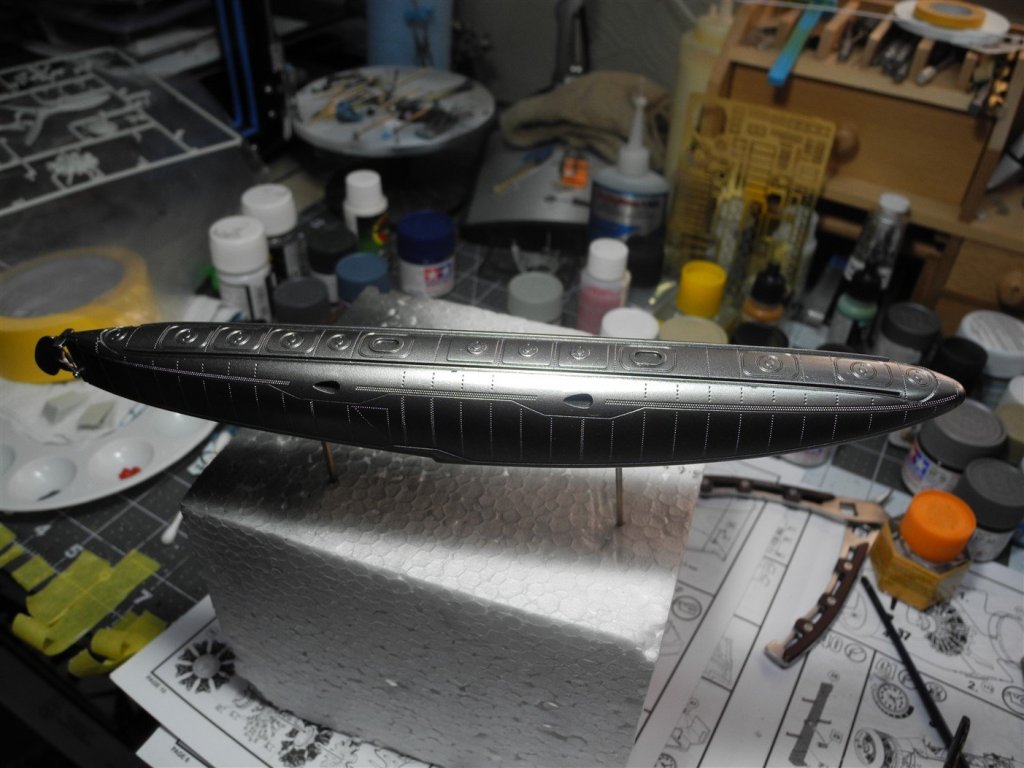
Main float - base coat is Tamiya gloss black; finish coat is AK Interactive Xtreme Metal aluminum. Similar to Alclad, the Xtreme Metal paints go down in very light coats, not heavy. Difference between Xtreme Metal and Alclad is the former requires no clear coat while Alclad does.

- 100 replies
-
- 10
-

-
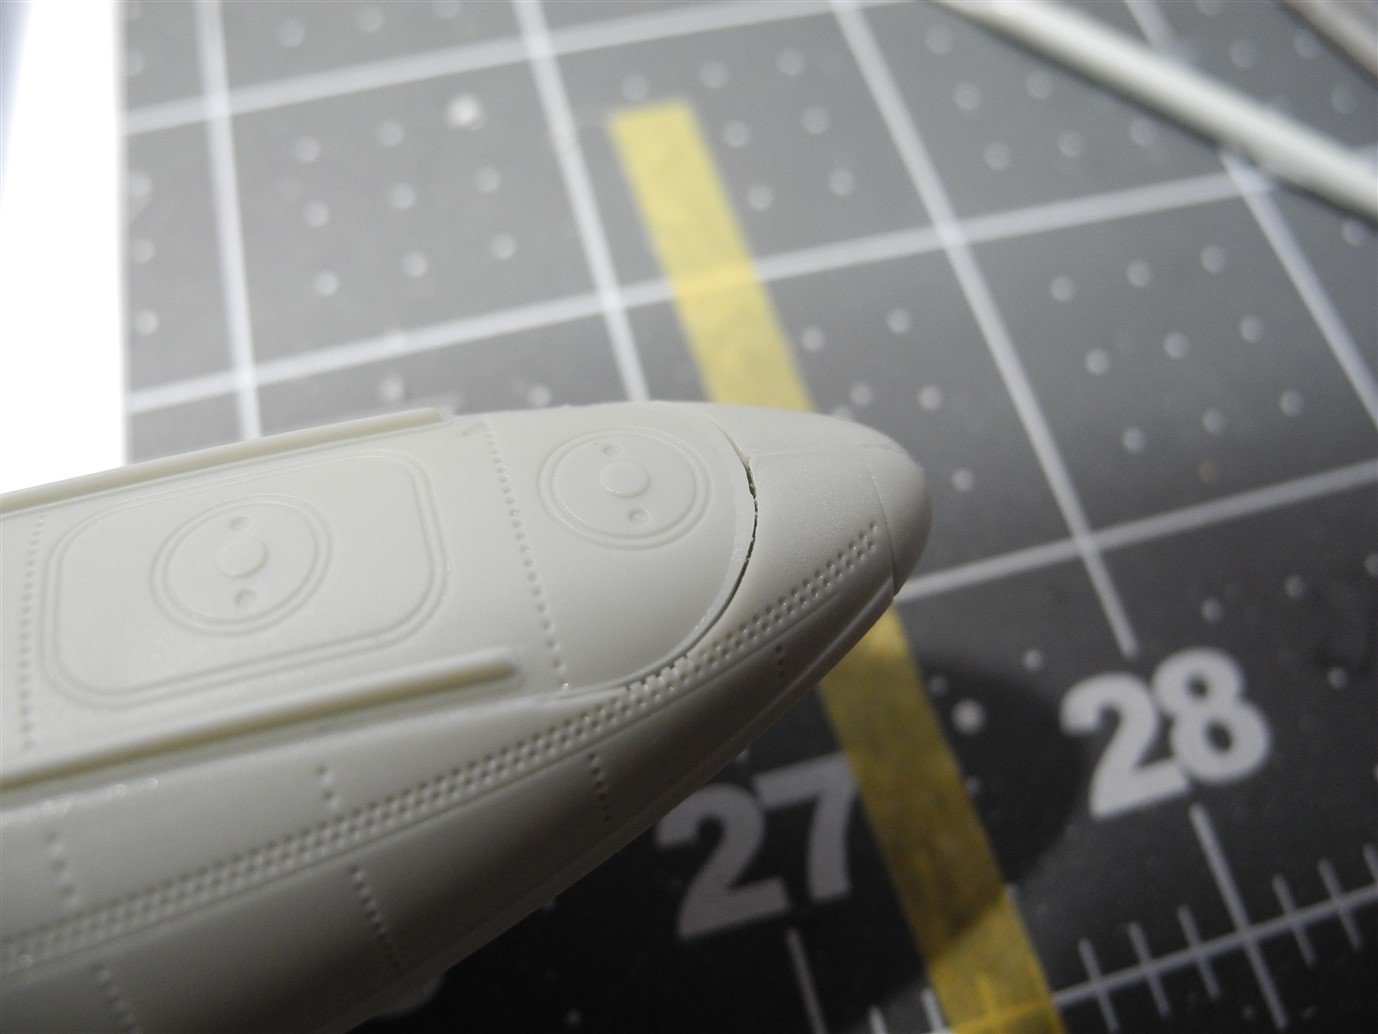
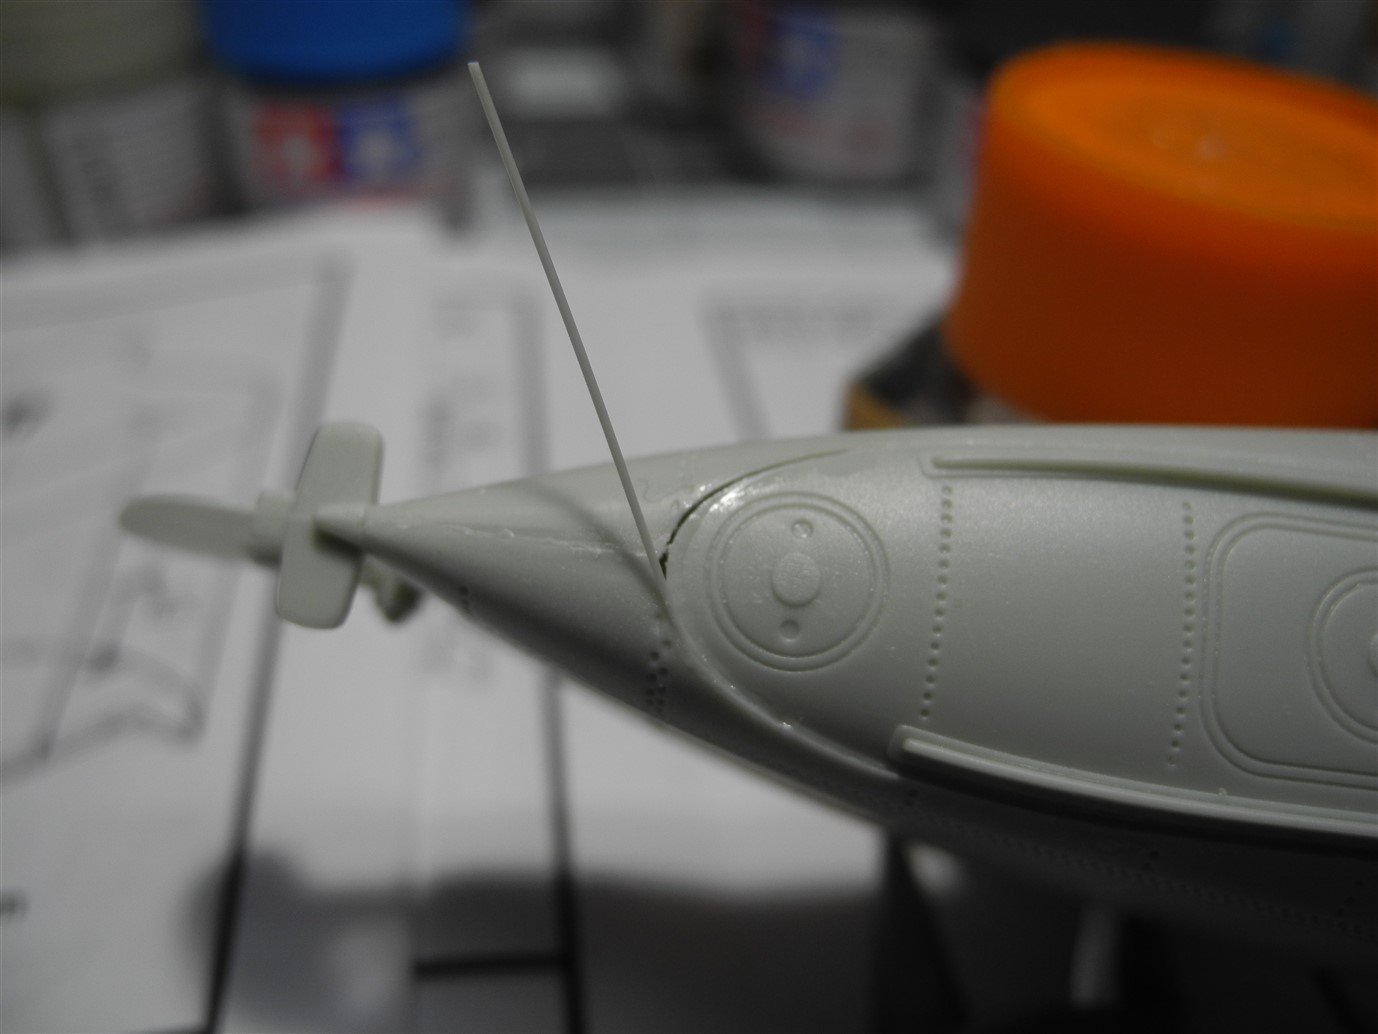
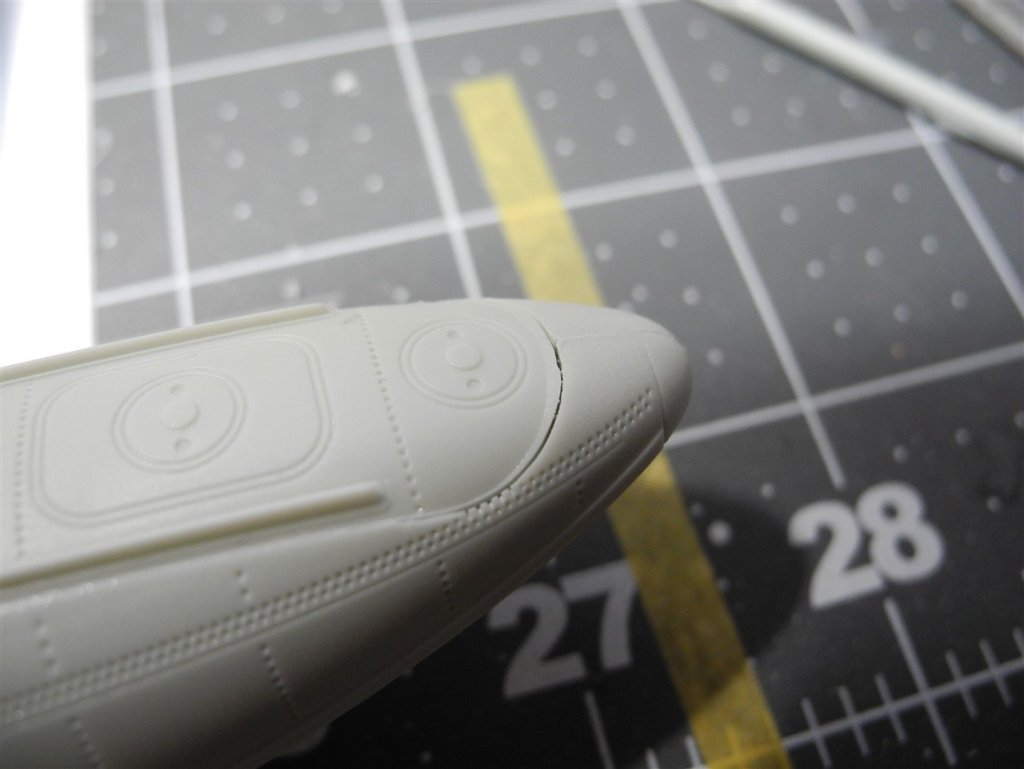
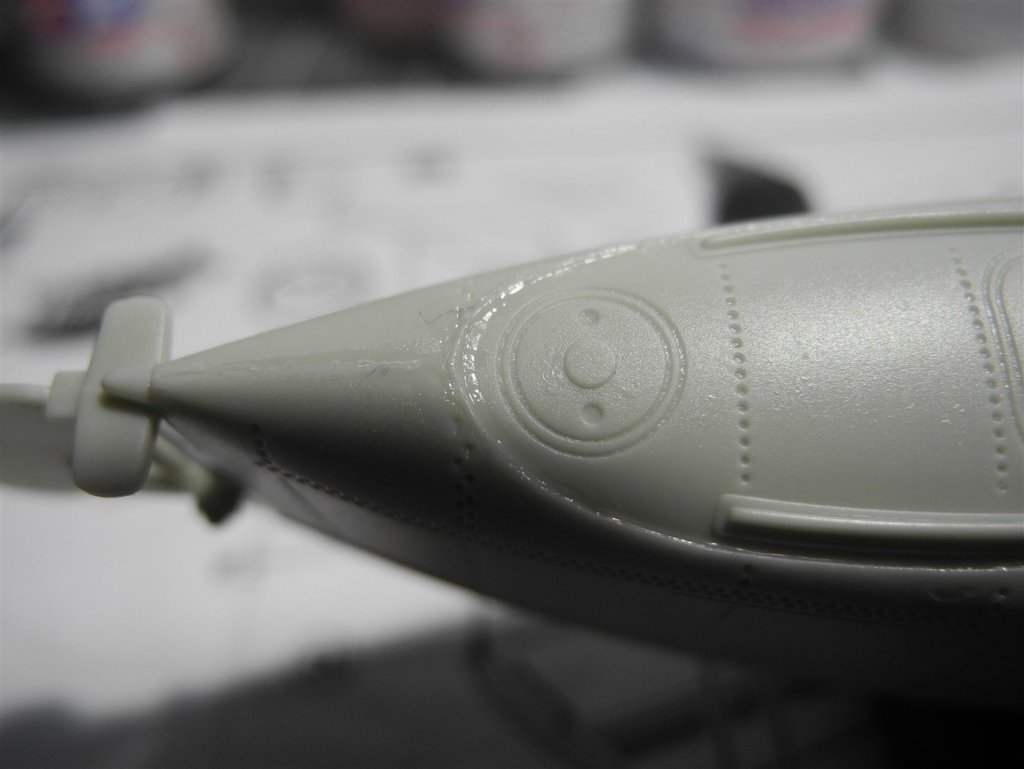
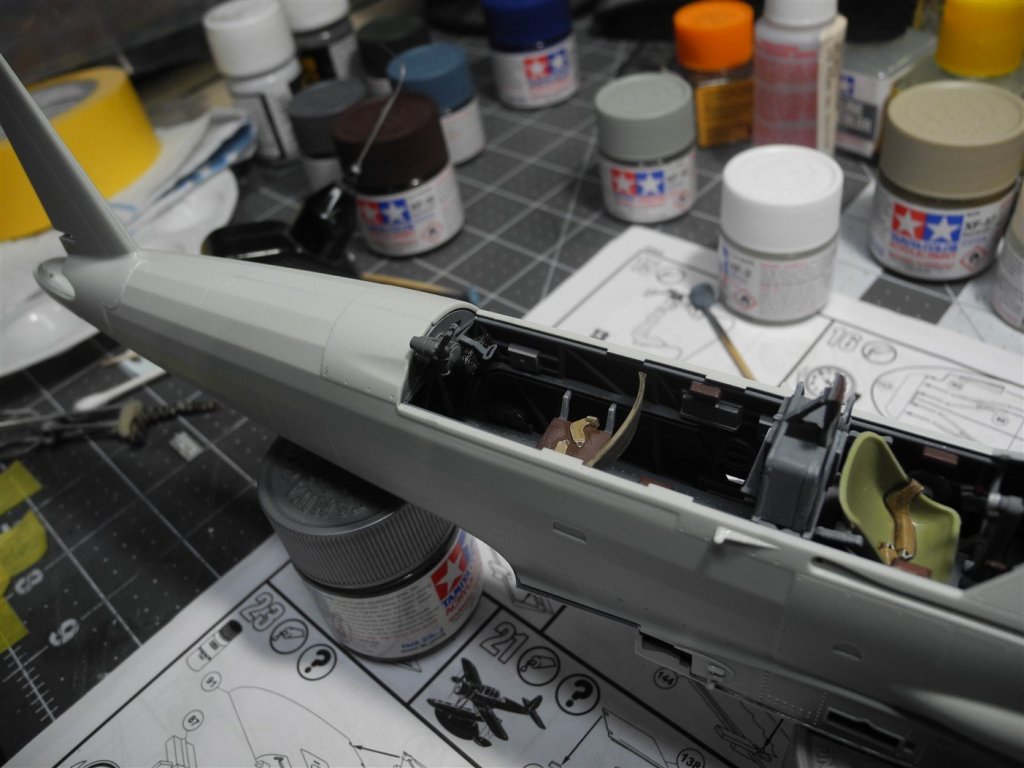
While I was working on the next step of the Arado build, ran across one of the only fit issues I've found with this kit. It's a very minor but annoying gap that appears when the top of the main float is attached to the two sides. Not only is the gap annoying, but it would be very noticeable once the part is finished and painted. When you look closely, there is fine engraved detail all around the small gaps. Filler putty and sanding would potentially cause one to lose a lot of that detail. Over the years, I learned to use stretched sprue with thin liquid cement to fill in these small gaps without obliterating the surrounding detail. The following photos show the gaps and how I use the stretched sprue with thin liquid cement to fill them in. As you will see, the gaps are nicely filled without even sanding...and the surrounding details are all left totally intact. If you haven't tried this method of gap filling, give it a try. It's cheap, easy to do, and very effective.


- 100 replies
-
- 12
-
-
🙂 Thanks Denis. I can bring and enter up to 10 models, with lots of different categories/sub categories available. I have attended this particular event for decades since it's so close to home. They used to hold the event at a hotel/resort on the gulf and we would always make a weekend stay of it. Wife and kids loved it back in the day. The vendor area alone is worth a visit - there are always bargains to be found.

-
Glad you dropped by Denis. Didn't realize you'd been sick, and am happy you're back! Take care.
-
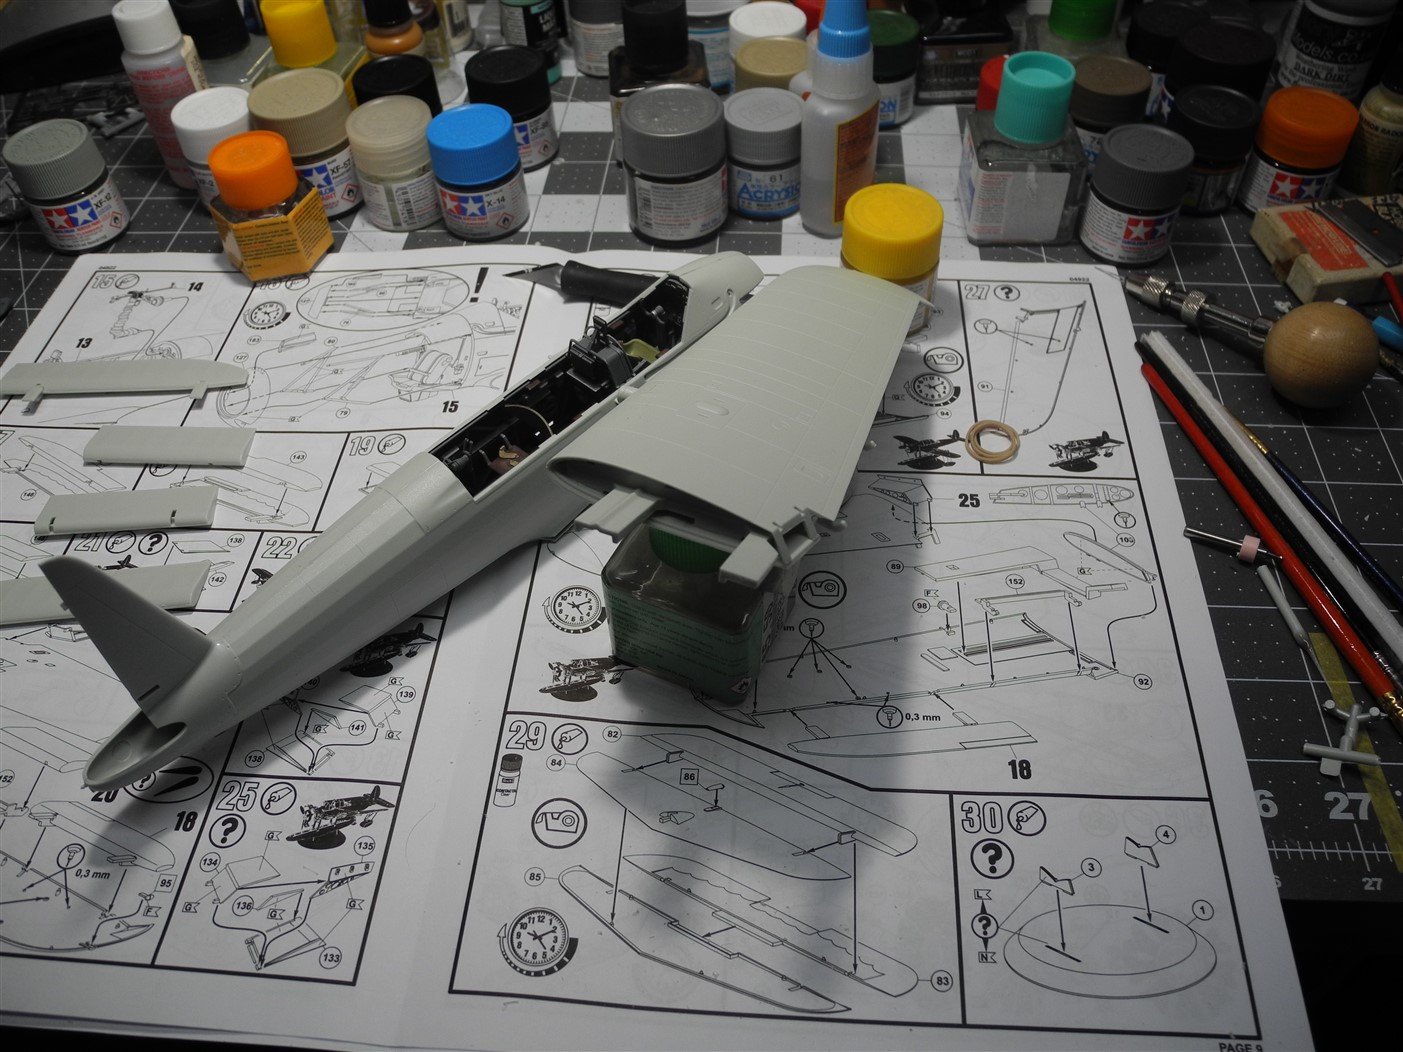
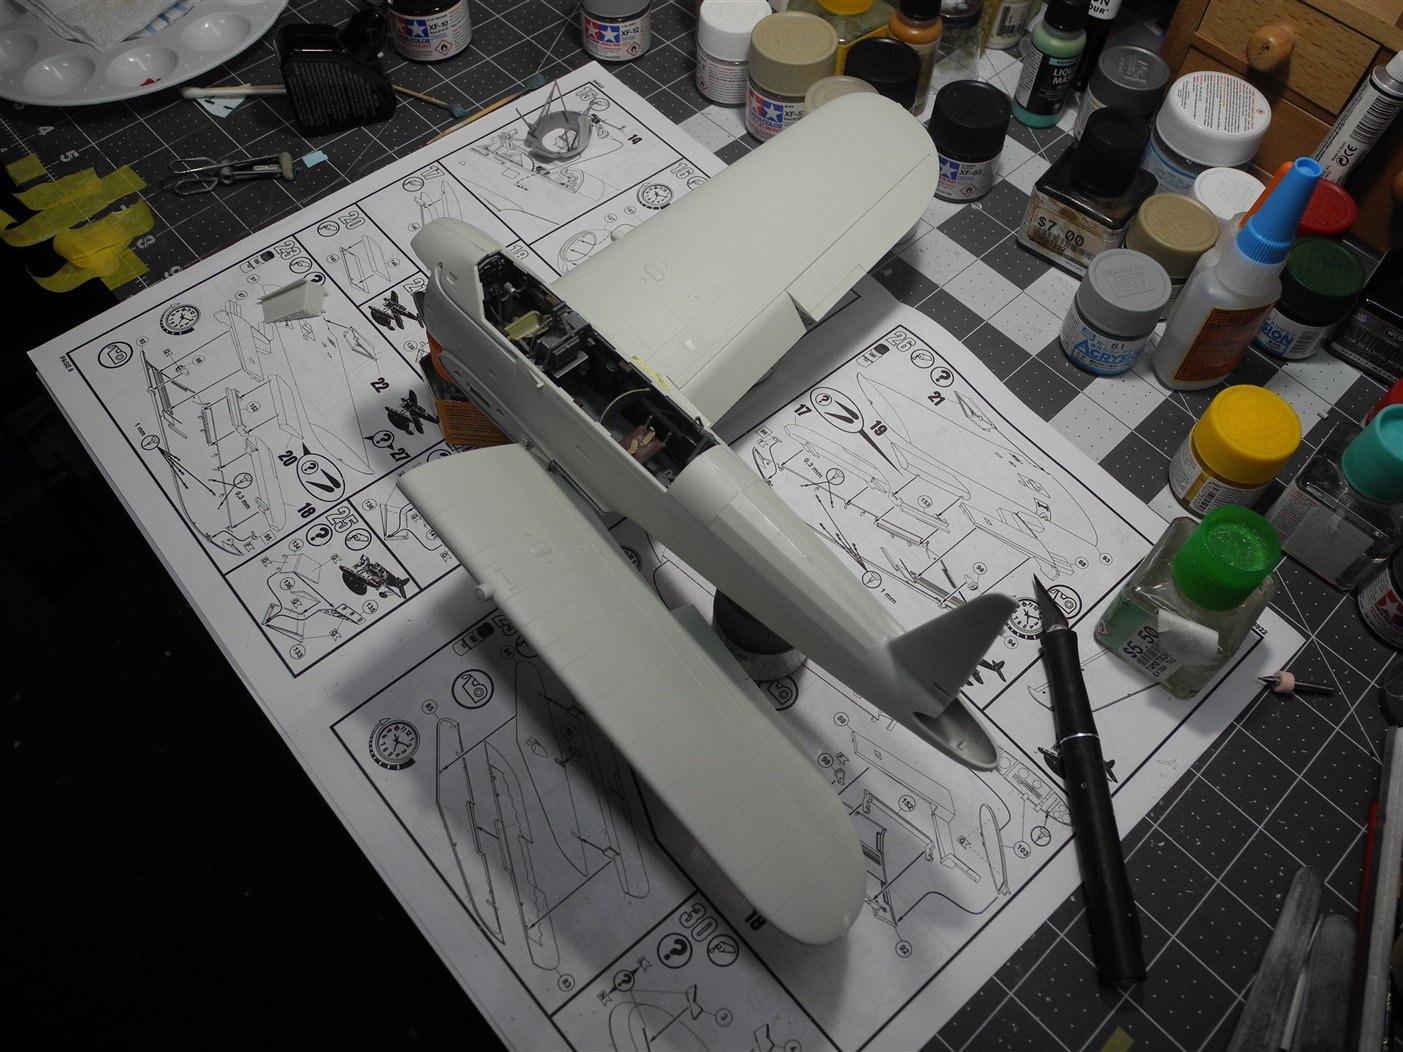
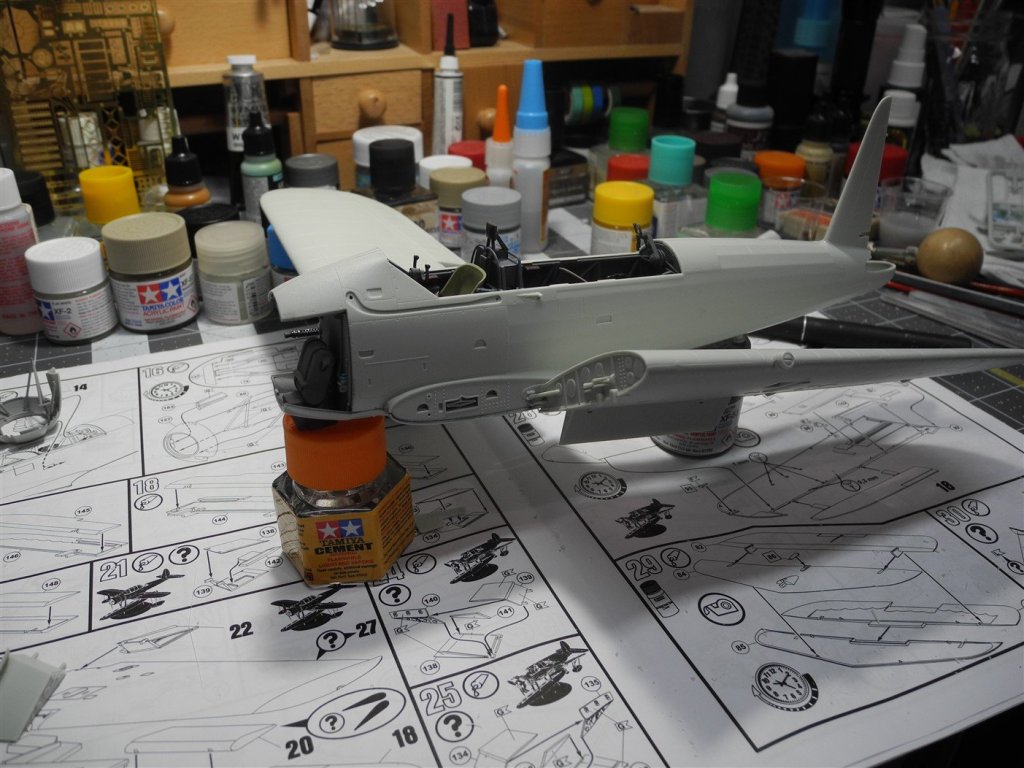
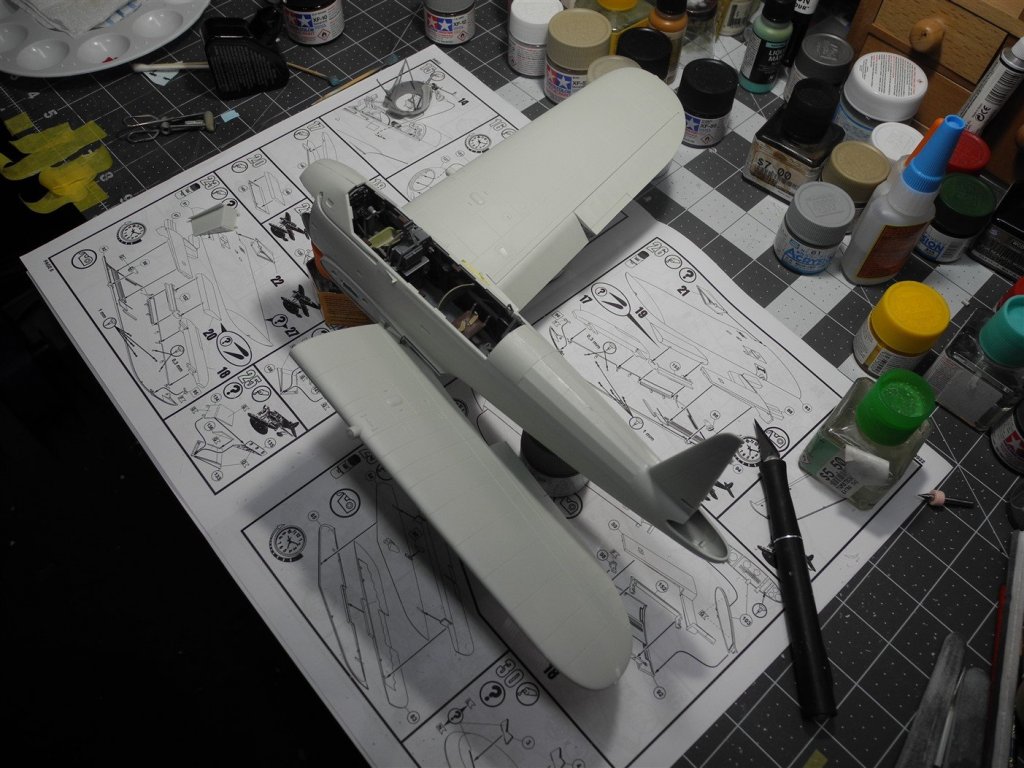
Today the wings and flap assemblies were cemented together. The ailerons and flaps are separate units and can be posed as the builder desires. As I stated earlier, I had decided to build my Arado with one wing extended and one wing folded. Here my wings are dry fitted into place, posing for a photo shoot. At this point I have to say...this is one of the best fitting, beautifully molded kits I have seen at any price. This model is a huge bargain.

- 100 replies
-
- 13
-
-
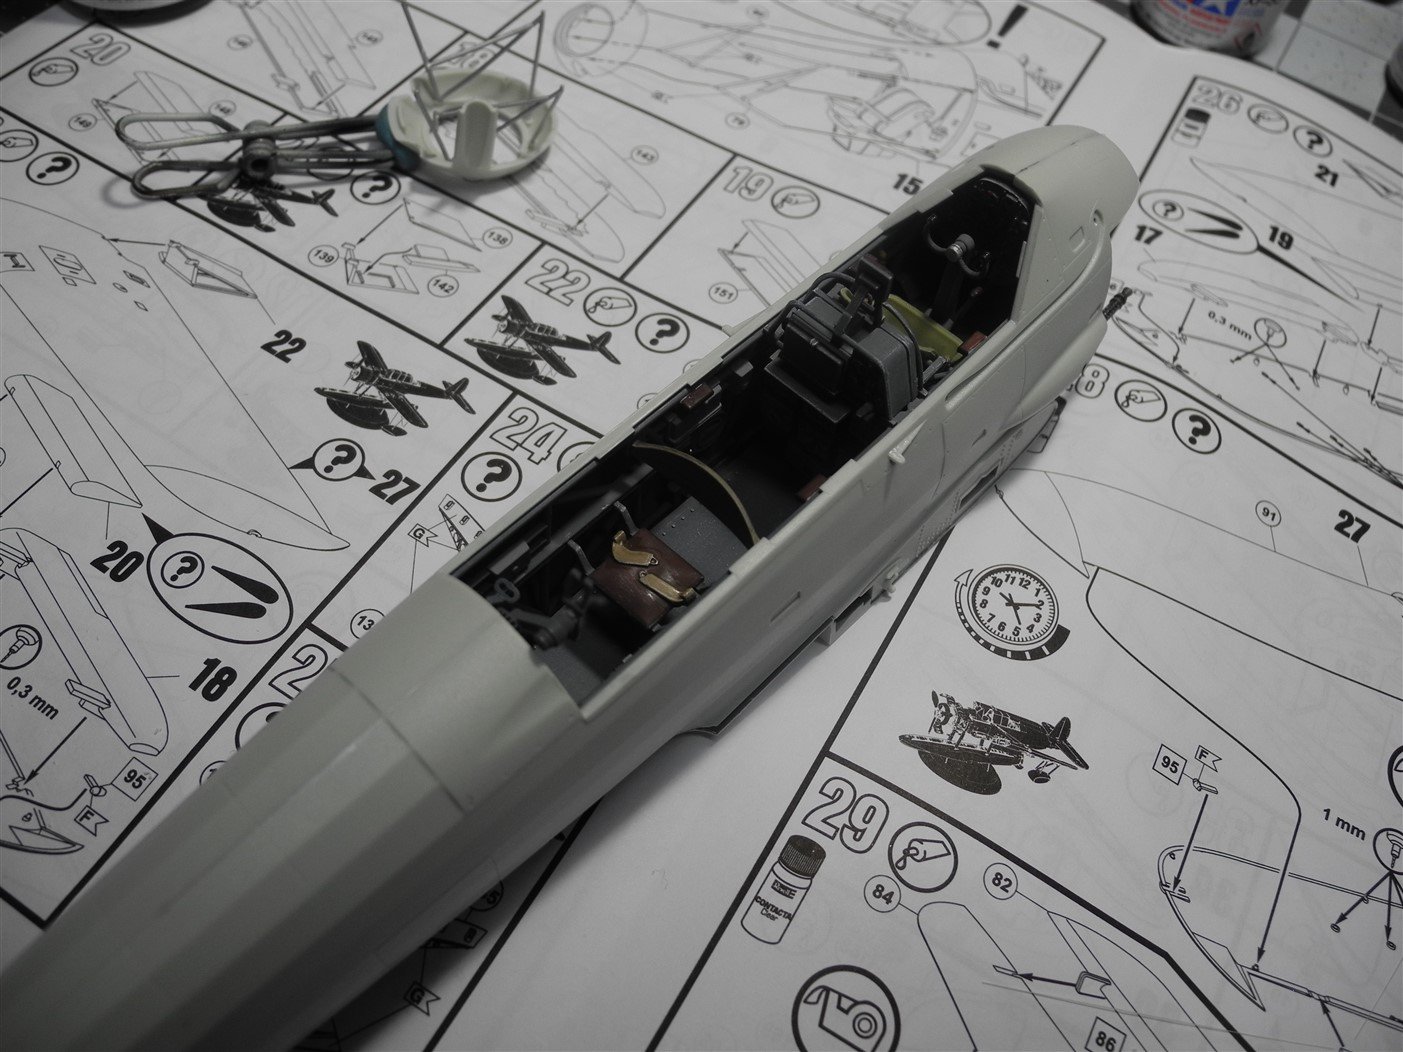
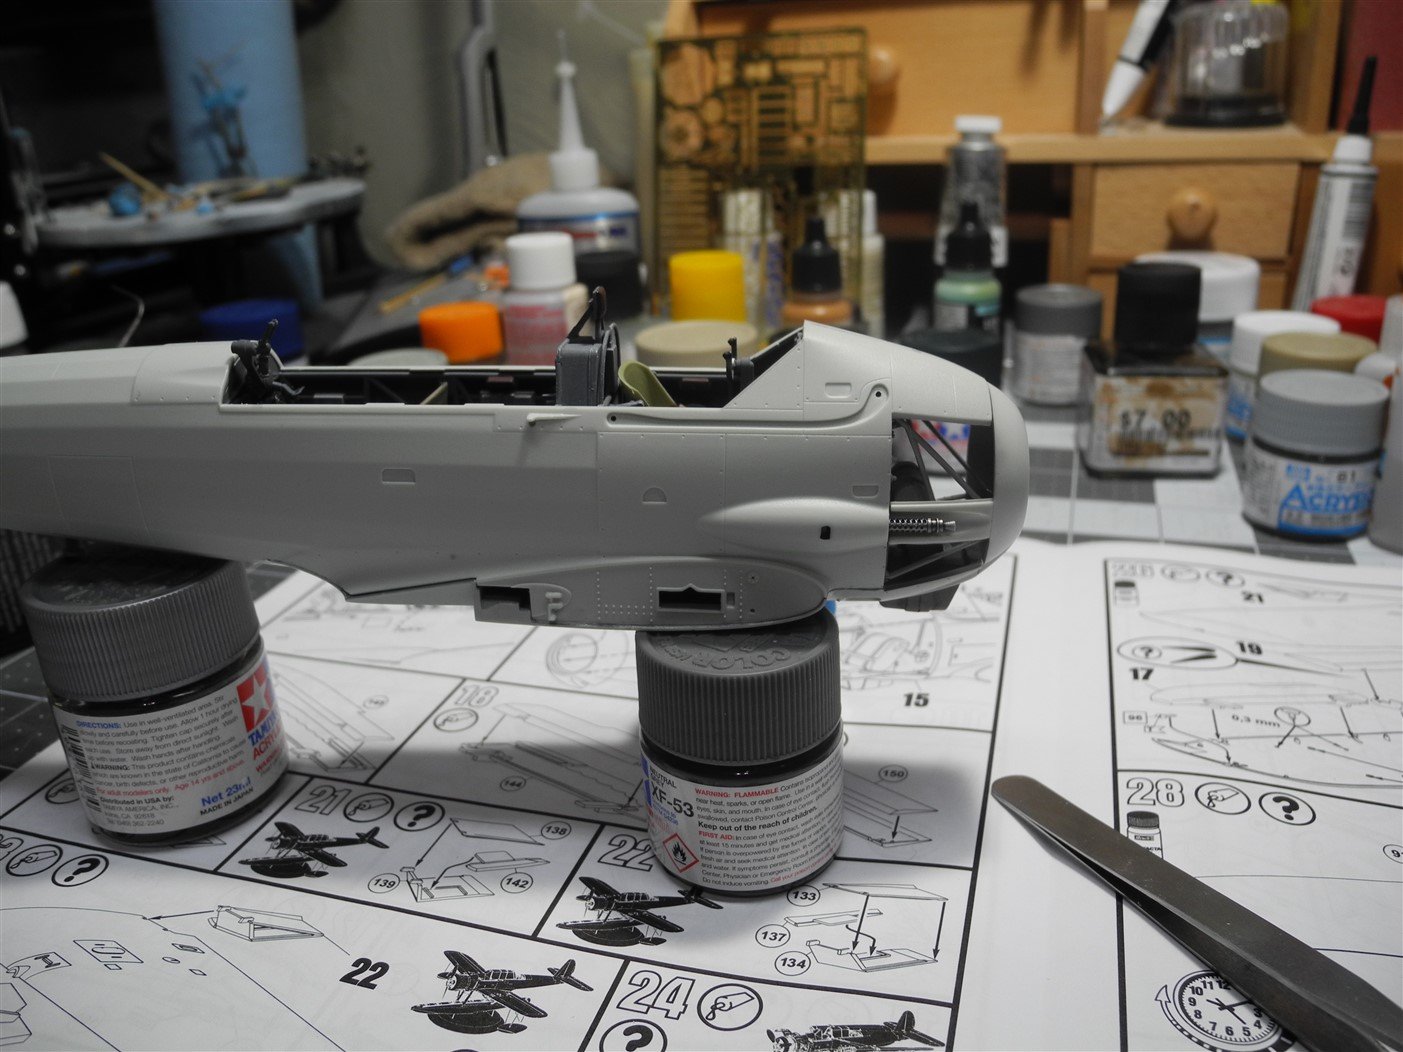
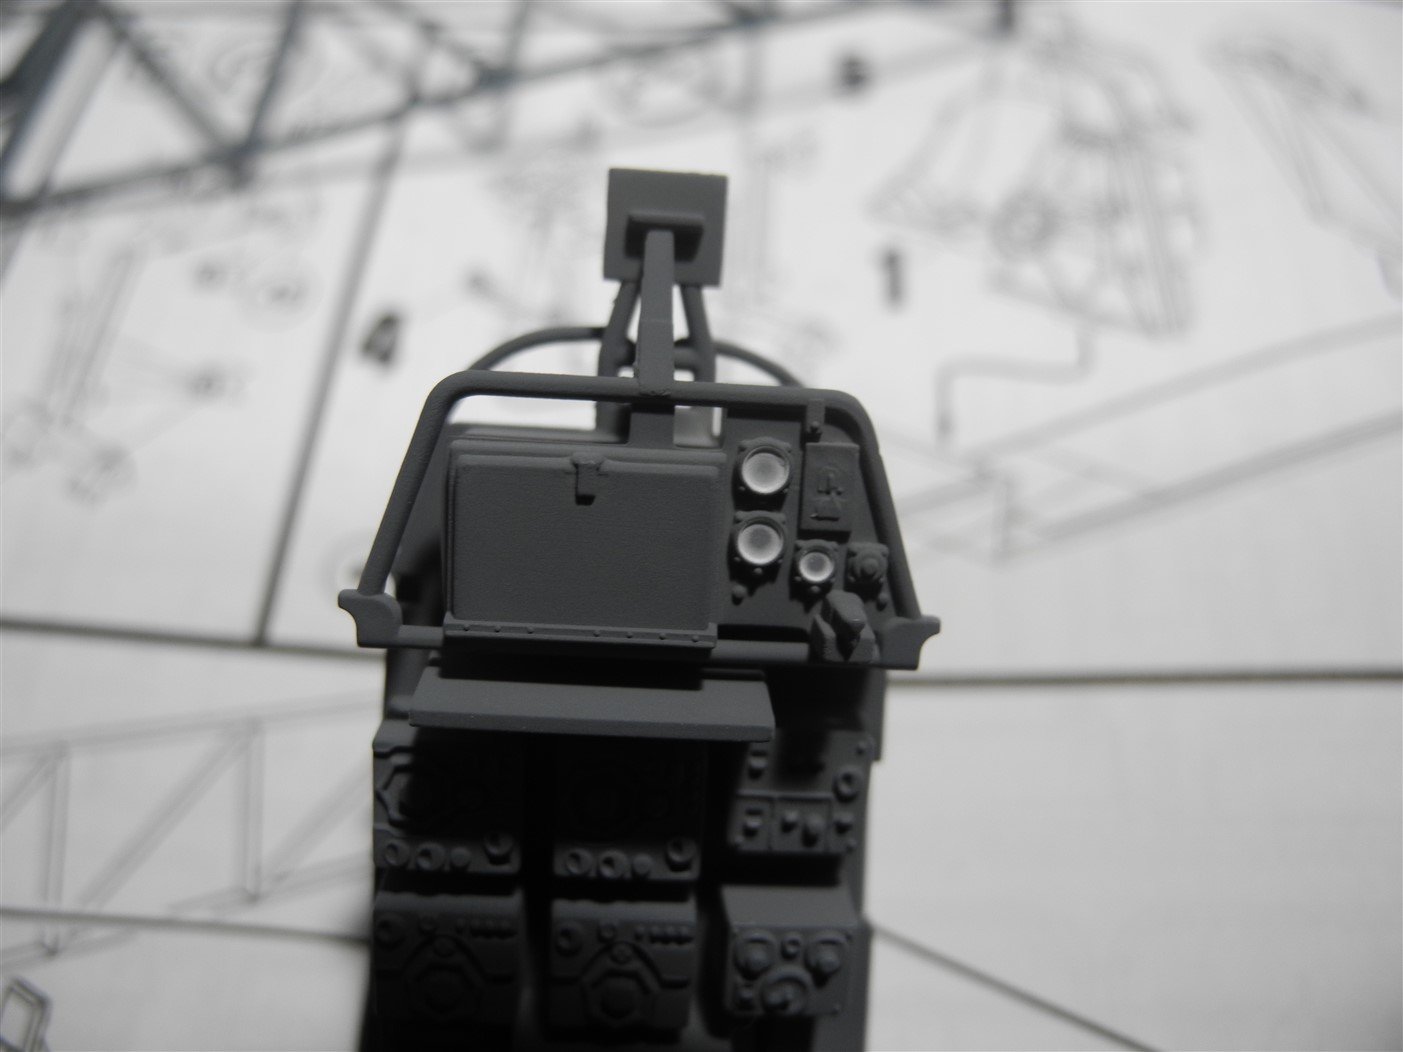
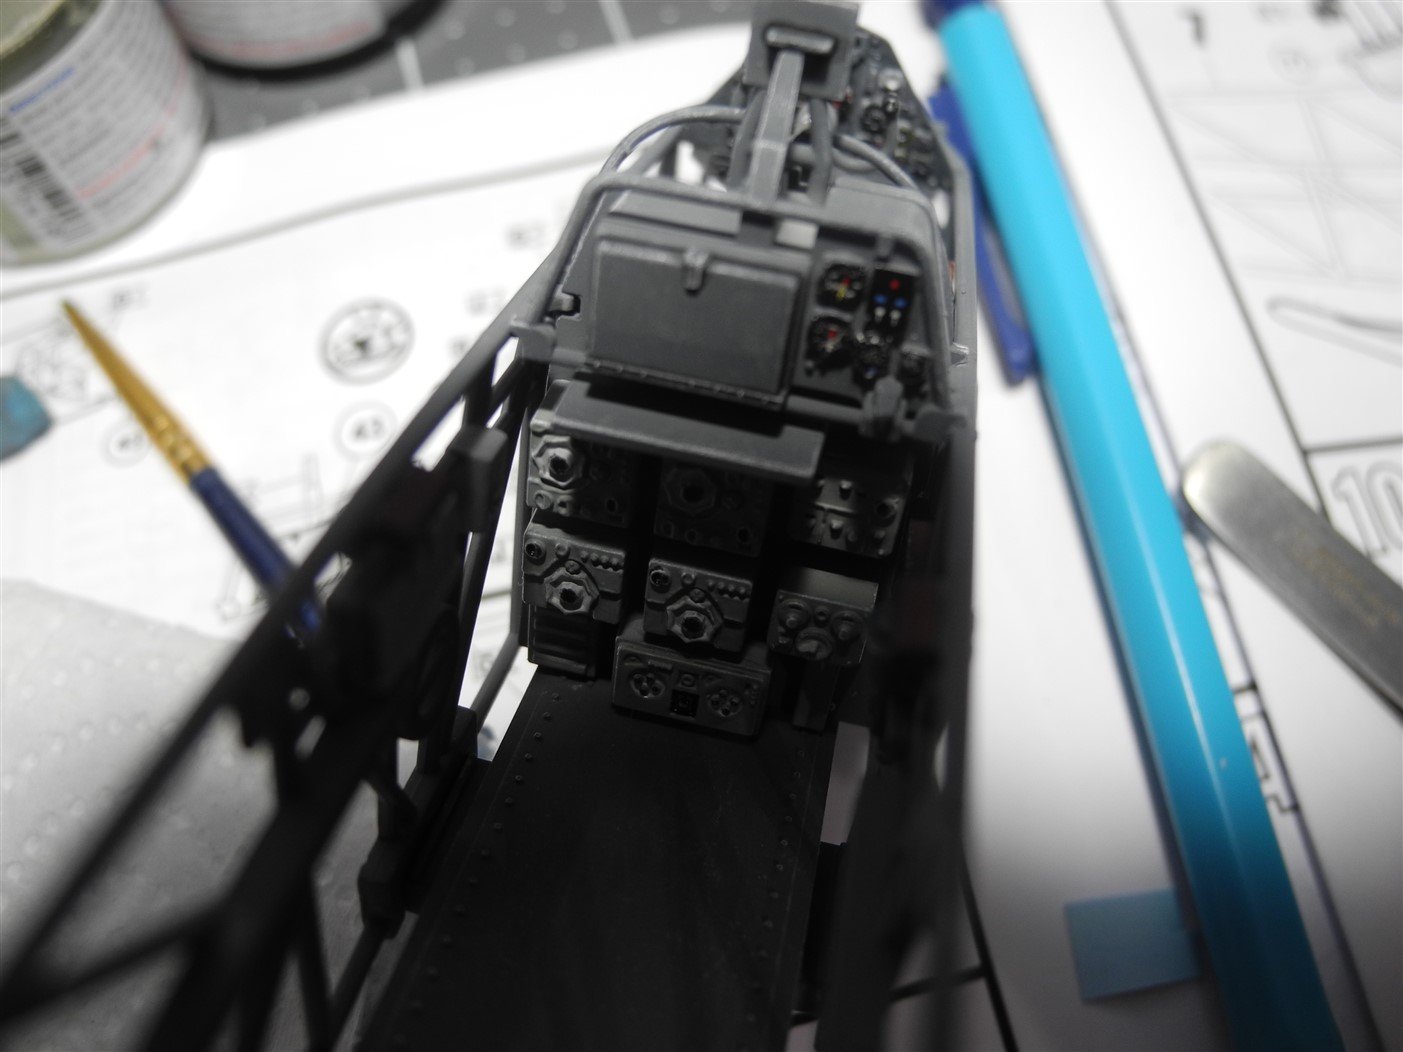
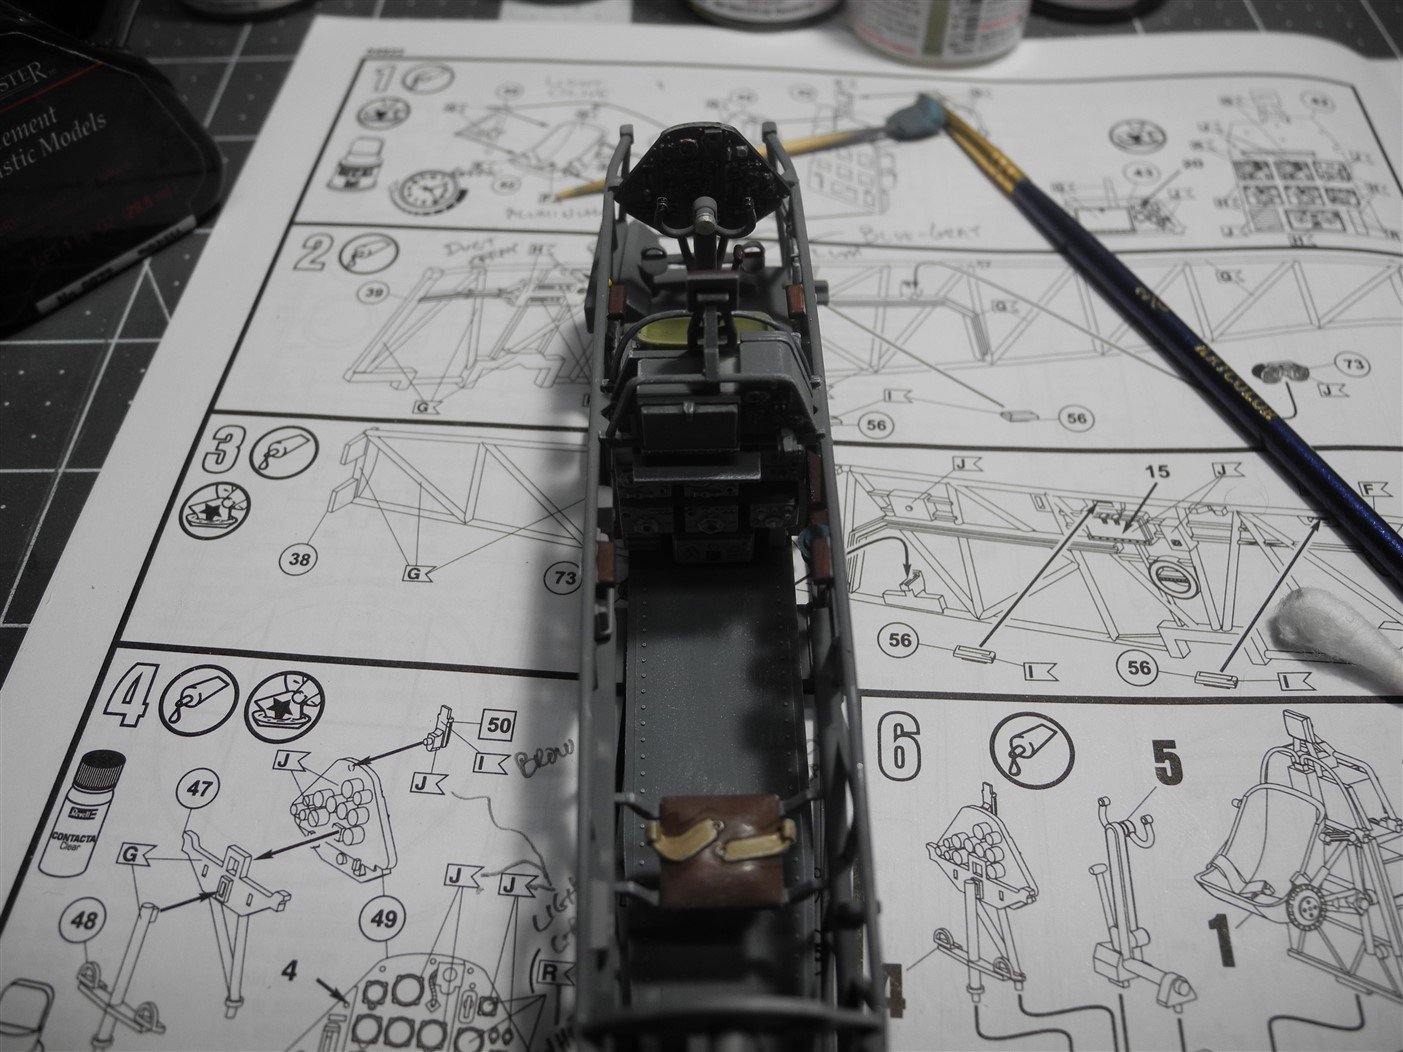
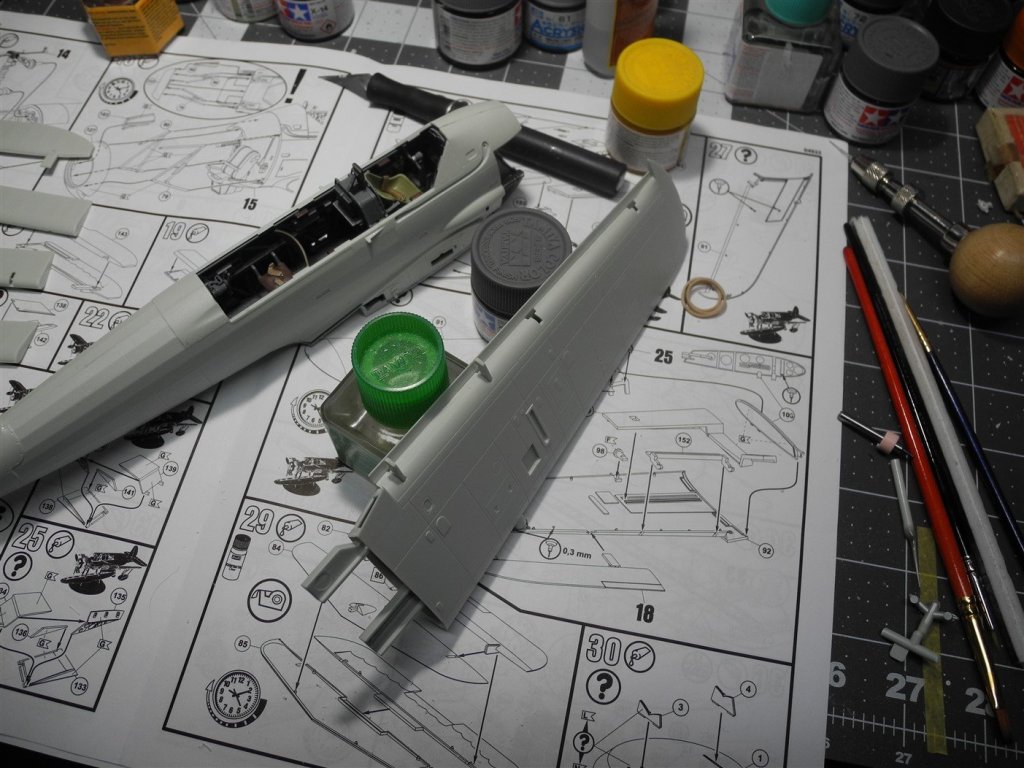
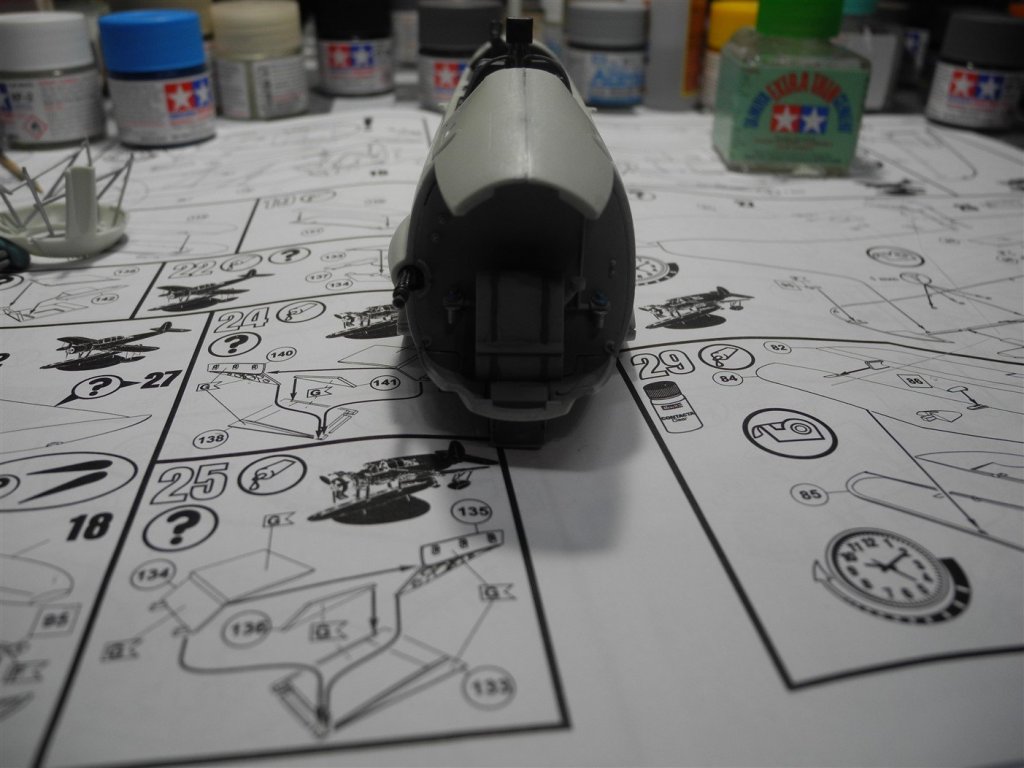
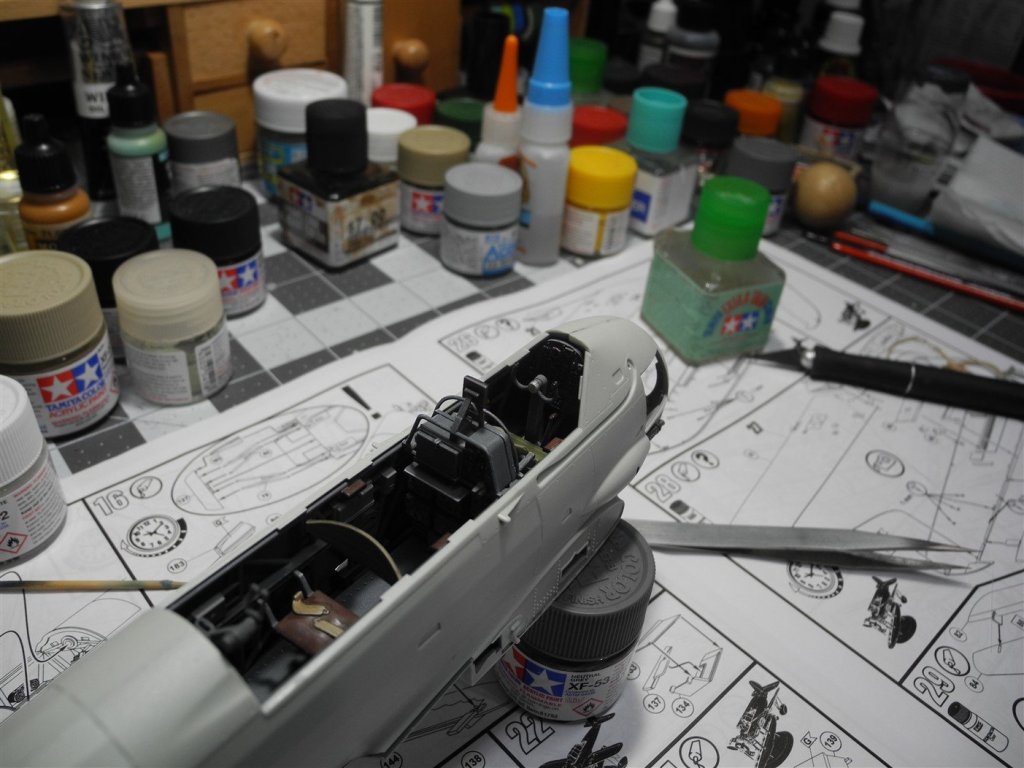
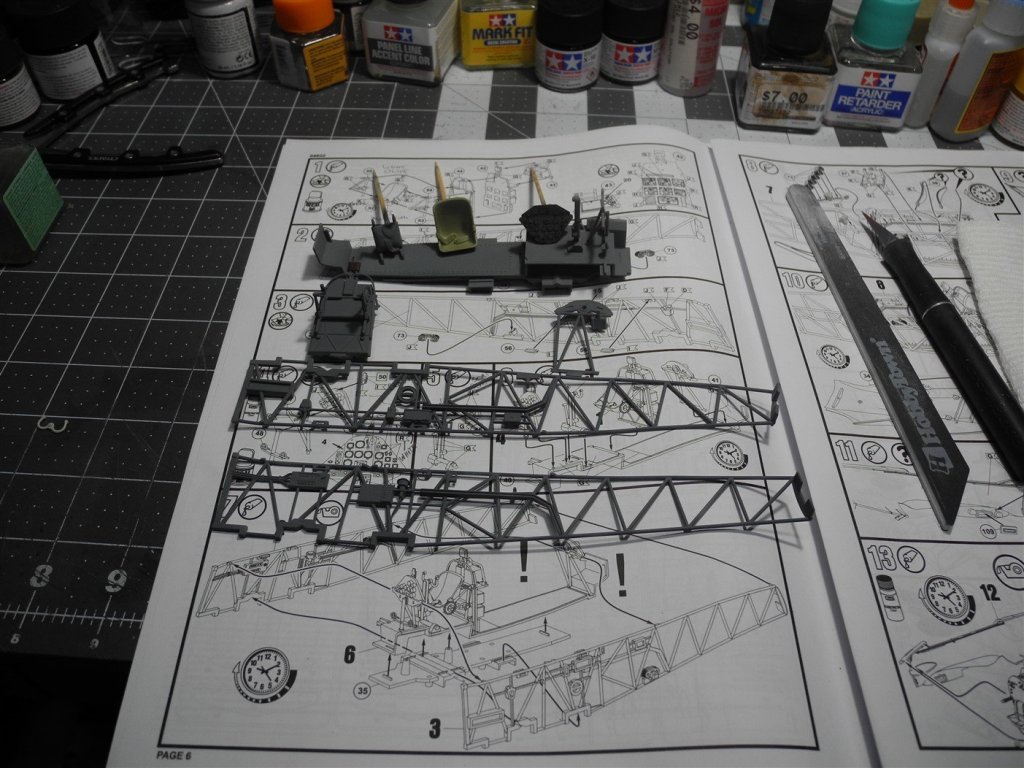
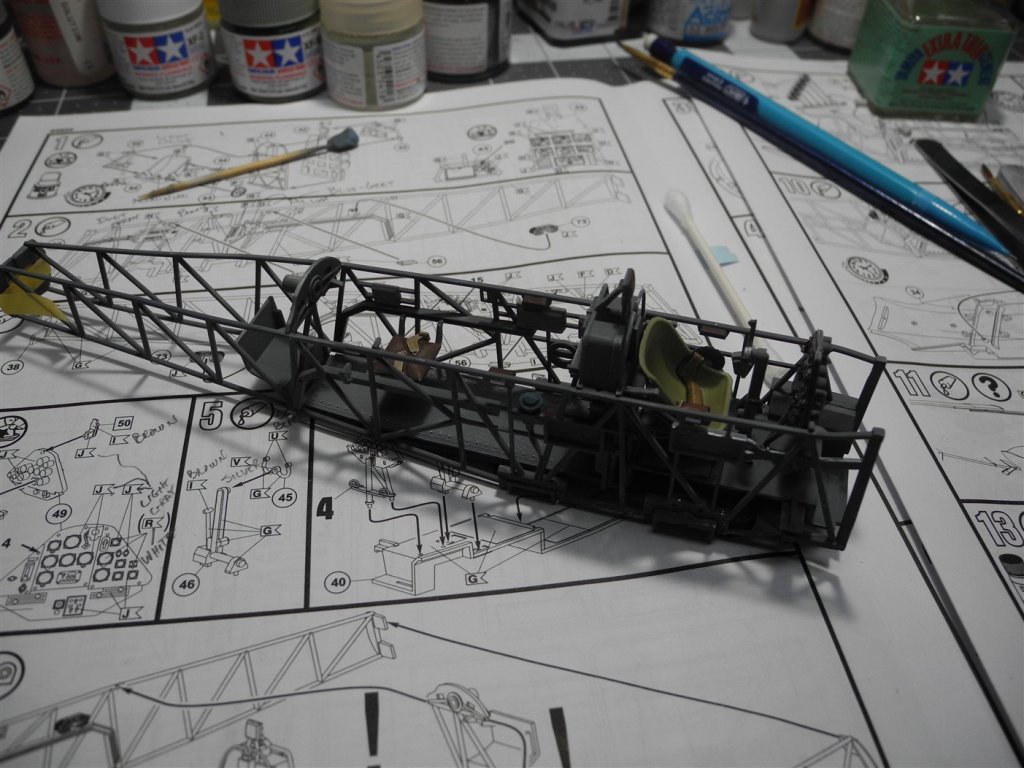
The fuselage has a right and left side, but the cockpit structure is first mated to a fuselage bottom which serves as the wing roots. The builder has the option in this sequence of construction to choose either folded wings or extended to flight position. If choosing folded wings, a few extra holes are drilled to facilitate the fold mechanisms. I chose to display mine with one wing folded and one extended. Next comes the installation of a forward bulkhead and fuel tank assembly attached to the forward most part of the tube structure/cockpit. Last thing done today was to prepare the engine mount and bracing to fit the forward bulkhead. While the fuselage is all cement joined together, I have dry fitted the engine mount for the time being for photographs. If one wanted to take the time to do so, a ton of detail could be added to this cockpit and engine bay/fuel tank bay. It's hard to see in the photos, but I have finished all the stock cockpit items with the exception of the rear machine gun. I will wait until near the end to install the machine gun as it will likely get knocked off while handling the model to the finish.


- 100 replies
-
- 12
-
-
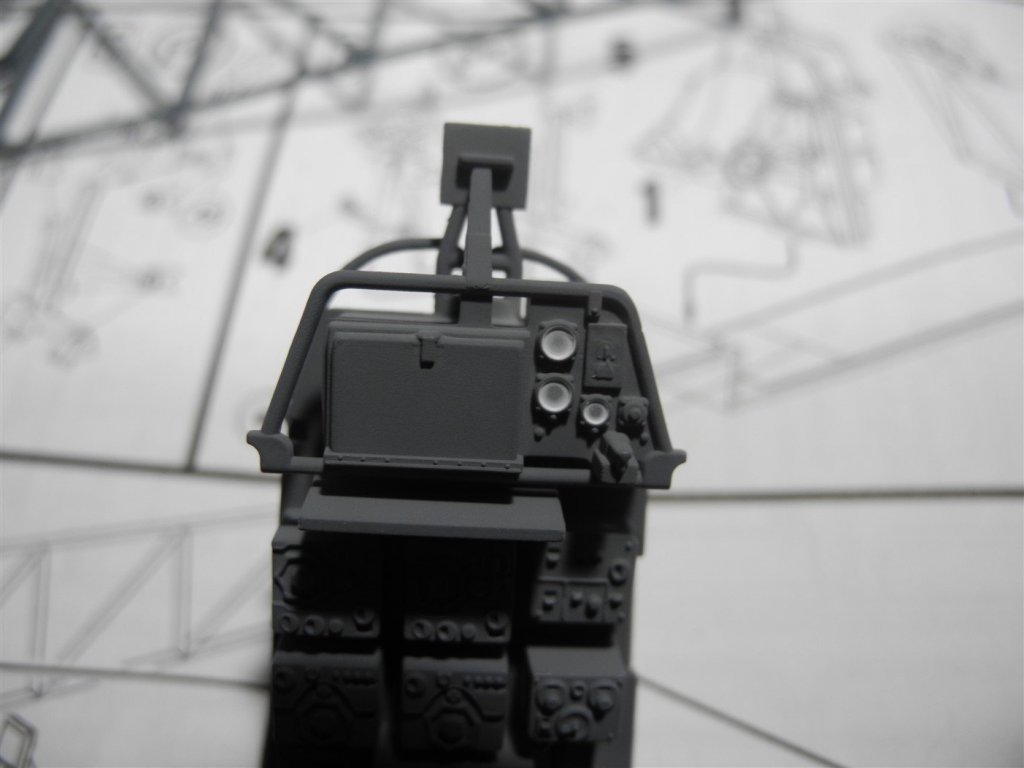
Lou Yes, the seat is a slider, going from radio position to gunner's station. Looks better than the itty bitty stool seat the Swordfish radio man got. 😮
-
Is that where my link took you? Wow, that would be a huge rip-off...but it is the 196 A3. I hope Revell hurries up to release that kit again.
-
Outstanding work on this venerable old kit. Just found your build log tonight. Will read through it from start to finish.
-
Thanks OC. For a straight from the box, economy priced kit like the Revell Arado, it is well done indeed. A kit like this can be bought from Amazon for a mere $26.99, and that includes postage. https://www.amazon.com/dp/B00T66T5G4/ref=dp_cerb_2
-
Phantom Henry J Gasser by jct - FINISHED - 1/24 scale - PLASTIC
CDW replied to jct's topic in Non-ship/categorised builds
Exceptional details on the Hemi, JCT. Looks like you could turn the key and start it right up. -
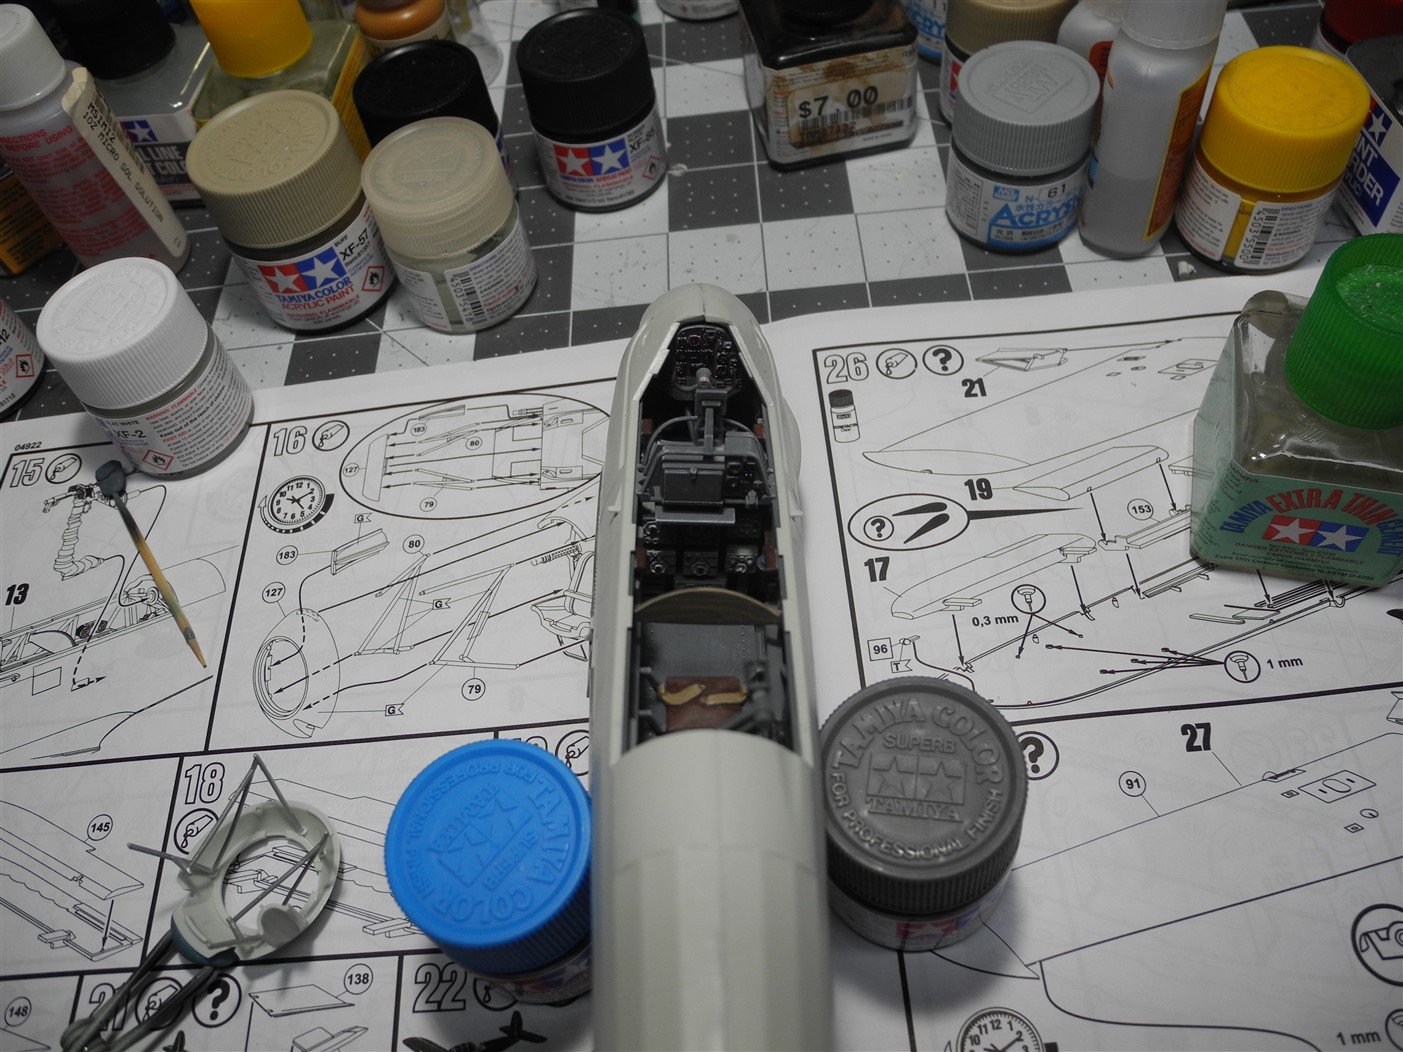
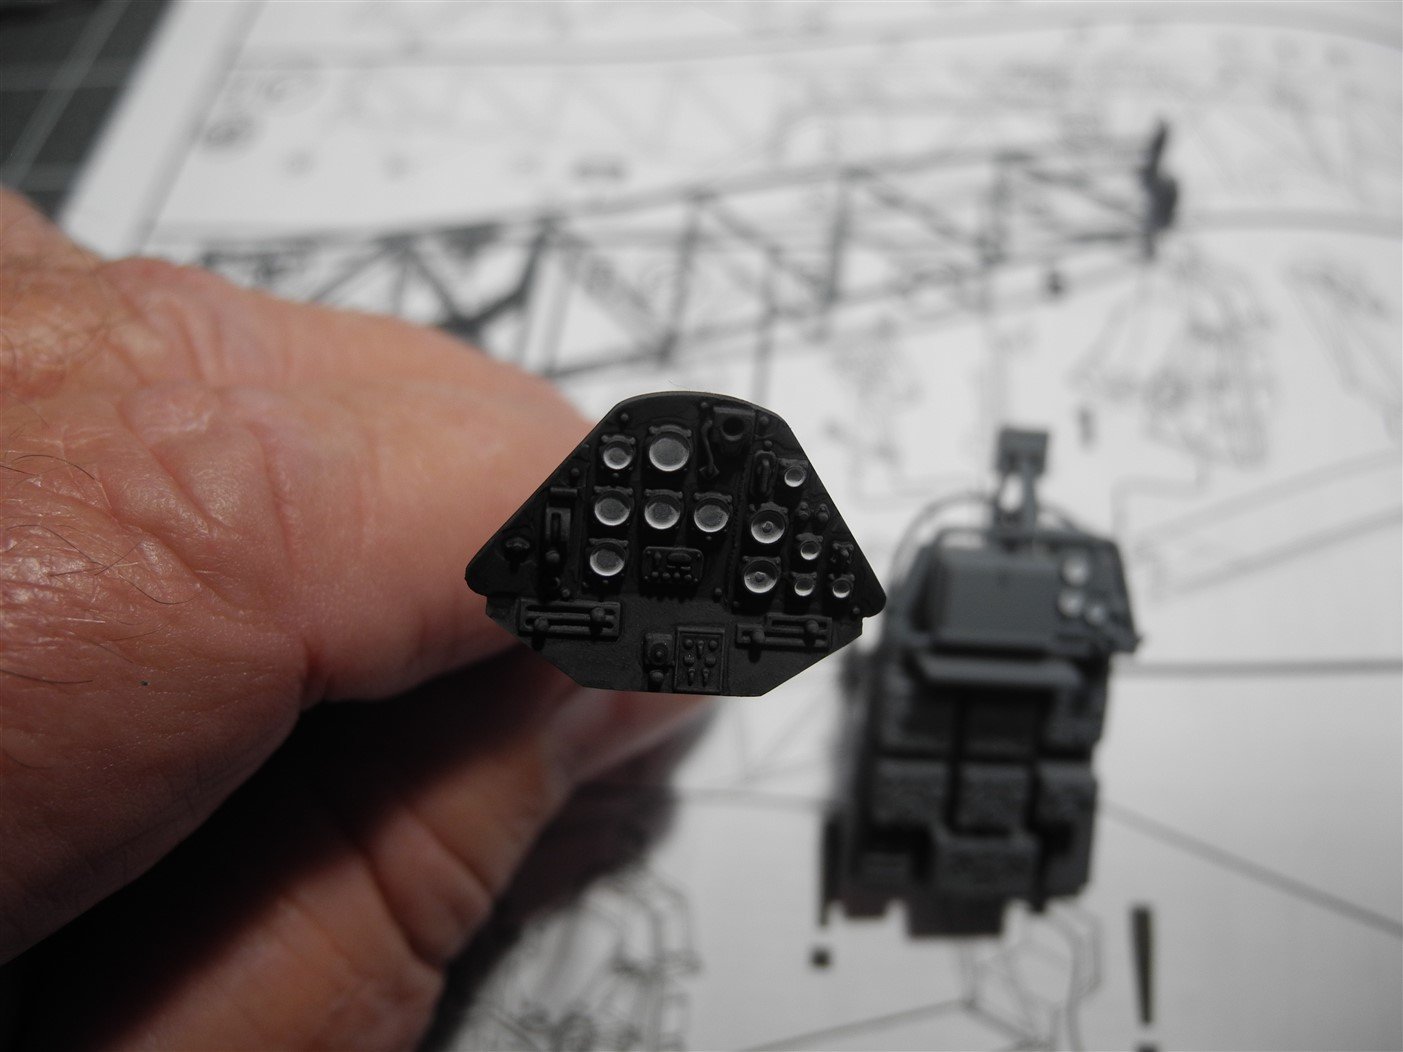
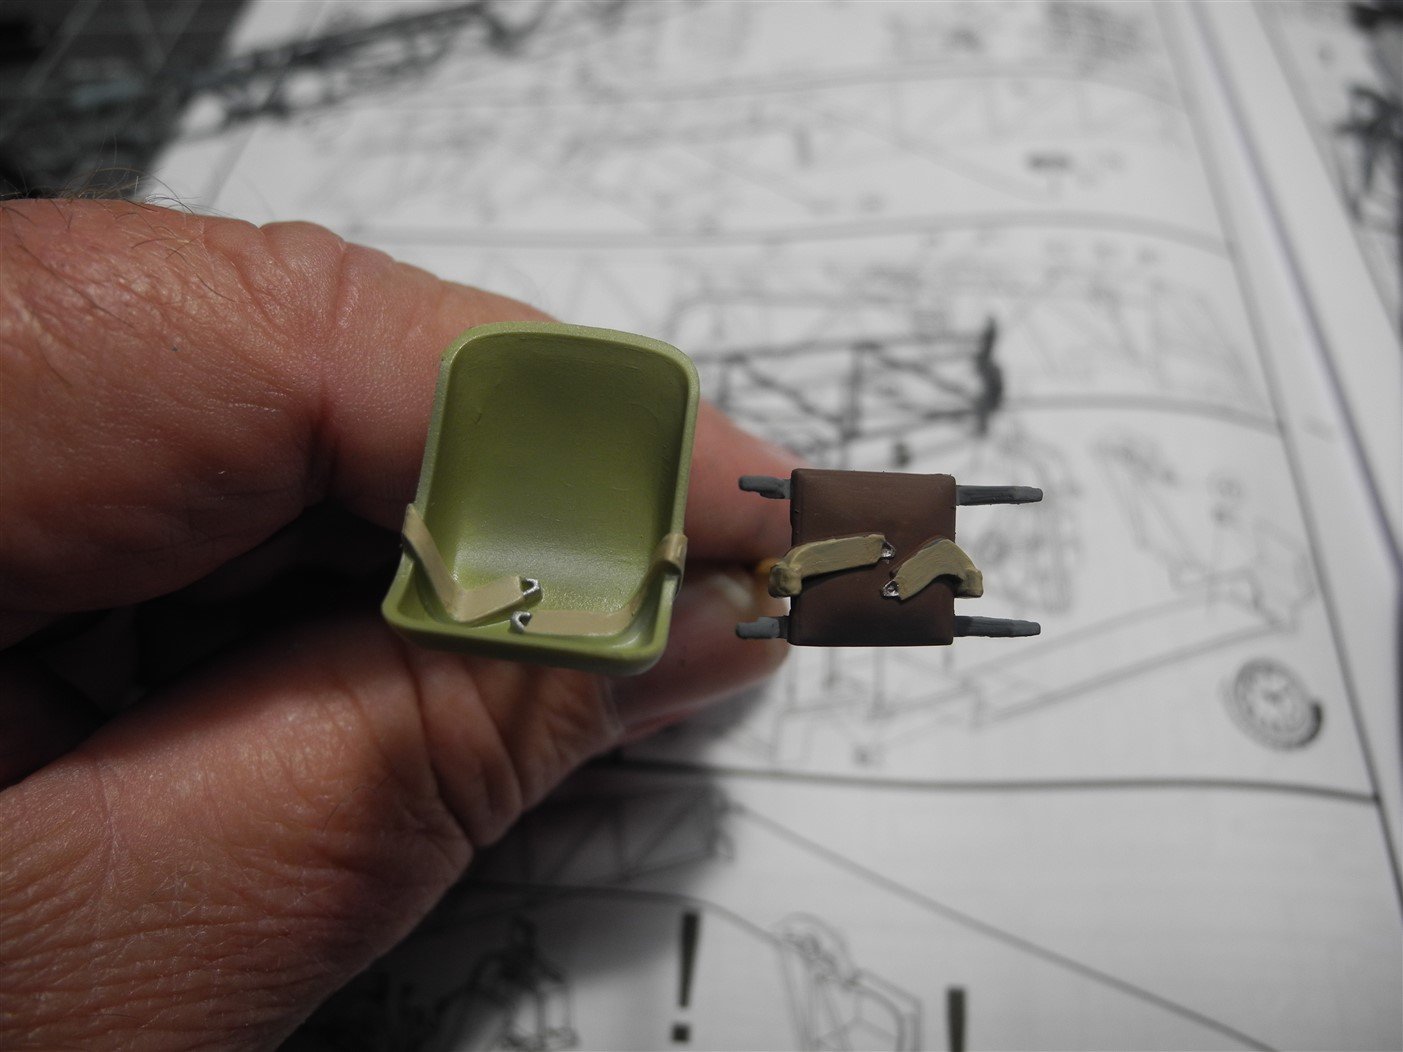
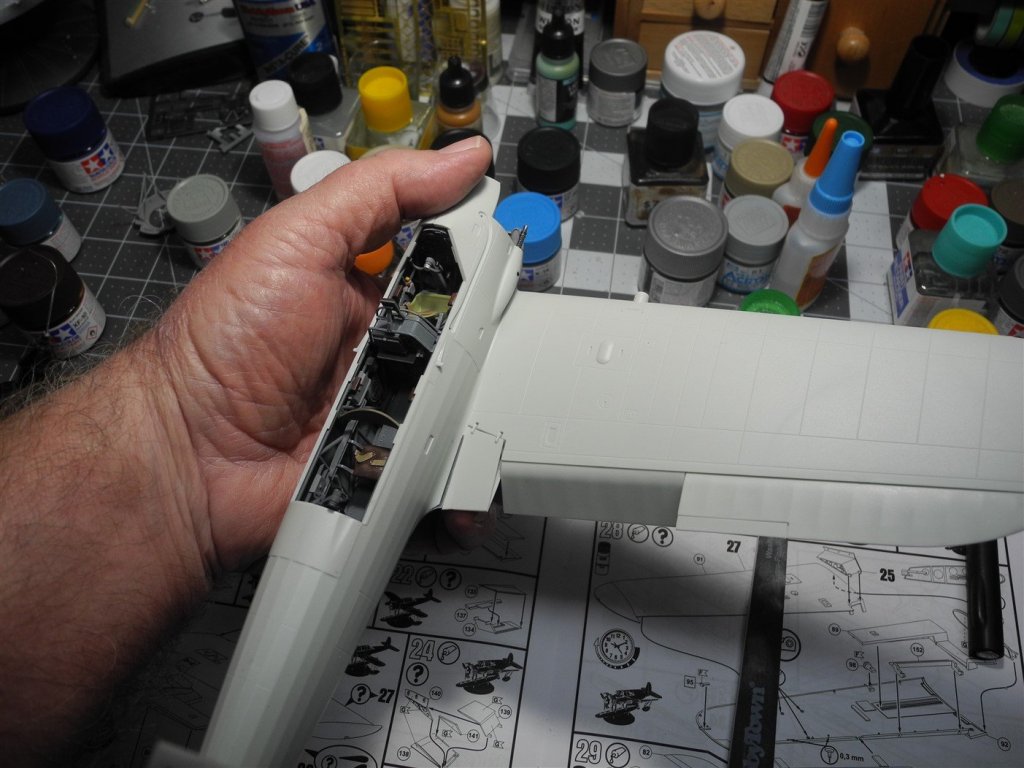
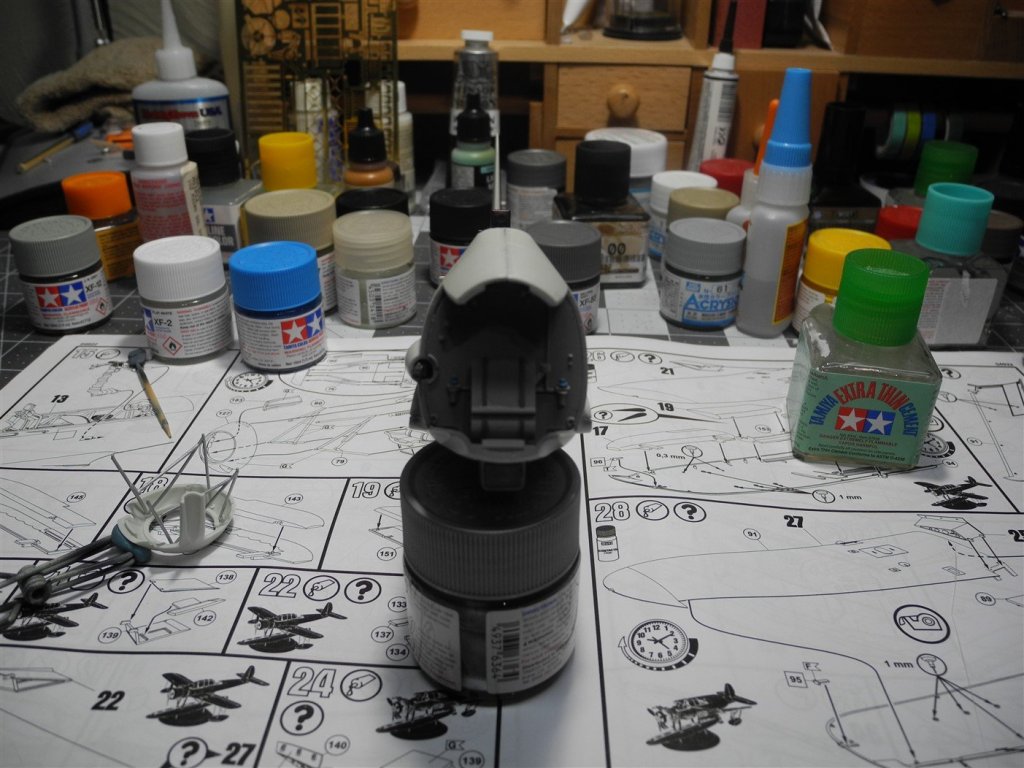
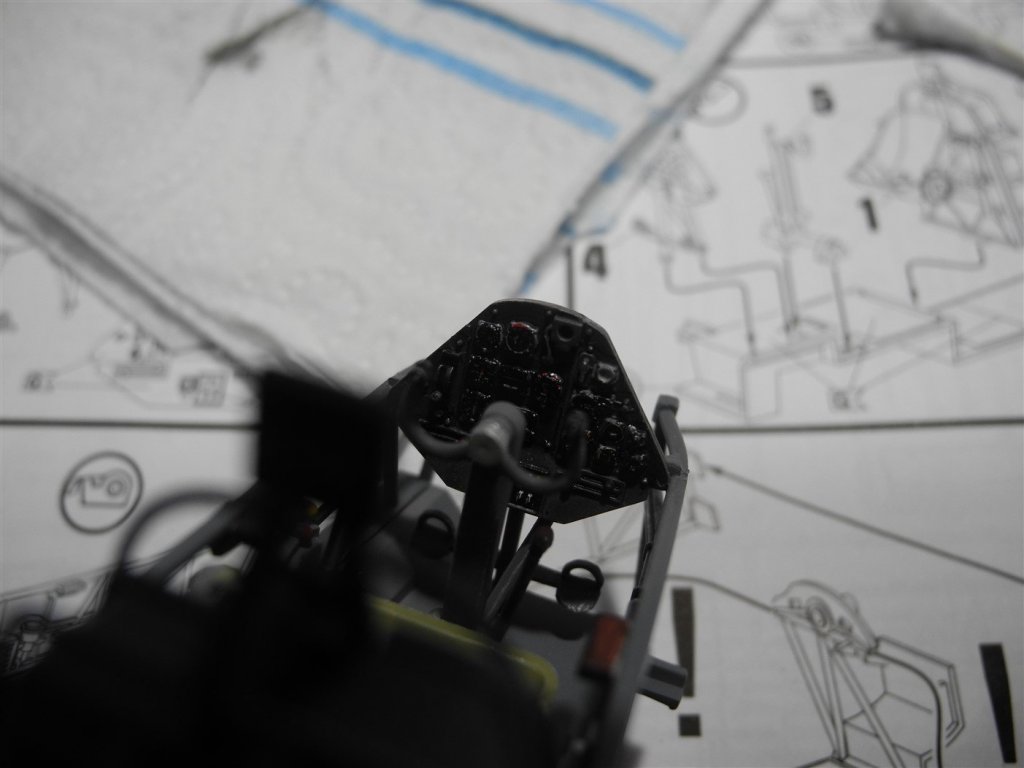
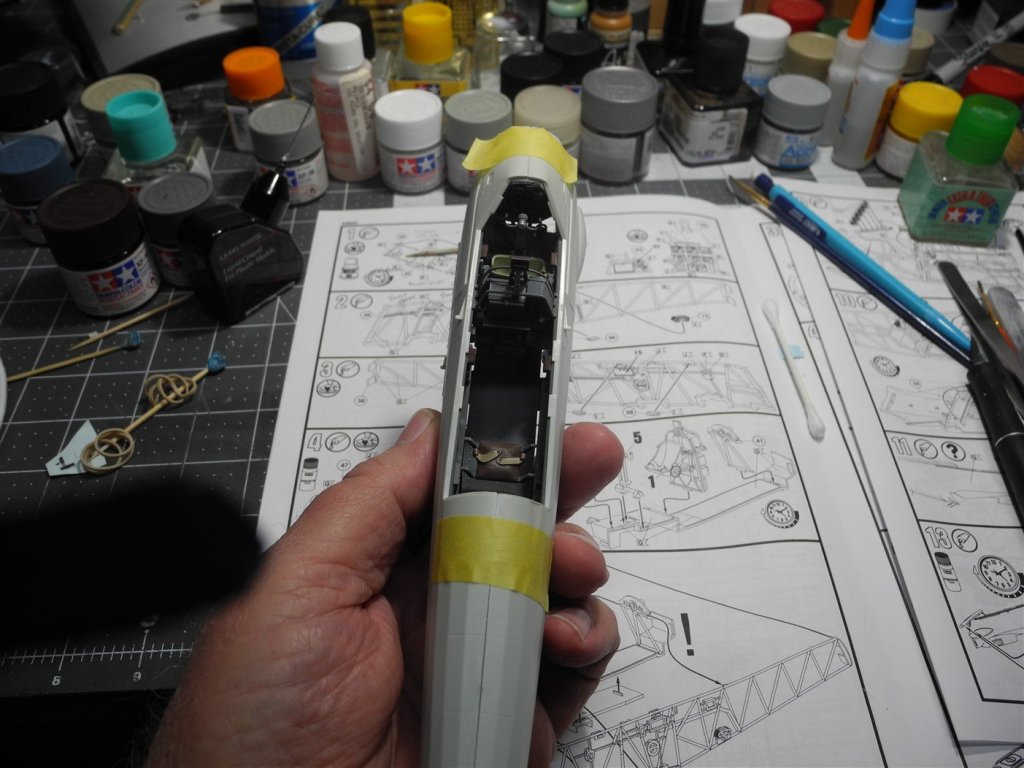
Here is my first installment of building construction and painting photos. As is usual with most aircraft models, one starts with the cockpit first. The whole cockpit and structural tubing is painted in typical German RLM 02 (in this pre-1941 time period). Since I was out of that particular color, I substituted something close to it, albeit a little darker, with a Tamiya acrylic I had available. The seat is painted a light olive green using a Mr Hobby acrylic. Then various parts of the cockpit interior receive various shades of gray and brown paints to highlight various boxes, radios, switches, etc. The instruments are kit supplied decals, which poor lighting made it very difficult to see in my photos. ***Important Suggestion/Tip*** If you ever decide to use kit supplied decals to appoint your instrument panel, take the time and care to cut each and every instrument from the decal sheet and apply each one separately. A "clump" of instrument dials all bound together by one clear decal will look a jumbled and sloppy mess if applied as a whole to the panel face with raised dial details as this kit has. If the panel is flat with no raised detail, it would not matter and the entire instrument cluster decal would go down fine as a whole unit. Also, have some Solvaset or similar decal softener to make those decals settle into the raised dial detail. A drop of clear varnish on each instrument will give a great appearance after the decals are completely dry. The first dry fit of the fuselage halves with the cockpit inside looks great! Very nicely done molds by Revell. The fuelage has beautiful engraved detail as well as throughout the rest of the model.


- 100 replies
-
- 15
-
-
I'll bet that work on the shrouds is tedious, but it sure is paying off. They look great. By the time you are finished with the Pearl, you'll be a pro on rigging and lots less apprehensive about doing the next tall ship.
-
Yes, I would be interested in seeing your model railroad hobby, for sure. It's something I always thought about doing myself, but never did. Since I retired 9 years ago, I have routine things I do every day and there are always yard work and other home maintenance items needed. Spent most of the day Saturday raking the yard, bagging the leaves, and cleaning out a flower bed to plant new flowers. More remains to be done. My modeling hobby I do "catch as catch can". Funny how retirement caused me to quit keeping track of hours spent, generally speaking. I get paid the same whether I'm marching or fighting. 😎
-
I don't keep track, but I would estimate 4 hours per day average.