CDW
-
Posts
7,760 -
Joined
-
Last visited
Content Type
Profiles
Forums
Gallery
Events
Everything posted by CDW
-
 Not mere gravel, but a gravel of specific hardness and gradation. Not sure about today's, but we used the L.A. Abrasion Test as a standard for specific hardness requirements years ago. Stability is a specific standard as well, and it greatly depends on the exact gradation requirements set forth by the project design engineer. Any road designed for typical vehicular traffic could in no way match the requirements for a rail road, period.
 -
Super job saving that finish without destroying the decals! You got it just right. Next time you're in Walmart, look for this product: Pledge Floor Care Finish https://www.walmart.com/ip/Pledge-Floor-Gloss-Original-27-Fluid-Ounces/15136693?wmlspartner=wlpa&selectedSellerId=0&wl13=5220&adid=22222222227009393605&wl0=&wl1=g&wl2=c&wl3=40343007512&wl4=aud-566049426865:pla-78303532352&wl5=9012096&wl6=&wl7=&wl8=&wl9=pla&wl10=8175035&wl11=local&wl12=15136693&wl13=5220&veh=sem&gclid=CjwKCAiAqaTjBRAdEiwAOdx9xpbN0piFmDnqKWqjsw-dceZAQf4Rflm1rPZcJvnAns3eyCTJXmenrxoCP0YQAvD_BwE It is a clear acrylic. Works great to put a gloss shine on our models. Safe for decals and great to spray on before using the decals to preserve them. Will make scratched clear plastic look like/better than new. Try it on some test pieces through your airbrush. Does not need to be reduced. Cleanup with Windex with amonia. It takes a little practice to get the feel for it through the airbrush. Don't use it on your prize model until you practice first. I have used it for years (decade or more) and swear by it. A bottle will last a LONG time.
-
I've bought some of it as well. It would seem wise to try out the paint first on an old model you don't care about losing if it gets screwed up. I have read that others found reducing the paint to be tricky, perhaps because they did not use AK Interactive reducer? I don't know but it's worth proceeding with caution rather than ruining an expensive model. Retarder for acrylics should work with any brand as long as it's acrylic but test it first.
-
Superb, a stunning replica, Greg. Some of your best work I've seen so far. A very nice subject model as well. It looks very modern and sleek for it's time period.
-
Green Elephant funny car by jct - FINISHED - 1/24 - PLASTIC
CDW replied to jct's topic in Non-ship/categorised builds
A friend and I spent quite a bit of time coming up with the right combination of decal paper and printer/ink to make our own decals for R/C model aircraft some years ago. We learned that (at that time) only certain ink jet printers made ink that was water resistant. To work properly, the ink must be water resistant. Secondly, once the decals have been printed and clear coated, then cut out with scissors, the edges of the decals must be sealed with a clear coat as well. If not, just the initial soak in water will cause the ink to begin to bleed. Yeah, I know all this is a PIA, but necessary when making our own decals. -
What a bummer, JCT. Will you be able to take care of the clear coat without destroying the decals underneath?
-
Rigging is such a mystery to me. It would be slow going as I would need to look up every detail to learn how it's done. You are doing a beautiful job it it.
-
Fantastic thread, Denis! I love the old locomotives. You've made a lightning quick start. I remember seeing this kit on the shelf in hobby stores and discount stores many moons ago, but I never owned one. Looking forward to your further installments of this build.
-
Have you seen the 1:35 Trumpeter German locomotive and rail gun kits? I bought the Eduard Big Ed sets for mine but to be honest about it, they would look good without the detail sets. I am just guessing, but I imagine the 1:72 Hobbyboss Dora will look great without any aftermarket. I have seriously considered buying it, too.
-
I am going to try to have all the main construction and painting done tomorrow. After that, will spend a day or two detailing and weathering, then call this one a wrap. As I said at the beginning, I wanted this to be a fun little diversion and not a major project. It has indeed been fun for the small amount of money and time invested.


- 63 replies
-
- 6
-

-
- revell
- harbor tug
- (and 2 more)
-
Looks like the shipping box dimensions are 17.6" x 10.4" x 10.2". So I imagine the hull length is somewhere near 17" in length. I have this model in 1:350 scale and it's length is around/about 9" - 10". Not huge, but a large enough scale that it will have great detail potential. The only reservation I have about the model is that it's main construction is resin. Not my favorite medium, but it's likely this model will be a very limited production run. They're probably not investing a ton of money in molds and instead going the limited production, resin production run.
- 63 replies
-
- 4
-
-
- revell
- harbor tug
- (and 2 more)
-
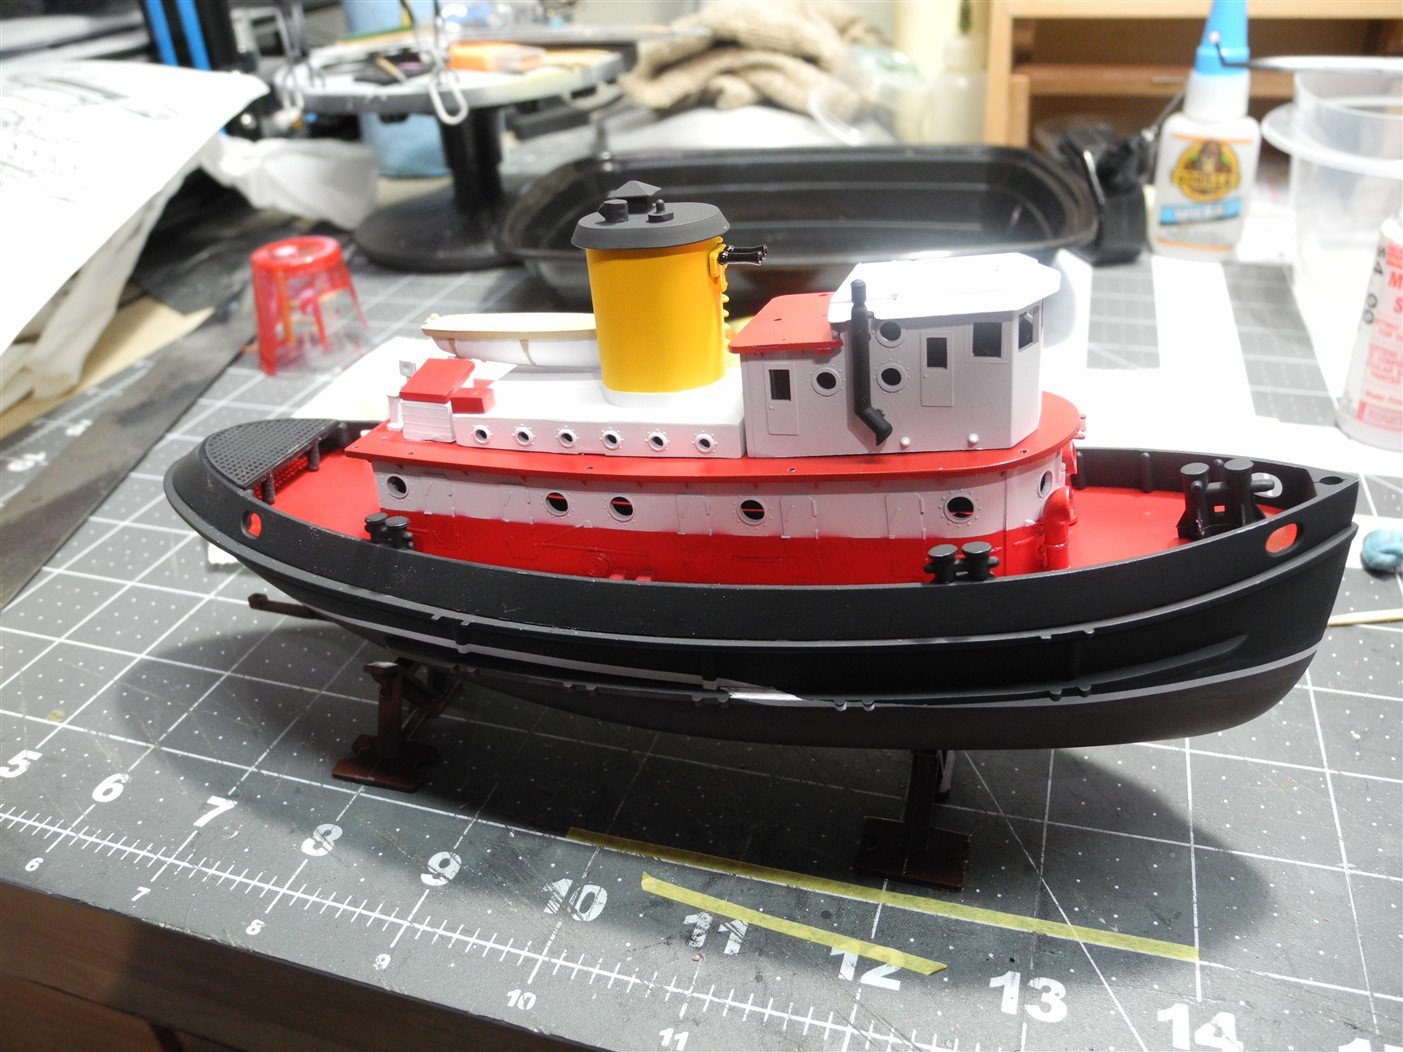
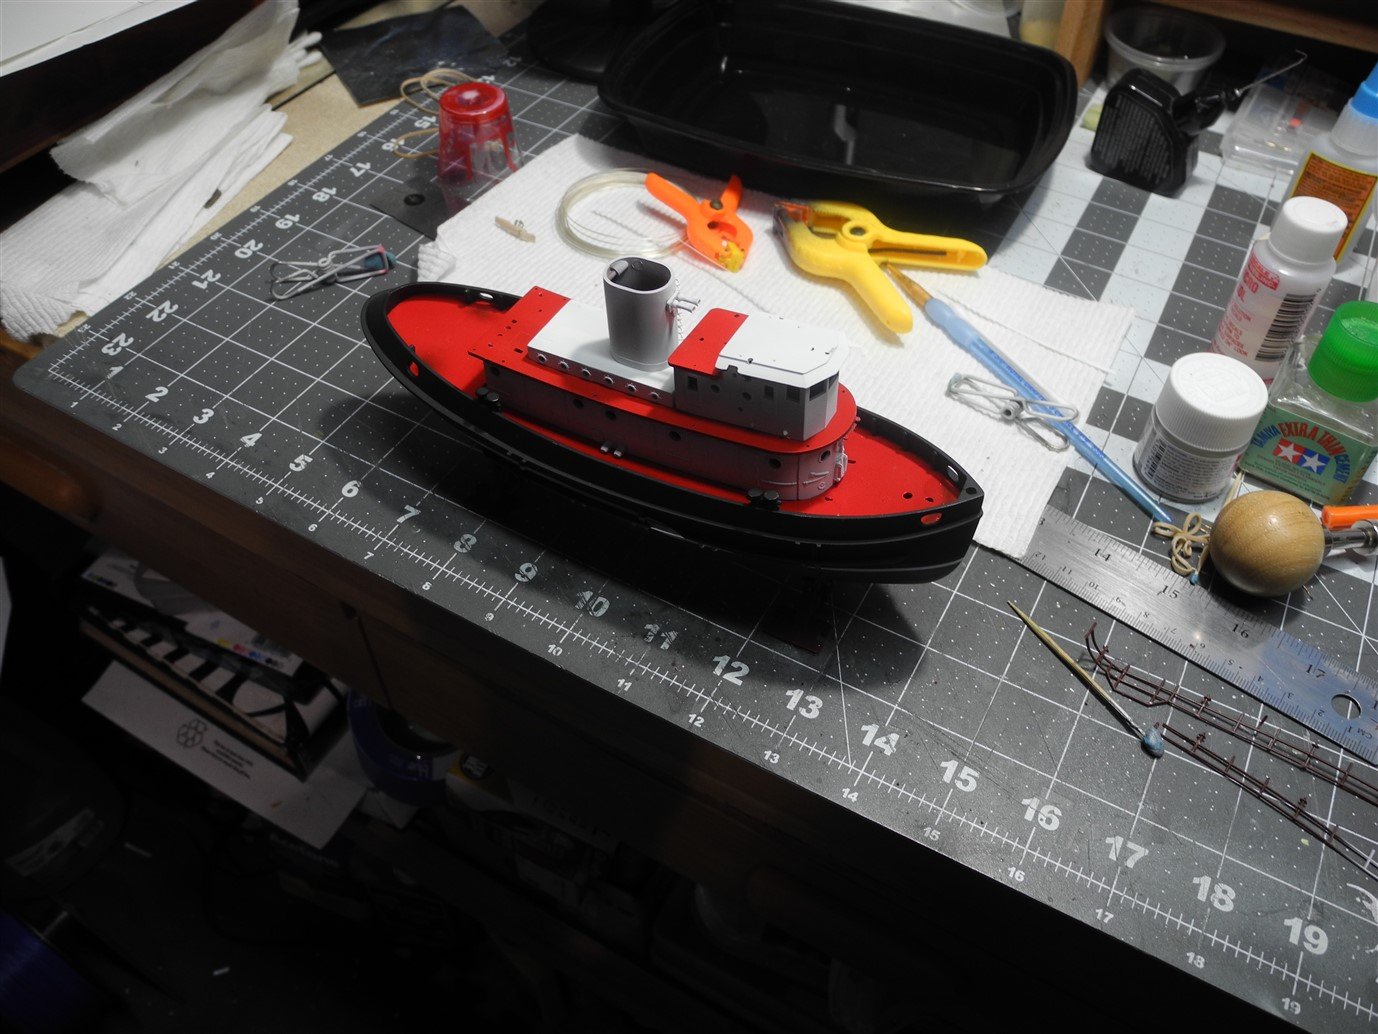
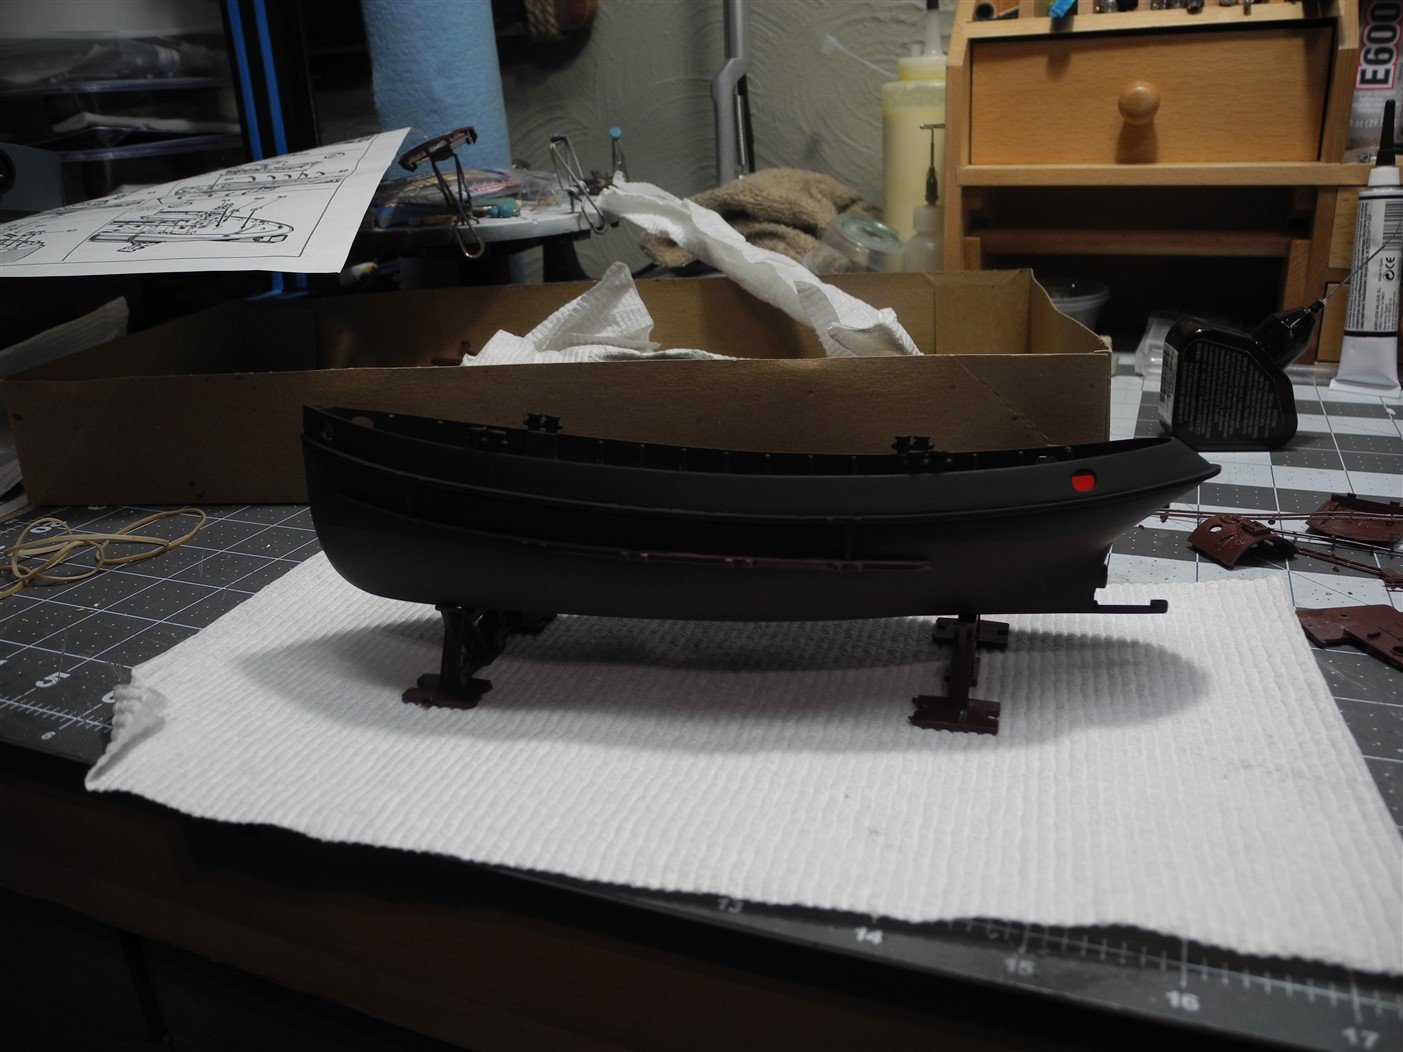
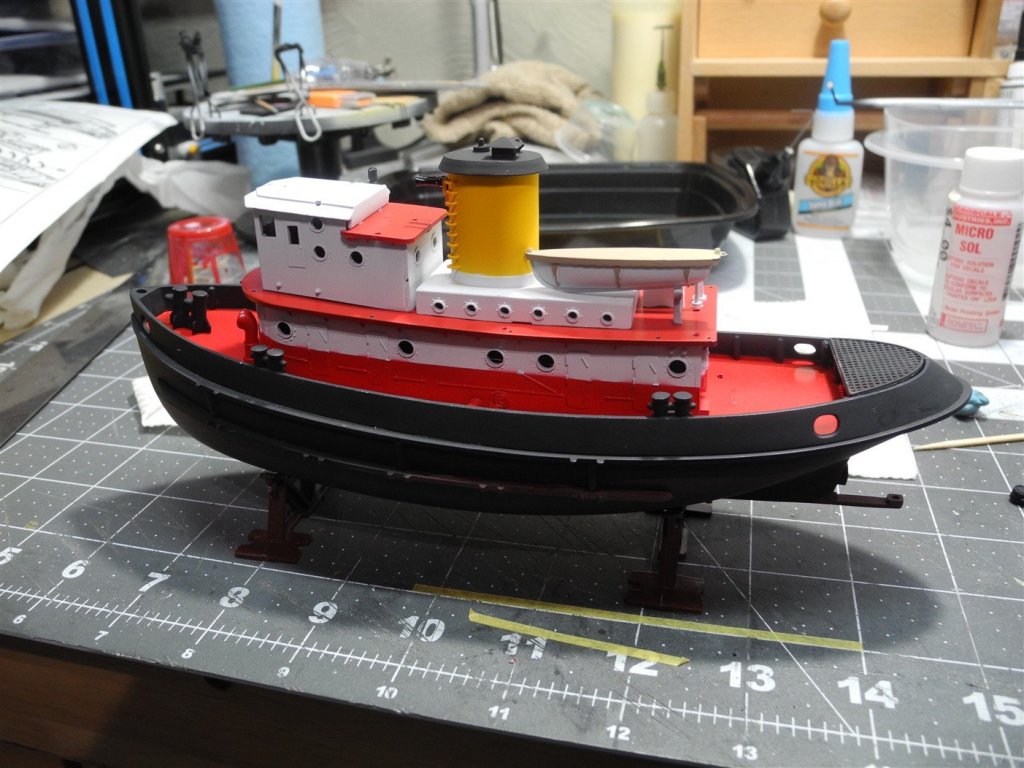
Here, I've masked and painted the lower half of the lower superstructure red, and the funnel yellow. The red is Mr Color Acrysion flat red, the yellow is Tamiya flat yellow.


- 63 replies
-
- 9
-
-
- revell
- harbor tug
- (and 2 more)
-
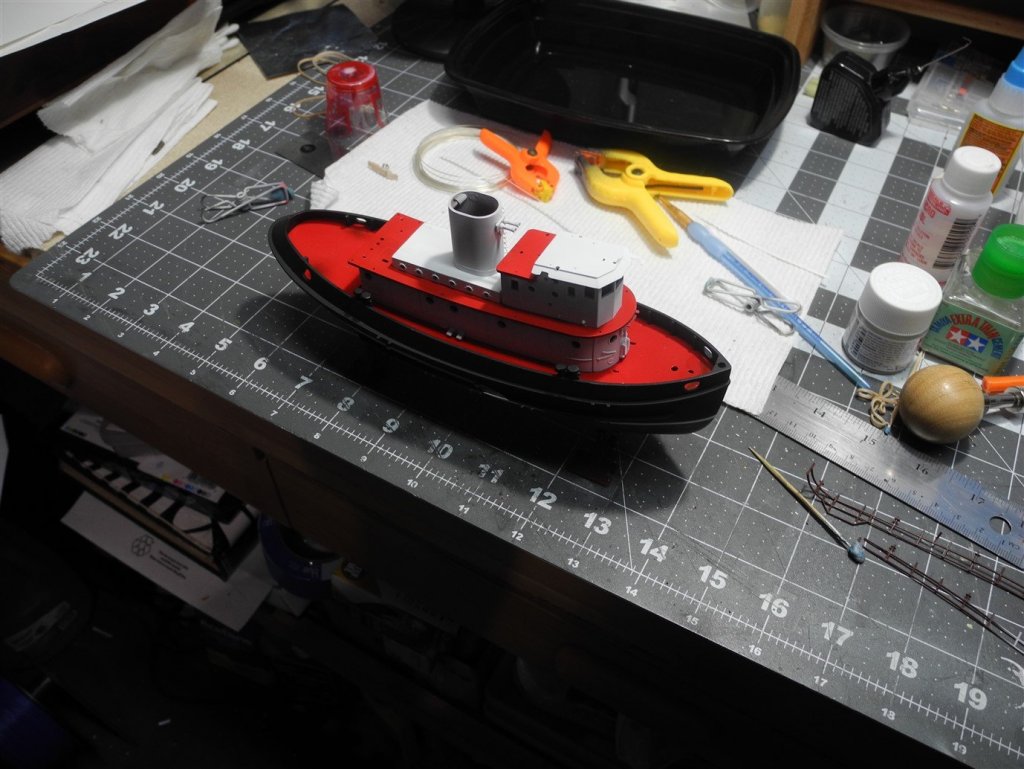
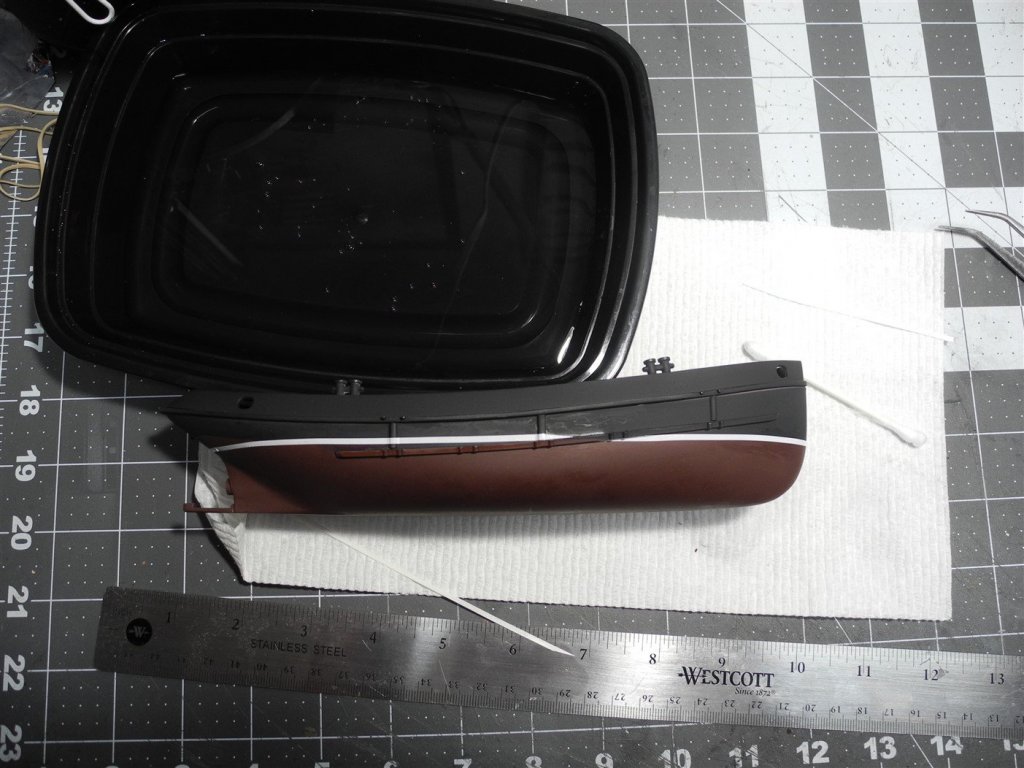
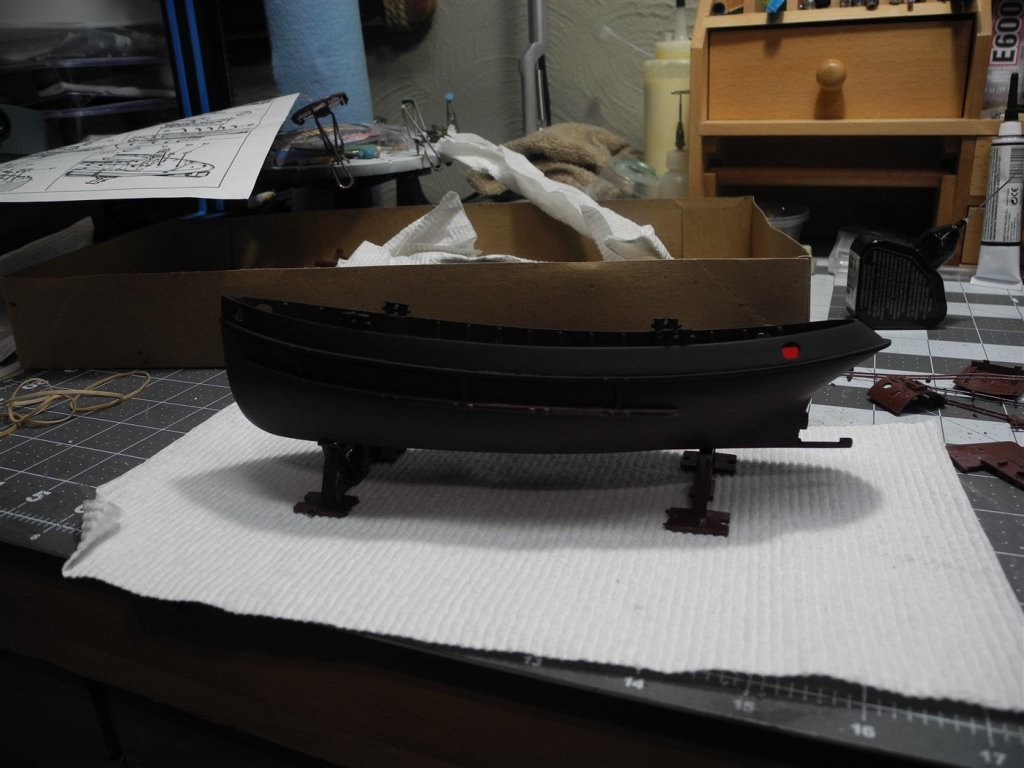
Dry fit to check fit. The fun part is coming soon...the weathering, ropes and nick nack details.
- 63 replies
-
- 8
-
-
- revell
- harbor tug
- (and 2 more)
-
I bought the 1:144 Revell Snowberry a few months ago, but held off on starting it until detail sets came out for it. Today, the upcoming Pontos detail set came up for pre-order and I snagged one before they get sold out. These Pontos sets come and go quickly sometimes and I didn't want to miss it. It will add a lot to the Revell Snowberry kit. https://freetimehobbies.com/1-144-pontos-model-hmcs-snowberry-flower-class-super-detail-set-for-revell-preorder/
- 63 replies
-
- 4
-
-
- revell
- harbor tug
- (and 2 more)
-
That ice breaker model comes complete with all the Pontos details as best I can tell.
- 63 replies
-
- 5
-
-
- revell
- harbor tug
- (and 2 more)
-
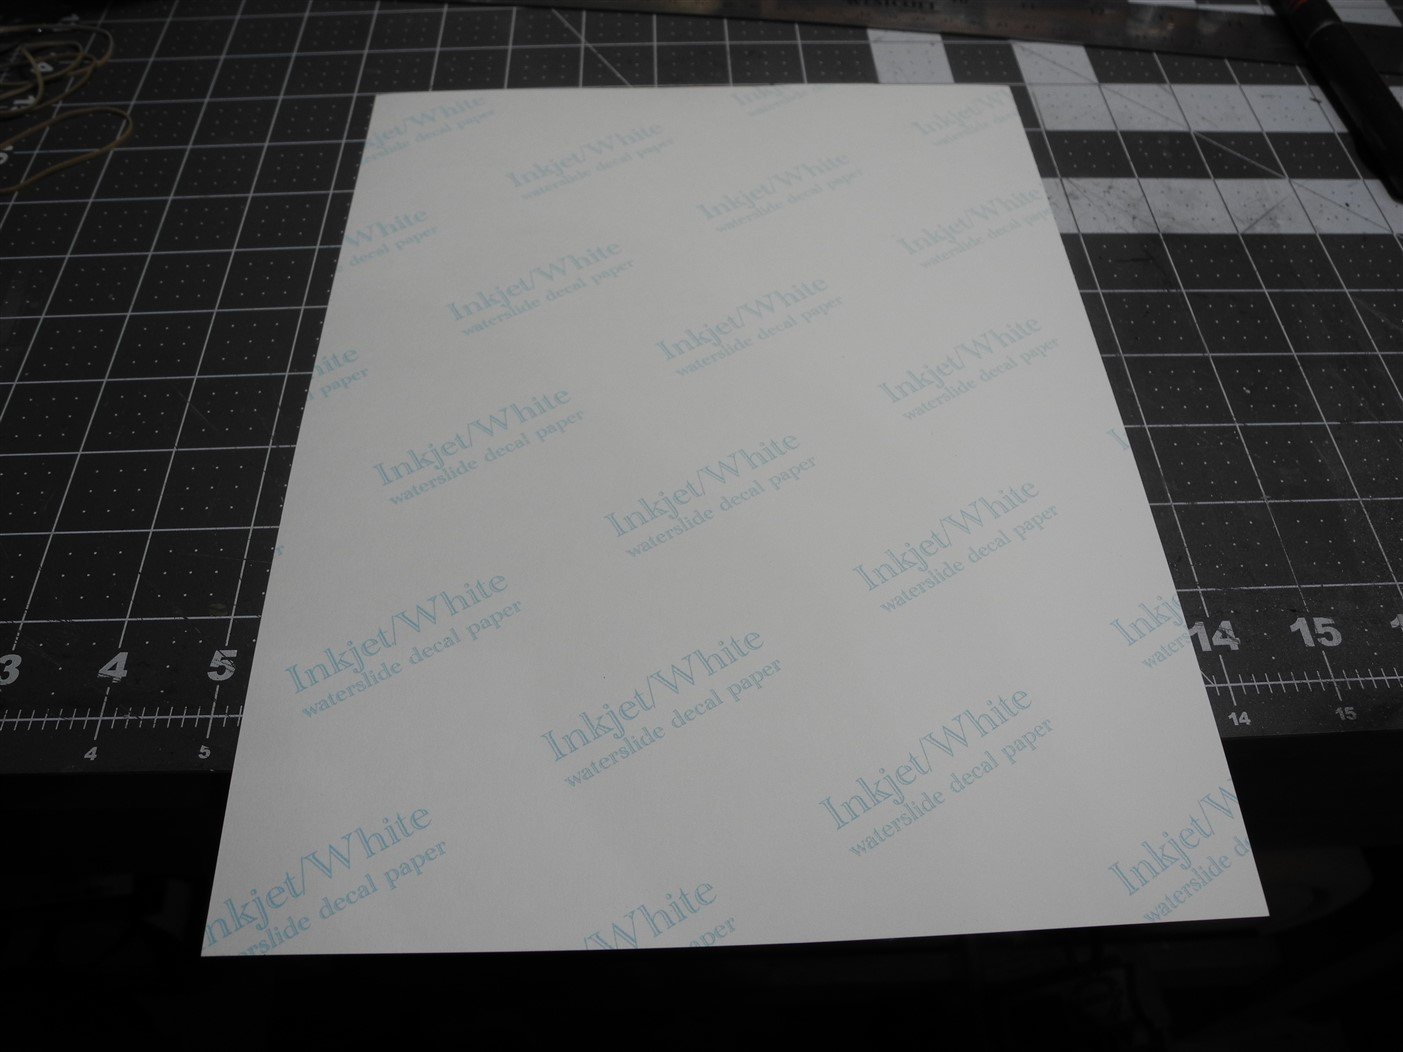
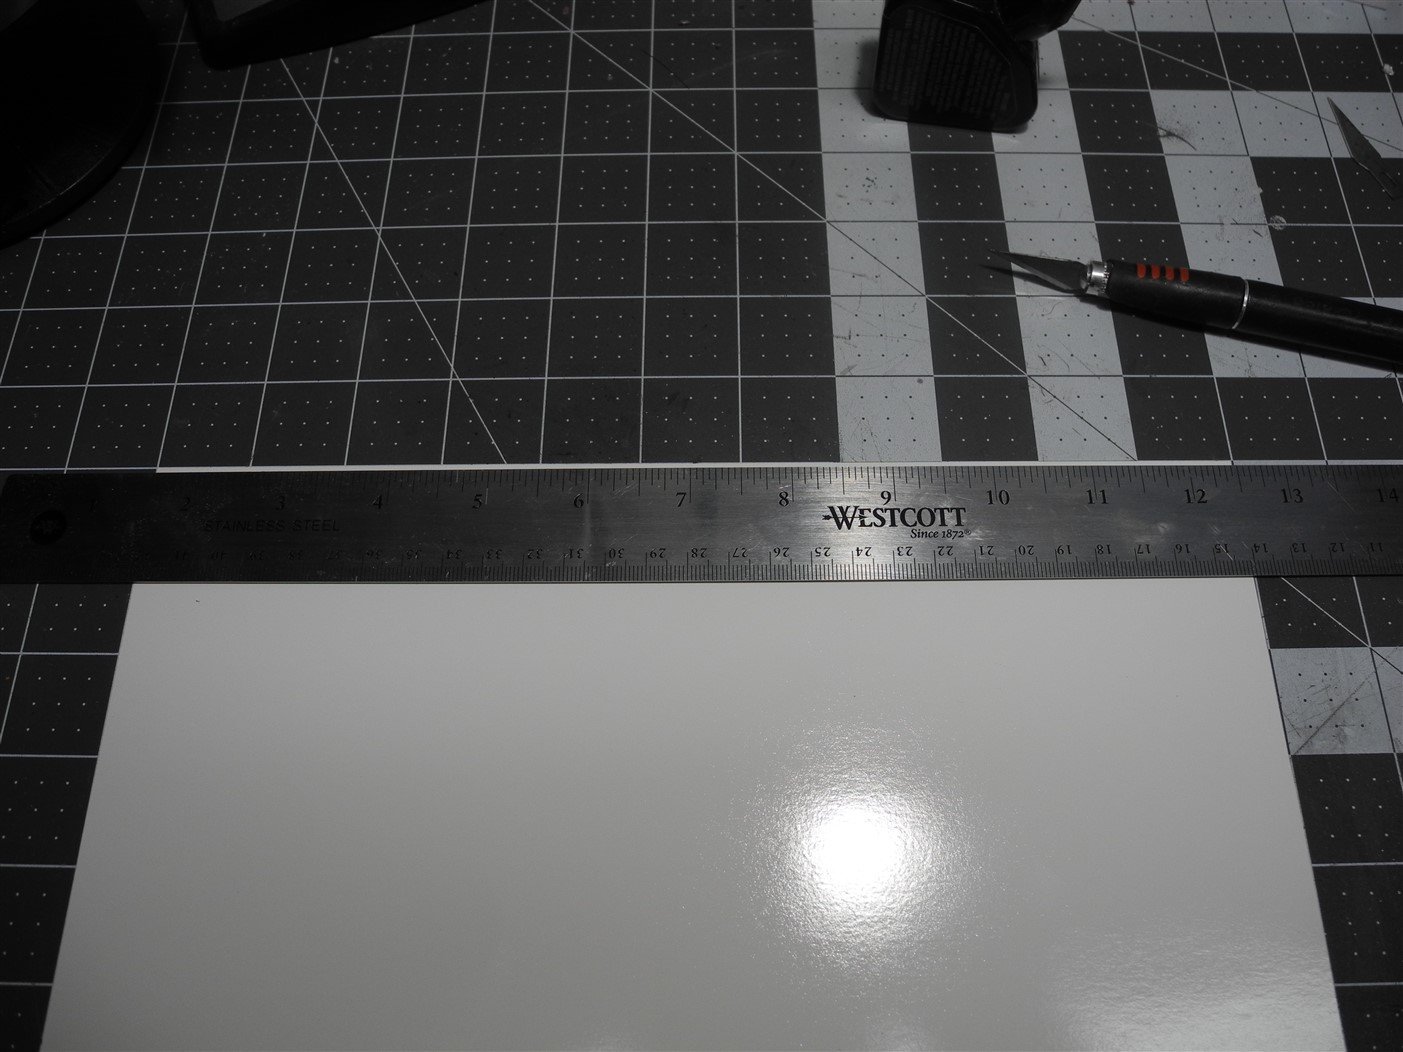
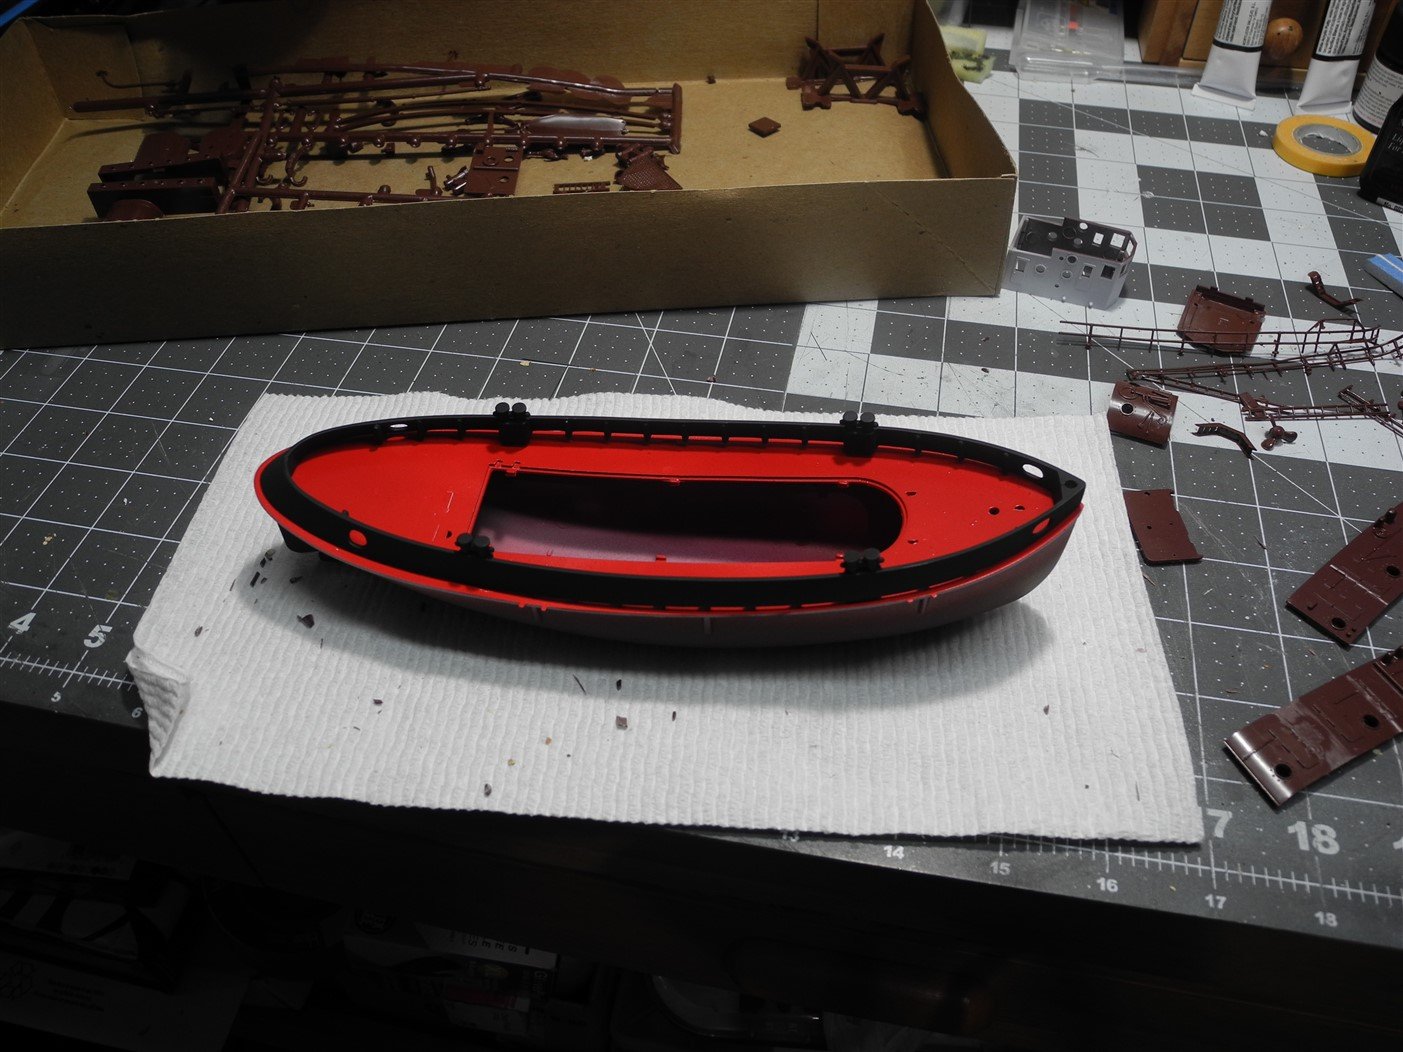
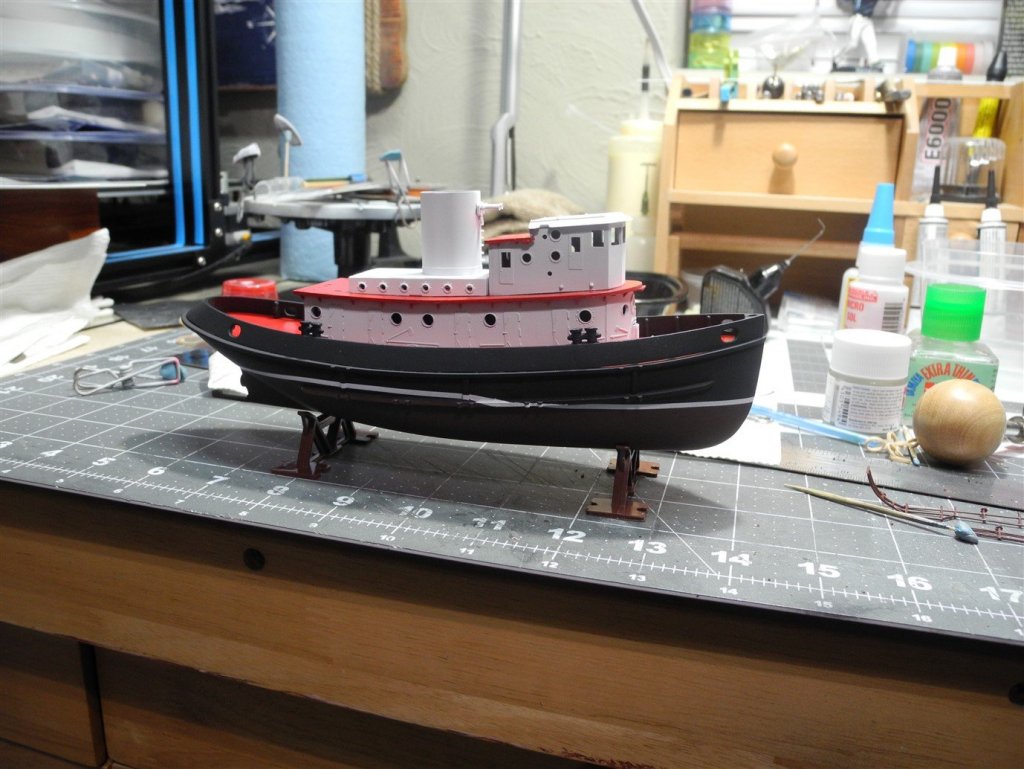
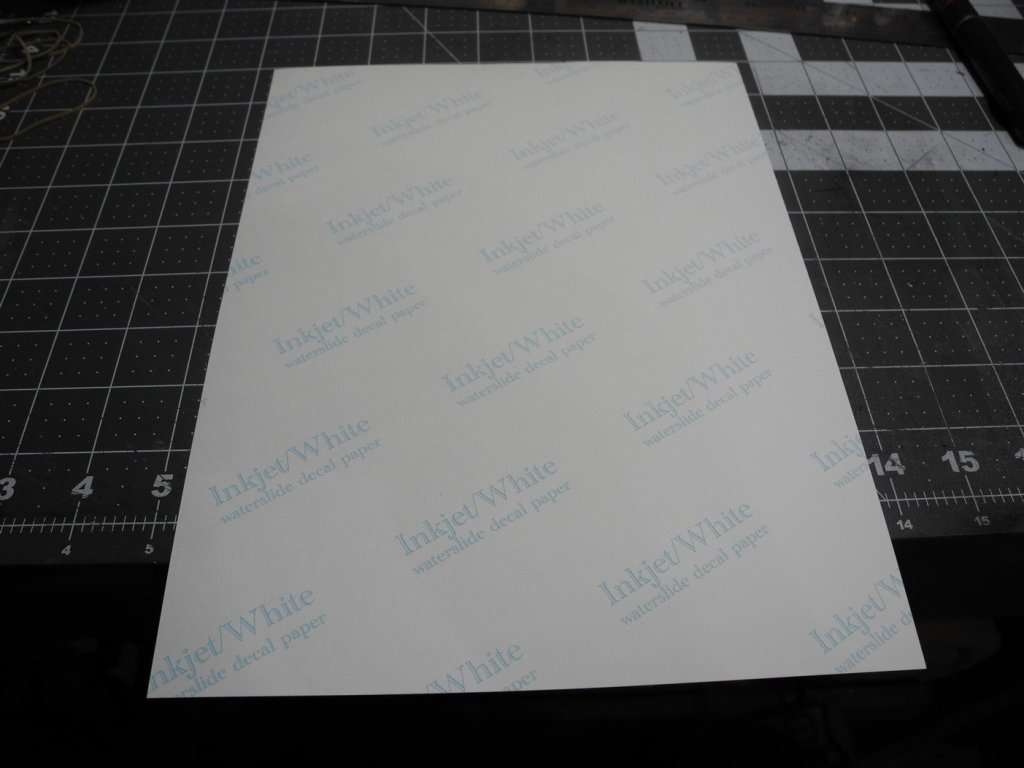
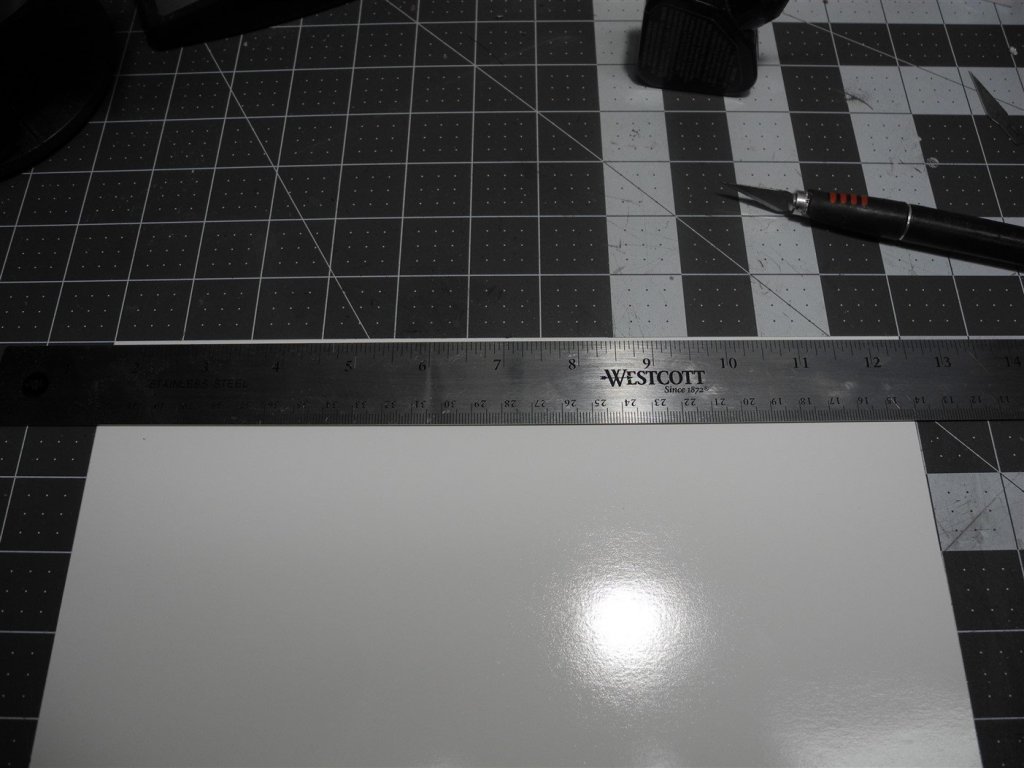
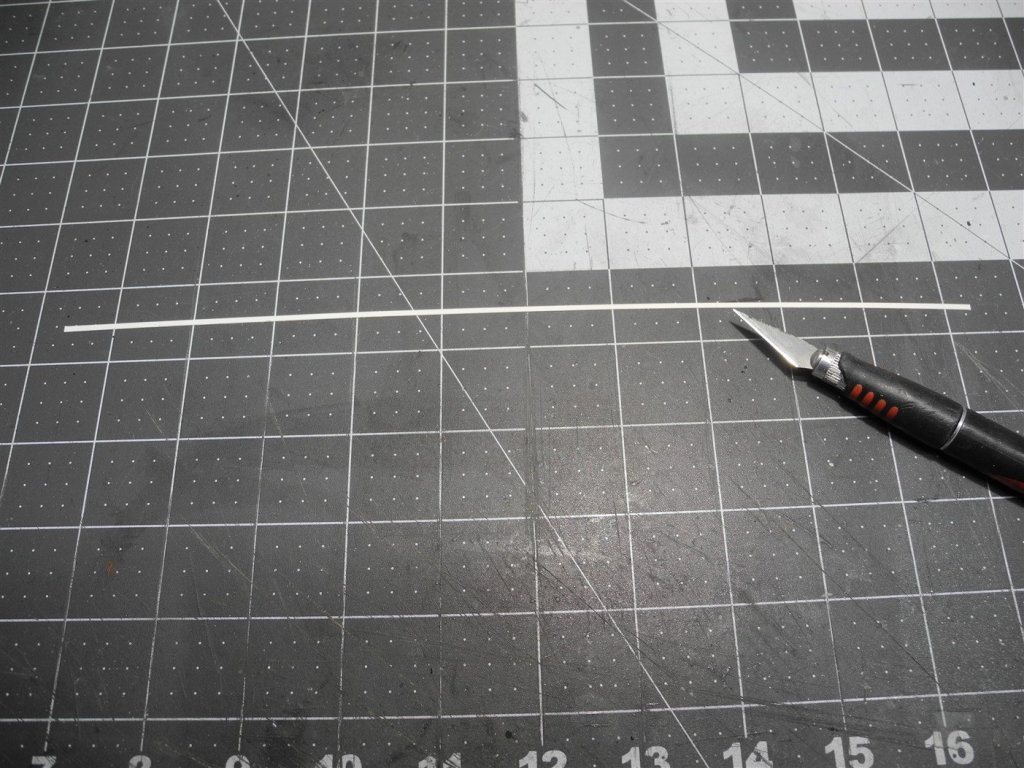
The hull red and black hull colors do not lend well to a defined water line. So I thought it might look better if I created a thin white later line. To do so, I cut a thin strip of white decal paper to a width that looks suitable and apply it along the waterline. The decal paper is ink jet waterslide paper sold by a company that's now defunct, Bel Decals. I was sad to learn they went tango uniform, but fortunately for me, I bought white and clear decal paper in bulk packs of 25 each, 8 1/2" x 11" sheets, before they went the way of the Dodo Bird.
- 63 replies
-
- 9
-
-
- revell
- harbor tug
- (and 2 more)
-
The model's hull had a raised, molded on water line mark that looked to be in an identical position as the waterline in the picture. It's what I followed in any event.
- 63 replies
-
- 4
-
-
- revell
- harbor tug
- (and 2 more)
-
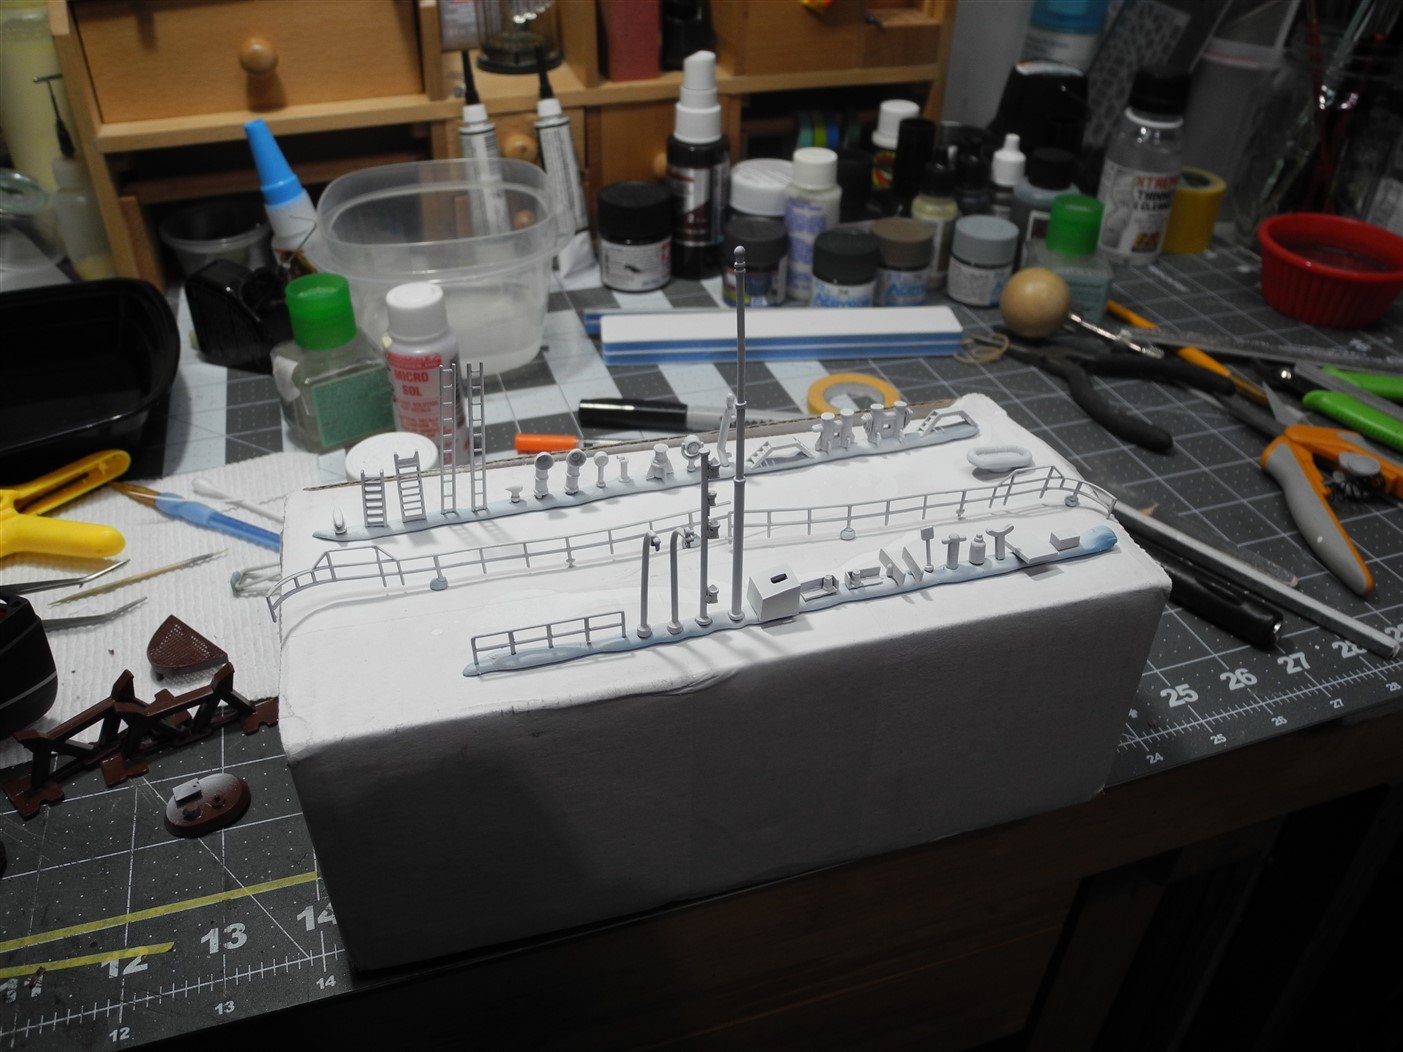
I believe this 1:250 ship model that's coming out soon has my name written all over it. Man, this thing is so darned tempting! https://freetimehobbies.com/1-250-lighthouse-models-antarctica-observation-ship-soya-plastic-model-kit-preorder/
- 63 replies
-
- 4
-
-
- revell
- harbor tug
- (and 2 more)
-
Green Elephant funny car by jct - FINISHED - 1/24 - PLASTIC
CDW replied to jct's topic in Non-ship/categorised builds
Really nice save/reconstruction of that chassis. Great looking green color on the sheet metal as well. What color/paint is that? Almost looks like a clear green over aluminum. -
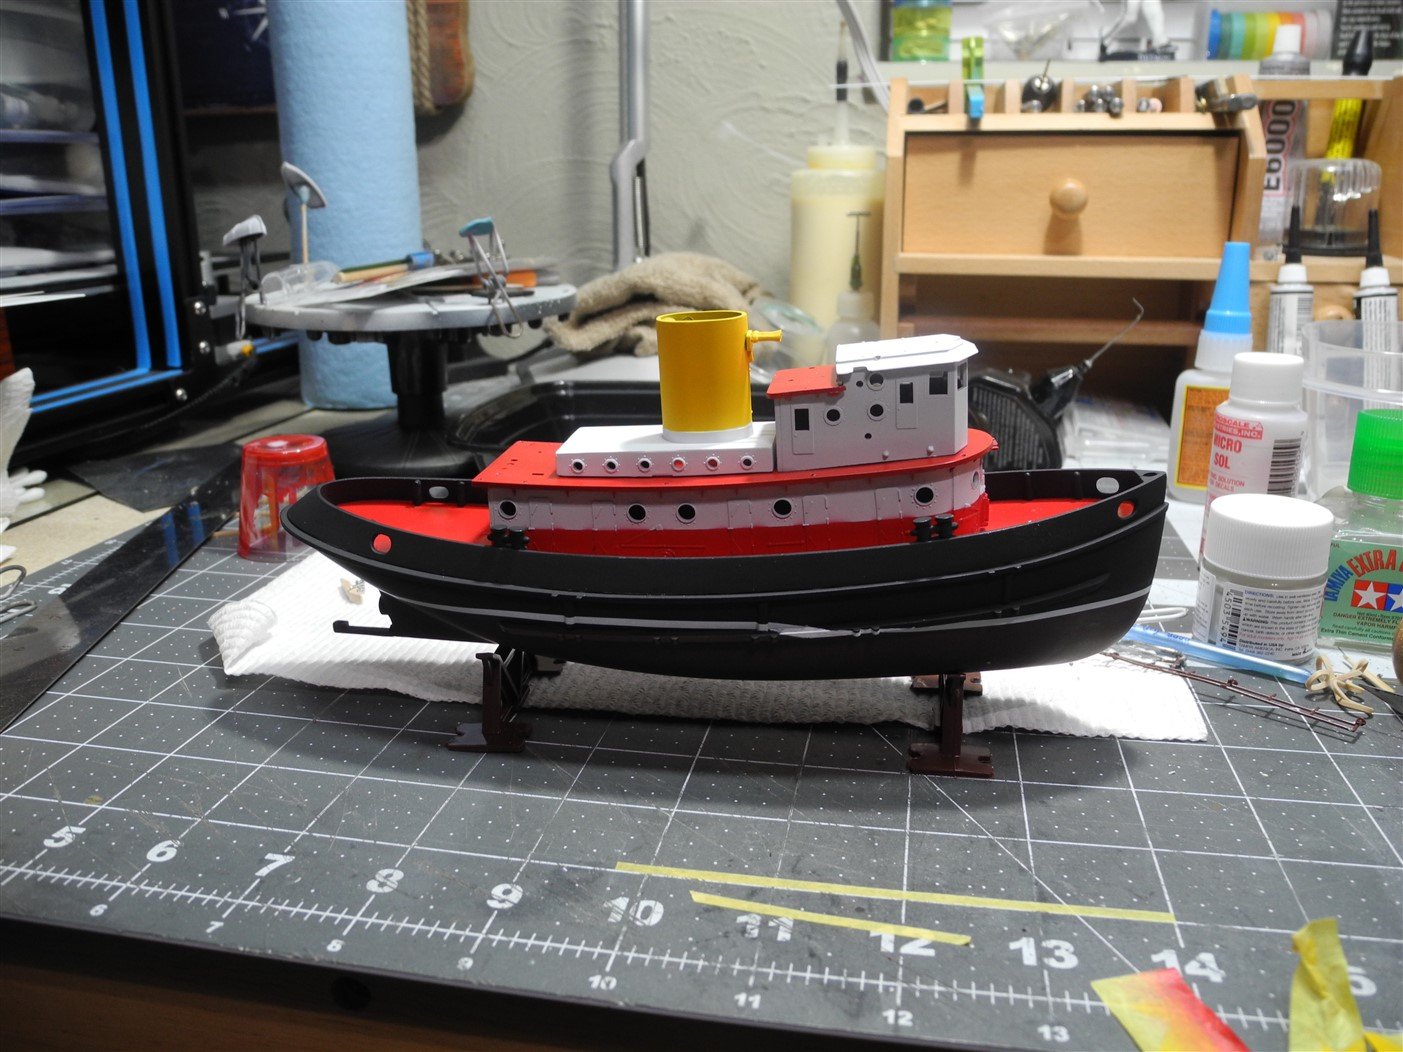
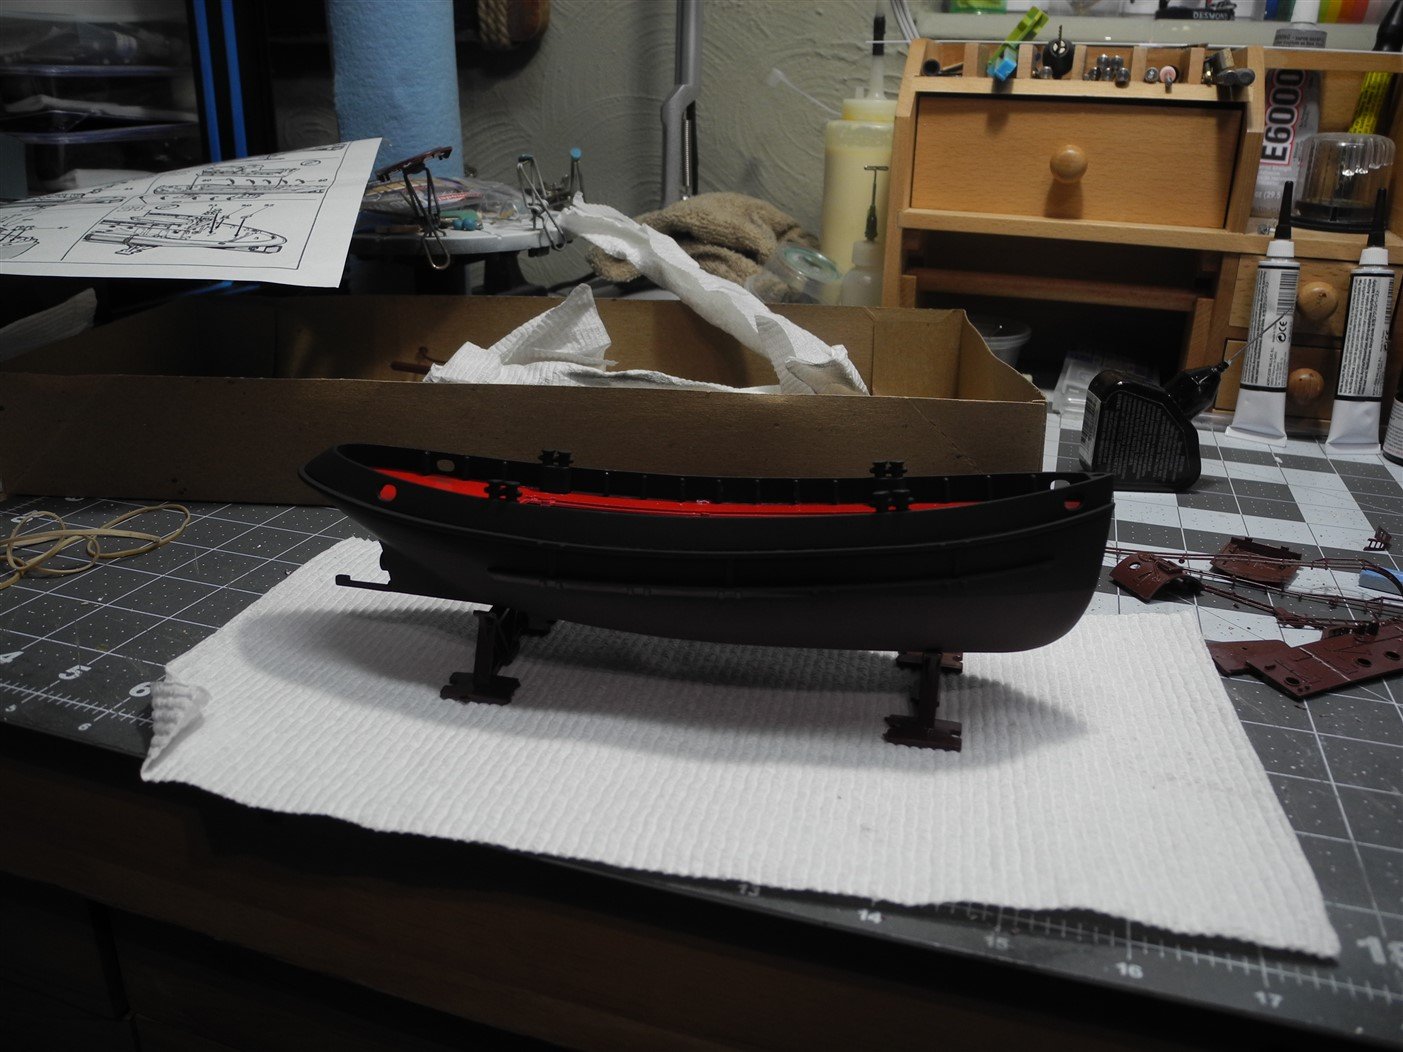
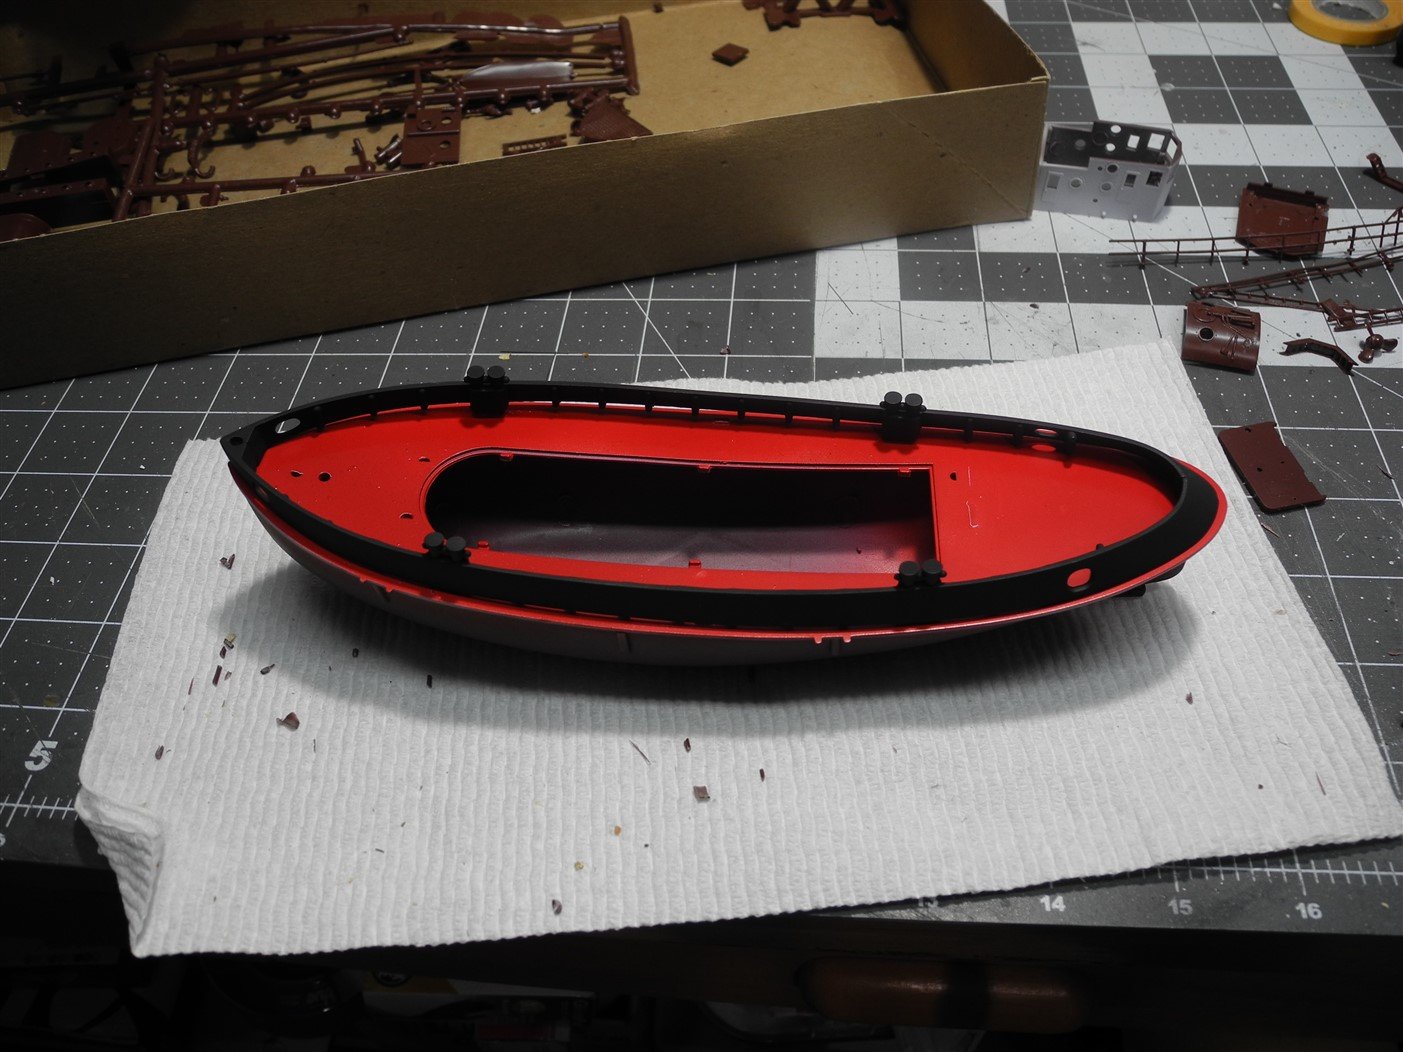
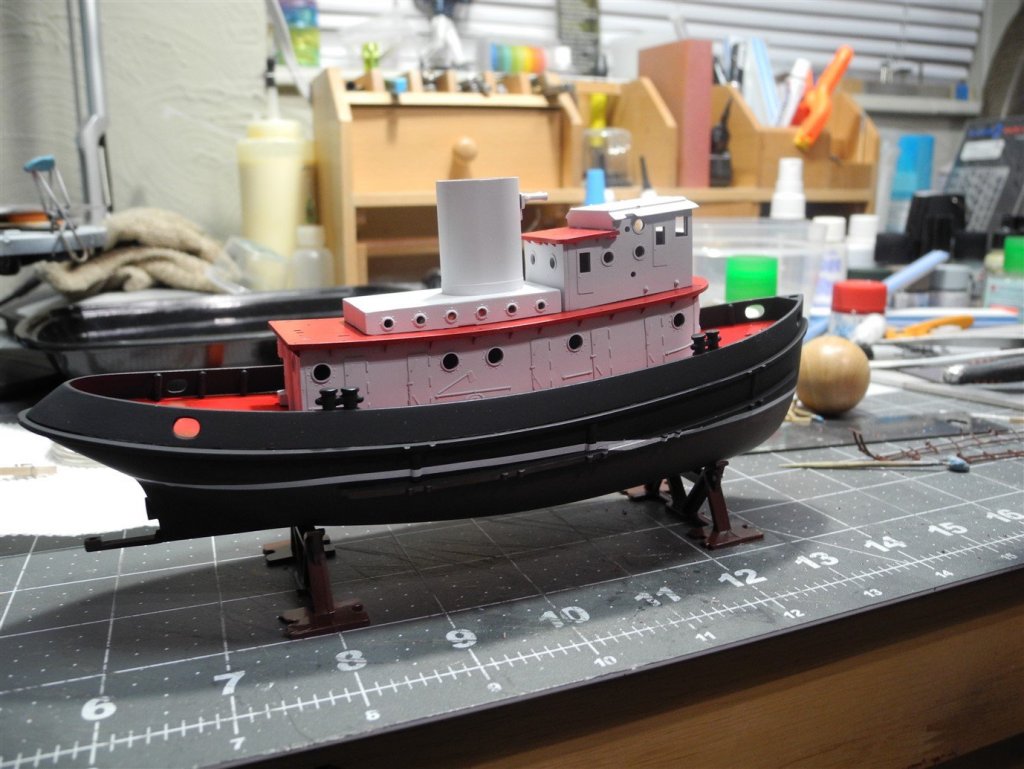
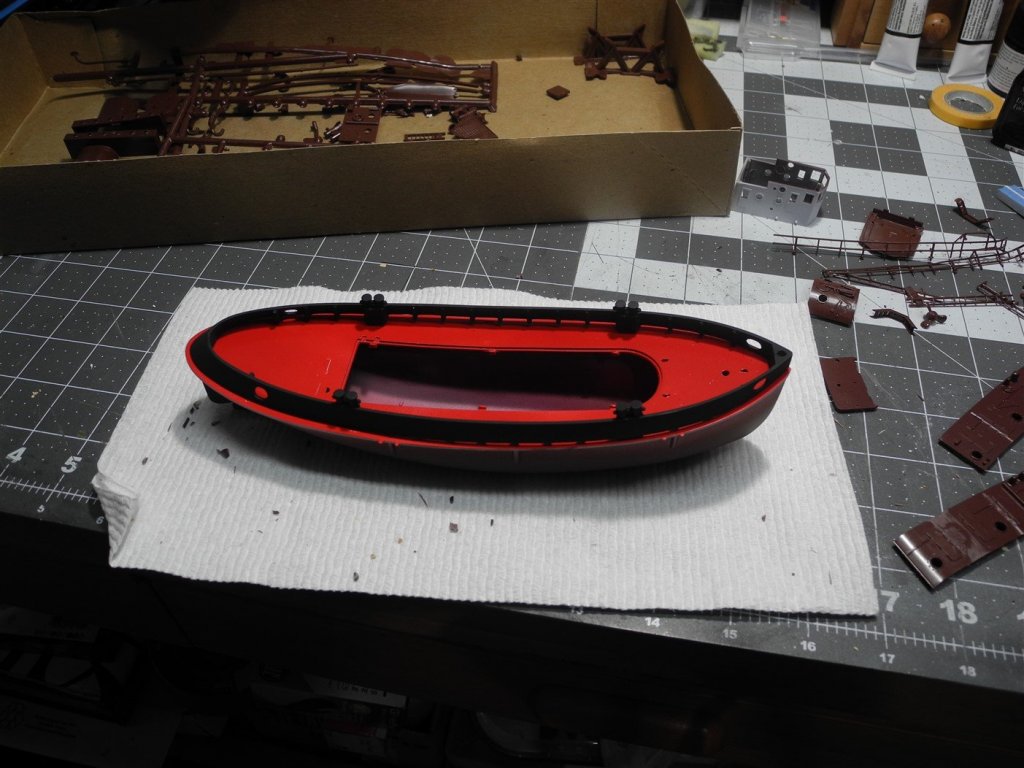
Another round of masking and painting this morning after adding the fenders to the sides of the hull. Tamiya rubber black + Mr Color leveling thinner


- 63 replies
-
- 9
-
-
- revell
- harbor tug
- (and 2 more)
-
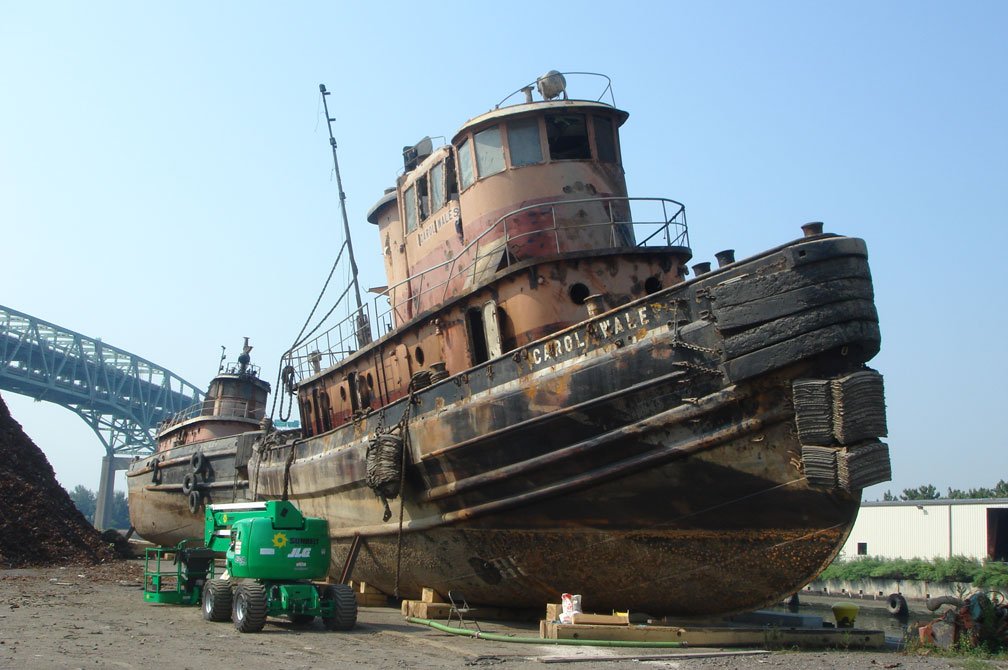
I didn't choose to do it, but was tempted to model this old hulk:
- 63 replies
-
- 7
-
-
- revell
- harbor tug
- (and 2 more)
-
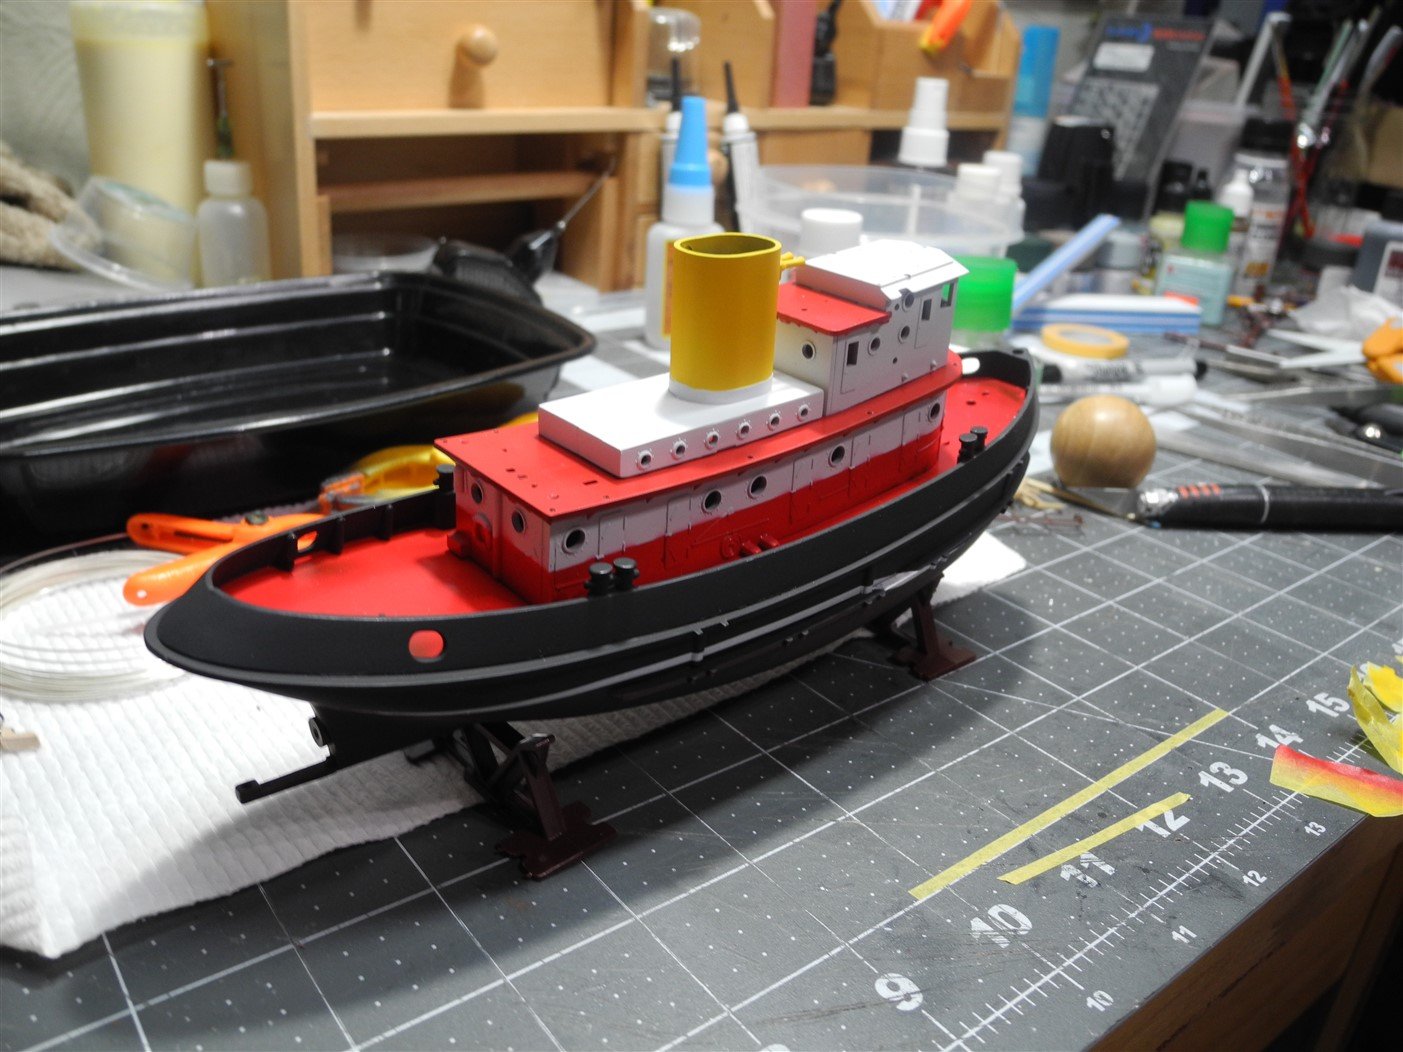
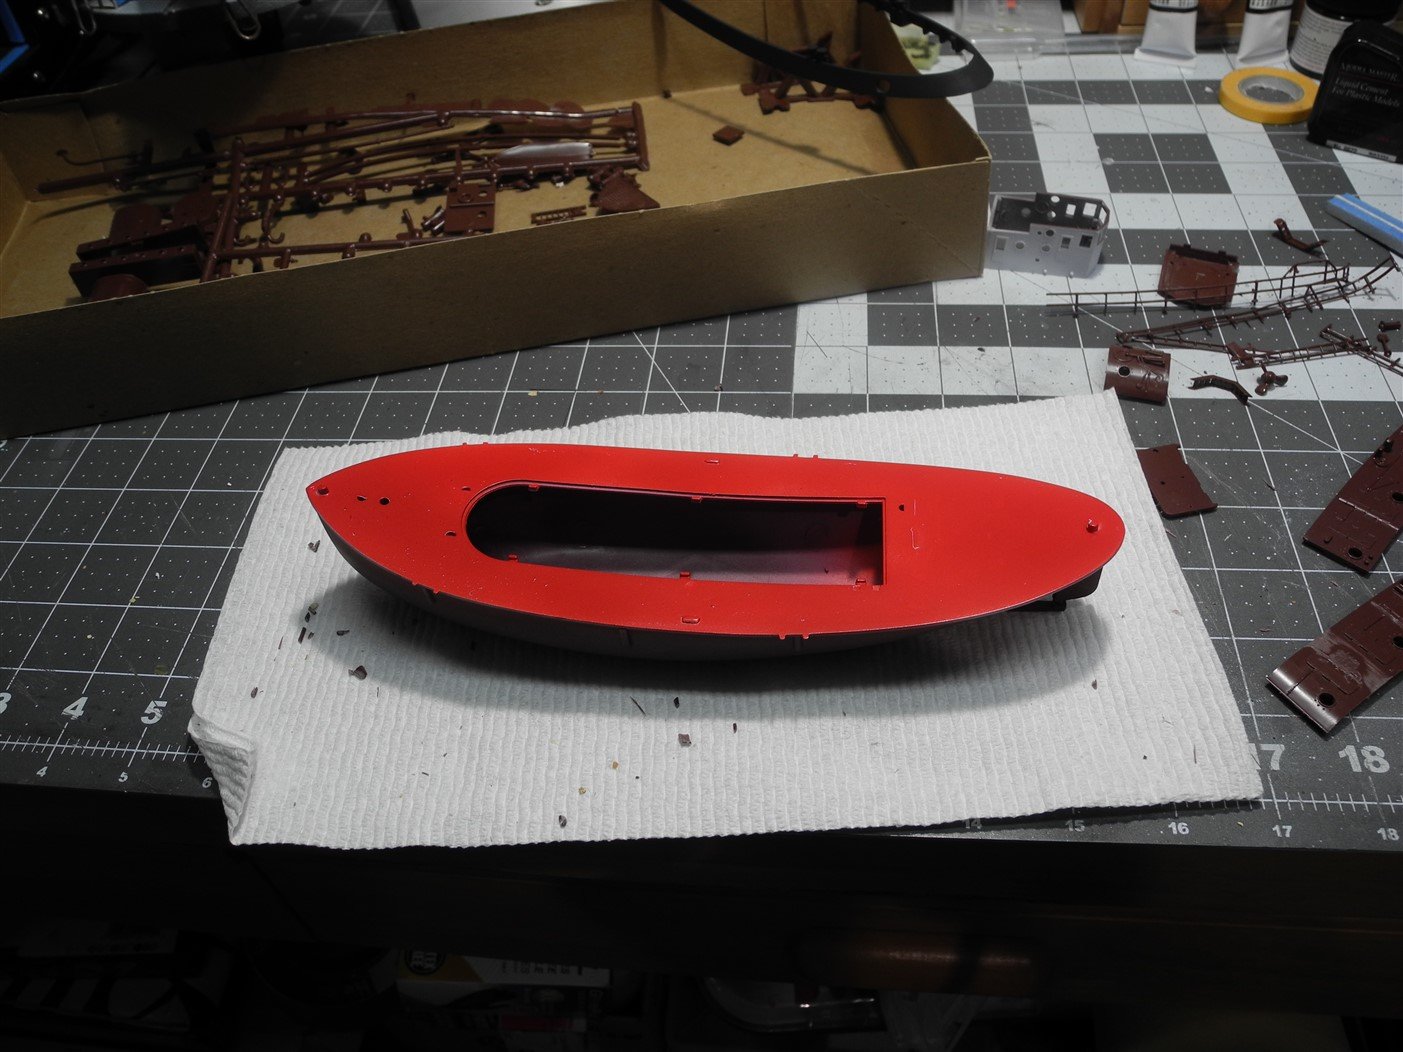
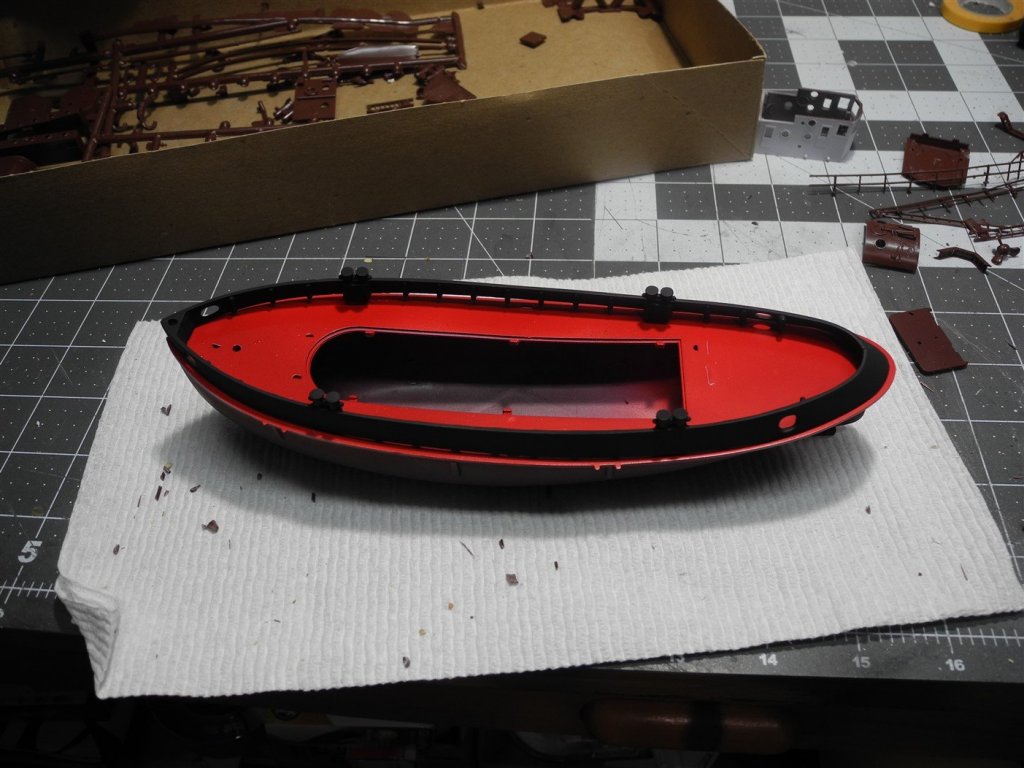
Deck is Mr Color Acrysion red + Mr Color Leveling Thinner, bulwarks are Tamiya rubber black + Mr Color Leveling Thinner. Bulwarks are just sitting on deck, not cemented in place yet.

- 63 replies
-
- 9
-
-
- revell
- harbor tug
- (and 2 more)