CDW
-
Posts
7,760 -
Joined
-
Last visited
Content Type
Profiles
Forums
Gallery
Events
Everything posted by CDW
-
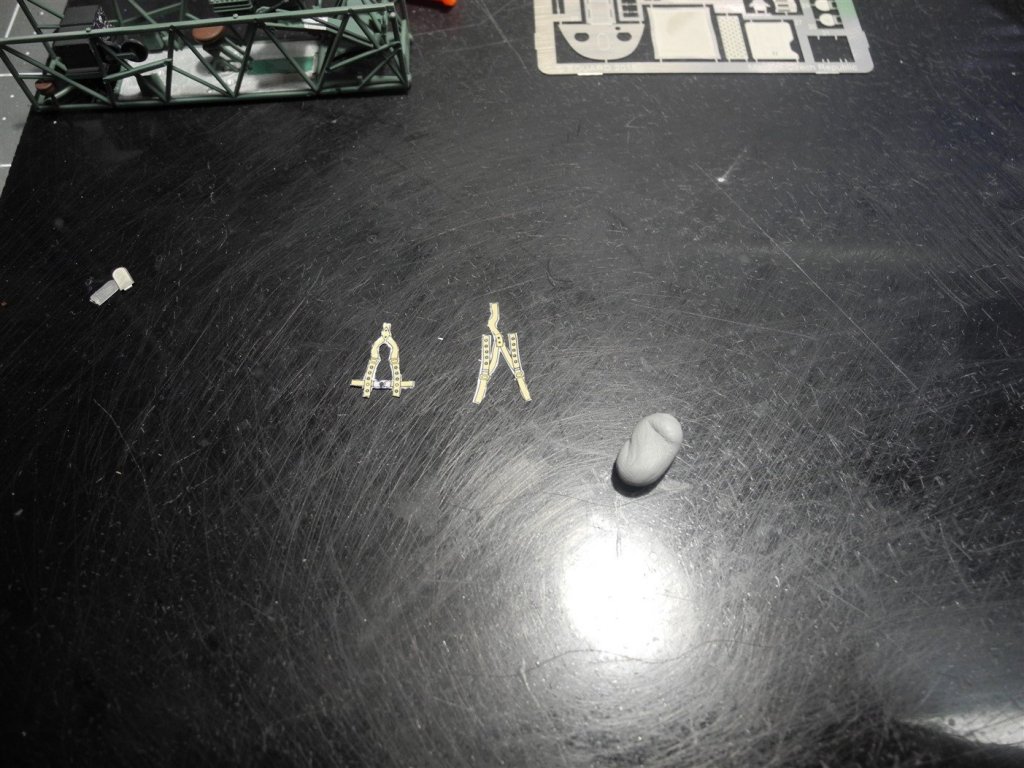
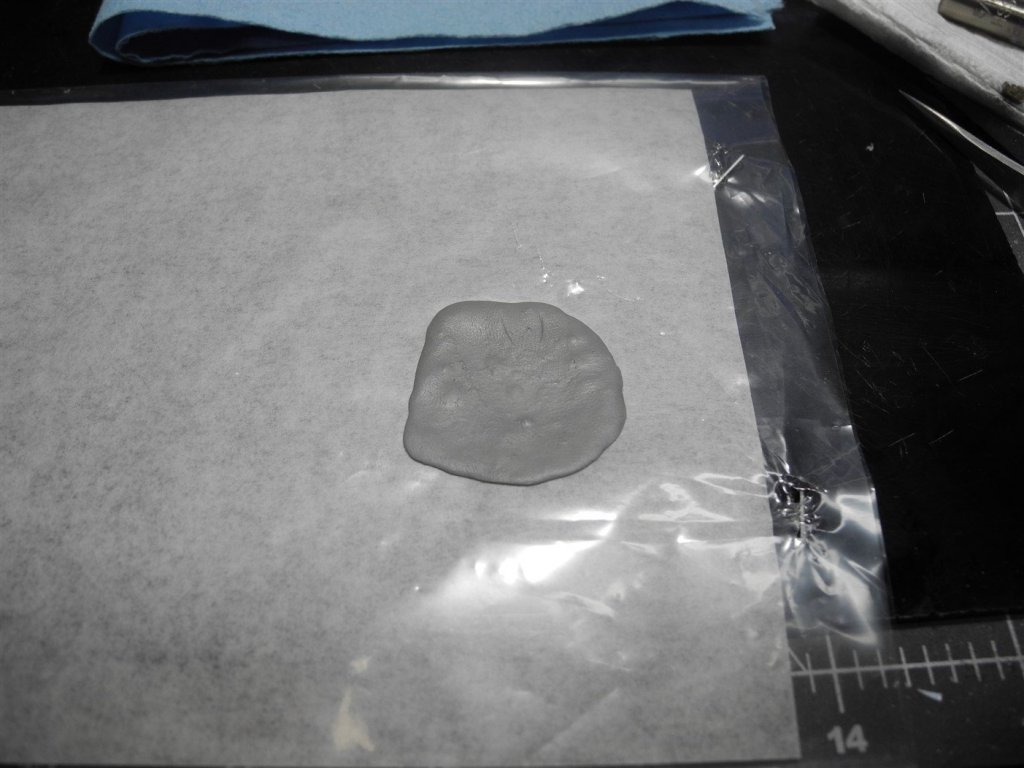
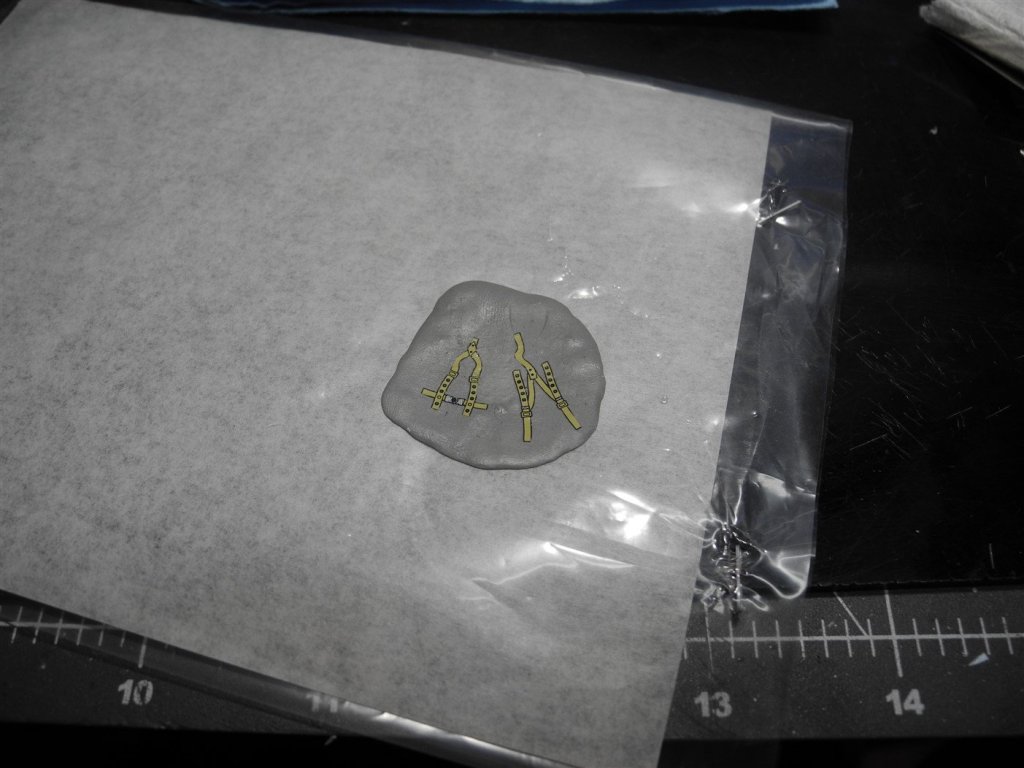
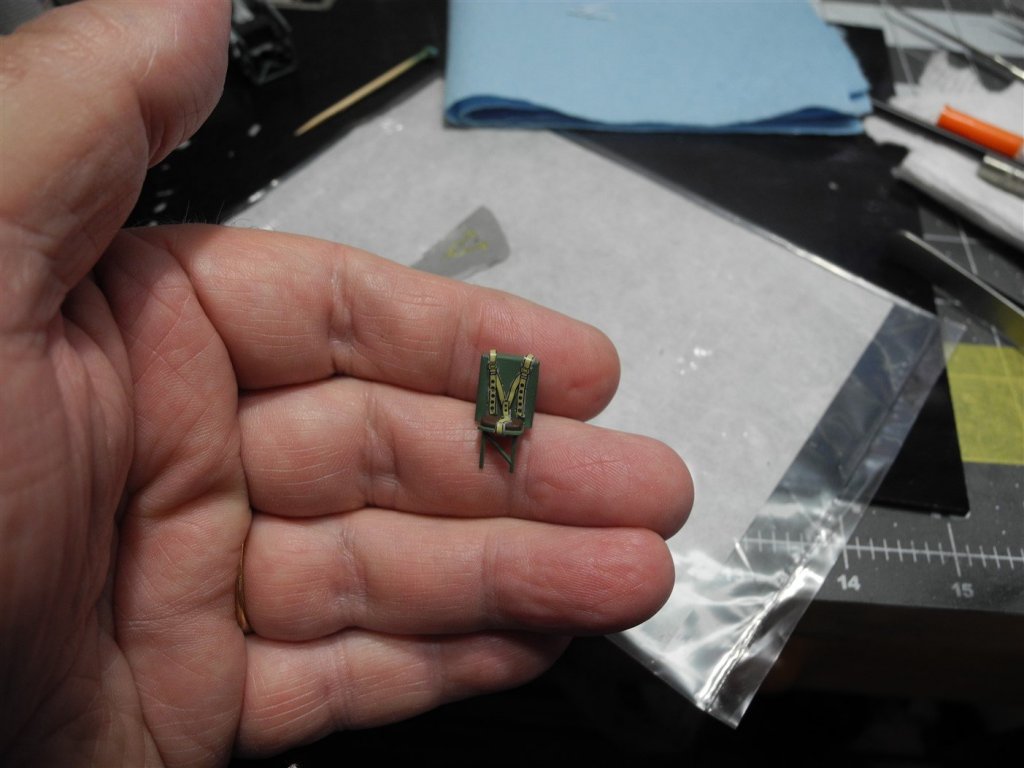
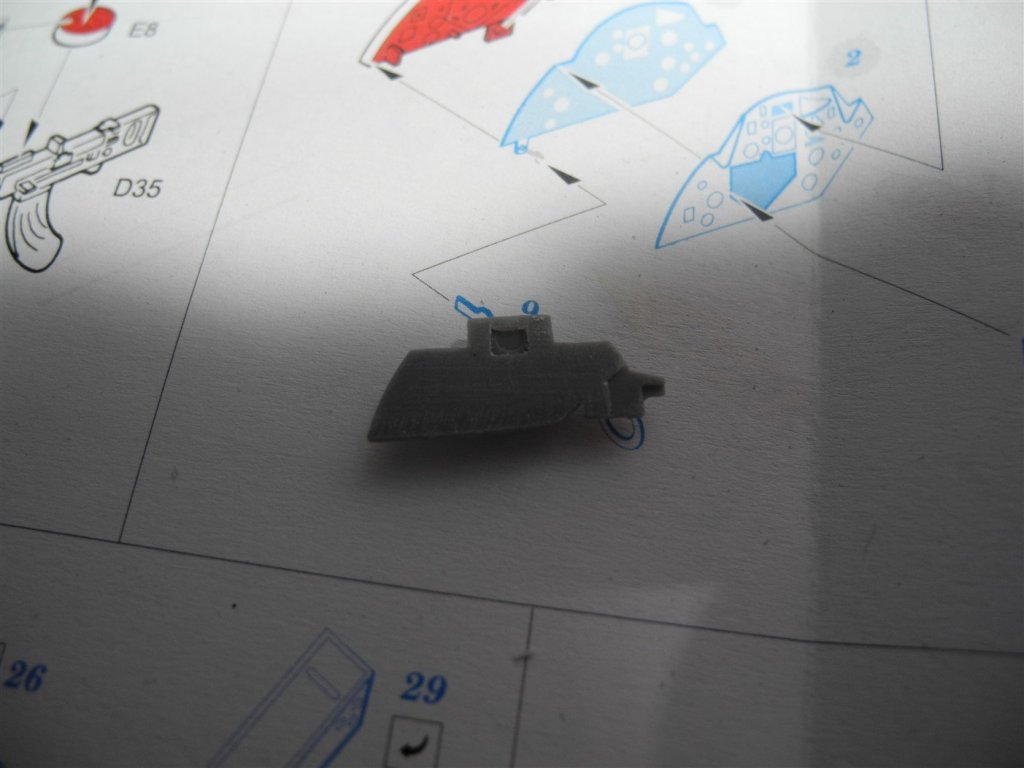
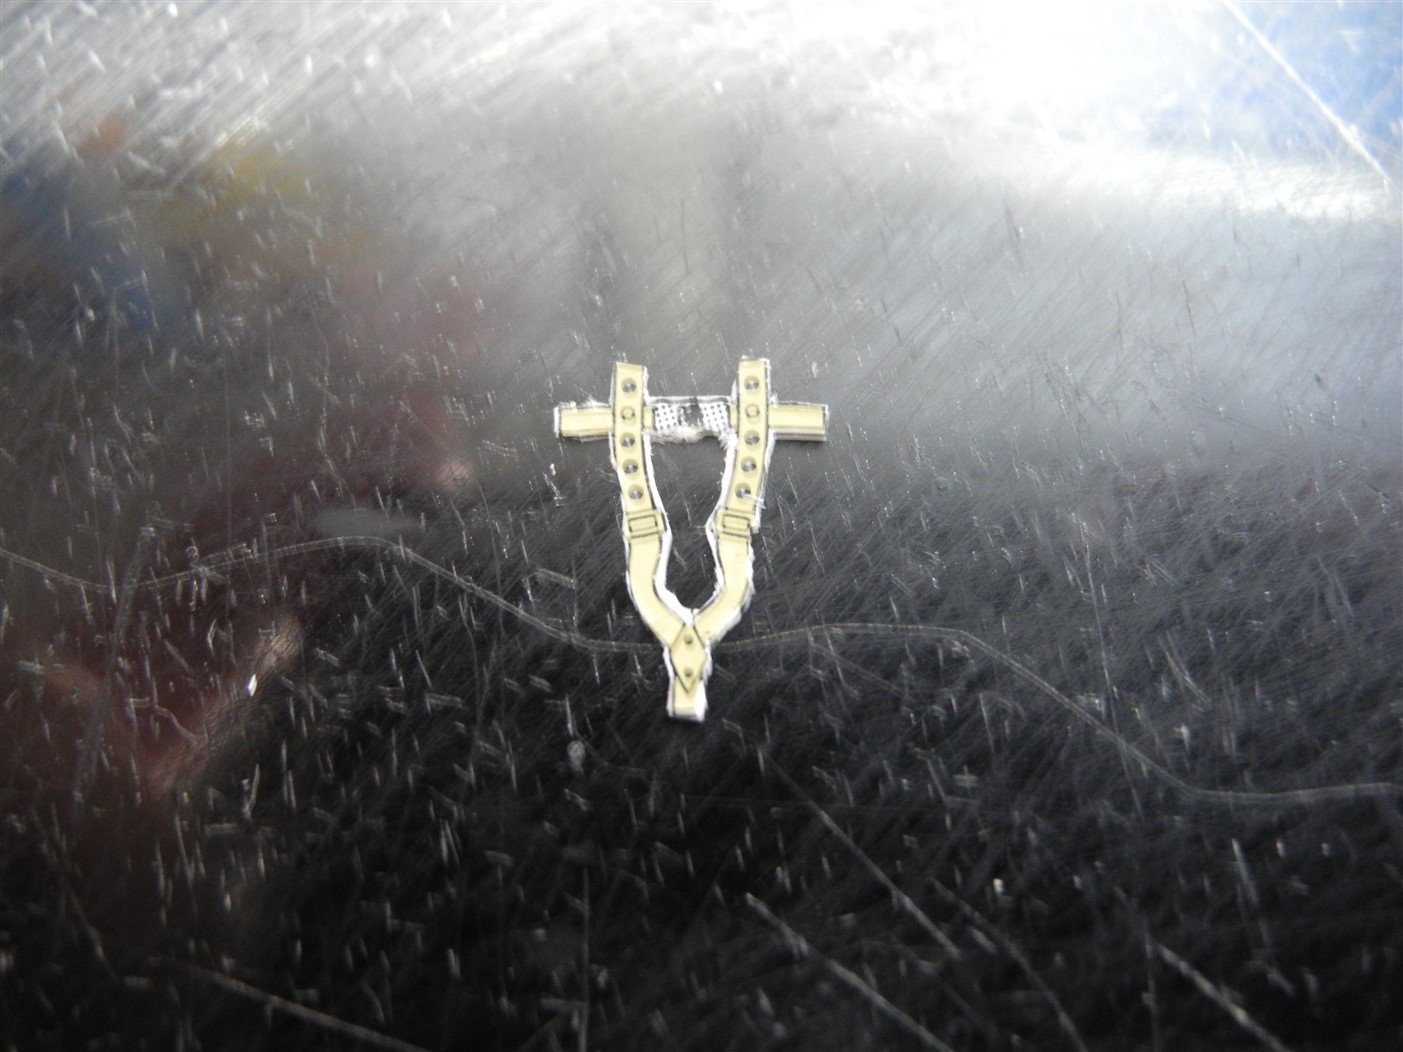
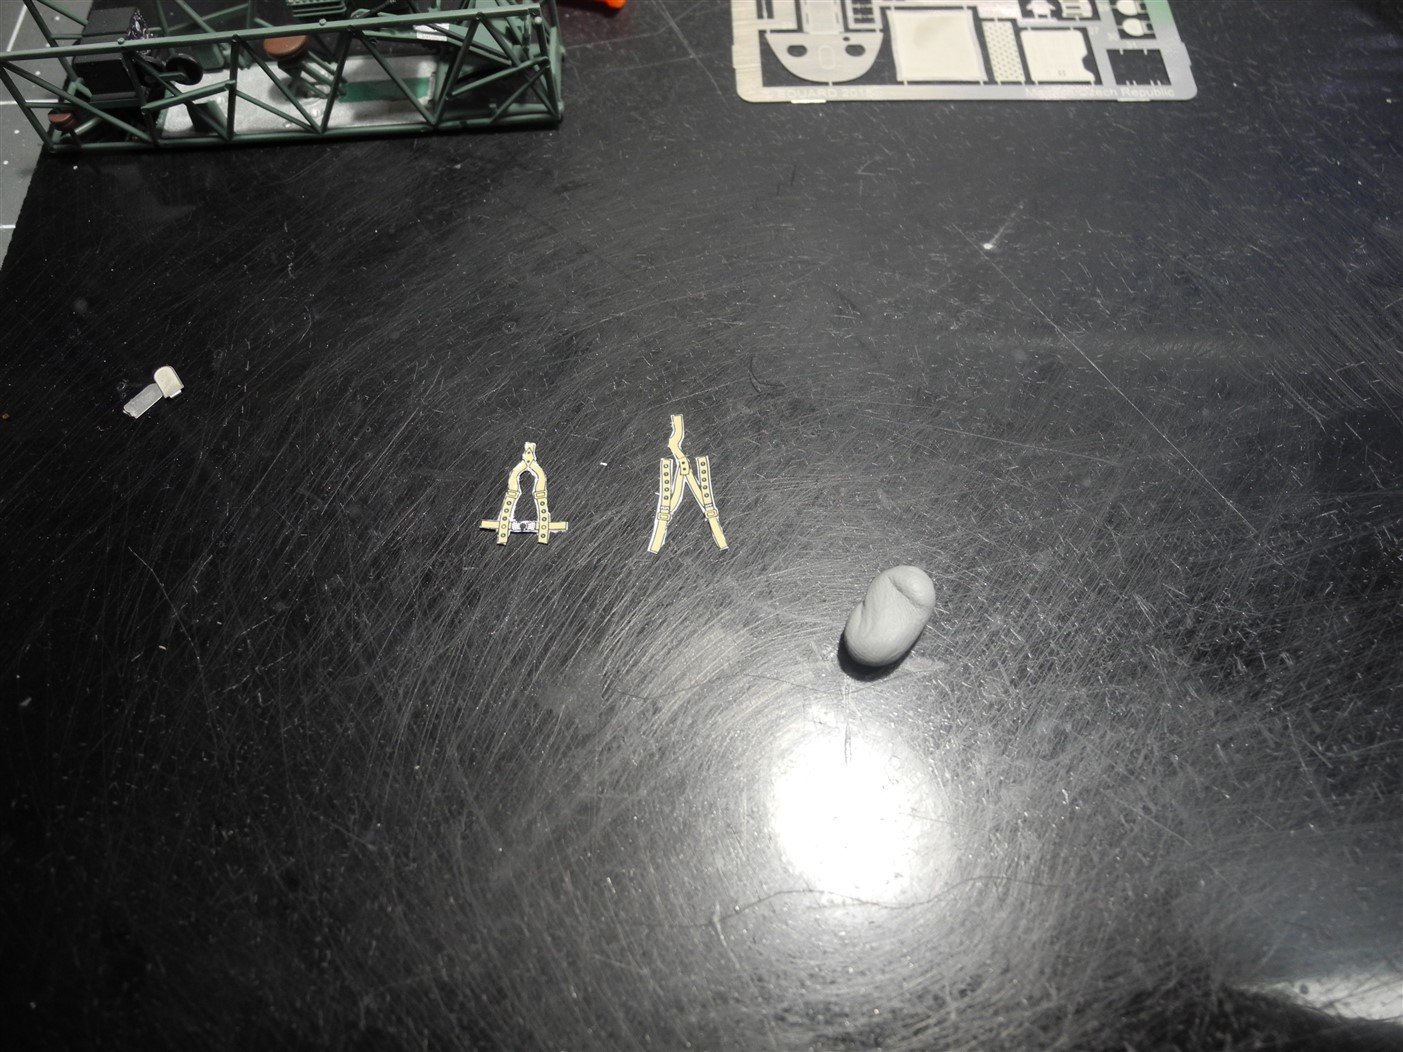
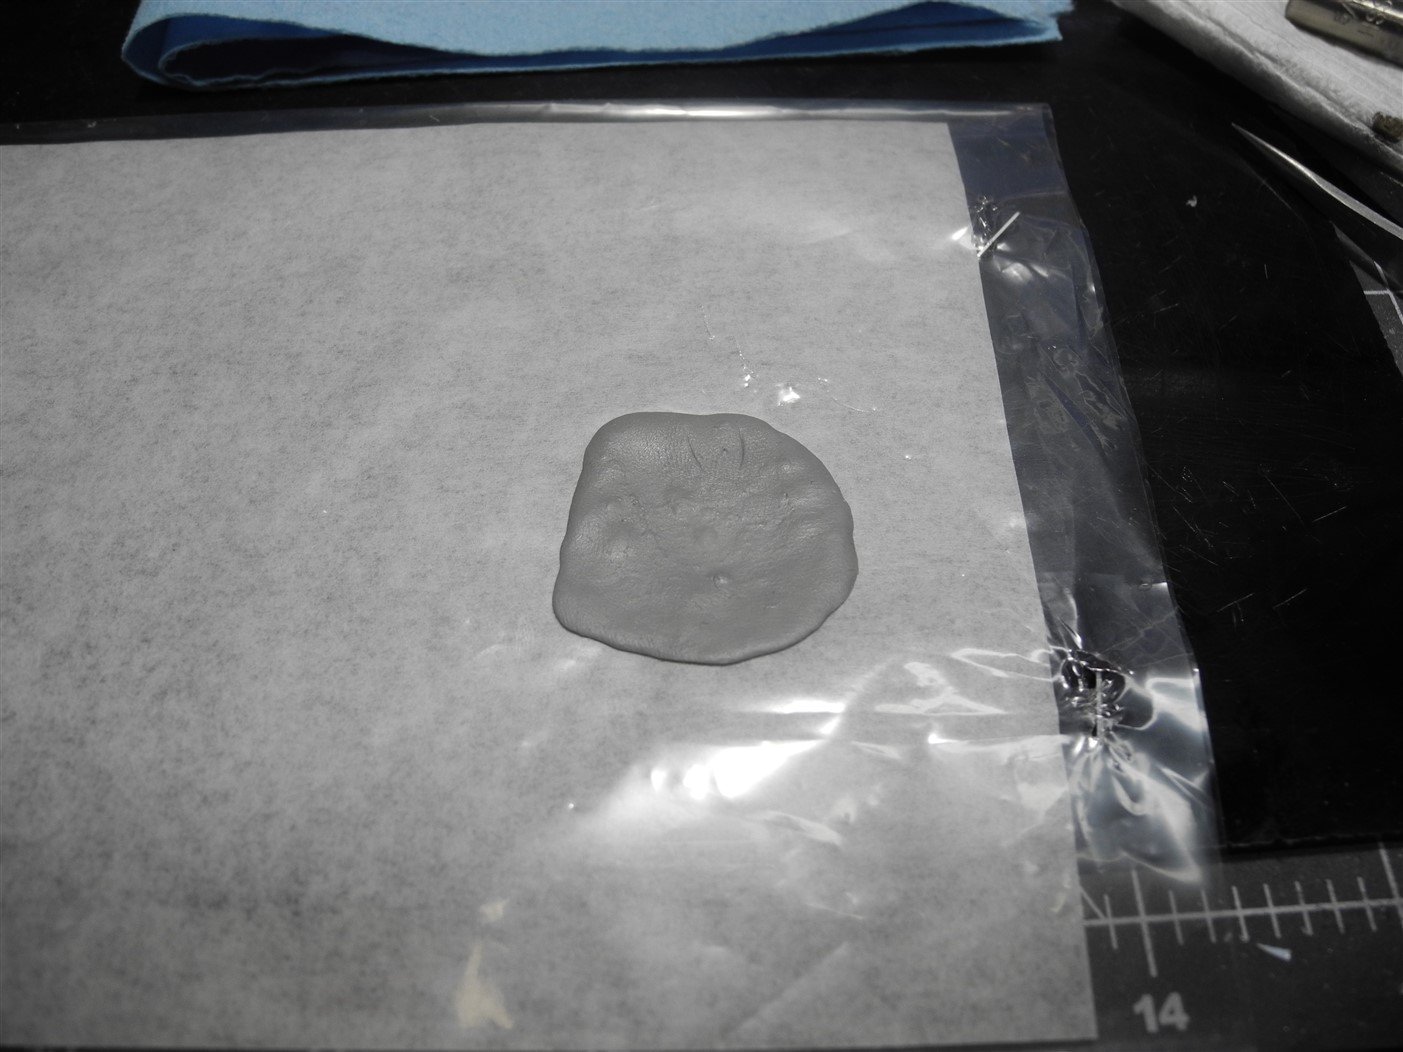
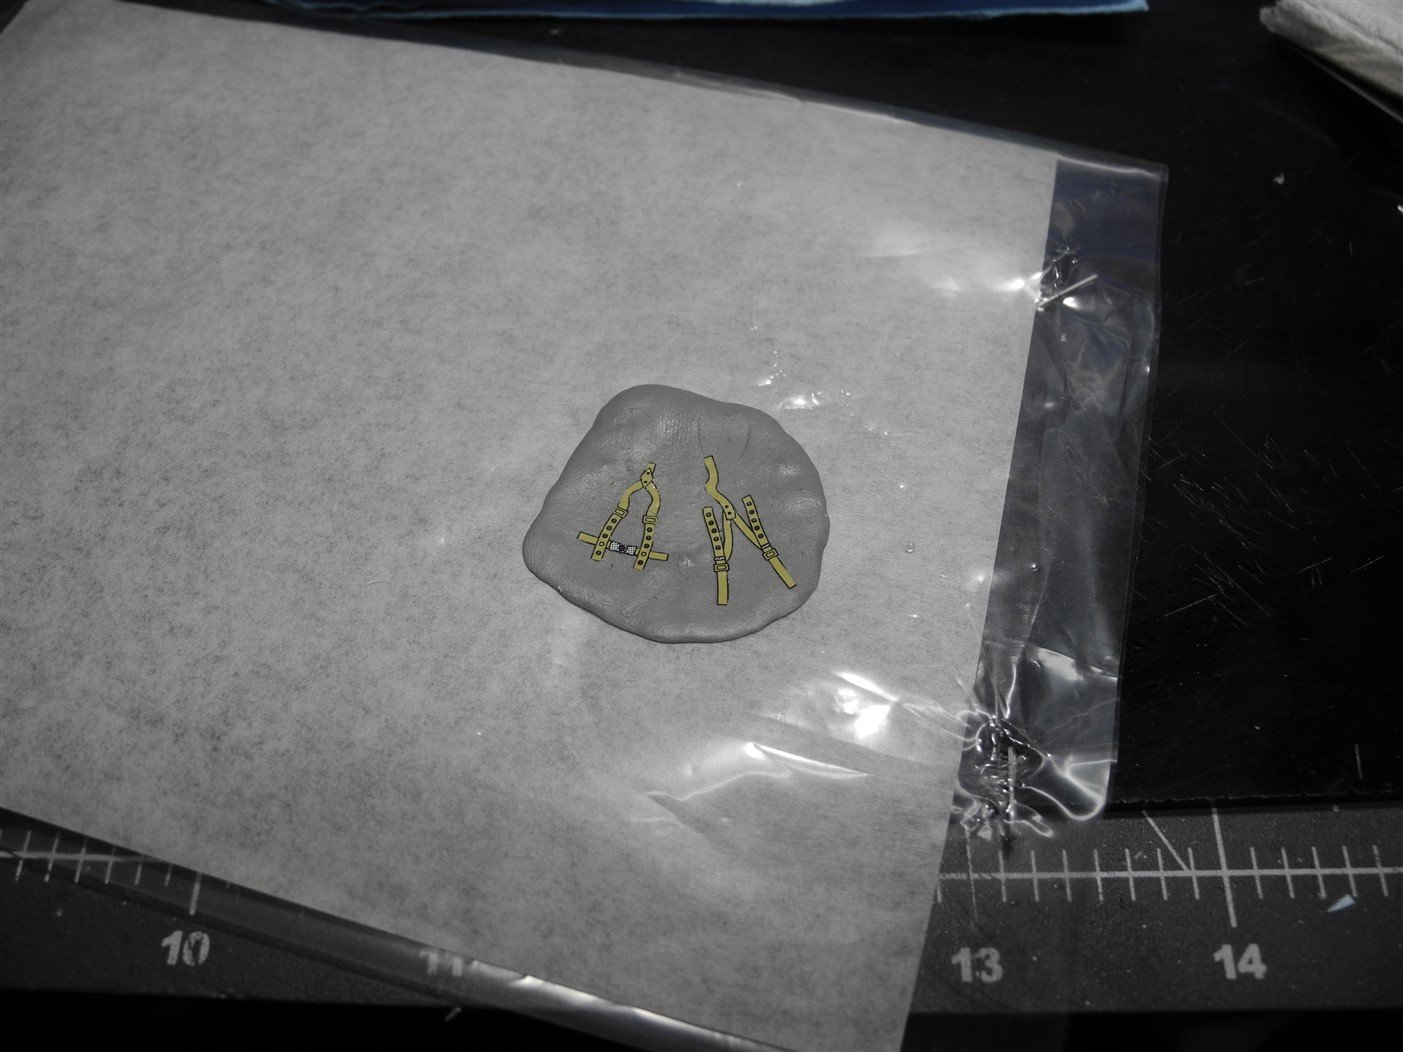
 My Eduard detail sets did not come with seat belts/shoulder harnesses. I used the kit supplied decals for these. I don't like using the decals alone as they lack depth and don't respond well for me trying to place them. I use a two-part sculpting putty called Pro Create and fashion it into a very thin layer, almost paper thin. Then I cut out my kit decals from the water slide paper after carefully trimming around them with my scalpel. The decals are then placed on the thin layer of putty. After allowing an hour or so for the putty to begin setting (but still pliable) and the decals to set, I carefully trim the putty all around the decal. Then I place these onto the seats. At this point, the putty is still pliable and can easily be conformed to the shape of the seat. When completely set (about 3 hours), the seat belts have become part of the seat itself. I should add...if you try this method, be sure to moisten a glass surface with water on which you will place your thin layer of sculpting putty. This will prevent your putty from sticking to the glass.

- 79 replies
-
- 10
-

-
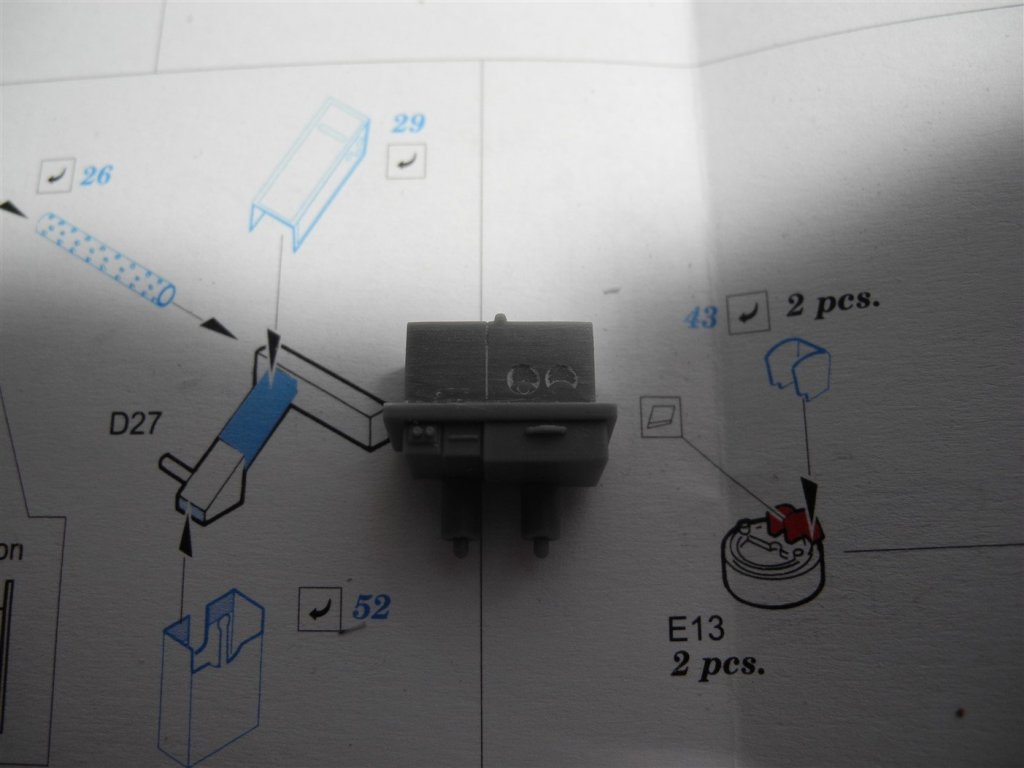
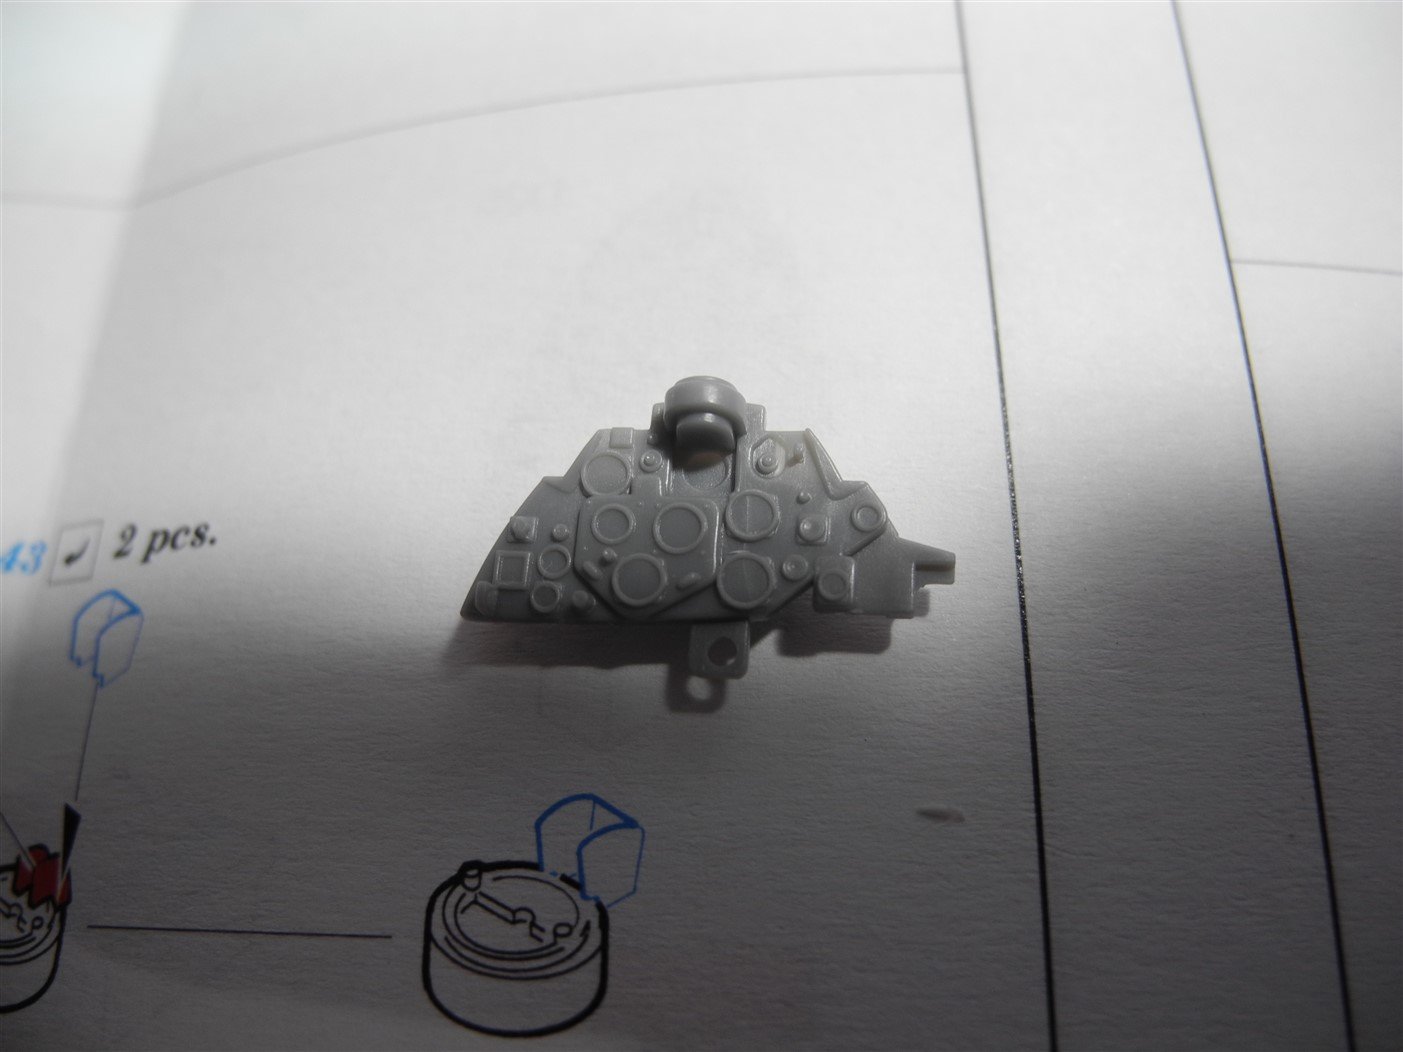
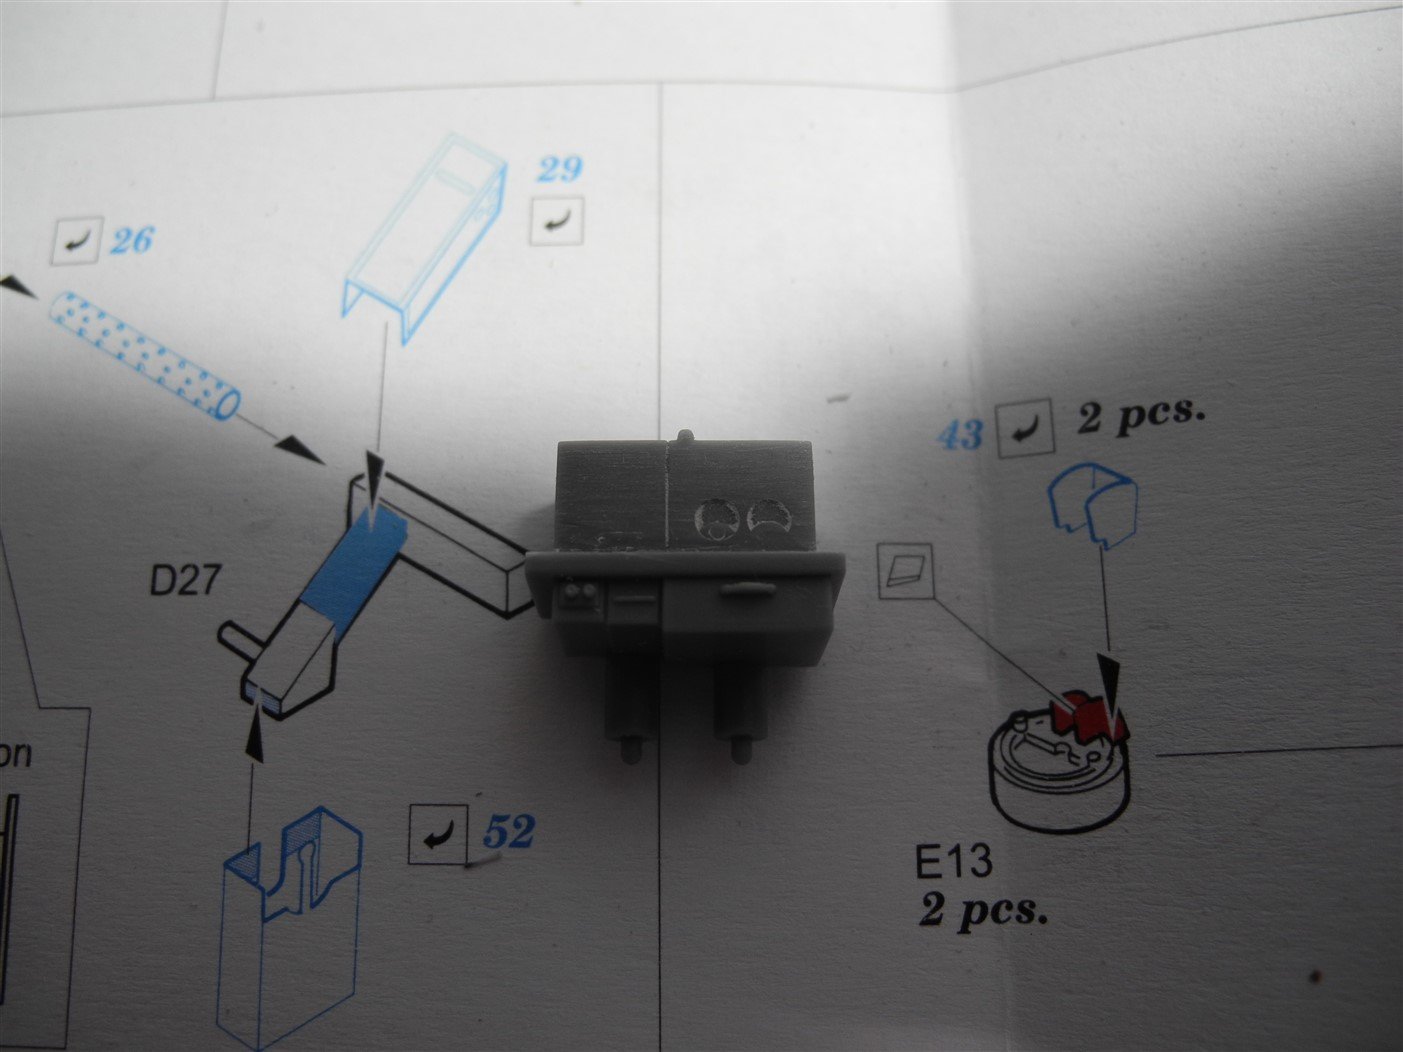
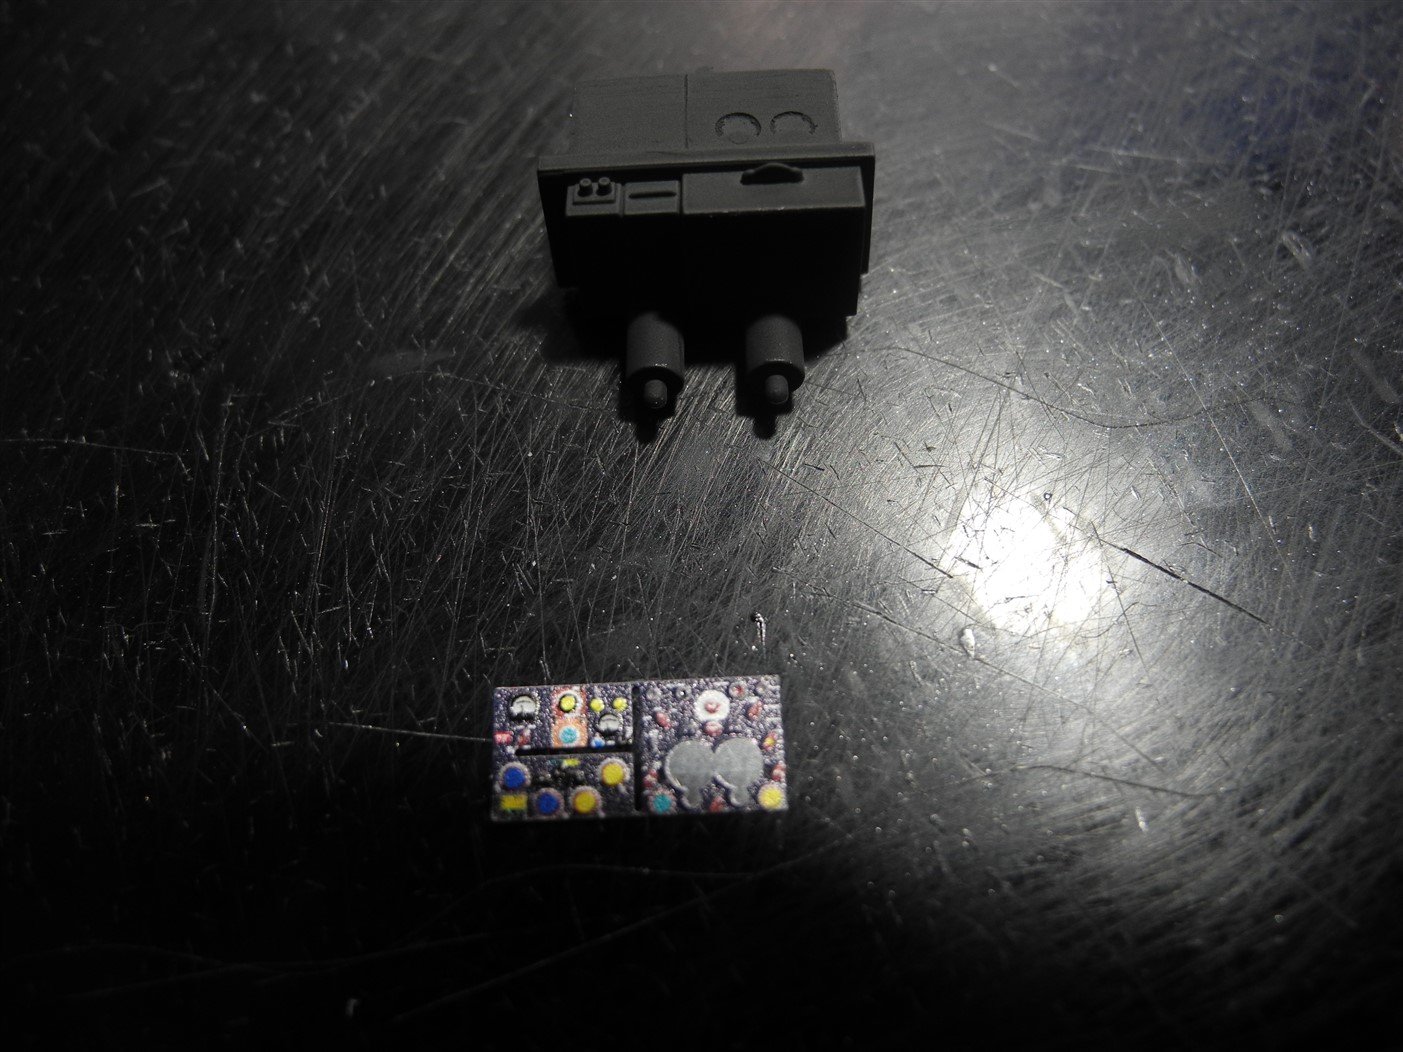
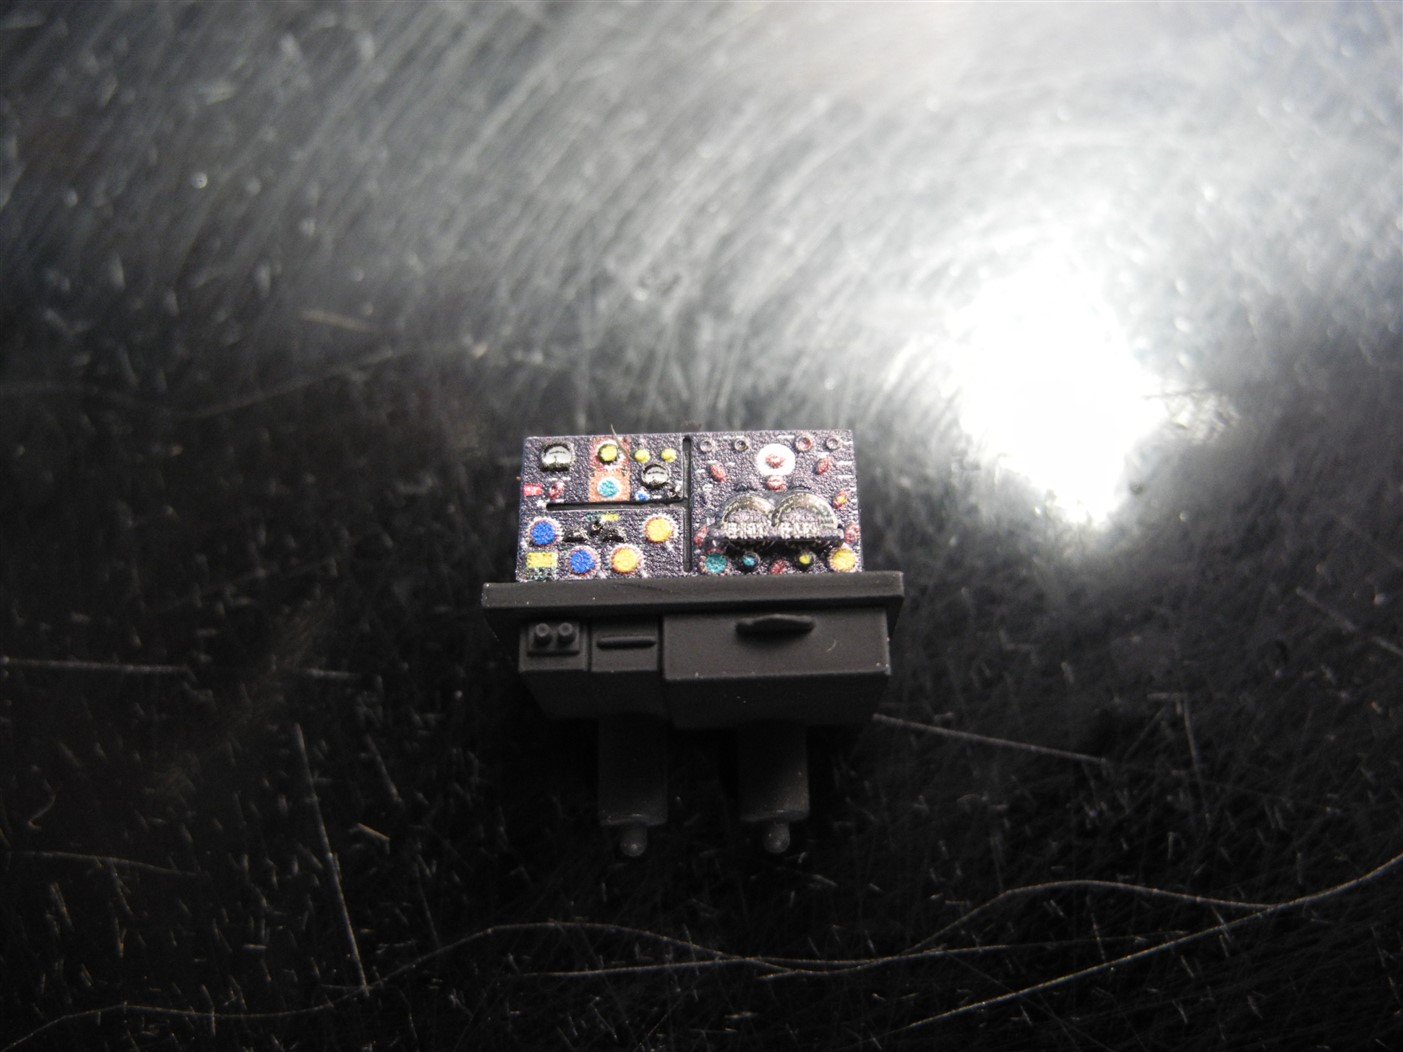
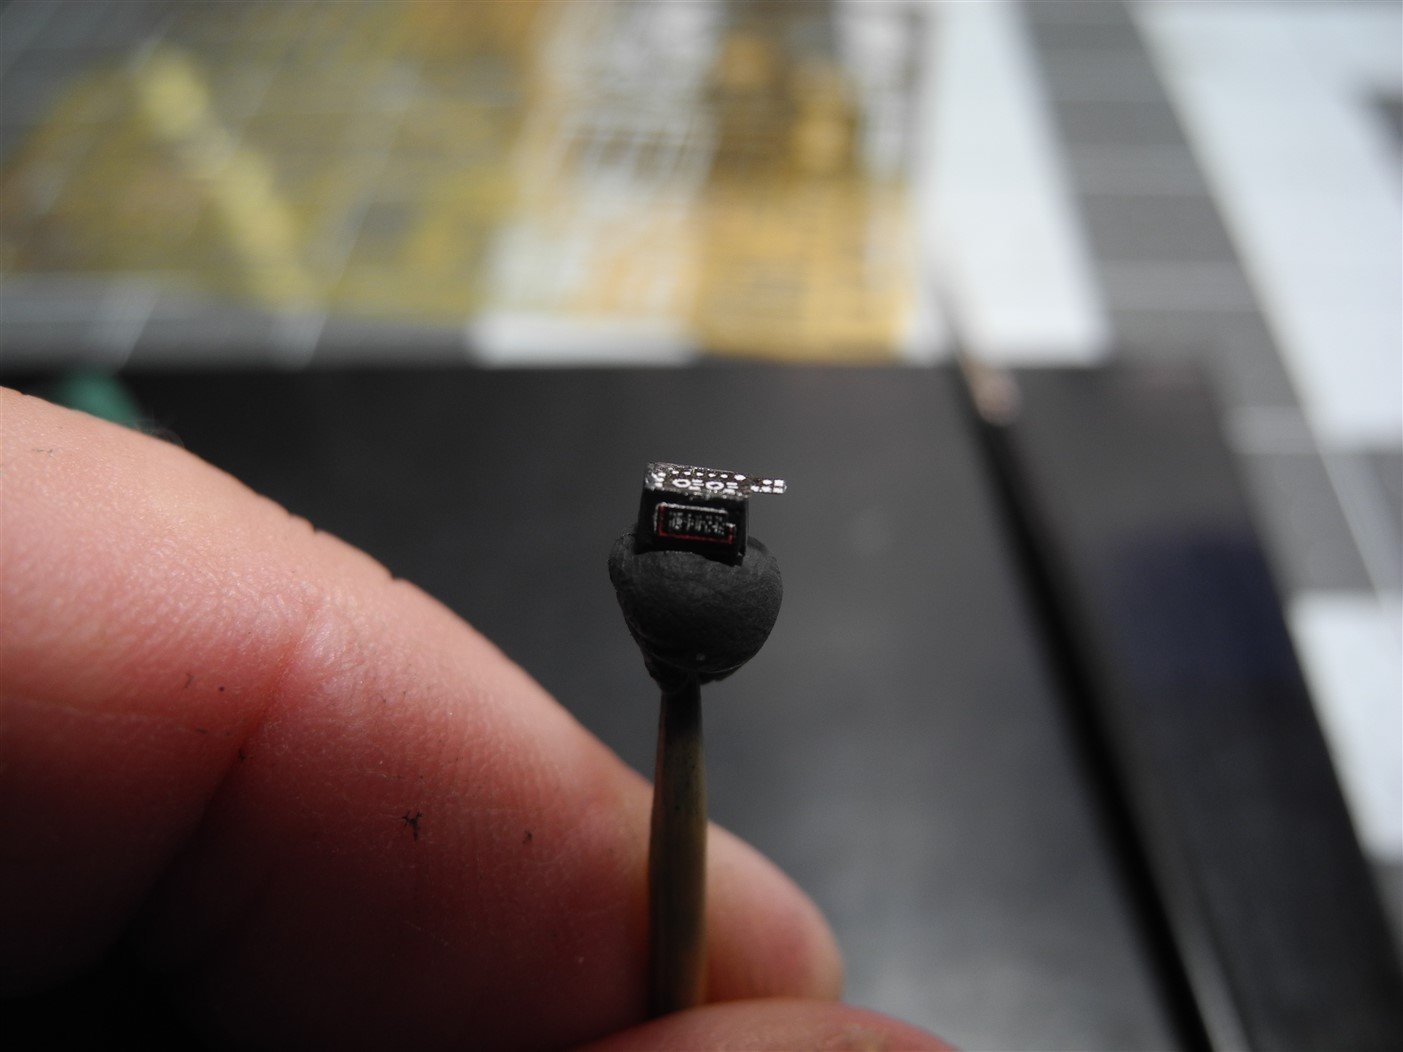
The Tamiya instrument panel is a very decently molded item. The kit supplies instrument decals that will greatly enhance the panel and looks great that way, but in this case I have the Eduard pre-painted panel face I'll be using instead. To prepare the kit instrument panel for the Eduard photo etch, all the raised detail must be filed and sanded away from the kit supplied panel. Other cockpit items must be prepared in the same way But the end result is worth the time and effort.


-
Traded it away long ago. Cars like that were too easy-come-easy-go back then and we didn't realize what we had. I had a good run of sweet old cars up until our youngest daughter was born in 1997. That's about the time I got out of it and prices sky-rocketed after that.
-
I was more interested in getting a picture of the fish I caught in the '80's than I was my '57 Chevy. 😕
.thumb.jpg.4e22a5cb205c9d1f43350a8751a83652.jpg)
-
When I was growing up here in Tampa, there was a barge converted to living quarters that was anchored at the mouth of the Hillsborough River in Tampa Bay. The owner was known as "the Cat Man", because he had dozens of cats running around his boat. A really weird guy, he was a hermit of sorts and rarely would one see him off the boat and on shore. He lived there for many years and finally died. Rumor had it the guy died on the boat and the cats feasted on his carcass. Don't know if there was any truth to the disposition of his dead body, but I saw him many times over the years on his boat with all the cats running around.
-
A Tamiya hull red color with a black wash would get you well on your way to recreating the color of RR ties. Lots of creosote on those things and they almost look black in color, only a tinge of brown. When I was a young man, a fellow had what looked like a mountain of railroad trestle timbers all piled up on his property. They were pinned together with 1" diameter steel threaded bolts, nuts, and washers. He gave me the job of sorting out all the timbers and building him a floor in his barn where he stabled his Belgian Work Horses. What a job. I handled those creosote timbers so much I don't even like looking at them anymore. Nasty job that was, but hey...it helped pay the bills.
-
🤯🤯
-
They were fabricated from tubing and covered with fabric, much like their WW1 ancestors.
-
Glad you're aboard, Ken.
-
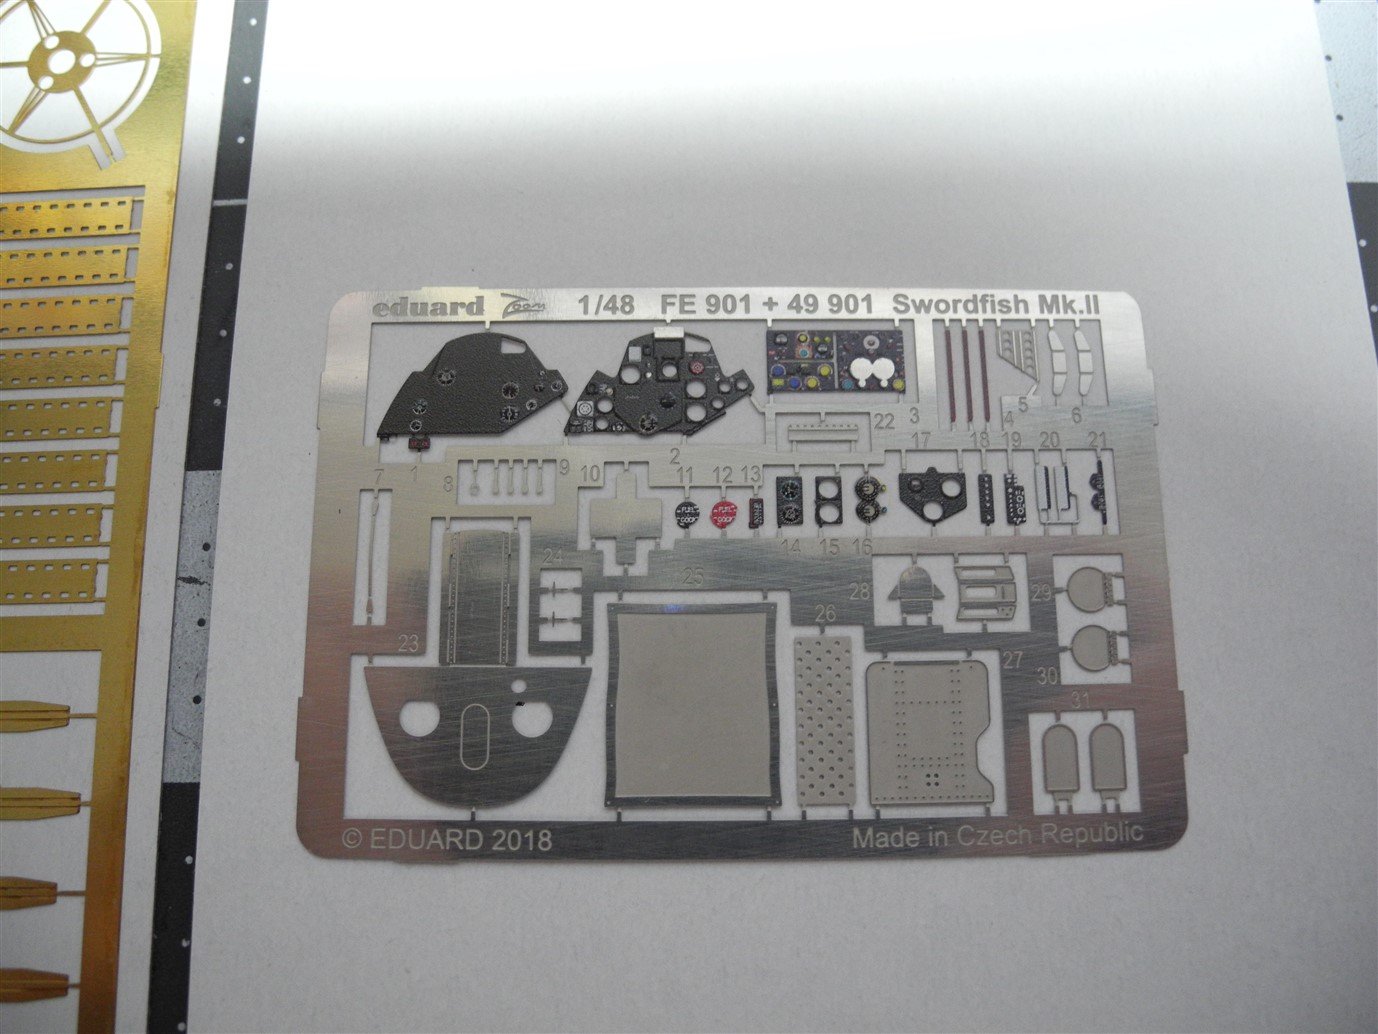
Yes they are...that's their selling feature. Even when my eyes were 40 years younger, I could not have achieved that level of detail. Pretty amazing, isn't it?
-
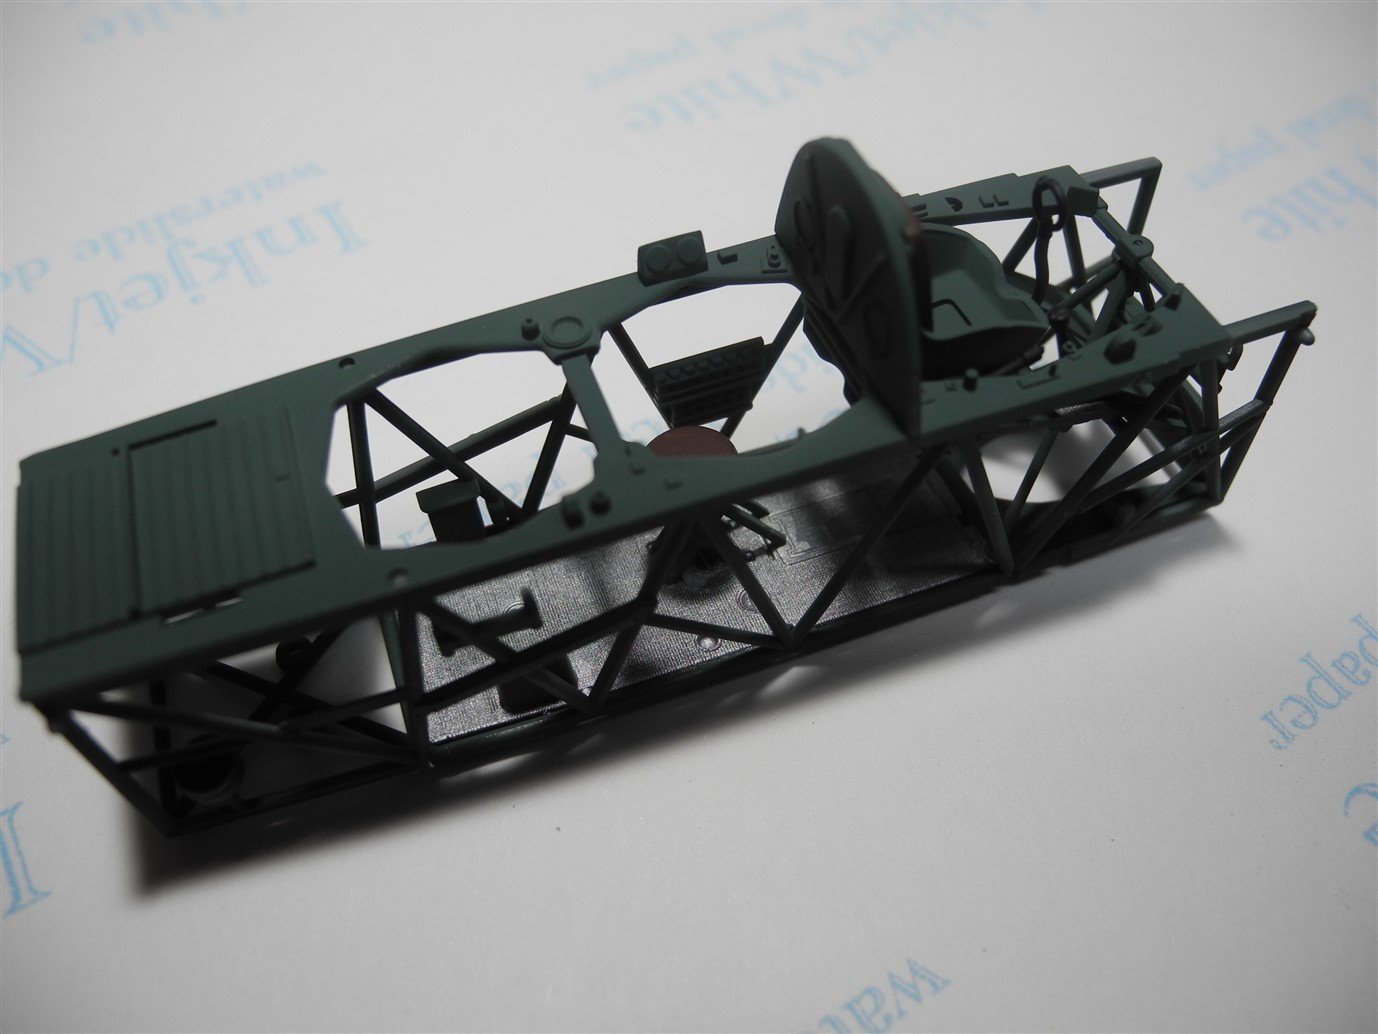
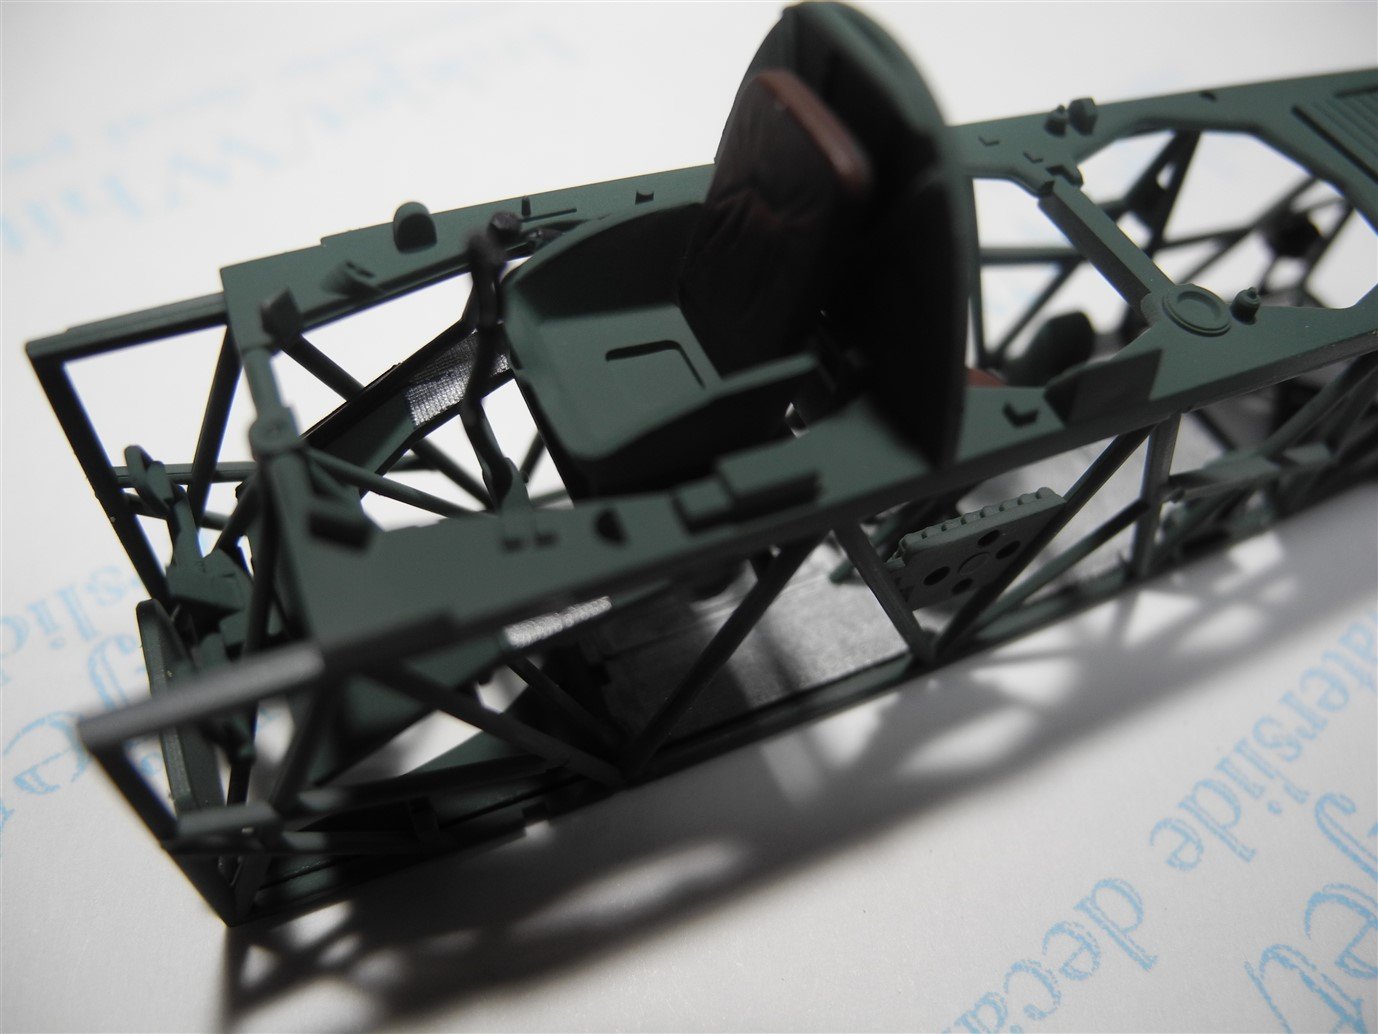
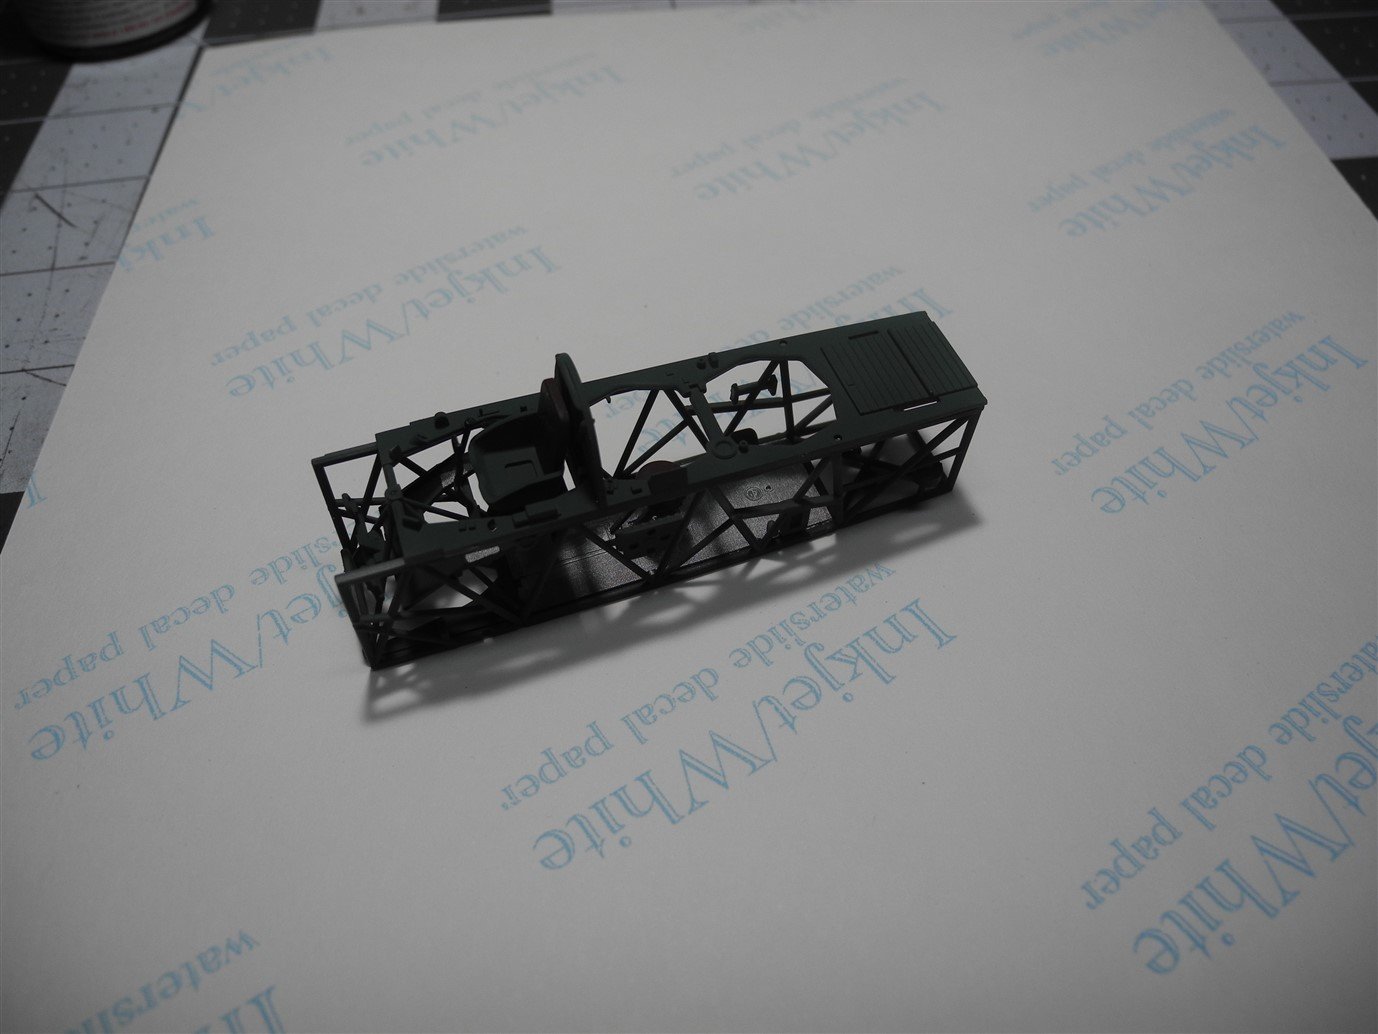
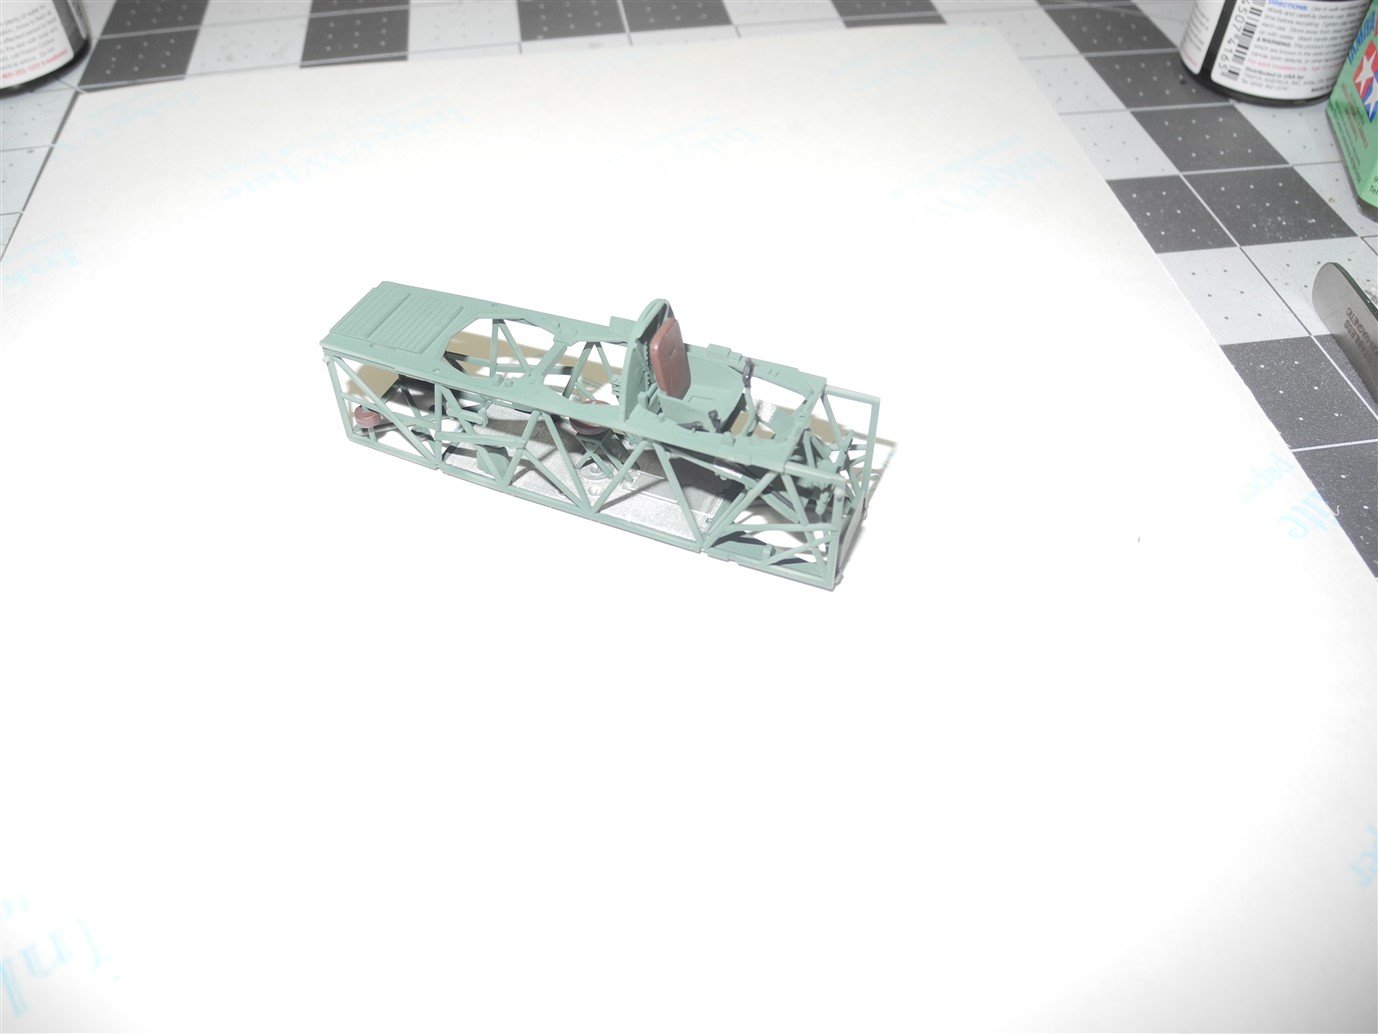
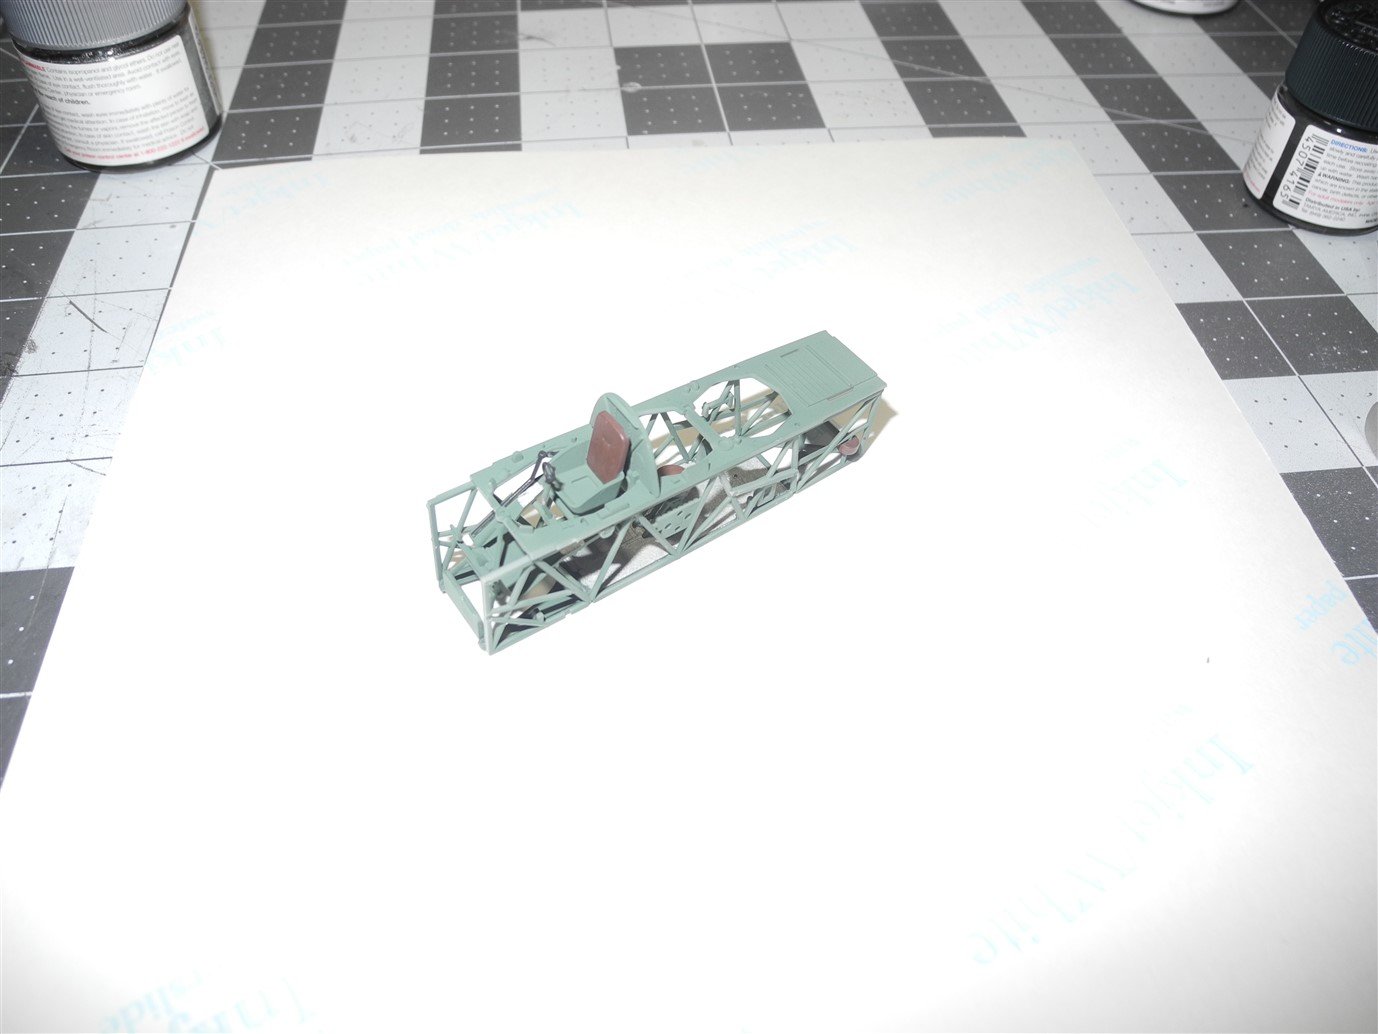
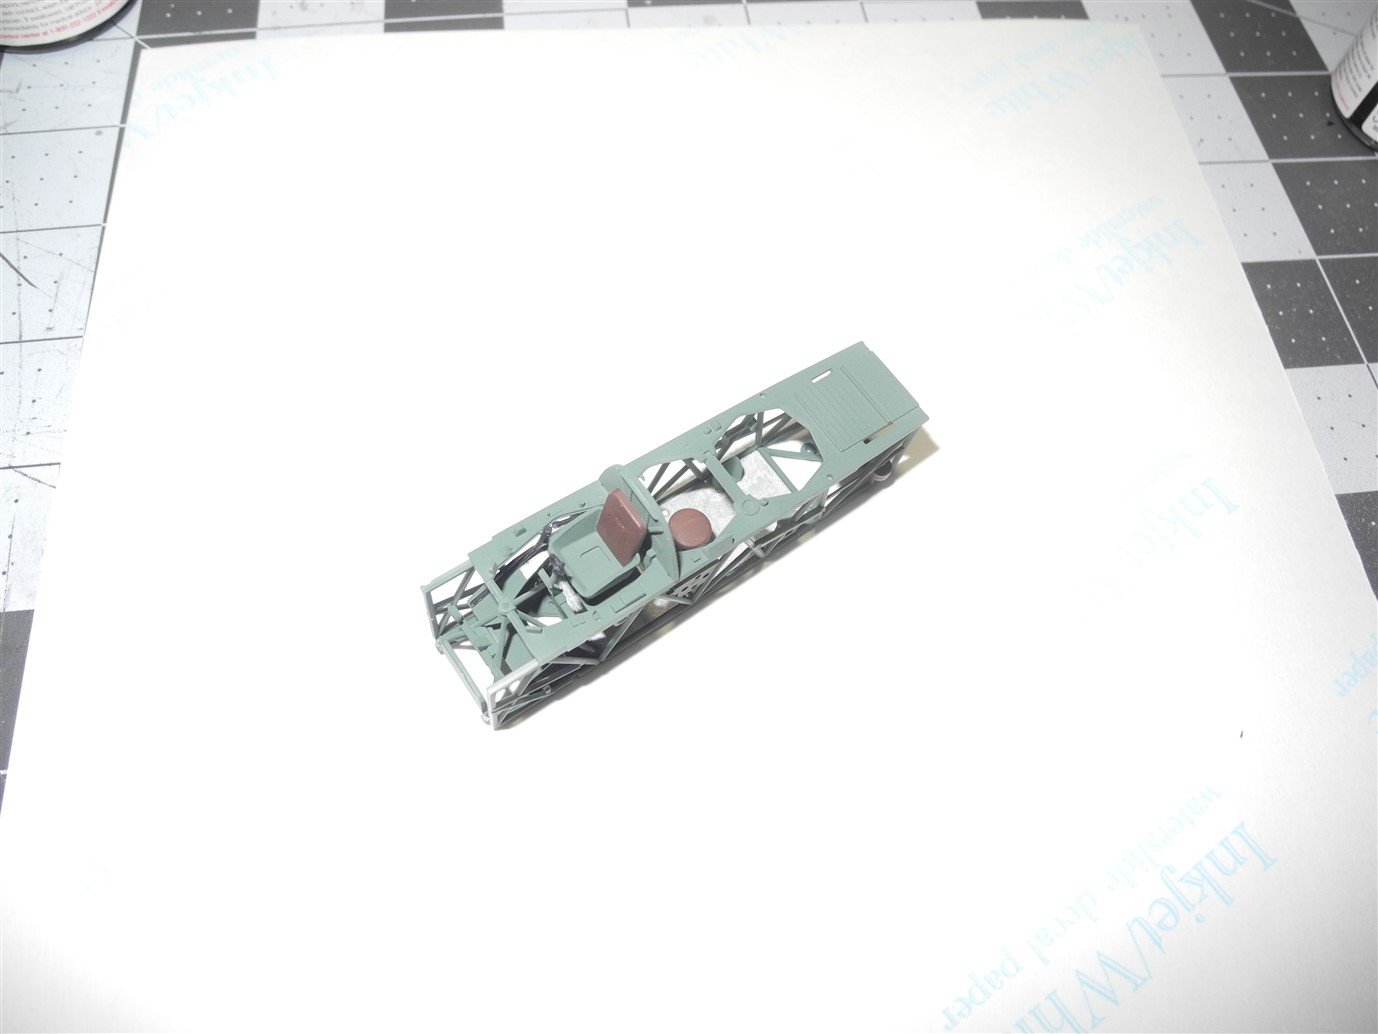
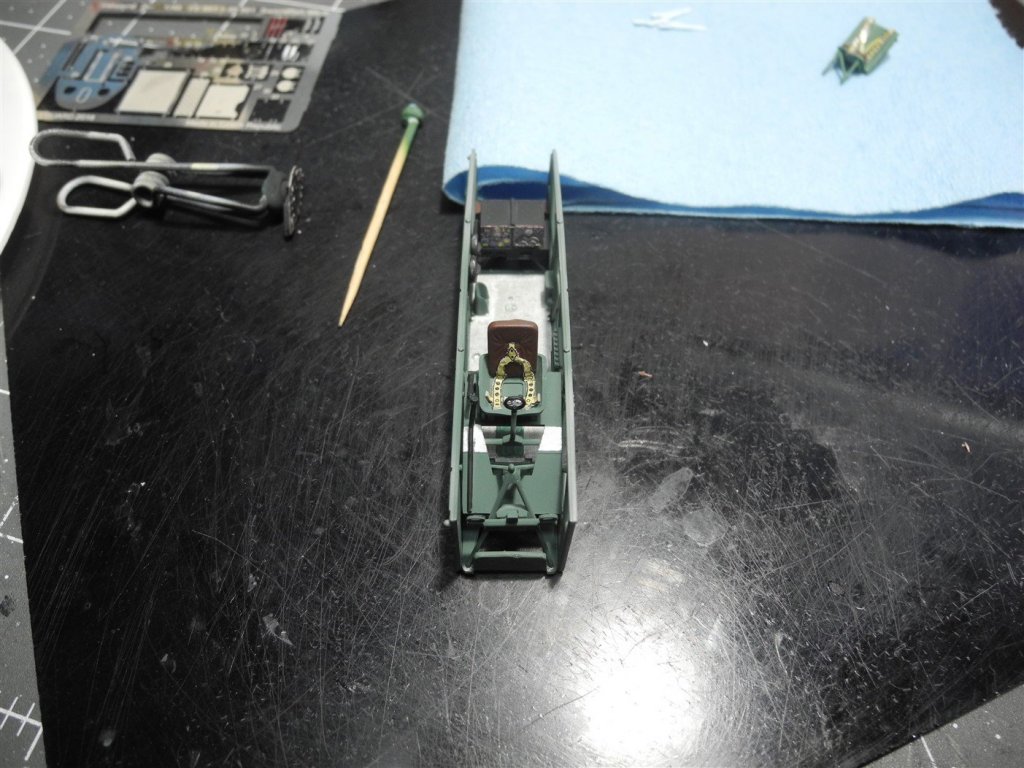
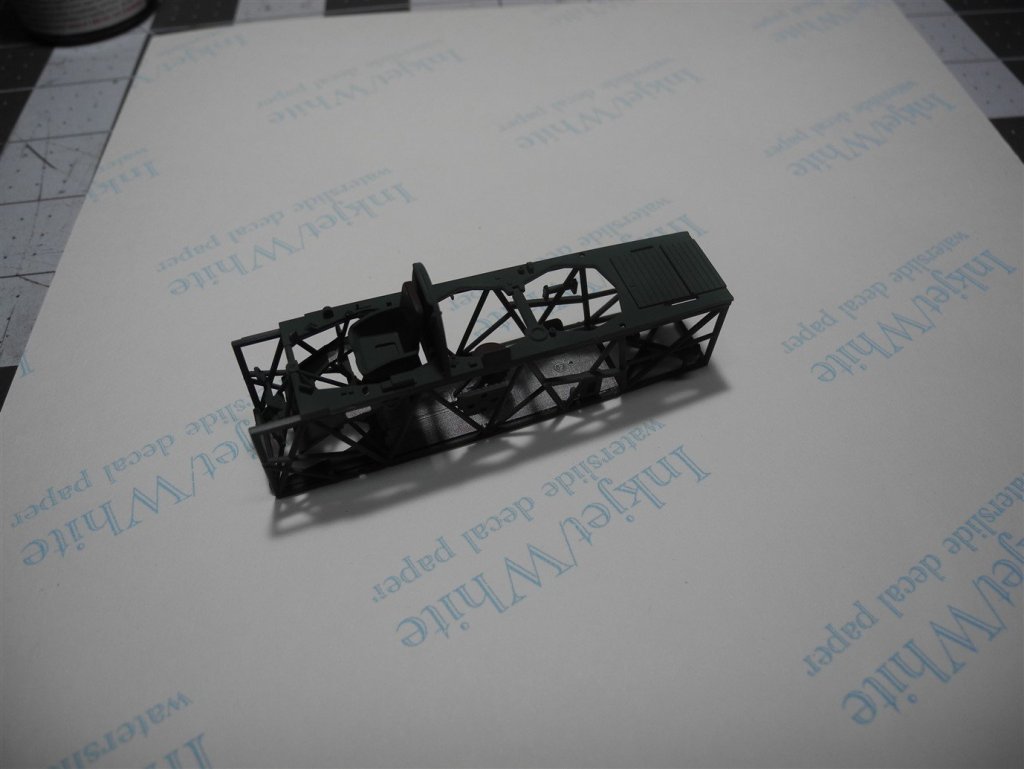
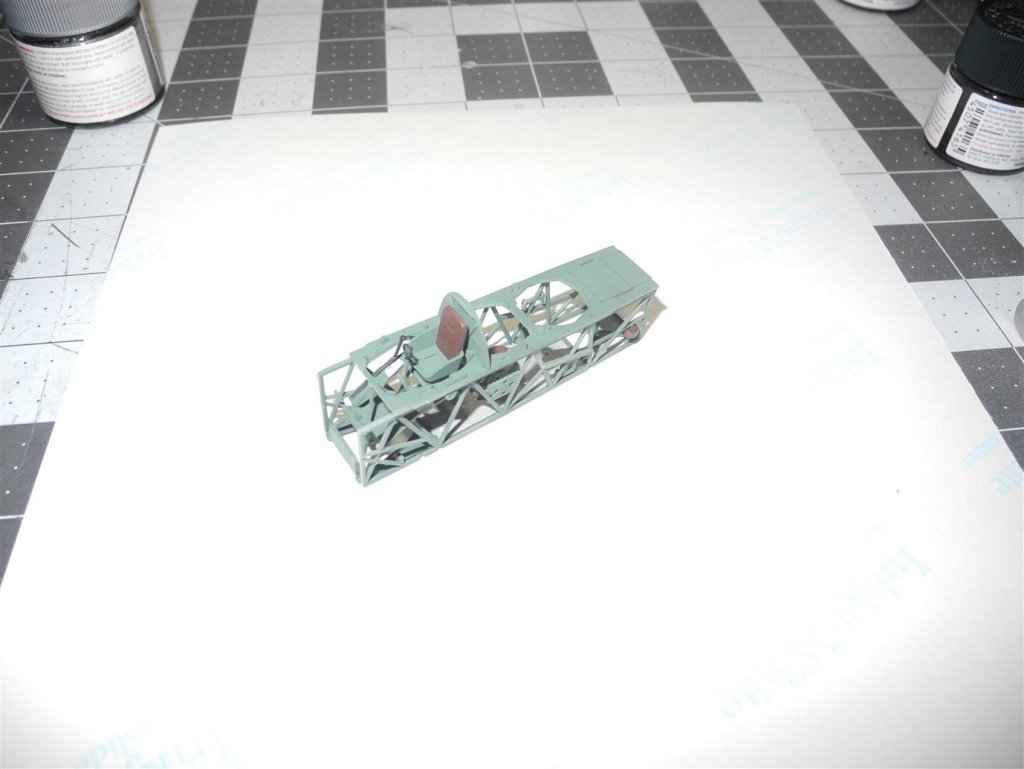
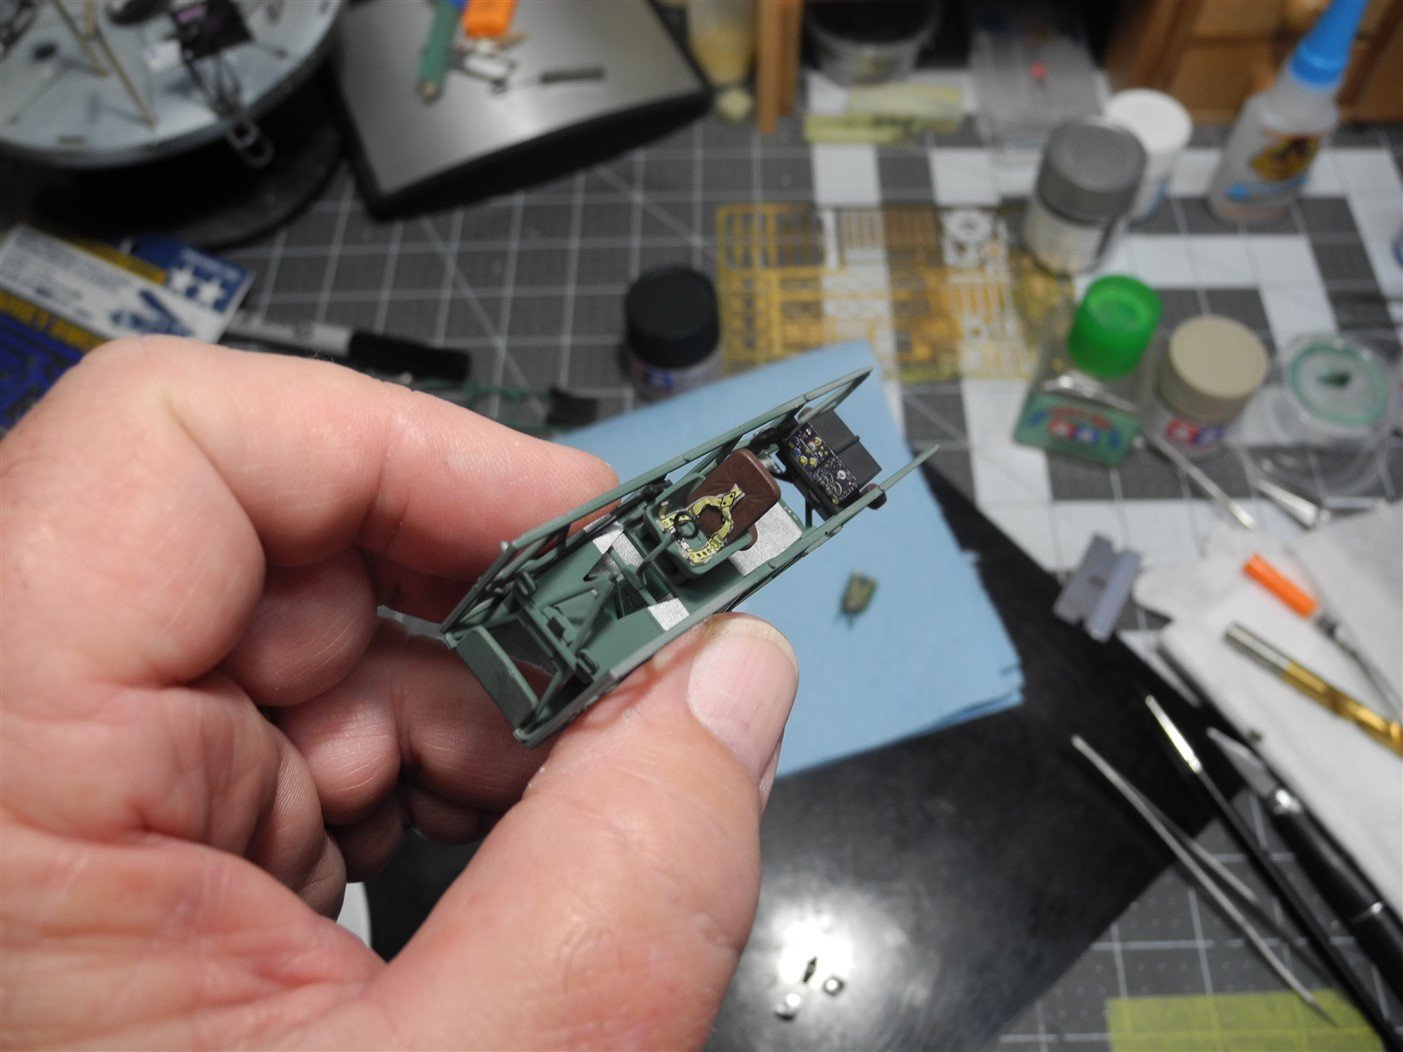
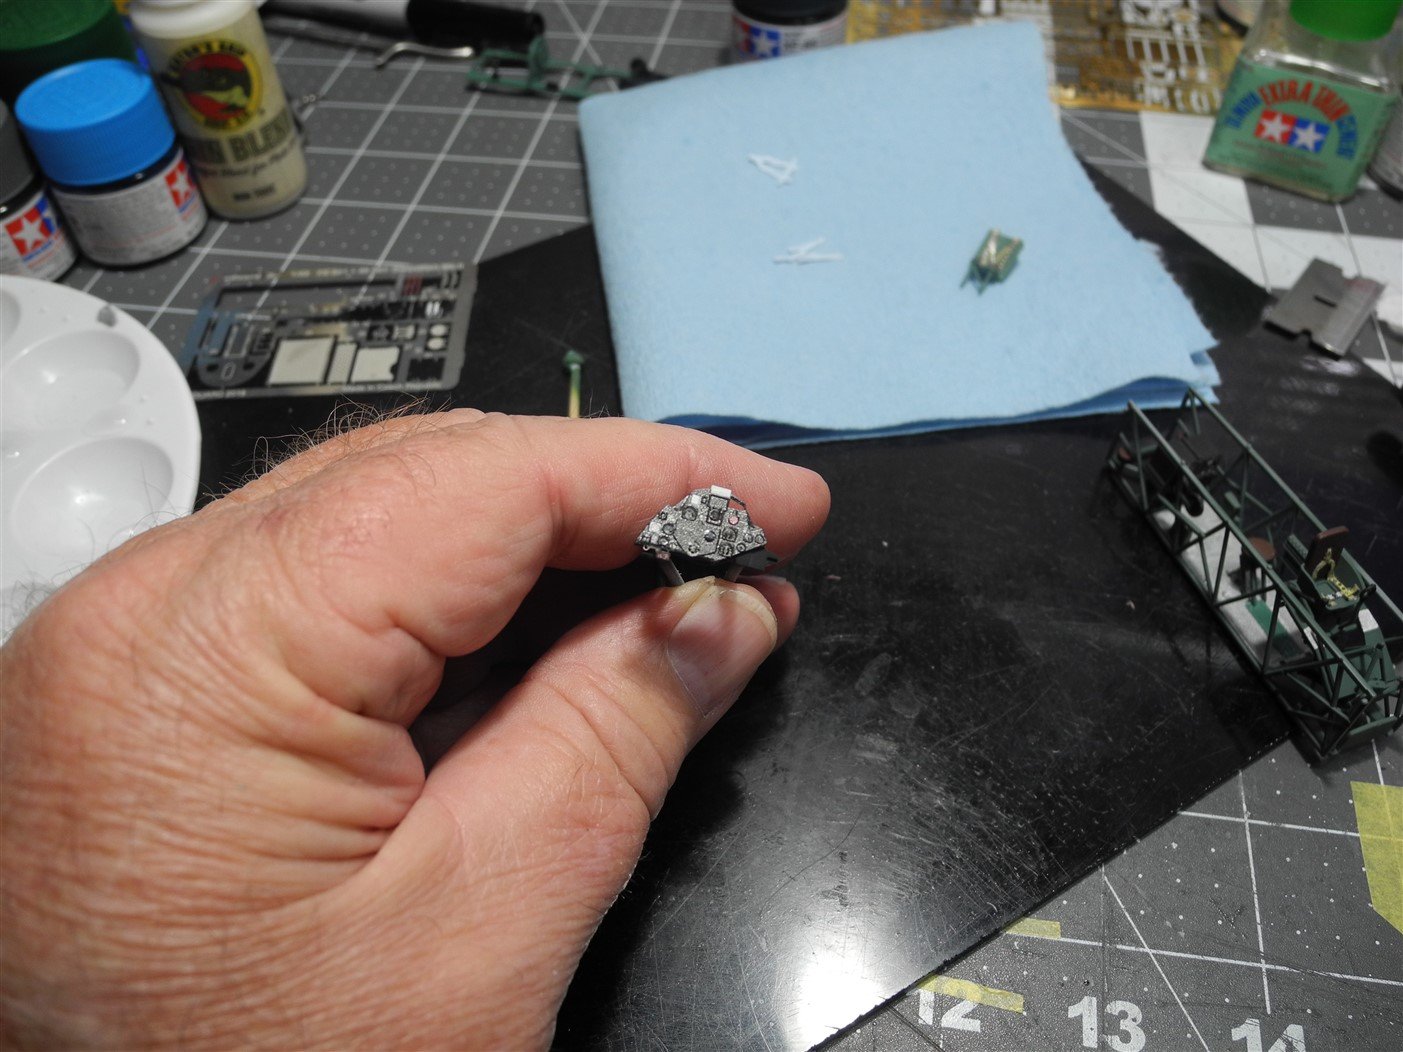
Here is the beginning of the cockpit construction and painting. Paint colors are Tamiya RAF Cockpit Green (made by mixing Sky 3x, Green 1x, and Field Gray 1x), Flat Brown, Flat Rubber Black, and Flat Aluminum. I tried my flash on the last 3 photos and they came out rather weird looking.


- 79 replies
-
- 11
-
-
Thanks OC! You will be my go-to guy when I need specific info on the Swordfish. I figured you might have an interest in a model of the stringbag.
-
Just a little maybe. 😵 But to be totally honest, I don't plan on more than two weeks. We shall see. Tamiya is a shake 'n bake kit. They are so well engineered, they almost literally fall together. They are at the pinnacle of plastic scale modeling as far as quality and engineering is concerned. They are not quite as prolific as the Chinese kit makers, but far more precise. Fanatically so. This is the result of the ownership, the old man, Shunsaku Tamiya (the son of the Tamiya Corp. founder).
-
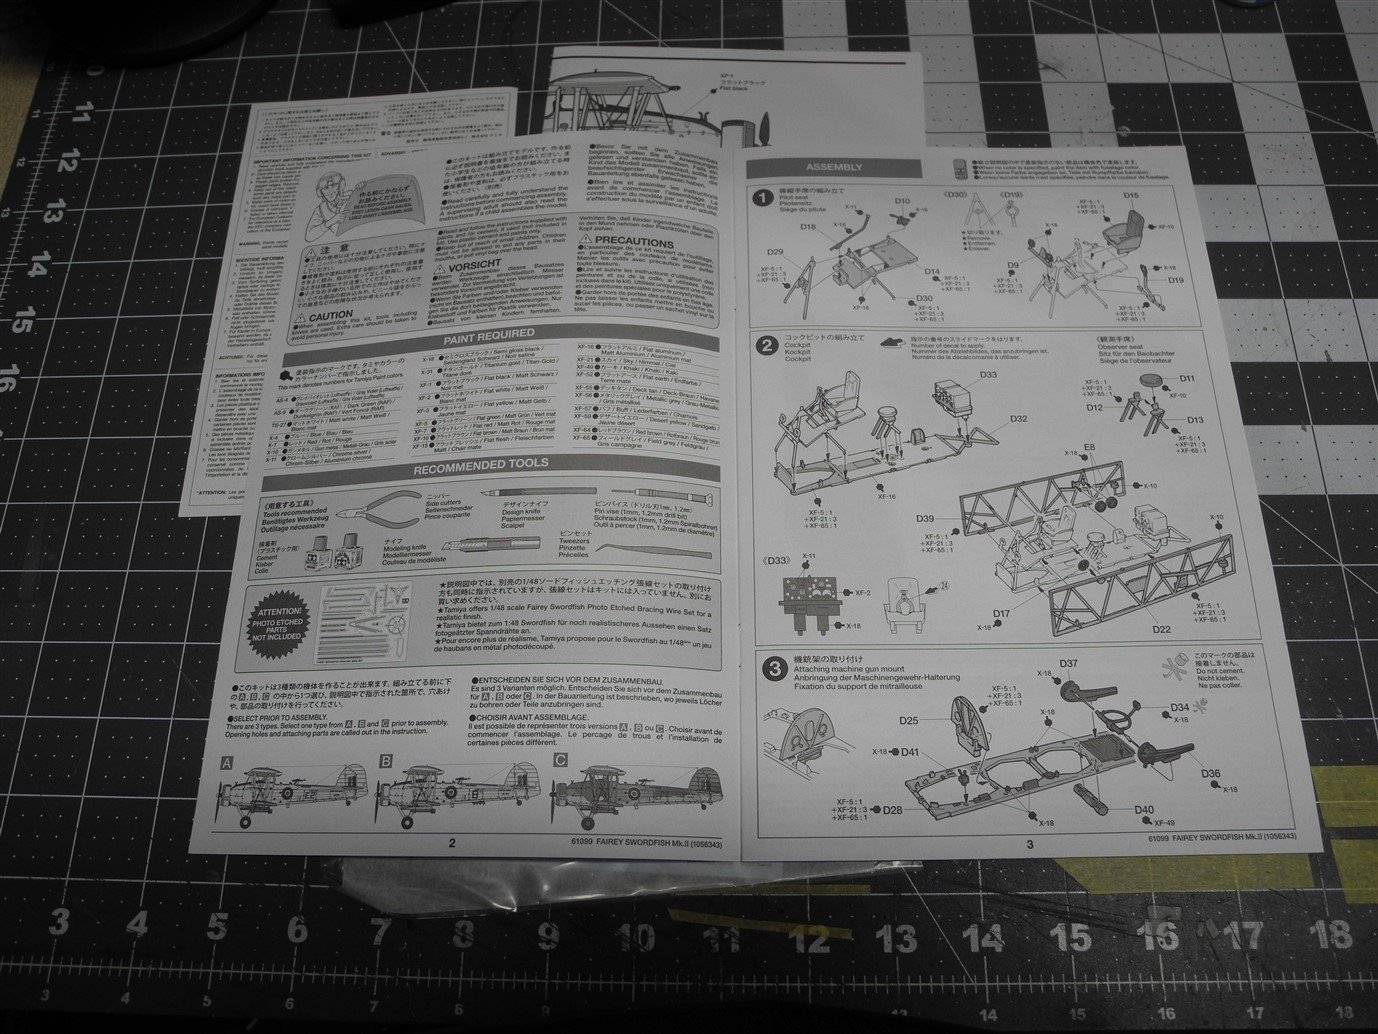
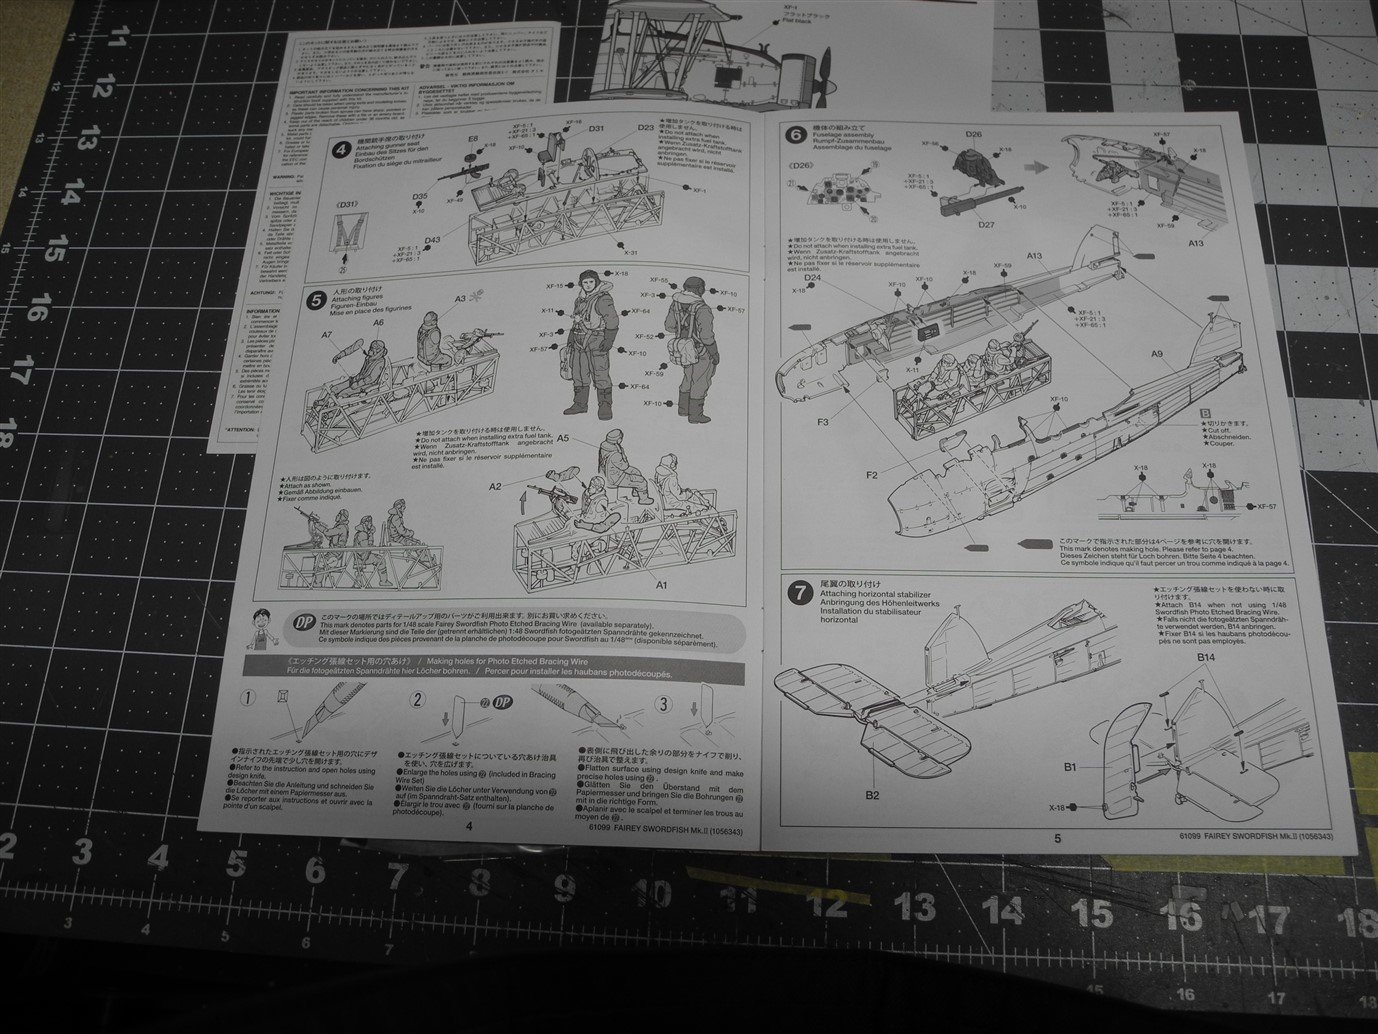
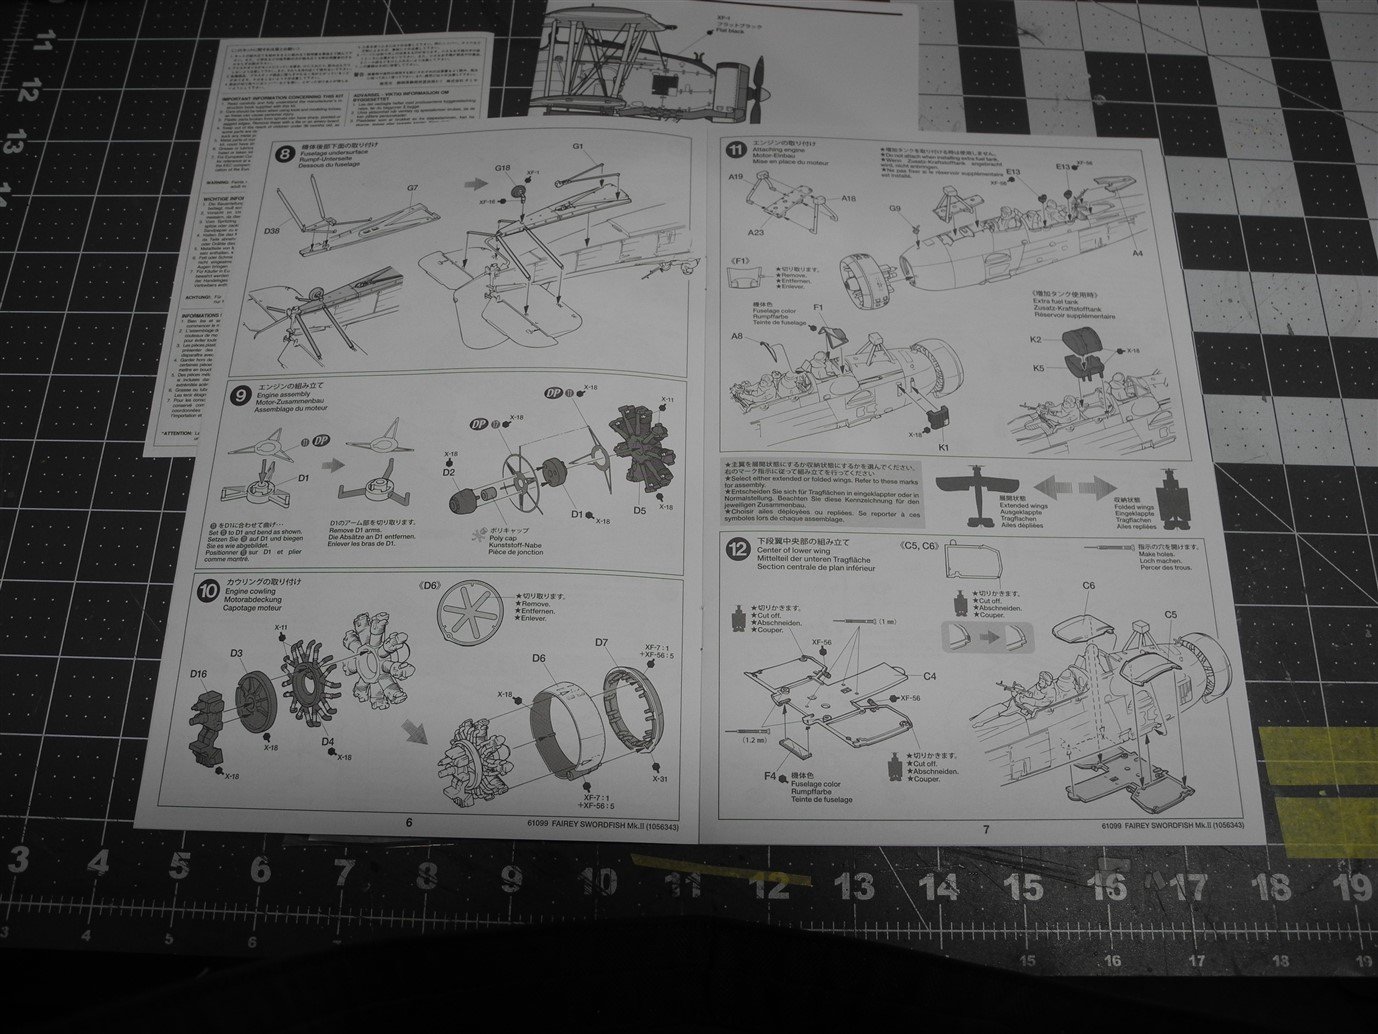
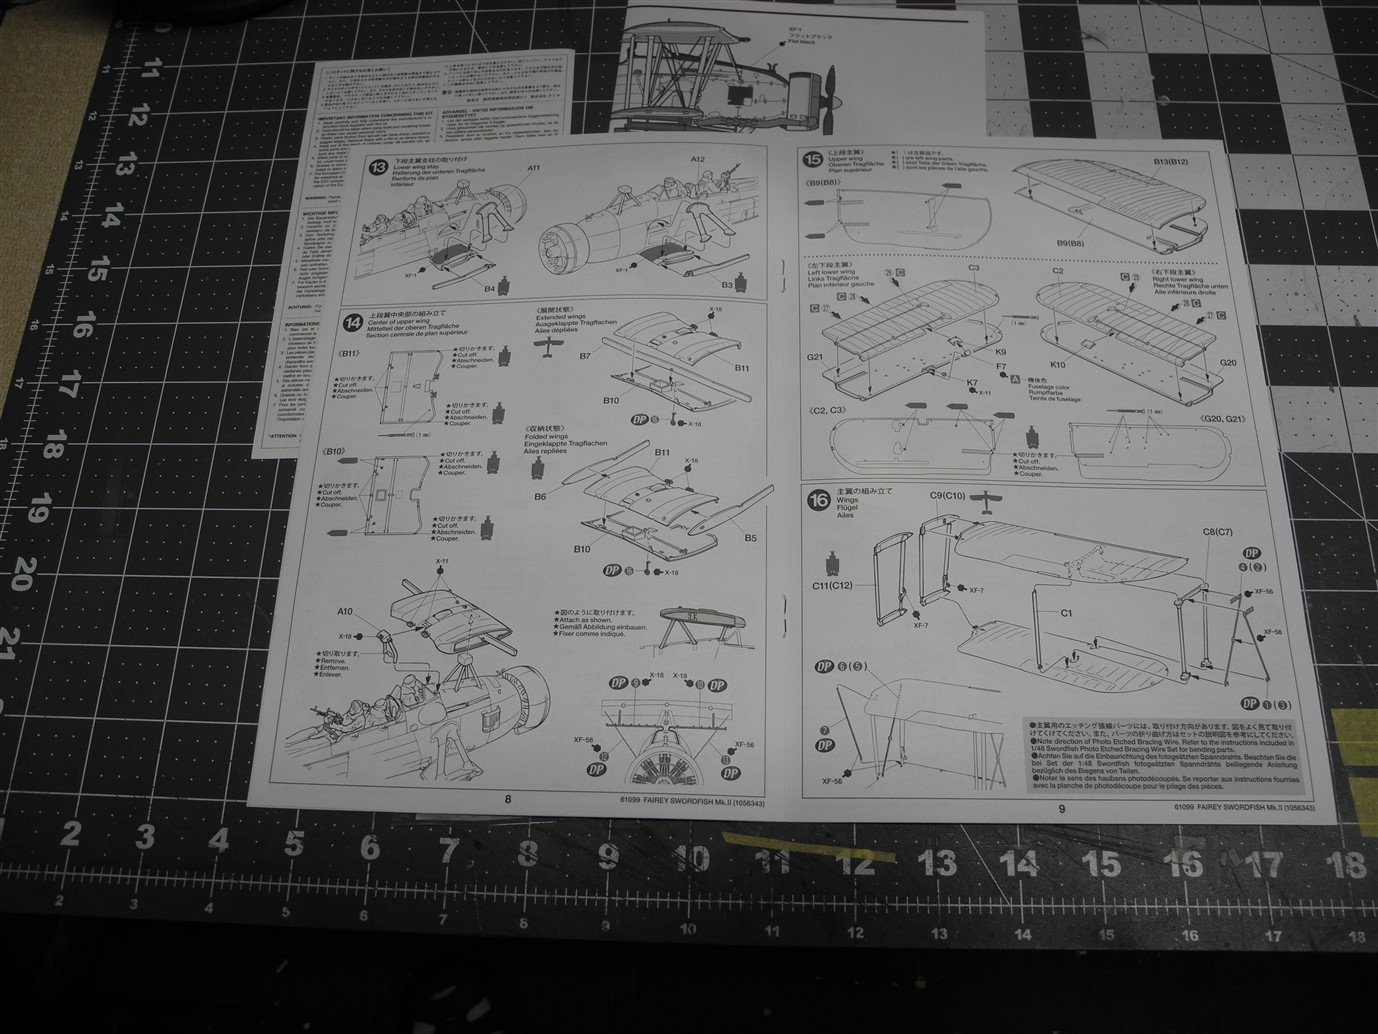
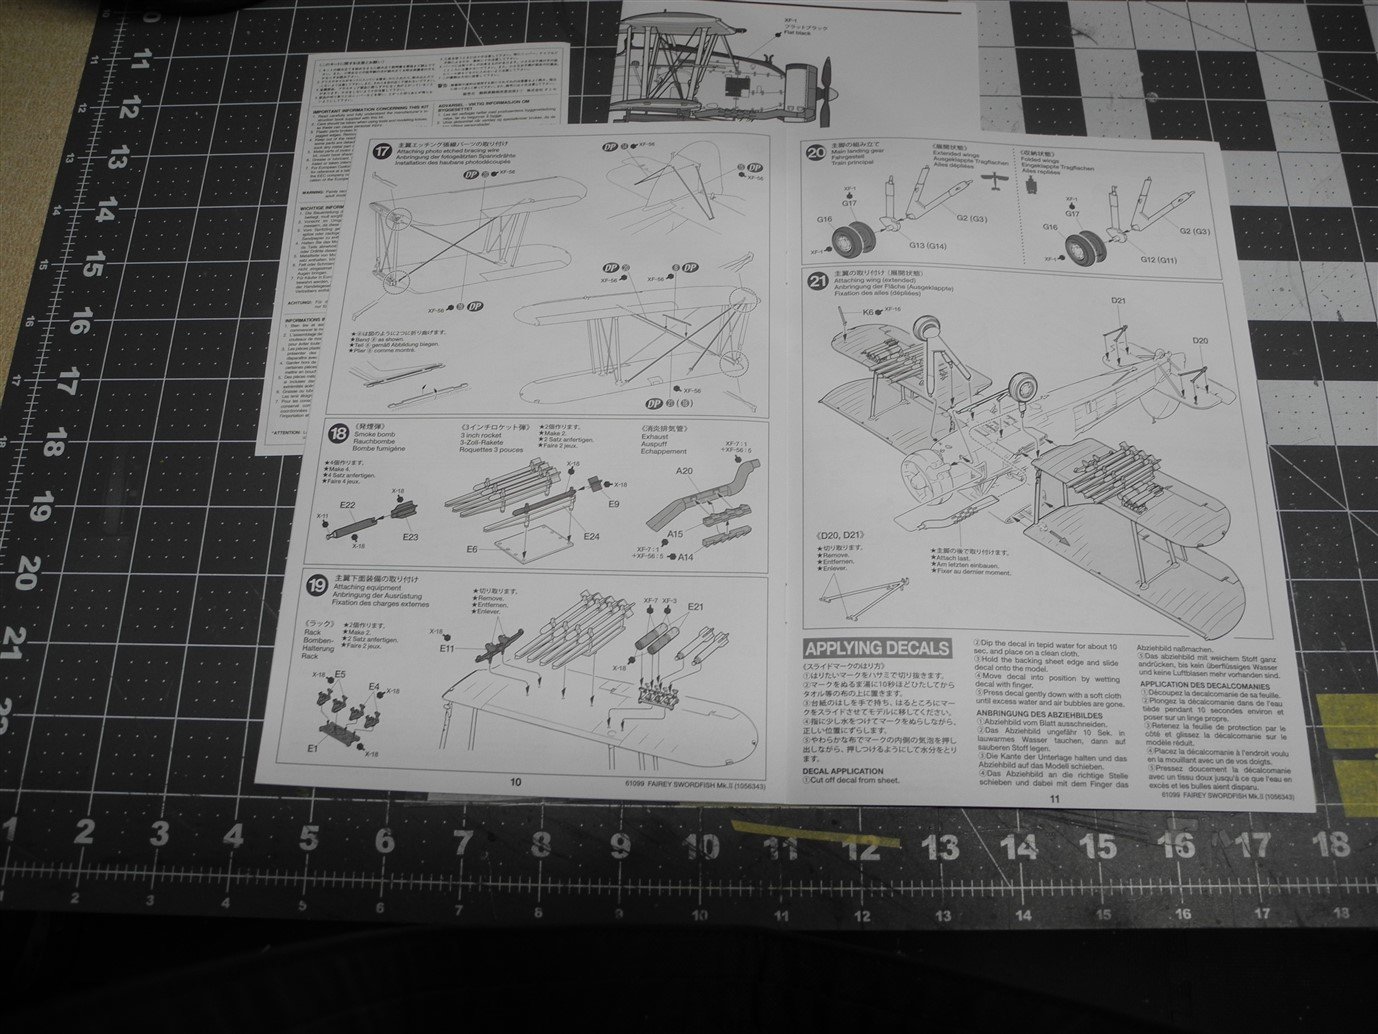
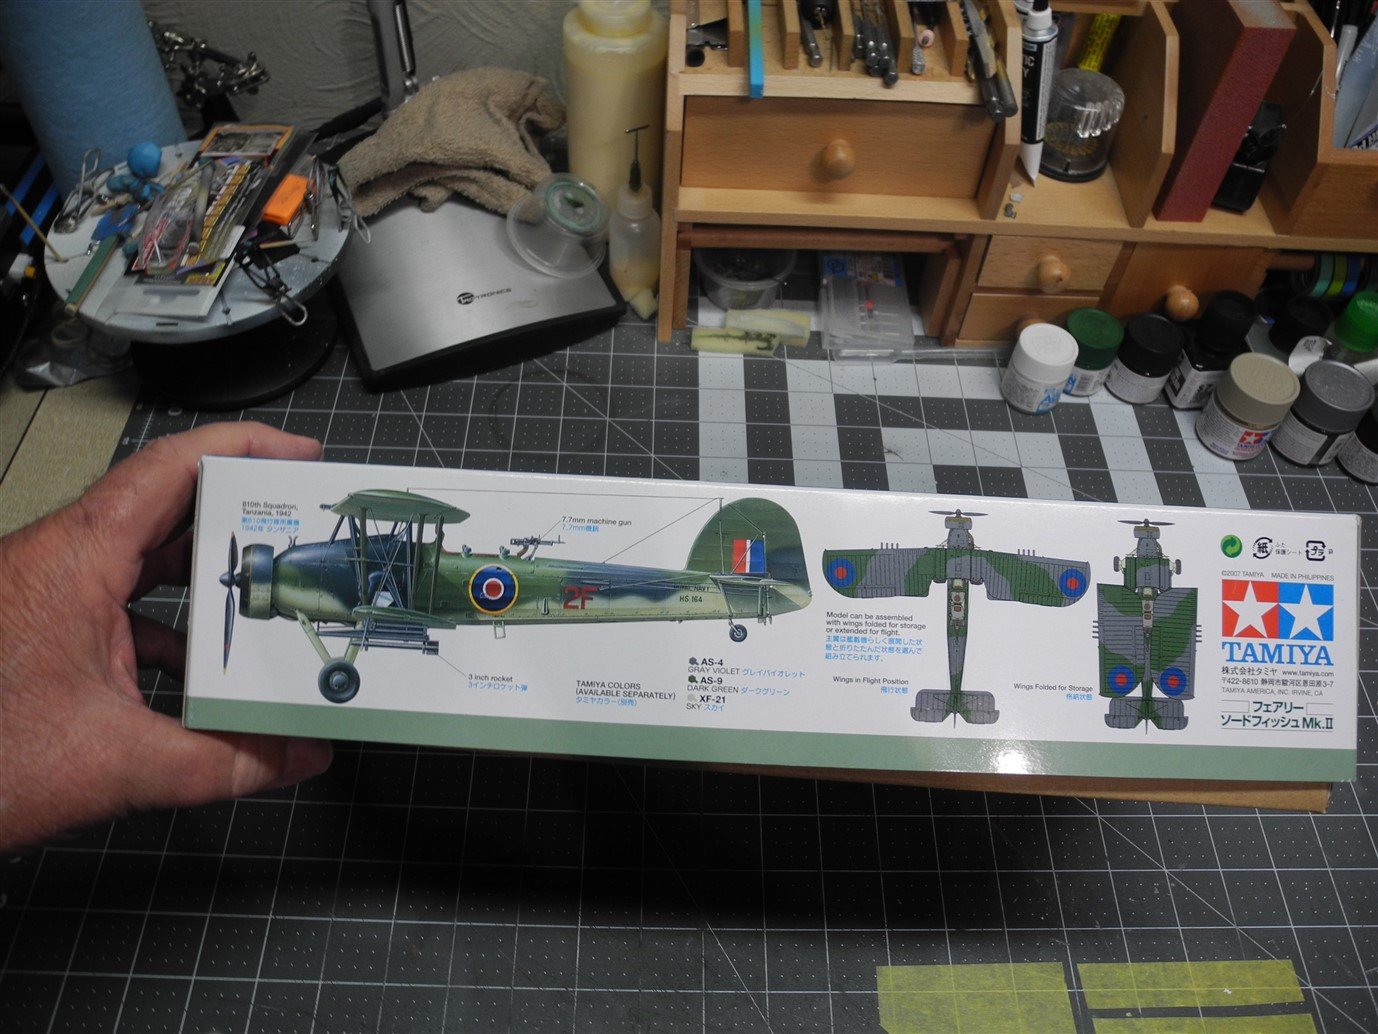
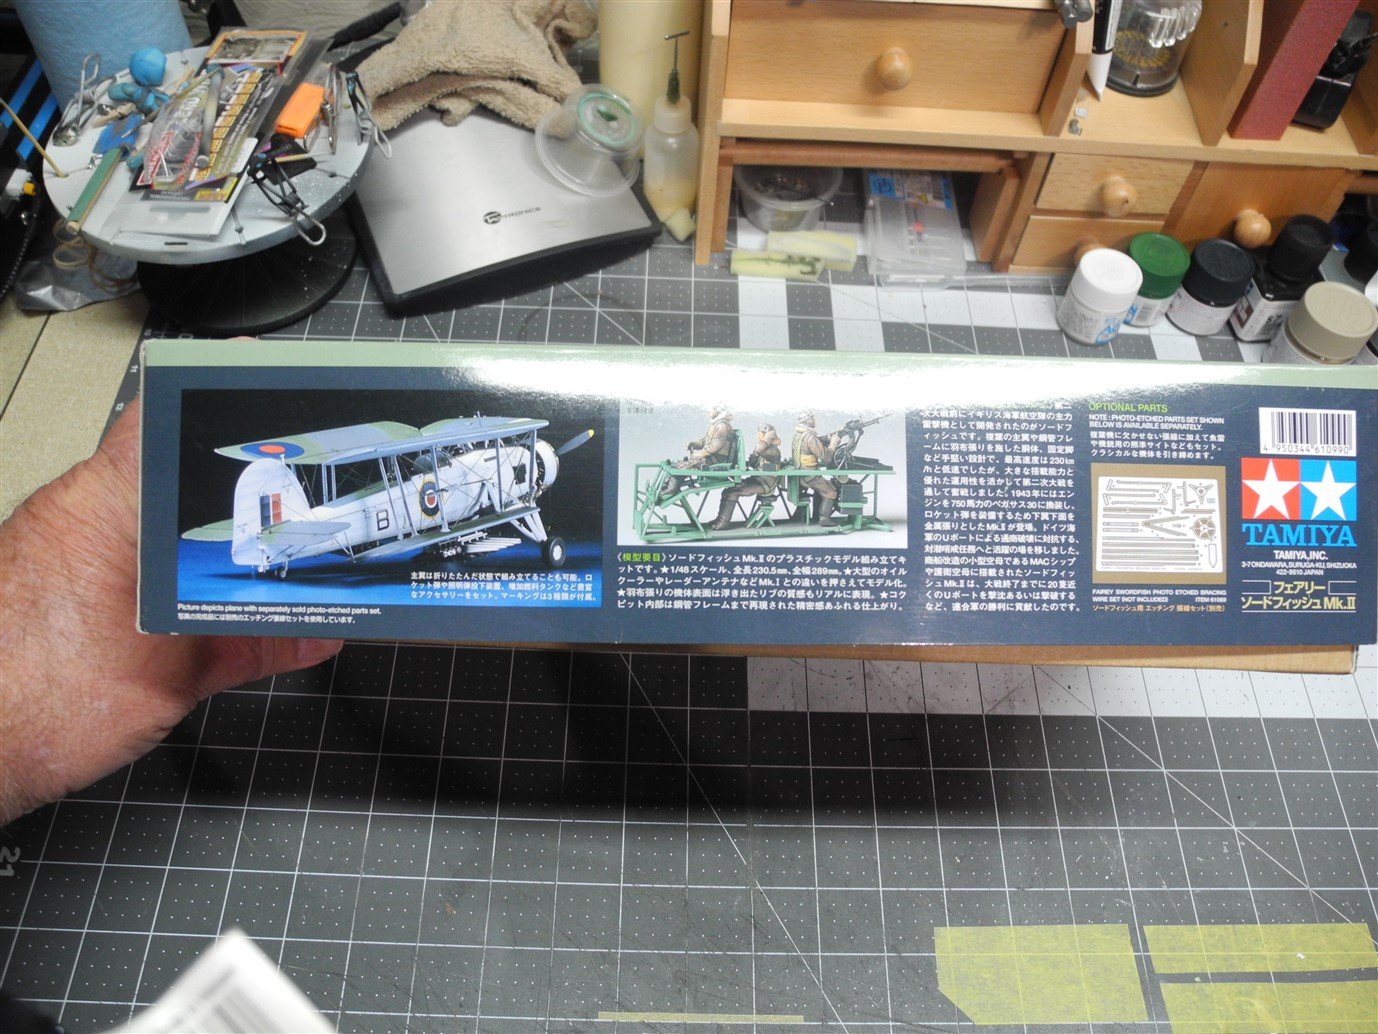
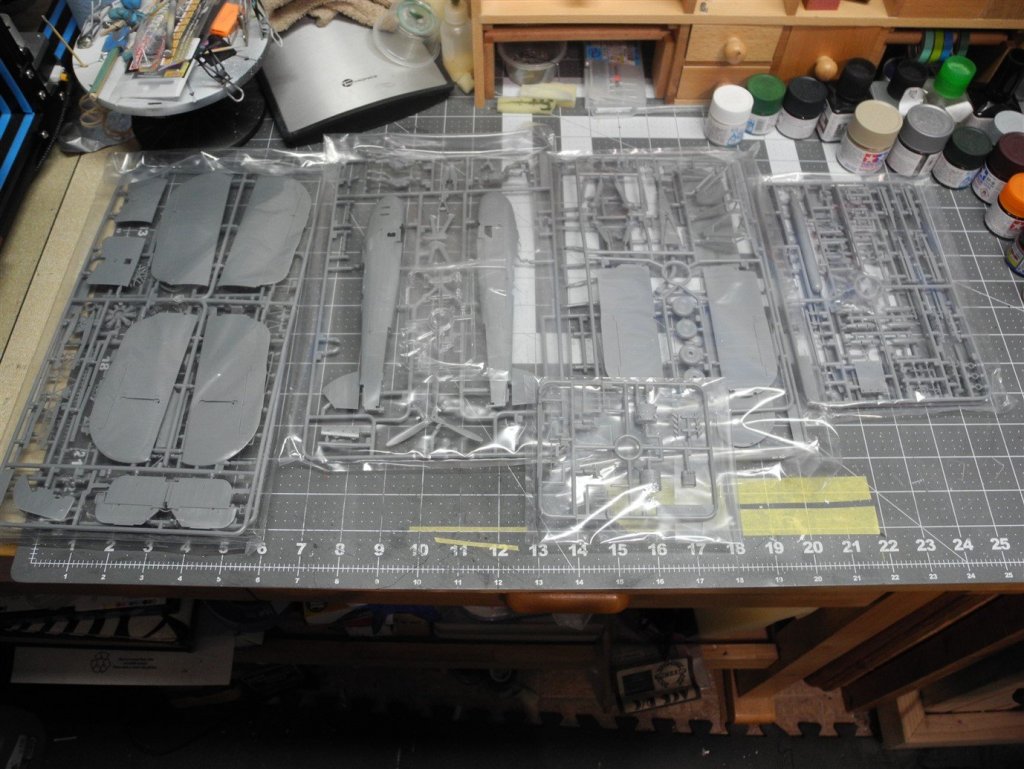
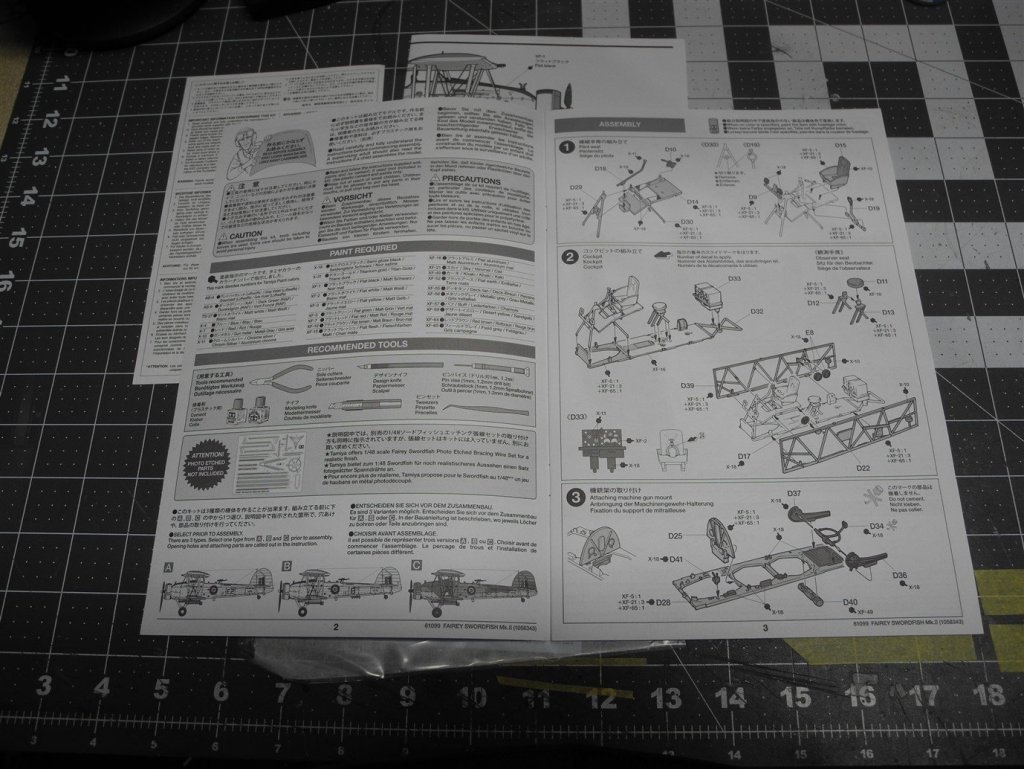
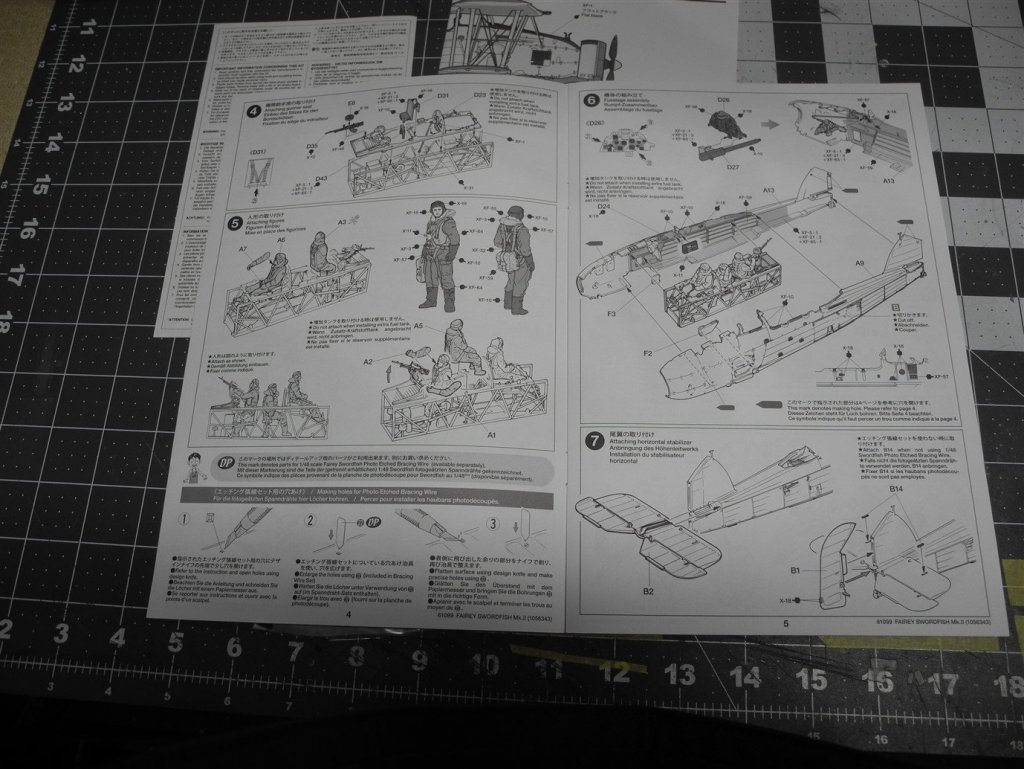
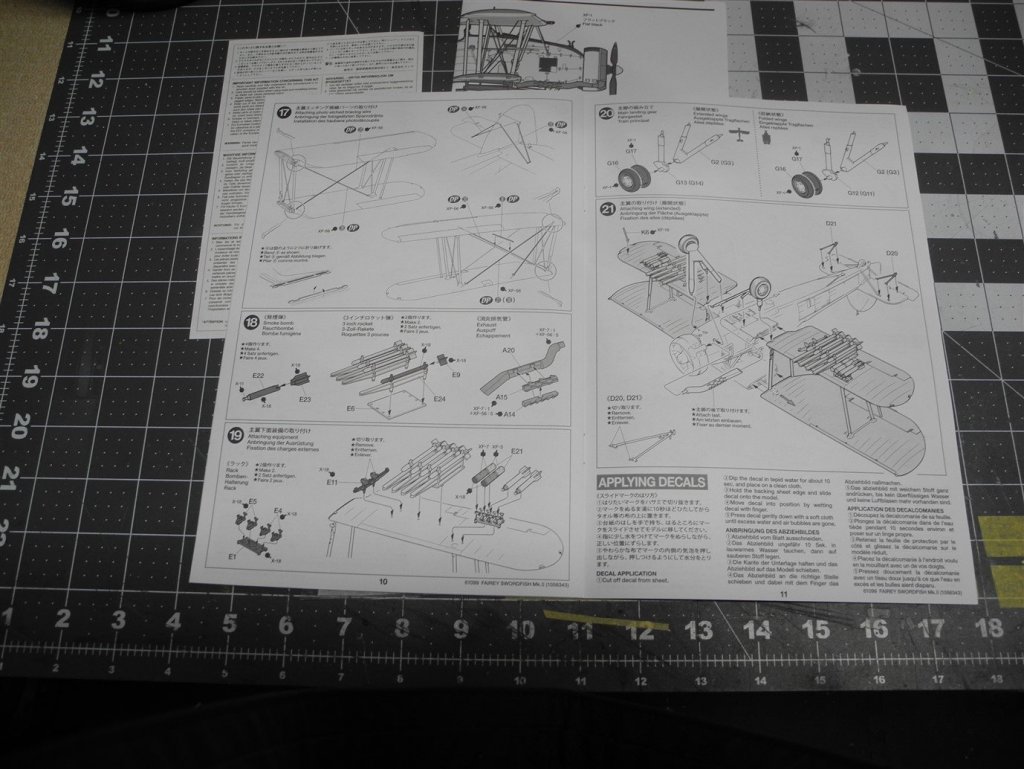
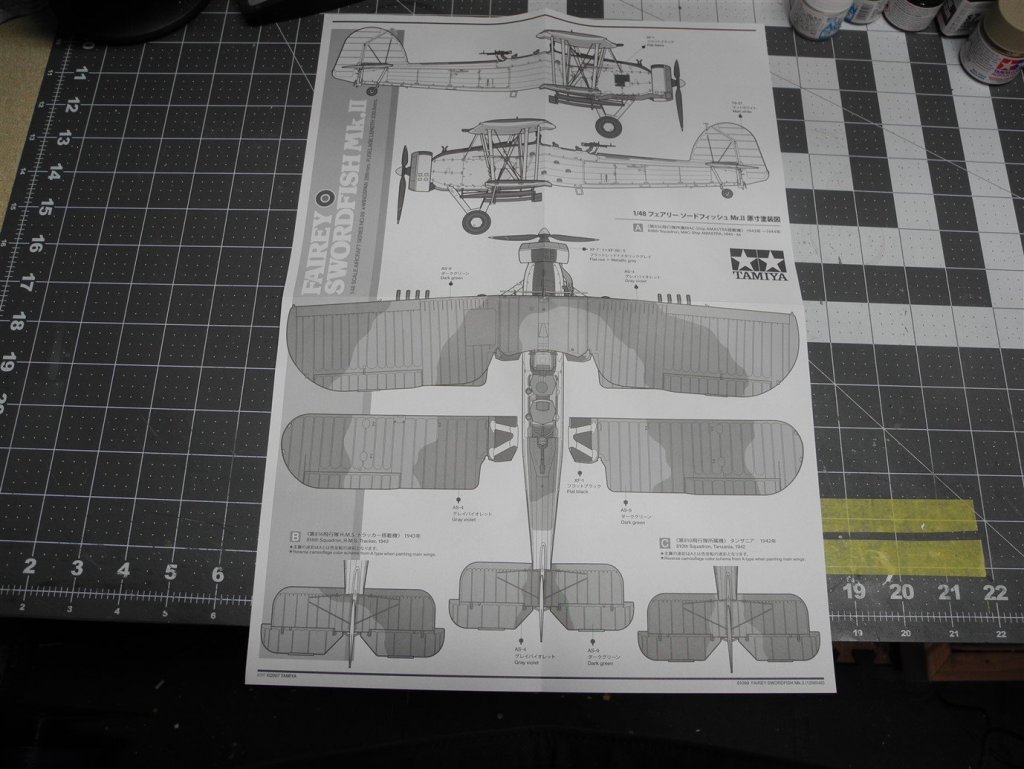
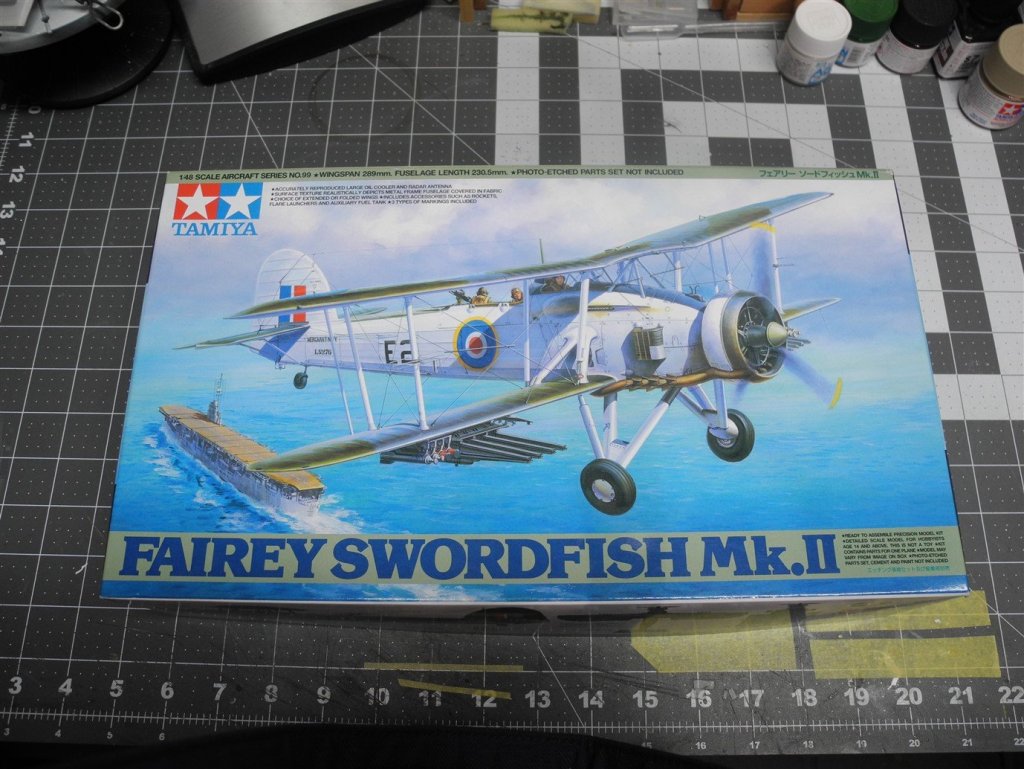
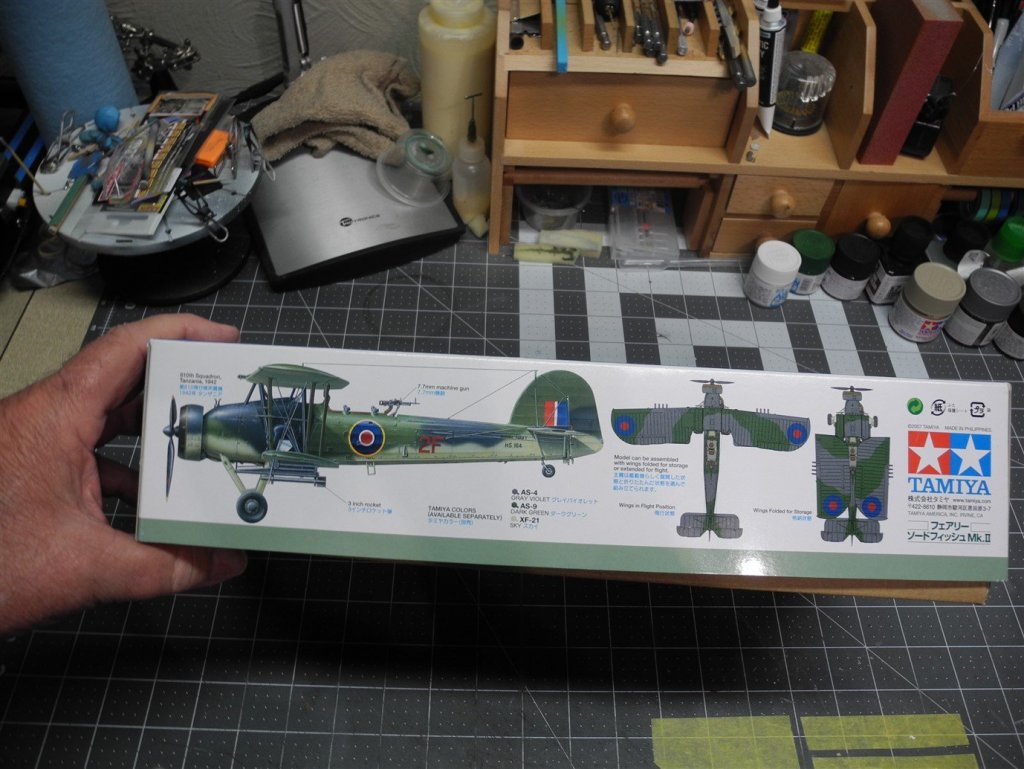
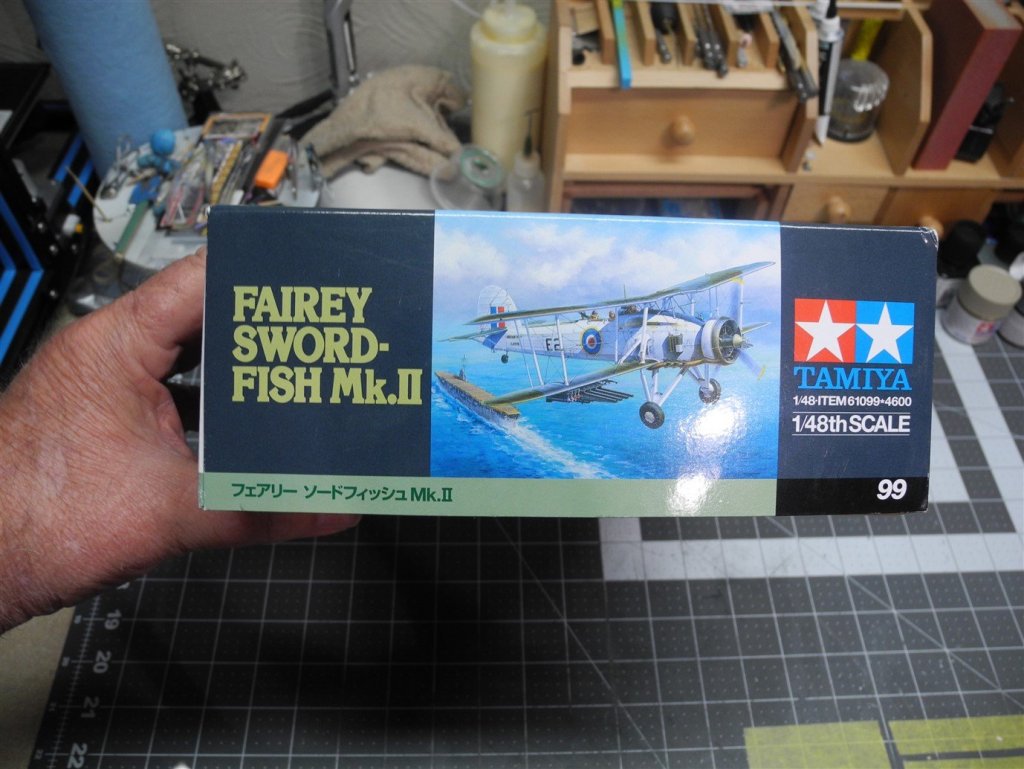
Here is a look at the model parts inside the box Here we have the instruction sheet to give a preview of the steps ahead to complete the construction of the Swordfish:


- 79 replies
-
- 12
-
-
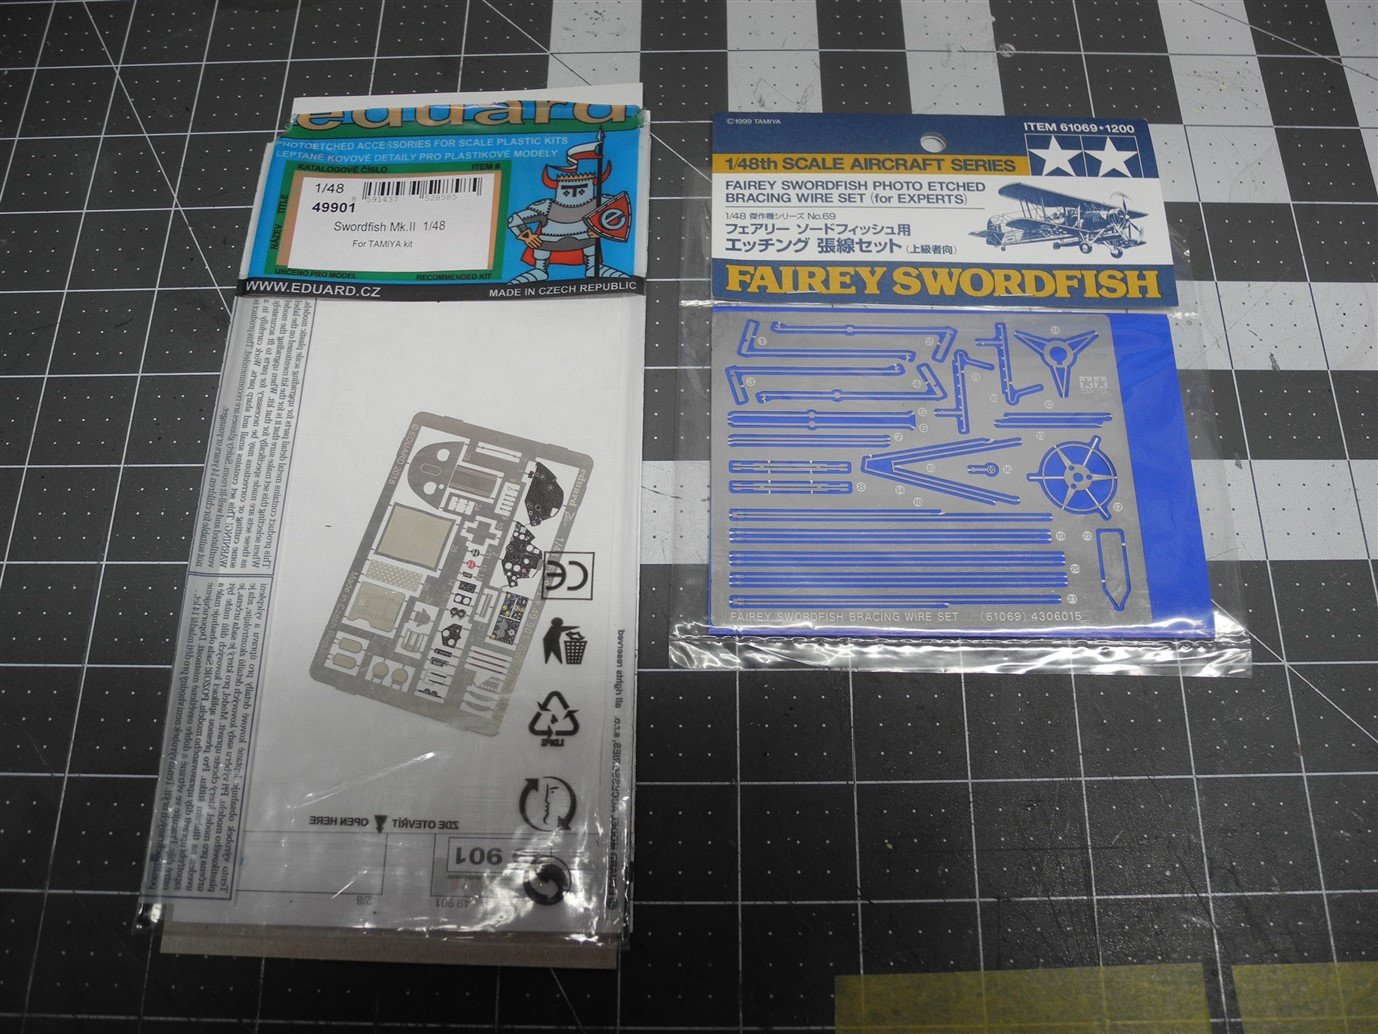
This is my build thread for the 1:48 scale Fairey Swordfish Mk. II by Tamiya. The model will be enhanced by an Eduard and Tamiya photo etch sets. The Fairey Swordfish Mk. I was introduced in 1934, but by the time WW2 broke out, it was already outdated. In May of 1941, Fairey Swordfish Mk. I torpedo bombers participated and were instrumental in the sinking of the Bismarck. In the attack on German battlecruisers during the Channel Dash in 1942, all the participating Swordfish torpedo bombers were lost in combat. As a result, the Swordfish was redeployed to anti-submarine warfare duties. The Mk. II variant was introduced in 1943 with a more powerful 750 h.p. Bristol Pegasus engine, metal lower wings that would allow the use of 10, 3 in. wing mounted rocket armament. Here, I have pictured the kit box and the photo etch sheets that will be used in this project. I particularly like the Eduard pre-painted cockpit etch as the detail painting of each instrument is quite nice and adds a lot to the finished look of the cockpit. The actual flying wires of the Swordfish were flat, not round, so the Tamiya photo etch set captures that flat look quite nicely and I would be unable (obviously) to recreate the flat flying wires with thread.


-
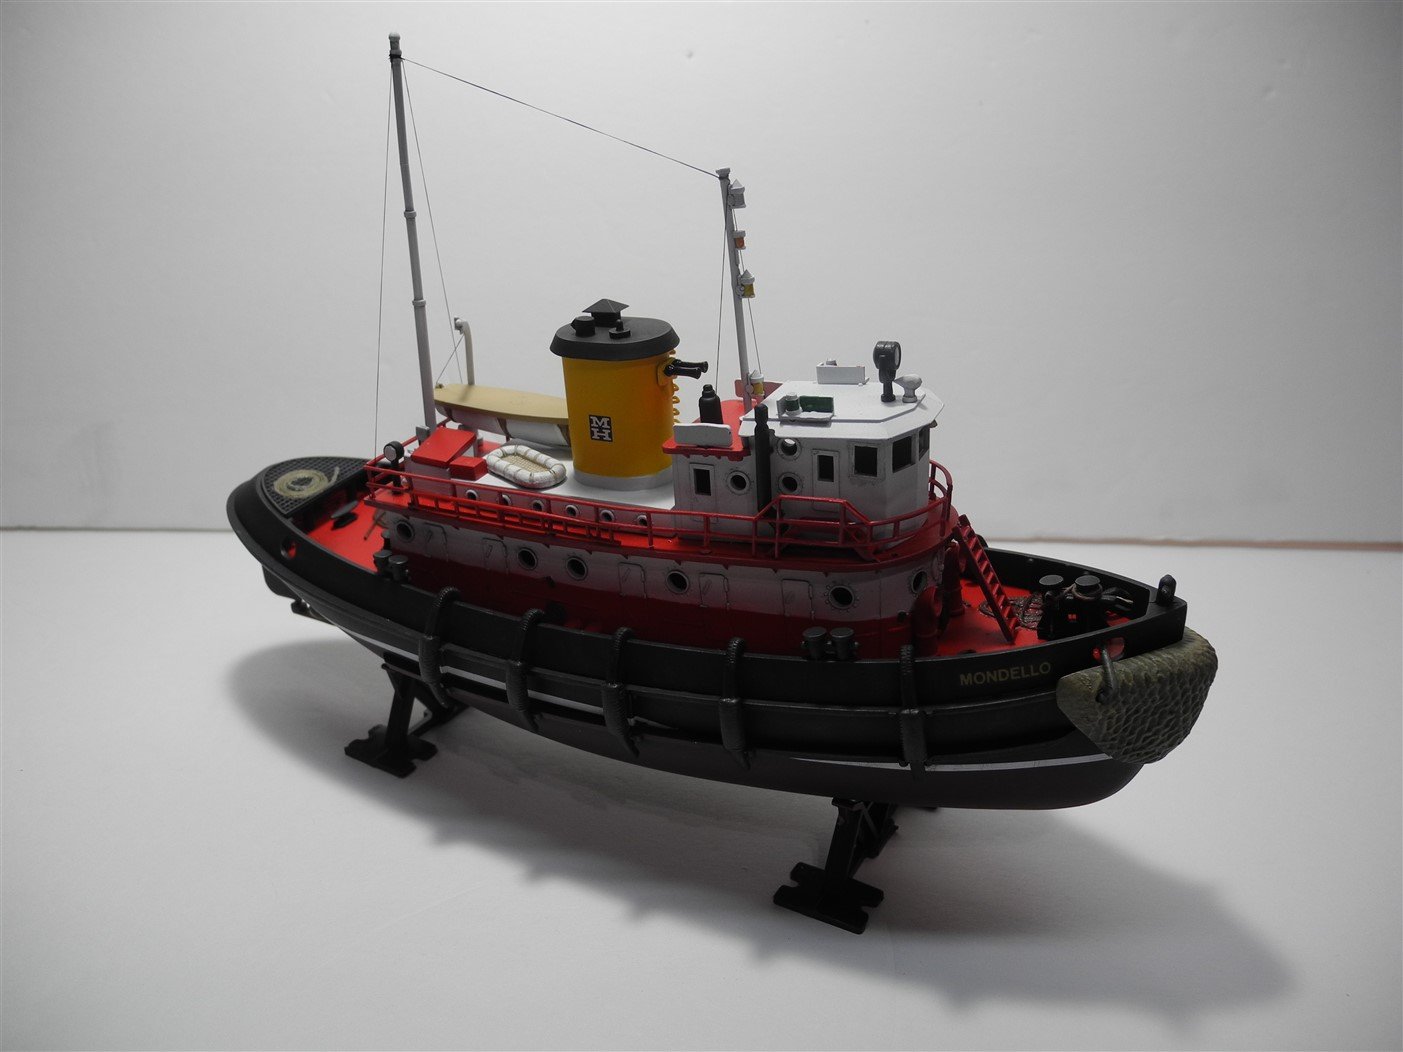
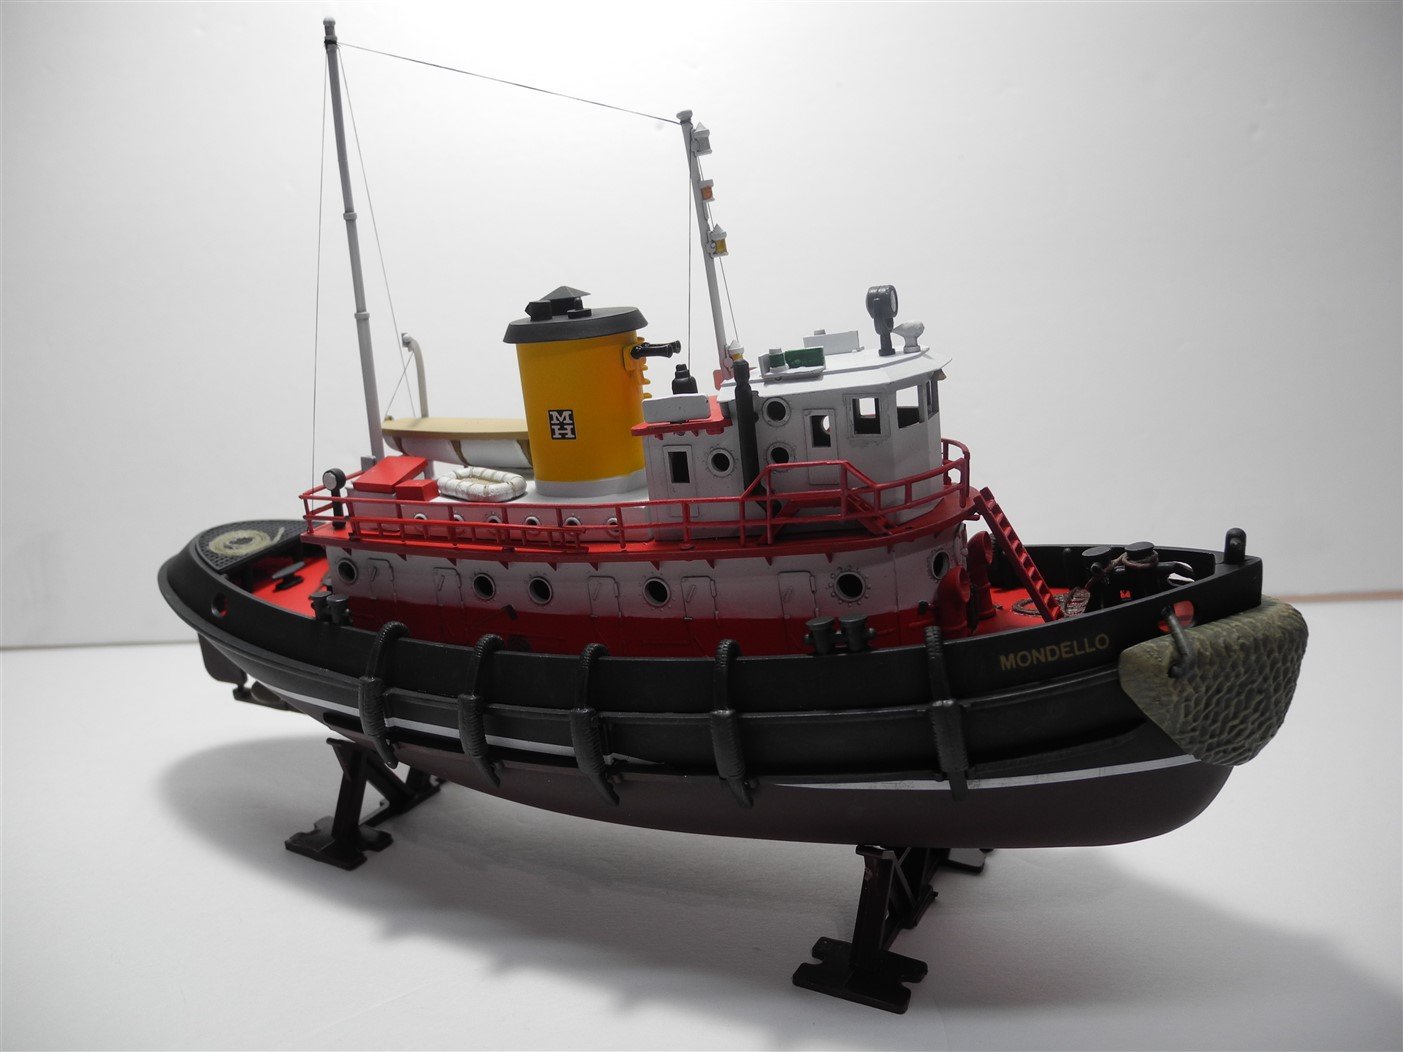
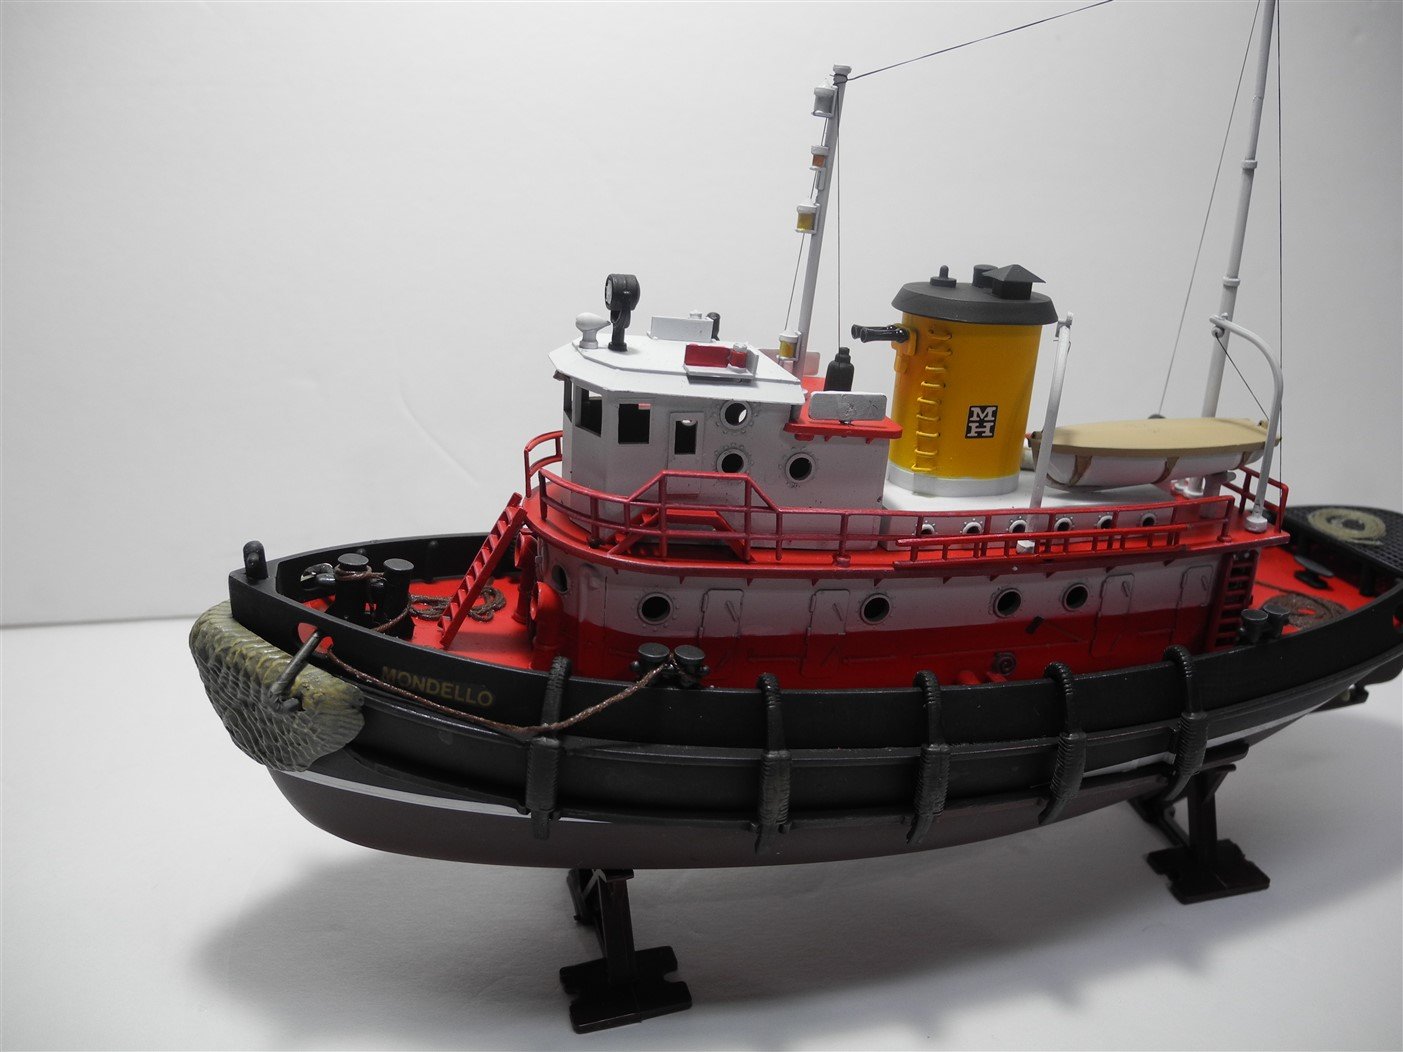
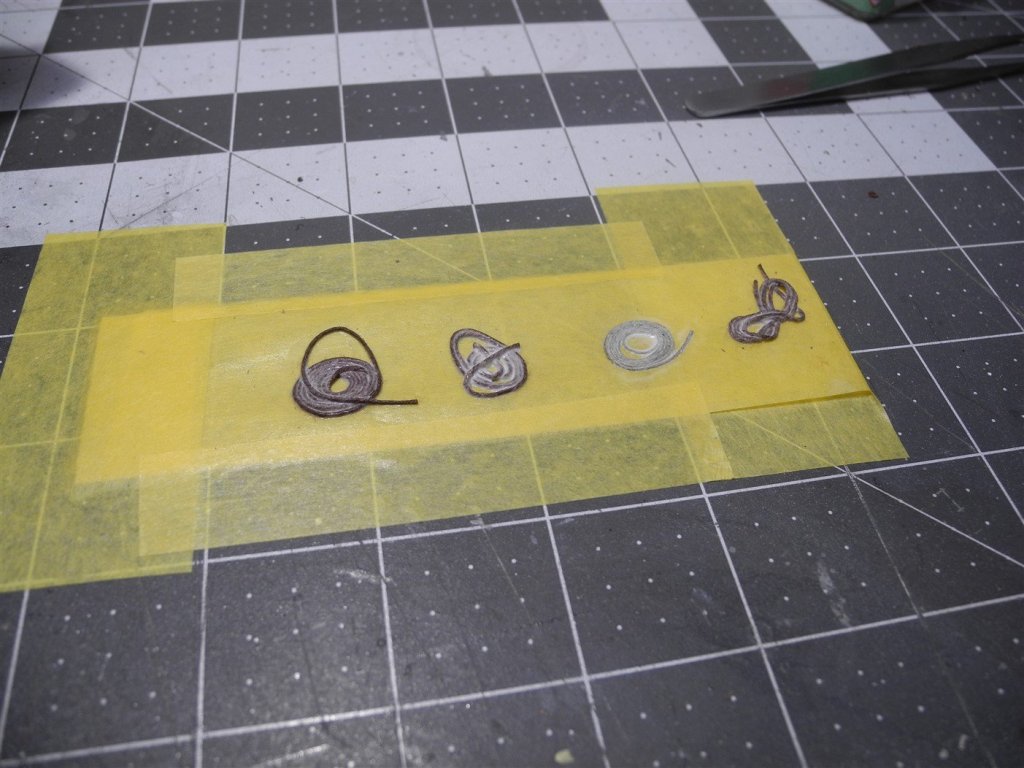
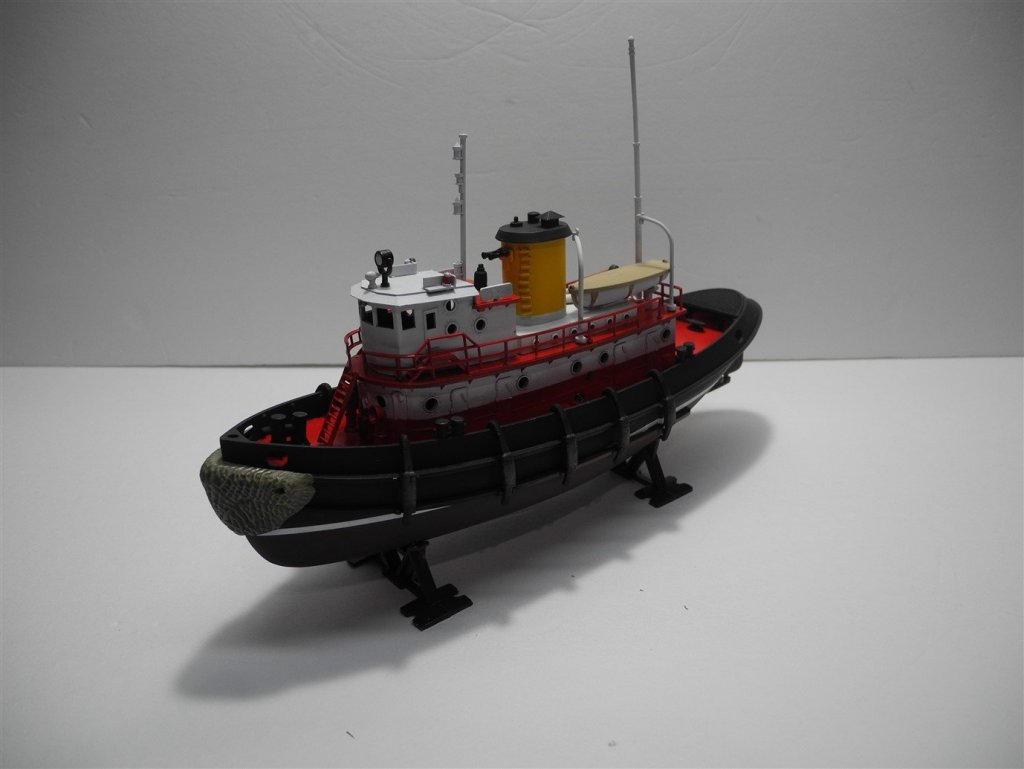
Mondello? MH = Mondello and Hughs Very well known in the Tug industry. I'm surprised you didn't know that or read about it on the internet through a google search. Nahhhh!...!...! ...I'm just yankin' 'yur chain, Lou! I cut these out from an old decal sheet that I had already used, but saved it 'cause it had a lot of unused decals on the sheet. Mondello was a well known maker of racing headers back in the day. MH made drag slicks. 😎
- 63 replies
-
- 6
-
-
- revell
- harbor tug
- (and 2 more)
-
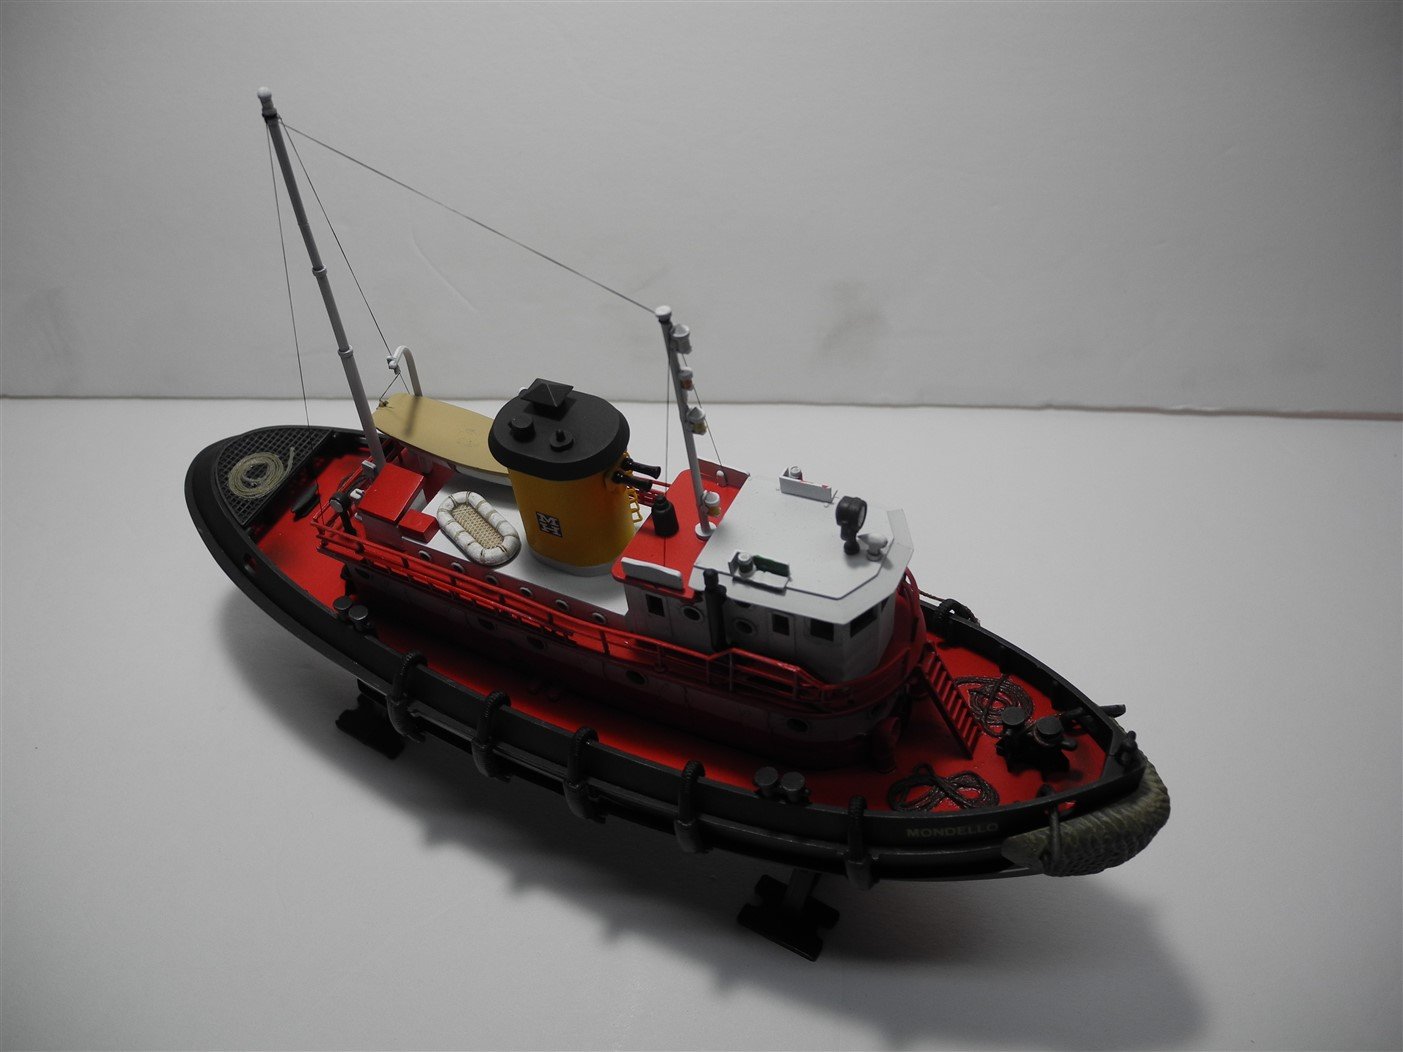
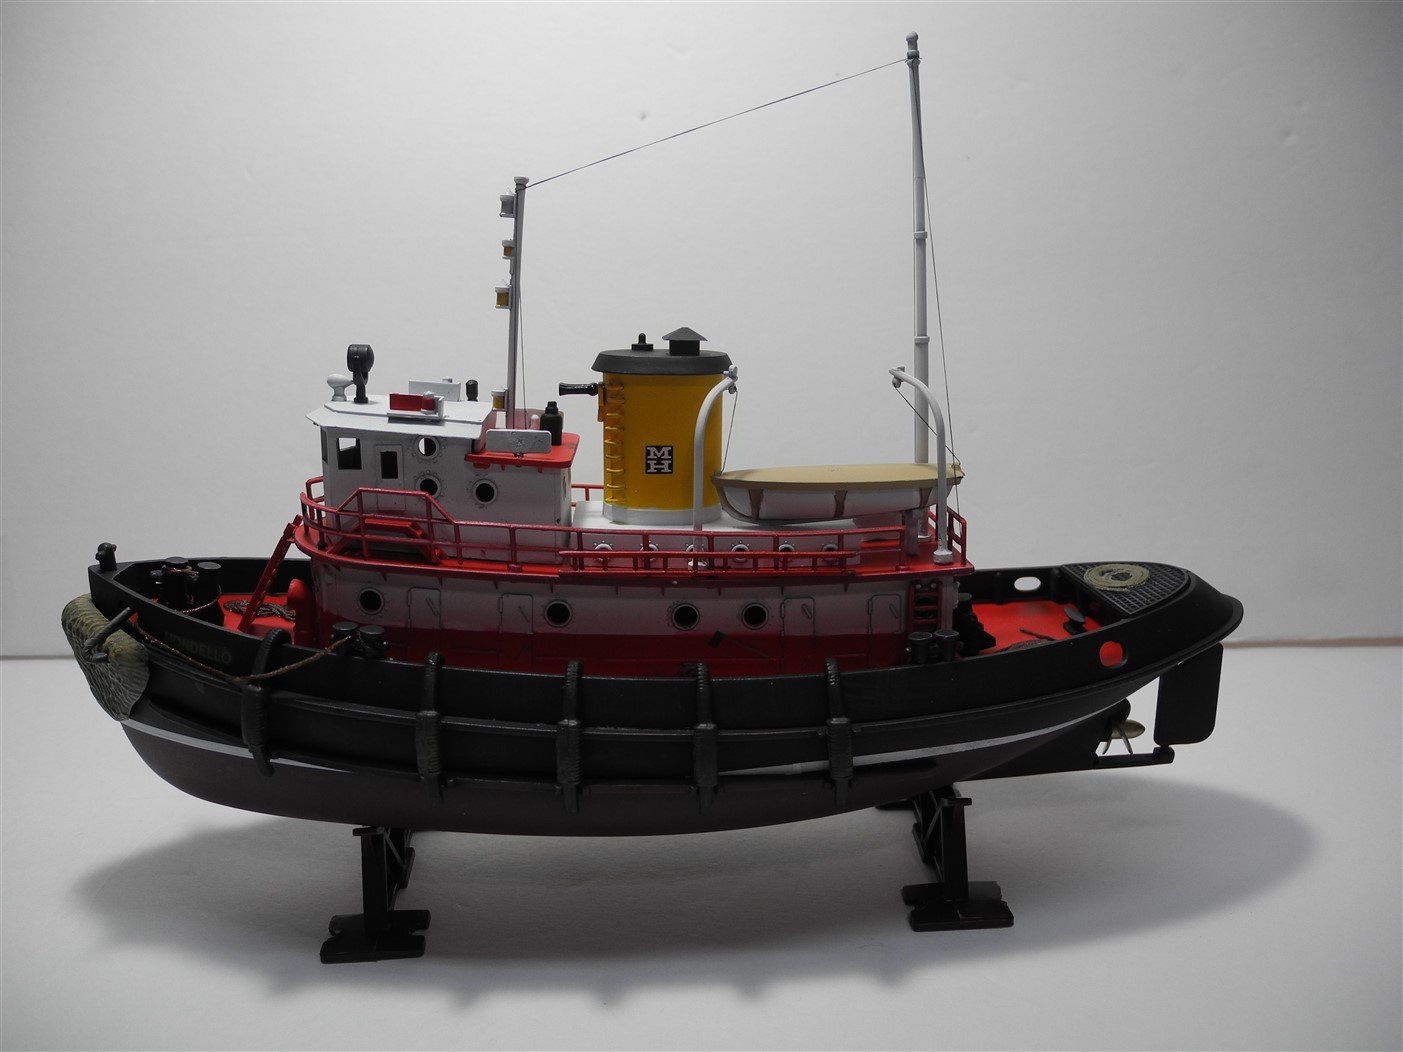
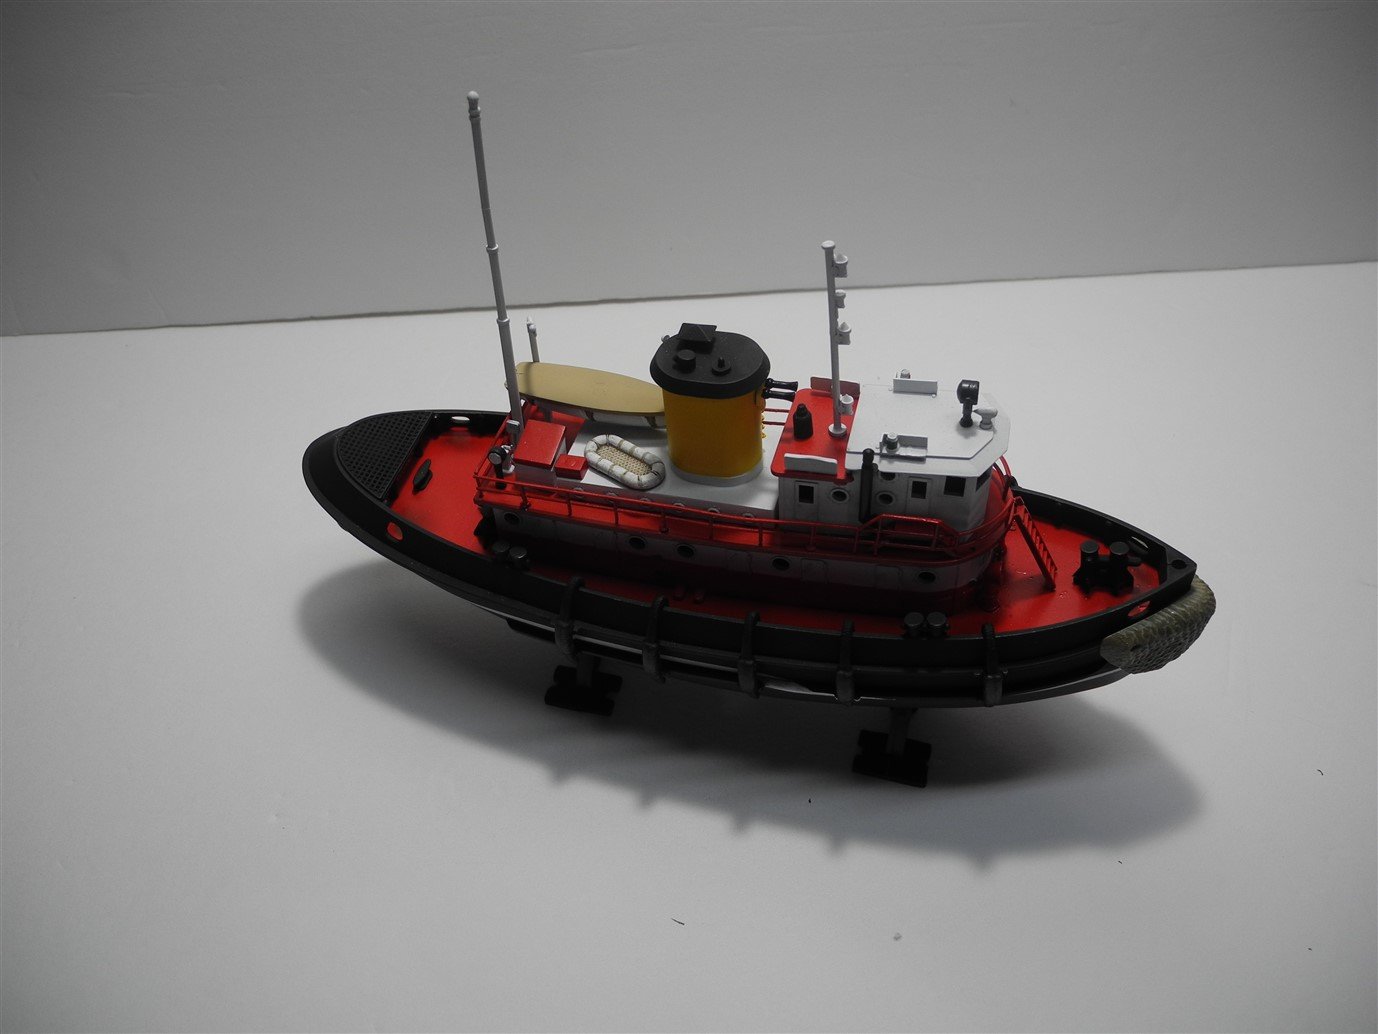
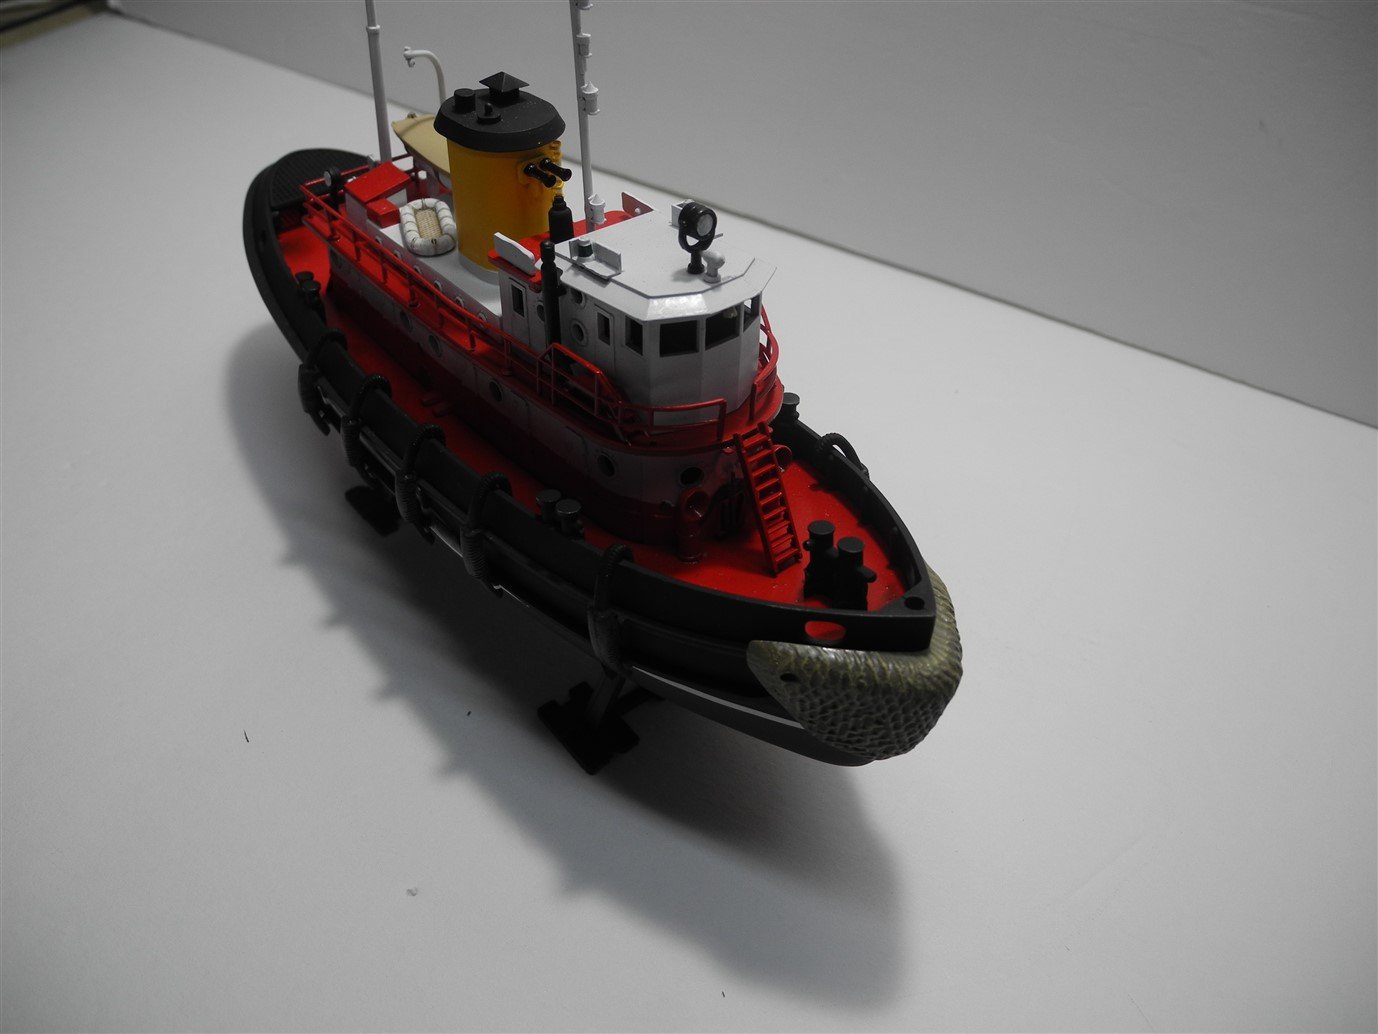
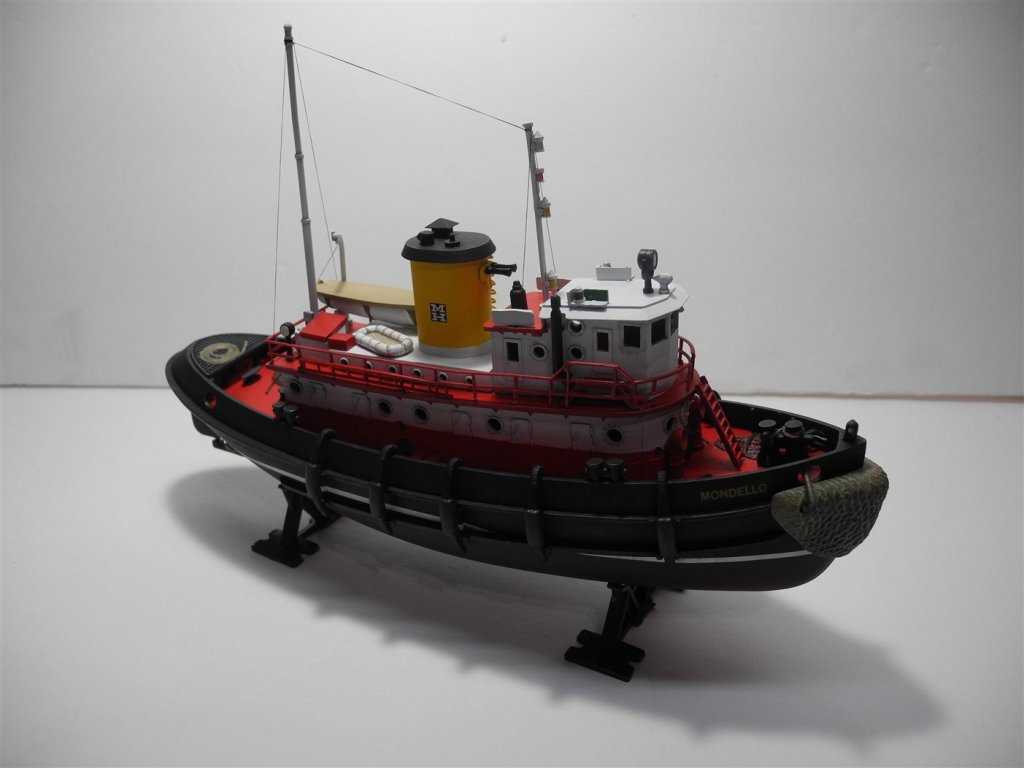
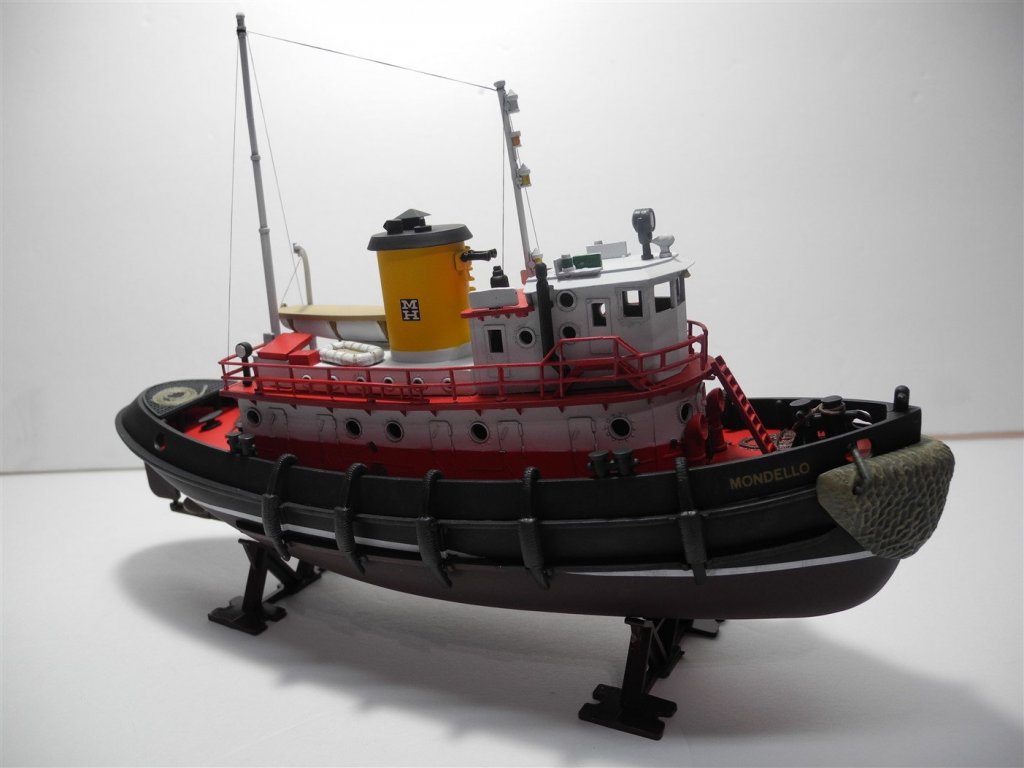
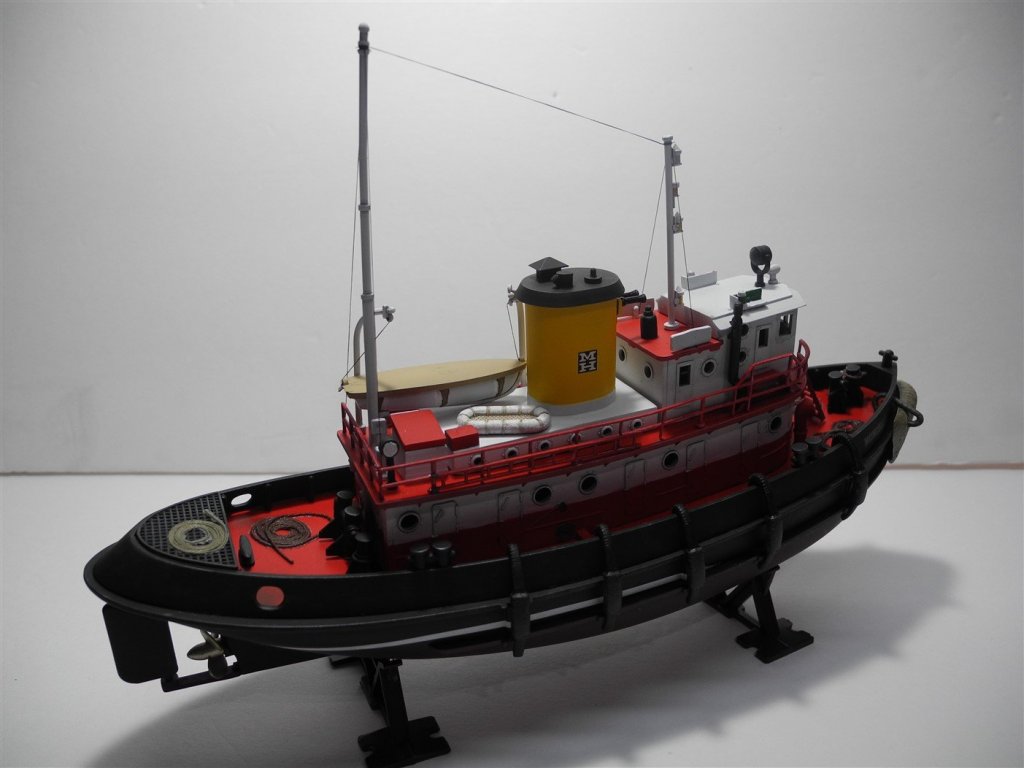
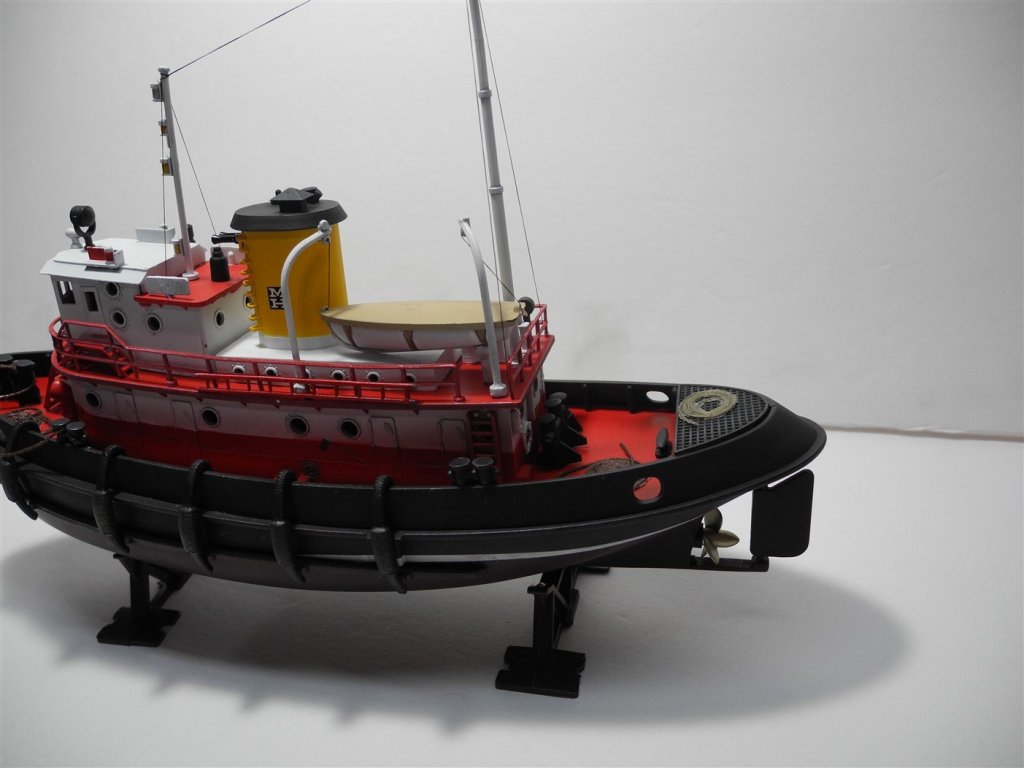
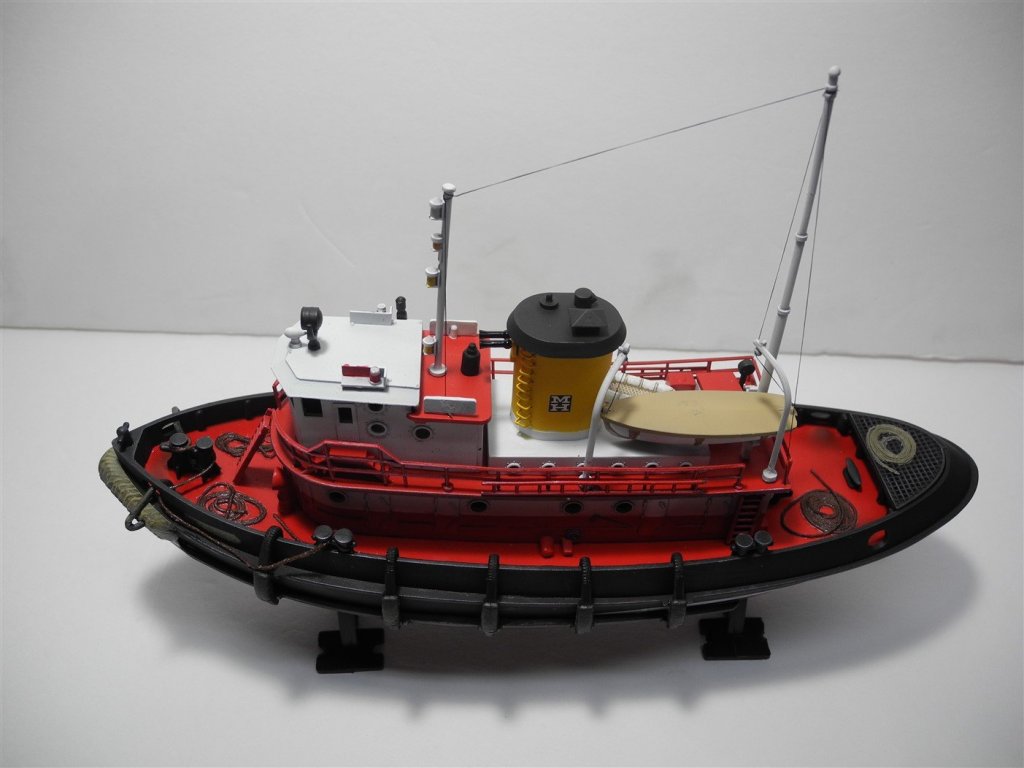
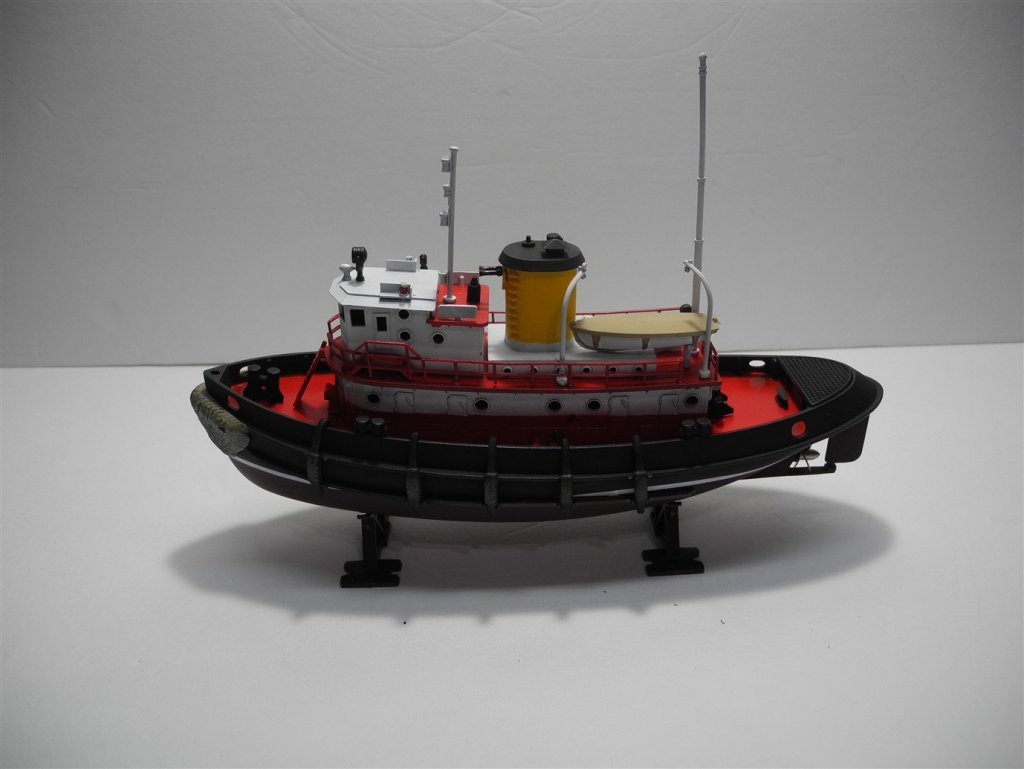
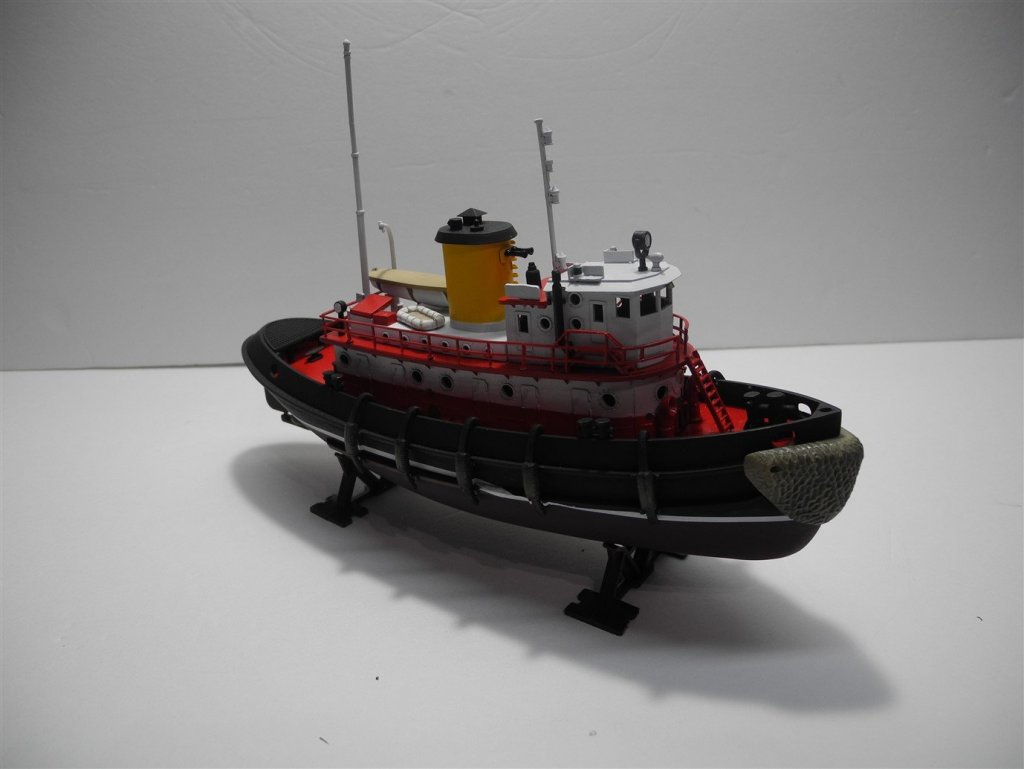
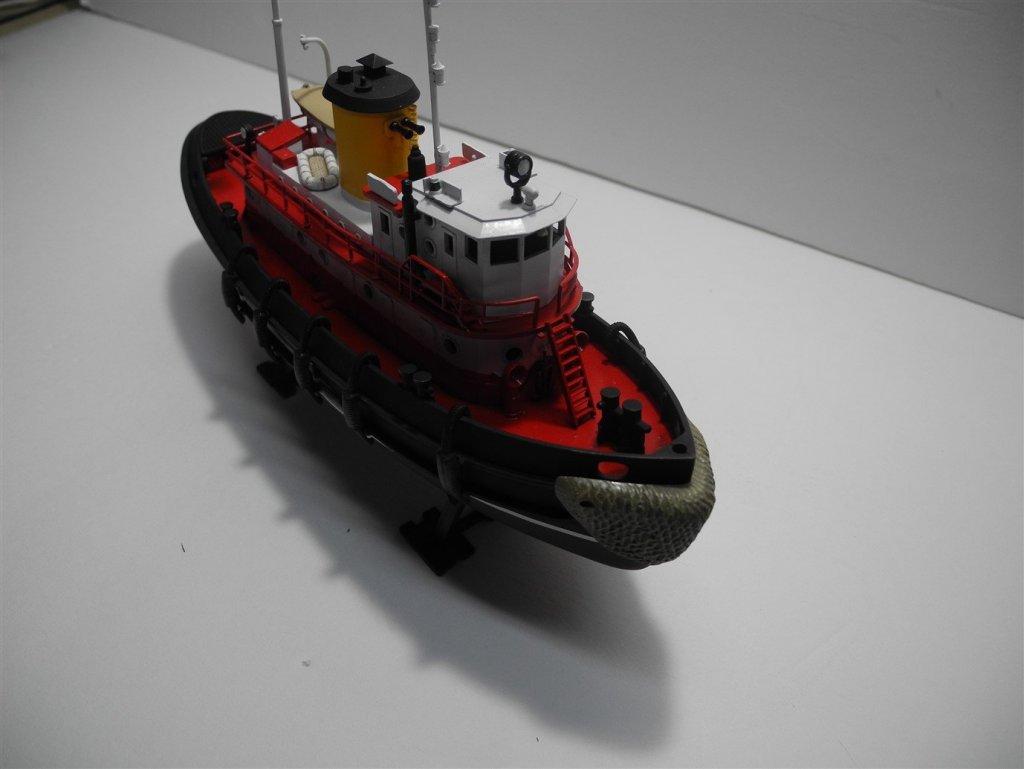
Well this is the final installment, it's all I will do with the little Harbor Tug. She's ready for her place in my display cabinet. As much fun as it was in rather short order, I think I may drag out some of my other old ship models from 50 years ago and do those as well. They need some love, too.


- 63 replies
-
- 14
-
-
- revell
- harbor tug
- (and 2 more)
-
Excellent finale...she is glorious.
-
This concludes the general painting and assembly of the Harbor Tug. Next I will spend a couple of days (or less) adding some details and detail painting/shading/highlighting/weathering.

- 63 replies
-
- 10
-
-
- revell
- harbor tug
- (and 2 more)
-
JCT This is the 1st time I laid eyes on your Picket boat. Beautiful! Looks like a real 1:1 boat with all the fittings and everything. Inspirational.
- 105 replies
-
- 2
-
-
- picket boat
- model shipways
- (and 1 more)
-
Seems to me the radius at the stern (underneath the planking) is the culprit. Maybe 1 mm off, but that's all it takes to leave a gap like that.
-
Indeed. My bottle is just over a year old and they already changed the label and the color of the label from blue to green. Another thing, my bottle does not say, "cleaner" on it anywhere as the bottle does in the link I provided. That concerns me a bit as to whether they may have added some cleaning agent that could potentially harm the paint underneath the clear coat. As I said earlier, I would test it first before I used it on a prize model.


.jpg.ffdd3f5fd0a898274a8c02faee83c758.jpg)