CDW
-
Posts
7,760 -
Joined
-
Last visited
Content Type
Profiles
Forums
Gallery
Events
Everything posted by CDW
-

Phantom Henry J Gasser by jct - FINISHED - 1/24 scale - PLASTIC
CDW replied to jct's topic in Non-ship/categorised builds
Exceptional details on the Hemi, JCT. Looks like you could turn the key and start it right up. -
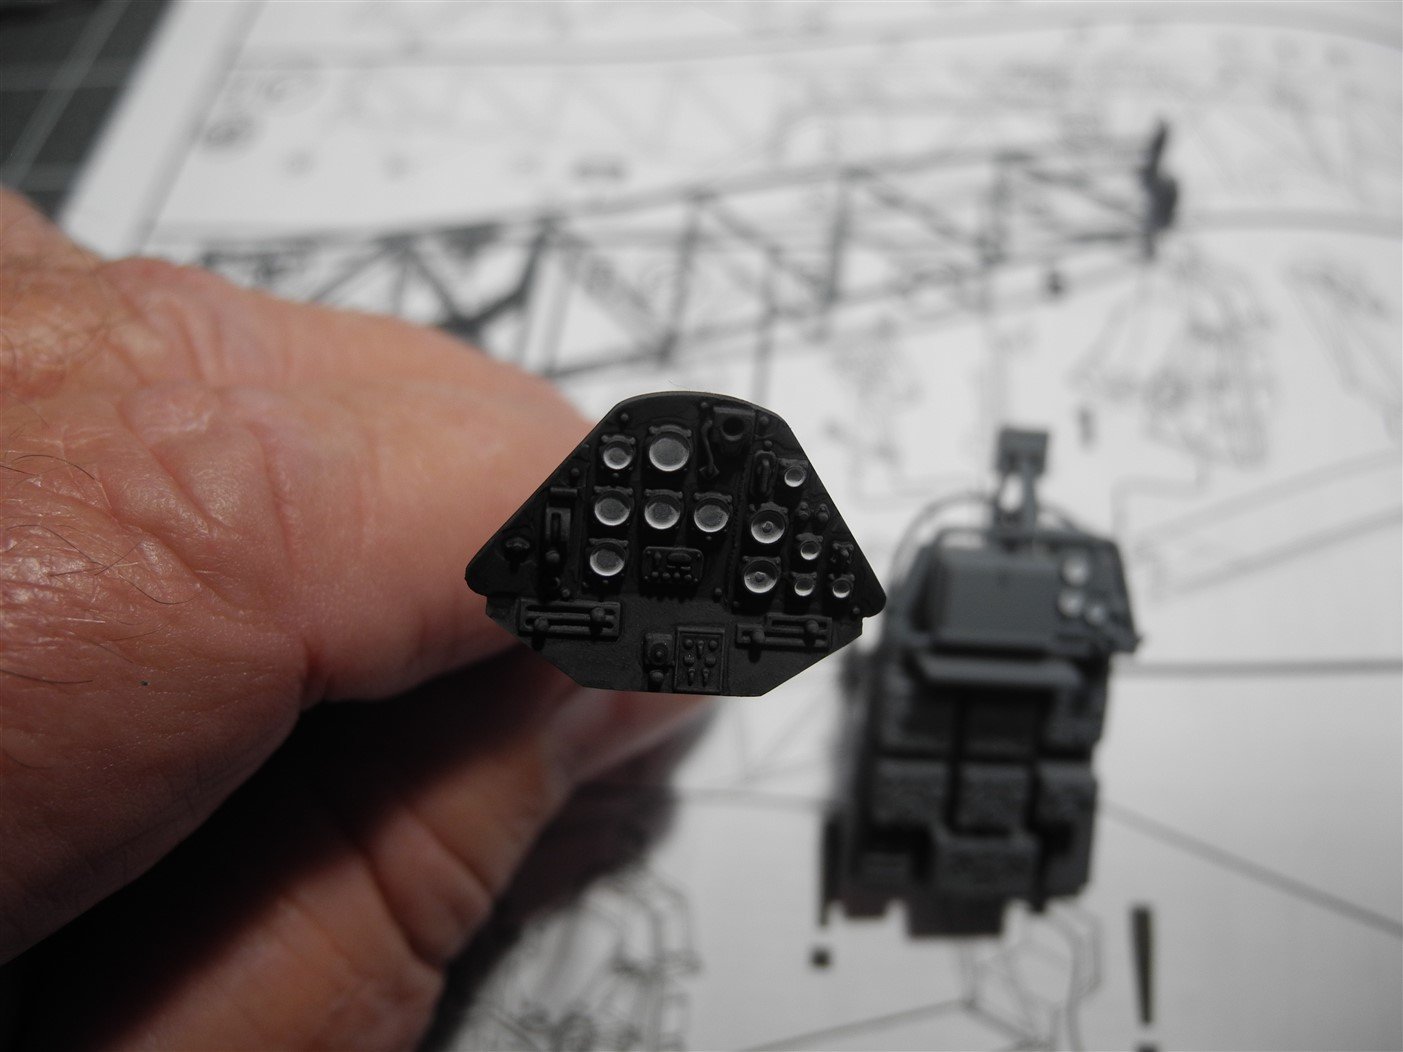
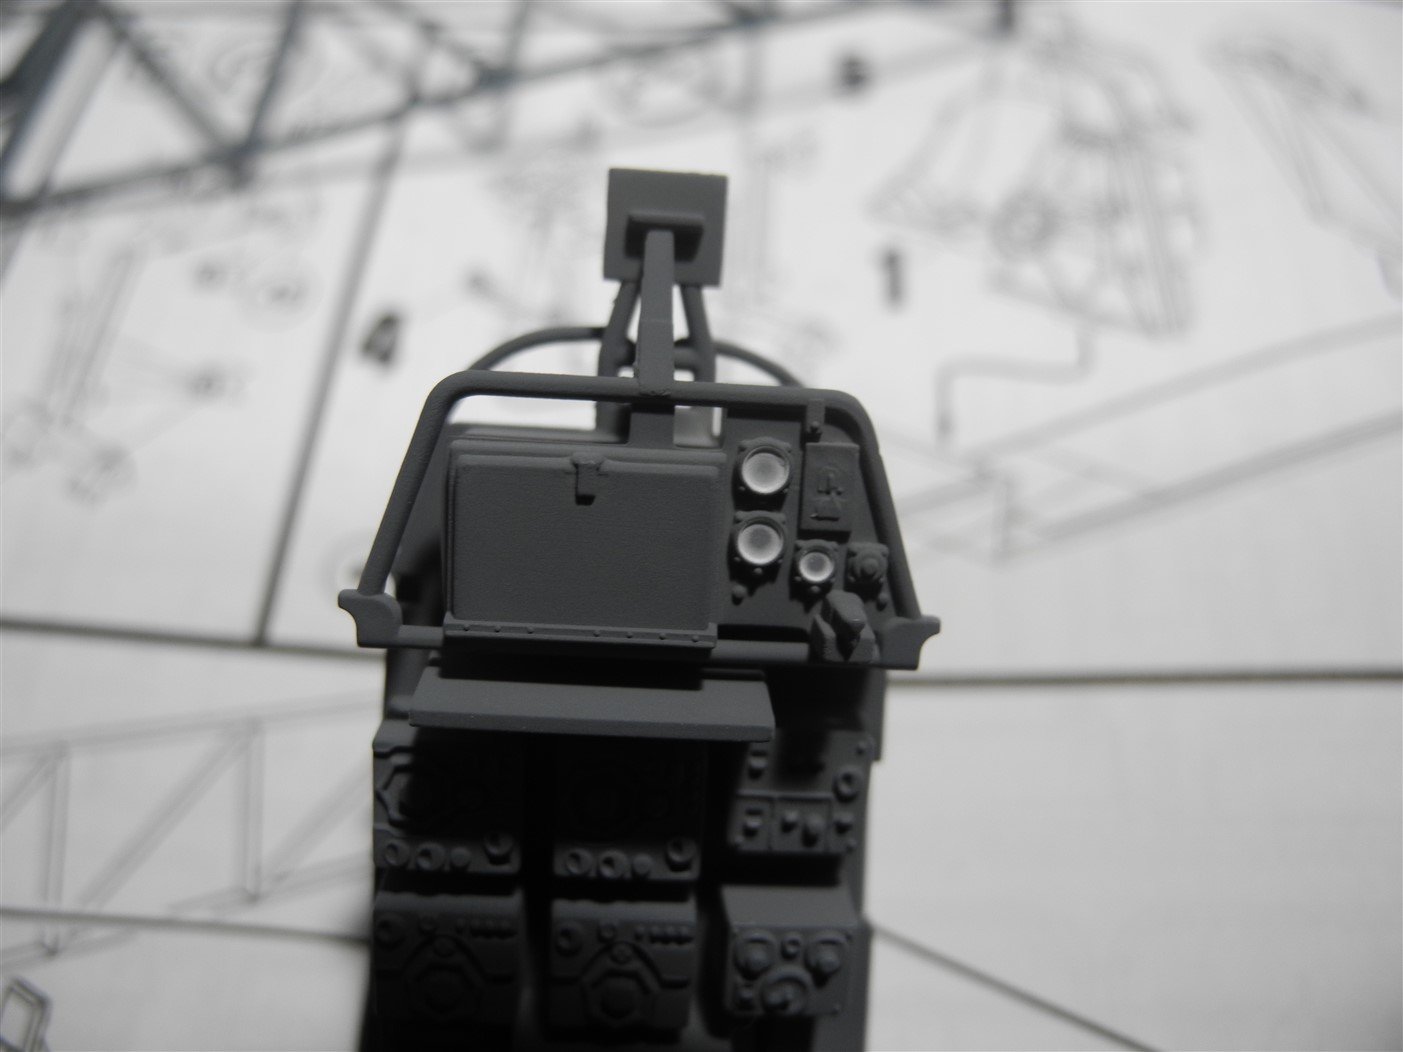
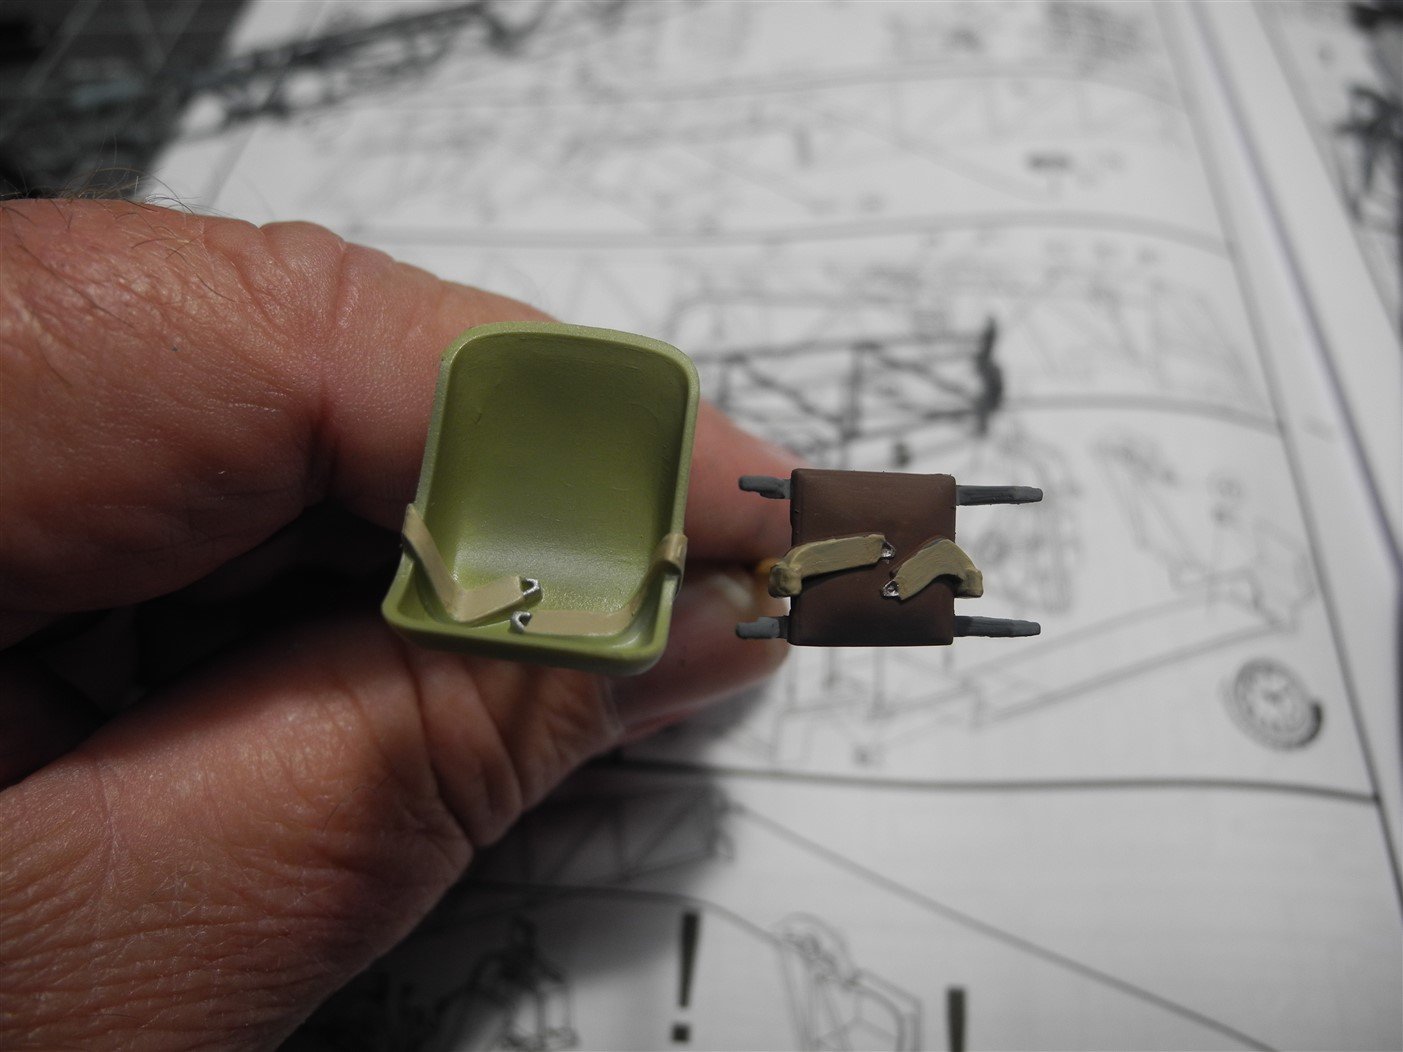
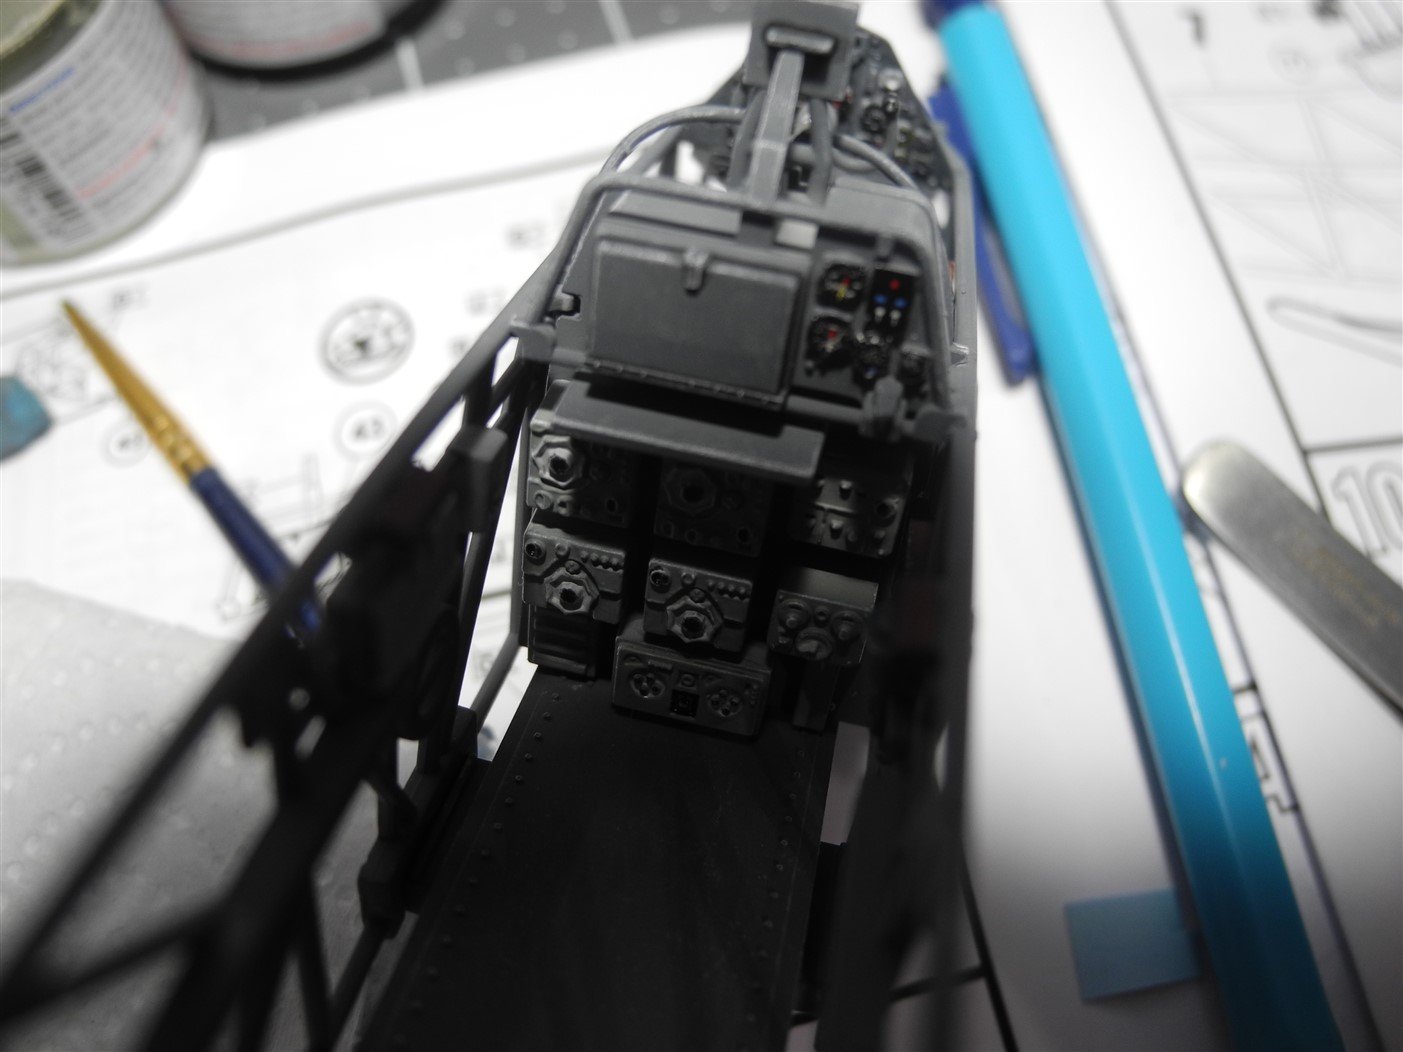
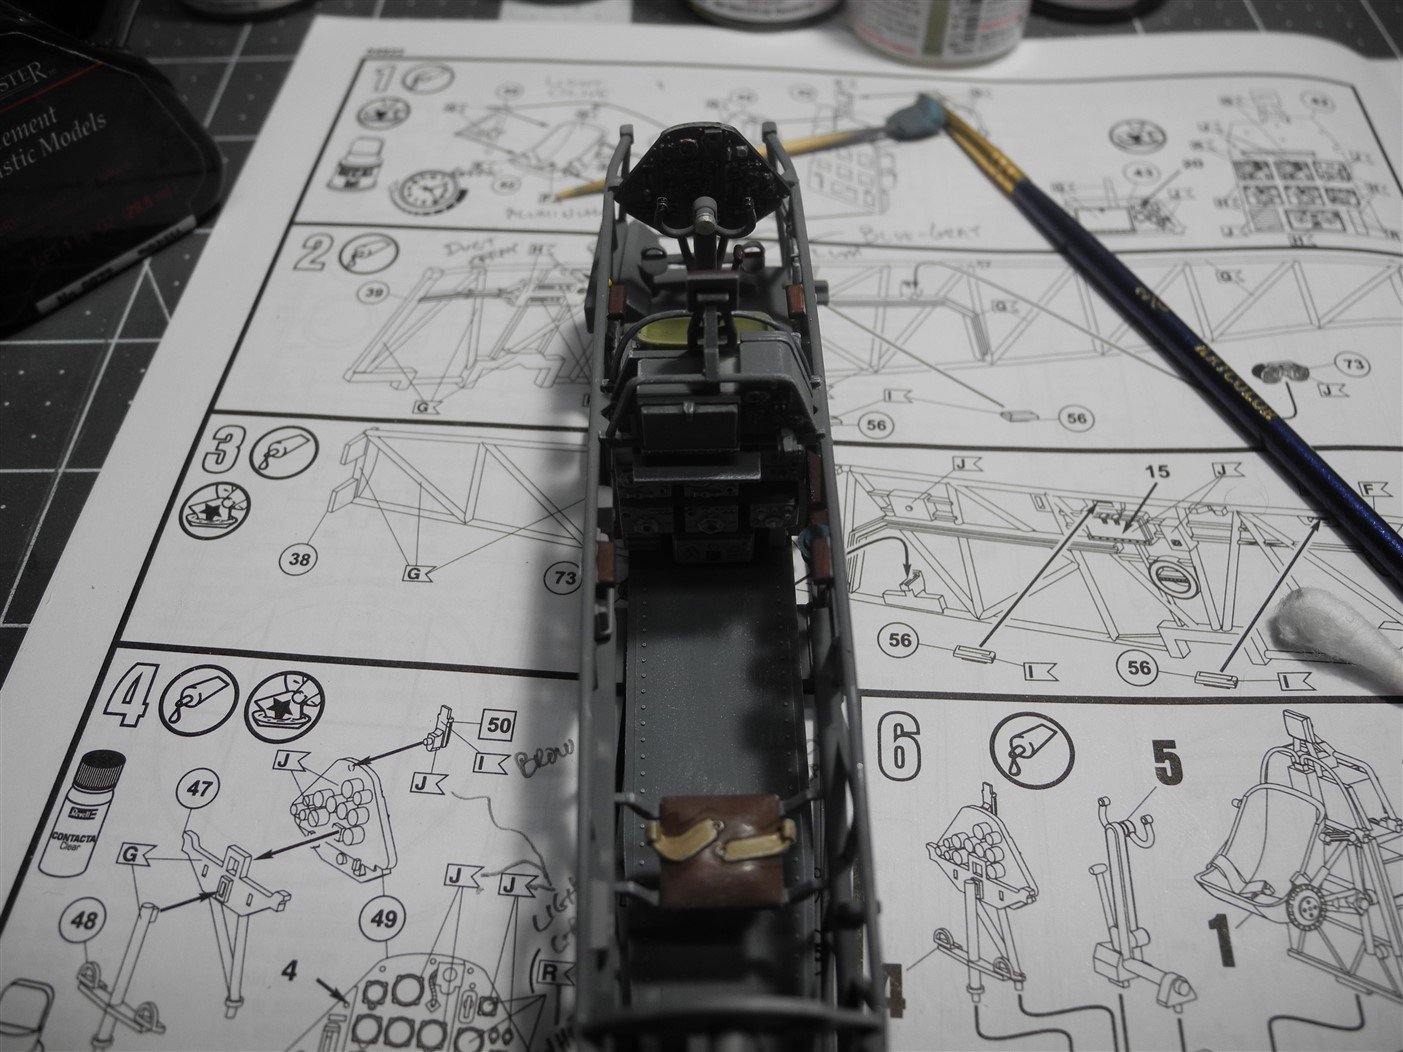
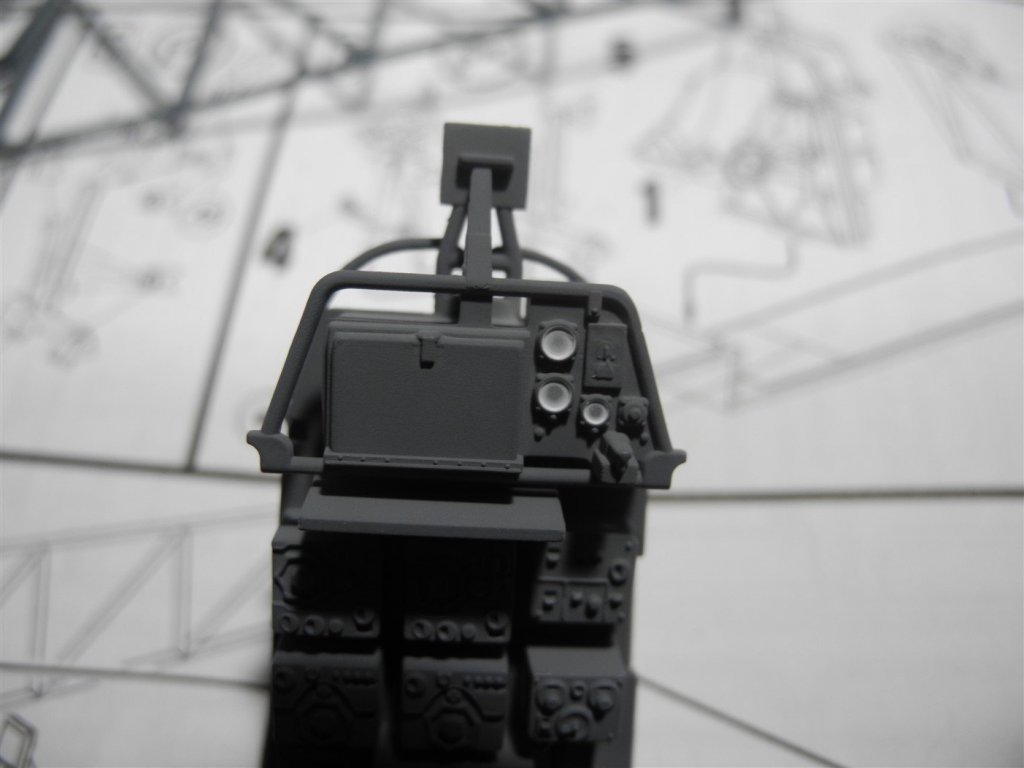
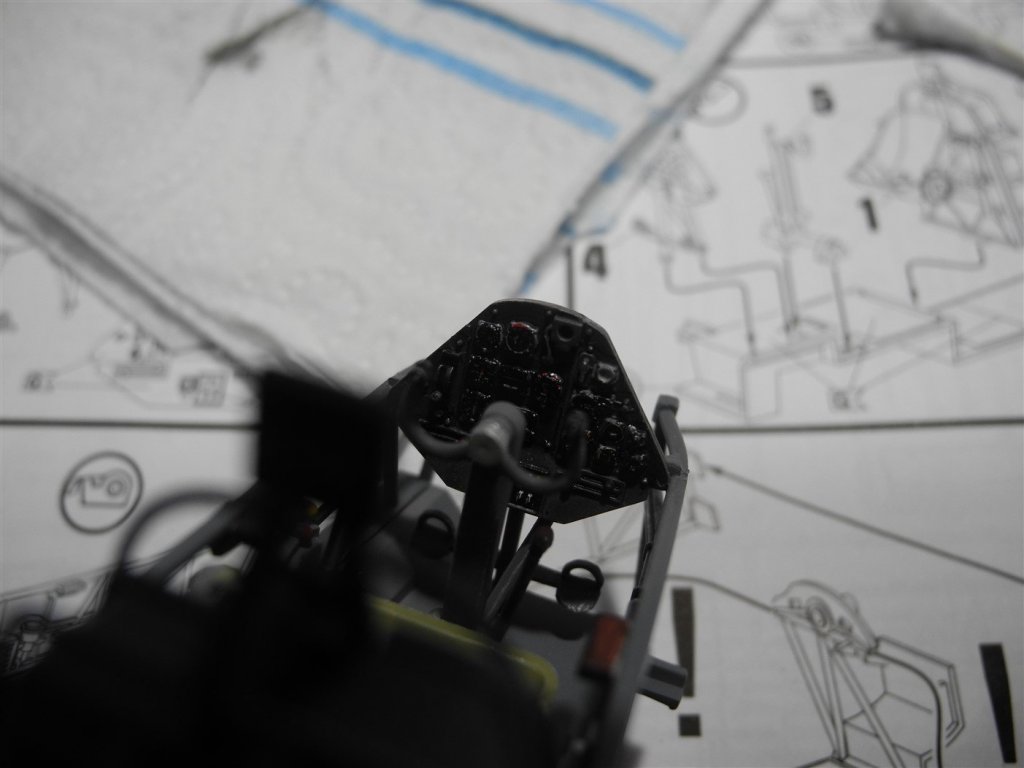
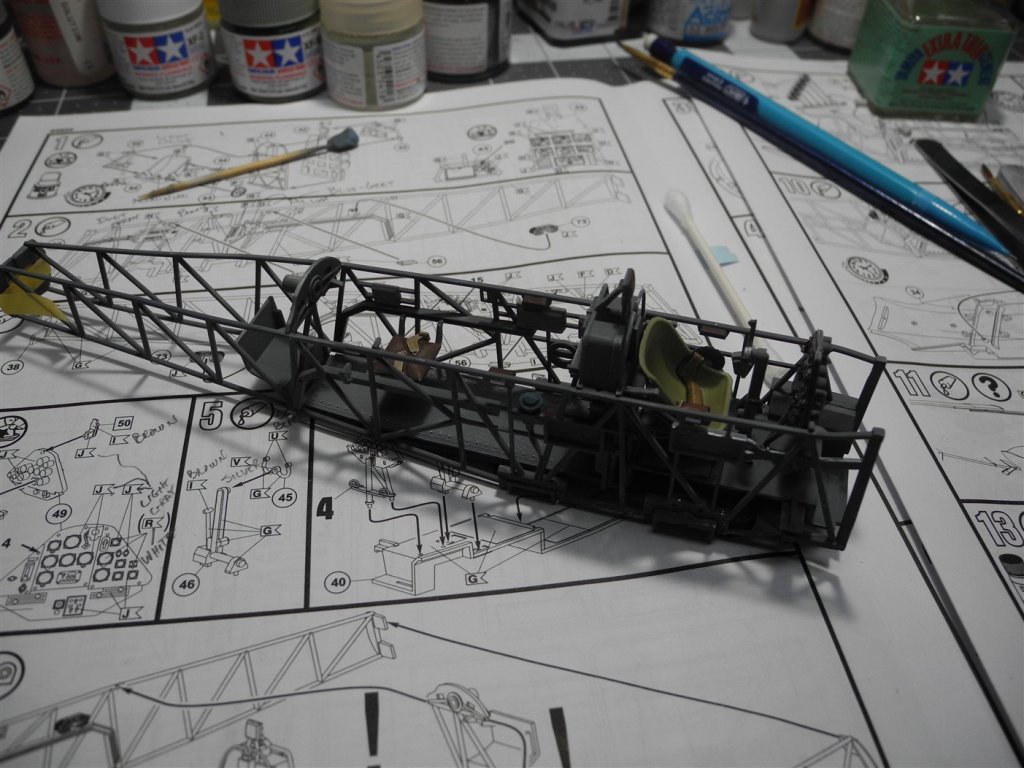
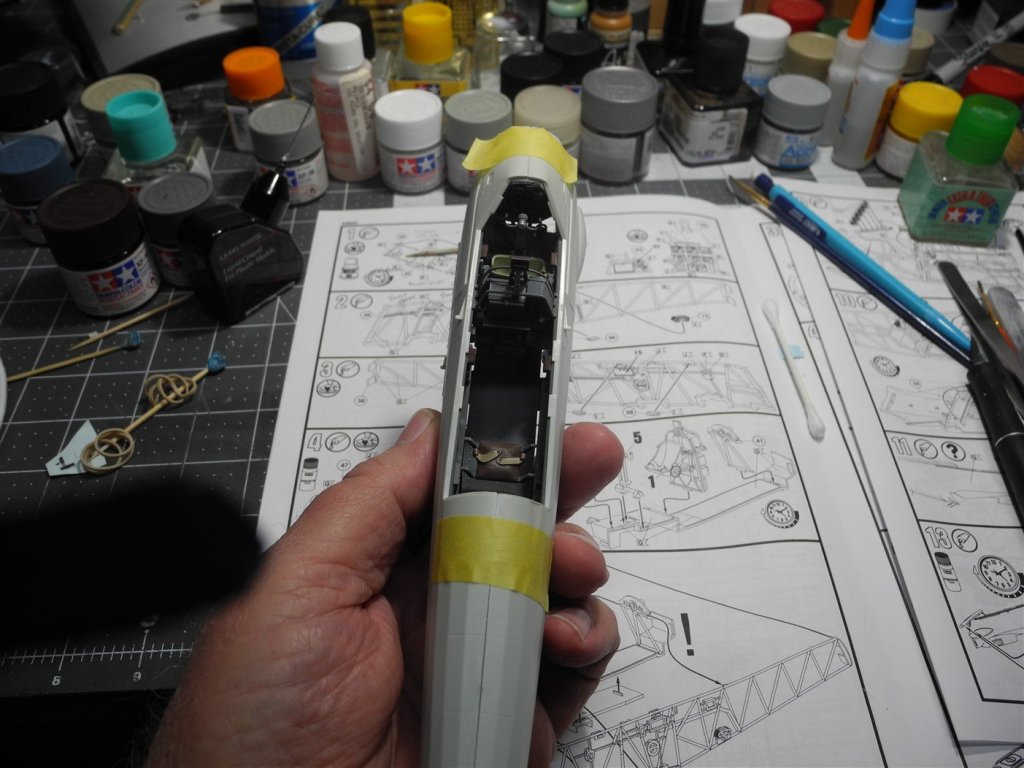
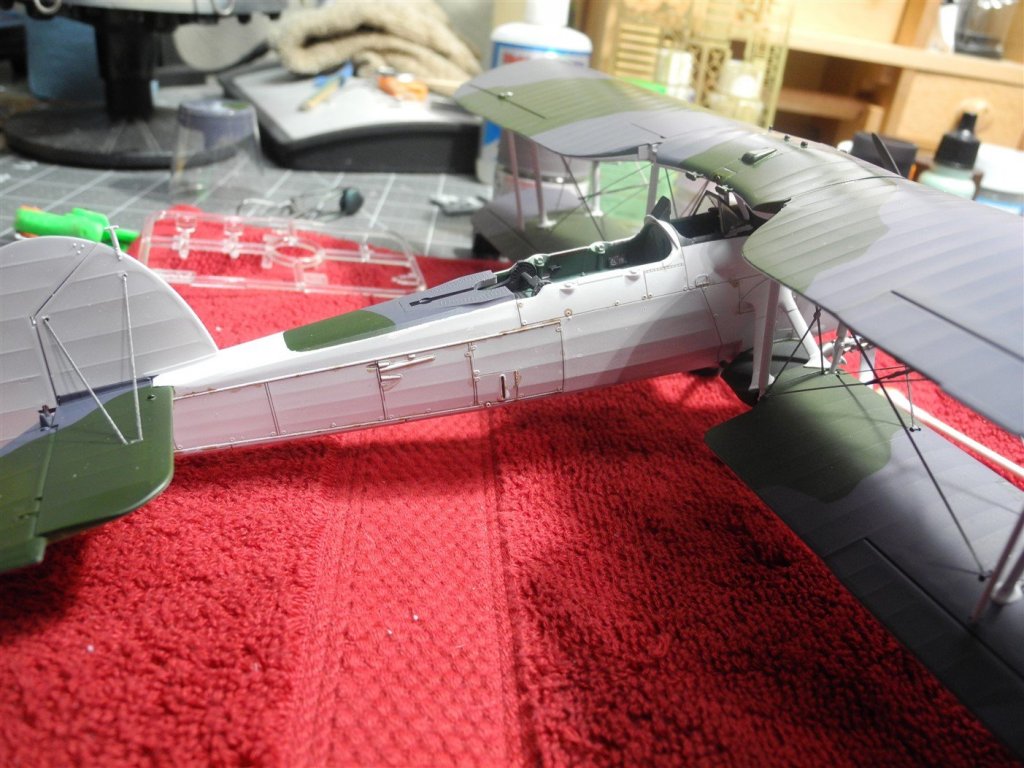
Here is my first installment of building construction and painting photos. As is usual with most aircraft models, one starts with the cockpit first. The whole cockpit and structural tubing is painted in typical German RLM 02 (in this pre-1941 time period). Since I was out of that particular color, I substituted something close to it, albeit a little darker, with a Tamiya acrylic I had available. The seat is painted a light olive green using a Mr Hobby acrylic. Then various parts of the cockpit interior receive various shades of gray and brown paints to highlight various boxes, radios, switches, etc. The instruments are kit supplied decals, which poor lighting made it very difficult to see in my photos. ***Important Suggestion/Tip*** If you ever decide to use kit supplied decals to appoint your instrument panel, take the time and care to cut each and every instrument from the decal sheet and apply each one separately. A "clump" of instrument dials all bound together by one clear decal will look a jumbled and sloppy mess if applied as a whole to the panel face with raised dial details as this kit has. If the panel is flat with no raised detail, it would not matter and the entire instrument cluster decal would go down fine as a whole unit. Also, have some Solvaset or similar decal softener to make those decals settle into the raised dial detail. A drop of clear varnish on each instrument will give a great appearance after the decals are completely dry. The first dry fit of the fuselage halves with the cockpit inside looks great! Very nicely done molds by Revell. The fuelage has beautiful engraved detail as well as throughout the rest of the model.


- 100 replies
-
- 15
-

-
I'll bet that work on the shrouds is tedious, but it sure is paying off. They look great. By the time you are finished with the Pearl, you'll be a pro on rigging and lots less apprehensive about doing the next tall ship.
-
Yes, I would be interested in seeing your model railroad hobby, for sure. It's something I always thought about doing myself, but never did. Since I retired 9 years ago, I have routine things I do every day and there are always yard work and other home maintenance items needed. Spent most of the day Saturday raking the yard, bagging the leaves, and cleaning out a flower bed to plant new flowers. More remains to be done. My modeling hobby I do "catch as catch can". Funny how retirement caused me to quit keeping track of hours spent, generally speaking. I get paid the same whether I'm marching or fighting. 😎
-
I don't keep track, but I would estimate 4 hours per day average.
-
Glad you're aboard, Mark
-
I agree with you, Mike.
-
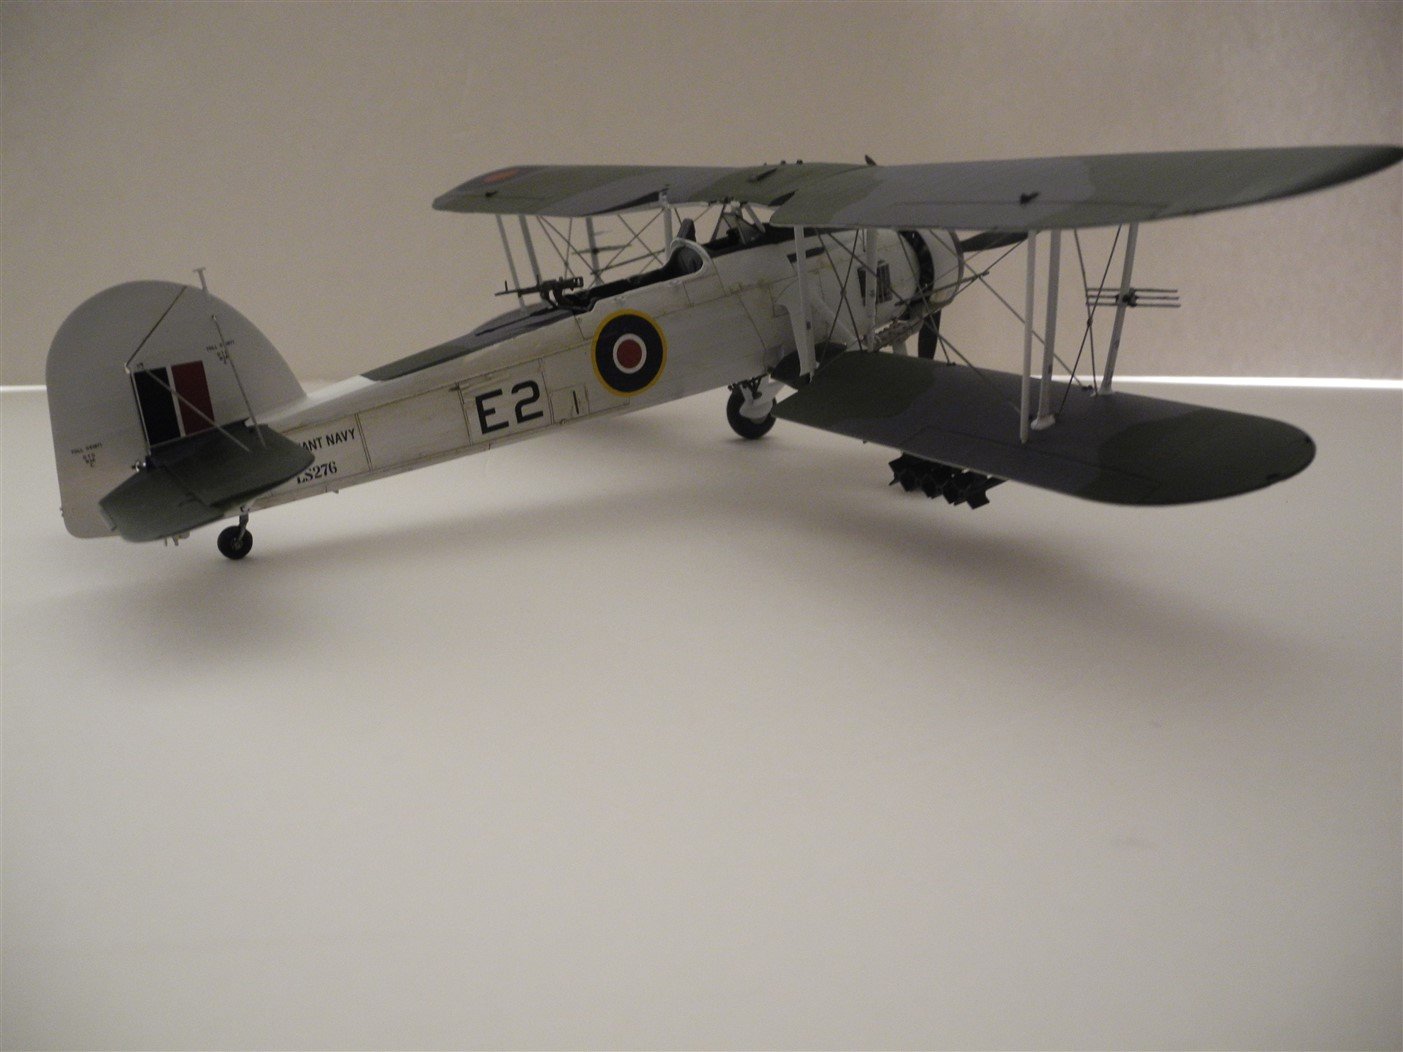
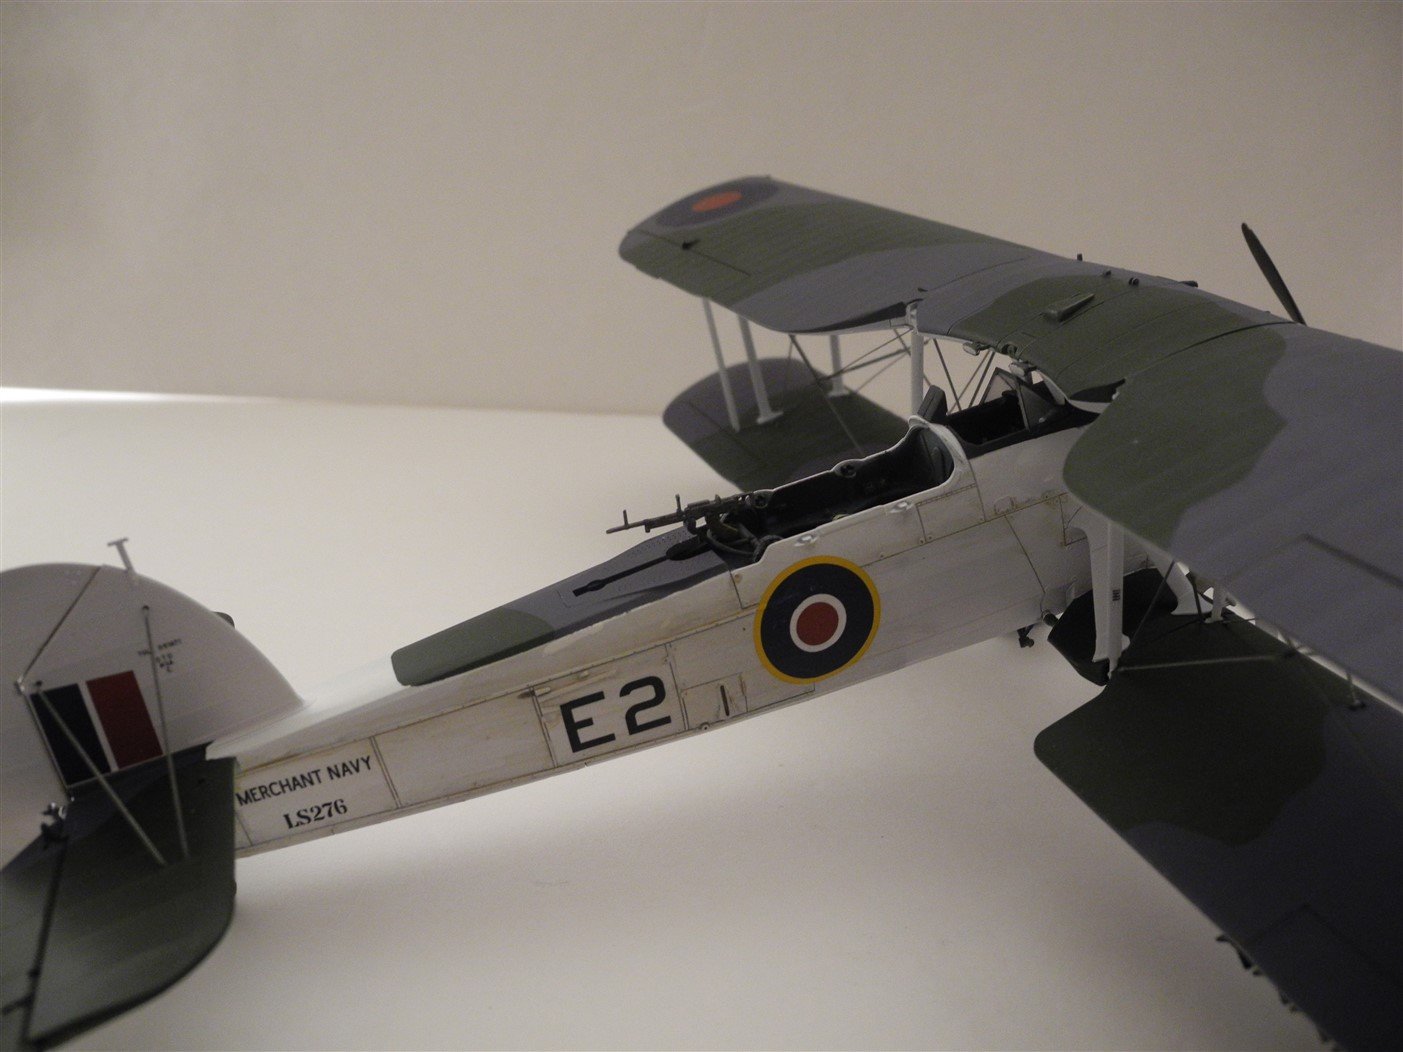
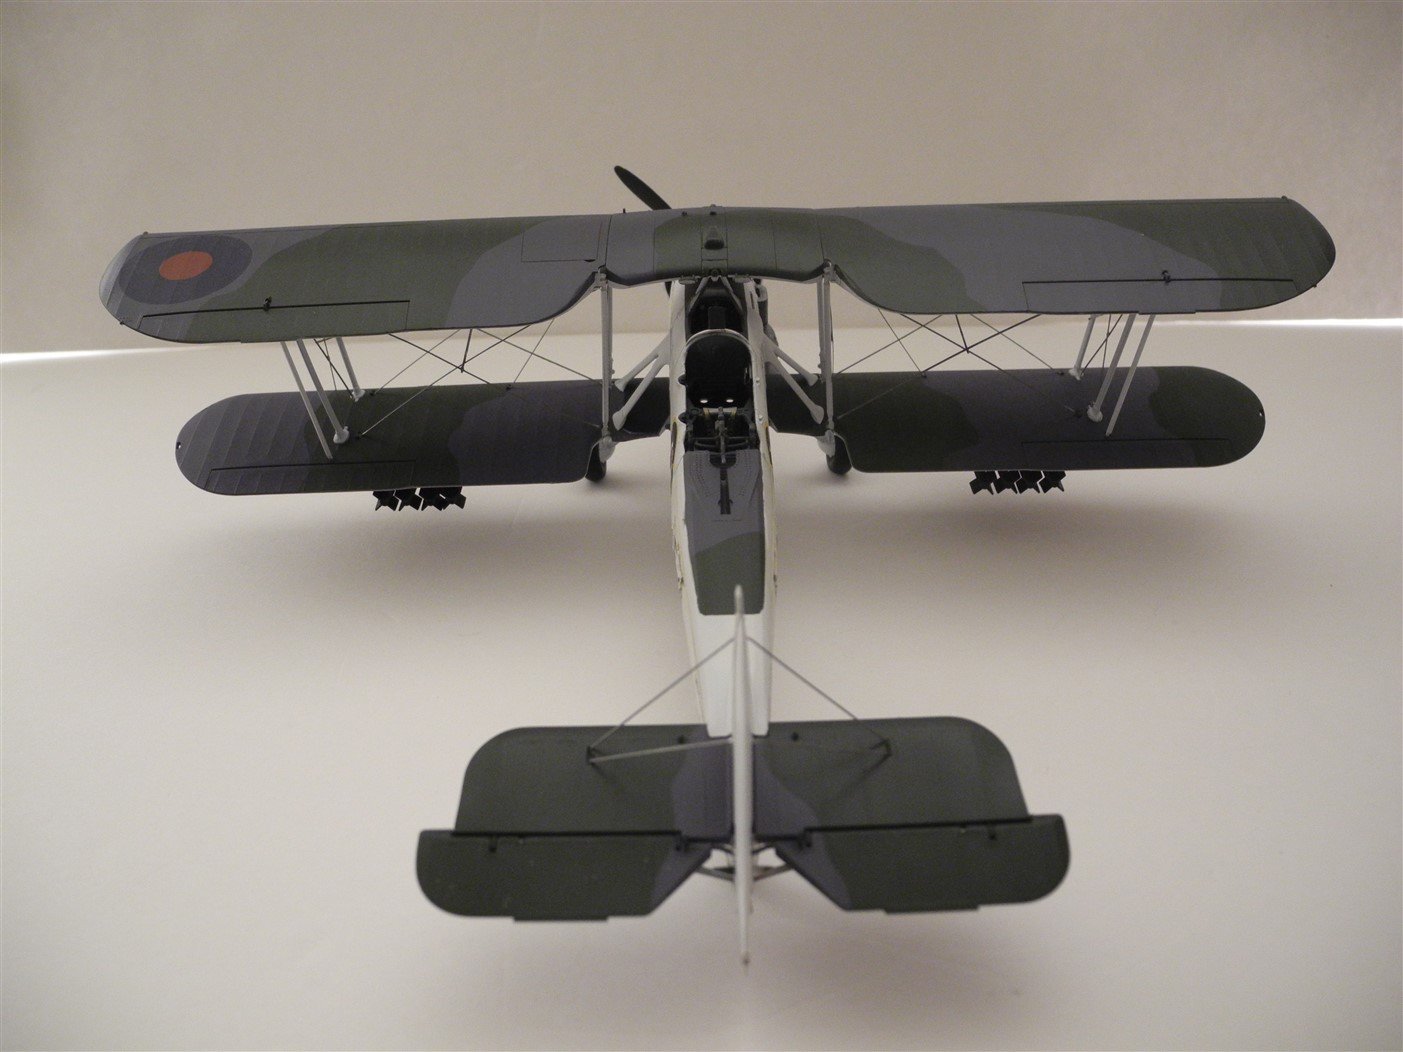
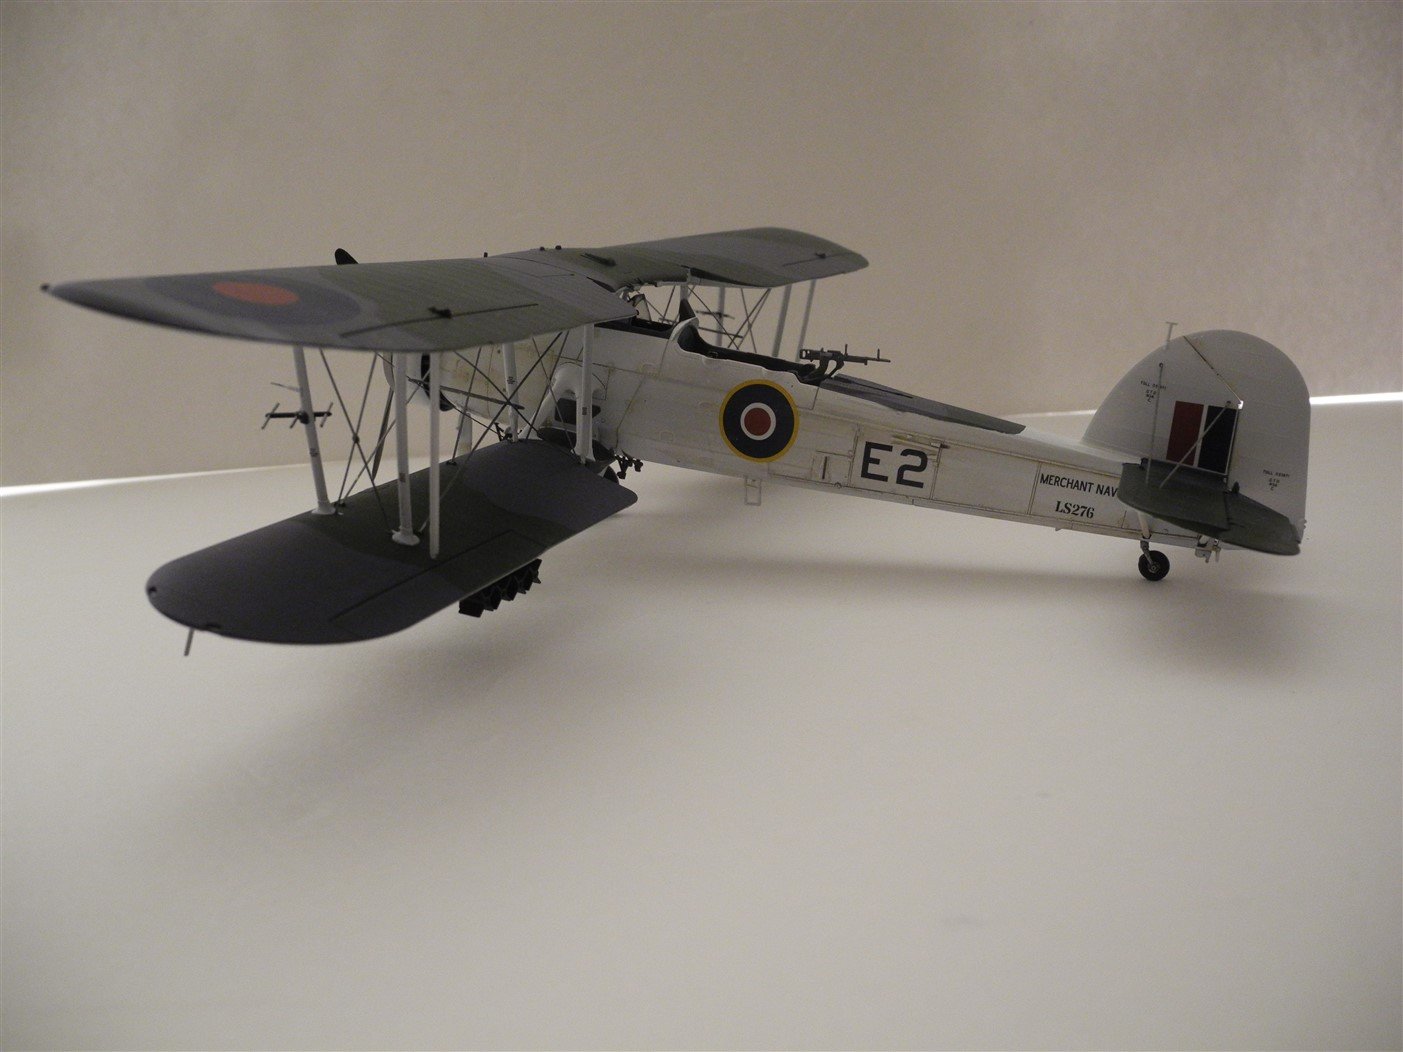
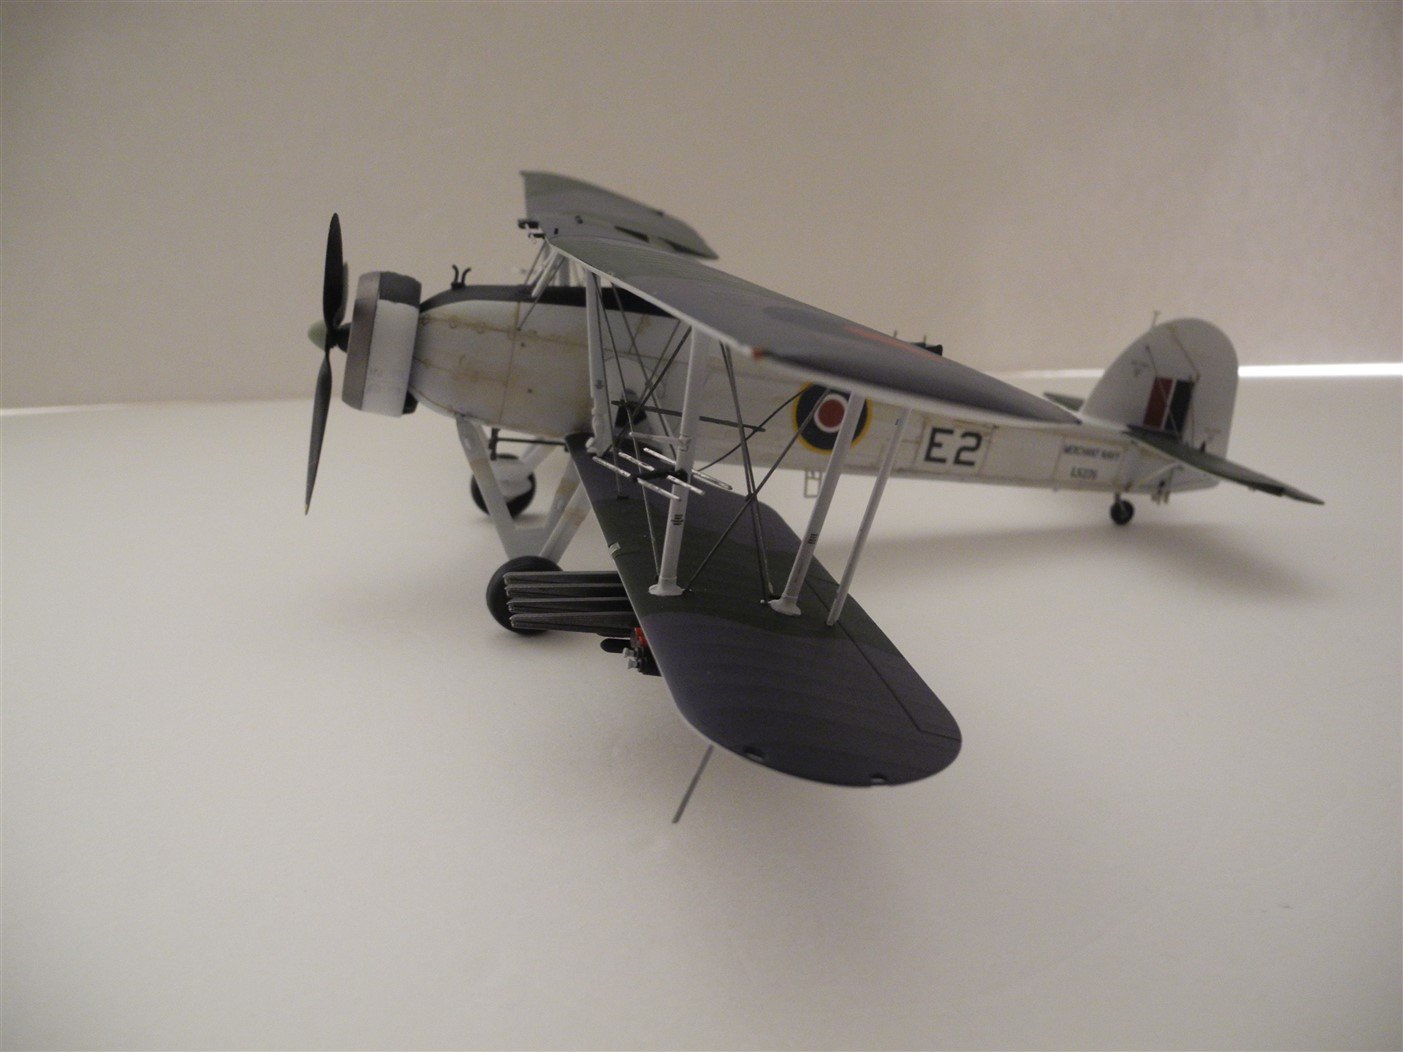
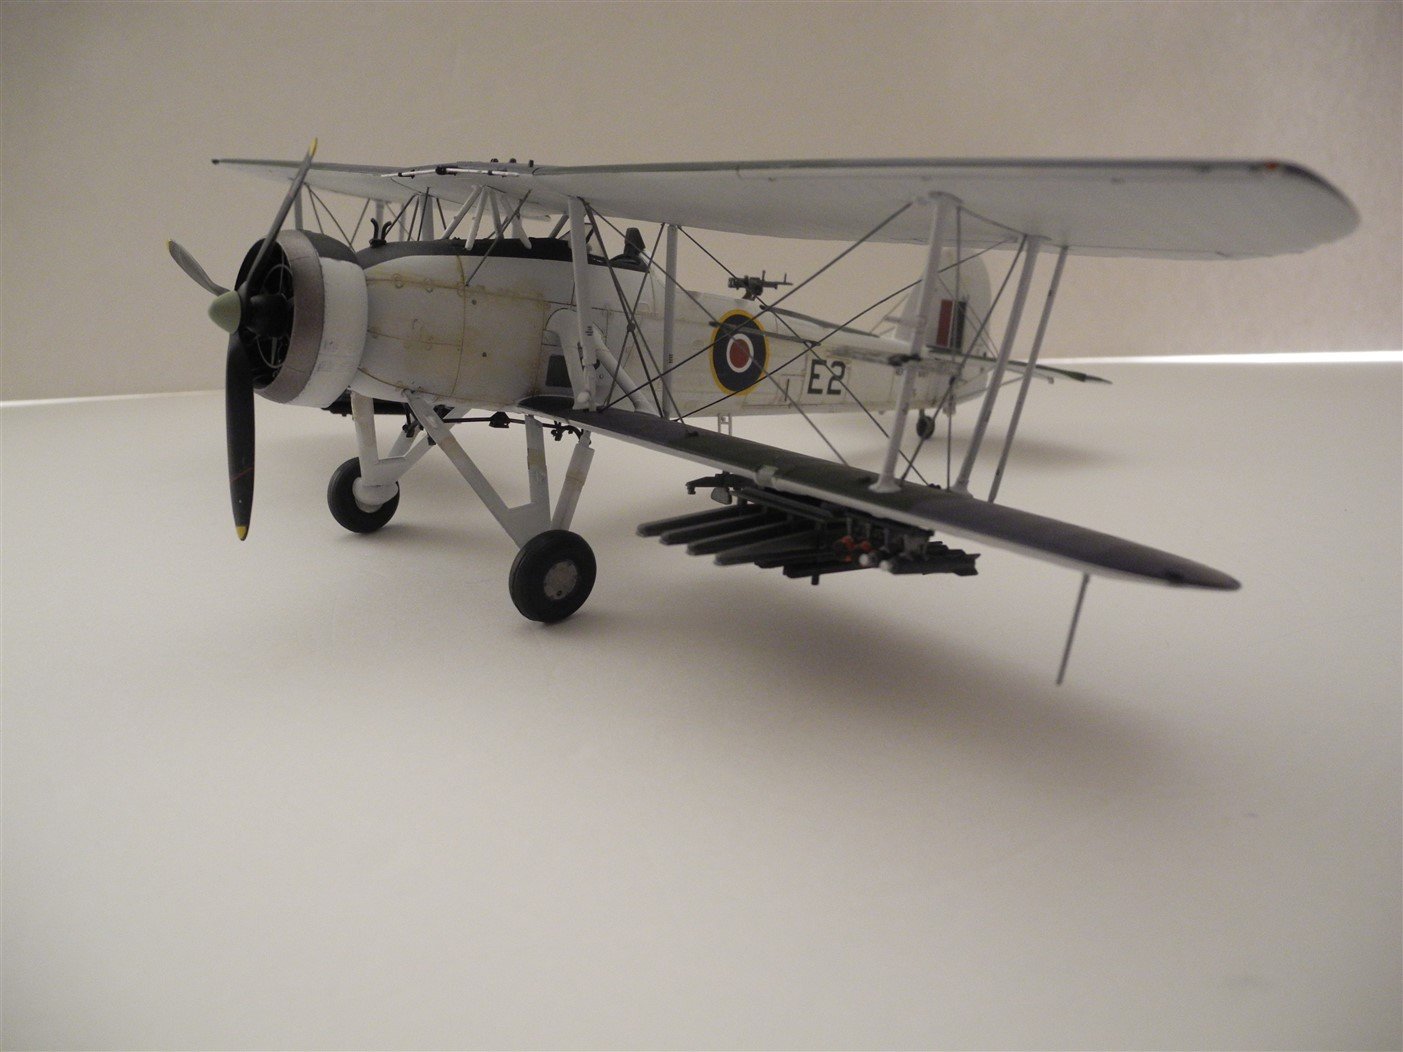
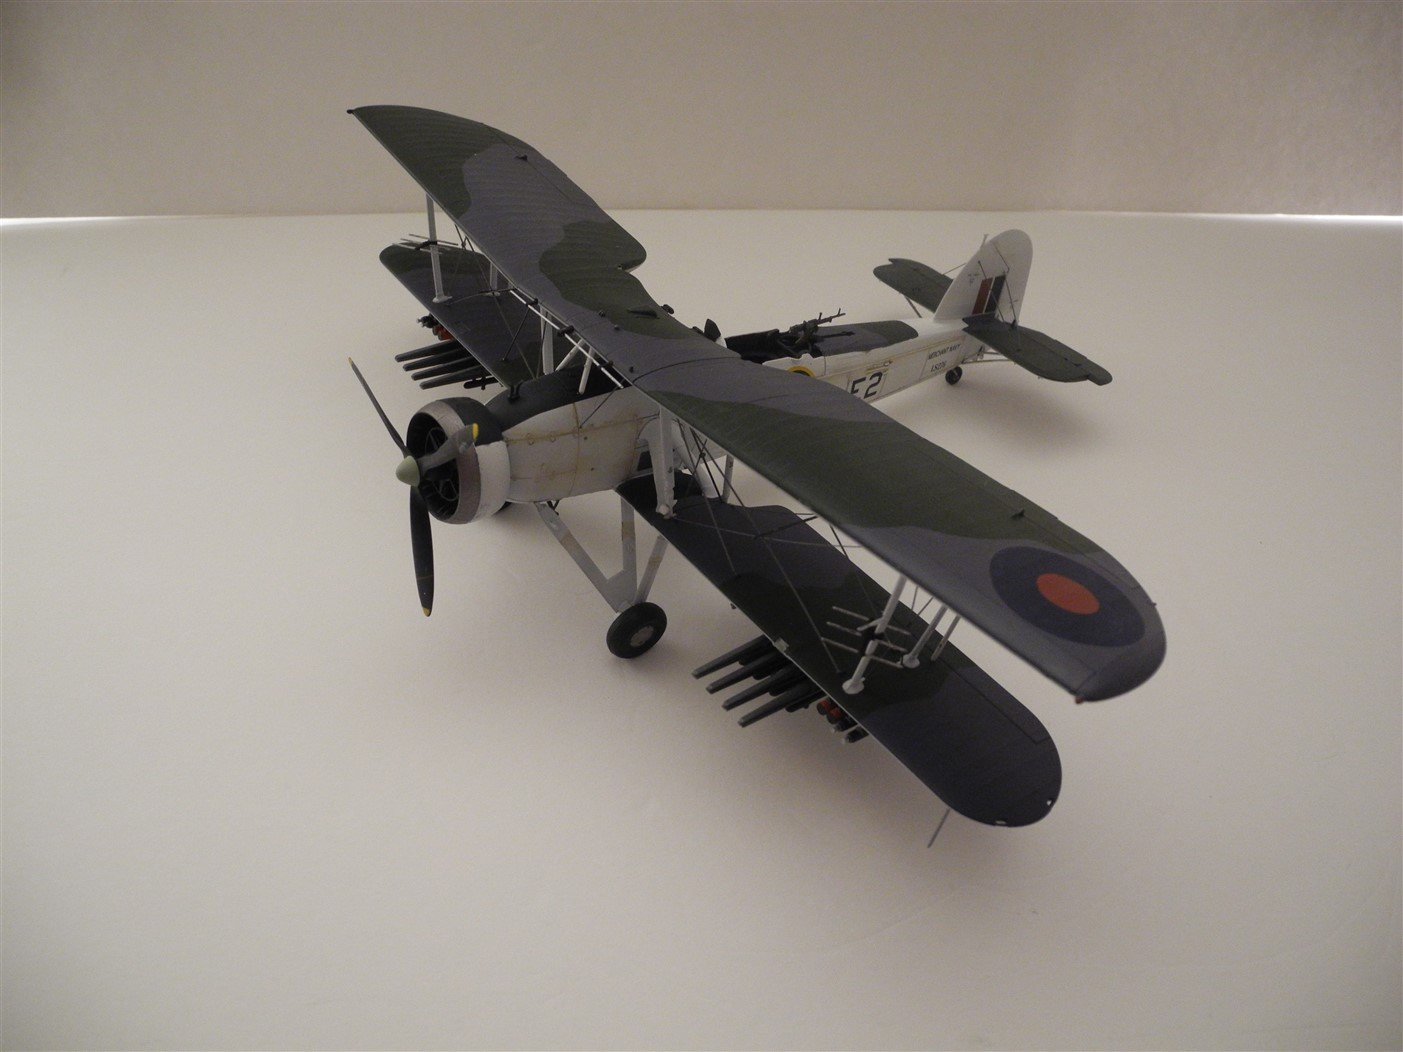
I can't do the Bismarck in 1:48, but I can do this next: Thanks to all for following this thread, for your "likes" and kind comments. It was much appreciated.
-
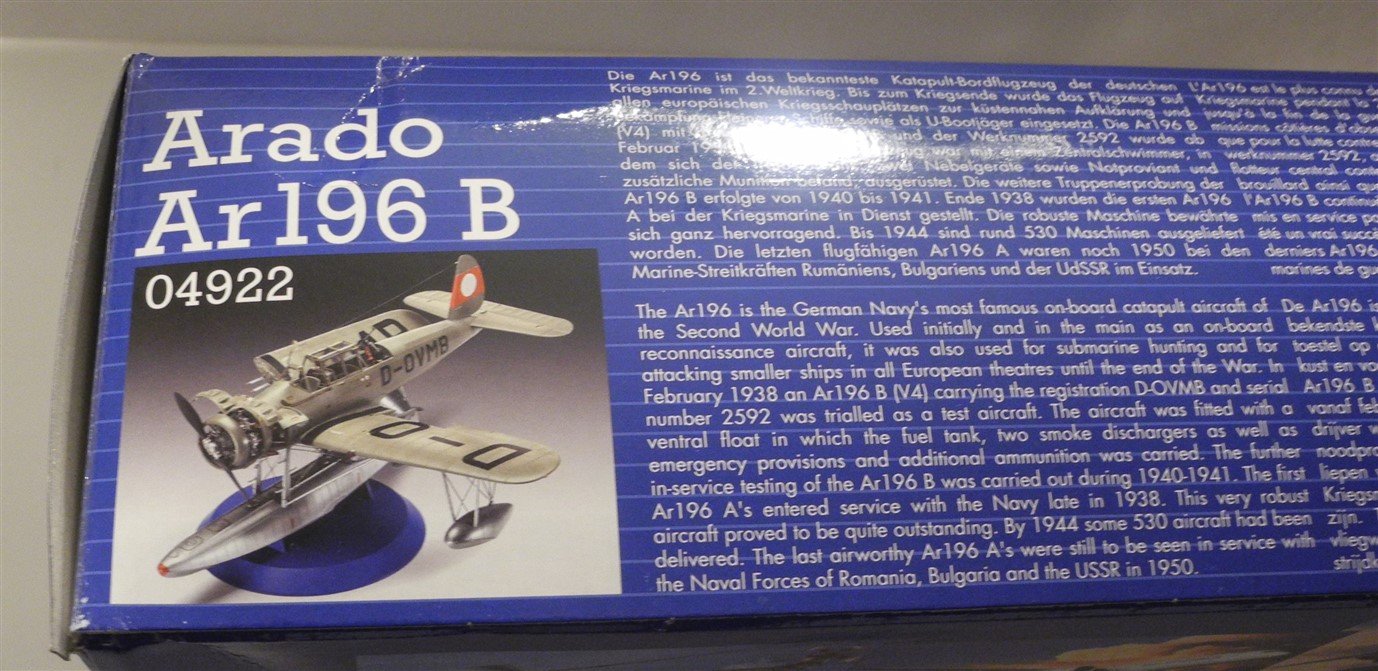
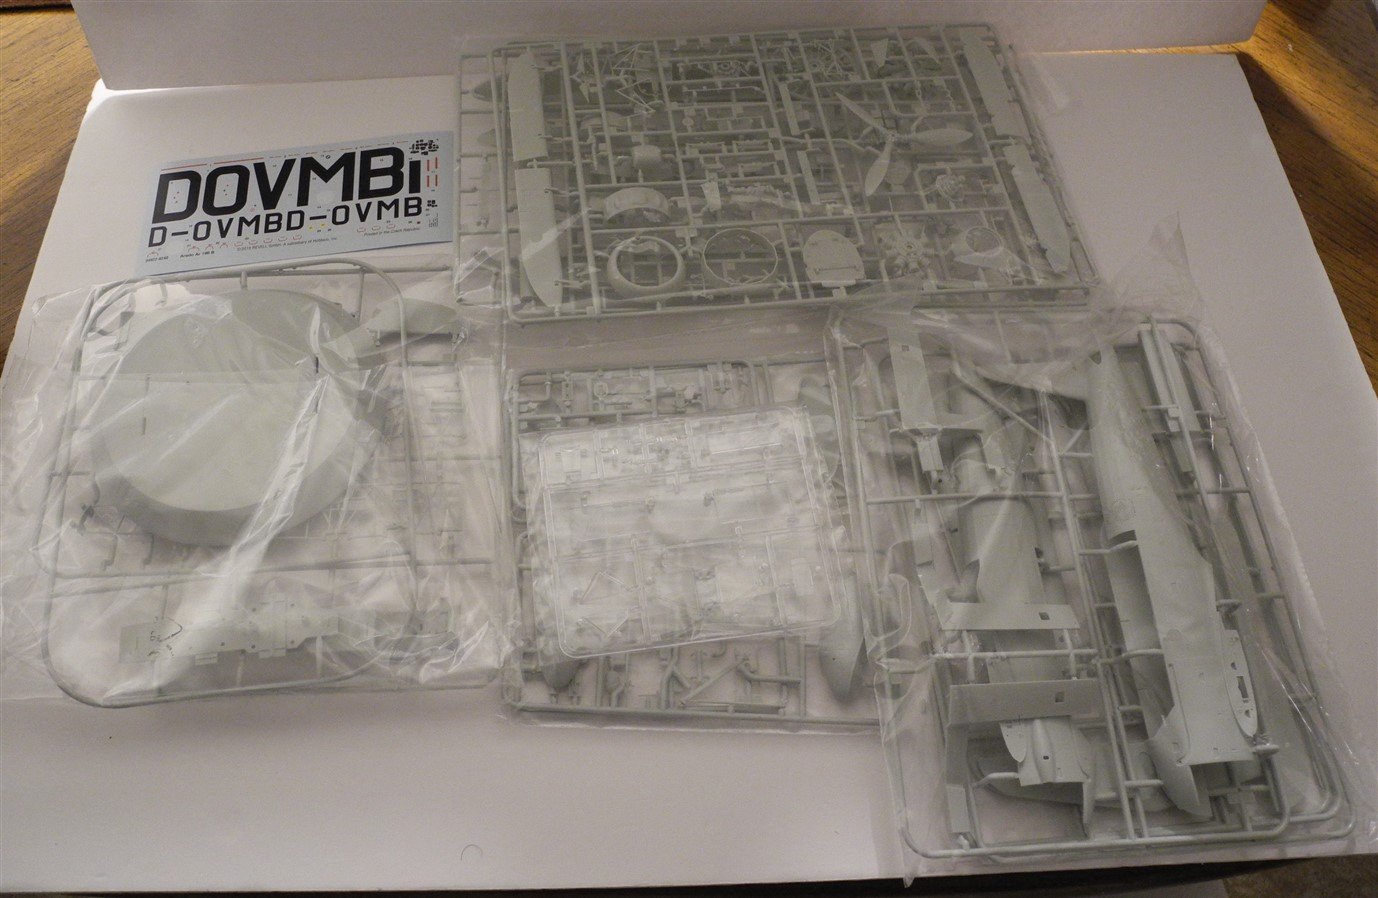
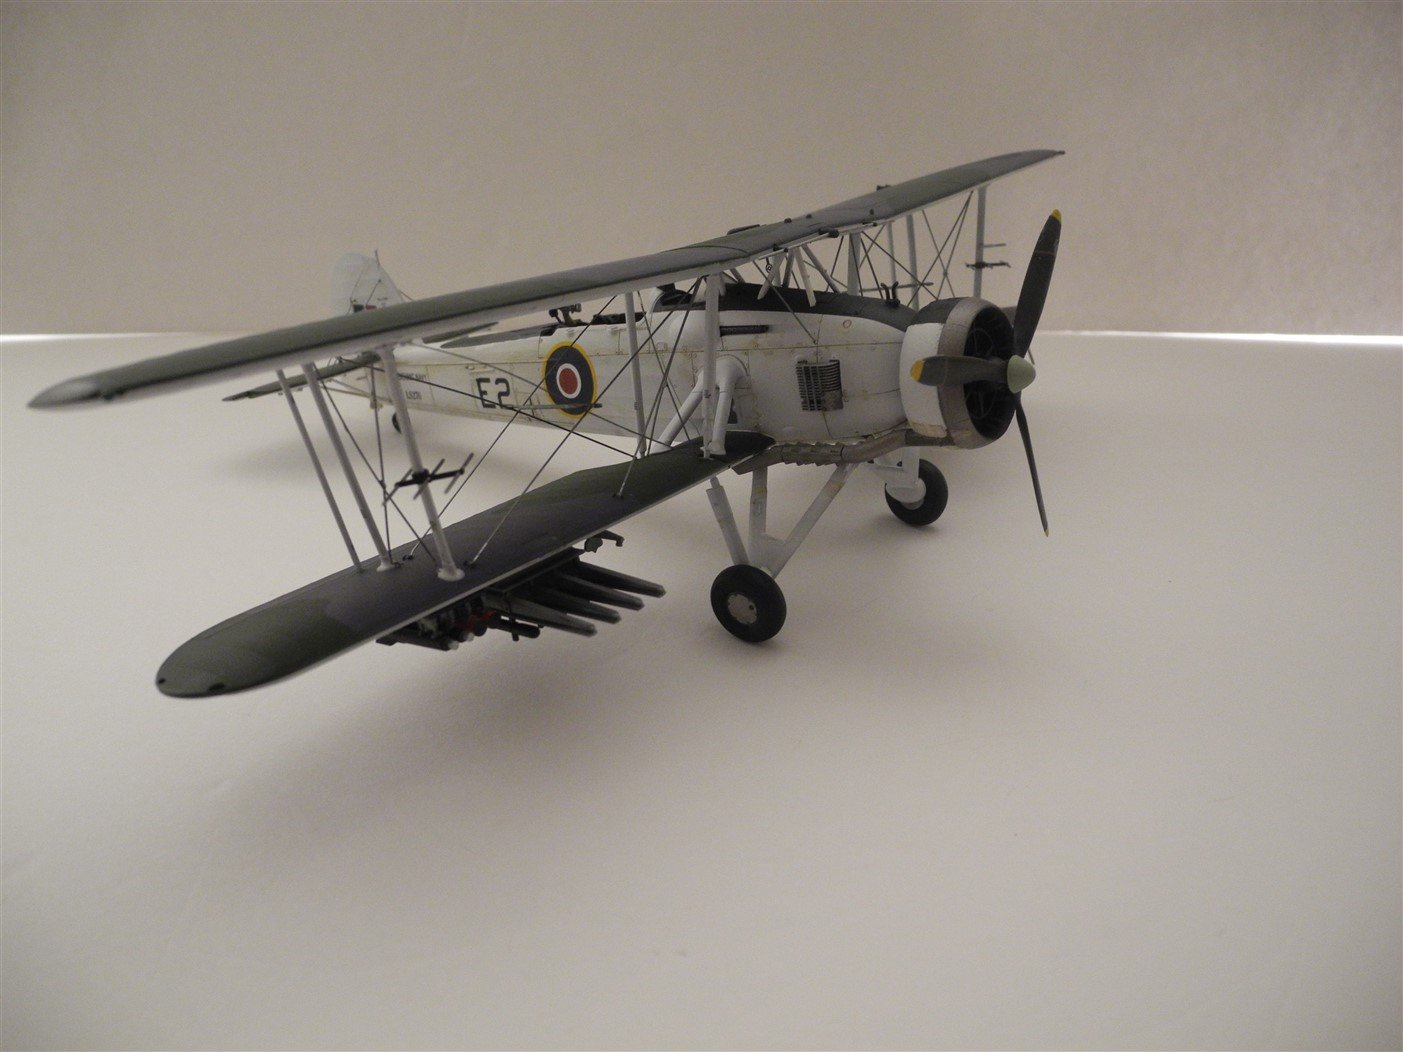
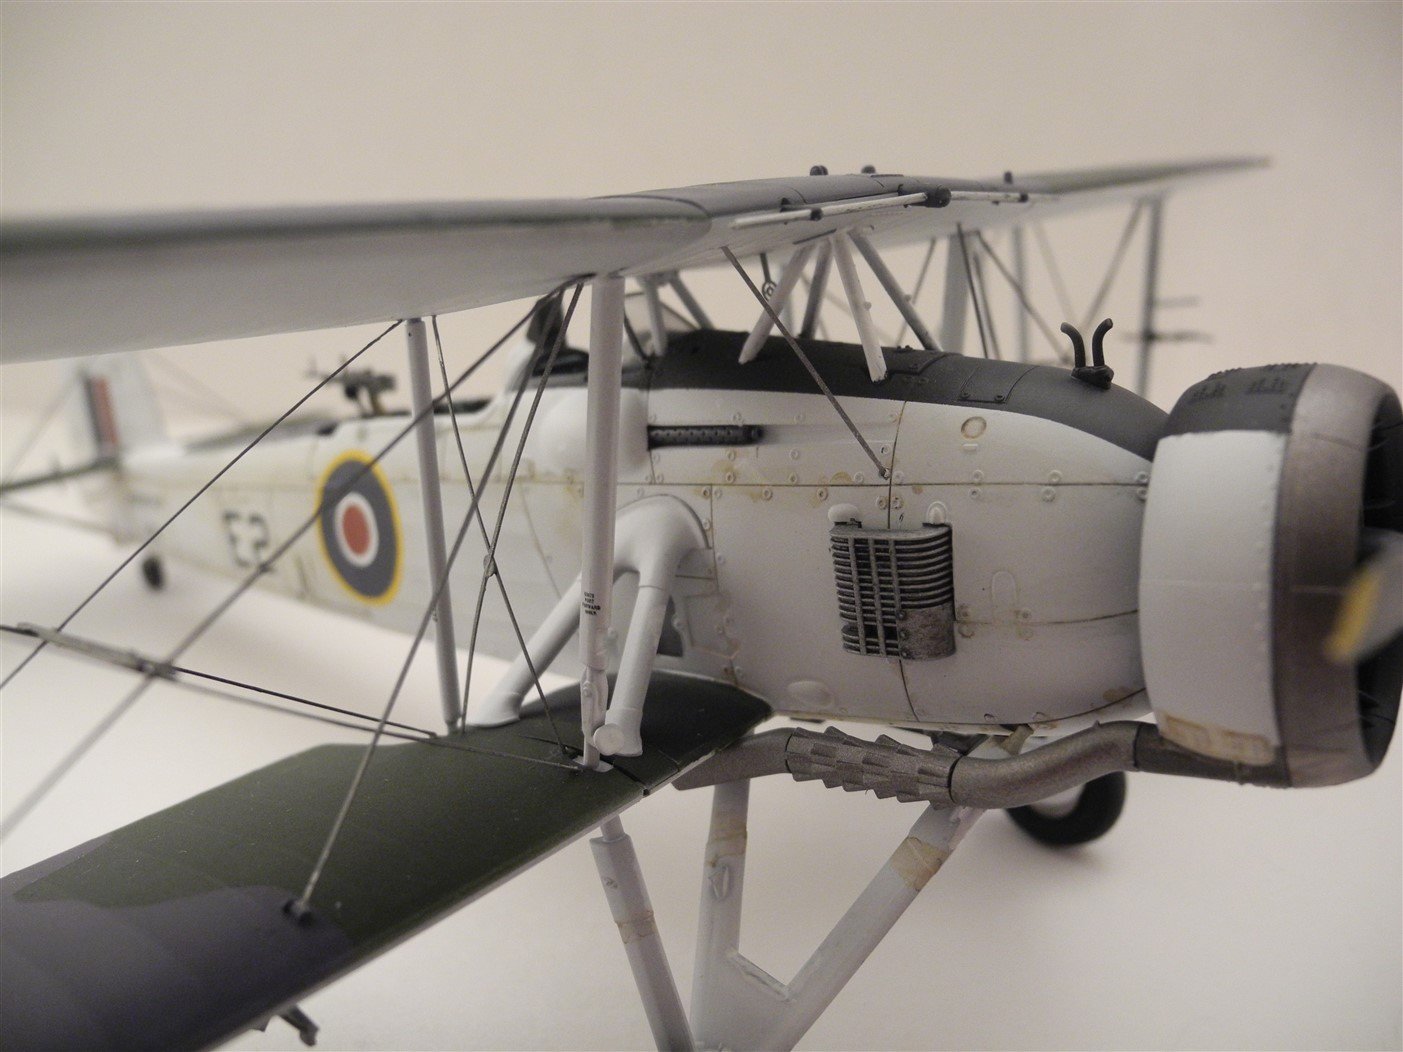
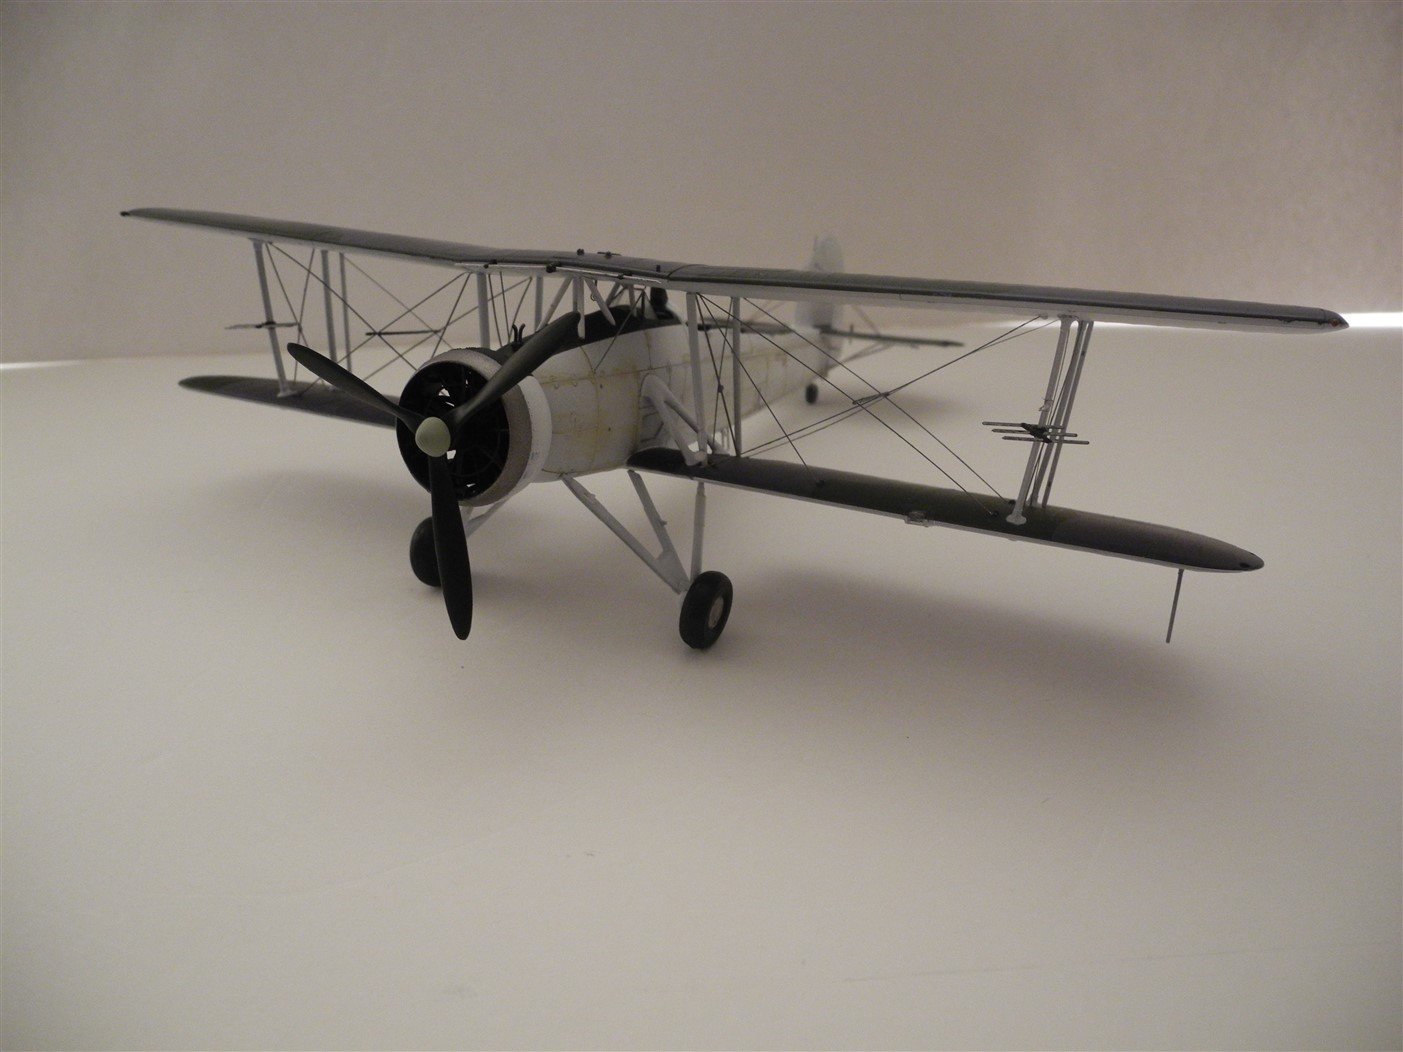
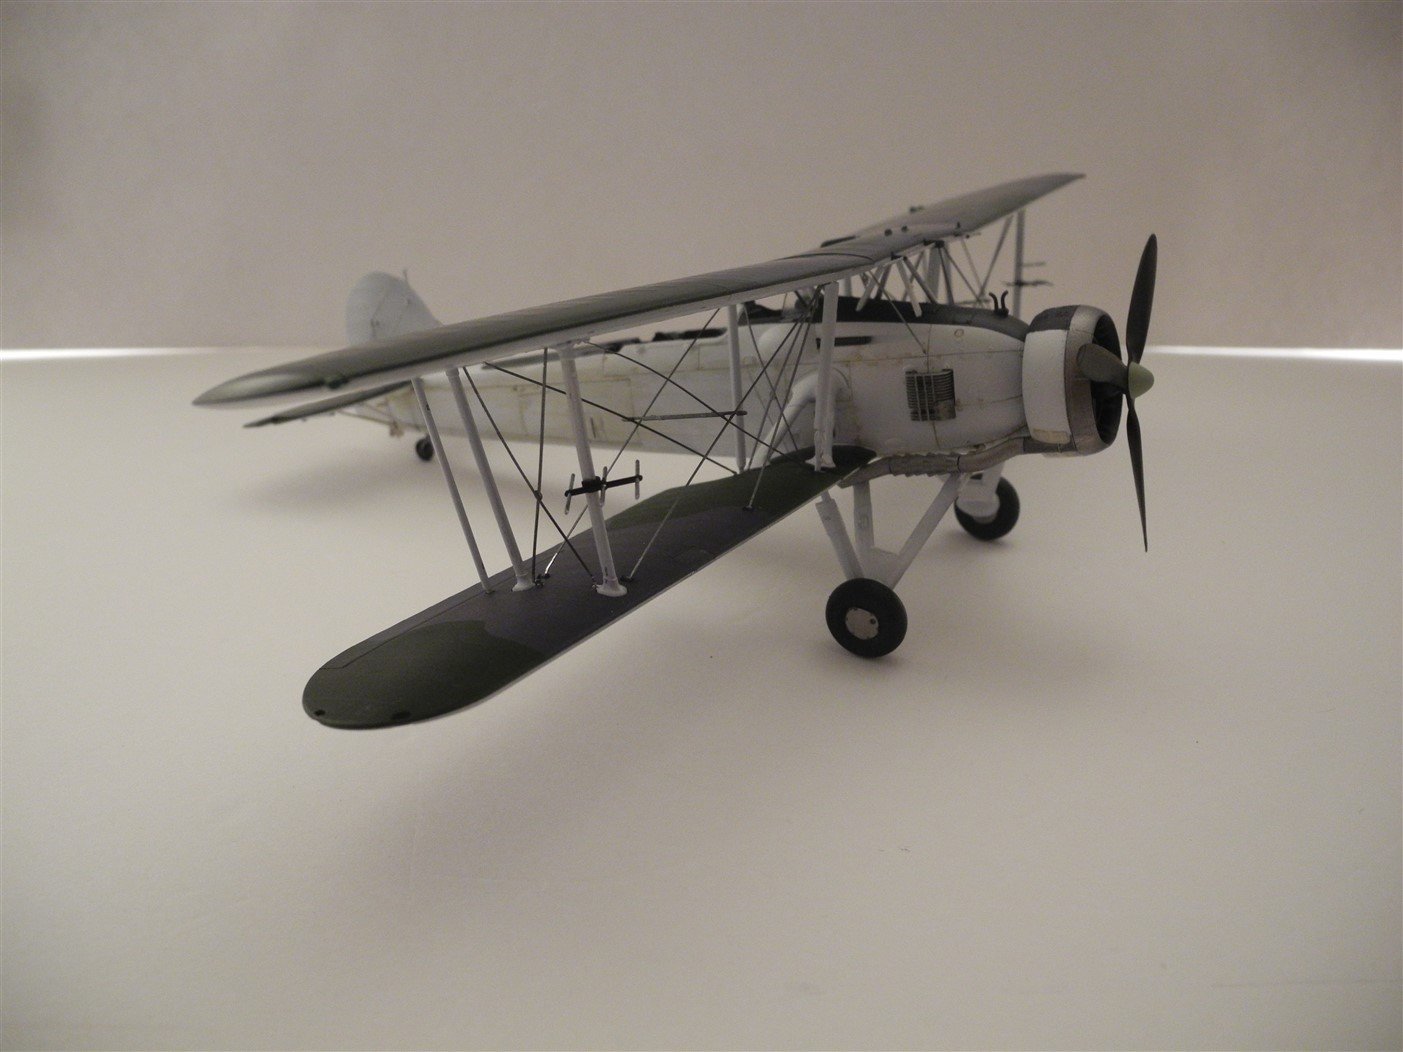
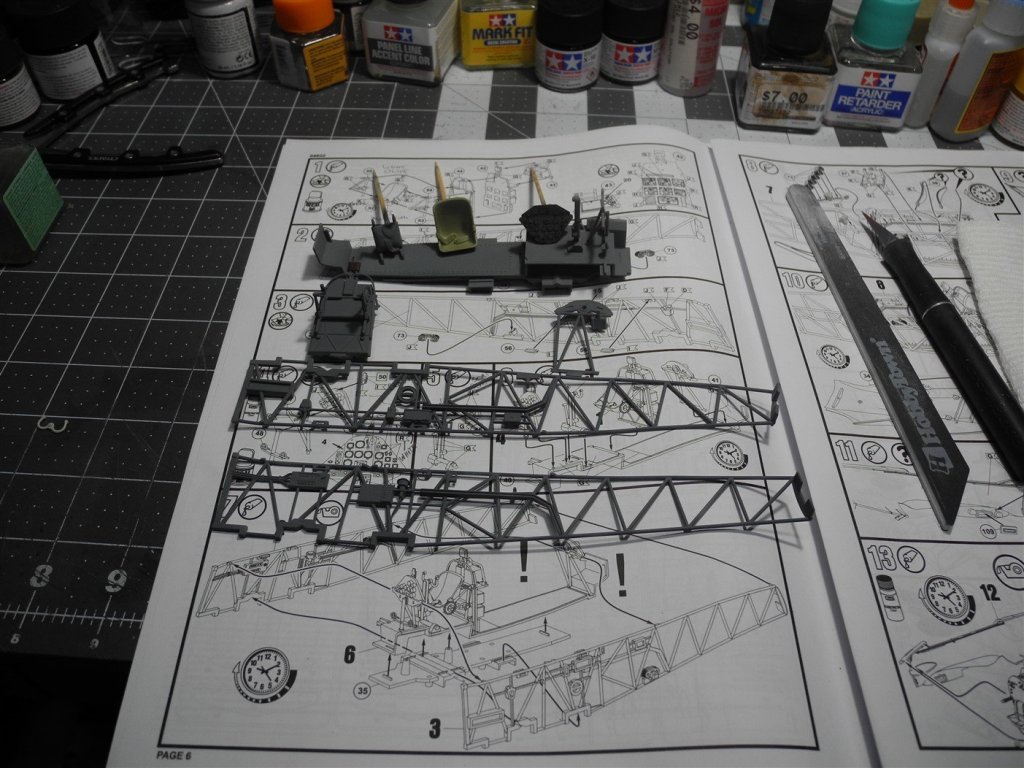
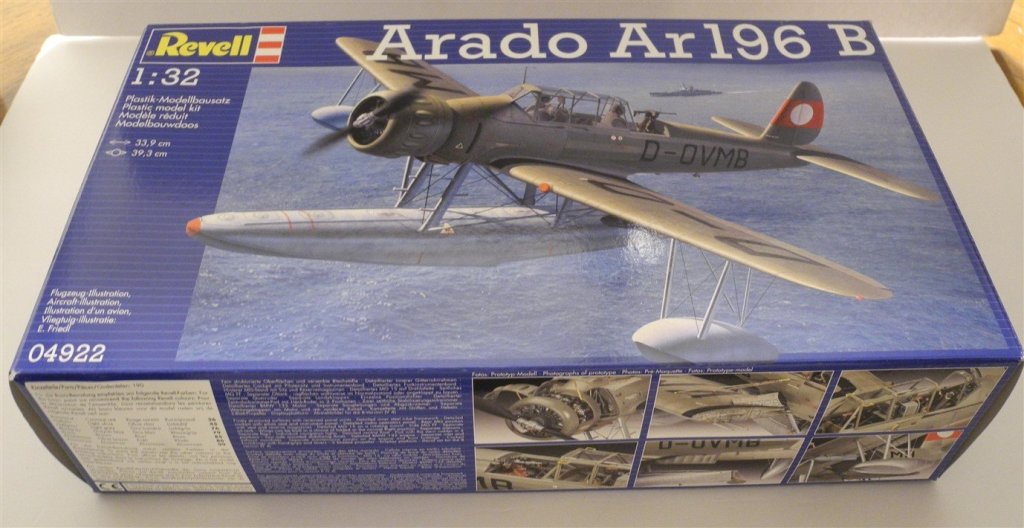
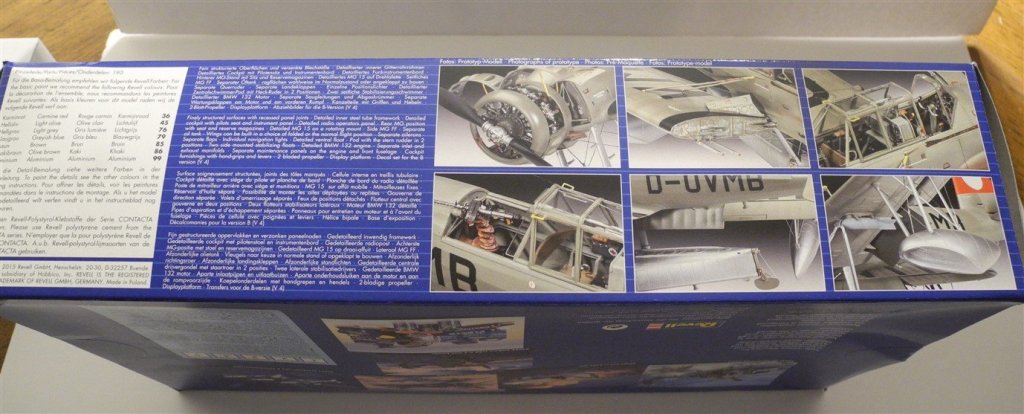
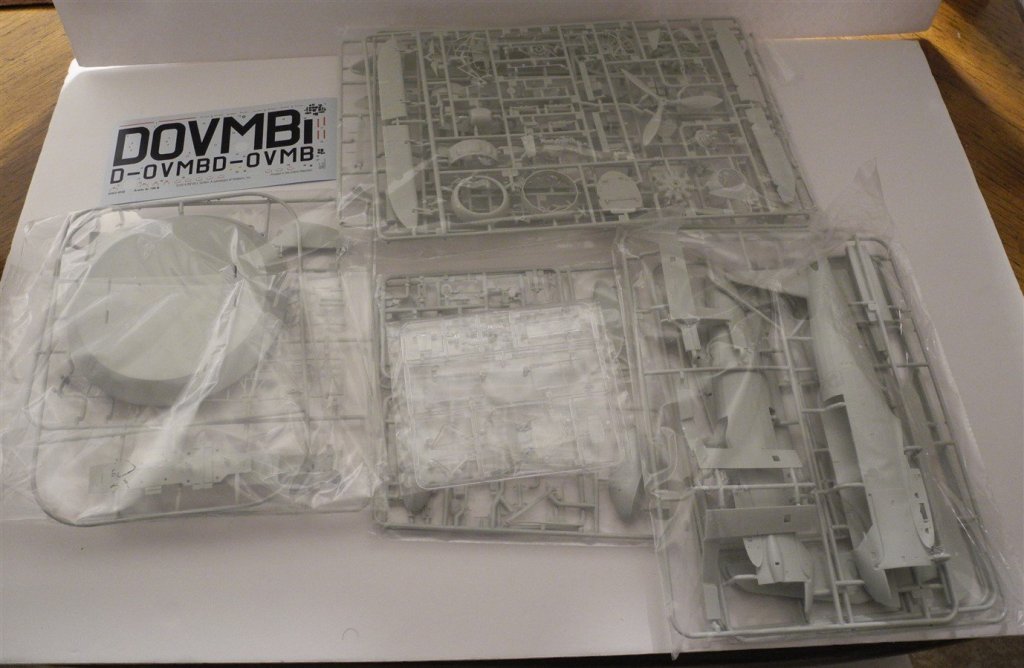
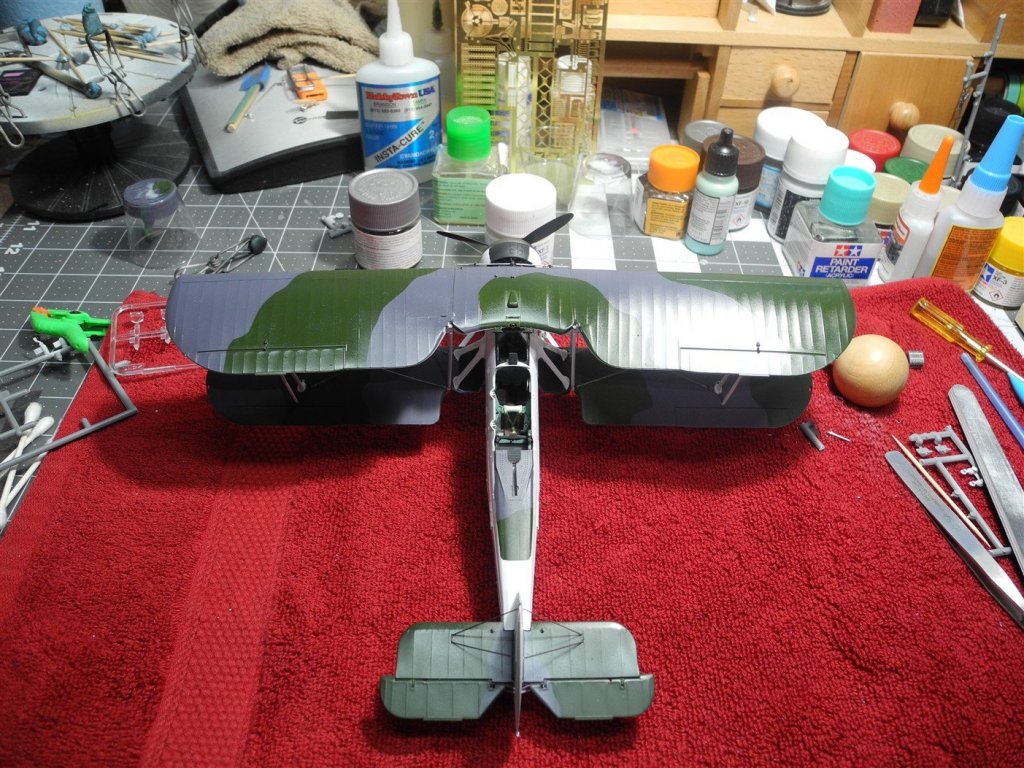
Having just completed the 1:48 scale Fairey Swordfish by Tamiya, thought I would stay with a naval aviation theme for my next build, the 1:32 Arado AR 196-B by Revell Germany. The model kit as produced recreates the prototype version of the Arado from the late 1930's. I would have liked to build it as an upgraded AR 196-A3, but I could not find any suitable production decal markings for it anywhere on the web. I just don't have time this go-round to scratch all those details so I will settle for building the kit as it is straight from the box. Maybe at another time someone will have produced the decals I want and I will do this model again as a Bismarck recce plane which is what I really wanted to do. Here are a few photos of the box and the parts inside the box (approx 190 of them). I am allotting myself 2 weeks to finish this project which seems to be a reasonable amount of time provided I don't run into unforeseen fit issues. Without further adieu, I will get started on the model.

- 100 replies
-
- 11
-
-
Phantom Henry J Gasser by jct - FINISHED - 1/24 scale - PLASTIC
CDW replied to jct's topic in Non-ship/categorised builds
Great scratch building tips right there! -
Thanks OC!
-
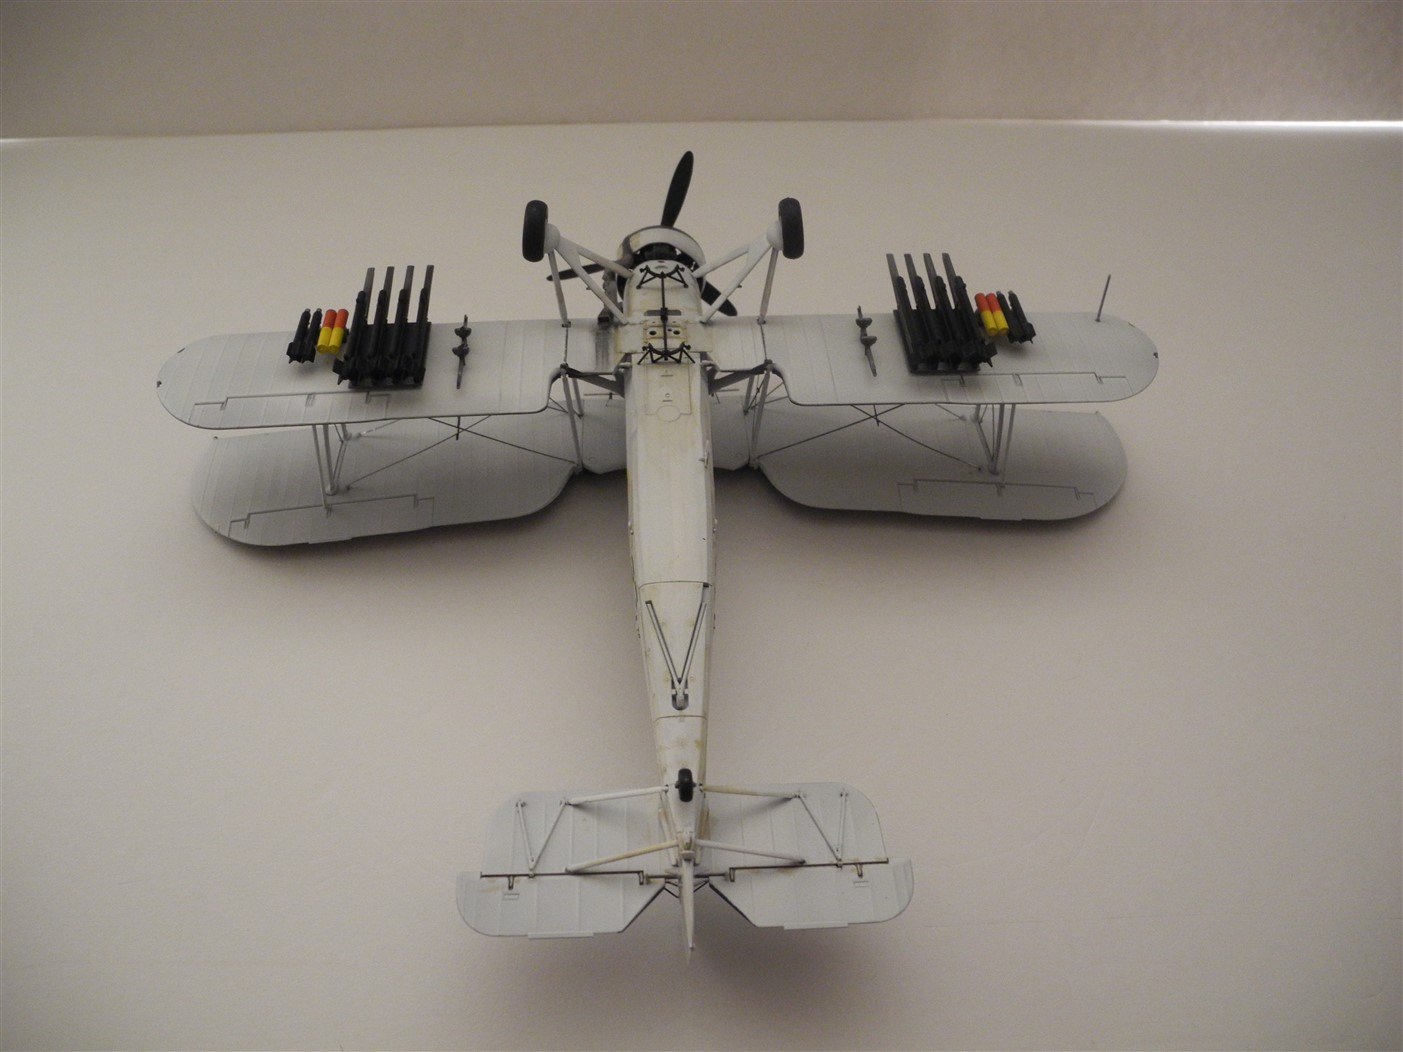
Thanks Denis! I got all my ordnance installed and all the decals are on. I will give it a dull coat tonight, then take some photos after that. This one is history. On to the next project. Need to decide what it will be...decisions, decisions.
-
Phantom Henry J Gasser by jct - FINISHED - 1/24 scale - PLASTIC
CDW replied to jct's topic in Non-ship/categorised builds
Thanks! -
Phantom Henry J Gasser by jct - FINISHED - 1/24 scale - PLASTIC
CDW replied to jct's topic in Non-ship/categorised builds
Have you run across anyone who is making/selling resin engine kits? In the late 90's, early 2000's, there were several cottage industry people making really nice race engine replicas. Now, I have not seen any around. They were not cheap back then, but they were very nicely done and would give a whole lot of extra to any scale racing model. -
Phantom Henry J Gasser by jct - FINISHED - 1/24 scale - PLASTIC
CDW replied to jct's topic in Non-ship/categorised builds
Wow, some great Henry J pics! For a no-graphics/no-decals car, that 6th picture down from the top is a great looking Henry J gasser, for sure. For a name, got to love the Mr. Nasty gasser. His flames are sub par, but I like the old school look of that one, too. -
I have never used Life Color paints, so cannot make any comments on the suitability of either of the two thinners with that paint.
-
Phantom Henry J Gasser by jct - FINISHED - 1/24 scale - PLASTIC
CDW replied to jct's topic in Non-ship/categorised builds
The Anglia was a popular gasser body style. One named Underdog was a local favorite for me. He ran a straight six and that thing was so darned consistent, he took home trophy after trophy almost every weekend. An excellent driver. -
Phantom Henry J Gasser by jct - FINISHED - 1/24 scale - PLASTIC
CDW replied to jct's topic in Non-ship/categorised builds
Very interesting project JCT. I remember building the model long ago, but I don't remember ever seeing an actual Henry J at the strip, or on the street for that matter. I guess they were not a prolific car back then. -
Thanks JCT. Thinned india ink would work just fine provided you first put down a good gloss clear coat. That's a must.
-
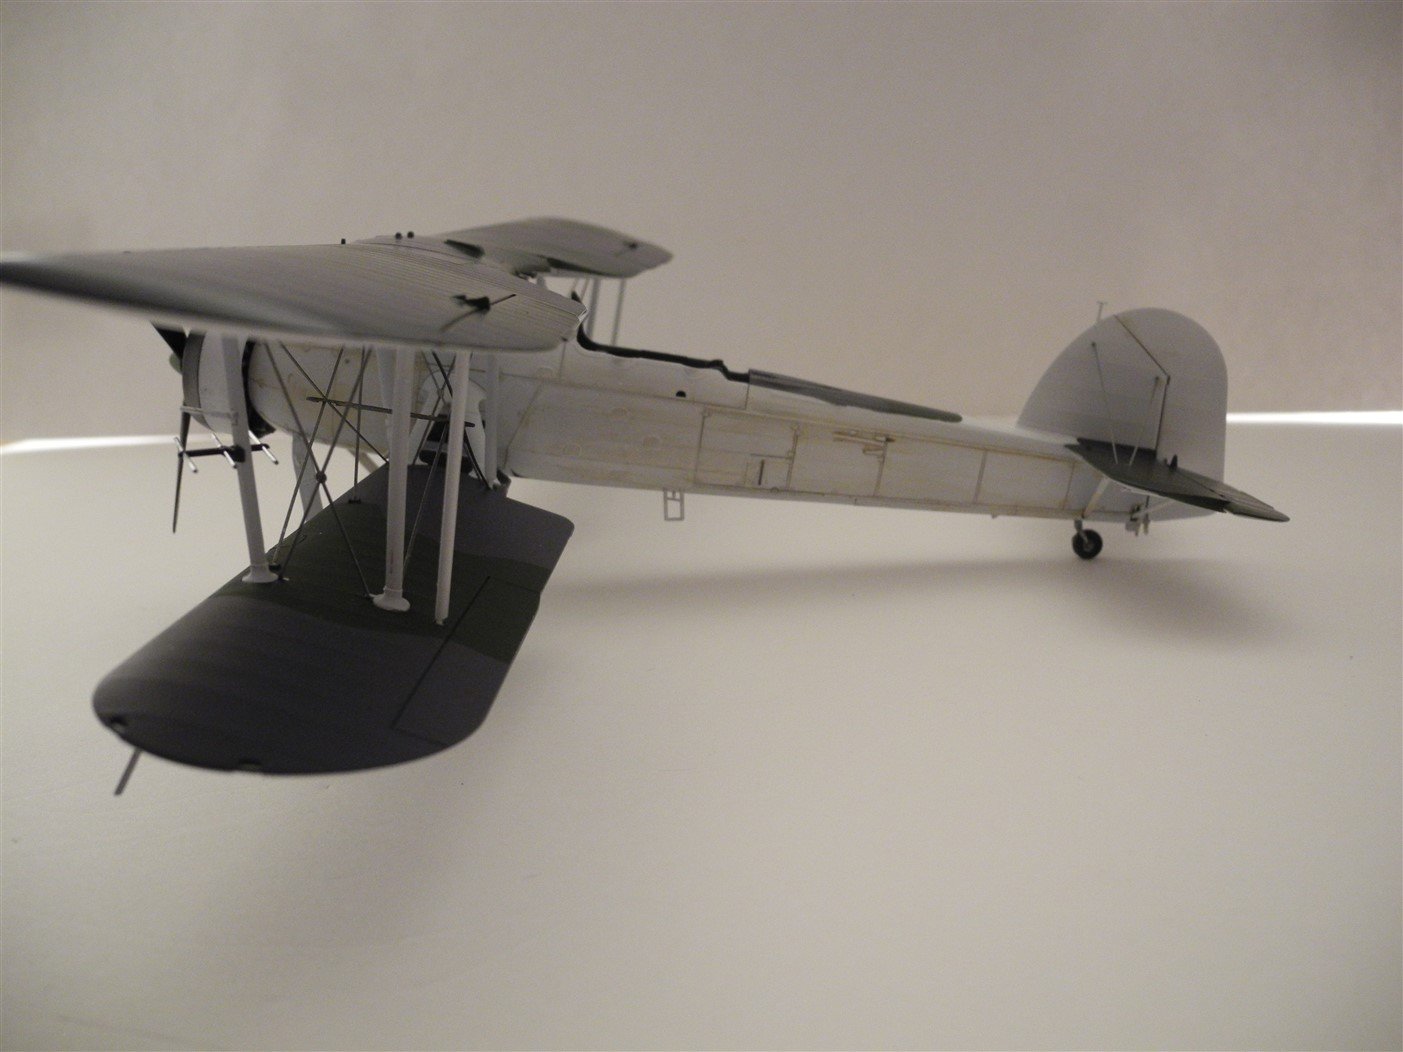
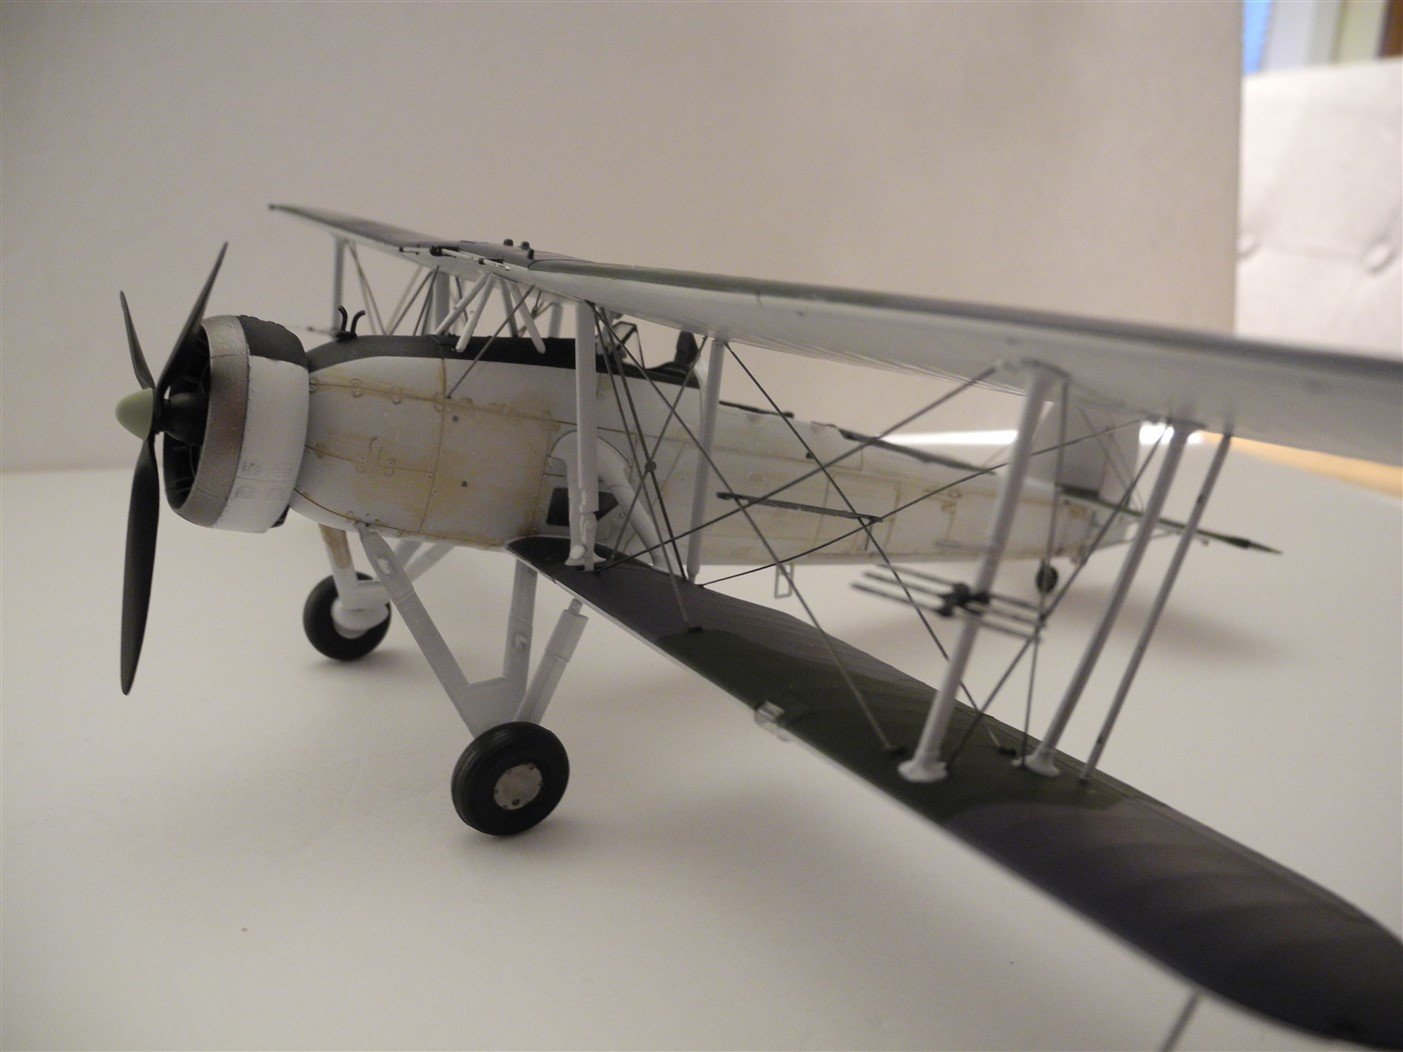
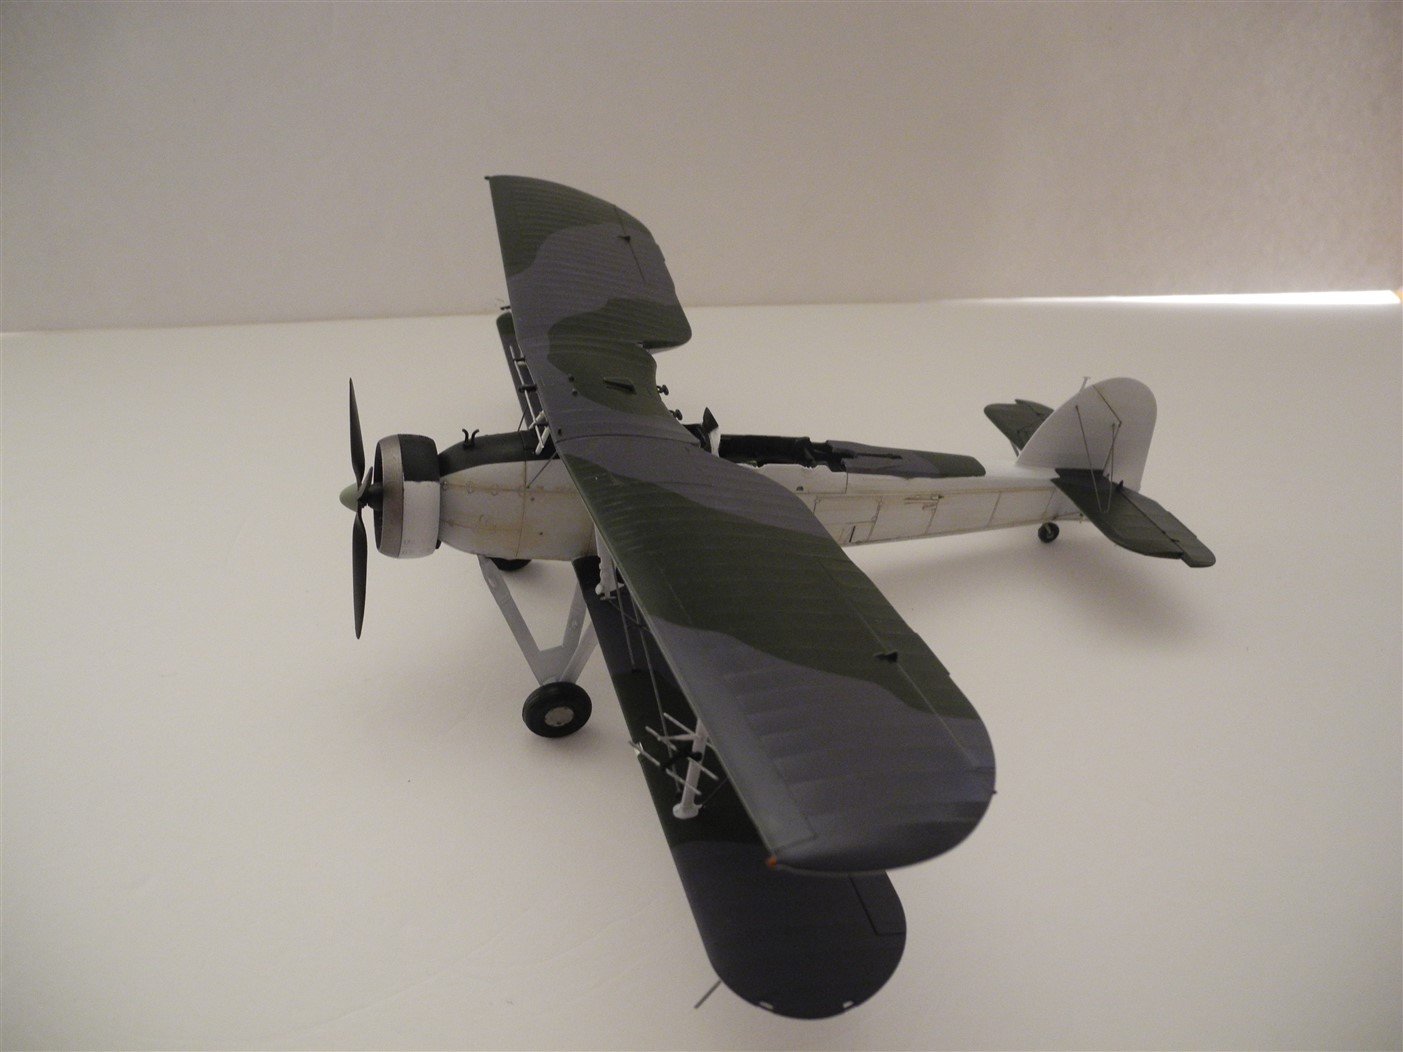
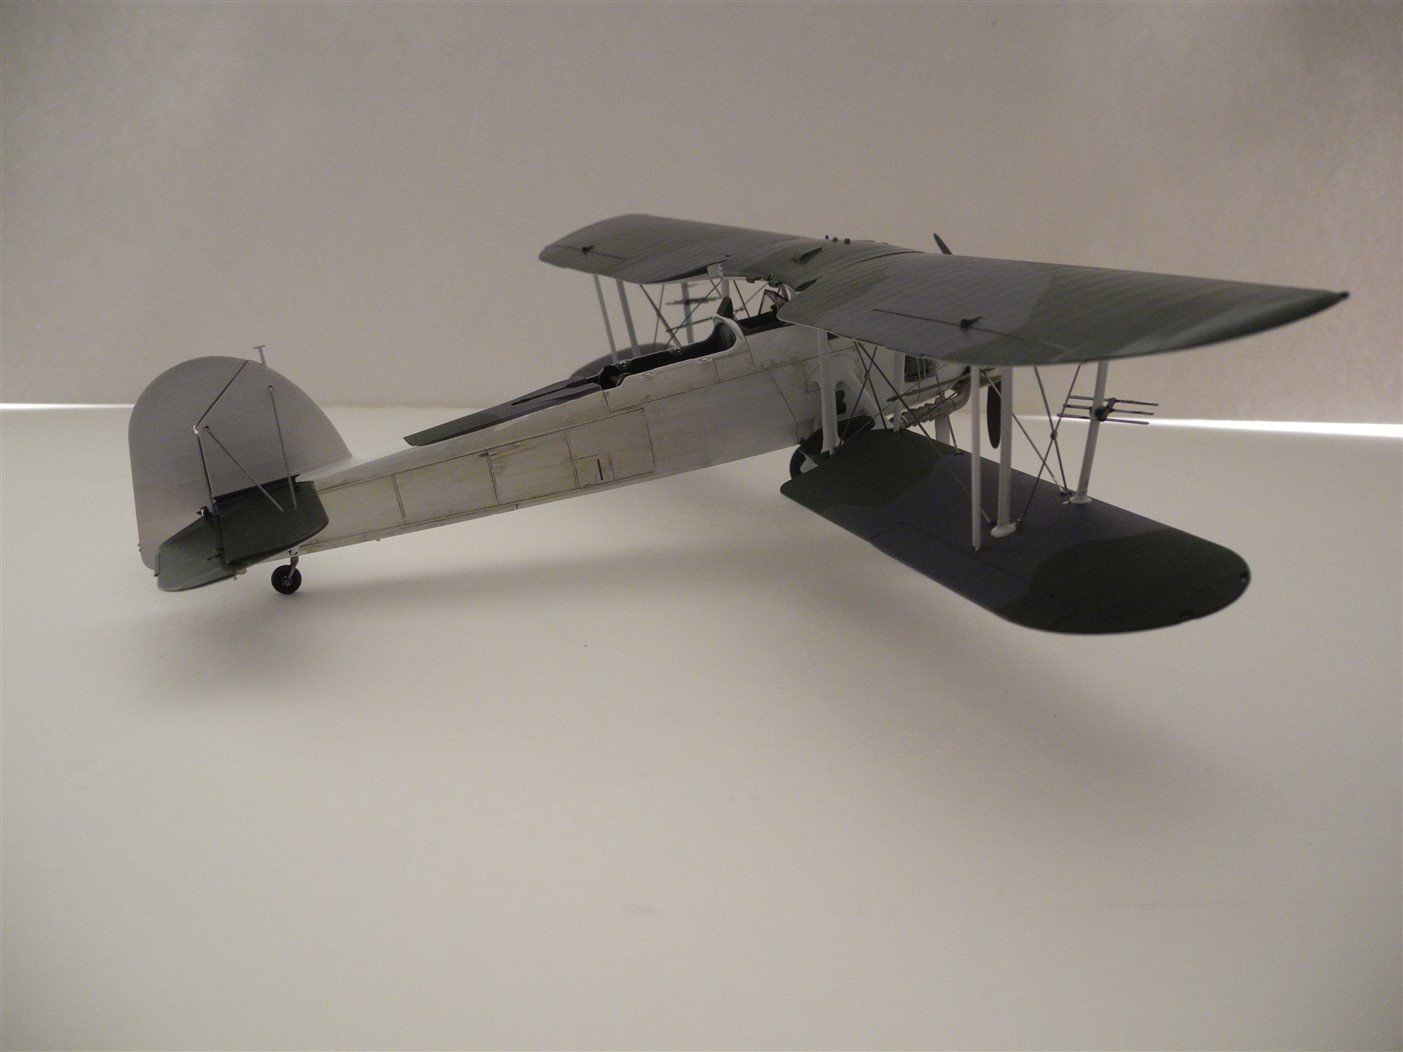
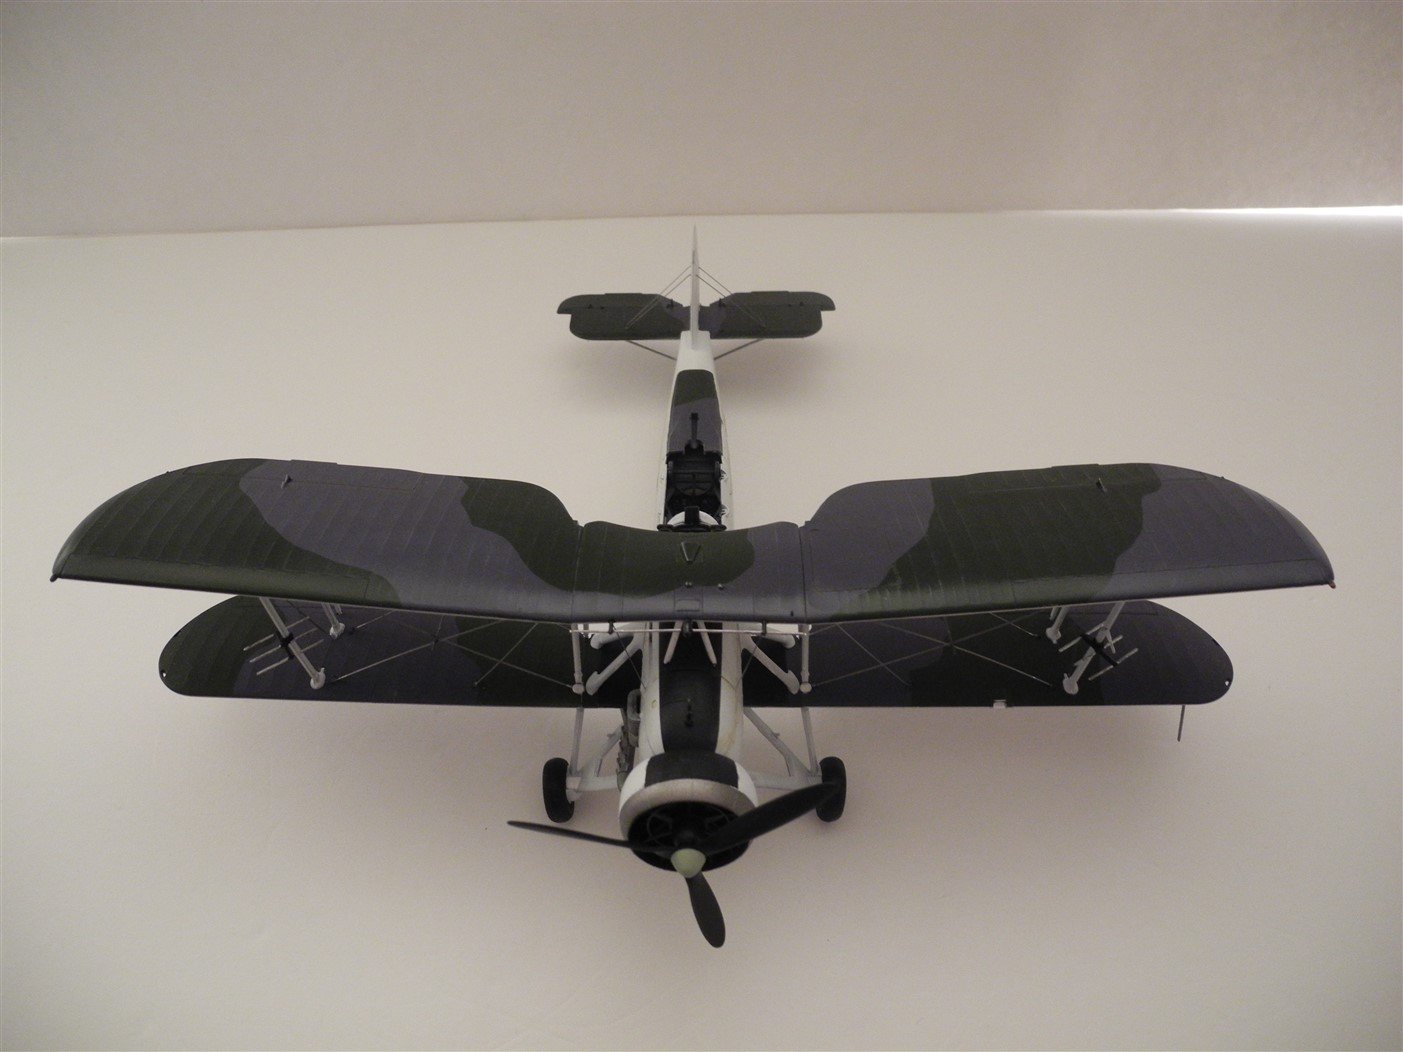
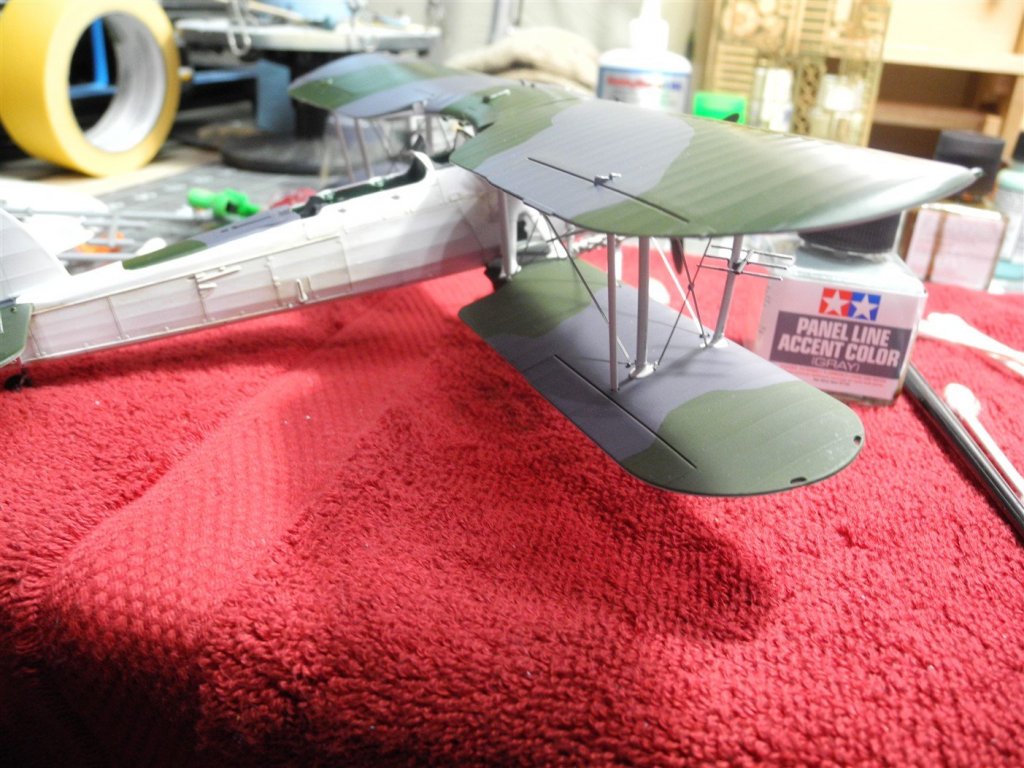
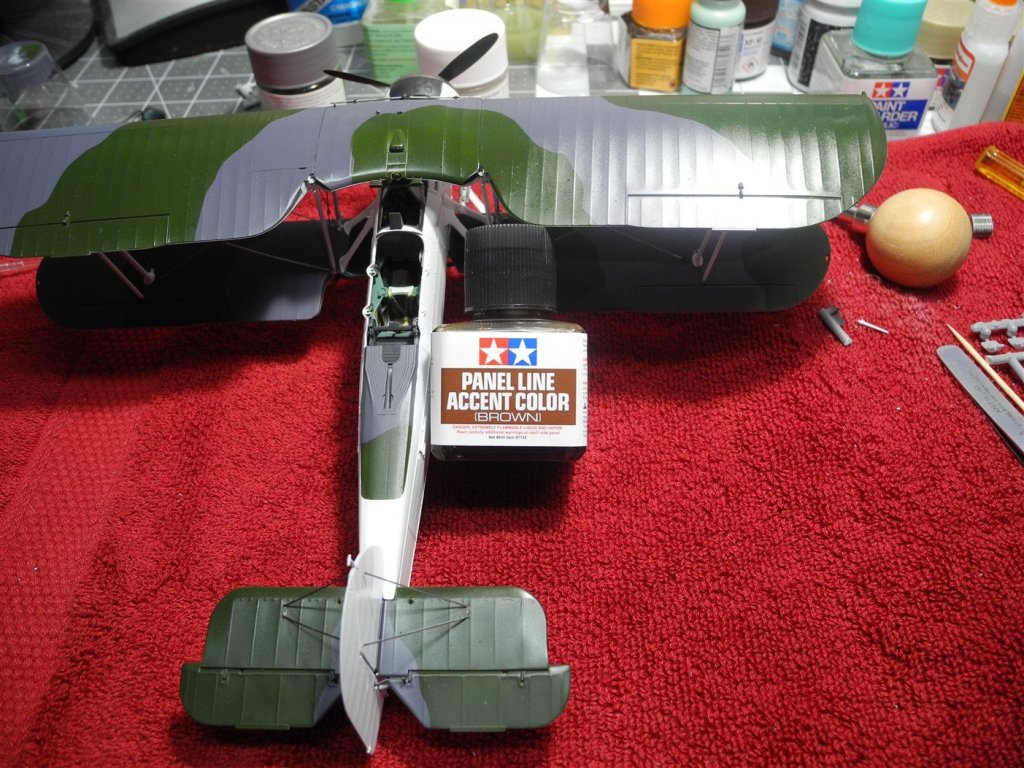
Here, I have applied a gloss clear coat over the entire model in preparation for some Tamiya panel line shading solution, brown and gray. First the brown panel line solution is applied with any excess swabbed away with q-tips. Then the light gray wash goes down with the same q-tip treatment. Last, a light dry brushing with Vallejo white pigment powder over the model.
- 79 replies
-
- 10
-
-
You mean to tell me all this is nothing more than a made for TV crap-fest? 😮
-
As a thinner for Tamiya paints as well as the Mr Hobby/Mr Color line of paints, you will not find a finer thinner than this: https://spraygunner.com/gsi-creos-mr-color-leveling-thinner/ It's fabulous. Mix 50-50 with the paint. As an alternative, use common rubbing alcohol (60% alcohol or higher) as a thinner. Works well with Tamiya paints and I use it all the time for a quick drying time. Mix 50-50. Cheap and easy to find.
-
You did a great job on the USS England, Jack. How did you like the Gator Grip glue for your photo etch? I think it makes the task lots easier to align and comes out much neater and cleaner.