CDW
-
Posts
7,760 -
Joined
-
Last visited
Content Type
Profiles
Forums
Gallery
Events
Everything posted by CDW
-
 Drawing very near to the finish line for the J7W1 Shinden.
-
Wow, that looks great Denis! Love the details 1/16 scale provides.
-
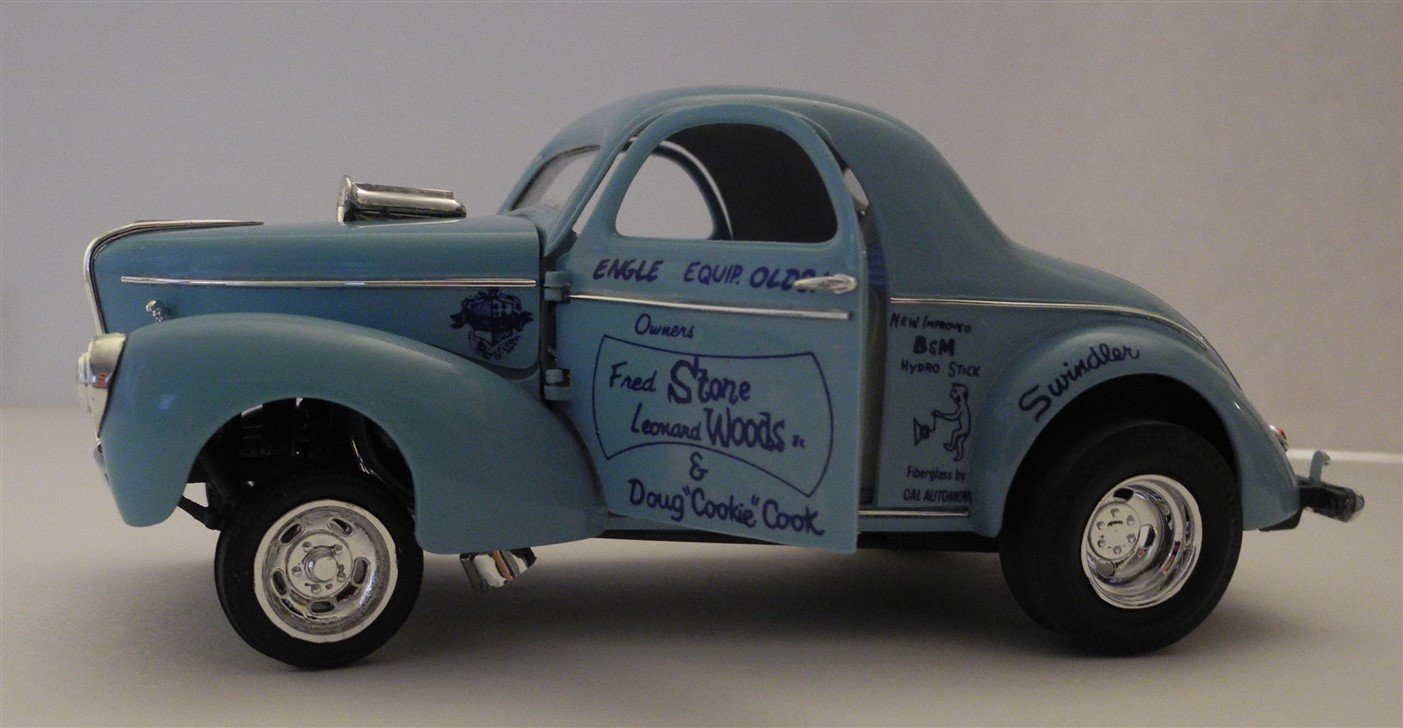
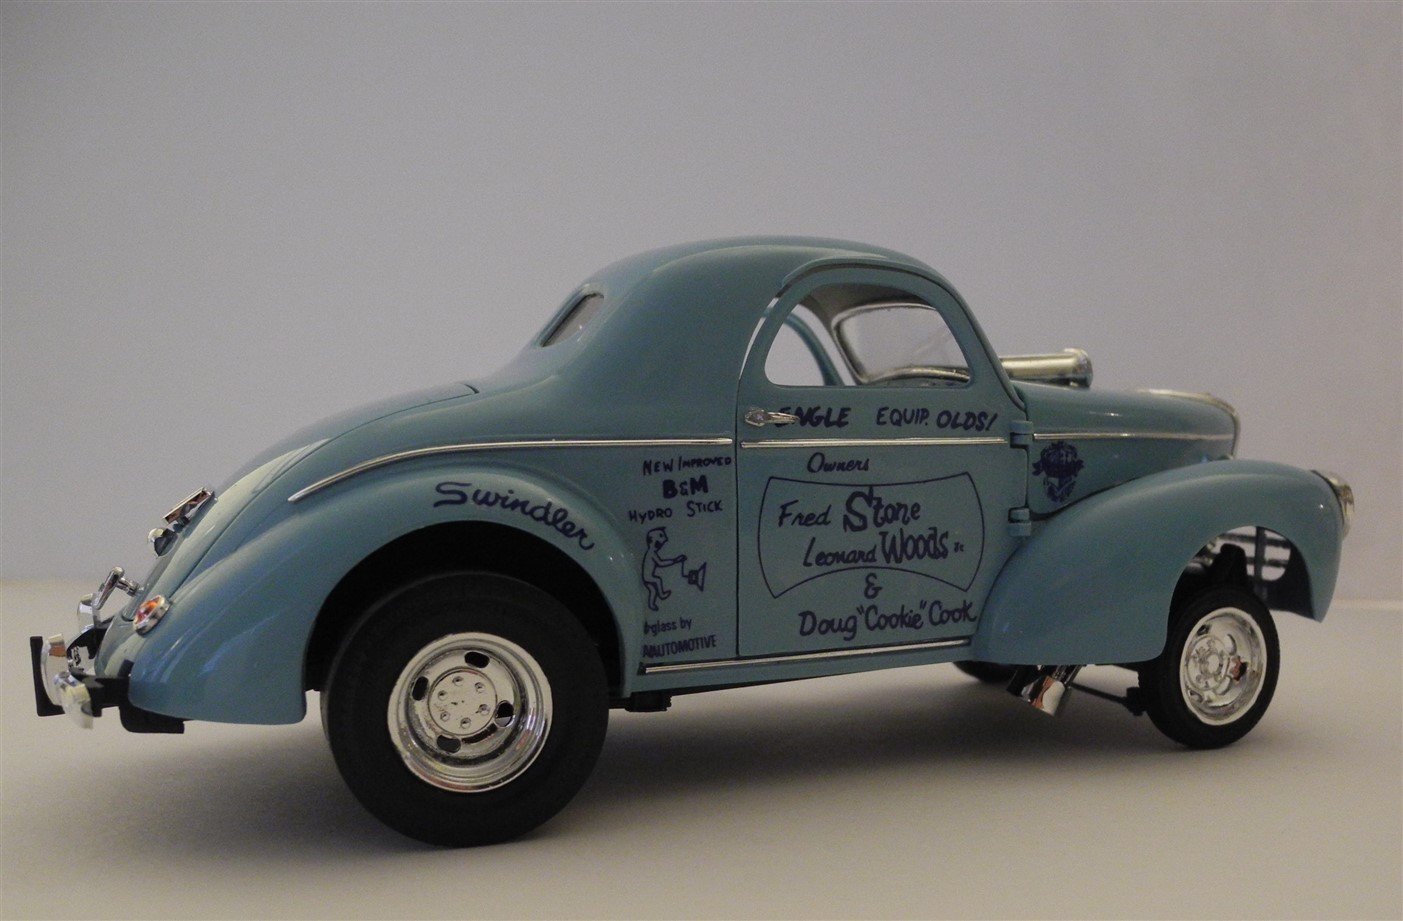
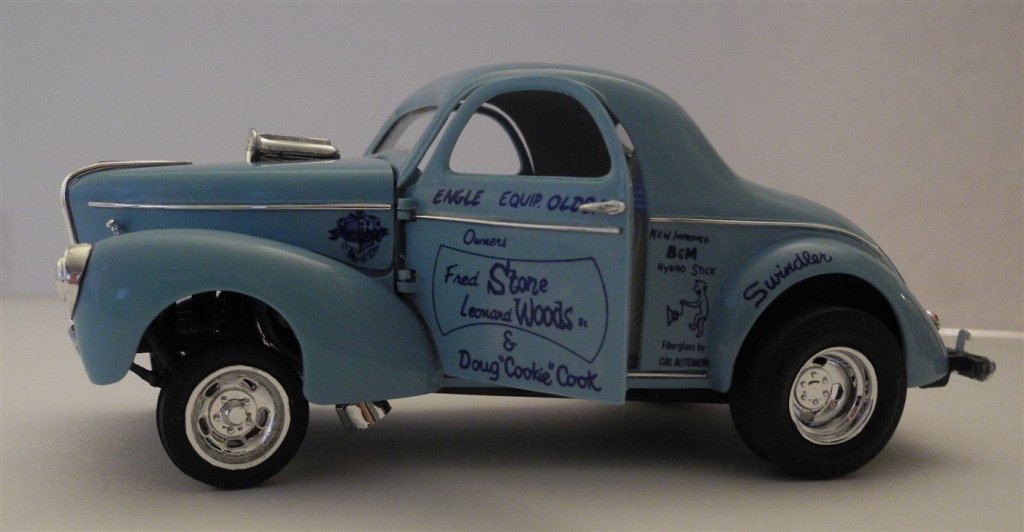
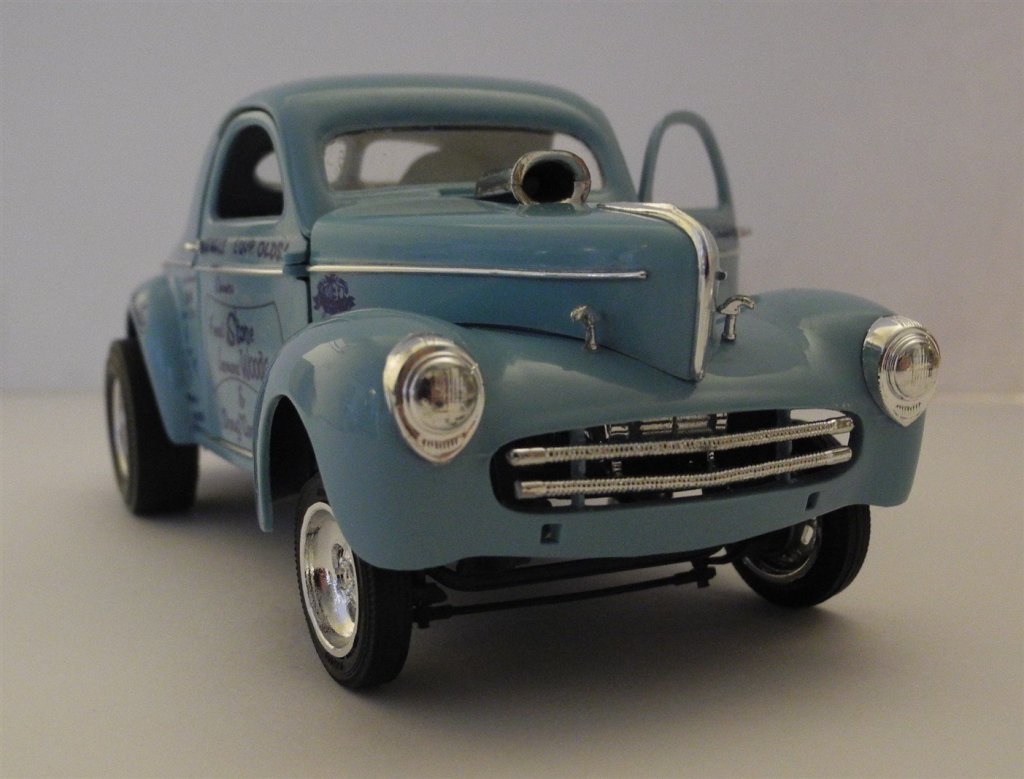
I did this vintage gasser on here already in the past year, but I can start another one. Been thinking of doing an AA Fuel Altered.

-
Green Elephant funny car by jct - FINISHED - 1/24 - PLASTIC
CDW replied to jct's topic in Non-ship/categorised builds
Between the sixties and seventies, safety zone grew a lot due to faster dragsters. Many drag strips had to take safety measures to remain open. 1/8 mile was an option I never liked much. -
I really like those decals. Going to be a great looking FC
-
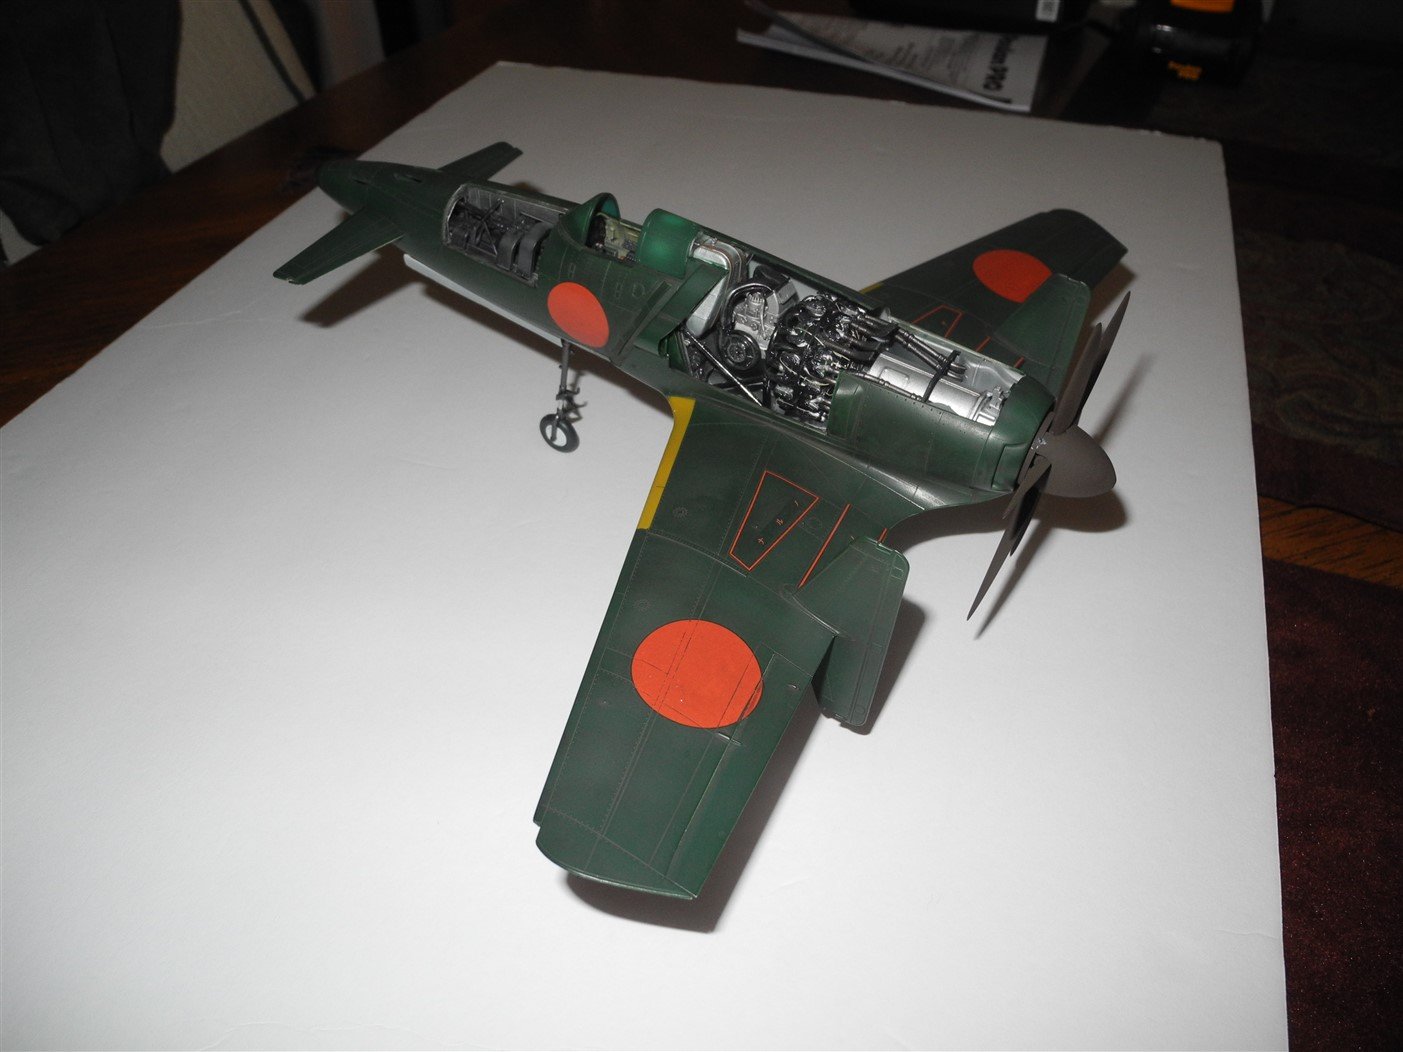
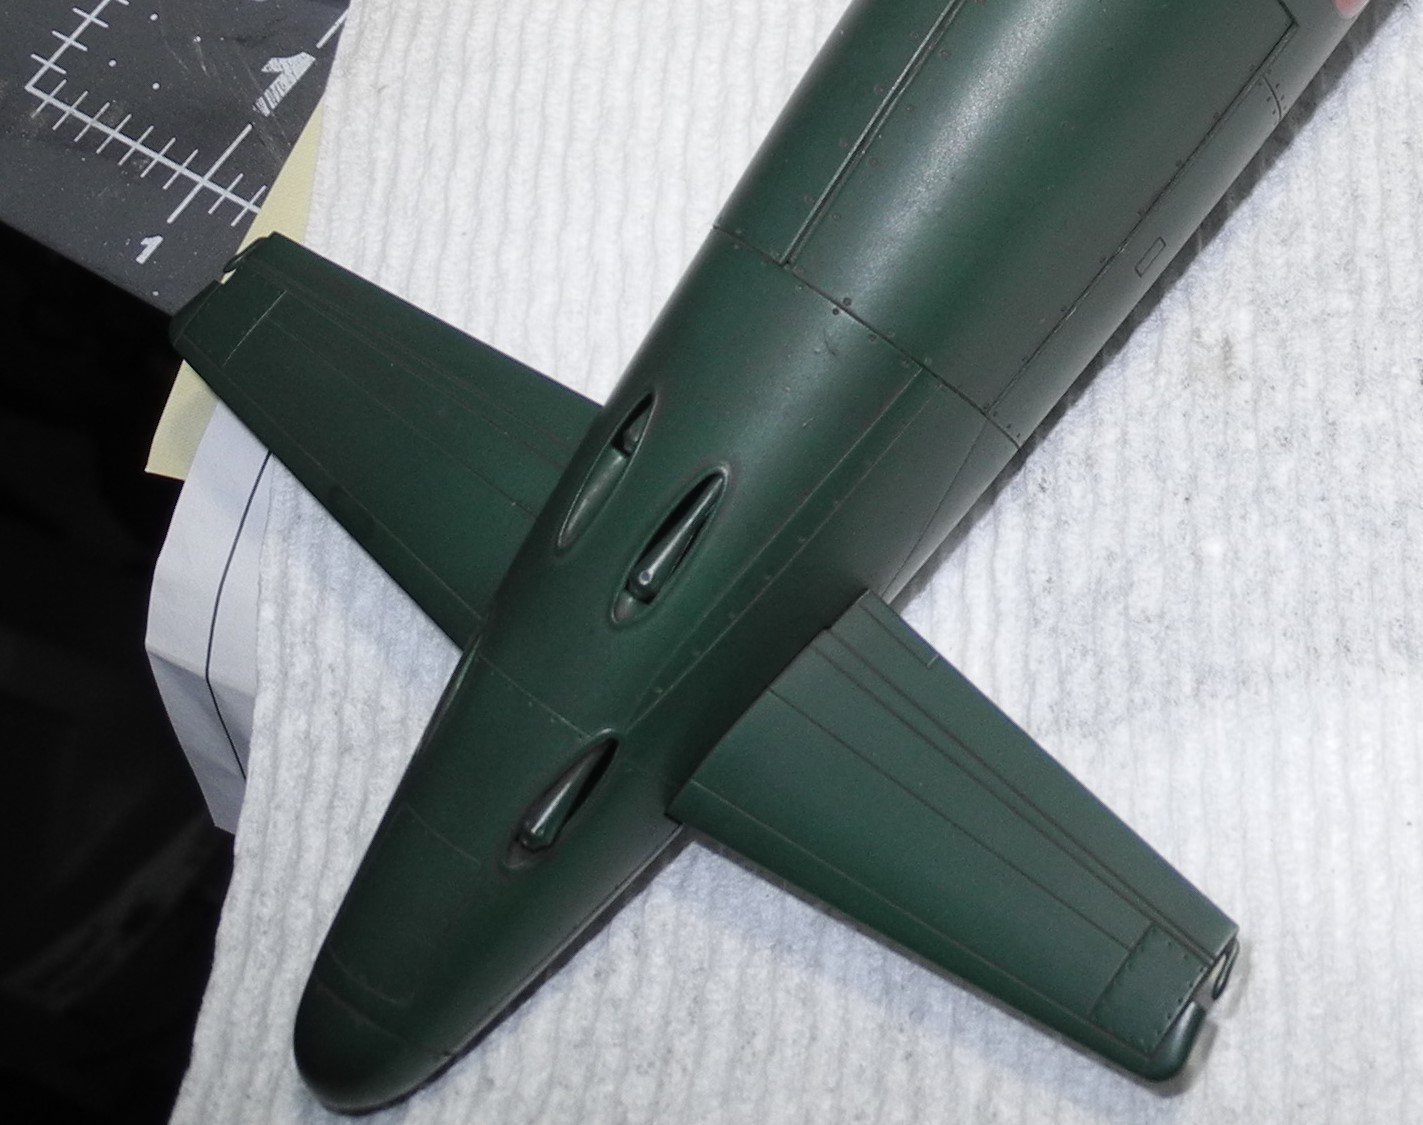
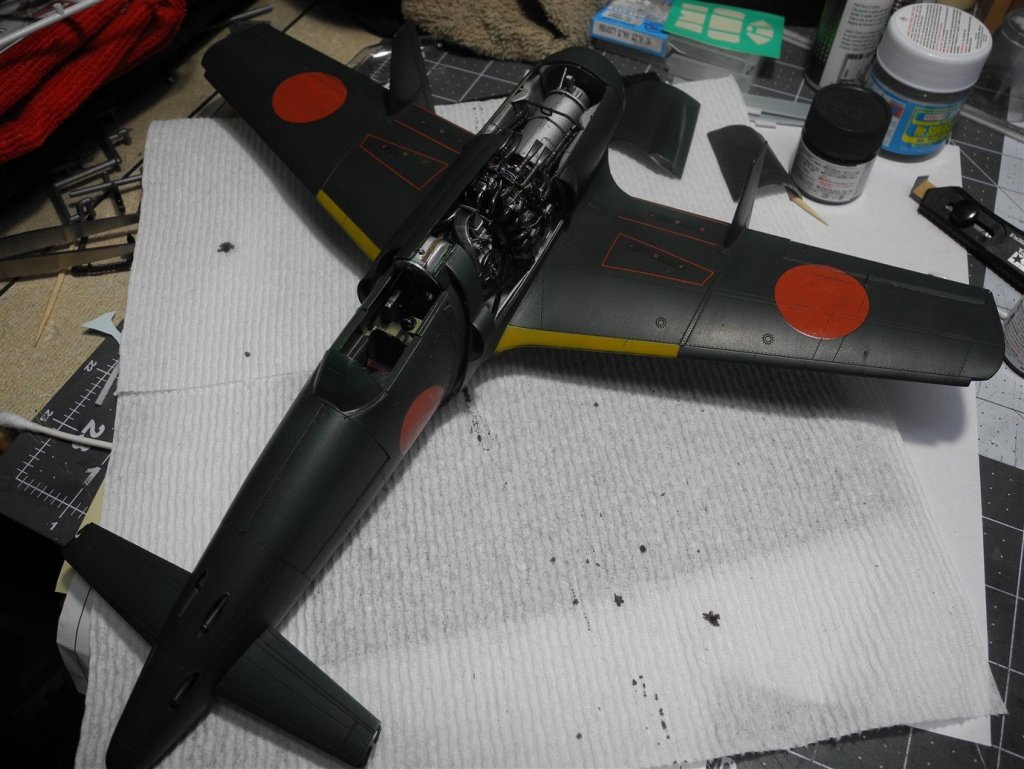
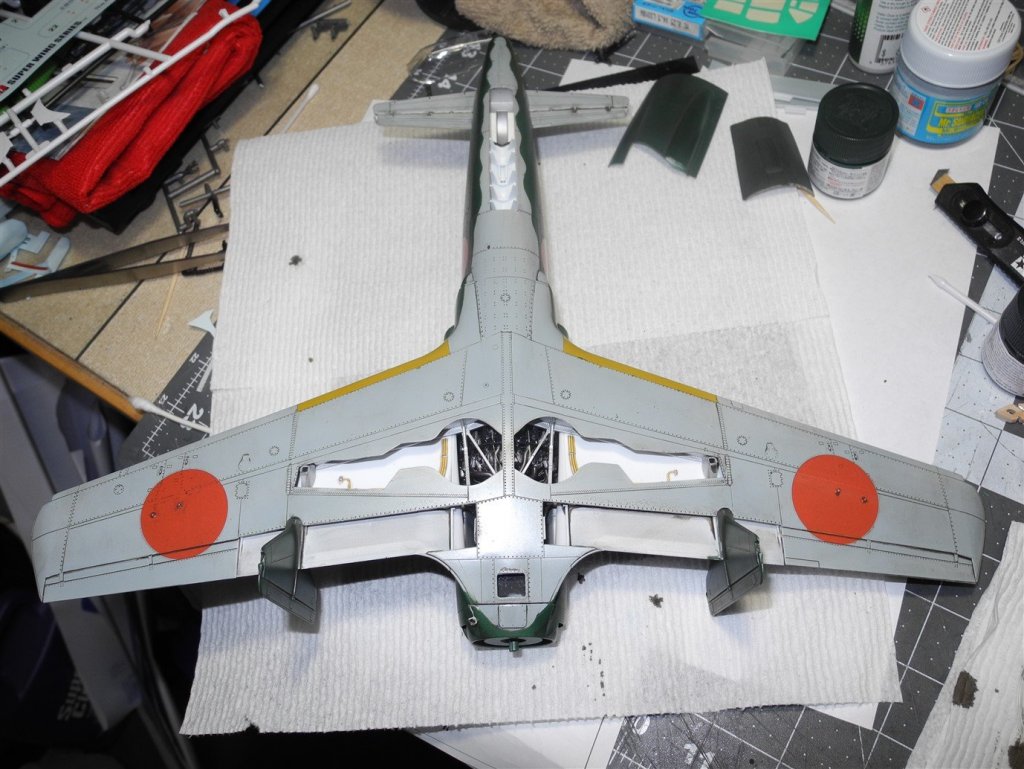
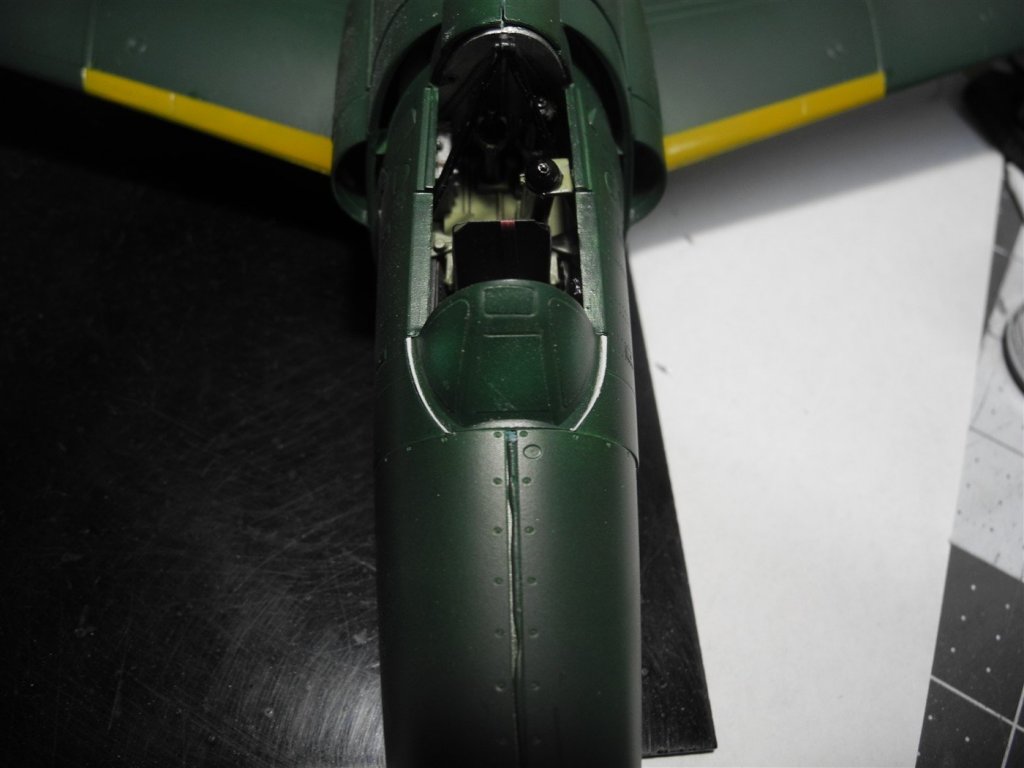
If you take a close look at the guns in this photo, notice that the guns were first painted, assembled and installed into the gun bays. Then the fuselage body panels were assembled and the entire airframe was painted (Japanese Green). All this was done without the guns being masked as it would have been difficult to do so. In any event, all it will take in the end is to dry brush them with the Mr Color Metal (dark iron) to regain that metal look. The Mr Color Metal paints are very good for dry brushing. Similar to the old Testors Metalizer paints, but superior. They can be buffed after airbrushing to give that polished metal look. With small parts like the gun barrels, the paint can be brushed on as well but it must be buffed to shine afterward. It's interesting how all the green color paint can be applied to the fuselage and the guns still retain most of their original look without masking.
-
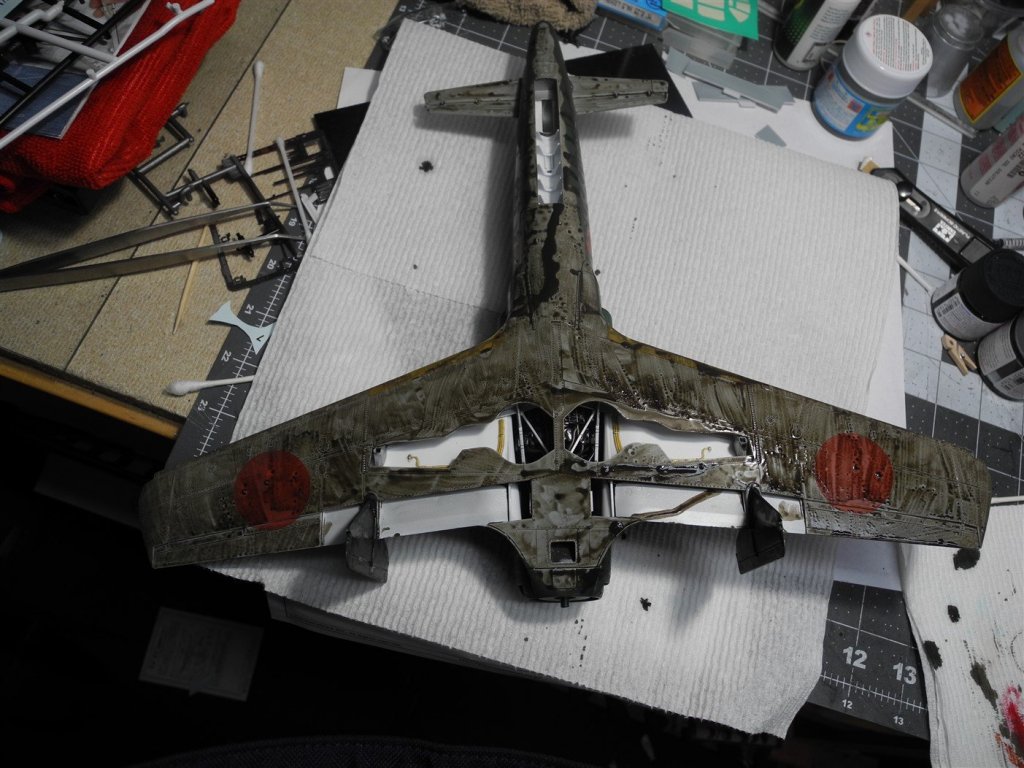
Yes, you brush it on, allow to it dry, then give it a wipe down with a soft paper towel that's very lightly moistened. The beauty of the Flory clay washes is that they will wash off. If you don't like the look, wash it off and rework it. As well, if you wipe too much off, just add some more. It's a very forgiving product. Of course, once you get the look you want, seal it down with a clear coat of your favorite varnish.
-
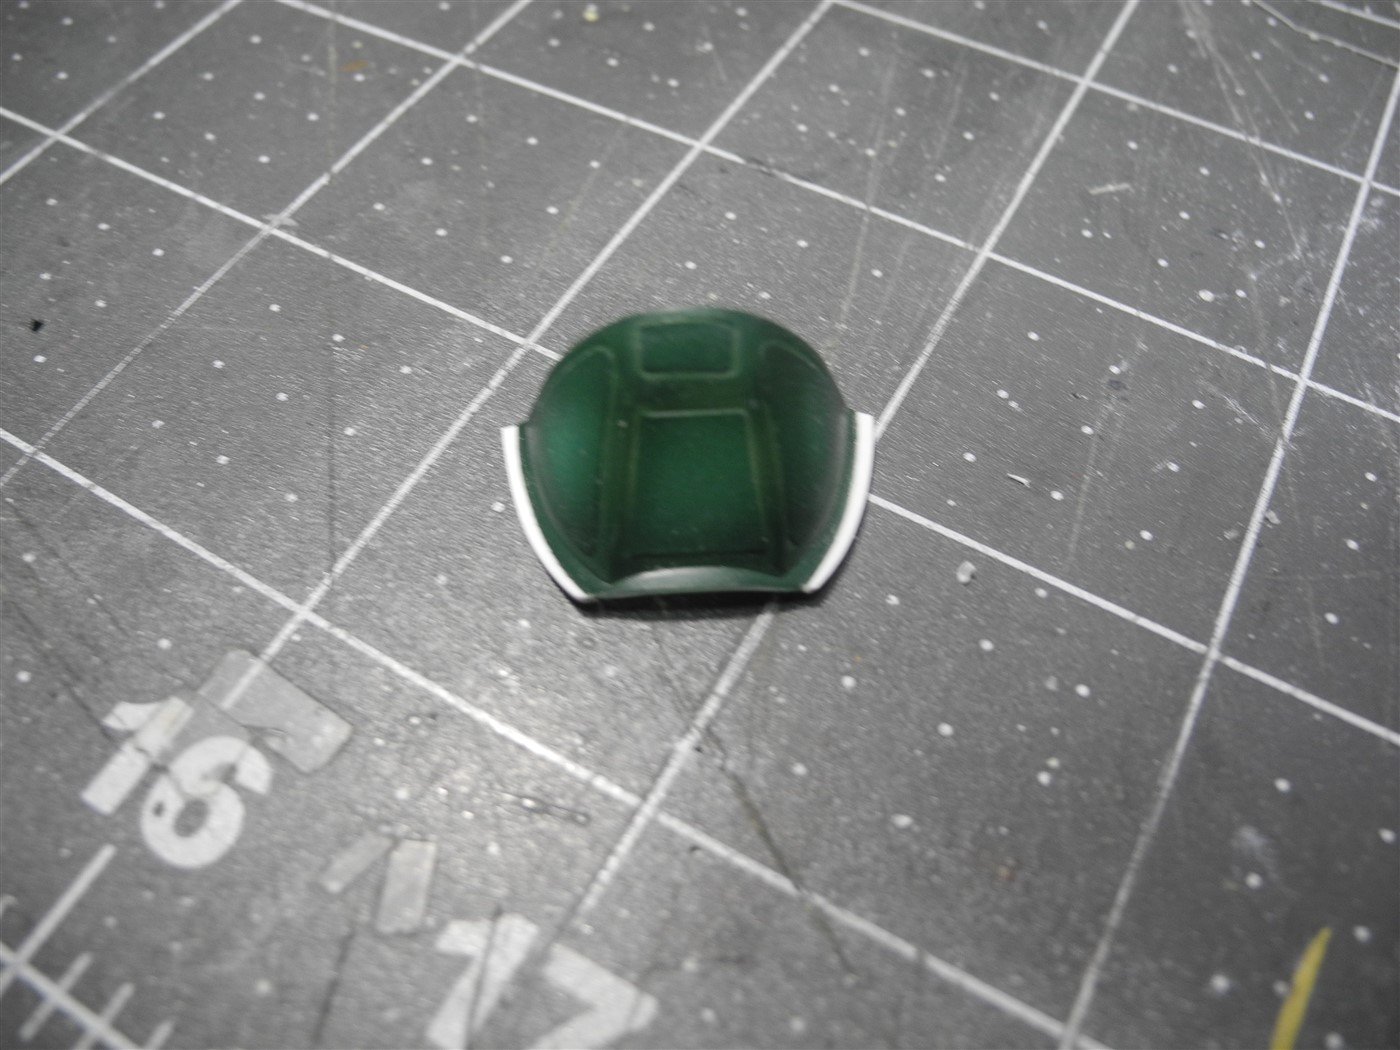
After:
-
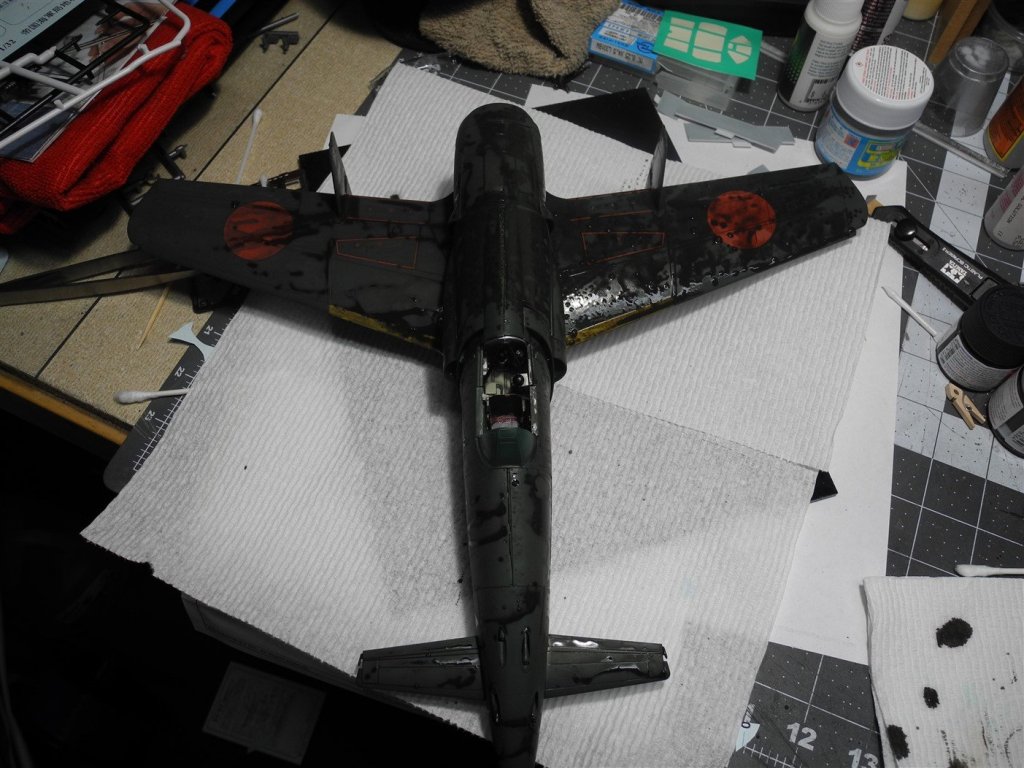
The horrifying look of a freshly applied dirt and grime wash. Thought it interesting to show the "before", then "after" photos when it's done. This is a Flory Models clay wash, not a diluted acrylic, enamel, or oil wash. It behaves differently than these as you will see later on.
-
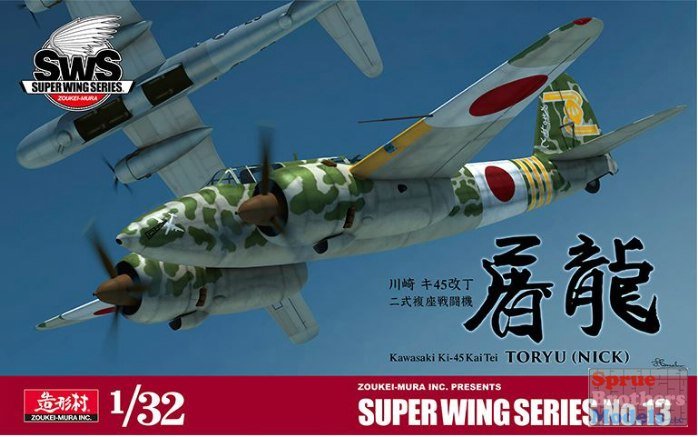
Thanks for the kind words James. The Ki-45 will be released here on Feb 6. I have mine pre-ordered and am eagerly awaiting it.
-
Yes, I believe you are correct. A local business who specialize in airbrush sales recently expanded their line of products to include GSI Creos products. Until then, these products were unavailable to me.
-
There does seem to be a difference in the products offered for sale in the USA. Perhaps due to different environmental laws, but I am not certain. In the USA, Mr Hobby is the umbrella company, and their range of paints include Acrysion (acrylic) as well as Mr Color (solvent based). Either range works with their leveling thinner.
-
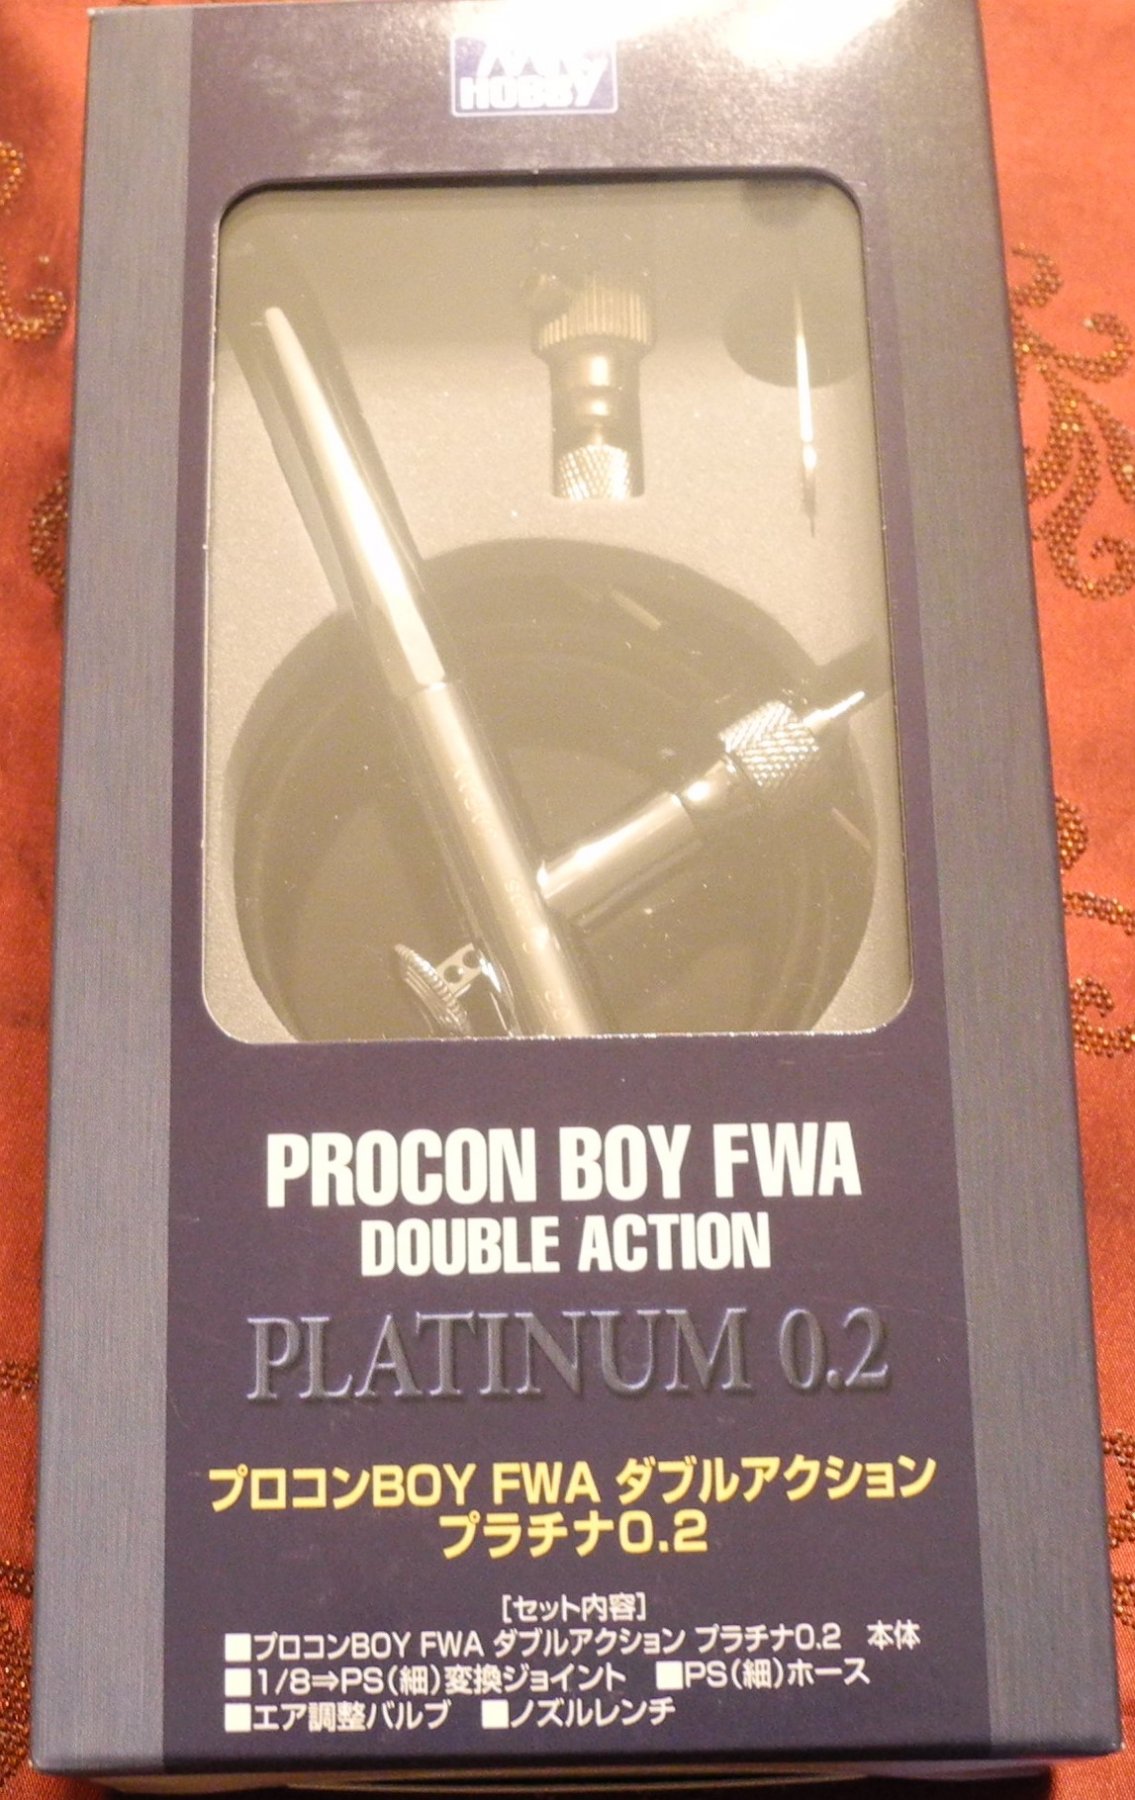
I generally start with a 50-50 mix and adjust from there for best results. I've been using this new Mr Color Procon Boy Platinum airbrush for this build, and a 40-60 mix seemed to work best through it. So far, I like this airbrush a lot. It's good to have another quality airbrush available for a small cost compared to the H&S ones I normally use. Indeed, Mr Color leveling thinner is the best for color coats, but I find that isopropyl alcohol dries a little faster for me when I mix it for a primer. I guess it's just an old habit more than anything. The Mr Color Acrysion paints seen more akin to enamel to me. Maybe they are a acrylic-enamel hybrid of some sort, but I have only used their leveling thinner with them.

-
Seems to have worked okay today. Keeping my fingers crossed. The only thing I'm noticing now is that the pictures displayed in my post are not in the same order I uploaded them, but that's no big deal. I can live with that.
-
Just testing to see if my picture posting issue has been resolved.


-
She is beautiful and fearsome looking at the same time. What a fantastic piece of German engineering.
-
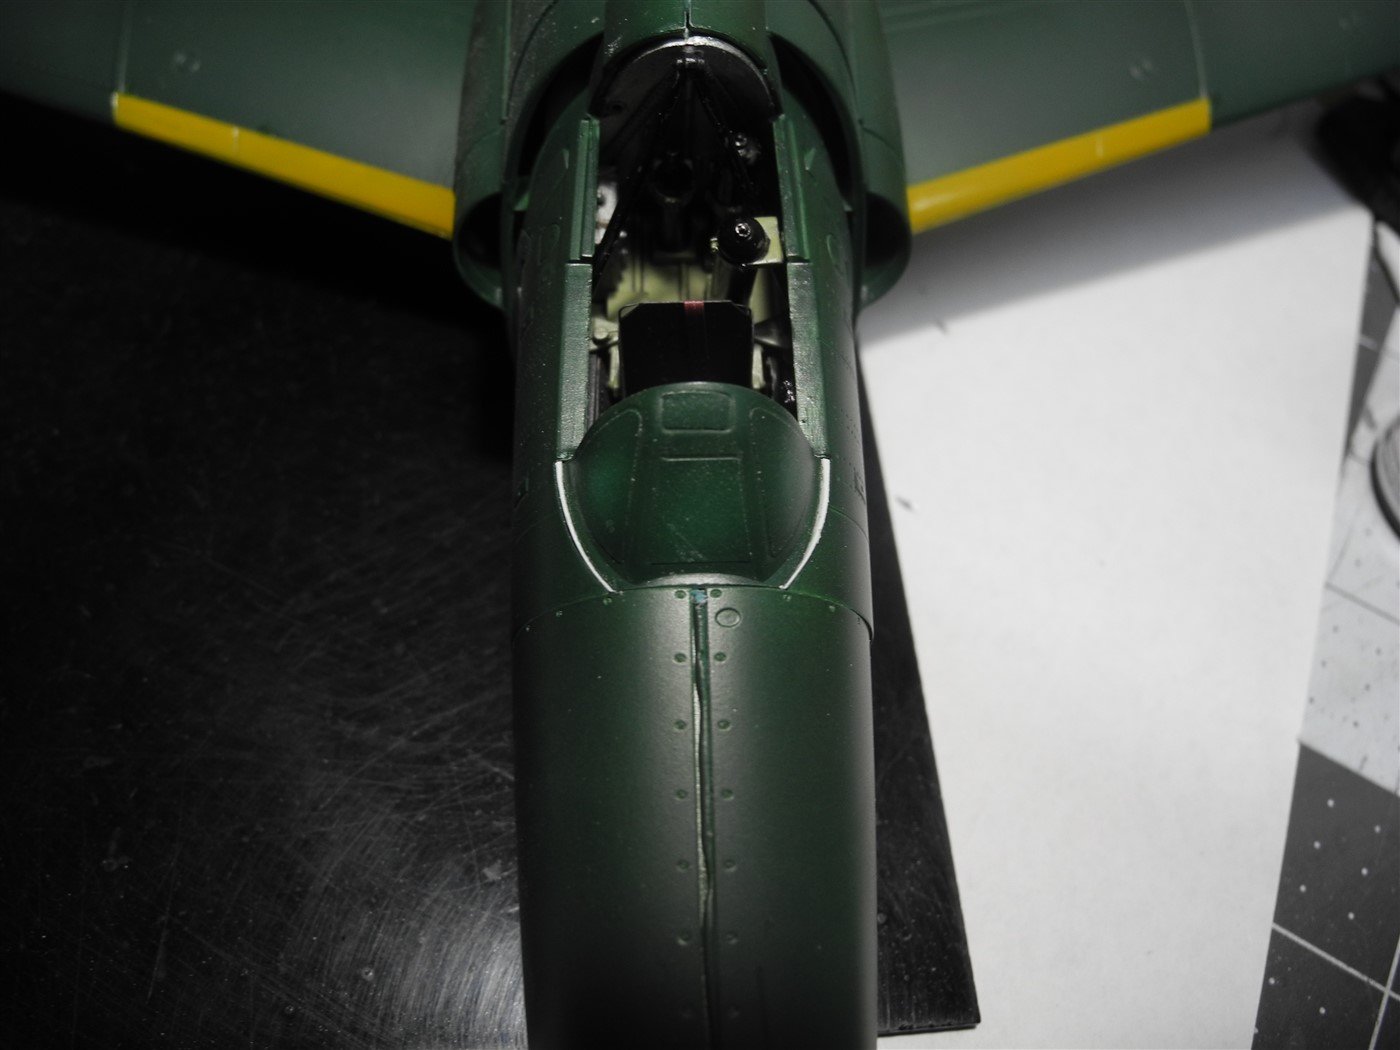
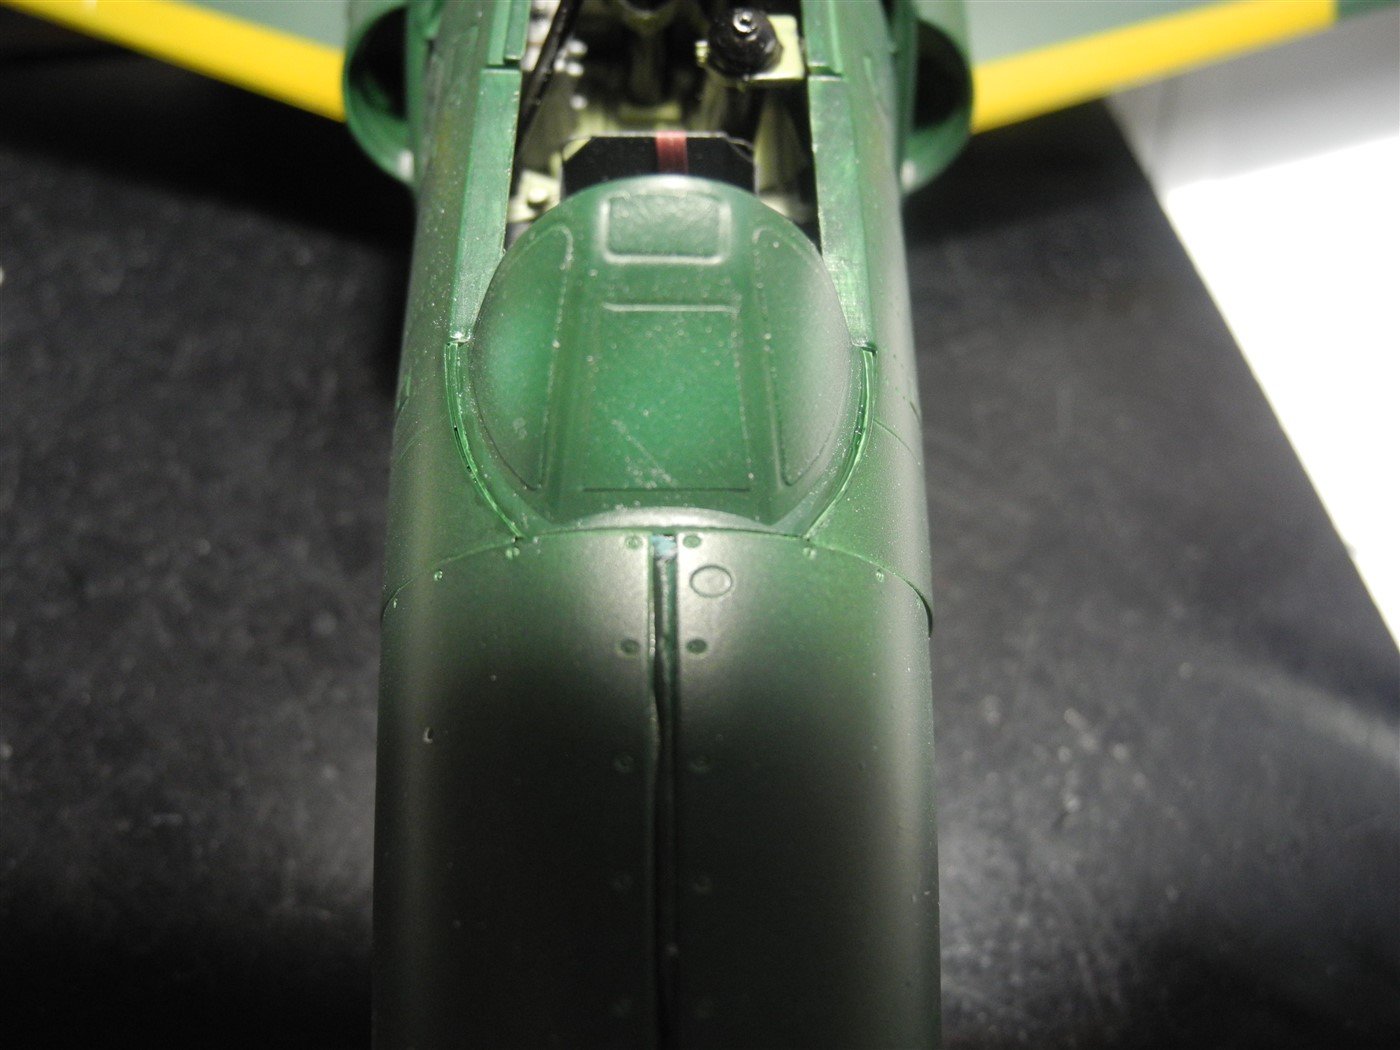
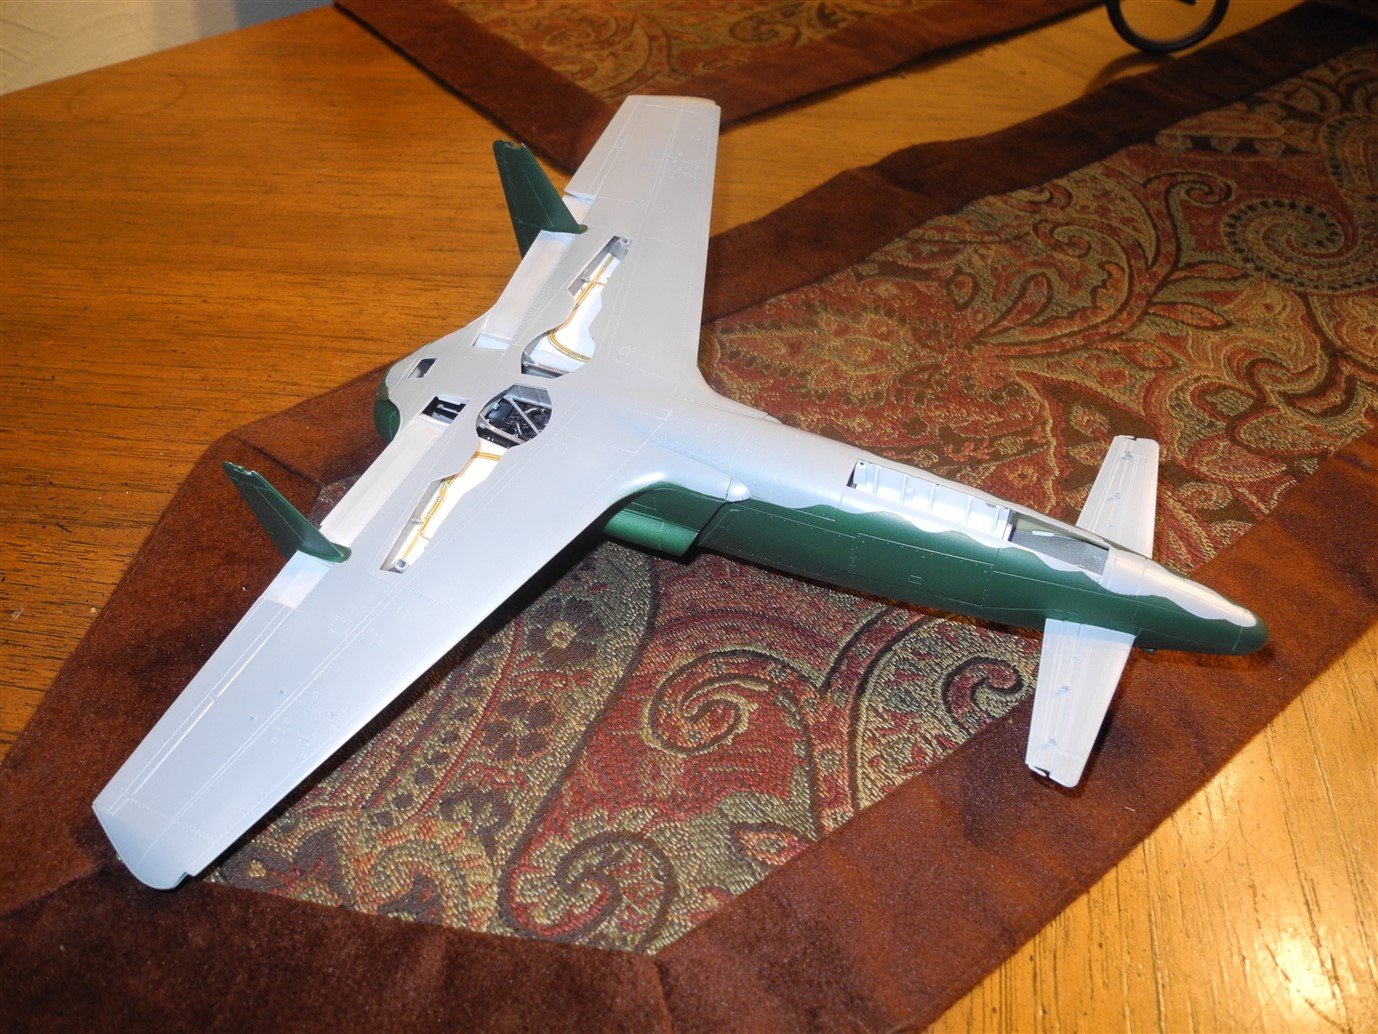
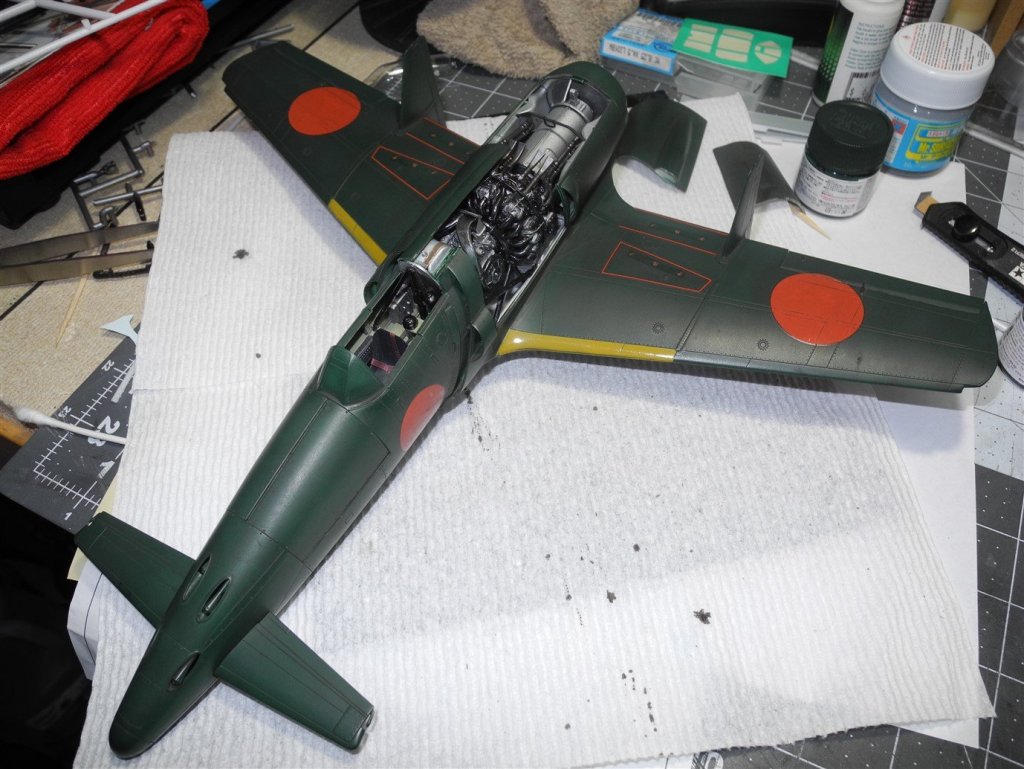
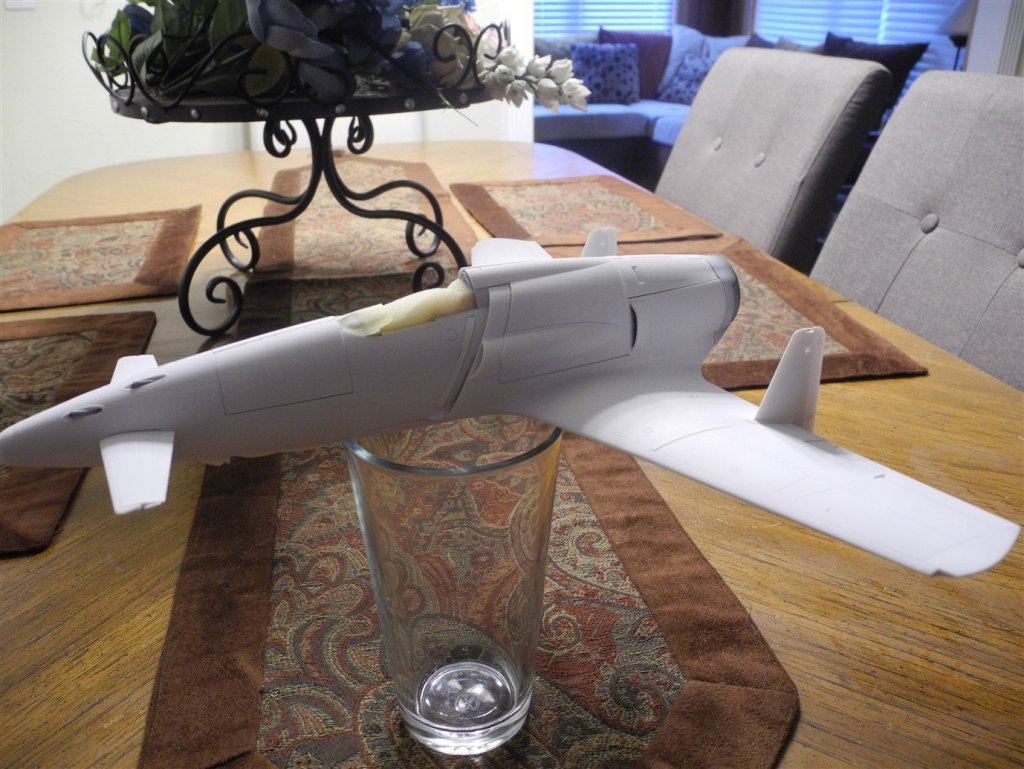
Sigh.... Only 4 of the 5 photos uploaded. 😵 1 photo failed to load for reasons unknown, but it's the same problem I've been experiencing all week long, along with other members. The wonky looking starboard panels over the gun bay and engine bay are being held in place with blue tack for painting purposes. The panels will later be left removed to display guns and engine details.
-
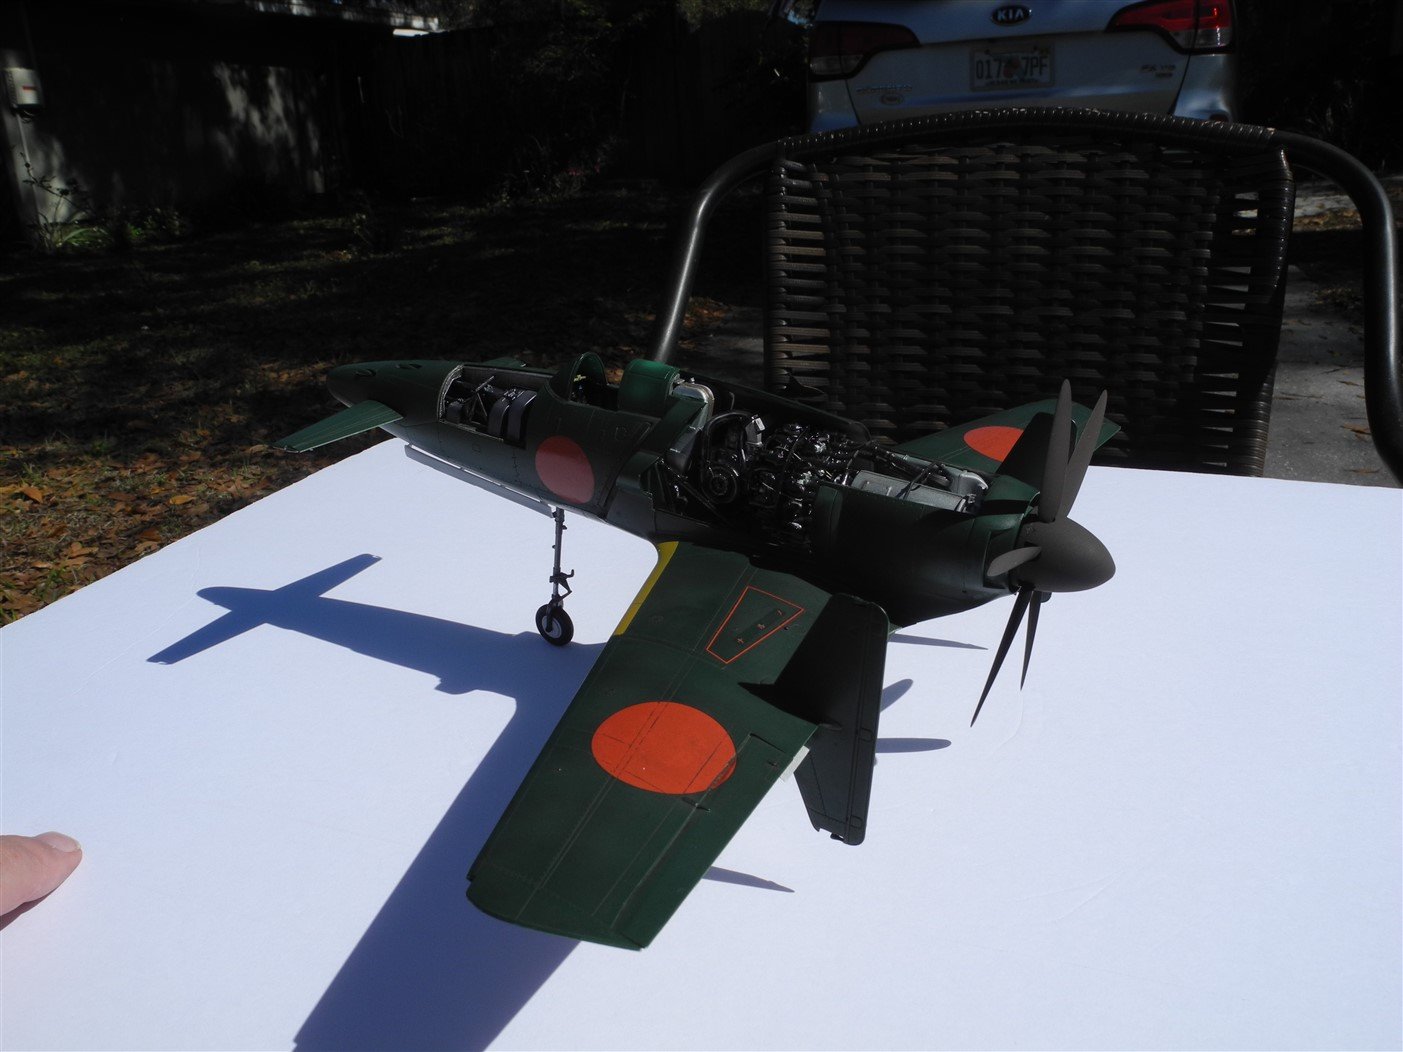
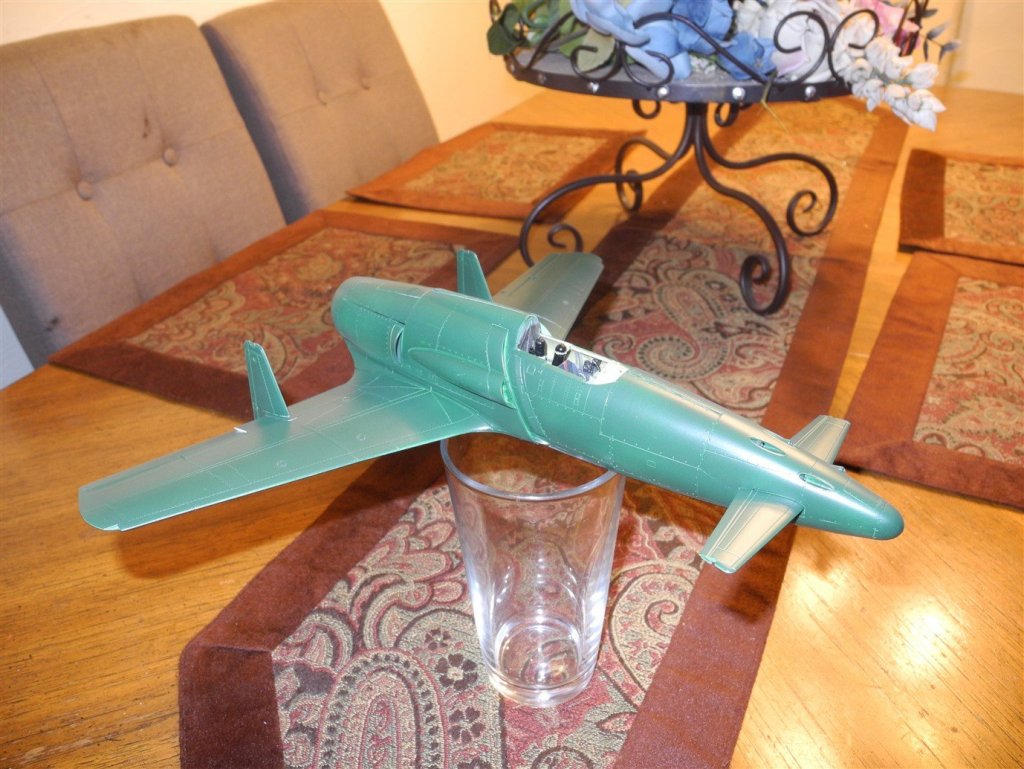
I got some of the post shading done and wanted to see what kind of photos I could get get by taking them outdoors in natural light. It is cloudy and overcast today, but it's remarkable to me how much better outdoor light enhance color photographs. I also wanted to check to see if rebooting my modem solved the picture posting issue I'm having.


-
It's more of a case of: there is not another decent model of the Ki-45 Nick out there aside from the ancient 1:48 scale Nichimo kit that was produced when you and I were kids (or close to it). Quite a surprise to see Zoukei-Mura coughing up the dough to take a roll of the dice on a Ki-45 kit. I think it deserves support from modelers who want subject material that's been unavailable until now. I'm pumped up over the Ki-45, for sure.
-
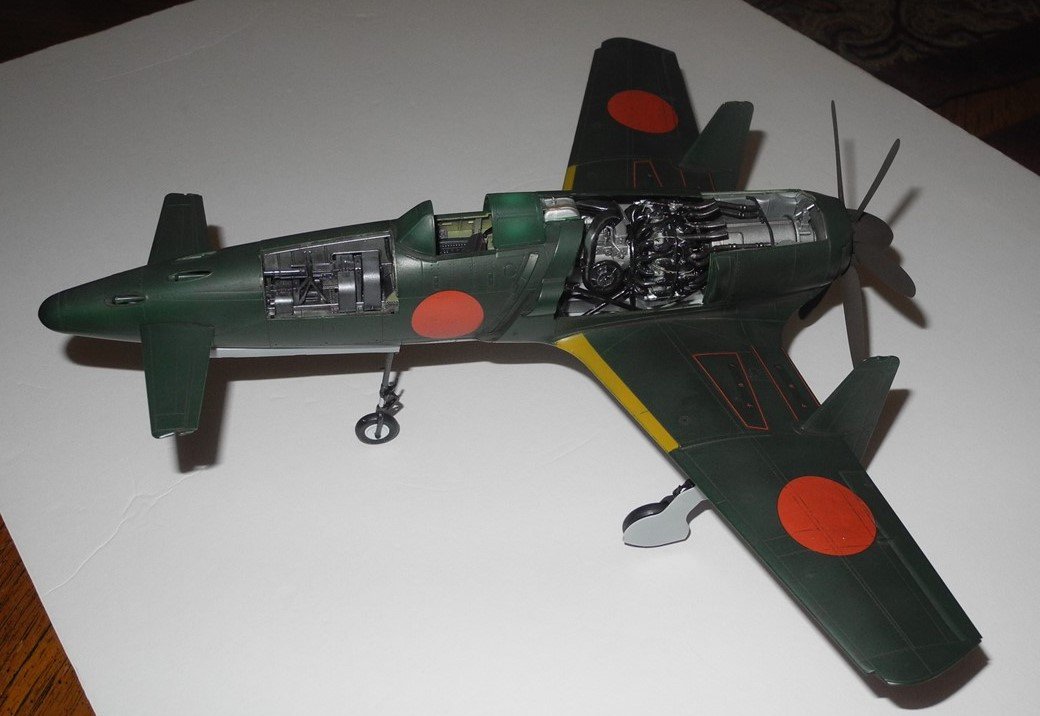
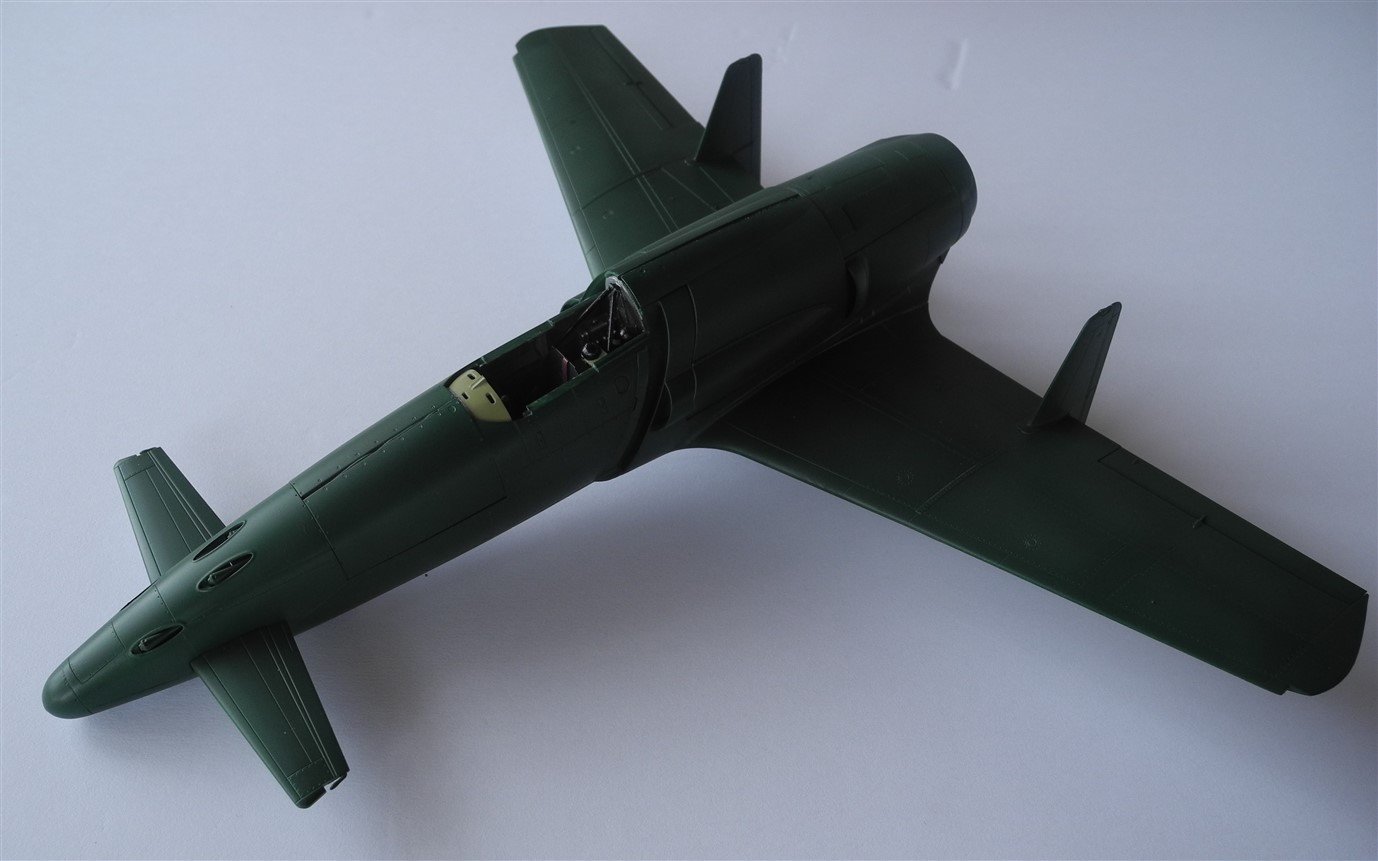
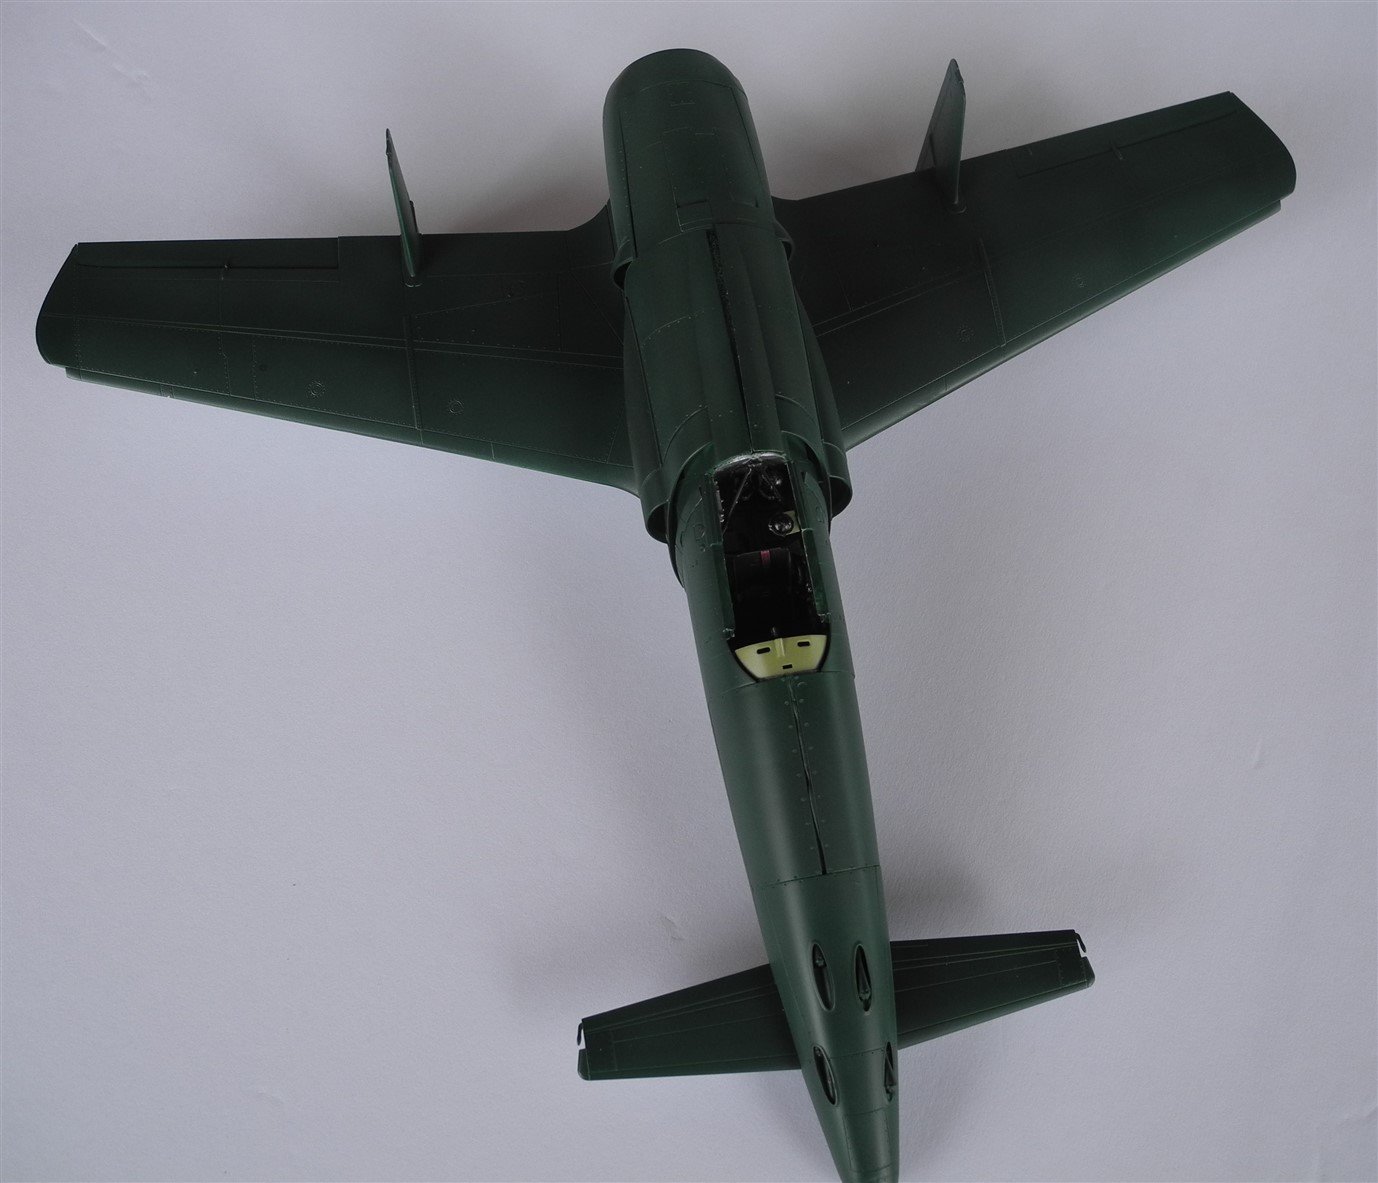
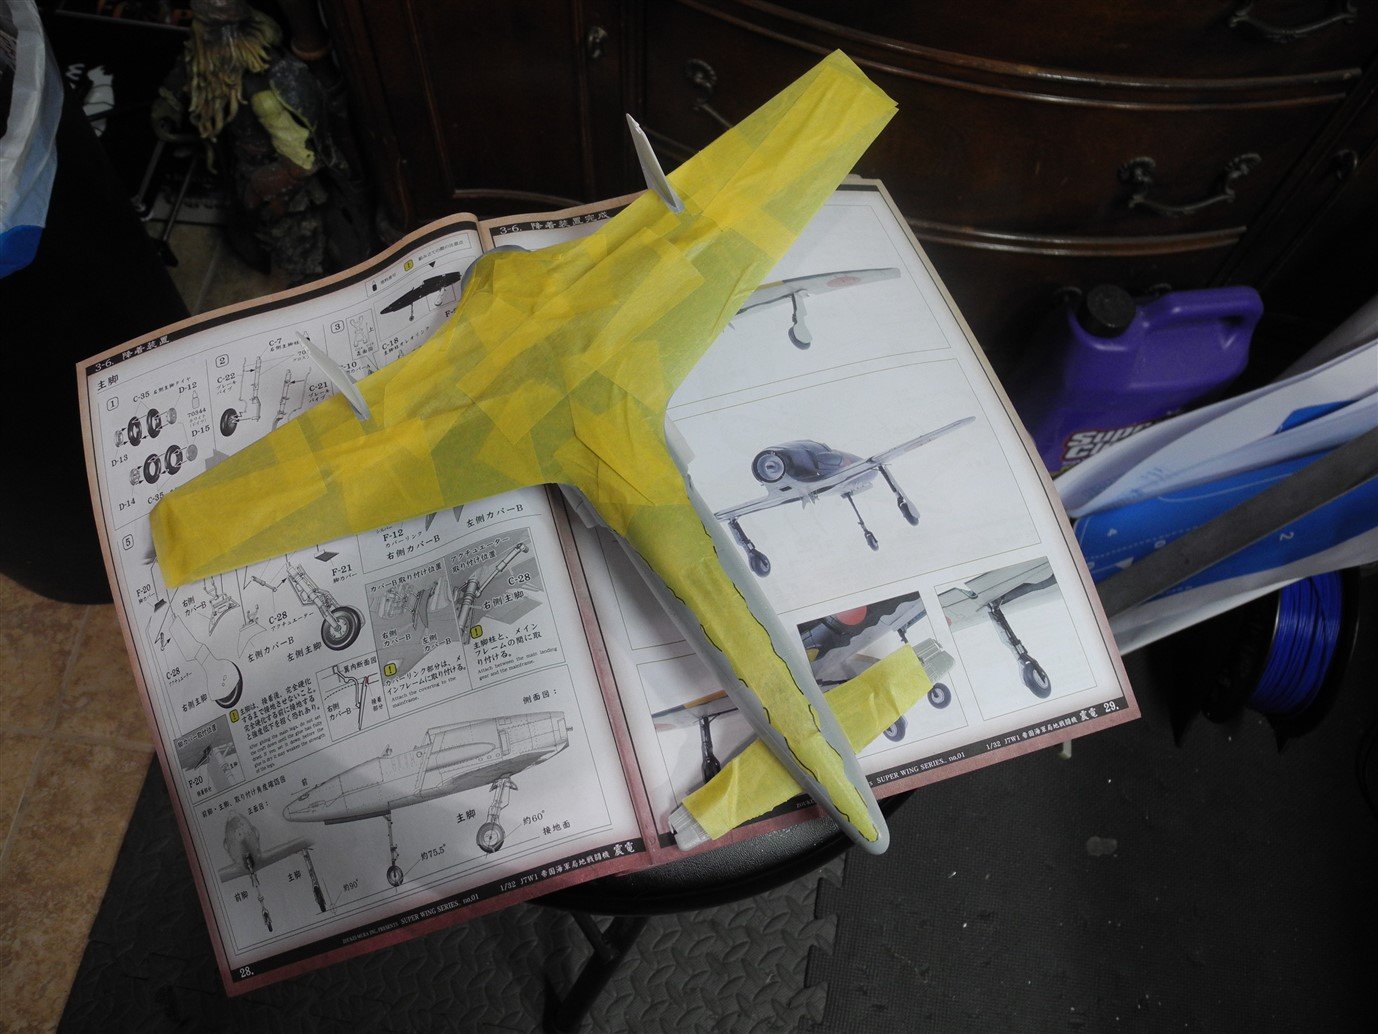
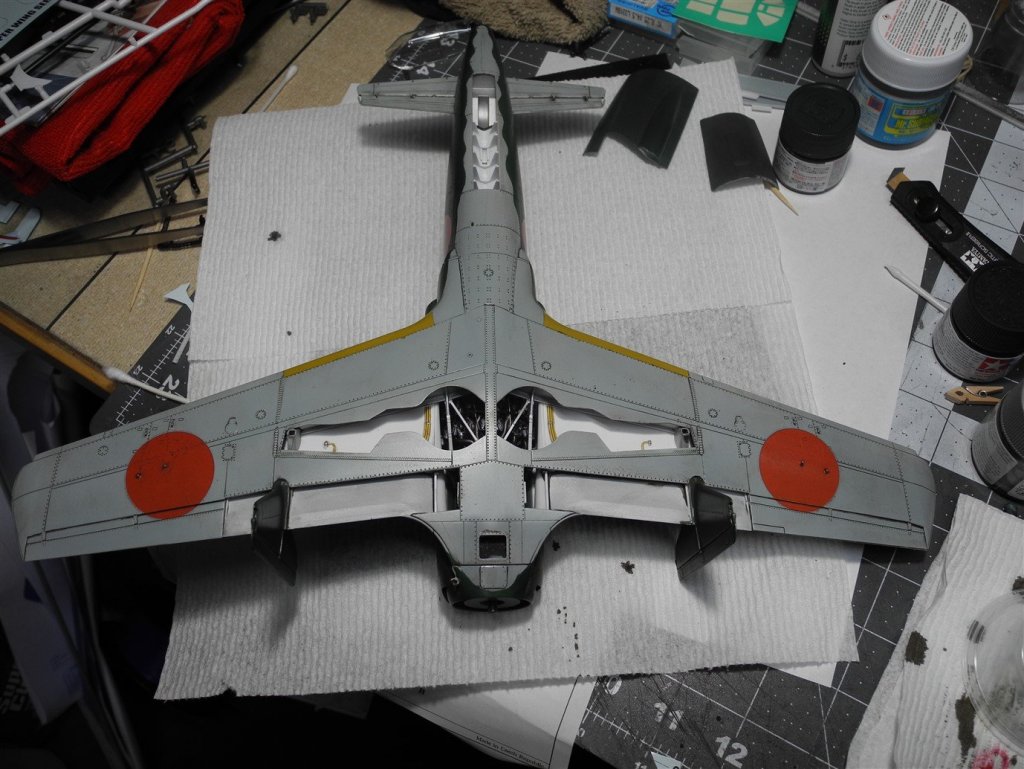
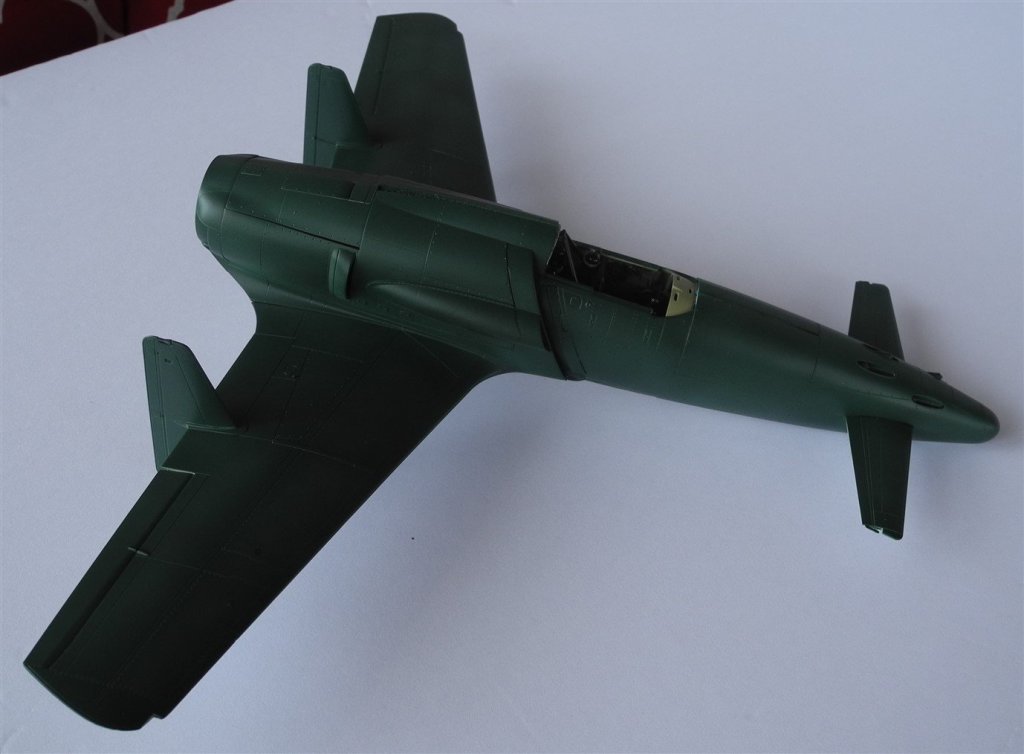
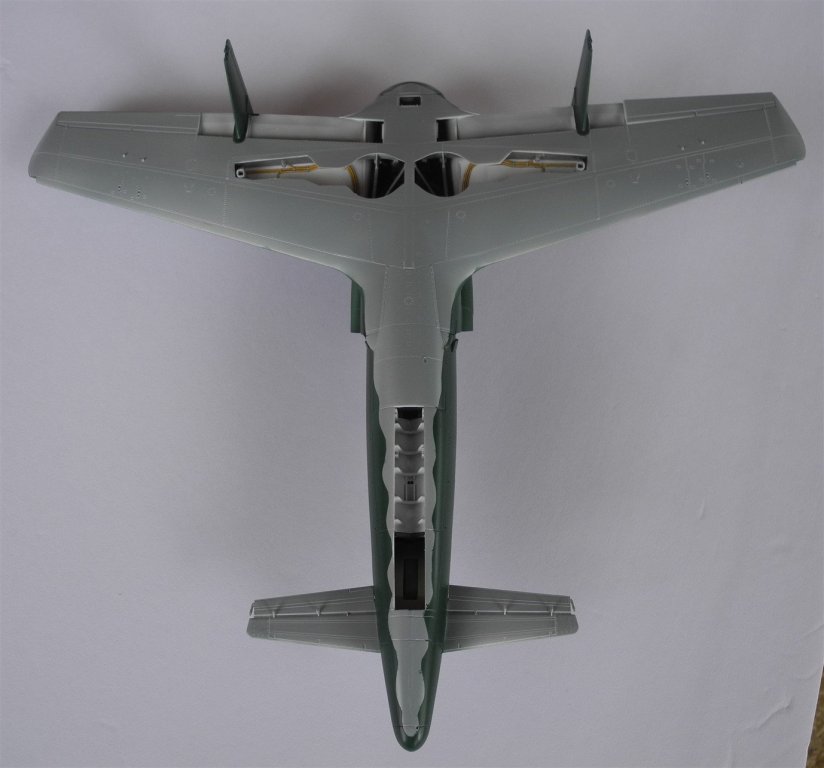
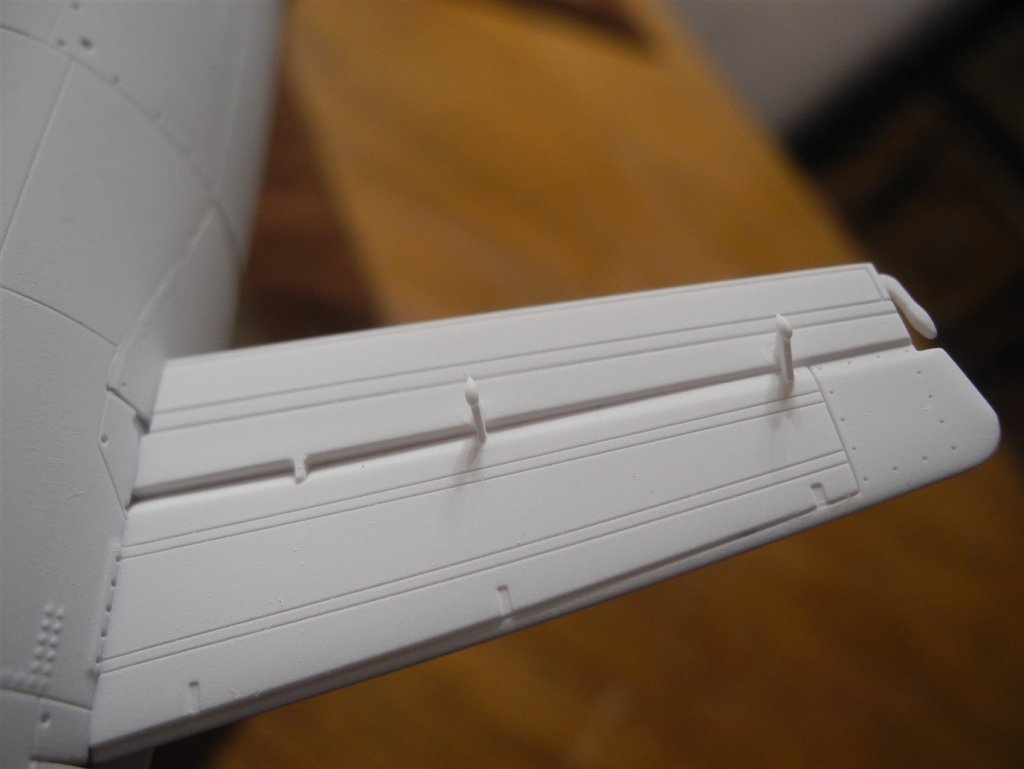
First paint coat before post shading, touch ups, and detailing, top and bottom. Frog masking tape (disclaimer: no frogs were harmed during the masking and painting of this model) 😵 Top: Mr. Color Acrysion #36 IJN Green (40%) + Mr Color Leveling Thinner (60%) Bottom: Mr. Color Acrysion #61 IJN Gray (40%) + Mr Color Leveling Thinner (60%) Post shading (to be done later): Mr. Color Acrysion #60 IJA Green Detailing: Flory Models Washes (plan on using brown for the time being) (one photo of top looks ultra light because of camera flash too bright/white)


-
Magnificent. All your attention to the small details has really paid off. Very impressive model.
- 227 replies
-
- 3
-

-
- BlueJacket Shipcrafters
- Stephen Hopkins
- (and 2 more)
-
One of my favorite online hobby shops is spruebrothers.com I went to the site yesterday with the intention of ordering another copy of the Shinden. But then I saw where Zoukei Mura will release for sale the Ki-45 Nick on February 6. I ended up buying the Nick instead. 🙂
-
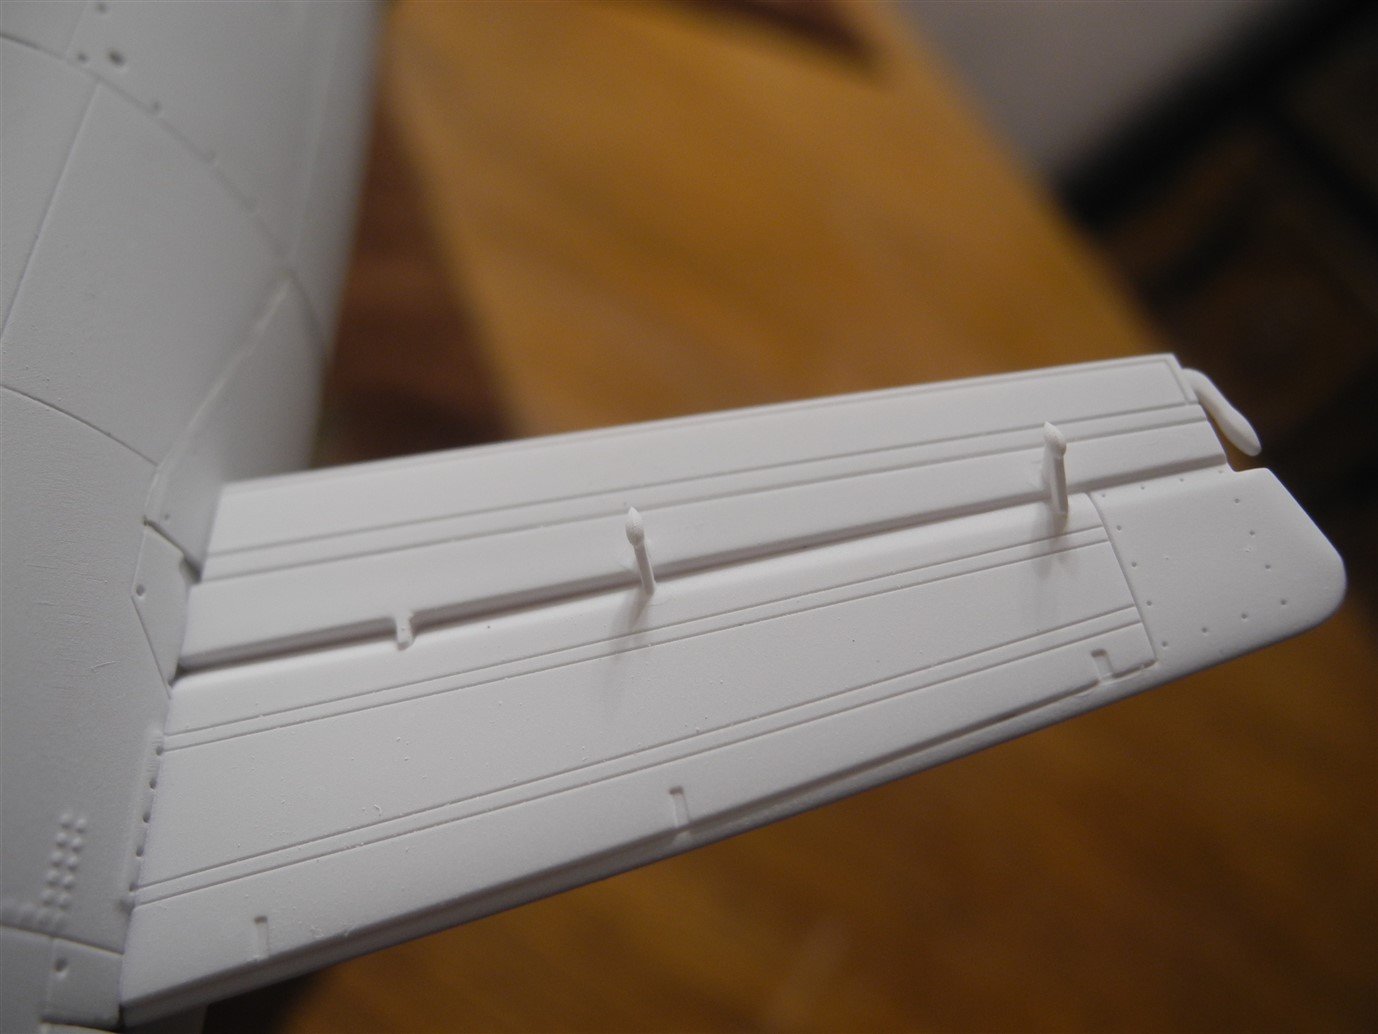
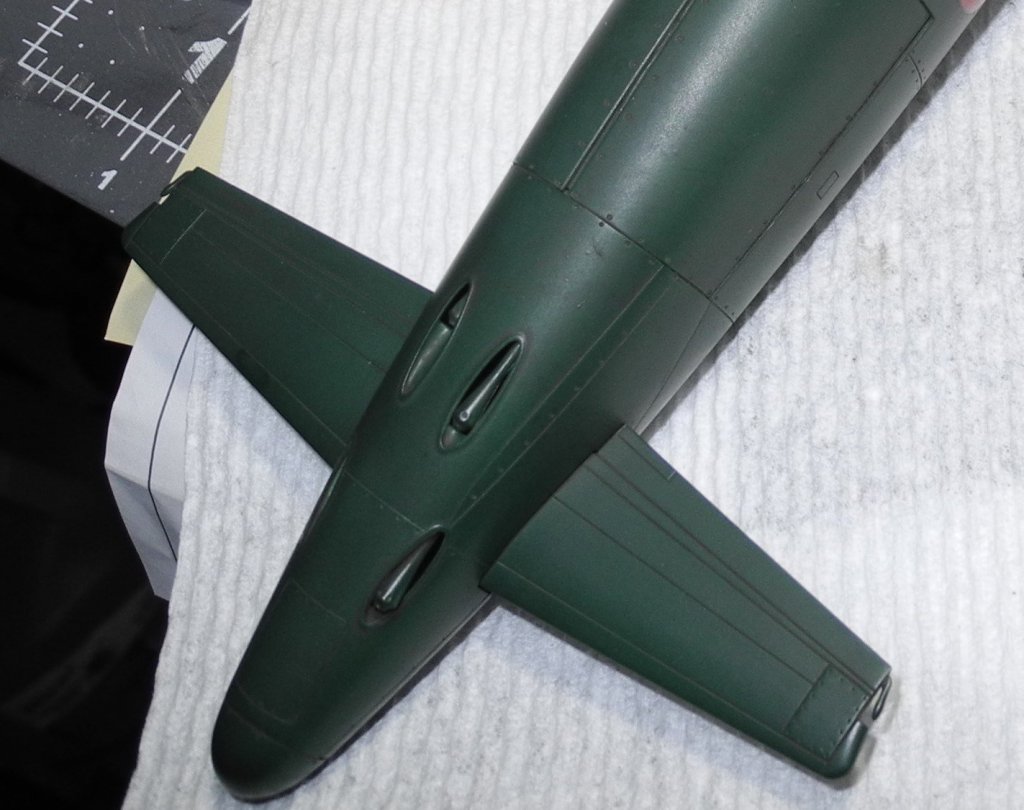
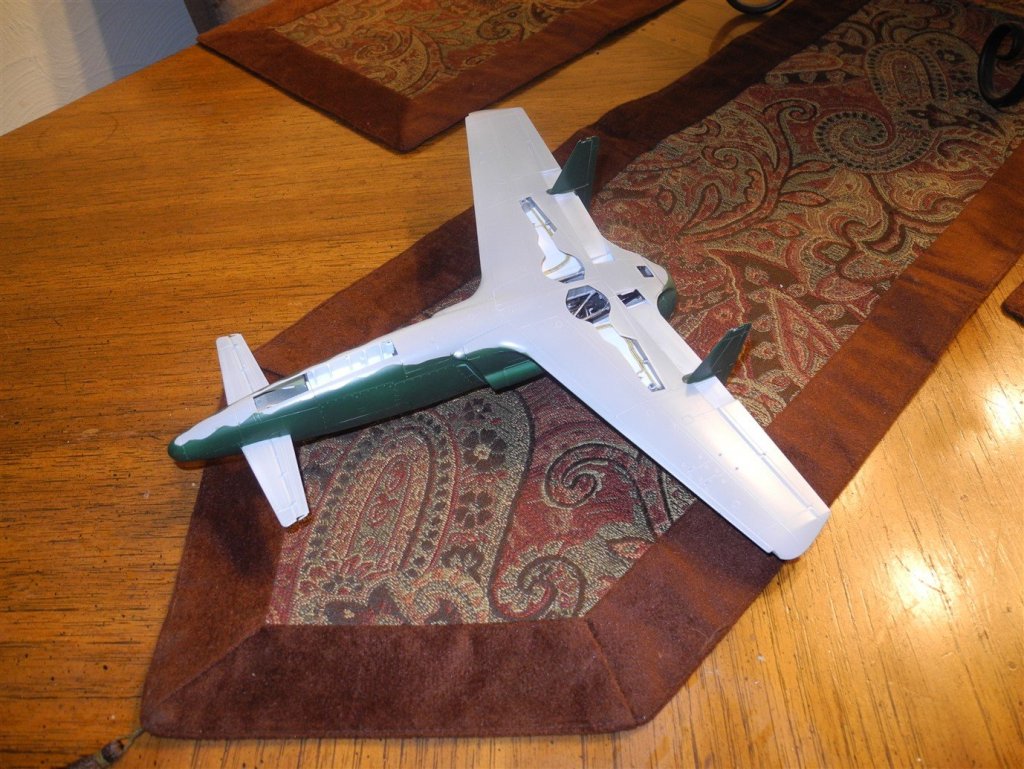
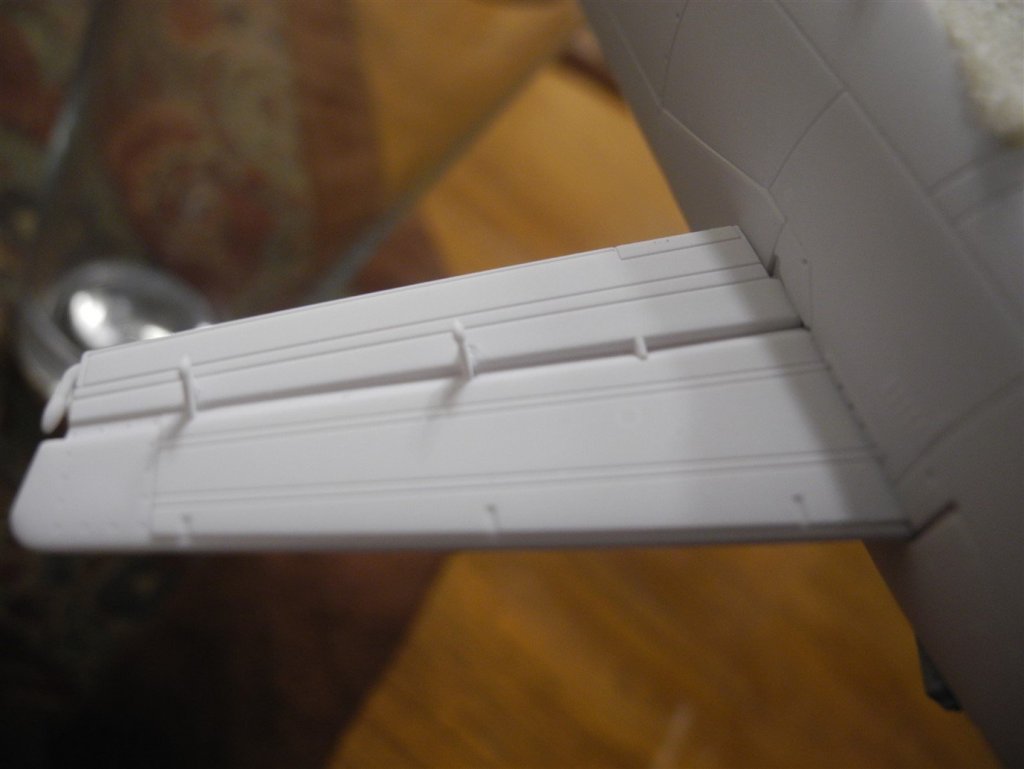
Here she has just received her coat of primer. For primer, I used Tamiya flat white xf-2 reduced with IP alcohol in a ratio of 6 parts alcohol to 4 parts xf-2. The closeup photos are for @Imagna The canards have flaps. I just may get the paint job done sooner than I thought. Keeping my fingers crossed.

-
Yes, there was an unsuccessful flight attempt (1st) where the prop struck the ground on takeoff/aircraft rotation. There are small caster wheels attached to the lower portion of the vertical stabilizers. Perhaps these were an addition after the first unsuccessful takeoff. As you may know, this airplane was designed for navy/carrier use. The videos depict the aircraft taking off from what appears to be a grass runway. Perhaps the casters dug into the ground allowing the prop to strike the earth, then again, maybe there were no casters on the first flight attempt. In either event, a takeoff from a carrier deck would be much different than a takeoff from a grass runway and would likely yield different results. As for the canards, I do think they were functional as the model clearly shows movable flaps. I have no plans for a diorama for this model. When I enter it in the coming show in April, will offer it for sale. Maybe on a 2nd build, I will consider doing a diorama along with other changes/things I will do differently. Learned a lot putting this first one together. Not certain the kit is still in production though.