CDW
-
Posts
7,756 -
Joined
-
Last visited
Content Type
Profiles
Forums
Gallery
Events
Everything posted by CDW
-
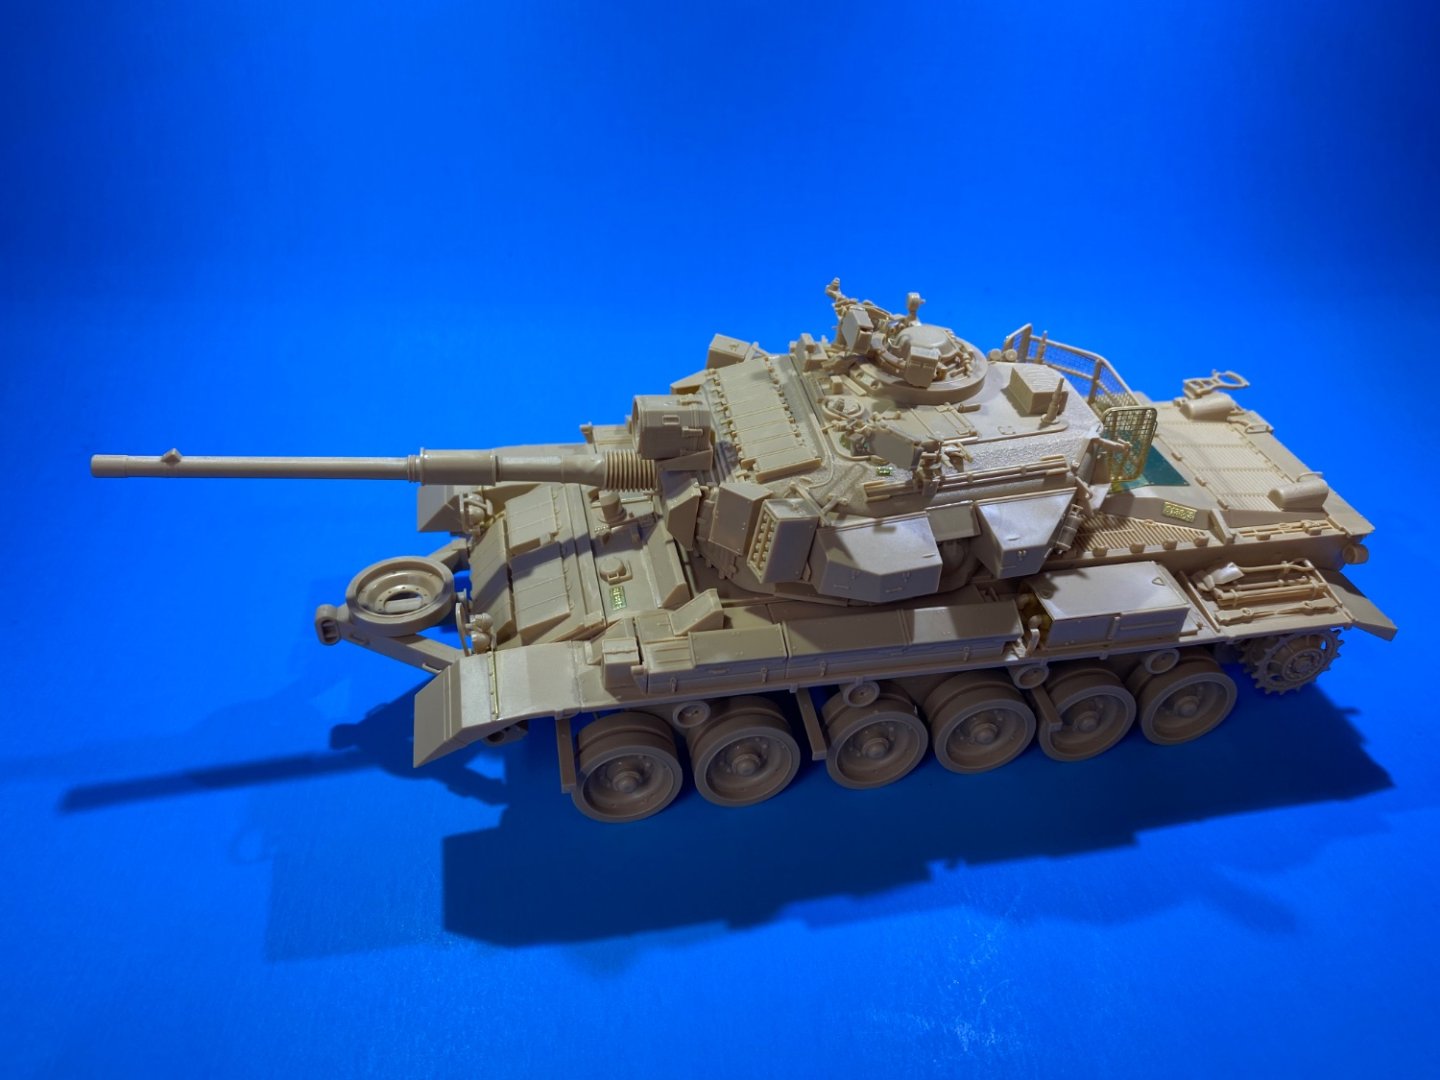
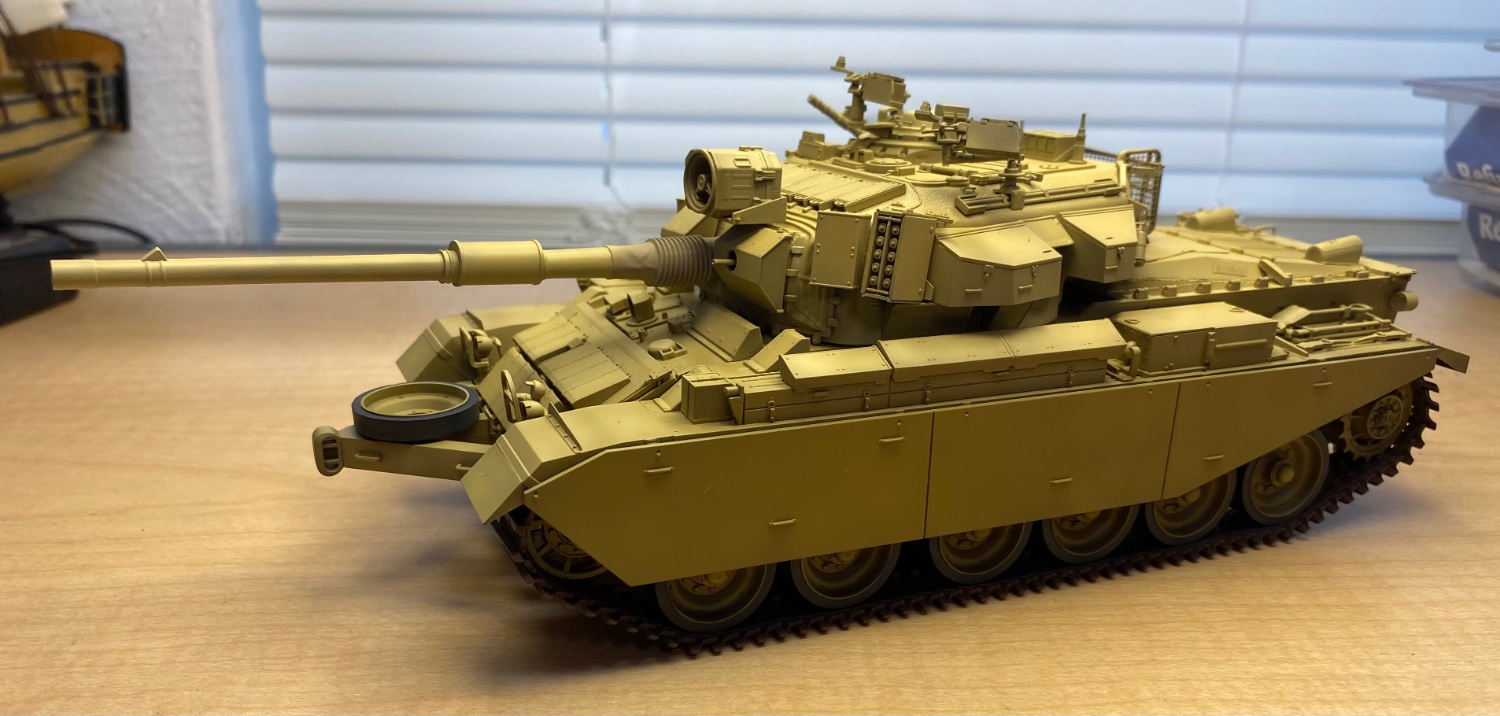
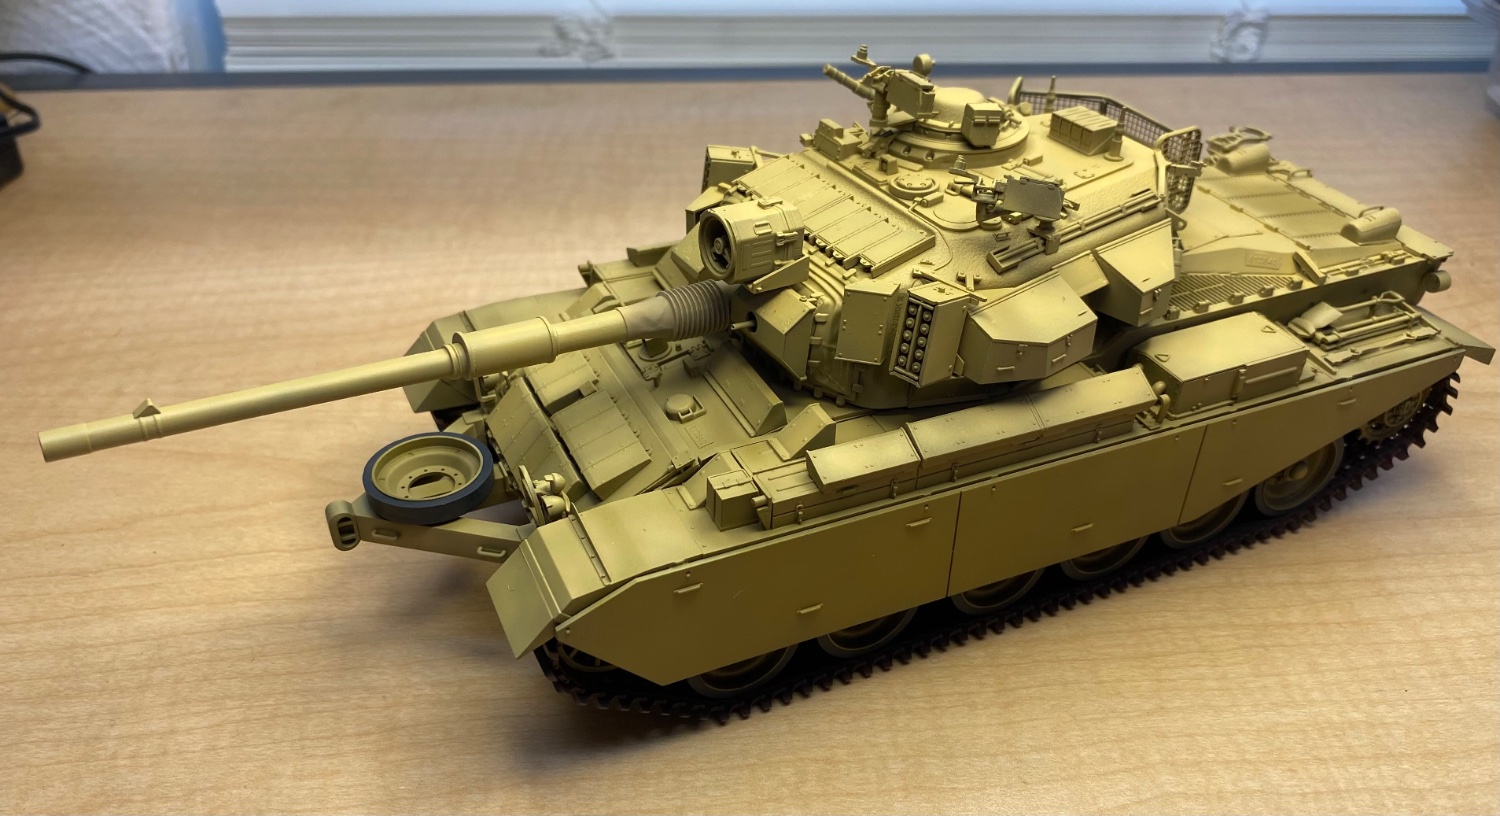
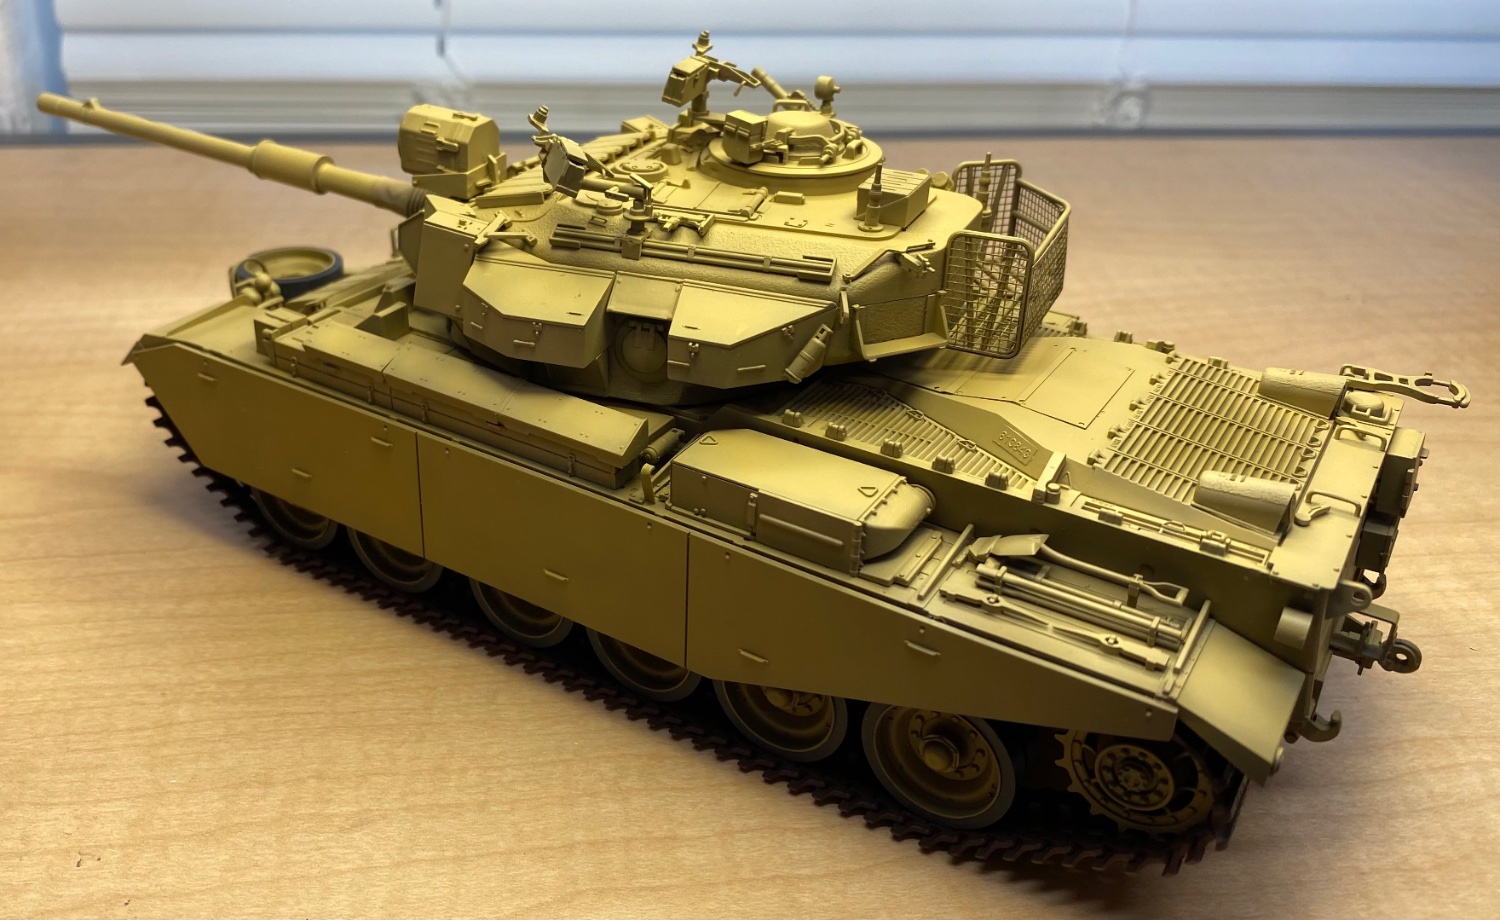
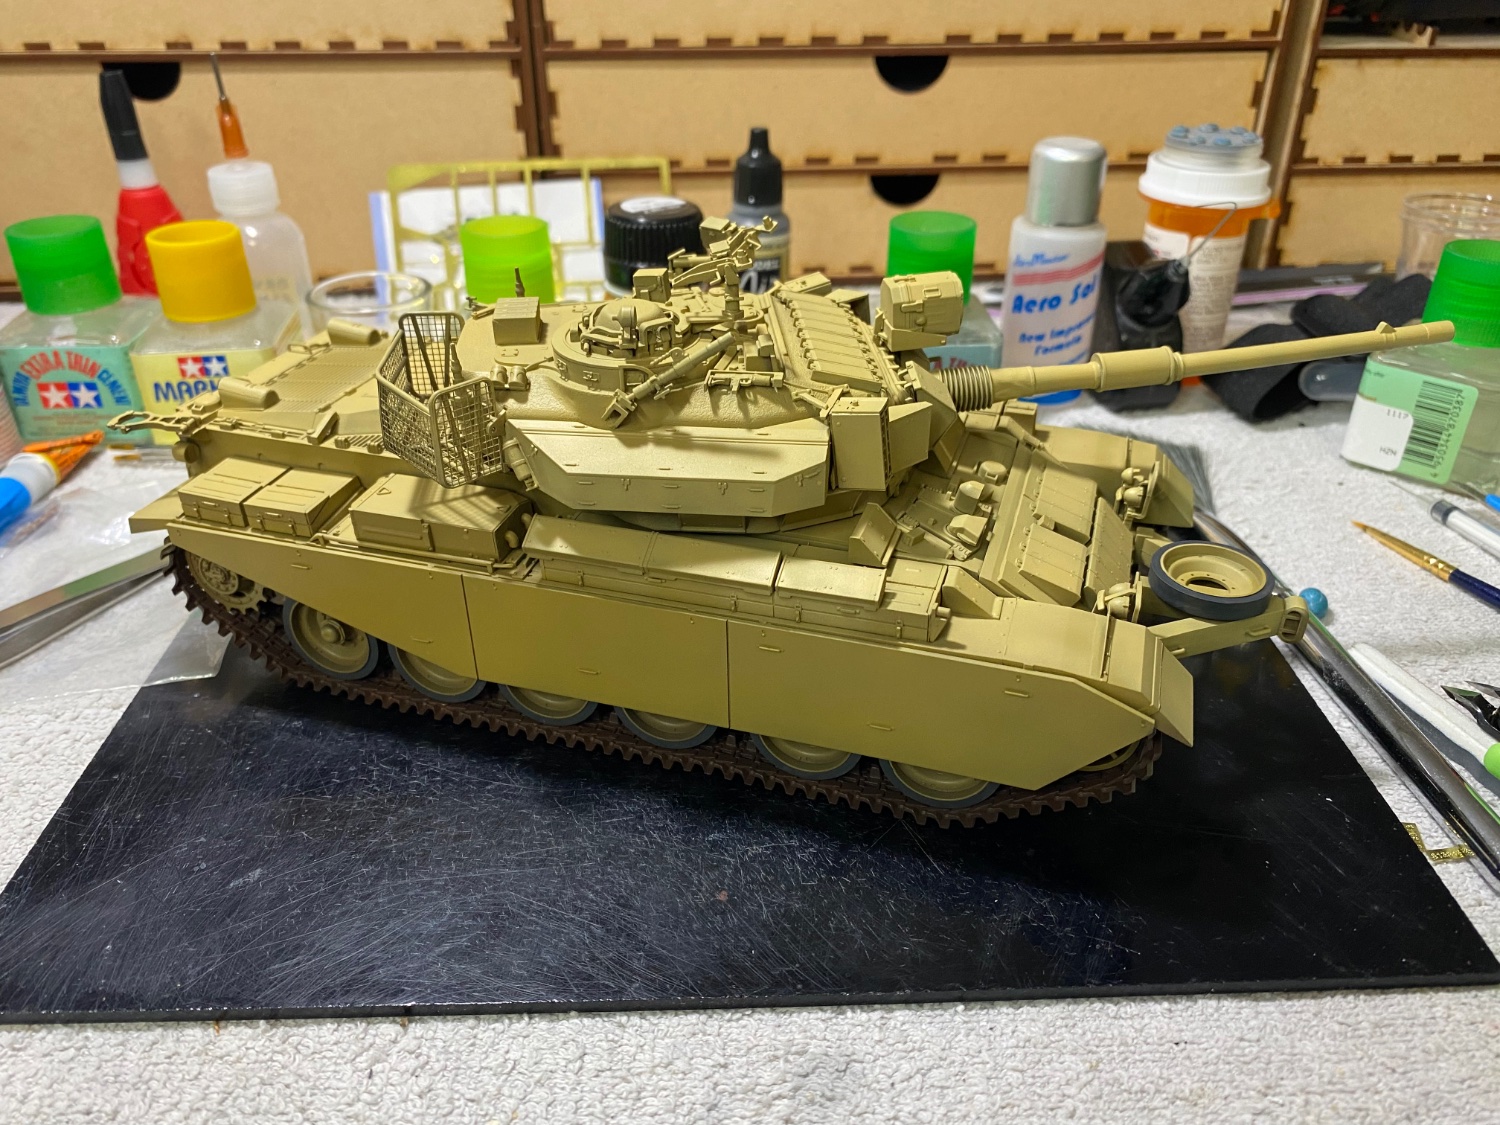
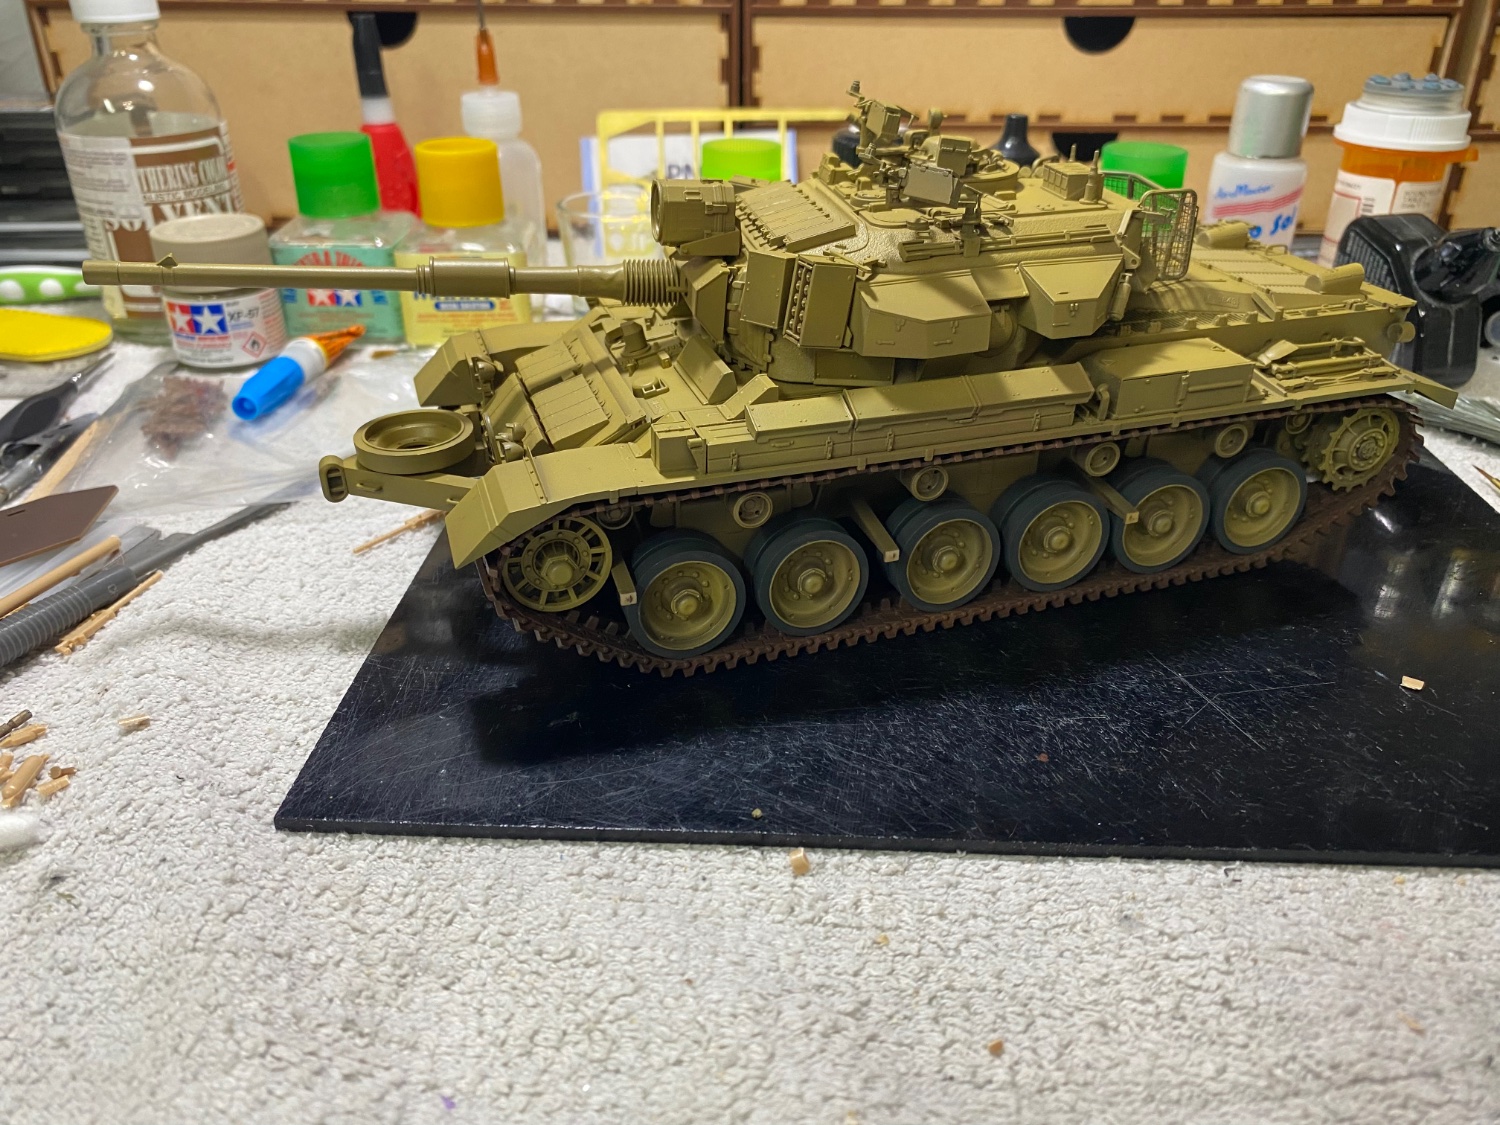
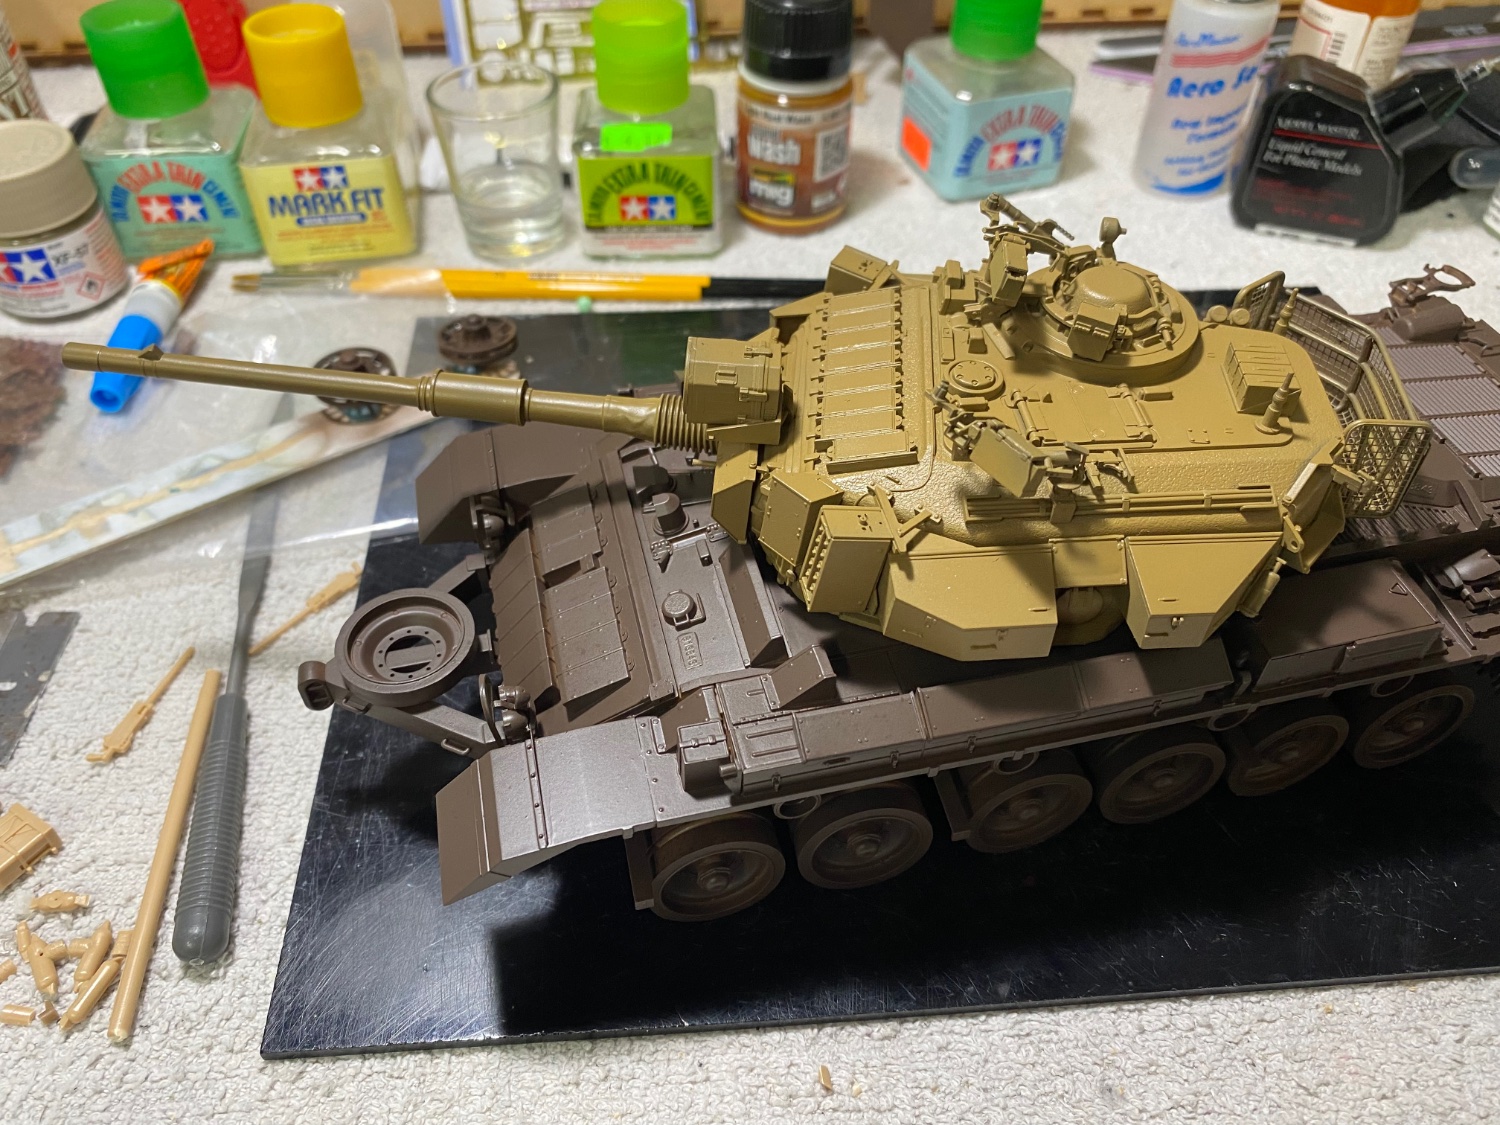
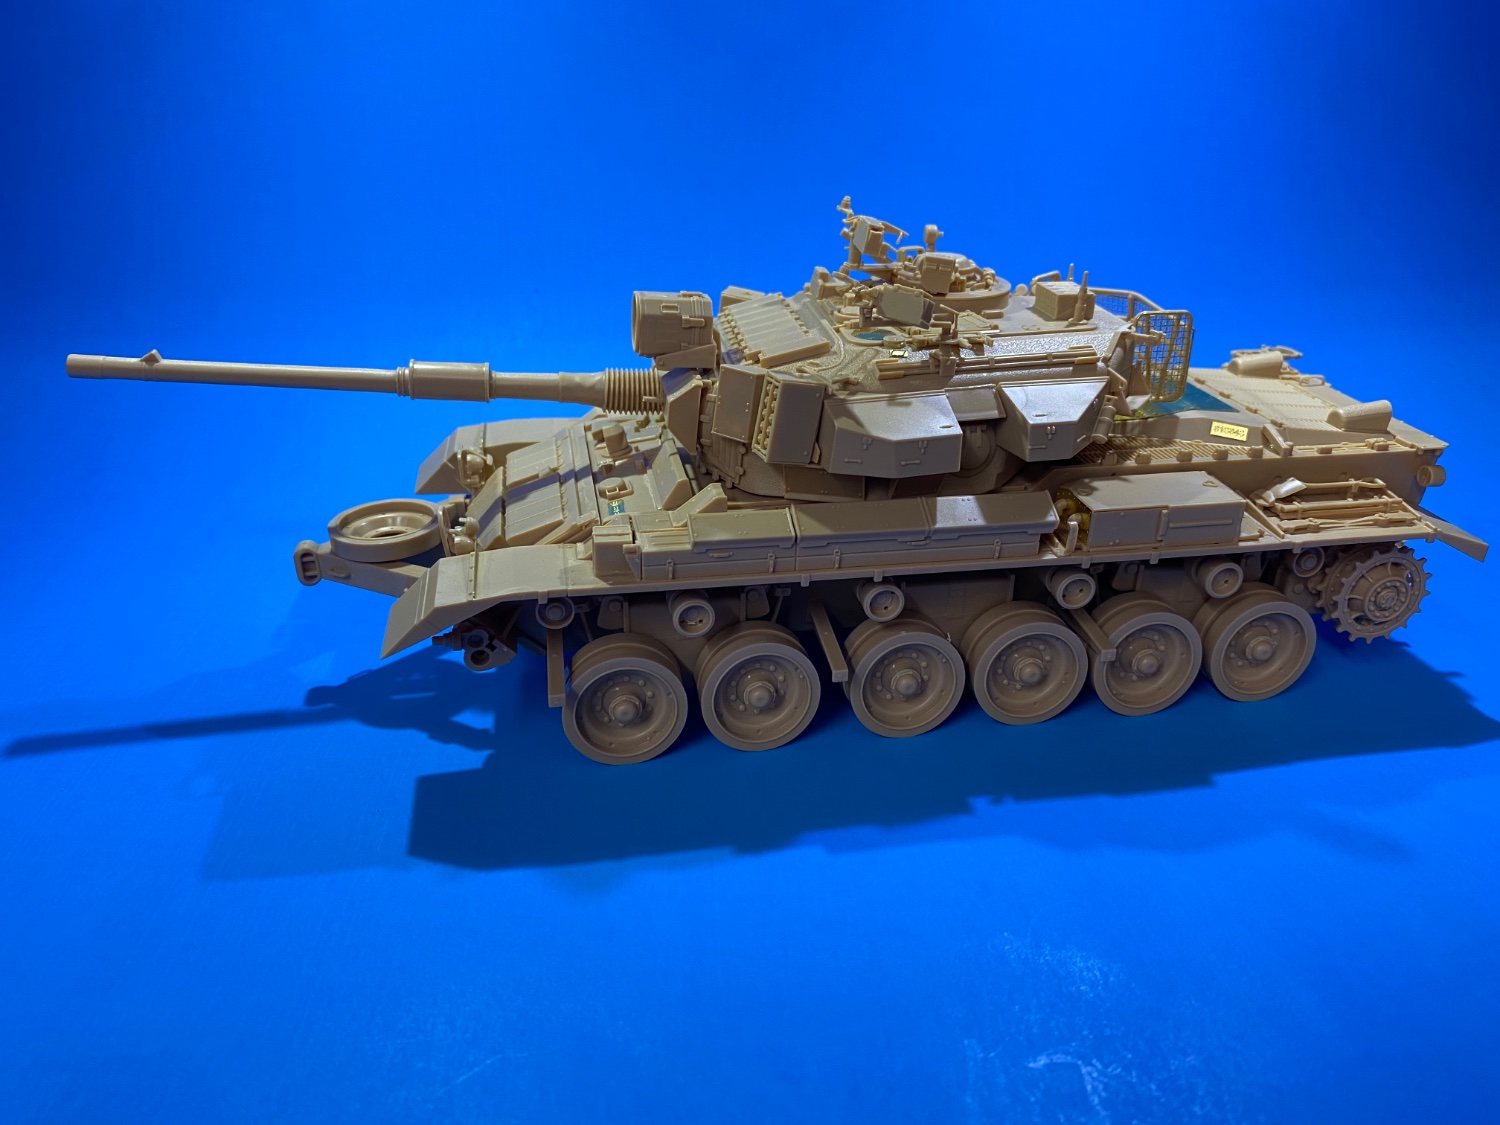
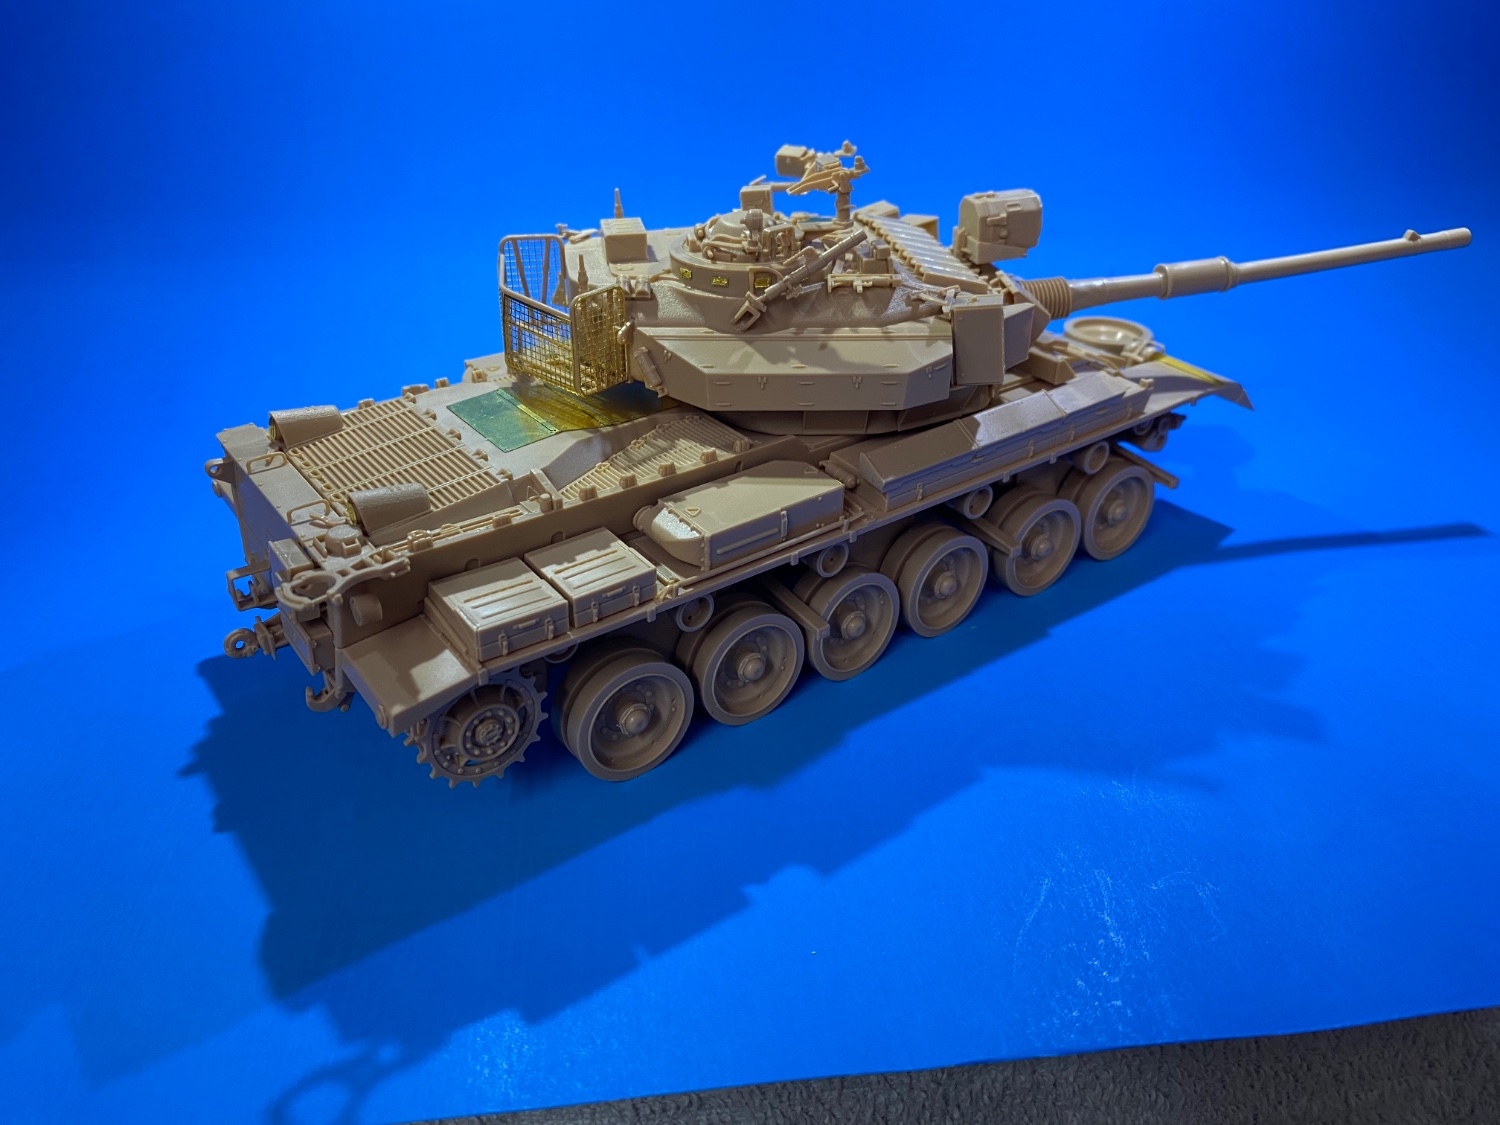
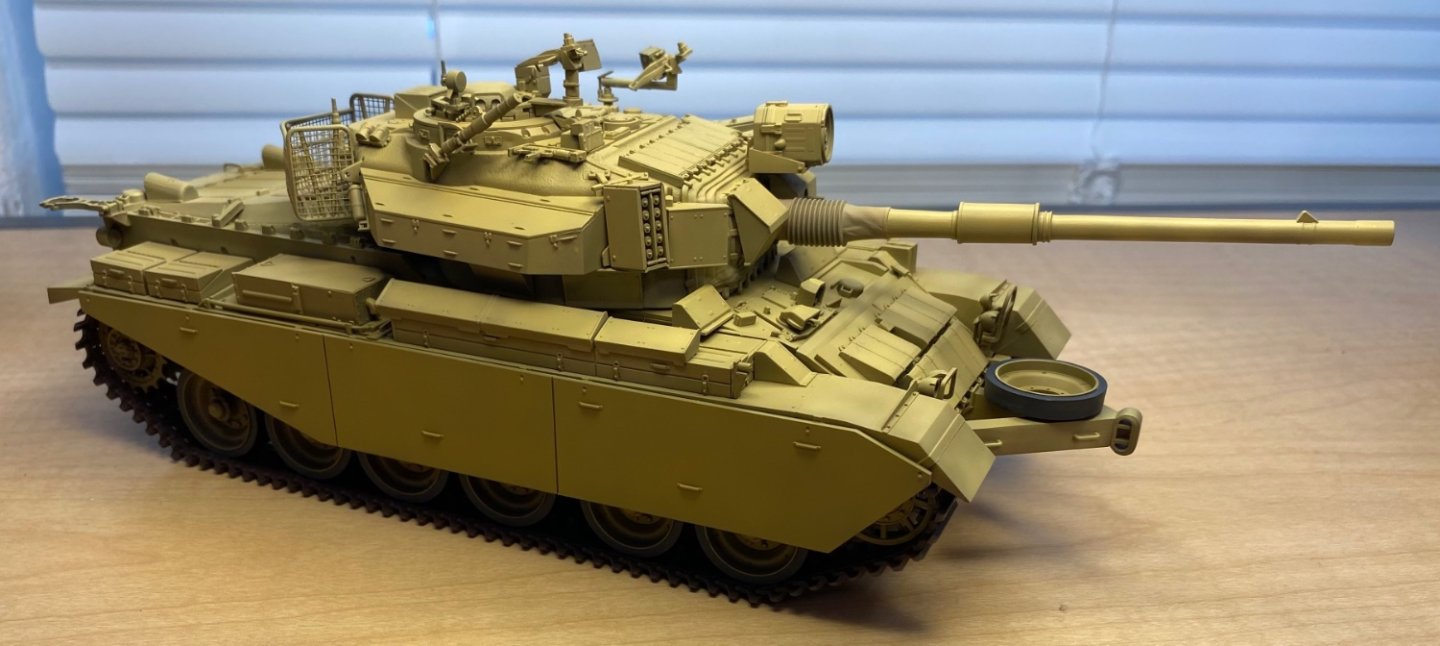
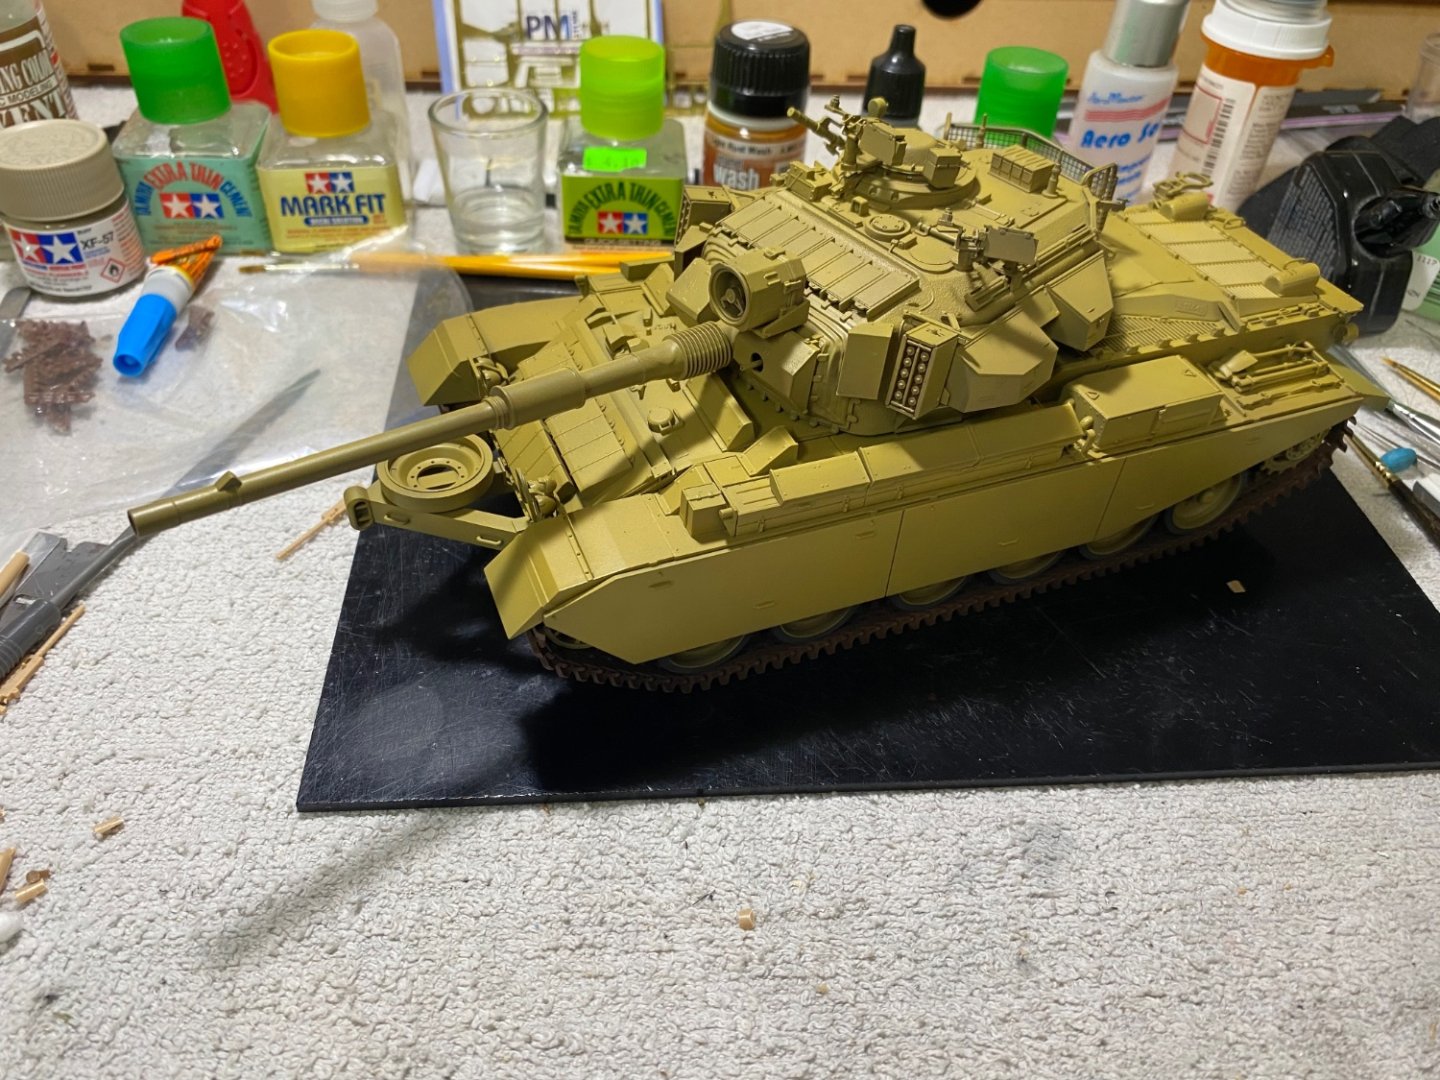
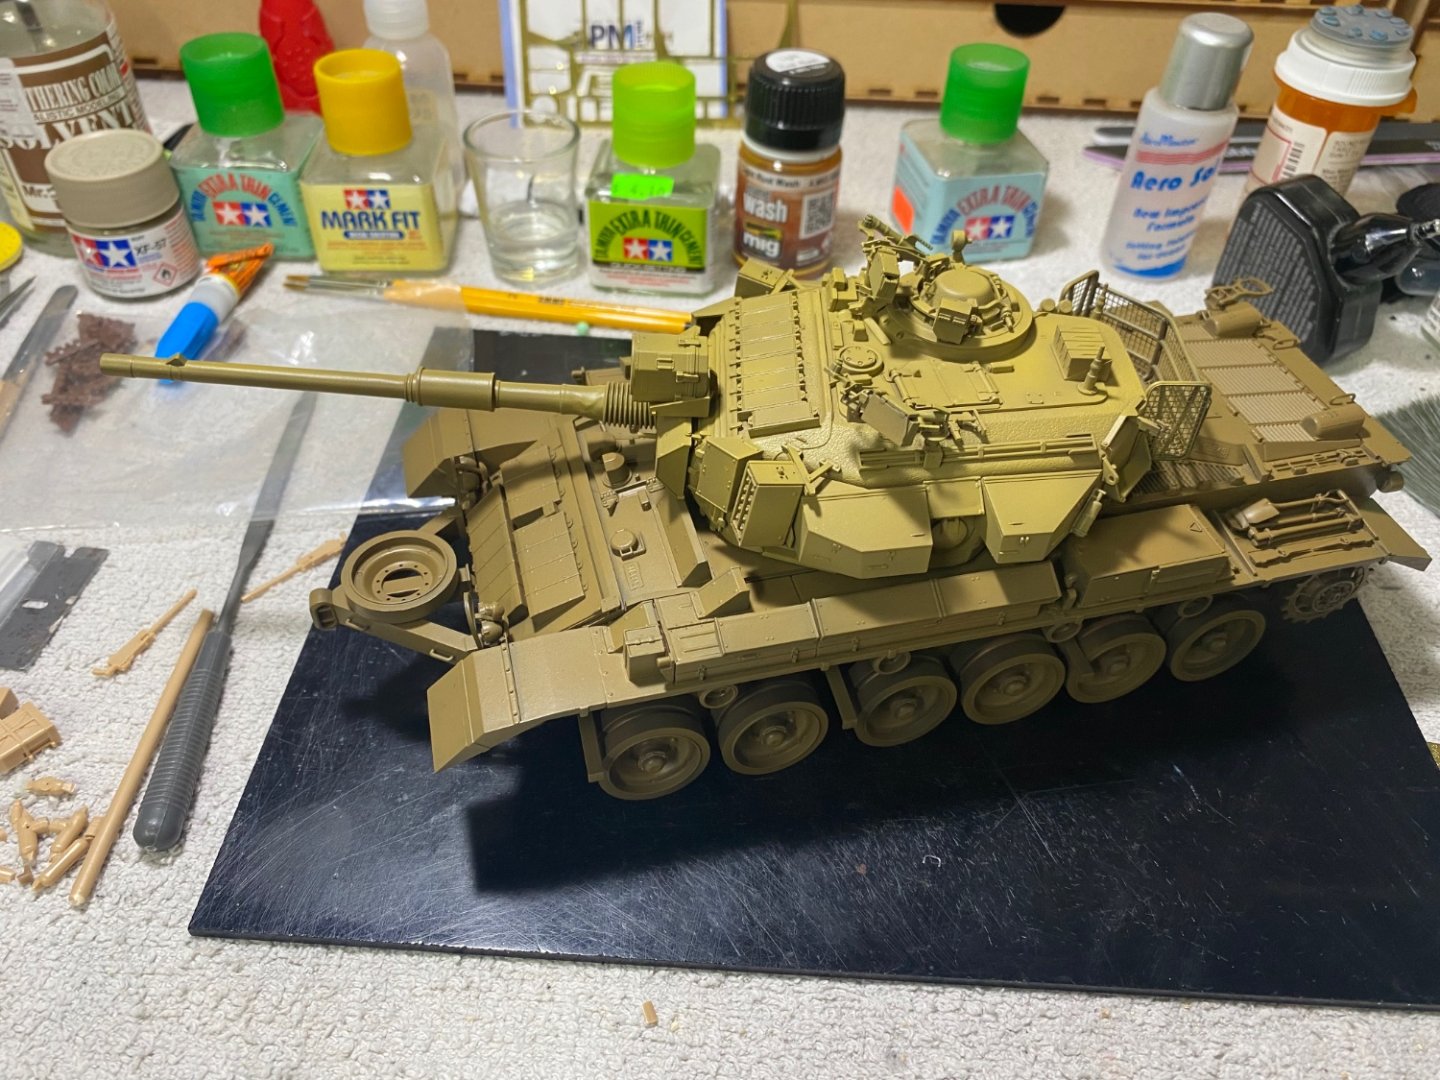
 Thanks gentlemen. This is a recommended company, Amusing Hobby. It's been a very enjoyable build, well detailed, excellent fit, modern and up to date tooling.
 -
P-51 "American Beauty" by Javlin - FINISHED - Trumpeter - 1/32
CDW replied to Javlin's topic in Non-ship/categorised builds
Wow, that”s a real sharp-looking scheme. Great job Javlin! -
Only a small number of decals and now finished, but a lot more detail and weathering to be added.


- 95 replies
-
- 10
-

-

-
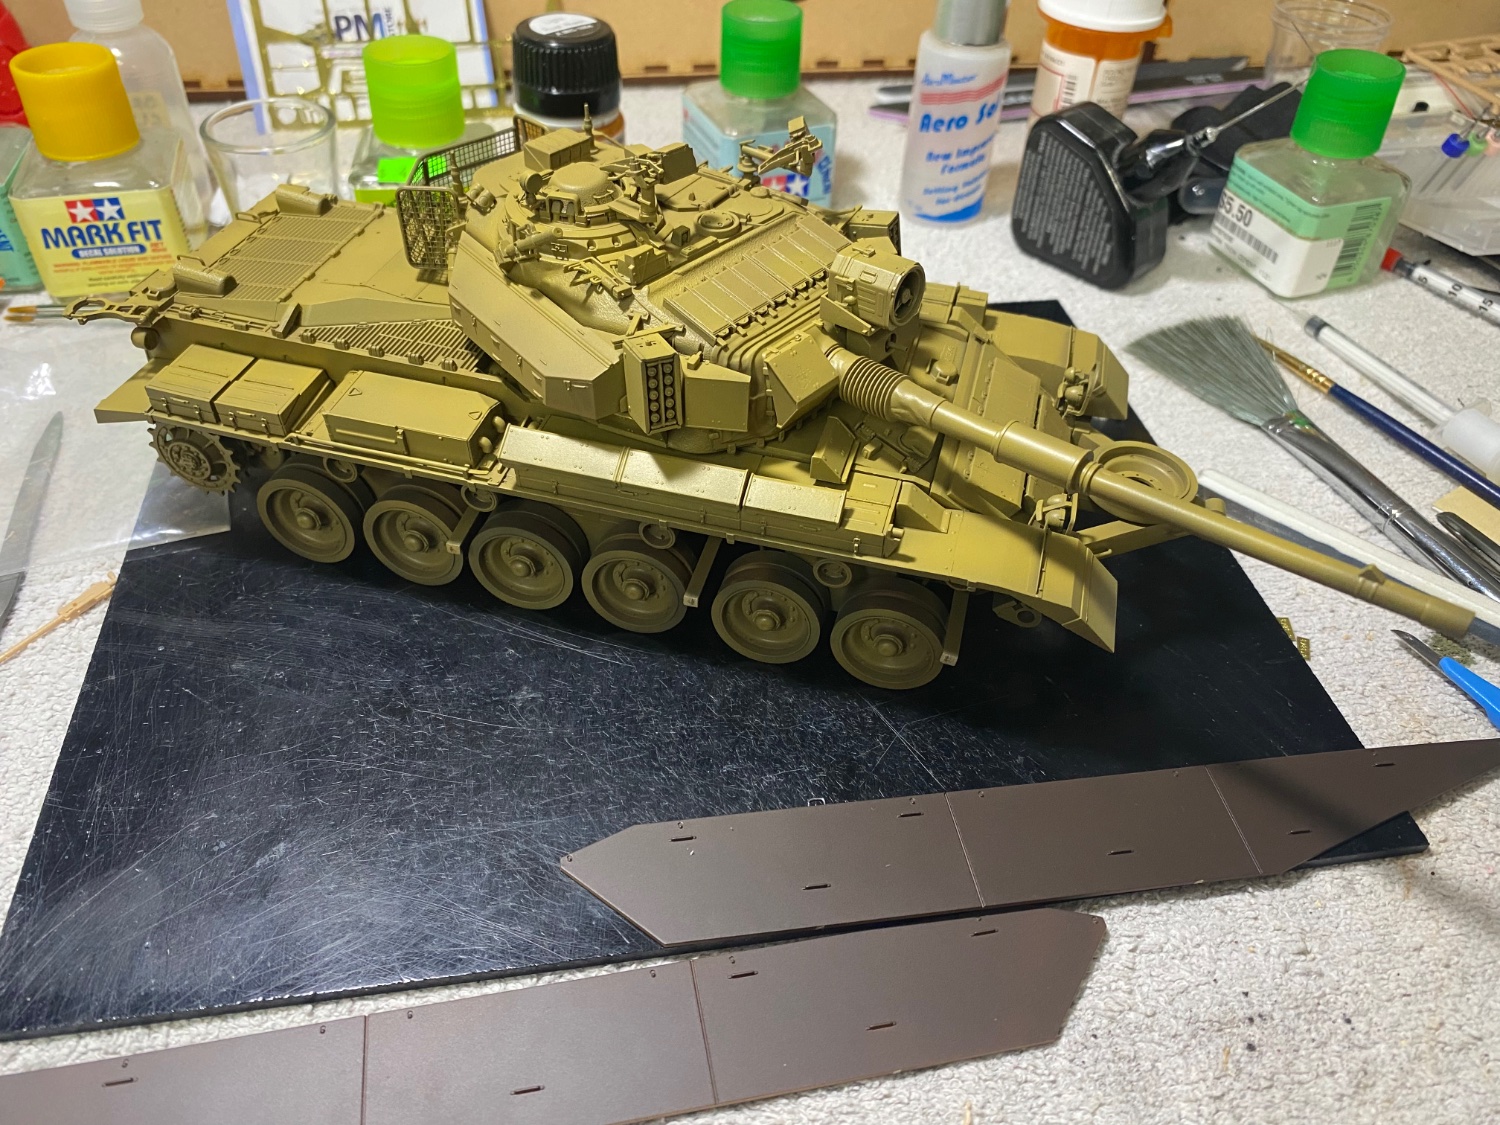
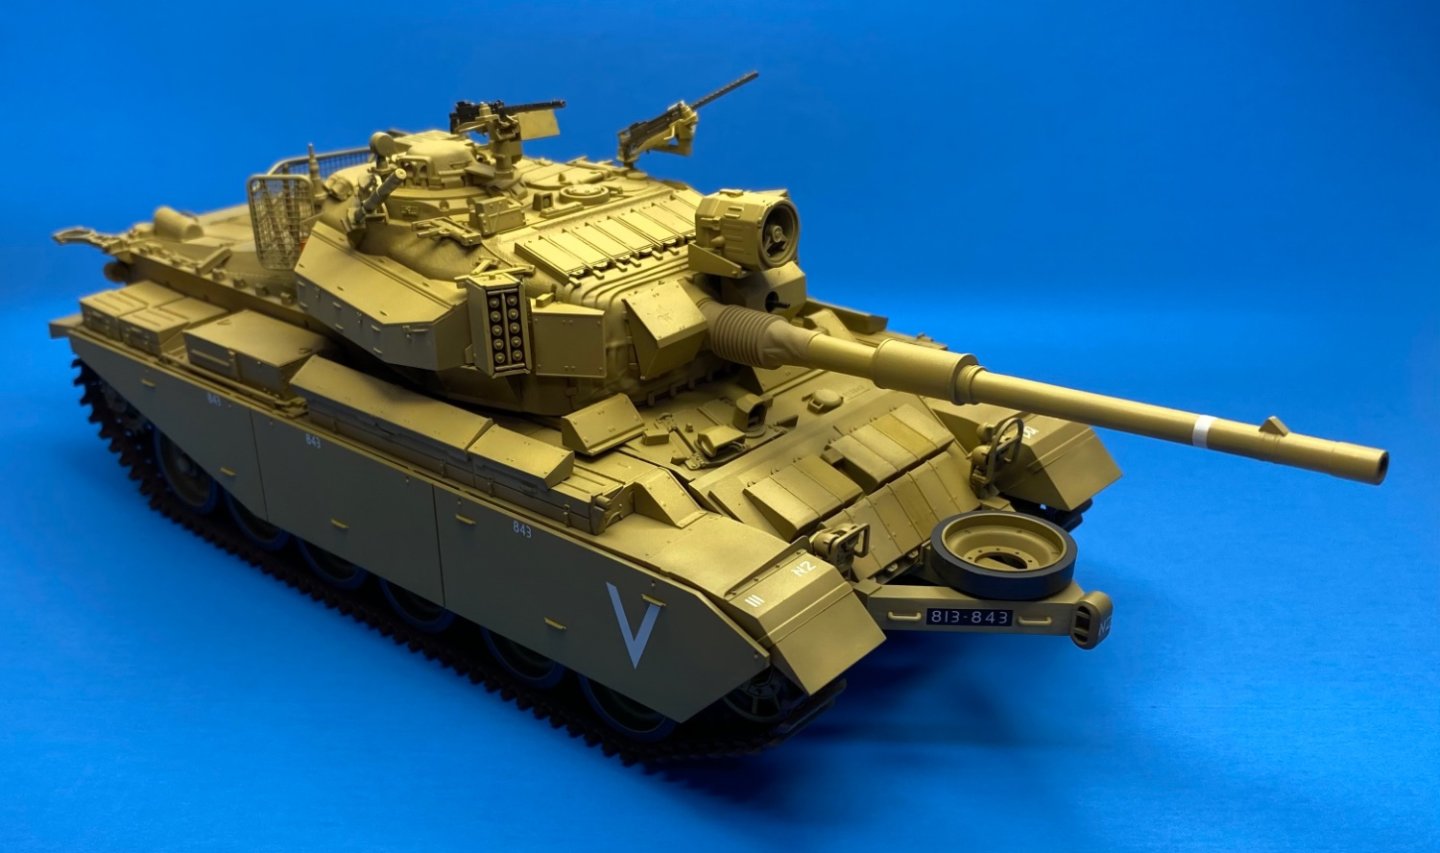
Now this is me just thinking out loud...there is no way the road wheel is mounted in any fashion on the battering ram as "a spare road wheel". it just doesn't make any sense to me given the fact a battering ram is meant to batter. The road wheel will get battered, too. I believe in a true combat situation where the battering ram was in use, the road wheel would be one that was probably already battered and not worthy as a spare and would provide some value as a battering tool. PS: I have not found a photo of an IDF Centurian (Sho't) carrying a spare road wheel. Don't think they carried spare road wheels. This further gives me the impression the road wheel on the battering ram if definitely not intended as a spare. However, I could be wrong. 😄
-
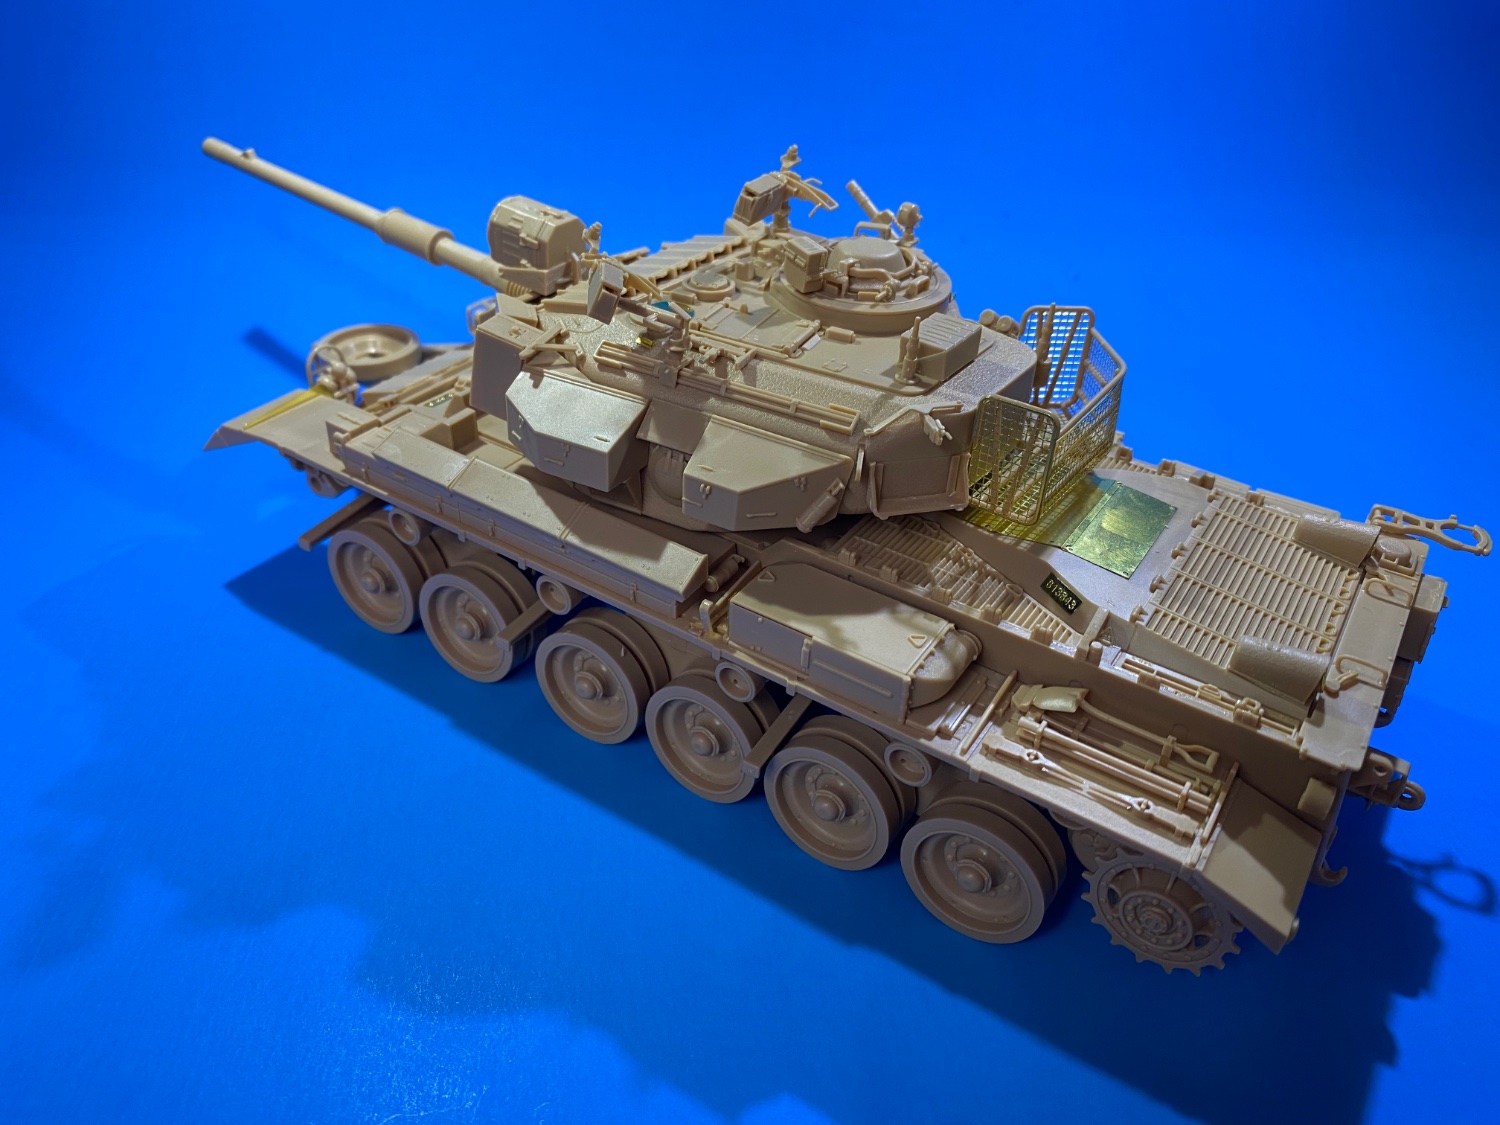
The Uzi's and 30 cal's are for shooting around corners.
-
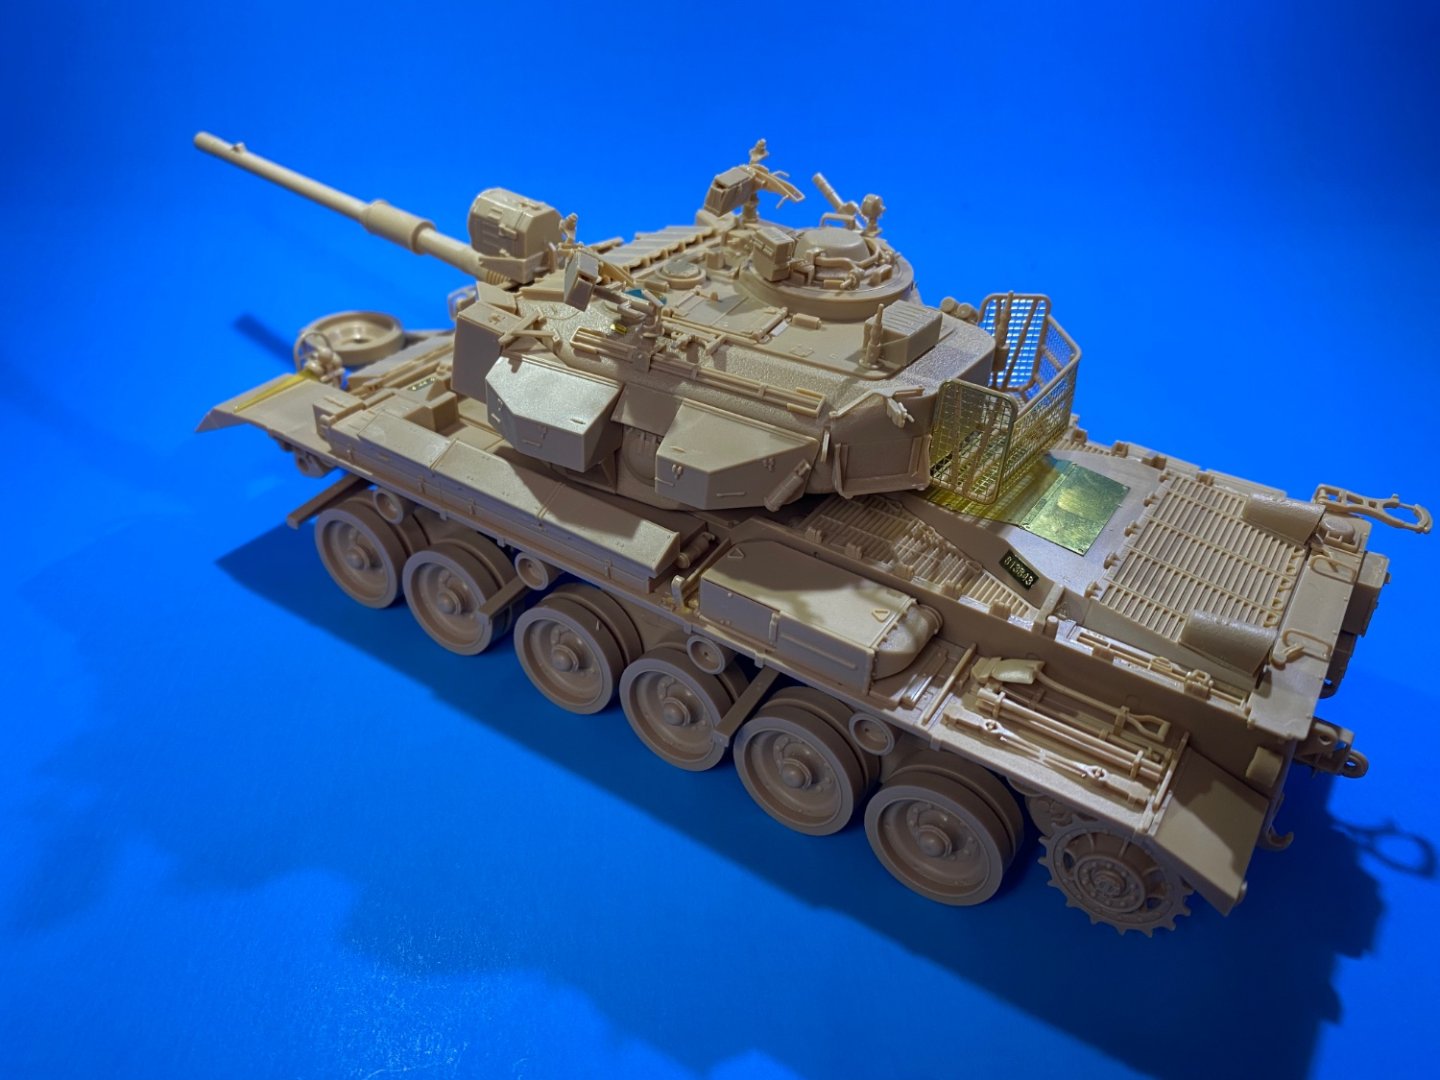
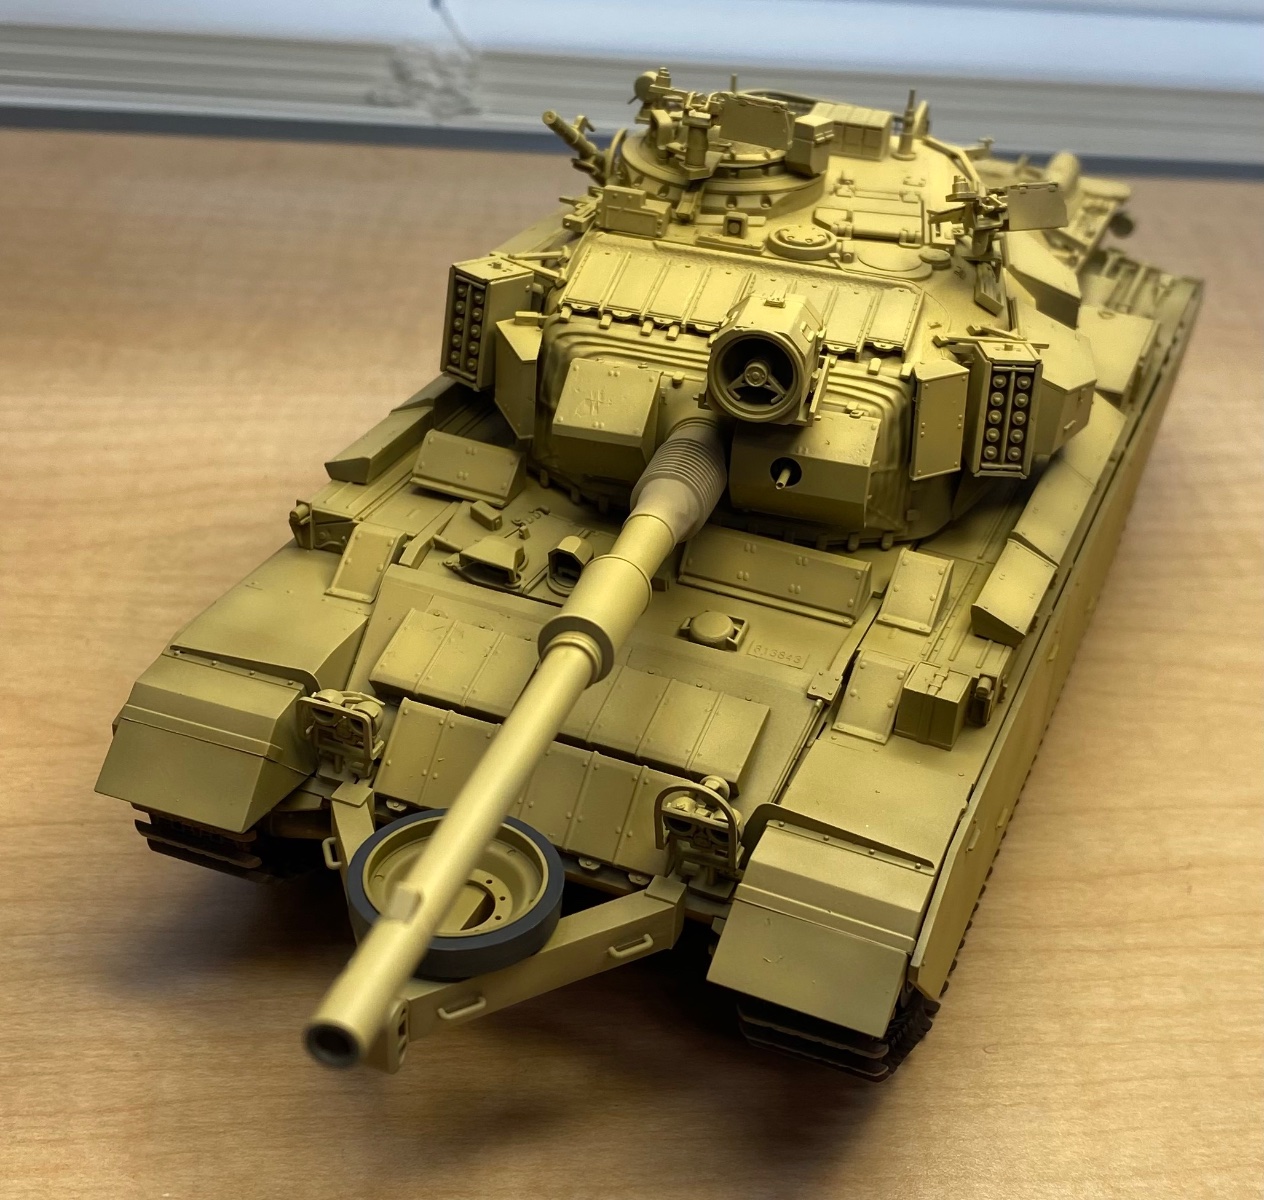
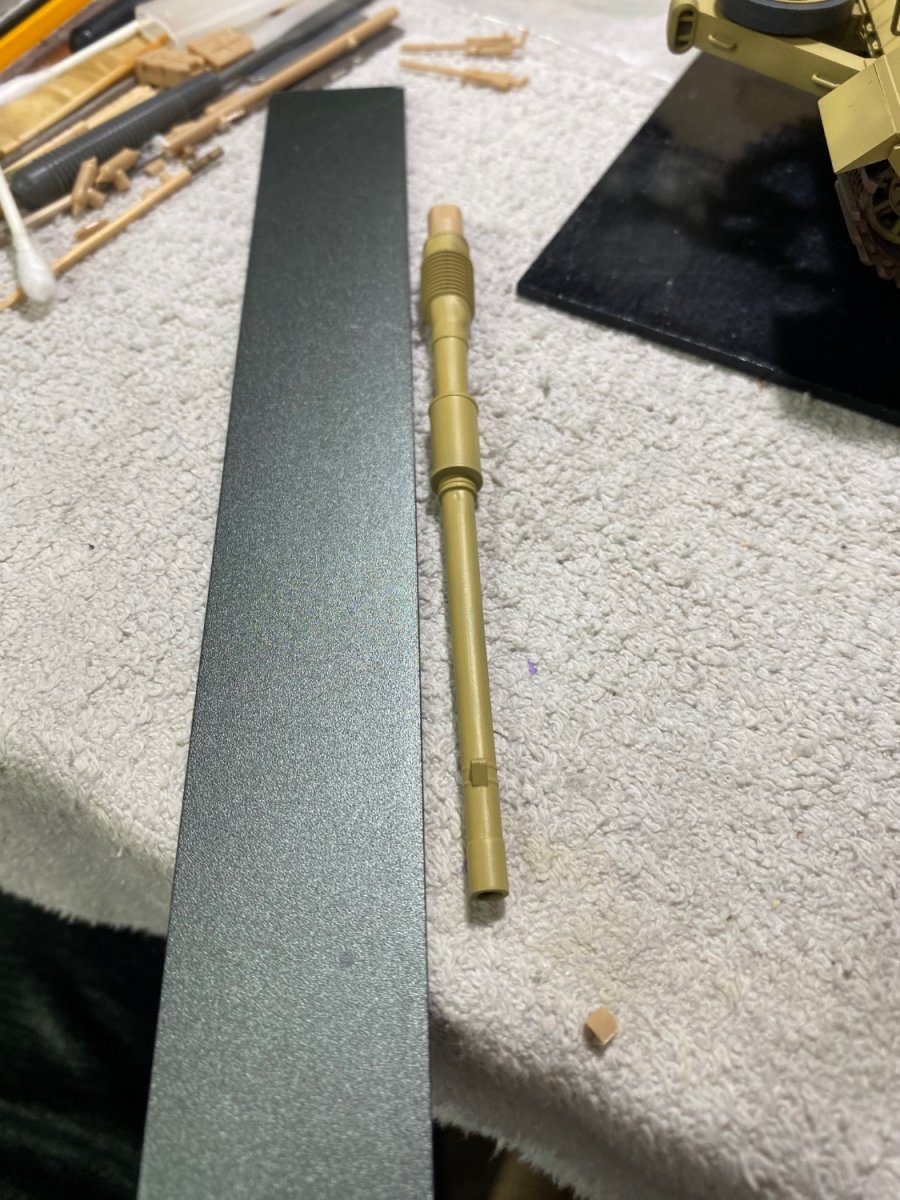
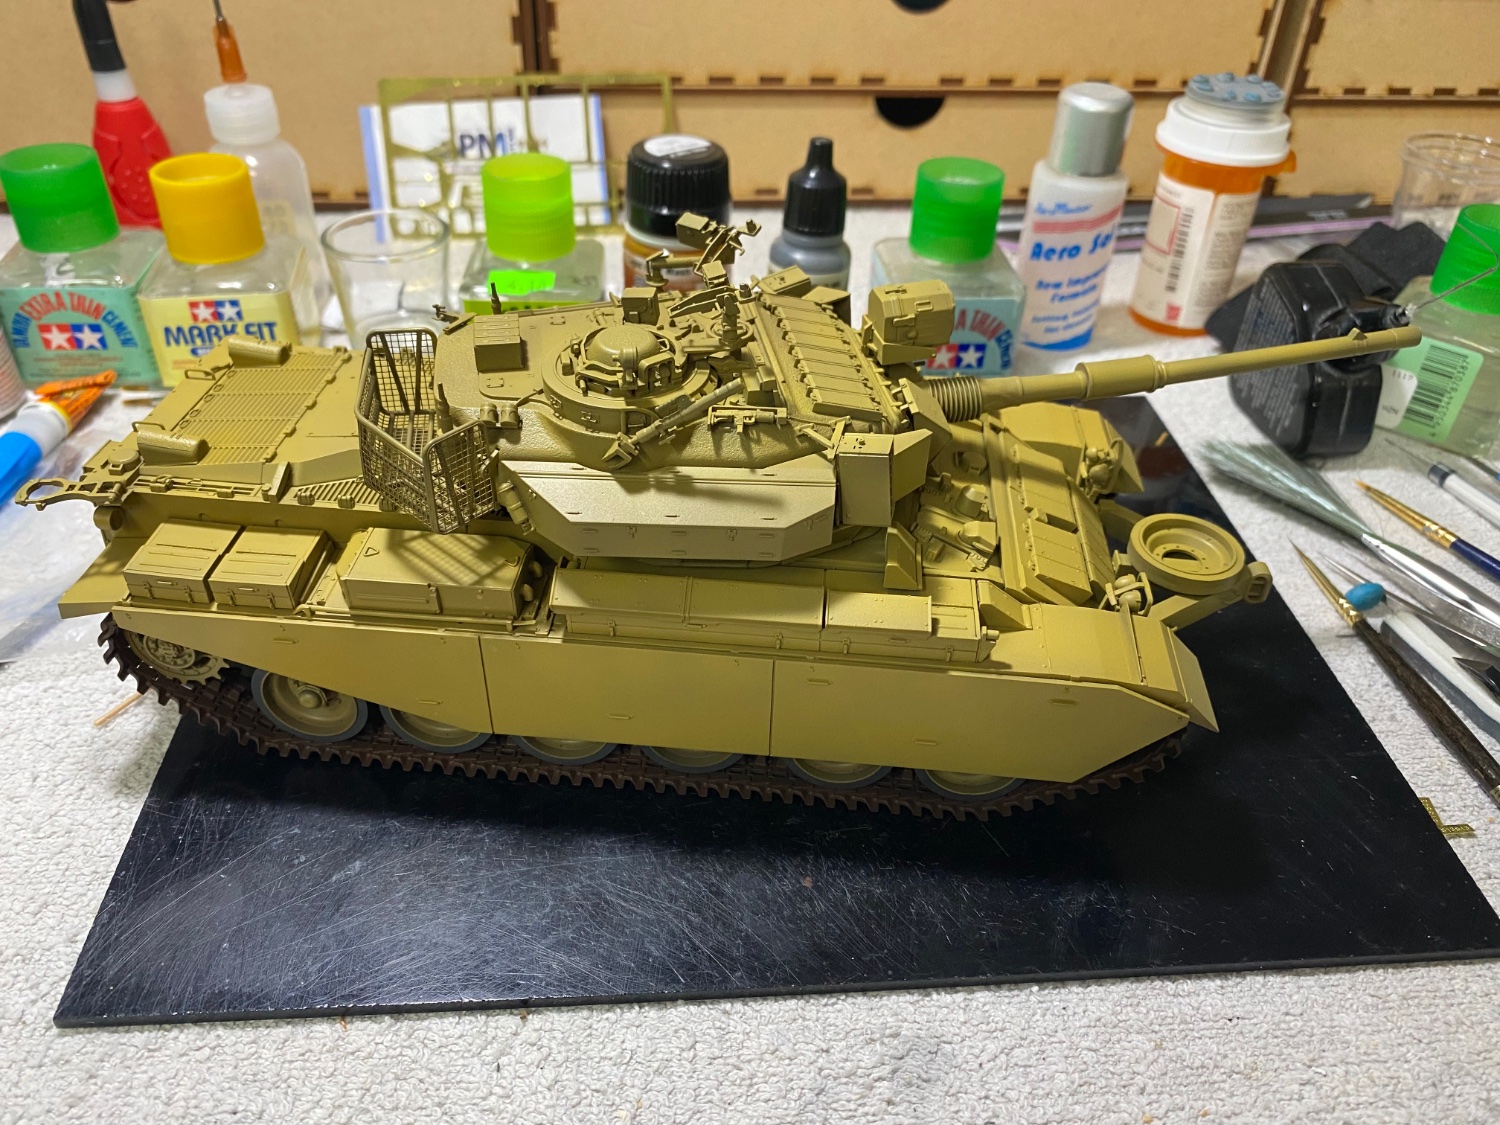
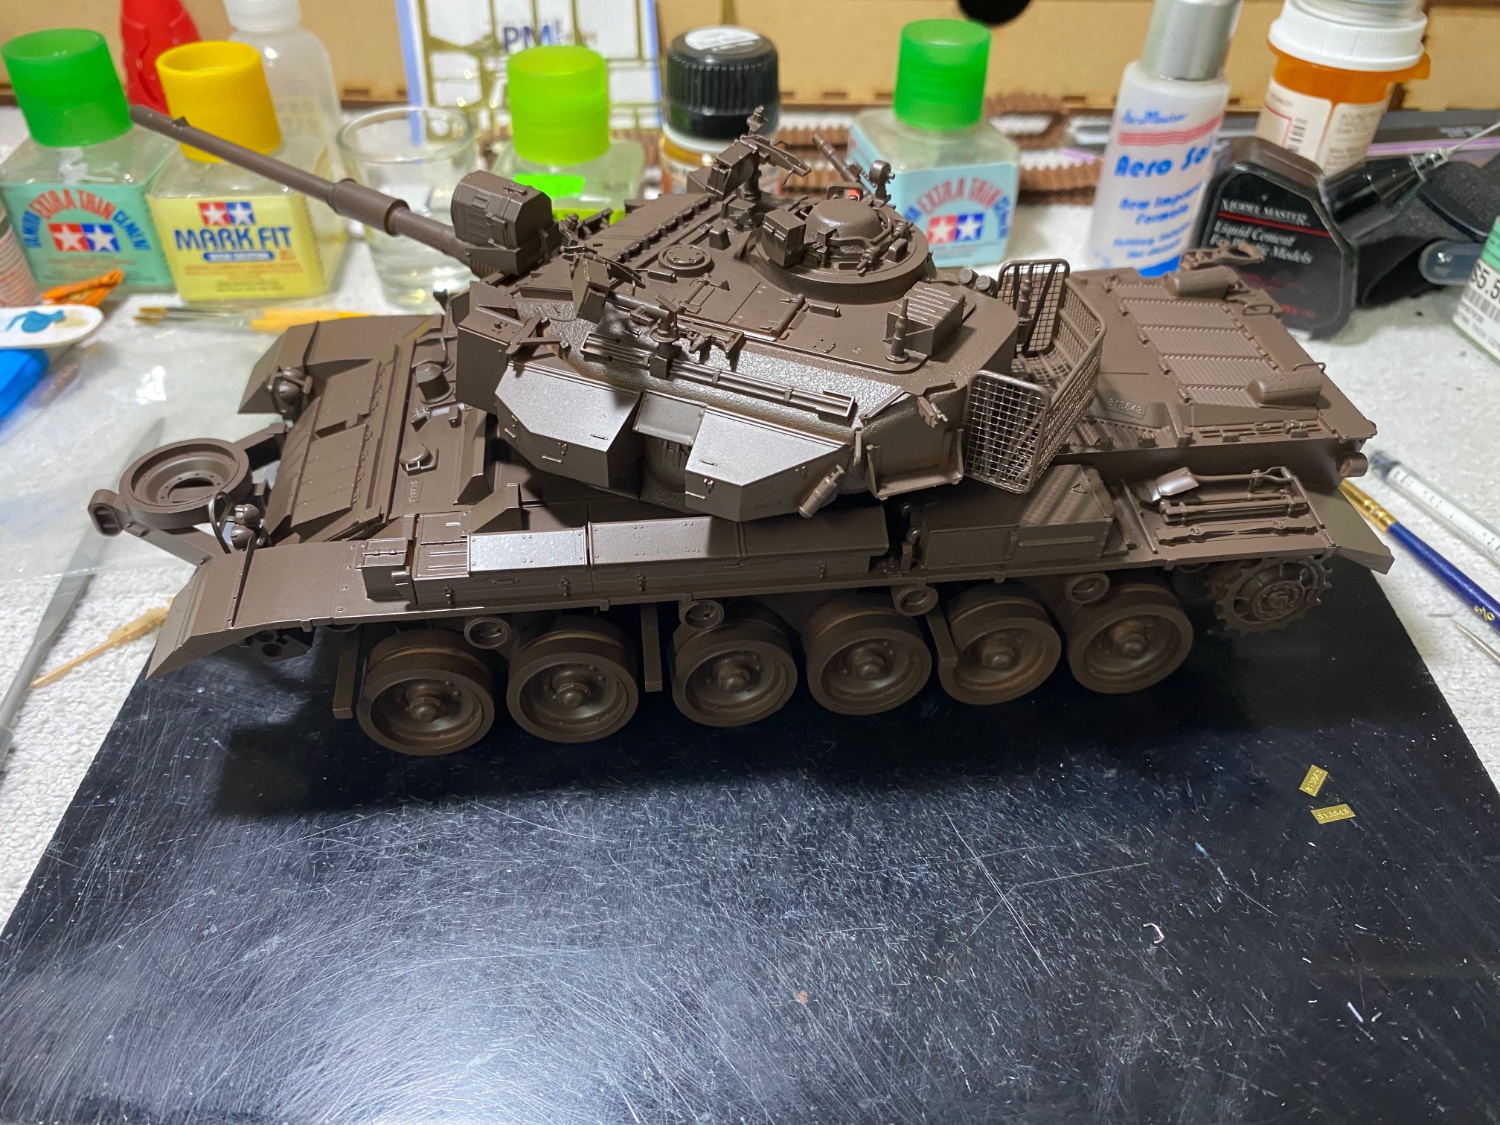
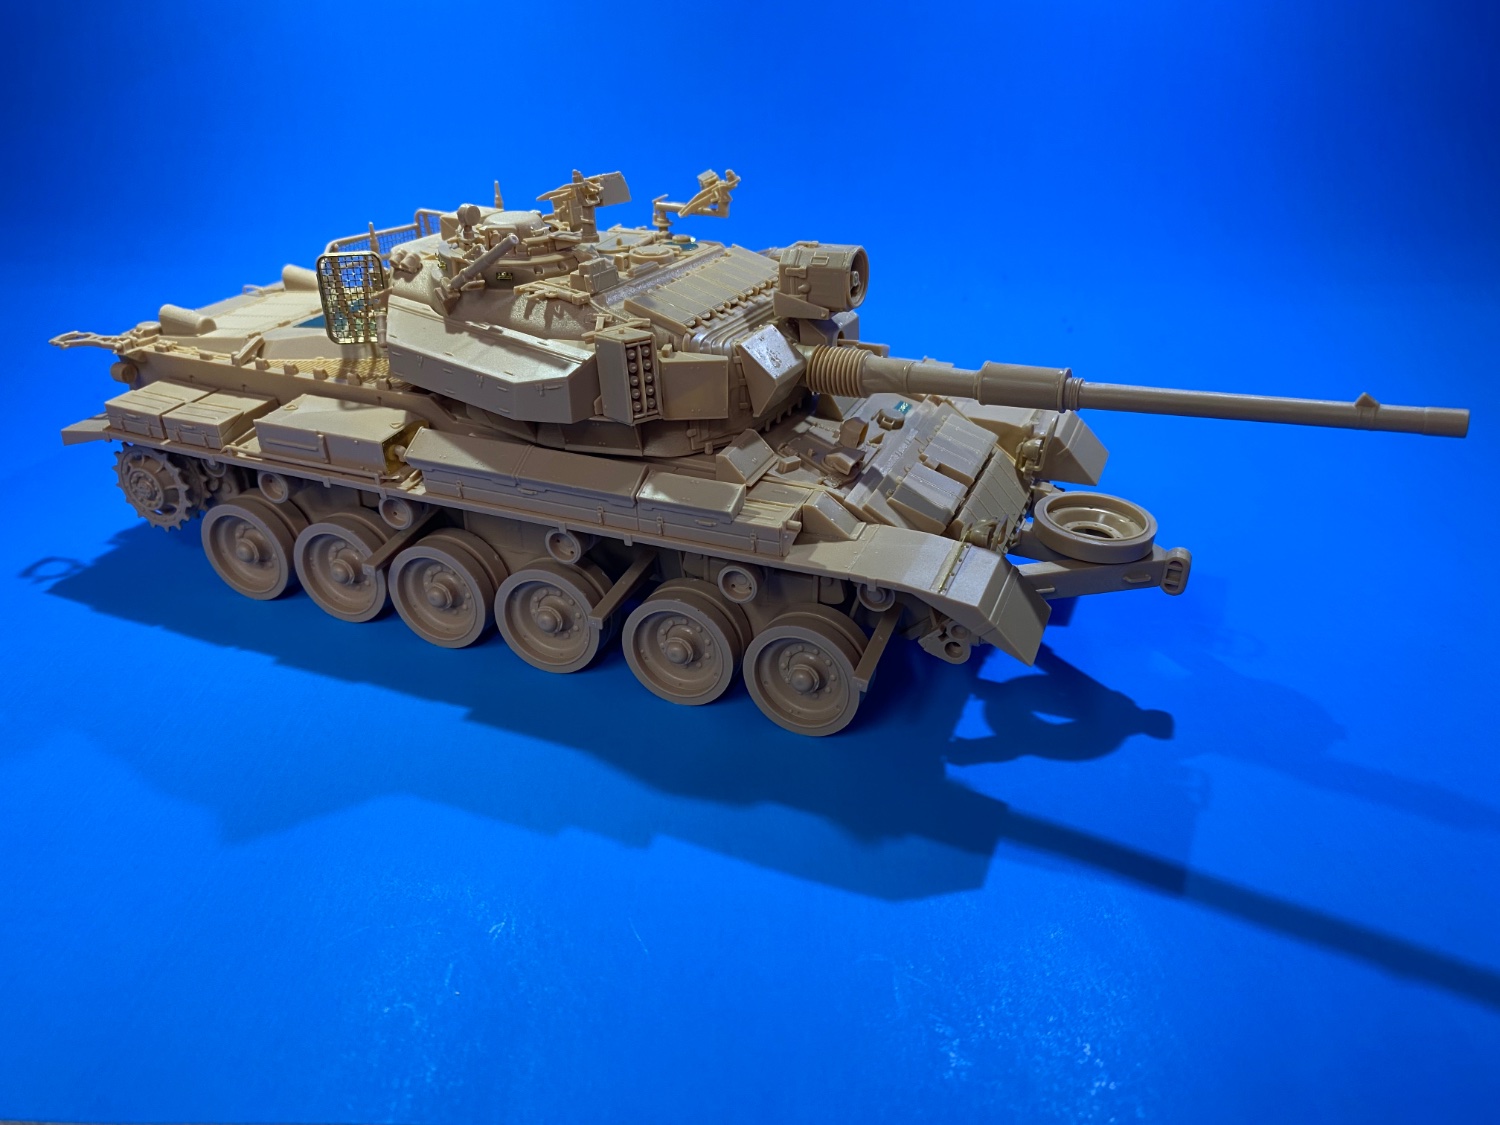
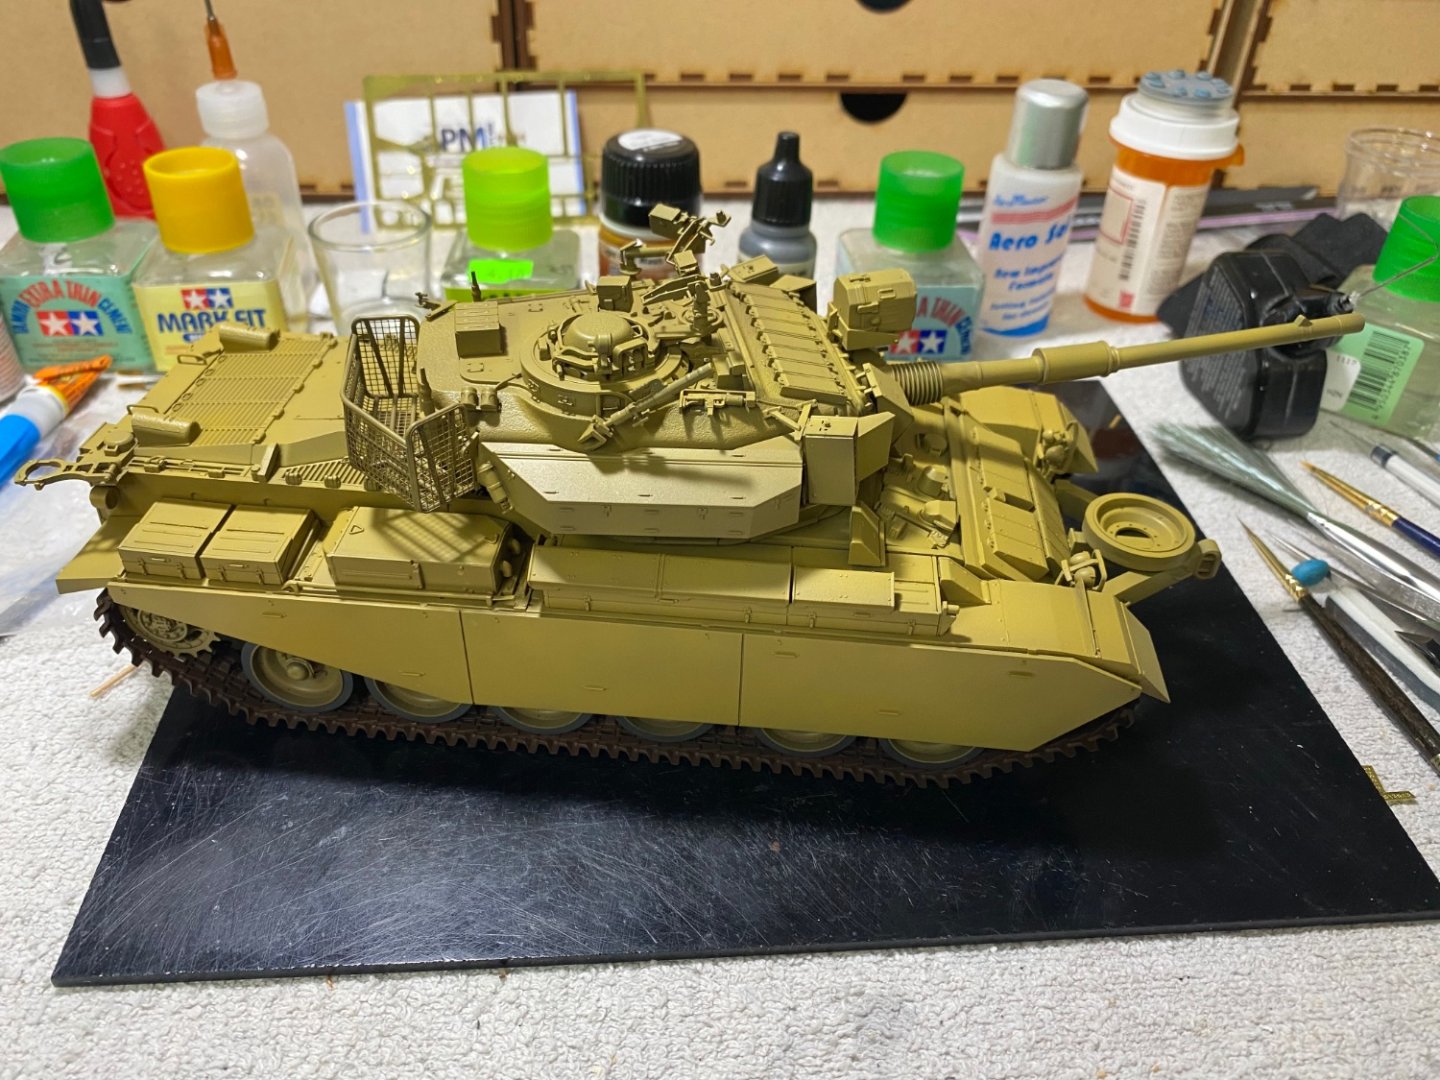
Thanks OC I straightened it with gentle persuasion, by controlled brute force. Straight as an arrow now.
-
I'm guessing it's the former, but it's only a guess.
-
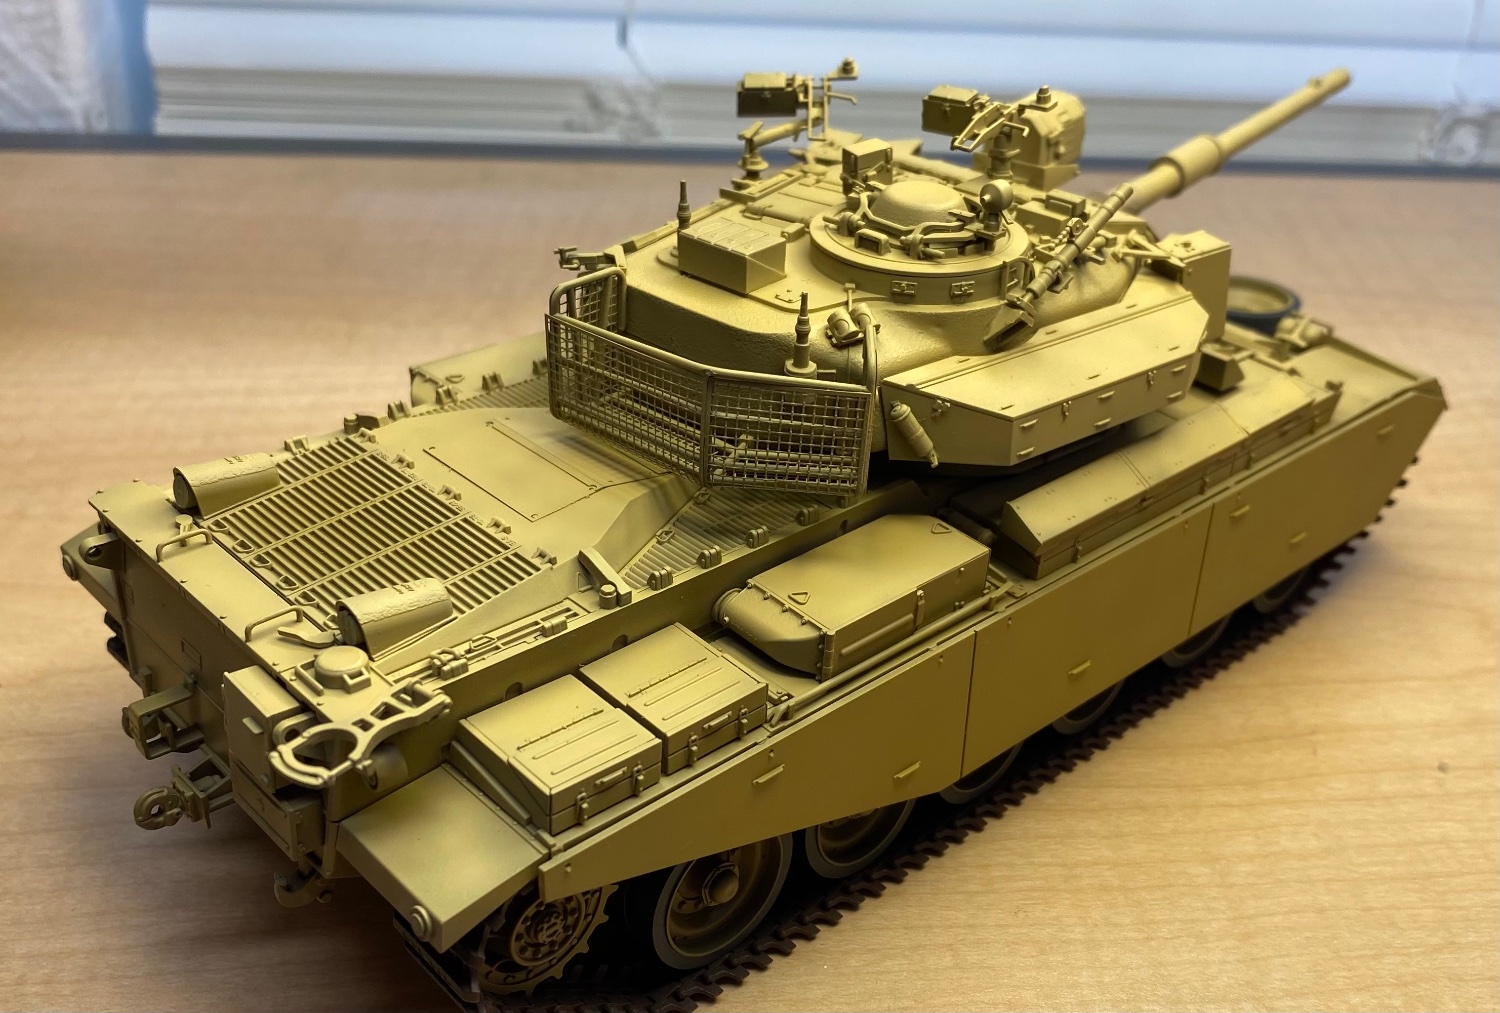
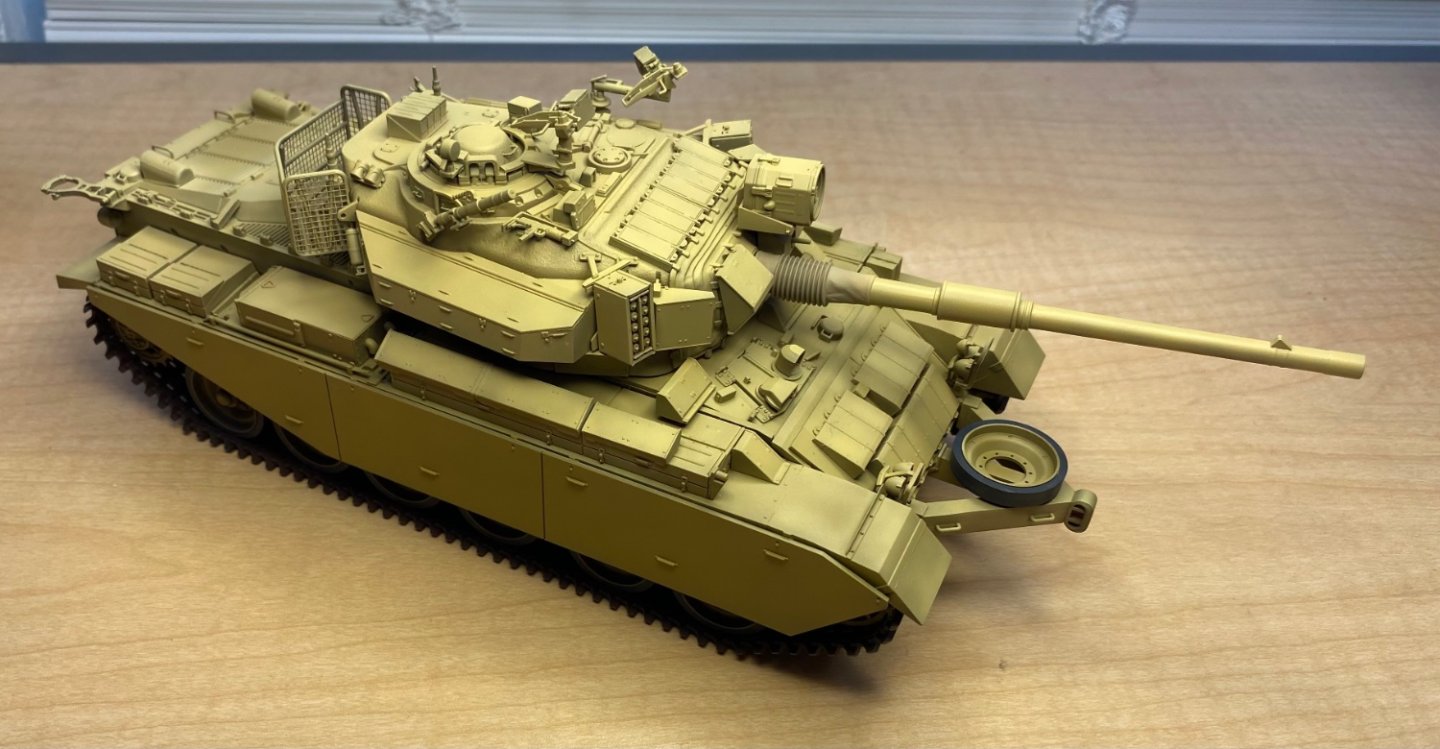
Great info, thanks Chris. This third variant is/was a 2nd generation main battle tank. Meaning that it had a stabilized gun (could accurately be fired while moving), night vision, and ERA (reactive) armor.
-
My youngest daughter just received her bachelor's in science, Business Administration, summa cum laude. So proud of her.
-
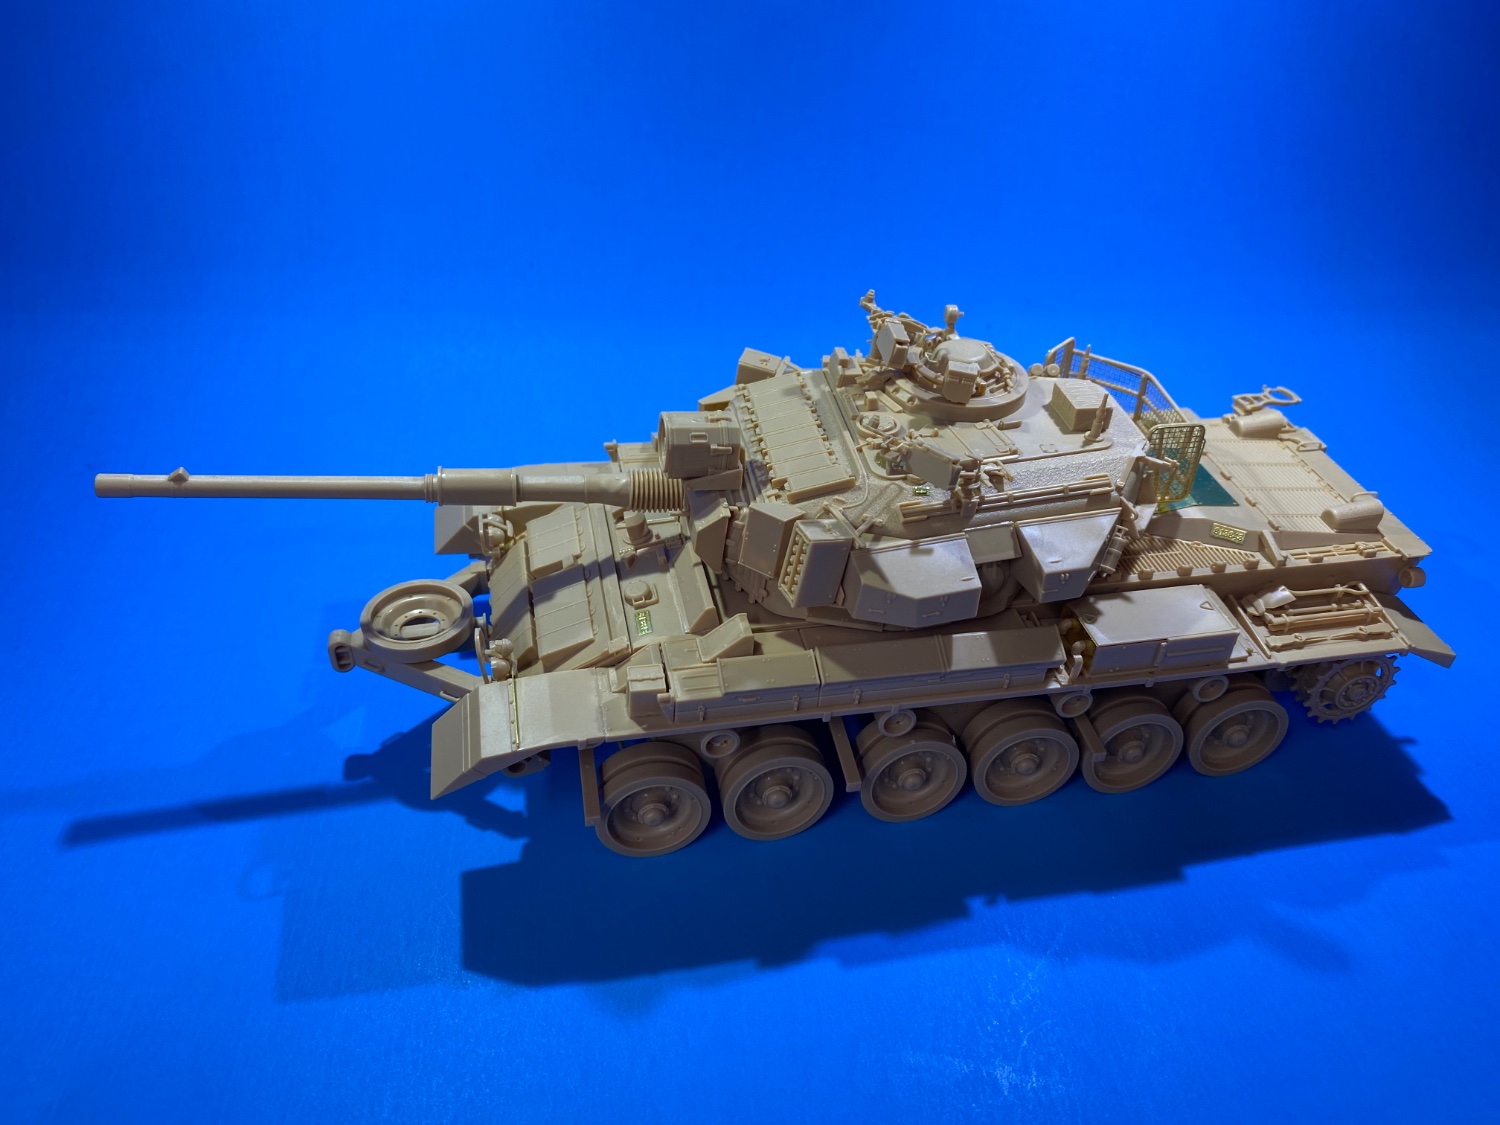
Testing some different lighting for photos. Want to see how they appear once uploaded.


- 95 replies
-
- 10
-
-
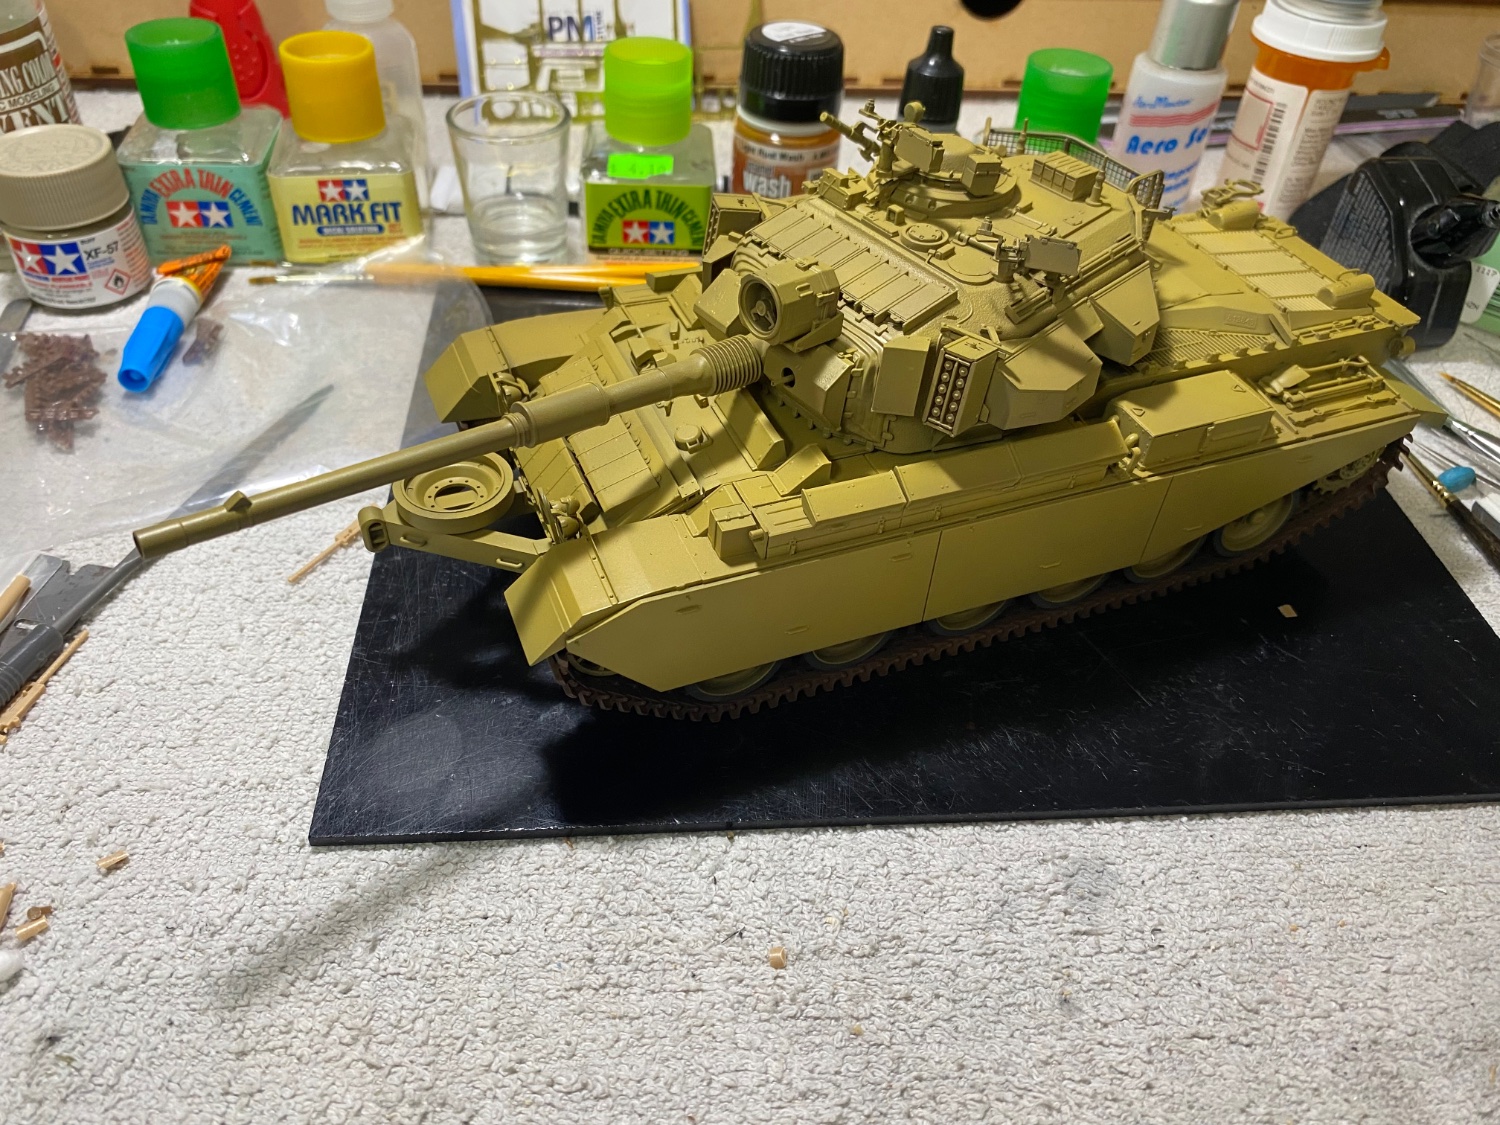
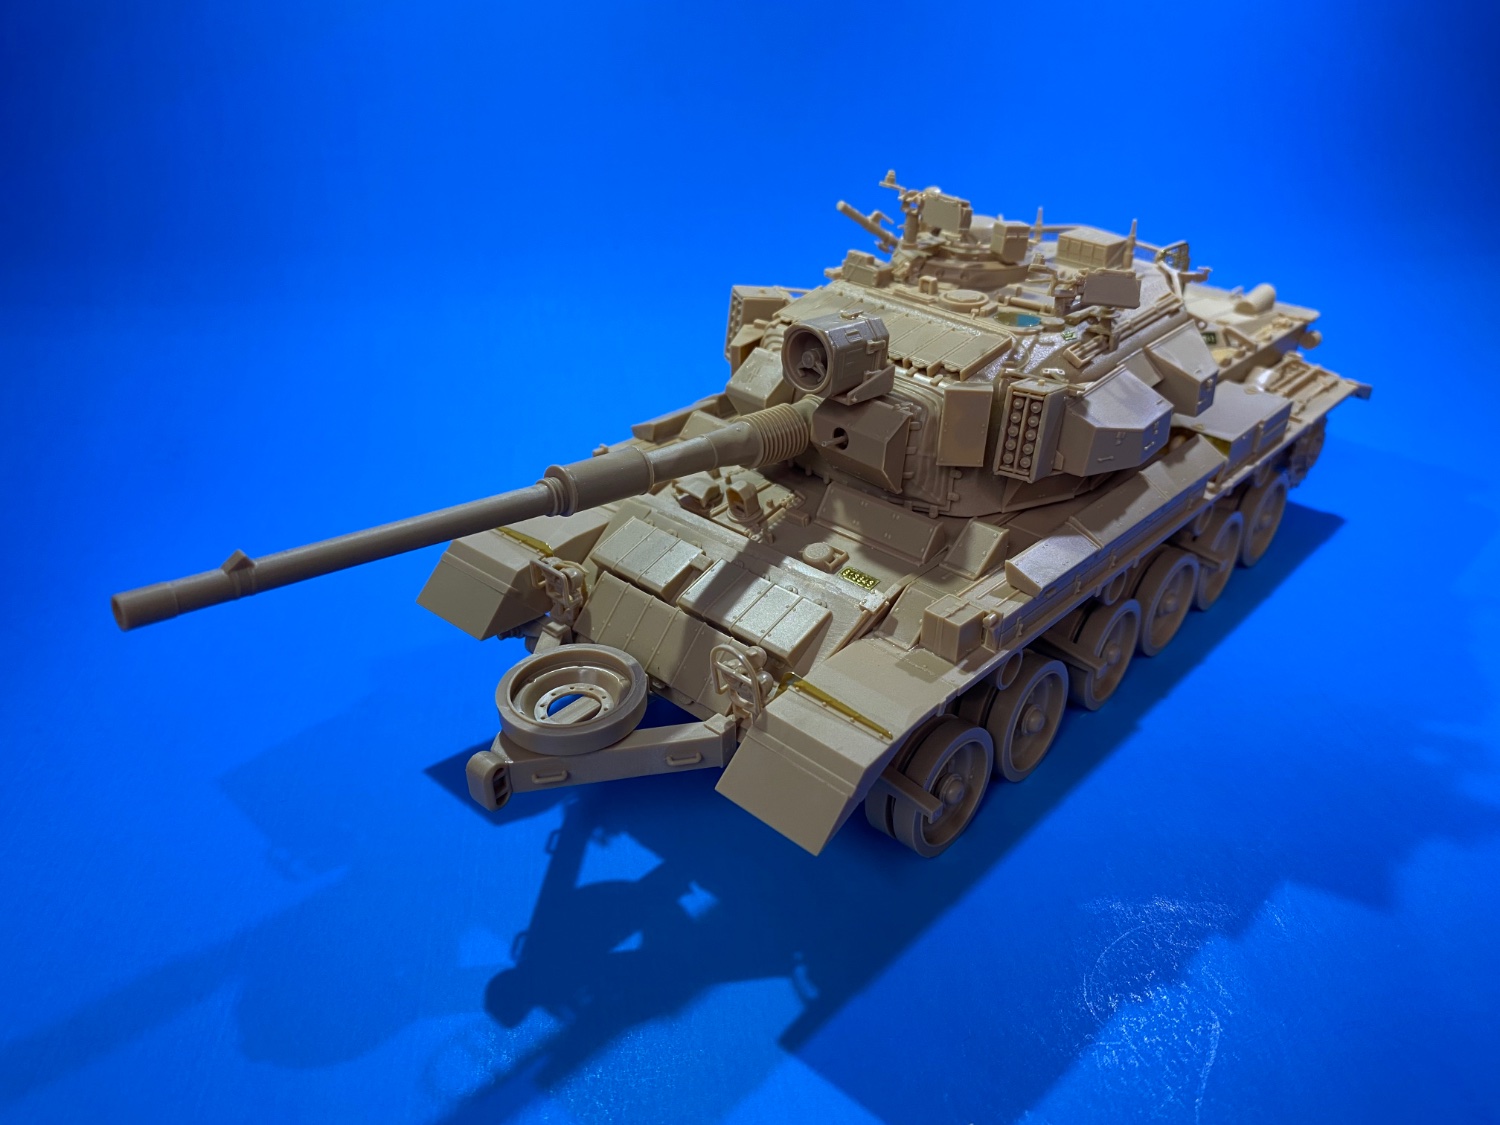
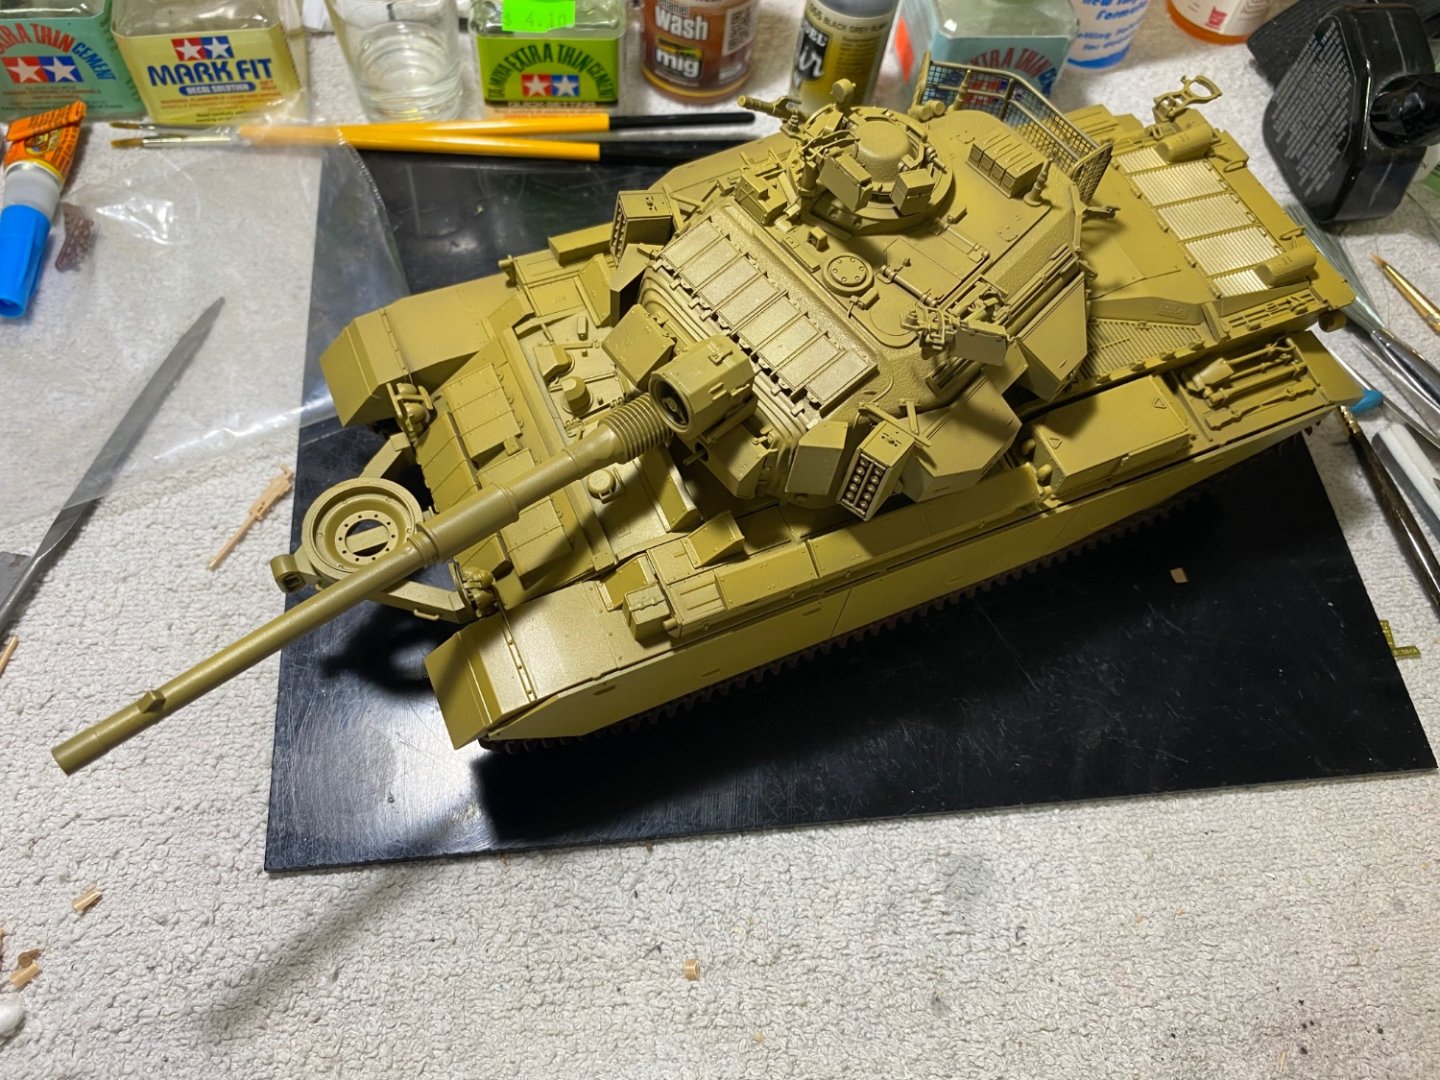
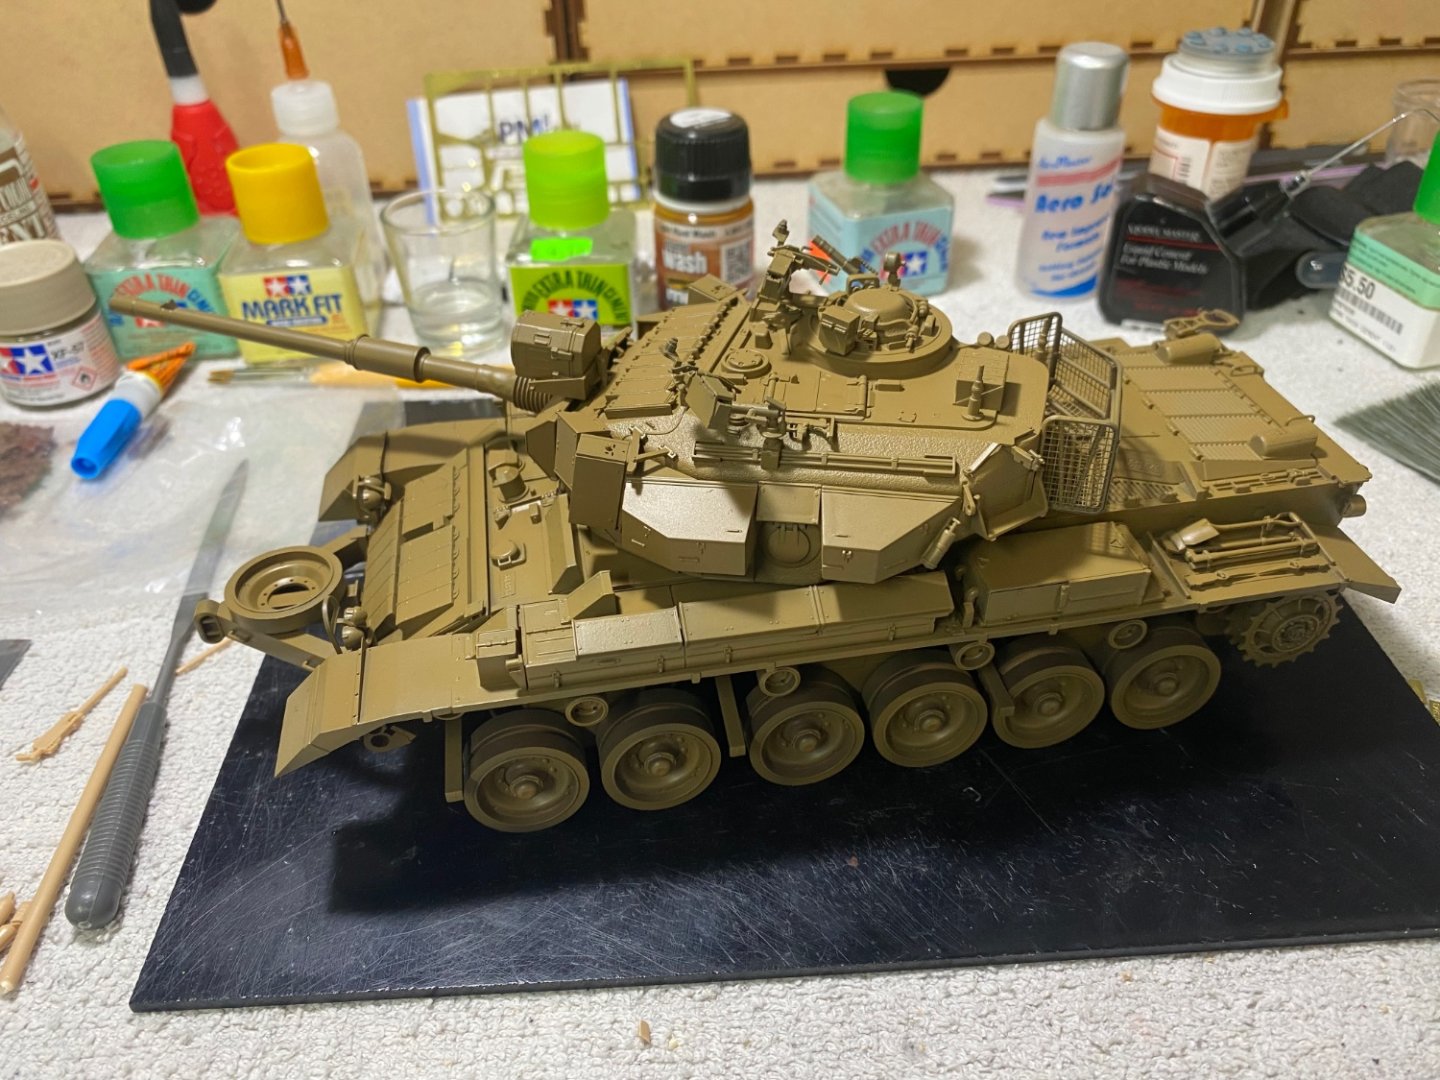
The kit gun barrel is warped. If I can I will fix it. If not, maybe an aftermarket barrel. Will need to search.

-
3rd modulation color down


-
F-86F-30 Sabre by Egilman - Kinetic - 1/32nd scale
CDW replied to Egilman's topic in Non-ship/categorised builds
What primer did you go with? -
Next will move on to the 3rd modulation coat, then decals and some weathering.
-
F-86F-30 Sabre by Egilman - Kinetic - 1/32nd scale
CDW replied to Egilman's topic in Non-ship/categorised builds
That baby looks ready! She's gonna be a beauty in silver. -
I thought Lou was talking about the bump at the tip of the barrel.
-
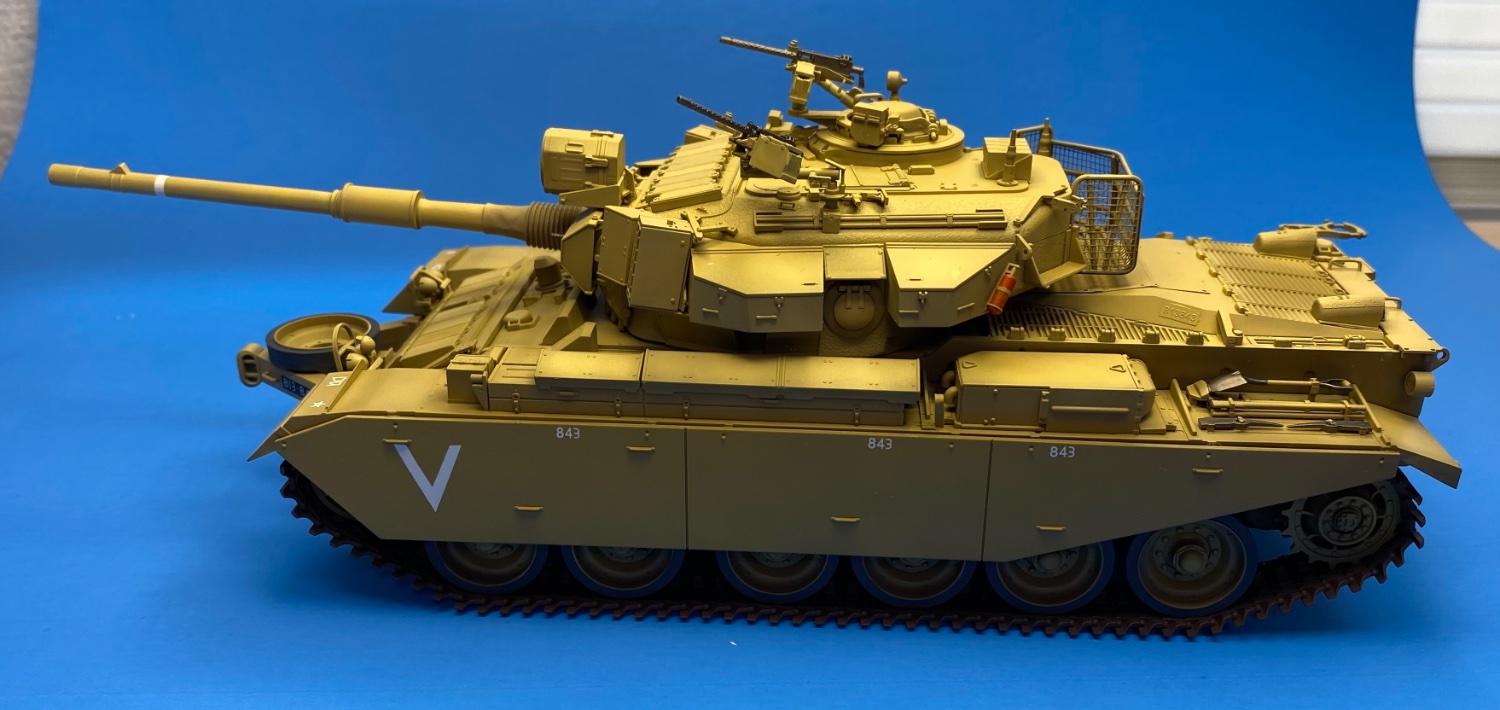
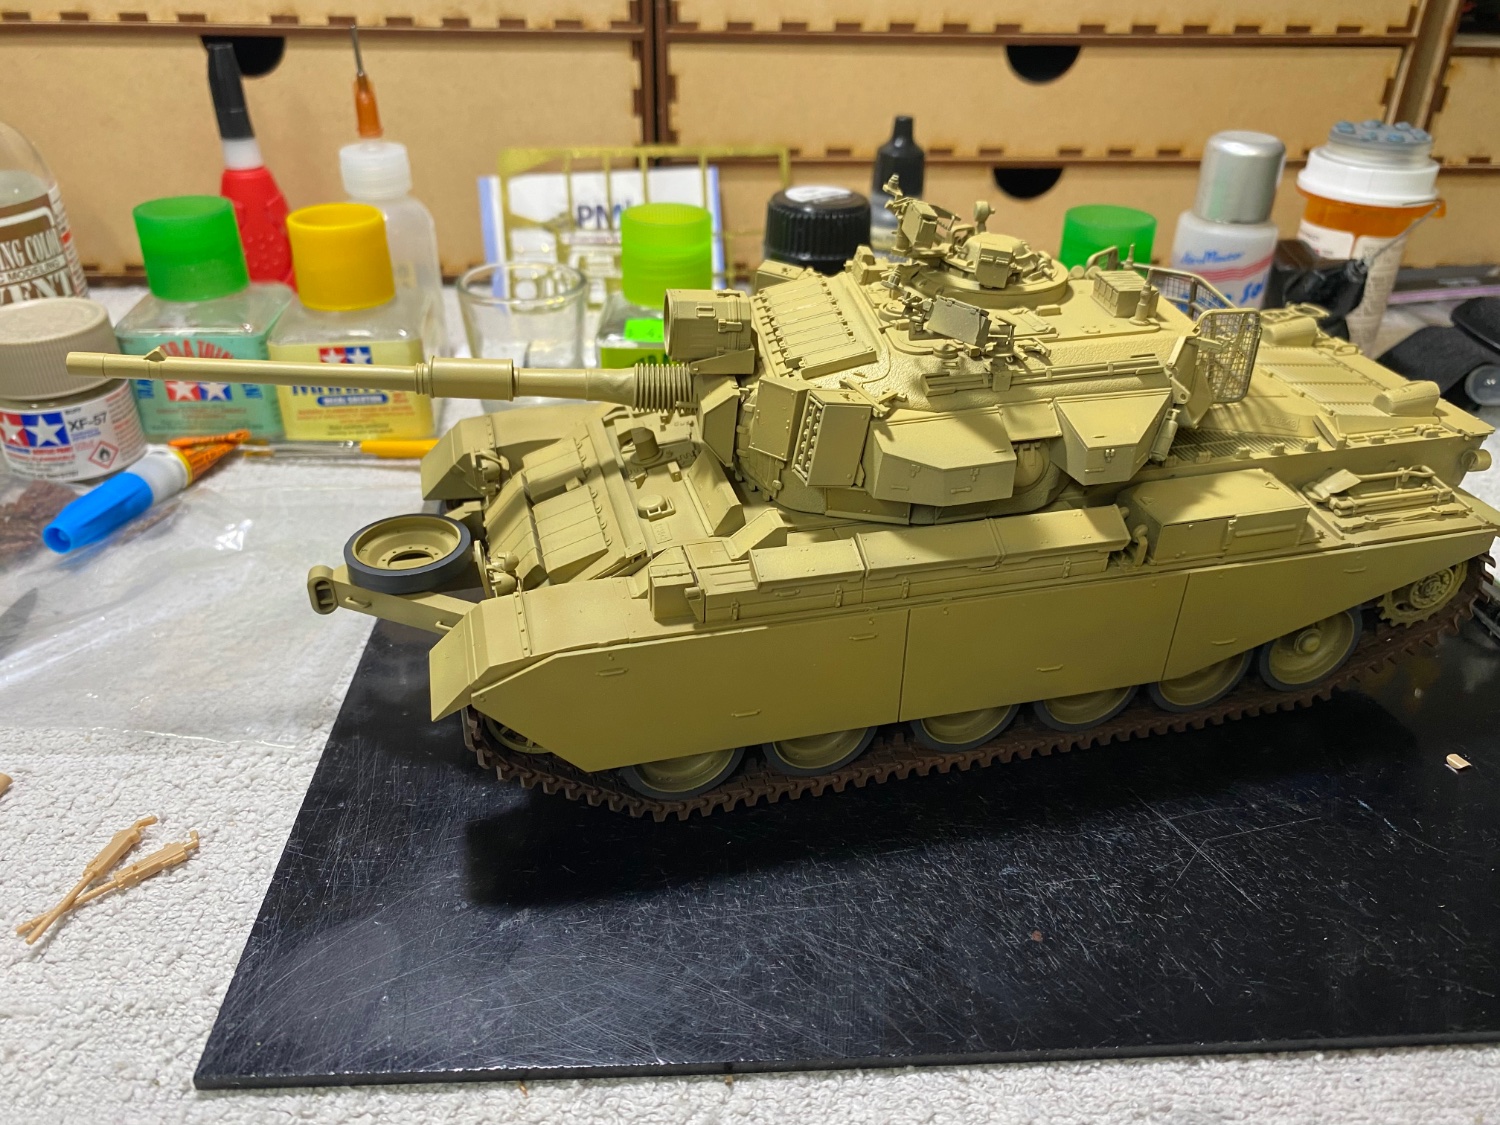
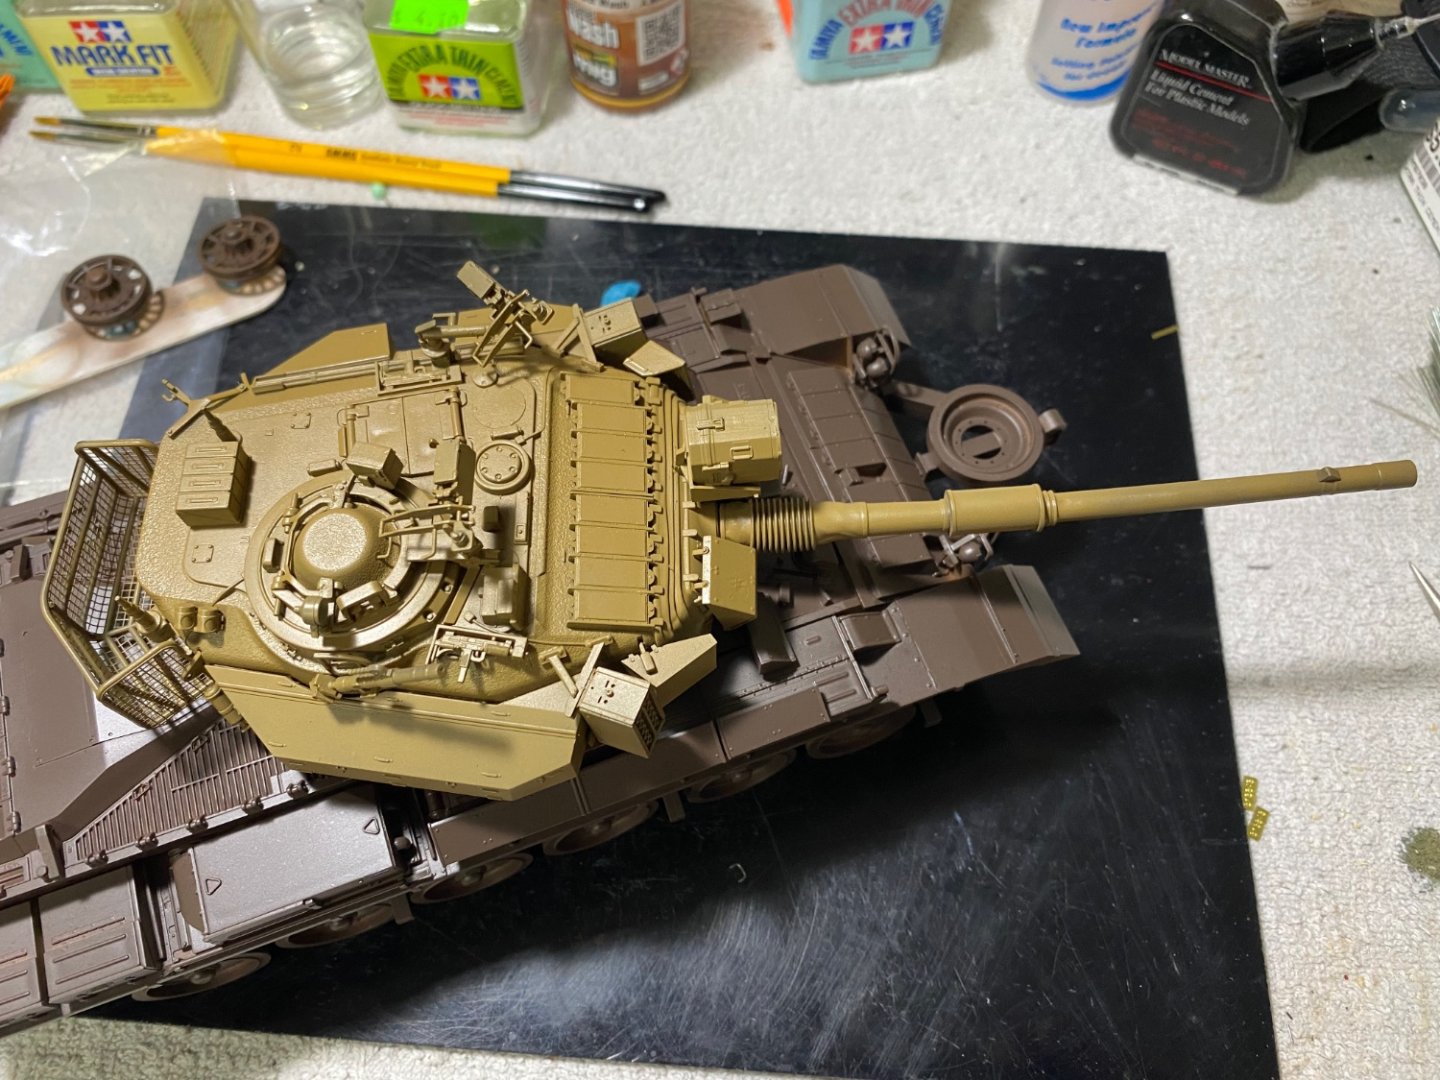
With the 2nd modulation coat on the hull, will add the tracks and fender skirts so I can blend the skirts into the paint job.
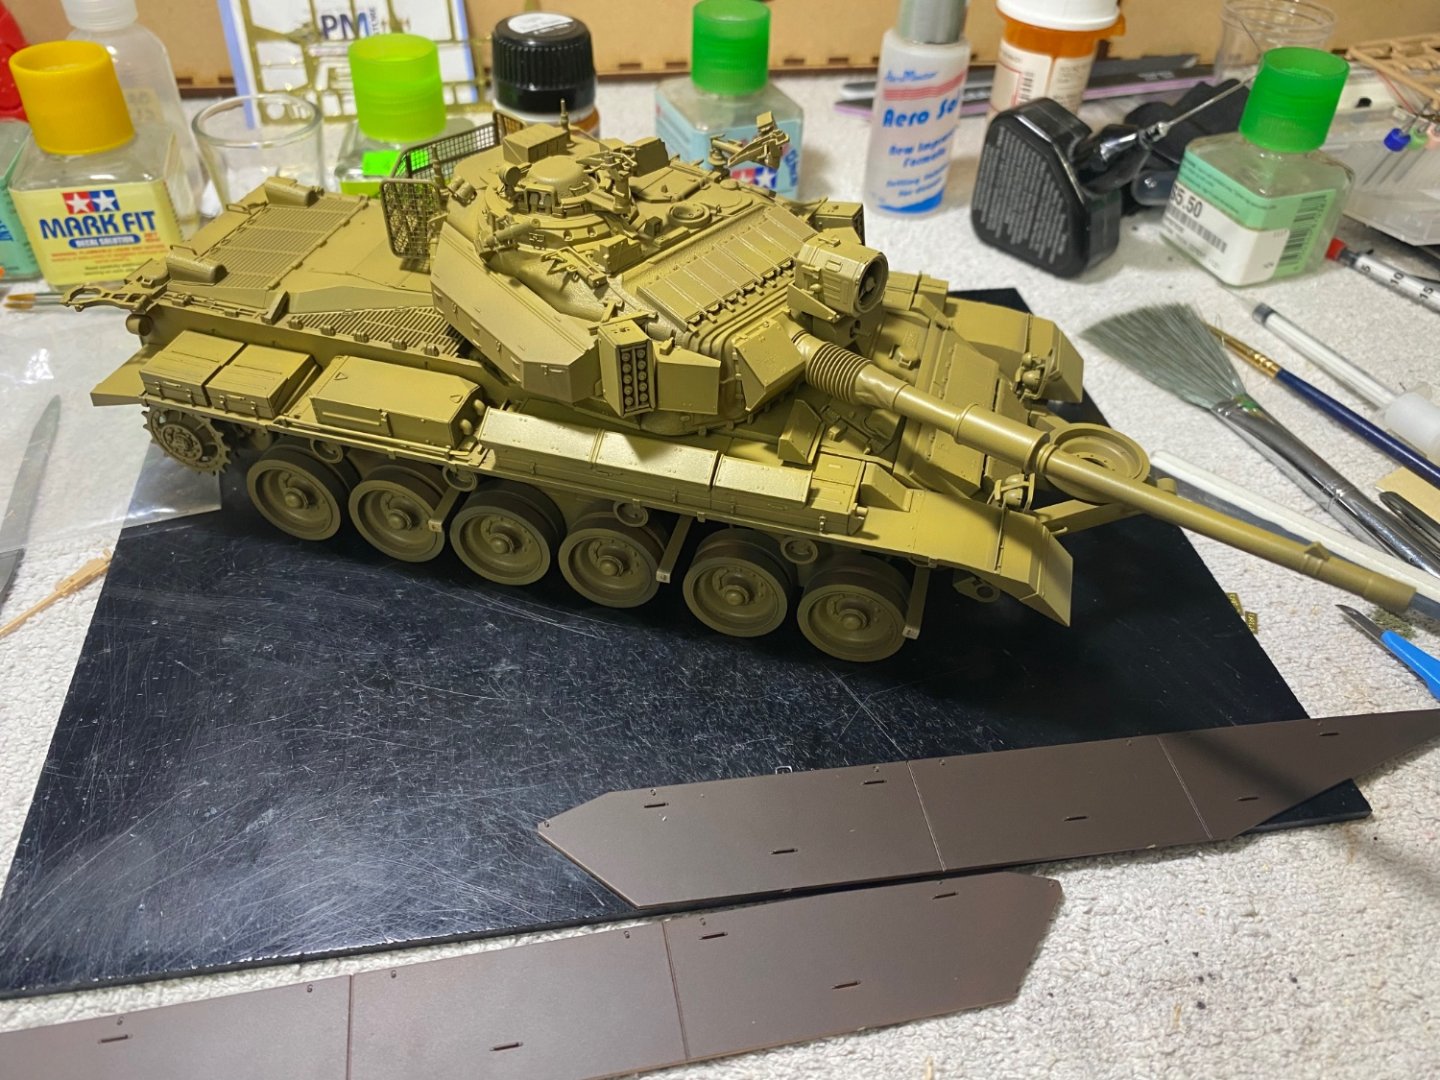
-
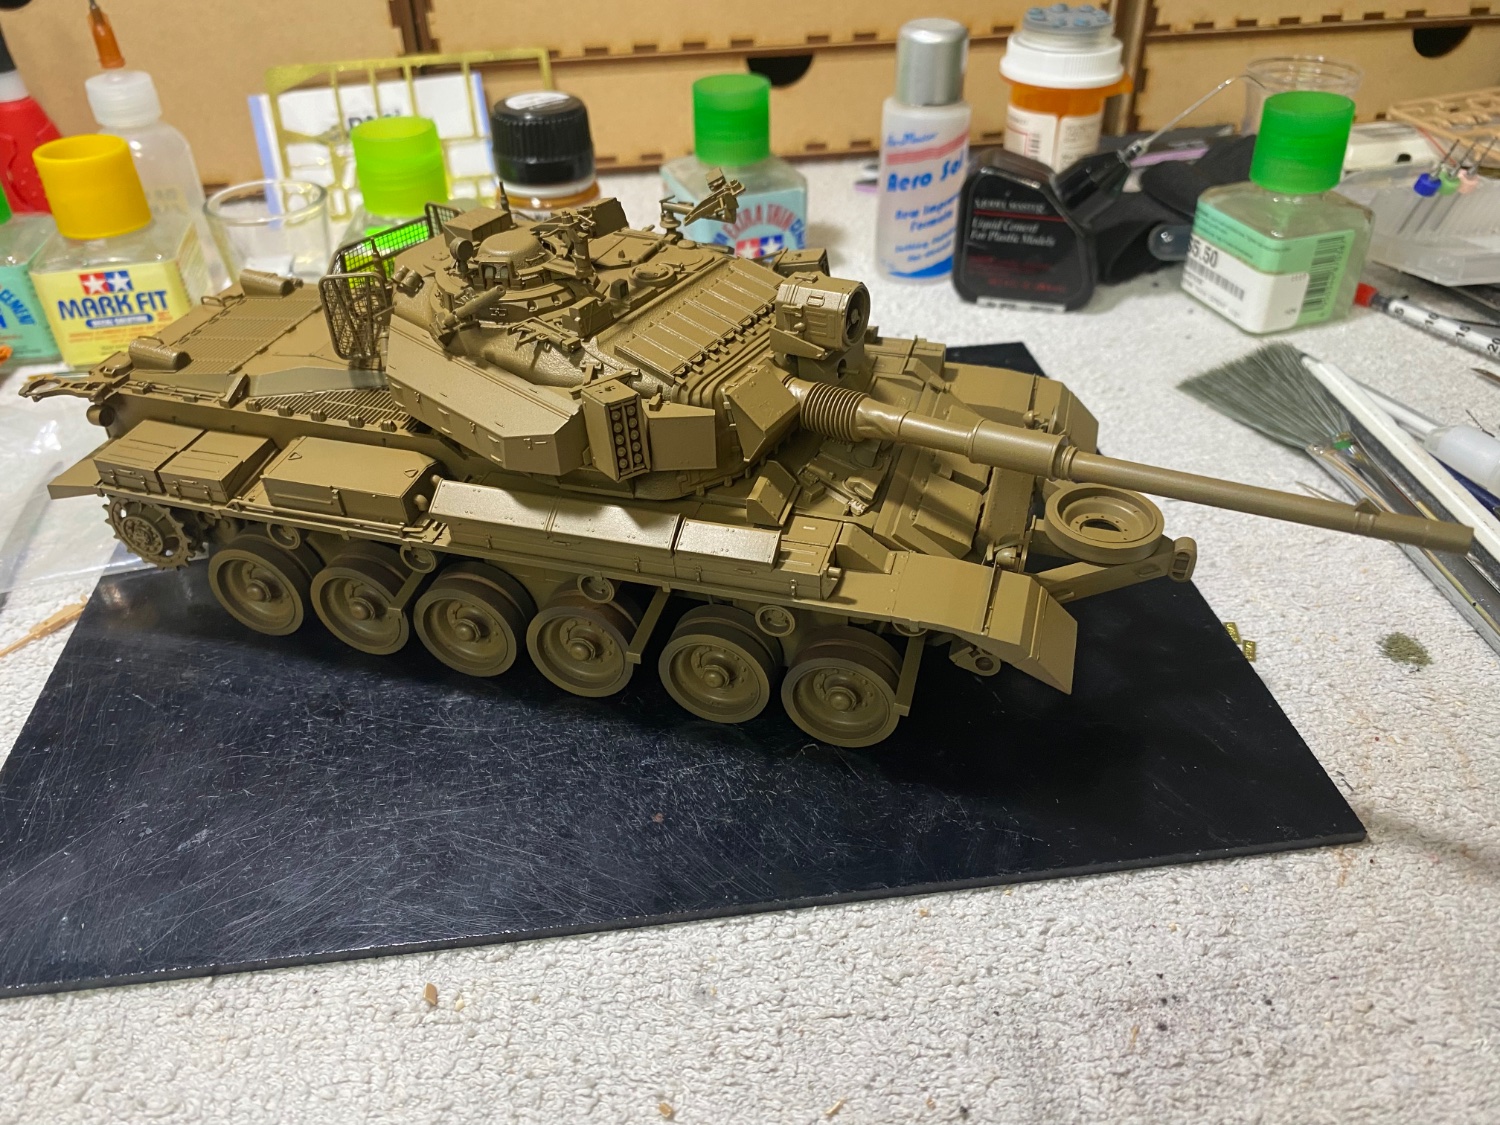
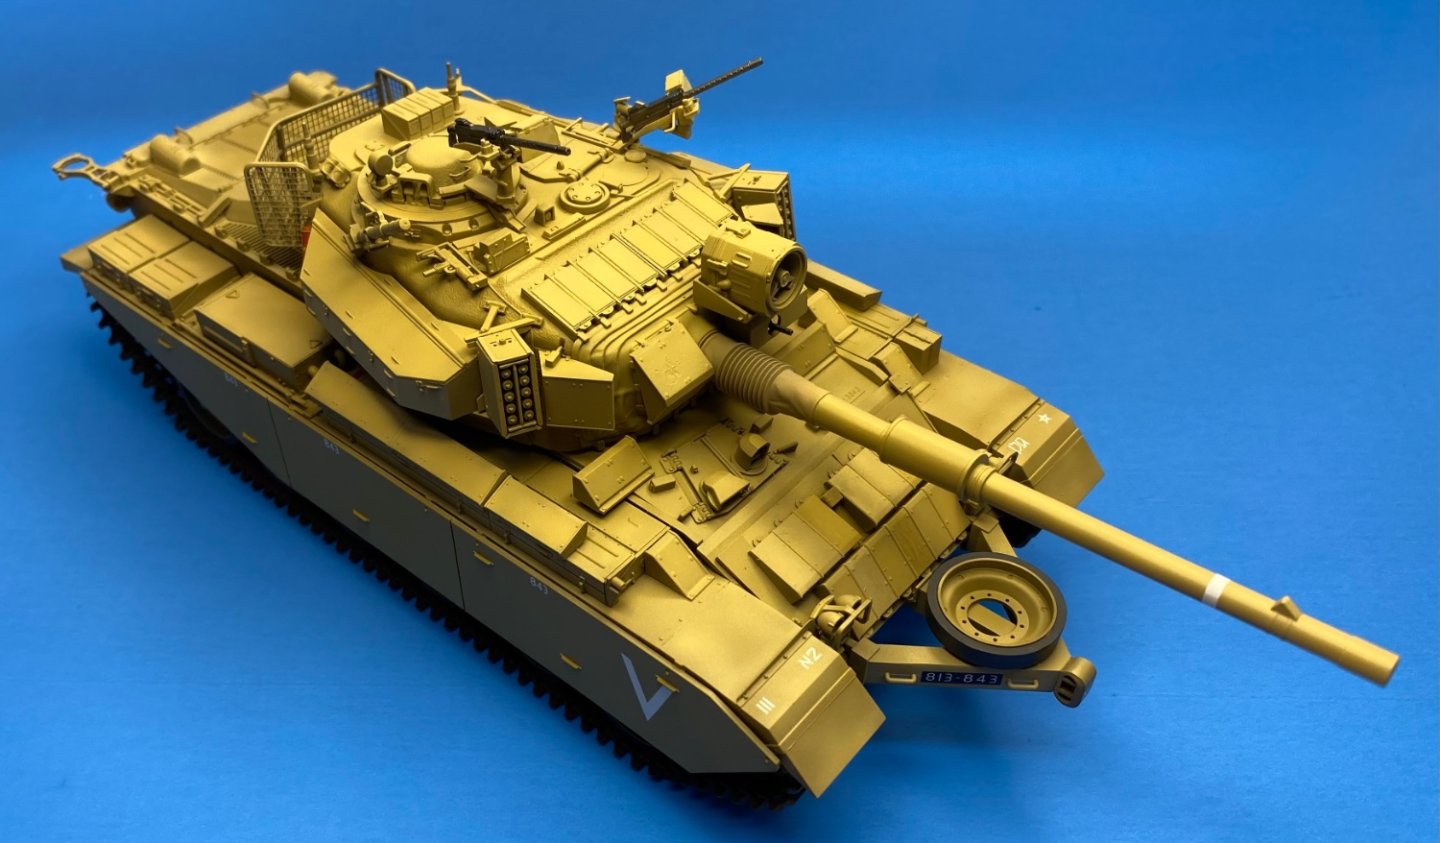
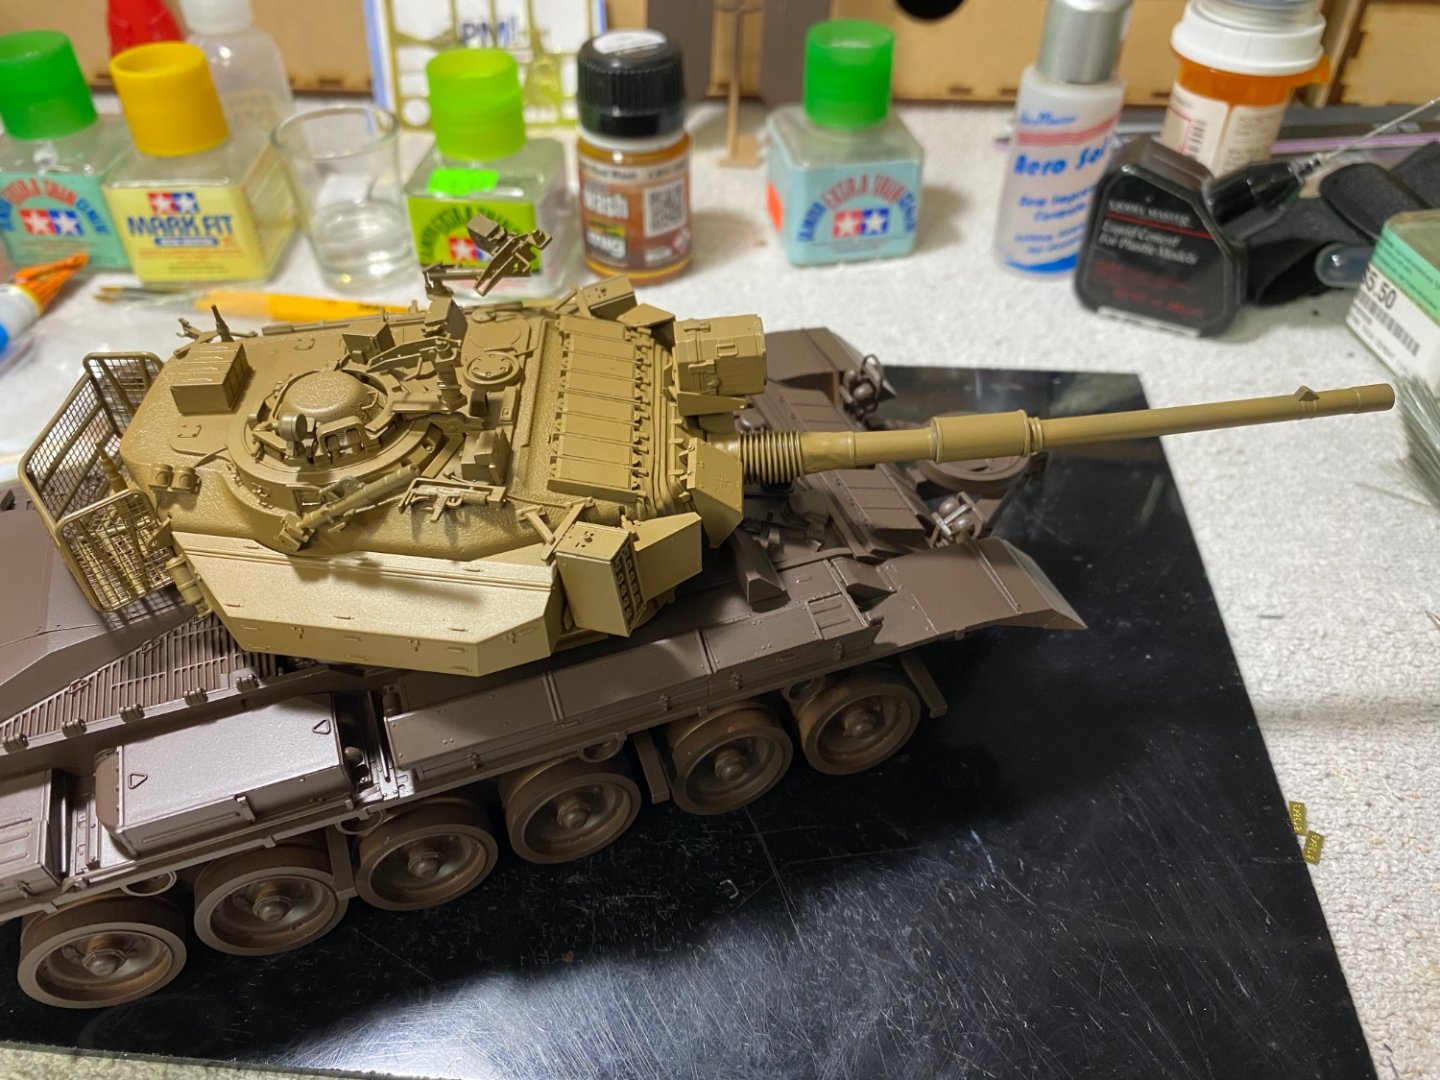
With the 2nd modulation coat on the turret, the contrast is evident.
-
No idea about the bump. No info given in plans. First modulation coat is down.

-
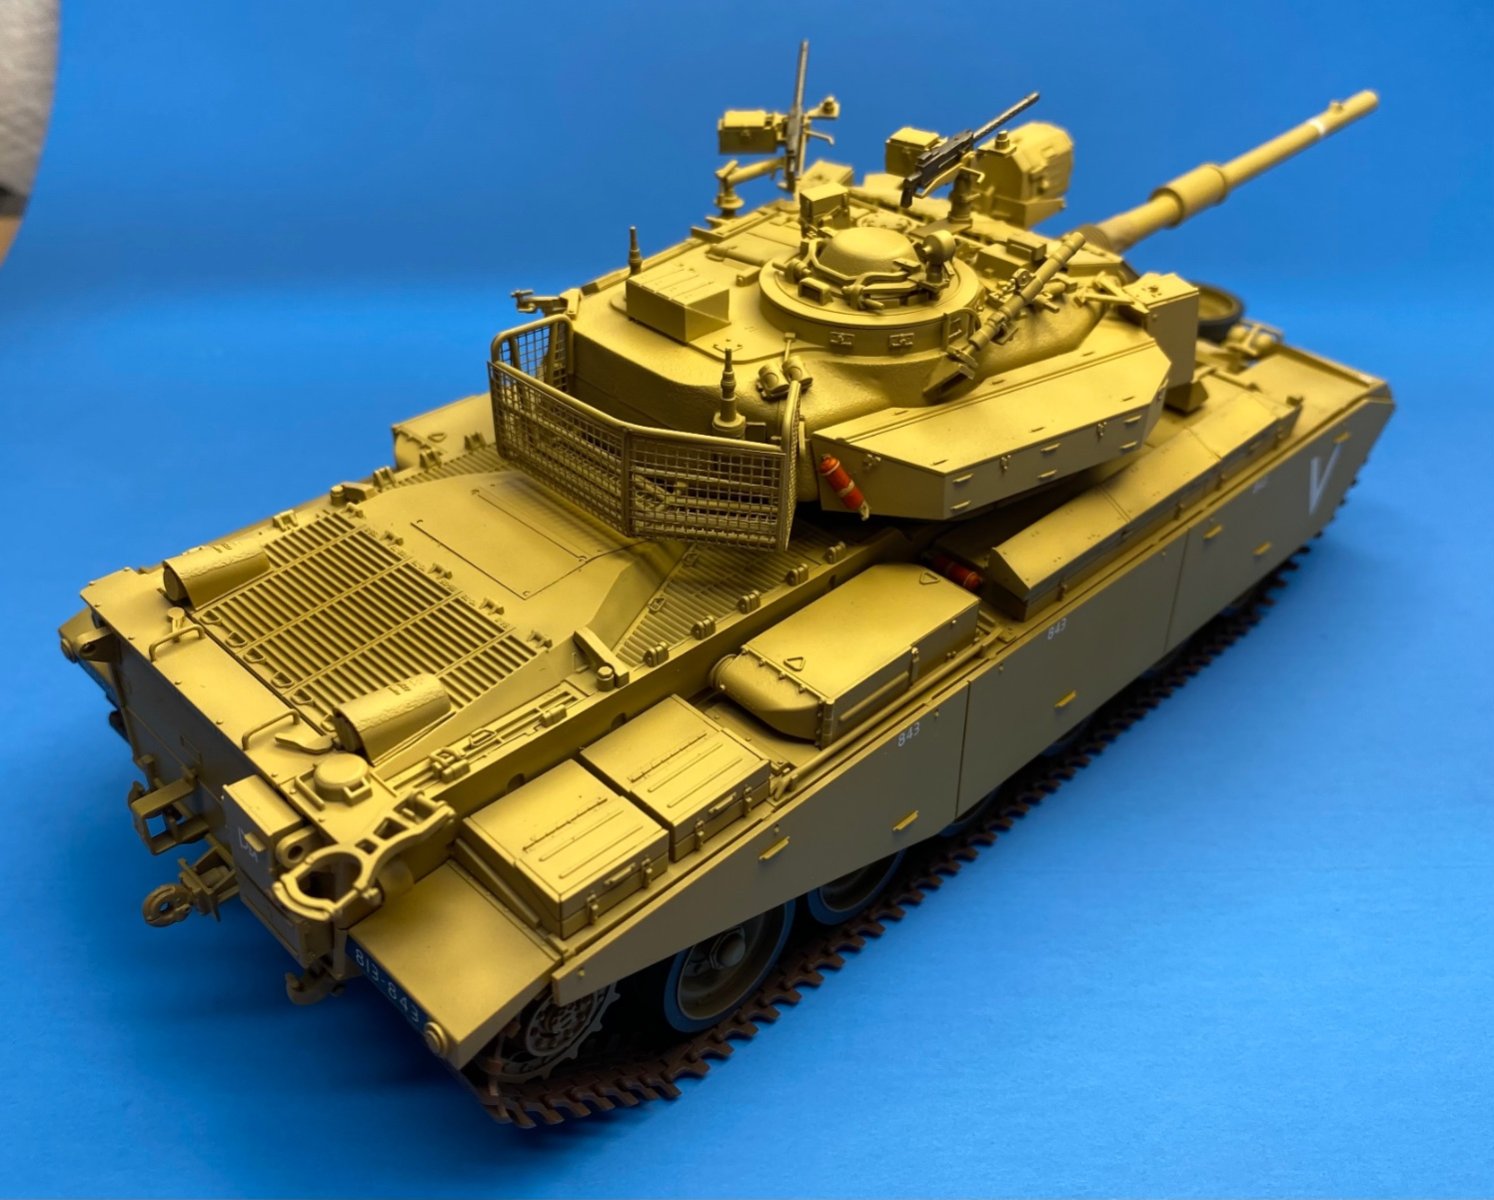
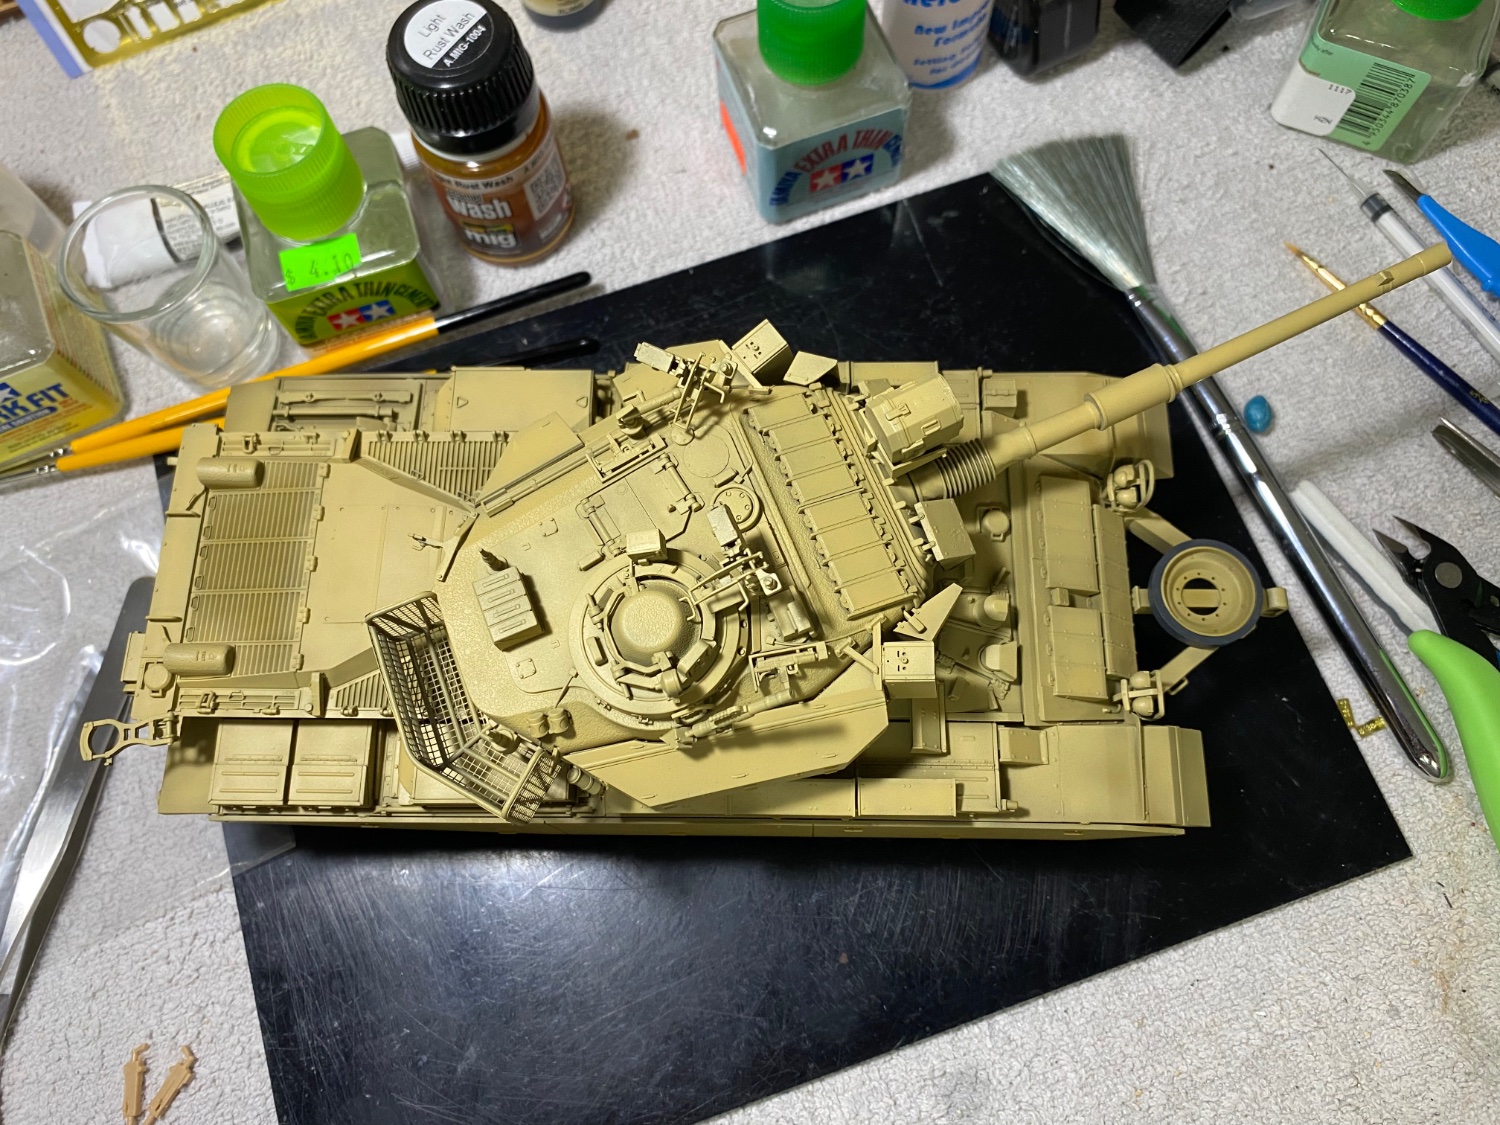
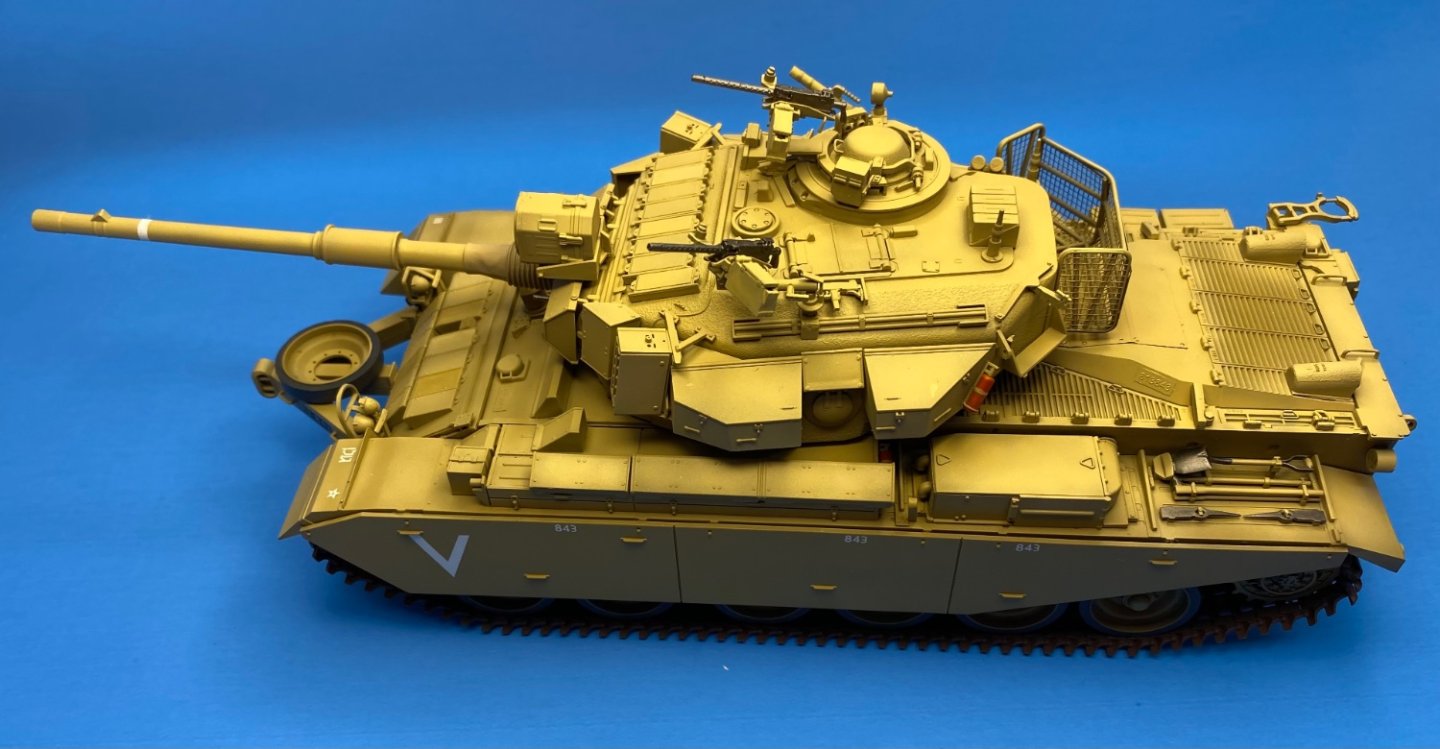
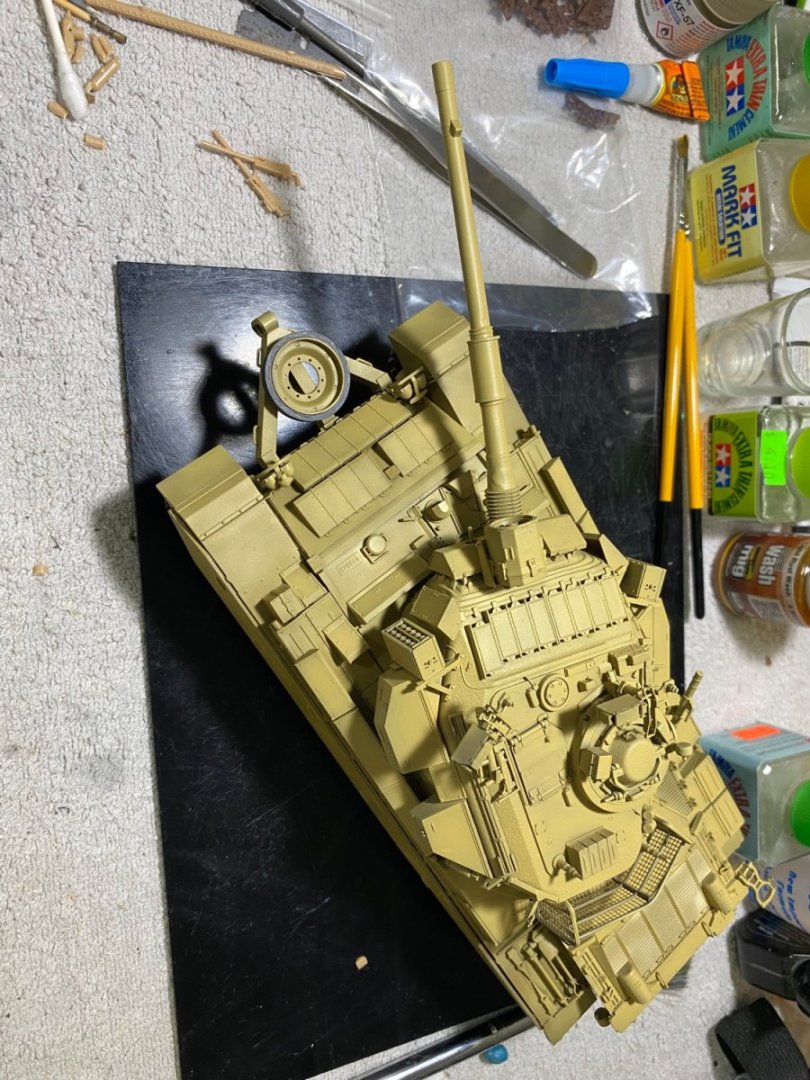
The first of a four color modulation went on the turret. Paints are Mr. Color. Highly reduced at around 6 parts thinner to 2 parts paint, each color is laid down in multiple thin coats to preserve the details underneath. Less is more in terms of paint per coat. Each successive coat will be lighter and certain areas will be picked out to add depth. Working with lacquer has the benefit of fast drying time between coats laid down thin.

-
Going to go straight the way through with lacquer on this paint job. Only exception will be specific details which will be brush painted with acrylics.
-
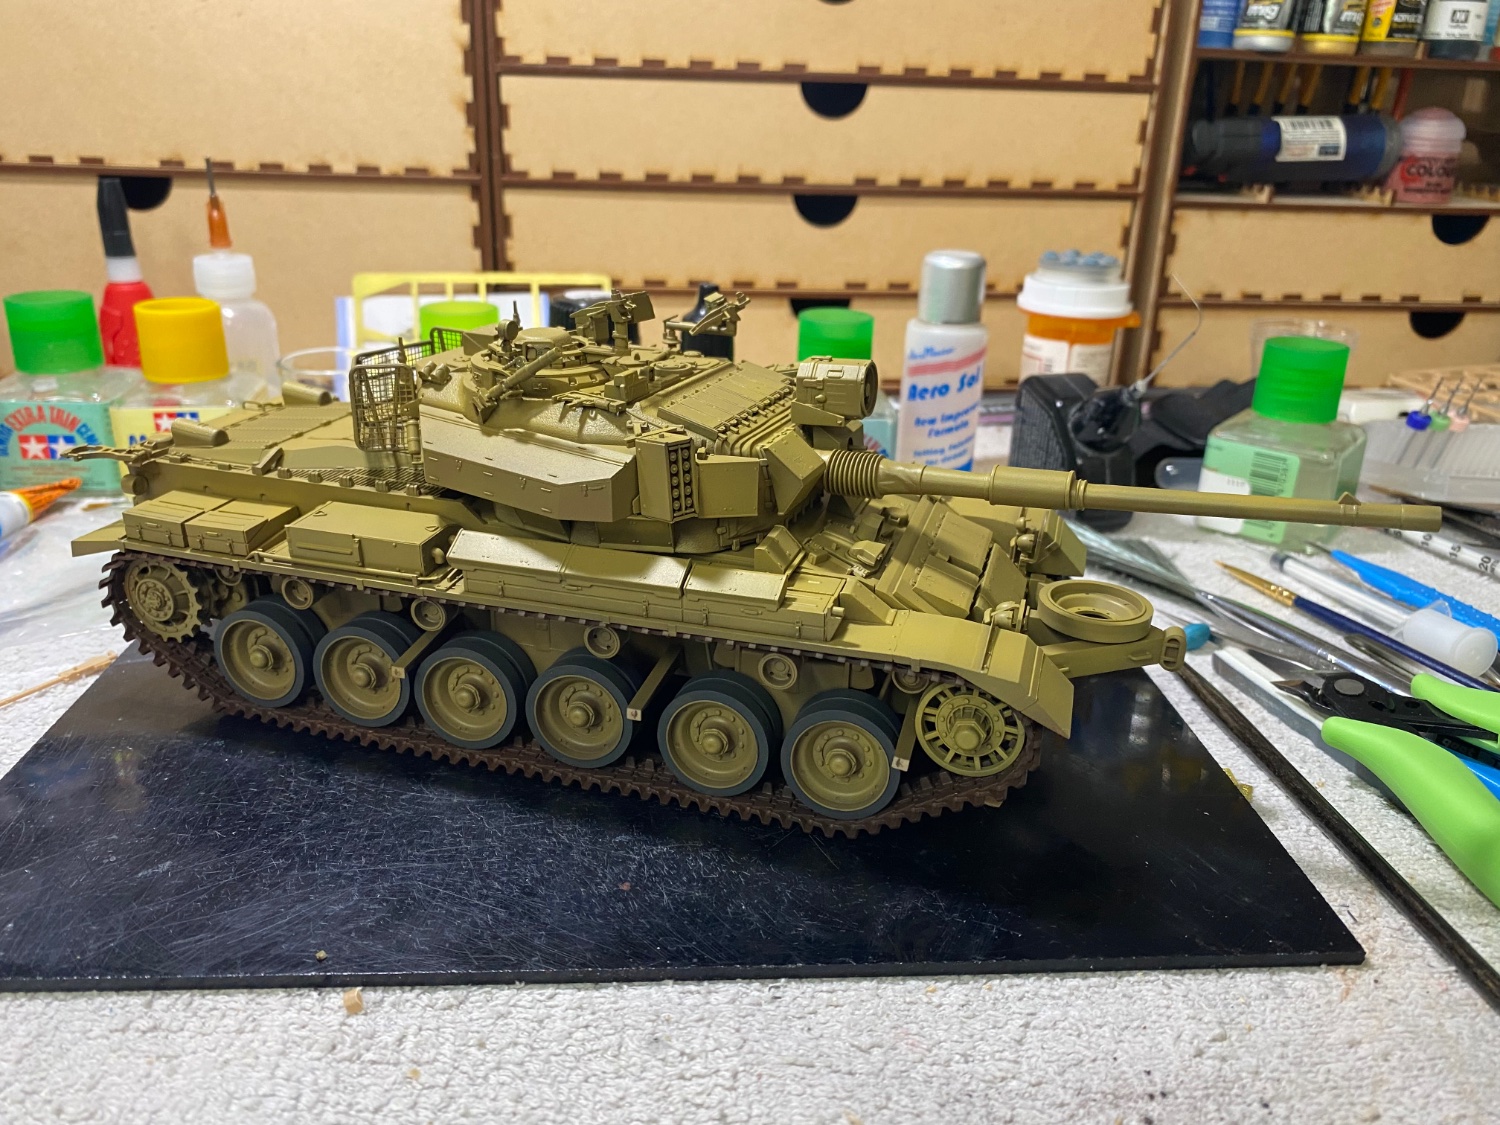
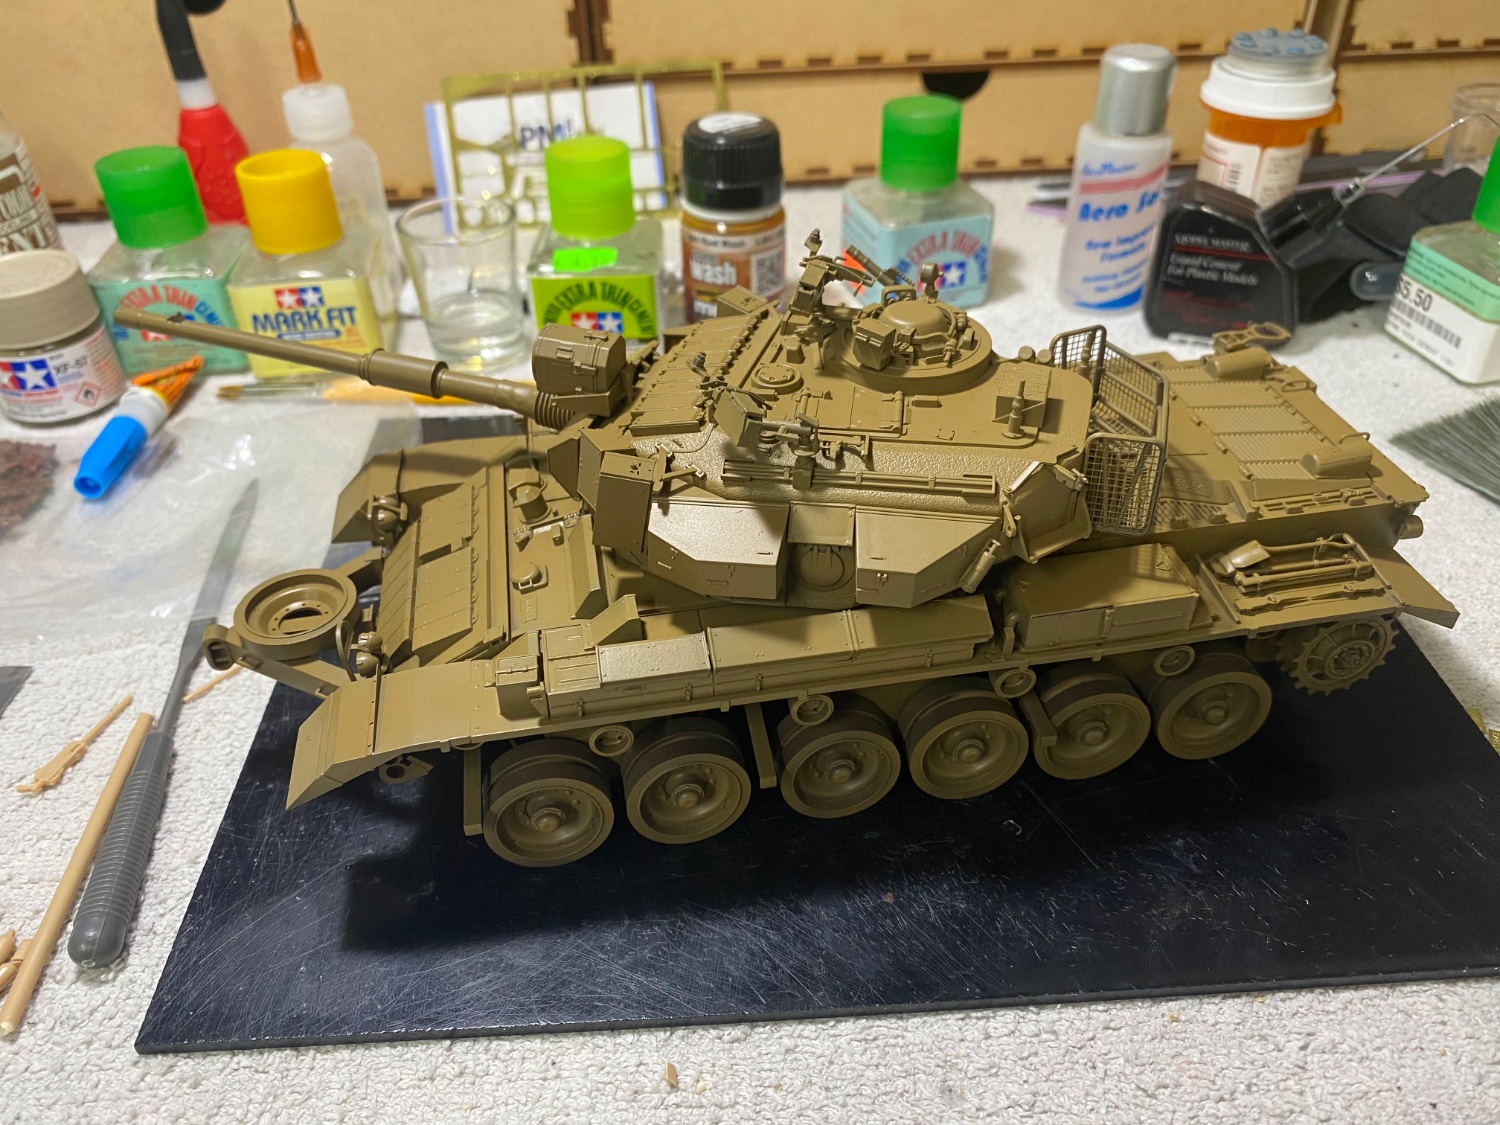
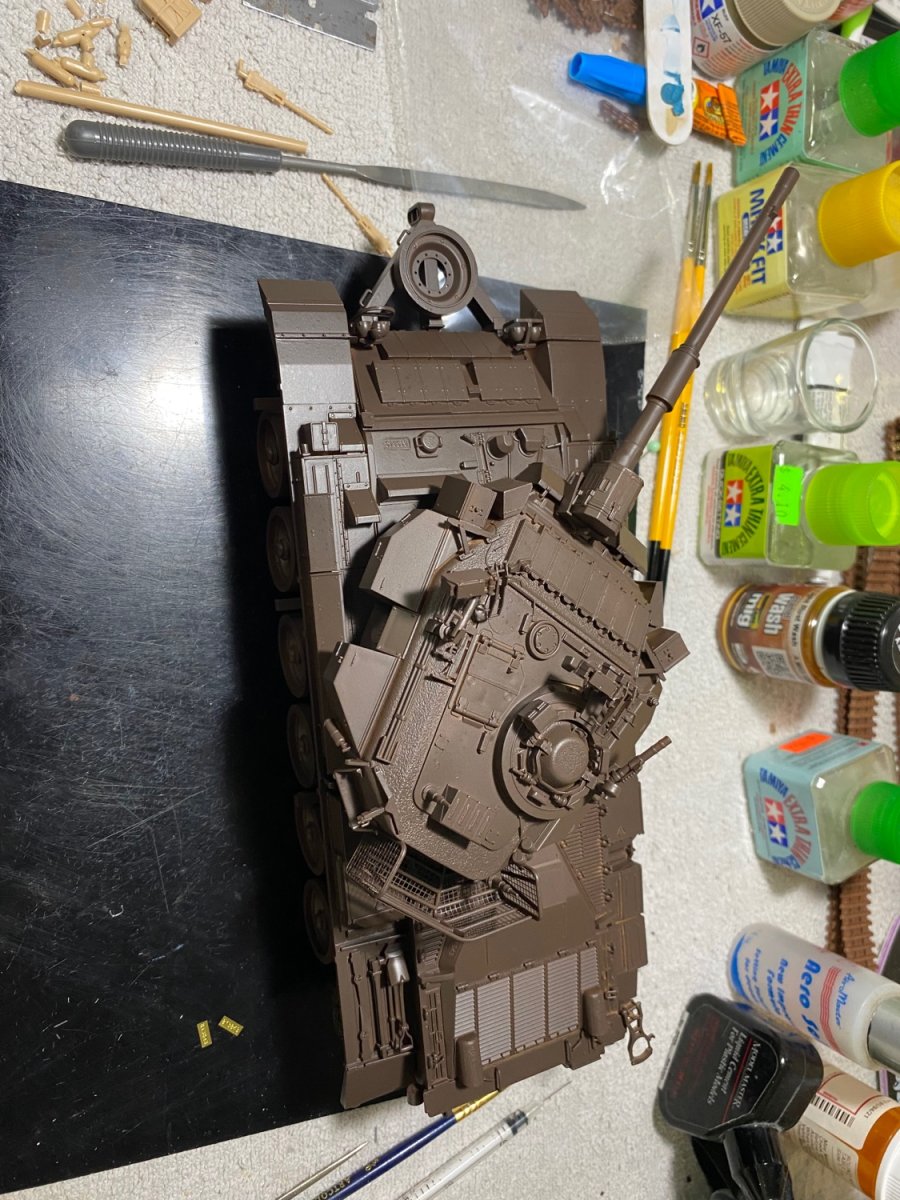
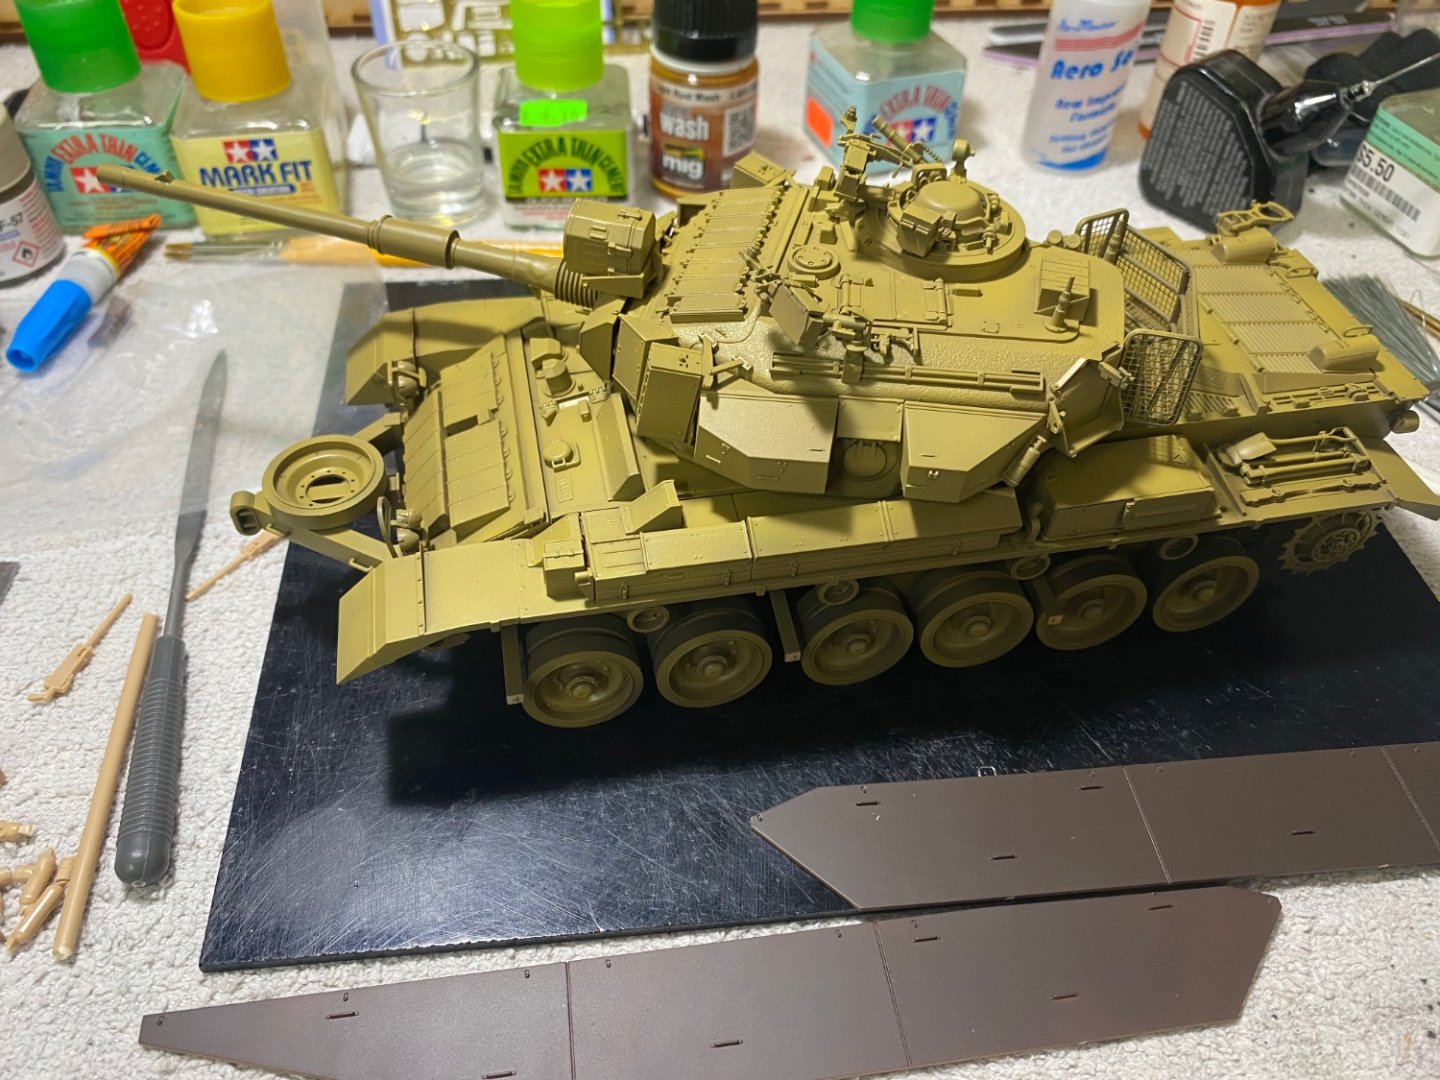
Once I put the fender skirts on, not much of the road wheels will be seen and really, almost none of the suspension unless one peers inside with a flashlight. This dark undercoat will give good shadow to the pending desert sand colors.
-
Mr Mahogany 1000 Surfacer, ie: hen turd brown


-
Thanks Mark. Its ready for the paint shop now.