CDW
-
Posts
7,756 -
Joined
-
Last visited
Content Type
Profiles
Forums
Gallery
Events
Everything posted by CDW
-
 One of its strong suits is the superior weapons guidance system
 -
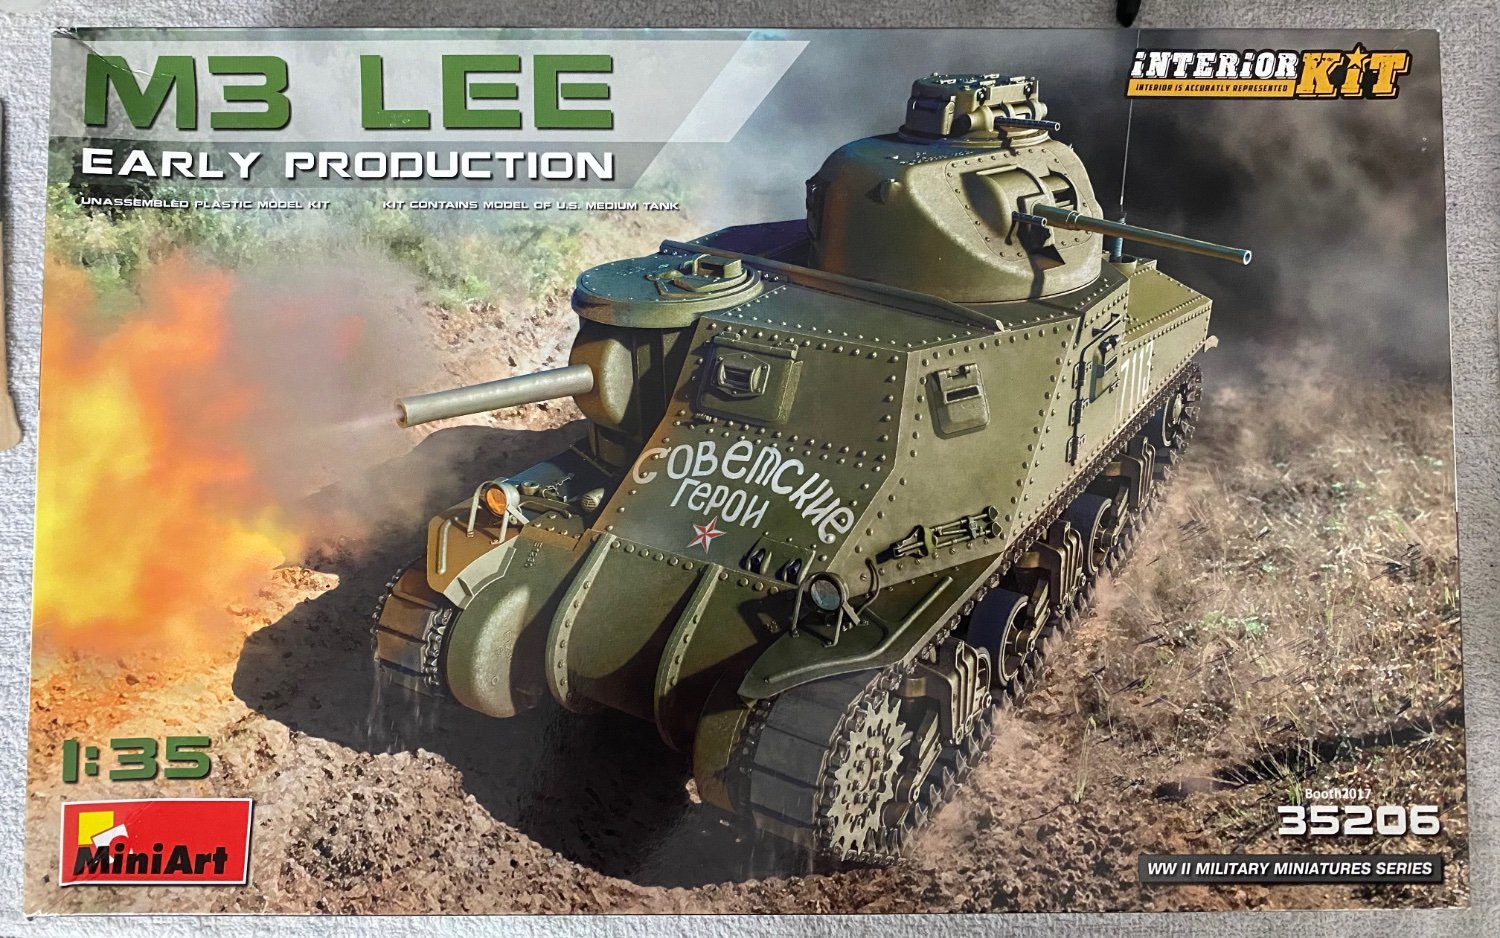
You're building this straight from the box with no aftermarket? The detail looks super! There are some good model companies in Ukraine (ICM being one) that I hope don't go under due to the conflict there. The model I'm building right now is produced by a company in Ukraine, MiniArt.
-
Great looking model! I have been hoping someone would do a build thread for this ICM kit. ICM has really stepped up their game over the past couple of years.
-
M3 Lee Tank by CDW - Miniart - 1:35 Scale - FINISHED
CDW replied to CDW's topic in Non-ship/categorised builds
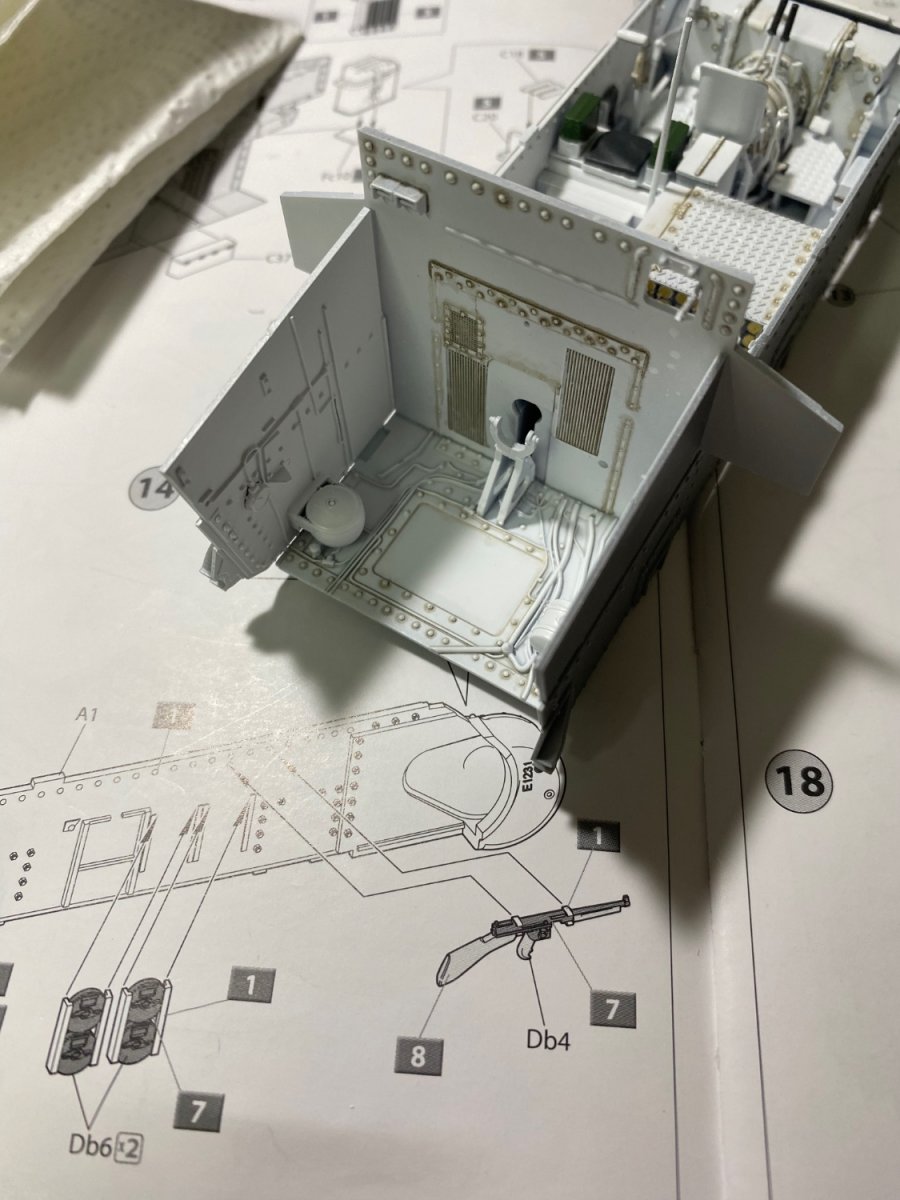
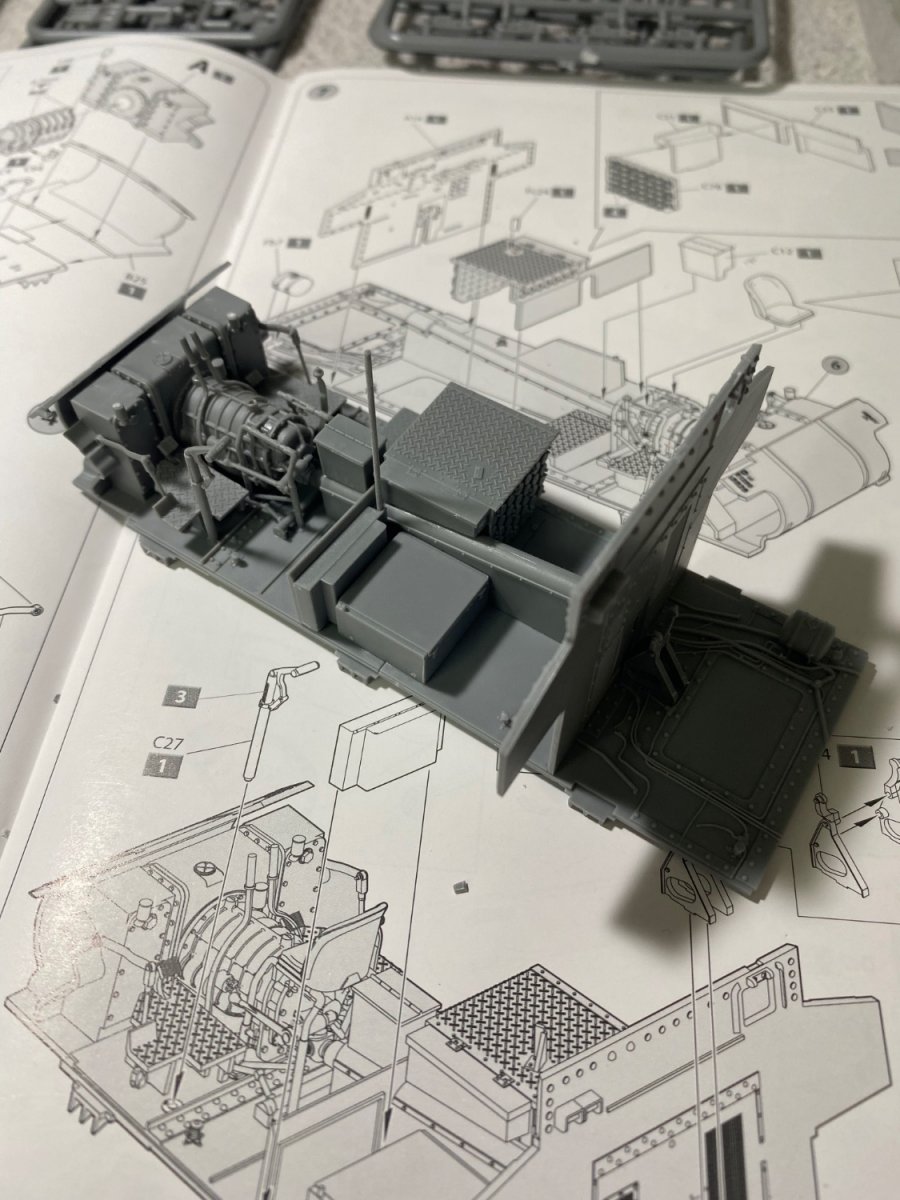
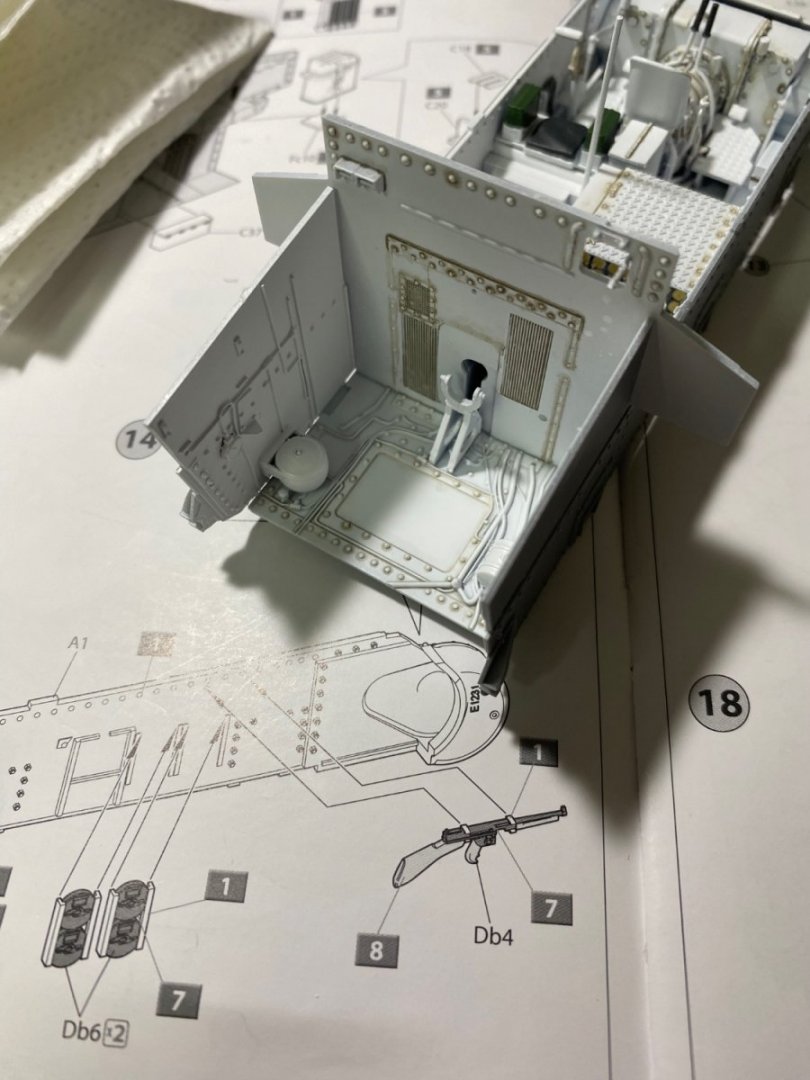
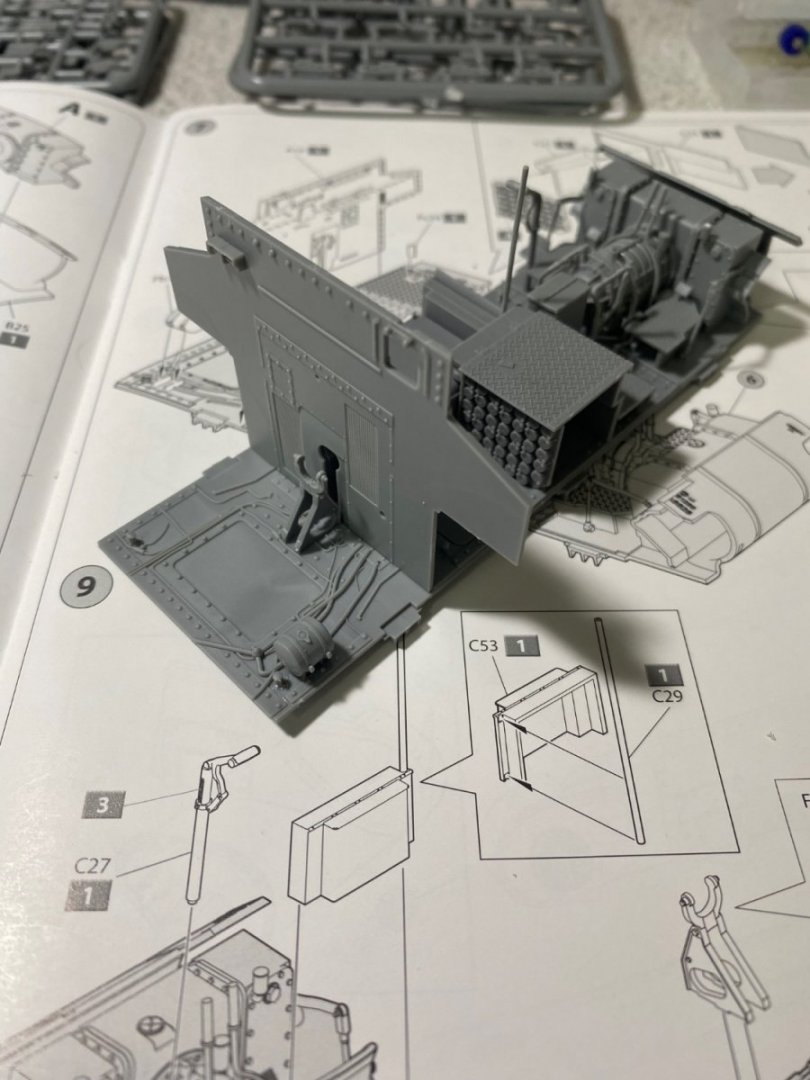
Plugging along on the interior, going to dirty and beat it up quite a bit before moving on.


- 99 replies
-
- 14
-

-
Love that camo scheme, you are doing a great job on it. It's amazing after all the years the F-15 has been in service, it's still one of the very best fighter aircraft in the world's air forces.
-
M3 Lee Tank by CDW - Miniart - 1:35 Scale - FINISHED
CDW replied to CDW's topic in Non-ship/categorised builds
Sorry for the construction delay. Just got back from a 1000+ mile trip to visit family in another state (South Carolina)- 99 replies
-
- 10
-
-
M3 Lee Tank by CDW - Miniart - 1:35 Scale - FINISHED
CDW replied to CDW's topic in Non-ship/categorised builds
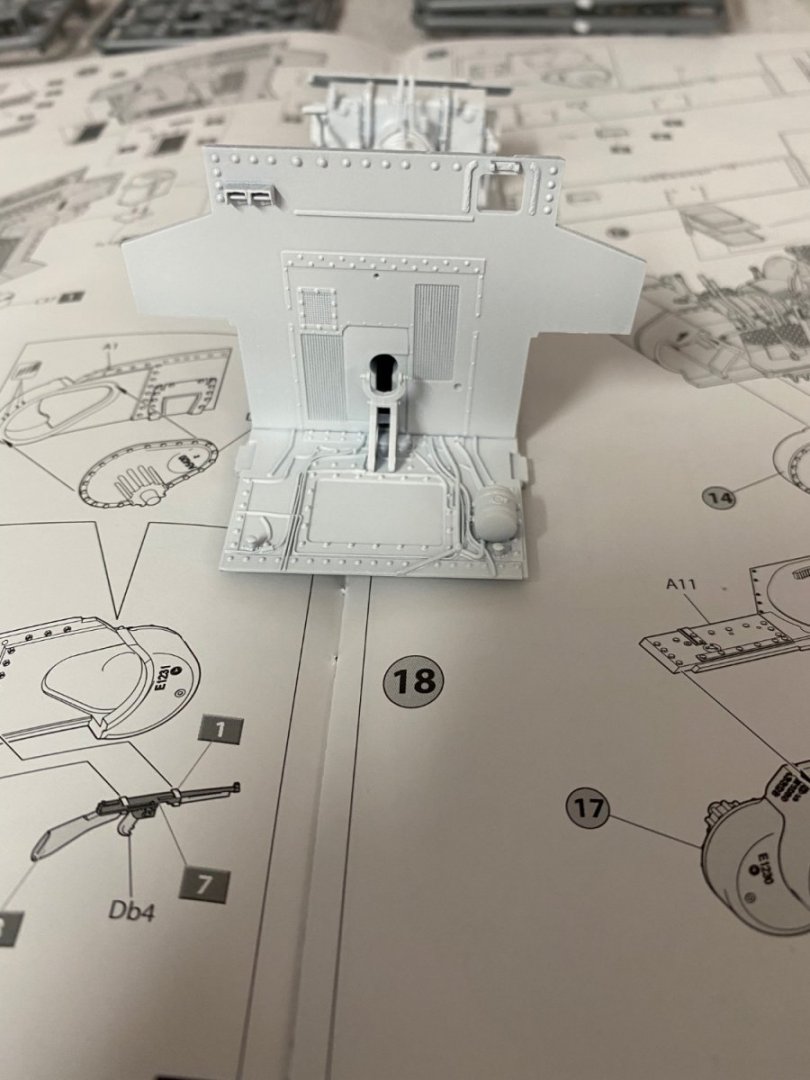
@Javlin Yes, she's white inside the fighting compartment and the engine bay -
M3 Lee Tank by CDW - Miniart - 1:35 Scale - FINISHED
CDW replied to CDW's topic in Non-ship/categorised builds
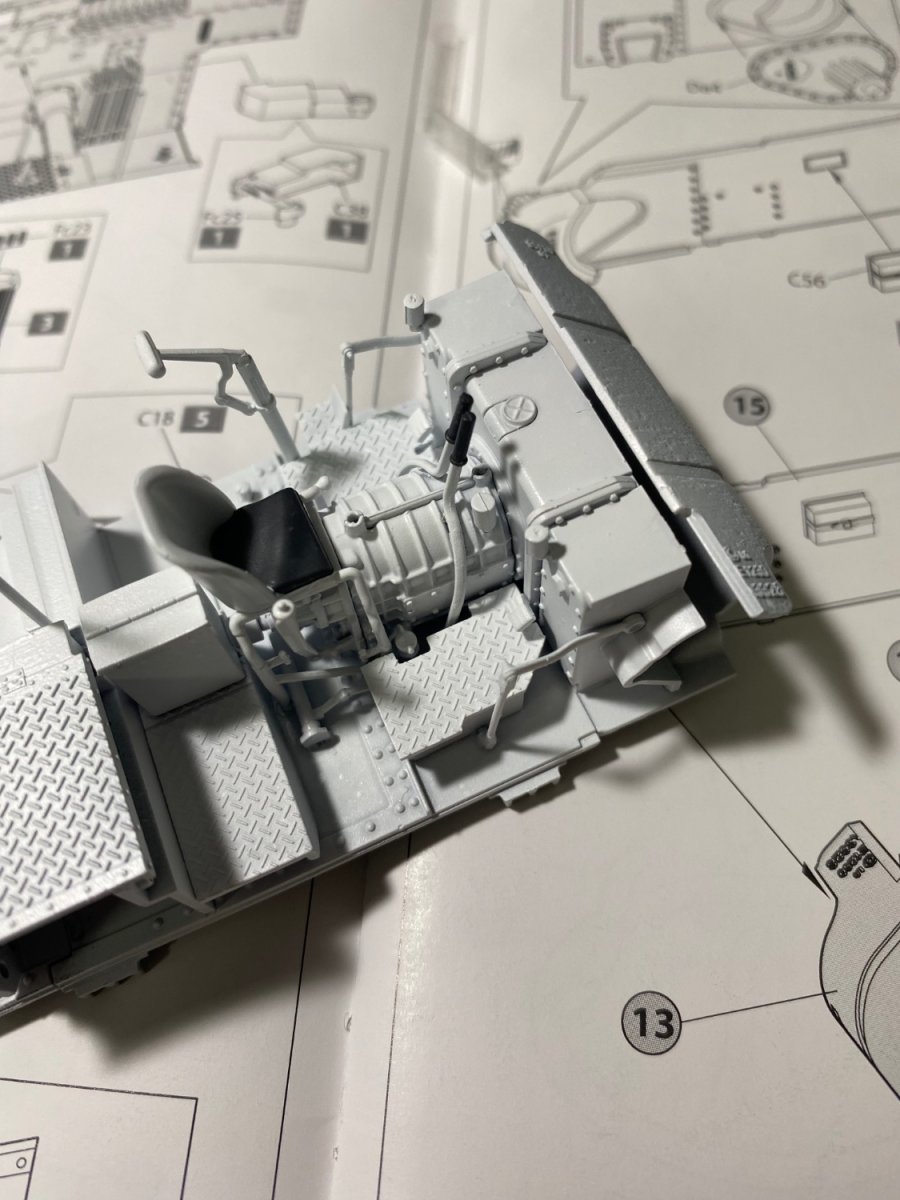
It’s my first time seeing it too. A big radial engine will fill the engine bay eventually. Going to see what I can do to leave some of the armor panels dry fitted to allow the finished model to show the interior. Would be a shame to cover all that detail never to be seen again. -
M3 Lee Tank by CDW - Miniart - 1:35 Scale - FINISHED
CDW replied to CDW's topic in Non-ship/categorised builds
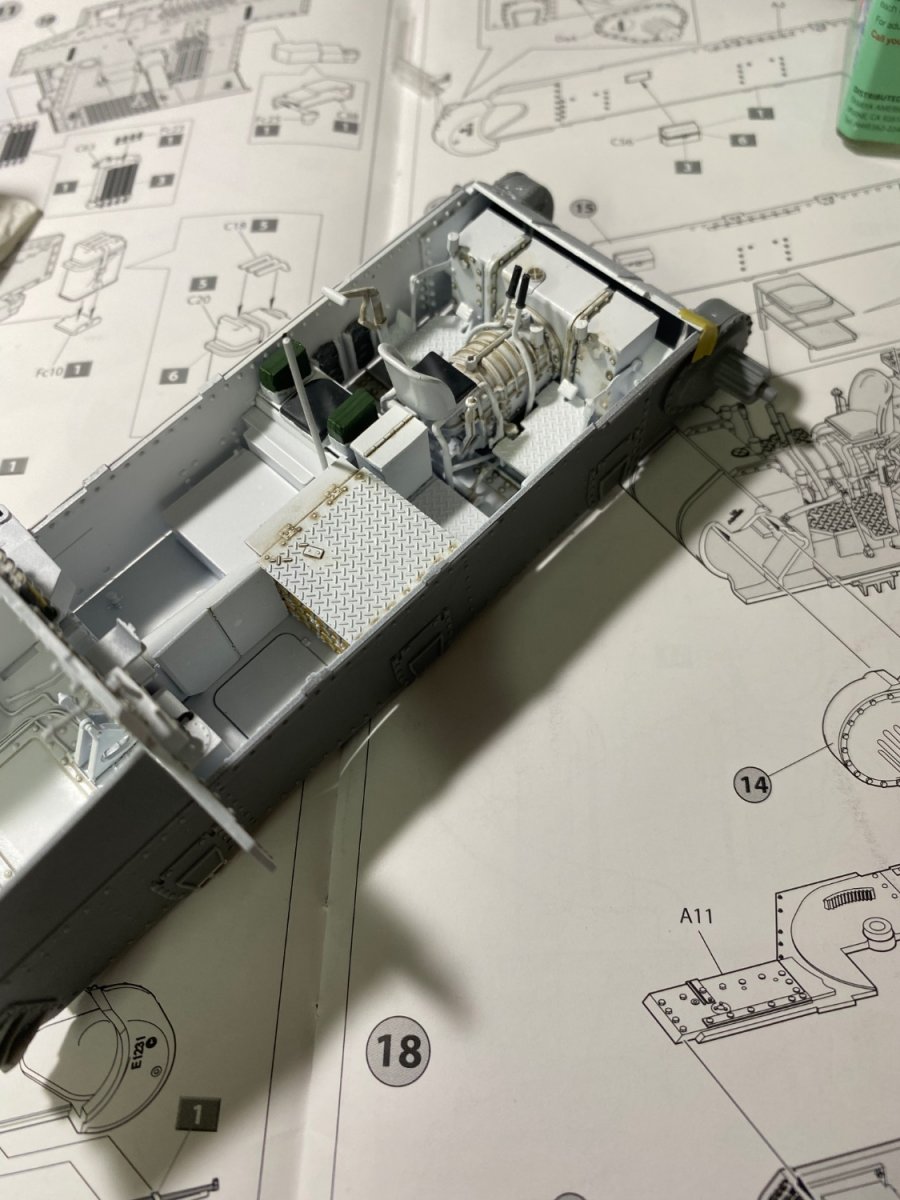
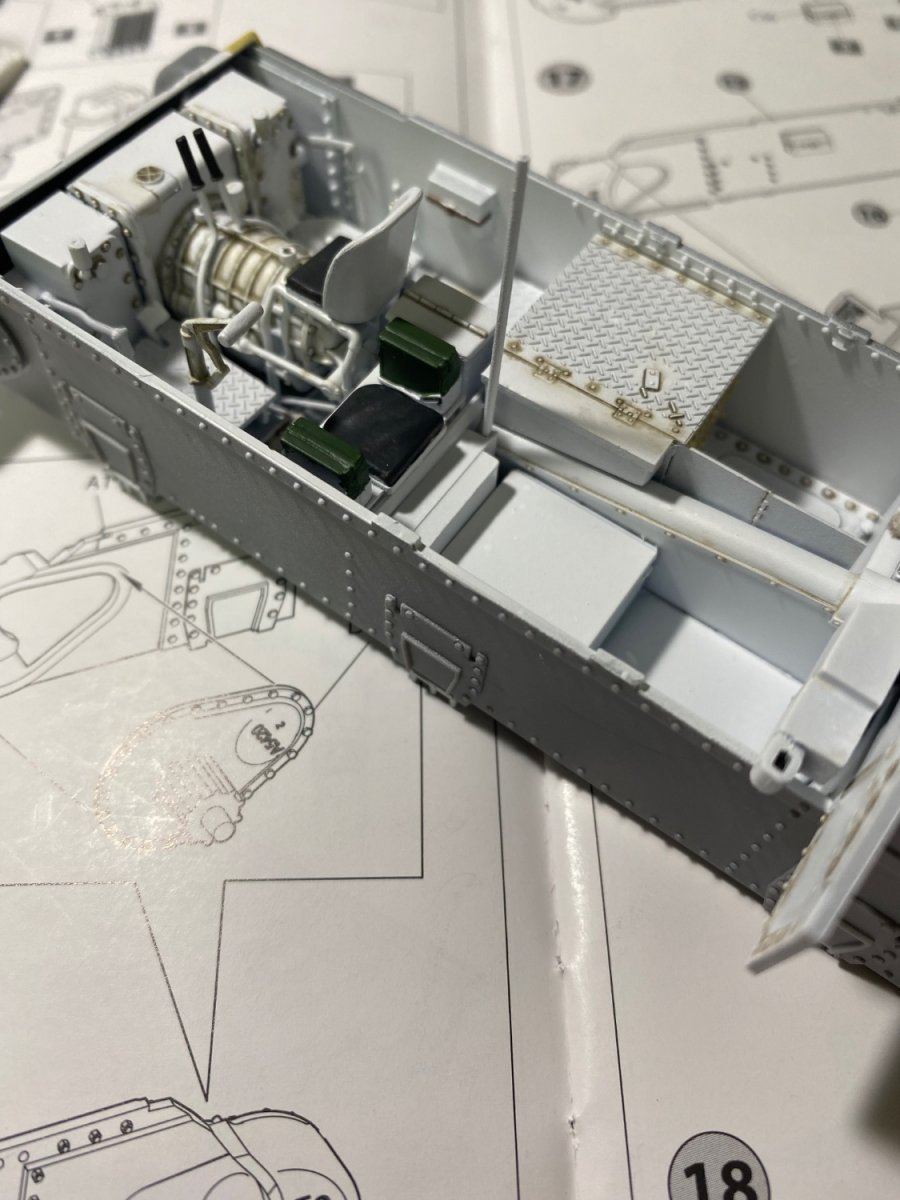
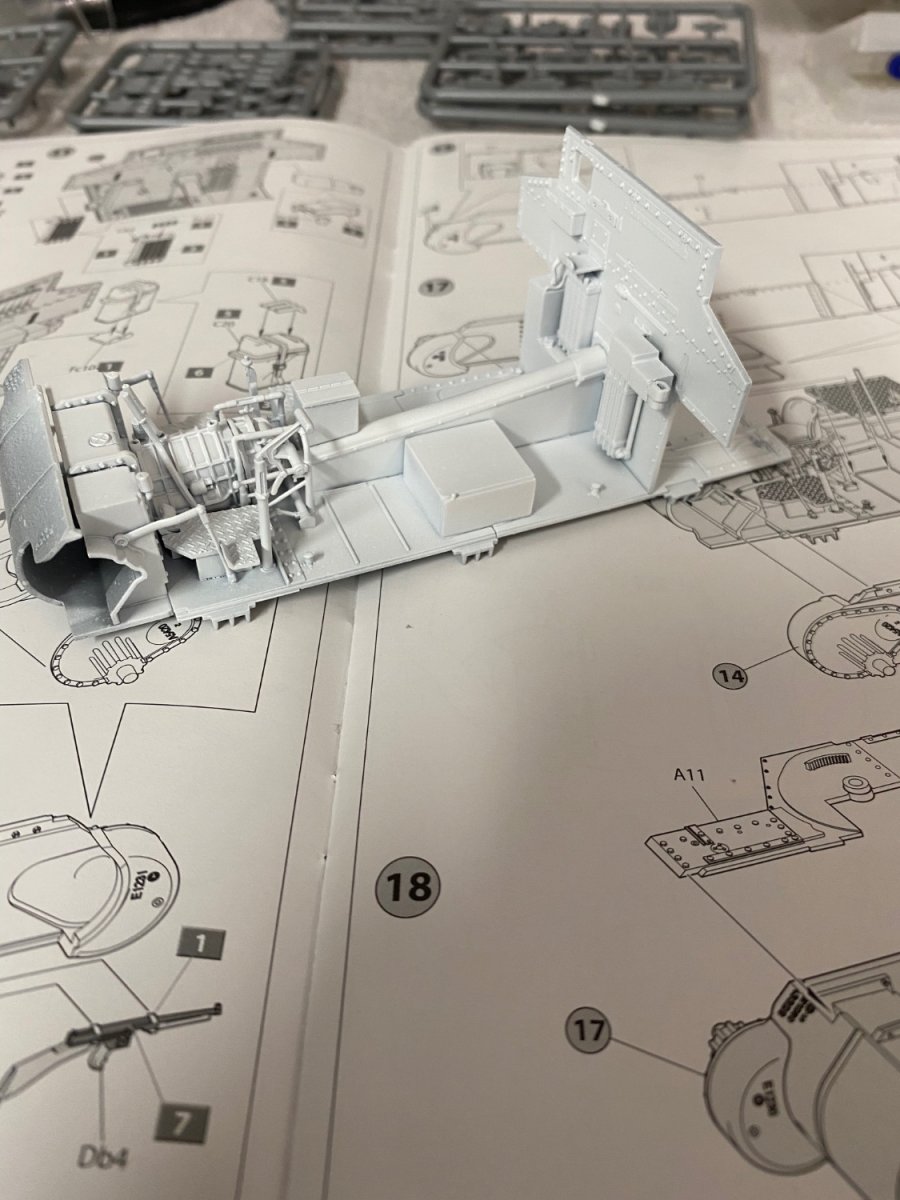
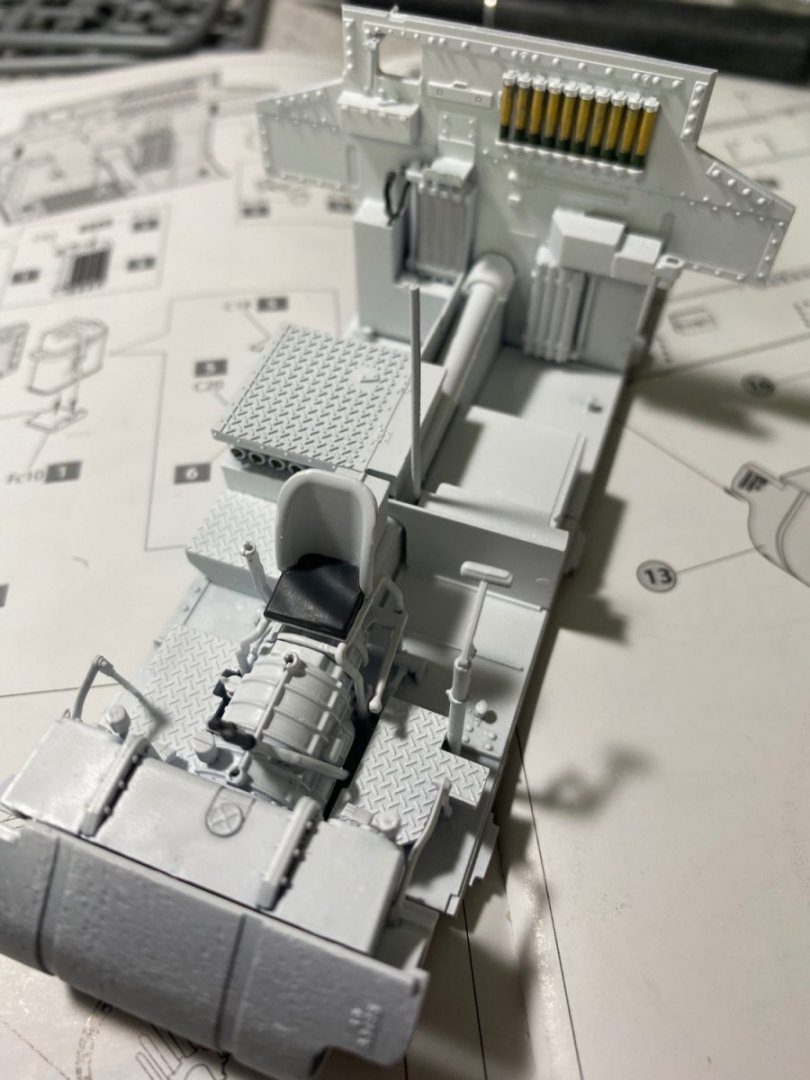
Tamiya white primer goes down like a champ. Dries fast with a nice smooth finish. This should offer a perfect starting point for some interior weathering and wear.

- 99 replies
-
- 11
-
-
M3 Lee Tank by CDW - Miniart - 1:35 Scale - FINISHED
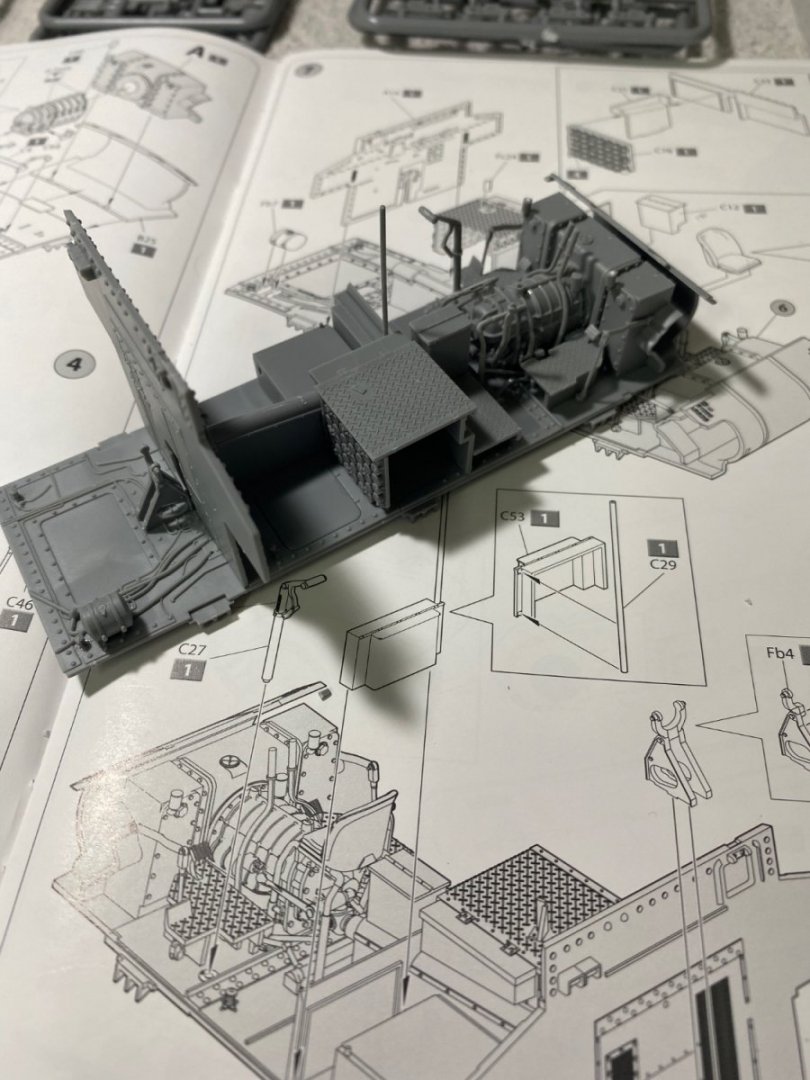
CDW replied to CDW's topic in Non-ship/categorised builds
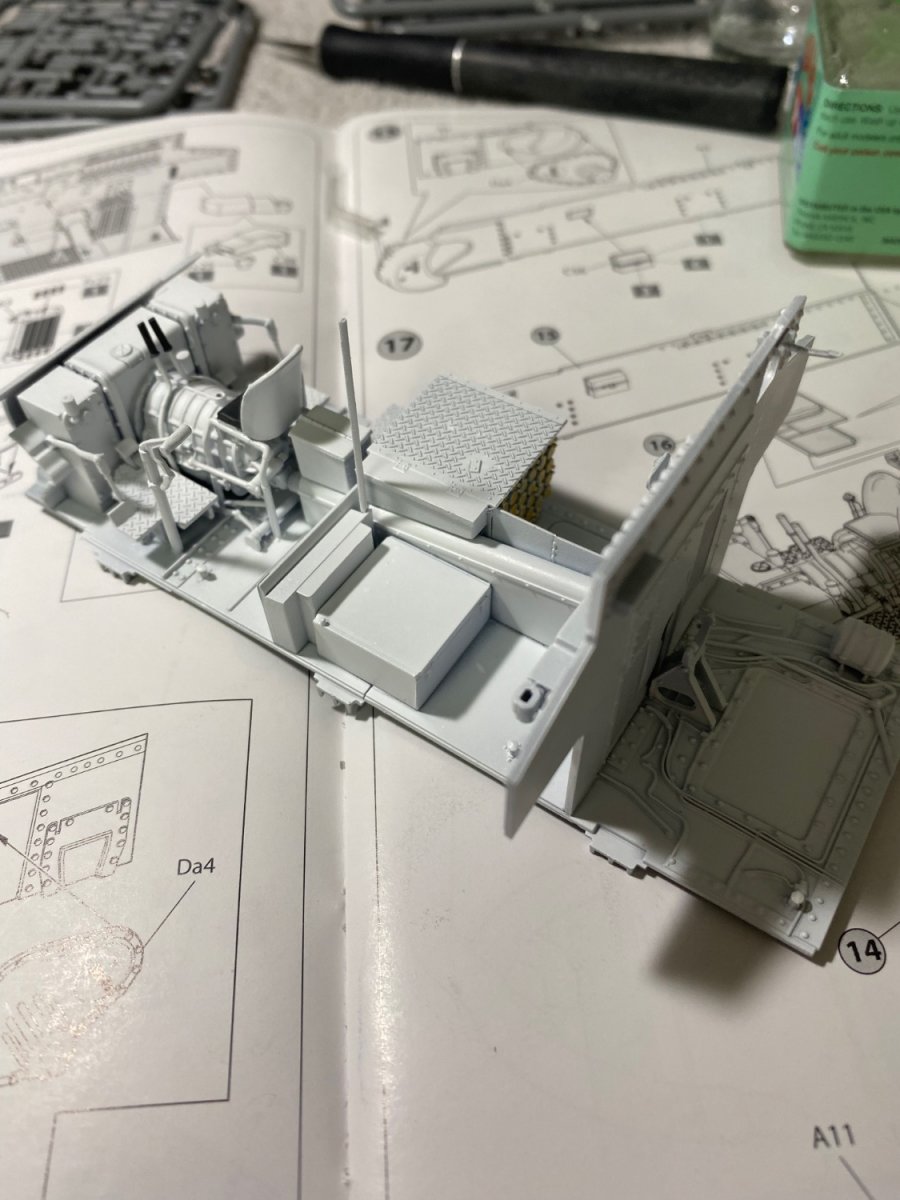
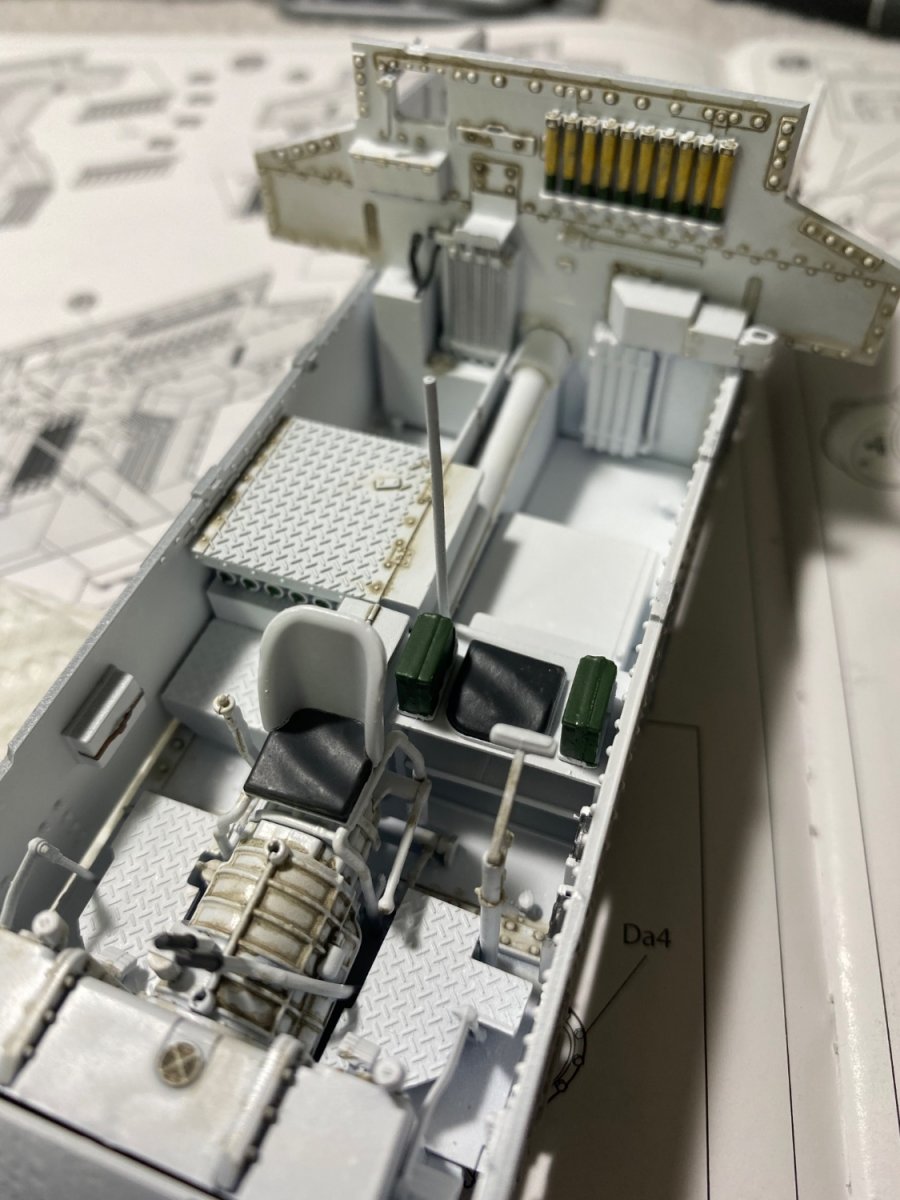
With the hull floor construction completed, I will next move on to paint. Overall, everything is white with various color small details. The ammo locker is dry fitted and will be removed for detail painting of ammo. Will use Tamiya white primer. See you after paint is completed.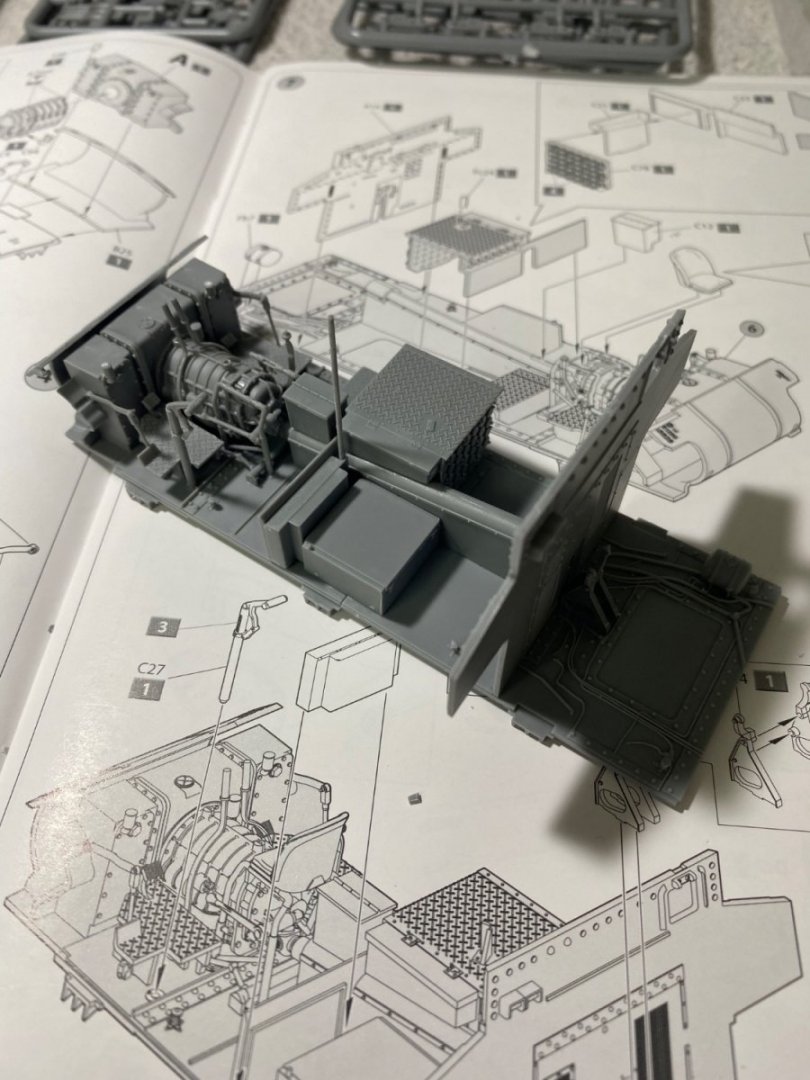

- 99 replies
-
- 12
-
-
M3 Lee Tank by CDW - Miniart - 1:35 Scale - FINISHED
CDW replied to CDW's topic in Non-ship/categorised builds
Yes, the castings are quite nice. This kit is reminiscent of limited run kits, in that the sprue gates are rather large and the plastic is a bit on the soft side. Care is needed to be sure details are not being cut off when removing parts from the sprues. I noticed that some of the smaller parts are cast where it appears the mold halves did not align perfectly, creating a small problem to clean up before painting. For the cost of the kit, it is very well done indeed. I picked up this copy at my local hobby shop for less than $65 and 10% off that for the veterans discount. My usual online sources were out of stock, but I am not surprised given the fact that Mini Art is a company out of Ukraine.- 99 replies
-
- 10
-
-
M3 Lee Tank by CDW - Miniart - 1:35 Scale - FINISHED
CDW replied to CDW's topic in Non-ship/categorised builds
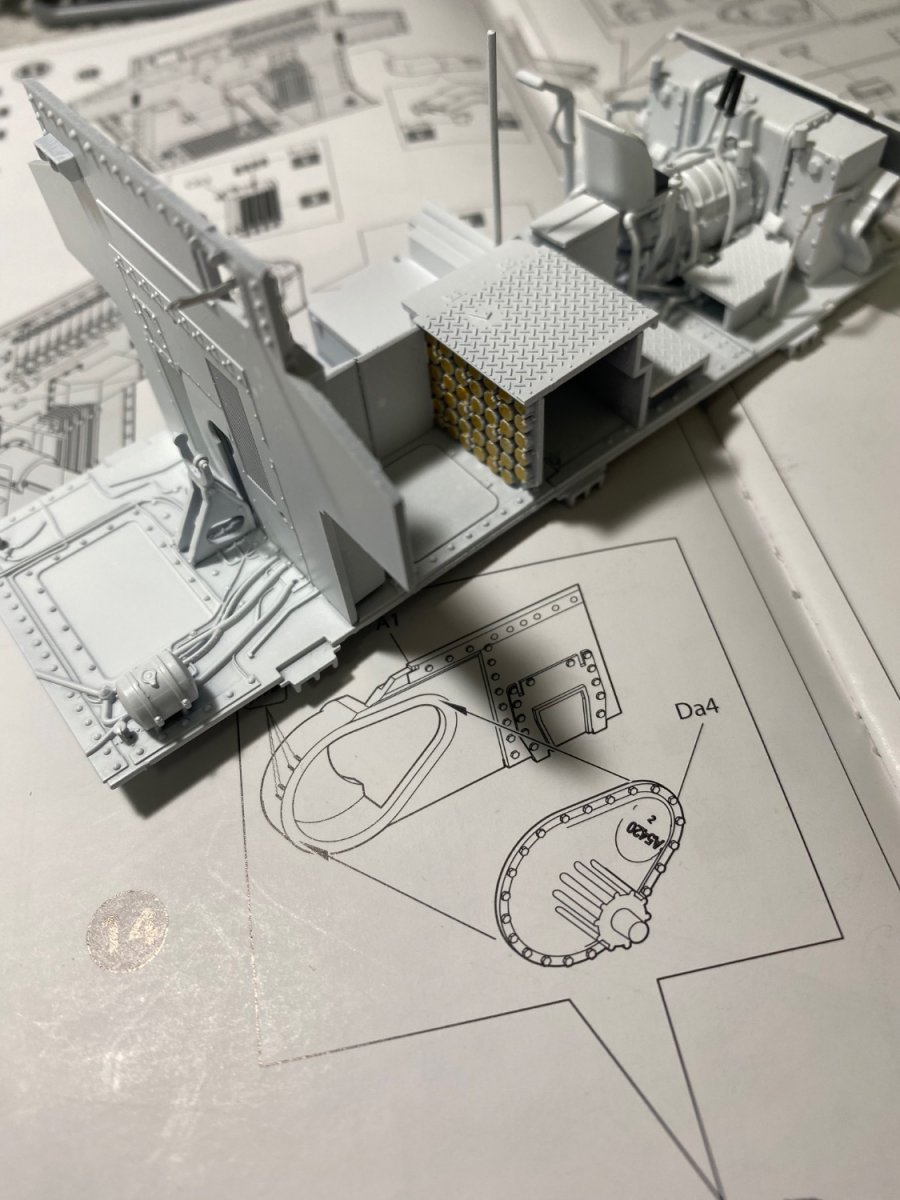
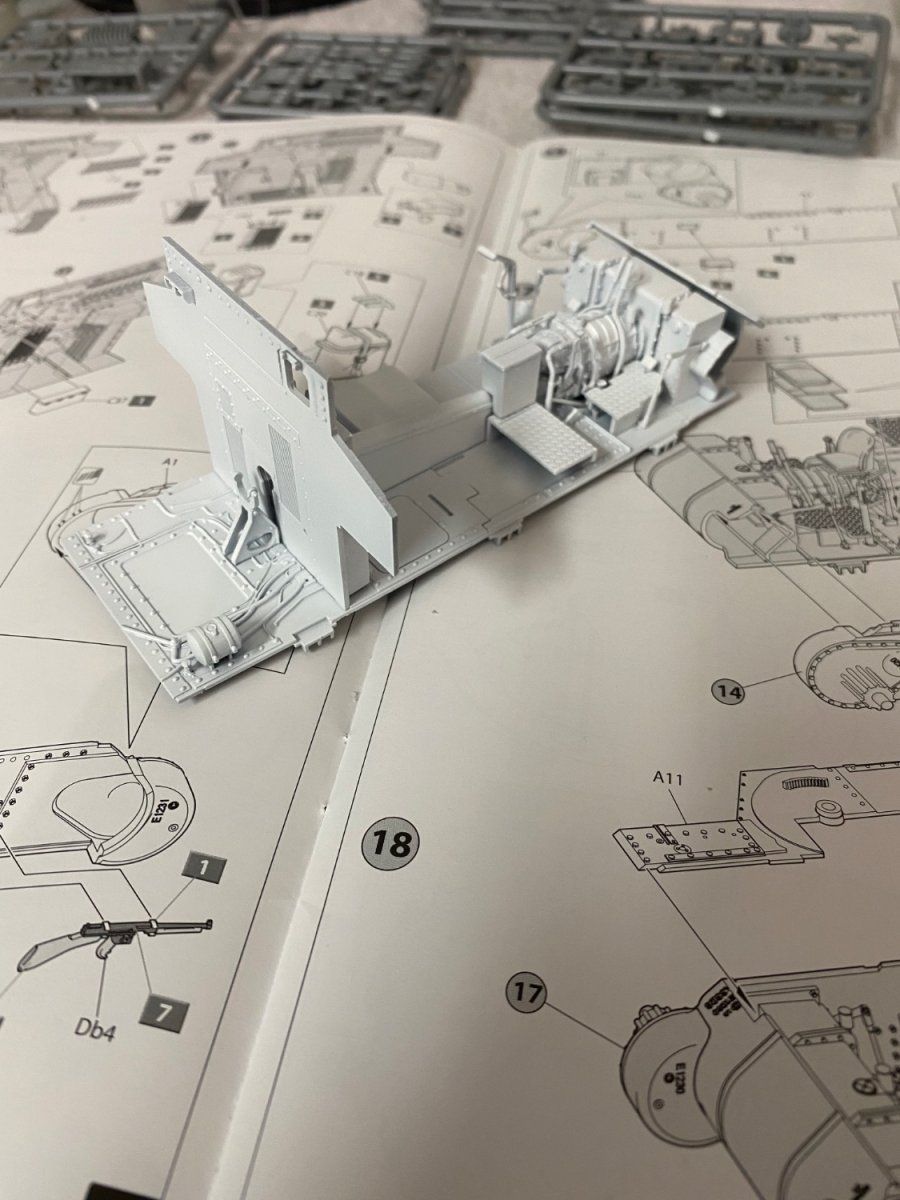
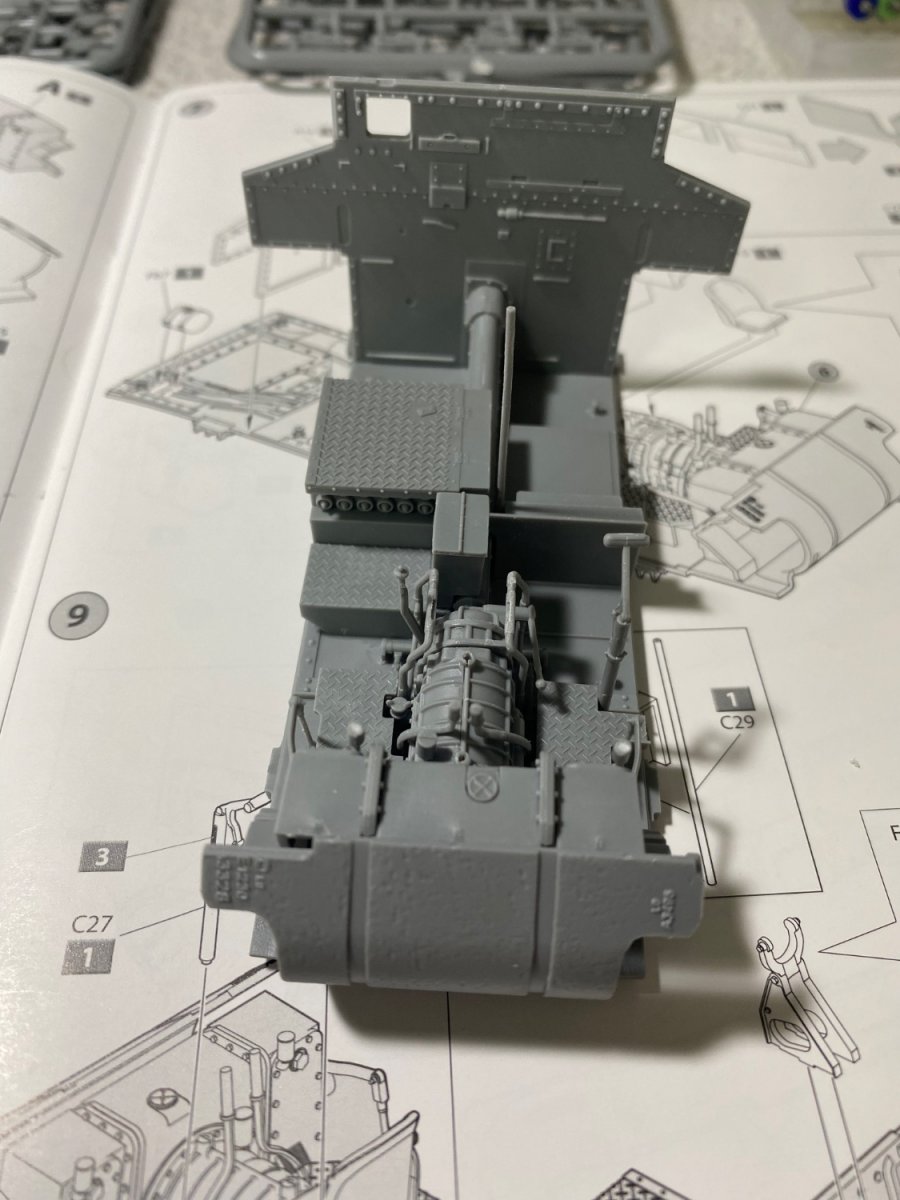
This begins the journey. Hull floor, transmission, and drive shaft. Lots more to come.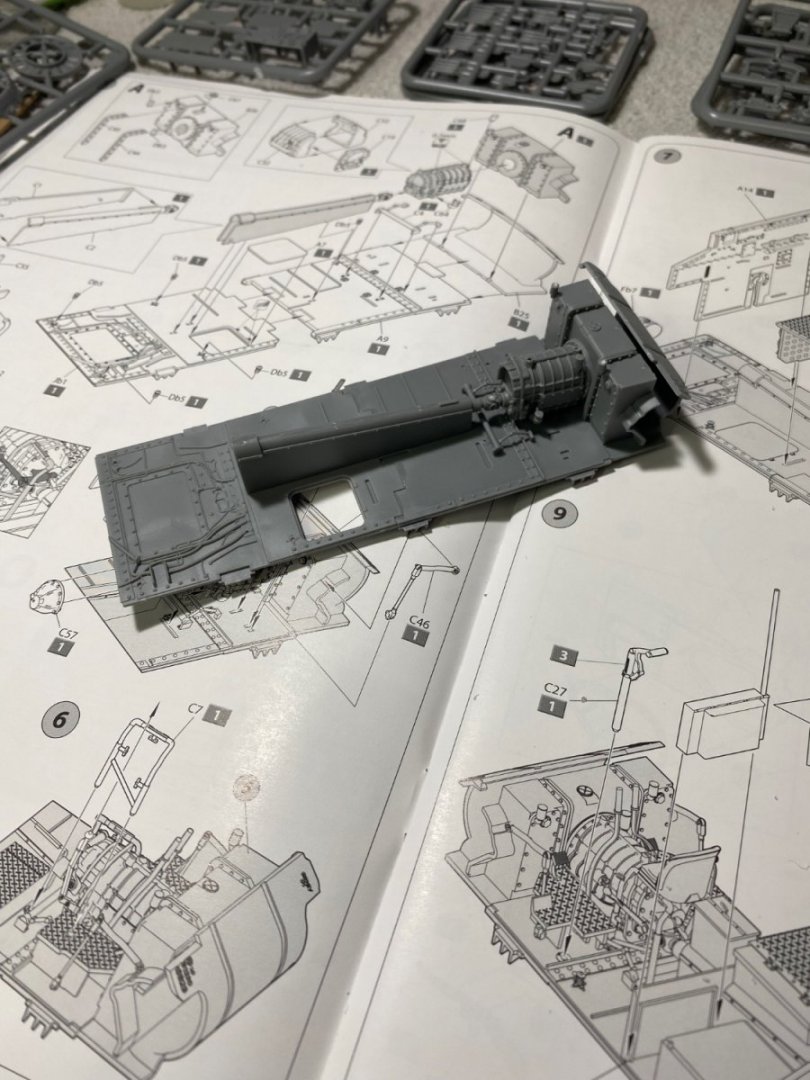
- 99 replies
-
- 13
-
-
M3 Lee Tank by CDW - Miniart - 1:35 Scale - FINISHED
CDW replied to CDW's topic in Non-ship/categorised builds
I used to buy every issue of that comic book. Loved it. -
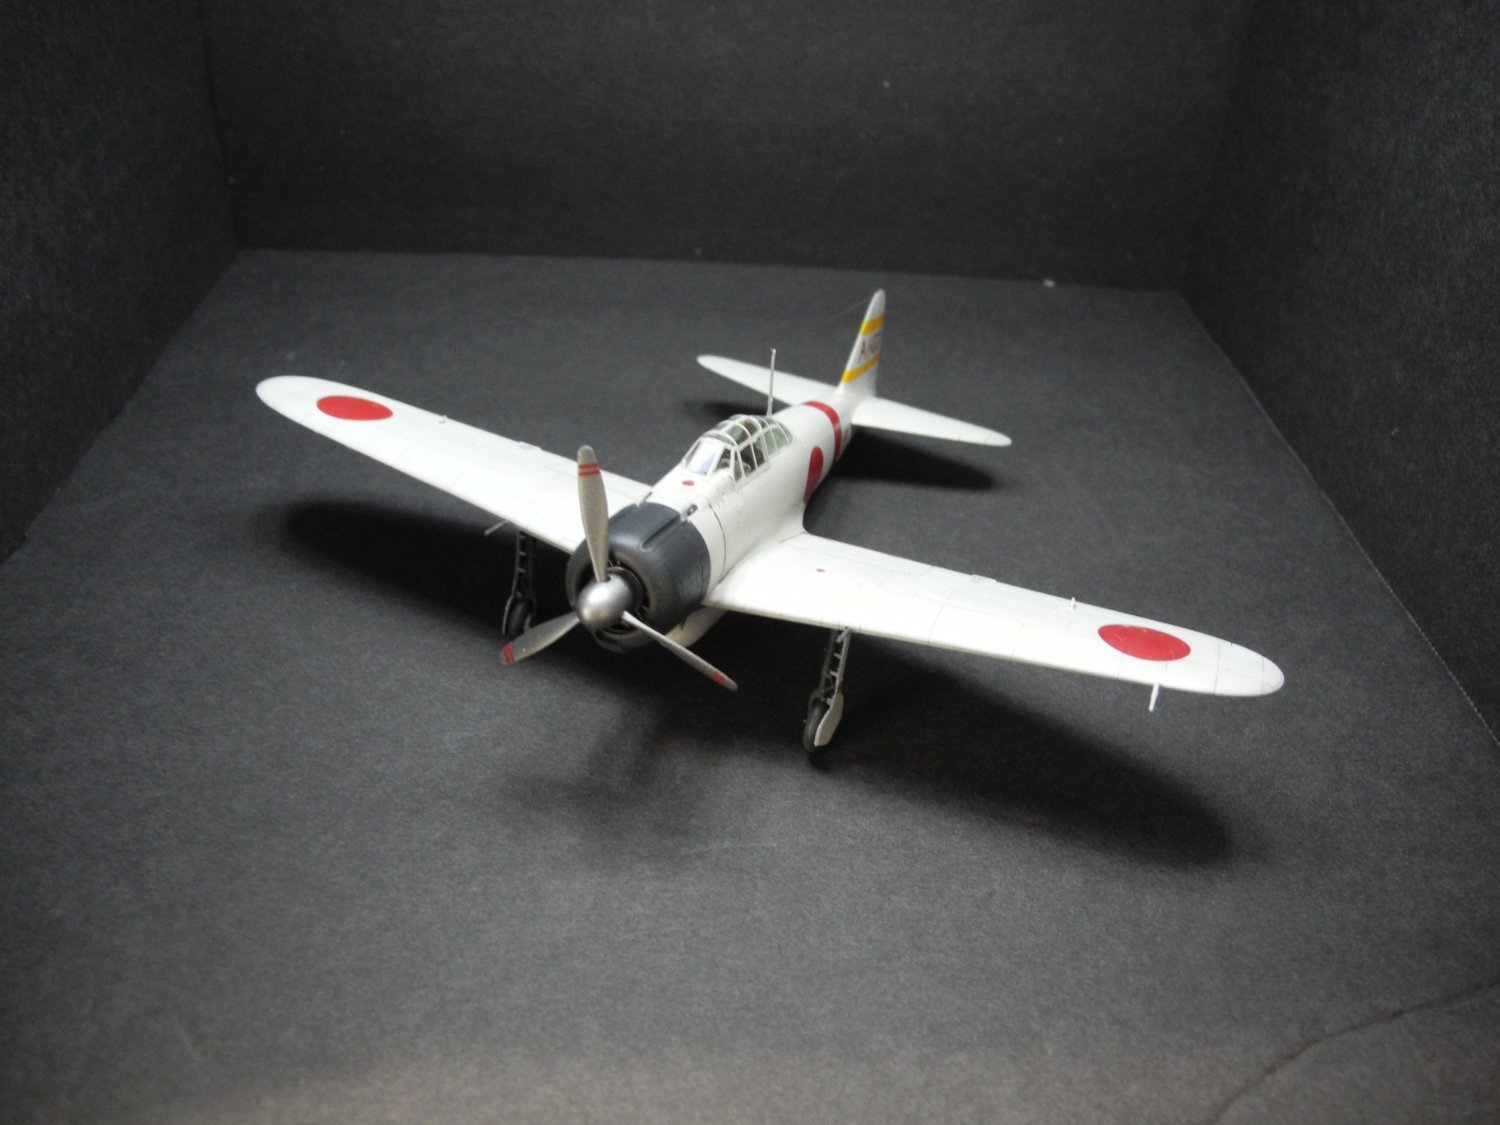
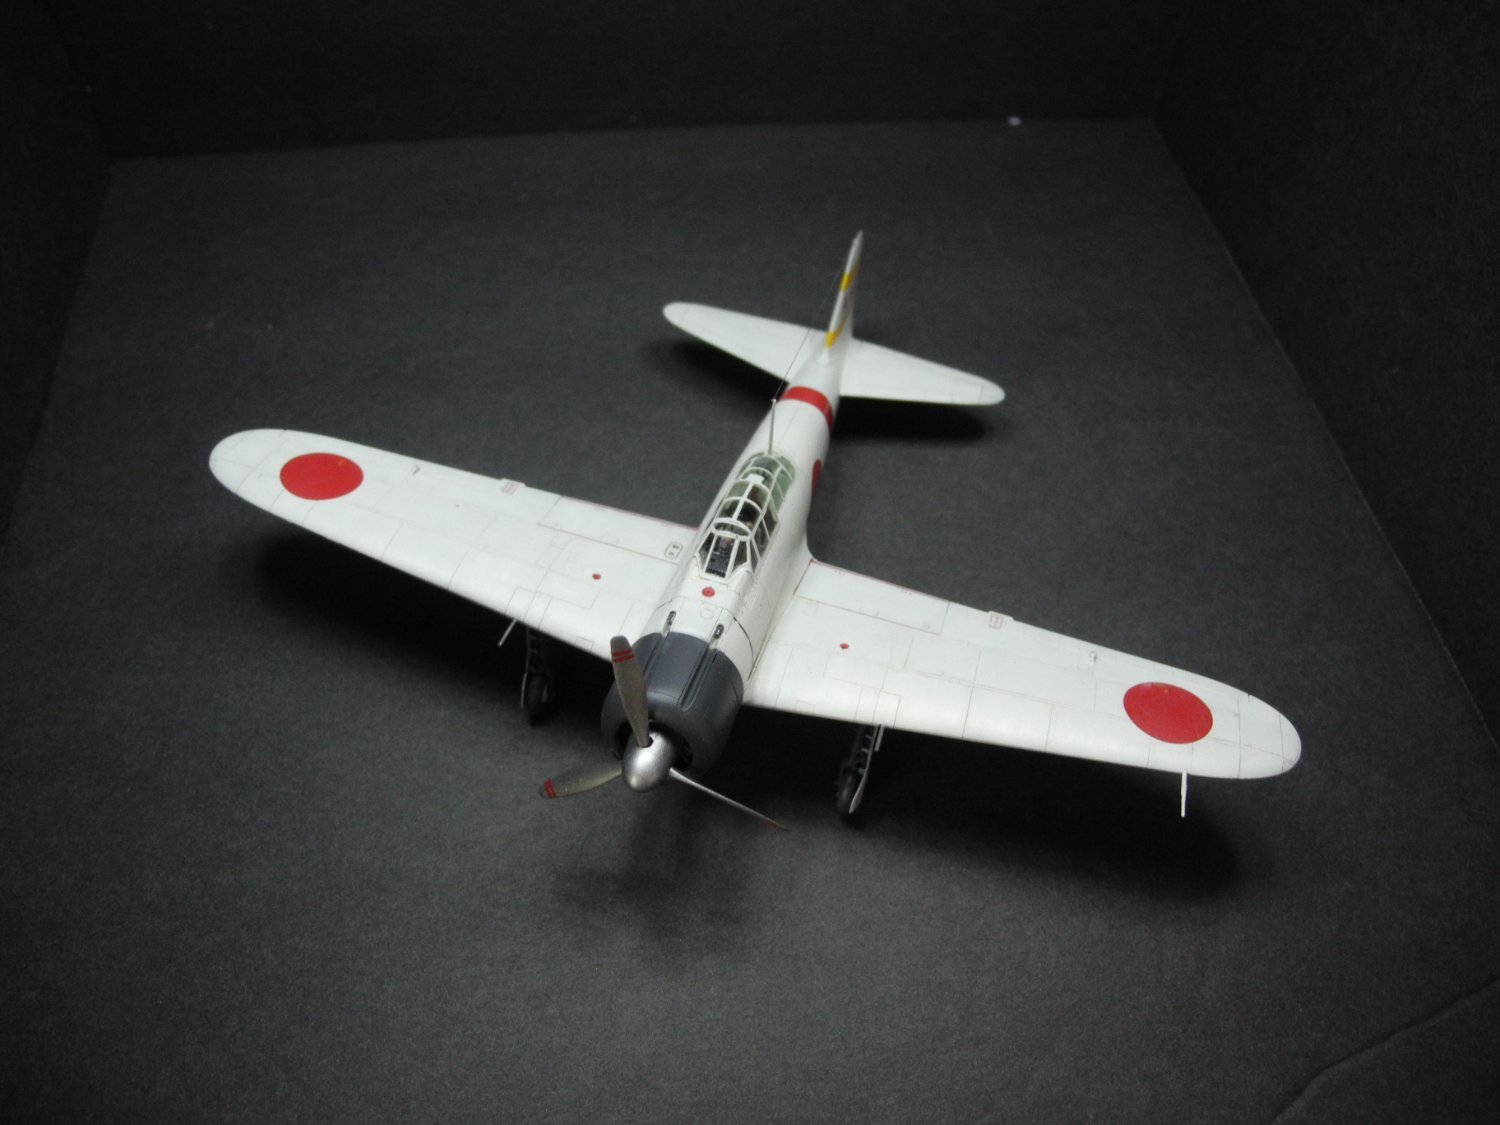
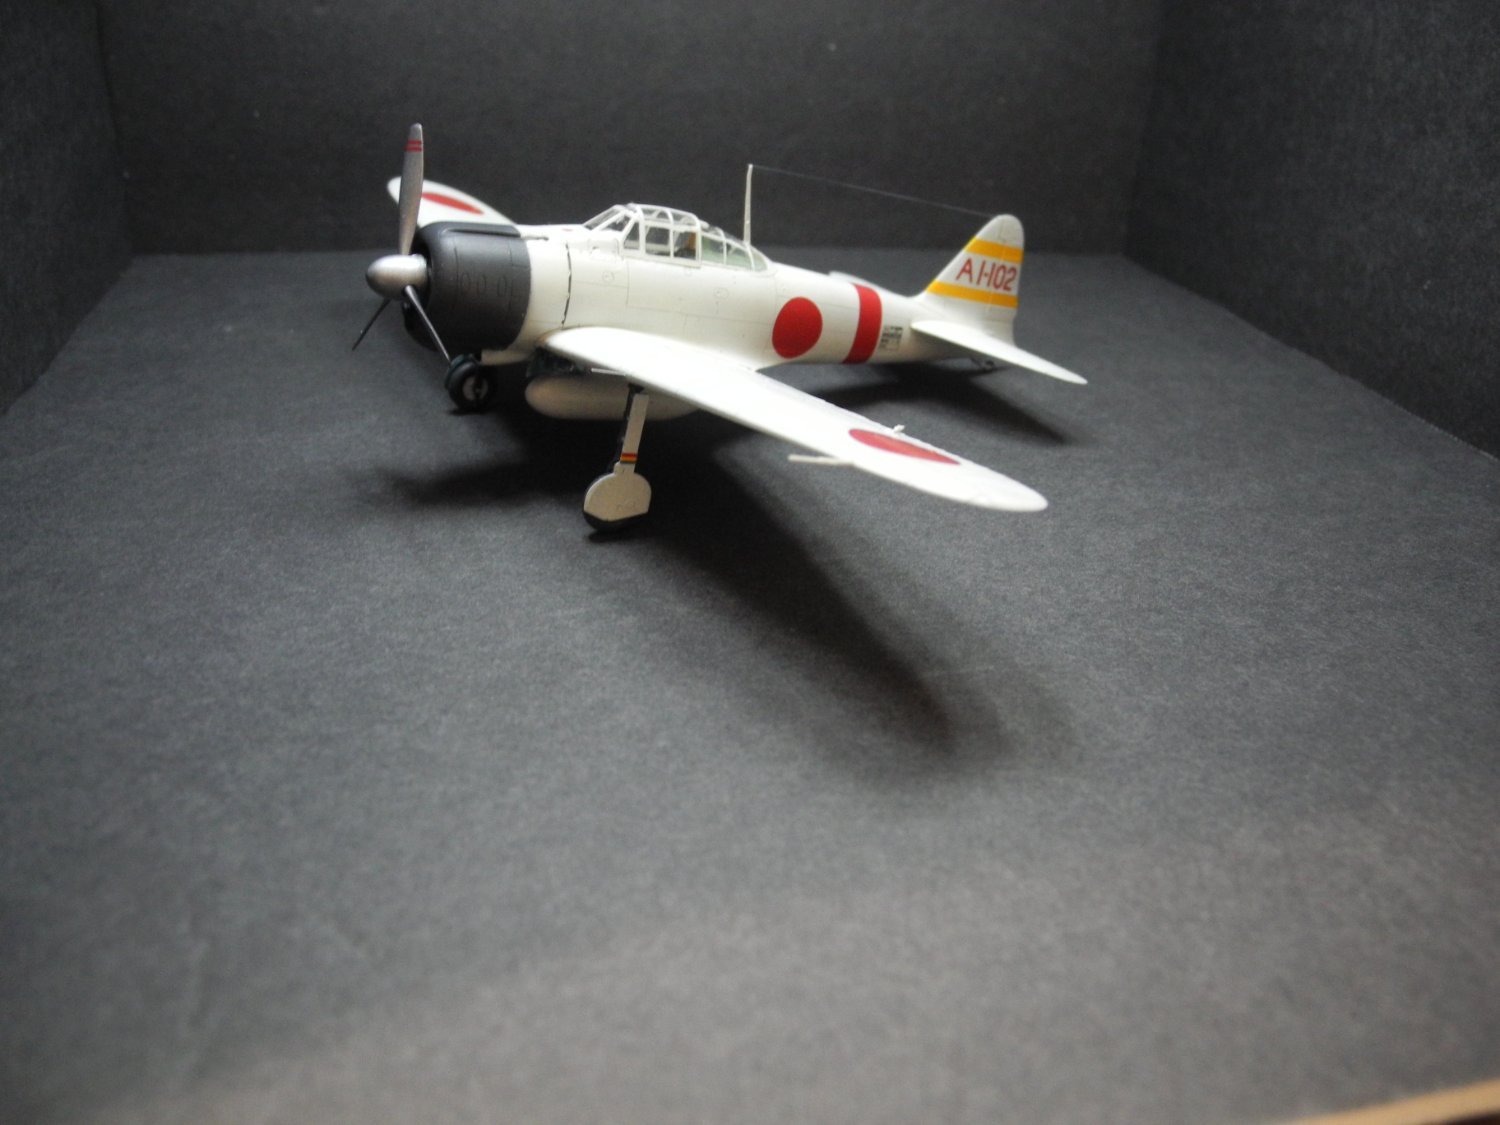
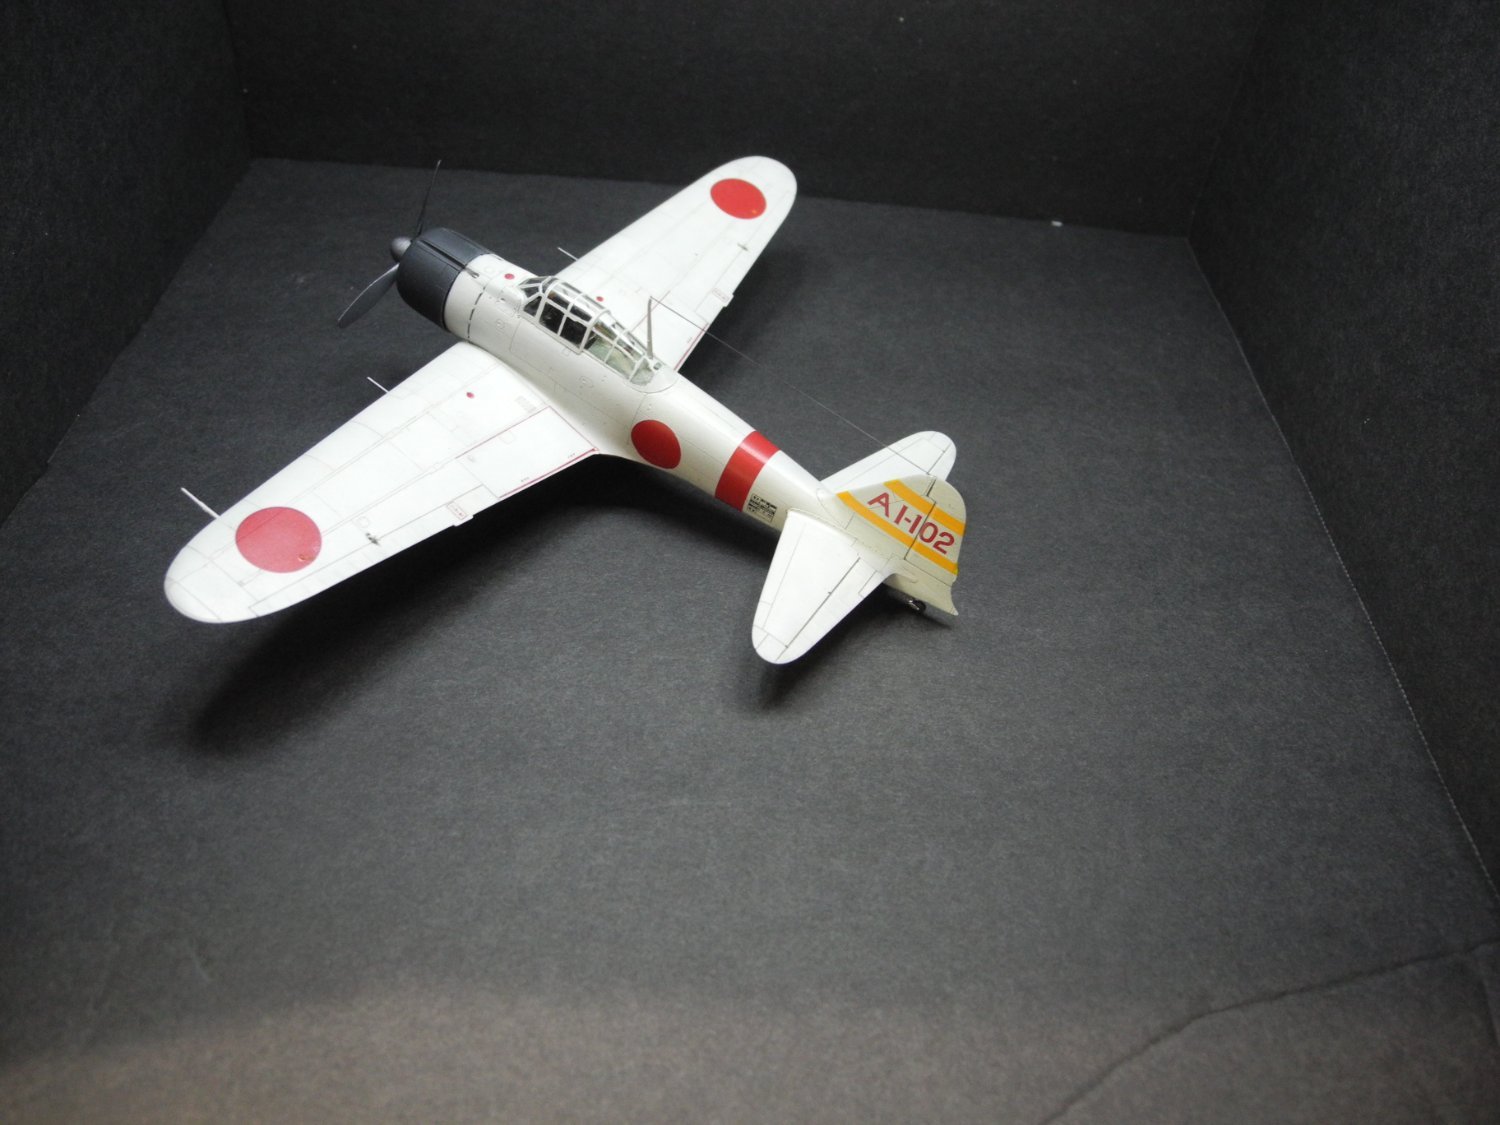
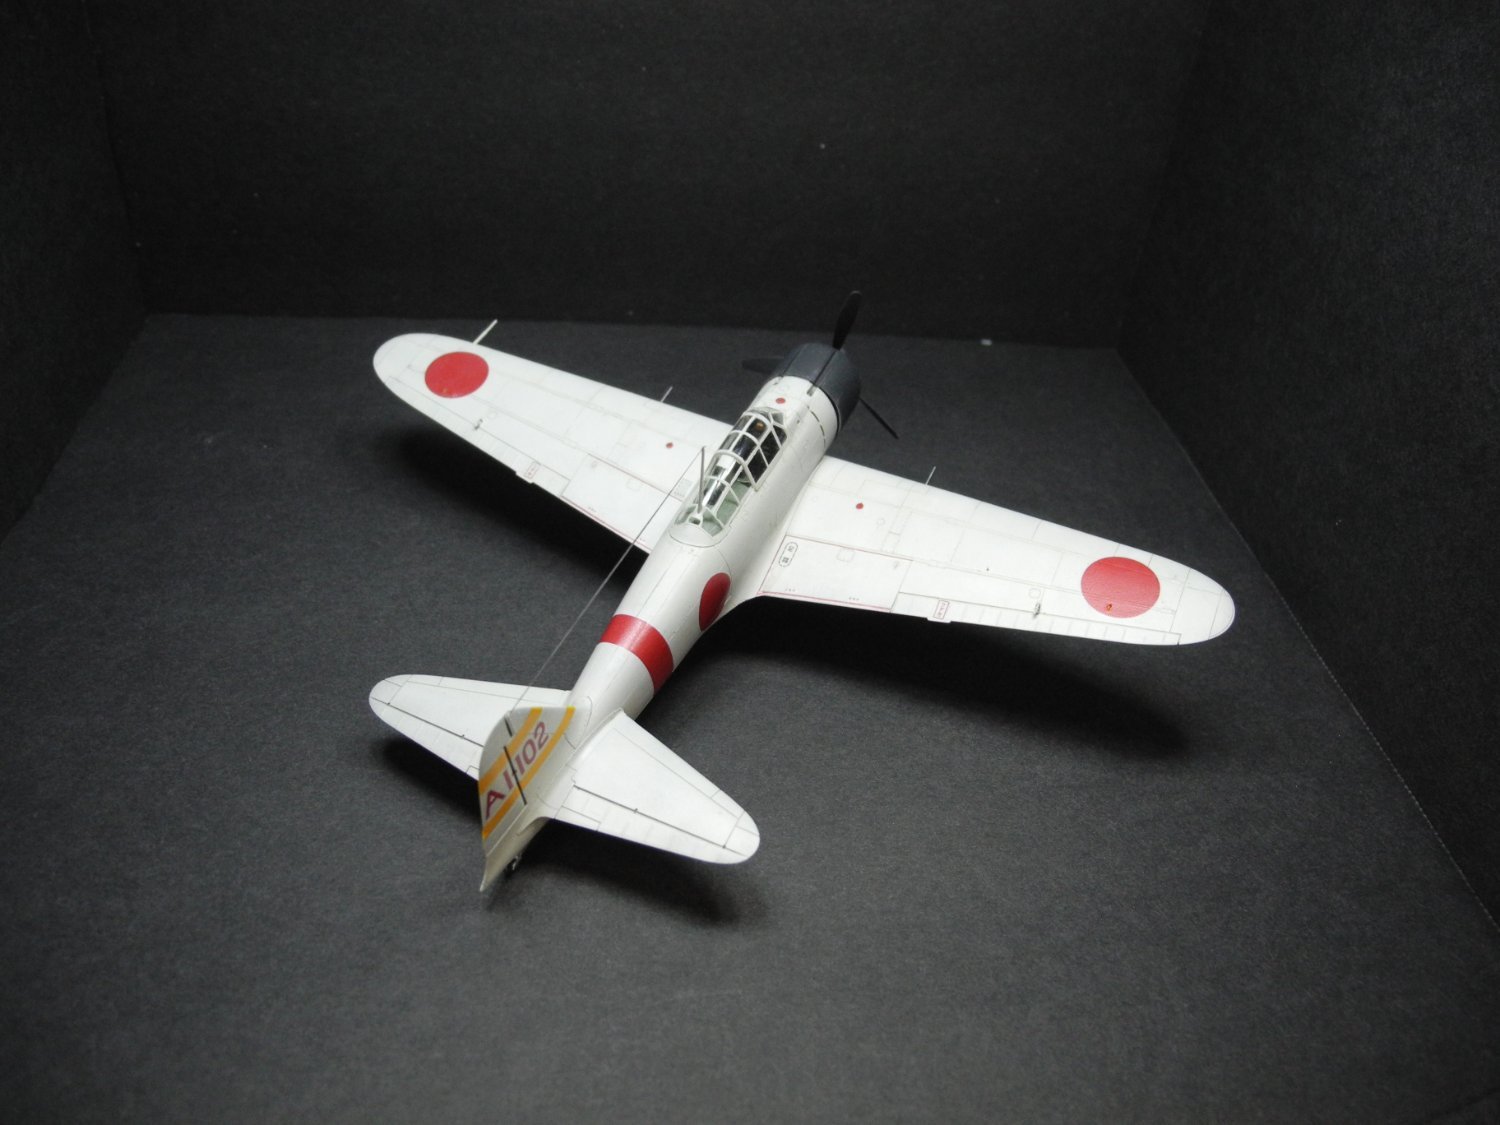
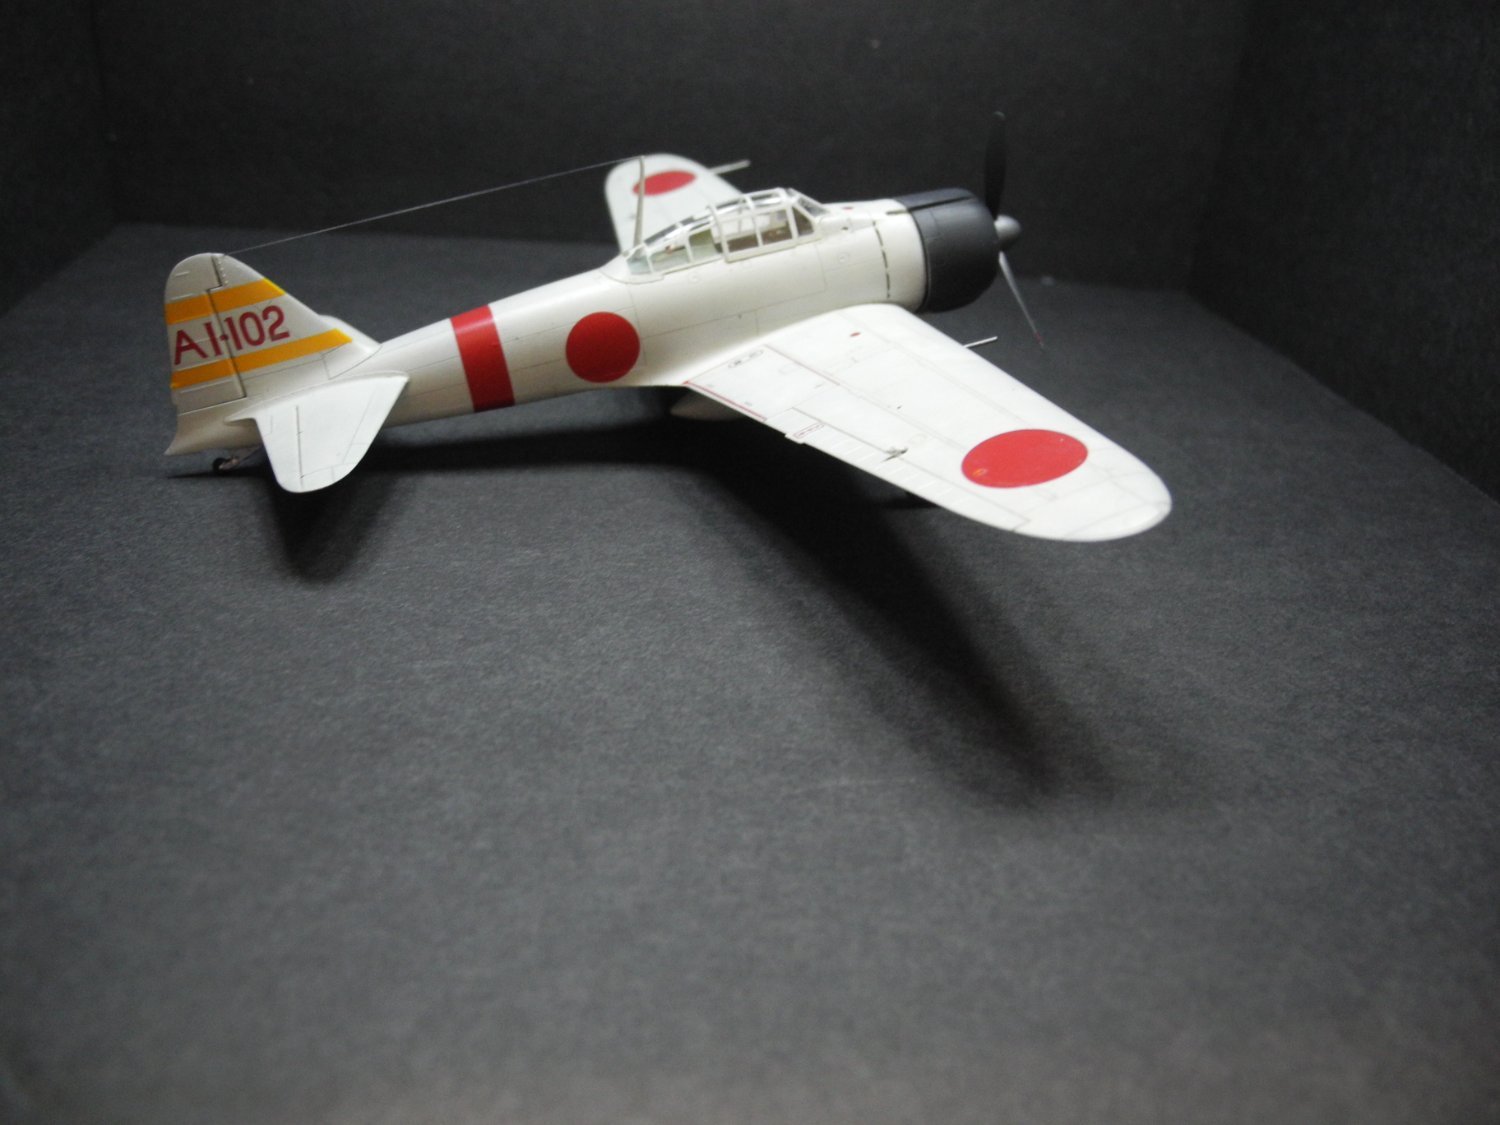
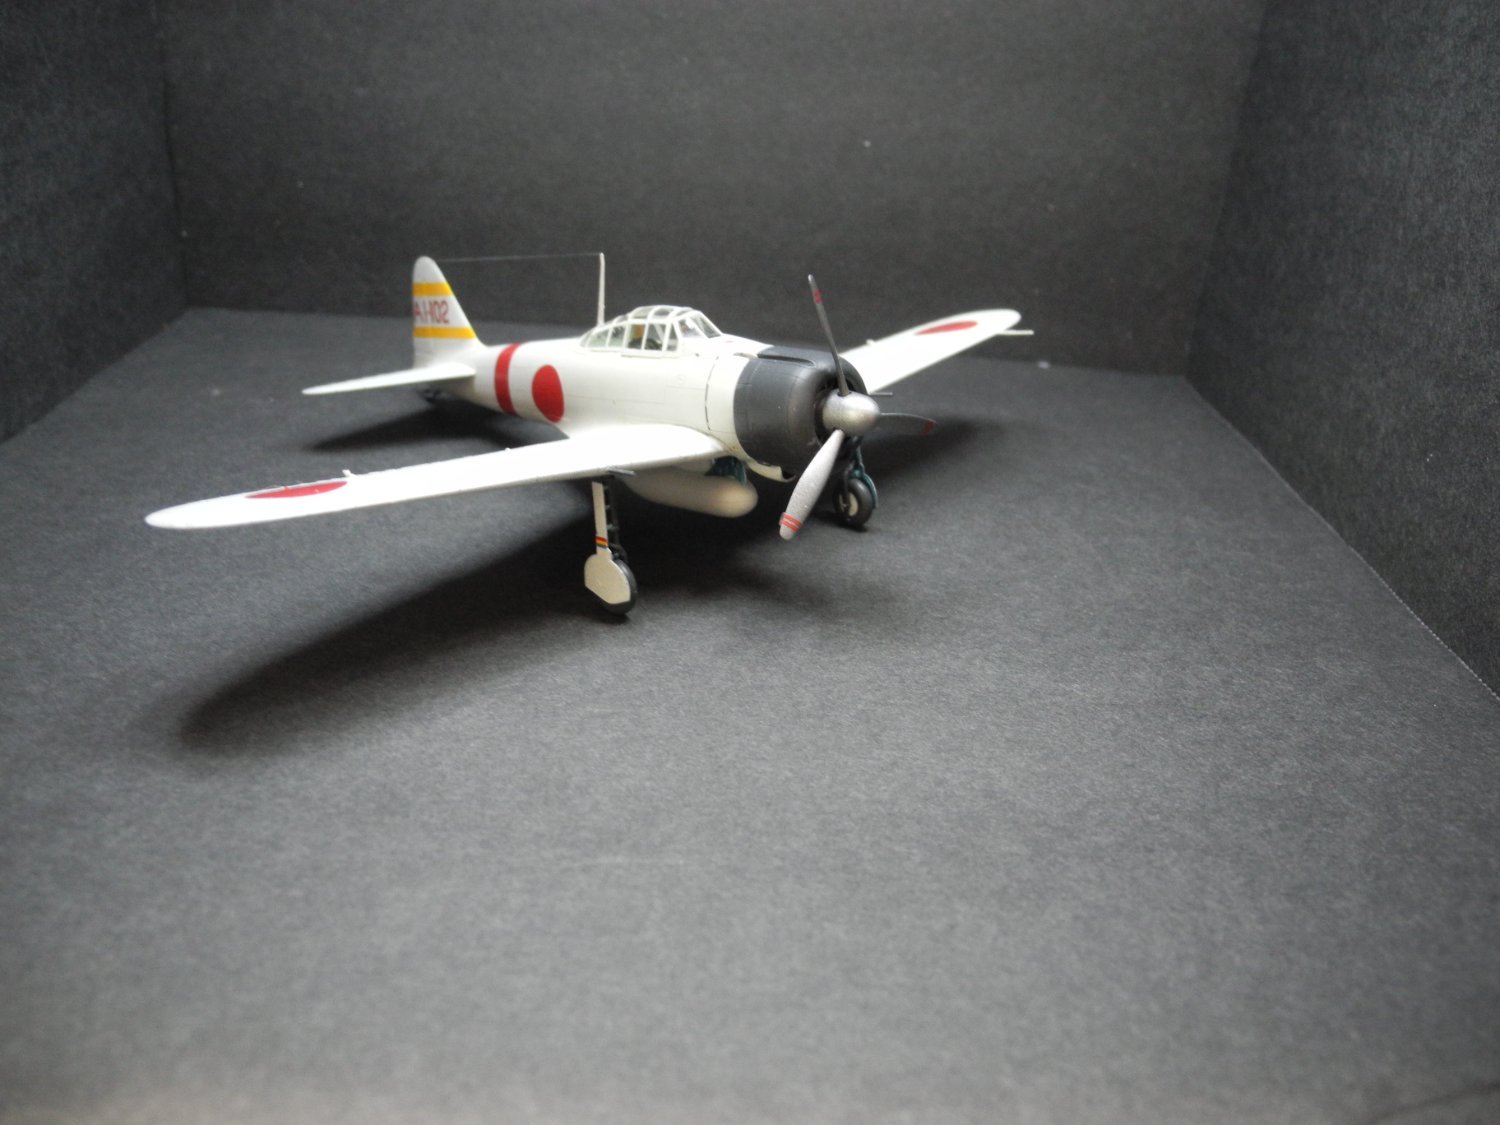
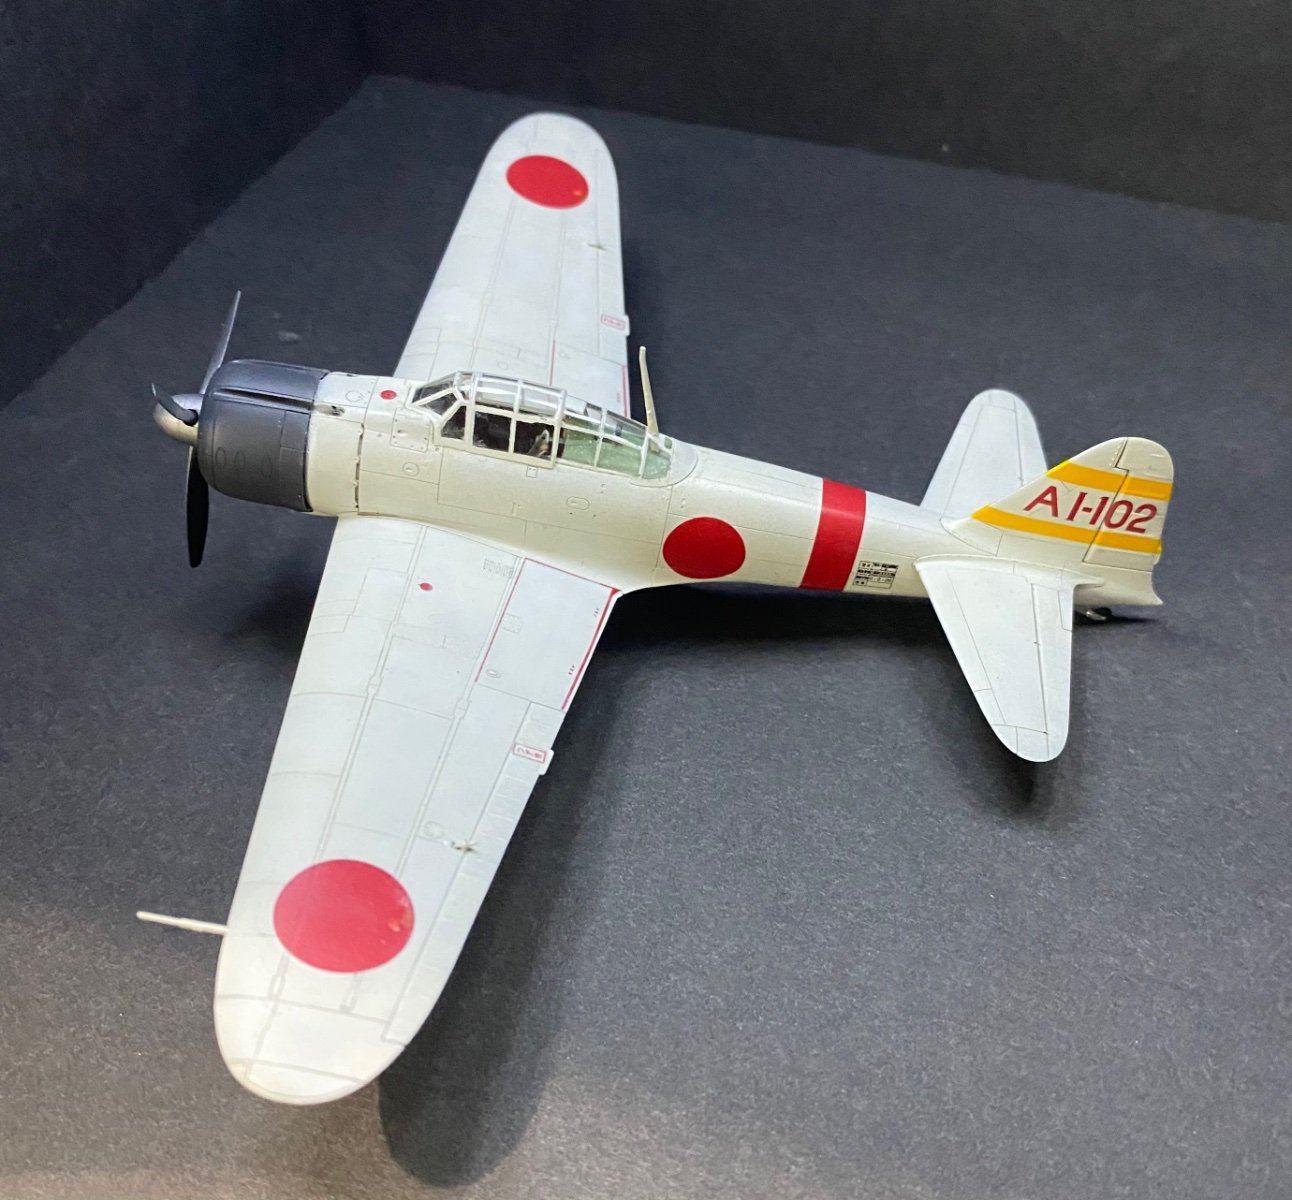
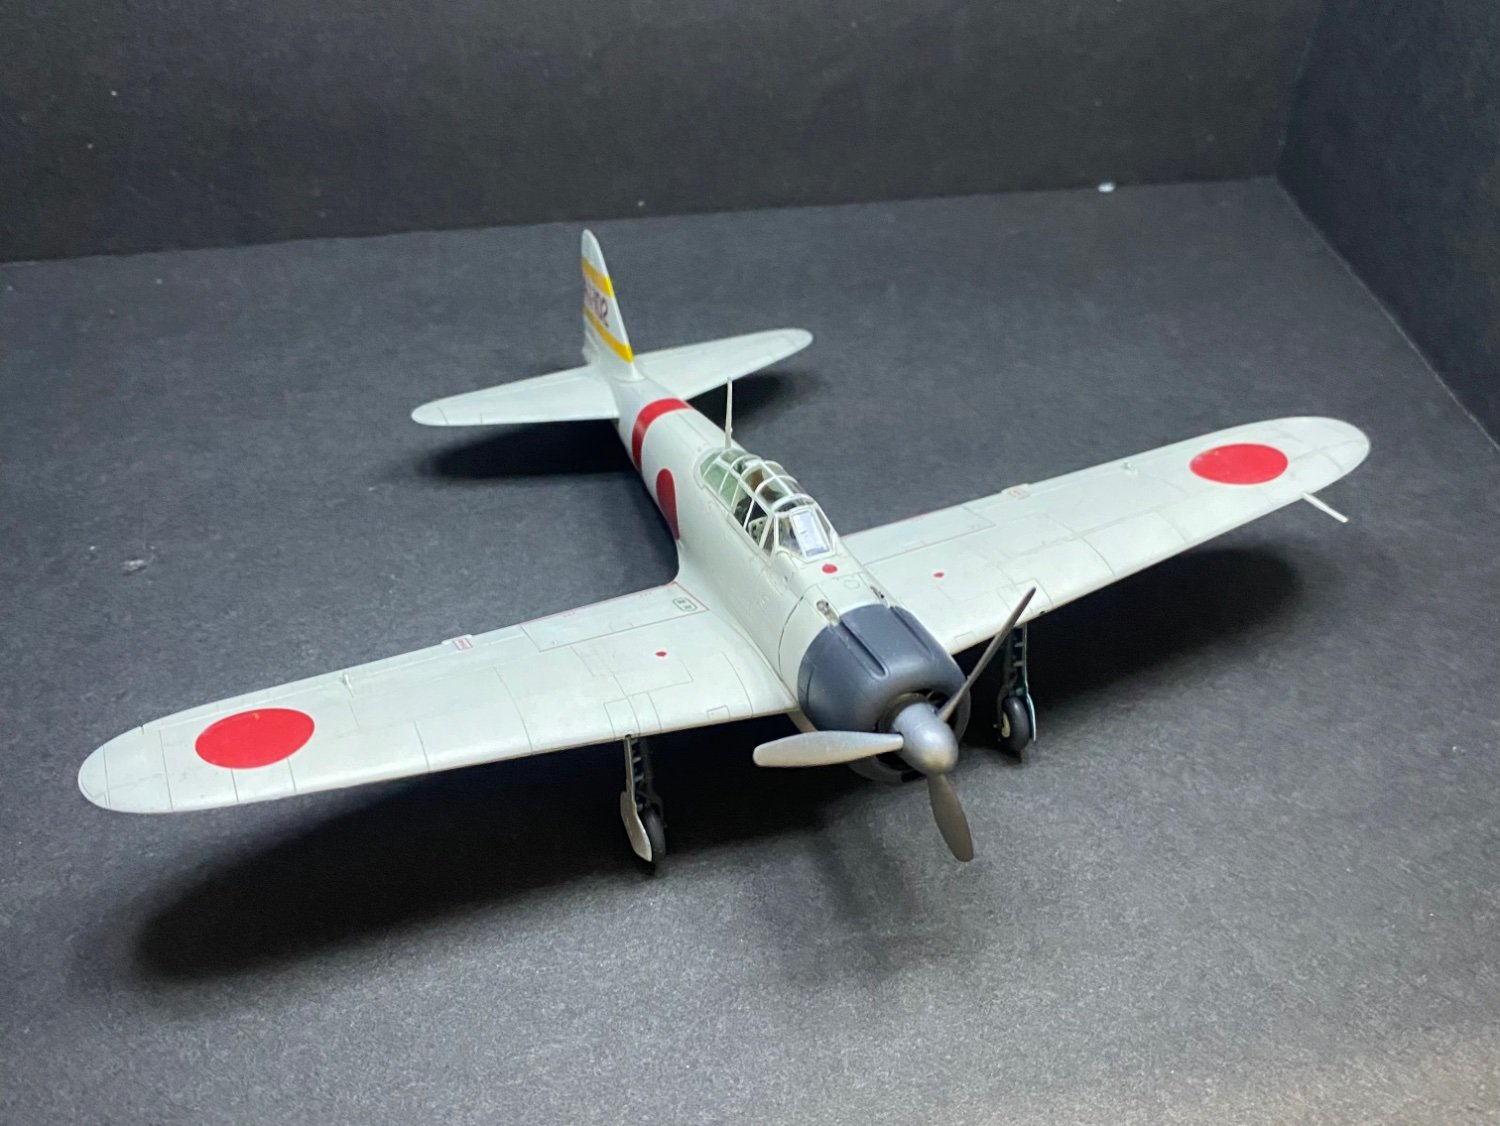
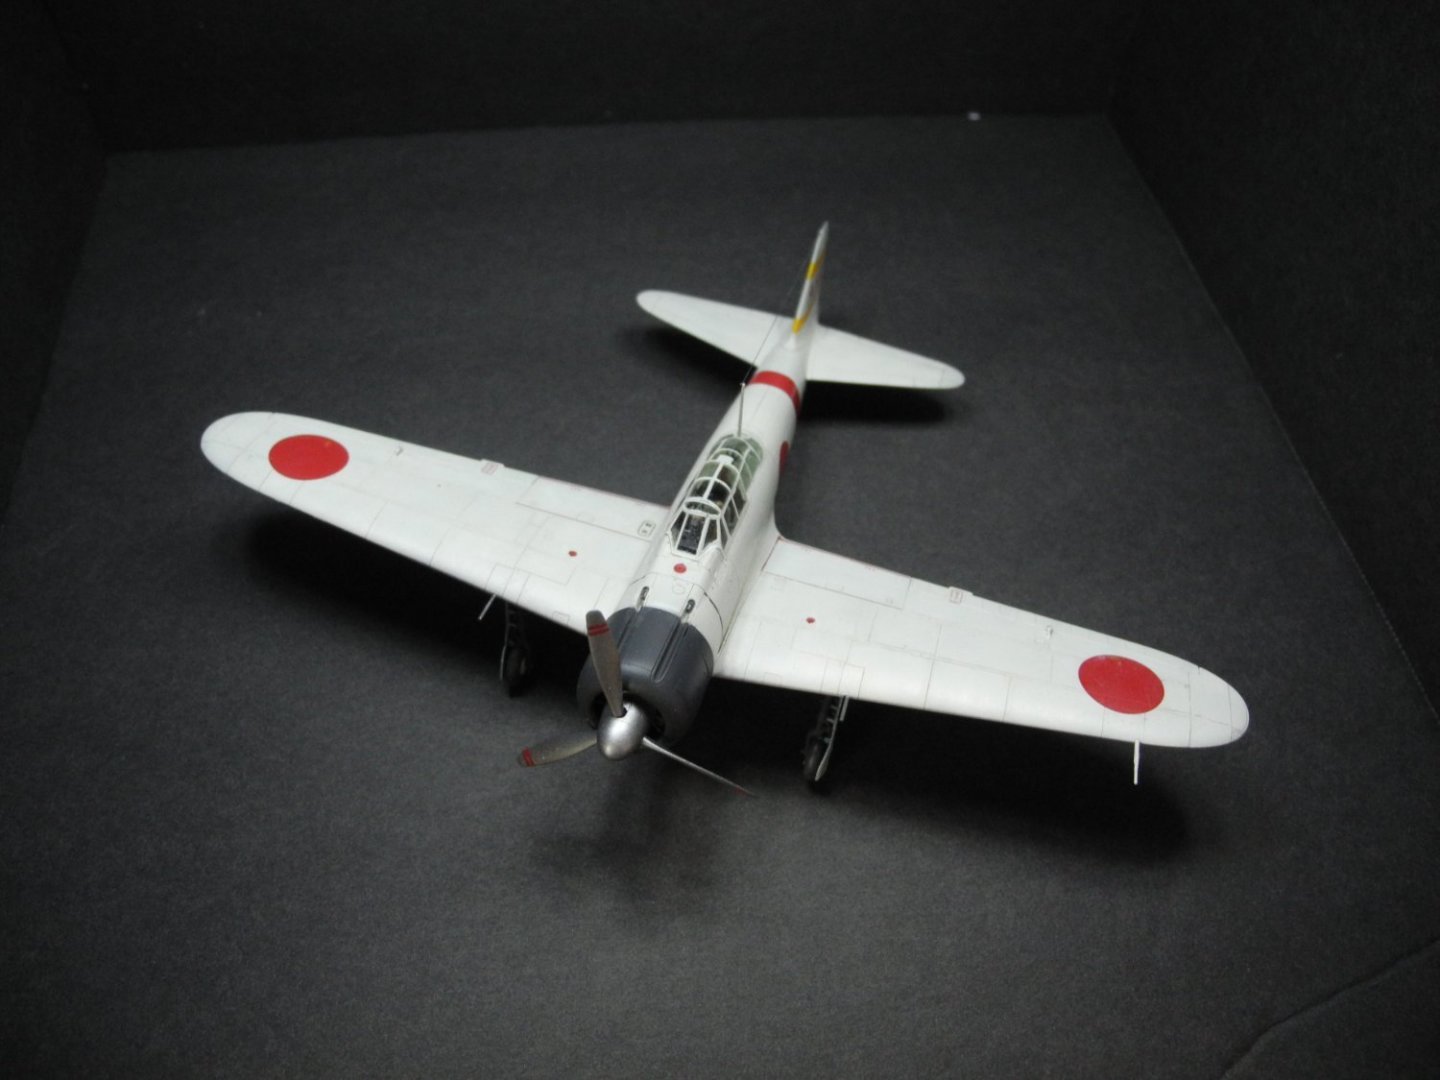
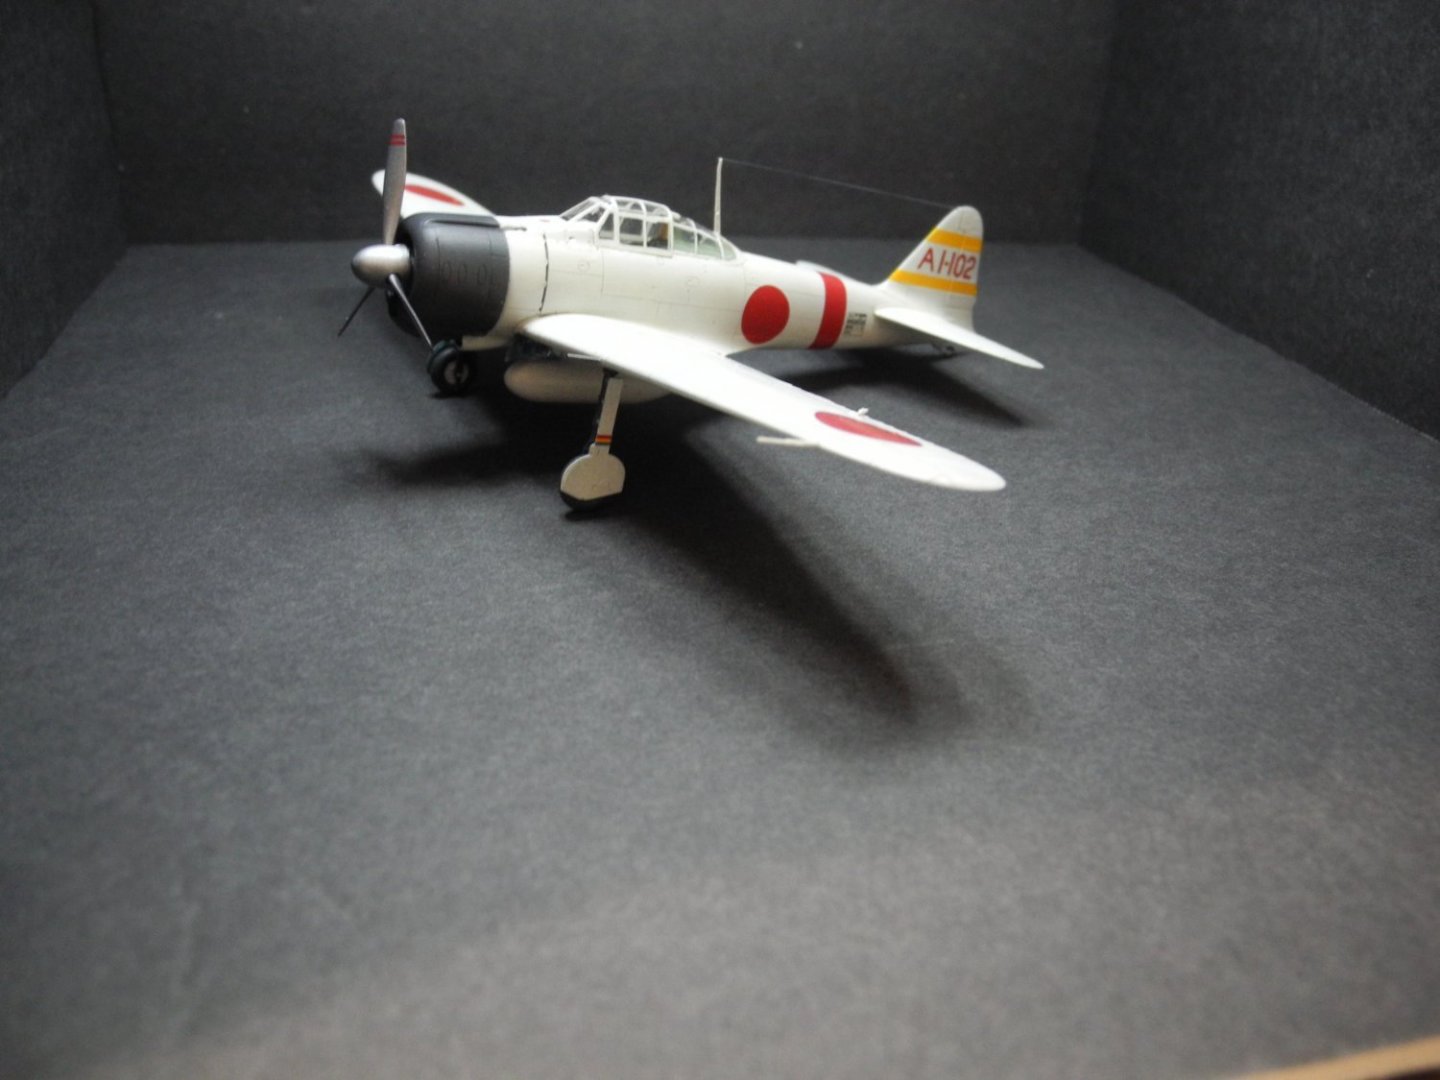
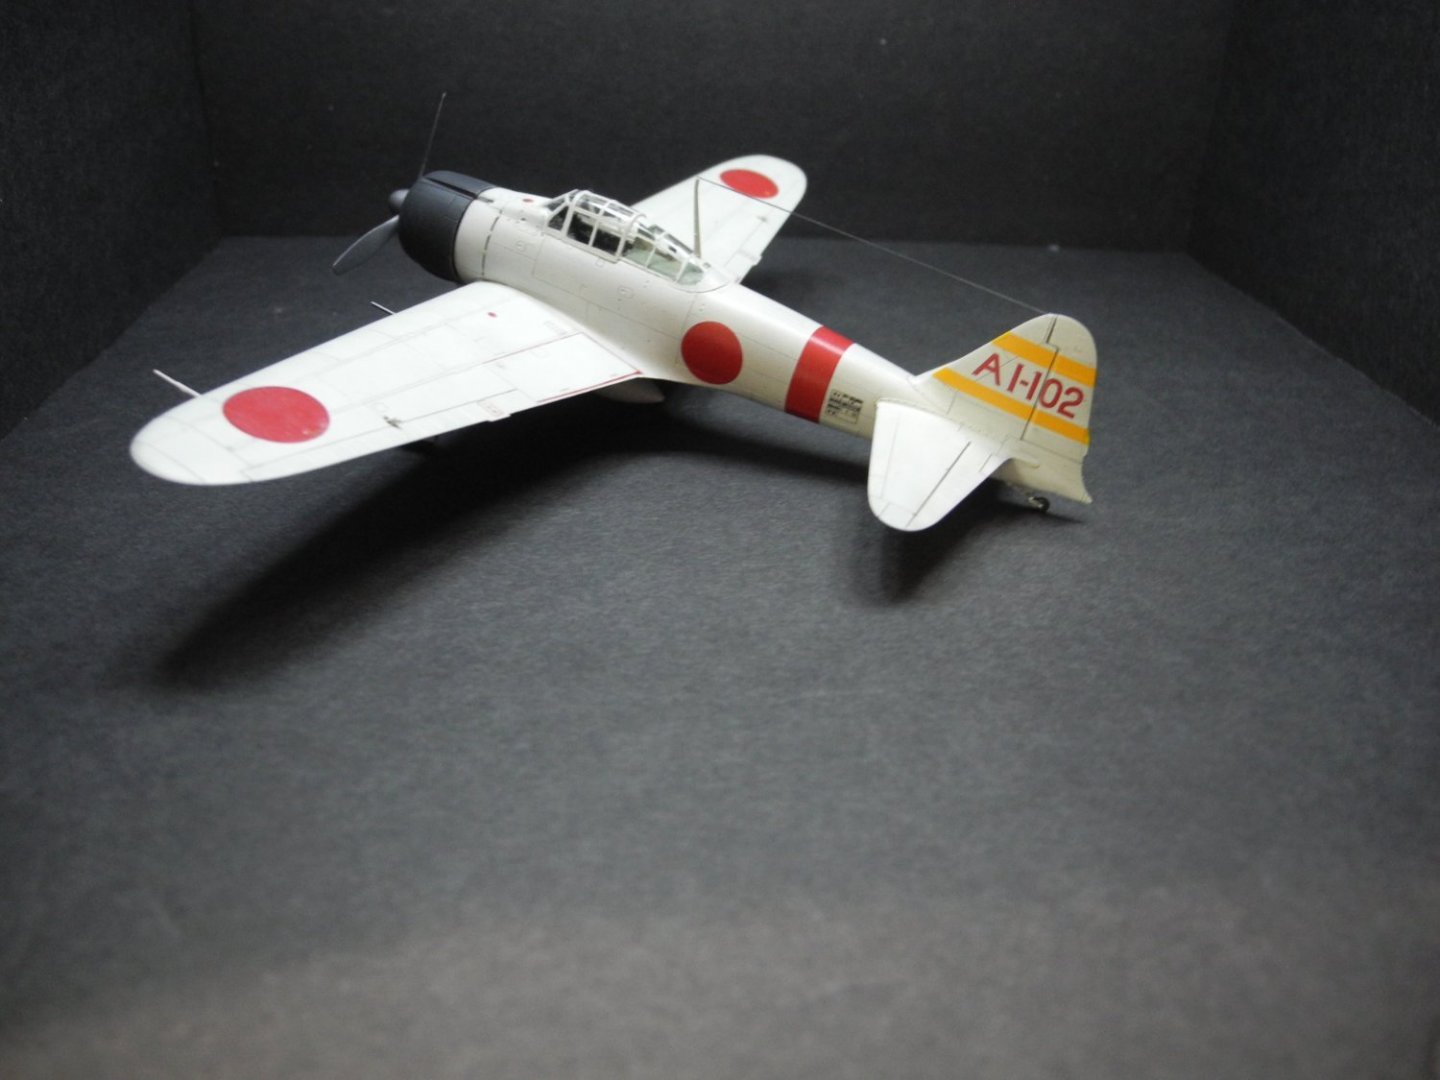
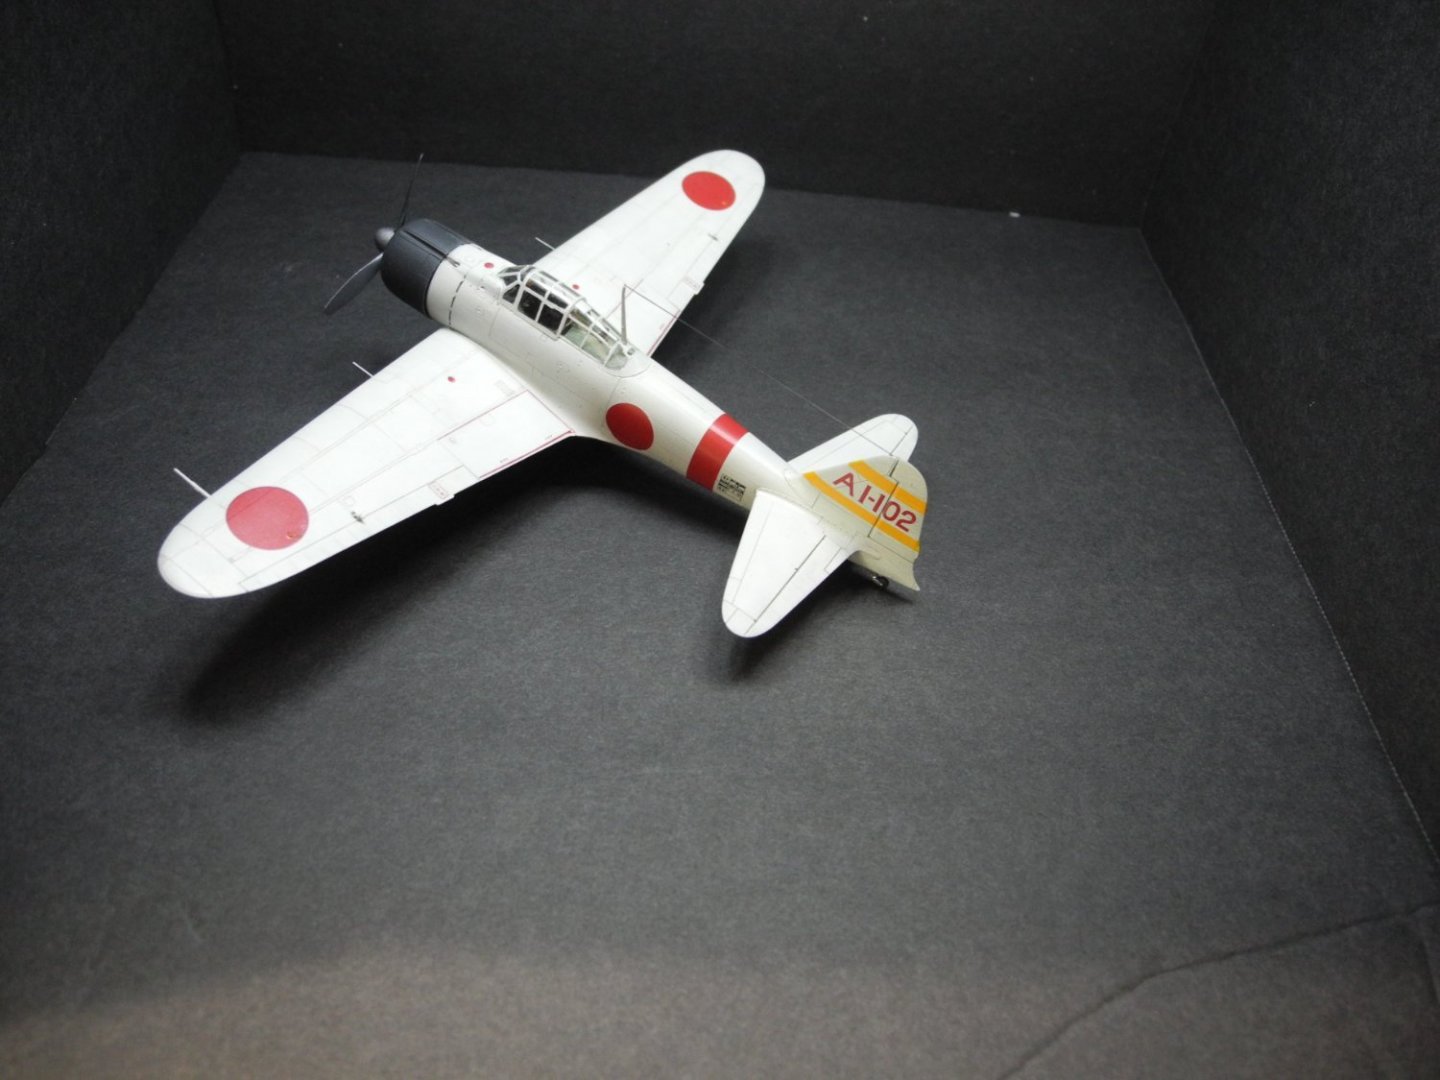
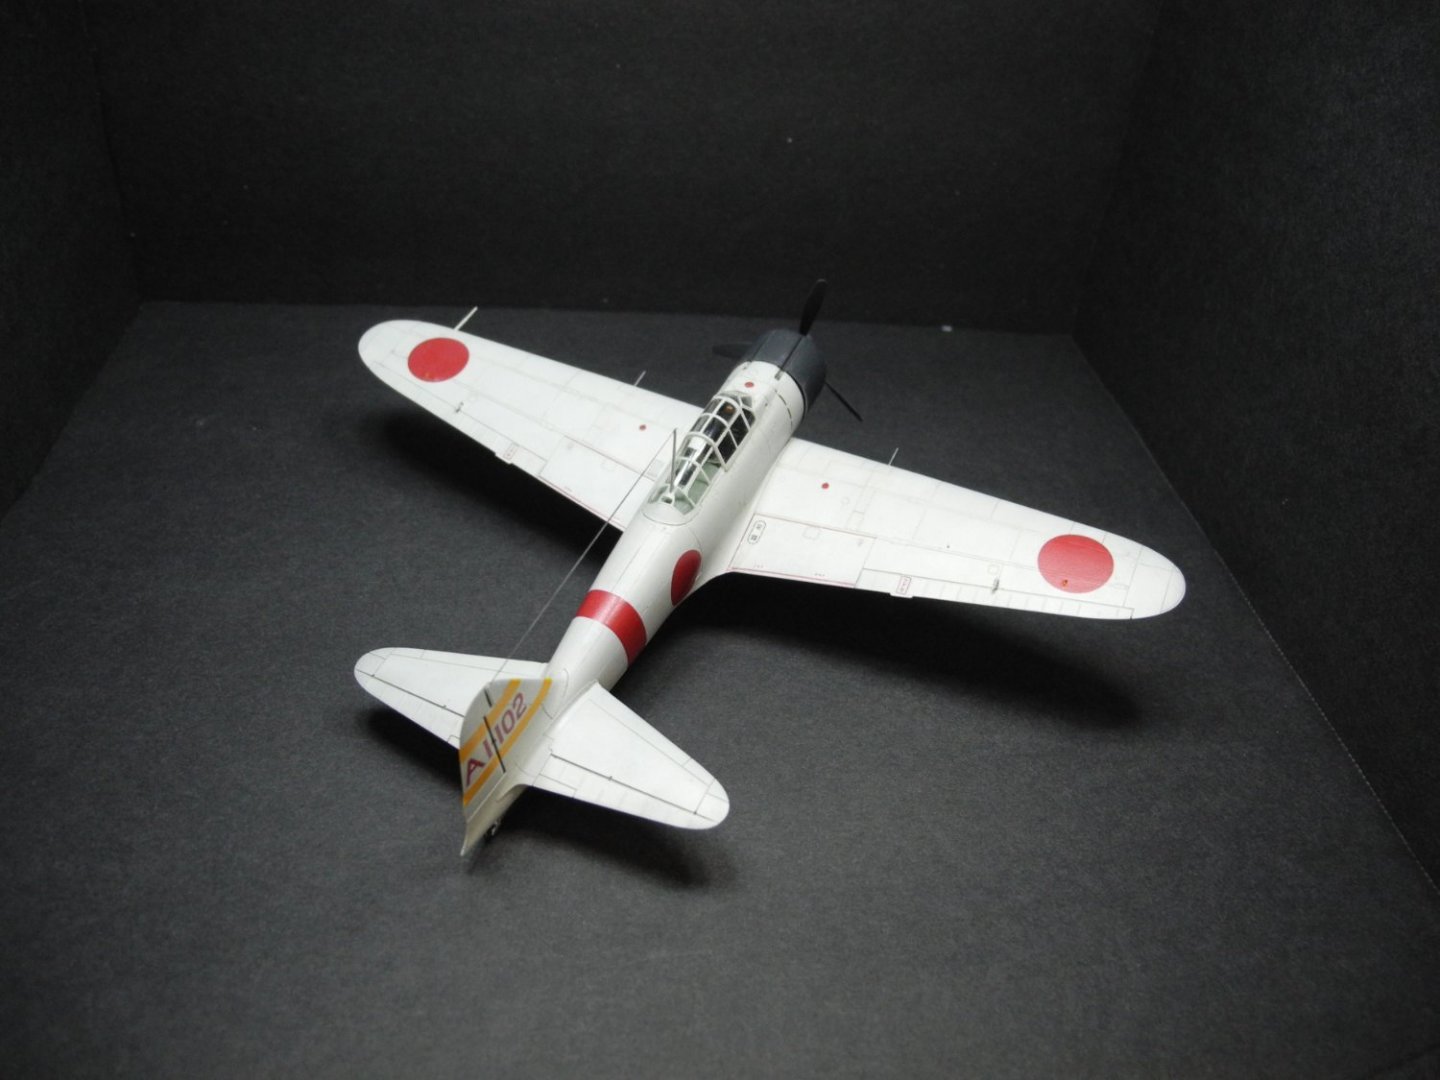
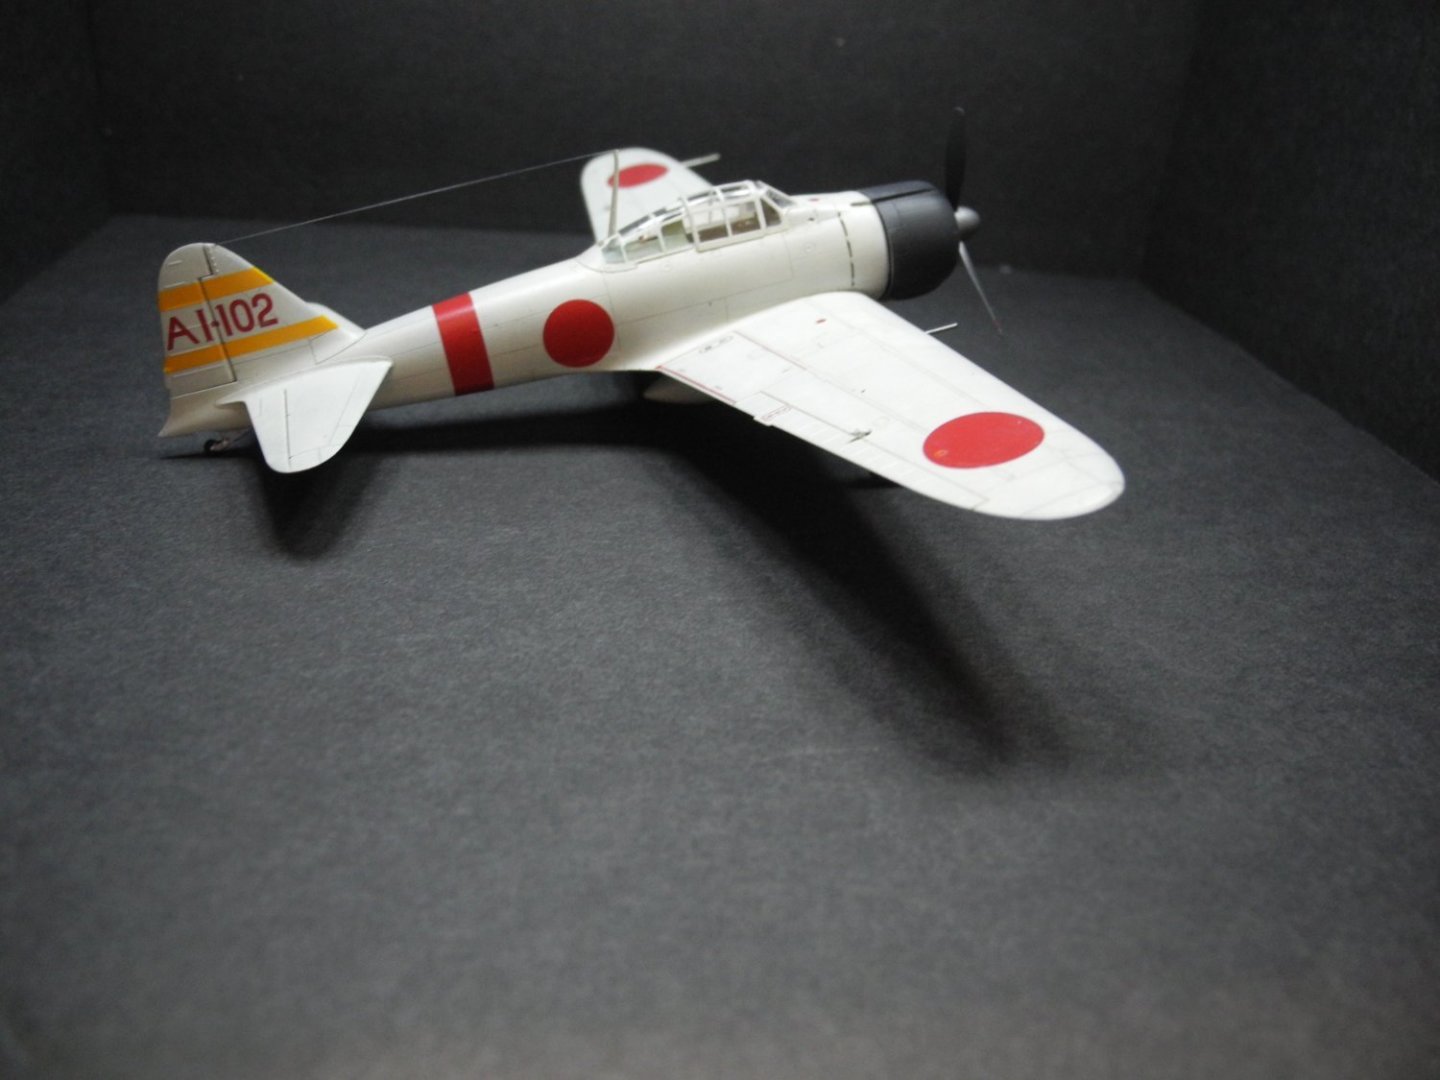
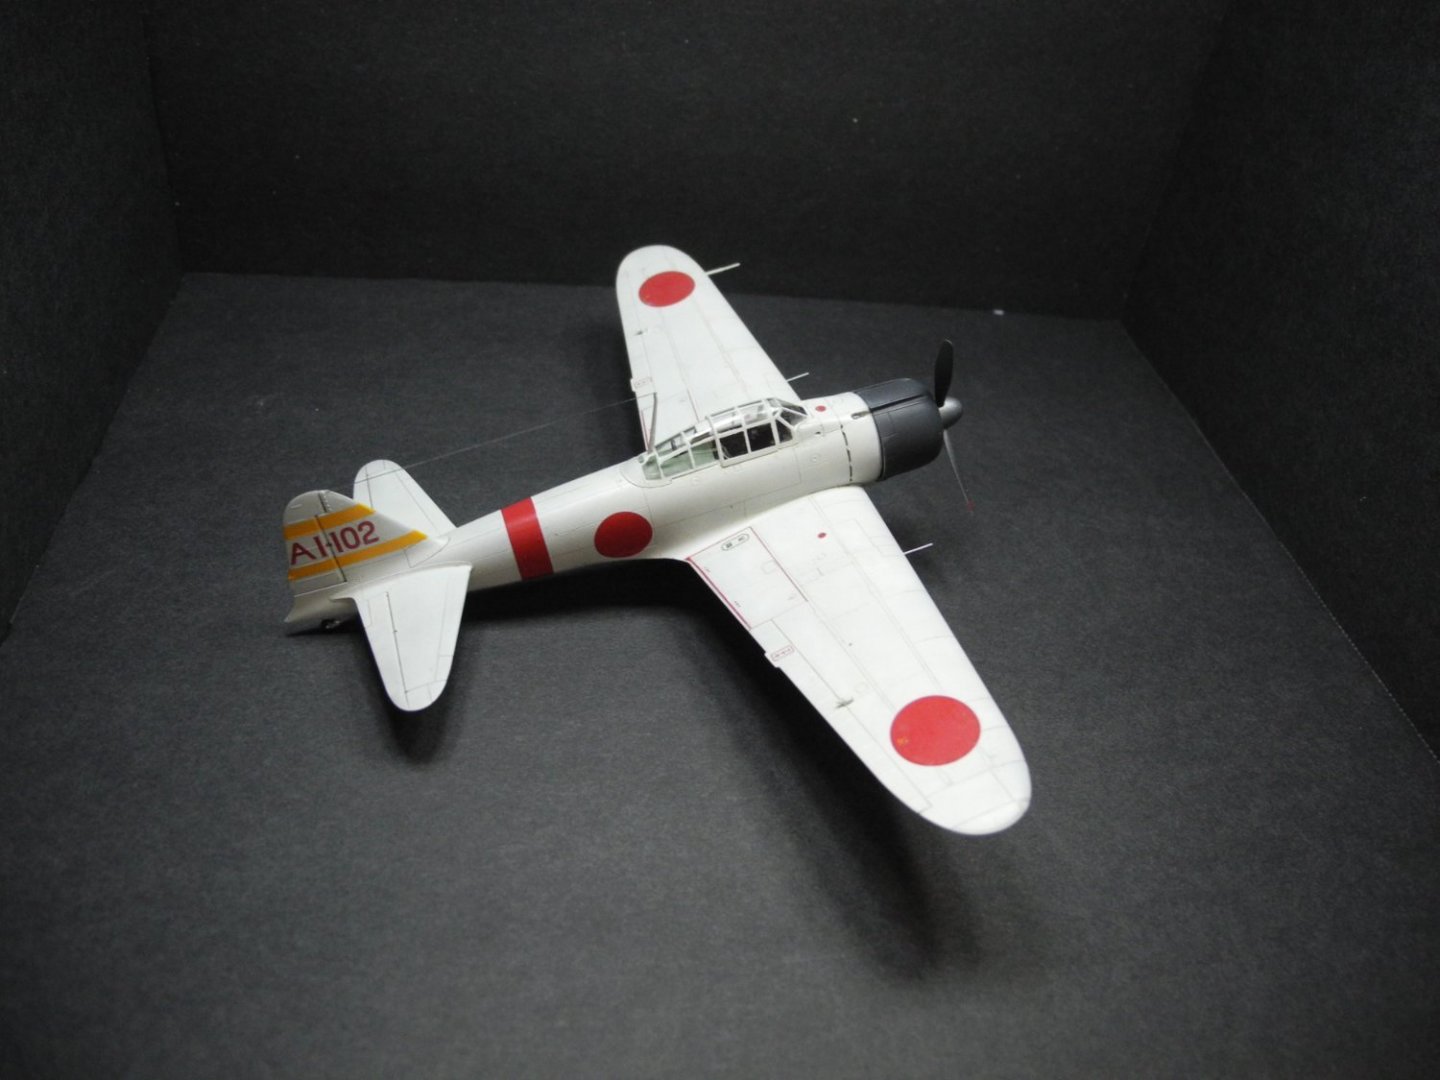
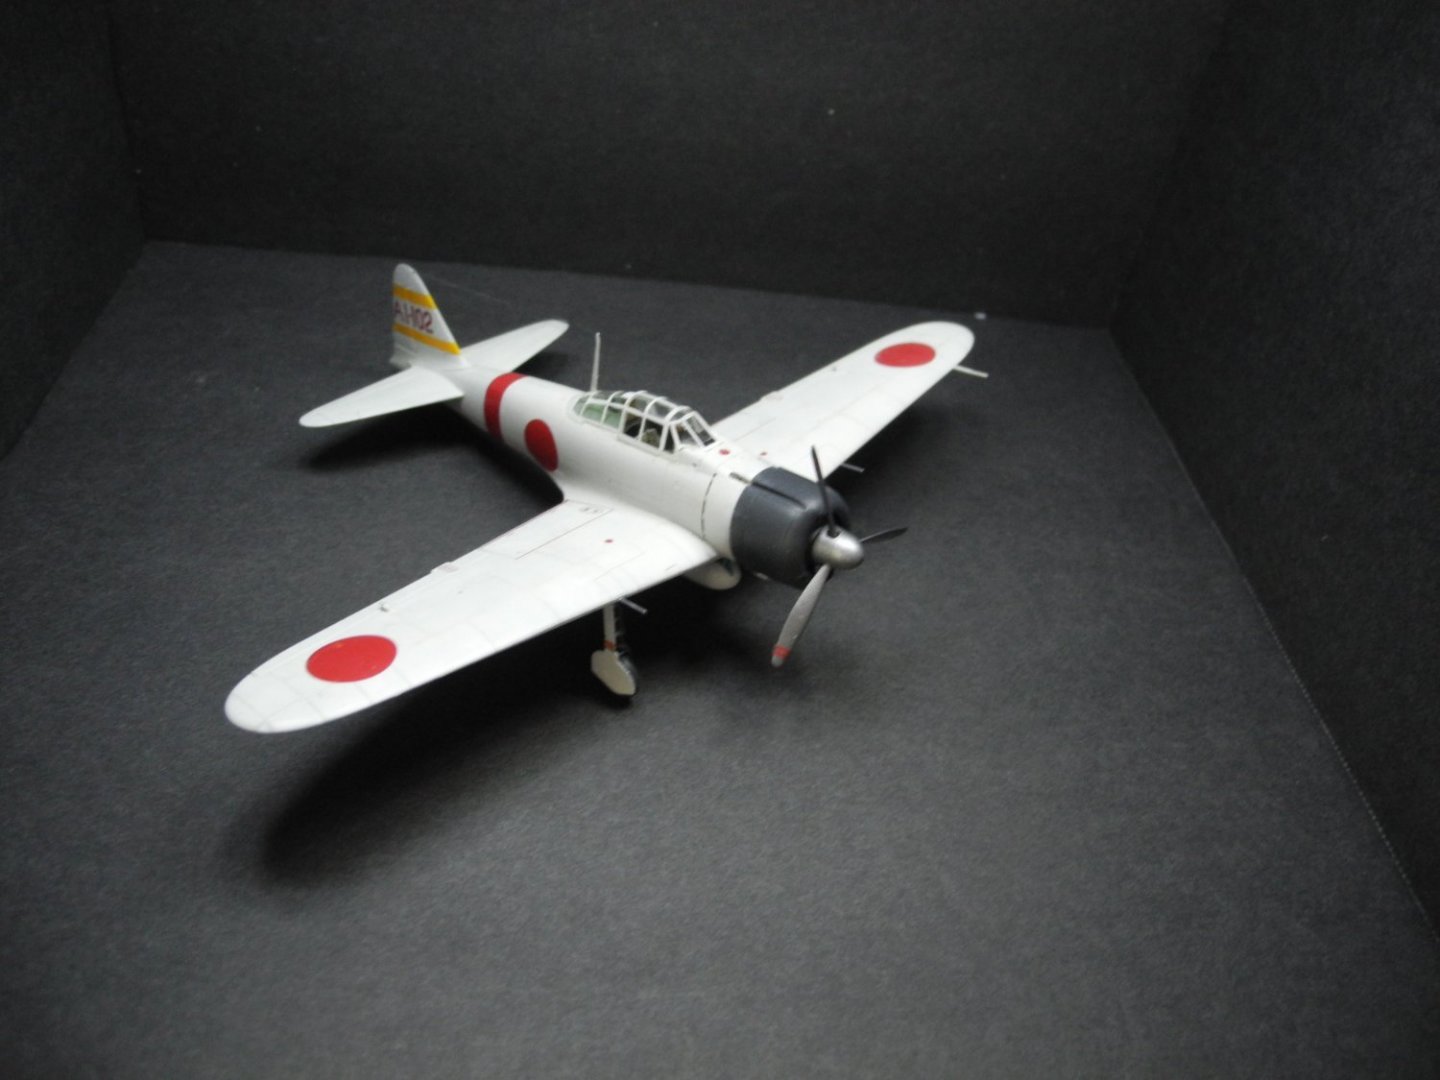
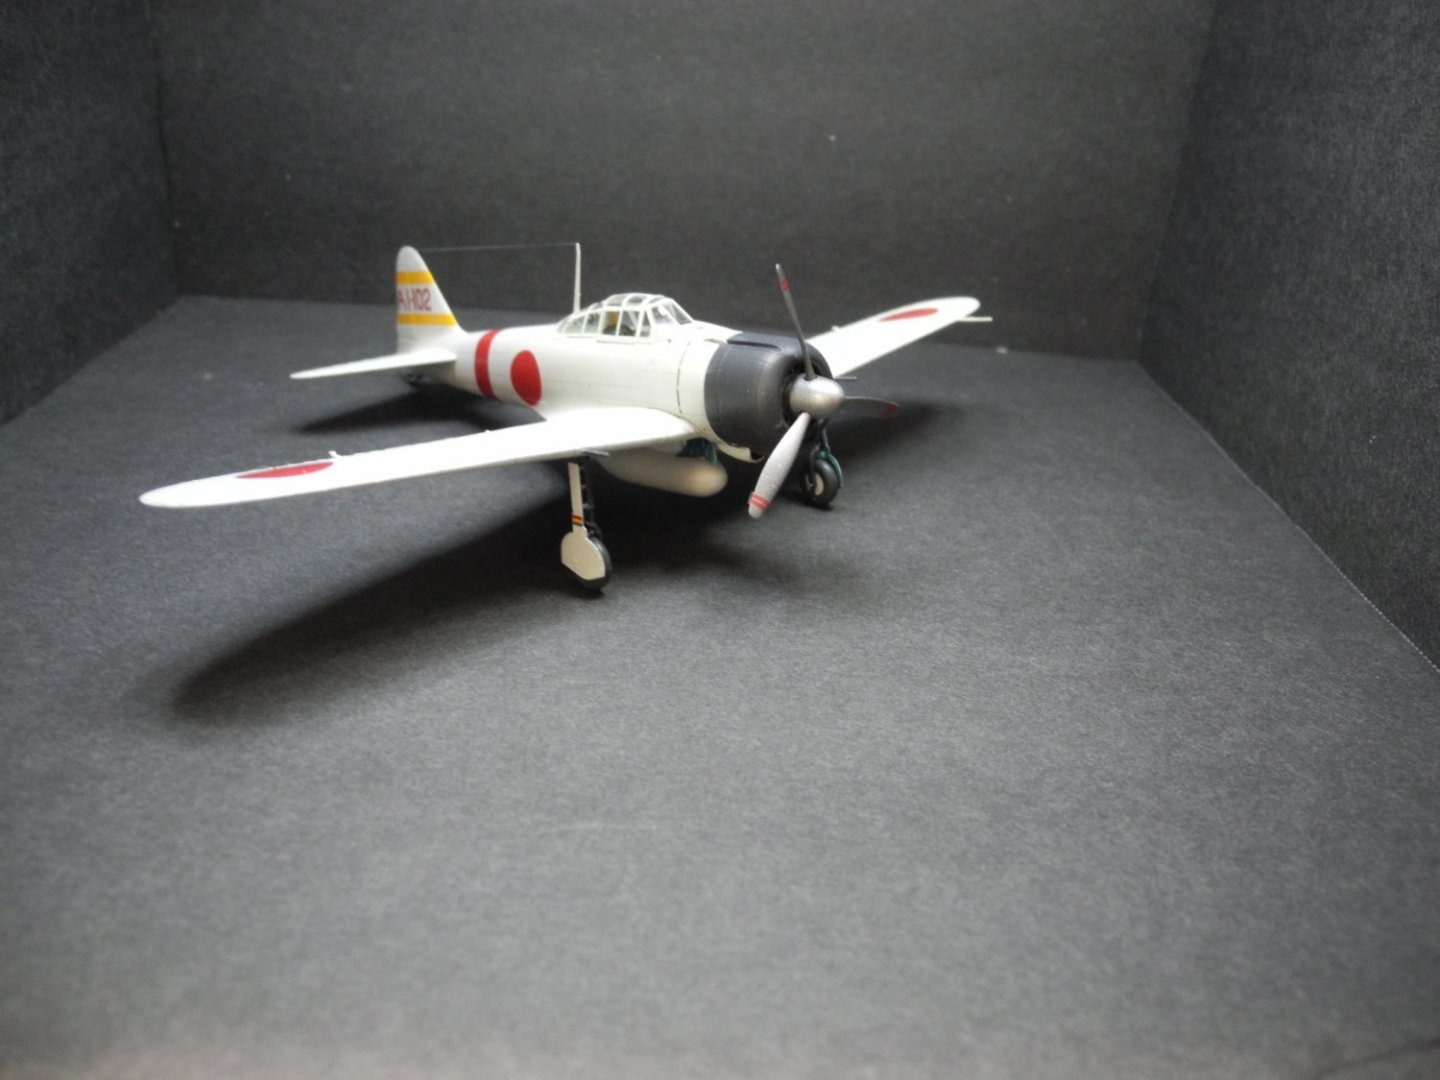
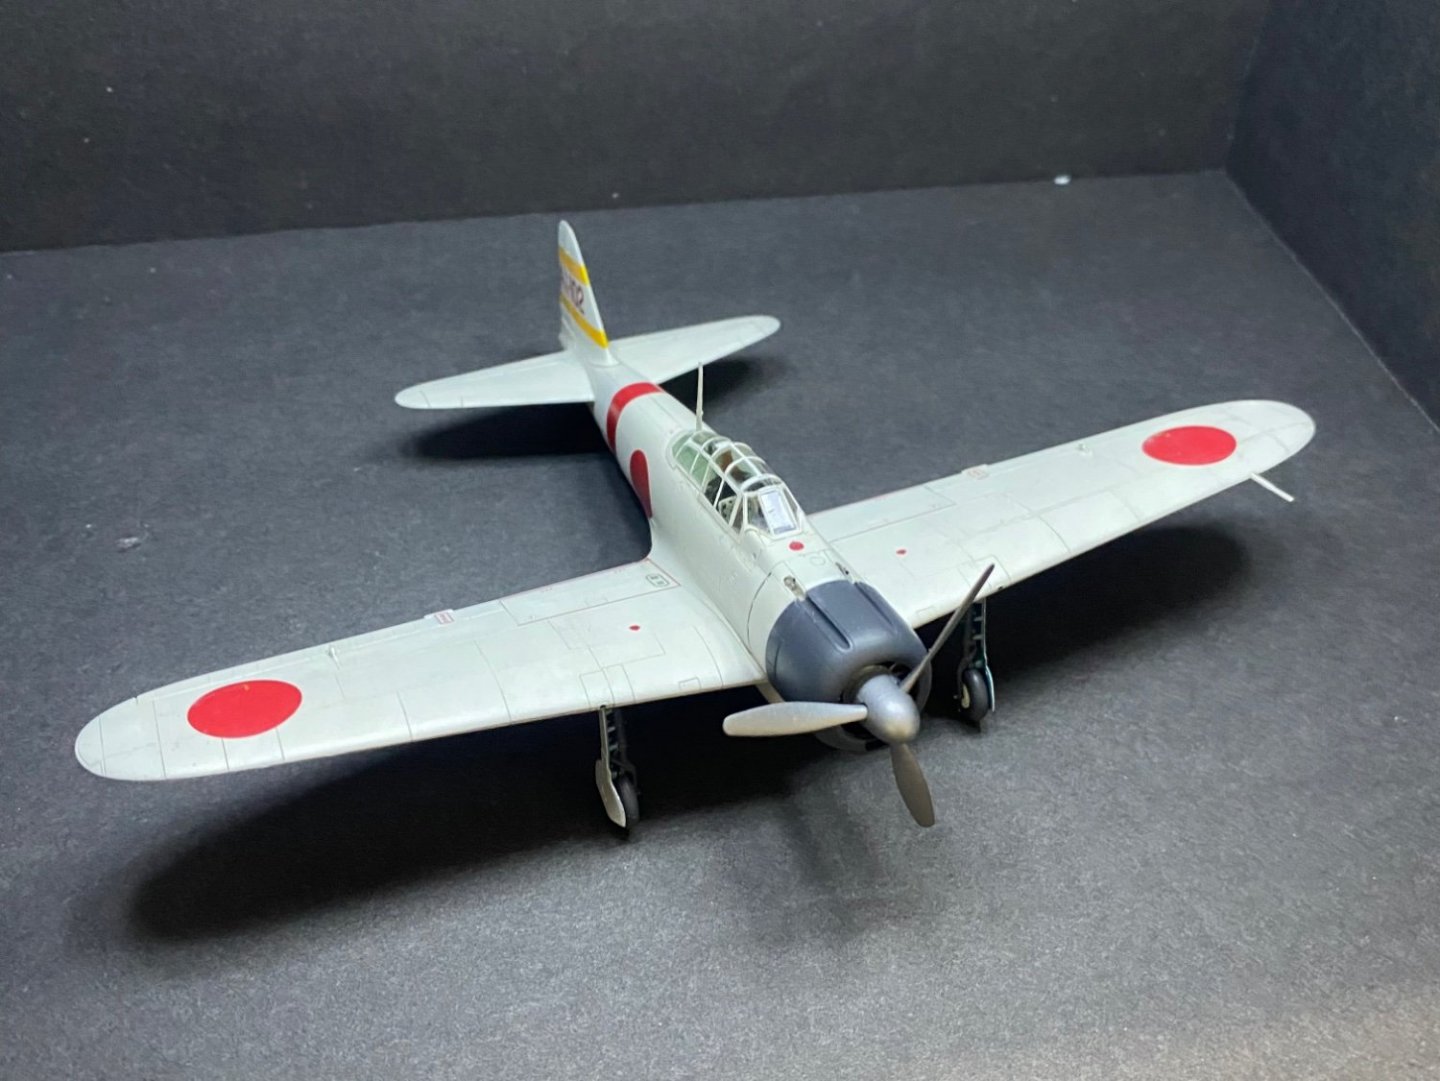
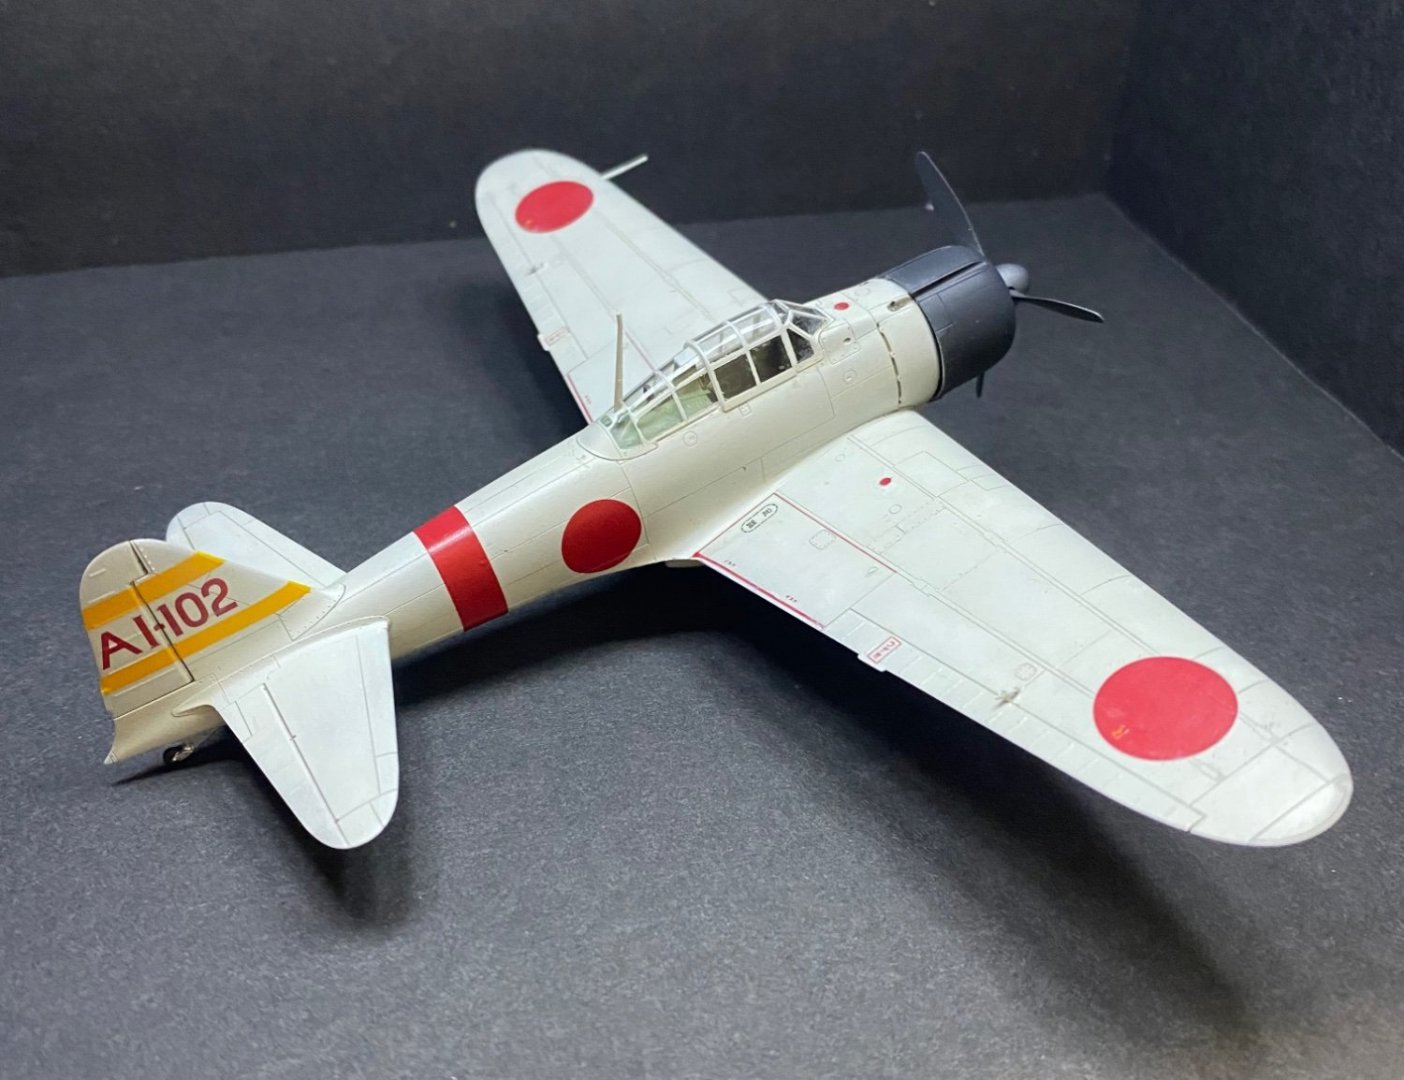
Mitsubishi A6M2b by CDW - Tamiya - 1:72 scale - Finished
CDW replied to CDW's topic in Non-ship/categorised builds
Final photos - done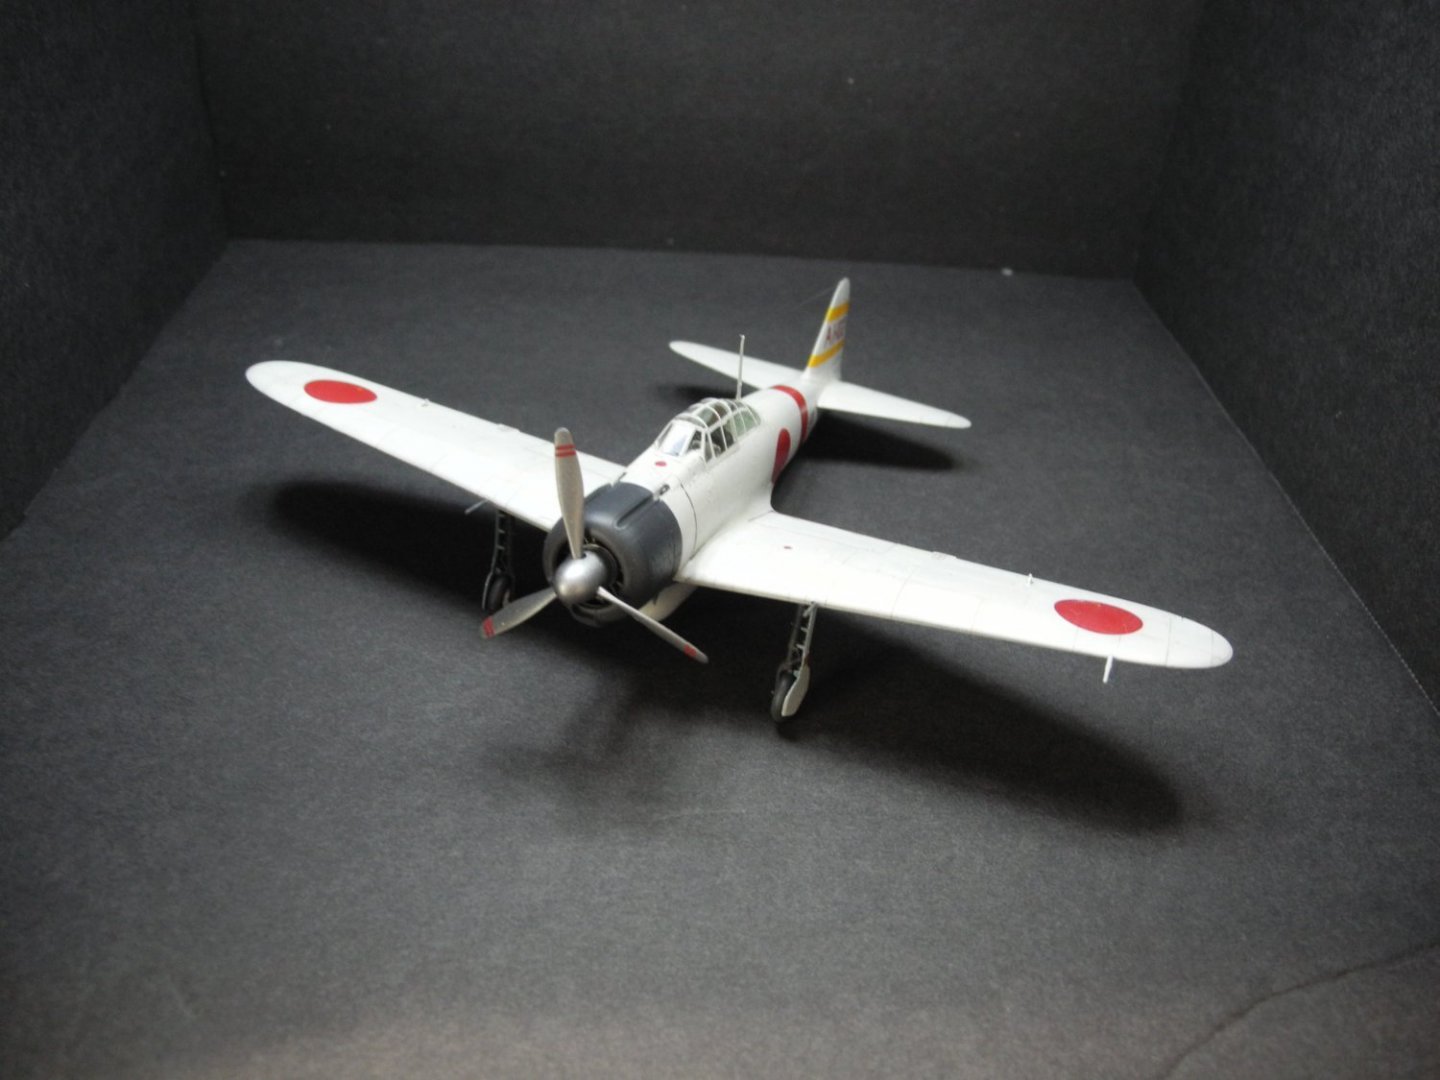
- 66 replies
-
- 17
-
-

-
Mitsubishi A6M2b by CDW - Tamiya - 1:72 scale - Finished
CDW replied to CDW's topic in Non-ship/categorised builds
Thanks for the comment. If I got the colors right, it was by accident because a PTO, Japanese aircraft, and color expert I am not. Not even close. I just build and paint for the sheer pleasure of doing it. Like a blind squirrel, I may find an acorn every now and then. I never realized the Japanese were doing the kamikaze thing that early in the war. -
Mitsubishi A6M2b by CDW - Tamiya - 1:72 scale - Finished
CDW replied to CDW's topic in Non-ship/categorised builds
I’ll look for a decent kit of the P-40B. The only one that comes to mind is the Academy kit but there is maybe a Hasegawa kit -
Mitsubishi A6M2b by CDW - Tamiya - 1:72 scale - Finished
CDW replied to CDW's topic in Non-ship/categorised builds
Closer to finish now, just some few more details to add and will be done.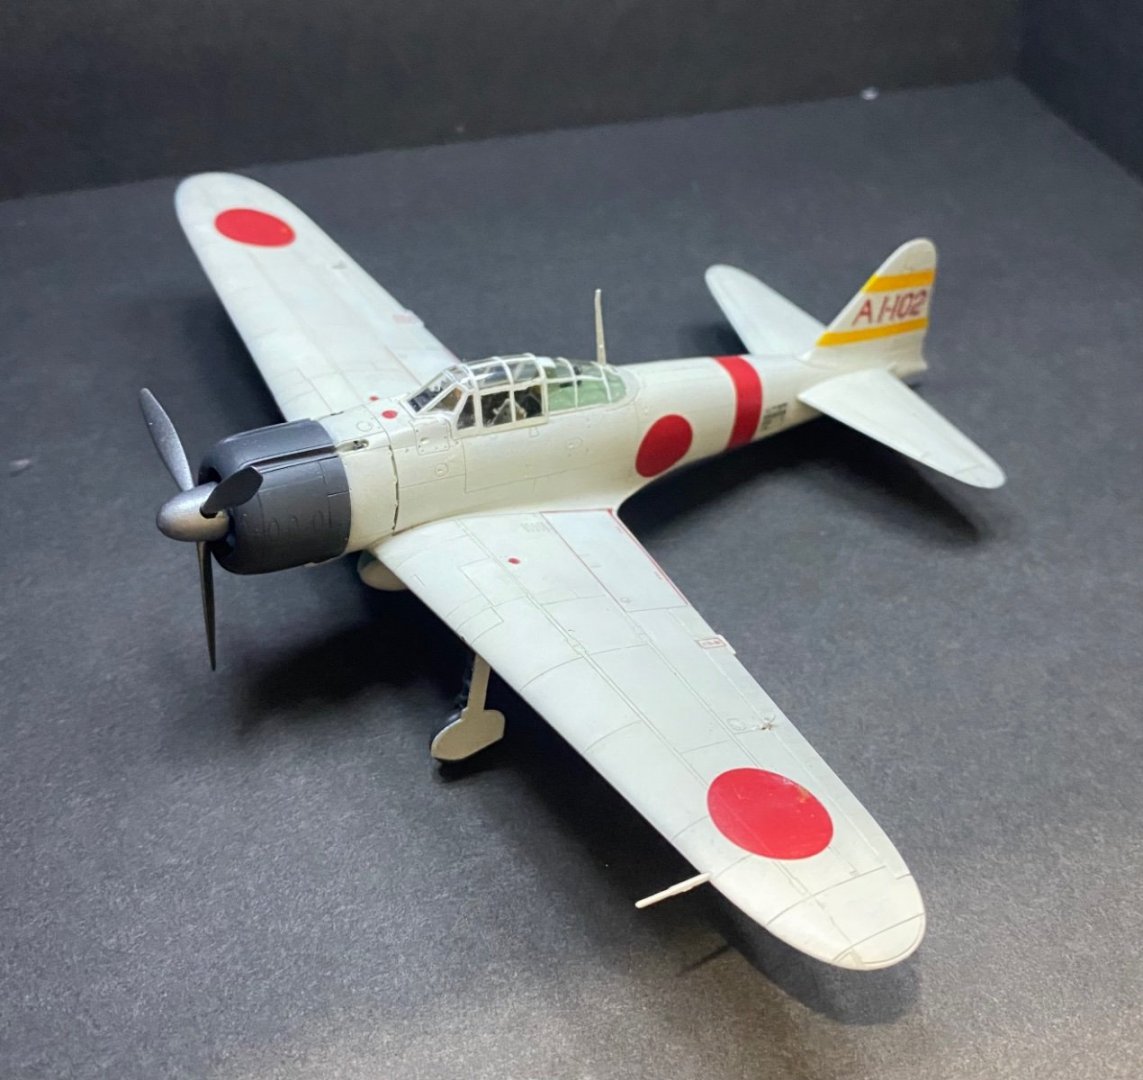

- 66 replies
-
- 12
-
-
-
Mitsubishi A6M2b by CDW - Tamiya - 1:72 scale - Finished
CDW replied to CDW's topic in Non-ship/categorised builds
Vallejo black-gray -
Mitsubishi A6M2b by CDW - Tamiya - 1:72 scale - Finished
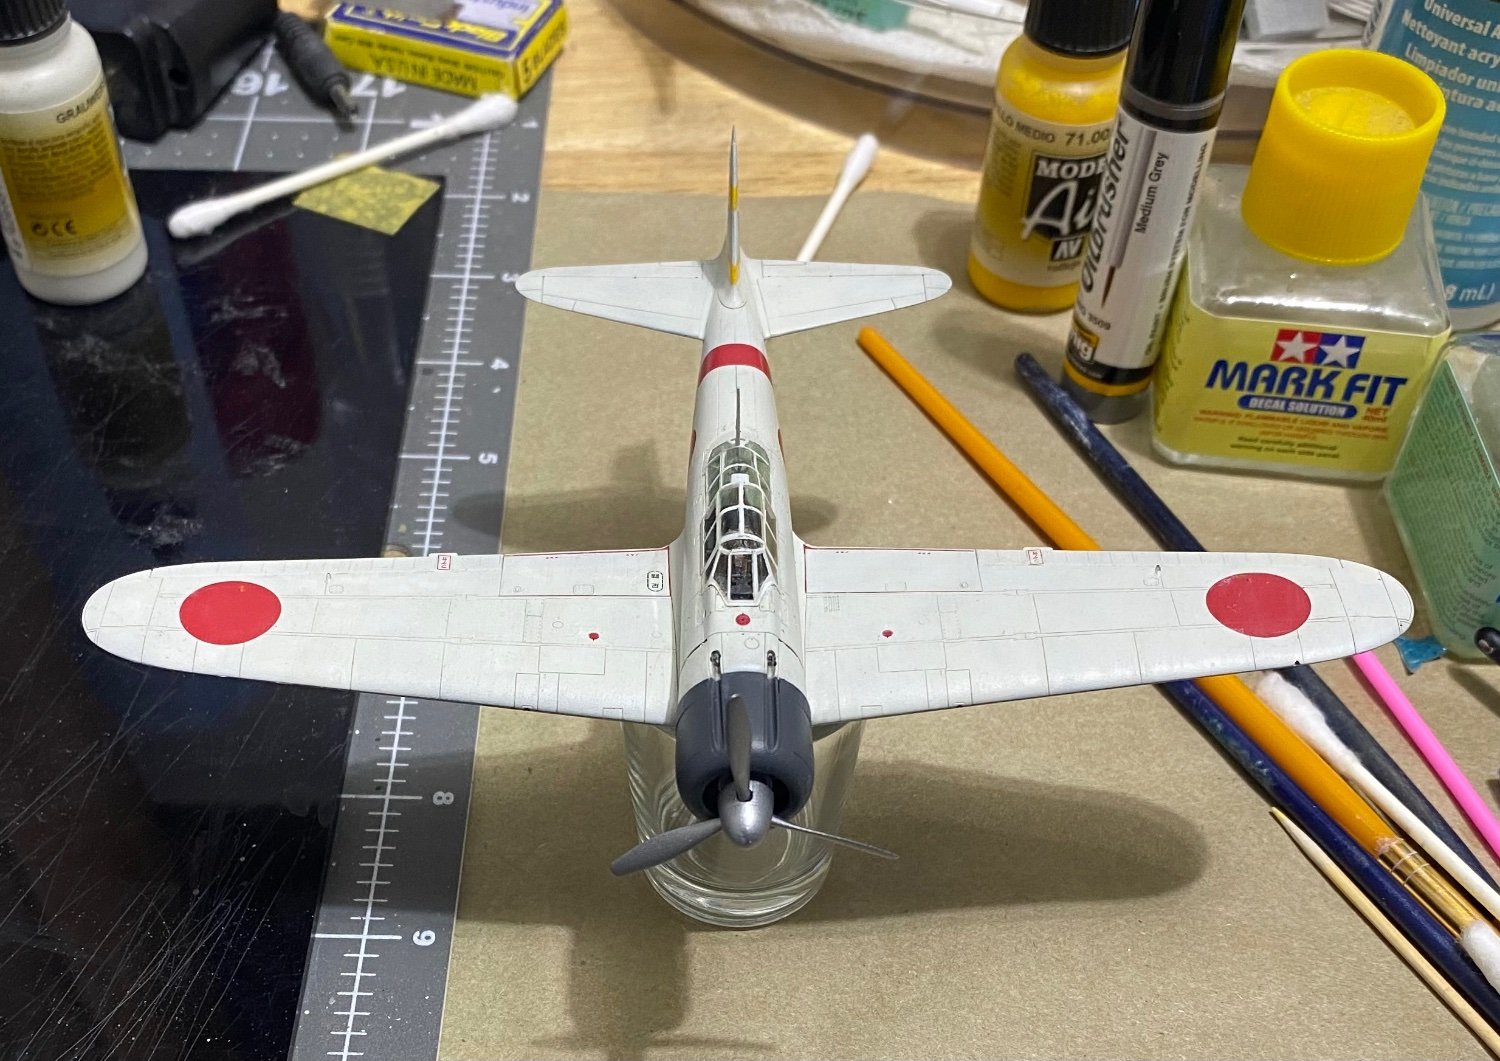
CDW replied to CDW's topic in Non-ship/categorised builds
Topside is done. Fuel tank sticks out like a sore thumb as it hasn’t yet received a treatment similar to the rest of the model.

- 66 replies
-
- 11
-
-
Mitsubishi A6M2b by CDW - Tamiya - 1:72 scale - Finished
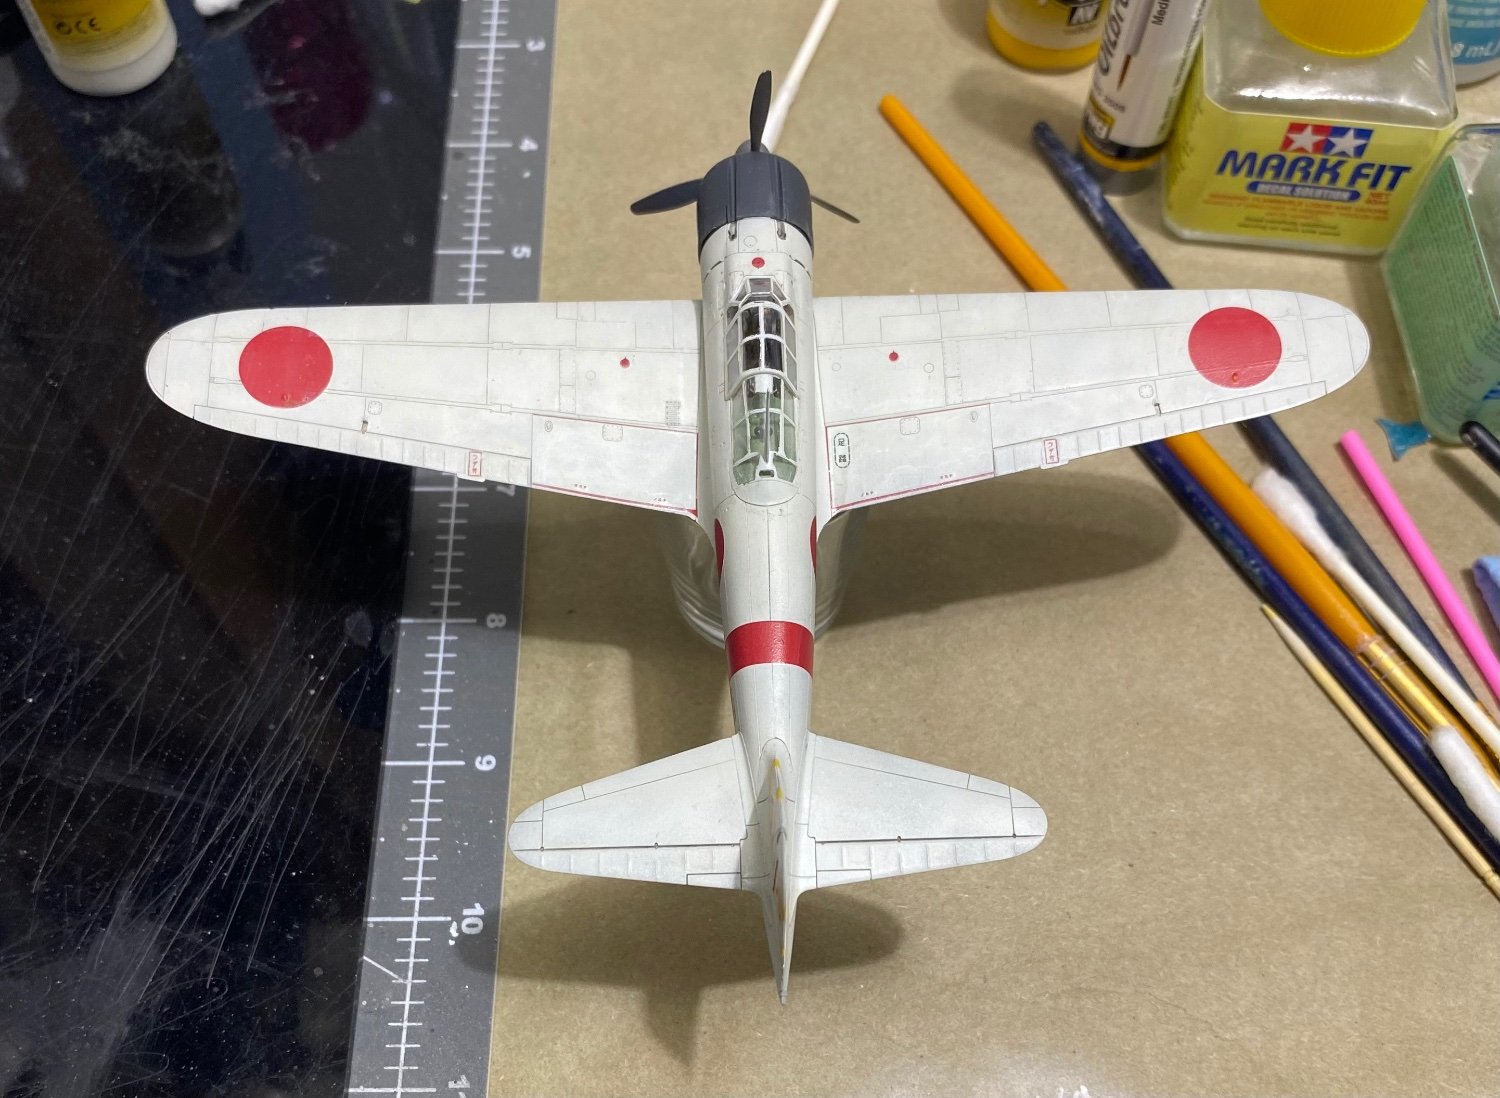
CDW replied to CDW's topic in Non-ship/categorised builds
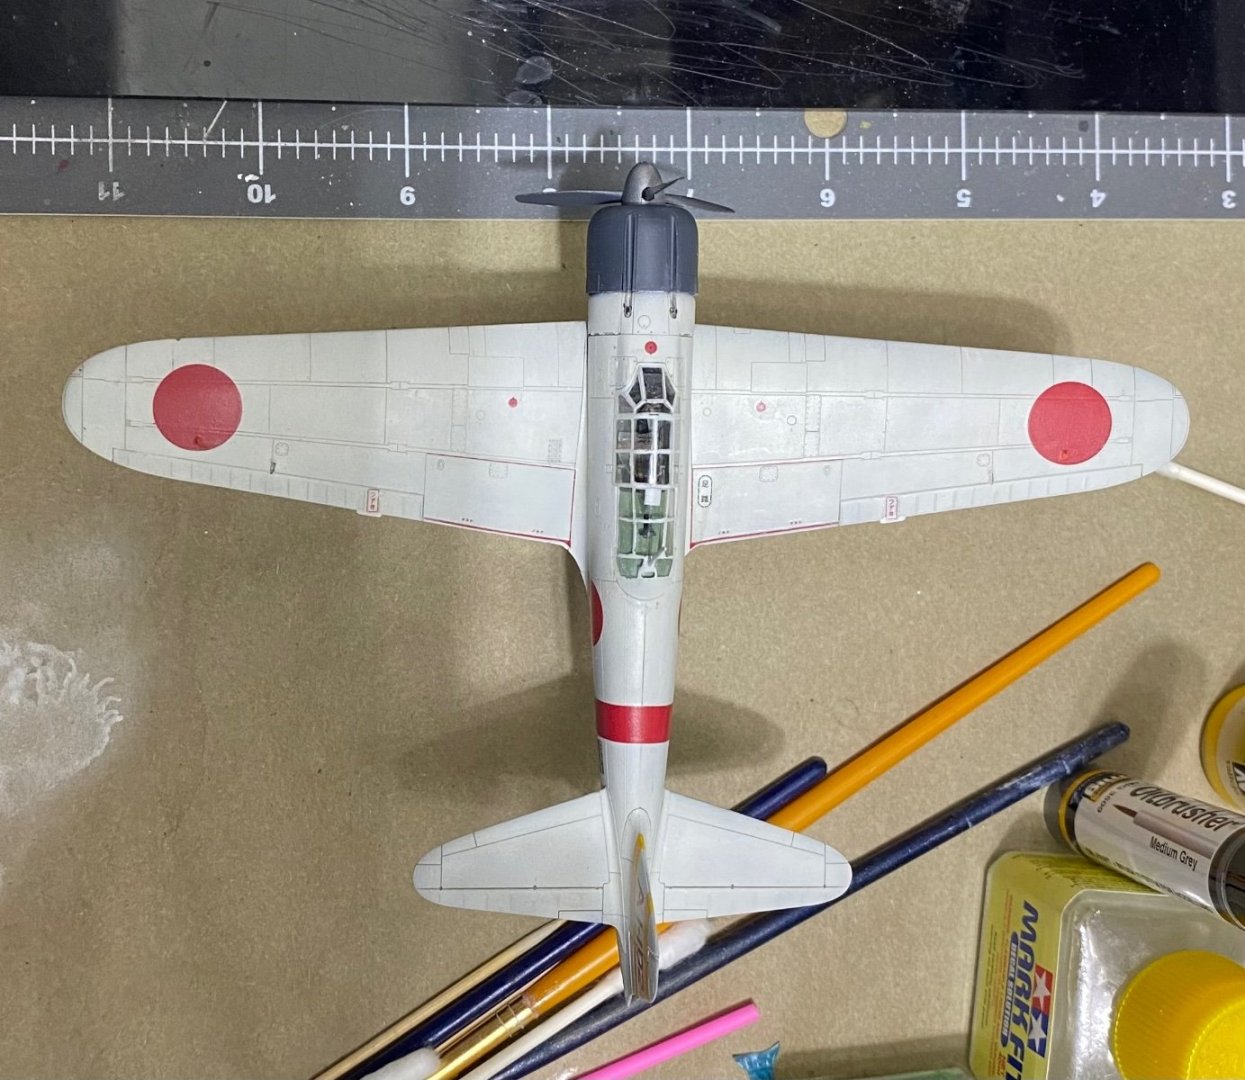
Here are the subtle panel accents done with white oil paint, applied highly diluted with white spirits. It tends to set off the panel lines a bit I think.
-
Mitsubishi A6M2b by CDW - Tamiya - 1:72 scale - Finished
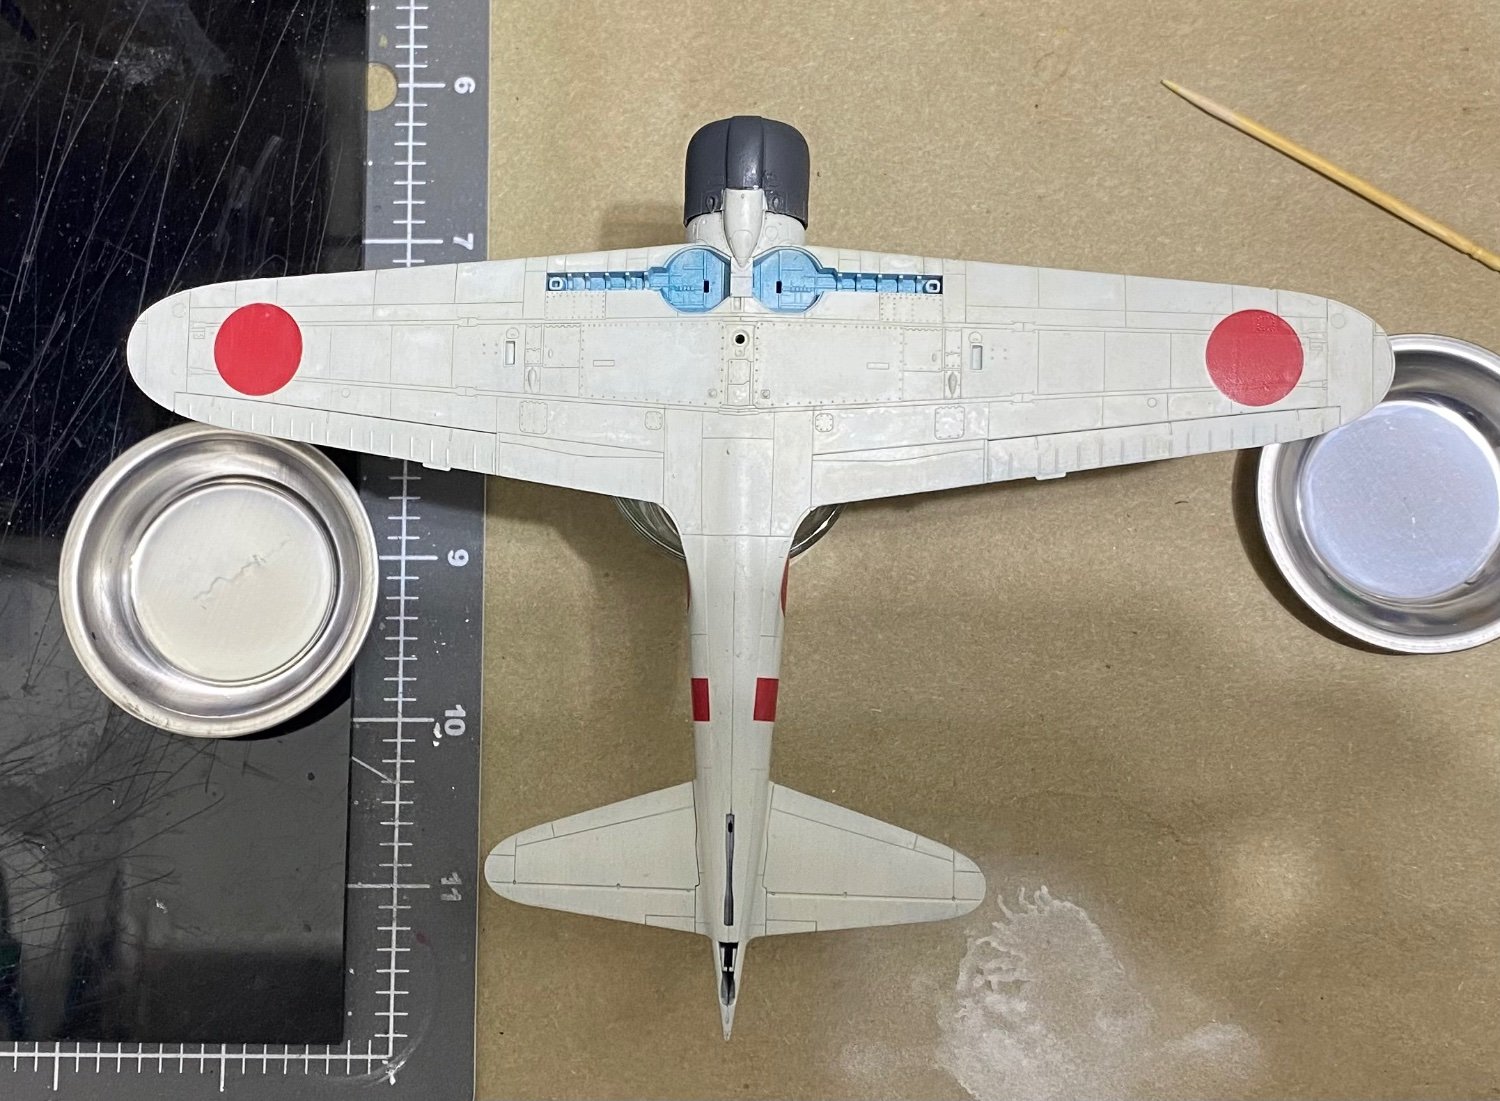
CDW replied to CDW's topic in Non-ship/categorised builds
Here’s the finished panel line accent on the lower side. The idea here is to keep it subtle. Not too much, less is more. Will work the upper side then the panels after it dries. Oil takes a little longer to dry.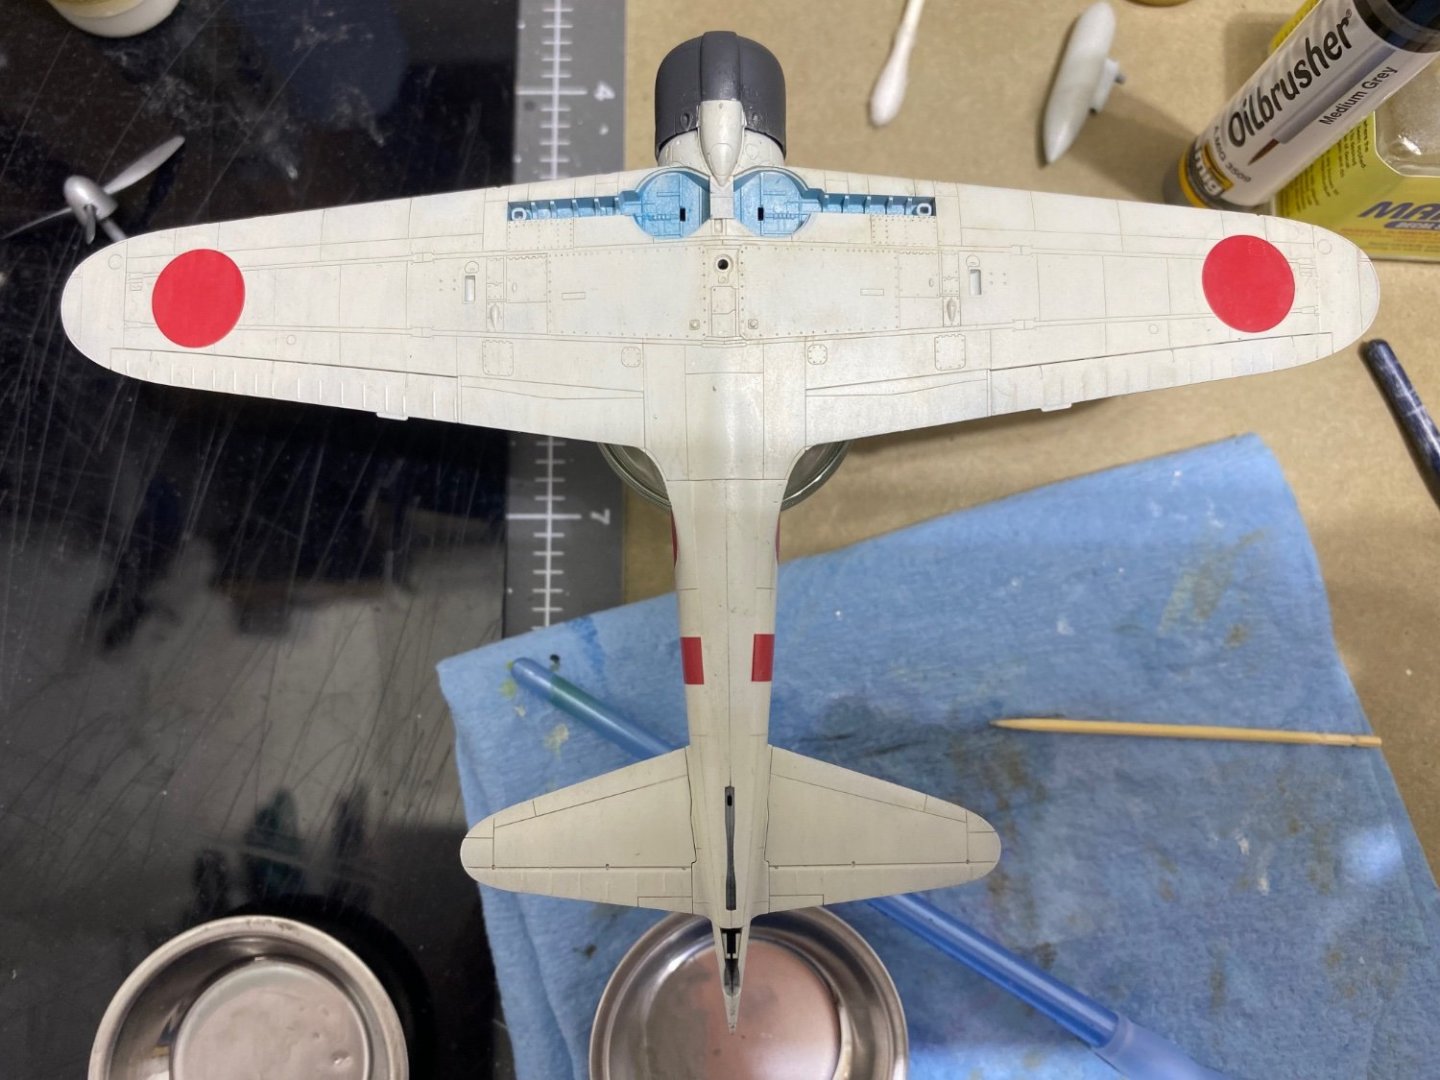
-
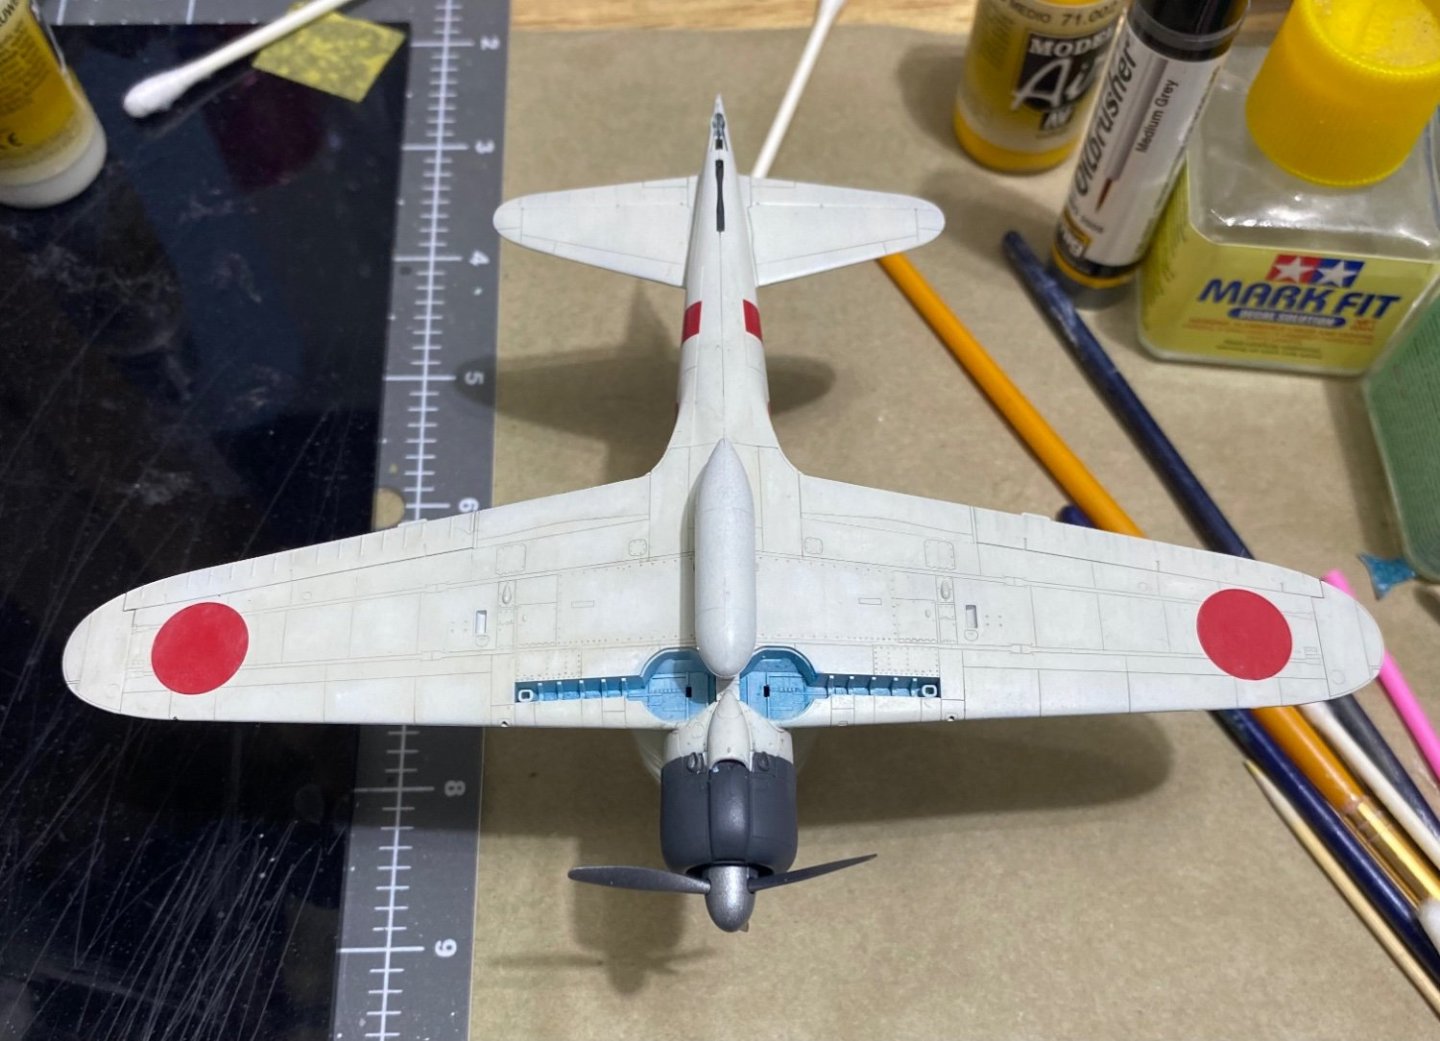
Mitsubishi A6M2b by CDW - Tamiya - 1:72 scale - Finished
CDW replied to CDW's topic in Non-ship/categorised builds
On the right, an application of a medium gray oil wash was applied to accent the panel lines. This will be done on both the lower and upper surfaces of the aircraft, followed by individual panel highlights before a mat varnish over everything.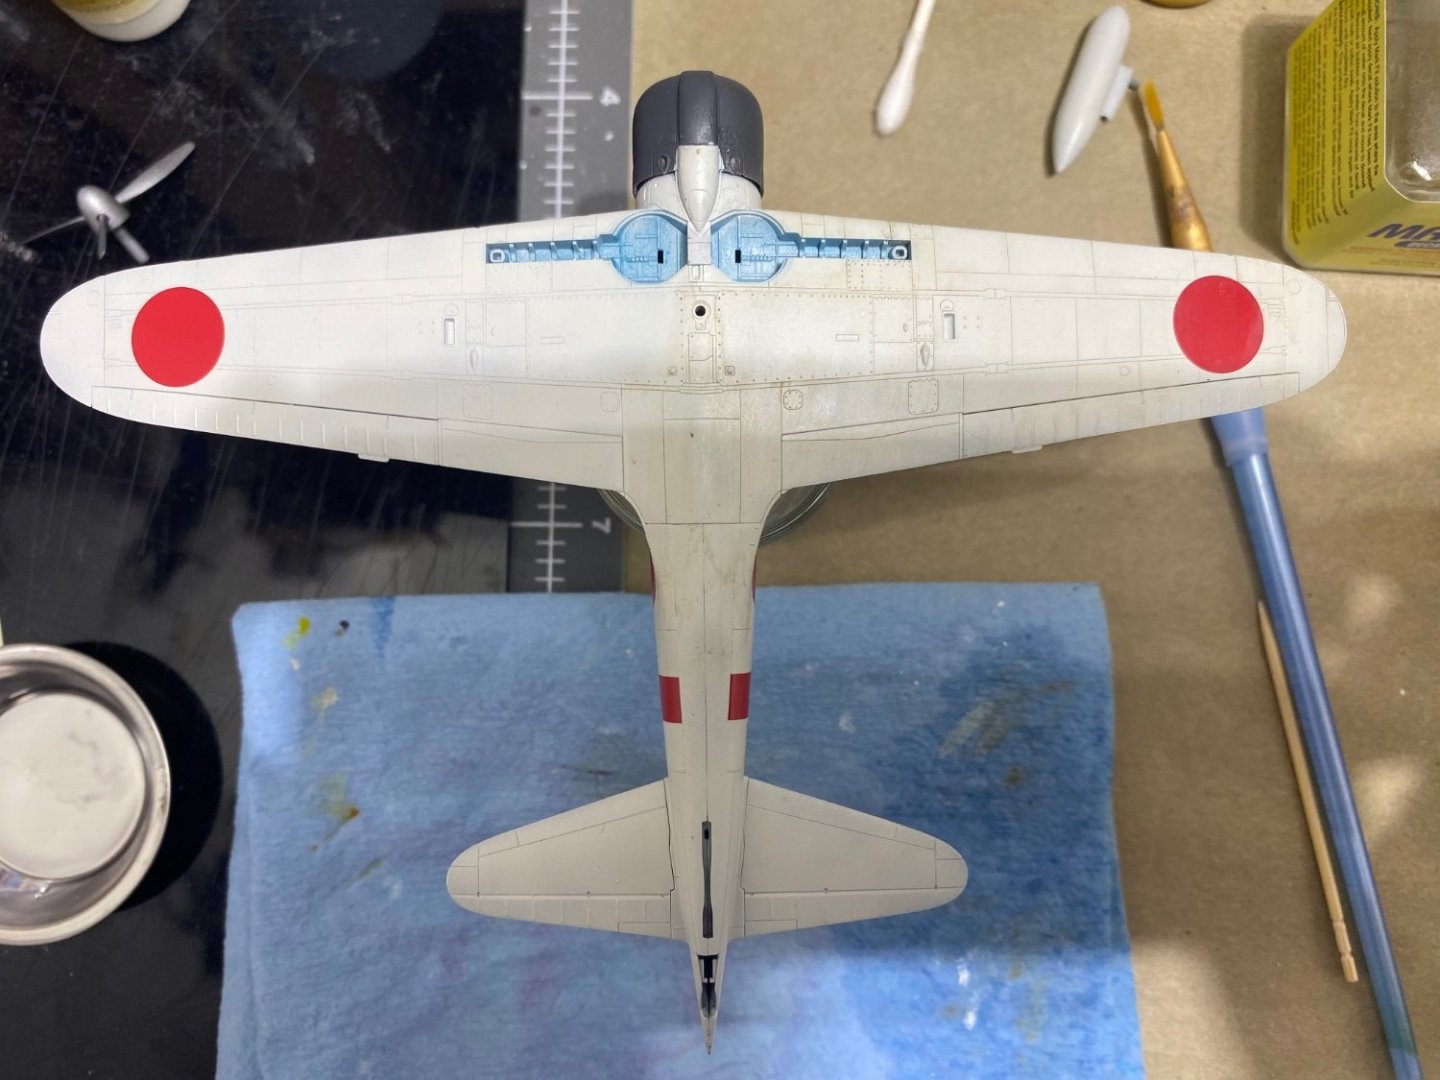
- 66 replies
-
- 10
-
-
Mitsubishi A6M2b by CDW - Tamiya - 1:72 scale - Finished
CDW replied to CDW's topic in Non-ship/categorised builds
Thanks Chris. 1:72 scale has come a long way in the past few years. Much more practical for shelf space. Even 1:144 scale is awesome now. Have a few large modern bombers to do in 1:144 scale, soon. -
I bought and use them. Similar to Vallejo, but I prefer their pigments. More finely ground. Uses the same thinner as Vallejo paints and I use a little to reduce them before putting them through my airbrush.