JeffT
-
Posts
2,476 -
Joined
-
Last visited
Content Type
Profiles
Forums
Gallery
Events
Everything posted by JeffT
-
 Congrats and well done!
 -
The ship is looking good. Nice to see you have some outdoor space to work in.
-
Thanks for the tips. I imagine I may need a thinner diameter thread also.
-
wow. the kit blocks look huge.
-
Thanks Jay. There is a significant difference in the appearance of the blocks in your picture. I'm getting ready to rig my carronades and thought the blocks in the kit looked a little big.
-
Your Conny looks excellent. Nice to see another log.
-
Thanks Geoff.
-
I like Occre also. I just picked up the Endeavour and it looks to be a very good kit. There is a seller in Spain that sells it for about a third of what it costs here. They don't have one listed right now but they will eventually. http://www.ebay.com/sch/texas-trains-de/m.html?item=160978862287&viewitem=&rt=nc?_trksid=p4340.l2562
-
I did my Constitution hull with copper plates. Whether I do another ship in copper is debatable. I may explore other options as I do like the look of natural wood.
-
Thanks Harvey and Greg. Thats what I was looking for.
-
I'm trying to find some sources for boxwood blocks of various sizes and can't seem to find anything besides Model Expo. I've heard of Warner Woods West but can't find any information on them. Does anyone know of sources for Warner Woods or other blocks?
-
the boats are looking good. I haven't done any of the boats yet.
-
I also want to add that there is a section on using CAD.
-
I have just finished reading this book and wanted to post my comments. First off, overall the book is excellent, probably one of the best of this type I've seen so far. Color pictures would be nice but its not really a negative for me because the pictures are excellent. The first thing that struck me as I was reading was I felt as if the author was treating me like I knew nothing about scratch building. That's perfect! The detailed explanations for crafting the different parts and the extensive use of pictures to demonstrate techniques and methods of building is outstanding. The details usually also include specifying what tools to use. Thank you! That's exactly what I hope to see when I open one of these books. There is even a section on making some home made tools like clamps and files. The included plans are excellent also. I was surprised at how large of a model the Naiad is at 1/60 scale. The book also includes a CD with templates. There is a lot of bang for the buck. My opinion is that you can use the techniques described in the book to build any model. I highly recommend that you add it to your library.
-
nice work on the stern! Its the first time I've seen that done with this kit.
-
I have the book also. I'm considering a build but its a toss up between a couple of others also. You could be the first
-
I'm building the Model Shipways version of the Constitution. I'm curious to see the differences so I will be watching your build.
-
looking good! are you planning to leave two sections open? Forward and aft?
-
I have this model also. My wife is from South Korea and wants me to build it. Its also available here: http://www.ebay.com/itm/220435859097?ssPageName=STRK:MEWAX:IT&_trksid=p3984.m1438.l2649
-
Byrnes table saw accessories
JeffT replied to Neill's topic in Modeling tools and Workshop Equipment
Thanks. -
Byrnes table saw accessories
JeffT replied to Neill's topic in Modeling tools and Workshop Equipment
Can that be demonstrated? I can't visualize how to do that. -
I have no experience with Proxxon but I have a Dewalt which I find to be an excellent saw. Previously I had a Craftsman and the difference between the two is very noticeable to me.
-
Looks like you're doing pretty well on your build Bob. I don't mind questions at all.
-
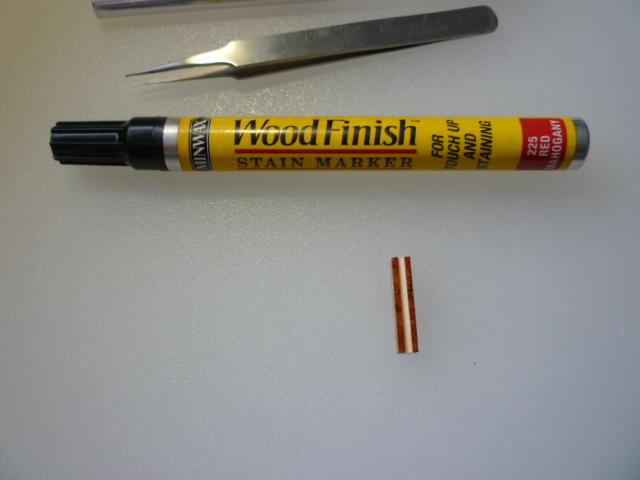
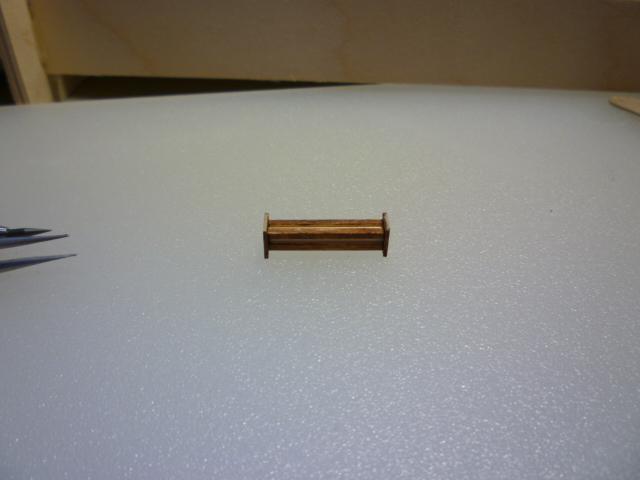
Thanks Sarah. The stain pens are handy, no muss, no fuss. The brass nails I used have a rounded head, so all I had to do was cut the head off and glue it on.
-
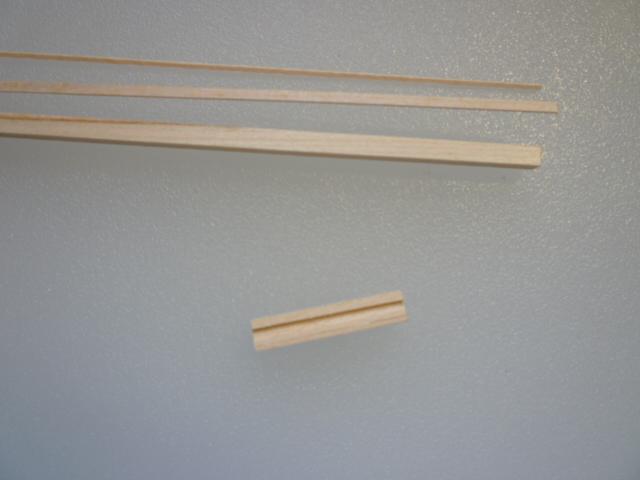
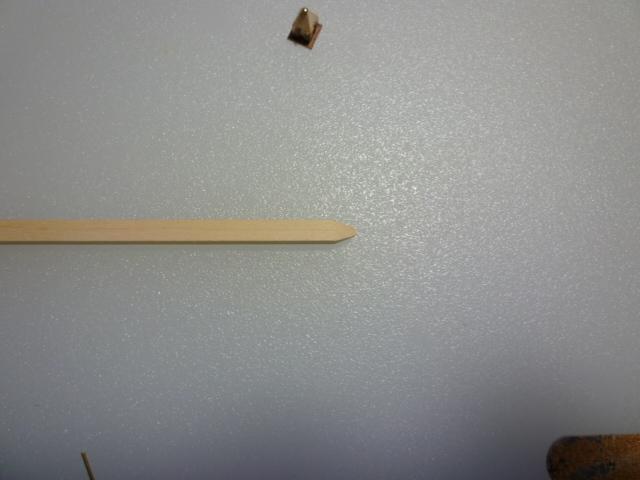
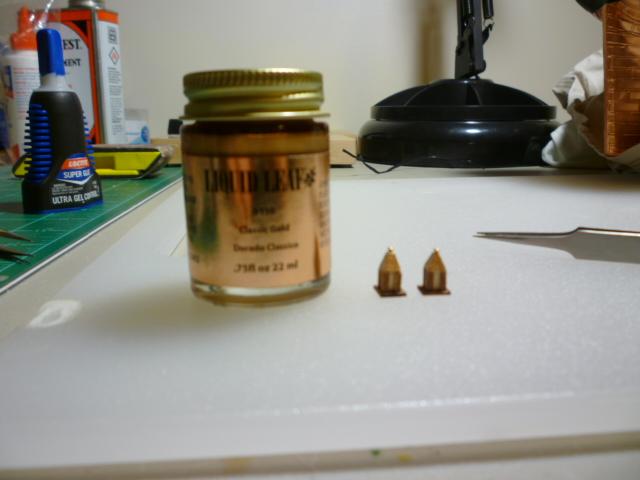
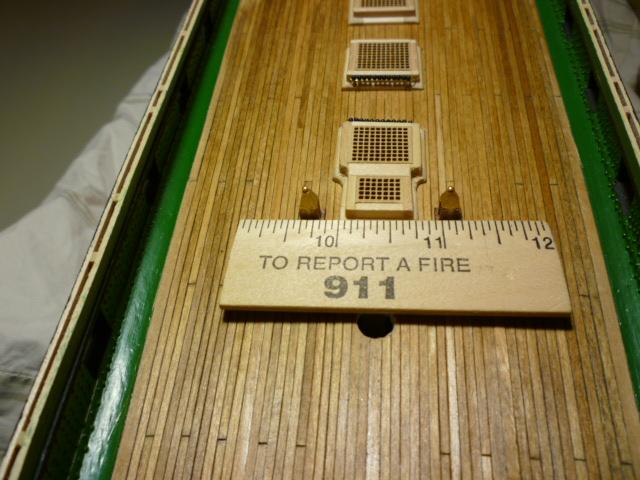
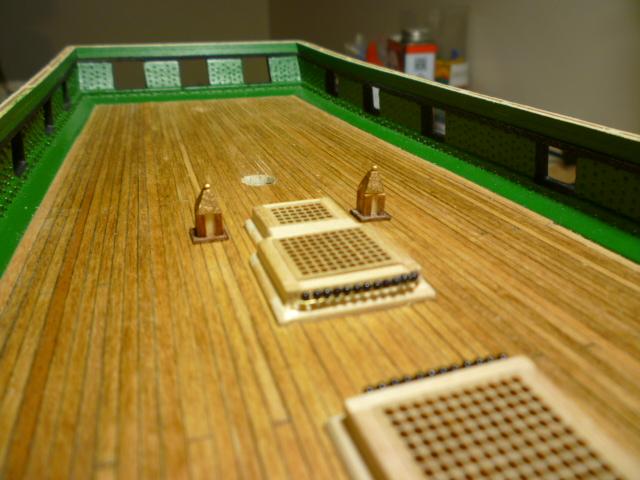
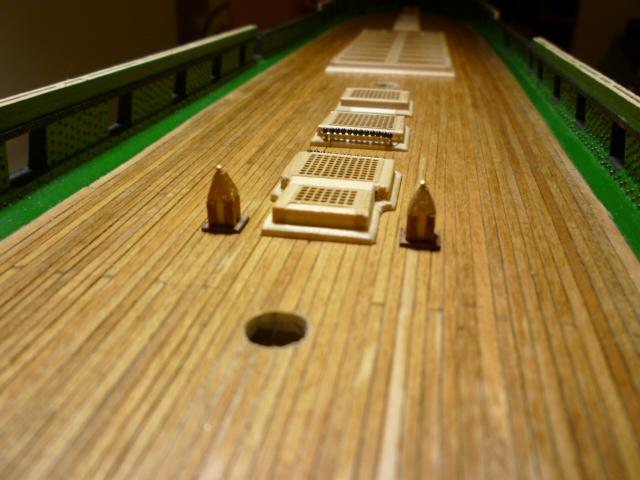
Thanks Jay. I've just finished the binnacles and the next step is the ships wheel. I think I will skip that for the time being while I figure out what method to use in building it. I'll move on to the capstan instead. The following pictures show how the binnacles were made. The first thing I did was glue some strips of wood together to form the basic shape of the binnacle. The practicum method suggests to cut the pieces to size but I found it way to difficult to work with such small pieces. So I cut the pieces to a longer length and worked from there as the following picture shows. The plans suggest that the corner pieces of the binnacles were made of mahogany. I don't have any so I used a stain pen to color the wood. I cut some 1/4 inch square pieces for the base and glued them on. Then it was just a matter of cutting the two pieces out to size. Making the top per the practicum was not optimal in my opinion. It had you constructing the pyramid shape from multiple pieces. I chose an easier way by using the Byrnes sander to create a little pyramid on the end of a 5/32 square dowel. I cut it off and glued it to the top of the first piece. The picture shows the dowel and a completed piece. To make the lantern on top I just used the head of a brass nail. For the color of the top piece I deviated from the practicum again. Instead of gluing a piece of gold leaf on each side of the top, I just used gold leaf paint that I got at Michaels. Much easier. After that it was just a matter of gluing them on to the deck. You may also notice the shot racks on the gratings. I left the brass wire unpainted since i like the way it looks. Another view and one more