-
Posts
2,276 -
Joined
-
Last visited
-
 Sterling59 reacted to a post in a topic:
Brass Blackening Building Time Survey
-
 Nirvana reacted to a post in a topic:
Bluenose by Nirvana - Model Shipways - Scale 1:64
-
 robert952 reacted to a post in a topic:
Friendship Sloop by gsdpic - FINISHED - BlueJacket Shipcrafters - 1:12
-
 robert952 reacted to a post in a topic:
Friendship Sloop by gsdpic - FINISHED - BlueJacket Shipcrafters - 1:12
-
 Carleroo reacted to a post in a topic:
Preparing kit sails
-
 Zarkon reacted to a post in a topic:
Jabeque Cazador by mikiek - OcCre - 1:60
-
 Zarkon reacted to a post in a topic:
Jabeque Cazador by mikiek - OcCre - 1:60
-
 GrandpaPhil reacted to a post in a topic:
Jabeque Cazador by mikiek - OcCre - 1:60
-
 GrandpaPhil reacted to a post in a topic:
Jabeque Cazador by mikiek - OcCre - 1:60
-
 mikiek reacted to a post in a topic:
Jabeque Cazador by mikiek - OcCre - 1:60
-
 yvesvidal reacted to a post in a topic:
Jabeque Cazador by mikiek - OcCre - 1:60
-
Mike - I am totally at a loss as to how to deal with the bulwark strips. I have temporally ditched the strip I was planking and just trying to figure things out with the other bare strip. After many dry fits I see no way for the bulwark strip to be fixed to the hull. The strip has to bend around the hull (not a big deal) but must also bend seriously horizontally to glue to the frames. The strip has broken on almost every attempt on a dry fit. Hoping you might have some suggestions on how to make this happen. I'm on the verge of dumping this kit.
-
 mikiek reacted to a post in a topic:
Gorch Fock by Mike Dowling - OcCre - 1:95
-
 mikiek reacted to a post in a topic:
Gorch Fock by Mike Dowling - OcCre - 1:95
-
Quite interesting as I am building Jabeque Cazador which appears to be similar in a lot of areas. Love your research photos!
-
Thanks Mike - my first inclination was to glue the bulwark with no planking - should have listened to my gut. I can still do that on the starboard side, but I think I have gone too far on port to try and remove the planking that I have done. And trying to soak the strip half planked seems like a recipe for disaster. One thing I noticed, while repairing the broken strip, I used a couple of bulldog clips to clamp down the broken area. I did a partial dry fit during that time (I never learn) and nothing else broke. The break always seems to happen in the same general area, so maybe that is a weak point. With the clamps in place, and no further planking I think I'll try gluing the bulwark as is with the clips around the weak spot. I appreciate your feedback!
-
 mikiek reacted to a post in a topic:
Jabeque Cazador by mikiek - OcCre - 1:60
-
 mikiek reacted to a post in a topic:
Best White Wood Glue For Ship Building
-
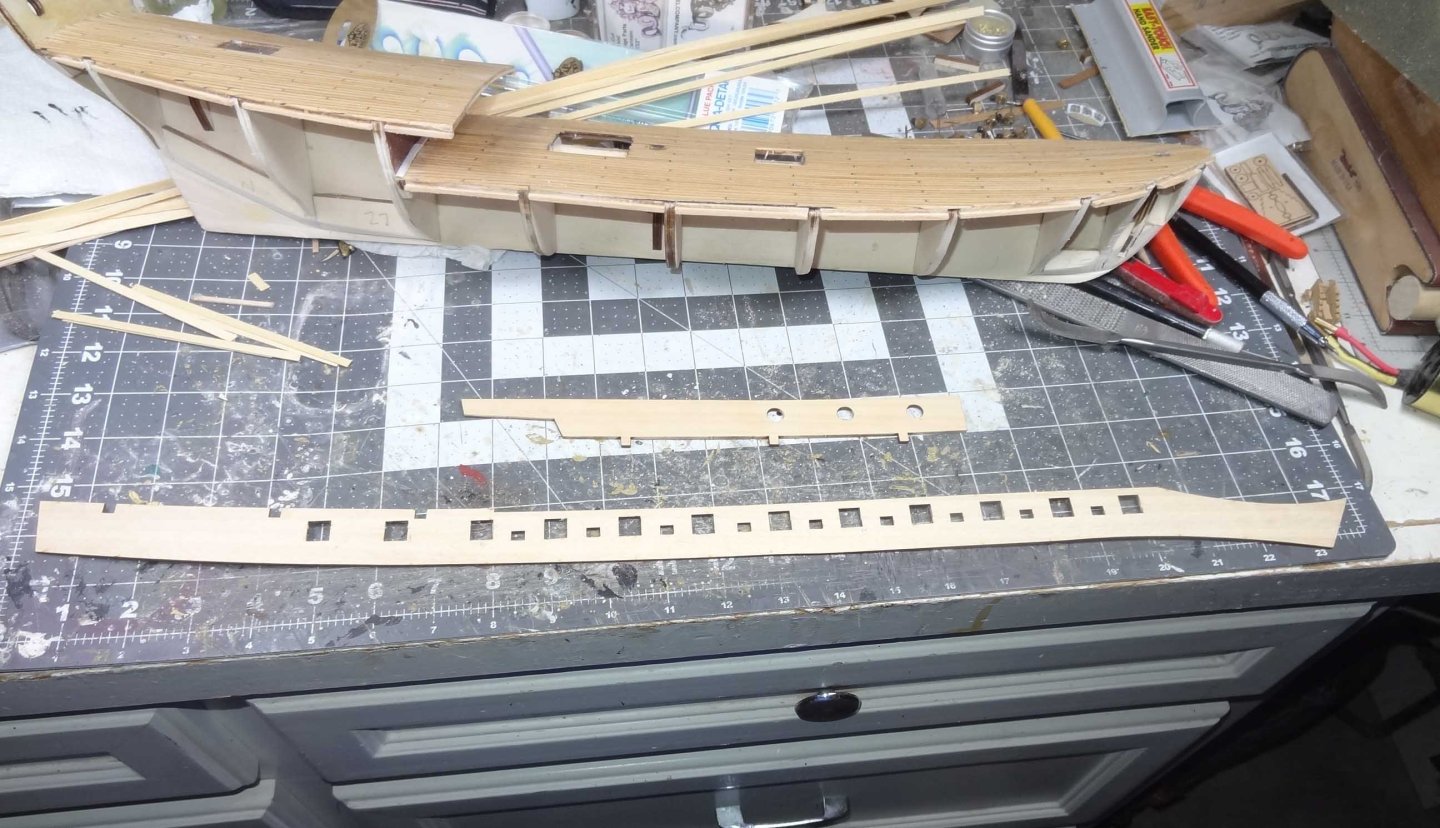
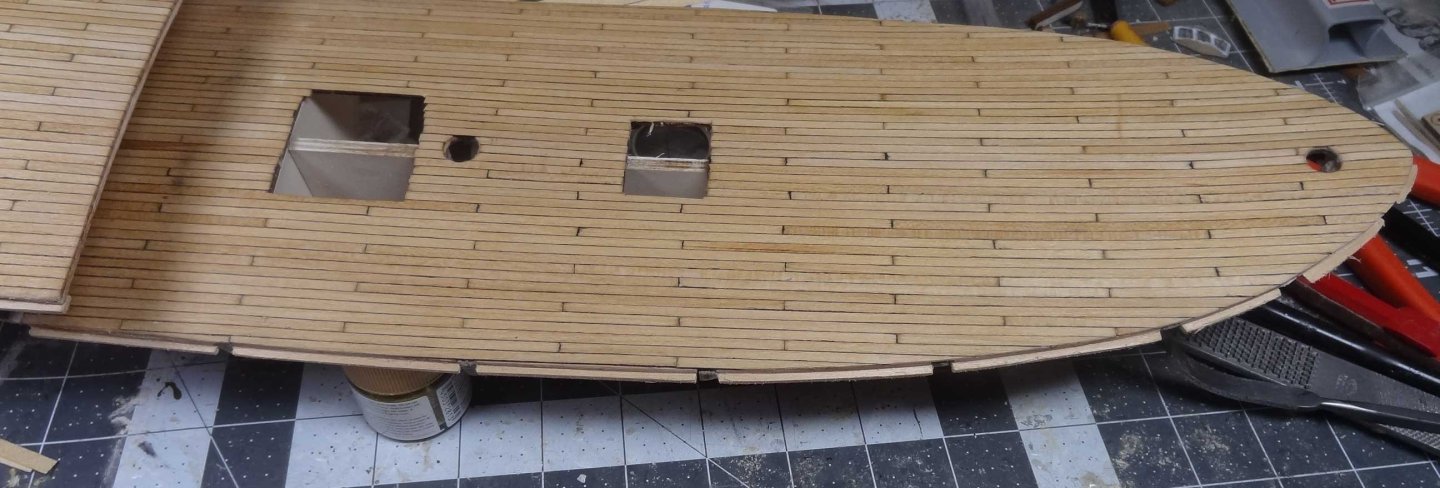
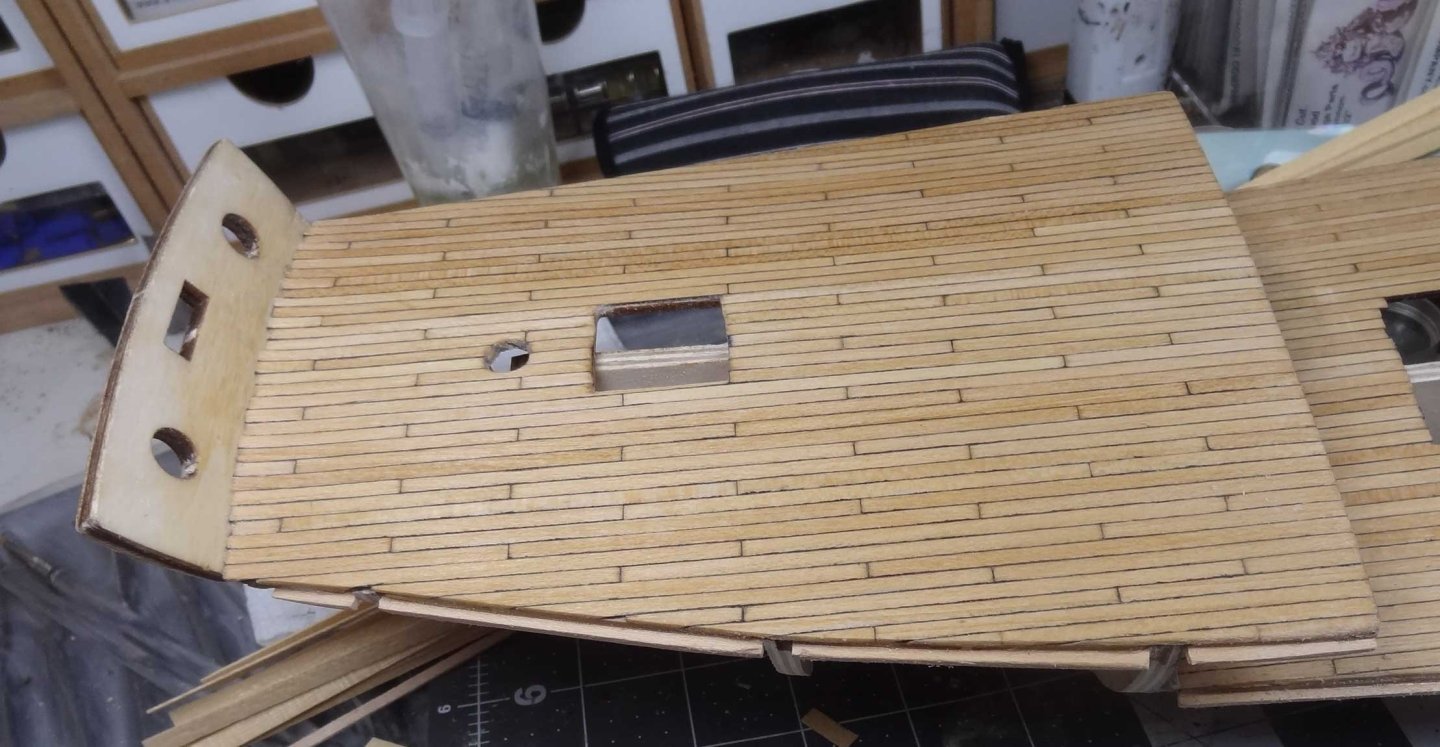
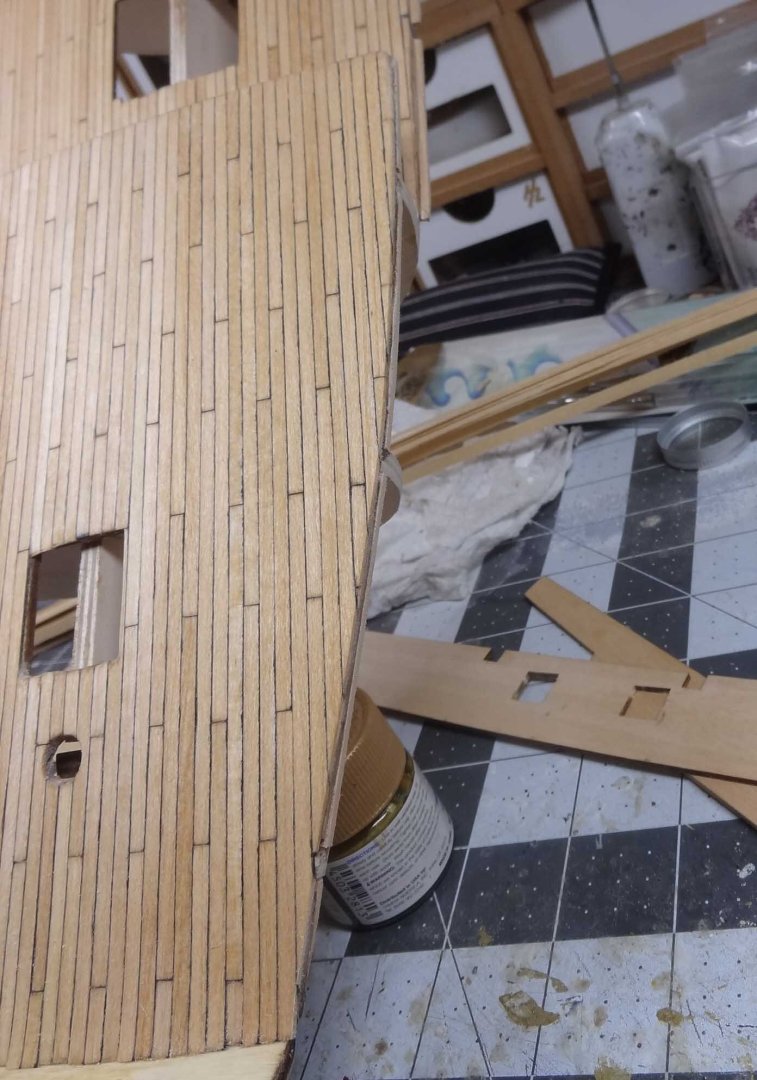
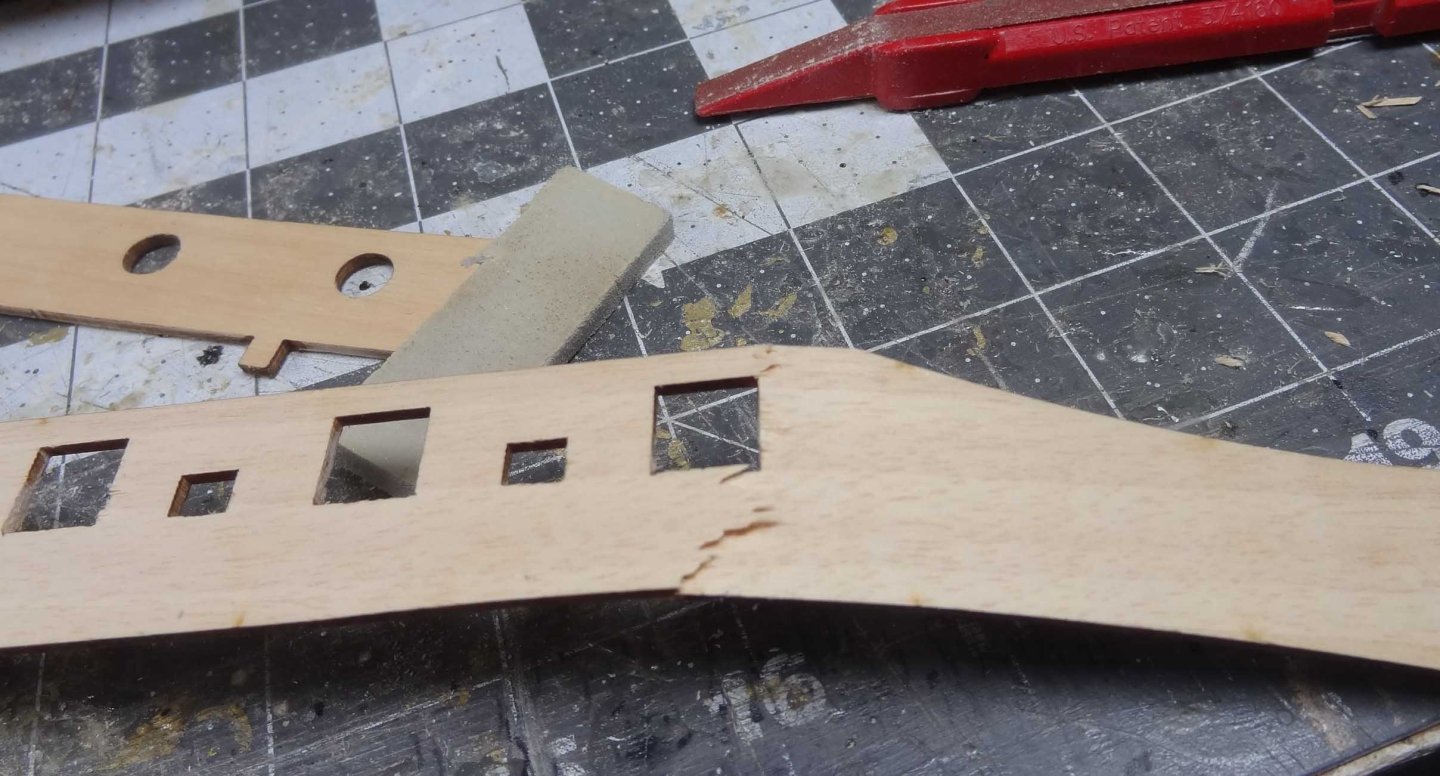
Hey everyone - my last post was way too long ago. I'll describe what has happened since, but my overall strategy was to go slow and plan the next few major steps based on installing the bulwark strips. What a disaster. Above is the bulwark strip that is supposed to be glued to the edge of the main deck and some of it beyond to under the quarterdeck. I think in my last post I showed the strip broke as I was just trying to dry fit it in place. That was just with the undressed strip. Sadly the instructions say to plank (line) the inside of the strip facing the deck before gluing down the strip. Obviously this makes the strip more rigid, and almost as expected it broke again on a dry fit. It gets worse but before that, I just gotta ask, what is with all the divots they took out of the edges of the strip? Some may reply, that's just the shaping to get the bulwark to fit around the bow. To that I reply, Nonsense. Totally unnecessary. So I begin planking the inner bulwark strip before attempting to fix it to the deck/hull. Well the strip has a bunch of cutouts for gun and oar ports. Obviously if you plank over those, you will have to cut out the planks covering the ports. I ran into some serious problems attempting to cut away the overlap. Look closely at some of the port edges and you will see how the plank strips flaked away from the ports. The morale to this piece is make sure you have applied glue all the way to each edge of every port. Hopefully that will be enough to hold a plank in place while you cut it to reopen a port. Looks like I am going to have to cut out a bunch of the plank pieces and replace. And then if things weren't bad enough - another dry fit and the strip broke again. Truly a bad design. No idea how I am going to fix the bulwark strip to the hull. A comment was made to soak the strip before gluing, and that would be the logical solution in most cases, but the strip has planks glued to it (white glue) and I think soaking would cause additional problems. Would appreciate any ideas. It goes on.....
-
 mikiek reacted to a post in a topic:
More coloring brass questions
-
Scott - bolt rope is a good idea. It adds a lot of realism, but I'm not sure how much it will help you shape the sail. I did the wire thing in both my Enterprise and Trajta builds. Links are in my signature. Honestly it just depends on what you want your sails to portray.
- 34 replies
-
- muscongus bay lobster smack
- Model Shipways
-
(and 1 more)
Tagged with:
-
Scott if you have to make another set of sails (or for future reference) you might consider adding a thin piece of wire inside the hems. This can give you an easy way to add shape to your sails. It's easy when you make your own sails, but I have also done it with kit sails.
- 34 replies
-
- muscongus bay lobster smack
- Model Shipways
-
(and 1 more)
Tagged with:
-
I have inserted thin wire into the hems of sail. This allows for a lot of shaping that you can't easily do otherwise. Just be sure the wire is non-corrosive.
-
Hey Mike - no I did not soak first as this was just a dry (no pun intended) run. I was just going frame by frame, holding the bulwark on one frame and curving it up to the next frame. Shouldn't have been much stress. To make things worse, I am supposed to plank the inside of the bulwark before installing. This has got to make the bulwark even less flexible. I may look into seeing if I can mount the bulwark first, then plank.
-
 mikiek reacted to a post in a topic:
Jabeque Cazador by mikiek - OcCre - 1:60
-
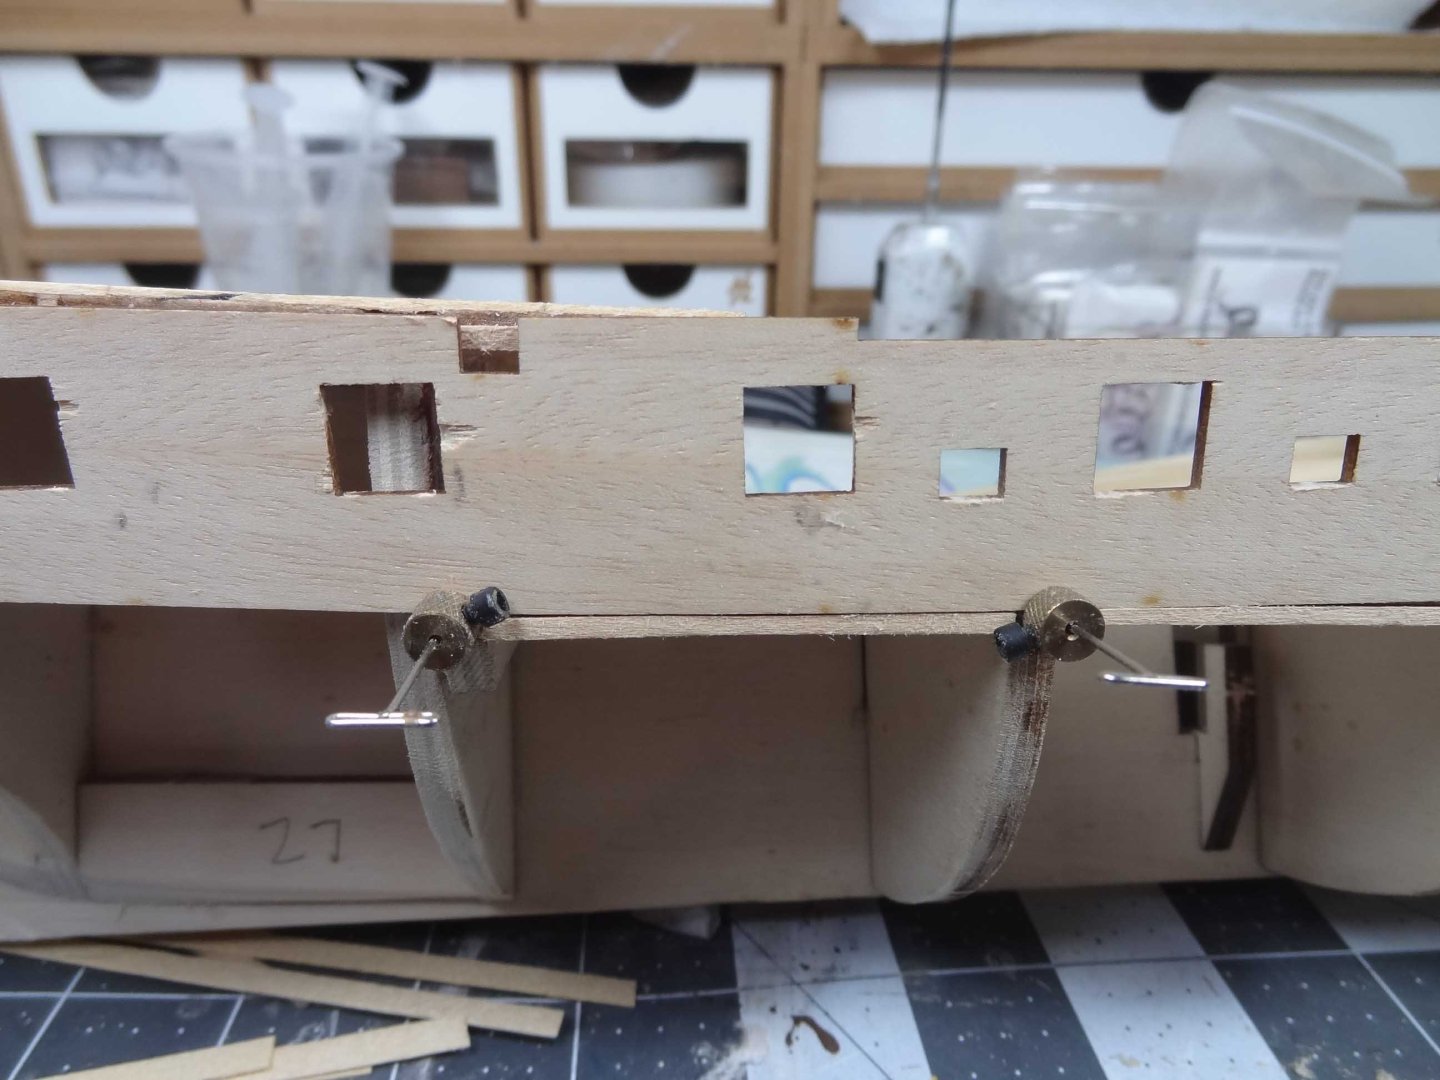
I've run into the first real screwup in the instructions. While I am still doing some final fairing on the hull frames, I have started to look at the bulwark installation which is the next step according to the instructions. The bulwarks are thin strips of plywood that run the length of the hull. IMO this design really sucks. Would much have preferred planking some timberheads to make the bulwarks. As I mentioned in my previous post, I am supposed to glue some support strips on the underside of both the foredeck and the quarterdeck. The strips should extend a small amount beyond the edge of the deck so that the bulwark strip is supported. Tried dry fitting the bulwark strip. This shot shows the lower bulwark strip sitting on the foredeck support strips. The fit is OK but each of those support strips need to be leveled out with the others. Worse, If you notice the notch in the upper edge of the bulwark, you can see the support strip that is attached to the quarterdeck. Ain't no way the aft end of the strip is going to fit to the quarterdeck, and no way the quarterdeck bulwark strip is going to fit into the lower strip. What needs to happen? The "support" strips on the quarterdeck are NOT there to support the quarterdeck bulwark. They should be sanded down to the edge of the quarterdeck which will provide a bigger surface for gluing the upper edge of the foredeck bulwark to the edge of the quarterdeck. I hope that made sense. It may get clearer as I actually glue the foredeck bulwark and show some pix. Just be aware that the instructions went totally south on this one. Attempting to dry fit the foredeck bulwark, the usual happens. This bulwark thing is going to be a nightmare....
-
Post all you want dude. It can be helpful more than you know.
- 90 replies
-
- Friendship Sloop
- bluejacket shipcrafters
-
(and 1 more)
Tagged with:
-
 mikiek reacted to a post in a topic:
Filler for Natural Wood?
-
 mikiek reacted to a post in a topic:
Arrow by mikiek - FINISHED - Amati - 1:55 scale - American Gunboat
-
Hey Gary - a little late I know. If you haven't figured it out the triangular piece is usually called a stealer. Based on other builds I've done the one supplied is pretty big. Usually you plank with regular sticks and make a few stealers to fill in gaps at the stern where you just can't bend a plank. Often times the hull surface width at the bow is less than at the stern. For instance say you could plank your bow with 20 sticks. If you ran those sticks all the way to the stern you might see some gaps. This is where you would add one or more stealers. Also the garboard you mentioned is typically the first plank laid next to the keel. Often times you are called on to make a rabbet in the keel and the long edge of the garboard fits into it. The rabbet makes for a solid place to glue the garboard. There's a number of posts here regarding those topics. Maybe the big stealer is used for this kind of boat or maybe it was just a decision by the kit designer. Thanks for keeping your log going. I'll be following along.
- 90 replies
-
- Friendship Sloop
- bluejacket shipcrafters
-
(and 1 more)
Tagged with:
-
Wow Scott -I can't imagine trying to bend that sheet around the frames. You did a great job all things considered.
- 34 replies
-
- muscongus bay lobster smack
- Model Shipways
-
(and 1 more)
Tagged with:
-
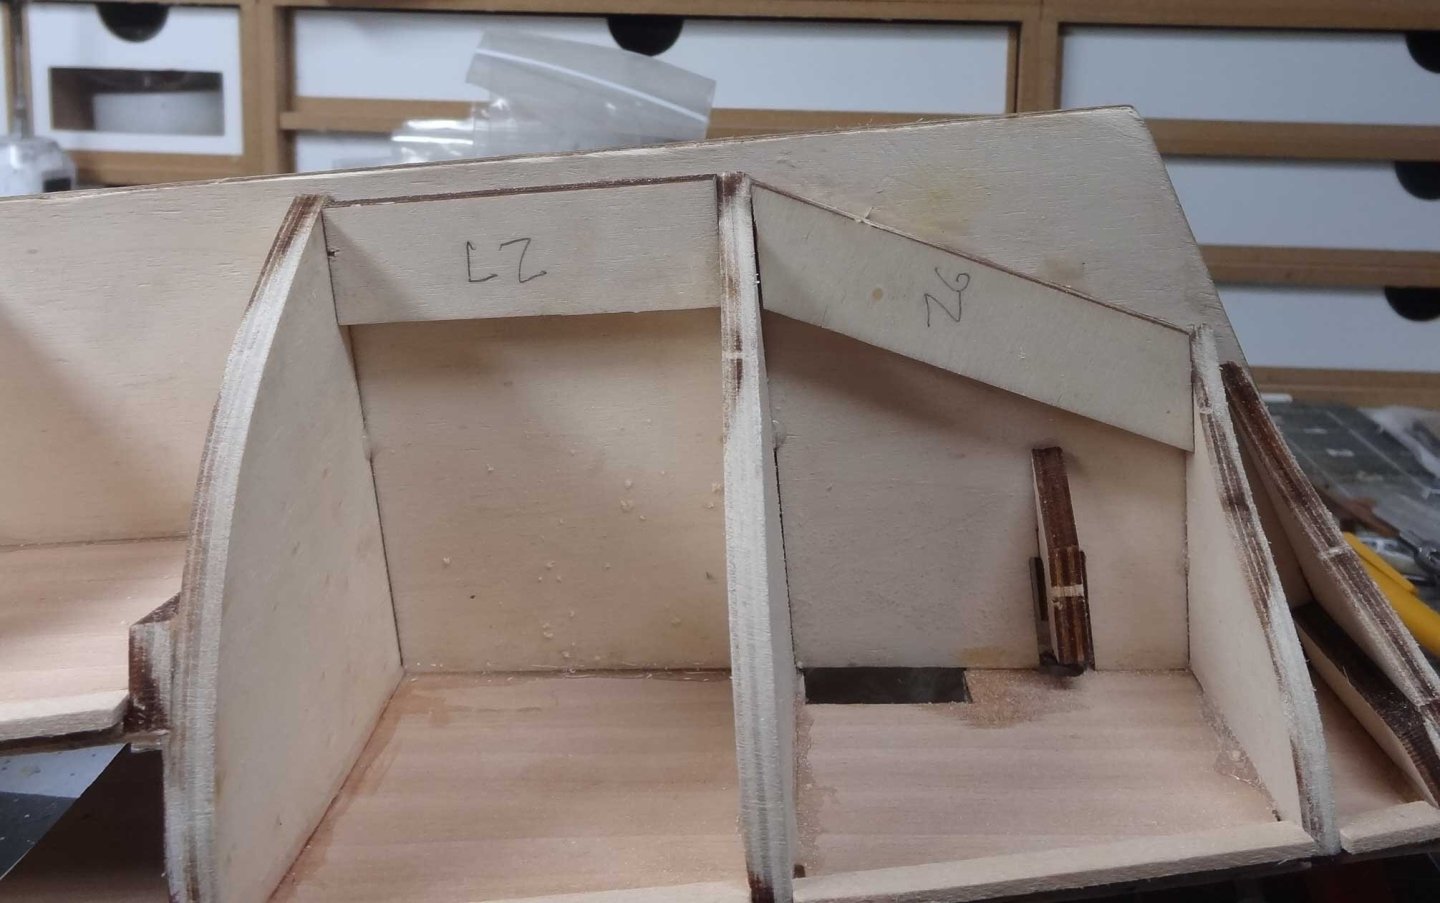
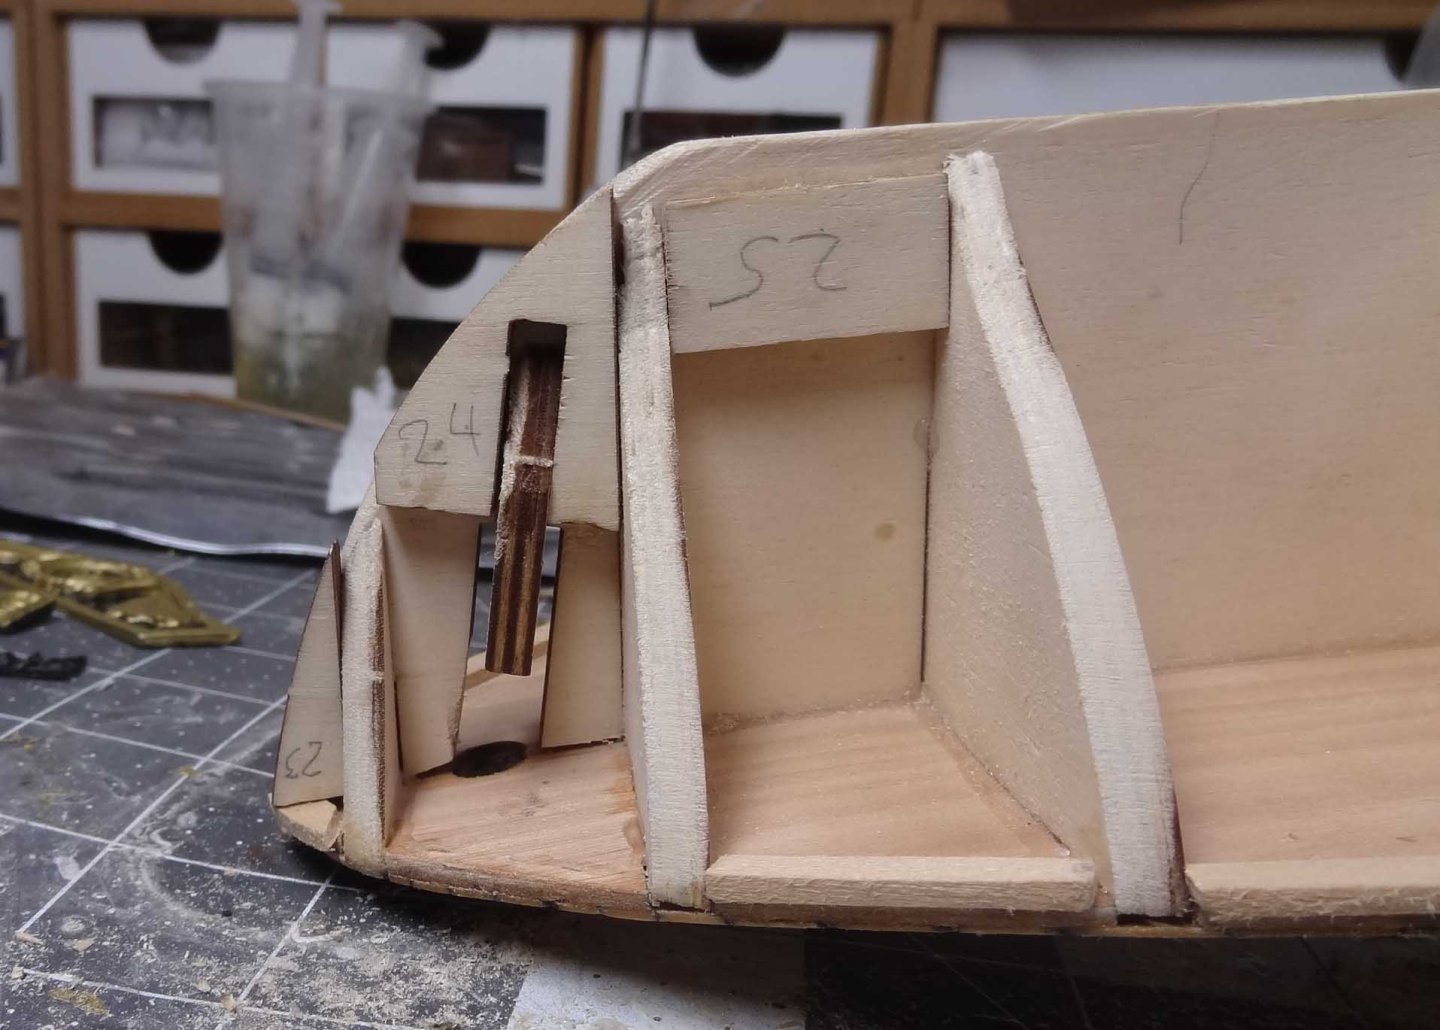
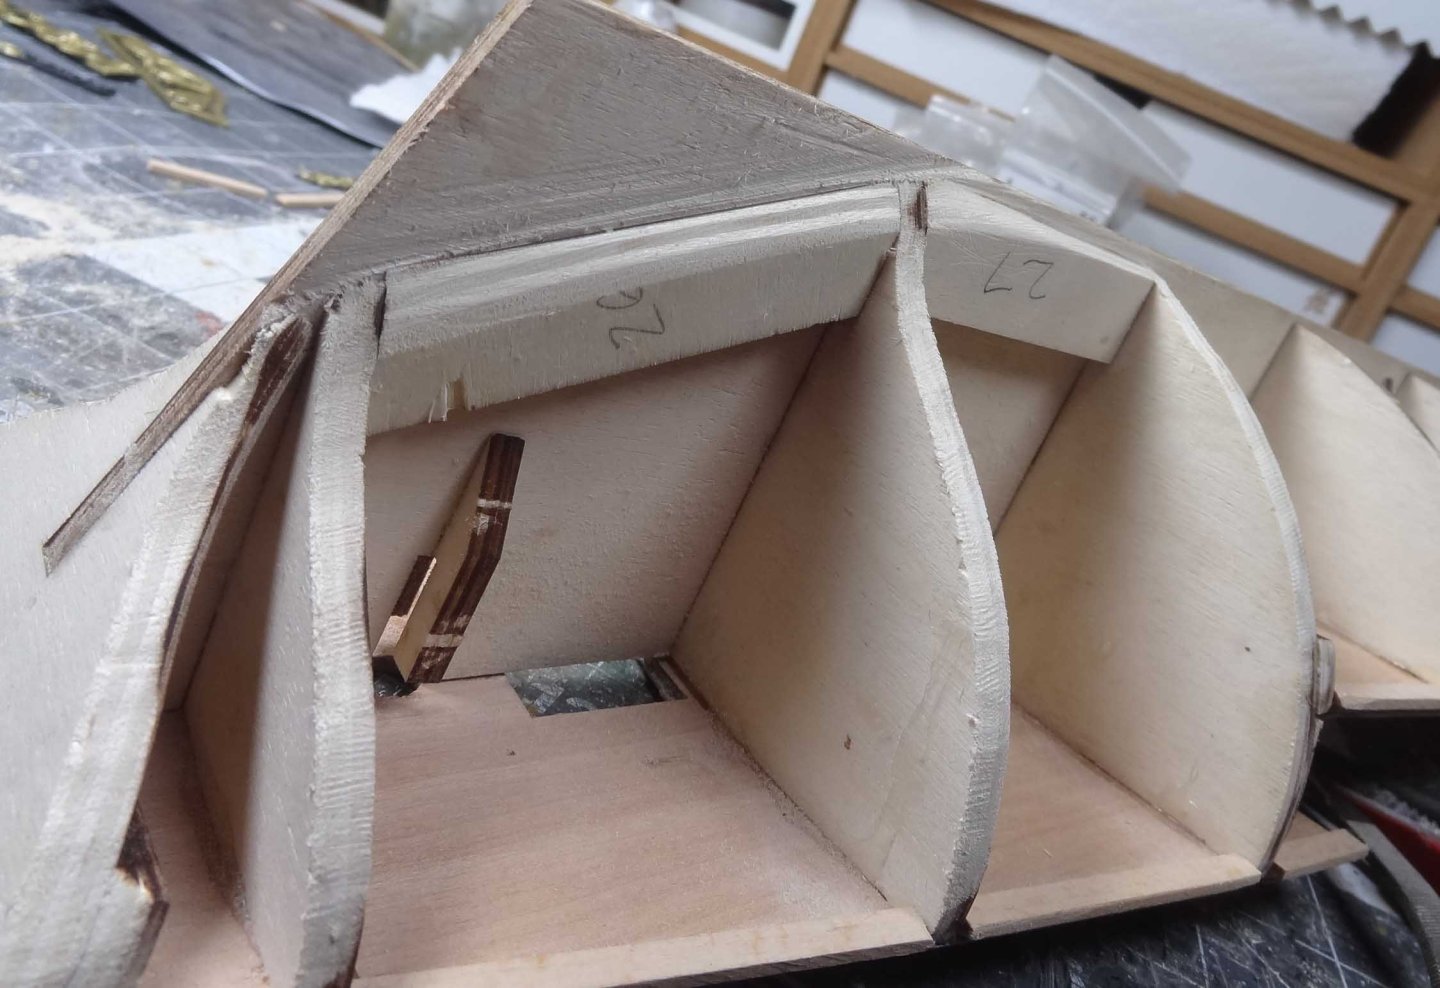
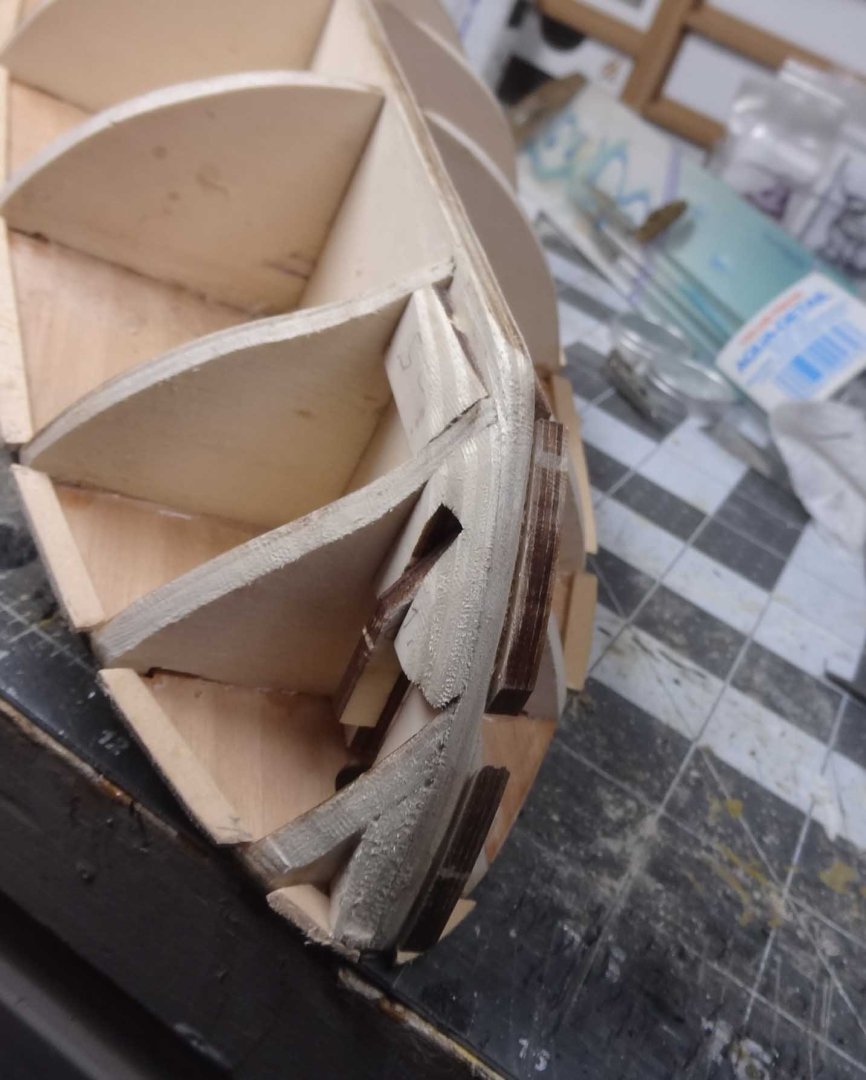
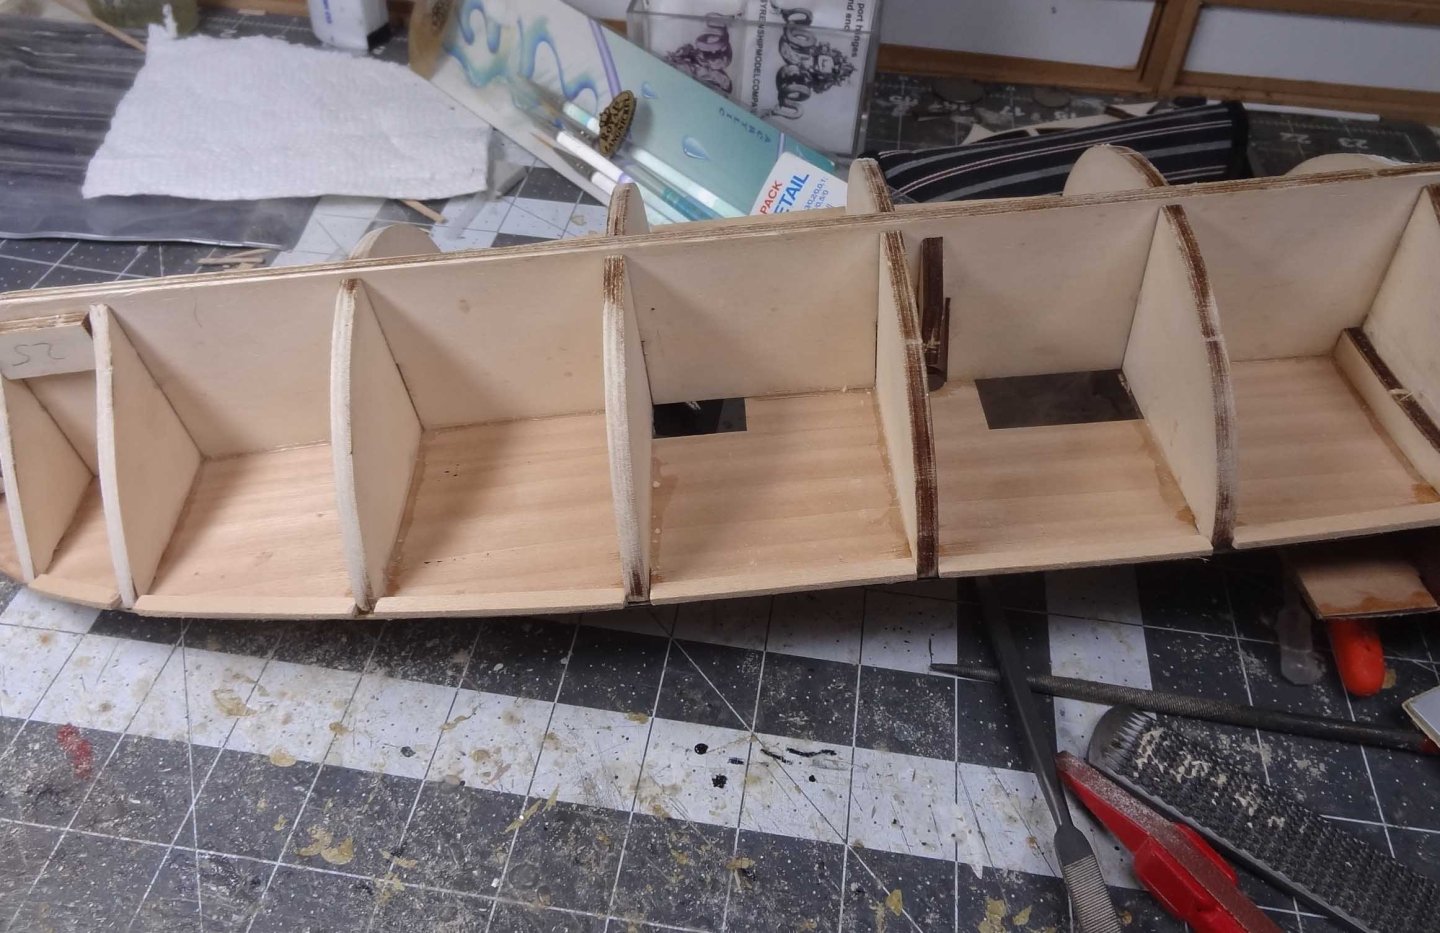
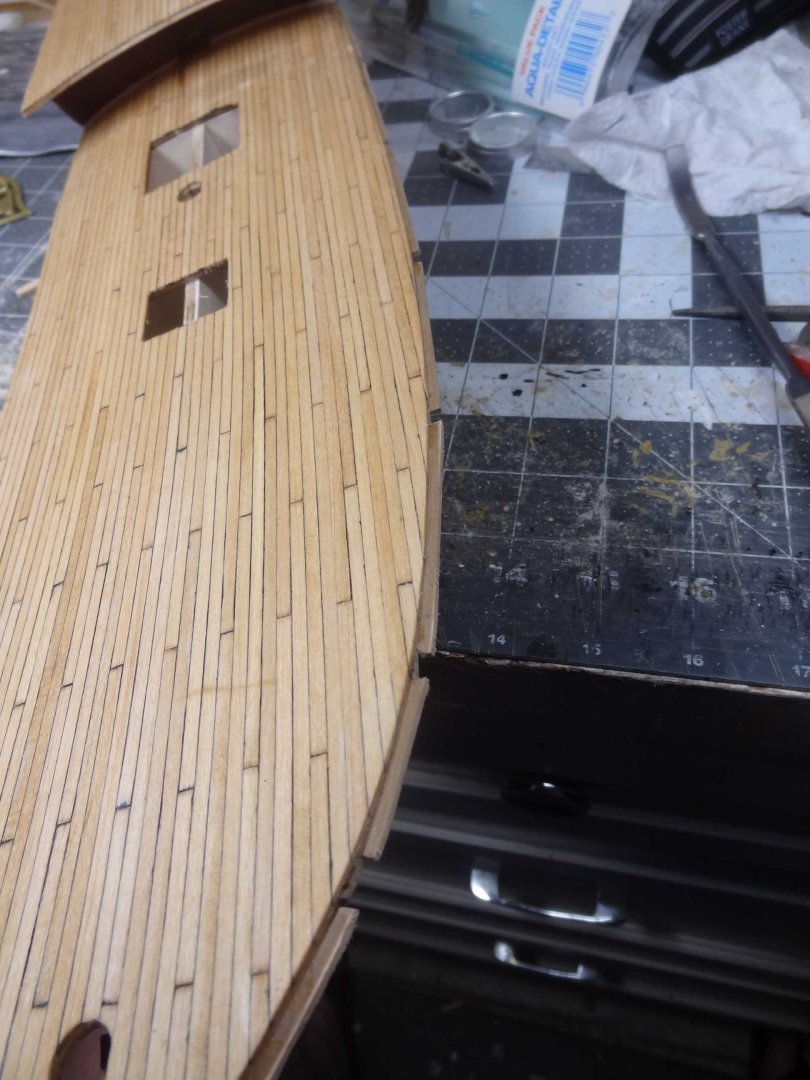
Hey everyone - it's been a while since I posted. I have been mulling over several ideas and issues and wanted to get them resolved before moving forward. The big one was whether to make filler blocks for the bow and stern frames. The kit doesn't ask for them and the hull does not look like it will be hard to plank - the bow is pretty sharp. I was just considering making blocks because I have never used them in a build. The kit does call for some precut plywood pieces in key areas to provide a bit more gluing surface. Of course they will require fairing along with the frames. Painting this build has also been a consideration. I really wanted to break out the airbrush and do some painting as I haven't used that in 5-6 years. Of course that requires some thinking regarding colors and when to do the painting. A lot of times I find it is much easier to paint parts before they are installed. Parts are easier to reach and you don't have to do a lot of masking. But the more I looked at the images on the box cover, I started realizing this is a darned nice looking build just using the natural wood combinations. There are a few places that could be painted but I've decided to go with the box image colors. So more dust collecting on the airbrush equipment. In thinking about all this I have had to really look ahead and see what all is required to complete planking. There's a few odd things about this hull design. There is no rabbet or garboard. Planks are laid all the way to the keel. Then there are some strips that are glued to the keel. The bulkheads are just a long plywood strip that run from the bow to the quarterdeck and another strip that is glued to the edge quarterdeck. The instructions call for gluing strips to the underside of the deck to act as a support. It's a little odd, I would prefer to build a bulkhead with planks. It is what it is. Over all I'm still pretty happy the the instructions. The English instructions are good but occasionally a little light on detail. However for every paragraph of instructions there is a matching photograph so so far I have been able to figure things out. The fairing has taken quite a bit of elbow grease. I was considering breaking out the Dremel but have not done so yet. Talk to ya soon......
-
Buying Filler Blocks
mikiek replied to mikiek's topic in Building, Framing, Planking and plating a ships hull and deck
I appreciate your comments and glad it worked for you, but I really didn't get any real benefit from that article. I'm not about to get into that level of detail just make a few filler blocks. Looks like I'm back to a plank by plank fastened to frame by frame install. -
Buying Filler Blocks
mikiek replied to mikiek's topic in Building, Framing, Planking and plating a ships hull and deck
Anyone able to provide links to posts that have described the build filler block process? I have seen more than a few and there appears to be no consensus on how it should go.
About us
Modelshipworld - Advancing Ship Modeling through Research
SSL Secured
Your security is important for us so this Website is SSL-Secured
NRG Mailing Address
Nautical Research Guild
237 South Lincoln Street
Westmont IL, 60559-1917
Model Ship World ® and the MSW logo are Registered Trademarks, and belong to the Nautical Research Guild (United States Patent and Trademark Office: No. 6,929,264 & No. 6,929,274, registered Dec. 20, 2022)
Helpful Links
About the NRG
If you enjoy building ship models that are historically accurate as well as beautiful, then The Nautical Research Guild (NRG) is just right for you.
The Guild is a non-profit educational organization whose mission is to “Advance Ship Modeling Through Research”. We provide support to our members in their efforts to raise the quality of their model ships.
The Nautical Research Guild has published our world-renowned quarterly magazine, The Nautical Research Journal, since 1955. The pages of the Journal are full of articles by accomplished ship modelers who show you how they create those exquisite details on their models, and by maritime historians who show you the correct details to build. The Journal is available in both print and digital editions. Go to the NRG web site (www.thenrg.org) to download a complimentary digital copy of the Journal. The NRG also publishes plan sets, books and compilations of back issues of the Journal and the former Ships in Scale and Model Ship Builder magazines.


