HOLIDAY DONATION DRIVE - SUPPORT MSW - DO YOUR PART TO KEEP THIS GREAT FORUM GOING! (Only 20 donations so far - C'mon guys!)
×


mbp521
-
Posts
1,002 -
Joined
-
Last visited
Content Type
Profiles
Forums
Gallery
Events
Everything posted by mbp521
-
 Tim, Thanks for the update. I recently started my scratch build of USS Cairo a few months ago, and the information and pictures that you guys have provided have been most helpful in getting my build under way. I am currently working on the gun deck features and was working on researching the make up of the walls that surround the engines and officer quarters. I figured that the walls around the engines were just to help with noise mostly since, judging by the plans, it looks more like a shield than anything else. Unfortunately the HSR “Gundeck Plan/Section” that I am using is rather vague but the walls look to be similar to those surrounding the boilers, although probably minus the louvered windows. I was just curious if you guys had a plan as to how you were going to build this section of the interior walls, or is this part still in the research phase. Or, am I totally reading the plans incorrectly and is there even a wall there? Also scrolling through the build I haven’t seen any pictures or mention of the officers quarters. Was that part still being researched as well. I know that a lot of the information on this section of the boat is lacking due to the fact that most of this area was lost or destroyed during salvage operations. I’m just trying to get my head around the construction of these parts. Please forgive me if I am jumping way ahead in your build, there are just so many unknowns on this build and I’d like to get it as accurate as possible. You guys are doing a fantastic job on this build, and I can only hope that my version comes out half as good as this one. Looking forward to more updates. -Brian
 -
It has finally arrived. Not sure how I ever made it without this book. What a wealth of information packed into it. -Brian
-
Patrick, We’re with you to the end. Pace is not important, as long as you enjoy the project, and these projects can take time. We are a patient bunch. Besides, you can’t rush perfection. 😁 -Brian
-
Patrick, The boiler looks great! I would venture to say that the boilers were riveted together, but I would have to defer that to the experts for confirmation. However, since many of the boilers in this time period were similarly constructed, I would say that it’s an accurate assumption, and I riveted the boiler on my Chaperon as well. I used a similar method for my boiler on my Cairo build. But instead of glue droplets I used a ponce wheel on the backside of the aluminum tape to form the rivets. I must say though, you did a great job on getting the glue droplets uniform. -Brian
-
Looking good Eric. Great idea with the binders. I’ve tried using finger clamps before hold pieces in place on each side, but the swivel feet made it difficult to line up on both sides. I’m going to keep this method in my back pocket for future use. It’s just a thought, but the color of stain that you are using looks great on there. I would think that a couple of more coats would give you the desired color you are looking for and may help alleviate the visible wavy lines of the wood. -Brian
-
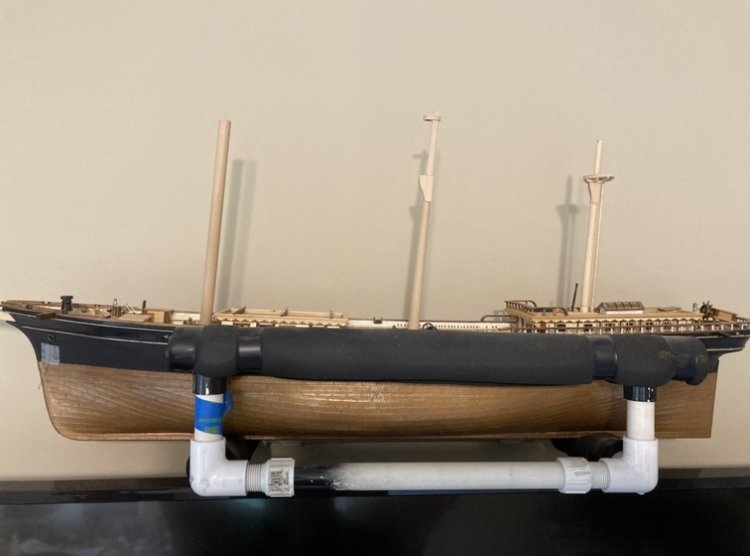
Vlad, With what I’ve see so far by the quality of your work, I don’t see where the plank sheer will be a problem for you. Cutty Sark is on my list of builds one of these days. Unfortunately I do not have a build log or gallery pics of my Flying Fish on MSW, if you like I can post a few pics here if you like (I figured I’d ask before hijacking your build log). I started her about five years ago and in the mean time we moved. She was packed up for a few years and I only recently pulled her out of storage. My intention is to finish her once I’ve completed my scratch built USS Cairo. Right now all I have completed on her is the hull and deck furniture. I had started work on the masts but didn’t get very far before she was packed up. -Brian
- 200 replies
-
- 1
-

-
- cutty sark
- clipper
- (and 1 more)
-
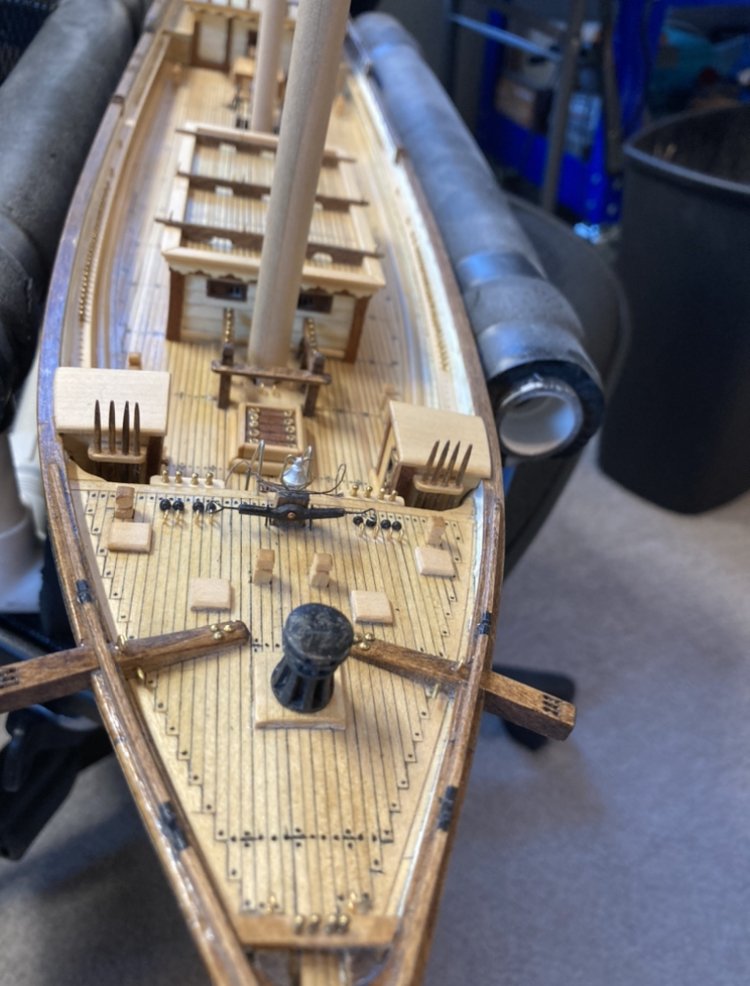
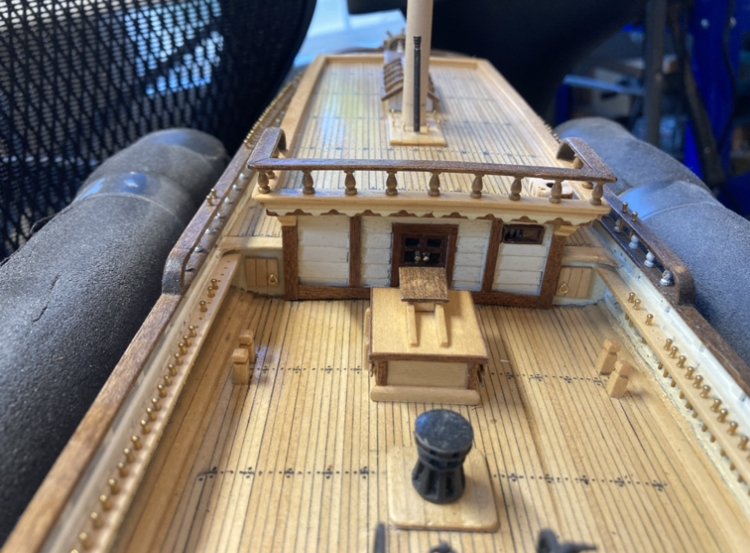
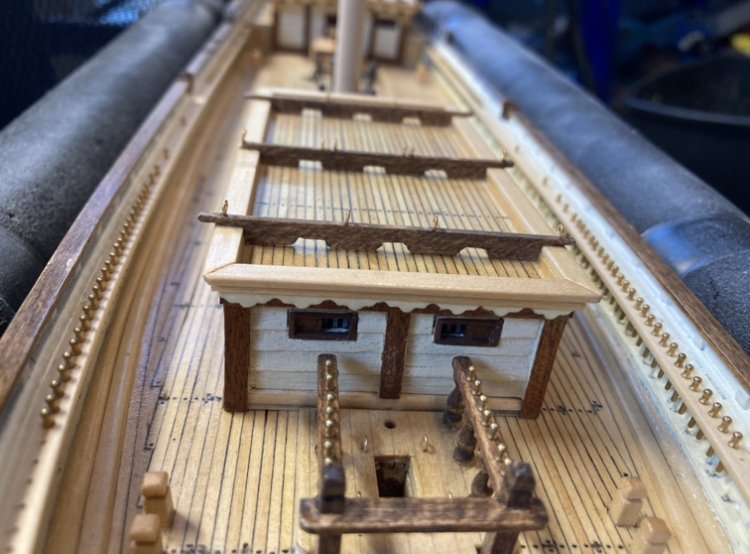
Vlad, It seems at that scale it would be a lot easier to do. Sounds like you are going about it the way I do mine. My approach was to cut all the planks to length and mount them in place. I then placed the nibbing Strake in place on top of the planks and marked the plank location on it. Then cut the nibbing Strake on the marks, a little fine sanding and the glued into place. These are some pictures of my planking and nibbing Strake from my Flying Fish. Hope this helps. -Brian

- 200 replies
-
- 2
-
-
- cutty sark
- clipper
- (and 1 more)
-
Vlad, Beautiful job on the nibbing. As mundane and time consuming as it is, this is still one of my favorite parts of deck planking. -Brian
- 200 replies
-
- 2
-
-
- cutty sark
- clipper
- (and 1 more)
-
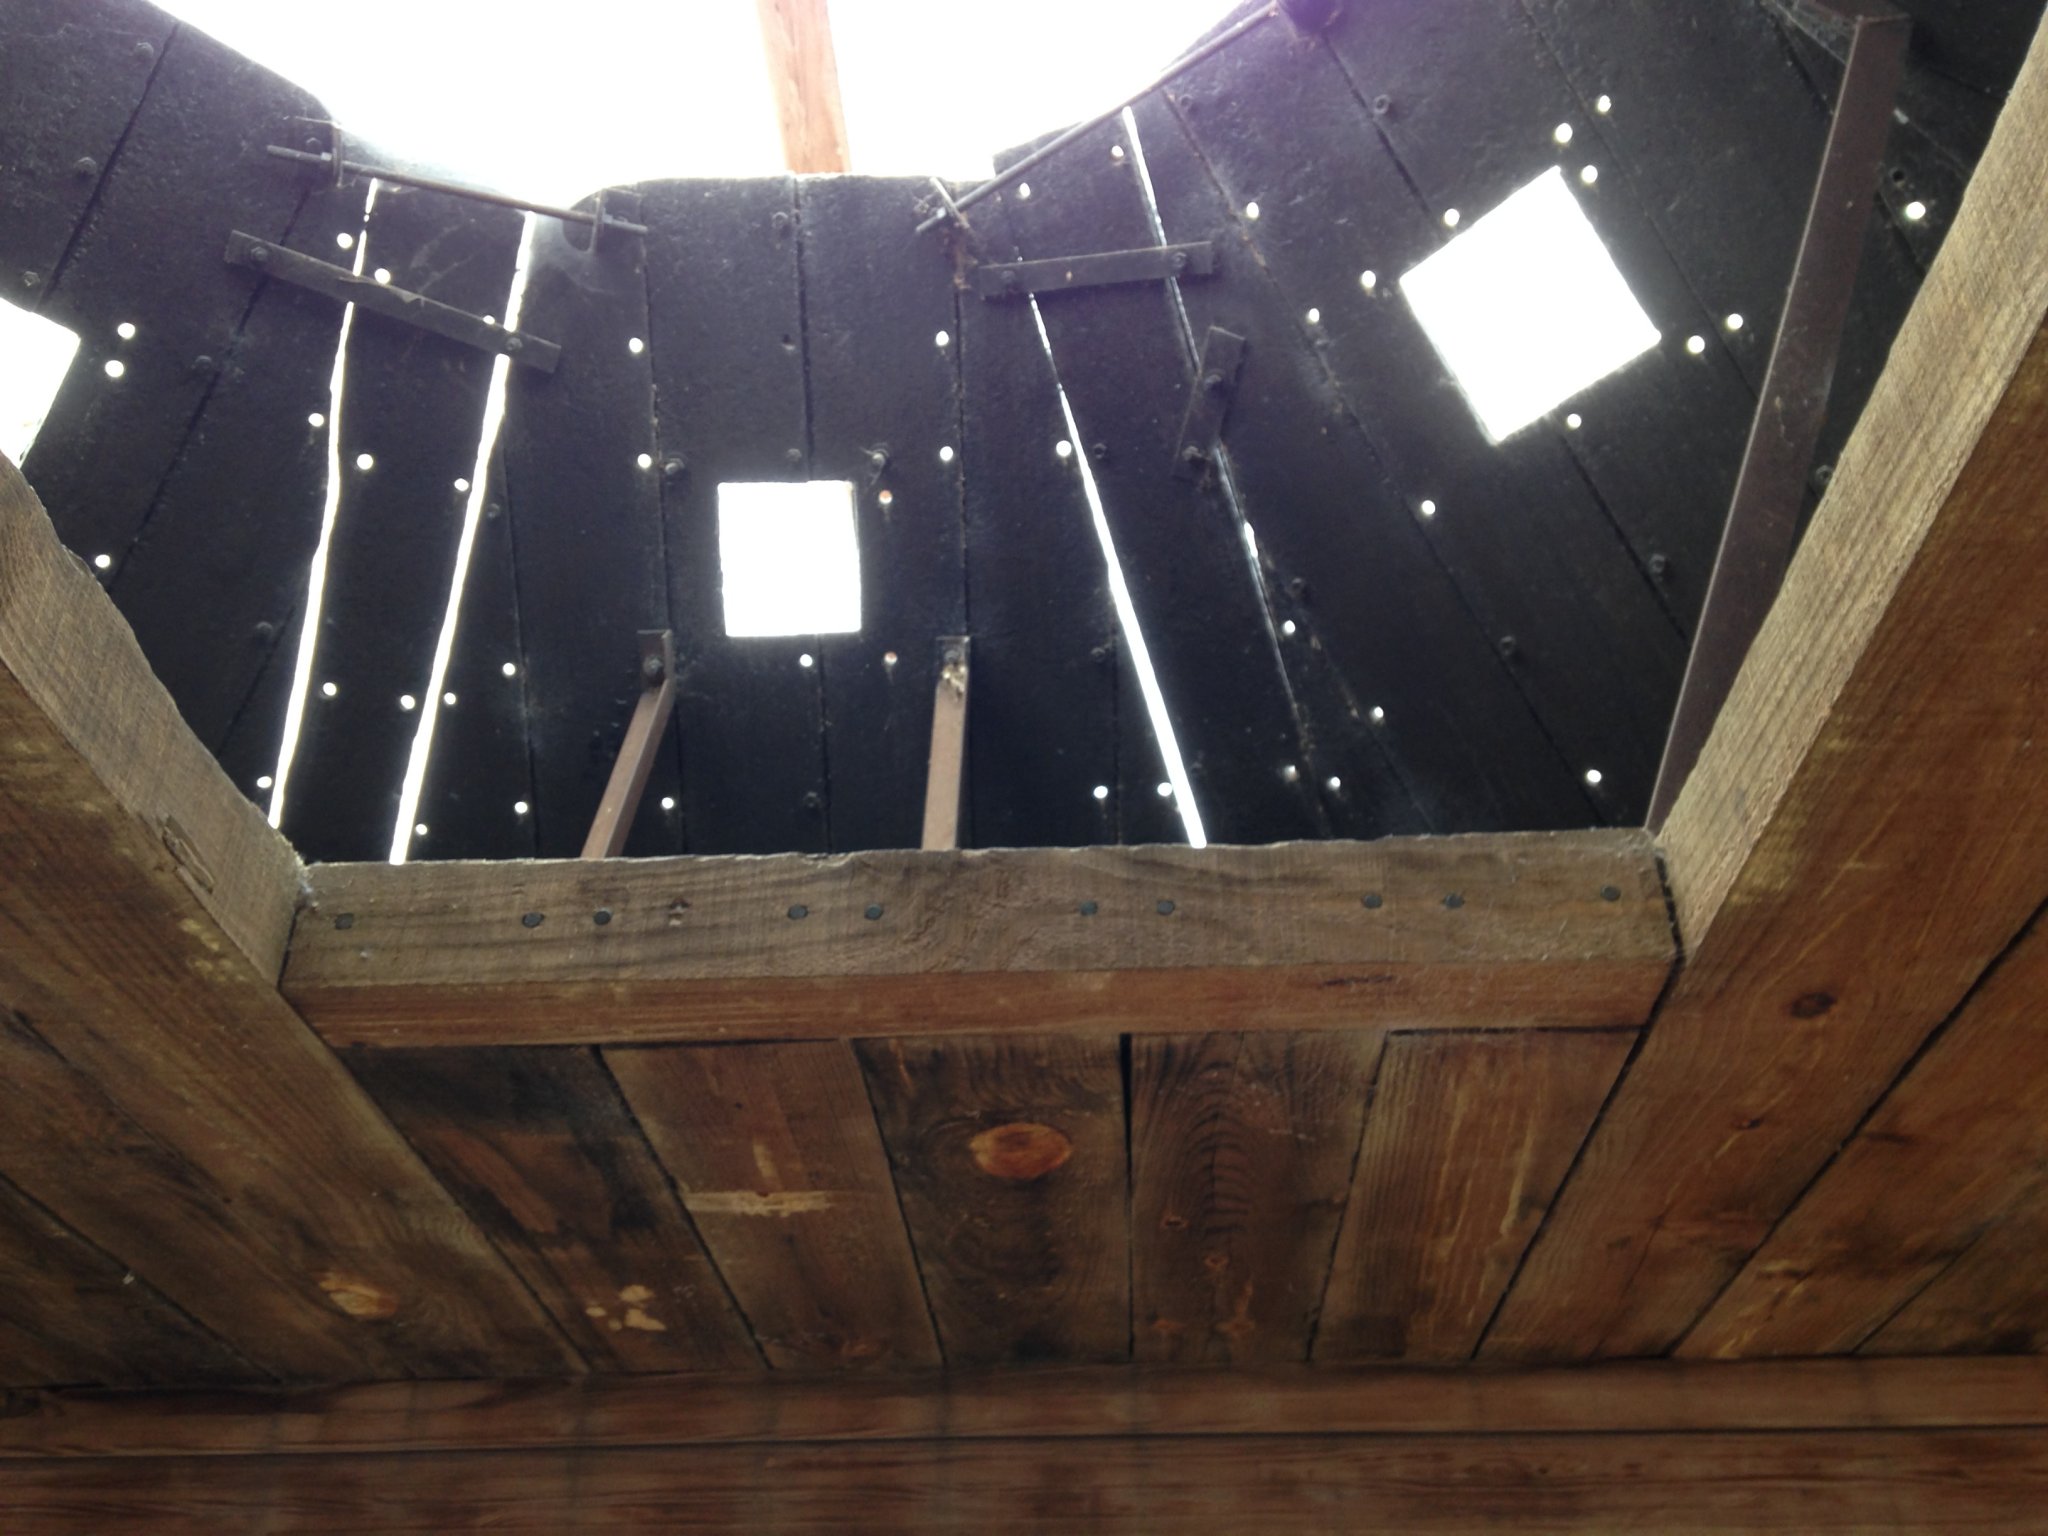
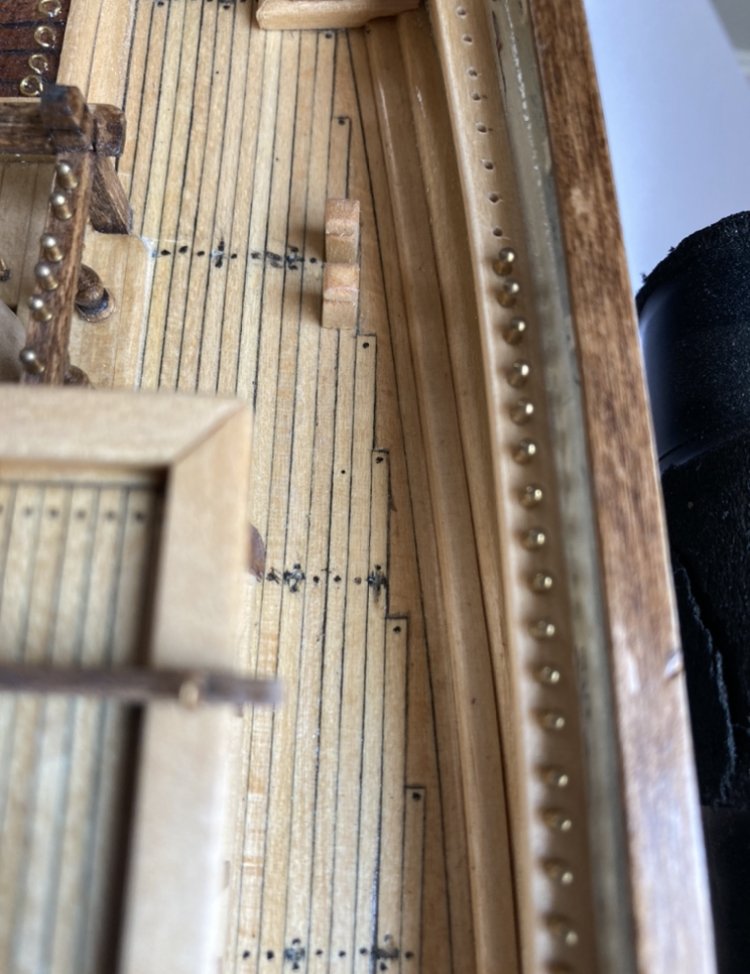
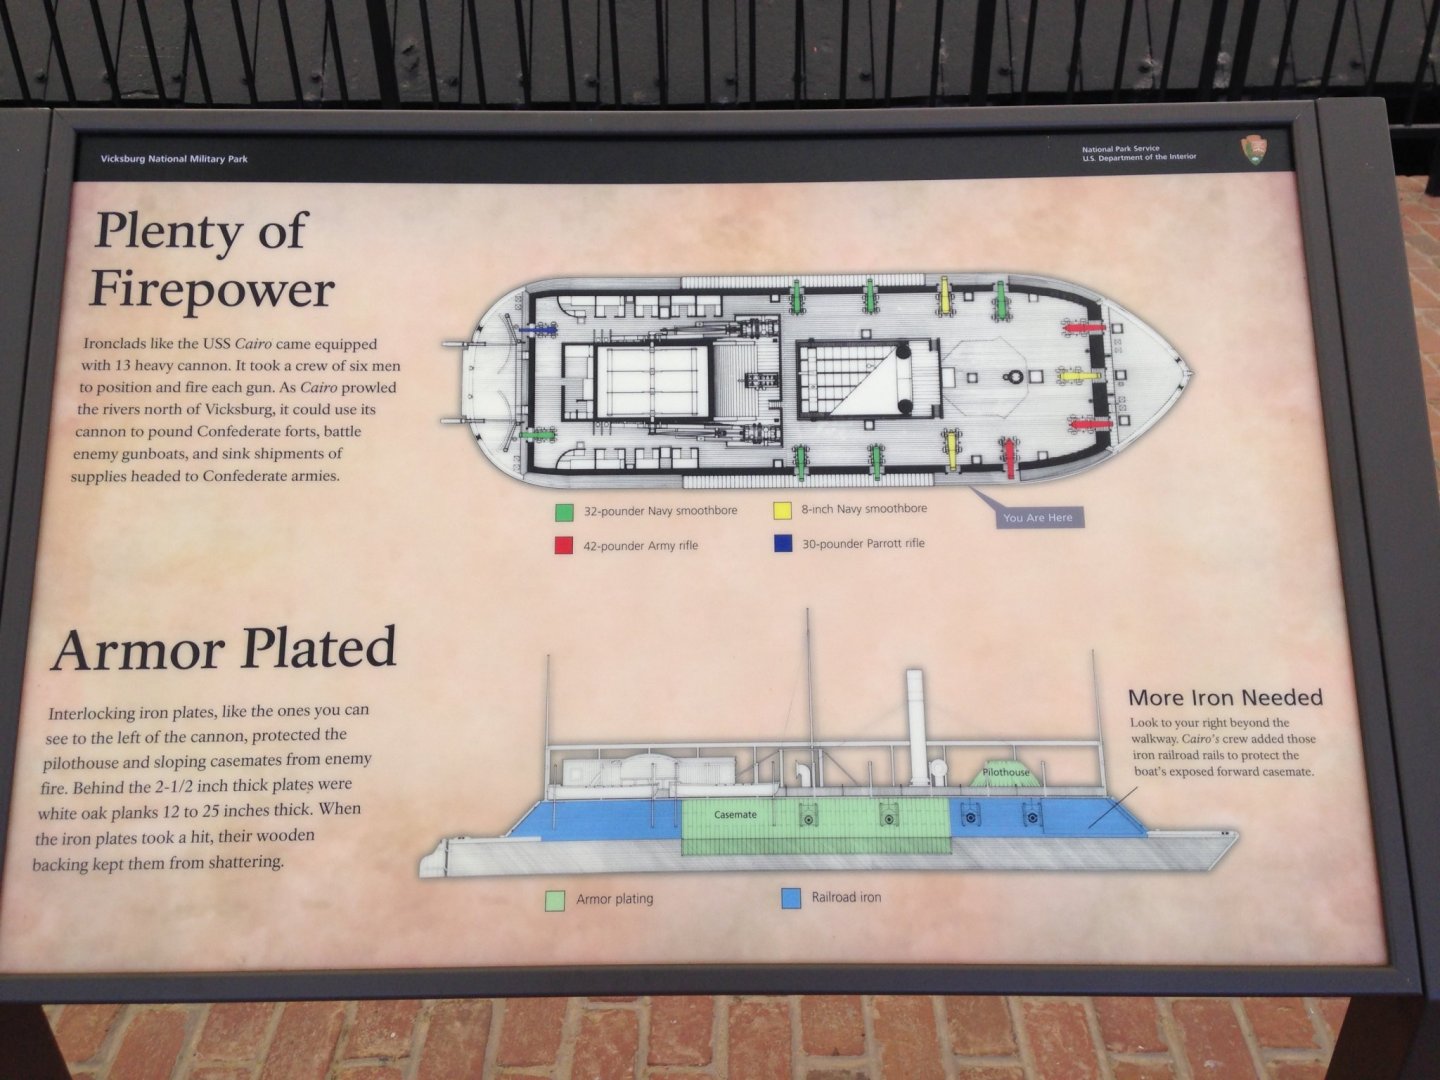
Dan, How right you are, no creature comforts at all, with the exception of maybe the officers quarters. Of course even they had to deal with the heat and the constant churning of the paddle wheel and the engines. Still better than the enlisted crew had it. Sleeping in hammocks below deck having to deal with the heat and on deck with the mosquitoes. And as anyone from the Western Rivers region can attest, the mosquitoes can be horrible. I seem to recall reading the same thing about the armor upgrades and I believe that it was at the Cairo museum. If I remember correctly, all of the interlocking flat armor on the forward and side casemates was original (well in place when they were delivered to the Army. The upgrades with the railroad irons was the later addition as they proved that the 12" thick oak planks on the side was just not enough. I do not recall as to whether or not the aft casemates were armored. I would think that they were, but I'm not 100%. I will need to do little more digging when I get to that point in my build. The pilothouse was definitely armor plated. Here are some pictures of it from my visit there a few years back. I also recall from my research that several skilled Confederate sharpshooters took out some of the pilots of these boats by taking a perfectly aimed shot through the portals in the armor. I know that most of the surface damage on these plates was due to rusting, but I can't help but think that some of it may be from bullets and cannon balls. -Brian


-
Thank you all for the kind comments! Dan, excellent history lesson. I would say that that was one lucky shot that crippled the Mound City. One of the major drawbacks and hazards of the City Class iron clads (and I would speculate other classes as well) was the lack of escape routes in the event of a boiler rupture. I can only imagine what those men went through. Those lucky enough to make it through the gun ports faced enemy snipers while the others were basically boiled alive. Unthinkable horrors of war. -Brian
-
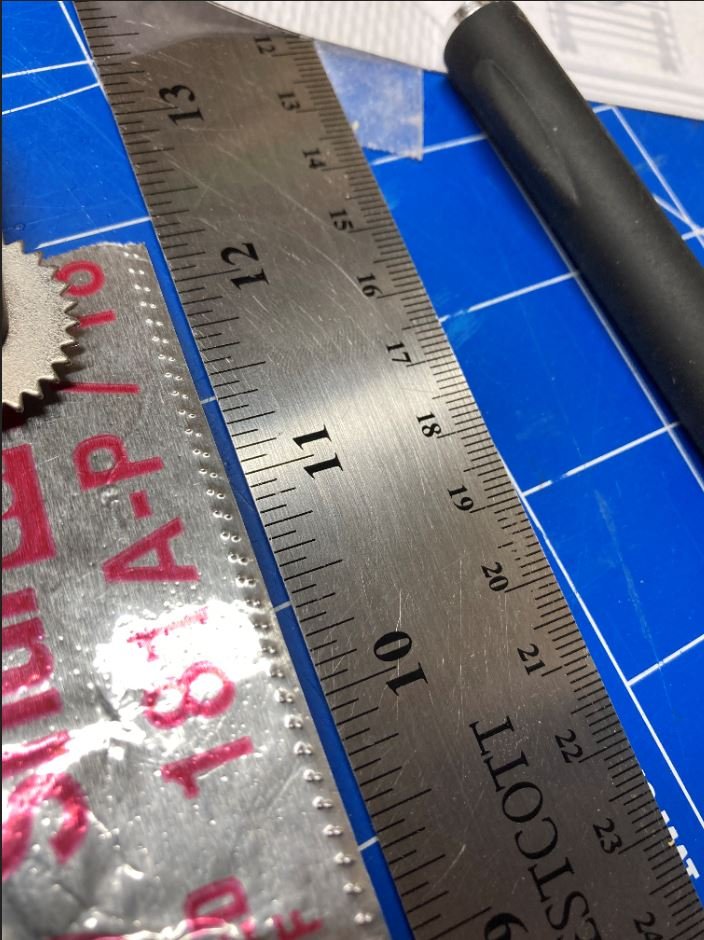
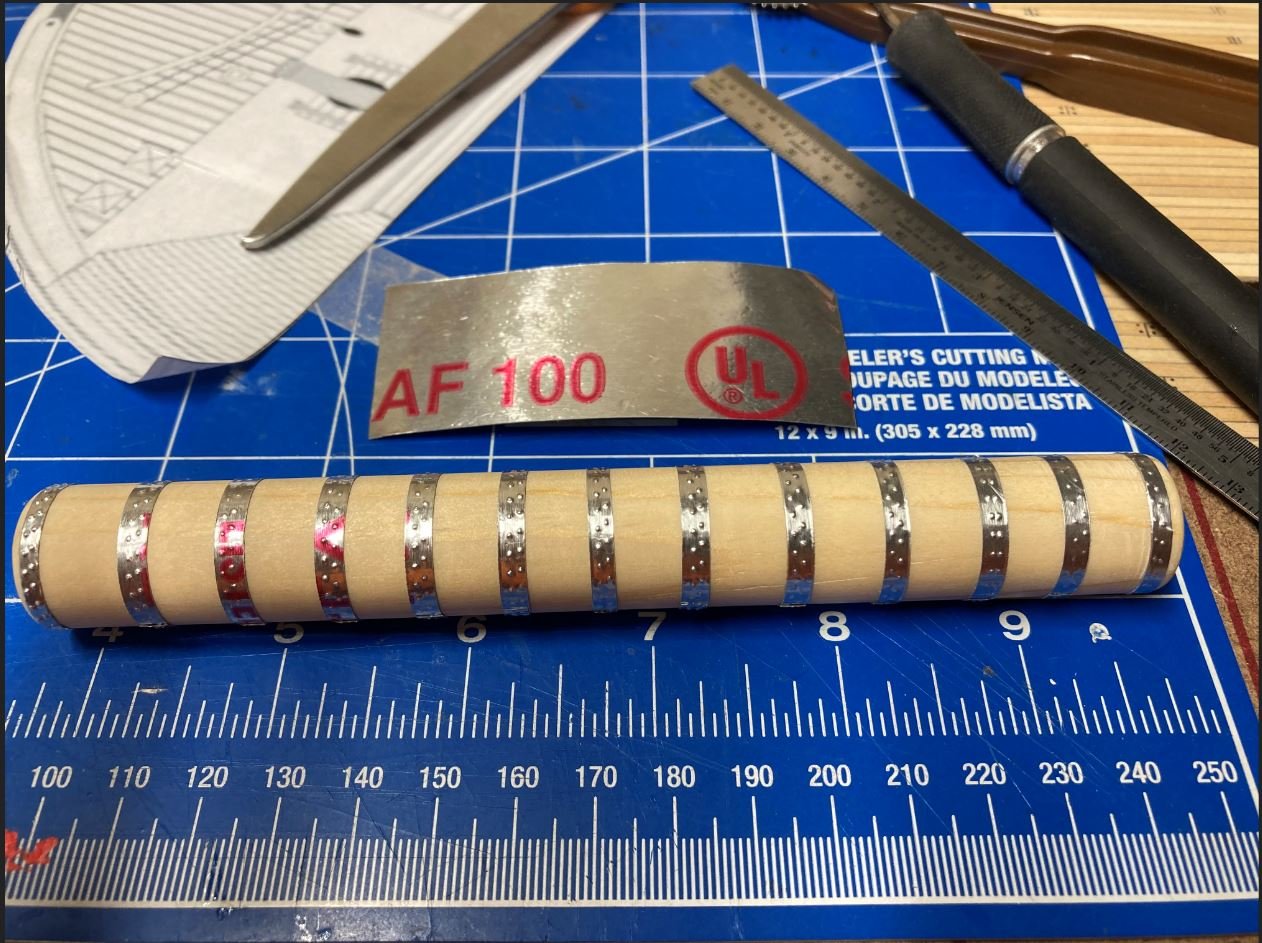
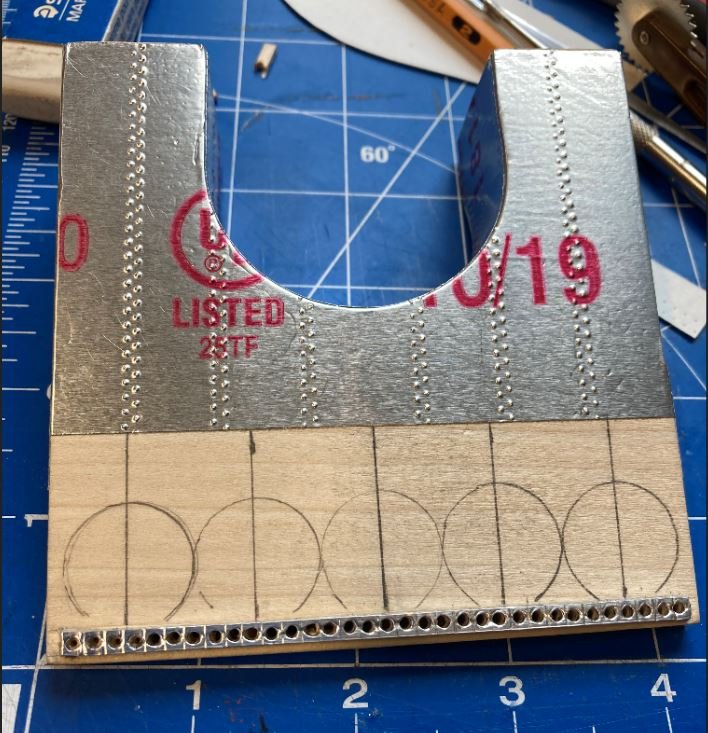
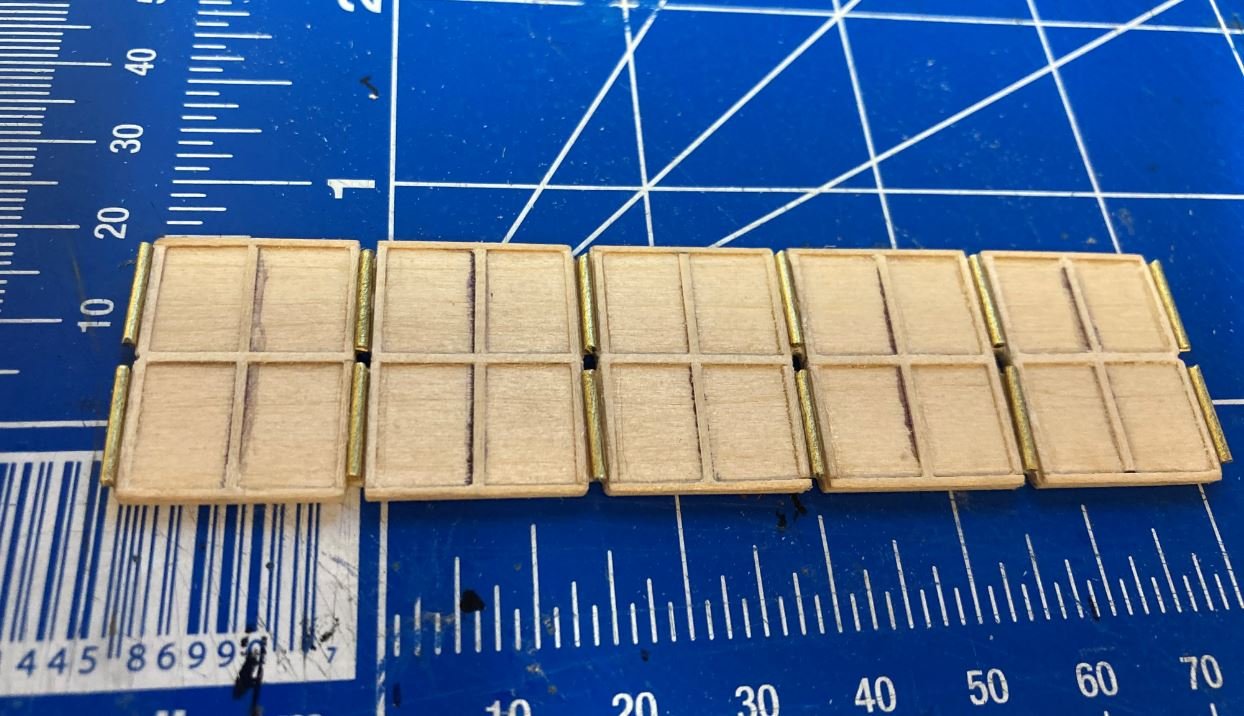
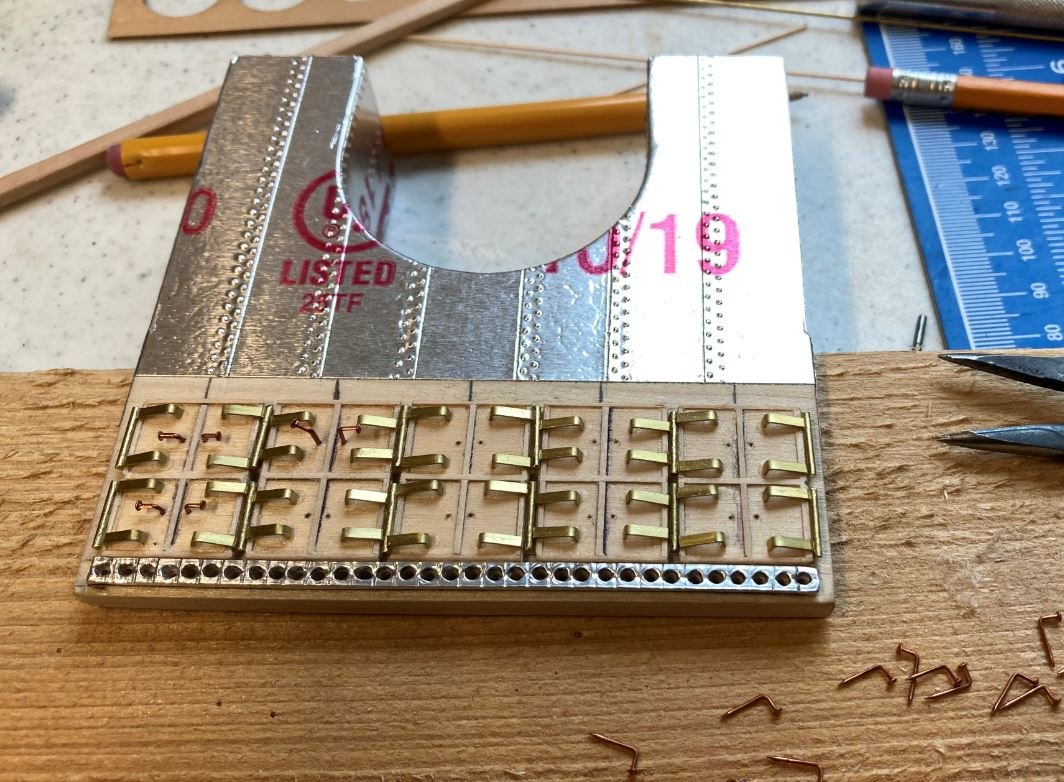
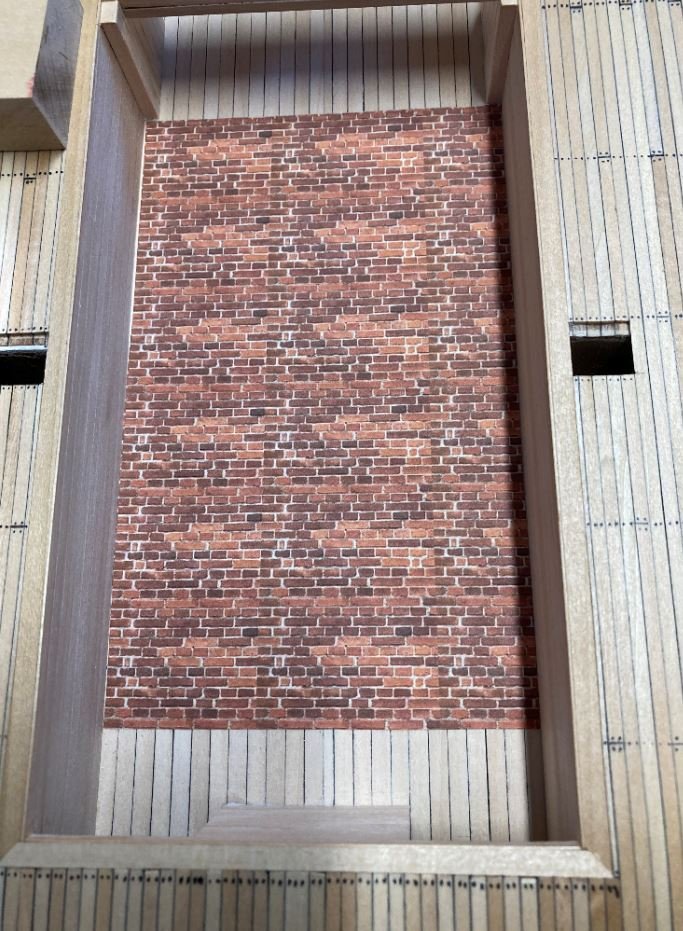
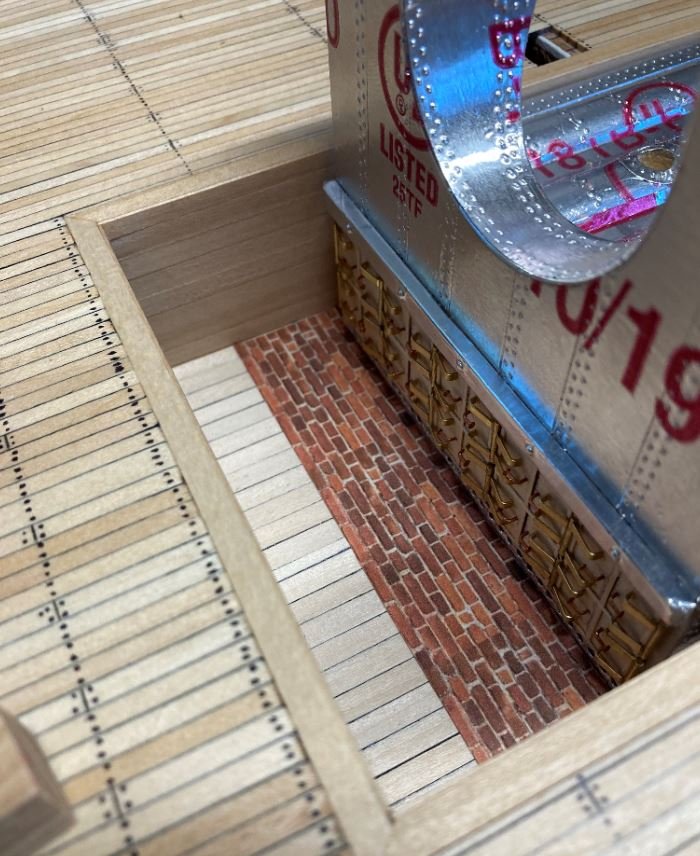
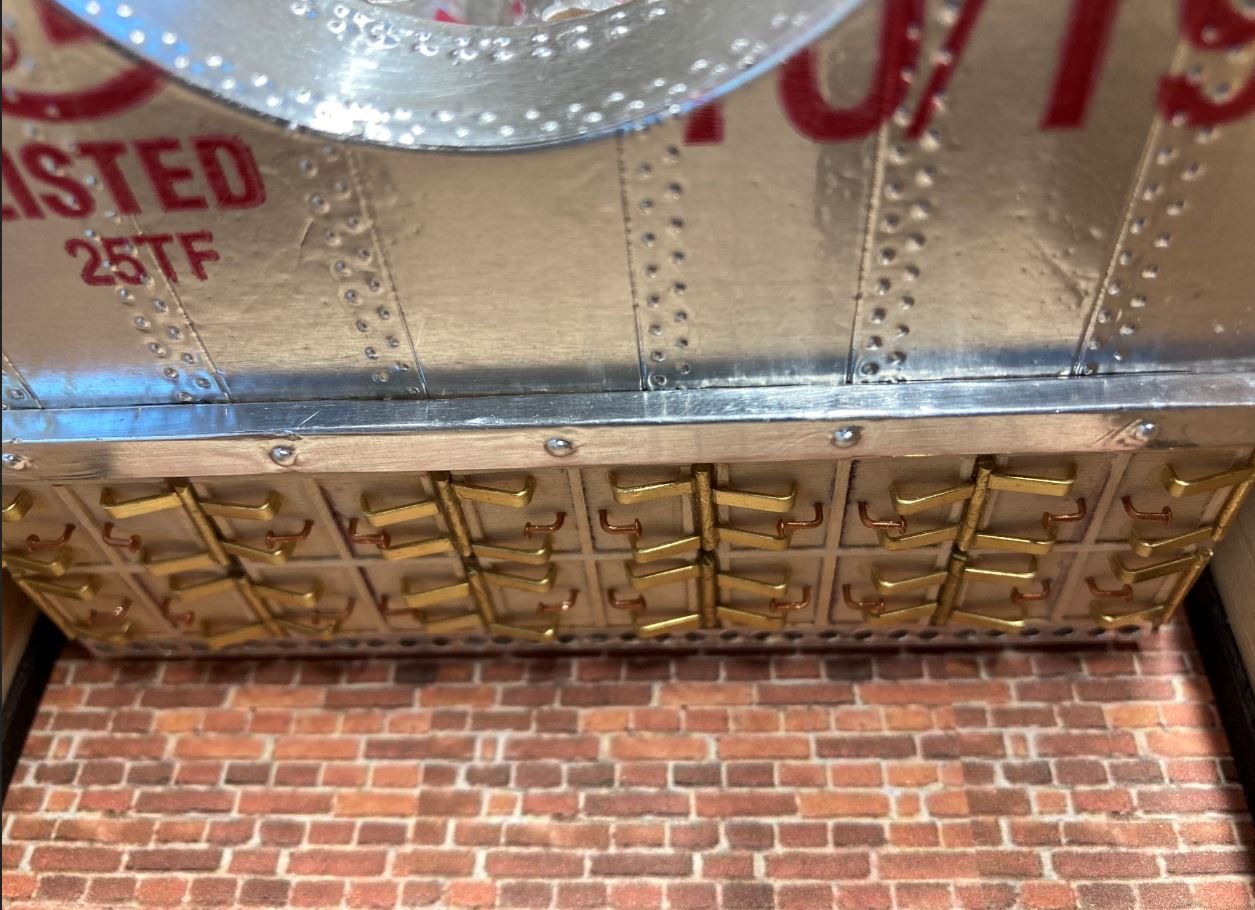
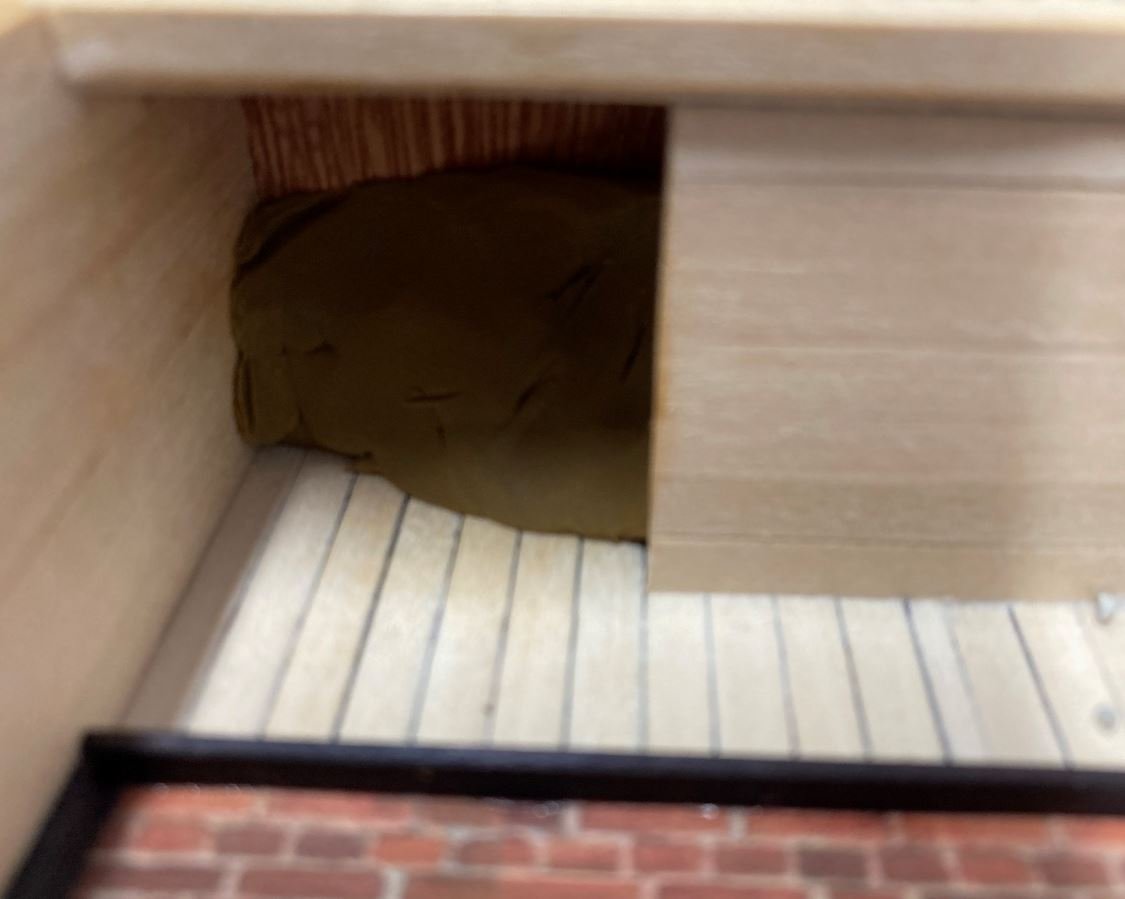
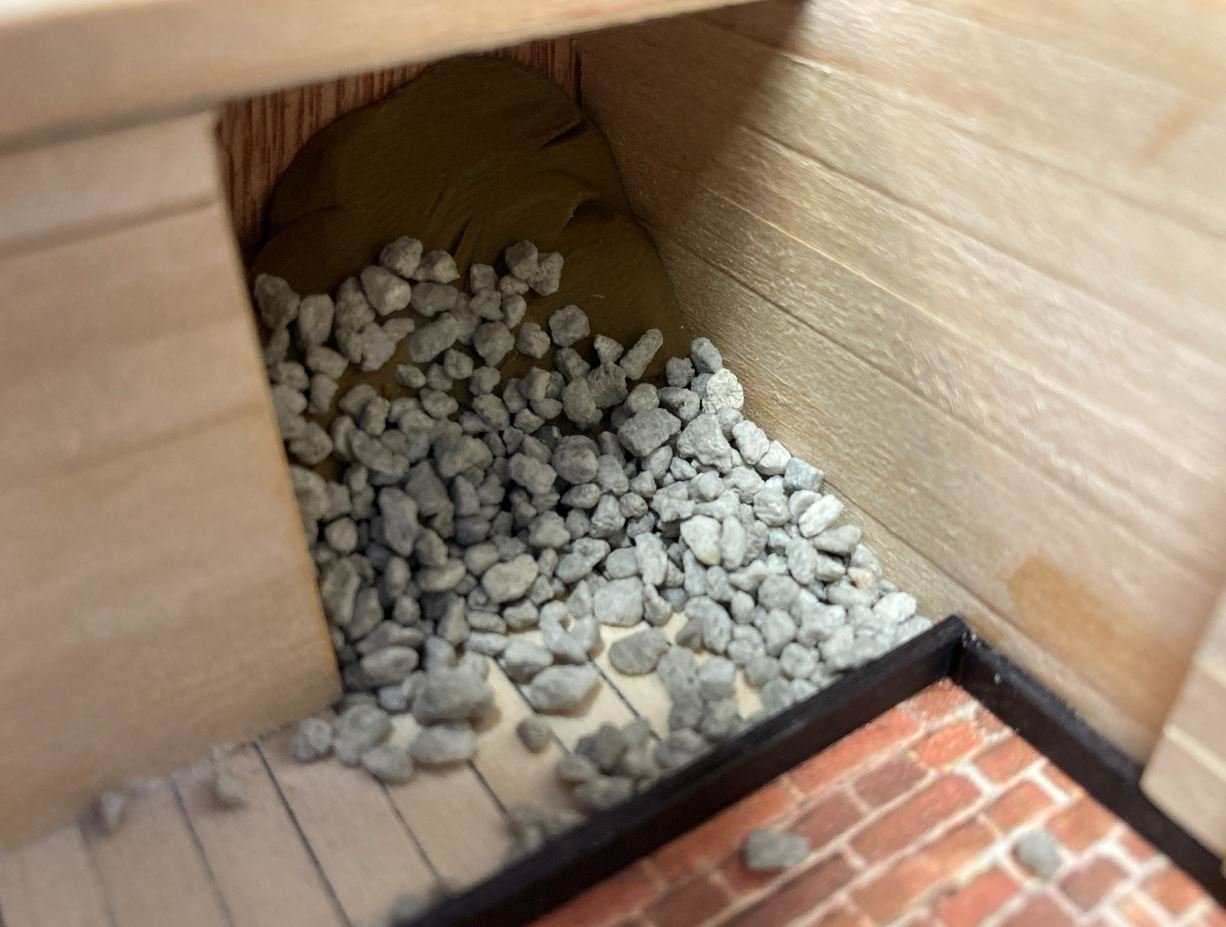
Hello again everyone, Update time. So it's been a pretty productive week, I started working on the boiler. First thing I did was cut five 3/4" dowels, 6" long for the boiler tubes. To simulate the rivets, I used some aluminum foil tape I had laying around. Using a ponce wheel, I ran the wheel on the paper side to give the 3-dimensional look of the rivets. I then cut these into strips and wrapped them around the boiler tubes. Simulating the rivets. Strips wrapped around the tubes. It was at this point that I figured out that I was going about this all wrong. I was making this way too hard on myself. So after rethinking the process, I decided to just wrap the entire boiler tube with the tape and create all the rivets at once. This was the result. Much easier and quicker. Next step was to create the steam drum using the same wrapping process. First I drilled out the holes for the connector pipes and pressure relief valves. Then installed the steam drum. The steam drum was made from a 1/2" dowel cut 4" long Next I simulated the mounting flanges for the steam drum and pressure relief valves. Then it was time for a test fit in the hold. Work then began on the flume and furnace doors. Simulated rivets for the flume. Work on the furnace doors. Taking Eric's advice I went ahead and printed the bricks for the boiler floor. After careful consideration, I determined that hardly any of this will be seen at all so I went ahead and just used the printed pattern for the entire floor, including the ash pit. Another test fit and all looks to line up pretty good. Now time to load up the coal bunkers. I used some modeling clay for the form and pressed some medium grain Talus for the coal. Some of the loose fill I held in place with some watered down PVA. Next, build up and installation of the pressure relief valves. Finally I installed the port and starboard coal bunker doors, got the boilers painted flat black and then dry-brushed the assembly white to highlight the rivets and other features. Next on the build agenda will be paint up the coal once the PVA dries, build the boiler supports and the engine mounts. That's all for now, Thank you all for looking and the likes. -Brian


- 739 replies
-
- 20
-
-
Daniel, I read your build log and ask myself how can he improve on perfection, and yet you still never cease to amaze me. Beautiful work as always. -Brian
-
Dan, Thank you for the words of encouragement, and I hope to one day follow your build of the Cairo. You hit the nail on the head with this one, there was some serious experimentation going on with these boats. Given the fact that they just had 100 days to provide seven ships, there had to be major trial and error going on. Just a couple of examples would be, like one of our previous discussions in this log, the rudder placement and the lack of control of these boats. While the design of these boats was based on the standard stern wheel steamers, many alterations were made to try and protect the mechanical features from enemy fire like moving the paddle wheel forward and under the structure, armor plating etc. I’m sure the builders didn’t have much time for test runs and left it to the Army for shakedown testing. Another example would be the armament. These boats originally just had flat armor plating on the front, aft and sides (as well as the pilot house) when they left the shipyards. The function of the side plating was just to protect the boilers and that was about it. The crews felt this was not enough and came back and placed the additional armor forward and aft of the side plates using salvaged railroad irons. This holds true for Cairo, I’m not 100% sure of her sister ships. It’s really hard to tell from the old photographs if they all had this additional armor and I have not done extensive research on the other six to be sure. Through my reading though, there were many alterations done to them over time, unfortunately Cairo’s life span wasn’t long enough to get the chance to see many of these alterations. -Brian
-
Eric, Looks good. That should get you going. A few planks along the hull should go a long way to stabilize the hull. -Brian
-
Kent, Welcome aboard, glad to have you following along. Frisco huh? I’m about 45 due north of you on Lake Texoma. -Brian
-
Yves, Thanks for the update. Glad that you are still working on this build. I’m sure you aren’t the only one that gets sidelined by other projects. They do provide a benefit in a way, they help to keep the other projects from becoming stale. Looking forward to future progress soon. -Brian
-
Dan, The Vicksburg Campaign is a fascinating subject as is the American Civil War in general. Hailing from the Baton Rouge area there was plenty of Civil War history around to study. I remember one of my middle school field trips for Louisiana History was to Port Hudson, site of the last Mississippi River stronghold captured during the Union campaign to control the Mississippi River. Up to this point, this siege was the longest in US Military history (one day longer than the siege on Vicksburg). I do believe this trip was what fostered my interest in the ACW. A couple of years later I went to Vicksburg NMP and that was when I first laid eyes on the USS Cairo. After this trip, my interest in boats and building models of historic ones began and have building them every since. It wasn't until about seven years ago that I caught the wooden model building bug. I started with a couple of cross-sections to get used to the techniques, then on to full rigged ships. In 2006, on our return trip from my daughter graduation from boot camp at Parris Island we stopped of in Vicksburg to tour the NMP once again. This time I was lot more appreciative of what actually took place there and what the people of Vicksburg must have gone through during this time. Then touring the USS Cairo and it's museum prompted my drive to build a model of her. I believe I mentioned earlier in this build that unfortunately there are no large scale models available of her (that I was able to find), so scratch building her was my only option. My apologies for the personal history lesson, but you struck on a topic that I have a lot of interest in. -Brian
-
Dan, Thank you for the information on more reading material, I’ll definitely look that one up once I finish Grant Wins the War. -Brian
-
Thanks Roger, I managed to find a copy of this book on Amazon for $6. It should be here some time next week along with my copy of Alan Bates’ The Western Rivers Steamboat Cyclopedium. -Brian
-
Roger, I definitely agree with you on this one. My though was that if they moved the paddle wheel aft a few feet and mounted the rudders in front of it, it would probably be more easy to control. This would be in line with the design of the stern wheel packet boats and would also hide the rudders preventing them from being an easy target. -Brian
-
Keith, Small world. Actually right between Sherman and Gainesville. Small town of Gordonville. -Brian
-
Gary, Thank you for the kind comments, glad to have you following along. USS Cairo has long been a fascination of mine and I always wanted to build her. It’s just taken a long time to gain the skills to take on a scratch build like this. Thanks to this forum and all of the helpful members on it, I finally decided to jump on in. I figured that what’s the worse that could happen, someone points out something I did wrong and I have to redo it? Oh well, just hones my skills. I appreciate the useful info on modeling supplies, I’ll definitely add New England Brownstone to my favorites folder. I’m always on the lookout for good sites to shop from. I have the feeling that if all goes well with this build, it may not be the last one. -Brian
-
Eric, I'm with Steven on this one. I'd say that given the long slender design of this hull, a frame is the way to go. Why risk it when a little extra work will pay off in the end. -Brian
-
Eric, Thinking about it, the printed paper method might just be the right idea. Most of it will be hidden under the boilers anyway. With the exception of the ash pit, I may just do that then shape and paint the ones that will be seen. No sense in going through a big expense for something that won’t really be seen. -Brian