
HOLIDAY DONATION DRIVE - SUPPORT MSW - DO YOUR PART TO KEEP THIS GREAT FORUM GOING! (Only 24 donations so far out of 49,000 members - C'mon guys!)
×


Overworked724
-
Posts
1,258 -
Joined
-
Last visited
Content Type
Profiles
Forums
Gallery
Events
Everything posted by Overworked724
-
 Thank you, Russ. Not bad for a first attempt! I almost want to stop now before I REALLY screw something up. 😁
- 449 replies
-
- 3
-

-
- sultana
- model shipways
- (and 2 more)
-
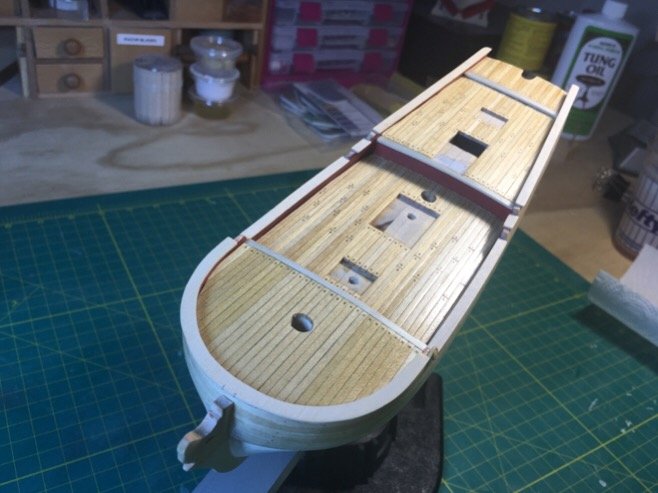
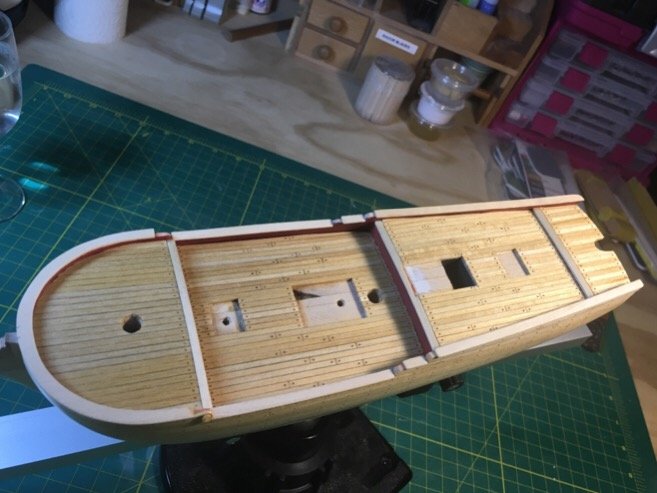
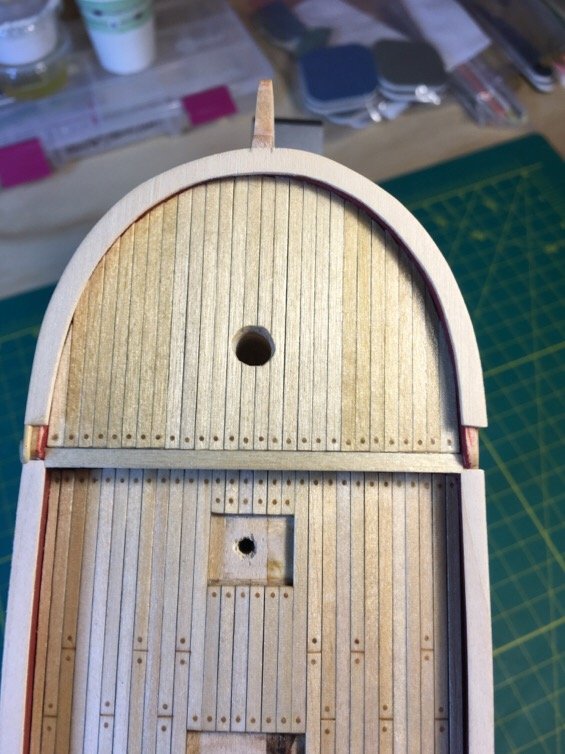
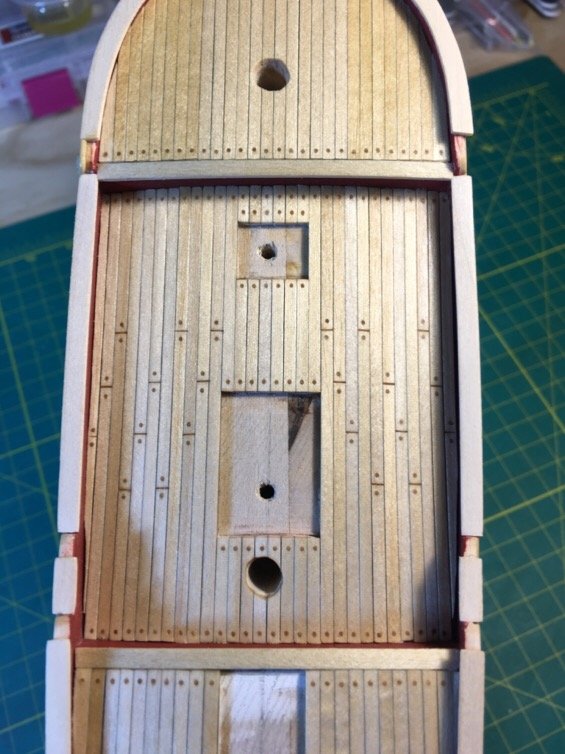
Hi Elijah I have tons of photos from the Rope exhibition in Tokyo. However, I have so many, I am afraid I can't post them all without using up my site memory limit! However, you can view the exibit at the link below (I believe they posted pictures already): https://theropetokyo-en.jimdo.com/ Thanks also for your compliment on my finished deck. My clubmate, Alan, recommended I use tung oil - and it is amazing stuff. Easy to apply, safe (no solvents), but takes a little while to dry. Wipes on with cloth or brush. If you look at the first picture above, my bottle of tung oil is in the background. Bought it off amazon!
- 449 replies
-
- 3
-
-
- sultana
- model shipways
- (and 2 more)
-
Haha. Just noticed I drafted it did not submit my post prior to vacation. Am now back and the Rope exhibition in Tokyo was phenomenal! also...I finished the deck. Now to attack the volutes. Then I can paint and move on the transom, whales, and rudder. Will amuse myself by prepping the gratings at the same time. 😎

- 449 replies
-
- 6
-
-
- sultana
- model shipways
- (and 2 more)
-
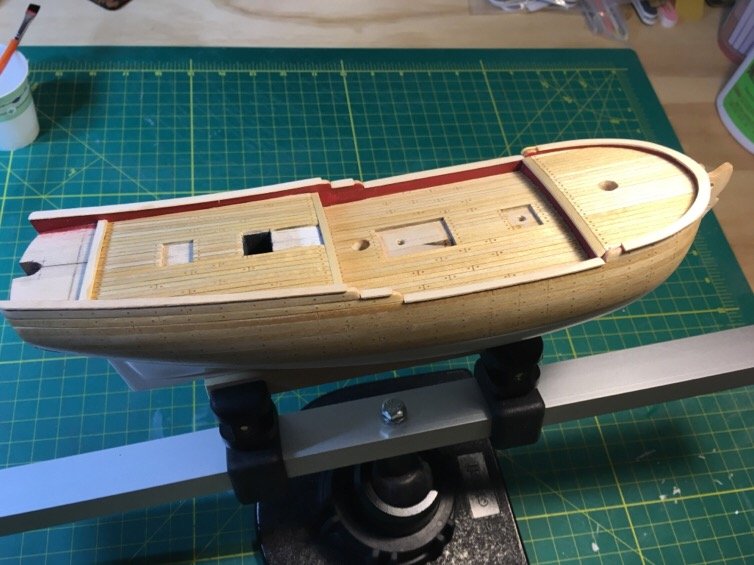
Almost done with deck. Forecastle, main and quarter deck done. Definitely turned out better than I expected. Planking near the bulkhead was a challenge as the taper was a bit difficult to gauge...ended up eyeballing/sanding a lot. Off to Japan now for 2.5 weeks. Hope I have a job when I return! Until then, the poop deck will be sitting first on the shipyard TODO list. ⛵️😌
- 449 replies
-
- 3
-
-
- sultana
- model shipways
- (and 2 more)
-
Almost done with deck. Forecastle, main and quarter deck done. Definitely turned out better than I expected. Planking near the bulkhead was a challenge as the taper was a bit difficult to gauge...ended up eyeballing/sanding a lot. Off to Japan now for 2.5 weeks. Hope I have a job when I return! Until then, the poop deck will be sitting first on the shipyard TODO list. ⛵️😌
- 449 replies
-
- 7
-
-
- sultana
- model shipways
- (and 2 more)
-
Smart thing...thinking ahead is hard, but the club mates gave me excellent ideas. Although i am planking my decks, I still will have an option to mount her upside down (to work on keel/transom/rudder) since I put the mounting screw holes dead center of where the deck gratings will be. Moving along....
- 449 replies
-
- 6
-
-
- sultana
- model shipways
- (and 2 more)
-
Hi Kurt We leave for Japan next Wednesday so will miss the MMS meeting. Looking forward to visiting the Rope's exhibit in Tokyo's Ginza district next week. Will take many pictures! Hope to get the deck finished before I leave. The volutes are a bit of a pain...needed to work on something I could get visual progress in!! Pat
- 449 replies
-
- 3
-
-
- sultana
- model shipways
- (and 2 more)
-
Well...work delay. Back in the saddle. Tired and a bit stressed, but nothing a few hours in Ship room can't cure. Put on fcsl deck. Moving on...

- 449 replies
-
- 7
-
-
- sultana
- model shipways
- (and 2 more)
-
Hmmmm. When I put it on the actual transom...obvious it needs a second attempt. 😒
- 449 replies
-
- 3
-
-
- sultana
- model shipways
- (and 2 more)
-
Thanks, Russ! Looks promising. Looks can be deceiving though. 😳 No fear! Moving on....
- 449 replies
-
- 3
-
-
- sultana
- model shipways
- (and 2 more)
-
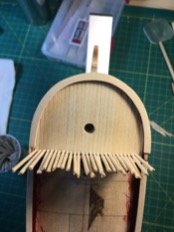
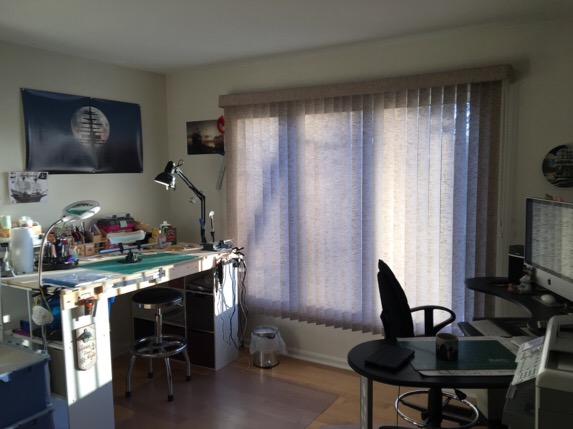
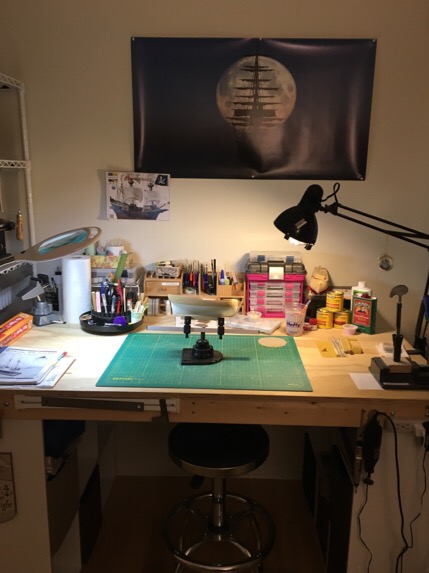
Today was 'cap rail' day in the shipyard. One thing which I was dreading was trying to create and attach the cap rails for the bow and the transom. The bow cap rail was easy enough. But once again, the transom cap rail involved some thinking as Chuck's awesome practicum assumes you know a bit about planking and/or woodworking...I am still learning! So...how to get that severe bend around the transom, while also adjusting for the curvature of the stern at the same time. A plank bender coupled with force bending -- I see many hospital bills in my future. So...how is the transom cap rail any different than planking a ship? So...since wood wants to go where it goes, I 'prefit' the plank by using an index card to check the fit. Then scroll saw...wet the plank...plank bender...and wrap around one of my transom attempts as a molding jig. 😊 We we shall see. But the current results are promising.

- 449 replies
-
- 4
-
-
- sultana
- model shipways
- (and 2 more)
-
Thanks Russ. They are very tiny. Hard to get the right scale. Proof is always in the pudding. But they look fairly decent. 😁
- 449 replies
-
- 3
-
-
- sultana
- model shipways
- (and 2 more)
-
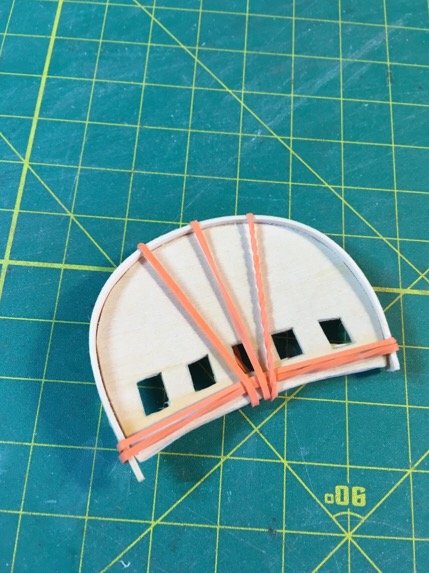
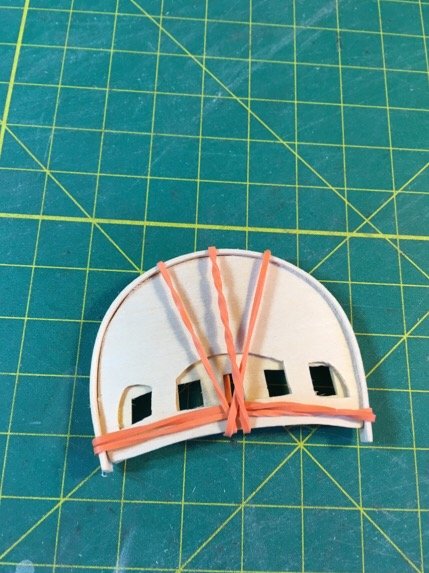
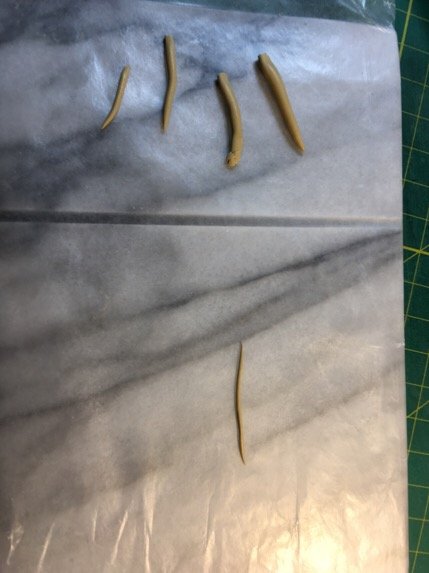
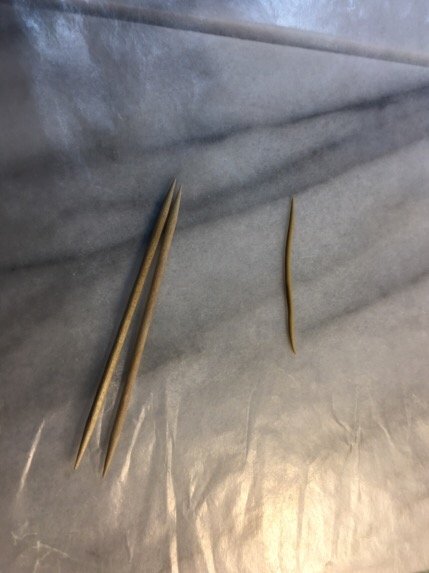
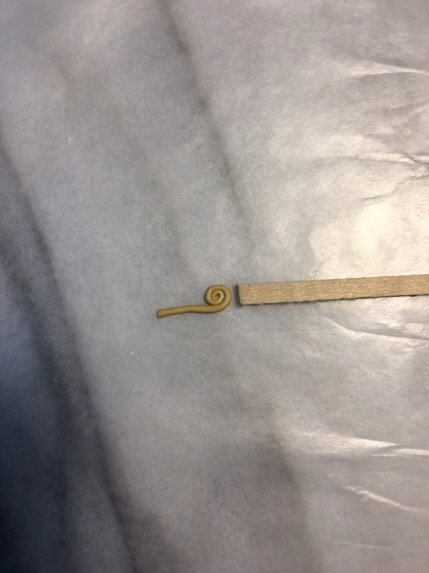
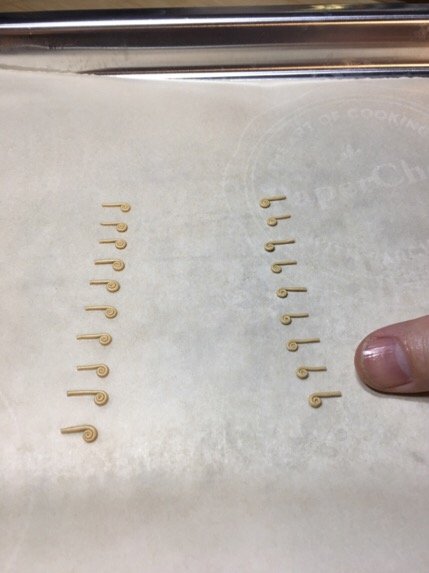
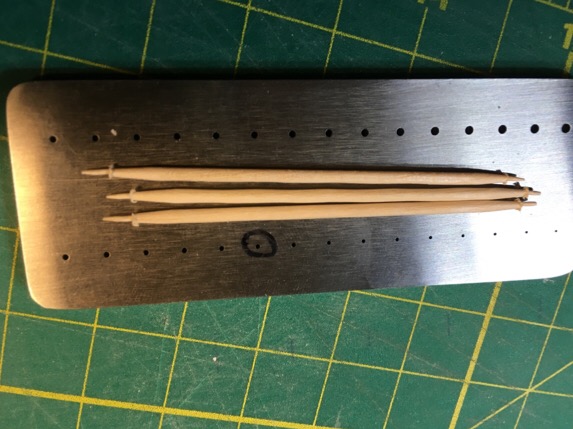
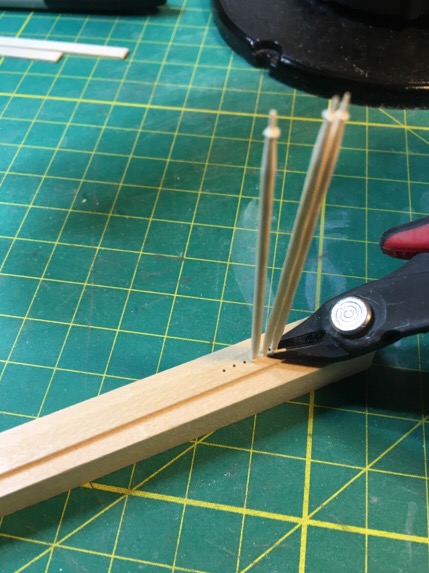
The volutes are difficult. Following Chuck's example, I'm trying Sculpy. I am not a sculptor but his practicum made it look easy. Not. After trial is land error, finally got a system to produce some half decent volutes. Toothpicks are amazing tools.
- 449 replies
-
- 8
-
-
- sultana
- model shipways
- (and 2 more)
-
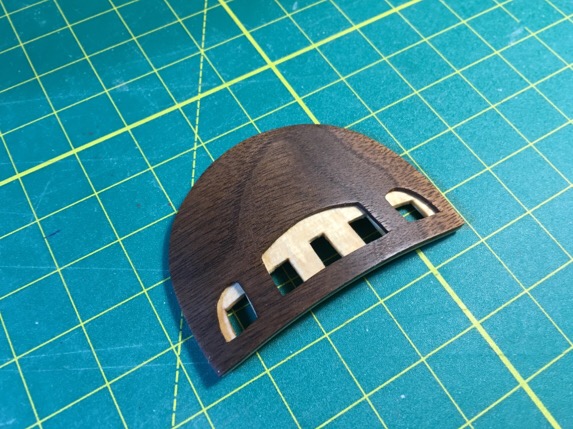
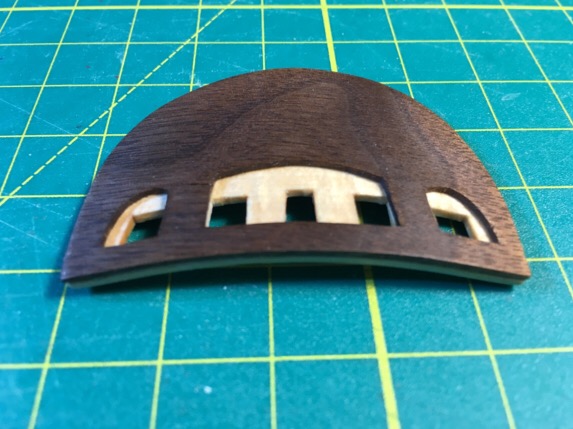
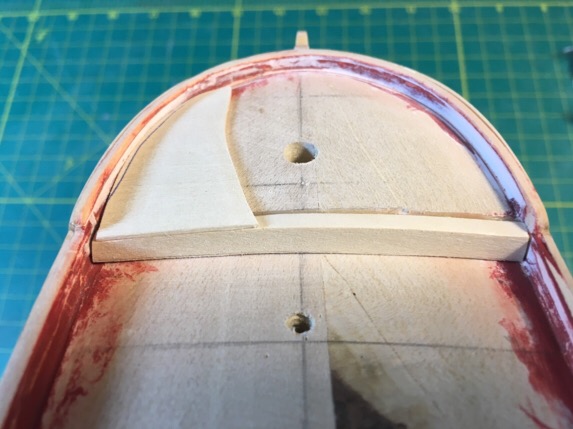
Well, I have actually made a few transoms...and realized I could still attempt the walnut with a different technique. Had to be very careful and drill out the perimeters of the Windows...then slowly carve them out. Glued the basswood window section together to give it strength after bending. Have a plan to attach thectransom and include windows in a different manner than Chucks method. We we shall see. Looks nice off the ship...fingers crossed.
- 449 replies
-
- 3
-
-
- sultana
- model shipways
- (and 2 more)
-
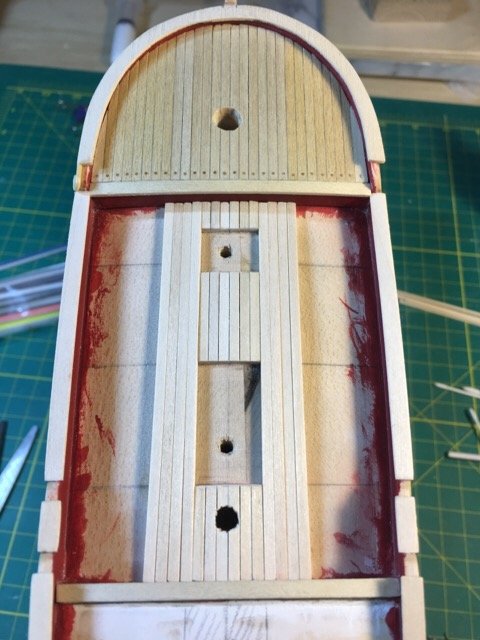
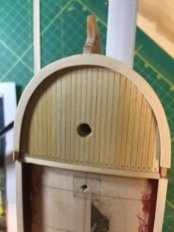
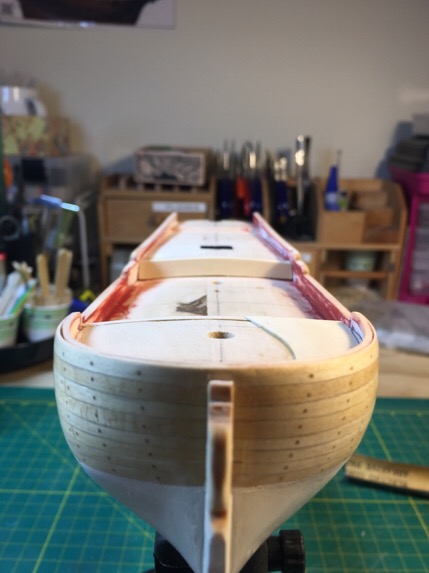
Could not resist using the walnut on the transom. A little tung oil...and the grain really pops. It may be a mistake, but what the heck....
- 449 replies
-
- 5
-
-
- sultana
- model shipways
- (and 2 more)
-
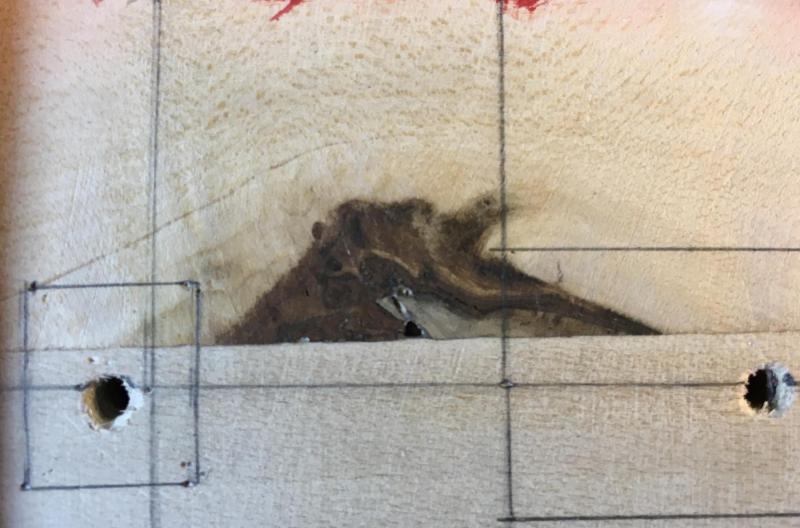
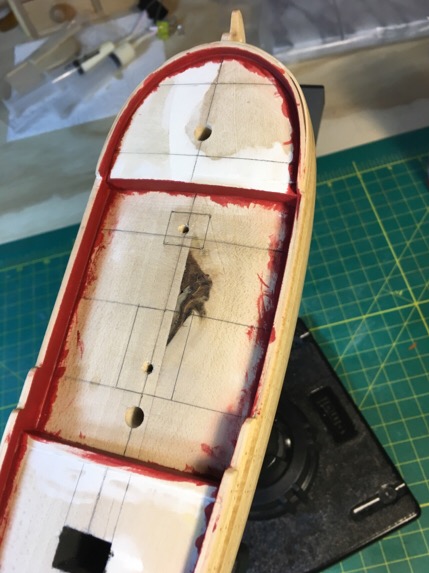
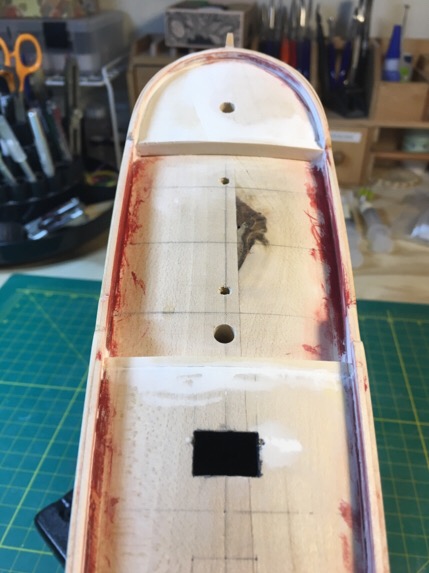
Interesting tidbit of information. My wife is Japanese...and she was raised in the southern most part of the main province of Kyushu in a town called Kagoshima. There is an active volcano there called Sakurajima. It's a conical volcano, and erupts 2-3 times per day. Now...how does this have anything to do with my ship model? Well - the solid hull which came from Model Shipways was not a single piece. It was two pieces glued together...and the wood was not perfect...it had a knot...which I have been staring at on the surface of the main deck since I started this journey. Well, the other day, my wife was excited to find the knot looks like Sakurajima! Quite a nice little omen... Pics below...haha. Life is funny.

- 449 replies
-
- 3
-
-
- sultana
- model shipways
- (and 2 more)
-
Decision to redo painting of bulwarks after some additional filler/sanding was a good one. Much nicer result. Currently working on the rudder, transom and planning the deck planking. Moving on....
- 449 replies
-
- 3
-
-
- sultana
- model shipways
- (and 2 more)
-
Well, here is the best I can do. Deck looks and feels even. This is a crap ton better than before. Amazing how the human eye can see the difference of 1 mm when looking at symmetrical (supposedly) object. Our brains seem to magnify the perceived asymmetry. 1 mm. Sigh.
- 449 replies
-
- 2
-
-
- sultana
- model shipways
- (and 2 more)
-
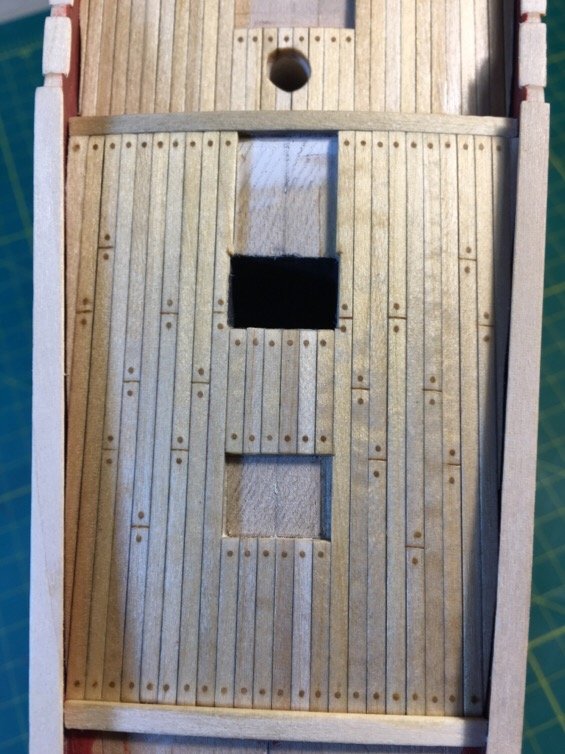
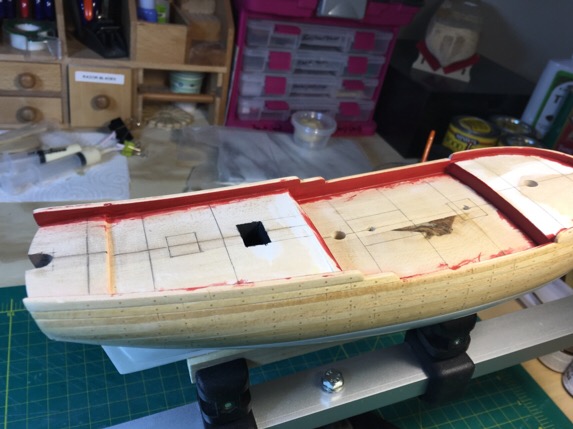
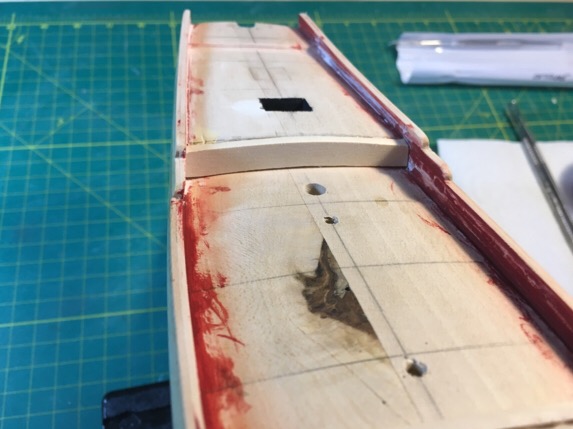
As promised. Pics of face plates for the steps (basswood) as well as my doctoring of the forecastle depression on the port side. Ugly but it will do the job. Now on my second and last round of sanding. Will update this post with final woodfilled product! Also... a couple pics of how I will make tree nails for the deck planking.
- 449 replies
-
- 2
-
-
- sultana
- model shipways
- (and 2 more)
-
Quick update (pics to follow this evening); First – Thanks Russ. I considered and reviewed some forums and decided to go with basswood. Also, changed to basswood veneers for the steps on the fcstl/quarter deck to adjust for the wood which I mistakenly trimmed off. I put those in last night and discovered I had accidentally sanded a bit too much off the port side of the forecastle. Crapola…I christen thee the HMS Assymetry… Second – After adding in the veneers and shaping them to the level of the deck, I can see the lopsided effect of the sanding mistake I made when I was truing (or ‘overtruing’) the hull and deck of the forecastle. With the planking and bulwarks on, this make adjustment by sanding on the starboard side to even the deck a nonstarter. So…if I too too much off, I can put some back on. In this case, the amount I overtrimmed off is roughly 1/32…(a bit more actually). So I have trimmed out a small section of basswood sheeting which I can use to even the deck, and then smooth it out with filler. The final result, once the deck planking is in, should look better than the lopsided view I have now. This is the ONLY thing I can think of…simply slapping on woodfiller and hoping for an even result is a non-starter too – I am not that good at eyeballing. Third – Did not like the initial attempt at painting the bulwarks. The gaps in the planking on the bulwarks stood out like a sore thumb. So wood filler in/sanded for another attempt. Painting the bulwarks and steps will take place after I have put in the filler around the veneers and the forecastle true up area on the port side. …The correction of my mistakes on this kit is keeping me humble, yet oddly focused. The Sultana is actually a lot more challenging that the Lady Nelson so far. Wondering why in the heck I switched kits. But, I have momentum now, and will press on. Pics to be posted later…
- 449 replies
-
- 2
-
-
- sultana
- model shipways
- (and 2 more)
-
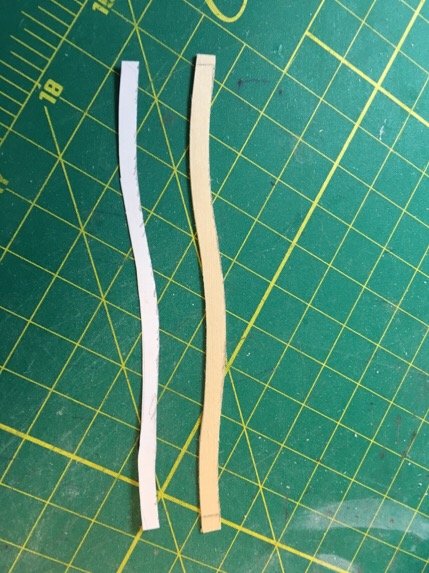
Hi Russ Good feedback! Ok. I'm not crazy. Love the look of walnut but believe you are right. Stuff fragments so easily. The basswood I have. The grain and texture is as you say. Easier to work but doesn't take on an even look when stained. The thinness makes it difficult as well since the stain or paint tends to bleed across and through the sheet. It is easier to cut though. I guess I am needing to rethink the wood step veneers then as well. If I go with basswood it makes my life a bit simpler.
- 449 replies
-
- 1
-
-
- sultana
- model shipways
- (and 2 more)
-
Thanks Russ! Walnut sheeting tends to be much harder (1/32) and I was surprise how difficult it was to cut. I will try your technique!
- 449 replies
-
- 1
-
-
- sultana
- model shipways
- (and 2 more)
-
Update - the pics above show my first couple of passes as the bulwark painting. Upon review, I should have used wood filler along the inner bulwarks to clean up the surface before painting. So, my frustration at the unclean got the better of me and I filled in and sanded down. Will plan to repaint the inner bulwarks tonight. I was so satisfied with my "git 'er dun" attitude, that I decided I would keep the momentum and clean my workbench (my wife was very happy). Sadly, when doing this, I threww away the walnut veneers I made for the step fronts to the forecastle and quarter decks. <grumble> At least it looks nice.
- 449 replies
-
- 2
-
-
- sultana
- model shipways
- (and 2 more)
-
General question for anyone reading: How do you accurately (and safely) cut thin wood? The problem I seem to have is that the thin wood sheets are so thin that they splinter along the edge when using the scroll saw. They seem too hard to cut using a simple exacto knife. How do other do this? It would help me remake the transom layers.
- 449 replies
-
- 3
-
-
- sultana
- model shipways
- (and 2 more)
