-
Posts
1,255 -
Joined
-
Last visited
Content Type
Profiles
Forums
Gallery
Events
Everything posted by Overworked724
-
Problem. How high do I make the knight heads. My bowsprit extends a bit far above the cap. Dammit. Reference???
- 449 replies
-
- sultana
- model shipways
-
(and 2 more)
Tagged with:
-
Love is blind. Thank God for the respite of the Shipyard. Aaaaargh! And yes, I appreciate the Admiral’s coffee. (I’m no fool...I know which side my bread is buttered!! )
- 449 replies
-
- sultana
- model shipways
-
(and 2 more)
Tagged with:
-
Thanks, Lou!!! (Shhhh. Don’t jinx me!). I think the reason I am going so slow is because I’m afraid of rigging. Side note. The Admiral is always amazed when I show her something new on the ship. Halfway through my excited explanation, she yawns, blinks, pats my shoulder kindly, and smiles. I have a sneaky suspicion she isn’t listening to a word I’m saying but can’t prove it. Second side note. This morning the Admiral asked me how my ‘gibbon’ turned out. I told her that it was a ‘jib boom’ not a gibbon. Then she yawned, blinked, patted my arm, and asked me if I wanted more coffee. Seriously.
- 449 replies
-
- sultana
- model shipways
-
(and 2 more)
Tagged with:
-
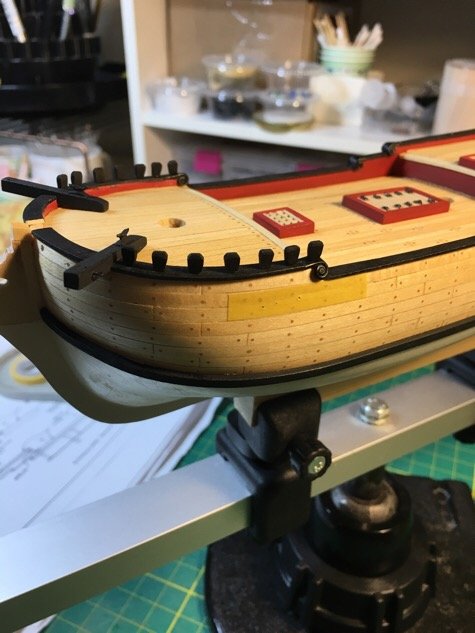
Drilled in the pin holes into the cap rail for the timber heads. Did not glue in at this time since I wanted to ensure that I would not be crowding them in the cap rail, since I still need room for rings, anchor, etc. also wanted to see the effect and if I was better off making them from straight blocks. Overall, I agree with Chuck’s thoughts in his practicum. The carved timber heads make a nice accent to the bow. Will glue on during the future ‘deck furniture/fixture party’ I plan to have after the stem/cheeks/channels/etc. are on. Moving on...
- 449 replies
-
- sultana
- model shipways
-
(and 2 more)
Tagged with:
-
Off to drink away my mistakes of the day!
- 449 replies
-
- sultana
- model shipways
-
(and 2 more)
Tagged with:
-
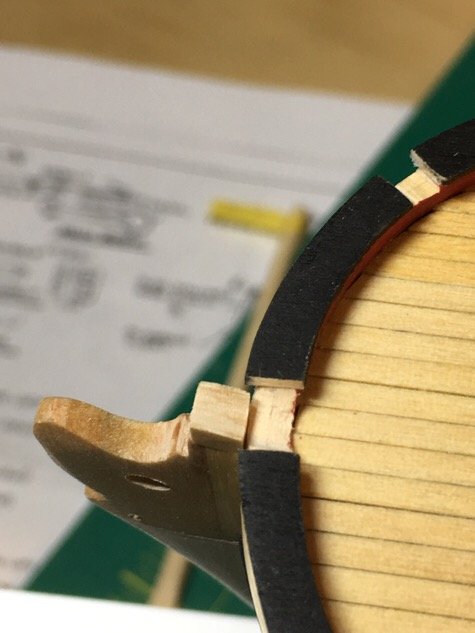
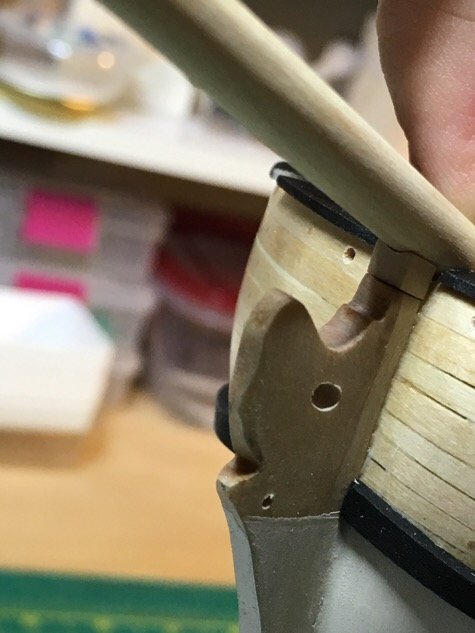
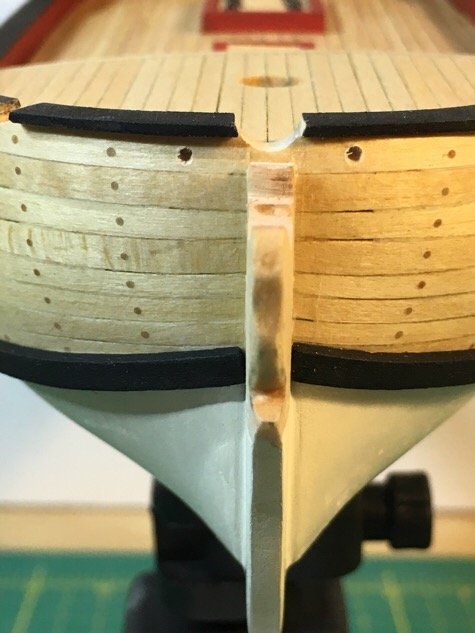
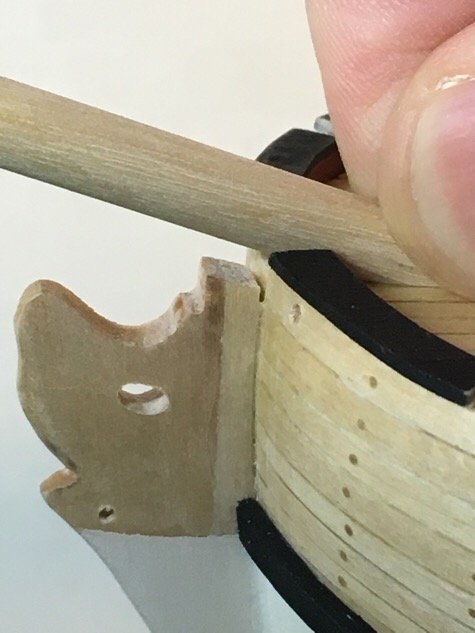
Made little block to adjust height of stem to accommodate the bowsprit. Sigh. Looks awful but it will do the job. Will stain/glue/sand later. Miving on....
- 449 replies
-
- sultana
- model shipways
-
(and 2 more)
Tagged with:
-
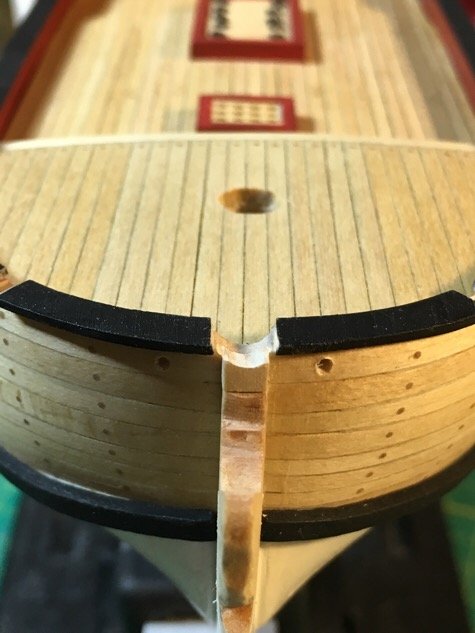
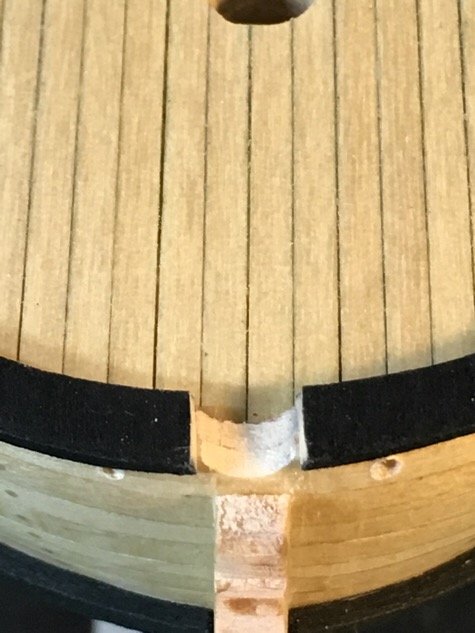
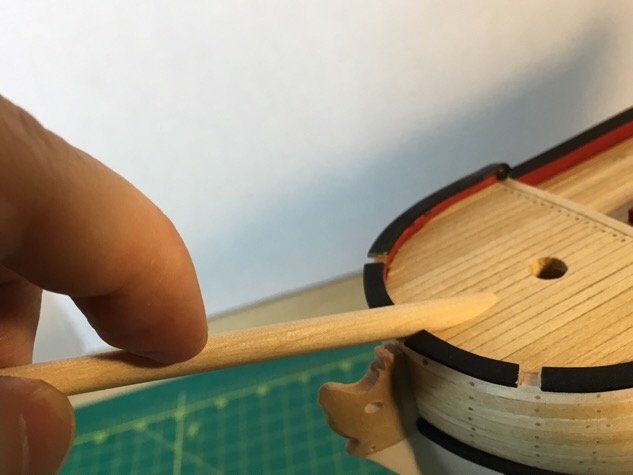
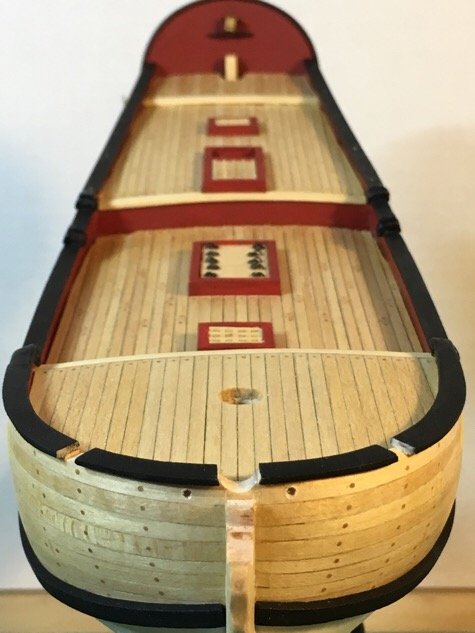
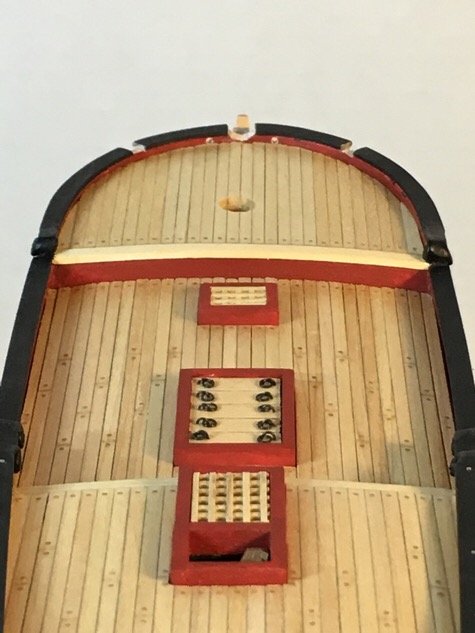
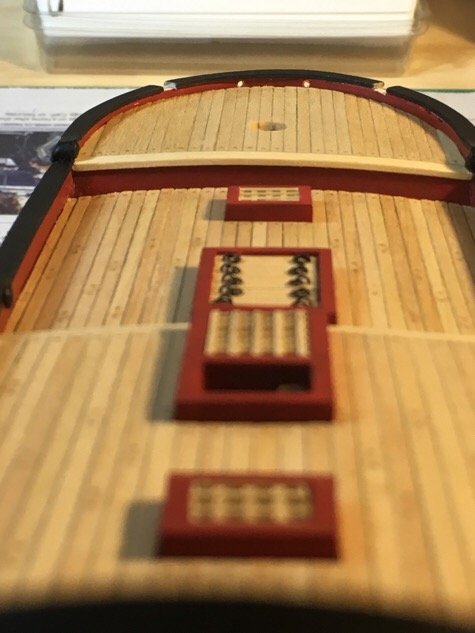
Some progress! Made bowsprit and jib boom. Need to make bowsprit first in order to carve out the bowsprit hole/gap in the bow. Tricky work. A couple things...I did not glue that part of the cap rail on the direct middle of the bow, so cap rail was easy to cut out with a #11 blade. Err on the small side and widen it as you go. Since the bulwarks are soft wood, a round and elliptical file made quick work of the gap. Taped up the deck to keep from scratching it...but decent result. However....the stem is too bloody short. There is a magnificent gap between bottom of the bowsprit and the top of the stem. Easily solved by a wood block filler. Next time will drill out the holes in the bow BEFORE adding the deck or cap rail. Miving on....
- 449 replies
-
- sultana
- model shipways
-
(and 2 more)
Tagged with:
-
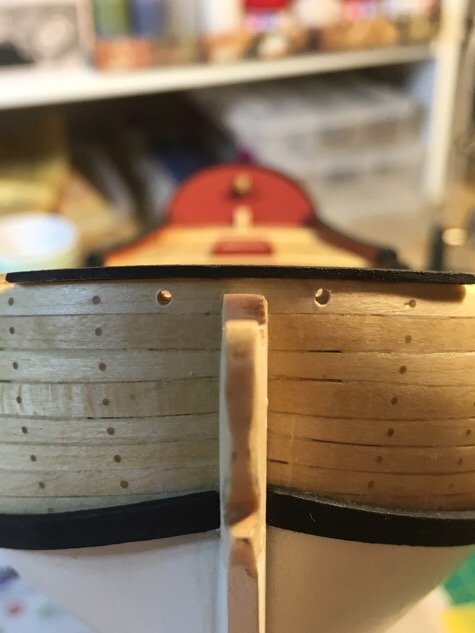
Drilled in the hawse holes in the bow. Fun stuff. Heart attack city. Was thinking I was going to scratch the deck, hull, drill unevenly, etc. but it worked out. Was a bit more complicated as my bulwarks at the bow are not as high as those pictured in Chuck’s practicum. Upon examination, I think my bulwarks are more in line with the plans...a bit shallower at the bow...there just enough room to drill the hawse hole between cap rail and deck. Aligment was was a challenge. I used string and a pencil. Haha. Marked point on inside of the bulwark on both sides with a pencil, then drilled a pilot hole (#37 drill bit) on both sides of the bow. I was off center a bit and the starboard was a bit low. So as I went up consecutively into larger drill bits using my pin vise to widen the holes, I applied lateral pressure gradually as I drilled to try and compensate a bit for the drift of the original pilot hole. Proof is is in the pudding. Came out fairly decent. Used a toothpick to clean up the fringe wood splinters in the holes. I can always widen again if needed, but tested the size with the rope needed and it seemed ok. took me a while to do this little task! Done for the night! Moving on. 👍🏽🍺
- 449 replies
-
- sultana
- model shipways
-
(and 2 more)
Tagged with:
-
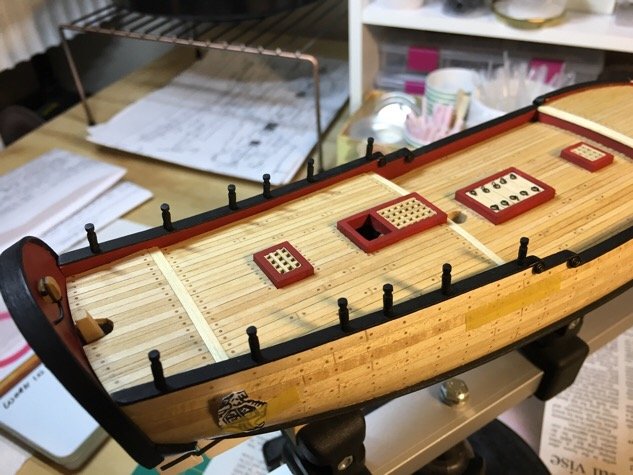
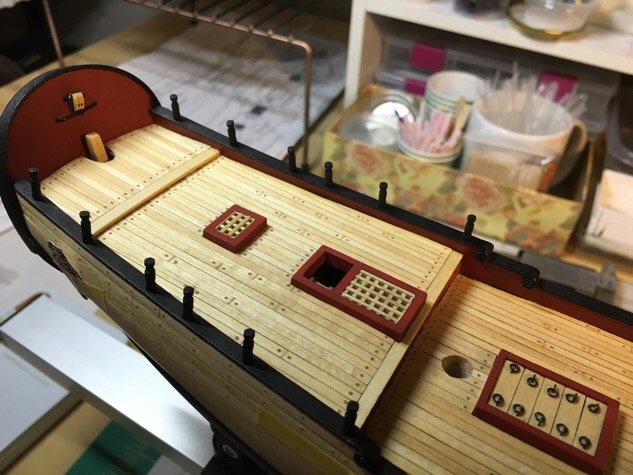
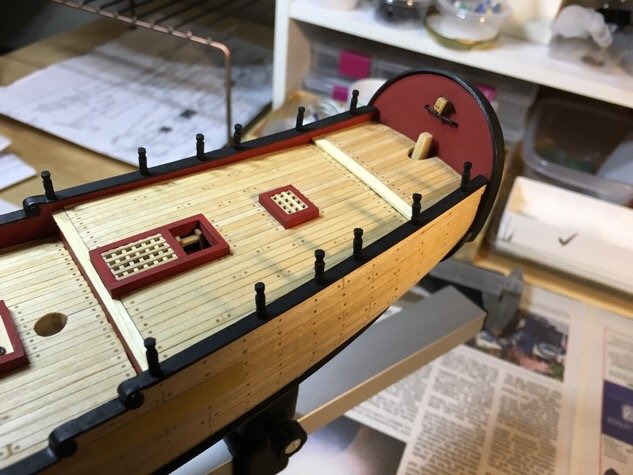
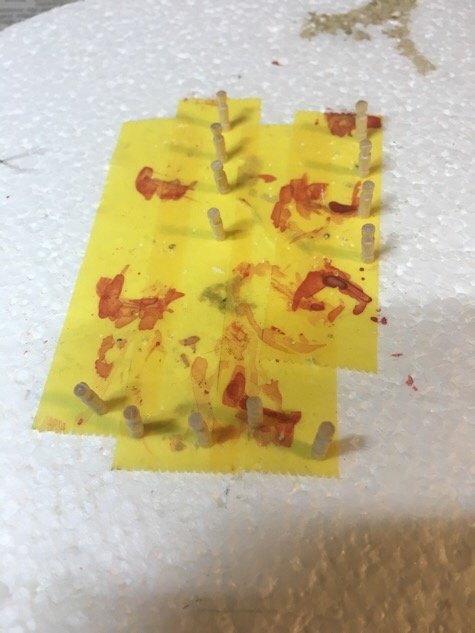
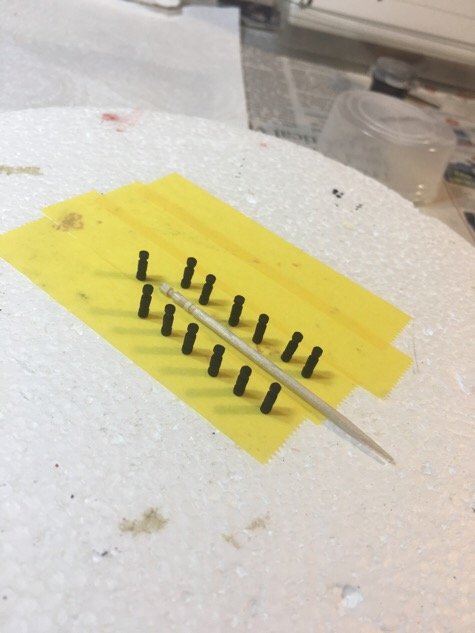
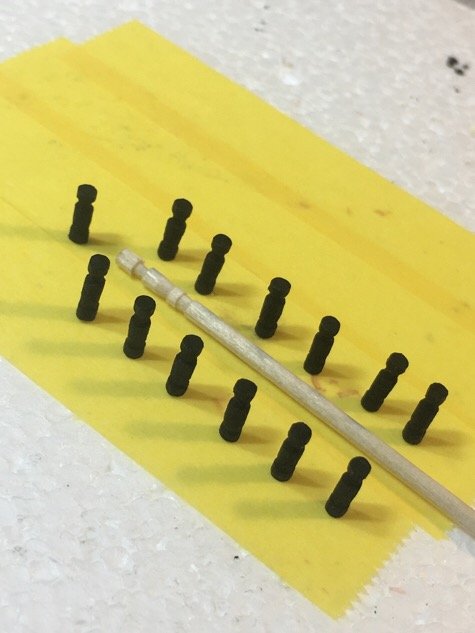
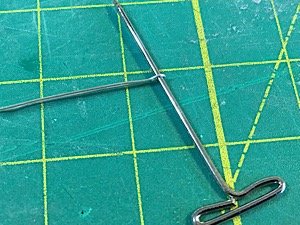
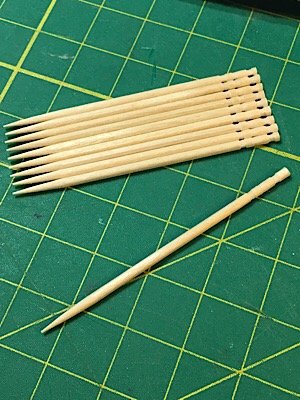
Got to admit that the painted chain plates turned out well. Tried bending a spare chain plate into the loop of a stropped deadeye and it bent easily without the paint cracking. (Using Tamiya paints) Also really needed to see how the cheapie ‘toothpick’ stanchions looked. (Toothpicks are cheap wood and during painting they did get thready...but it’s all good). Had to also carefully drill the holes into the cap rail deep enough to give the stanchion pins (26 gauge wire) enough bite to grip the hole. After setting them in, they actually look pretty good! Need to sand down the tops a bit flatter to set the poop rail evenly, but all in all a pretty good result so far. I think the toothpick stanchions add a bit of zing! The square stanchion don’t look as elegant. 😌 Note: Drilling holes in my model raises my blood pressure! (Cured with a glass of blended scotch. TGIF) Moving on....
- 449 replies
-
- sultana
- model shipways
-
(and 2 more)
Tagged with:
-
Hi Lou! You got a great deal on your Sultana kit! (I, too, am guilty of hoarding...but there are worse things to hoard!) And Chuck's practicum is, by far, the key to achieving confidence for starting up the hobby with the kit. My goal is to get that first solid completion under my belt, put her under glass, and sit back with a glass of my favorite blended scotch and just look at the finished model...and list every single little mistake I made. =-) I'm fairly certain I will be able to complete work on the hull and start getting into the spars/masts/rigging fairly soon. In truth I am also pretty curious to see how the finished poop rail will look as well!
- 449 replies
-
- sultana
- model shipways
-
(and 2 more)
Tagged with:
-
In truth...it's hard to look at a lot of the builds on this forum and not feel a bit out of place. I am really in kindergarten here...and sometimes I feel like a hack rather than a wooden ship modeler. My work is so basic....and I can see now that the Sultana, as a starter kit...was not exactly the best choice to start this hobby...and a solid hull now feels equally (if not more) challenging that a plank on frame. The kit is dated, and needs significant rethinking from the perspective of someone who would like to begin this hobby. The problem solving is fun...but my going is extremely slow...however, I believe I will be picking up the progress a bit more this Christmas season...soon I'll be carving into the bulwarks again to make room for the bowsprit...(gasp) Step by step...
- 449 replies
-
- sultana
- model shipways
-
(and 2 more)
Tagged with:
-
Hey Lou! You don’t list the Sultana in you “on the shelf” list! ....and if course it was for the beer! It fills me with creative inspiration !....or is that the beer fillling my bladder?....whatever!
- 449 replies
-
- sultana
- model shipways
-
(and 2 more)
Tagged with:
-
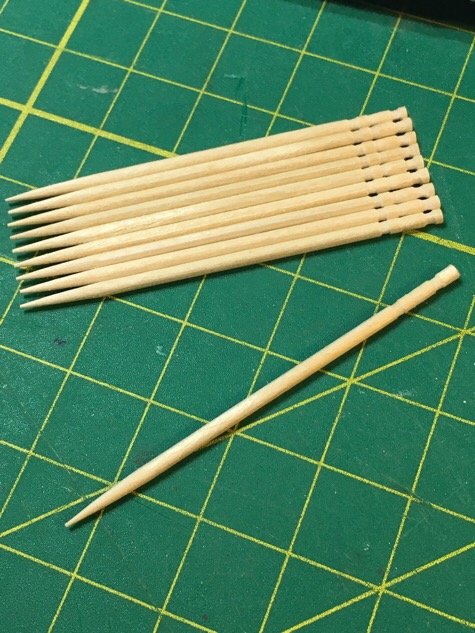
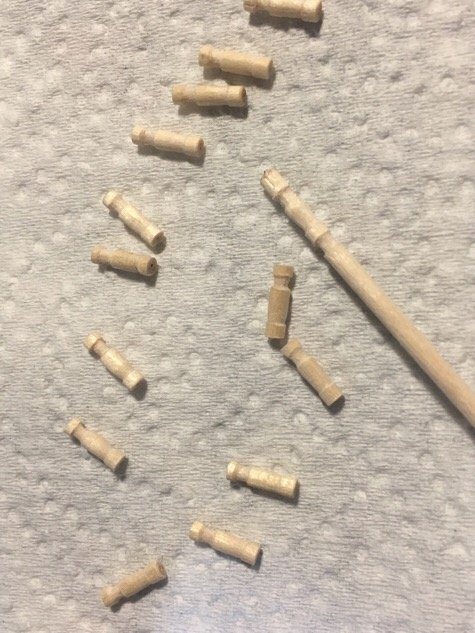
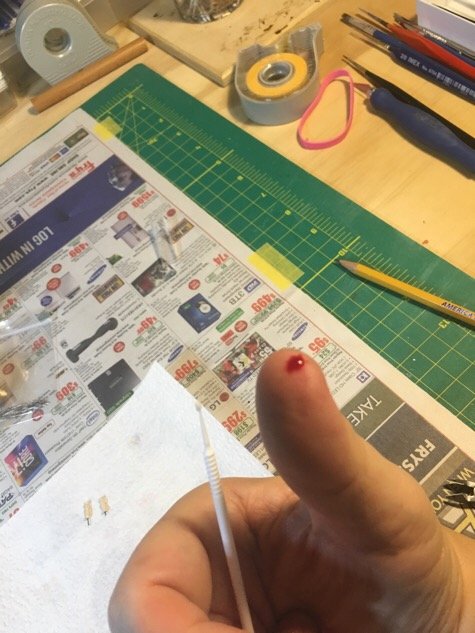
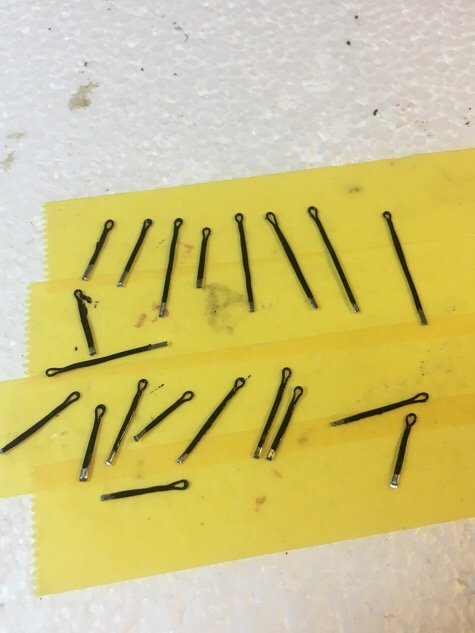
Ok. Poop deck rail stanchions are done. I bled profusely (again) for my ‘art’ and took the time to snap a pic of the proof. The admiral was not impressed but I was able to squeak an extra pity beer from the larder to help stem the blood loss and numb the pain. I decided to try the toothpicks in a different way this time. Gotta love it...all the trunnels are toothpicks, so why not the rail stanchions! Besides, they look pretty good and not as boring as the square timbers that are called for in the plans. Also finished painting the channels and chain plates...paint is drying. Moving on.
- 449 replies
-
- sultana
- model shipways
-
(and 2 more)
Tagged with:
-
Bob. I love your work. You really inspire me to try and plan each step. Your build is absolutely beautiful so far. 👍🏼👍🏼👍🏼
- 682 replies
-
- halifax
- lumberyard
-
(and 1 more)
Tagged with:
-
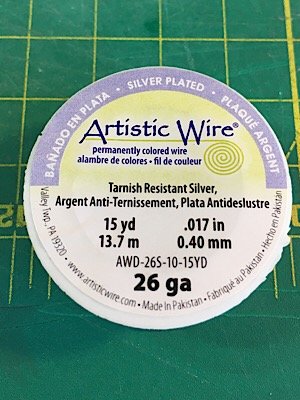
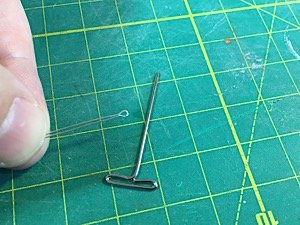
Tales of my demise have been slightly exaggerated. But work did get in the way. Progress: Decided to make my own chain plates. Chinese soldering iron kit and flux was 19$. 26g silver coated wire from Hobby Lobby was 4.59$. Learning how to get down the technique was about 10K$ of my personal time. (I was a terrier in my past life...quit is a dirty word!). Finally got the plates to a place where I can look at them without gagging. Made a a little jig to setup my deadeyes. Nothing awesome...just looking for reproducibility. Decided to examine how how to make the cap railing stanchions. Finally decided to try something ridiculous. Since using square stock of basswood is boring, I wondered if I could use some Japanese toothpicks I brought with us from our April trip. We shall see. 🤔
- 449 replies
-
- sultana
- model shipways
-
(and 2 more)
Tagged with:
-
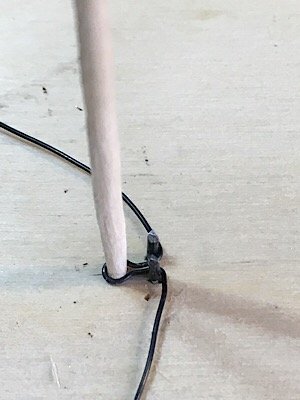
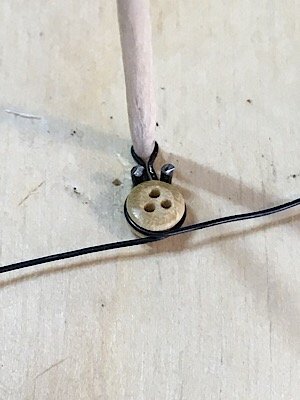
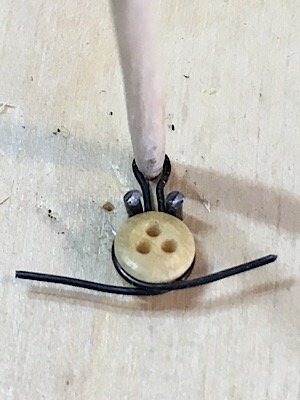
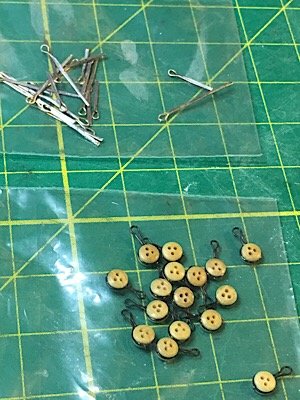
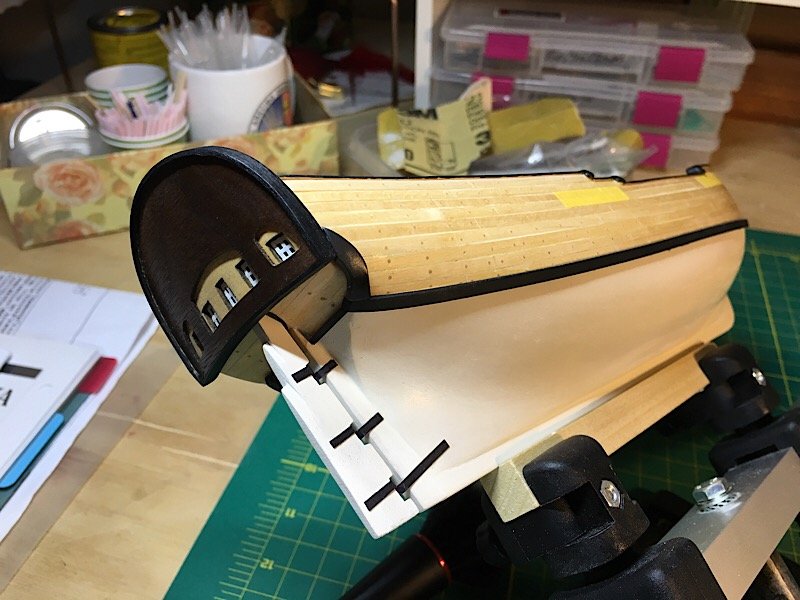
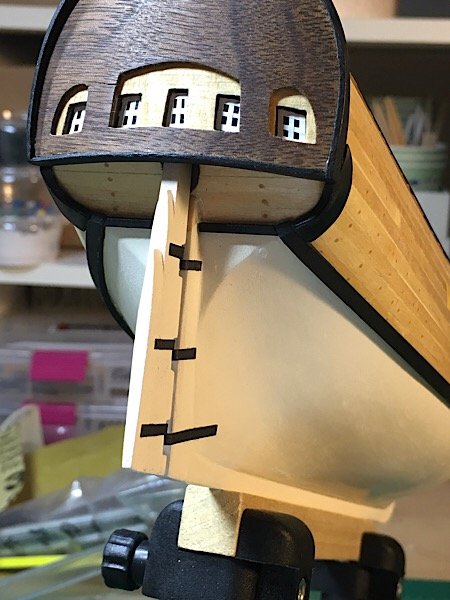
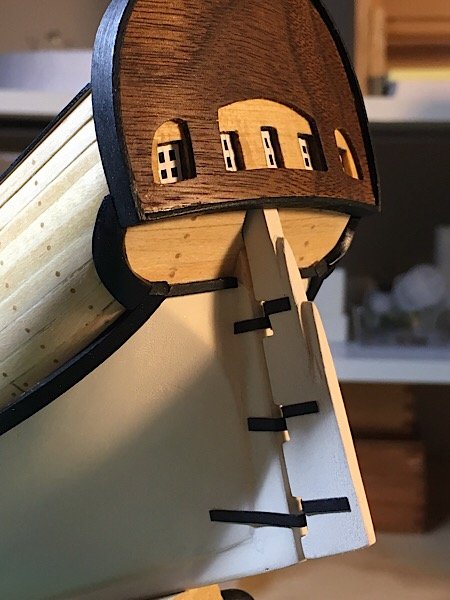
Well. Tried and failed on the plastic pintles/gudgeons. But that’s ok. At least now they are just irritating, and not exhausting and intimidating!!! Some progress...Finally got the stern fashion pieces on which complete the stern. I cheated. I said I wasn’t a good wood carver. Make them out of sculpy (cool stuff that sculpy). Not too broken up over it. I made them by hand still... Pics below. Can now plan a final coat of tung oil before starting to work on the bow area. Moving on!
- 449 replies
-
- sultana
- model shipways
-
(and 2 more)
Tagged with:
-
Also read my log.....you'll see what a real beginner looks like when jumping in! LOL Enjoy the ride, frustration, success, and minor victories that come with building. If you are a model furniture maker, you probably already have a very good eye and skillset for the wood ship arena. Unlike myself....but it is fun to learn. Lot's of folks here with oodles of experience.
-
Map (like the nautical topographical map used during sailing) paper would work as well...now that my mind is going that direction - water proof paper would be an interesting attempt as well.
- 449 replies
-
- sultana
- model shipways
-
(and 2 more)
Tagged with:
-
OMG Lou - we posted our notes at the same time! I was just thinking along those lines! Thanks for the follow up!! =-) Will take some time this evening to put together one to see how it looks....if anything, I want to experience. =-)
- 449 replies
-
- sultana
- model shipways
-
(and 2 more)
Tagged with:
-
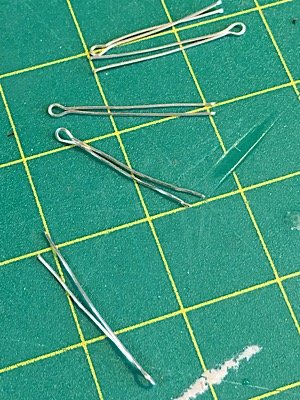
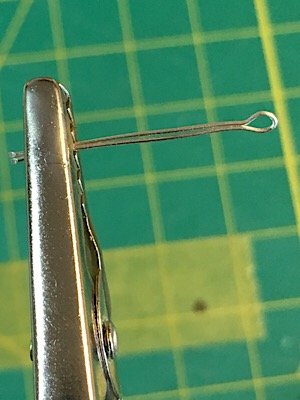
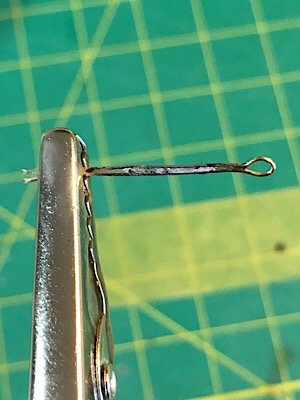
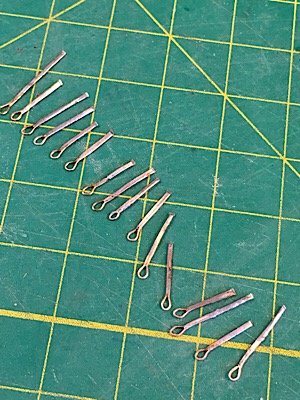
Thanks Ron/John! Not certain that I would classify myself as an artist...more like a 'stubborn hacker'. Funny....after I mounted the current rudder, I my mind started racing on what other materials I could have used...since my head got stuck on 'wood' (i.e. paper) and metal (i.e. copper sheeting) for the P&G's. Sitting at my desk, I realized I could have used plastic and paper clips as well. We have some clear plastic file folders from Japan which are just the right thickness. And the small, plastic wrapped paper clips (I like those...they have a good 'grip' on paper when you use them) would be perfect for the pins. If you straighten out the paper clips, you can glue the hinges to the 'pin' with the plastic on...and strip away the plastic just above the hinge! It would work - and you would not have to worry about gluing metal to metal. The stripped paper clip is just about the same gauge as the 22g wire I was using earlier. Going to try that a bit later and post the pics. The reason I am fussing so much is because the hinge is non-functional (locked in place). Since the hinges are paper, they are fragile, and I am a bit leary of it not lasting until completion. This was also the reason why I made a couple of additional rudders and hinges. I used wood glue to mount the current rudder...so if the current one gets damaged, I can simply clean it up, and mount a new rudder/hinge assembly I will have sitting in the wings. On a positive note, I looked at the Sultana this morning, and she did look like she passed a milestone! =-)
- 449 replies
-
- sultana
- model shipways
-
(and 2 more)
Tagged with:
-
Ok. After spending 2 solid days trying to get metal to stick to metal (which is impossible without welding apparently), I finally made an executive decision. Paper pintles/gudgeons (P&G's) it is. But I've learned a few things. Paper is is easier to deal with, but it is fragile. You can see how they deform and lose their integrity after painting with acrylics. (Solved using a black magic marker). Don't have acid free paper, so maybe next time. Photos below. To put this in perspective...I have built and painted three rudders, and made multiple sets of P&G's of both paper and copper stripping. I have sliced my fingers repeatedly, and my hands are literally caked with glue (wood and CA), white and black paint, and blood. I am quite serious when I say that the rudder is by far the most ridiculous chore yet. I did not enjoy it. 😏 The end result is OK...but frankly would like to say that the next time I do this part of a ship it will be with pins and premade parts...I mean really...what kind friggin manufacturer is too bloody CHEAP to put them in a 'beginner' kit!!!!??? This was way more difficult than it should have been. And doubly more so for a beginner like me. Ok. Sorry ... my Vent is over. I used a yellow manila folder for the P@G's, 22g wire of the pins, carpenters glue for prep and mounting. No paint...just a black Sharpie to avoid damaging/deforming my paper P&G's. Moving on...to get a beer and ignore this model for the rest of the evening.
- 449 replies
-
- sultana
- model shipways
-
(and 2 more)
Tagged with:
-
Acid free paper....I am going to have to look that one up! Thanks!
- 449 replies
-
- sultana
- model shipways
-
(and 2 more)
Tagged with:
About us
Modelshipworld - Advancing Ship Modeling through Research
SSL Secured
Your security is important for us so this Website is SSL-Secured
NRG Mailing Address
Nautical Research Guild
237 South Lincoln Street
Westmont IL, 60559-1917
Model Ship World ® and the MSW logo are Registered Trademarks, and belong to the Nautical Research Guild (United States Patent and Trademark Office: No. 6,929,264 & No. 6,929,274, registered Dec. 20, 2022)
Helpful Links
About the NRG
If you enjoy building ship models that are historically accurate as well as beautiful, then The Nautical Research Guild (NRG) is just right for you.
The Guild is a non-profit educational organization whose mission is to “Advance Ship Modeling Through Research”. We provide support to our members in their efforts to raise the quality of their model ships.
The Nautical Research Guild has published our world-renowned quarterly magazine, The Nautical Research Journal, since 1955. The pages of the Journal are full of articles by accomplished ship modelers who show you how they create those exquisite details on their models, and by maritime historians who show you the correct details to build. The Journal is available in both print and digital editions. Go to the NRG web site (www.thenrg.org) to download a complimentary digital copy of the Journal. The NRG also publishes plan sets, books and compilations of back issues of the Journal and the former Ships in Scale and Model Ship Builder magazines.


